

Obtaining the Overcharge Ability
Use the Holotable on-board the Mantis to travel to Kashyyyk and a cutscene will play out, after the cutscene has concluded you’ll need to swim over to the AT-AT and use the vines on the side to climb up to the top. Once you reach the top drop inside and take out the Stormtroopers and then take control of the AT-AT.
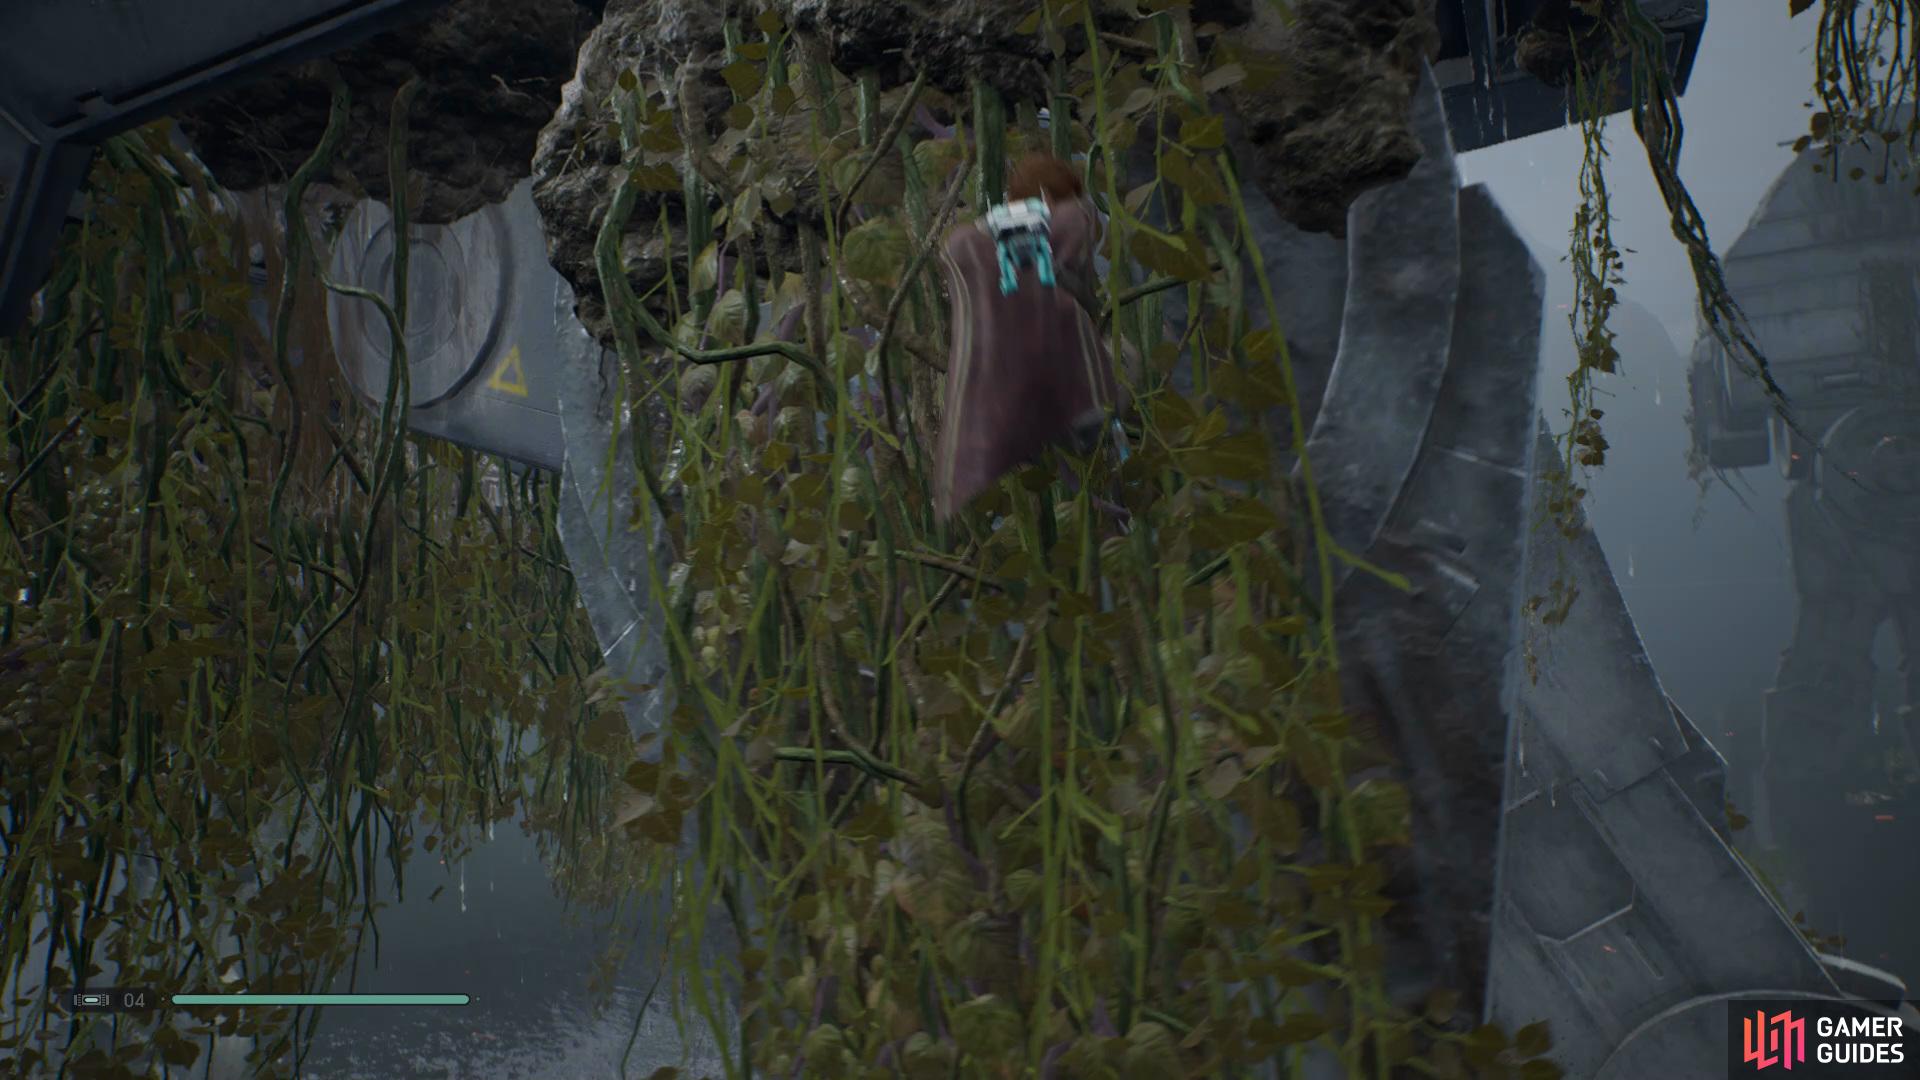
Use the vines to climb onto the top of the AT-AT and then drop inside
to take control.
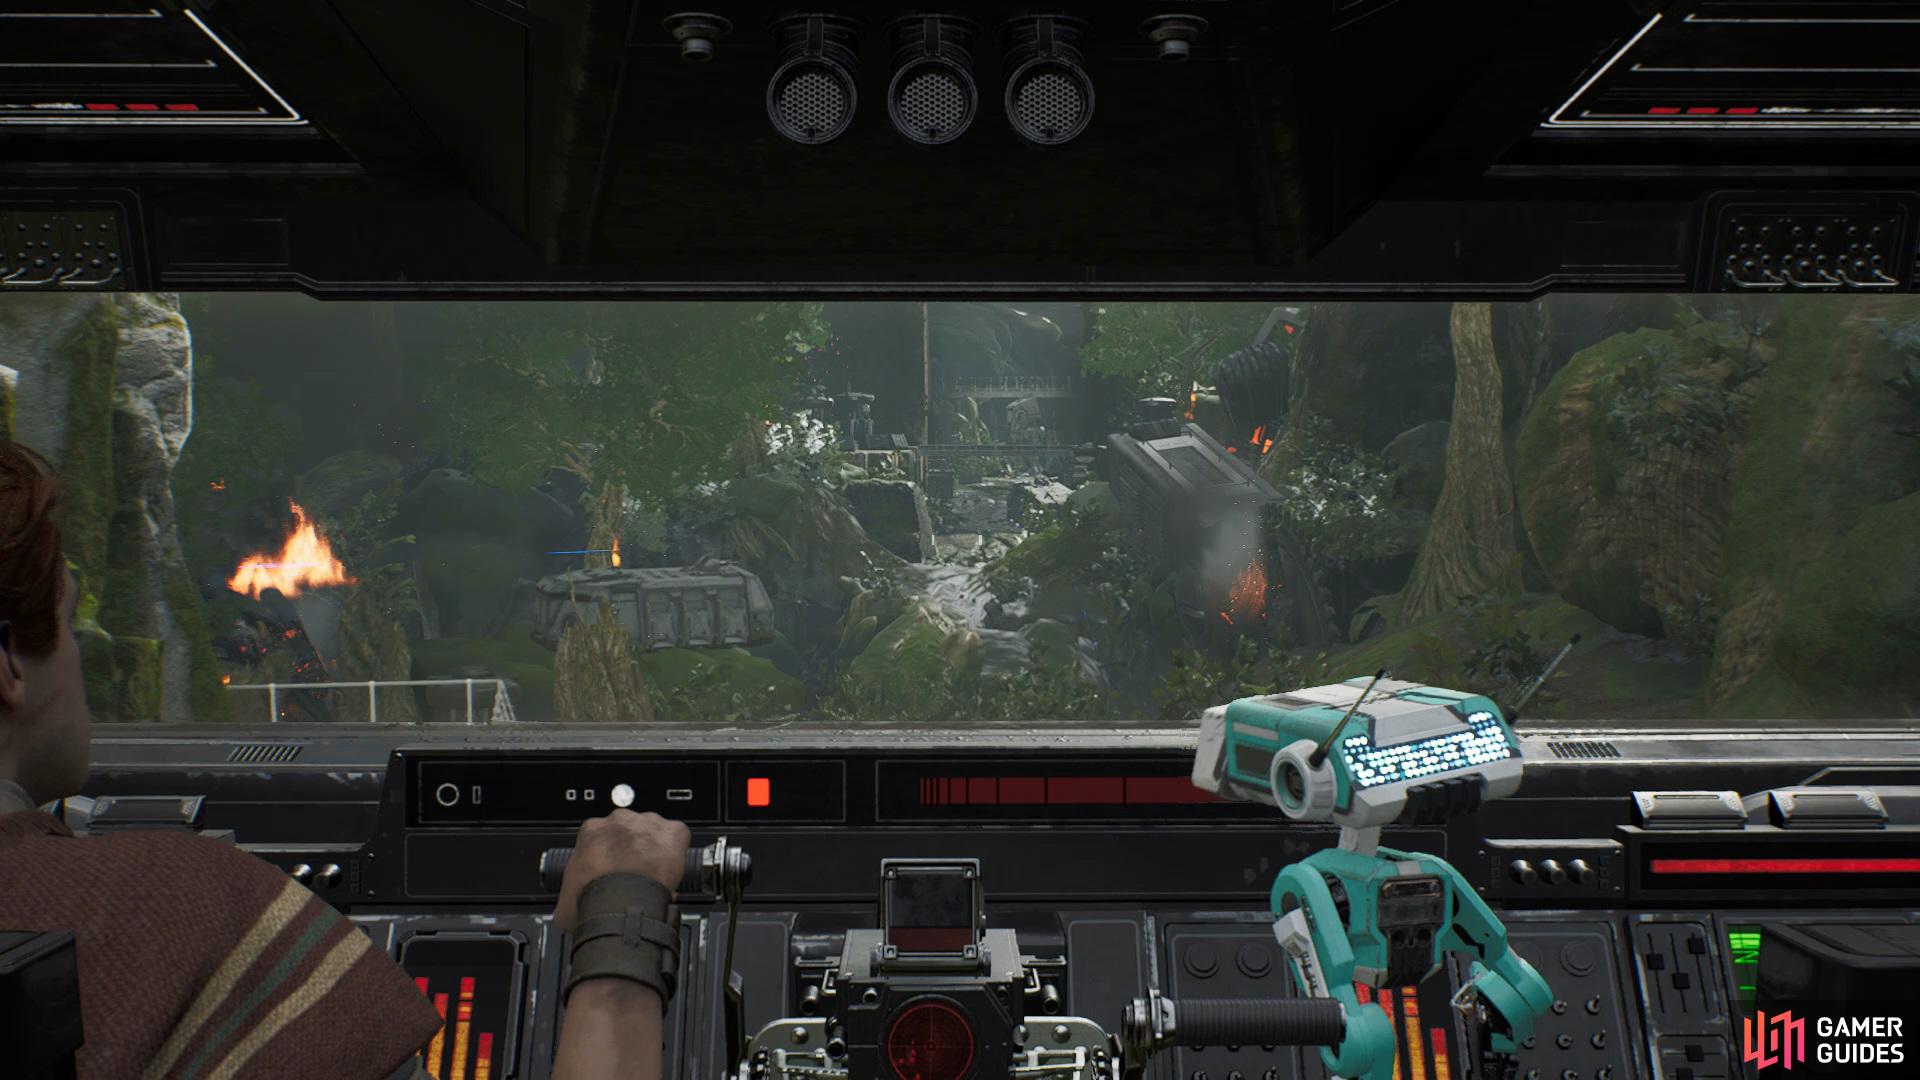
Keep going forward and take out anything that gets in your way, eventually you’ll come to the end of your path where you’ll need to focus all your firepower towards the ship that’s trying to take off. Unfortunately the ship found itself crashing into you so the rest of the journey will be on foot.
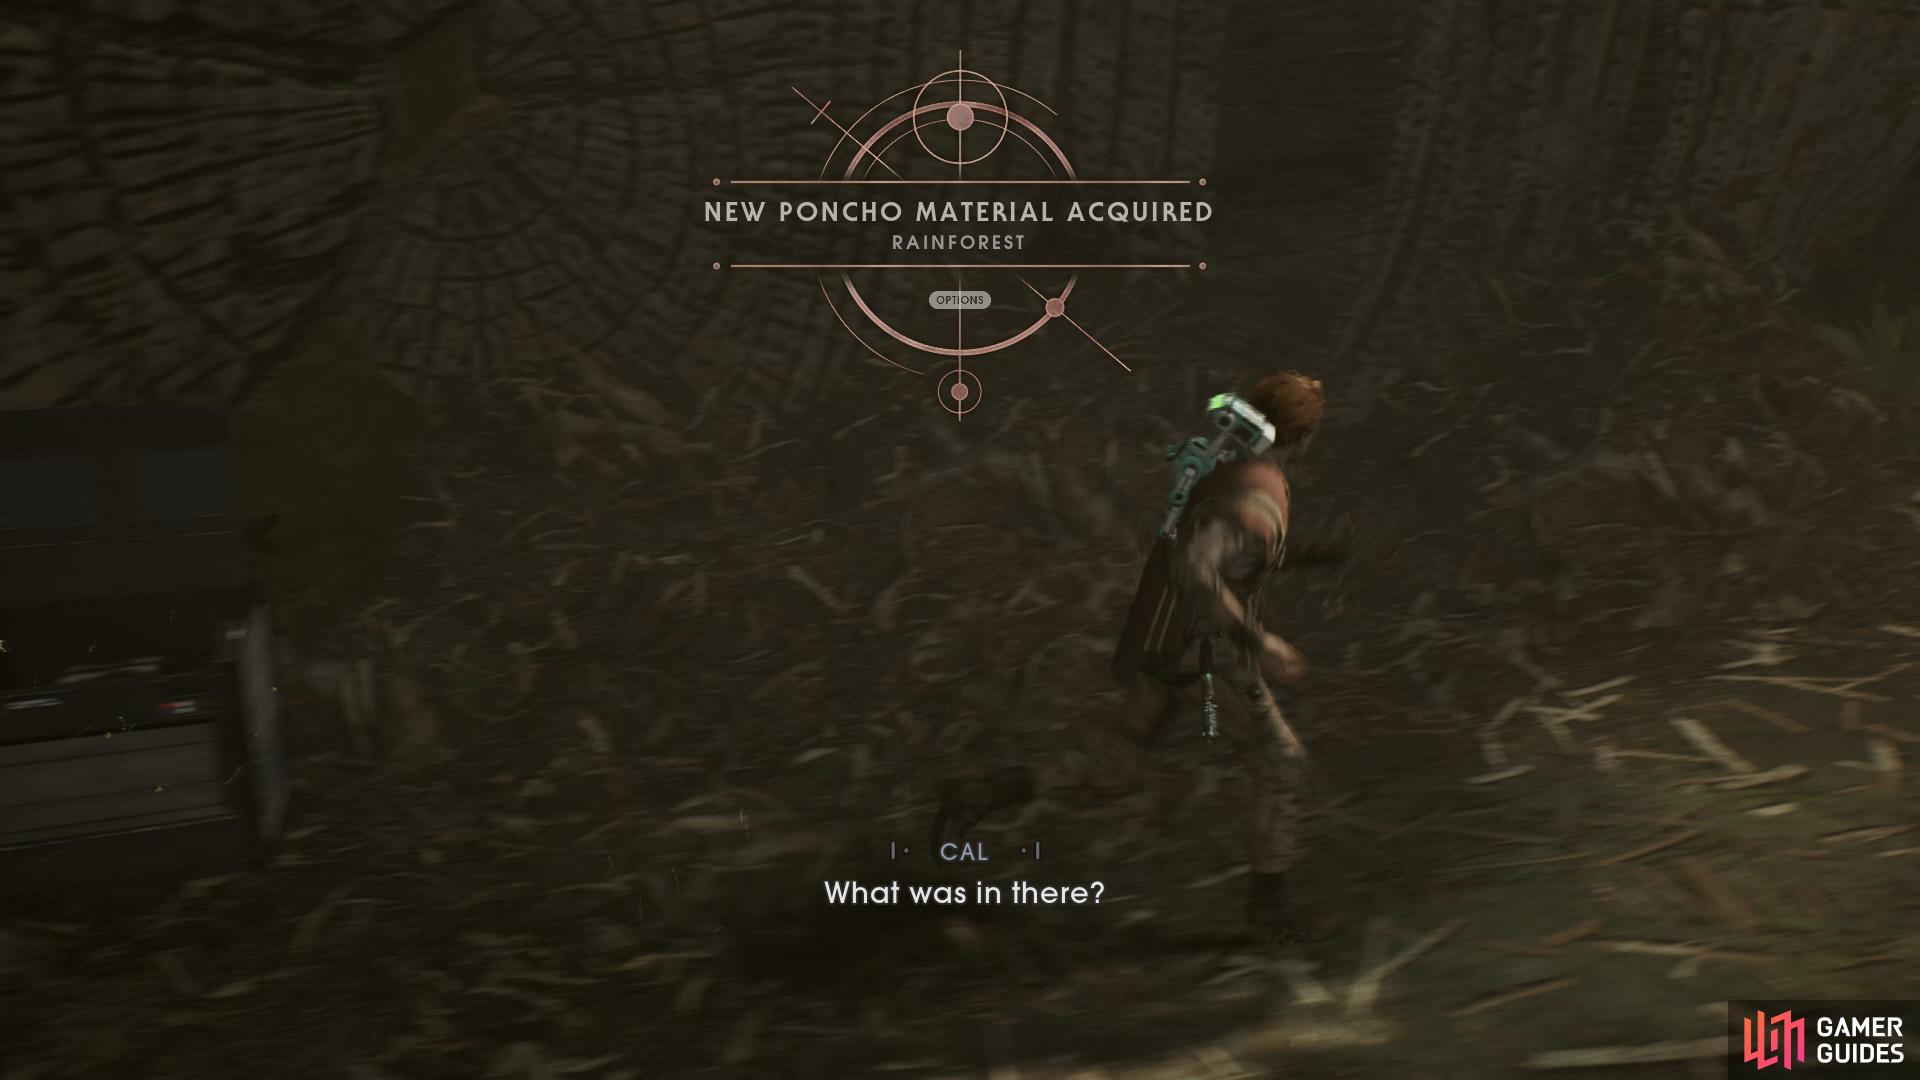
Collect the Rainforest Poncho from a Chest in the woodland ahead of the Cargo Pad
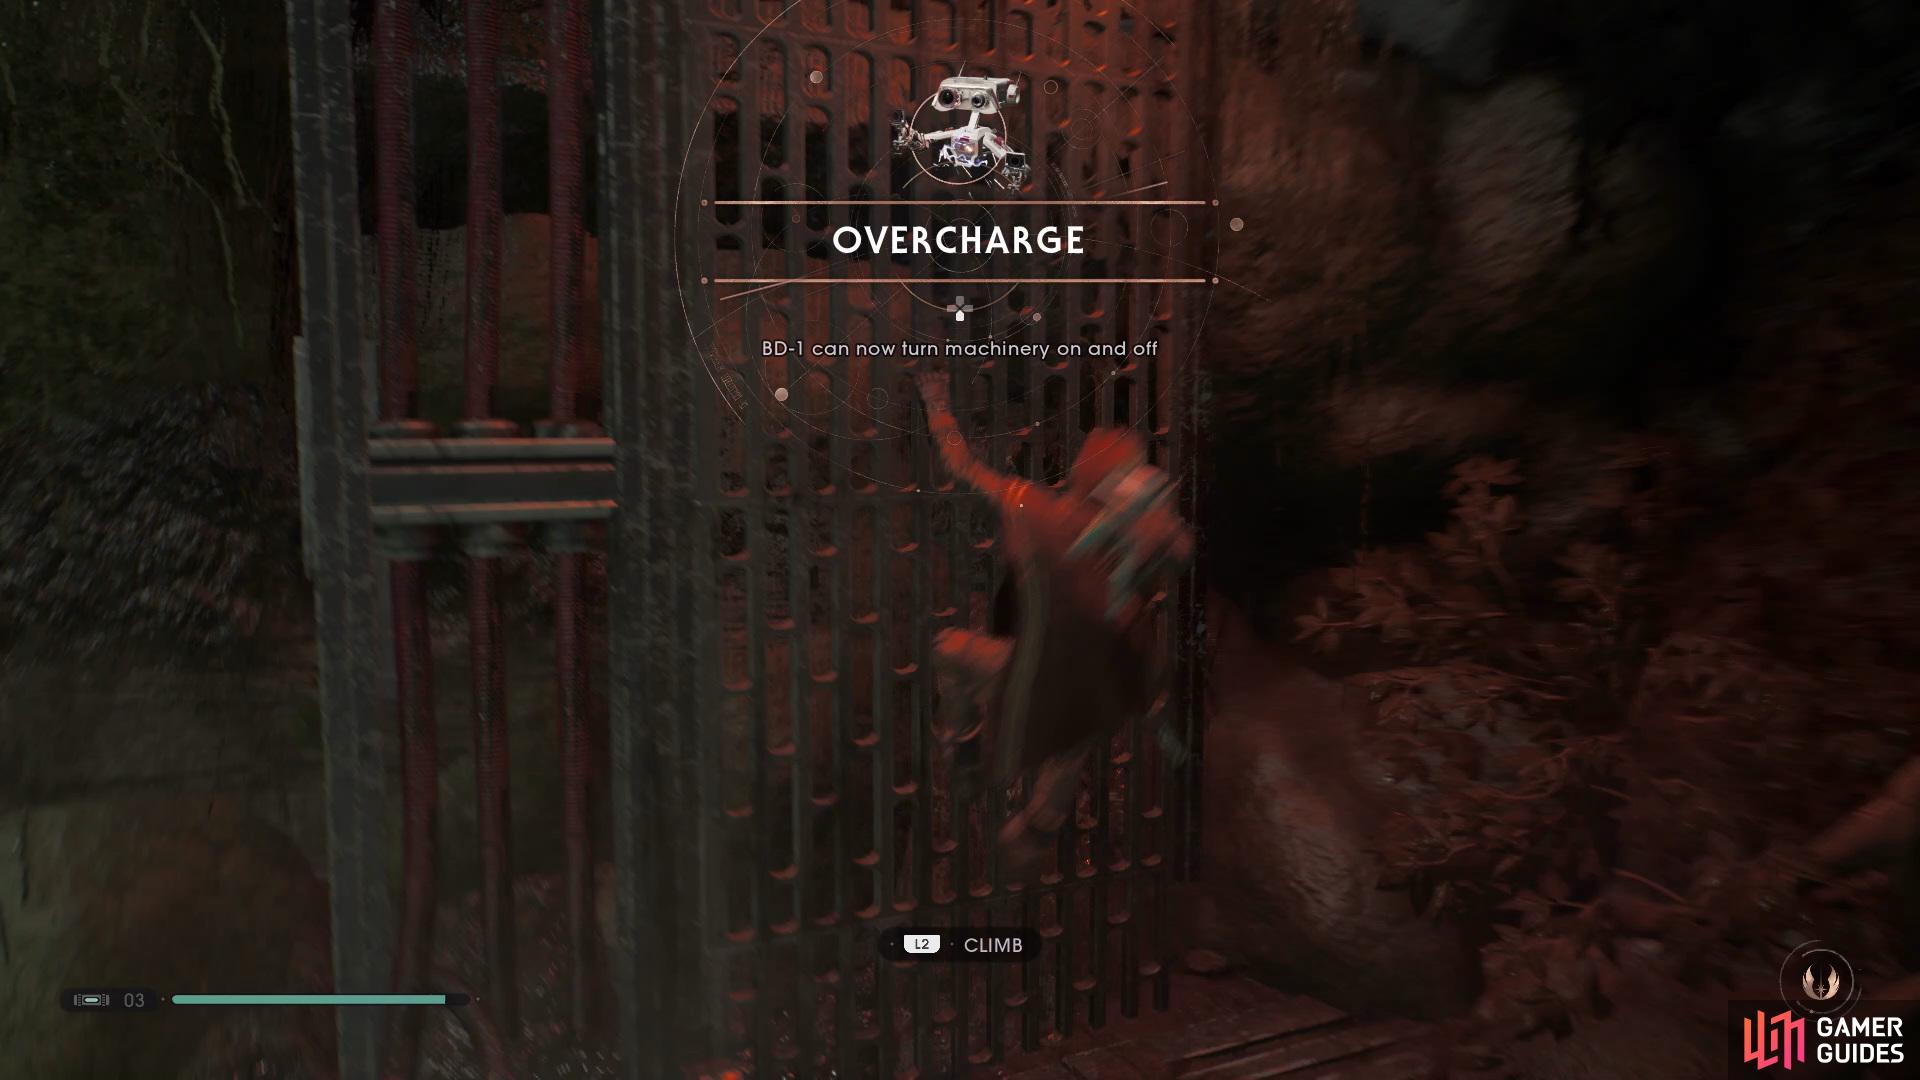
and go back and take a hidden path to the right to find a workbench which will give BD-1 the Overcharge Ability.
To begin, make your way down the ramp and to the right of the grassy area to find a Chest that contains the Rainforest PonchoNow head back up and go left into the Forest Trench, take a right into an open room where a Wyyschokk will drop down on your head, quickly take it out by using Force Slow and circling it. After you’ve taken care of the enemy head over to the workbench to give BD-1 the *Overcharge Ability.
Exploring the Imperial Refinery

Imperial Refinery.
You’re unable to get the essence above right now so go back outside and head right to enter a cutscene, now drop down onto the platform and grab the Saw’s Ambush Force Echo, then climb back up and go through the door on the right, Force Push the wall open and continue into the Imperial Refinery.
Before diving deeper you’ll be able to use the Meditation Point to stock up on any used Stims or unlock some more skills. Once you’re done, swing across and take out the Stormtroopers ahead, but before heading straight in go right and down a hidden path to find the Wookiees in Hiding Force Echo.
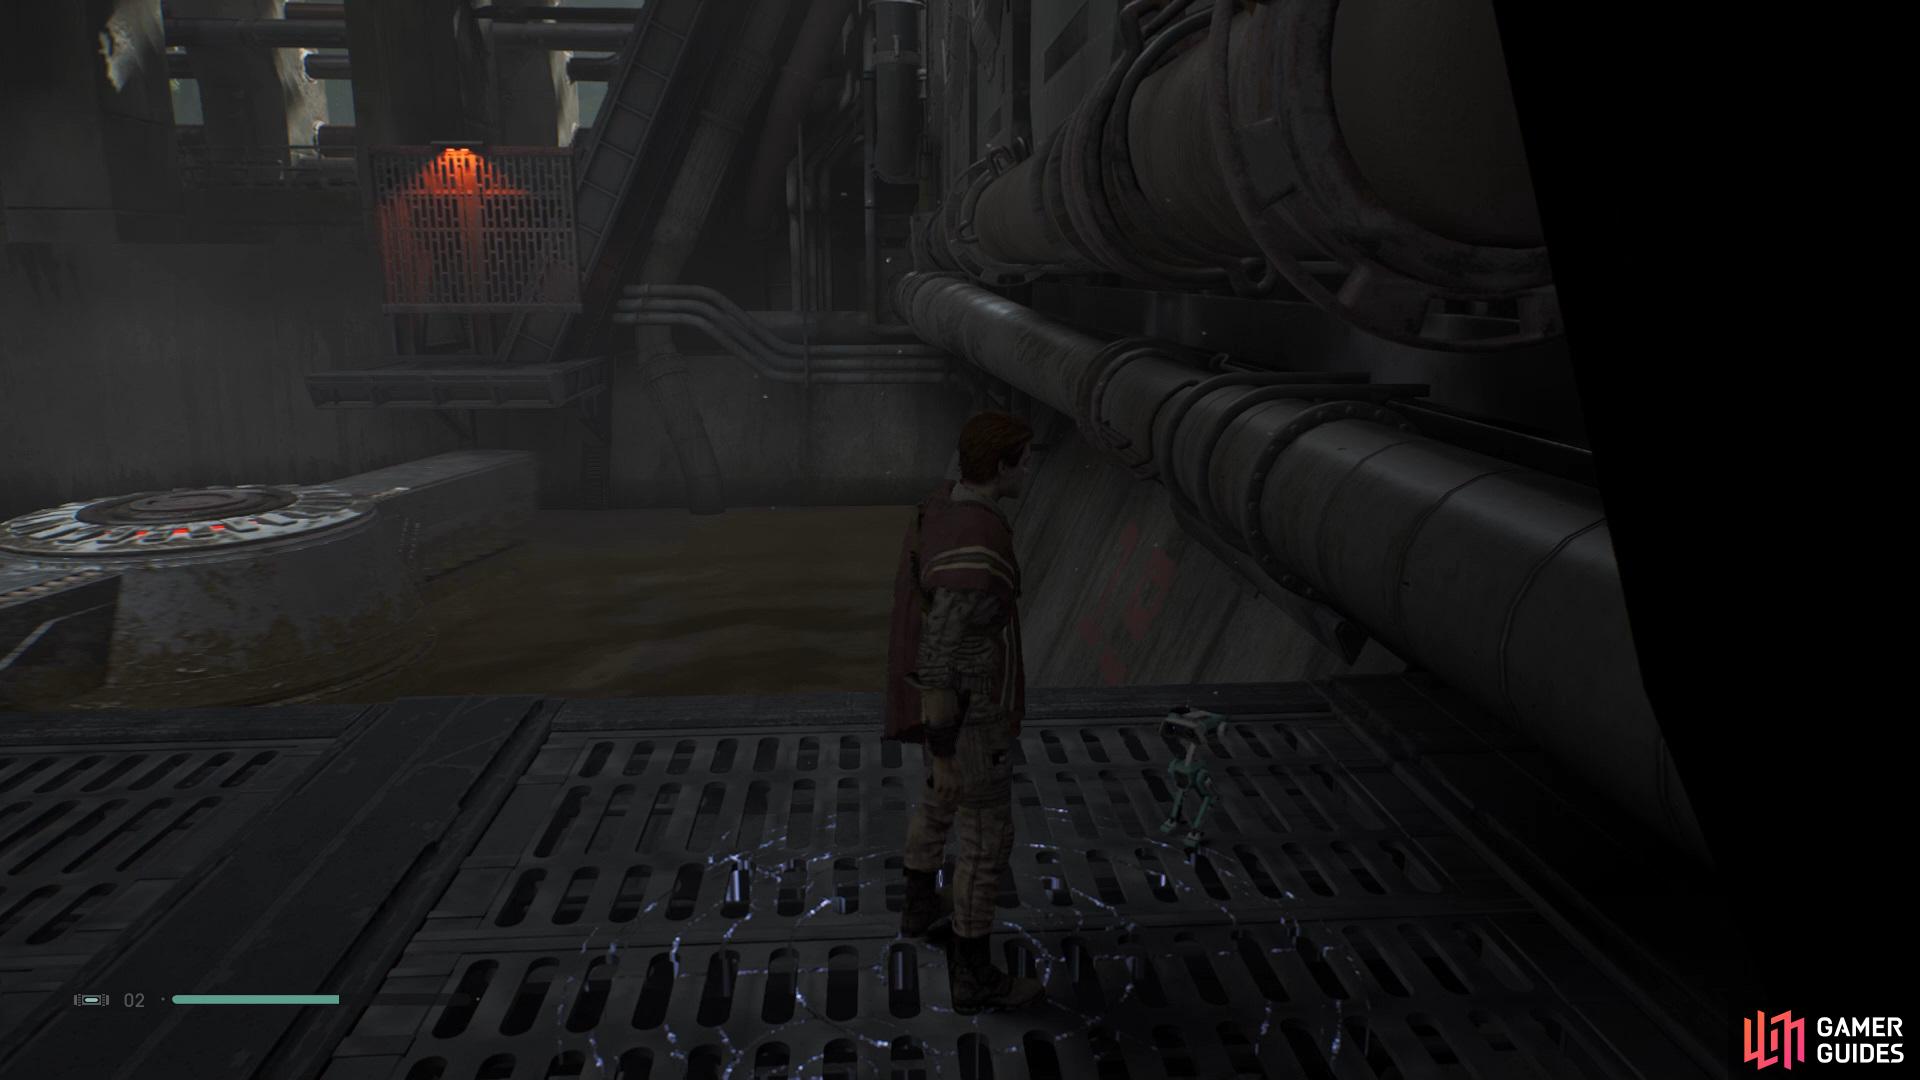
Once you’ve entered the Imperial Refinery and dealt with the Stormtroopers you’ll be able to drop down to the right to find a Meditation Point.
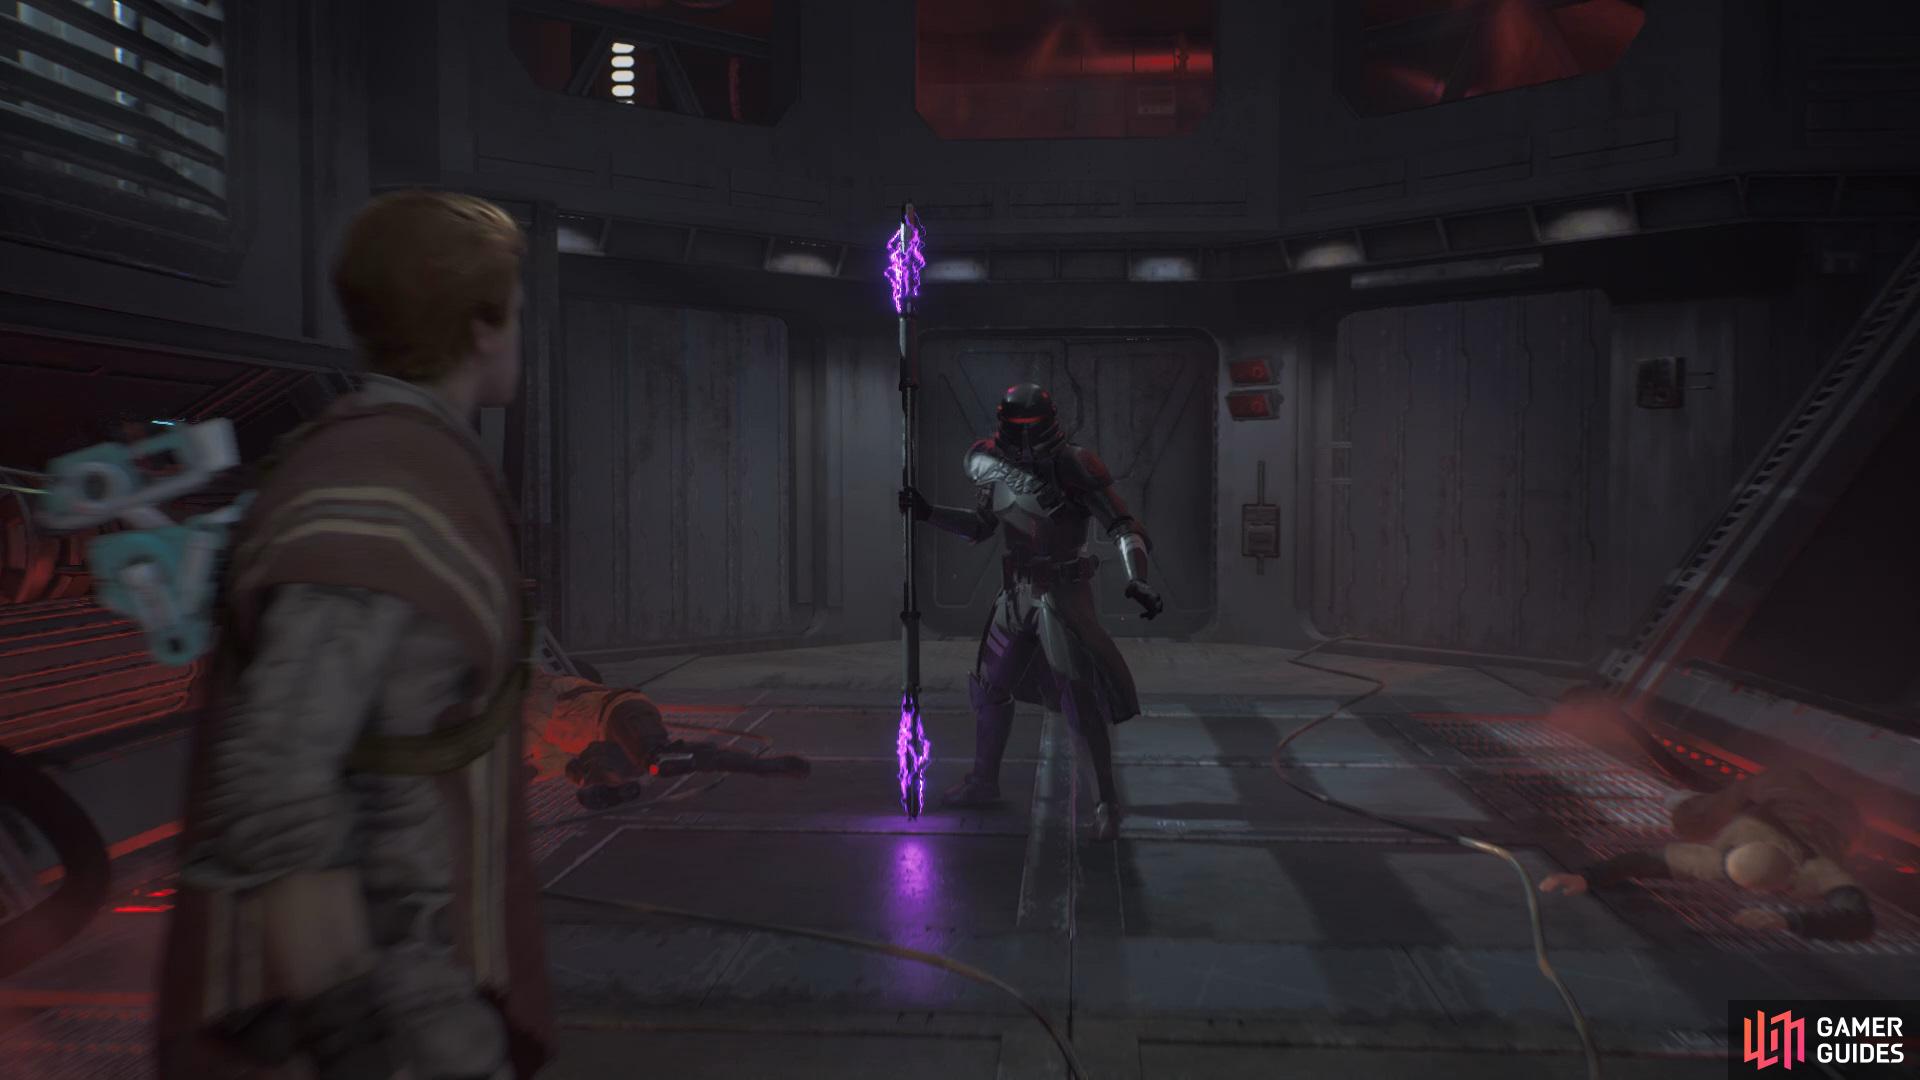
Open up the door and head through, quickly deal with some more Stormtroopers and then drop down the right and run across the platform by using Force Slow to find another Mediation Point, now head back and go through the door on the right to face an Electrostaff Purge Trooper. The best way to take out this enemy is by using Force Slow on him to allow you to parry him easier which will deal lots of damage, another method to dealing with him is buy using Force Slow again but circling him and getting a couple of hits from behind.
After you’ve killed the trooper head through the vent into another open room, take out some more Stormtroopers and then get BD-1 to overcharge the door on the right to find two Chests that hold the Matte Lightsaber Material and Stygeon Prime BD-1 Skin. Go back into the room and climb up to the right and get BD-1 to overcharge the panel to get the wall to move which will open a Shortcut.
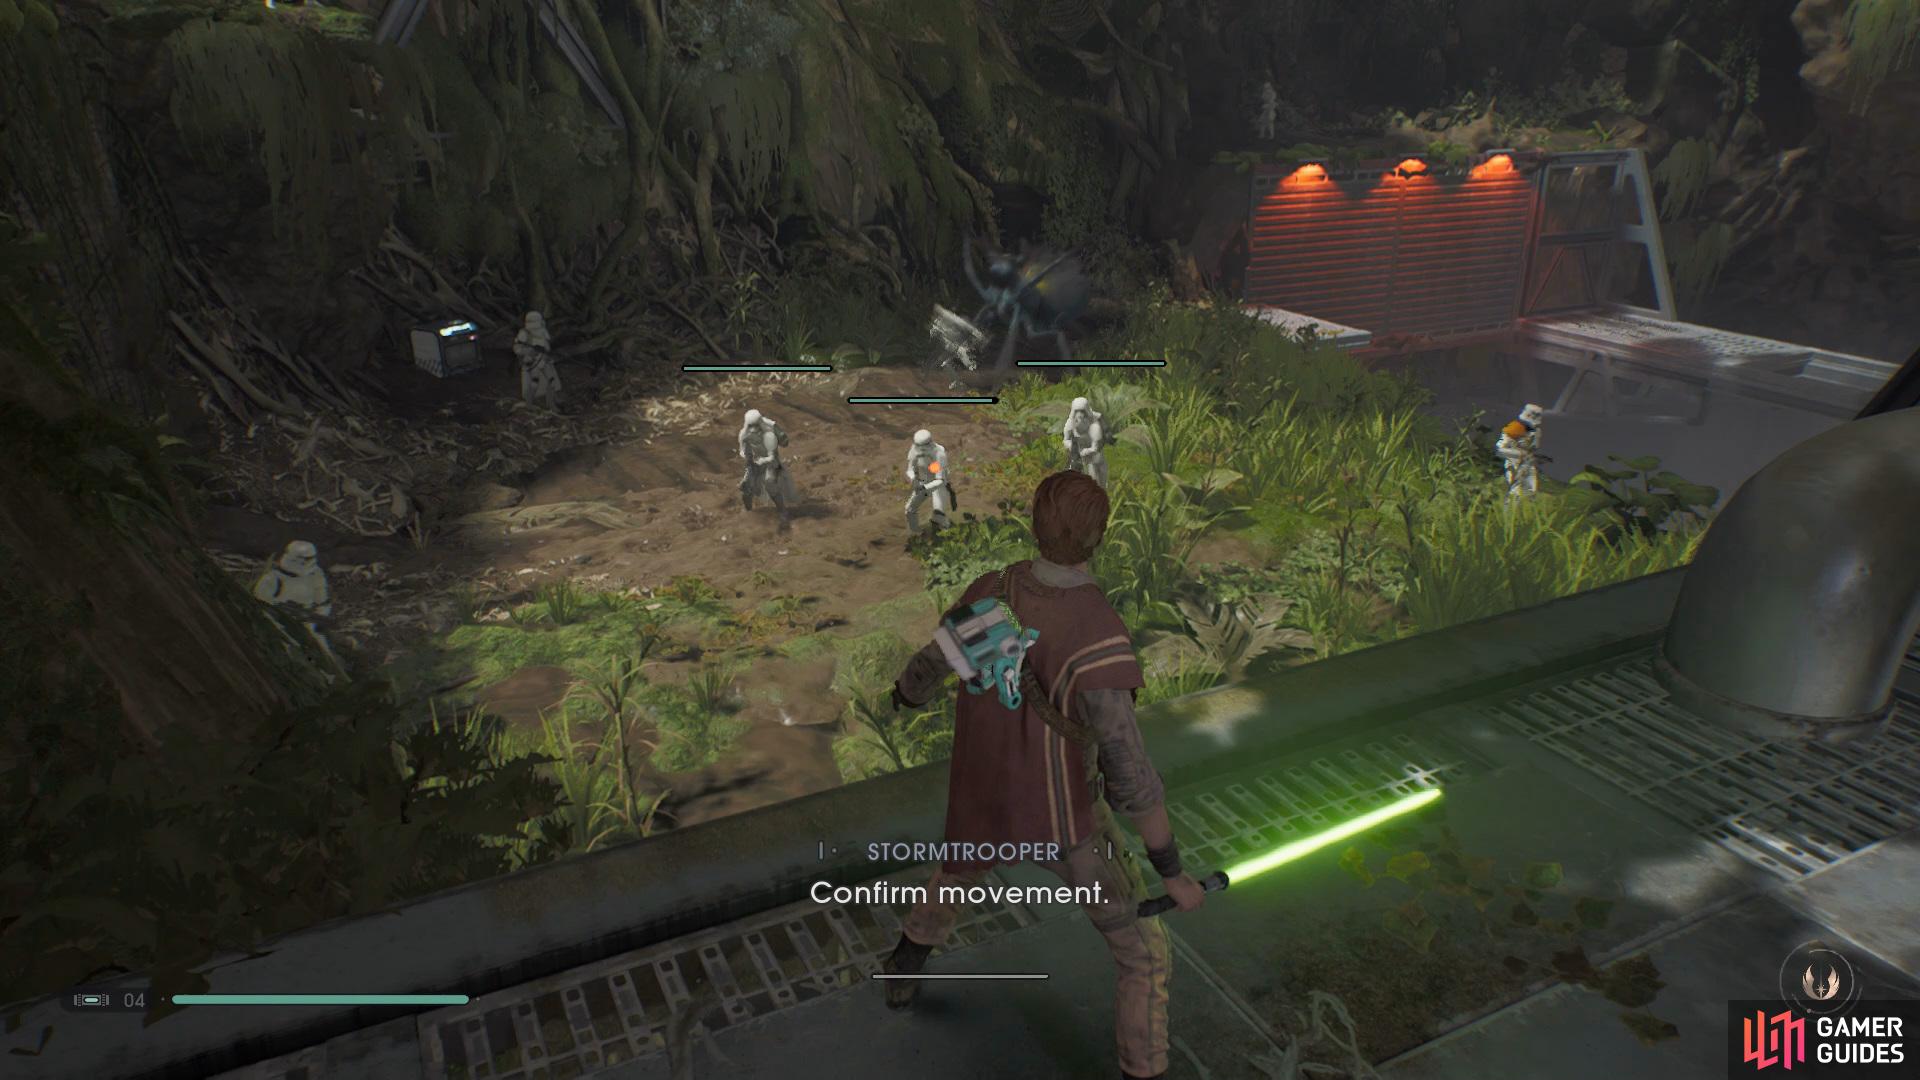
Wait for the two Wyyschokk to take out all the Stormtroopers and then finish them off
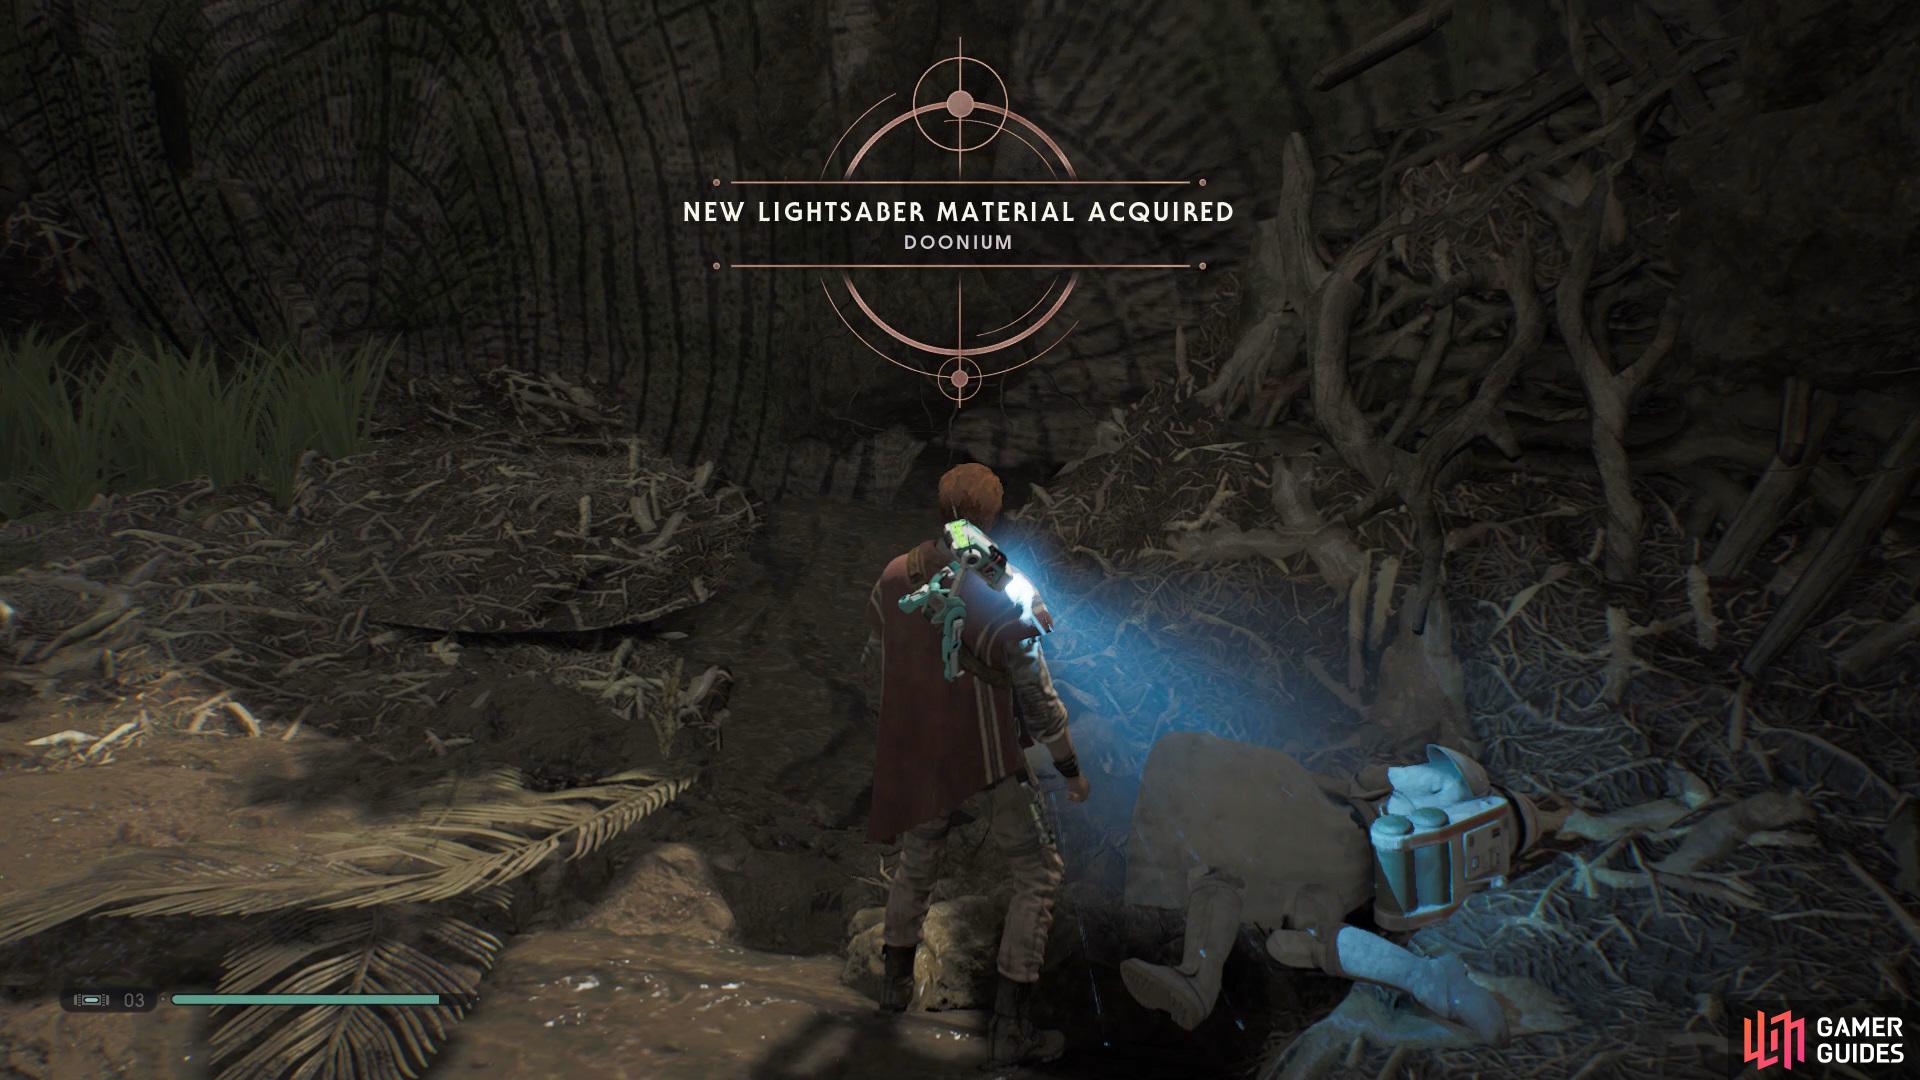
open up the Chest at the back to get the Doonium Lightsaber Material.
Go through the now open shortcut to find a Meditation Point, wait for the two Wyyschokk to deal with the Stormtroopers and then drop down and finish them off, now open up the Chest to the back of the area to obtain the Doonium Lightsaber Material then head through the hole to the right to face the Legendary Beast of this Planet.
Legendary Beast: Albino Wyyyschokk
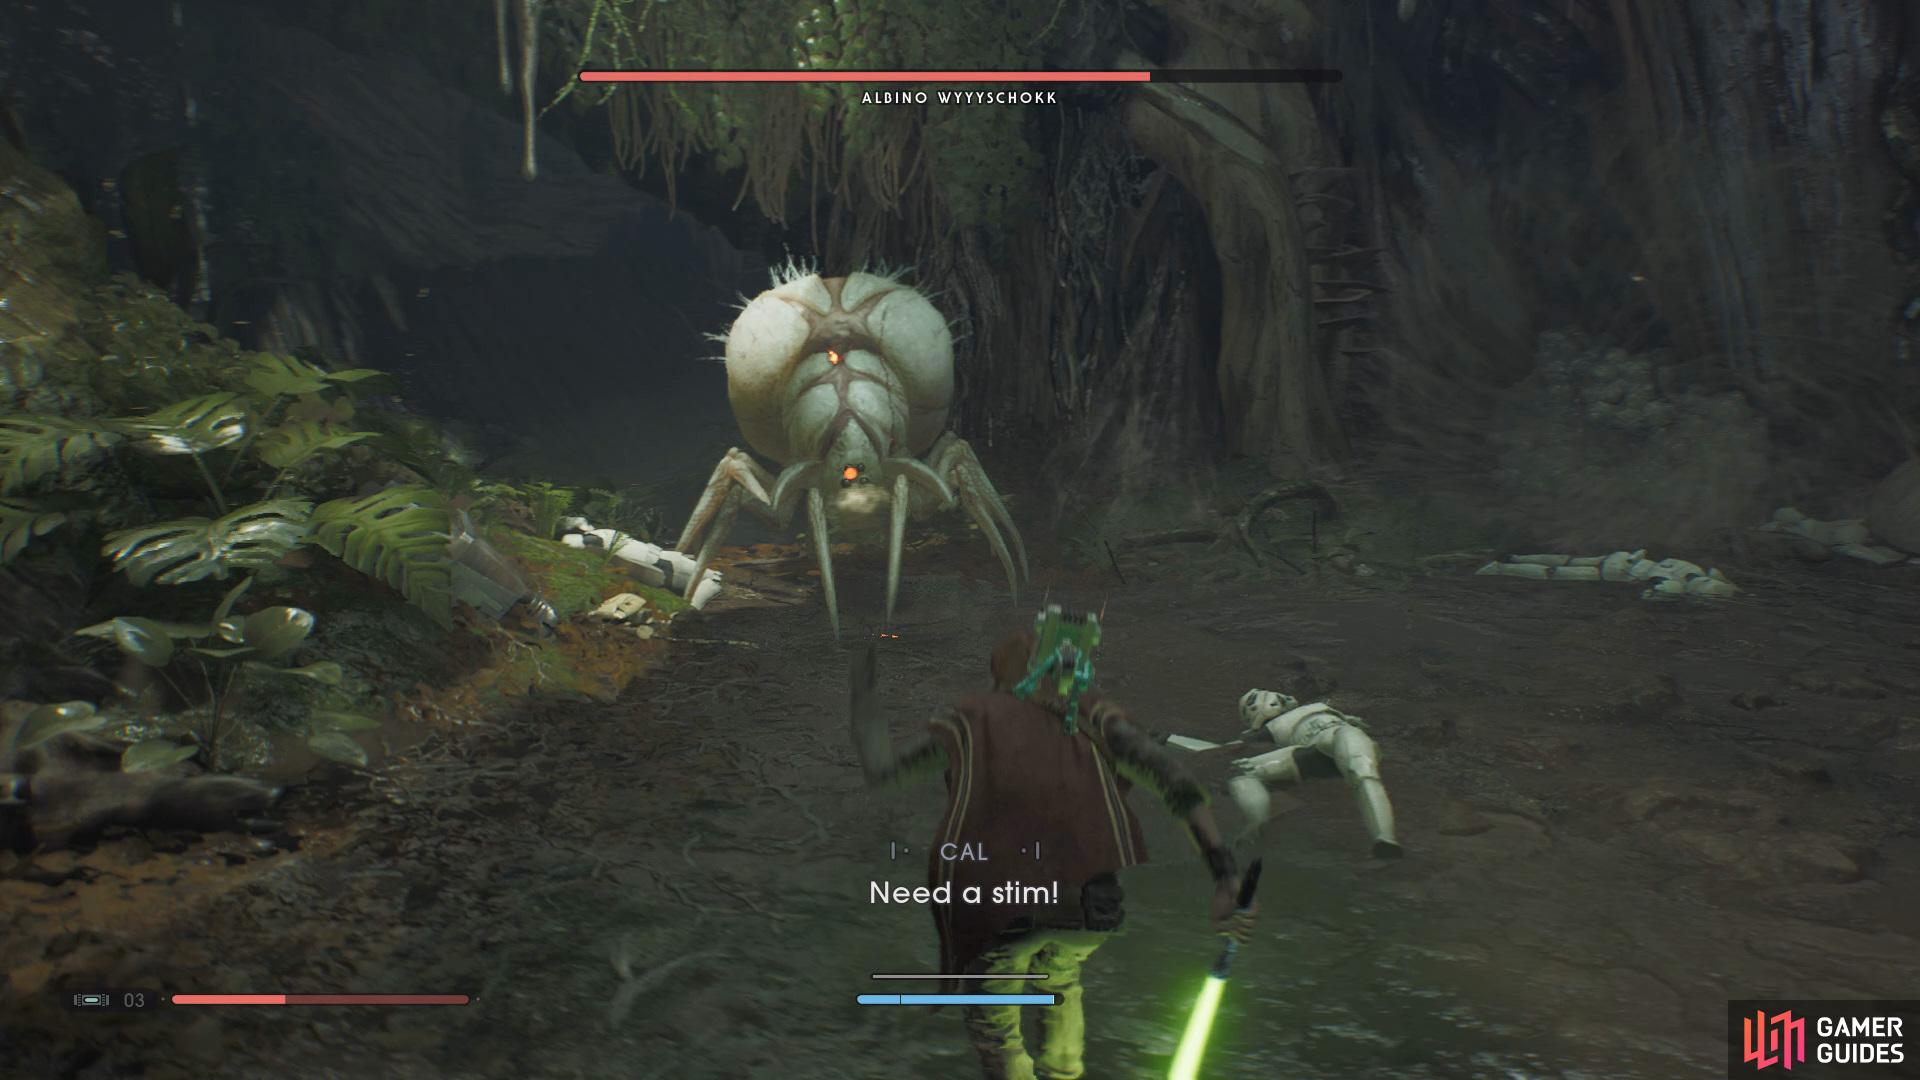
Albino Wyyyschokk is the Legendary Beast on this planet.
This boss can be tricky if you don’t go in prepared so here are the few attacks that Albino Wyyyschokk can perform. The fight will begin as you enter it’s lair and it’ll jump onto you from above, quickly press the [Circle]/[B] button to get him off you.
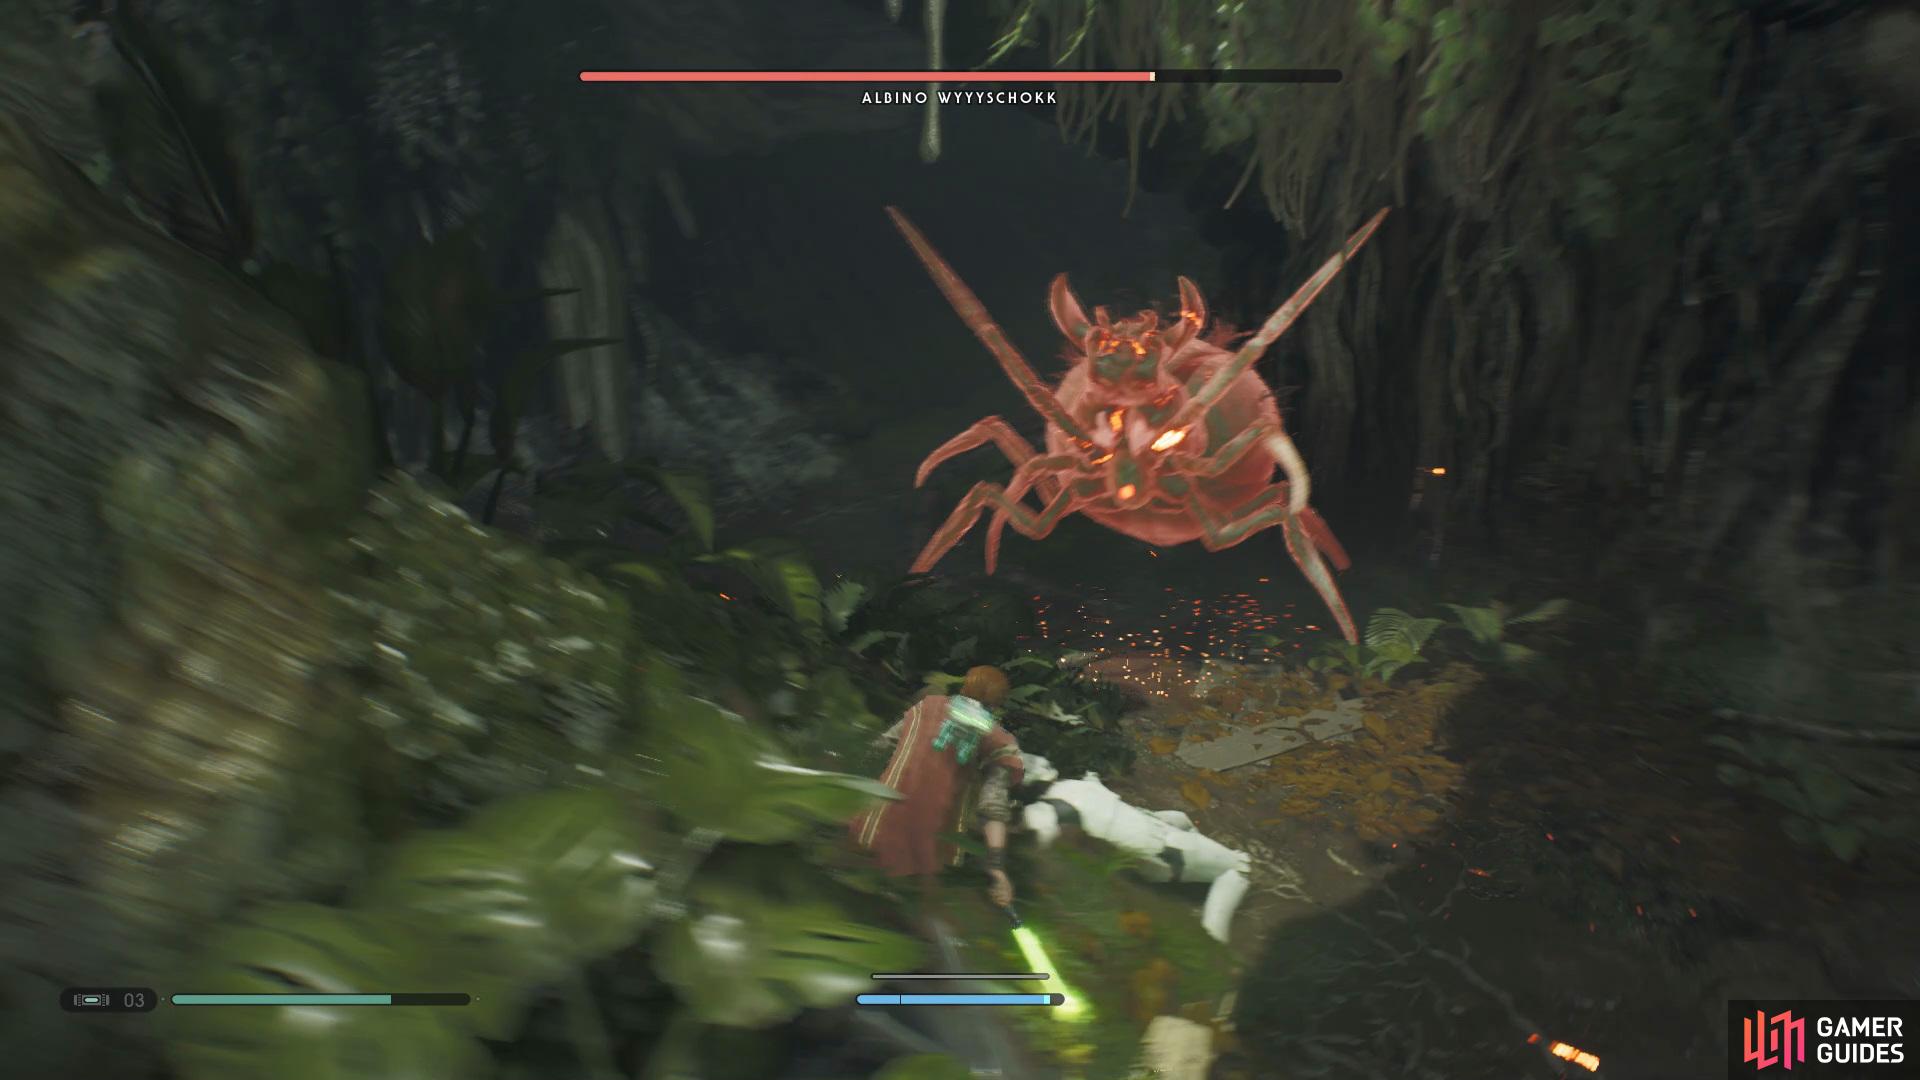
Watch out for when the Albino Wyyyschokk glows red as he’ll try to grab you
and make sure to avoid the poisonous puddles.
After you’ve freed yourself from it’s grasp backaway to dodge the three balls of web that it’ll attempt to shoot at you, you’ll need to get out of the way as if you get caught you’ll be stuck for a few seconds. Now it’ll raise it’s two front legs and attempt to stab you, this is a Red Attack so you’ll need to get out of the way as it cannot be countered.
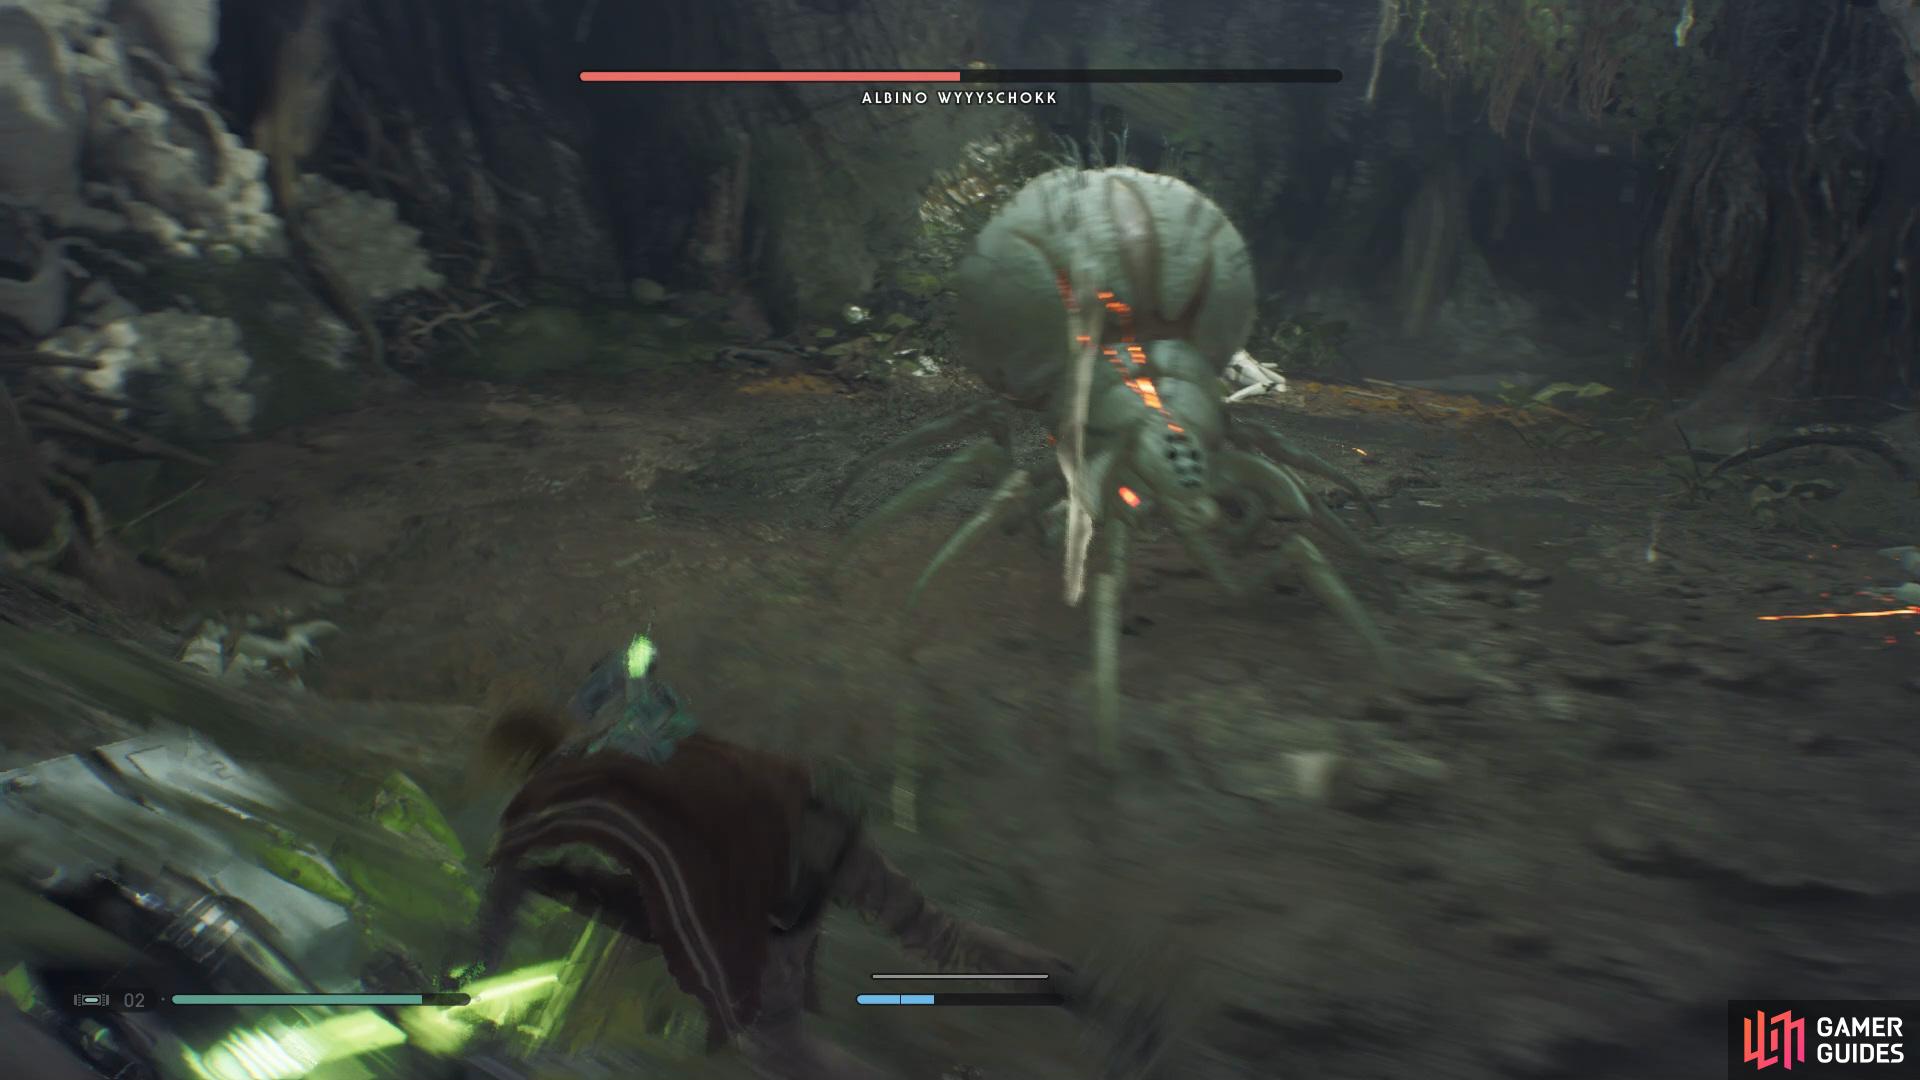
You now know the attacks you’re up against, so now it’s time to deal some damage. In this battle the Force Slow Ability is your best friend as it makes this fight a lot easier, whilst using Force Slow you’ll want to keep circling the boss and then hitting 2-3 times from behind until it’s defeated. After the boss has been slain head to the back of the room to find a Force Essence and a Chest that holds the Commando Poncho Material.
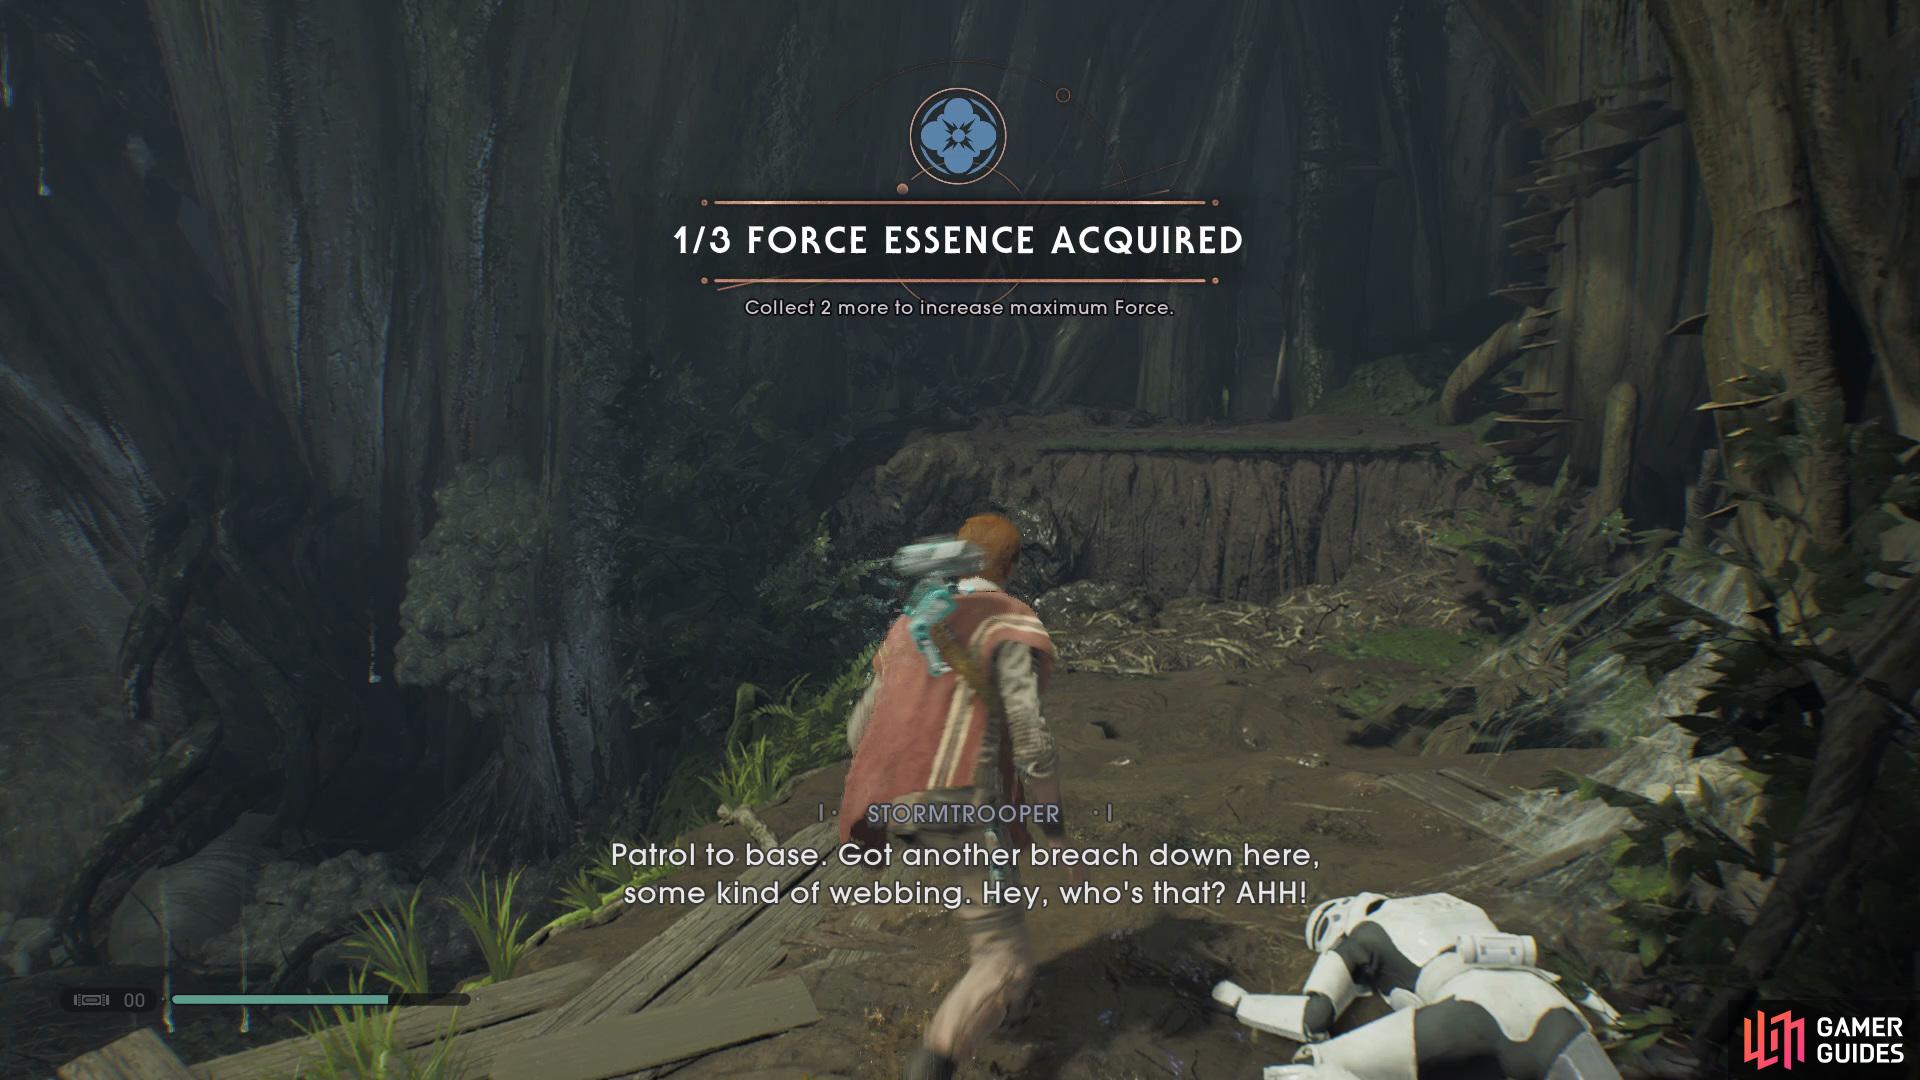
Collect the Force Essence from the back of the room after defeating Albino Wyyyschokk.
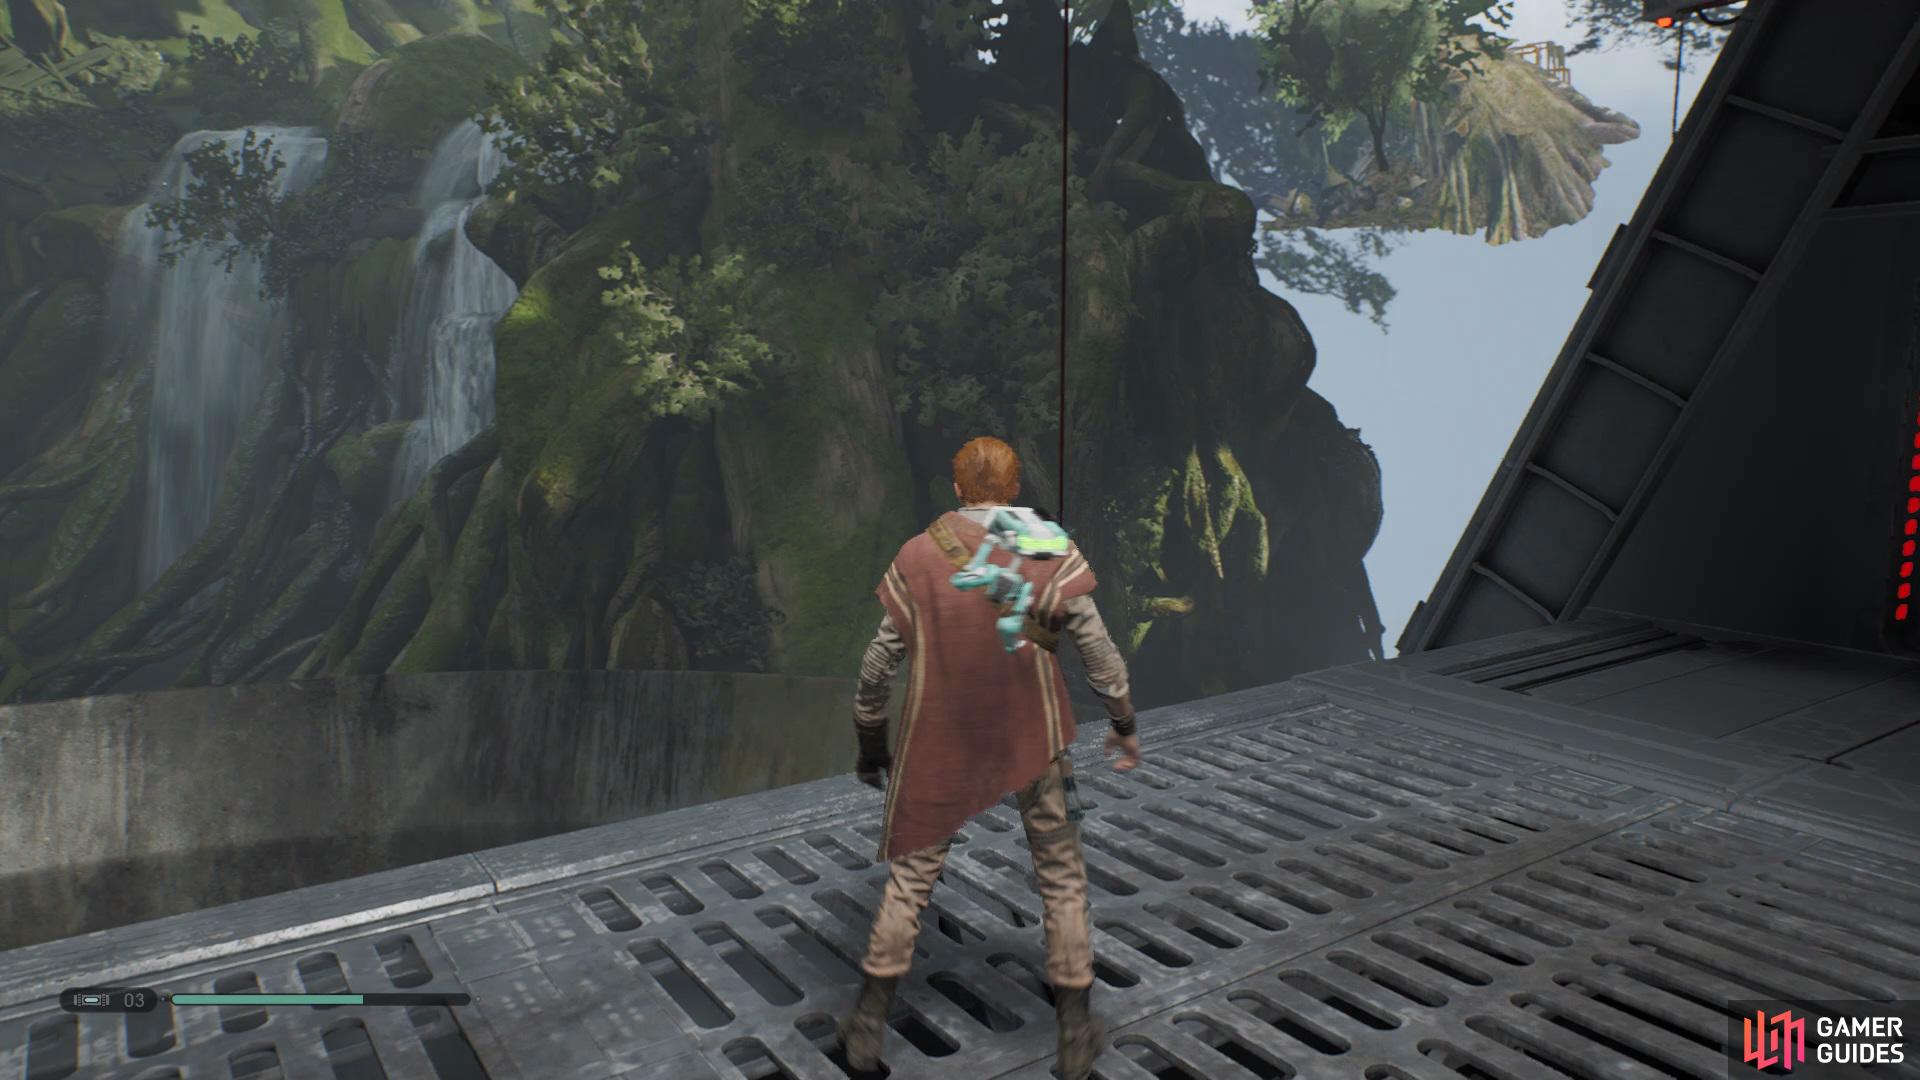
Exit the room and continue the path left until you find yourself back outside and drop down onto the bridge and walk across, now Wall Run over to the left and grab hold of the ledge, shimmy across to the left and climb into the building, take out the Stormtroopers and go through the door on the right. Here you’ll need to Force Slow the wheel and jump through the gap to the other side, climb up to find a Meditation Point.
Drop down onto the pipe and jump across to the area ahead, quickly deal with the enemies by Force Pushing them off the edge and then head through the door on the left, interact with the control panel at the end of the room to attempt to free the Wookiees. Unfortunately your rescue mission isn’t going to be simple as you’ll need to take on a boss first.
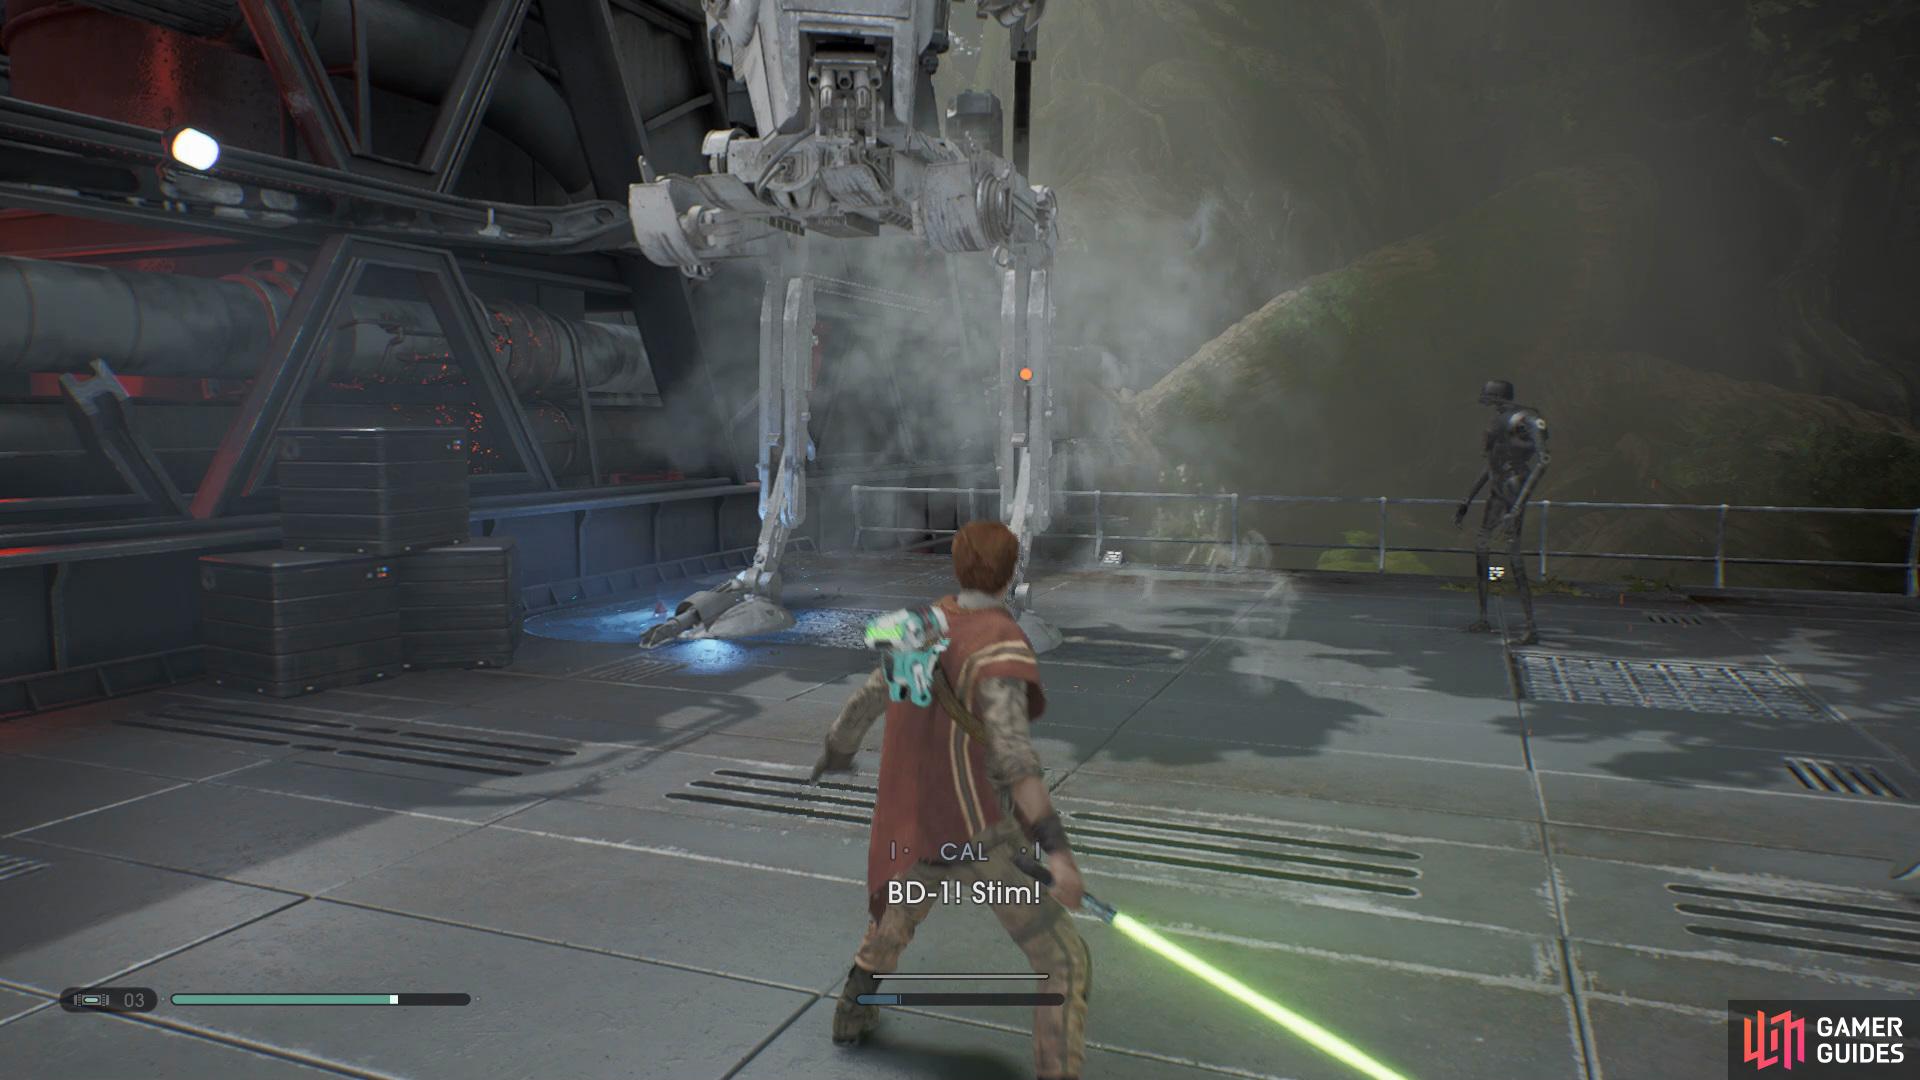
Boss: Security Droid
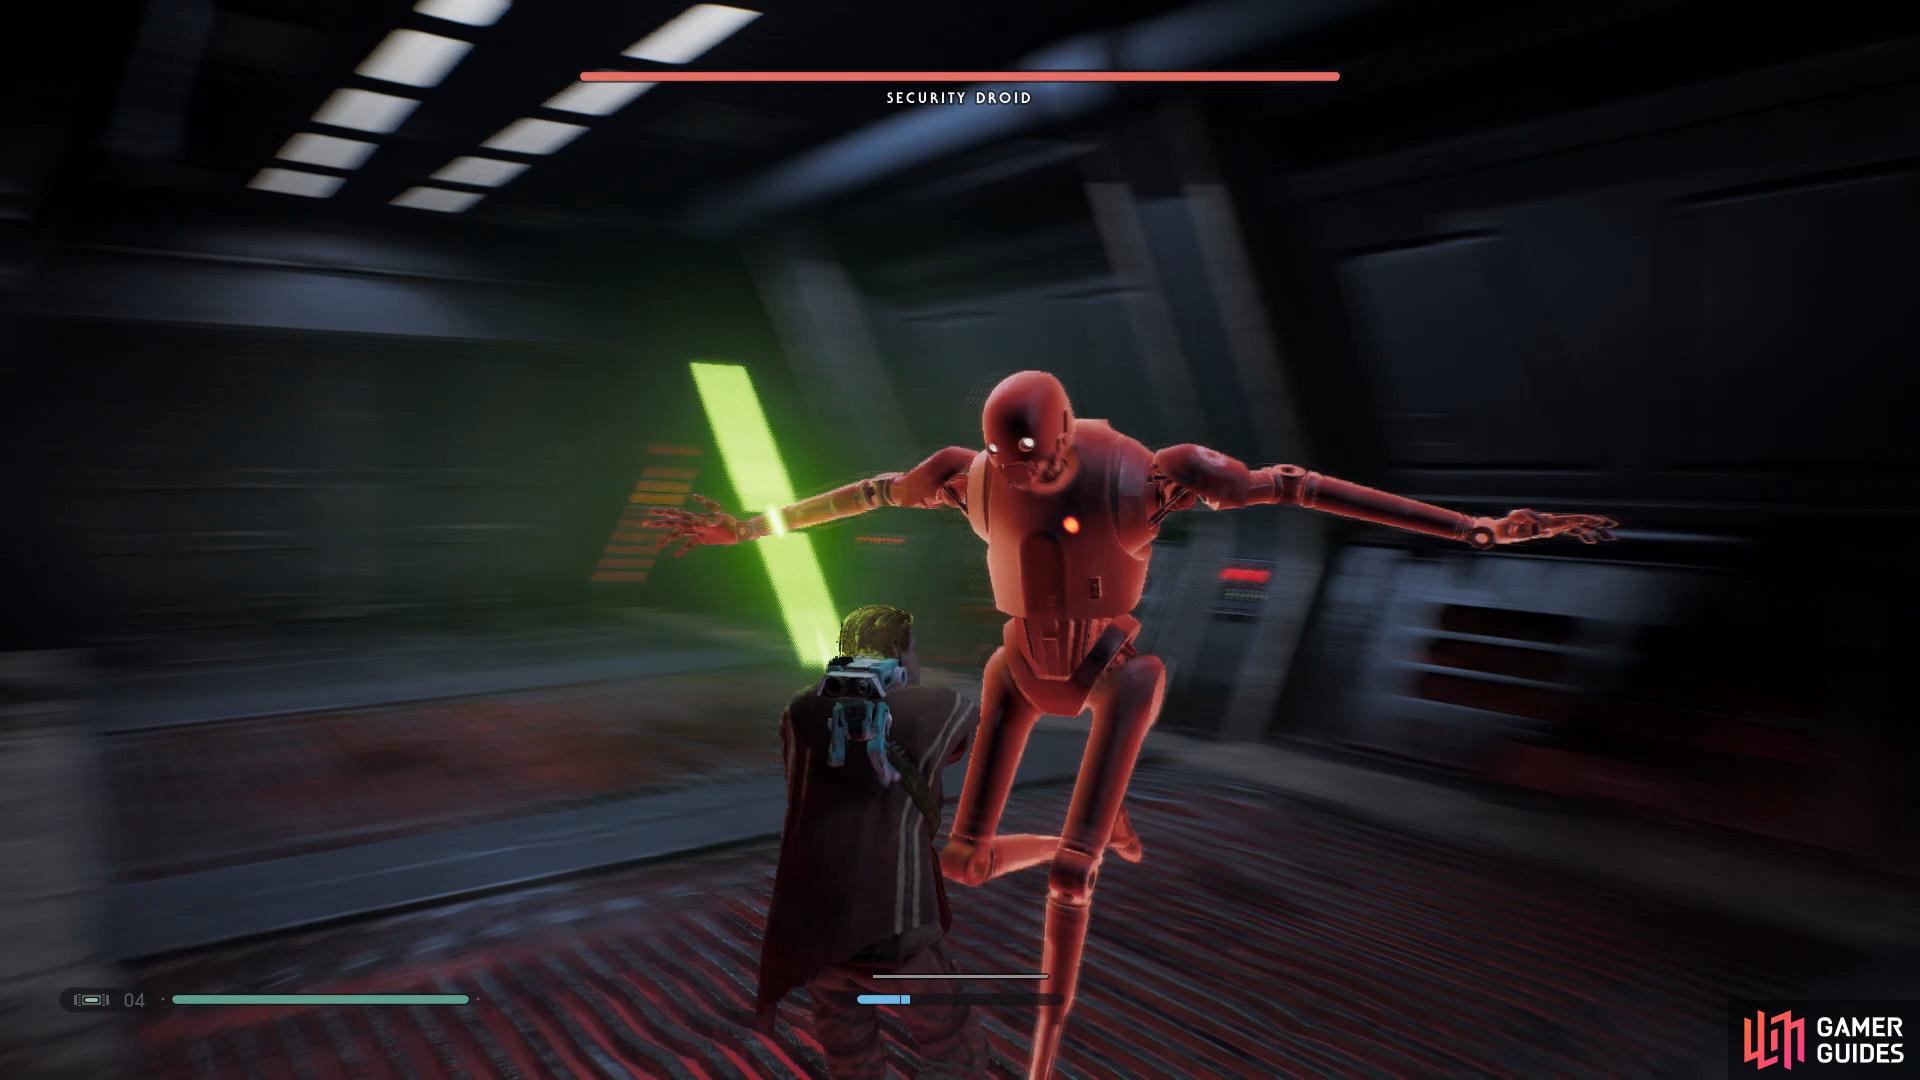
Before being able to rescue the Wookiees you’ll need to take out the Security Droid, Luckily this boss is a simple one as long as you’re not too greedy with your attacks. In order to slay this droid you’ll need to keep dodging and hitting him once or twice whilst you’ve got him under Force Slow, but be careful as he’ll attempt to punch you which can deal a fair amount of damage.
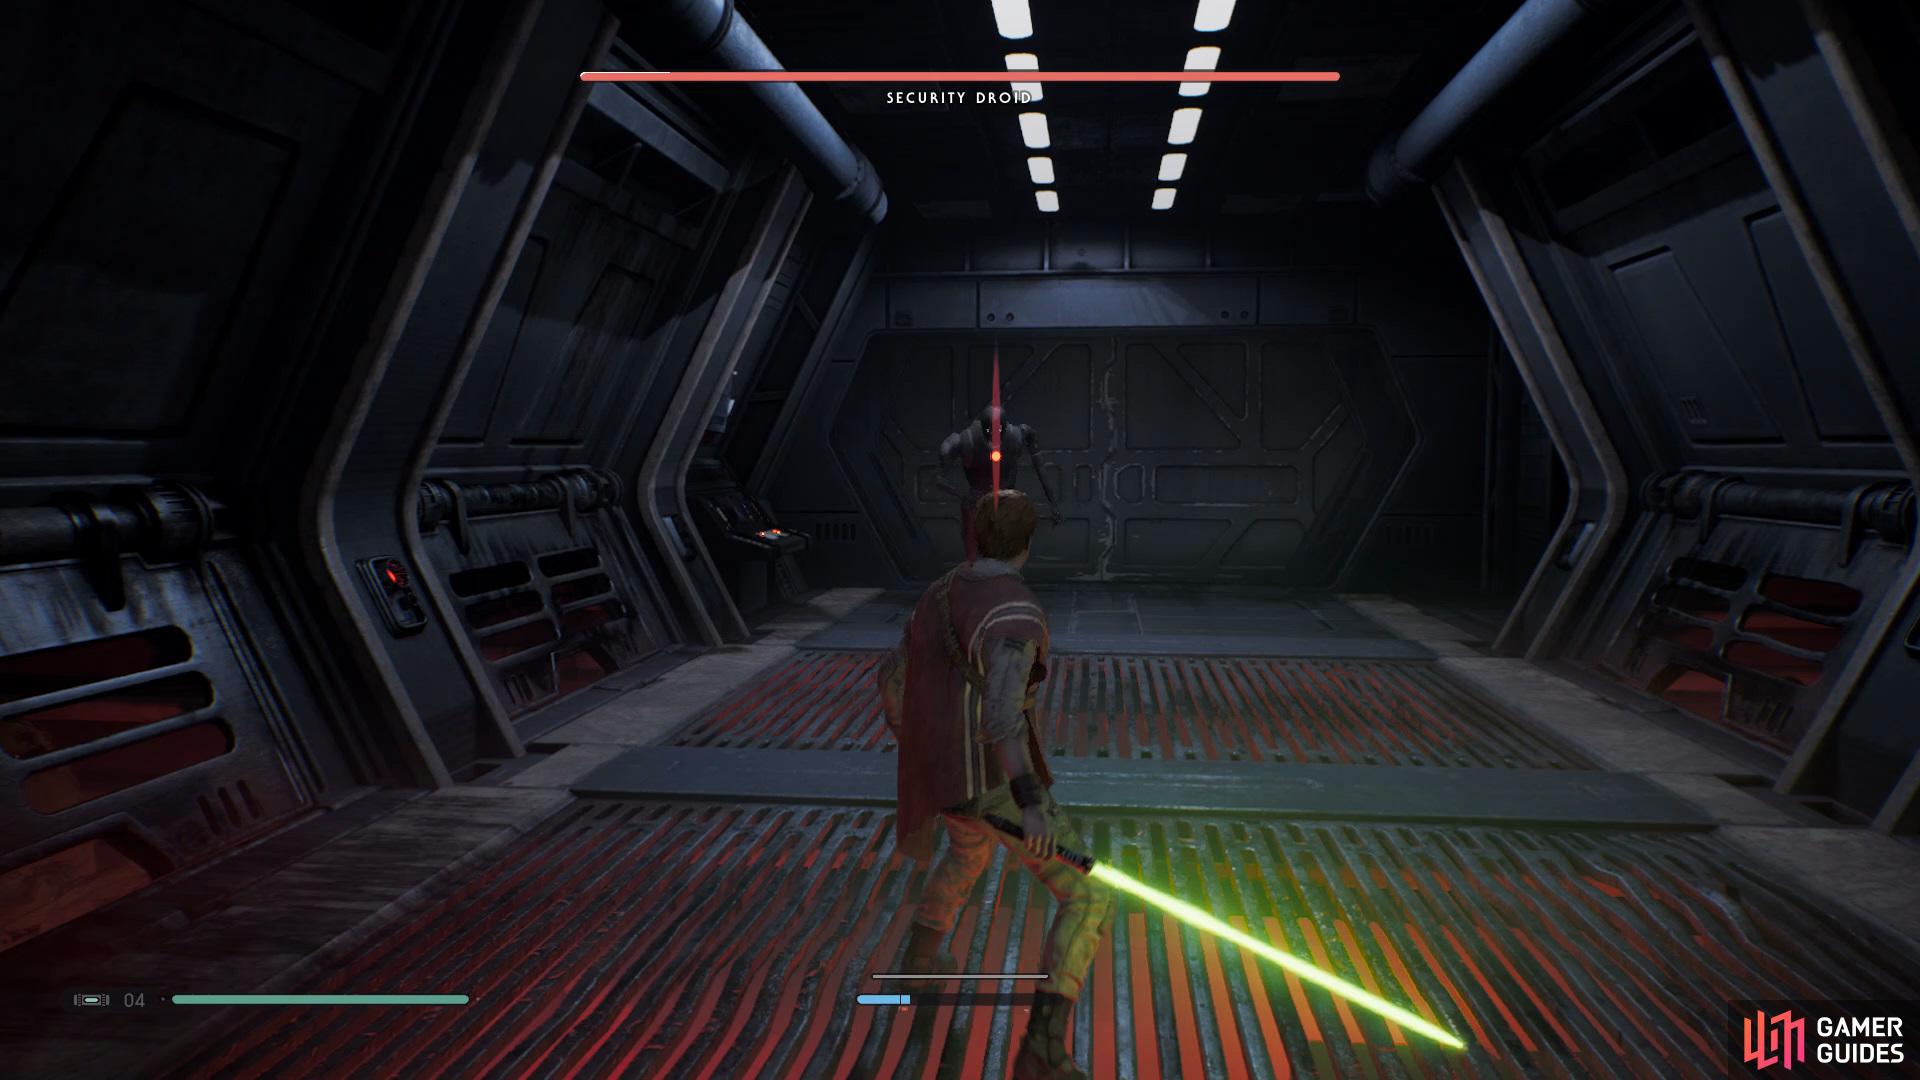
Use Force Slow and keep circling the Droid to get a few attacks in from behind
but make sure to avoid his grab attack as it cant deal a lot of damage.
The last thing you need to be aware of is his Red Attack which includes him trying to cuddle you, this attack can almost one shot you if you don’t avoid it.
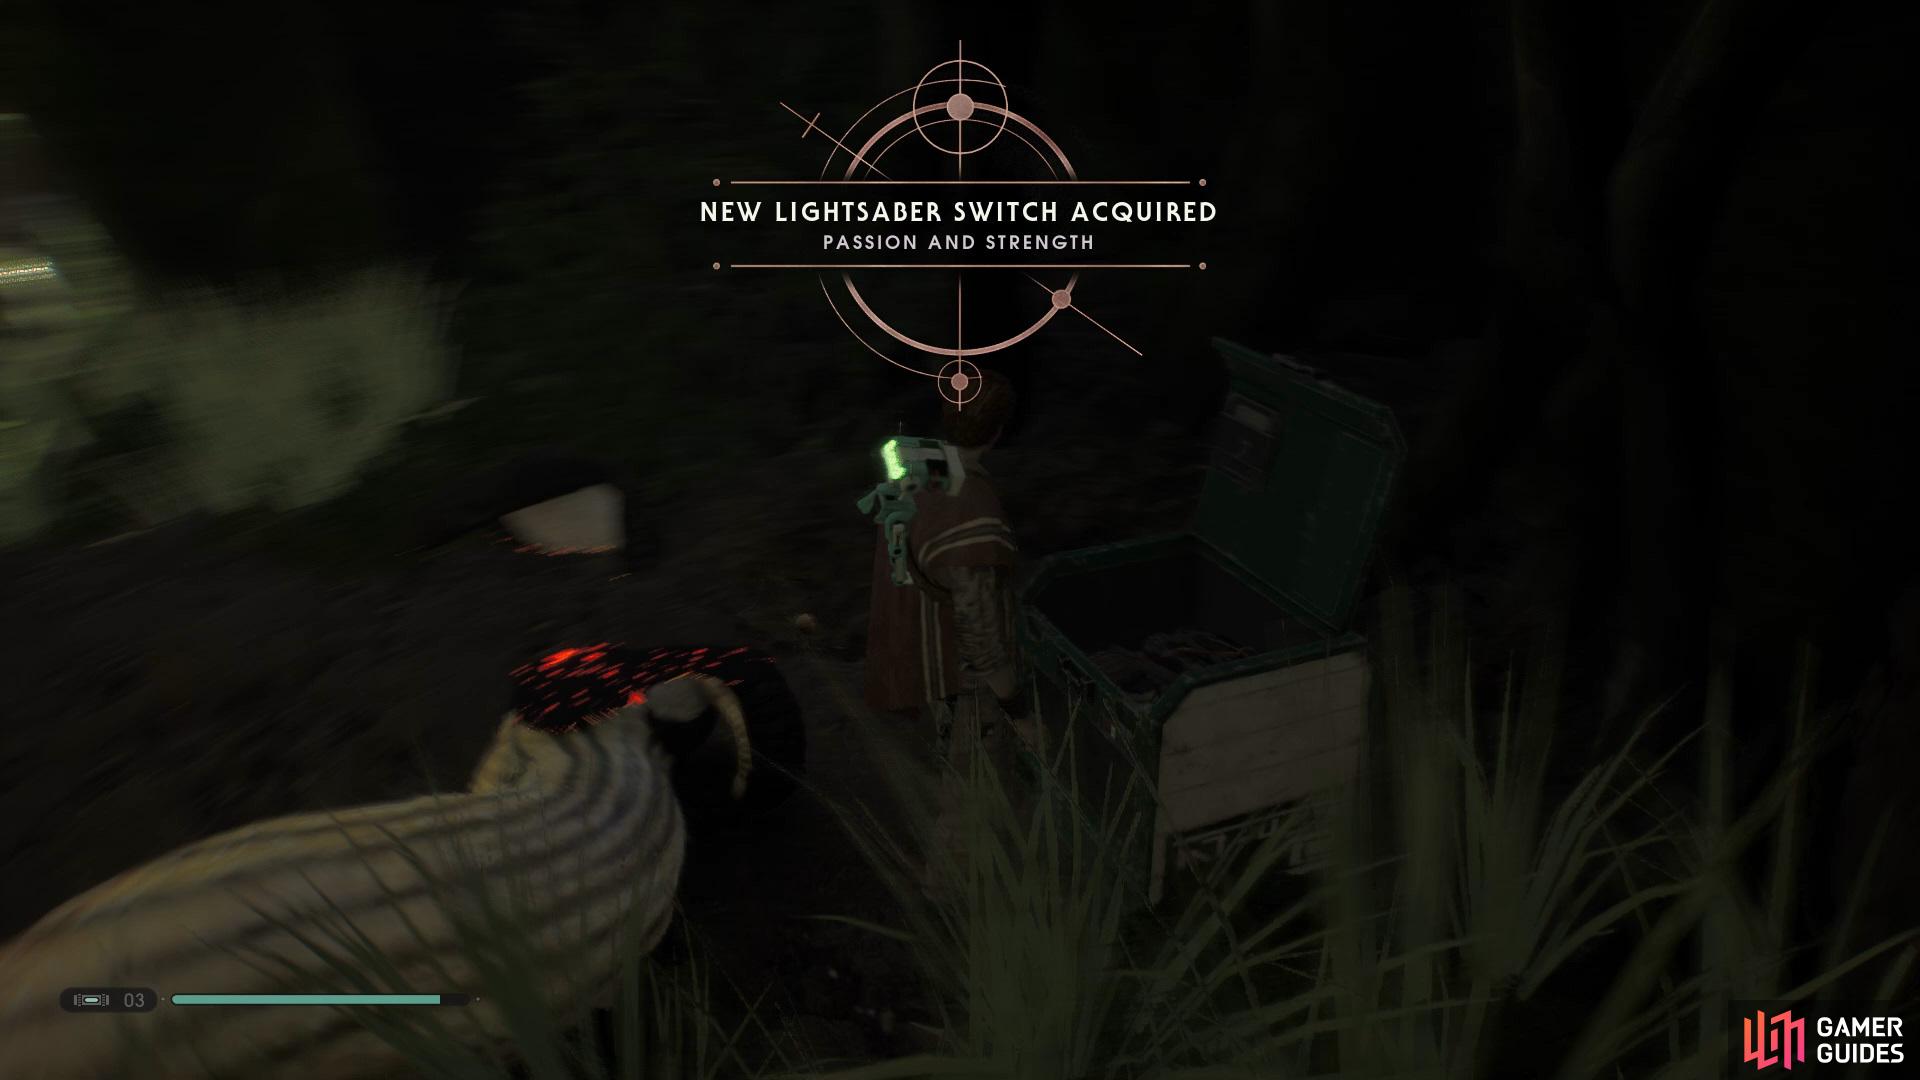
After he has been taken care of head back over to the control panel and finally free the Wookiees, now go back through the original door that you used to enter and open the shortcut up ahead. Wall Run across to find the Slave Collar Force Echo, go back and make your way across the pipe on the left, keep following the path and open the Chest to obtain the Passion and Strength Lightsaber Switch.
Open the path up to find a Chest that holds the Passion and Strength II Lightsaber Sleeve
and then continue up to find a Life Essence.
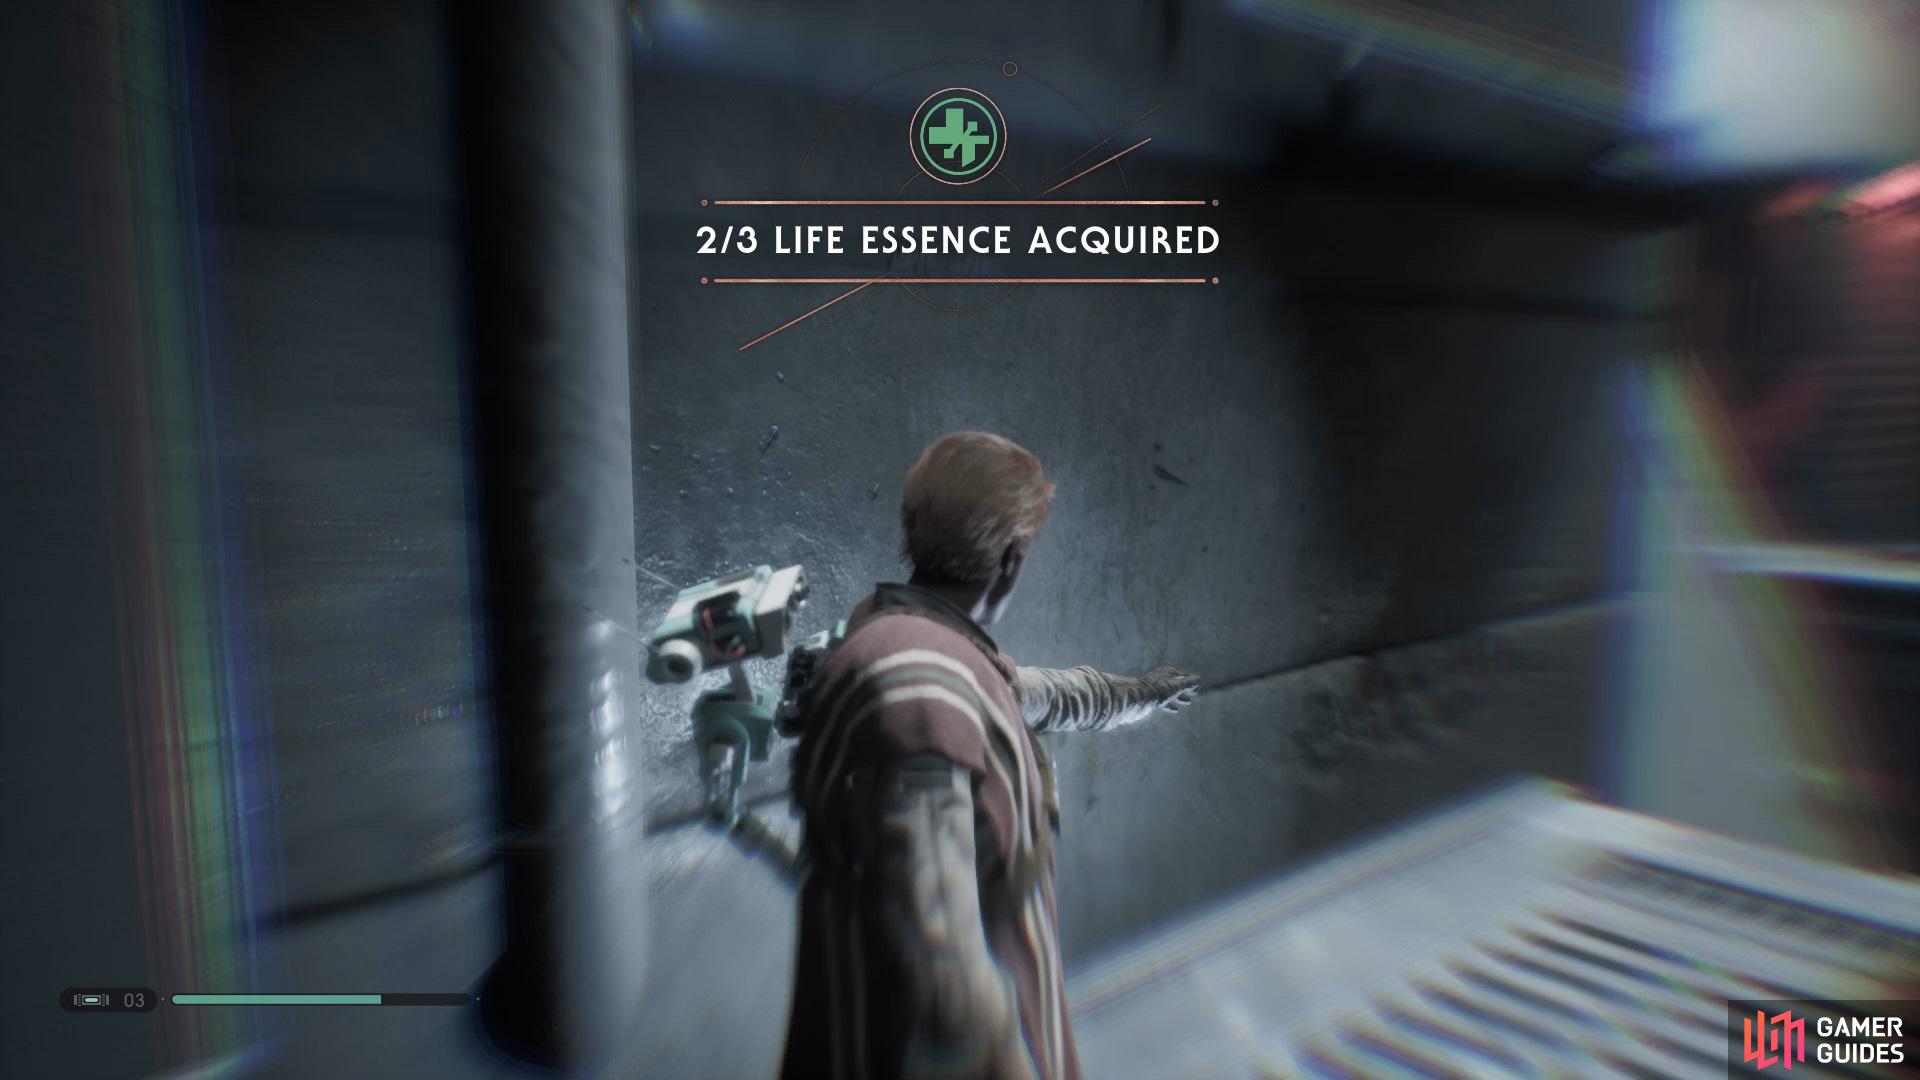
Continue further up the path until you see a part that you can climb up to on the left, then jump across and walk down into the forest to find a Life Essence, push the pipe down and go back into the building. Go through the area where you fought the Security Droid and use the rope to swing across to the other side of the locked door to find a workbench, interact with it to give BD-1 the Slice: Security Droid Ability, now cut down the rope to your left to create a shortcut and then go back through the door.
Use the Ropes to swing across to the other side and interact with the workbench
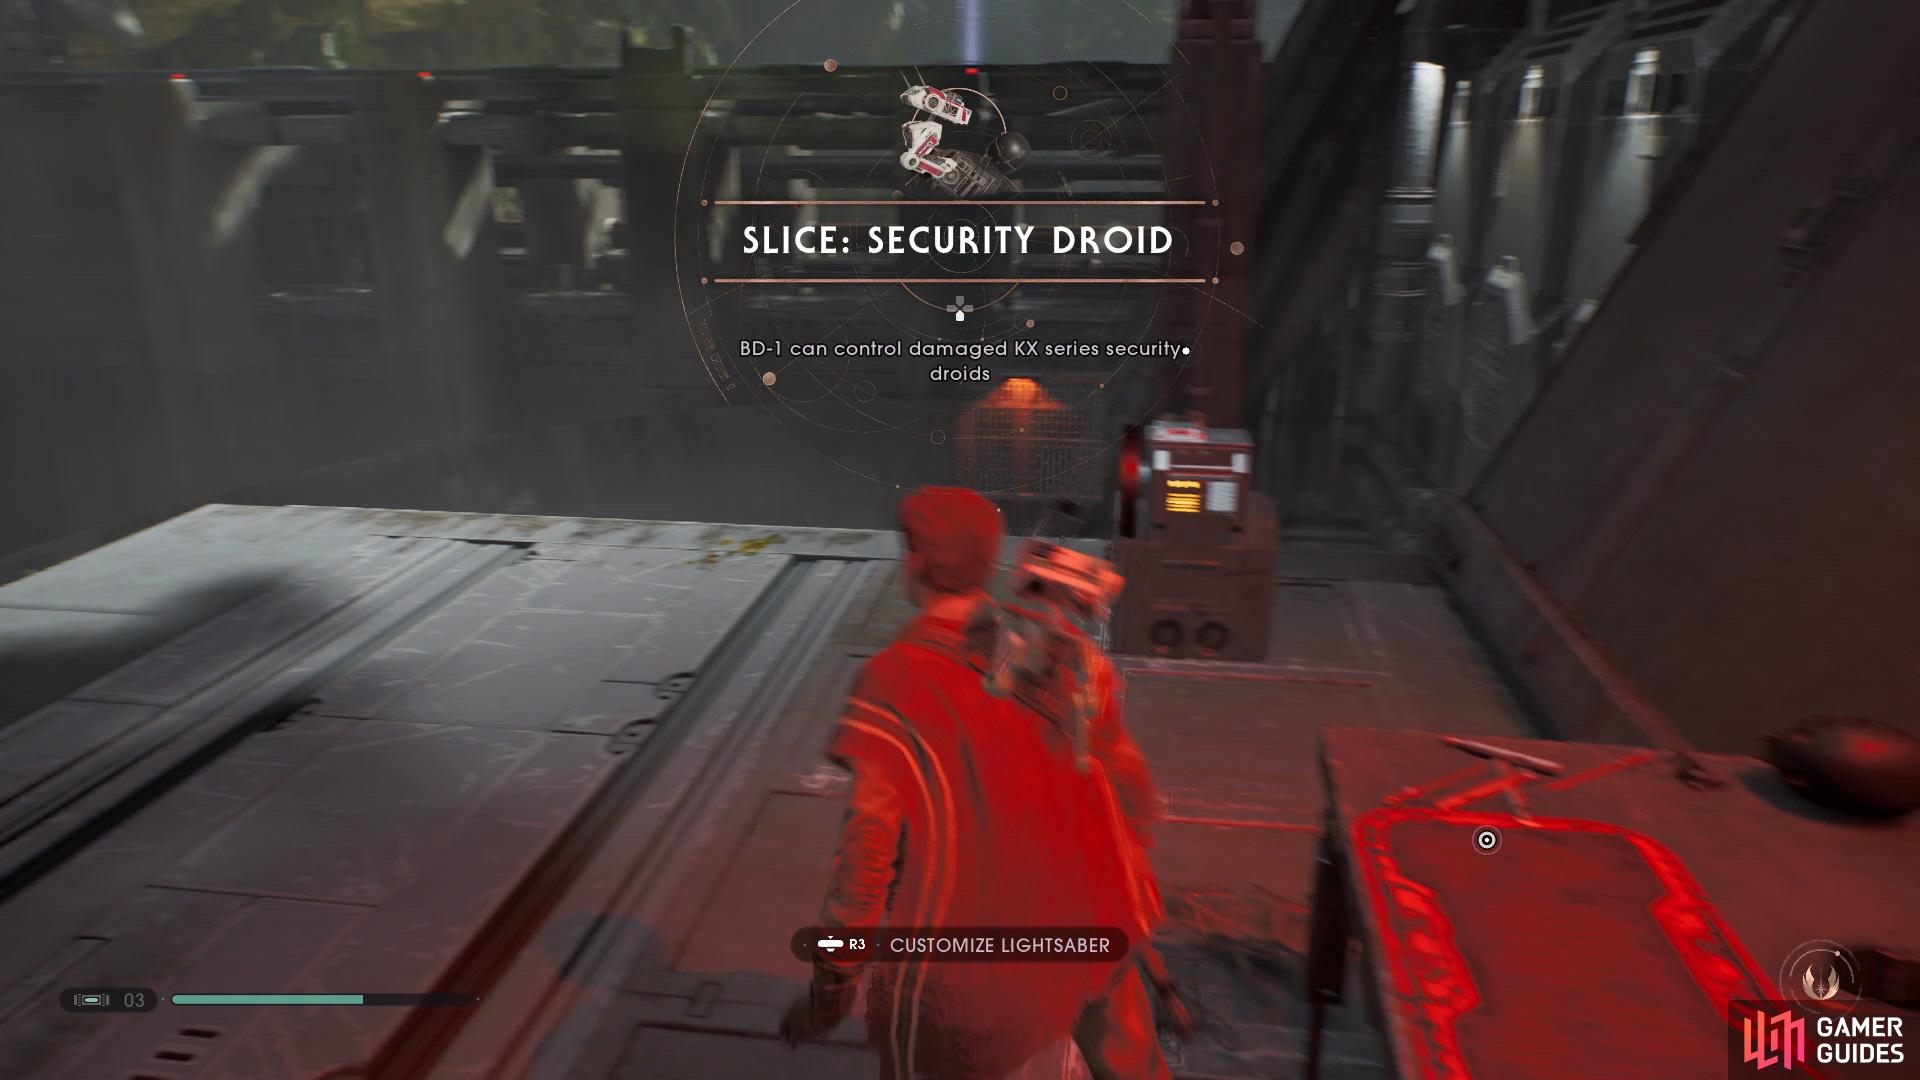
to get the Slice Security Droid upgrade.
Drop down onto the platform and collect the Poisoned Wookie Force Echo then climb back up and follow the path up to the right, Wall Run across and takedown the Stormtrooper then make your way over to the opposite side and get BD-1 to overcharge the powerbox to rotate the platform, allowing you to reach the area on the right. Before continuing onwards head into the room behind you and take the lift down to find a Chest that contains the Passion and Strength II Lightsaber Sleeve.
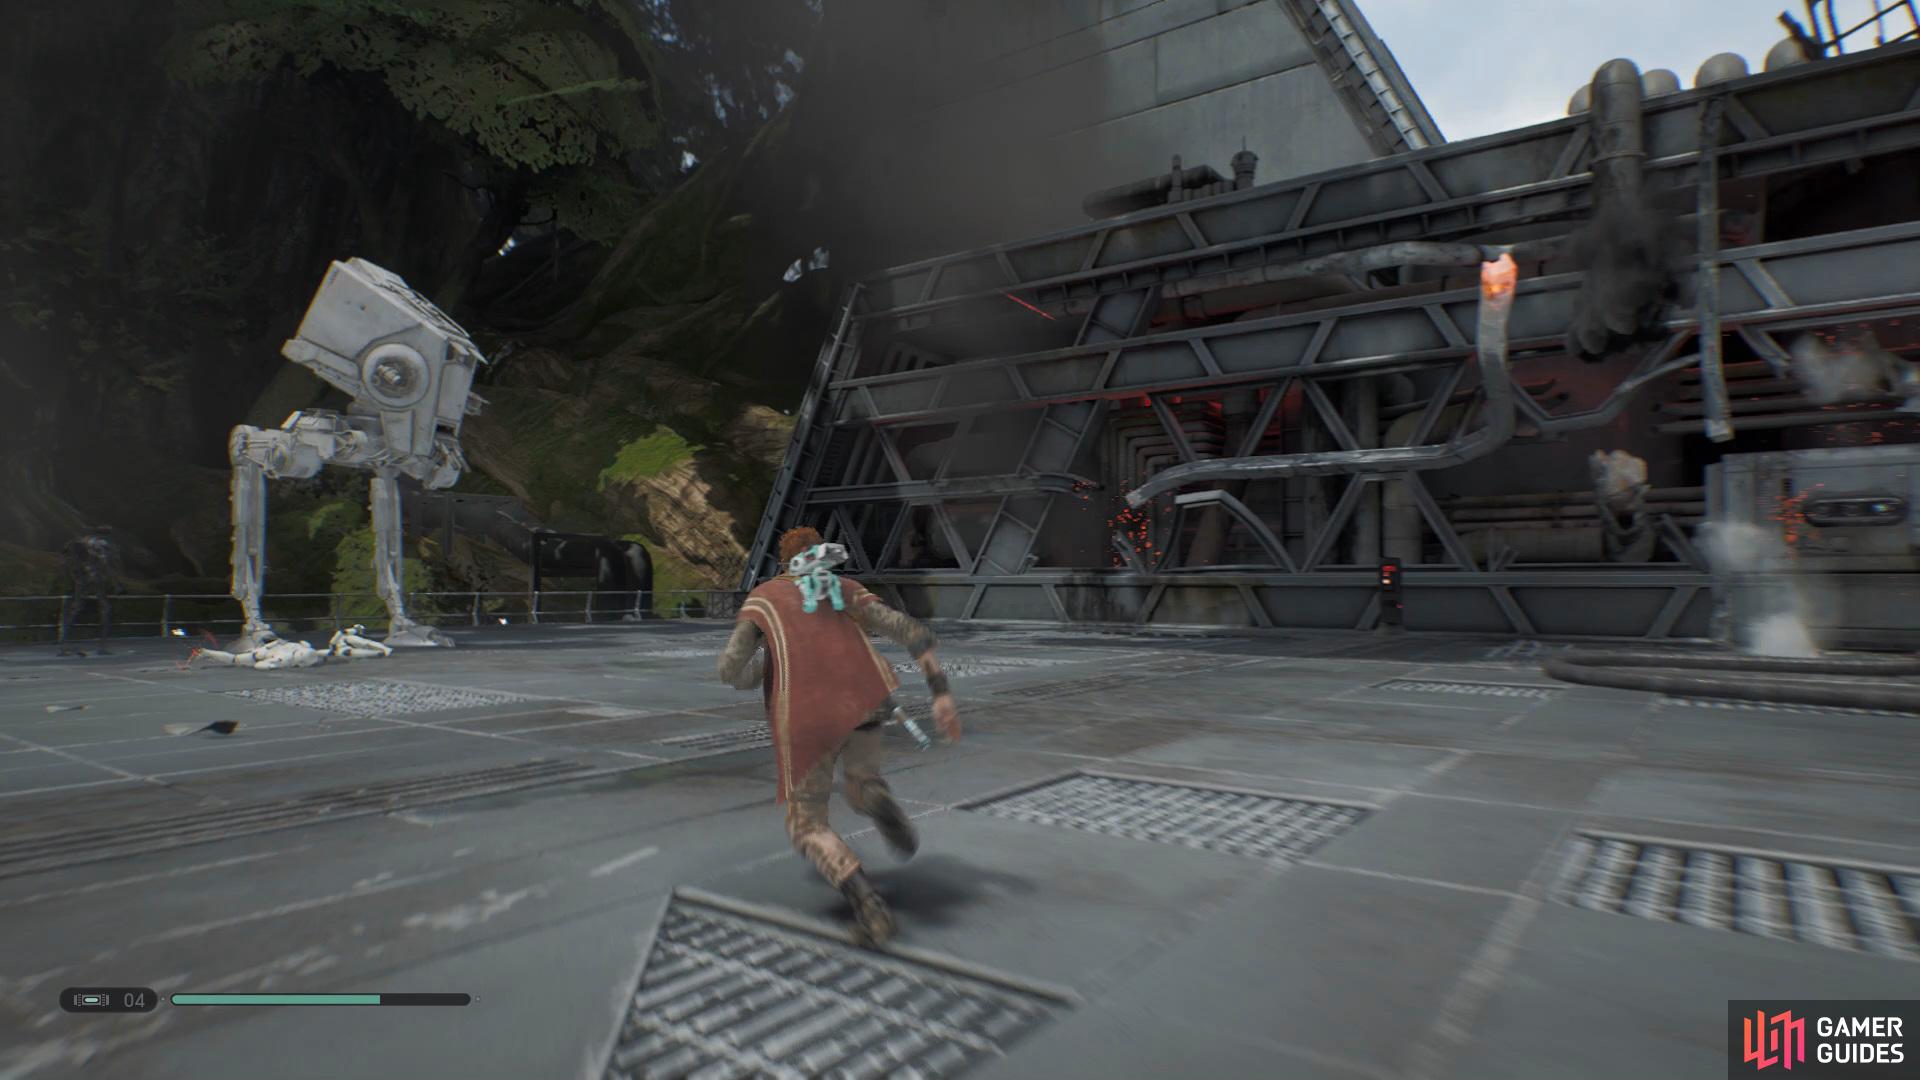
Focus on the AT-ST legs to deal damage
and roll away when it drops grenades that form electronic puddles.
Head back up and climb up into the room above on the right, before continuing however, hop up onto the pipe and make your way across to the platform and head left to find a Force Essence, now go back and drop down to open a Chest that contains the Bounty Hunter Mantis Paint Job.
Climb back up and take out the enemy and then open the door on the left for a shortcut, interact with the control panel to free more Wookiees, and now take the lift up to the roof. Get BD-1 to take control of the droid and watch it slay all the nearby Stormtroopers, now you’ll need to take out a AT-ST which can easily be done by using Force Slow and attacking its legs, however, he will drop grenades onto the ground which will create electrical puddles. You’ll enter a cutscene upon defeating the enemy.


No Comments