
Locating a Stim Canister
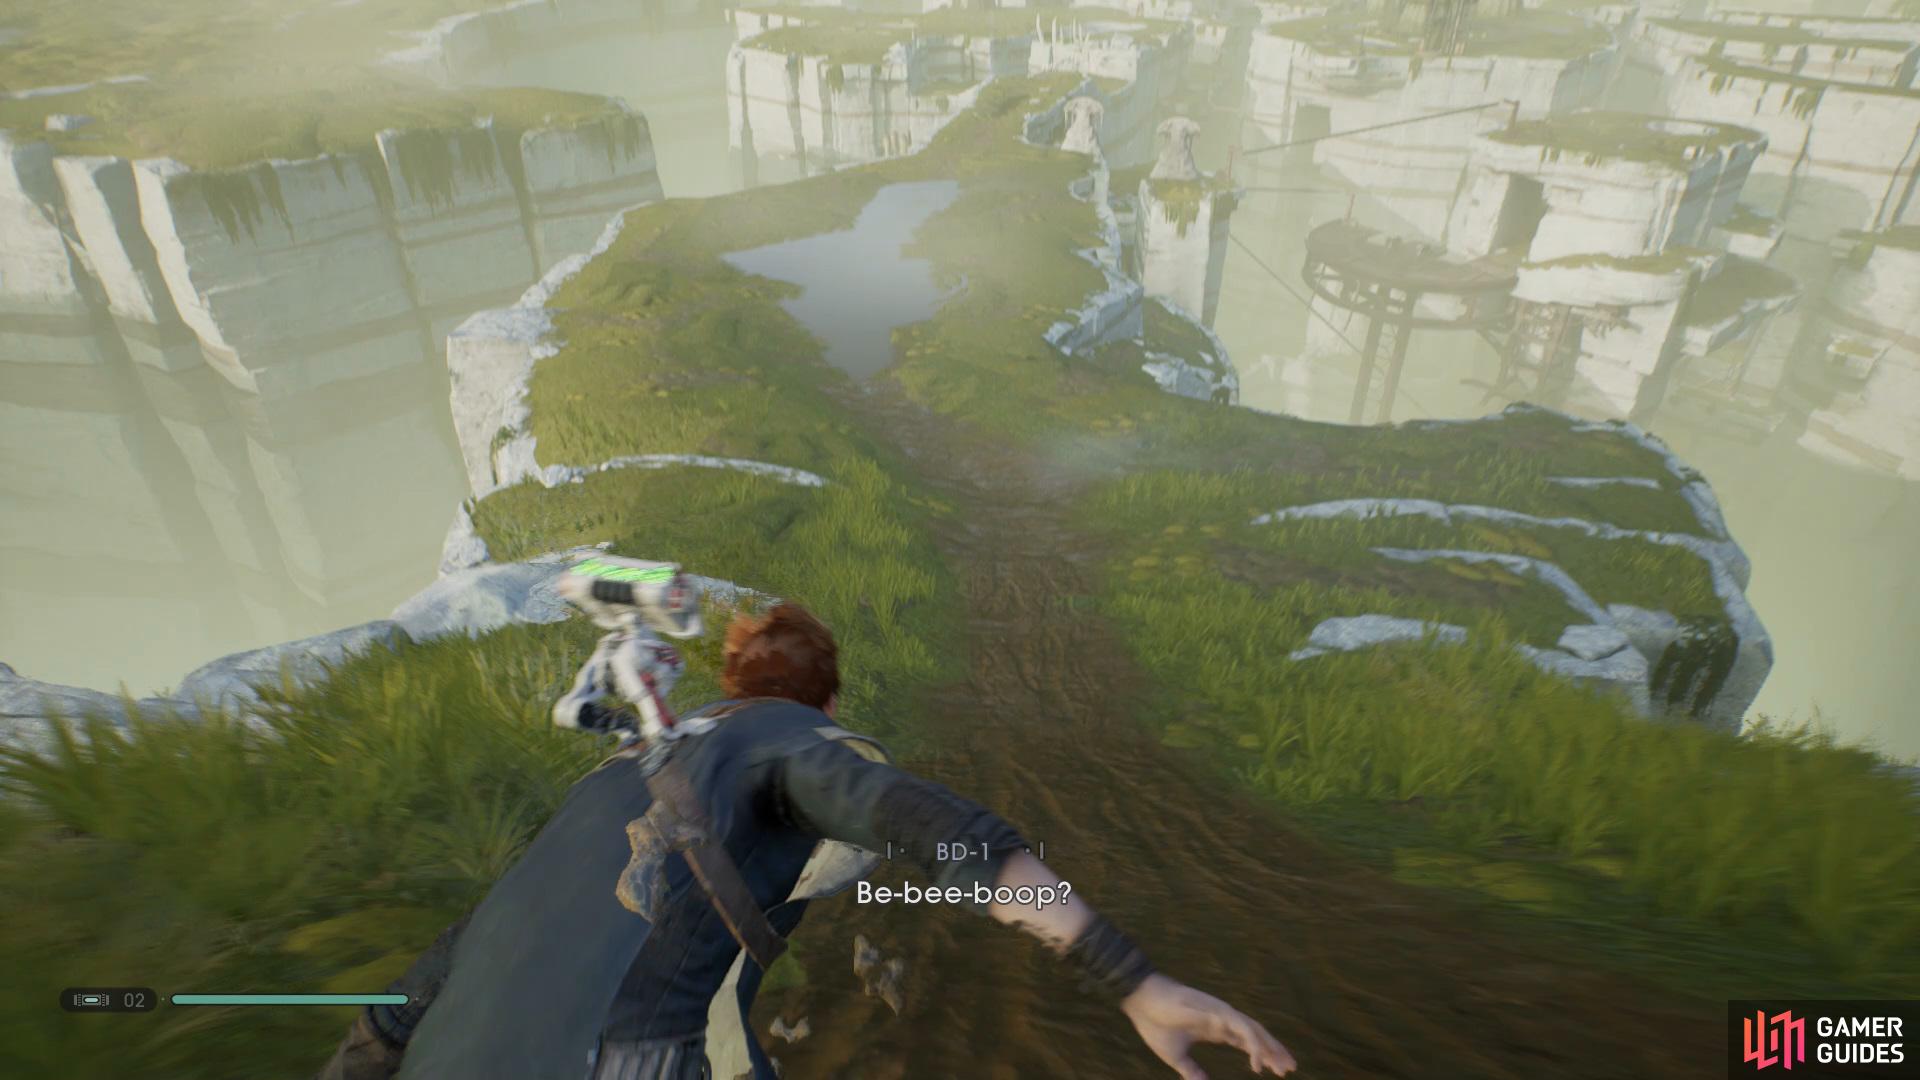
Although you’ve completed the primary objective for this planet, there are still a few items that you can now obtain with the new Wall Run ability. Exit the vault and follow the path ahead, allow BD-1 to scan the skeleton and then drop down into the Abandoned Workshop.
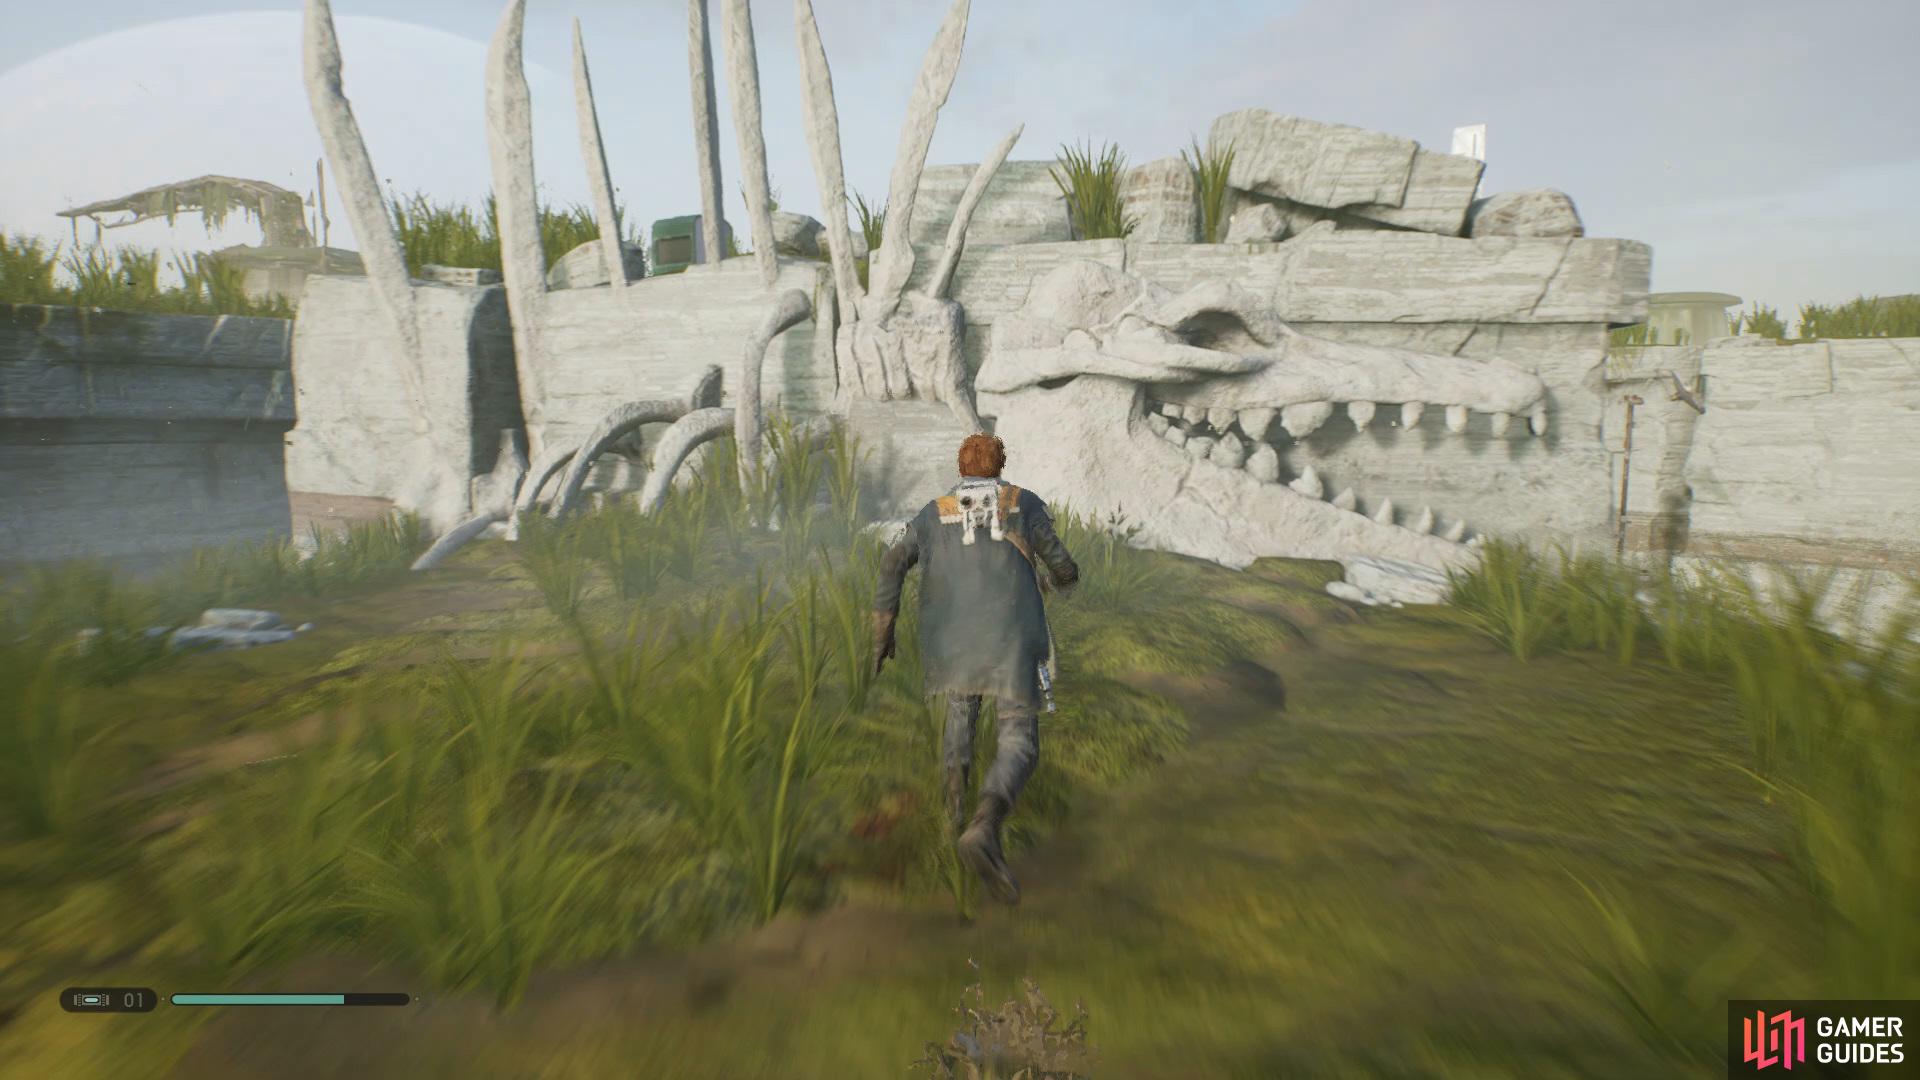
Scan the Skeleton on the wall to find out some information
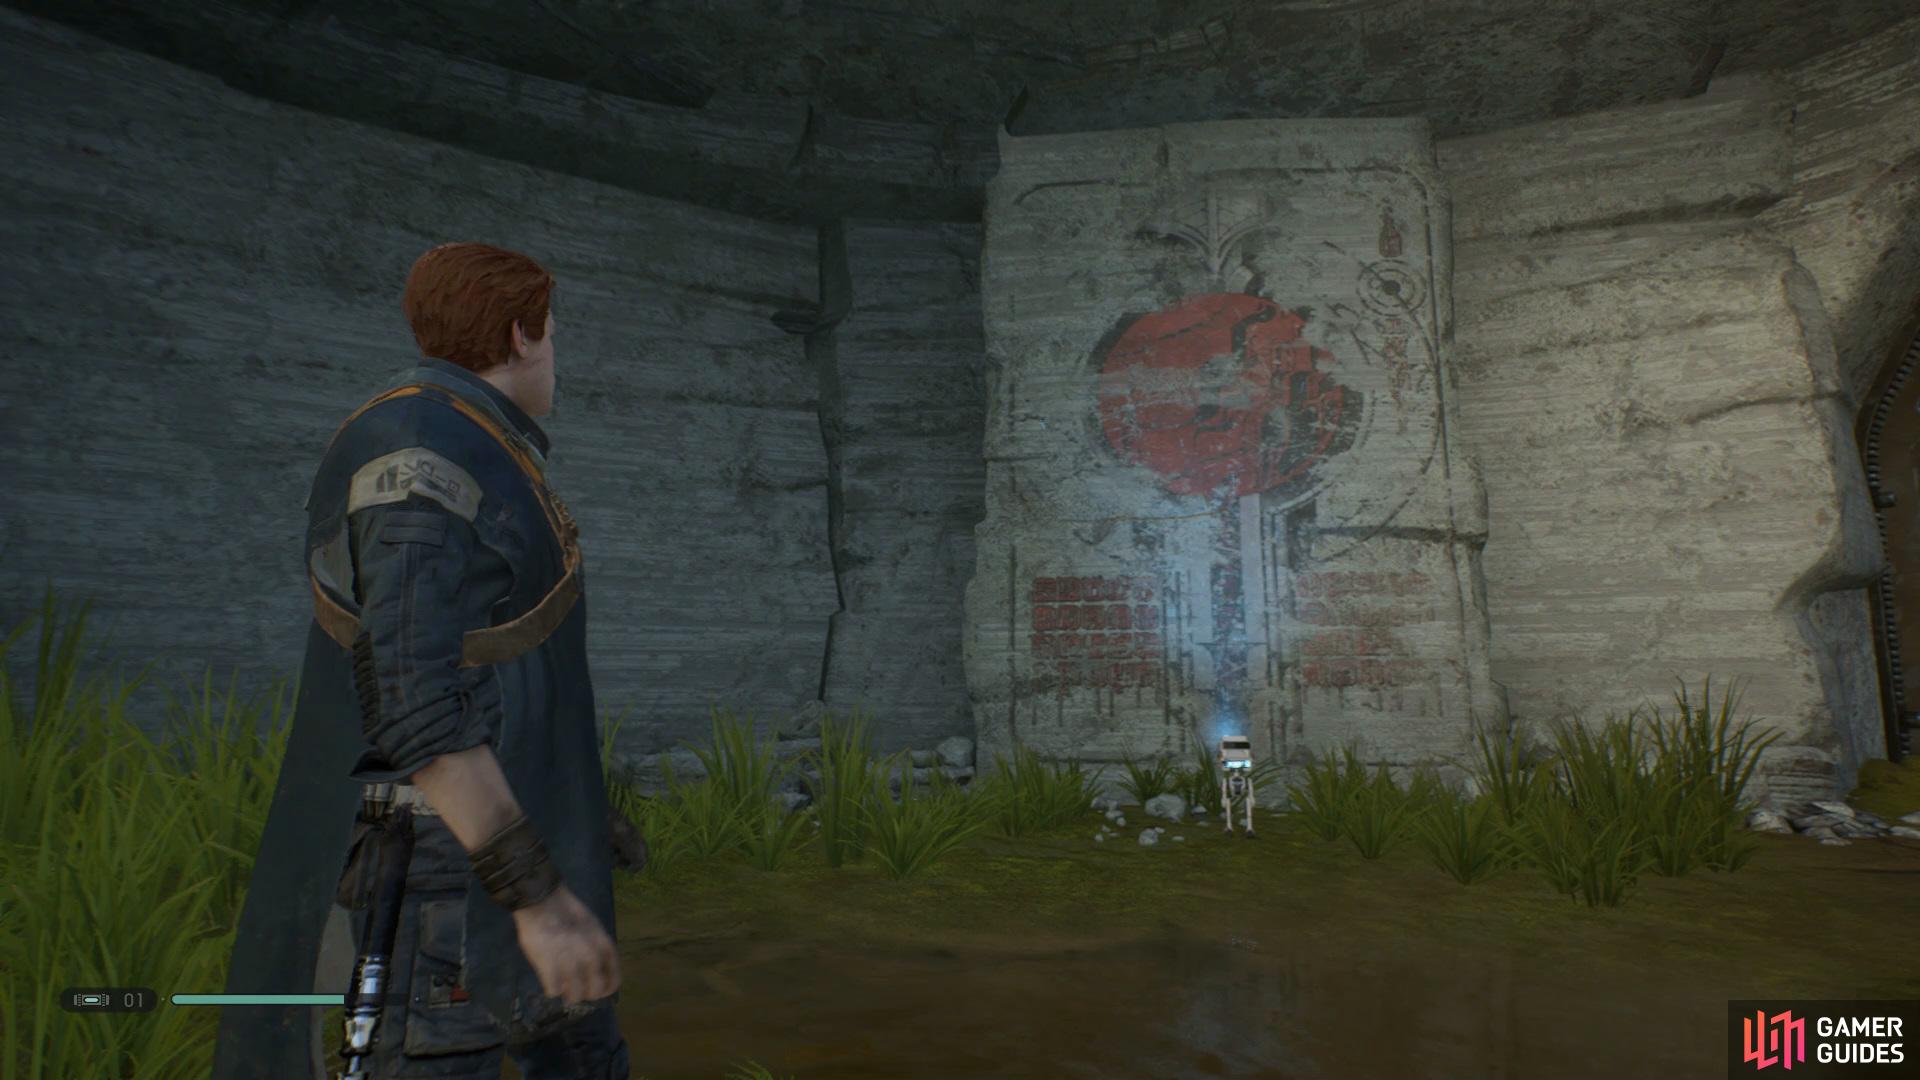
and then let BD-1 interact with the wall with red drawings on it to unlock Dathomir.
Wall Run across to the opposite side and let BD-1 scan the right section to get some information added to your Databank, now scan the left section of the wall that has Red drawings on it for a short cutscene, after the cutscene has ended you’ll now be given access to the planet Dathomir. Open the shortcut ahead and then sprint forwards and use the Wall Run ability to reach the vines, climb up to the area above and make your way over to the very first Meditation Point on the Planet.
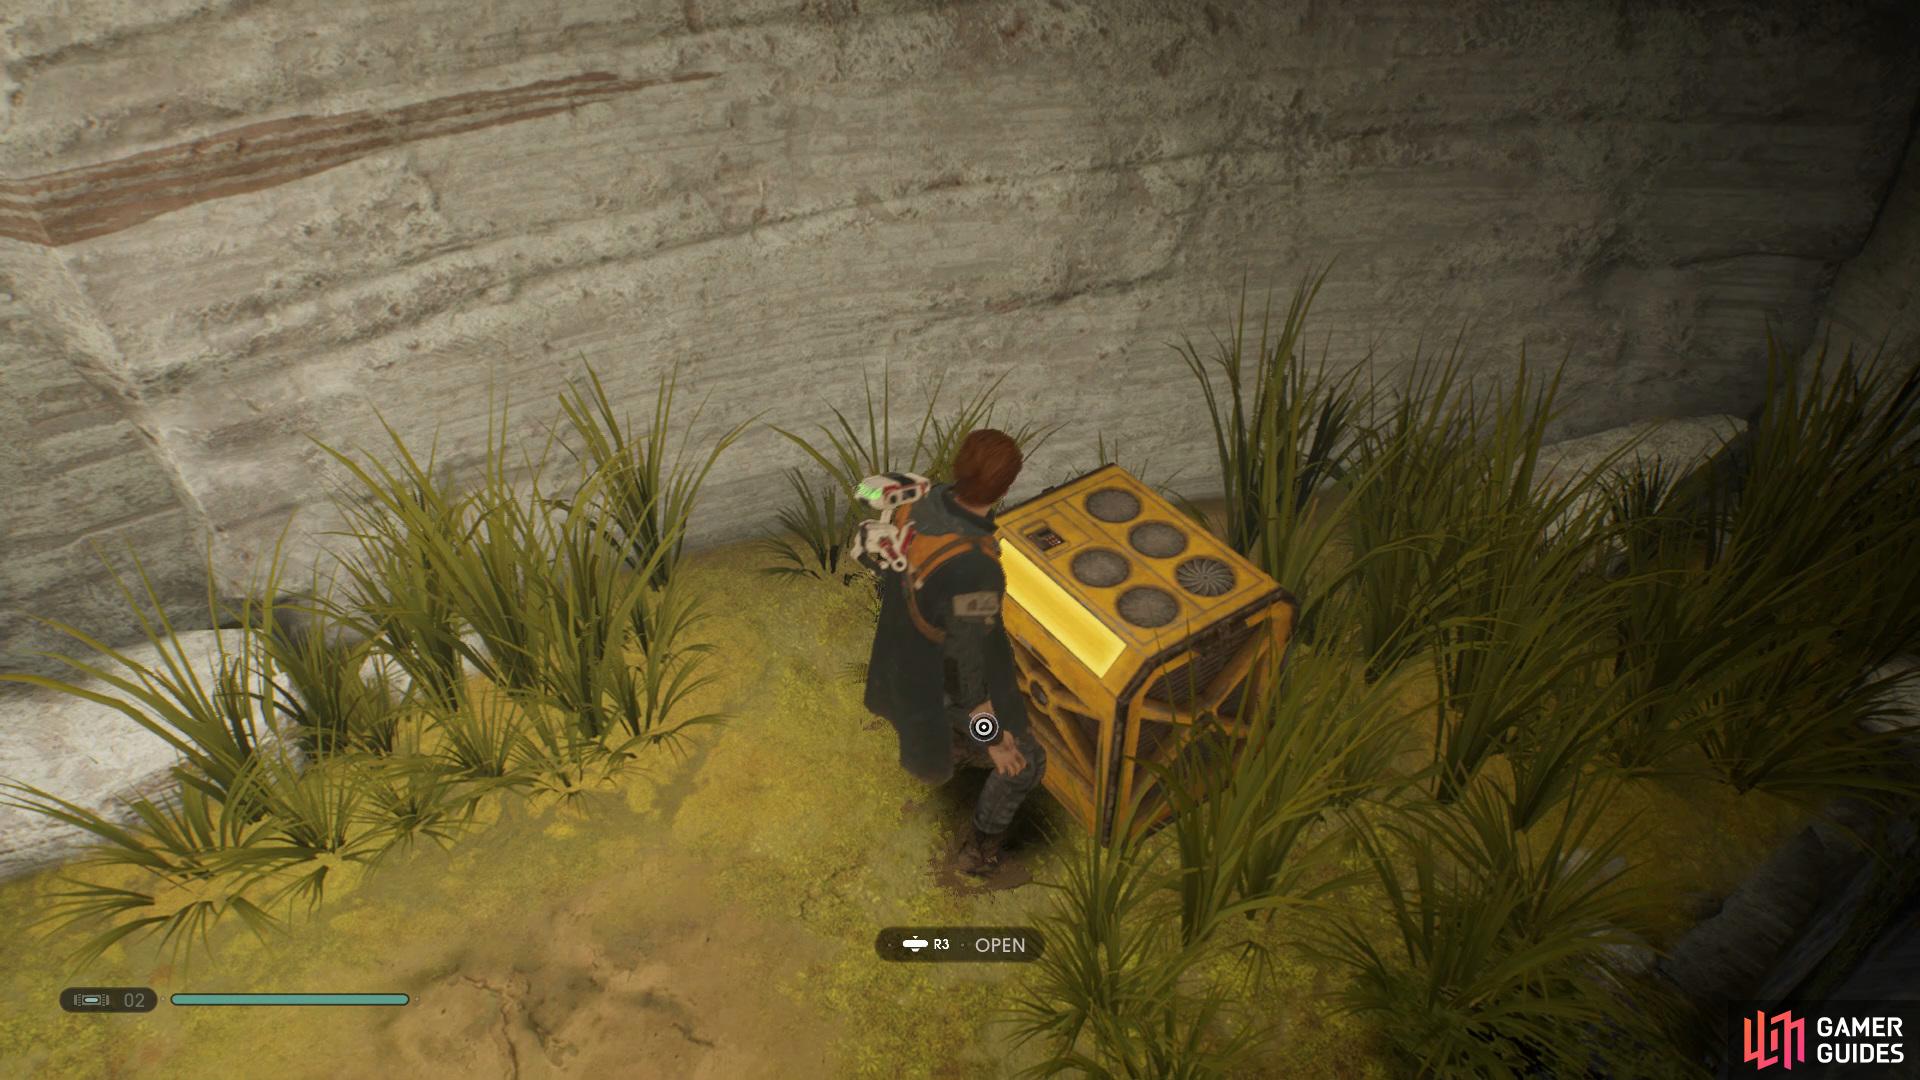
Open golden Chests throughout the galaxy
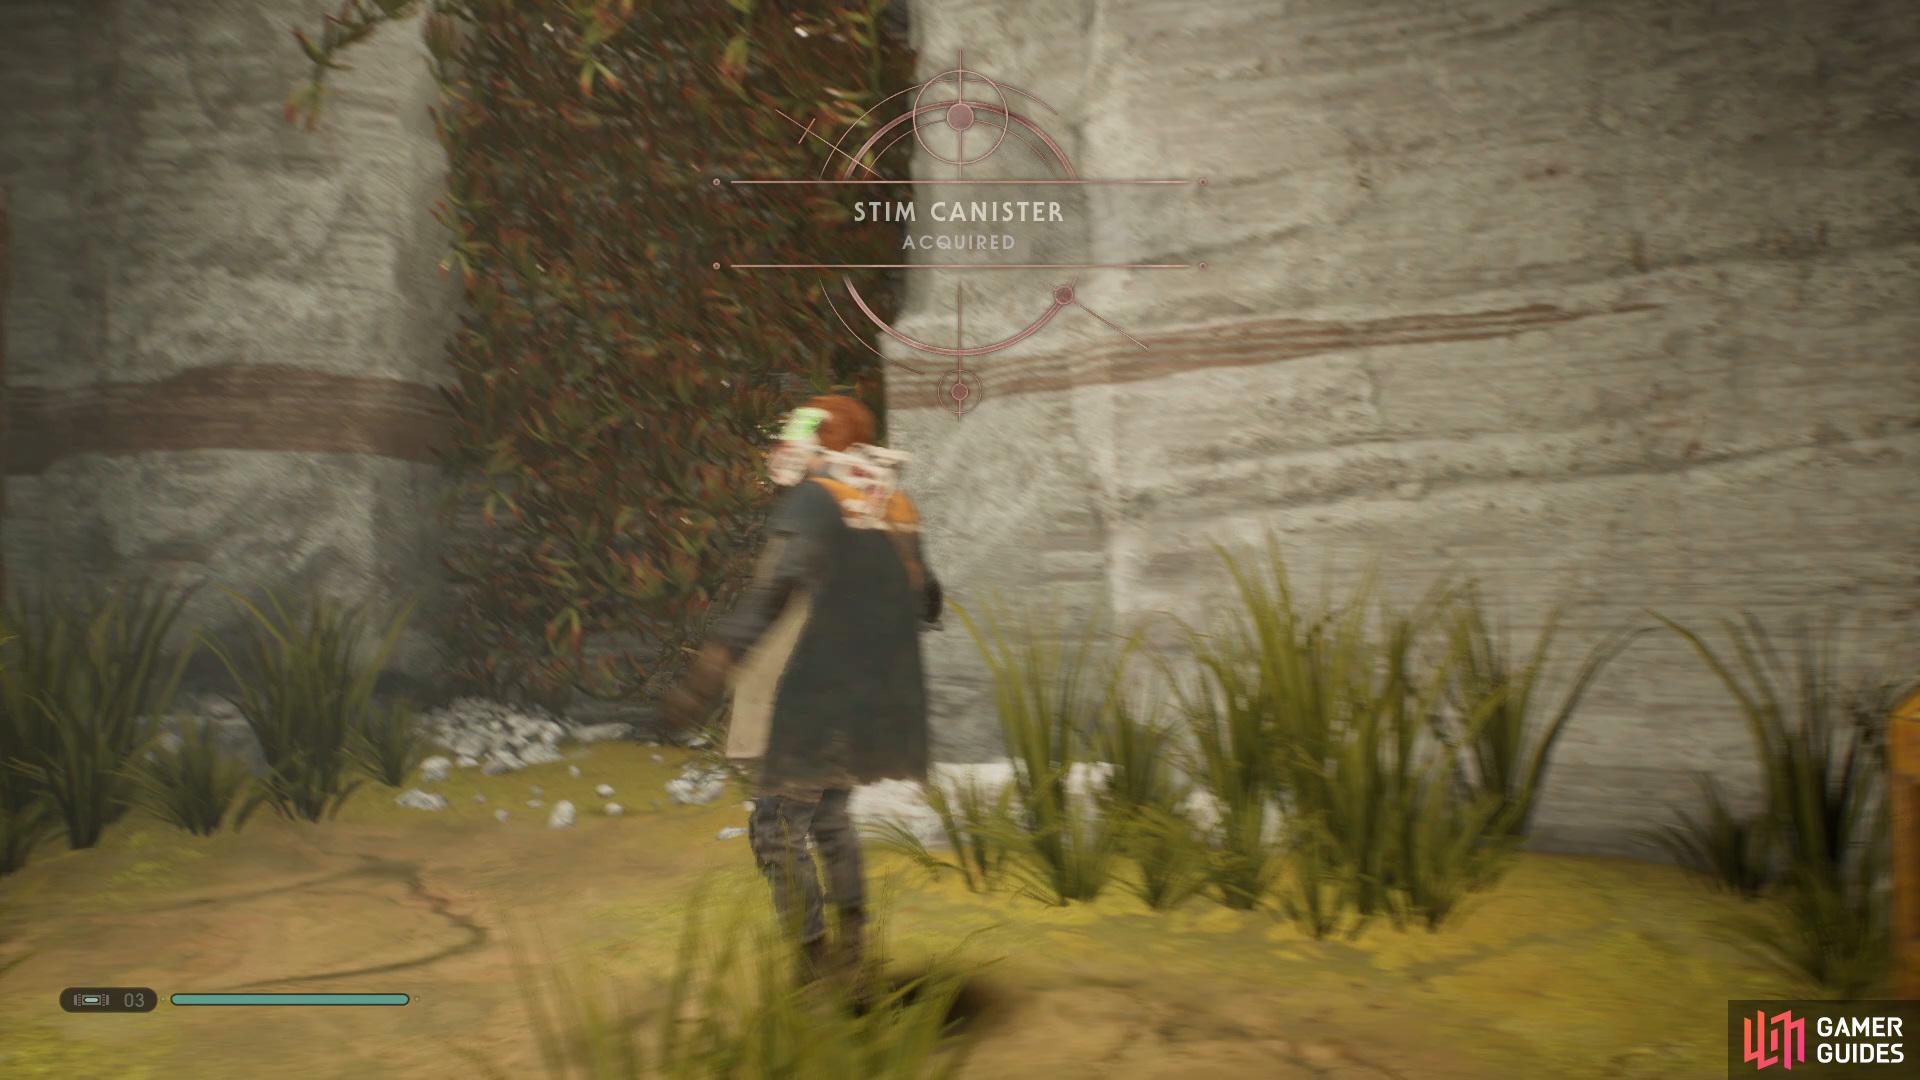
to obtain Stim Canisters.
Upon reaching the Meditation Point head across the bridge on the right and climb up, take the path over to the left and take out the enemies, now Wall Run across to the other side and collect the Dead Splox Echo. Climb up to the left and then drop down into the hole to find a Golden Chest that holds a Stim Canister.
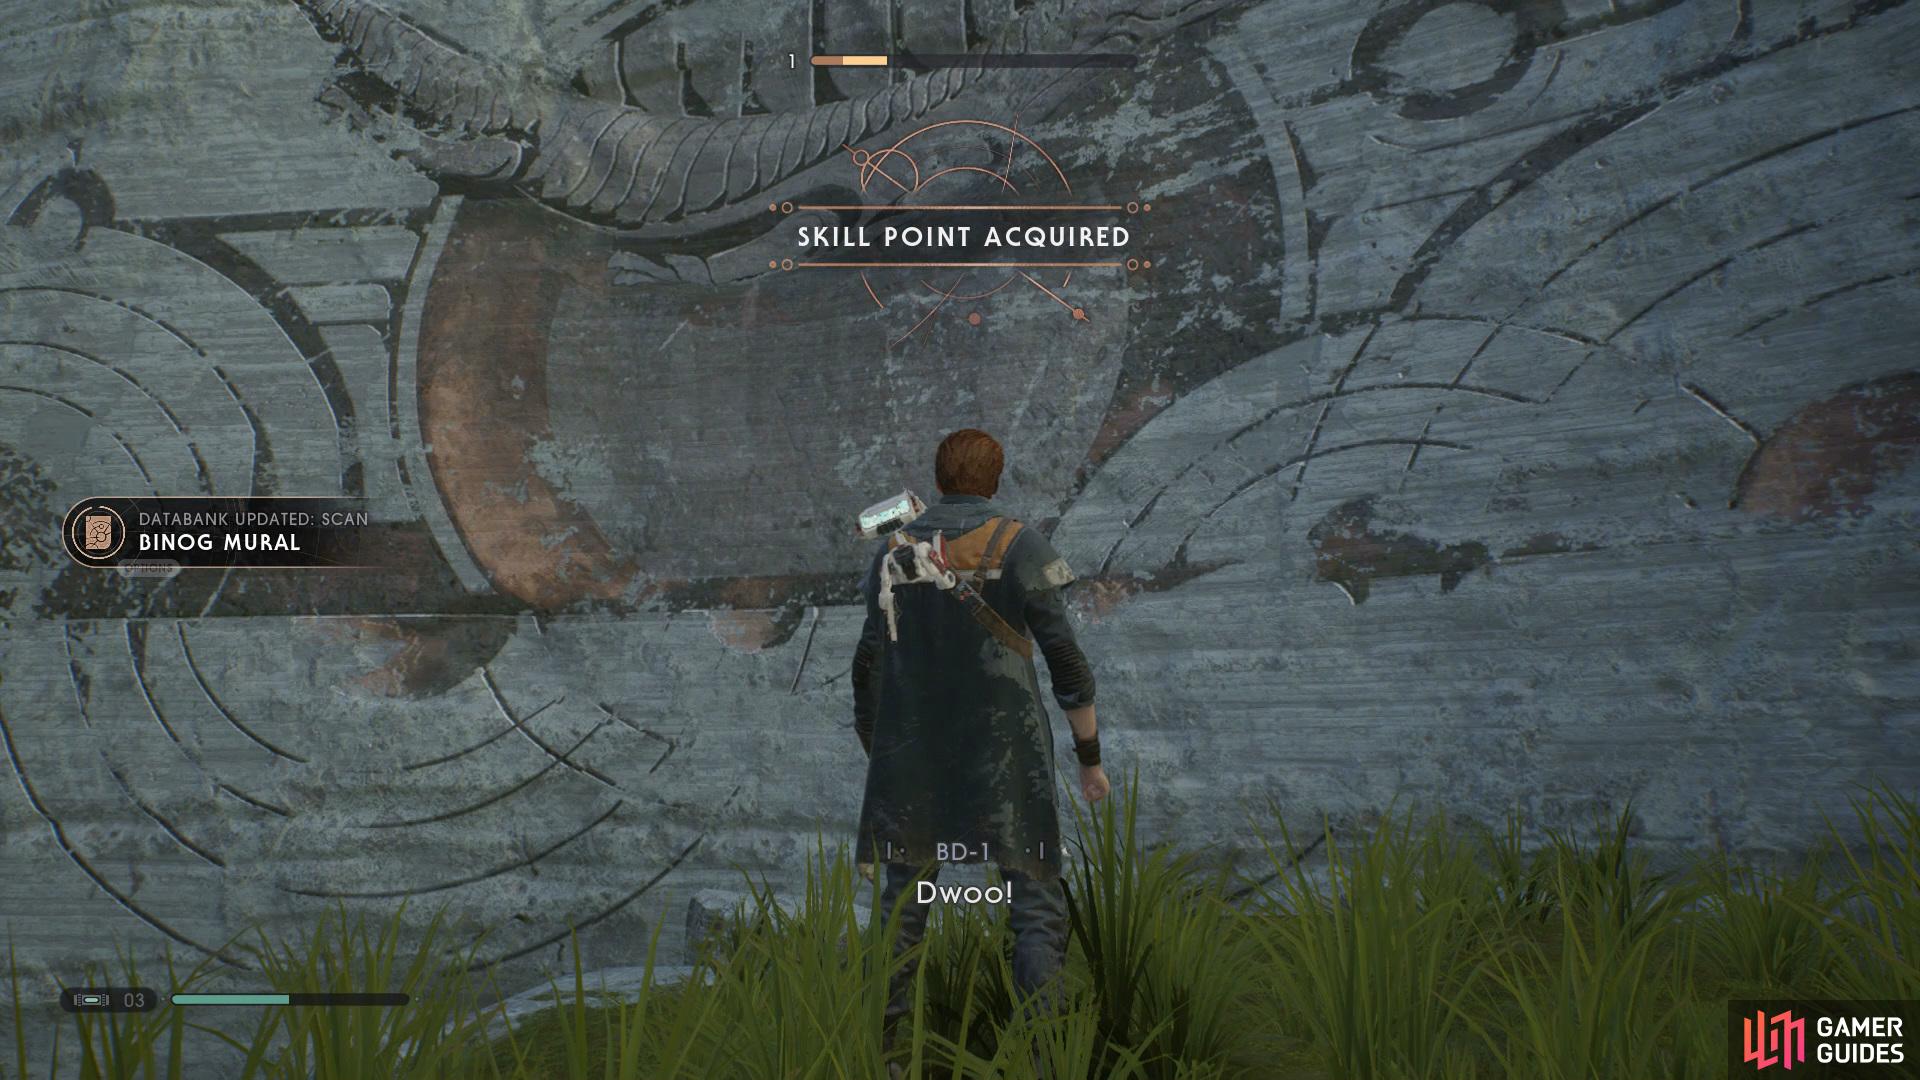
Interact with the wall to get some more information added to the Databank
and then head right to open a Chest with a fancy new poncho inside.
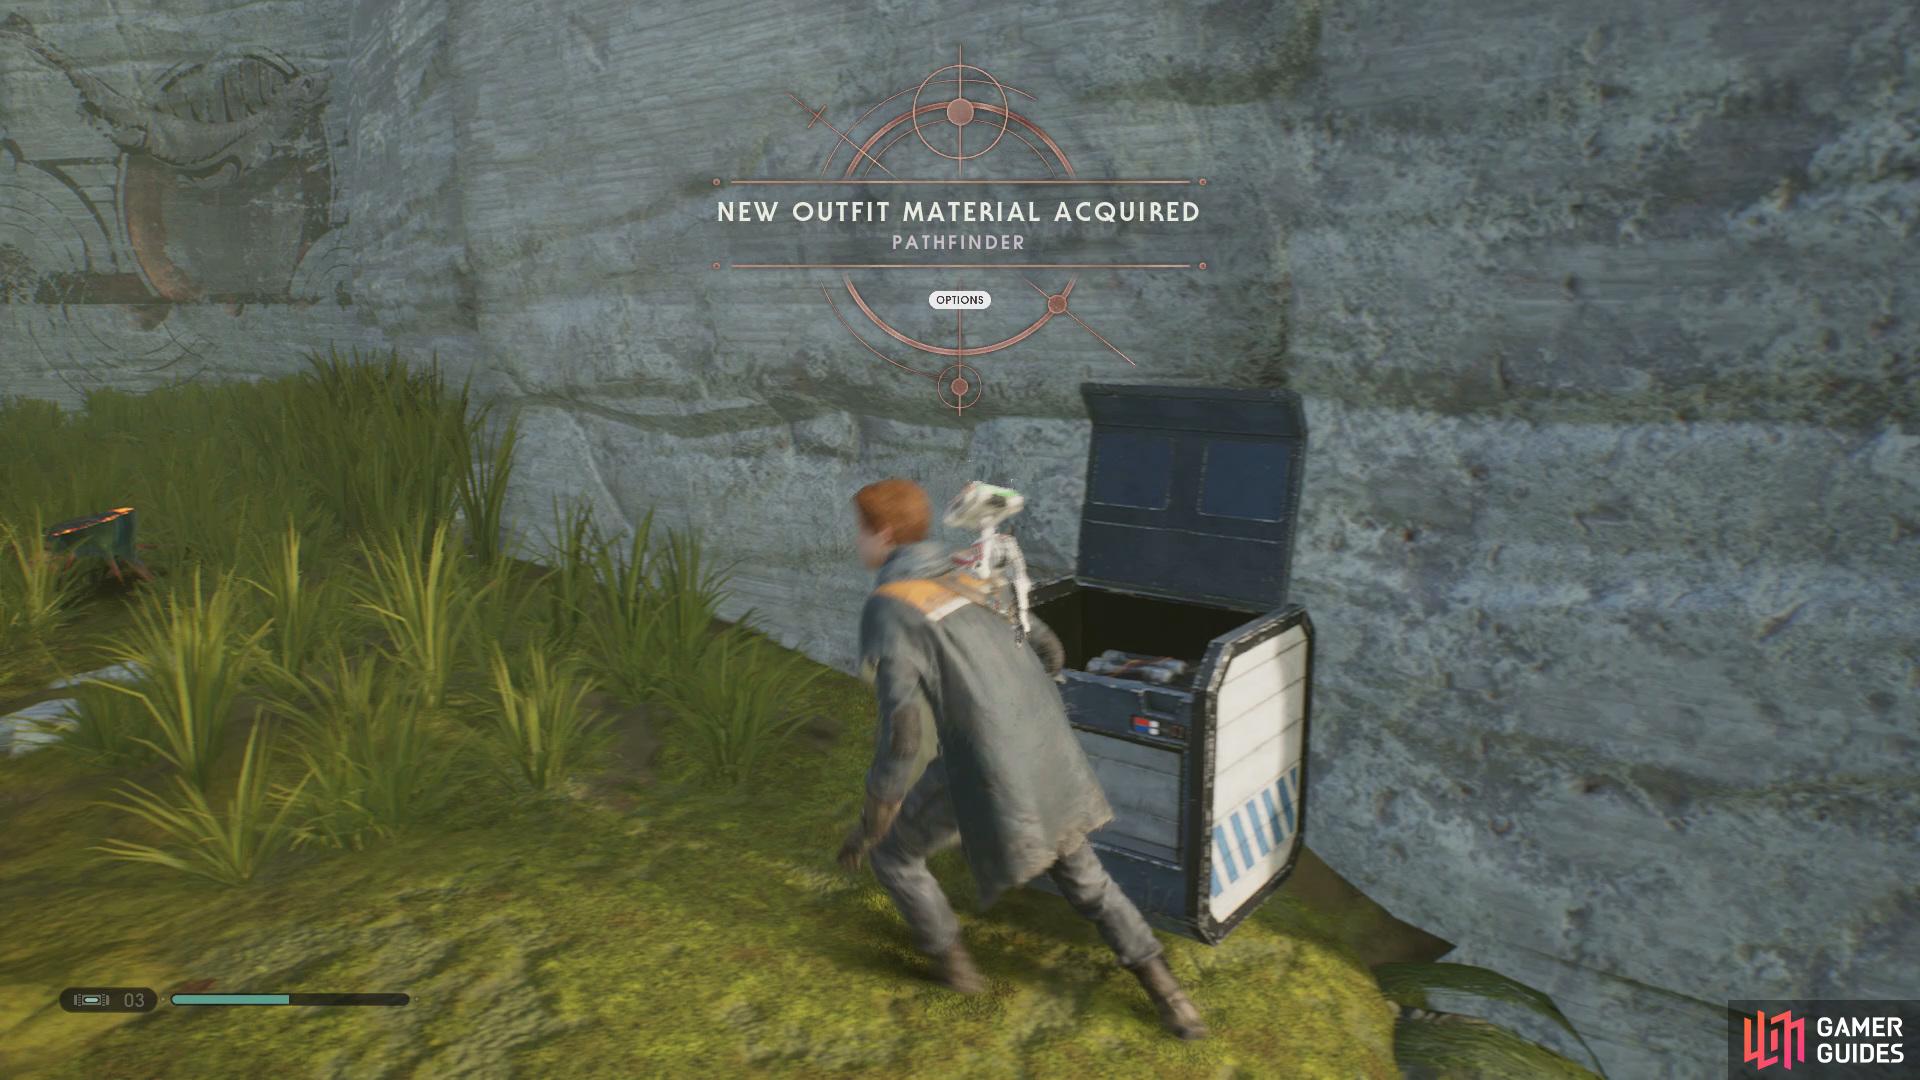
Climb out of the hole and head up the white path and drop down, take out the enemies and then scan the wall to get some more information added to your Databank, now head right and open the Chest to unlock the Pathfinder Outfit Material. Drop down to the right and then travel back over to the area where you unlocked Dathomir earlier and follow the pipes over to the right and enter the cave to find Oggdo Bogdo.
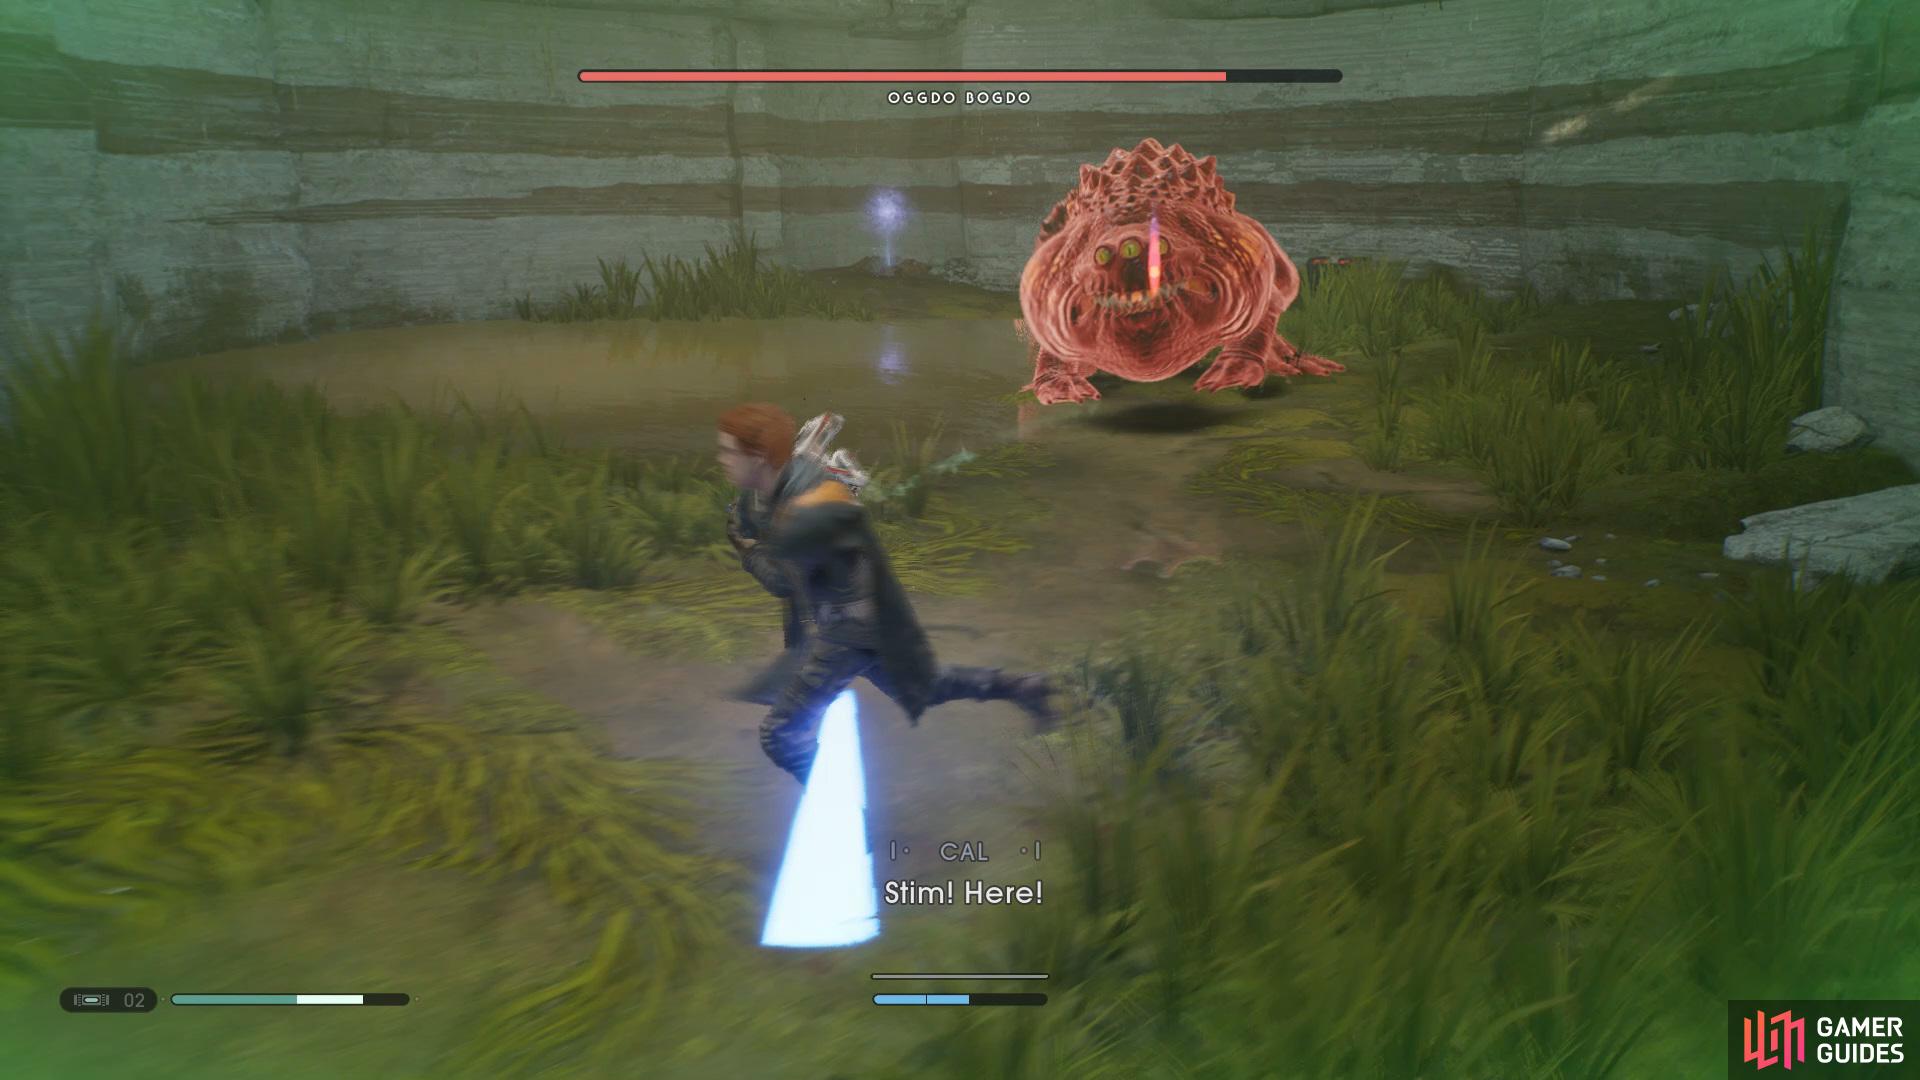
Legendary Beast: Oggdo Bogdo
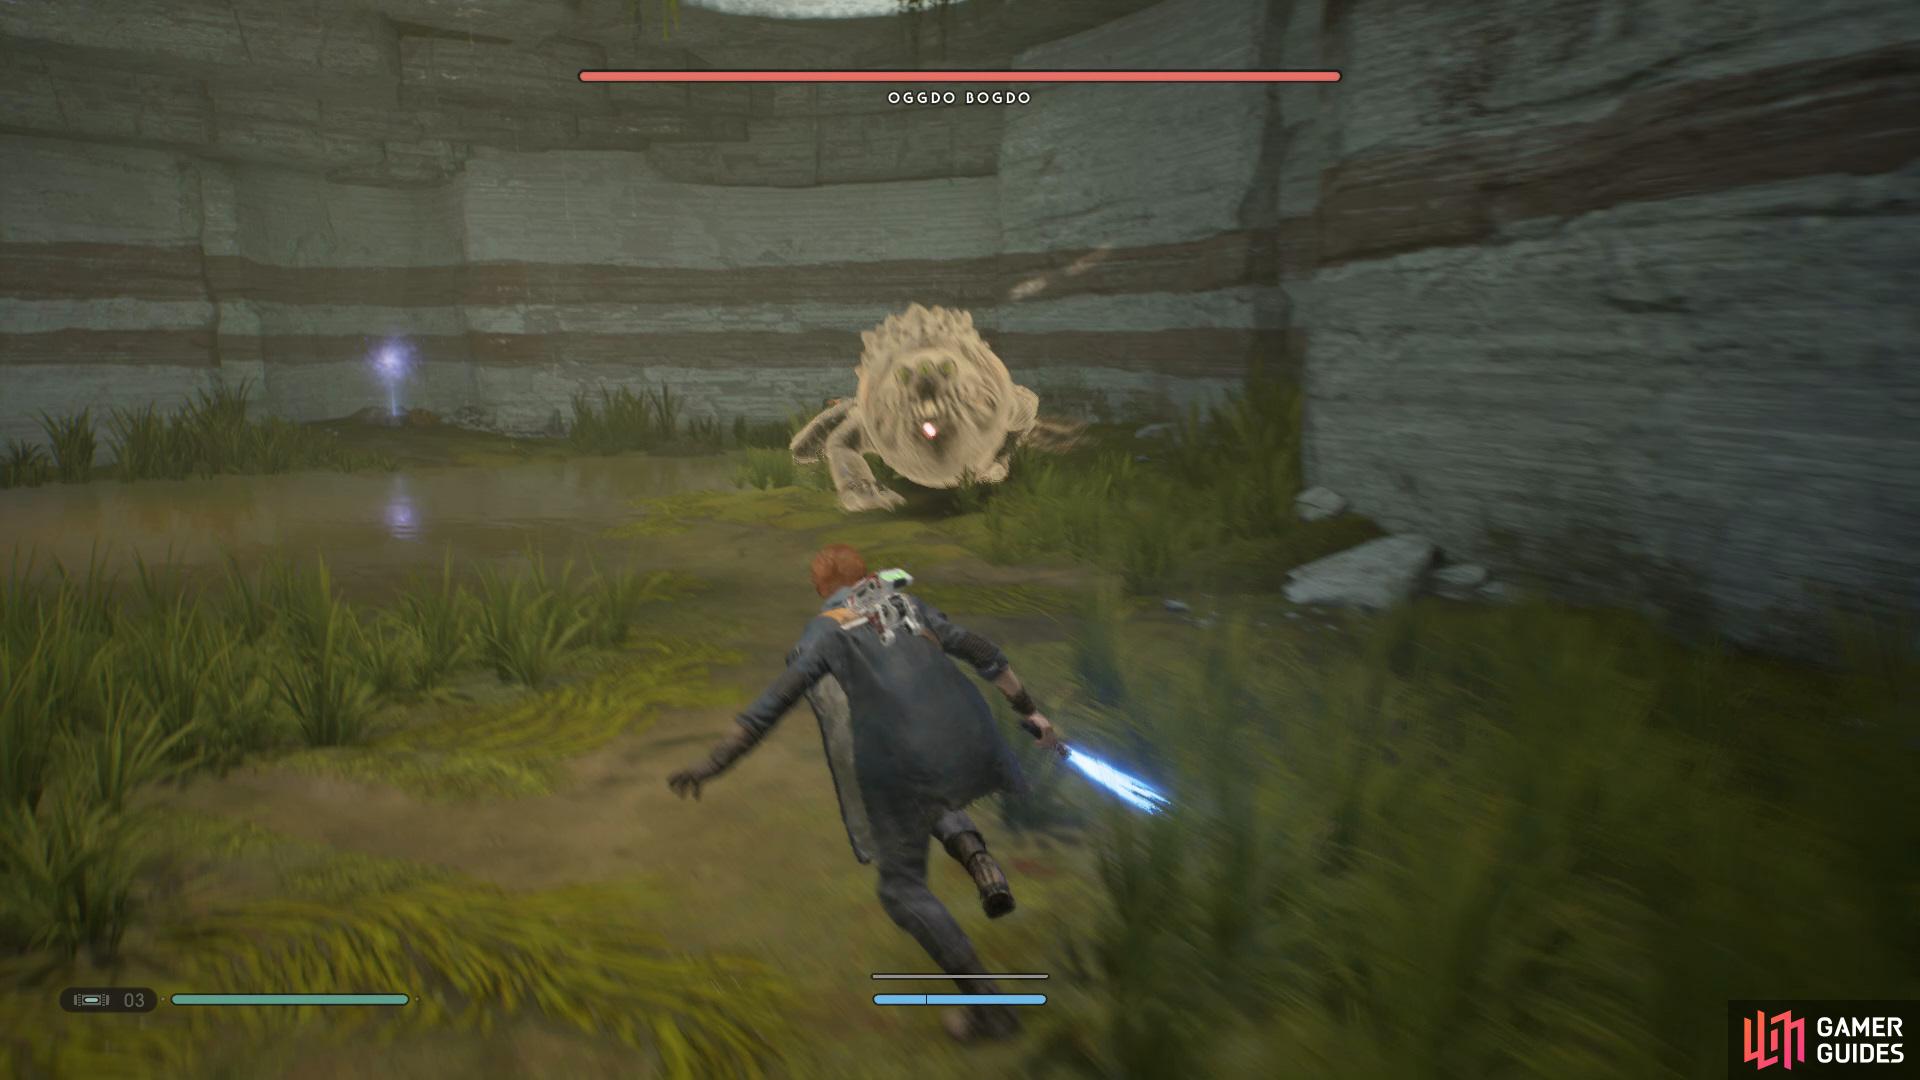
Legendary Beast Oggdo Bogdo.
Oggdo Bogdo is the Legendary Beast of this Planet and can be very difficult if you don’t come prepared, so to begin make sure you have all three Stim Canisters at your disposal and then enter it’s lair. In order to defeat this beast you’ll need to pay close attention to three Red Attacks that you’ll have to dodge or it’s most likely game over as they can pretty much one shot you if you aren’t careful.
Roll backwards when he goes in for a lunge attack,
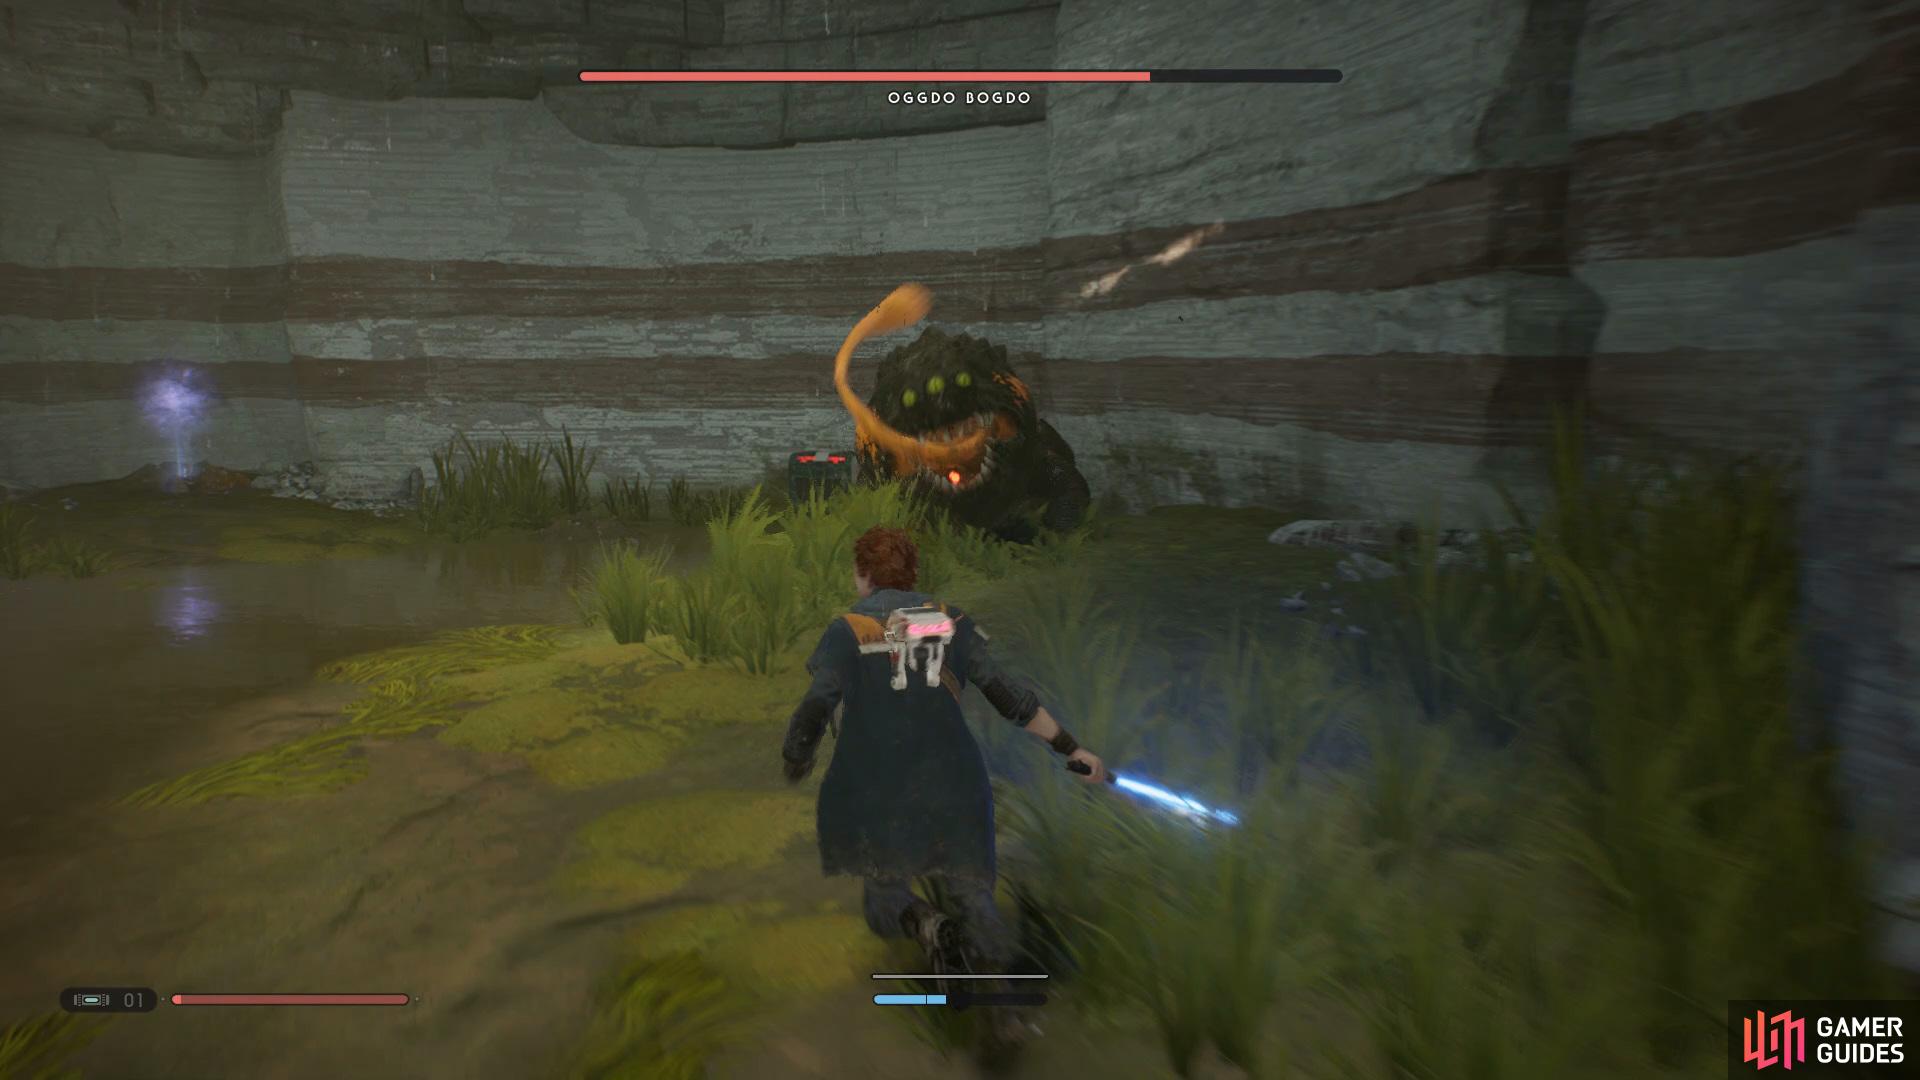
and roll to the side when he tries to grab you with his tongue.
The best way to initiate this fight is to attack it from above, simply head to the second Mediation Point and Wall Run to the area above, find the hole that he’s standing under and drop down and press the button when prompted on-screen, upon successfully hitting him you’ll want to immediately get back before he manages to attack you.
Although you have dealt a large amount of damage to begin with you still have a lot to do so you’ll need to beware of these attacks. To start with he will stand pretty far away from you and attempt to use his tongue to grab you and pull you in, allowing him to bite you which will take a good chunk of health off. The easiest way to avoid this is to use the Force Slow ability as he turns Red and get to the side of him and get 2-3 attacks in before getting back.
The next move you’ll need to be aware of is his lunge attack, similar to the tongue attack he’ll turn red before doing this move. There are two methods to dealing with this move, keep rolling backwards so he wouldn’t be able to reach you or activate the Force Slow Ability as he turns Red and roll to the side of him and get another 2-3 attacks in like the previous move.
Sometimes when you go in for one too many hits, he’ll glow red and jump up into the sky and attempt to land on you, just keep rolling backwards so he’ll miss you. After defeating Oggdo Bogdo head to the back of the room and collect the Life Essence.
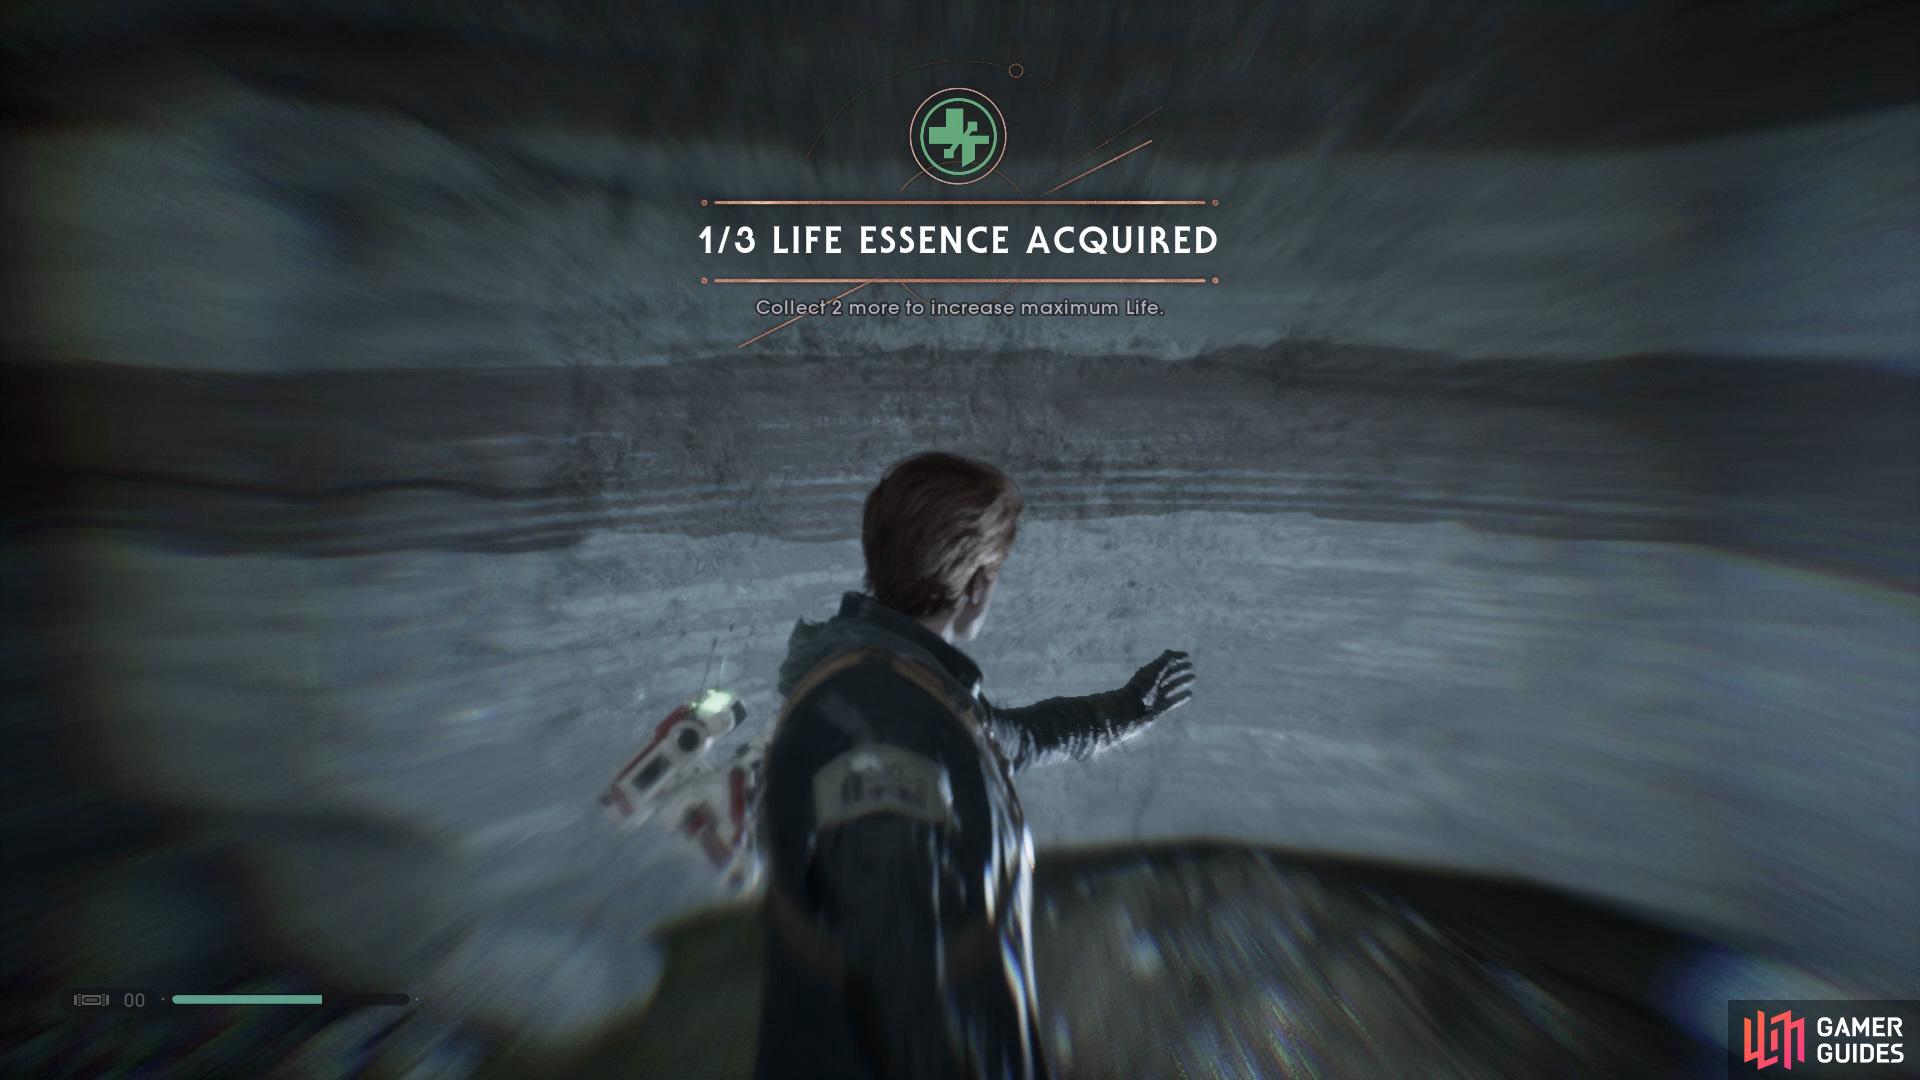
Collect the Life Essence from the back of the room after you’ve defeated Oggdo Bogdo.
All that’s left to do now is head back to the Mantis and adventure off to Zeffo. You’ll be able to revisit this planet later on with more abilities that will allow you to obtain any Secrets that you may have missed.
No Comments