
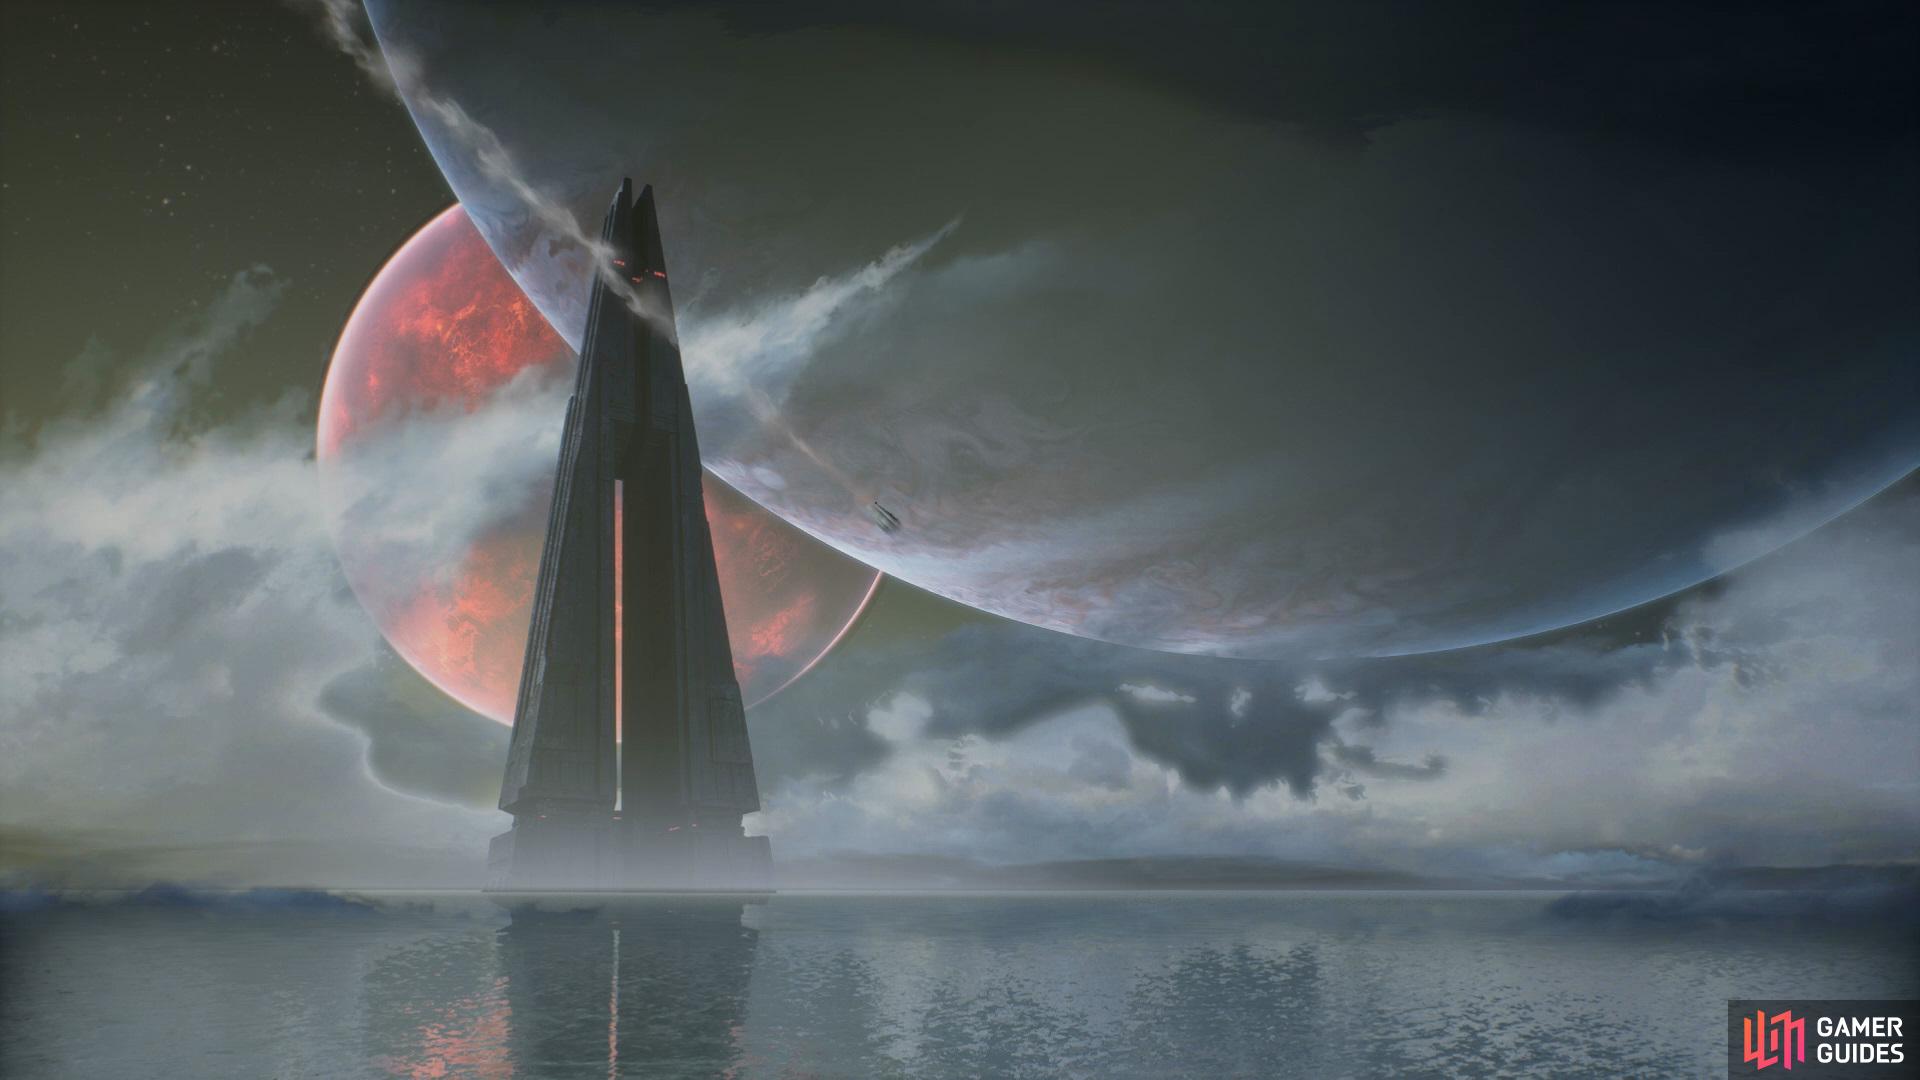
Locate the Holocron
Once you’ve crashed into the sea of Nur you’ll want to keep swimming forwards until you reach the Defensive Perimeter, now enter the ship and take out any enemies that get in your way. Continue progressing through the ship until you reach an open room where you’ll need to Force Push the cable to the back of the room and connect it.
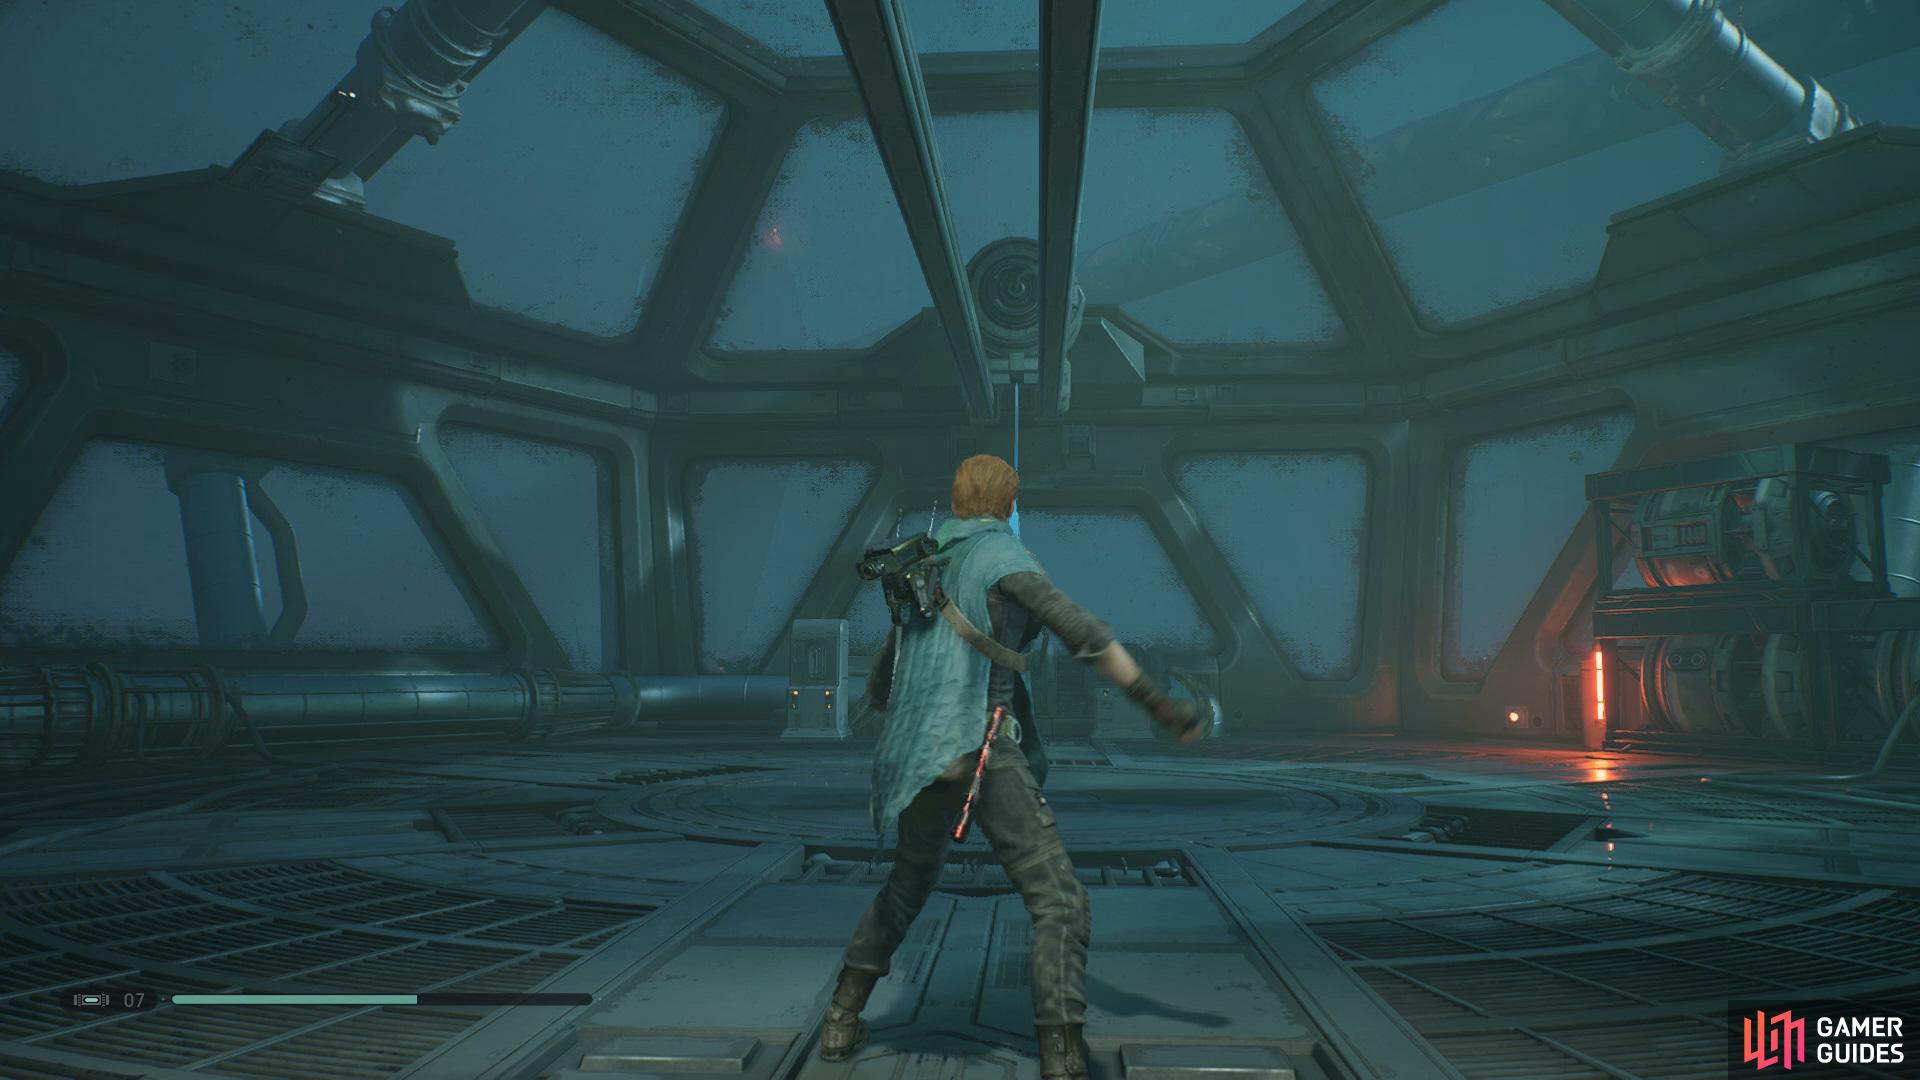
After the power has been hooked up, interact with the control panel to cause a large explosion. Now exit the room and head left, Force Pull the glass on the right to cause the water to break through and then begin swimming to the right and eventually you’ll pop back out again. Use the Meditation Point and then head through the door ahead to enter the Inner Fortress, here you’ll want to take out the enemies and then go up the stairs to interact with the control panel, now drop back down and get BD-1 to open the door and proceed through.
Interact with the control panel
and then head in the open room to take out some enemies.
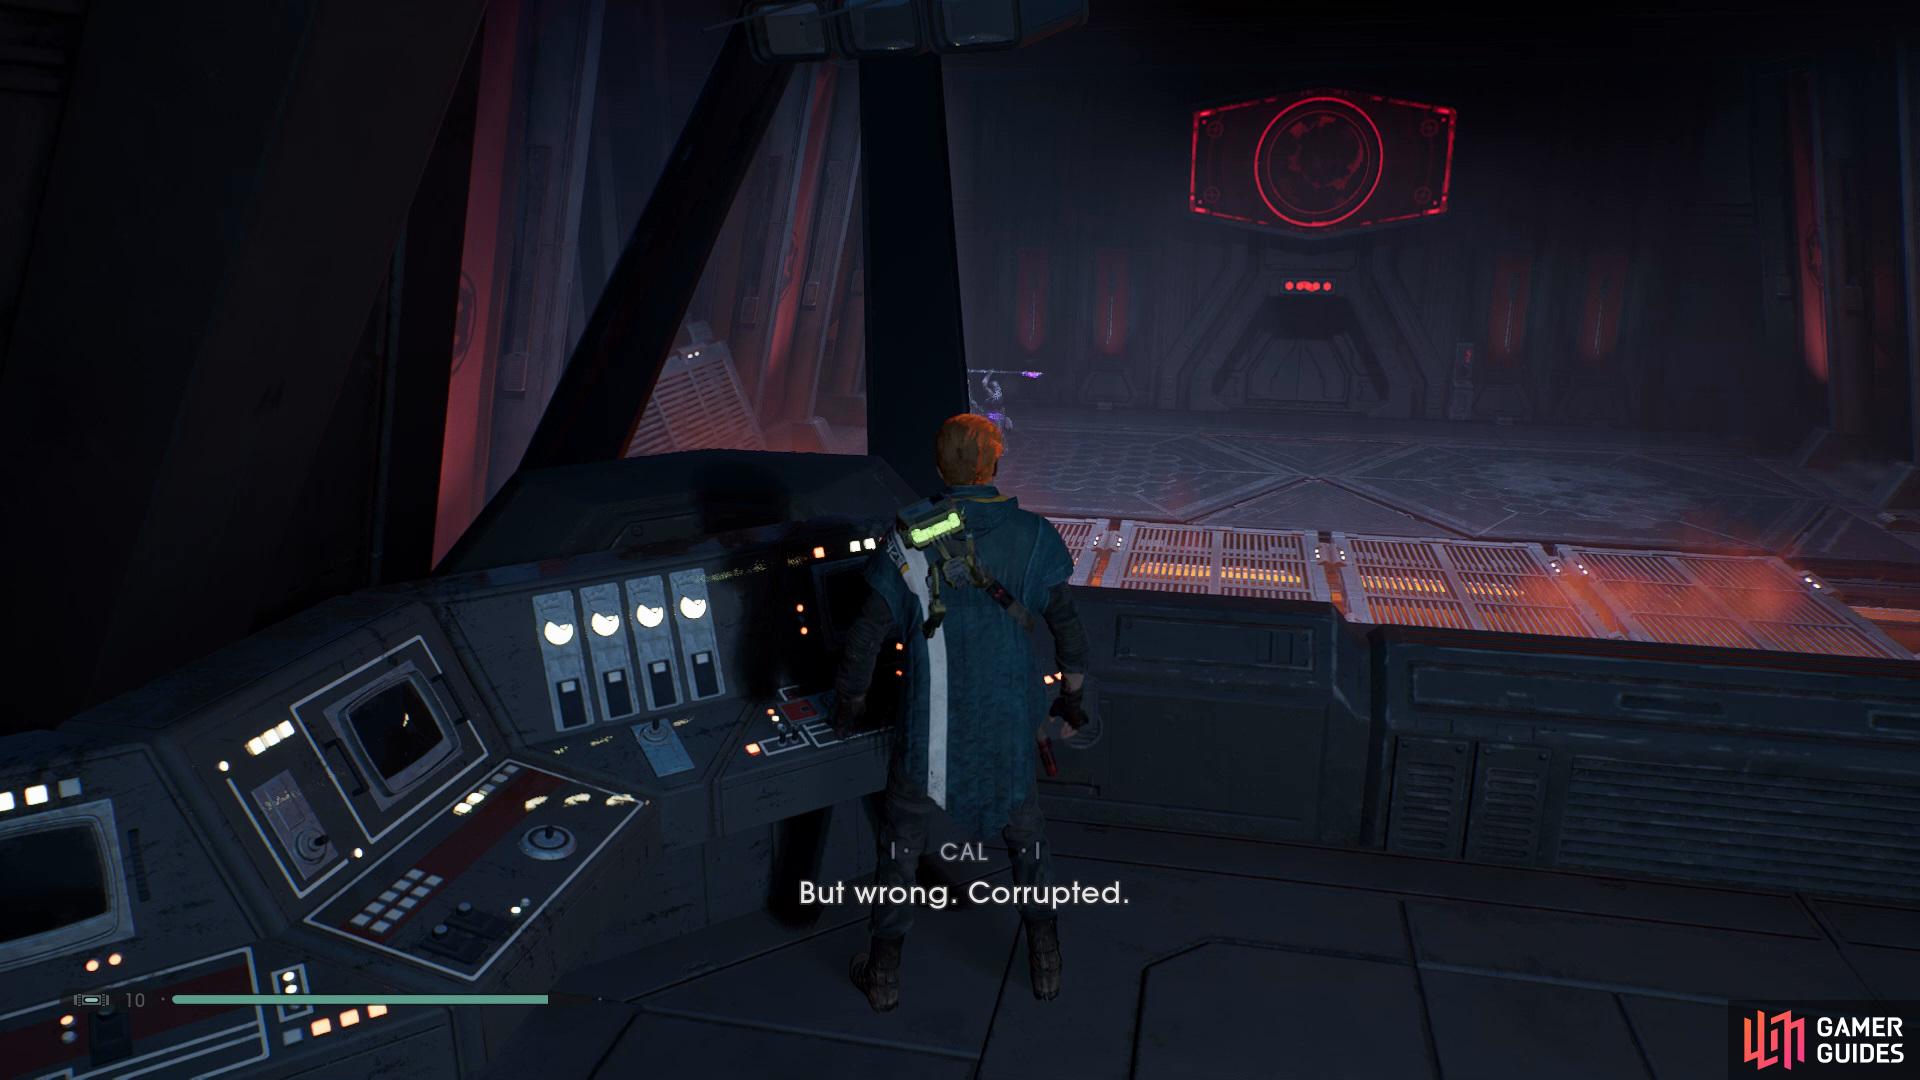
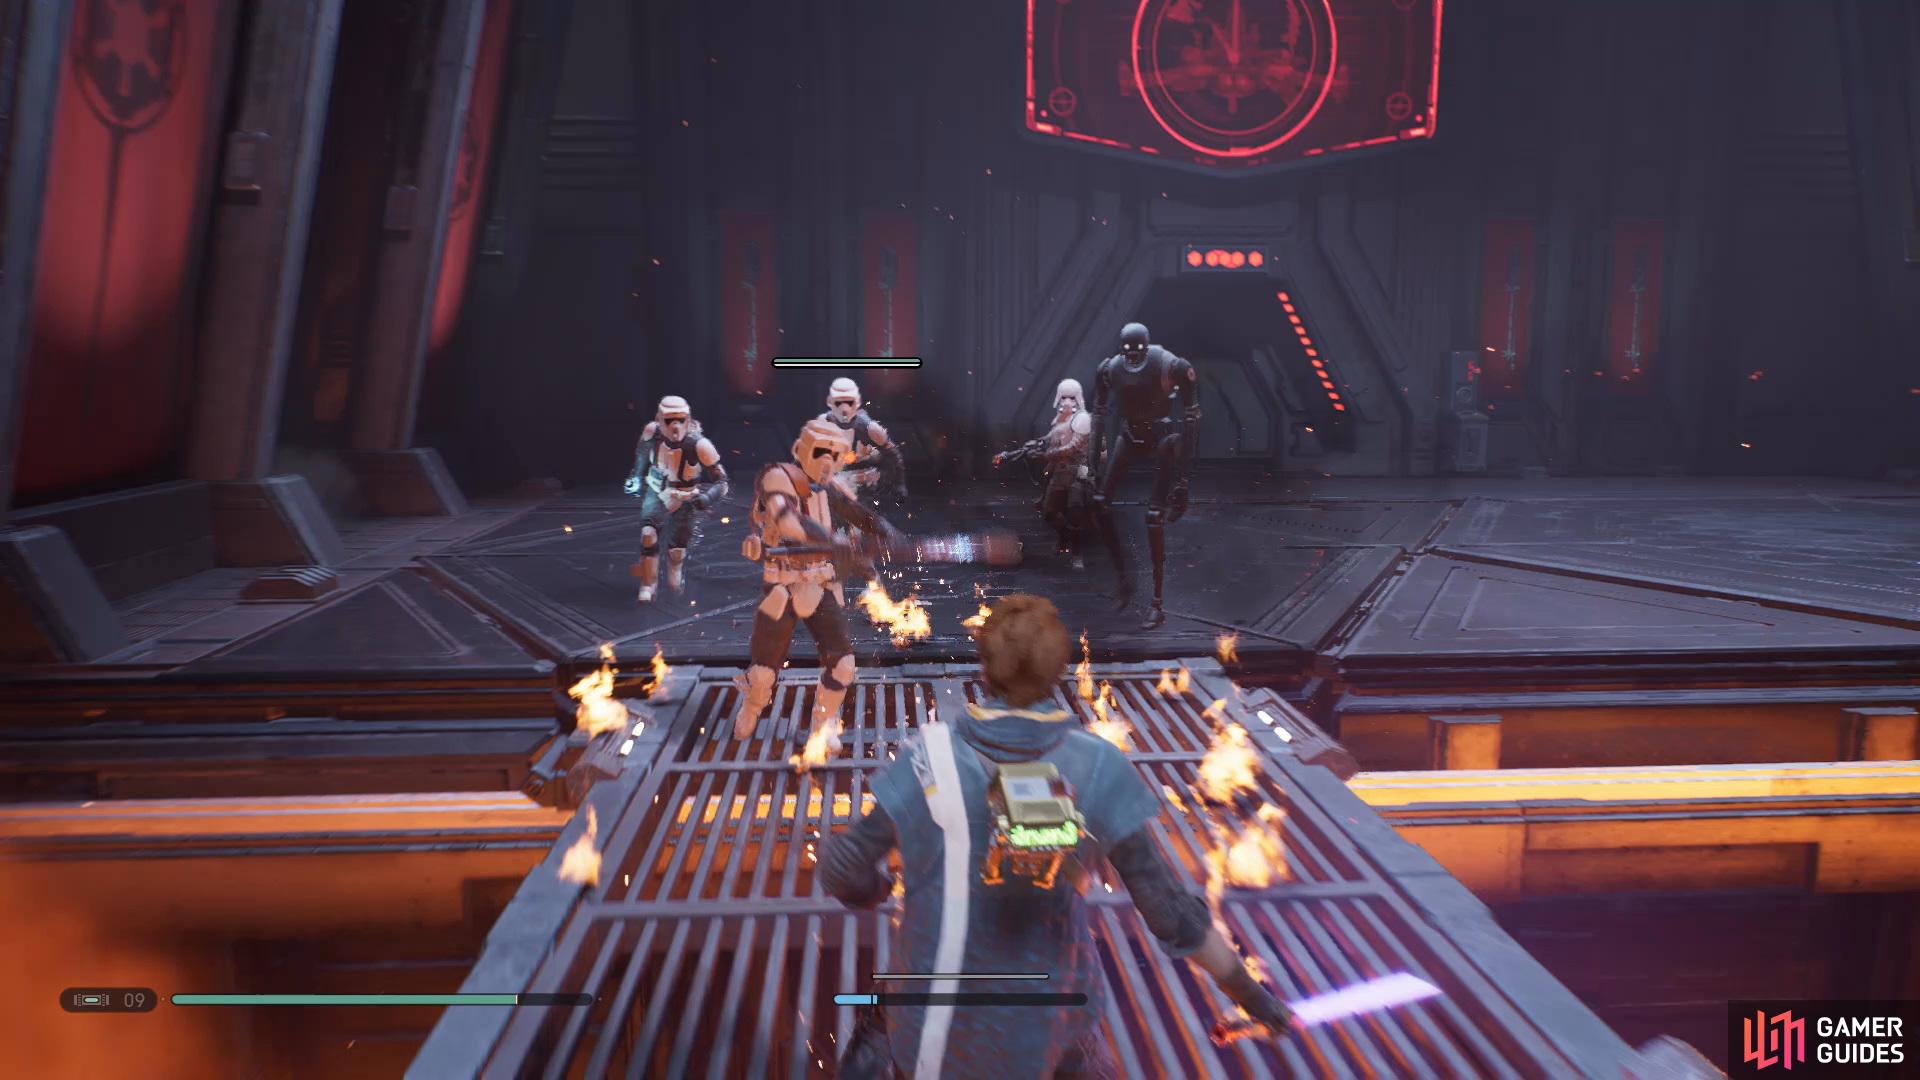
In this next room you’ll face a few waves of Security Droids and Stormtroopers but don’t worry as you can easily just Force Push them into the holes. After all the waves have been defeated use the Meditation Point to restock any used Stims and then proceed into the room ahead, here you’ll want to Force Push the enemy on the same level as you off the side and then deflect the bullets of the other Stormtroopers back at them. Once they’ve been taken out, interact with the control panel on the left to view a short cutscene.
Deflect all the bullets to take out the Stormtroopers and then help Cere
now extend the bridge and run across.
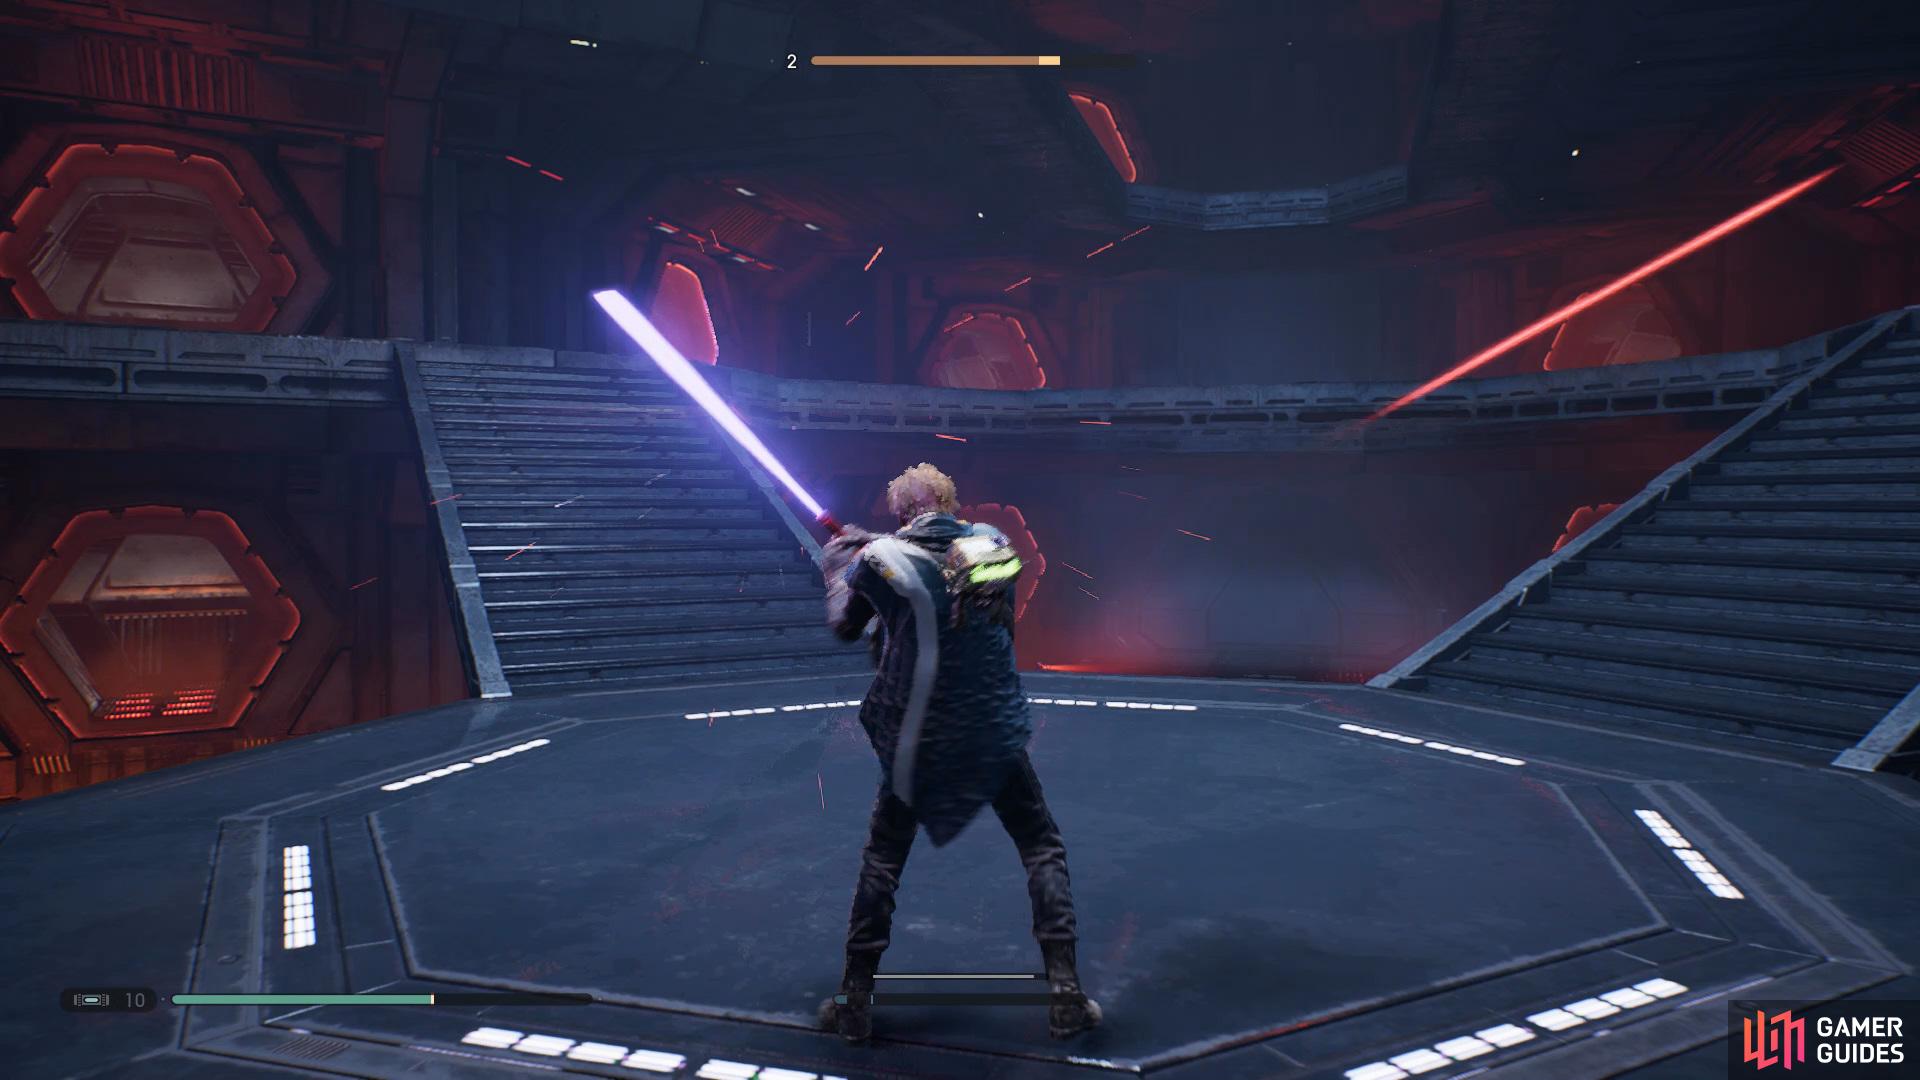
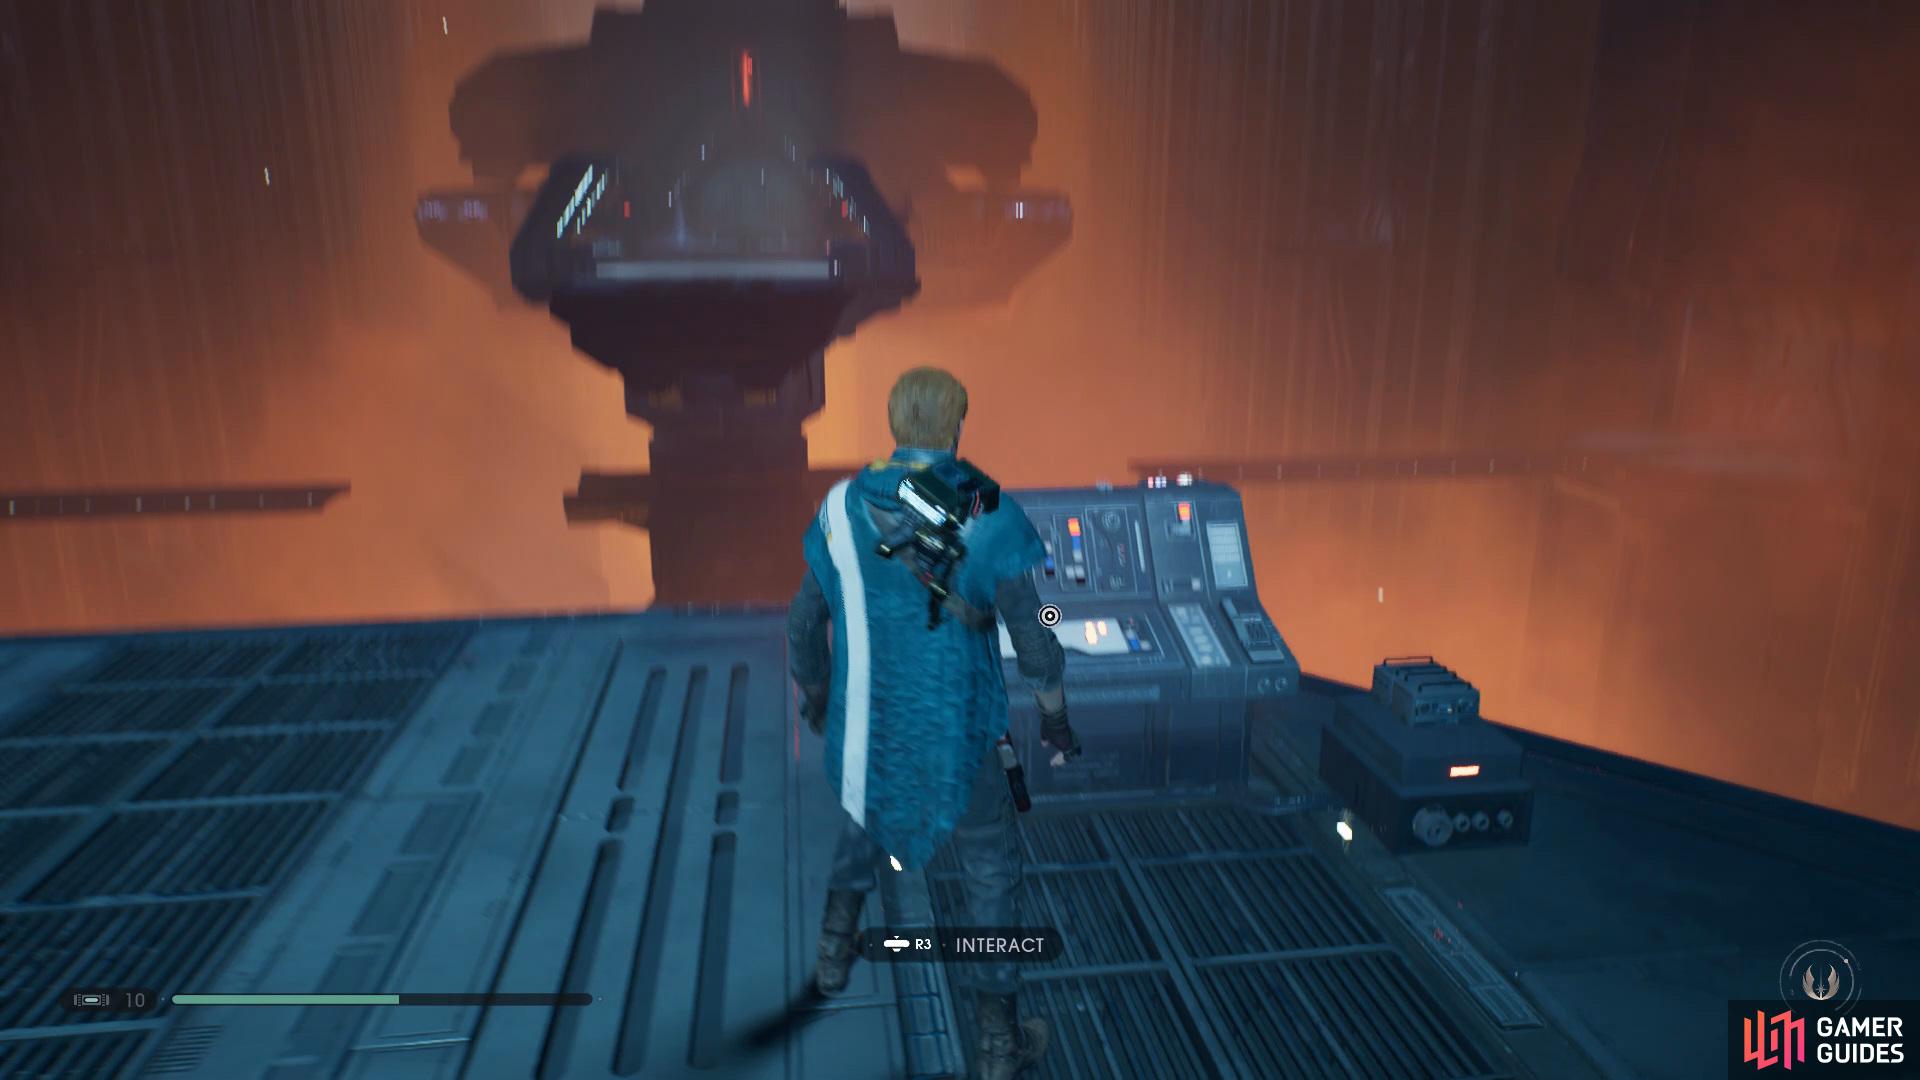
After the cutscene has ended, head through the door that is now open thanks to Cere’s help and then extend the bridges to allow you to reach the opposite side. Head through the door and interact with the control panel to begin the final battle against Trilla.
Boss: Trilla Suduri

Boss: Trilla Suduri
The first phase of this final showdown against Trilla will involve her using the same attacks from the previous battles, but once you get her down to half health a short cutscene will play out and then Phase two will begin. In this next phase Trilla will bring a few new moves to the table which can quickly kill you if you aren’t prepared.
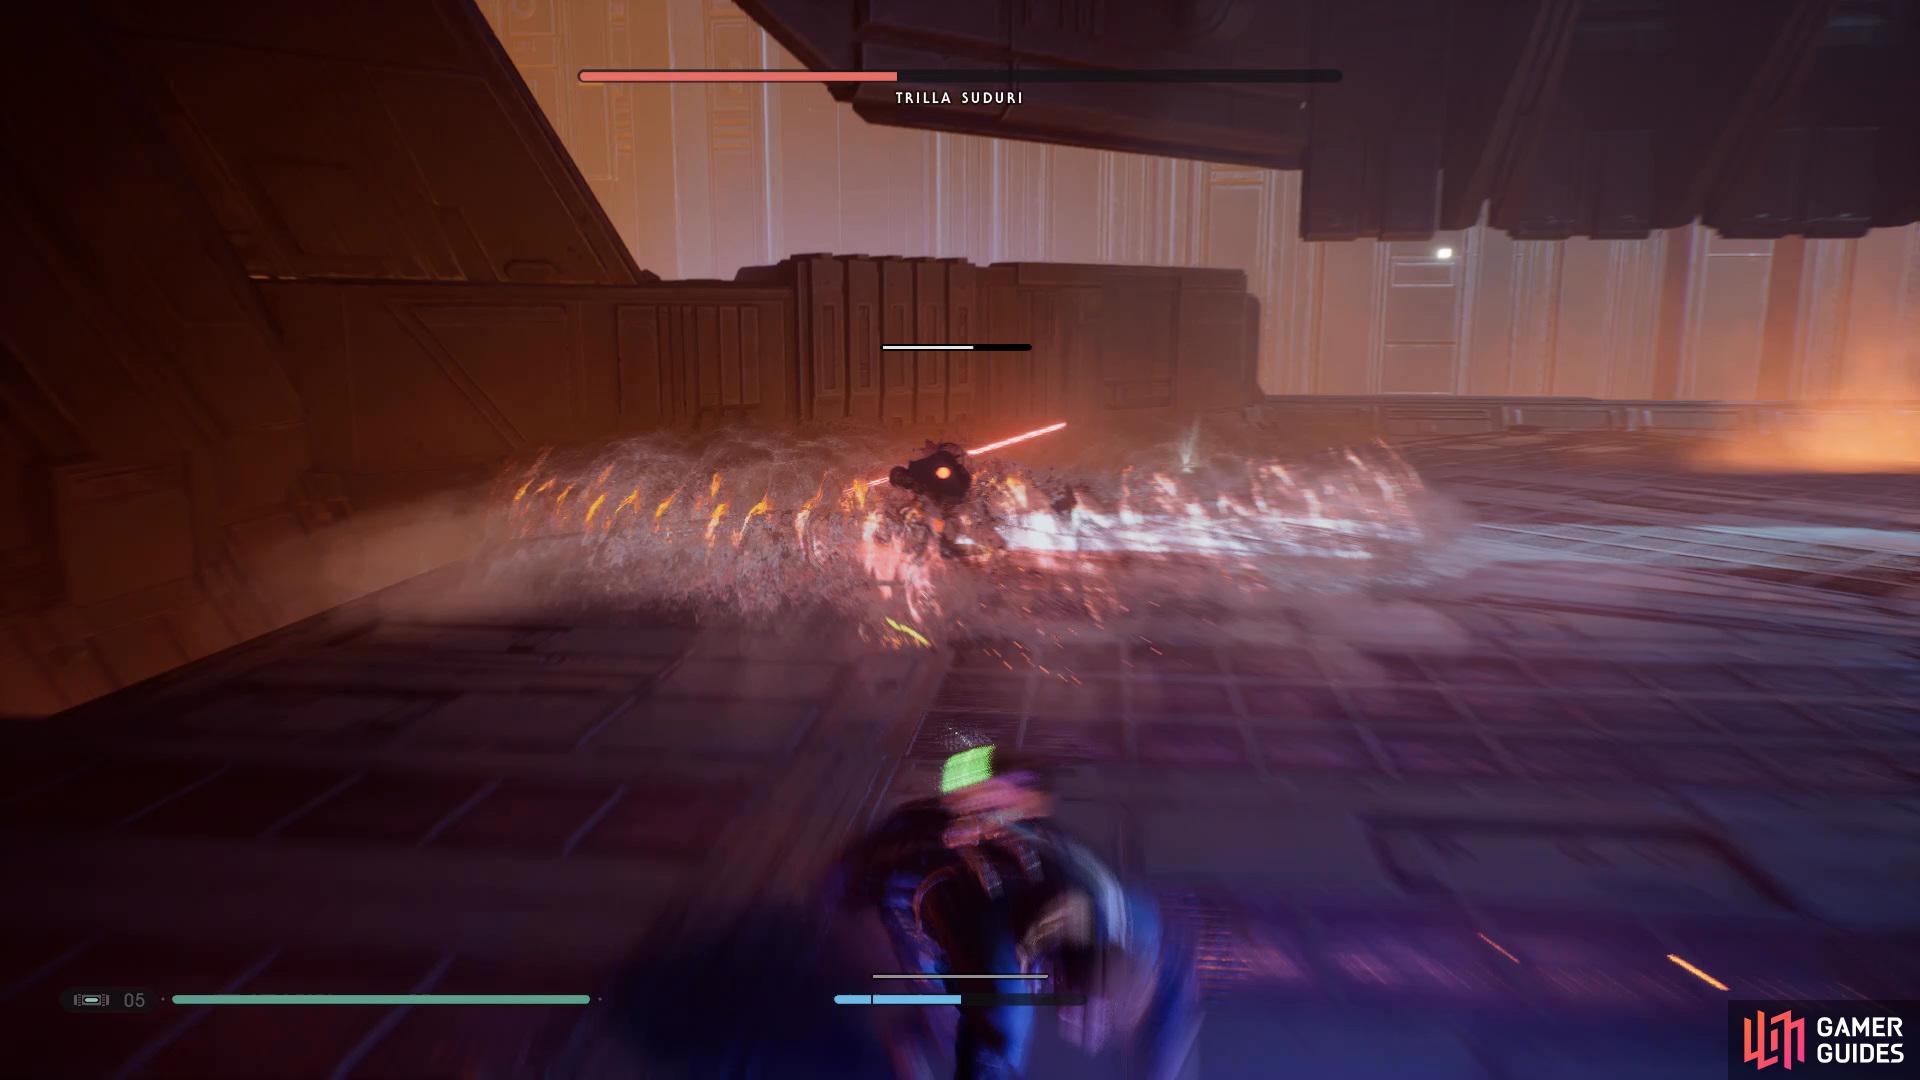
Make sure to jump over the large shockwave
and then heal up immediately after she’s drained your health.
The major difference in this phase is that she’ll regularly throw flash grenades on the floor and then perform a variety of different attacks, the most damaging one will involve her slamming down onto the ground causing a shockwave to occur. You’ll need to quickly hop over this or it will take out a chunk of health as well as stunning you momentarily. She’ll throw more grenades throughout the battle but perform different follow ups such as dashing towards you and stabbing her Lightsaber in the ground.
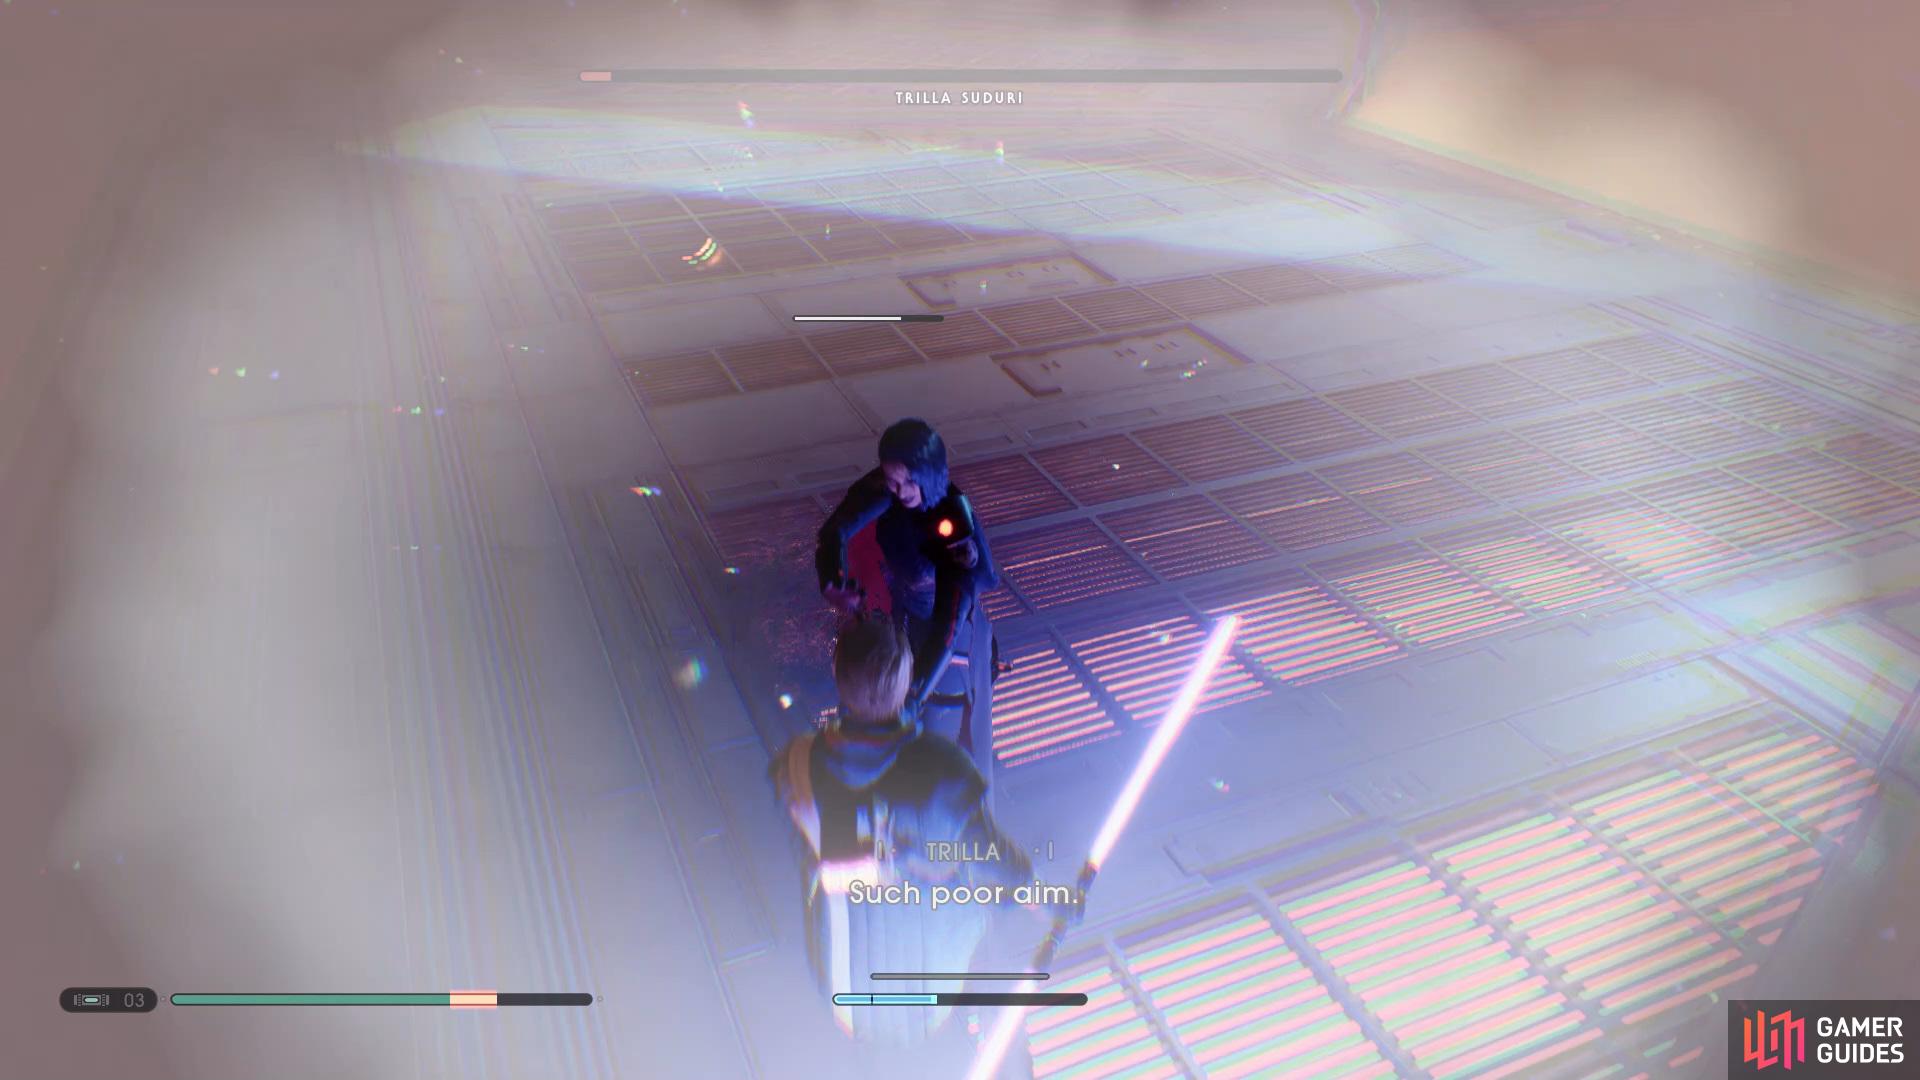
Throughout the battle she’ll attempt to grab you and drain some of your health, so make sure you’re always ready to pop those Stims. When she isn’t using the red attacks make sure to Force Push her over when she is coming towards you to get a few hits on her.
Escape back to the Mantis
Follow the instructions on screen
and then quickly sprint towards the lift.
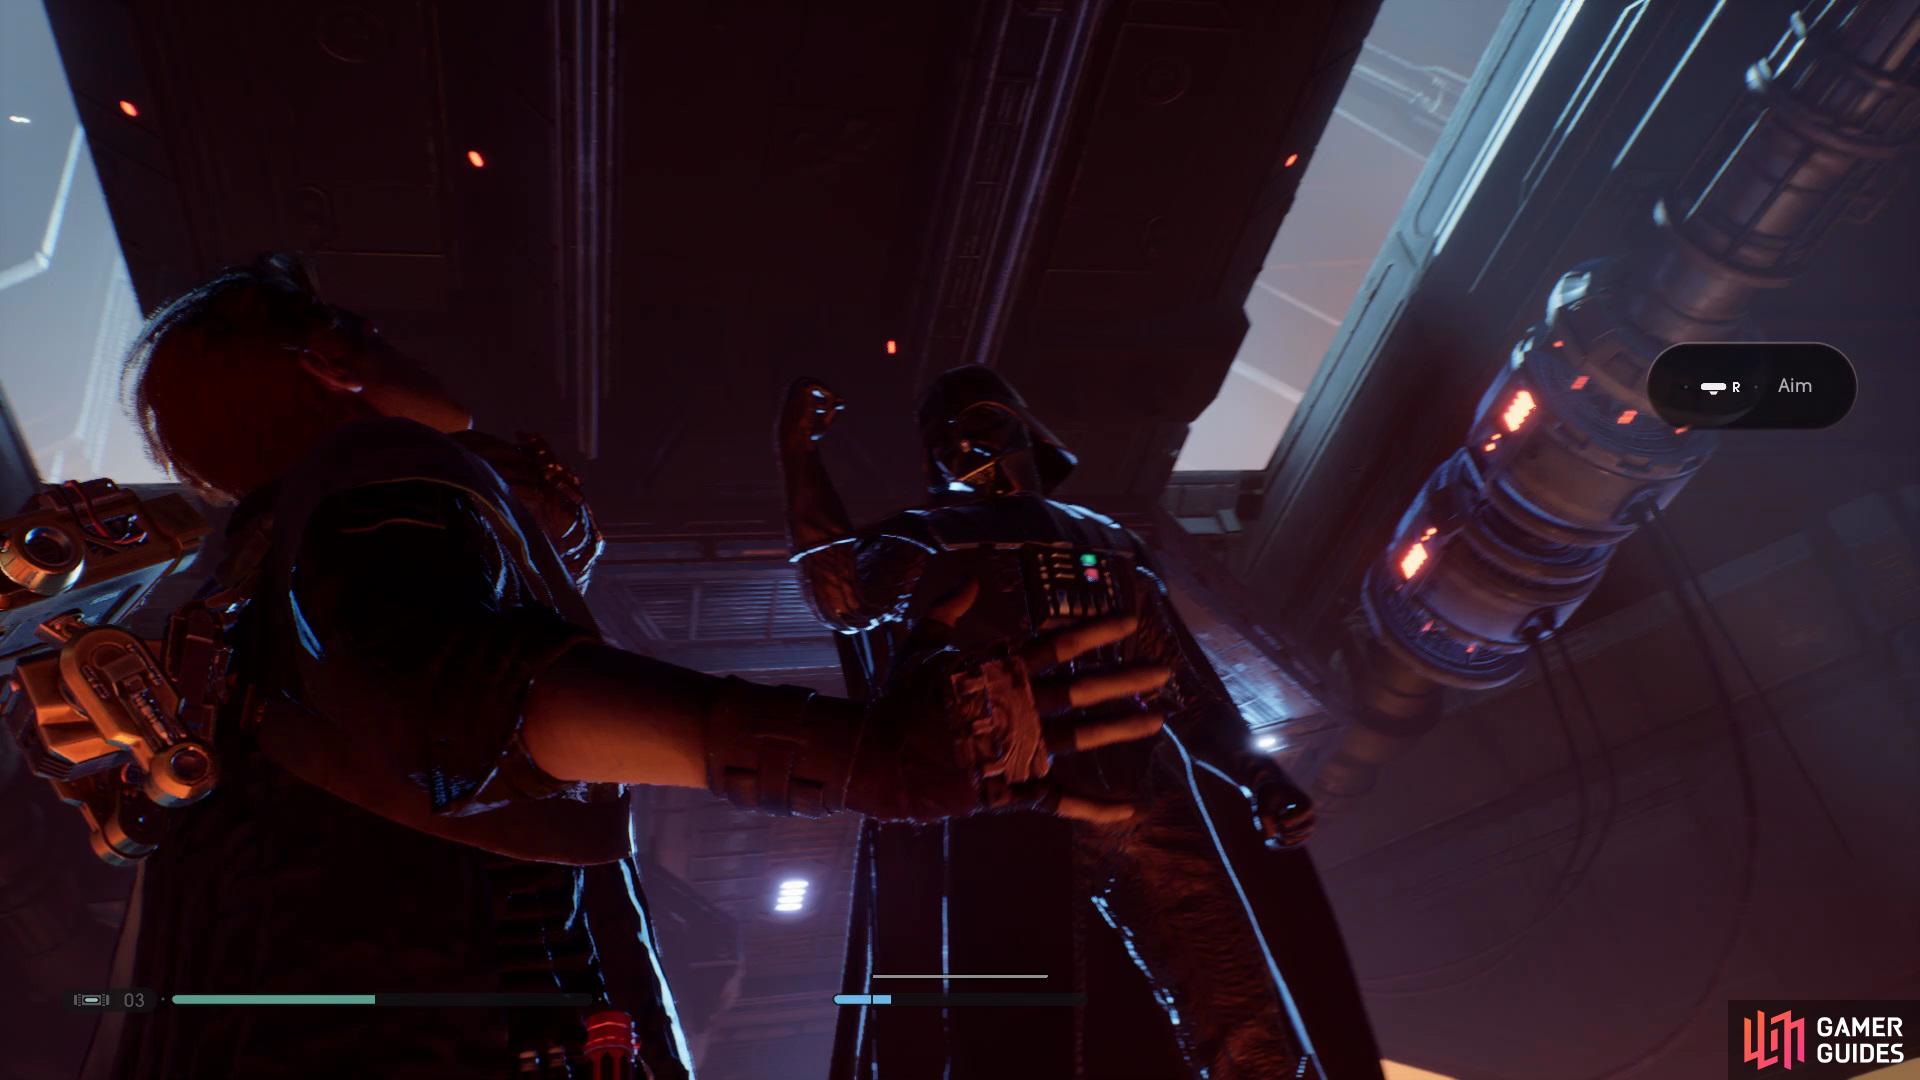
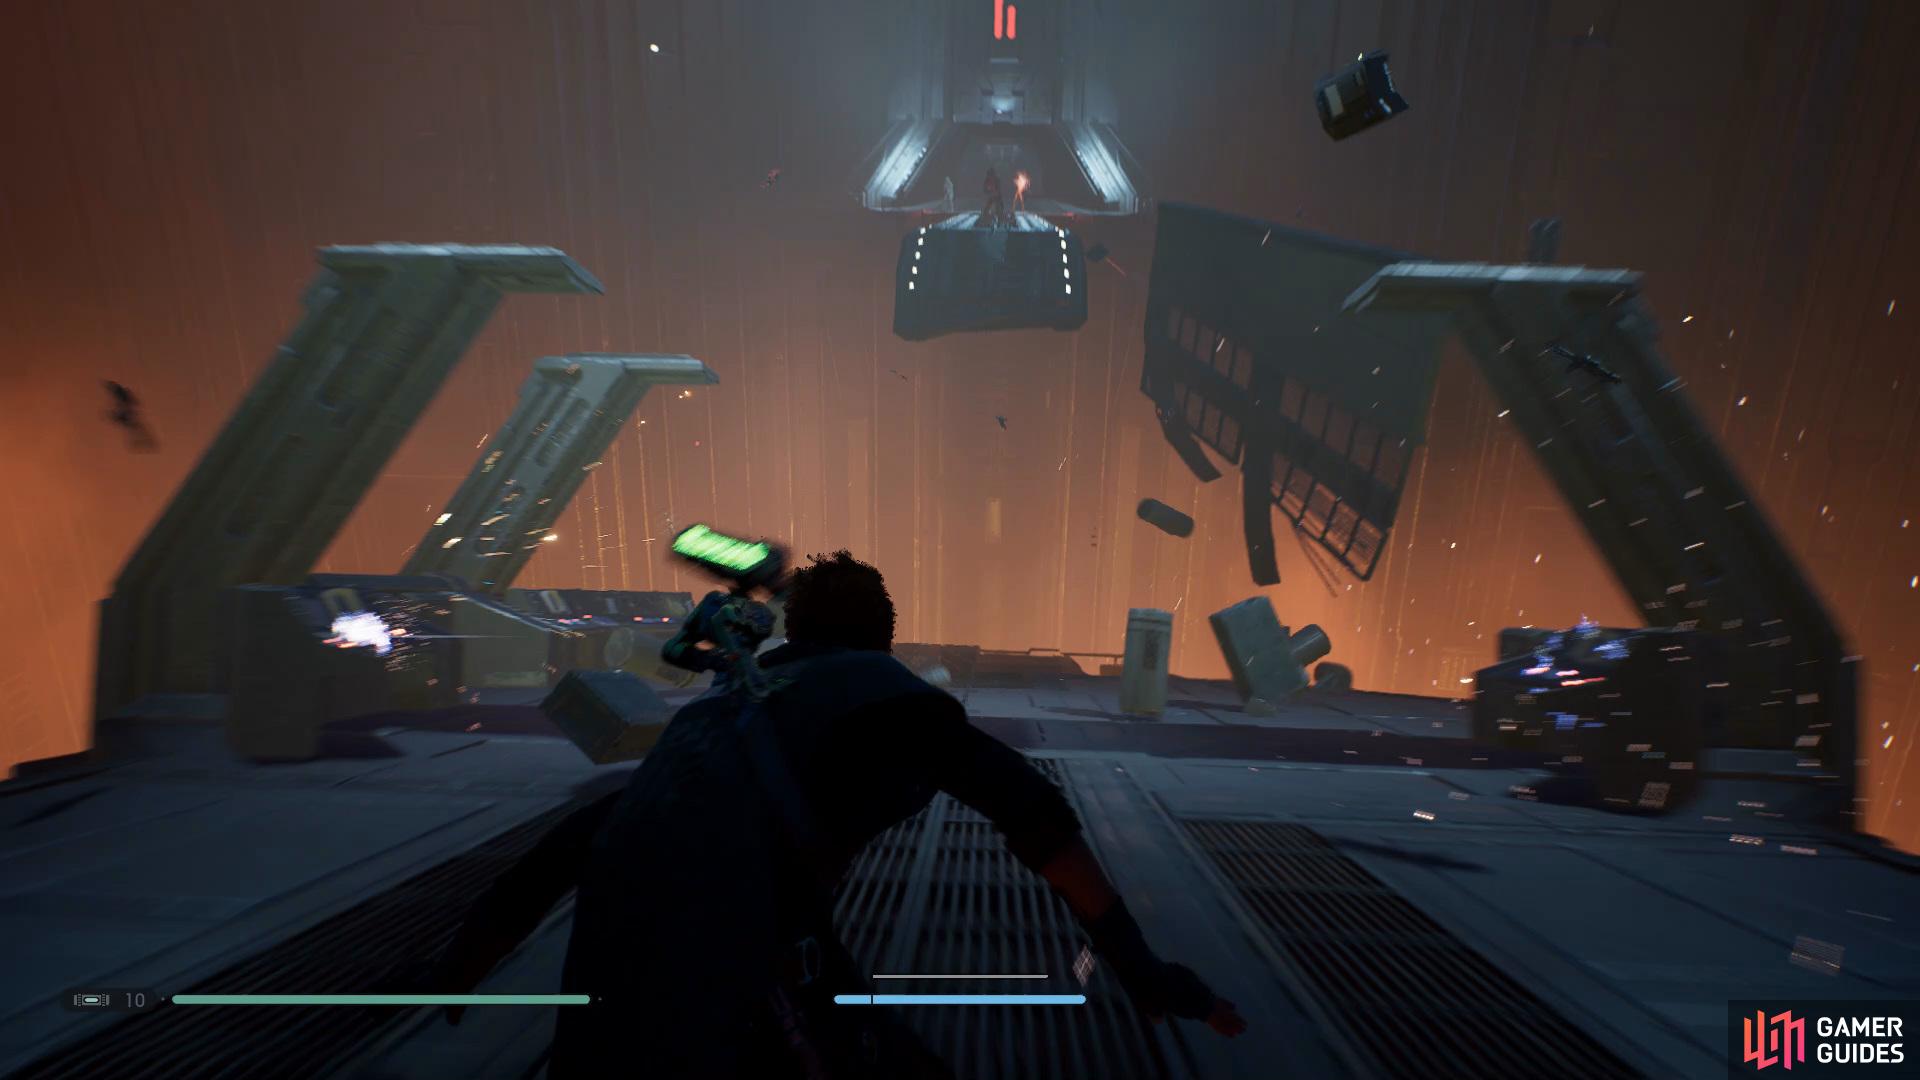
After Trilla Sunduri has been defeated you’ll be approached by Darth Vader, here you’ll want to perform any attack on him and then he’ll pull you towards him, quickly use Force Pull yourself to get a piece of the arena to distract him and then you’ll be pushed away. Now you’ll want to quickly make a run back to the lift on the opposite side and take it up before the ground gets fully destroyed.
Once you’ve made it up to the Tower Transit Passage, follow the direct path along and then open the door to trigger a cutscene. After it has concluded you’ll have successfully conquered the galaxy… For now.


No Comments