
Obtaining the Scomp Link
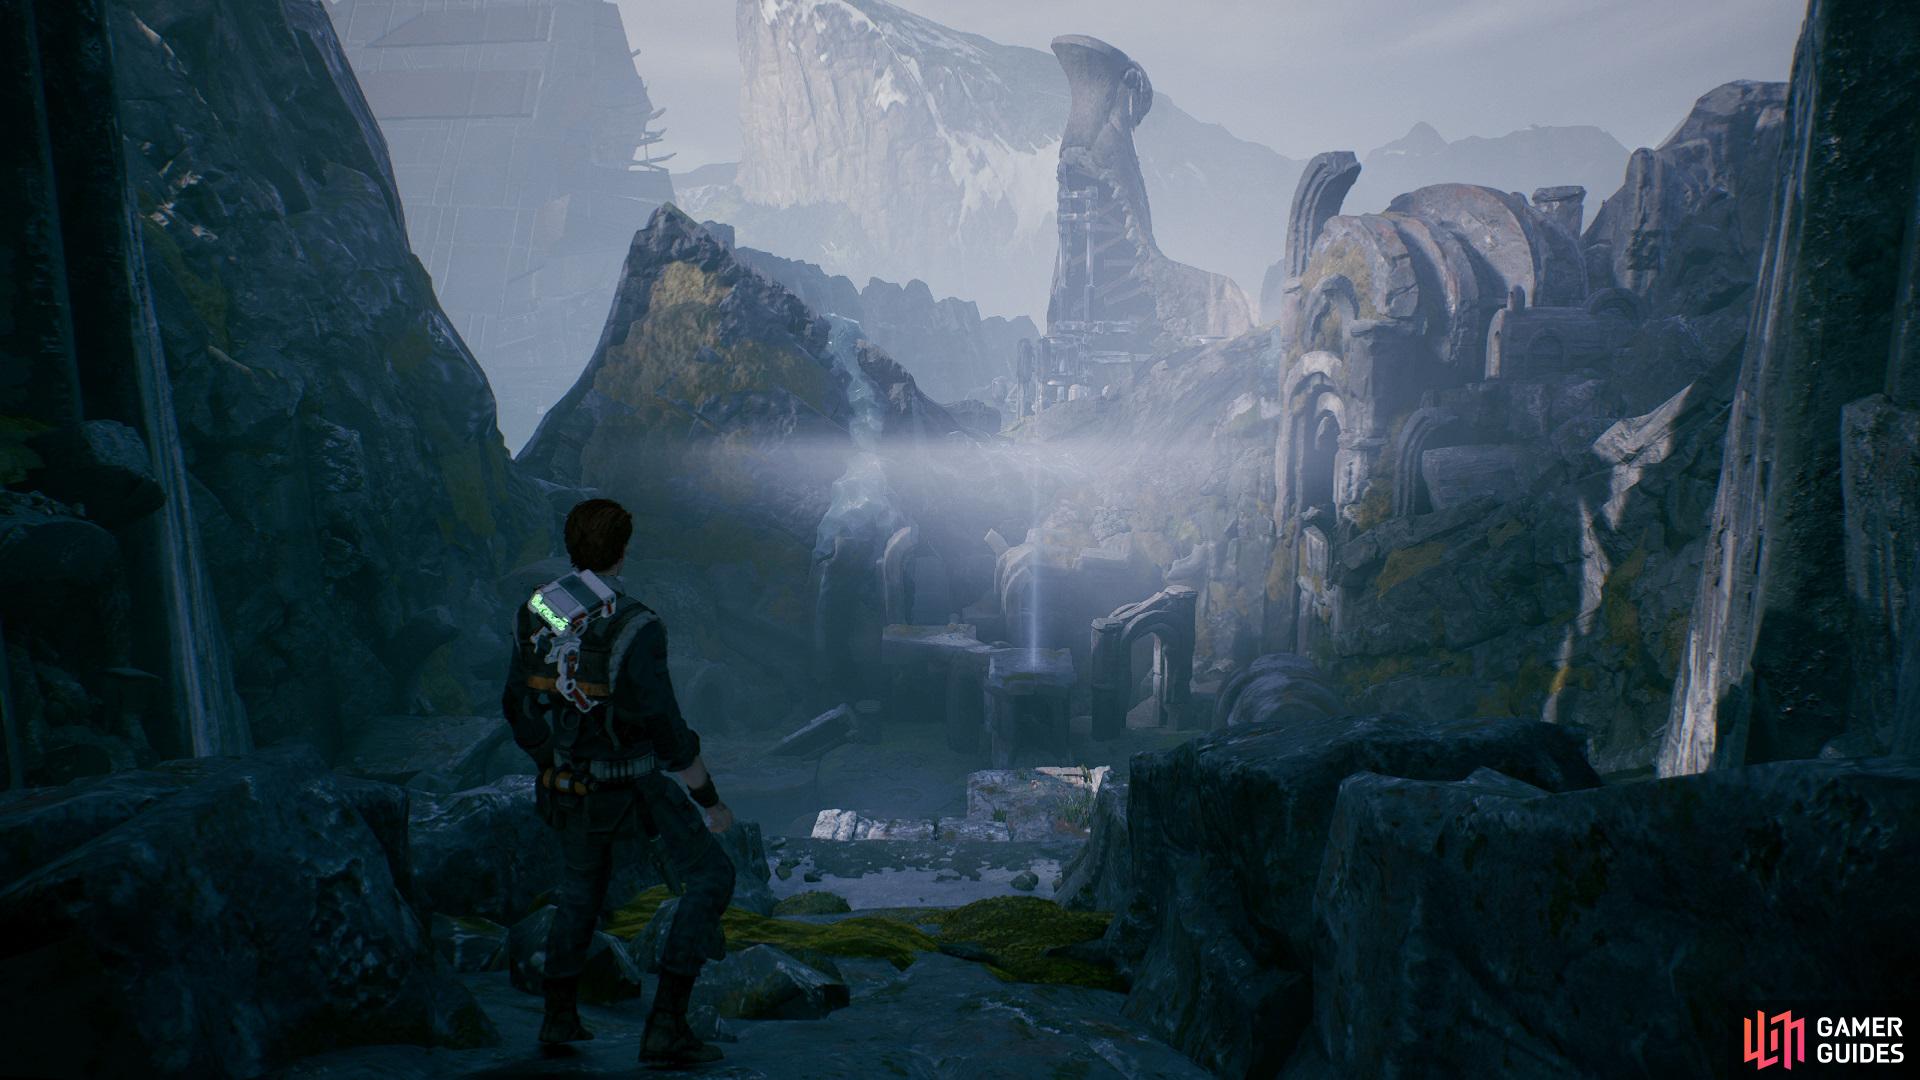
Take the lift out of the Tomb and head into the Windswept Ruins, take out all the Stormtroopers that are waiting for you and then use your new Force Push Ability to get some items you couldn’t previously. To begin, go left and use the wind to blow you up to the second platform that contains a Chest with the Osmiridium Lightsaber Material inside.
Drop down and head to the entrance of the ruins where you’ll find a wall that can now be broken with Force Push, step inside to collect the Zeffo Rituals Force Echo. Now make your way up and break open another wall, take out the droid by deflecting the bullets and then slide down the icy path into Weathered Monument, drop down and open the fractured wall by using Force Push.
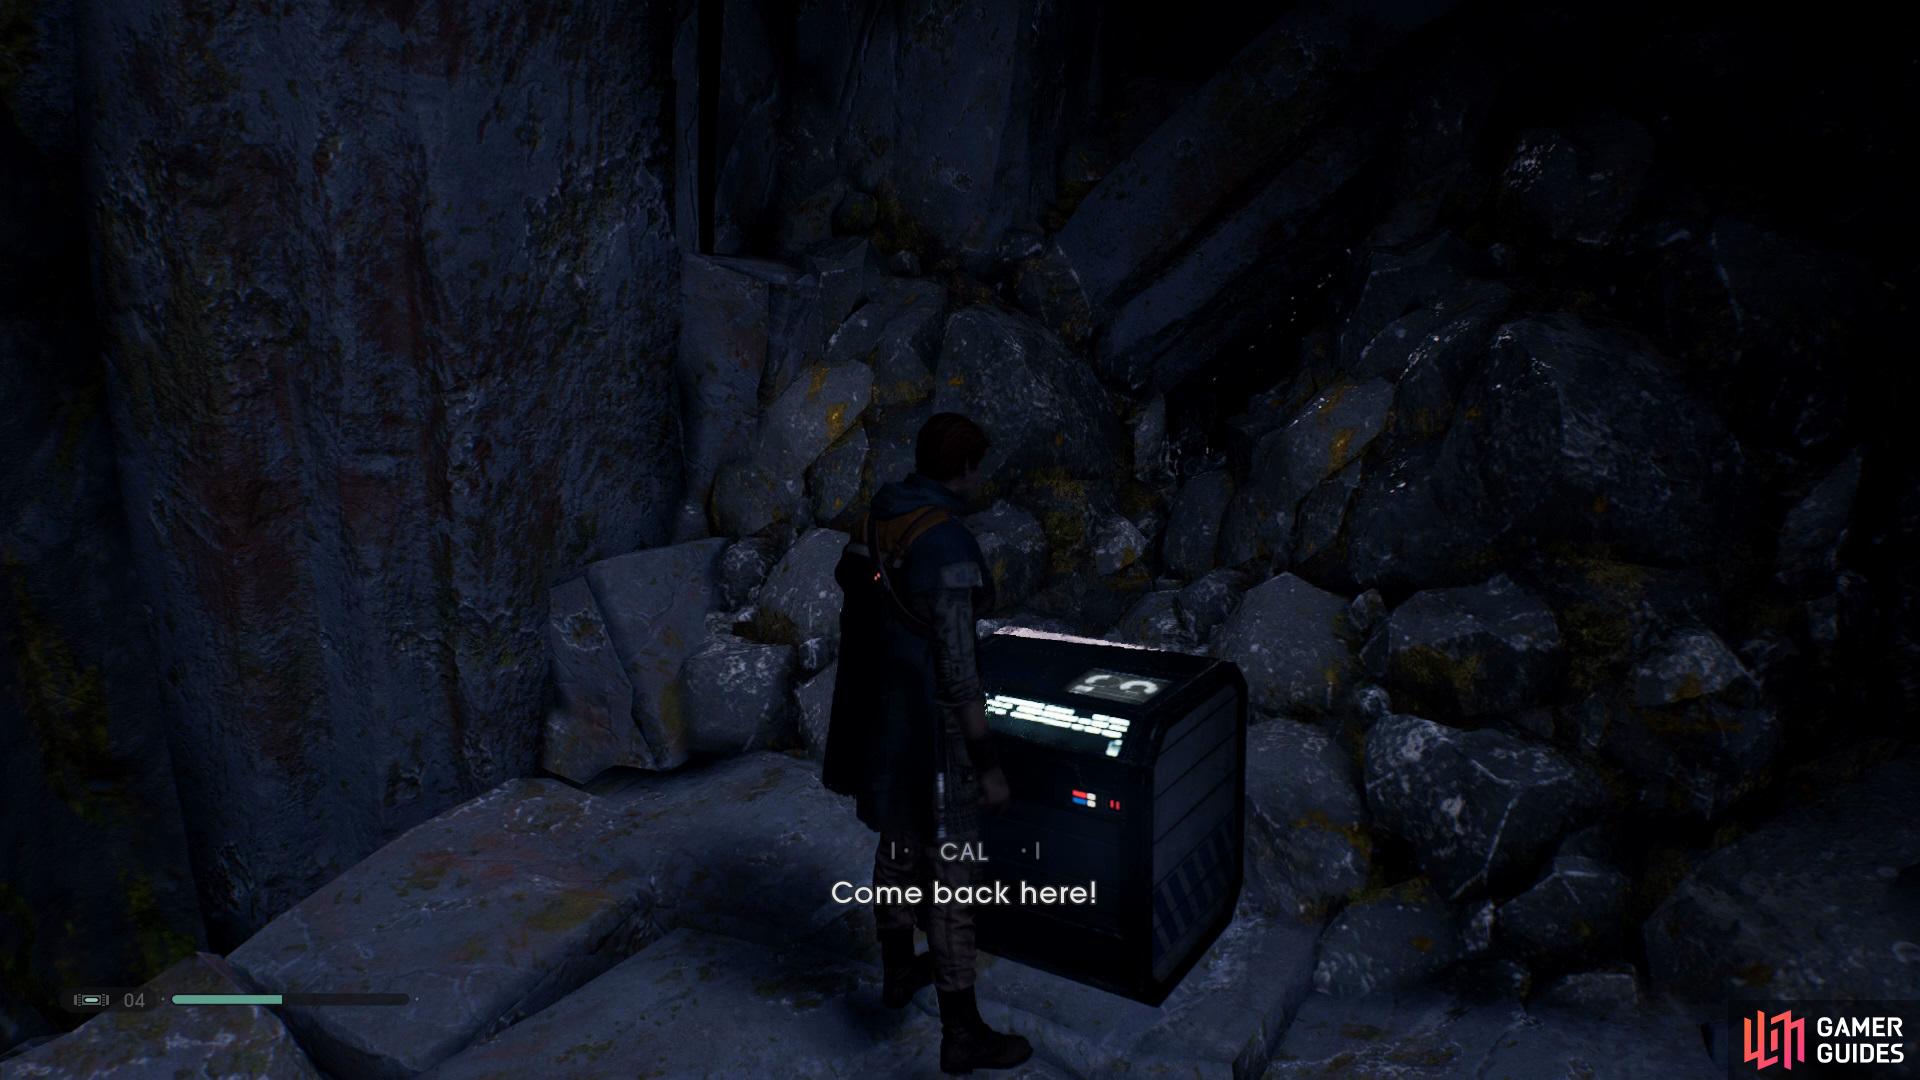
Step inside and follow the path around to find a workstation that BD-1 is eager for you to check out as it holds the Scomp Link, after it has been attached make your way up to the entrance of the room, but make sure to grab the Chest with the Occulation Mantis Paint Job on the way up.
Adventuring through the Imperial Headquarters
Take the zip line down and then go right to let BD-1 open the now accessible door, inside will be a Chest that contains the Duty and Resolve II Lightsaber Switch, exit the room and head all the way up to the left and enter the Imperial Headquarters.
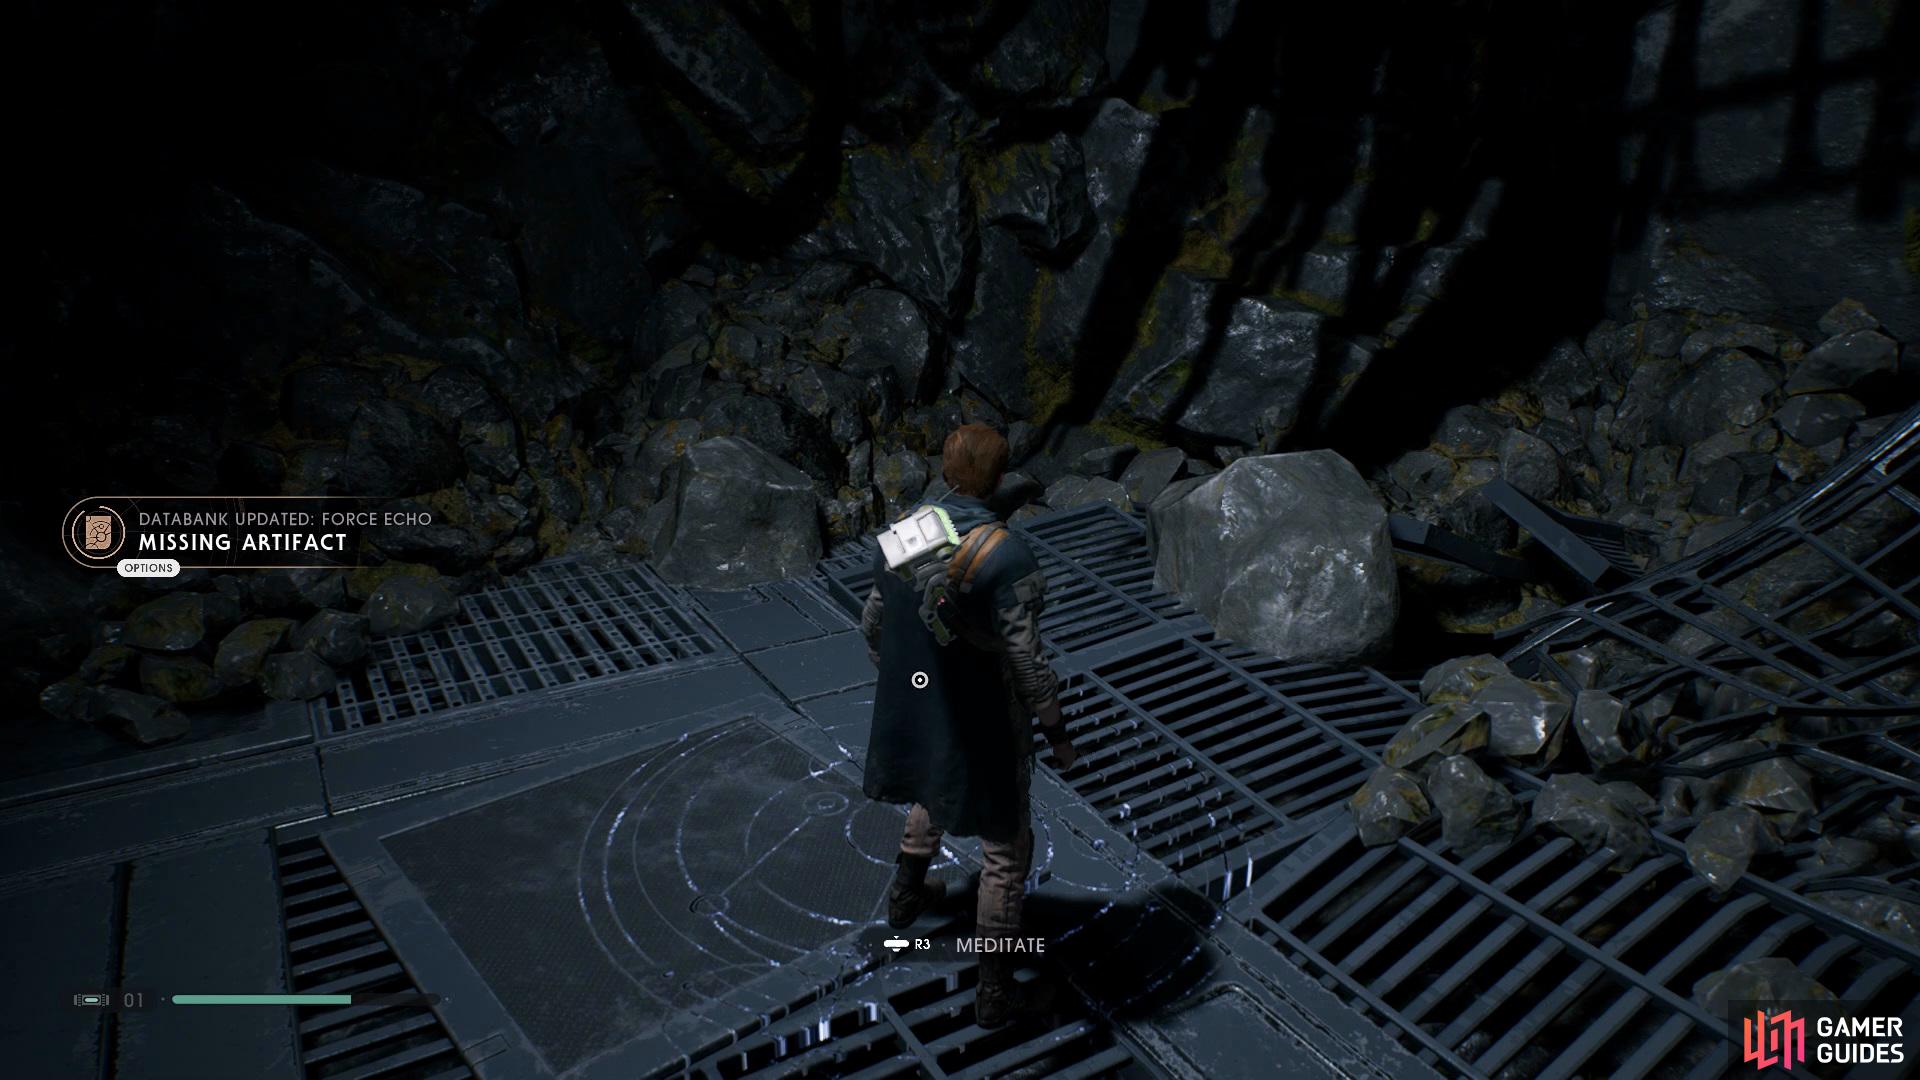
(1 of 3) Enter the room on the right of the entrance in the Imperial Headquarters to find a meditation point alongside the Missing Artifact Force Echo
Inside you’ll need to stand back and deflect all the bullets that are being fired at you to kill all the Stormtroopers, after the they have been cleared out, get BD-1 to open up the door near the entrance to find a Meditation Point along with the Missing Artifact Force Echo. Exit the room and proceed straight to find a path leading outside, shimmy across the ledge until you’re able to climb up.
Wait for the Jotaz to take out the guards and then take him on, simply circle around him whilst making use of Force Slow and attack him. After he has been taken care of head back inside and go right, slow down the fan up on the left and climb up, continue right and take out the guards and then go right again to take down a lift which will open up a shortcut.
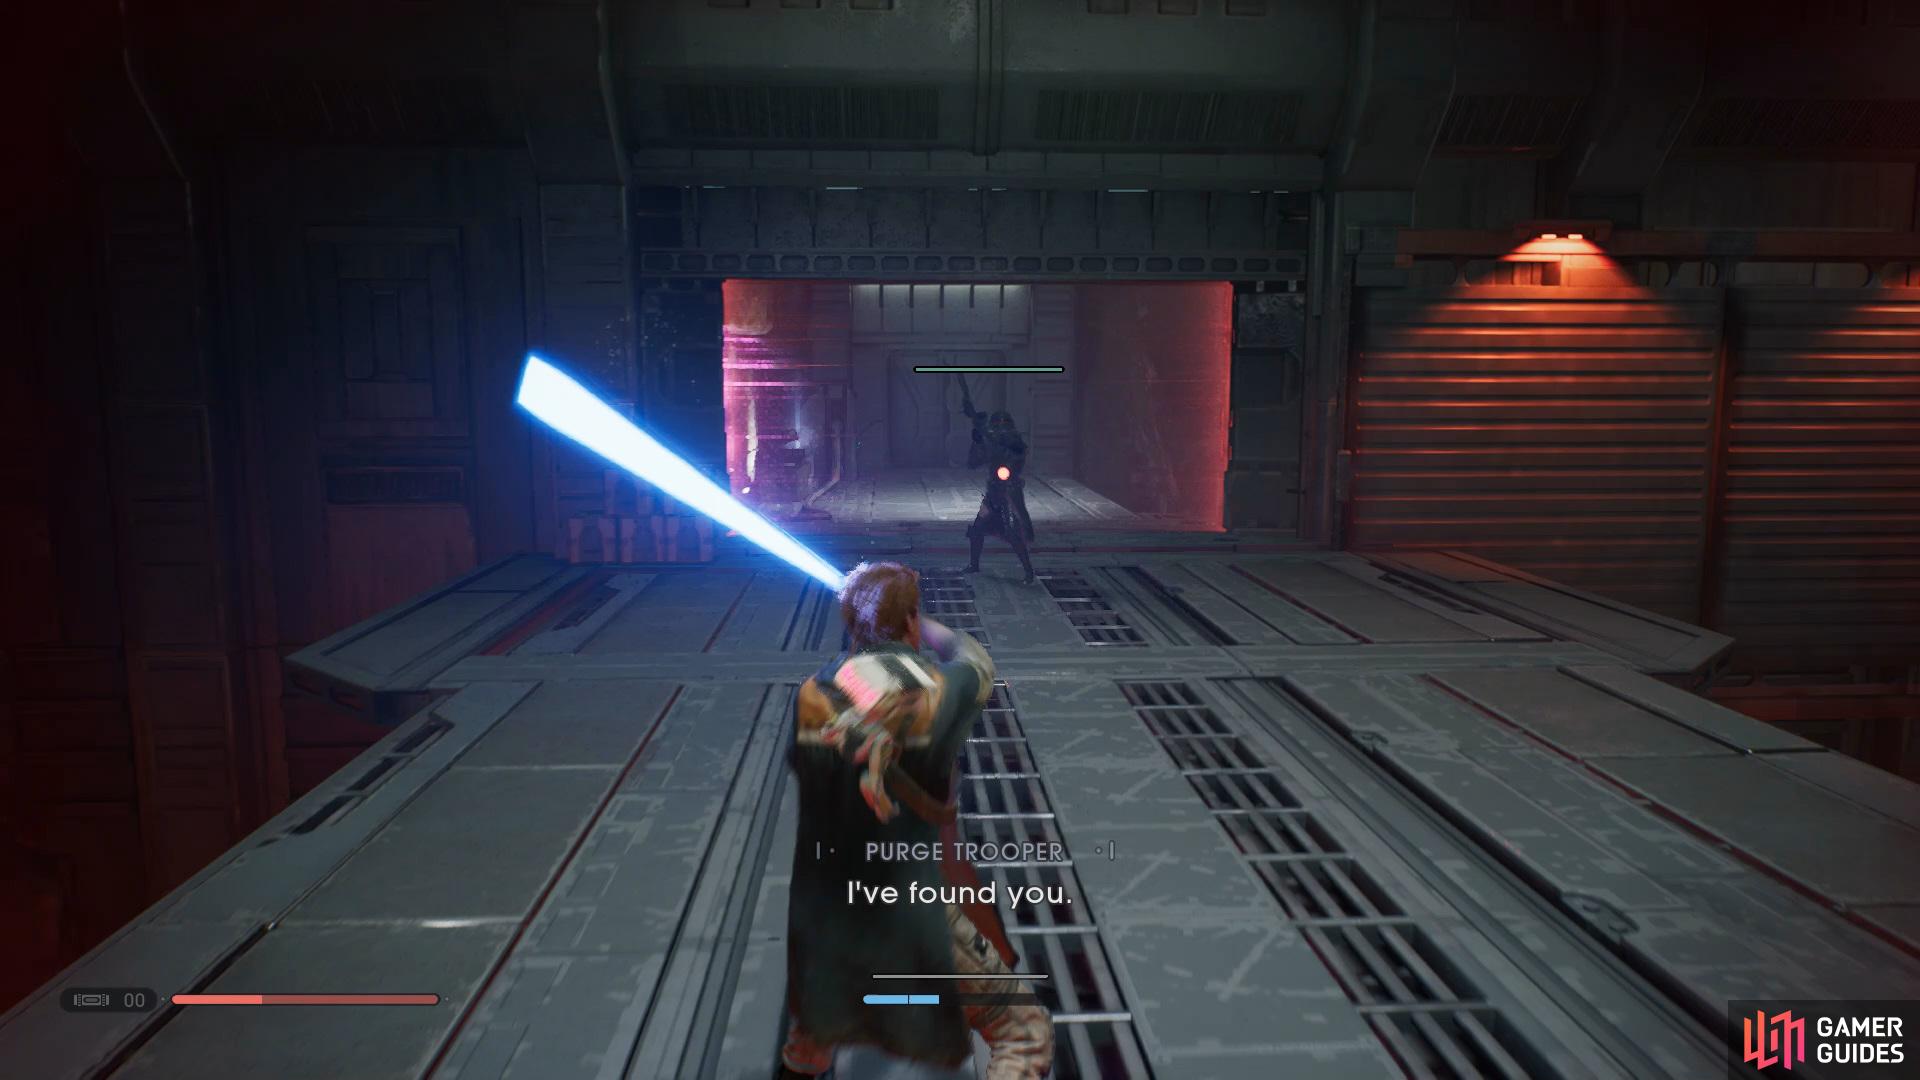
To take out the Purge Trooper, simply Force Push him off the side or use Force Slow and hit 2-3 times.
Take the lift back up and get BD-1 to open the door for you, step inside to take on the Purge Trooper Commander, in order to defeat this enemy, it’s pretty simple as you can either Force Push him off the side or just use Force Slow and attack him 2-3 times to kill him. After you’ve taken out the Trooper, Wall Run across to the right and follow the path around to take an Icy path down to a Crash Site.
Exploring the Crash Site
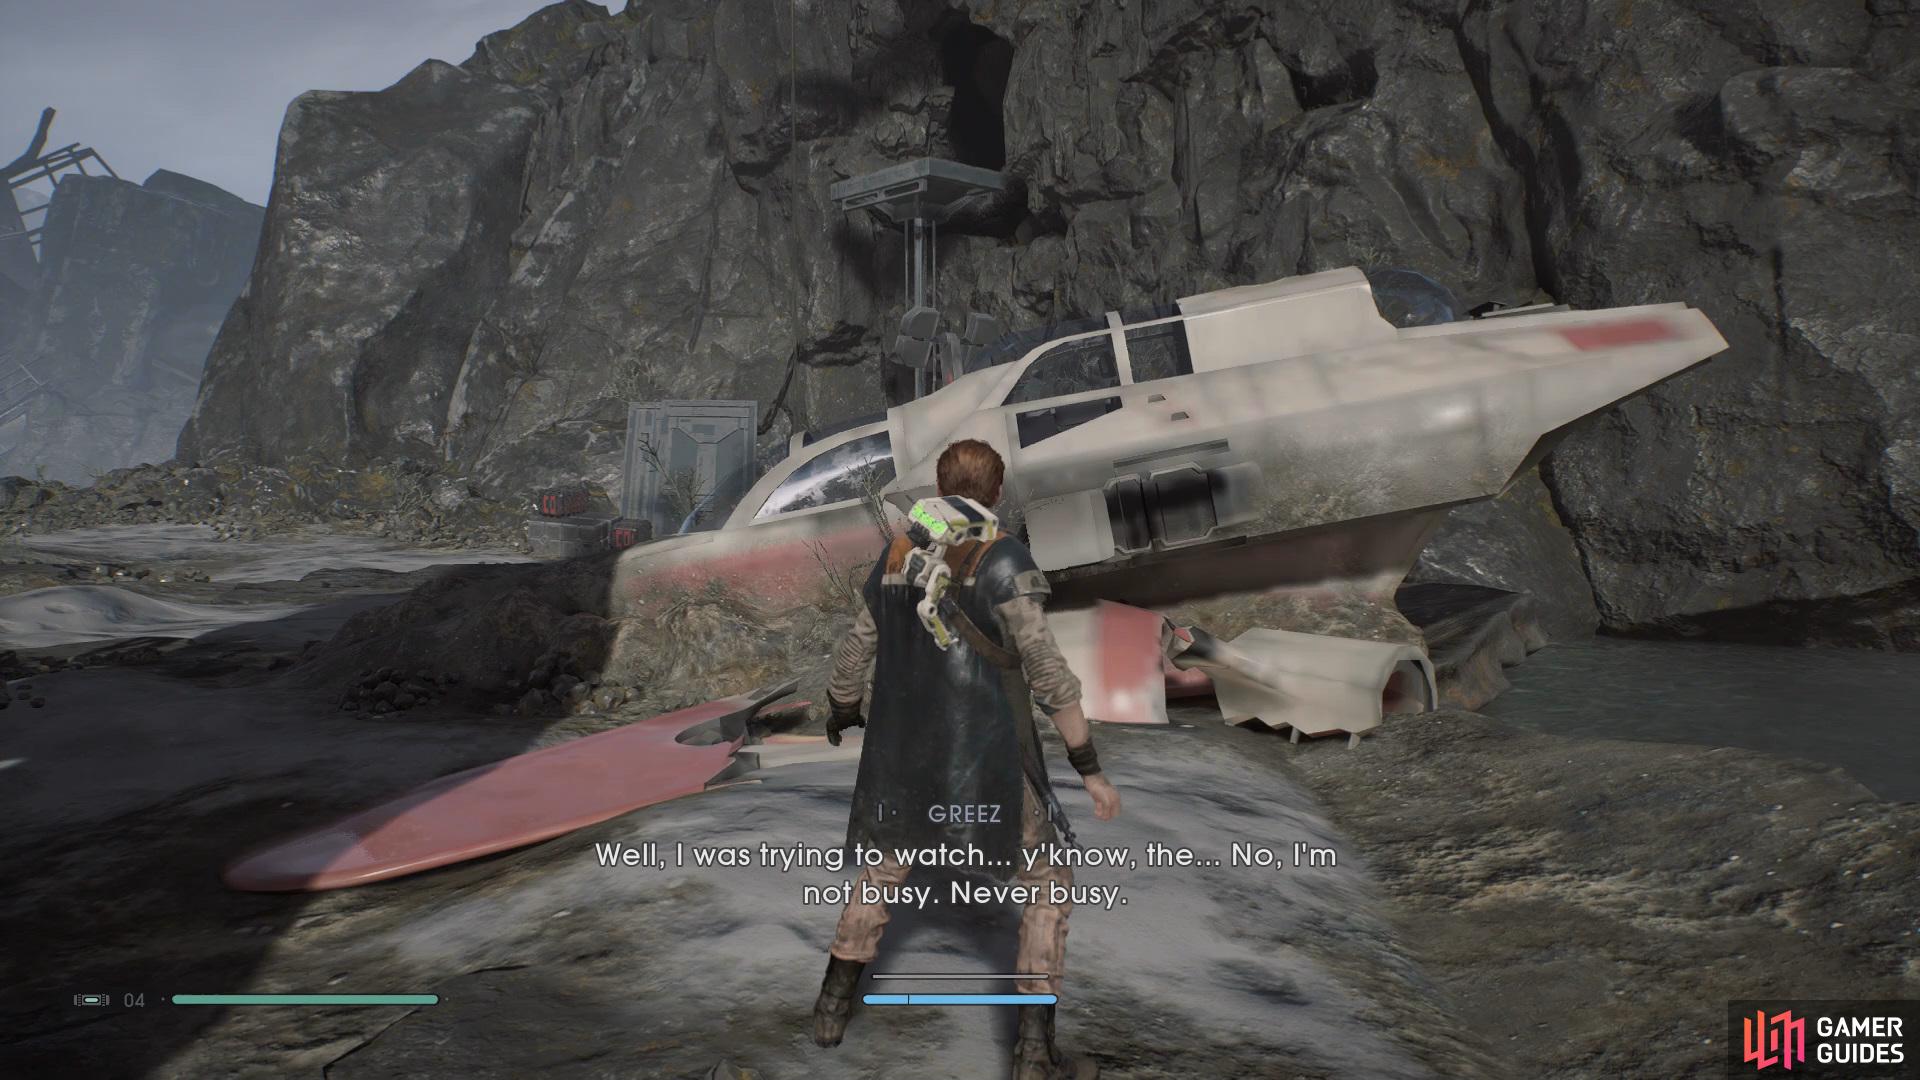
There are only a few things accessible to you at this current point, but to begin with, dive into the water and swim across to the ship where you’ll be able to call Greez to talk about the ship, after the call has concluded head into the circle on the left and take out the Jotaz.
Exit the circle and proceed left and swim across to the other side, take out the two Phillak’s that are waiting for you and then open the Chest to obtain the Swoop BD-1 Skin, head to the back of the area and take out another Jotaz, now climb up and go right to find a second Chest that contains the Hyper Steel Poncho.
Cut down the rope to open a shortcut and then head right
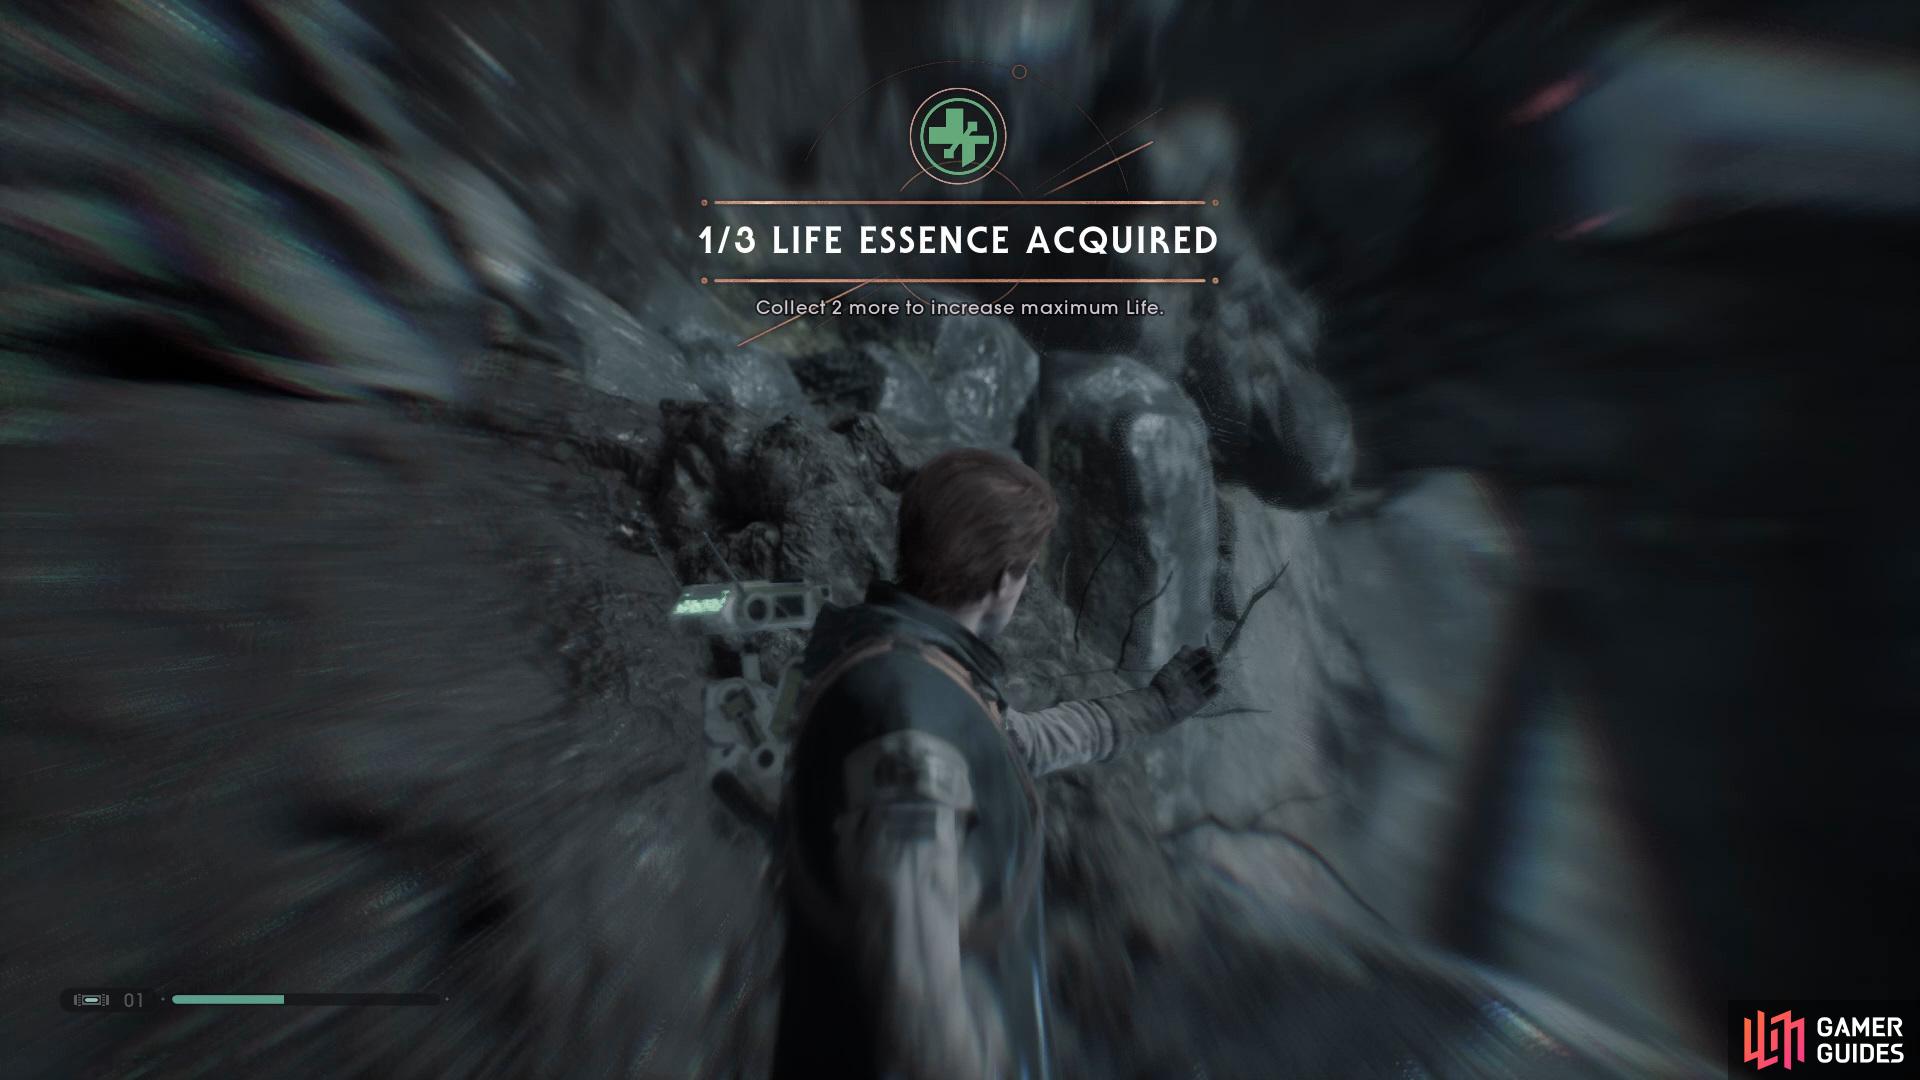
to find a Life Essence.
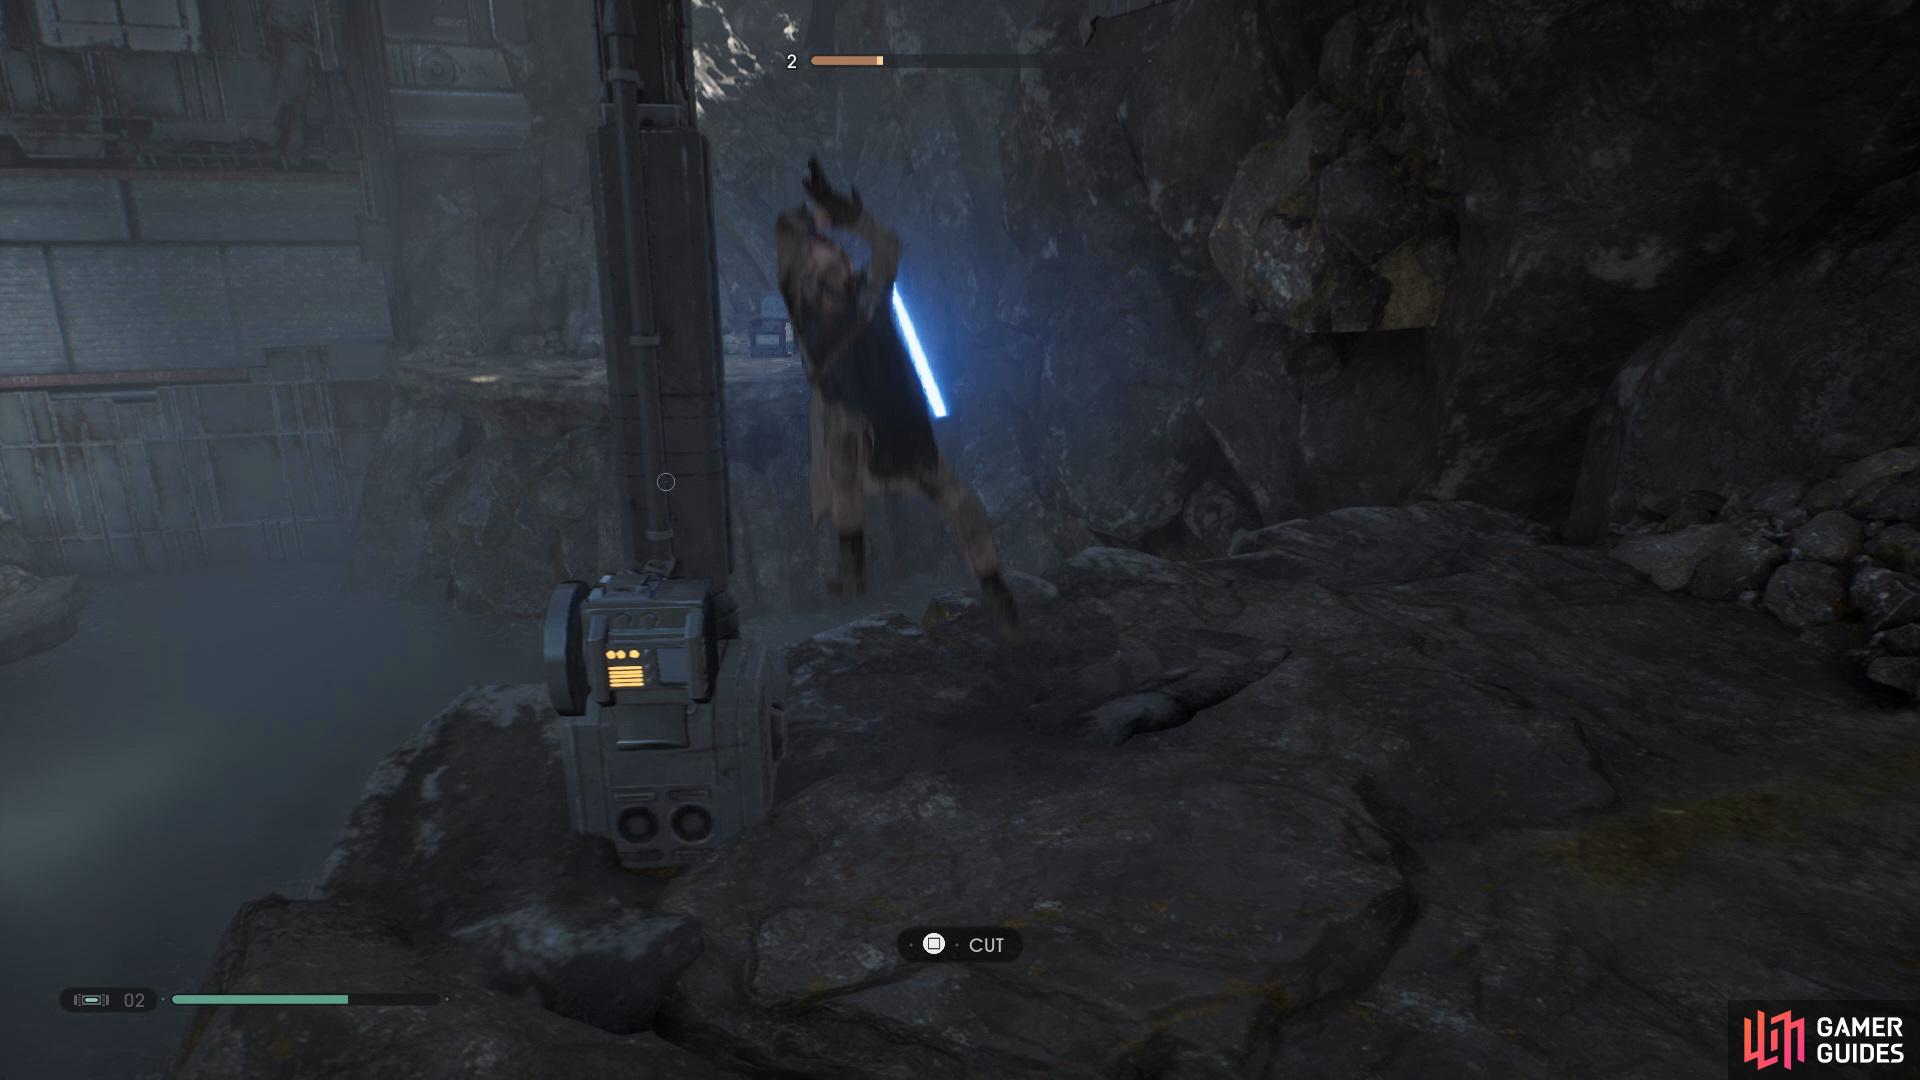
Drop down and go back to the where you fought the first Jotaz and then climb up the broken floor piece to get on to the top of the arch, go left and cut down a rope to activate a shortcut, now go right and follow the path around to find a Life Essence and the Survivor Force Echo.
Drop down and swim across to find the Memorial Force Echo and then walk down the hill into a flooded cave, continue along and you’ll come across the Drowned Force Echo, proceed further in to find a Meditation Point.
Navigating Through the Ice Cave
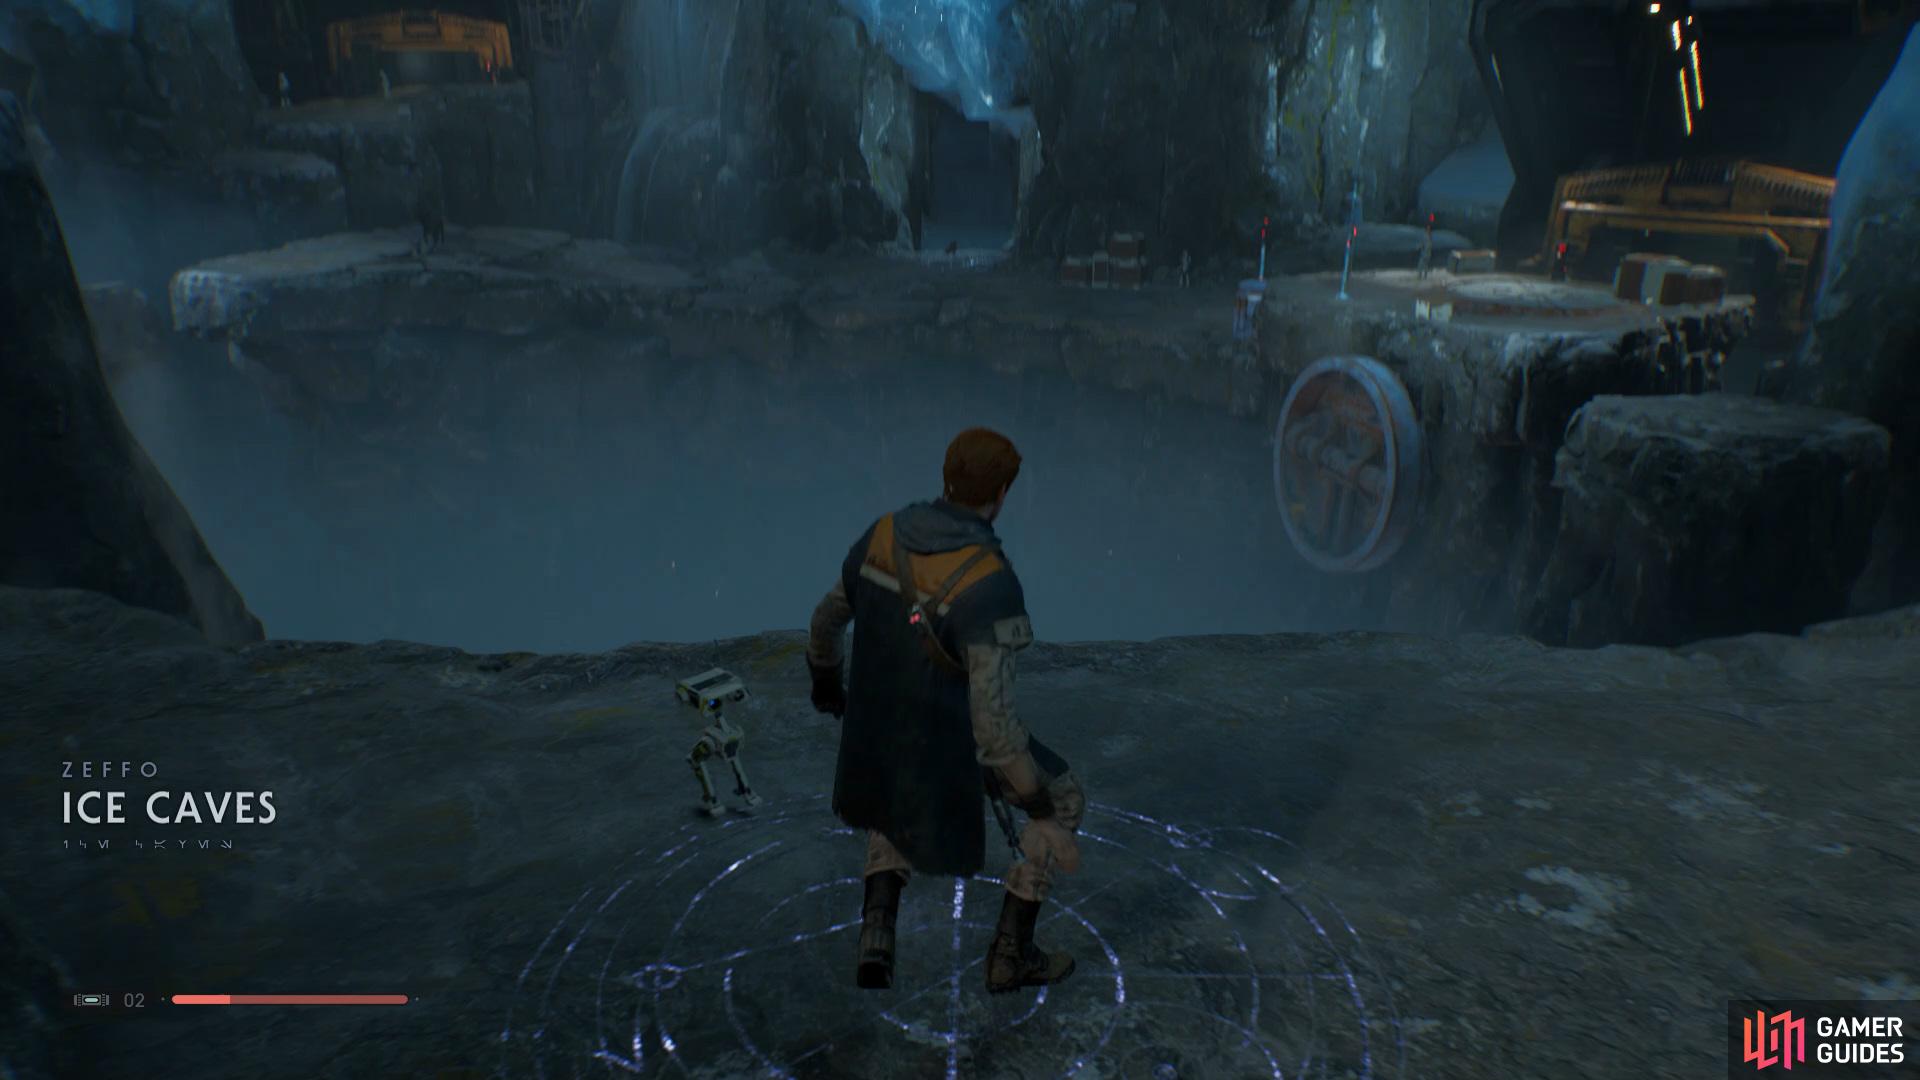
Ice Caves.
Slide down the icy trail on the left which will take you into the Ice Caves, head right upon landing and follow the path around and eventually you’ll reach an area with two enemies waiting, take them out and go right to open a Chest that contains the Arcetron Lightsaber Material.
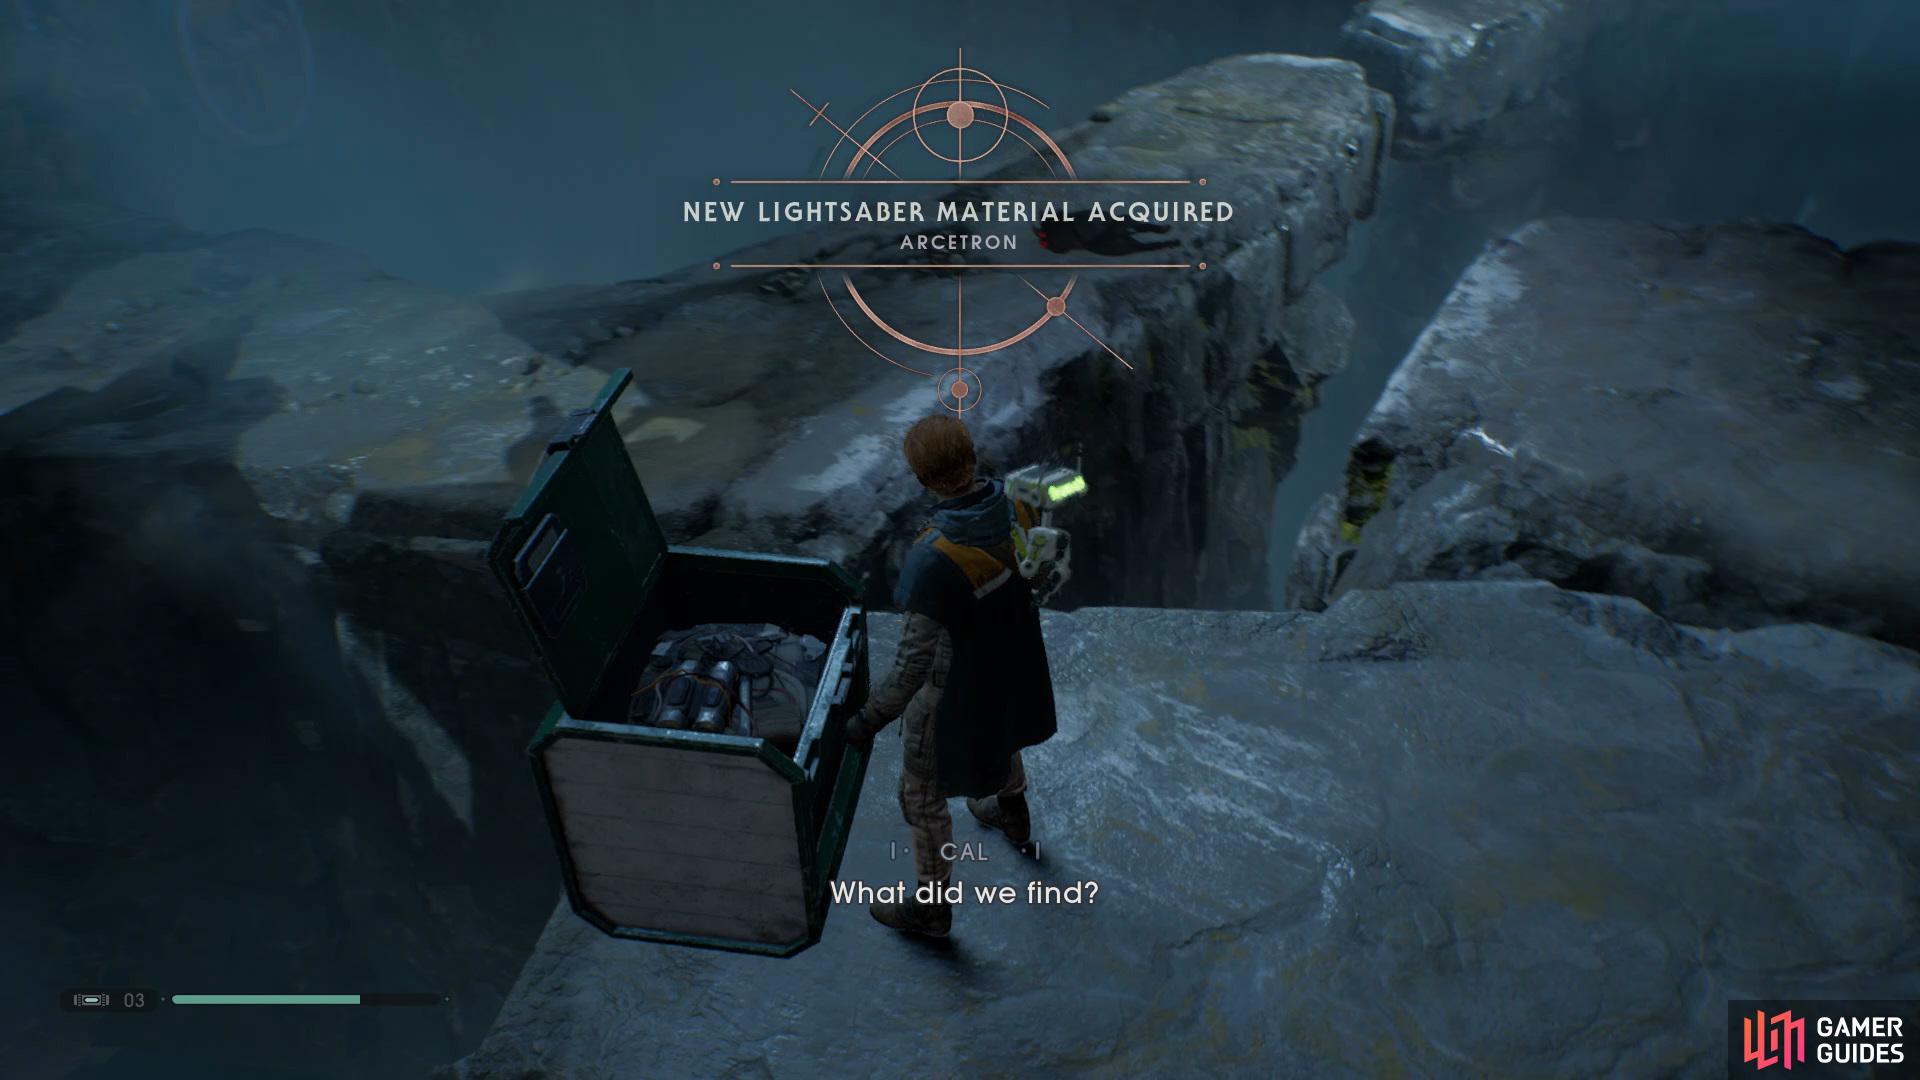
Follow the path right in the Ice Caves to find a Chest that contains the Arcetron Lightsaber Material.
Drop down and head straight, watch out for the Rocket Trooper and climb up, now take the lift up and then open up the door to gain a shortcut. Slide back down another icy path and use the Force Slow Ability to slow down the wheels that are blocking your path and jump through the gaps.

Upon landing back in the cave head left, follow the path along until you drop down into a room with two enemies inside, in order to take these out you’ll want to lure them towards the edge and Force Push them off the side. After the enemies have been taken care of, you’ll be able to collect the Finding Artifacts Force Echo as well as two Chests that contain the Cerakote Lightsaber Material and Bestine BD-1 Skin.
Now open the door up ahead and take out the Jotaz that comes crashing through the wall, after it has been dealt with head into the now open area to find the Officer Krane Force Echo. Proceed back into the cave and follow the path back around to where you fought the Rocket Trooper and take the lift back up to the outside world.
Boss: AT-ST
AT-ST.
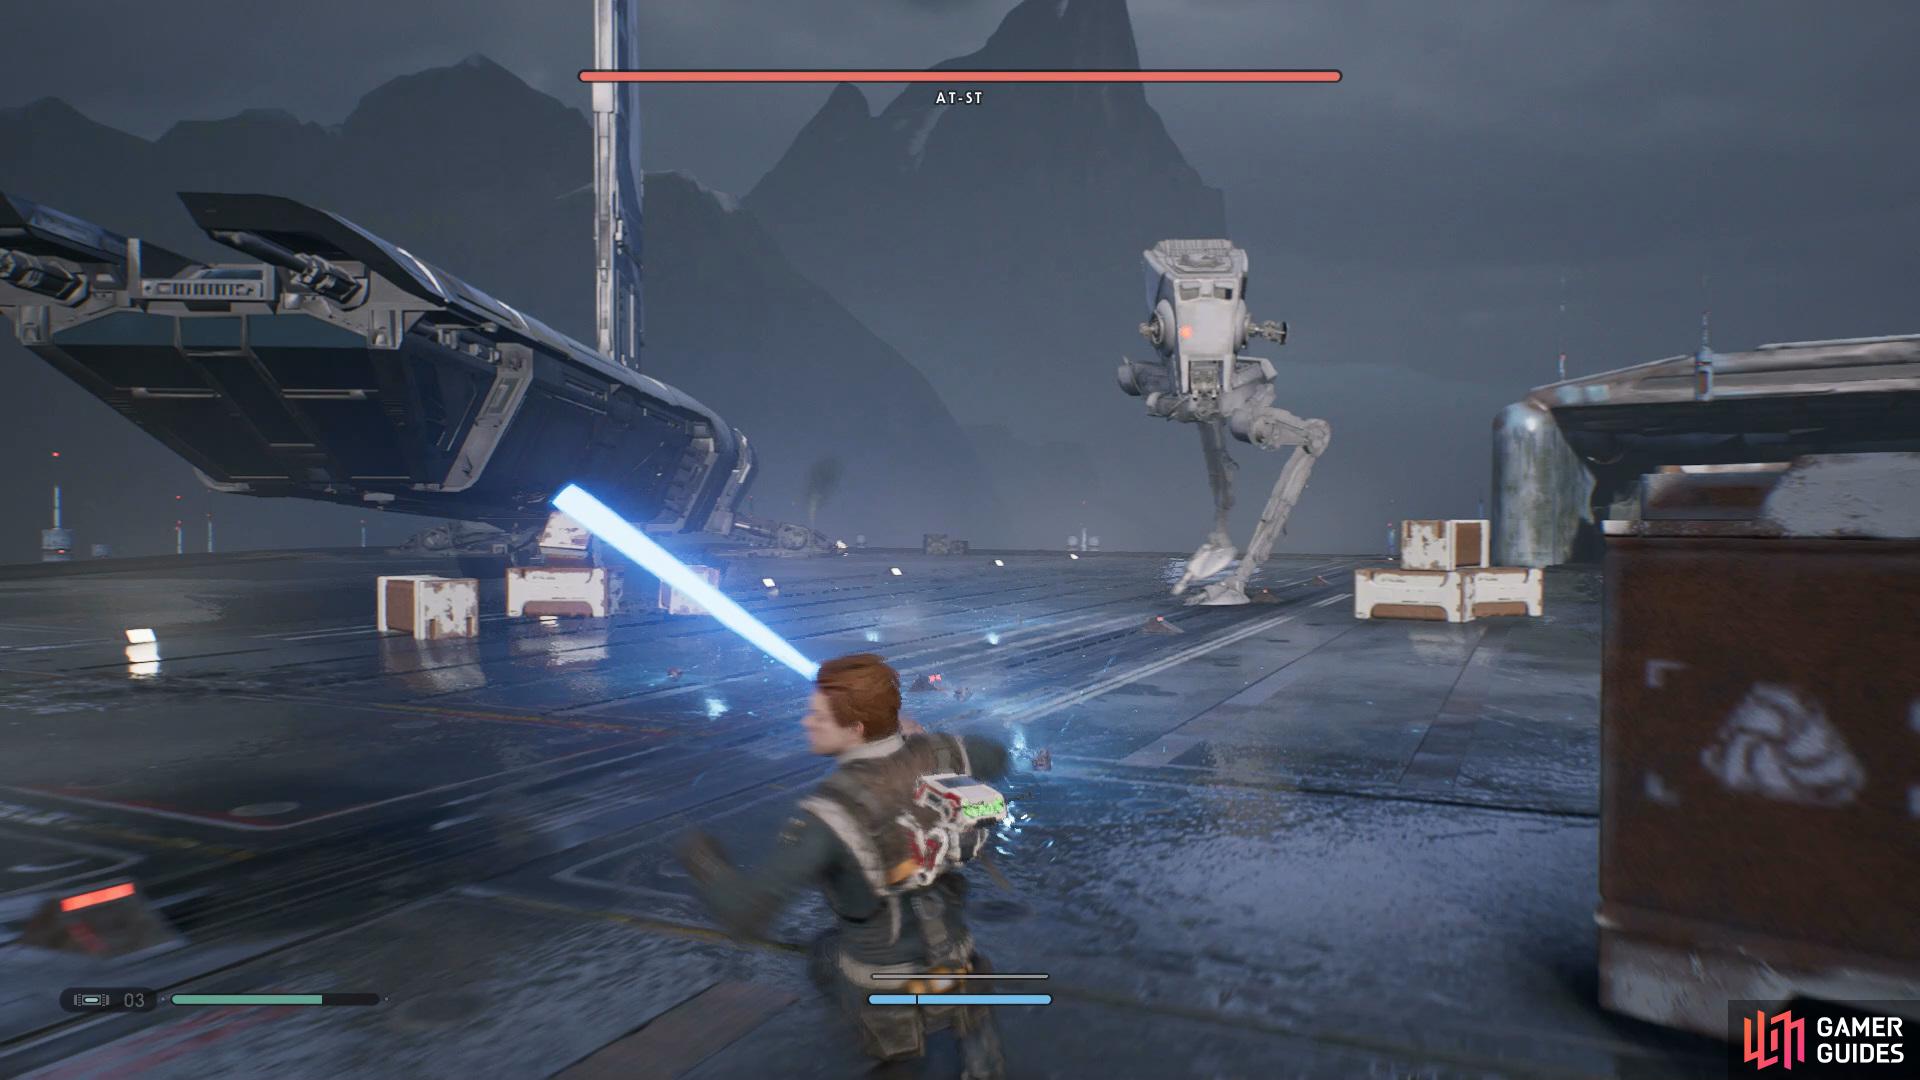
As you approach the Mantis you’ll come across the boss of this planet, AT-ST, luckily this enemy isn’t overly difficult to take out but there are still a few things that you need to watch out for.
Whilst you’re standing at a distance the AT-ST will fire bullets at you which you can deflect back at him to deal some damage, after he is done firing normal bullets he’ll attempt to fire a rocket at you, use this opportunity to roll forwards into the boss and Force Slow it to get a couple attacks in and then back away.
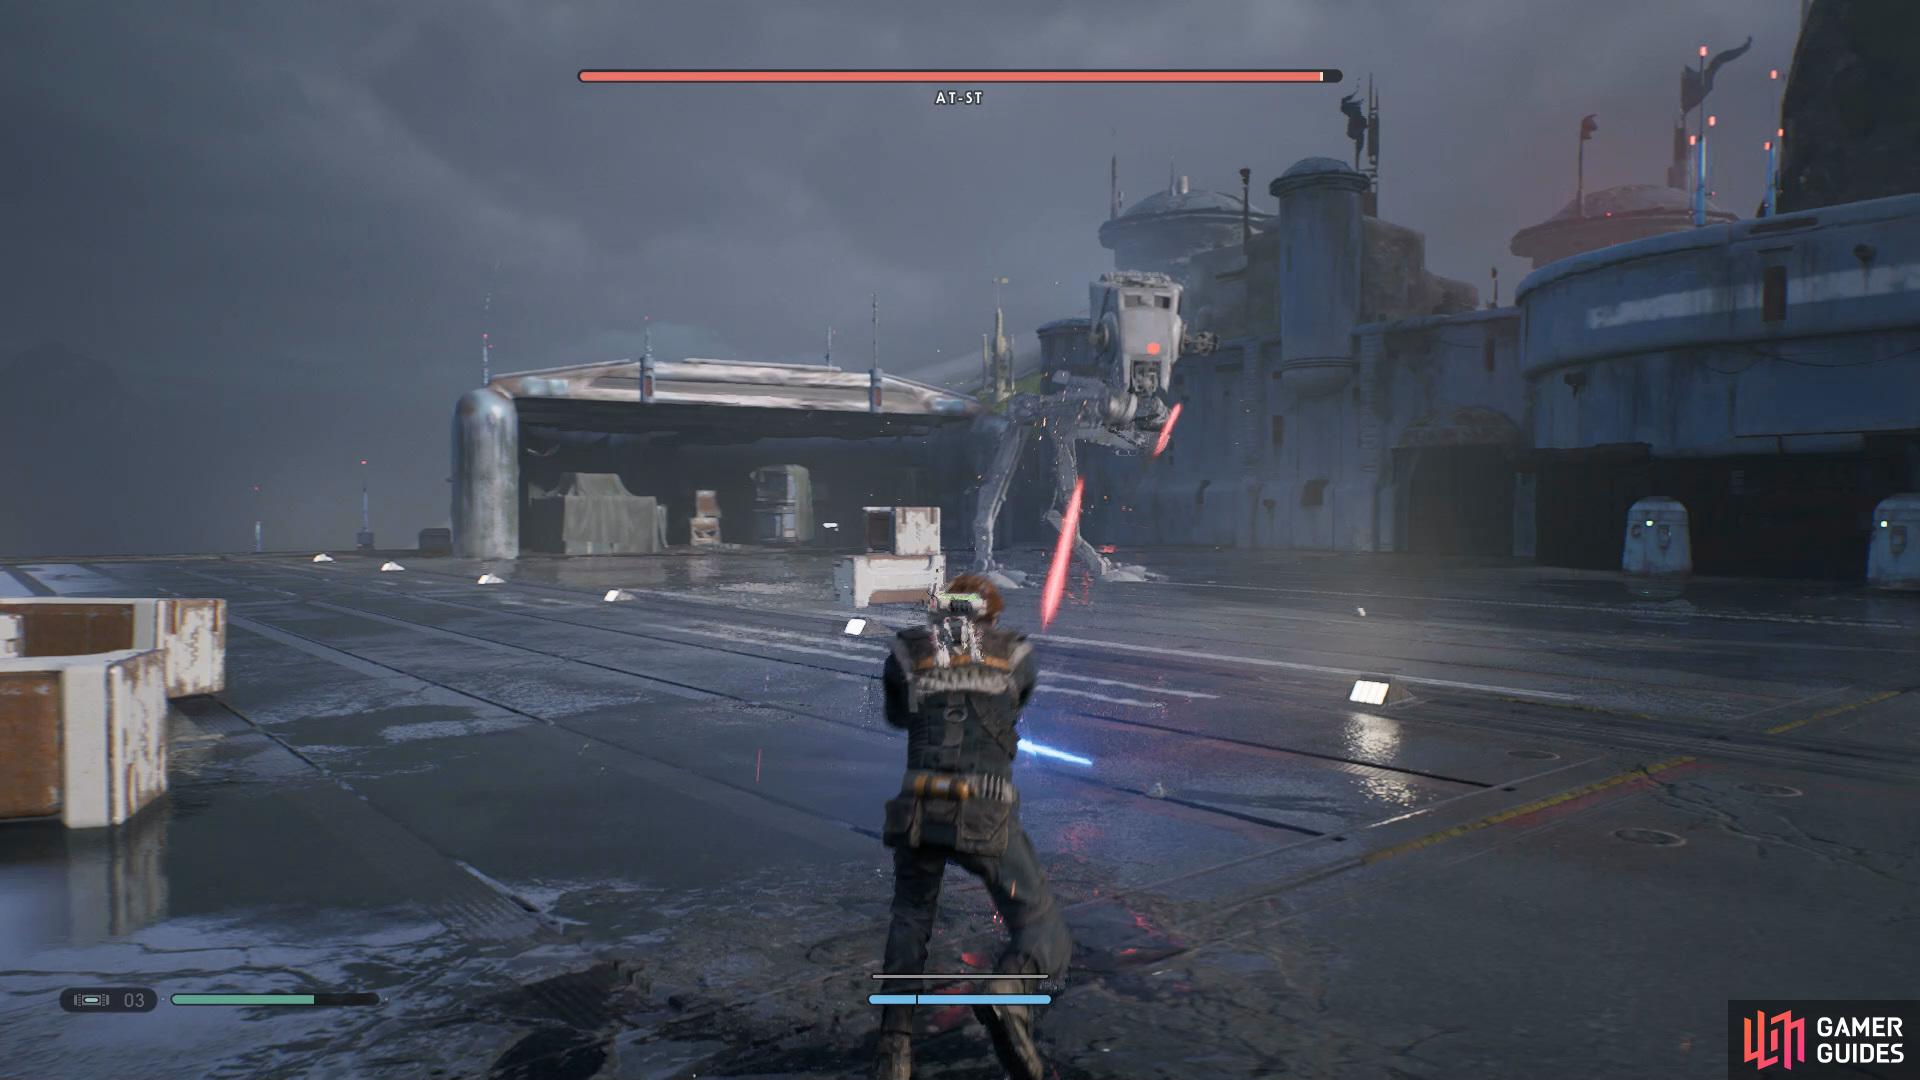
It doesn’t stop there as the AT-ST will shoot out several grenades, here you can attempt to Force Push the grenades into the boss to deal some damage or roll away from the blast radius. One last option you could use against this boss is by using the Force Push ability at him to push him off balance giving you an opportunity to hit him.
After the boss has been taken out, head into the Mantis and use the Holotable to set course for Kashyyyk.
No Comments