
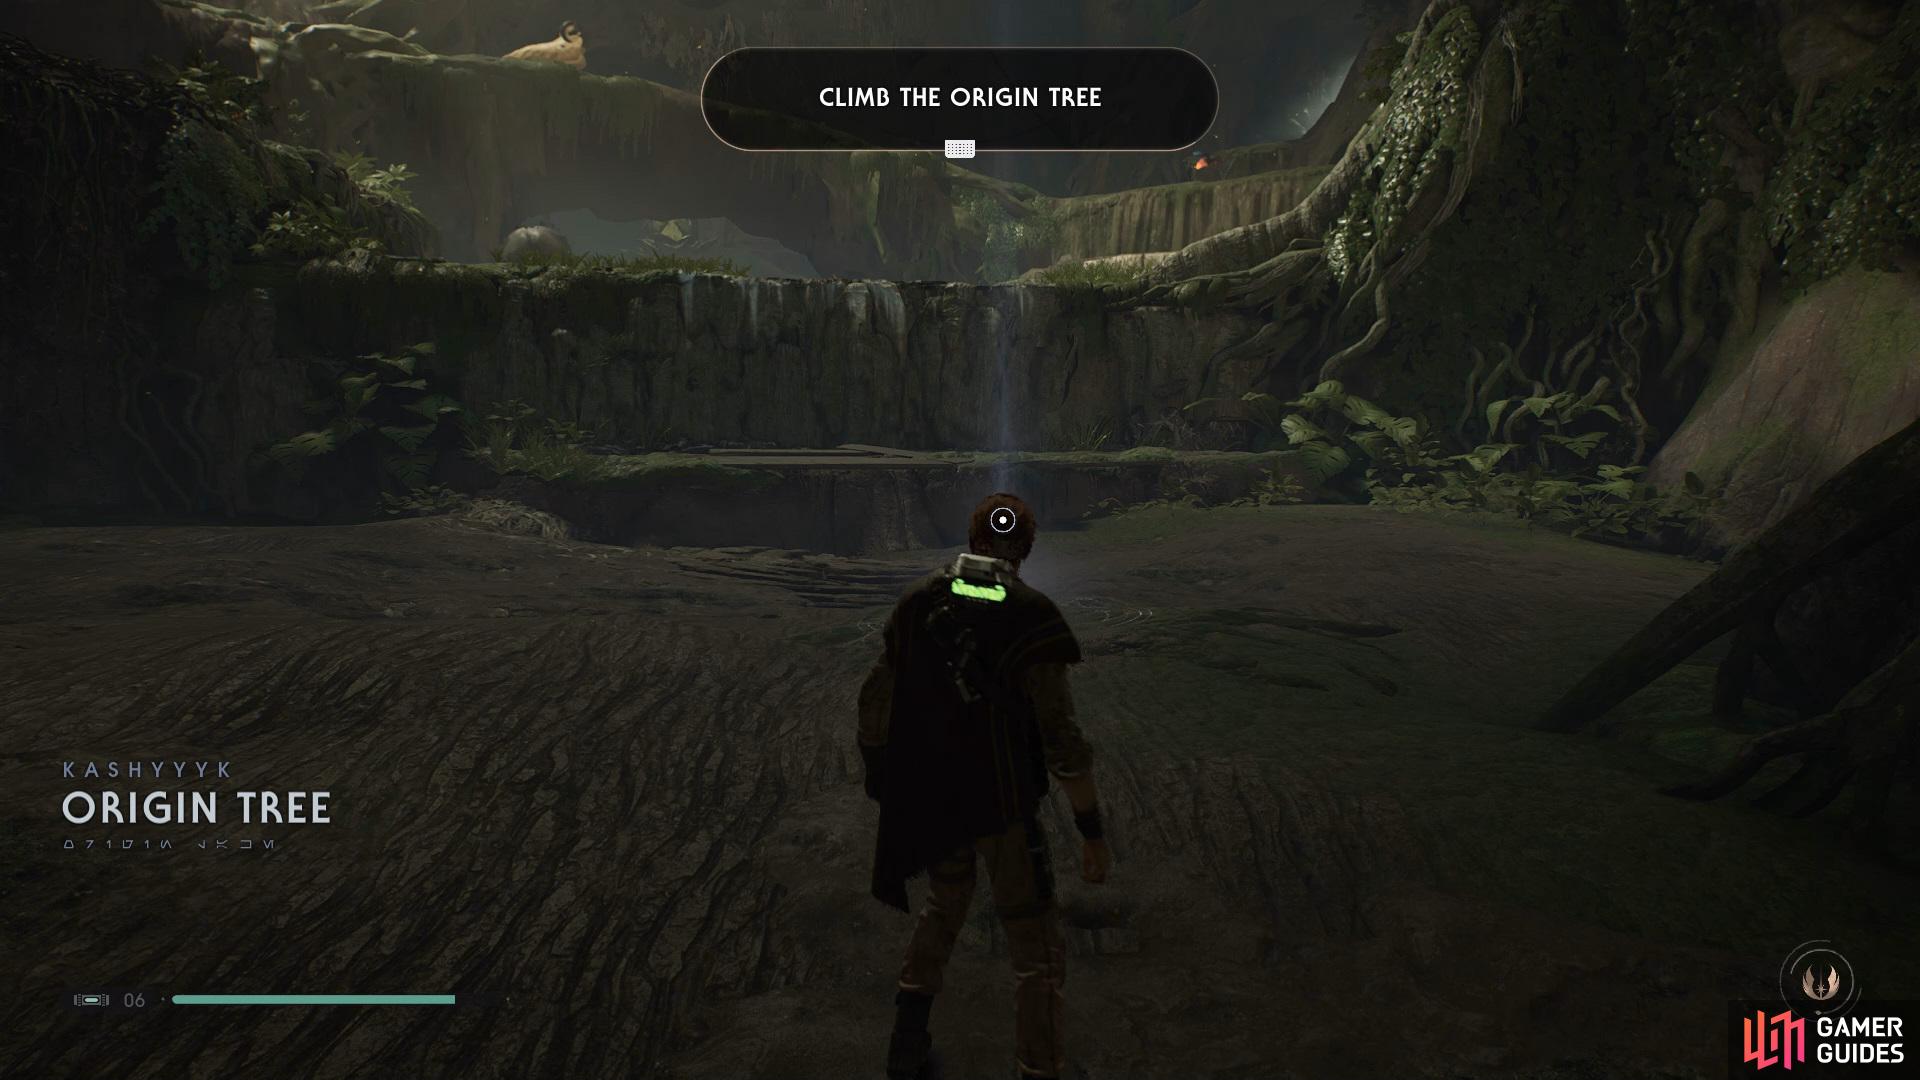
Obtaining a Stim Canister
After you’ve spoken to Tarful and Marl, dive into the water and turn around to find a Chest that contains the Peace and Justice II Lightsaber Switch, follow the path around and you’ll see another Chest that holds the Electrum-Plated Lightsaber Material, now swim over to the back left and continue around until you stumble across a Lung Flower, use it to reach the path above and then drop back down to hop over to a golden Chest that is holding a Stim Canister.
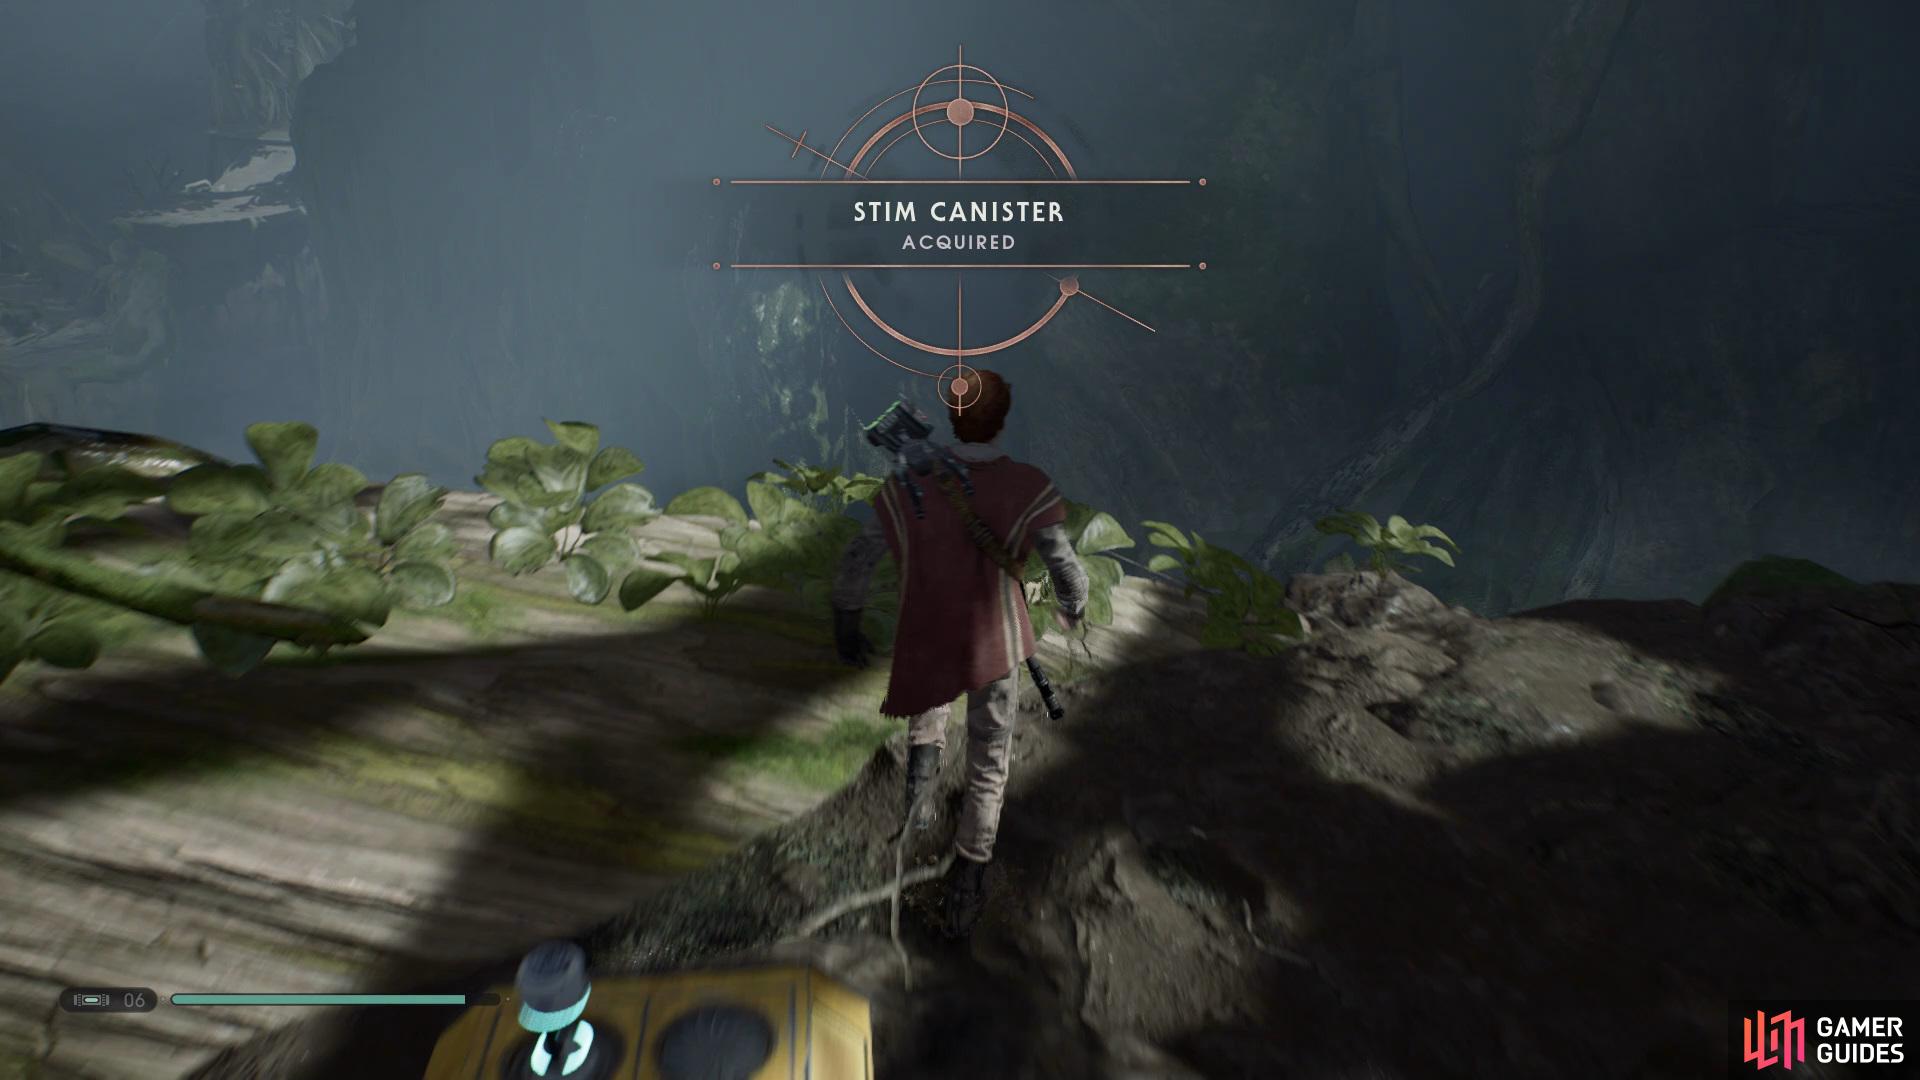
Use the Lung Flowers to bounce to the platform behind to get a Stim Canister.
Continue to follow the path along and then dive in the small patch of water and swim into a cave, make your way through until you pop out on the other side, you’ll now see another patch of water ahead which you’ll need to jump into and swim down into a cave, here you’ll slide down and then need to grab hold of the branches, quickly shimmy across to the platform on the right.
Hop across the Jaw Plants and grab hold of another set of branches and make your way down to the platform on the right, climb up to the area above and quickly take out the Stormtroopers before going into the water, collect the Chest on the left for the Valor and Wisdom Lightsaber Sleeve, exit the water and use the rope to reach the path above, now in this water you’ll find another Chest that is holding the Peace and Justice Emitter.
Climb out of the water and keep following the path until you see a Meditation Point, use the Lung Flower to get over to the area on the right and Force Push the enemies off the side, keep going up and you’ll enter a short cutscene. After the cutscene has concluded the ship will destroy the path that you’re on causing you to slide down, keep following the direct path ahead until you find yourself in a lake.
Unlocking Jedi Flip
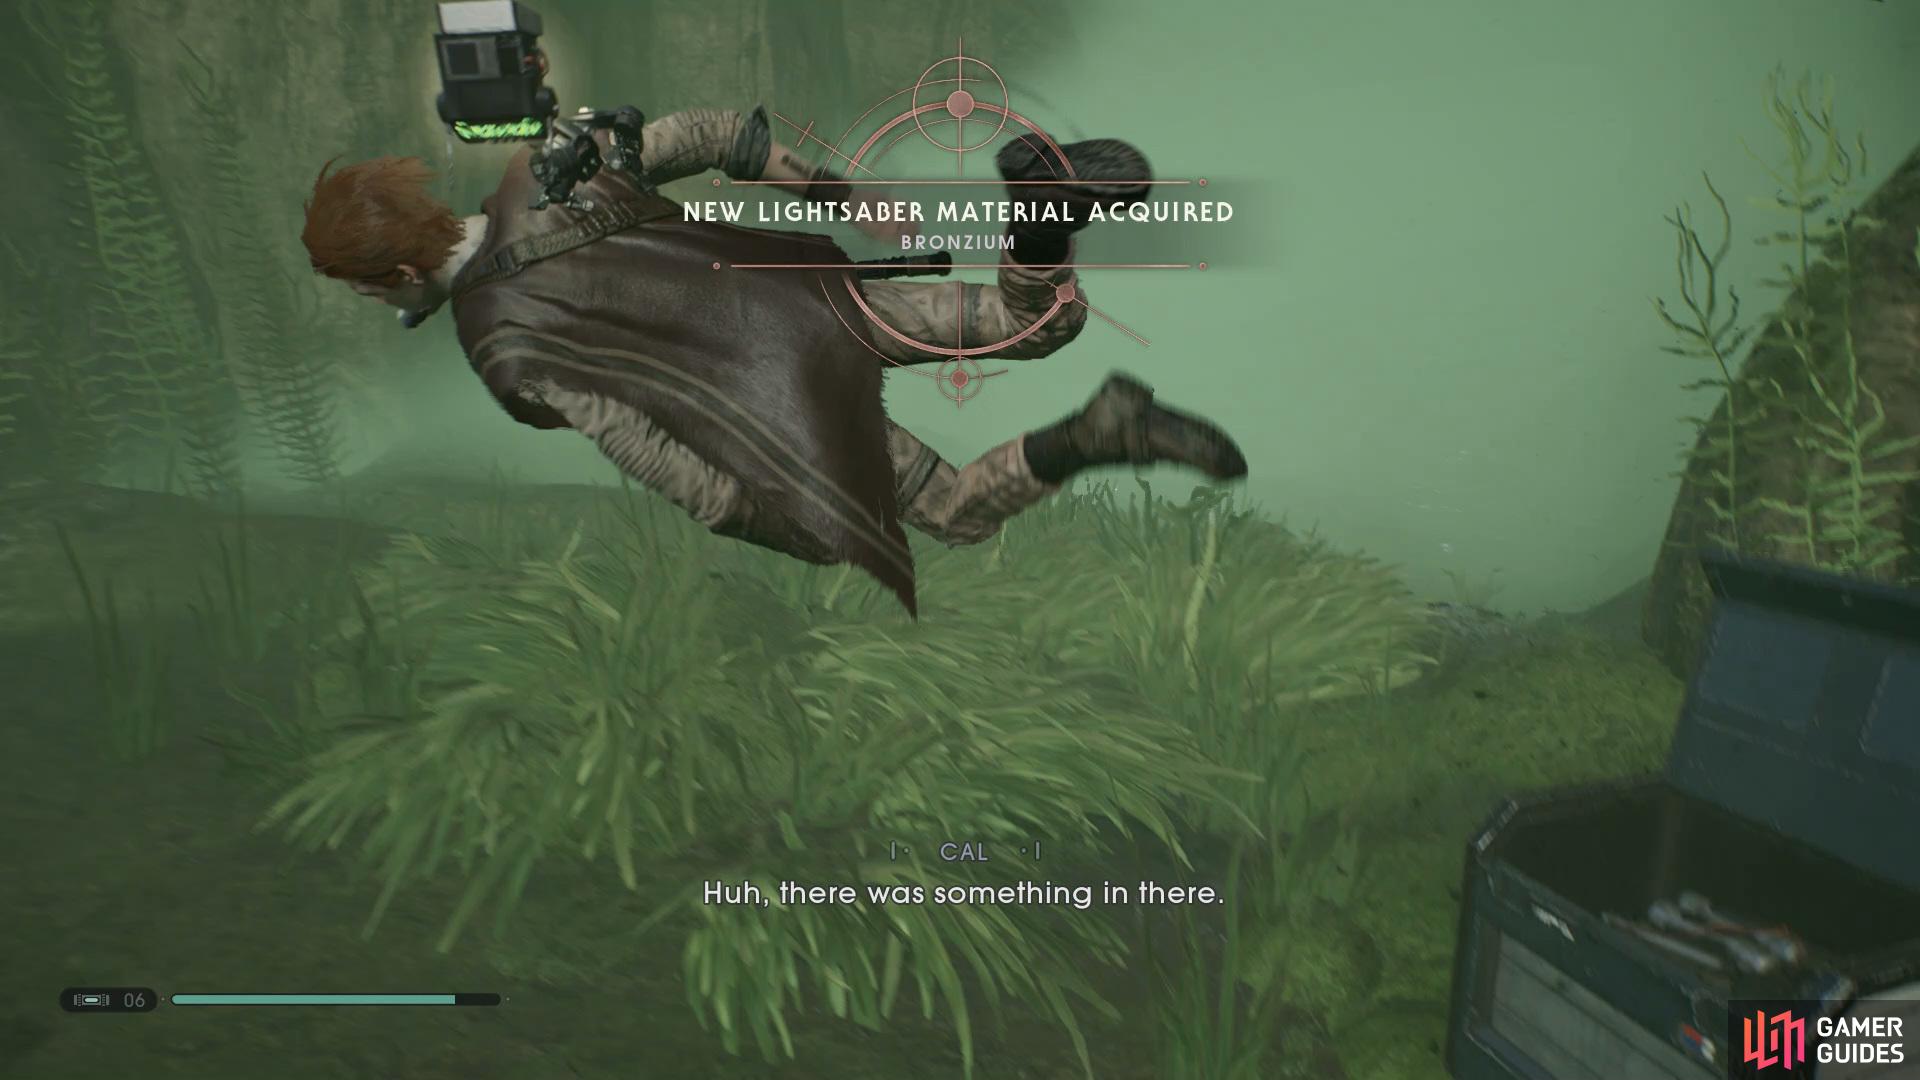
Grab the Bronzium Lightsaber Material from the Chest to the left of the water
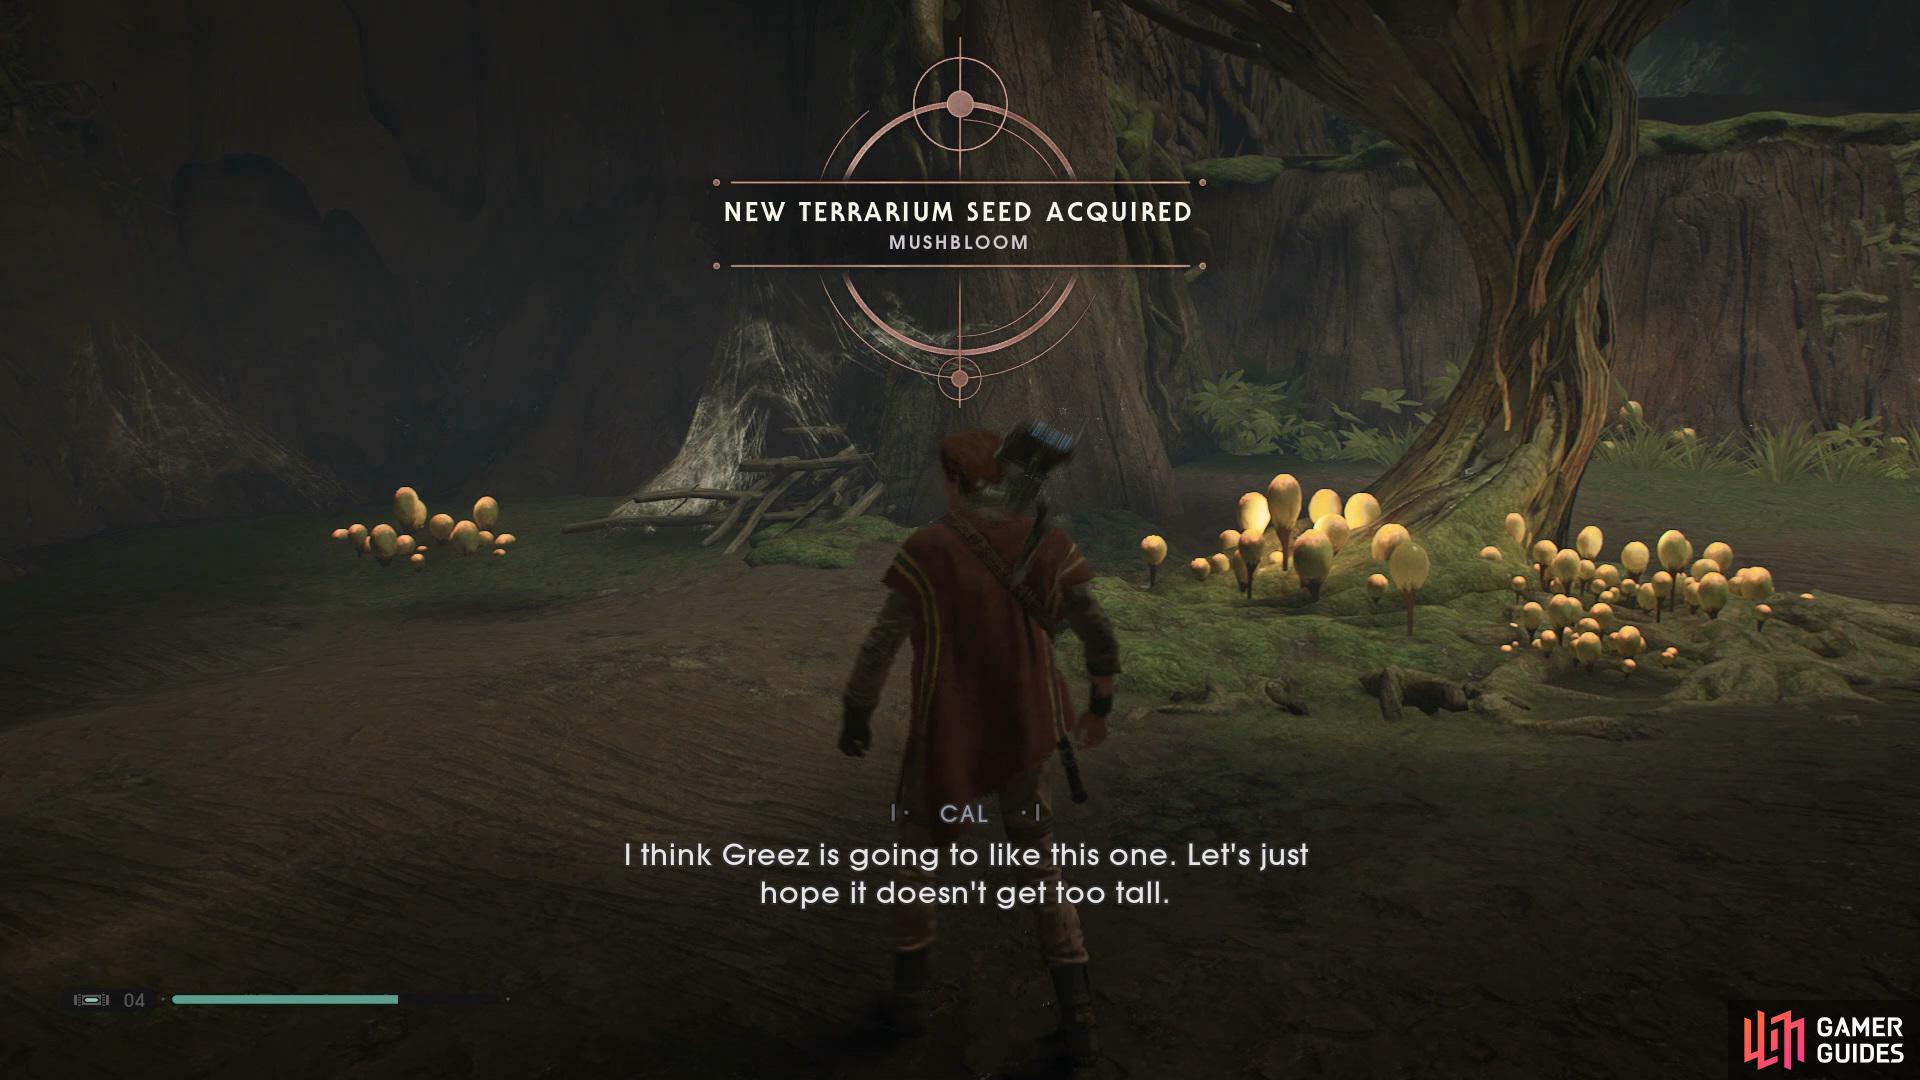
and then collect the Mushbloom seed up ahead,
Dive into the water and open the Chest on the left to obtain the Bronzium Lightsaber Material, keep going and you’ll see a Meditation Point that you can use before venturing up the Origin Tree. Climb to the path ahead and take out the two enemies and then proceed to the back of the area to find the Mushbloom Terrarium Seed, now go back to the entrance of the area but keep looking to your right as there is Chest that contains the Rover Poncho.
Now go into the separate room ahead from the Chest and Wall Run across to the Lung Flower to get higher up, now hop onto the Lung Flower on the left and Cal will have a flashback, here just follow the instructions shown and you’ll unlock Jedi Flip. Use the recently acquired ability to get further up the tree and you’ll find a Meditation Point, now swing across to the Lung Flower ahead and wall run until you land on a new path.
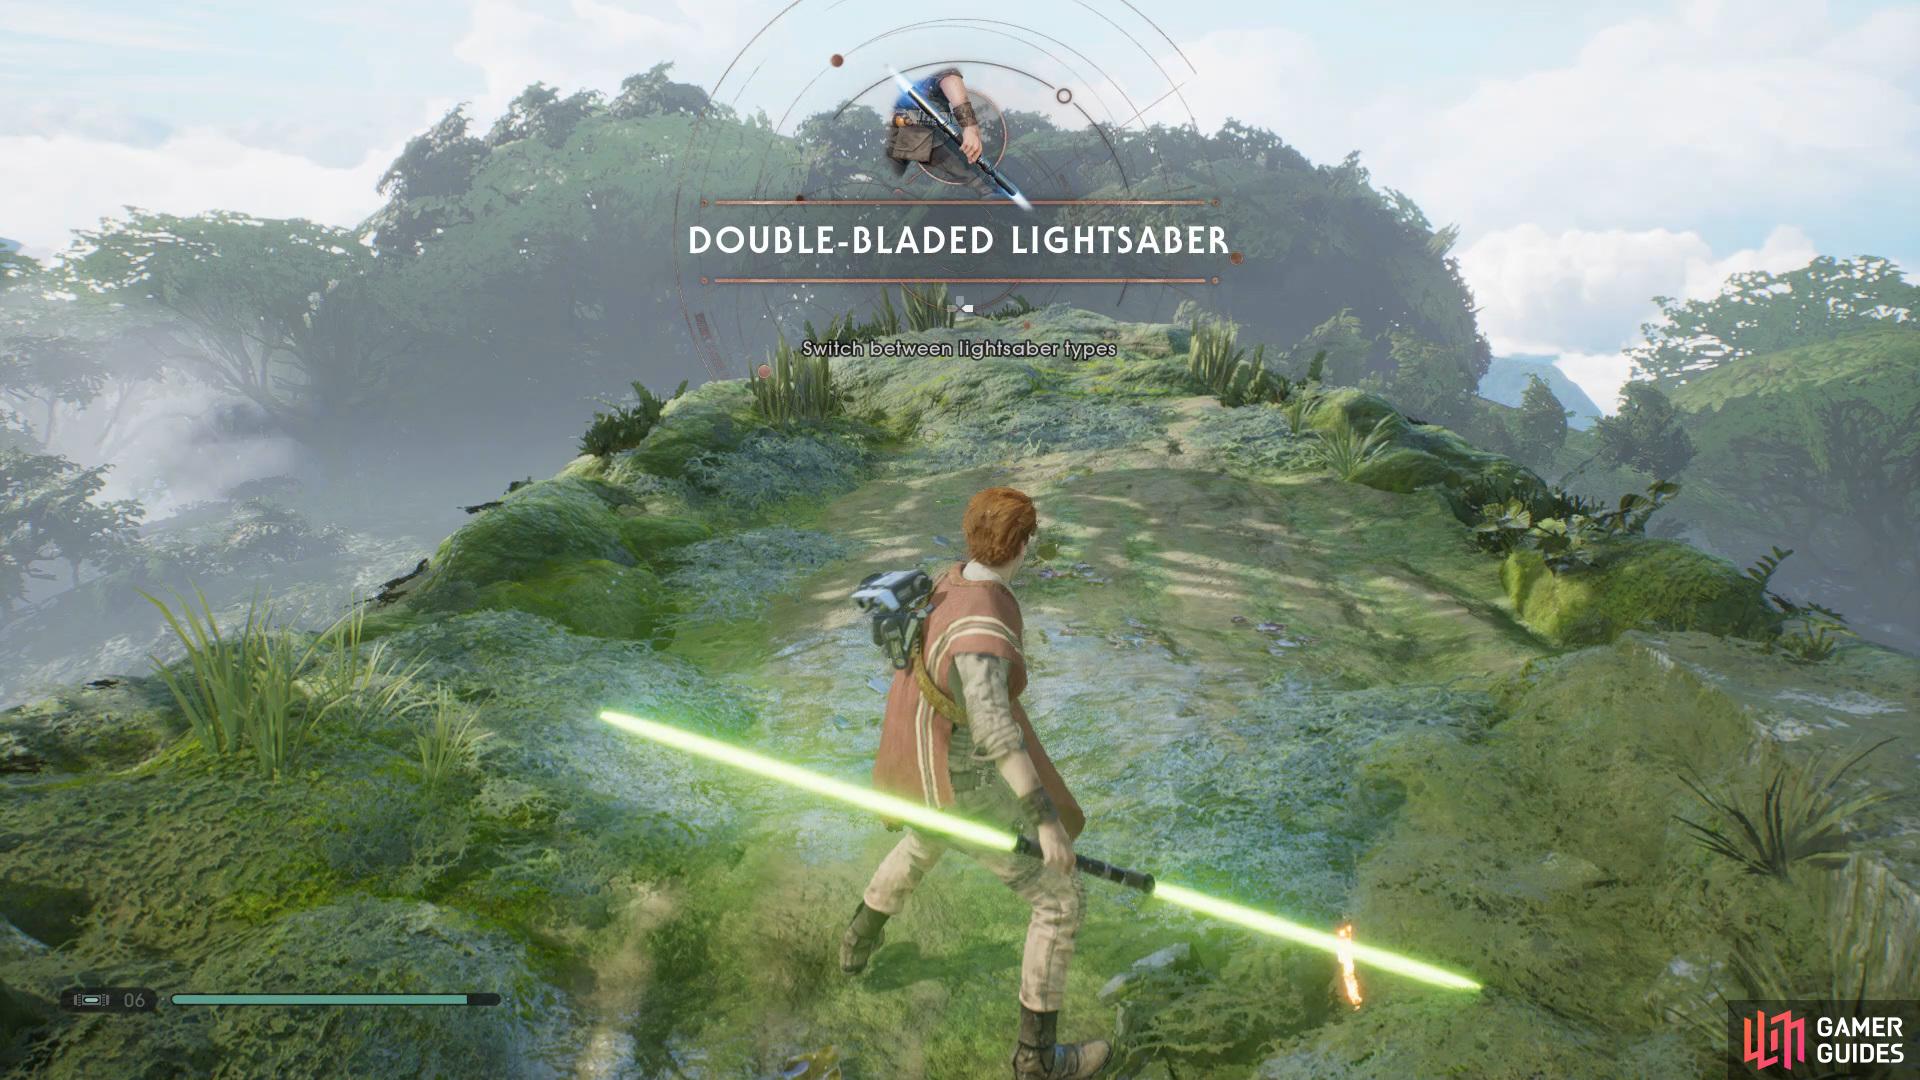
Obtaining the Double-Bladed Lightsaber
Keep following path around until you see the large bird and then collect the Tarfful and Cordova Force Echo from the floor after it has flown off, now use the rope to get up onto the branches above and then use the Lung Flower, before proceeding straight on turn around to find a Chest that contains the Free Kashyyyk Poncho. Now cross to the dangling tree log and climb up, but before reaching the top drop down to the left to open another Chest that holds the Pilot Outfit Material.
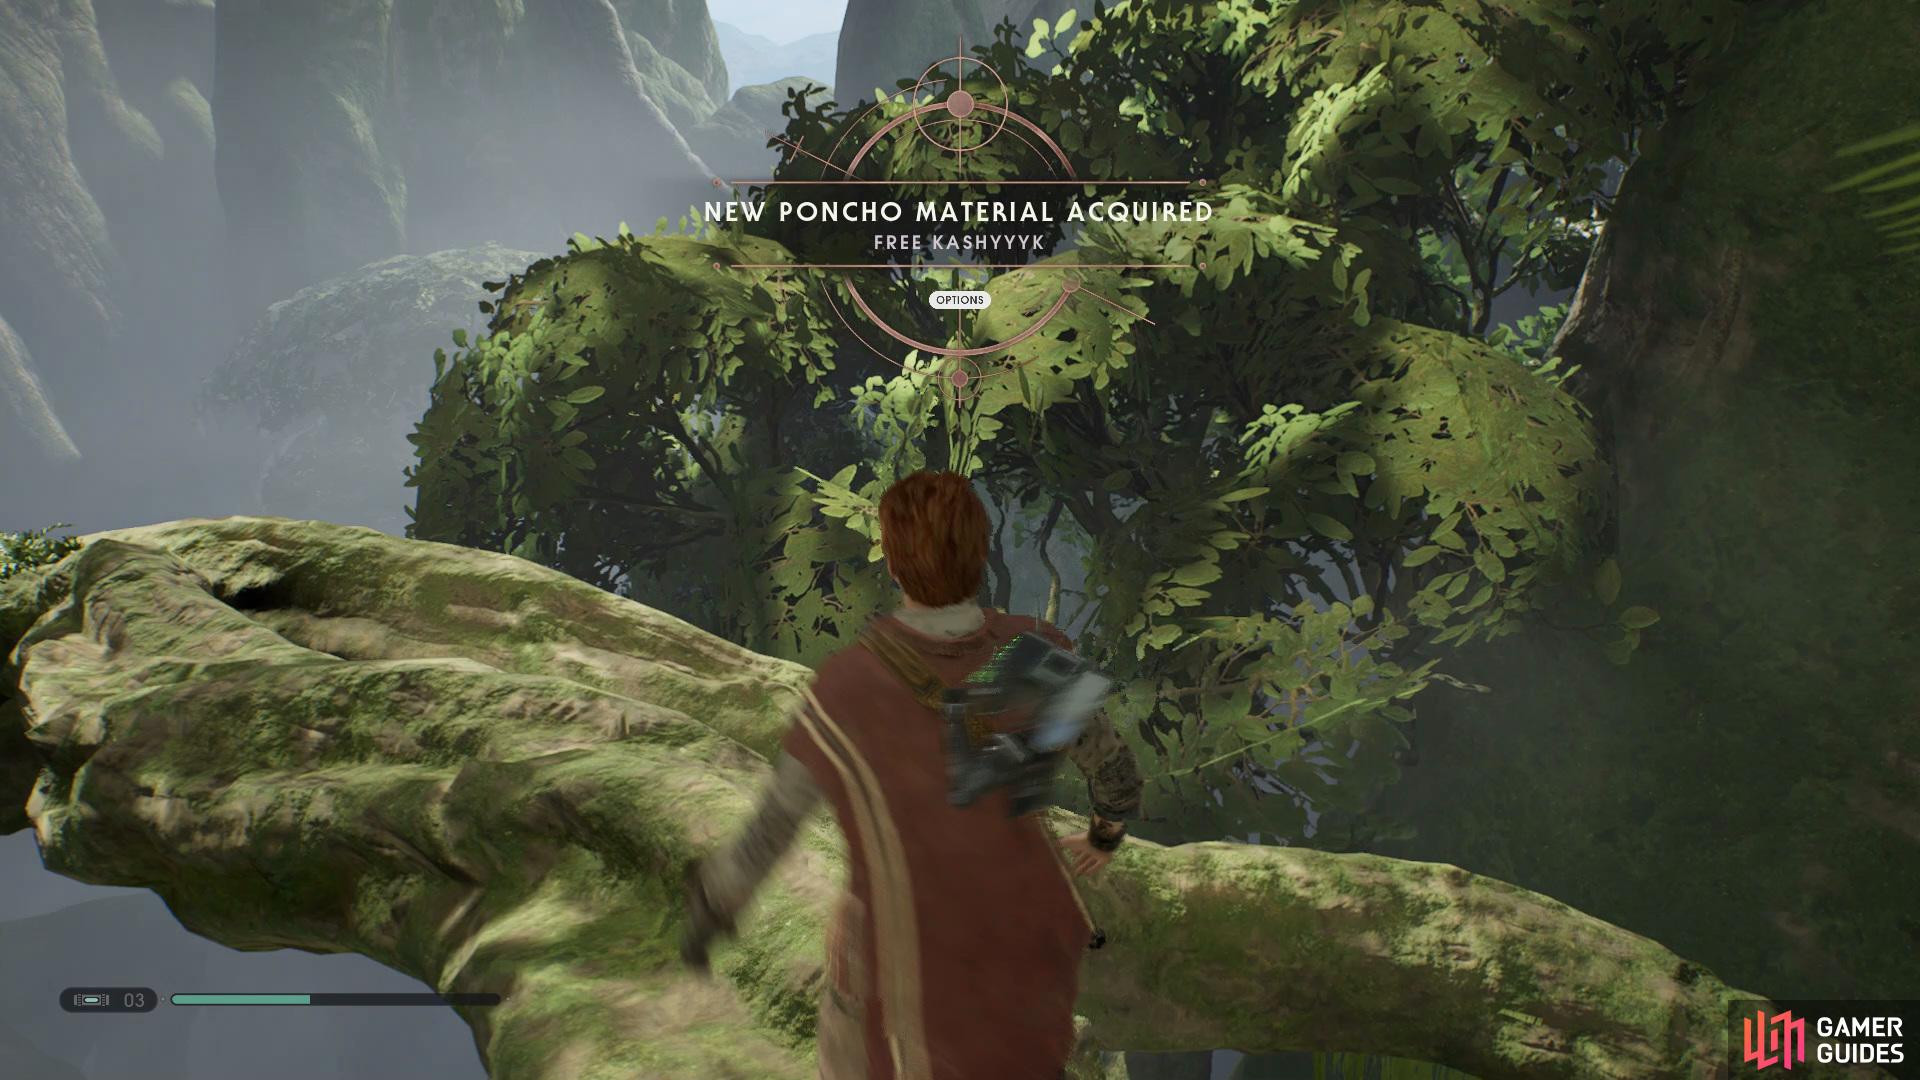
Get the Free Kashyyyk Poncho from the Chest on the branch
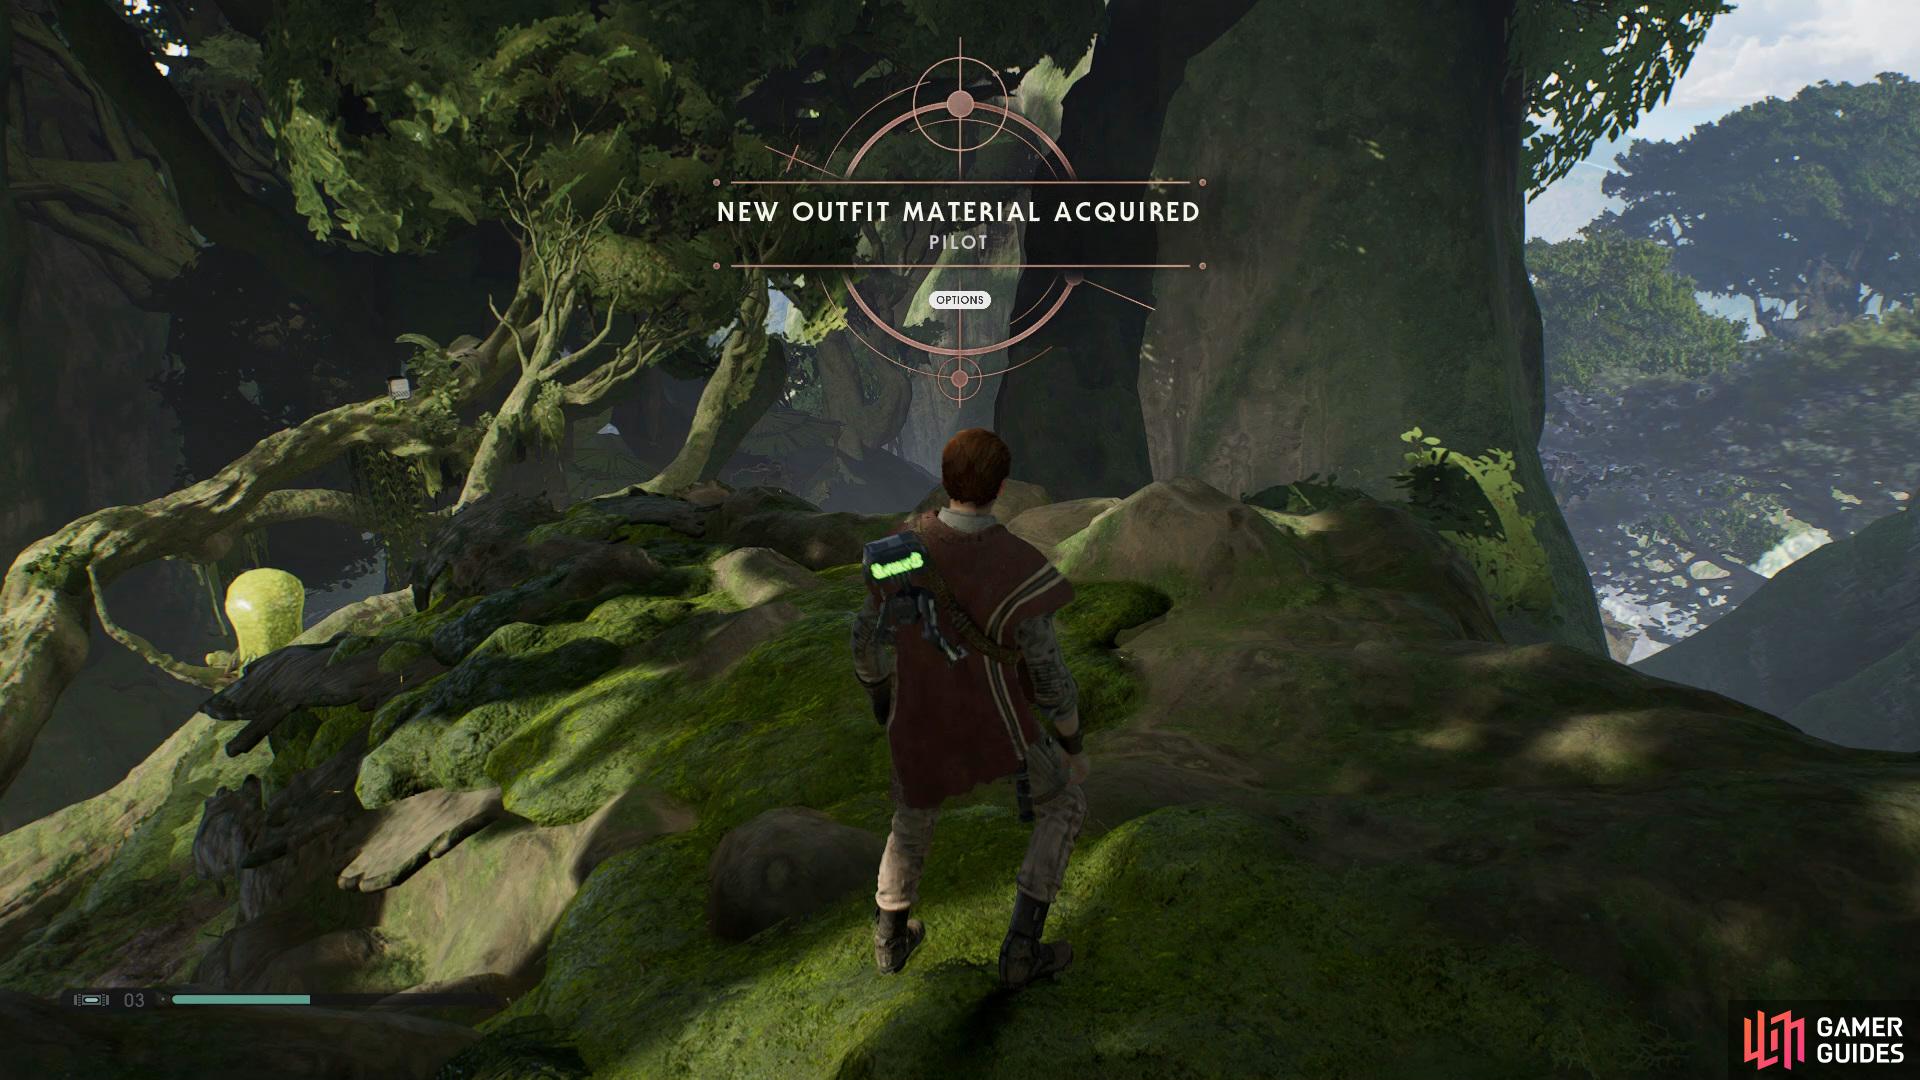
then drop down to the left to open another Chest that has Pilot Outfit inside.
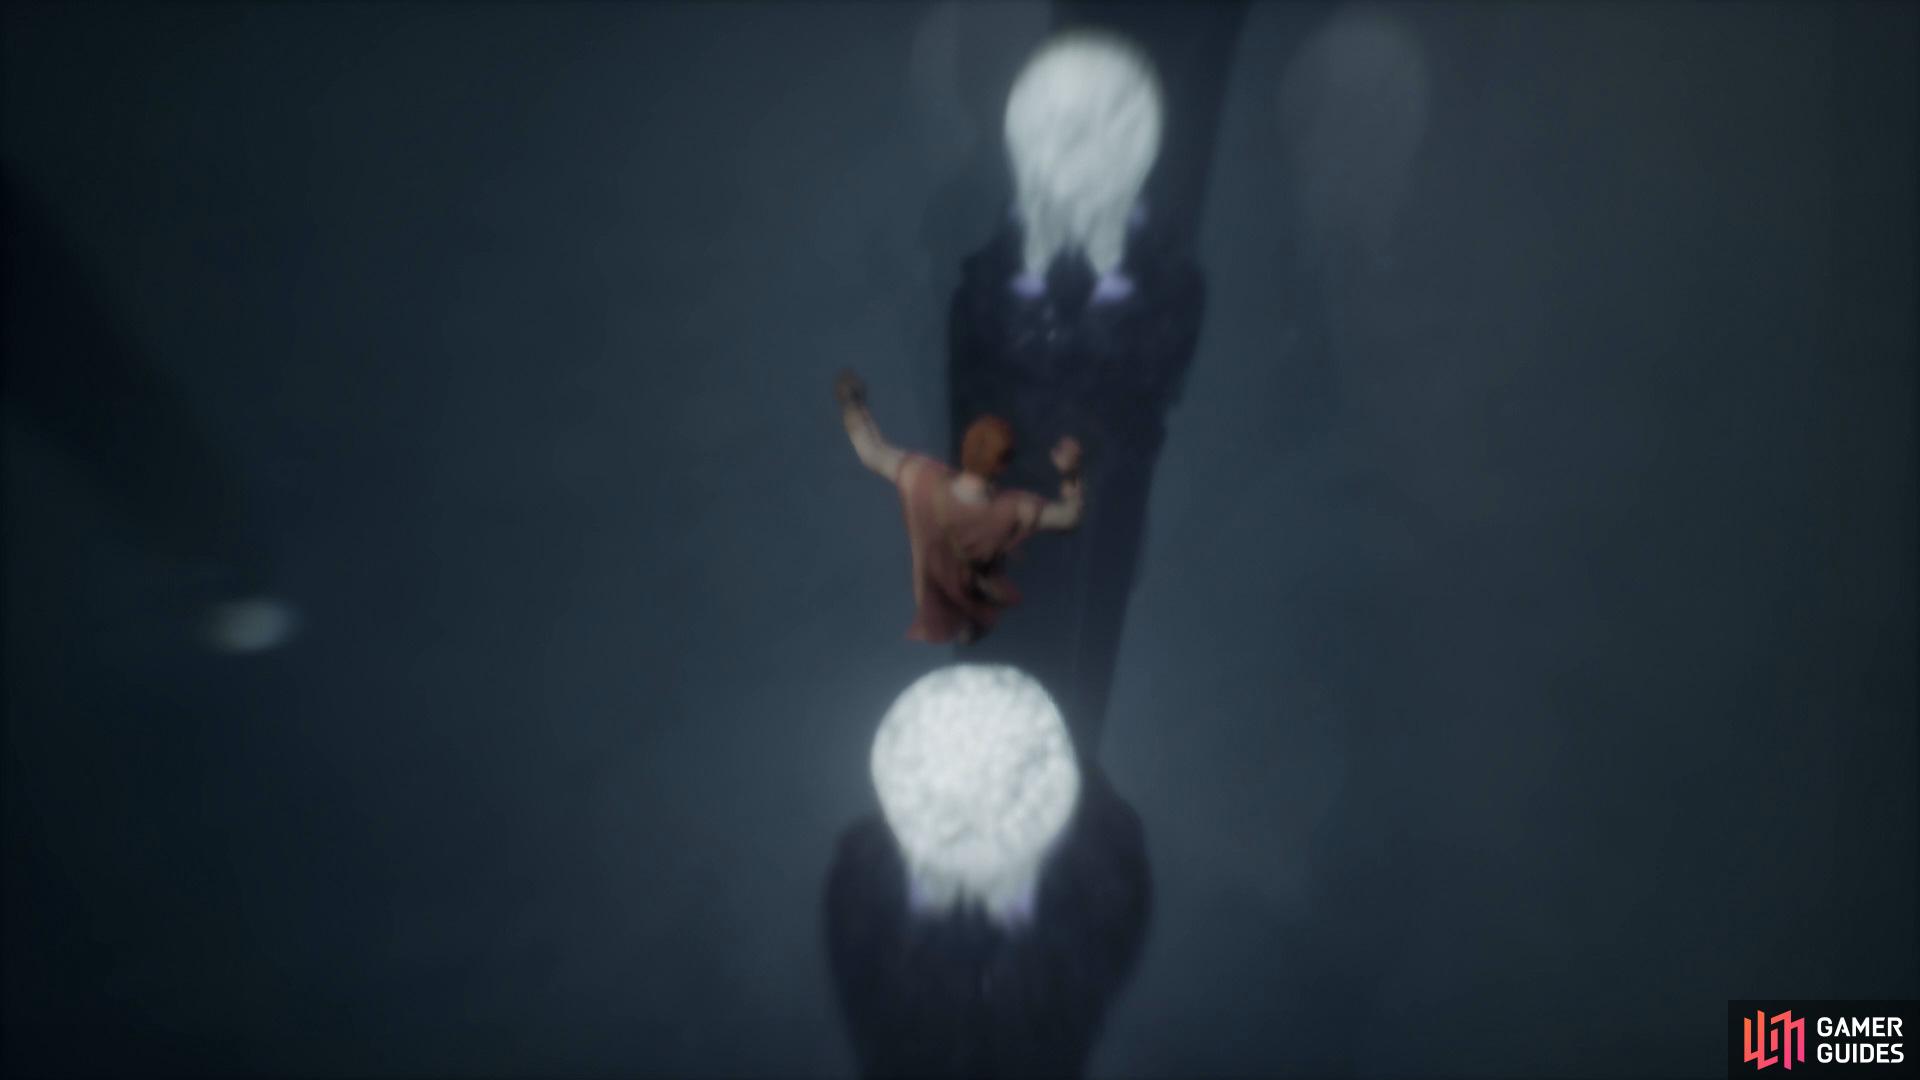
Proceed up and follow the direct path ahead and you’ll come across a Meditation Point, use it and then go around the tree to find the The Last Shyyyo Bird Force Echo, now Wall Run along to reach a new path and then drop down to enter a short cutscene. After the bird has been saved head to the back of the area and open the Chest to acquire the Perihellion Mantis Paint Job, then follow the only path forward and ride the Shyyyo Bird.
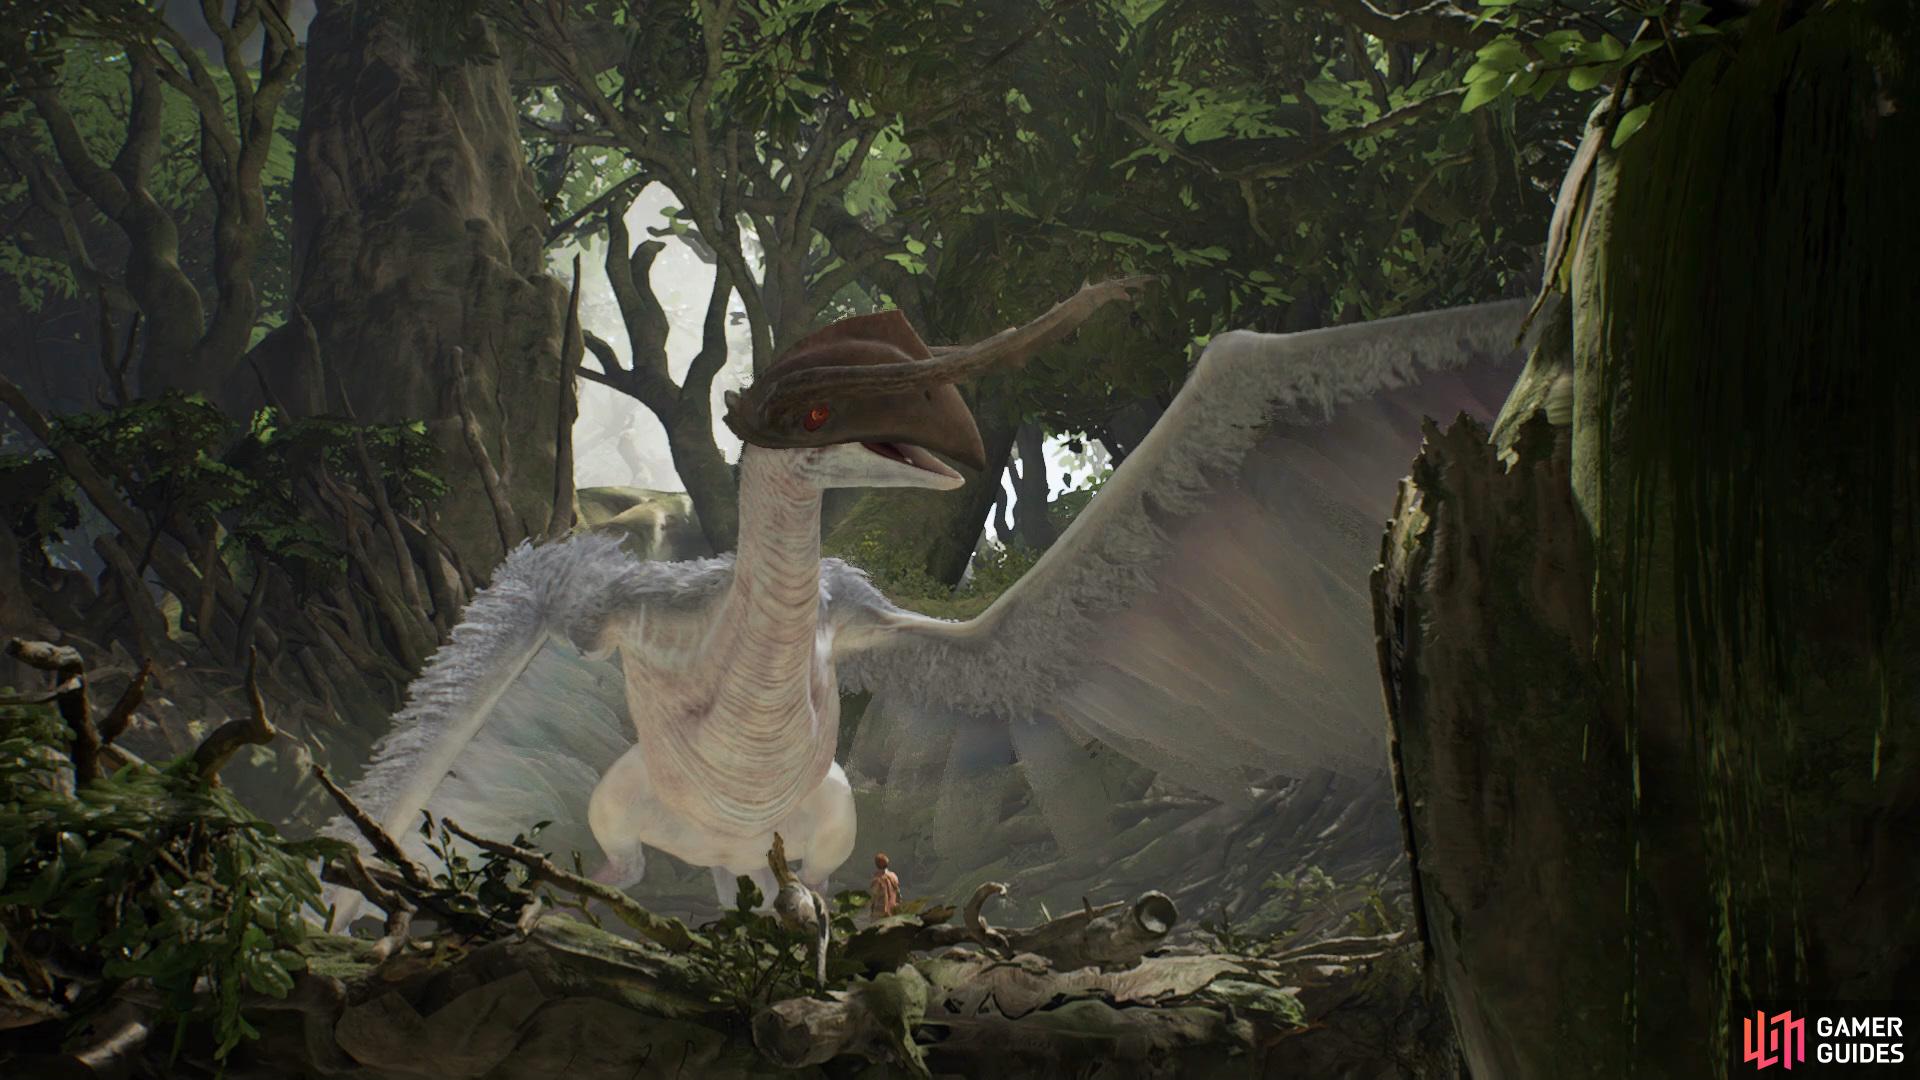
Ride the Shyyyo Bird
and then collect the Double-Bladed Lightsaber from the workbench ahead once you land.
Upon landing you’ll find a workbench up ahead that will give you the ability to use Double-Bladed Lightsaber, now head up the hill and view another short cutscene. Drop down to see the Shyyyo Bird ahead to initiate a boss fight.
Boss: The Ninth Sister
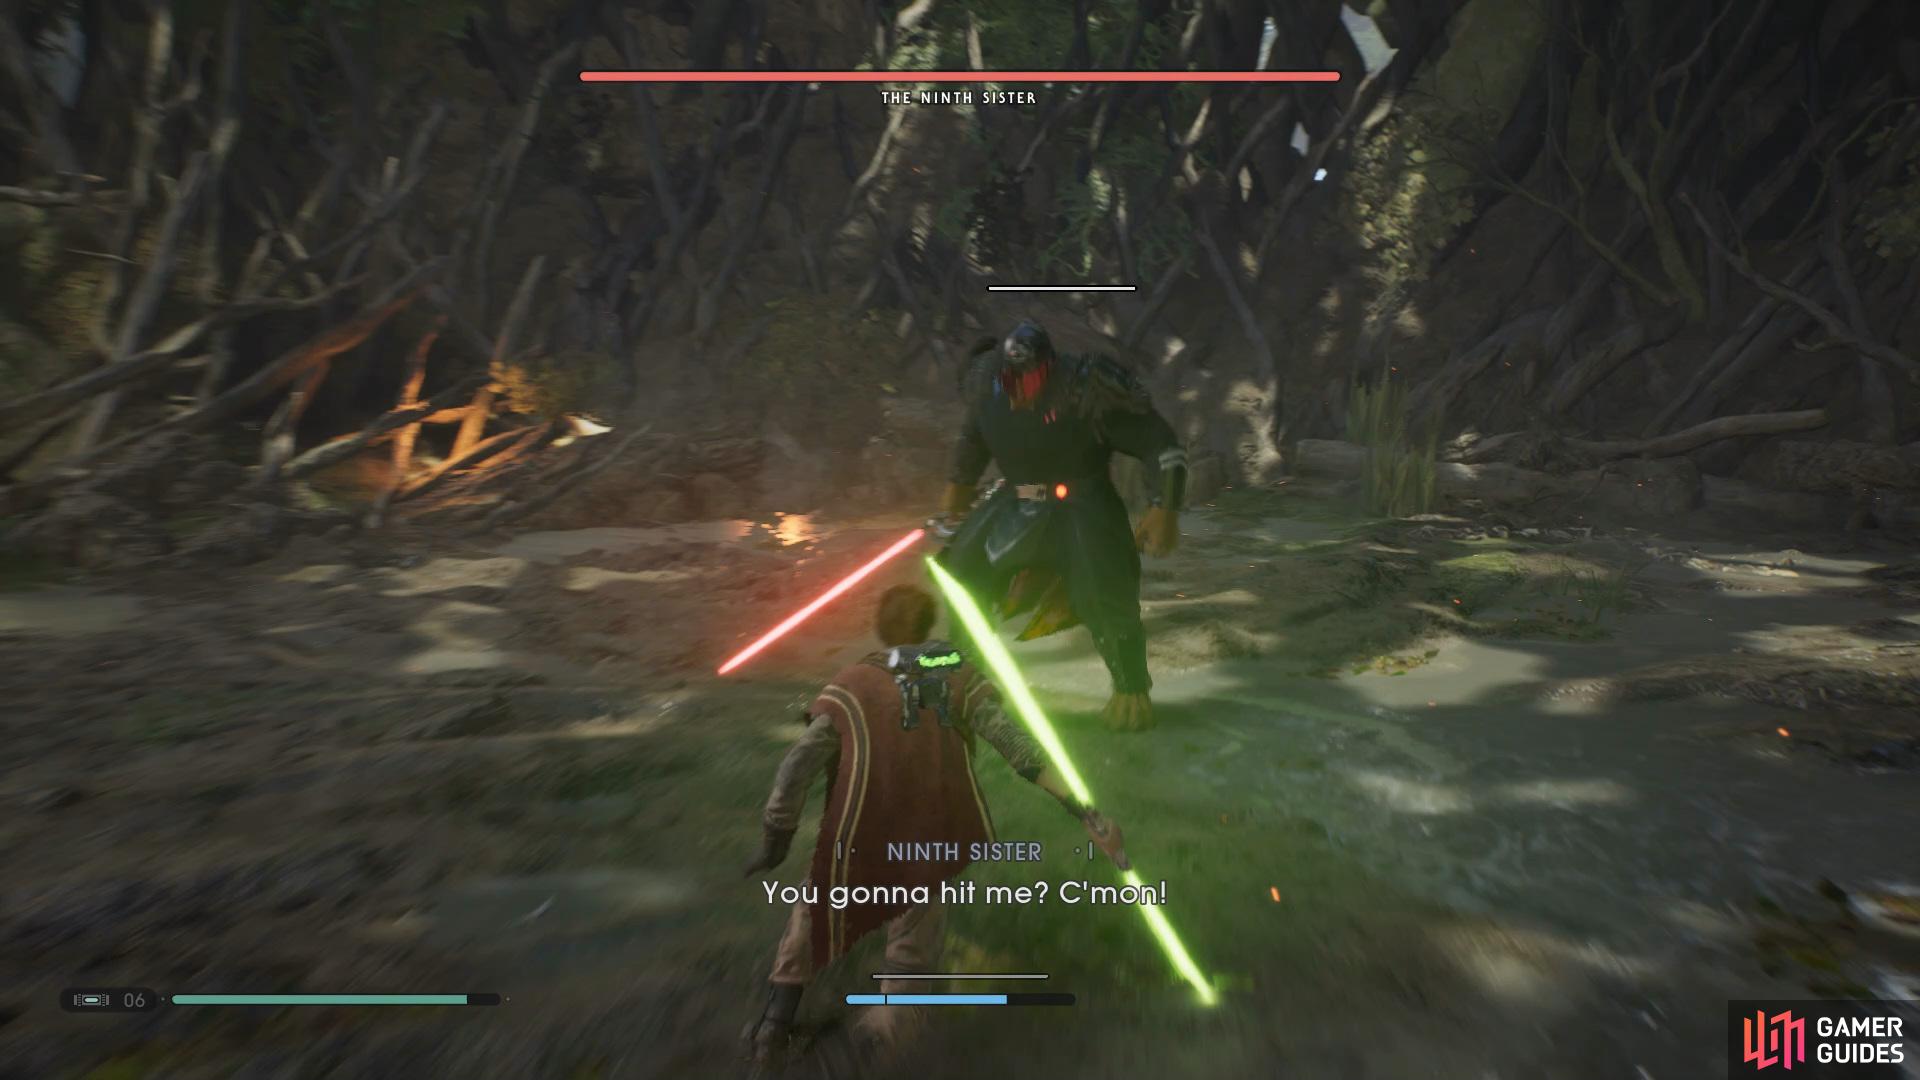
Boss: The Ninth Sister
The Ninth Sister is arguably the hardest boss you’ve come across so far in your journey through the galaxy as it requires more countering/dodging rather than abusing Force Slow. In order to deal any damage to this boss you’ll need to take down the bar of armor first which can be done slowly by hitting her.
In terms of attacks The Ninth Sister comes with a package deal, as she has lots of red moves as well as some nasty swings, first up is a simple one as she will use the Force to pull you towards her and after 1-2 seconds she’ll attempt to stab you with her Lightsaber, simply just roll backwards or to the side before she goes in for the hit.
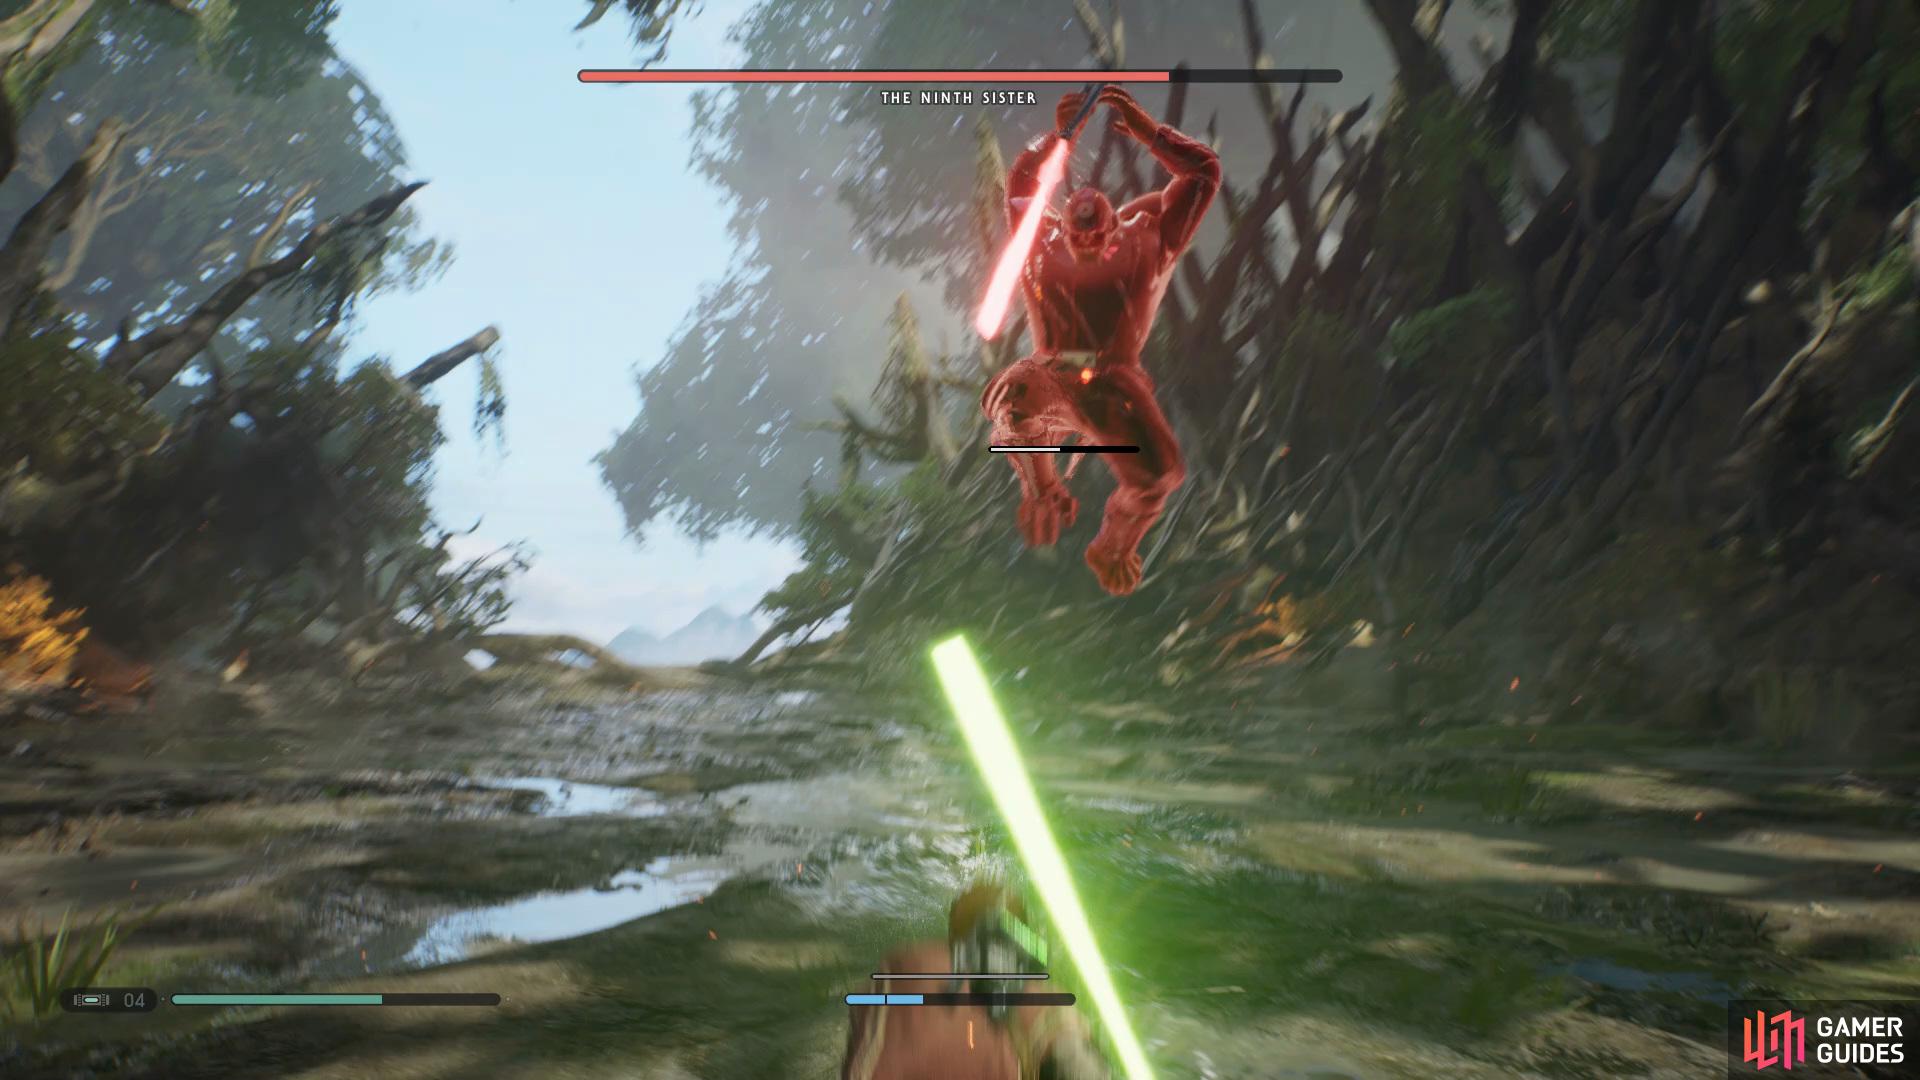
Next up she’ll jump into the air and stab the Lightsaber into the ground, this is easily doable but you have to be careful as she can cover a lot of distance with this one, usually after she’s performed that she’ll charge up a powerful swipe attack which cannot be countered.
After you’ve dealt enough damage it’ll initiate a second phase and this one comes with a few extra attacks as she is now using the Double-Bladed Lightsaber, first attack will involve her sprinting towards you across the arena, just use Force Slow on her and move out of the way and then hit her from behind. The final attack will have her coming towards you whilst spinning her Lightsaber.
Once the boss has been defeated head back to the Mantis.


No Comments