Your first true dungeon, filled with thrills and chills… Well, probably not chills, as you’ll see. In front of you are three statues and a few pots. Break the pots with your sword to reveal some Rupees and hearts - maybe. You can also get nothing from these.Oh well…
Begin by moving up against the far left statue. The R button will display “Grab”; hold R and move backwards to drag the statue. Drag it until it fits in perfectly with the jutting-out dip in the floor. Drag the middle statue left and enter through the gap hidden by the statue.
In here, you shall find several Bokoblin with flaming sticks. Strike them a few times to make a Bokoblin drop its stick, or defend like you did in the Forsaken Fortress. Regardless, it is recommended that you defeat the Bokoblin. Grab a stick. If it is flaming, head to the unlit torches and light them using the fire.
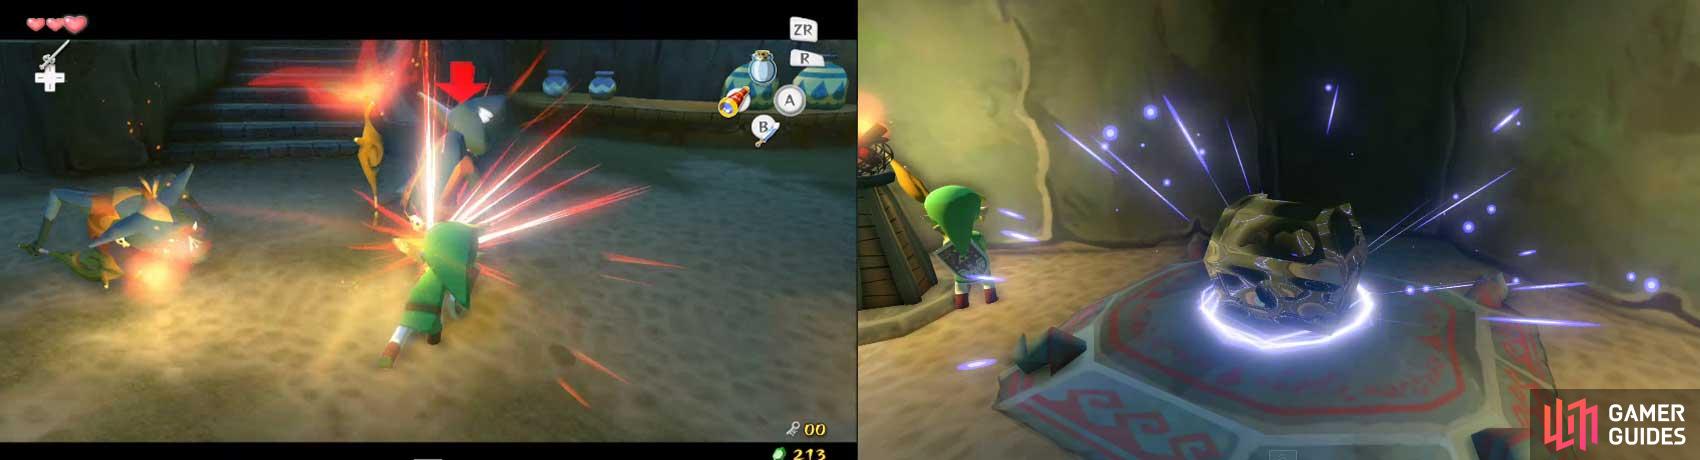
If the flame on the stick has extinguished, light it back up by sticking the stick in one the nearby lit torches, then do what I previously mentioned.
A chest will appear when both unlit torches are lit. Open the chest to obtain a small key. Small keys are required at times to move forward in the dungeon. To the right of the chest, you’ll see a locked door. These doors are what you use the small key to unlock and move forward. However, small keys only have one use.
Now, before unlocking the door, pick up a stick, light it if needed, then move to the large pot on the left side of the room. Put the lighted stick near it to make the wood on top of the pot burn away. If you jump into the pot, you’ll realize that you come right back out. Useless? WRONG!
There are two to three of these pots in each dungeon. They are all connected once they are opened (like you just did by lighting the wood on top), and jumping in will take you to the next one. They also partially restore magic power (you’ll understand this more once you reach the Forest Haven). Anyhow, go to the next room when you are ready.
Remember that I said there won’t be any “chills”, just “thrills”? Here you go: a dungeon set inside an ACTIVE volcano! Makes me sweat just thinking about it!
Okay, in front of you are some weakened boards - hit the lower ones with your sword to allow yourself to go through. Take a left path along the wooden ledge until you reach a gap in it. Jump down from the gap onto a small ledge.
Inside the wall is some black object; like at the beginning, drag it out as much as you can. Climb up on it, and jump towards the unused ledge. Follow this until a gap once more. A column of lava spews from the lava below at this gap periodically - obviously, touching it causes damage.
Wait until the lava spume is gone and jump across. Nearby are some bats (Keese). Keese are very weak - so weak that a single hit with ANYTHING AT ALL kills it. Try to defeat some before crossing the bridge, though; they still do damage and can be a nuisance.
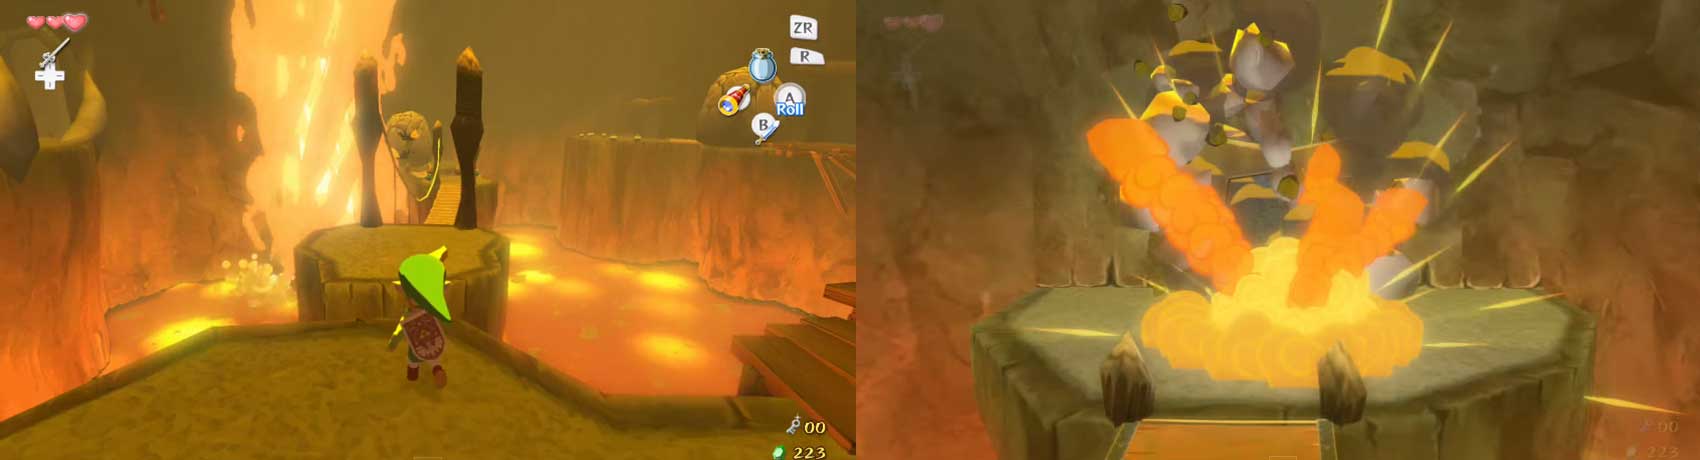
After crossing the bridge, grab the Bomb Flower, go across the next gap, and set the Bomb Flower down beside the large boulder. The boulder will be destroyed, permitting access to the next room.
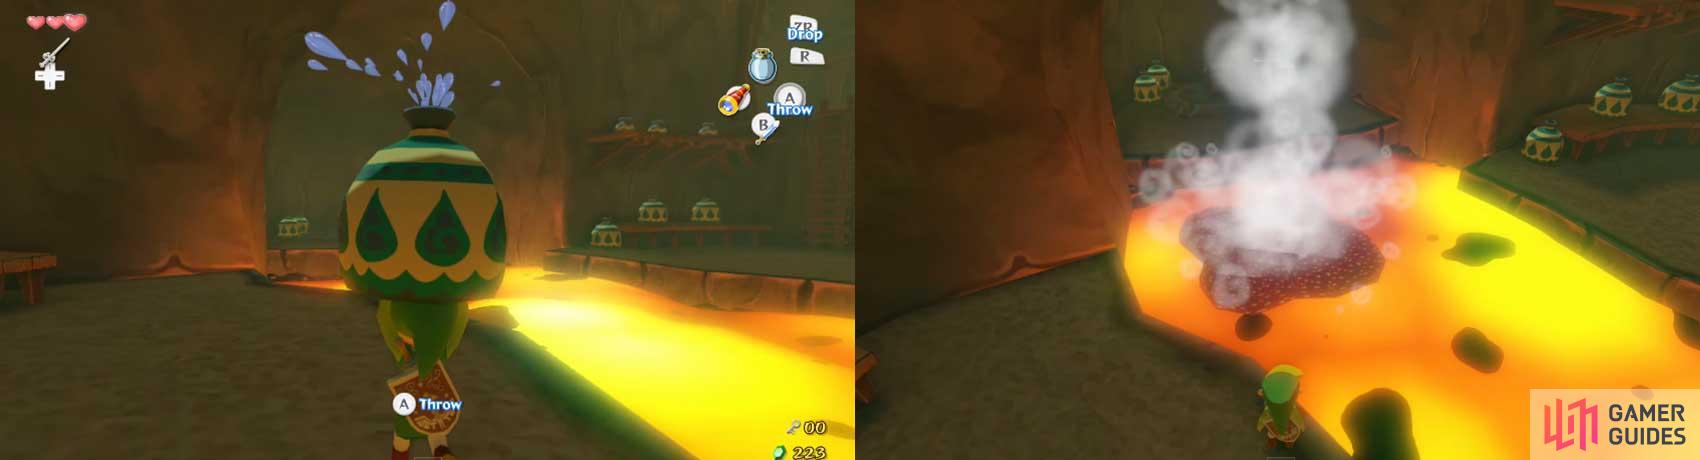
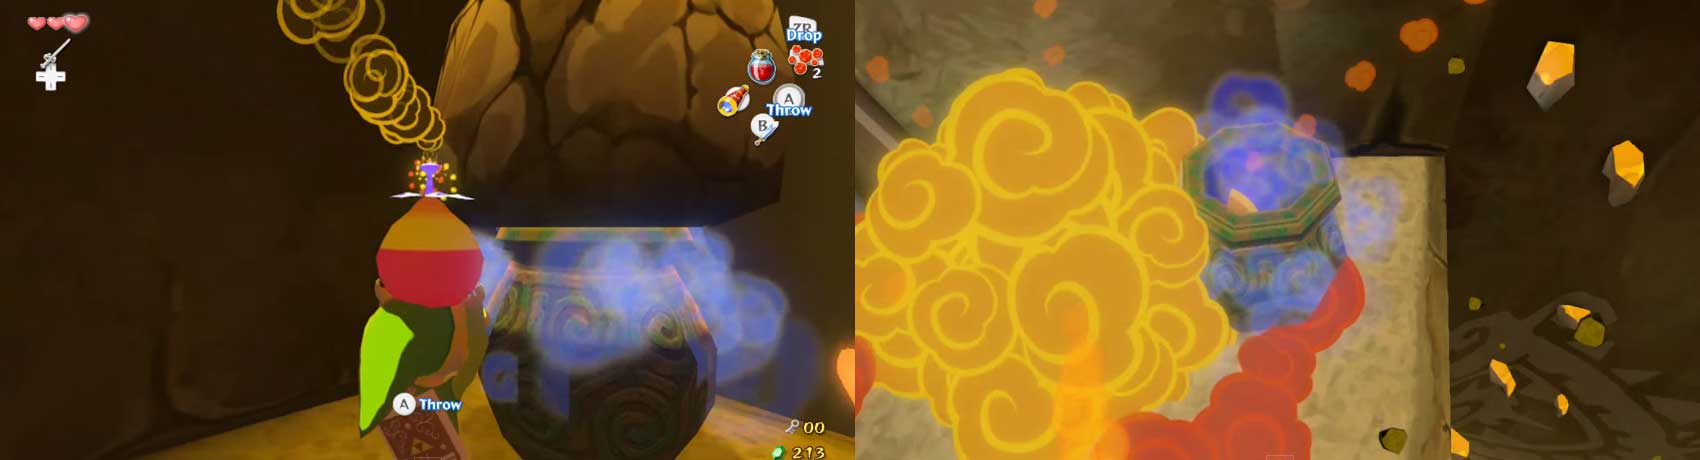
In this room, grab one of the greenish pots. You ever see those movies where water is poured onto lava, making it hard? We’re doing that now, to make a temporary platform. BUT, instead of immediately going across, throw the pot towards the ledge at the left. Why? There is a ledge there with a chest!
Cross the makeshift platform and open the chest to receive a Dungeon Map for this dungeon. Grab another water pot and throw at the ledge to your left (the one across from the entrance). As you climb up the ladder, you may find some Red Chuchus. These are no different in any way from those you may have encountered on Pawprint Isle - a couple of hits defeats them. When you’re done, enter the next room.
Ahead of you are some more wood planks like in the second room, except you aren’t going to break most of these. A few, like the one immediately in front of you, will have Bokoblins with swords behind them. When you draw near, the Bokoblin will break the barrier and slice at you. Try to keep defending until you have a chance to attack - then kill it.
Grab its sword and break the wooden barrier at the right. Past them, on the left, is another ledge. This one has two Red Chuchus on it, though. Defeat them and use the sword to break the barrier that was behind them. There is a treasure chest behind it - containing a small key! Don’t you remember seeing something that looked like the first padlocked door back in the second room? However, just head forward through the next door.
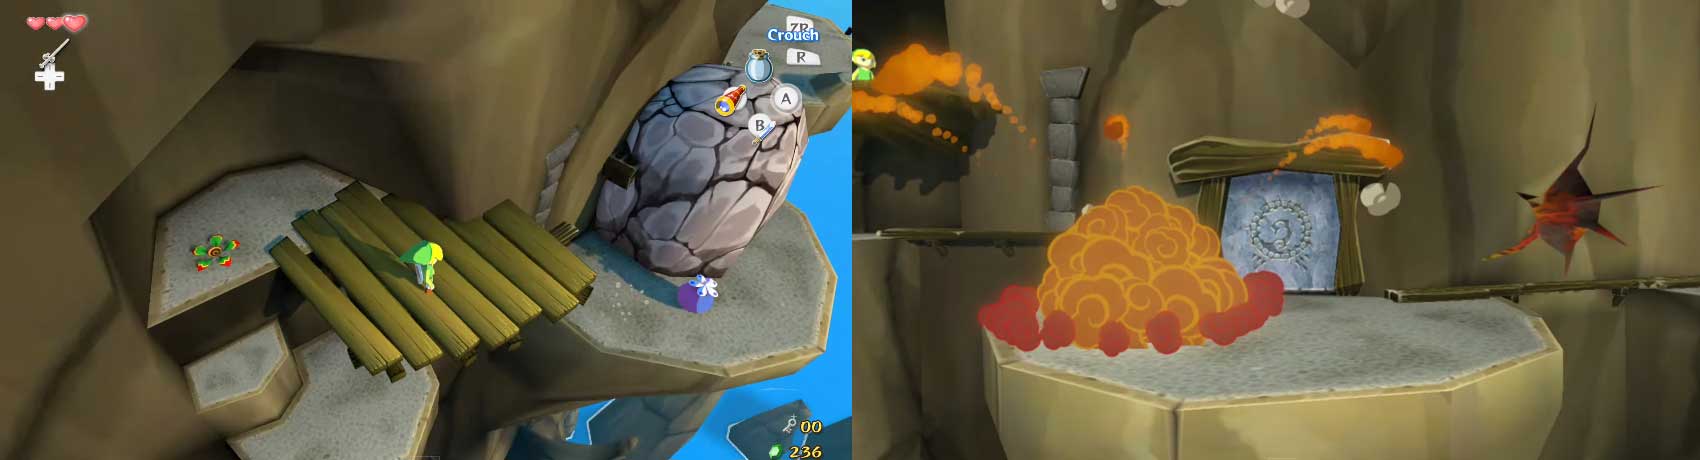
This ledge has nowhere to go. However, there is a large boulder to the left. Some rocks are nearby, but what effect would they have on a massive boulder. Look beside the boulder: do you not see two Bomb Flowers?
Throw a rock at one to trigger the Bomb Flower to explode, destroying the boulder and unblocking your path. Take this path and continue directly forward until you reach the locked door. Since you coincidentally have a small key, use it to unlock the door and enter the next room.
As you traverse through this tunnel, you’ll see a passage to left with a large gap and no (current) way to get across. Remember this, as we can come back to this passage later for some treasure. As you continue forward, you shall fight more Red Chuchus.
At the end of this tunnel, on the left, are some more wooden boards. Behind them is another Bokoblin with a stick - it jumps out and will destroy the boards when you get near. Defeat it, then grab the stick. Light it with the nearby torches then put it near the other set of boards on the right side of the room. After burning away the boards, step on the switch to unlock the door. Go through it.
Ahhh… blue skies and a deadly fall to the seas below. Yes, you have emerged outside, but you aren’t out of the dungeon yet. To the right is a rope bridge. Beware - if you (or the Bokoblin) hit the ropes too many times, the ropes will tear; too many broken ropes will cause the bridge to fall.
Defeat the Bokoblin with thrusts and climb up the ladder. As you climb up, you will find a darkened spot on the ladder. This spot gets hit periodically with lava spumes like the ones from the second room in the dungeon.
Behind the ladder, you’ll find the hole that spews the lava - while it is bubbling over, get away from the black spot, or you’ll take some damage. At the top of the ladder, you’ll find a bird-like monster known as a Kargaroc. They fly around and are pretty annoying at this point; it takes two hits to defeat them.
Walk around the nearby boulder to find a ledge too narrow to walk OR sidle across. Instead, grab onto the and move left. Once you have room to get up onto the next ledge, do so. Climb up two ledges to reach a Bomb Flower.
I believe you can pick the Bomb Flower up and jump towards the boulder to reach it, then drop the Bomb Flower to get rid of the boulder. The boulder, once destroyed, will reveal a door that you should go through.
This next room is a more complicated version of the entrance room. There are ten blocks in front of you, stacked vertically in three columns with a 3-4-3 pattern. Pull out one block from one of the side stacks and one from the center stack. Climb up the blocks to enter another room. This room is infested with rats.
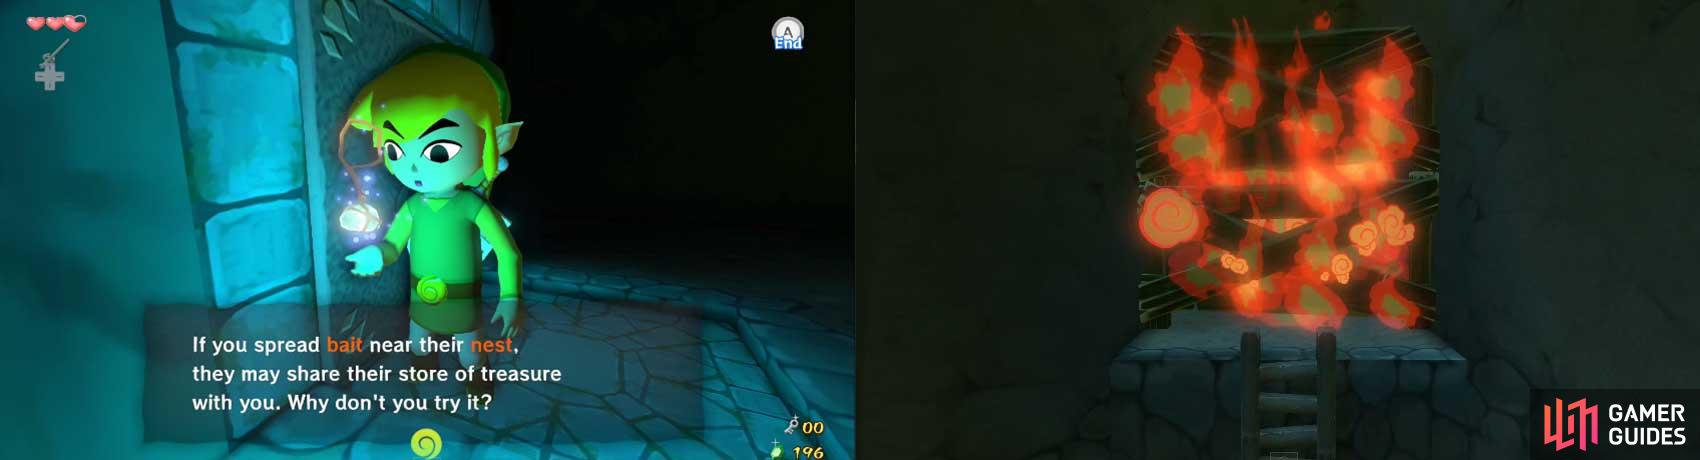
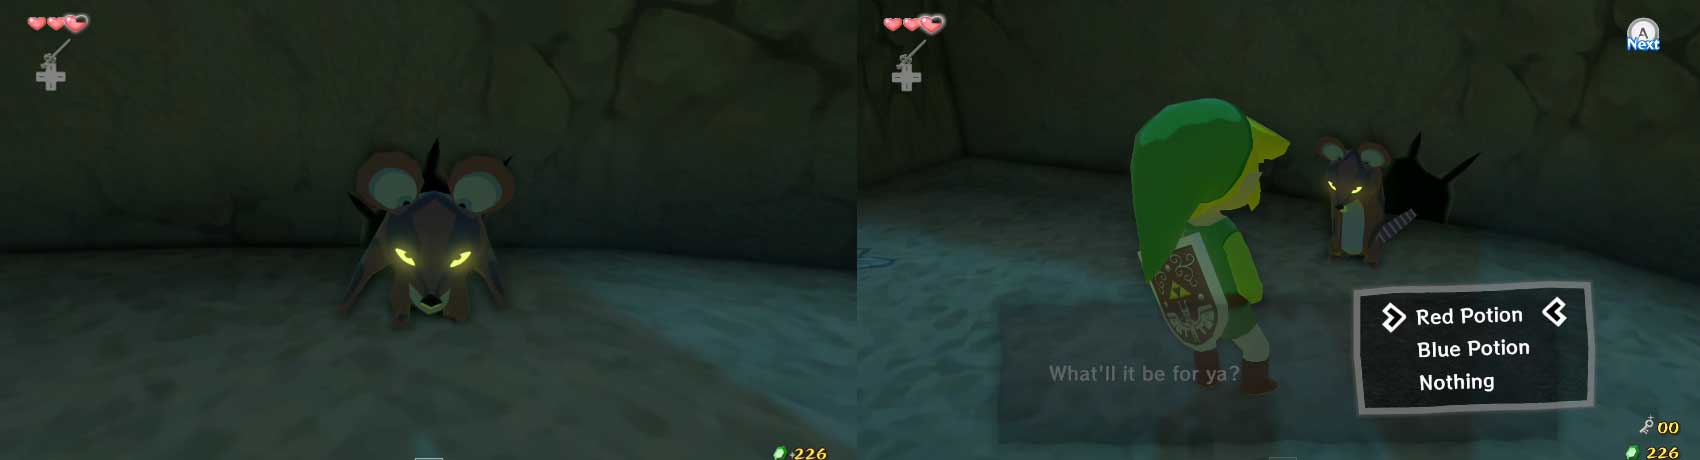
They are very much a nuisance, being able to take your Rupees and damage you. You COULD defeat them, but it is a bit tough at this time. Instead, do as the King of Red Lions warns you - spread some All-Purpose Bait in front of their nest (the little mouse-hole in the wall).
Not only will they stop antagonizing you, but they will also sell you stuff. If your empty bottle is empty (and you have 30 Rupees), take the Red Potion as a safeguard (you will probably want to empty later, as you’ll see…). It may also offer a Blue Potion. No matter what, always get a Blue Potion - it fully restores Link’s health and magic power. Only one item is better!
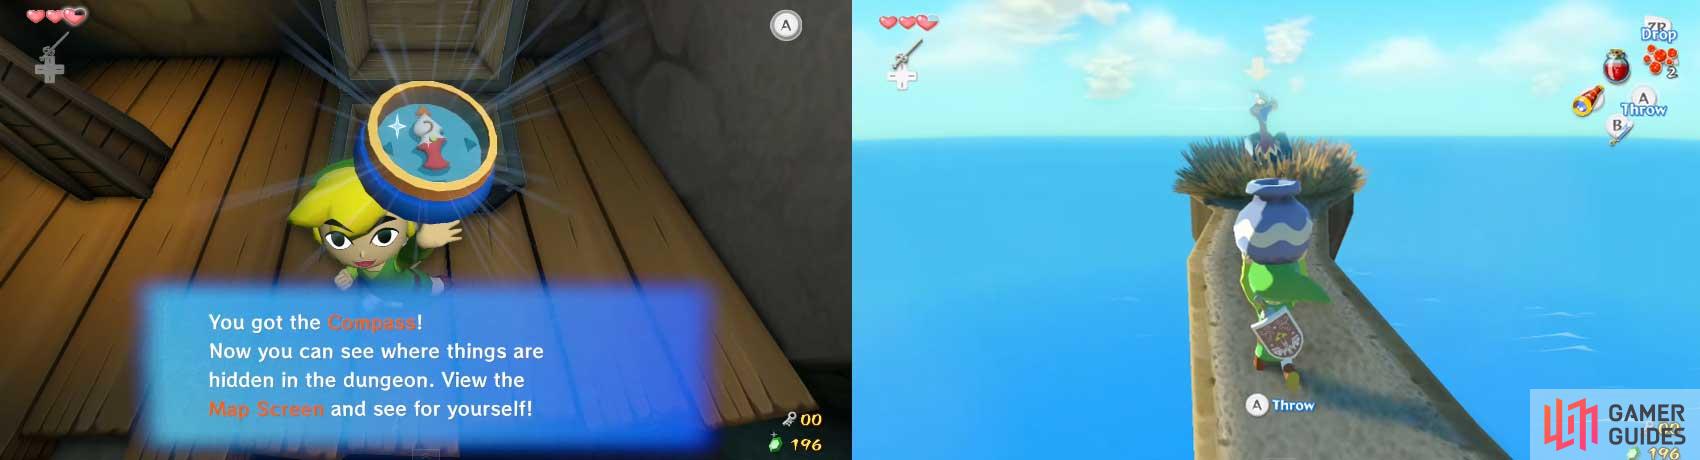
Now, time to get to business. Go to the black square to the left. Like in the second room of the dungeon, pull it out and climb up to the ledge. Open the chest to get a Compass. Next, you need to break one of the nearby pots. One contains sticks like the Bokoblins carry. Pick it up and light it in the nearby torch.
Look at the right side of the room. You’ll see some wooden boards like before. There isn’t a Bokoblin there to break them, though. You’ll have to burn them. Unfortunately, you cannot take the stick up a ladder. Instead, face the boards and throw the flaming stick.
If it makes contact, the boards will burn away, revealing a treasure chest. Climb up the ladder and open the chest to get a small key. Now, go to the left ledge and go through the door.
You now re-emerge outside to an even deadlier fall (although you take the same amount of damage). To the right, you’ll find a staircase - a partial staircase. You’ll have to jump across a few parts. At the top, turn left. You’ll see a Kargaroc nesting.
Go to the Kargaroc and have it chase you to the main ledge so you’ll have more room to fight. Defeat it and go to the nest. You’ll find a small key (must be a dumb Kargaroc to think a key is its egg). Take the key and unlock the nearby door to continue.
This room is very dark. In one of the pots nearby, you can find some sticks. Break the pot and grab a stick. Light it at one of the nearby torches so you get a night-light of sorts. After continuing along the path for a short time, you’ll come to another room.
It contains an unlit torch - and a lot of Keese! Defeat them and grab the stick. Re-light it if its flame has been extinguished and go to the left (?) side of this room. There is a chest which contains a Joy Pendant. Now, continue along the path. In this room, light the two torches and continue through the now-unsealed door.
The area you emerge in is a higher level of the second room. To your left, you’ll find a large jar similar to the one from the first room; on your right is a Bomb Flower. Pick up the Bomb Flower and place it beside the pot. This will break the wood on top of the pot, letting you jump into it.
Earlier, I mentioned that these large pots are connected. If you jump in now, you’ll go back to the first room. Anyhow, go across the bridge to the next room.
Immediately after entering, both the doors in the room are sealed. There is a Bokoblin in front of you. Defeat it. Now, you’ll notice the doors aren’t unsealed. Therefore, there must be another task. In this case, go around the room on both floors, destroying the pots.
There are three to four more Bokoblins hidden. Once you defeat them, the doors unseal. However, let’s not leave yet. Grab one of the sticks and light it on a torch. Light the unlit torches to make a treasure chest appear. Open it to recieve a Treasure Chart (#11) . After that, leave through the upper door.

 Sign up
No Comments