You have re-entered the nightmare room (the glitchy (?) Floormaster and wind switch room). Use the quick jump-and-gust technique from earlier to rotate the wind switch again. Once you’ve returned to the ledge, pick up Makar and cross over to the stone slab. Play the Wind God’s Aria to destroy the slab. Pick up Makar and go through the door.
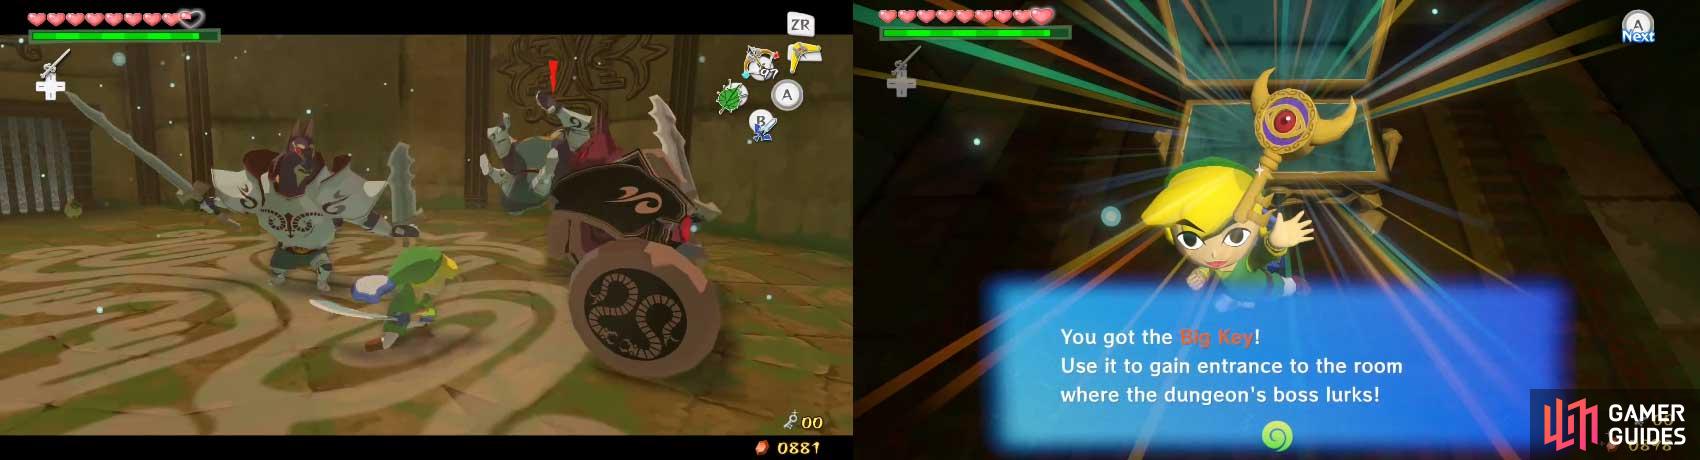
And following the nightmare room is… the Boss Key room! As usual, there is something guarding it: a trio of Darknuts! There is an easy to do this. First, circle around them until they are close together. Next, back off enough so that only one has enough range to hit you; lock-on to this one and get ready to parry.
If you are lucky, you might get the sliding parry that removes armor; if the enemies are close, it will them, too, and remove the torso armor. At that point, defeat the one you were focusing on and repeat this process with the other two. Once you’re done, a gate will open, letting you get to the chest. Open the ornate blue chest to receive the Boss Key . Leave the room.
In the Floormaster-nightmare room, just continue back with Makar and through the door to the main room.
Here, pick Makar up and drop into the basement, preferably when the wind isn’t blowing. Why? There is a 50-50 chance of dropping into the hole where you can go below the fan; if it slices you, you will take damage. If you miss the hole, drop in after the fan stops blowing. Underneath the fan, you’ll find a door; go through it.
In this room, you’ll be encountering your second-hardest battle yet - a Summoning Wizzrobe (a normal one (see, SECOND-hardest)) allied by two Stalfos. As you enter, immediately equip the Hero’s Bow and unleash a barrage of Arrows (preferably Elemental) upon the Wizzrobe.
Focus entirely on the Wizzrobe; the Stalfos are too slow to reach you if you hurry. As for the Stalfos, destroy their skeletons with Bombs, stun the bouncing head with the Boomerang, then unleash a barrage of sword slices to it. Repeat with the other one.
Now, after the enemies are dead, the exit still won’t open. Hookshot from ledge to ledge to get to a ledge with a peg; it is the highest ledge. Smack it with the Skull Hammer to open the door.

Defeat the Bokoblins to make a chest containing Treasure Chart #5 appear. Whenever you’re ready, exit.
This room is among the longest in the dungeon. You emerge on a wide ledge that narrows as you go forward, until there’s a gap, then it reverses itself on the next platform (the one with the exit door). In front of you on your ledge, you’ll fight five Shield Bokoblin, then the two Armos Knights behind them. Try to stay close to the entrance to avoid waking the Armos Knights; five enemies at once is hard enough without adding two more to the mix!
Focus on the Shield Bokoblin first. Once they’re dead, defeat the Armos Knights and process to get to the gap. You’ll soon realize that the two horizontal whirlwinds make travel forward impossible for Link. Take control of Makar and fly over the whirlwinds to the opposite ledge with the mound of dirt. Place a seed into the dirt to make a tree, as well as stop the fans making the whirlwinds.
You can now either glide across with the Deku Leaf or Hookshot across; your choice. On the ledge, inch towards the edge near the Floormaster to try to stun and kill it; jumping off will usually give it time to grab you. After that, kill a few Peahats with the Boomerang. Pick Makar up and go through the door.
This will be the last room before you fight the boss of this dungeon. Three massive whirlwinds blow almost entirely across the room, blowing back those who try to fly or walk across who are too light. There are also some of those moving slicers from earlier. With these in place, you’ll need a more sophisticated way of getting across.
Why? The slicers can move at their normal speed, while Link would be slowed greatly with the Iron Boots and he can’t go across without them. In front of you as you enter, you’ll find three blocks. They are the key. First, equip the Iron Boots and push one into the path of the first slicer. Next, keep pushing towards one of the walls to trap it.
Now, here comes a more complicated part. VERY close to the first slicer is the second. It is possible to block both with one block. One push at a time, attempt to trap the second slicer between the block and the wall as it hits the wall.
It is less risky to try the trial-and-error way: it hits, you push. If it is trapped, good; if not, keep trying. Now, for the second block. Simply push it across to the gap so that it drops in.
Take the third block and move it across the third block to get it to the other side. Like before, trap the moving slicer. Now, all that you need is Makar. Go back near the entrance and grab him. Walk towards the whirlwinds. Once you get to the gap, go across the block you placed in there earlier. After that, simply go through the doorway. Once there, you can take off the Iron Boots.
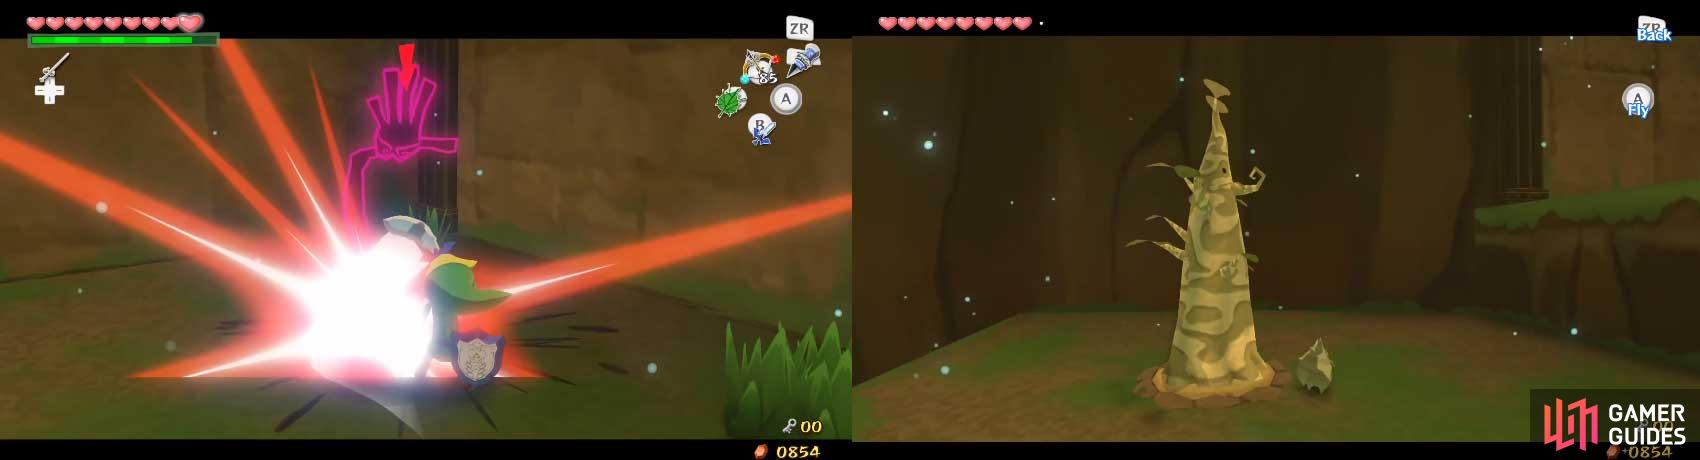
In this part of the room, you’ll find a stone slab, some pots, and a warp jar. Use a Bomb to open the warp jar. Break the pots to get refills, fairies you should bottle and use, and an amazingly large amount of Rupees compared to other dungeons. Play the Wind God’s Aria while near Makar and the stone slab to disintegrate it. Now, save and go through the door.
When you emerge from the door, you emerge on a ledge a fair distance about a sand pit. In the middle of the pit is a platform with the Triforce emblem on it. When you jump down and go towards the platform, the room brightens some and sand begins pouring into the room from several points on the roof.
As the sand rises, the platform is engulfed and a massive, ugly worm-like thing emerges. It (somehow) flies in the air for a short time before diving back into the sand. This is your fifth boss, Molgera!

 Sign up
No Comments