Updated Title Publisher
Updated Title
Published Title Score Editor's Choice
Published Title Score

Nilcar, Forgotten Bishop Bosses

In-Game Description

"Nilcar, Forgotten Bishop" iconNilcar, Forgotten Bishop is a vampire that summons other vampires to do its bidding. Capable of unleashing a barrage of blood at its victims, it is a foe to be wary of.

Description

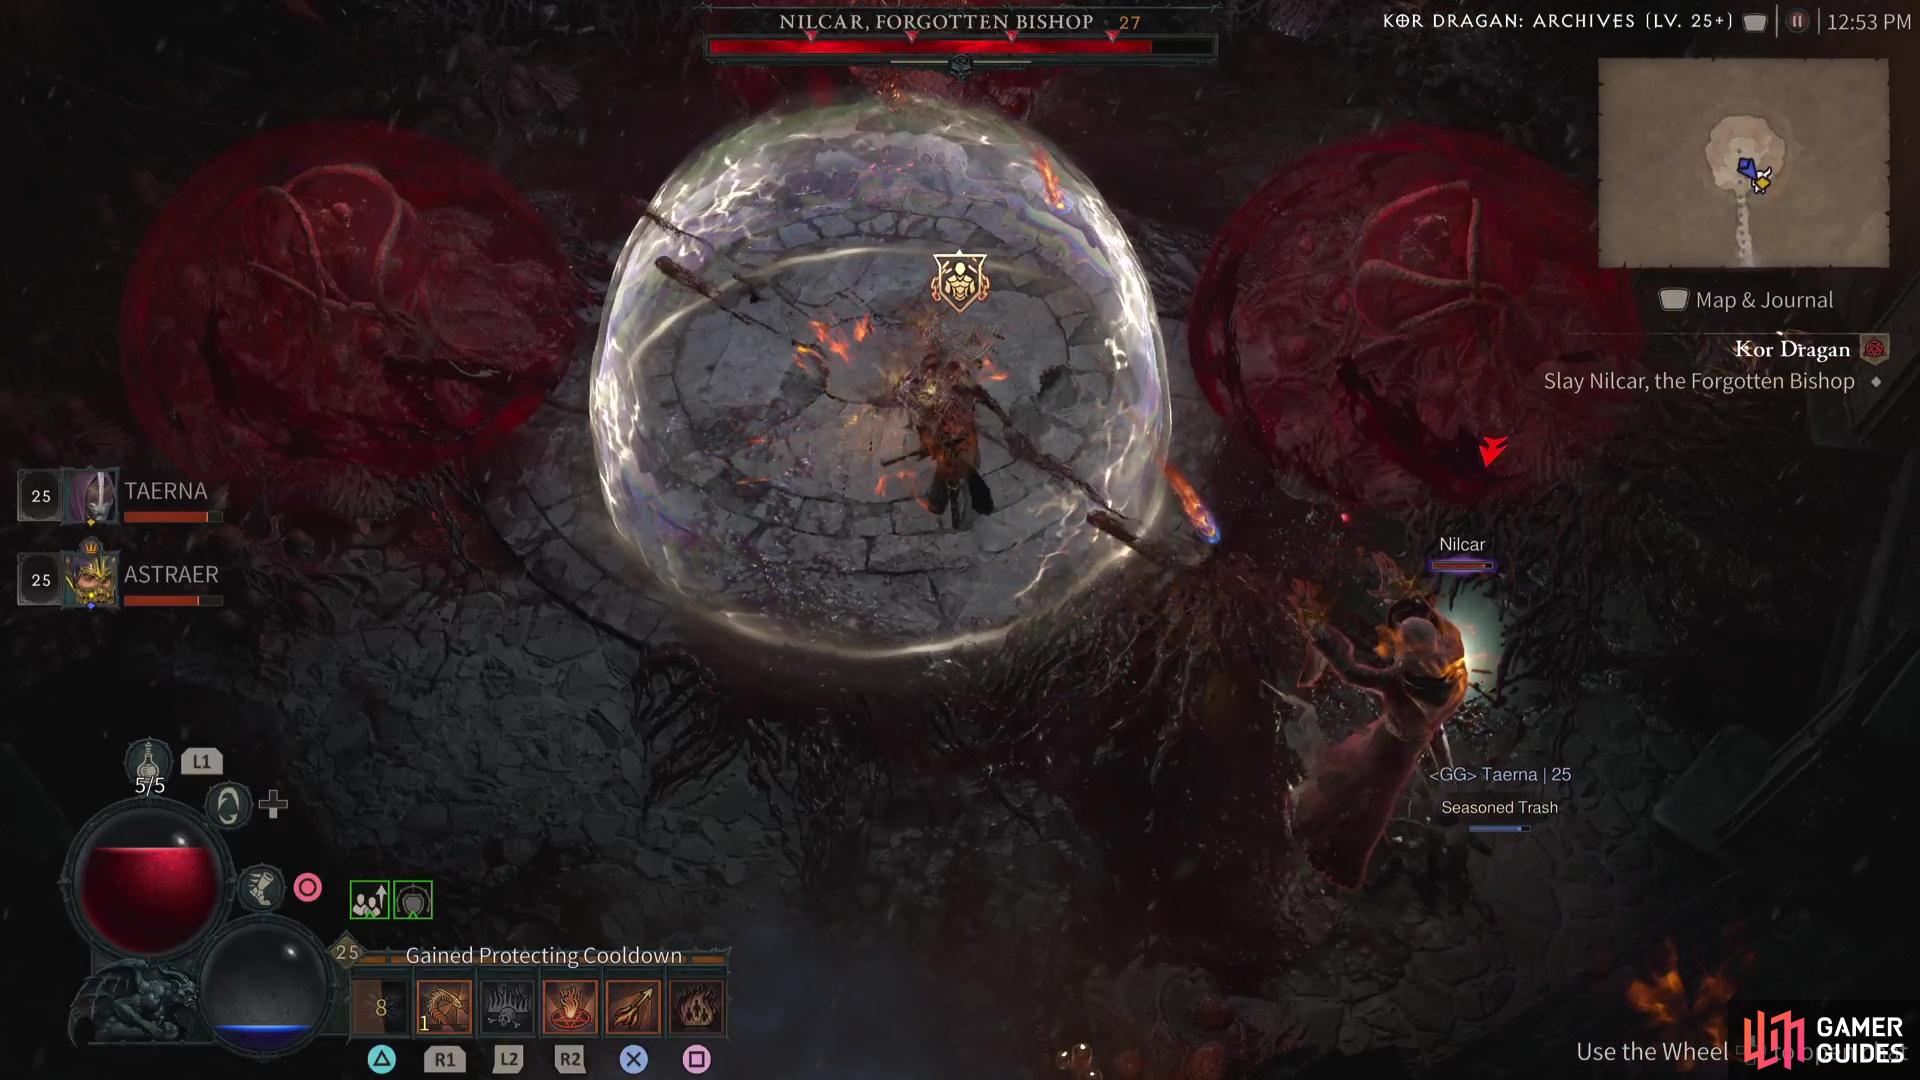
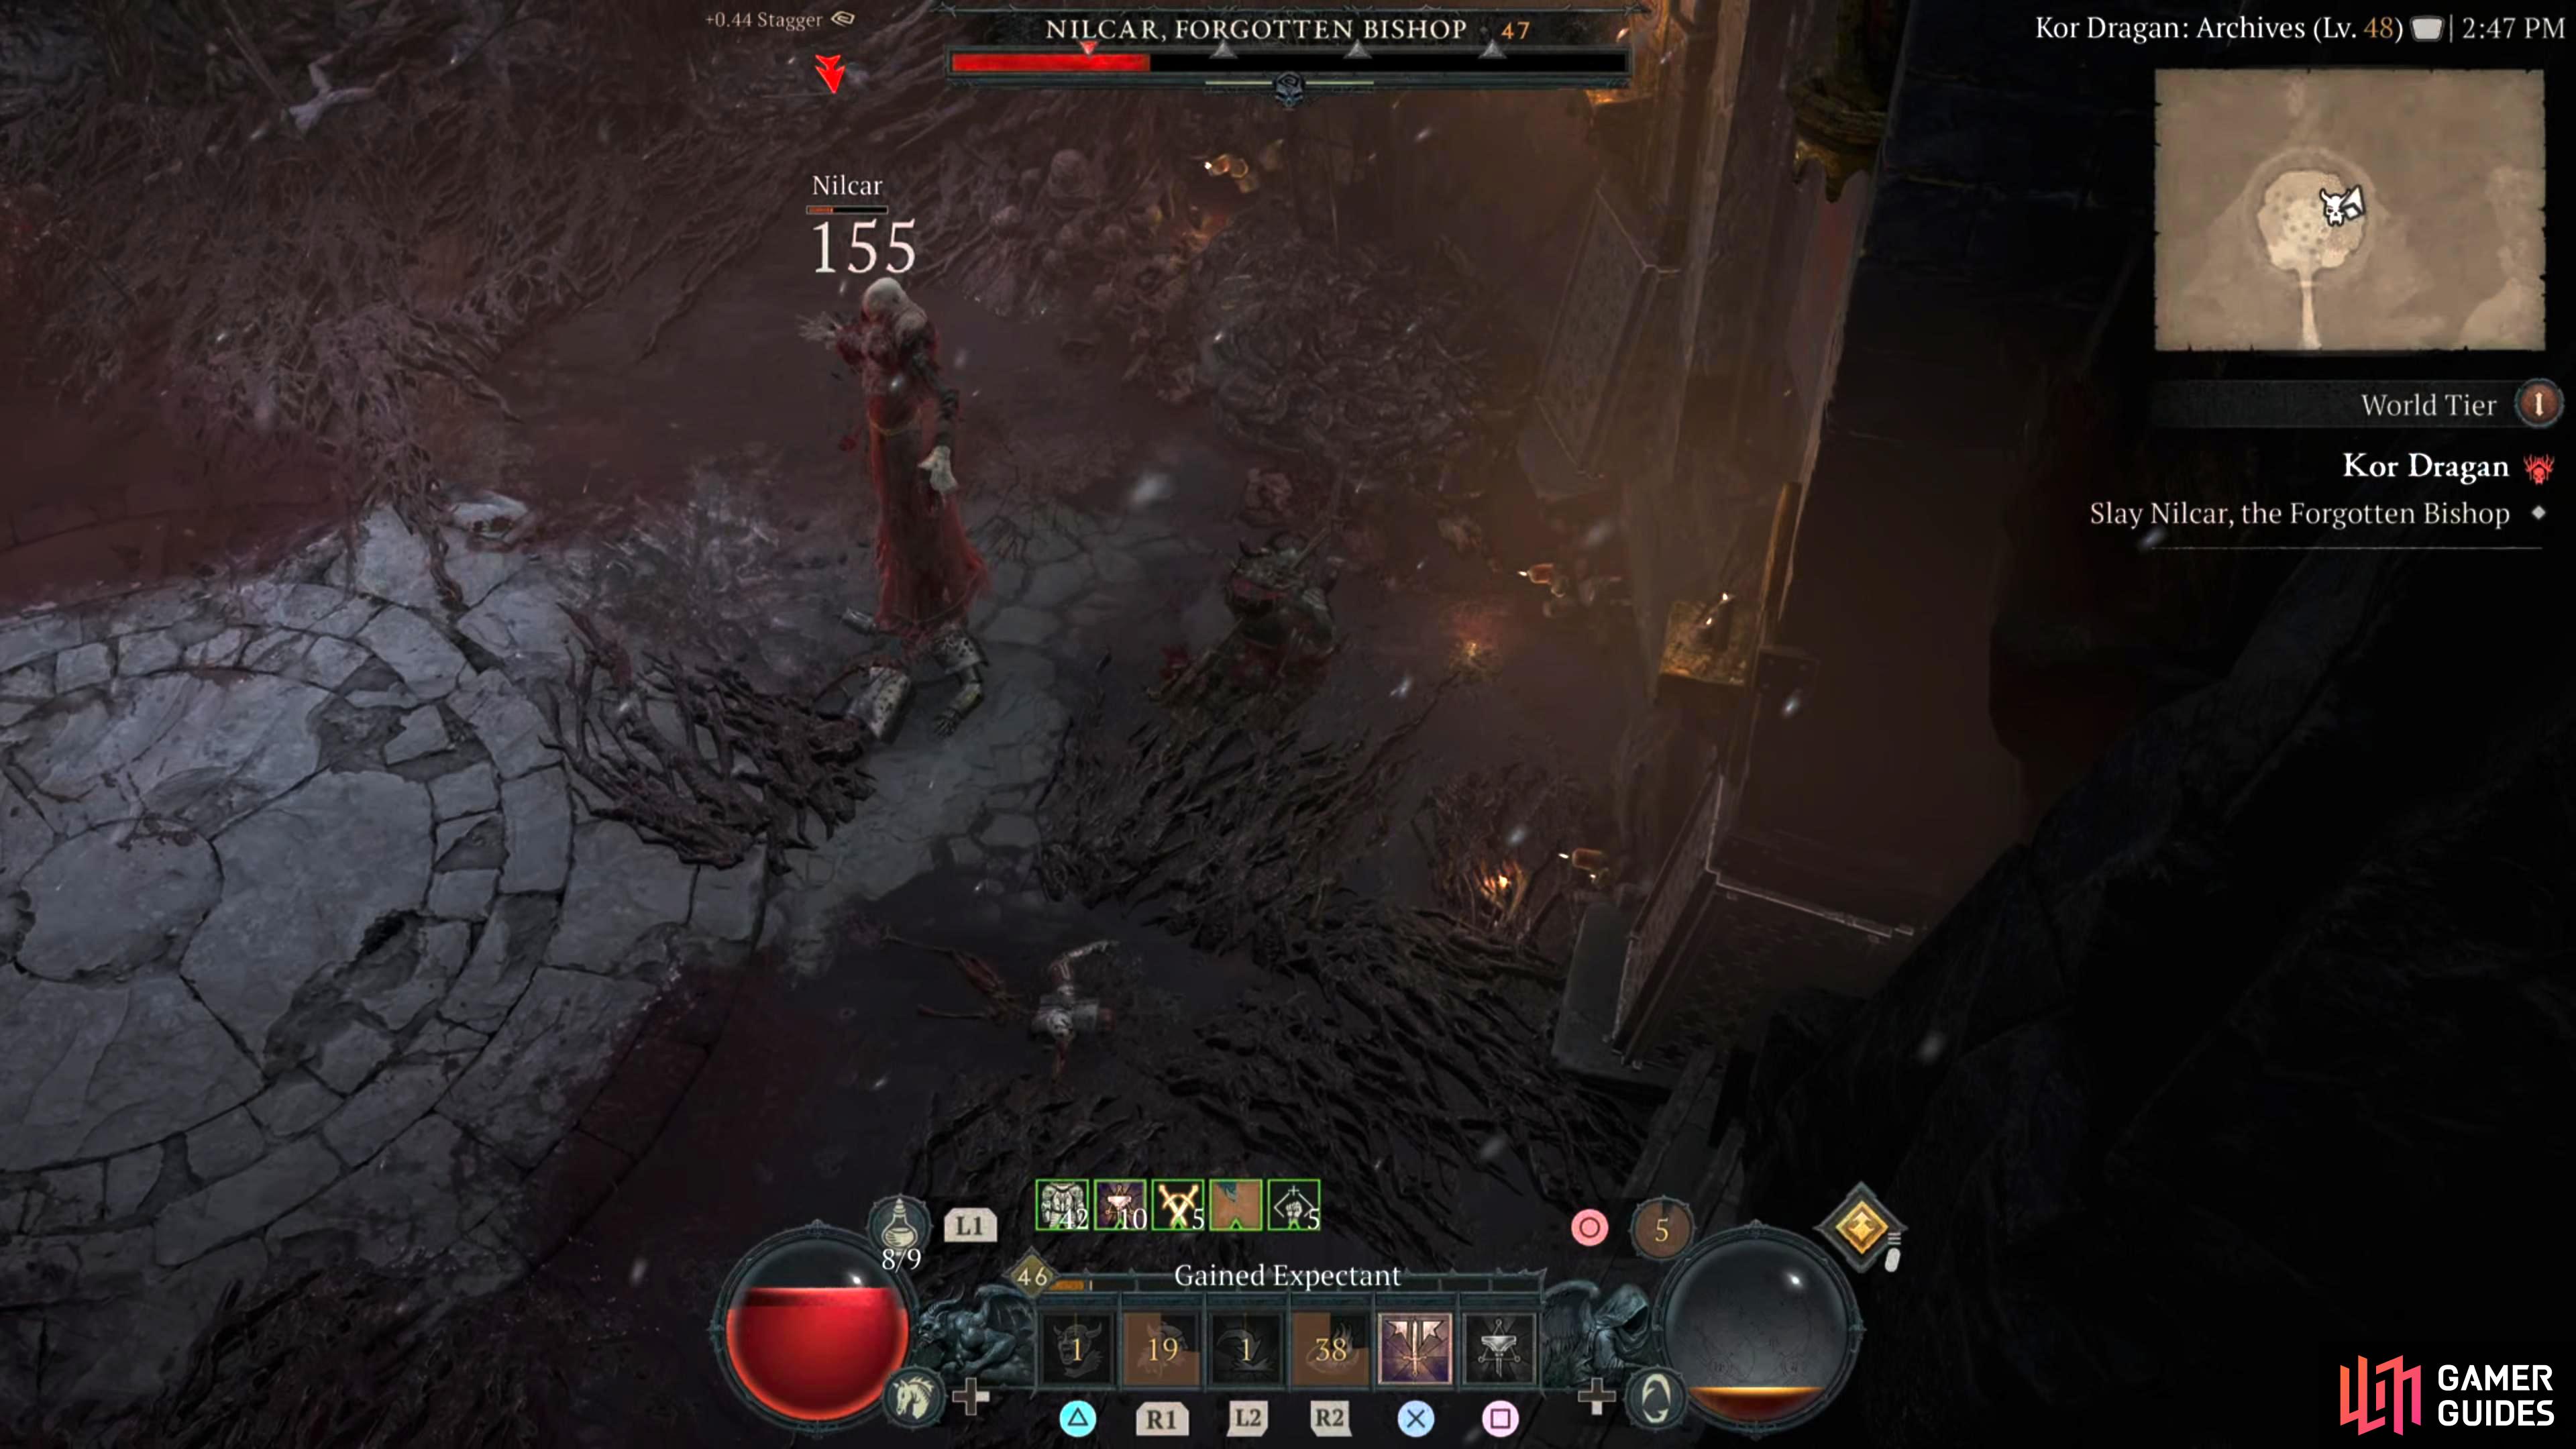
The first thing you should notice about this boss battle is that there’s not much room to move about in this relatively small boss arena. "Nilcar, Forgotten Bishop" iconNilcar, Forgotten Bishop is also surrounded by three more Incubators, which start off shielded, but these will also impact where you can and can’t move throughout the battle.

Nilcar has a variety of attacks available to him, and you can learn about them all below:

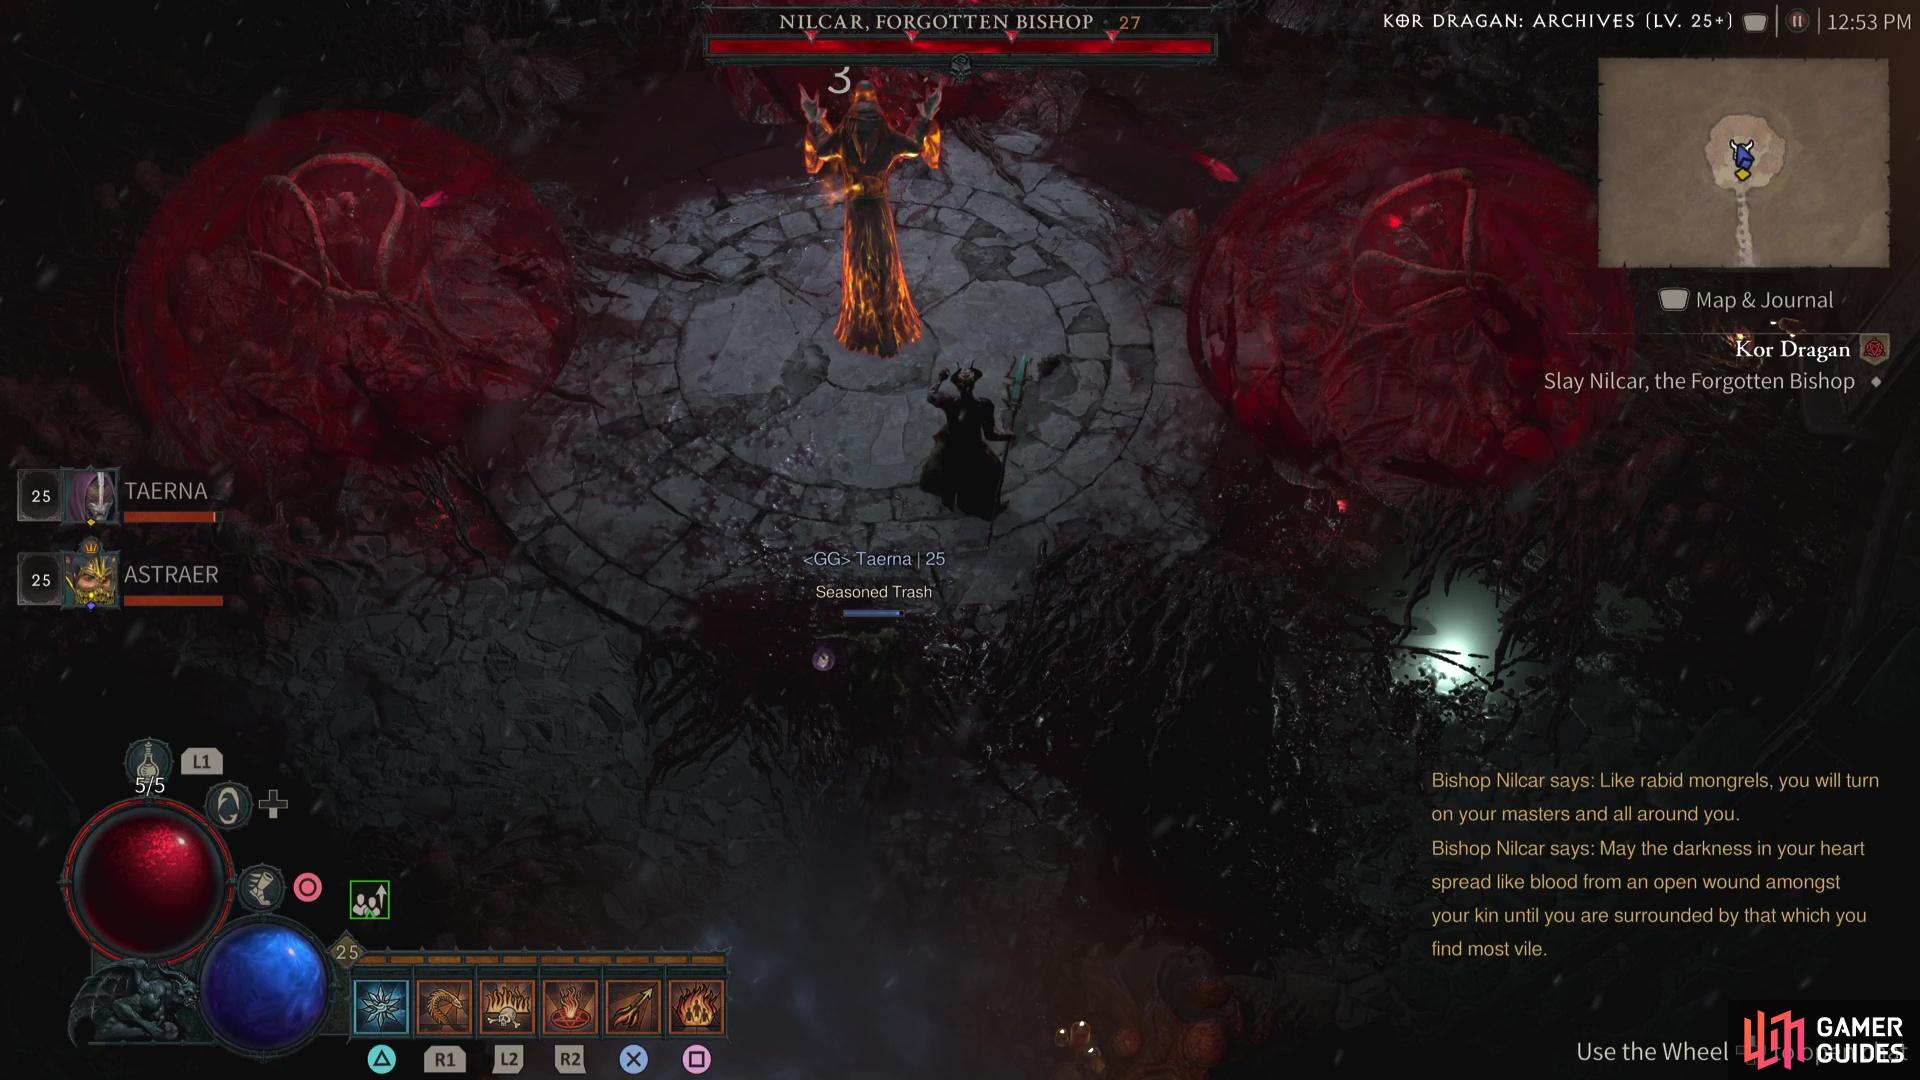
Blood Shot: This is Nilcar’s basic attack where he’ll shoot out a single blast of Blood, this will deal minimal damage but can add up over time.

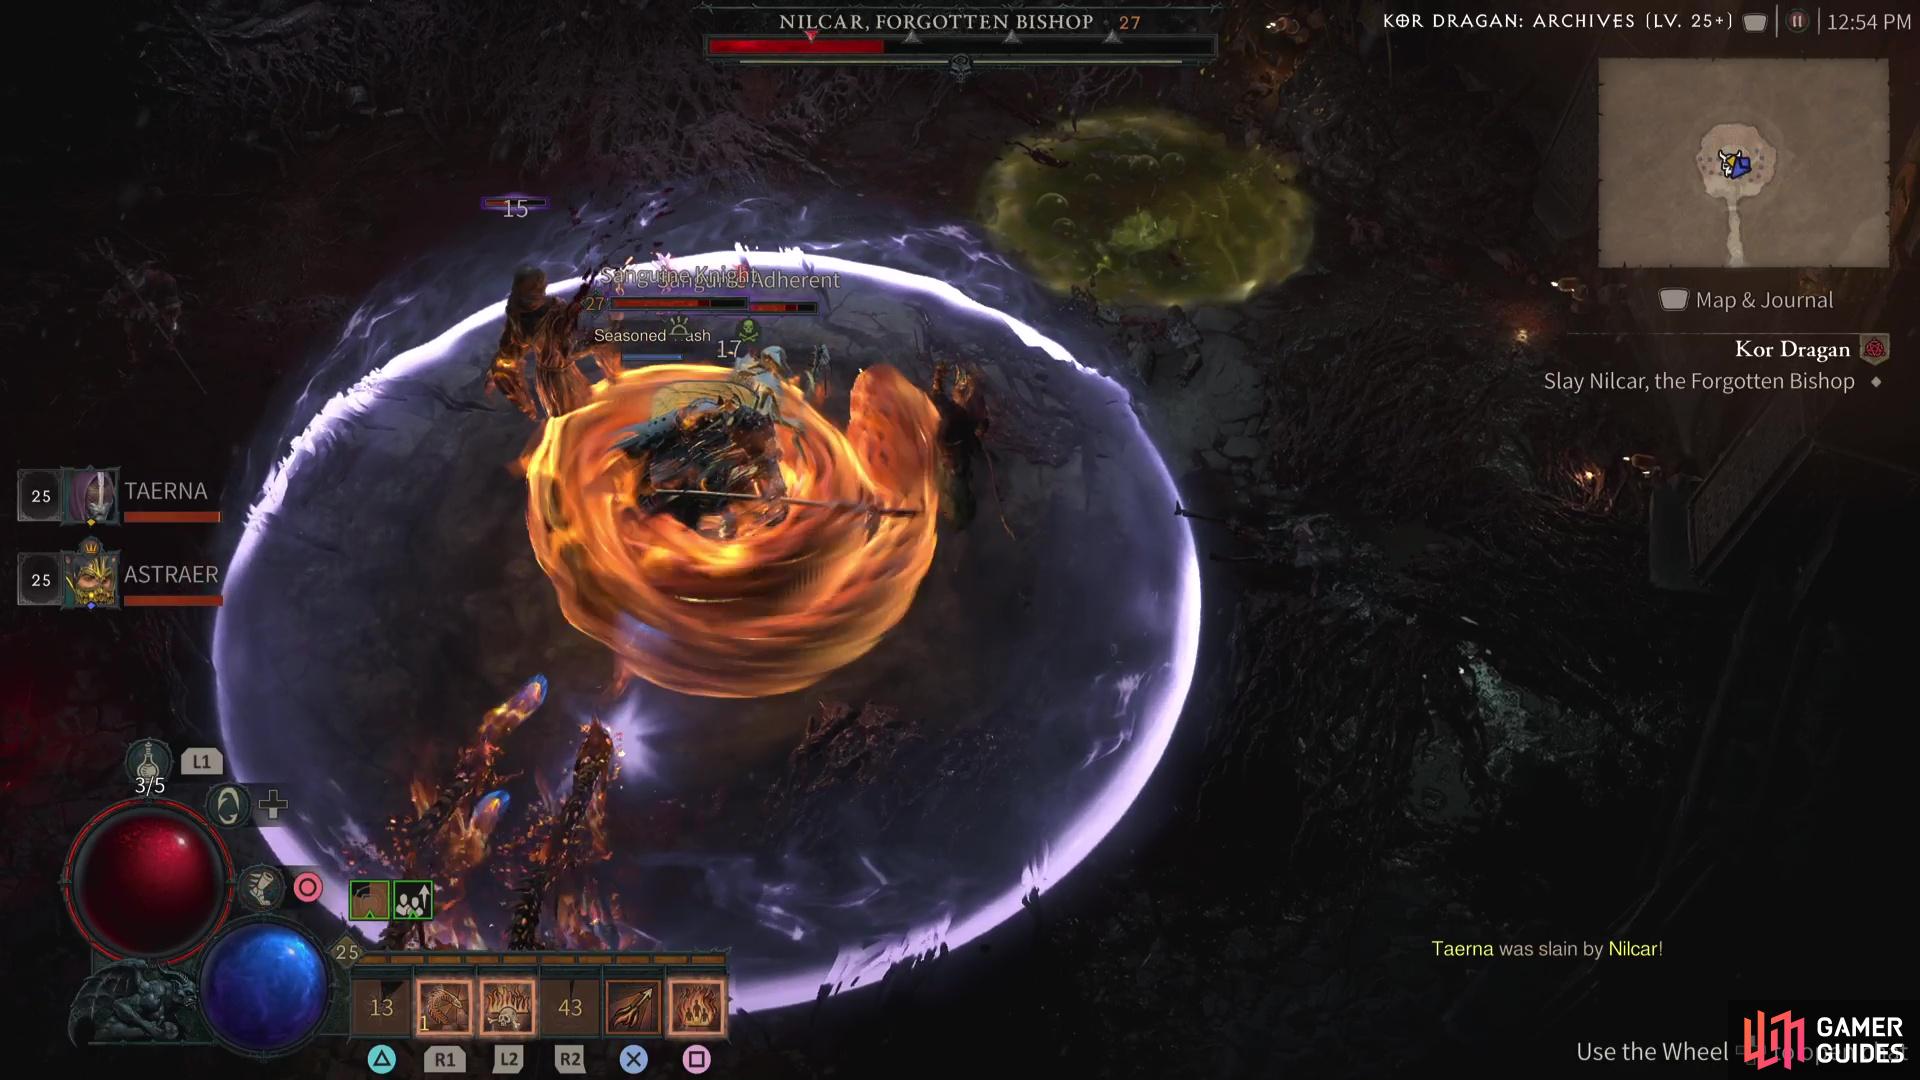
Blood Barrage: When you see Nilcar fly away, get ready for his Blood Barrage attack. This sees him shoot out a stream of Blood Shots at a lightning pace, if you get caught in this, you could be seeing an early death so keep on the move during this attack.

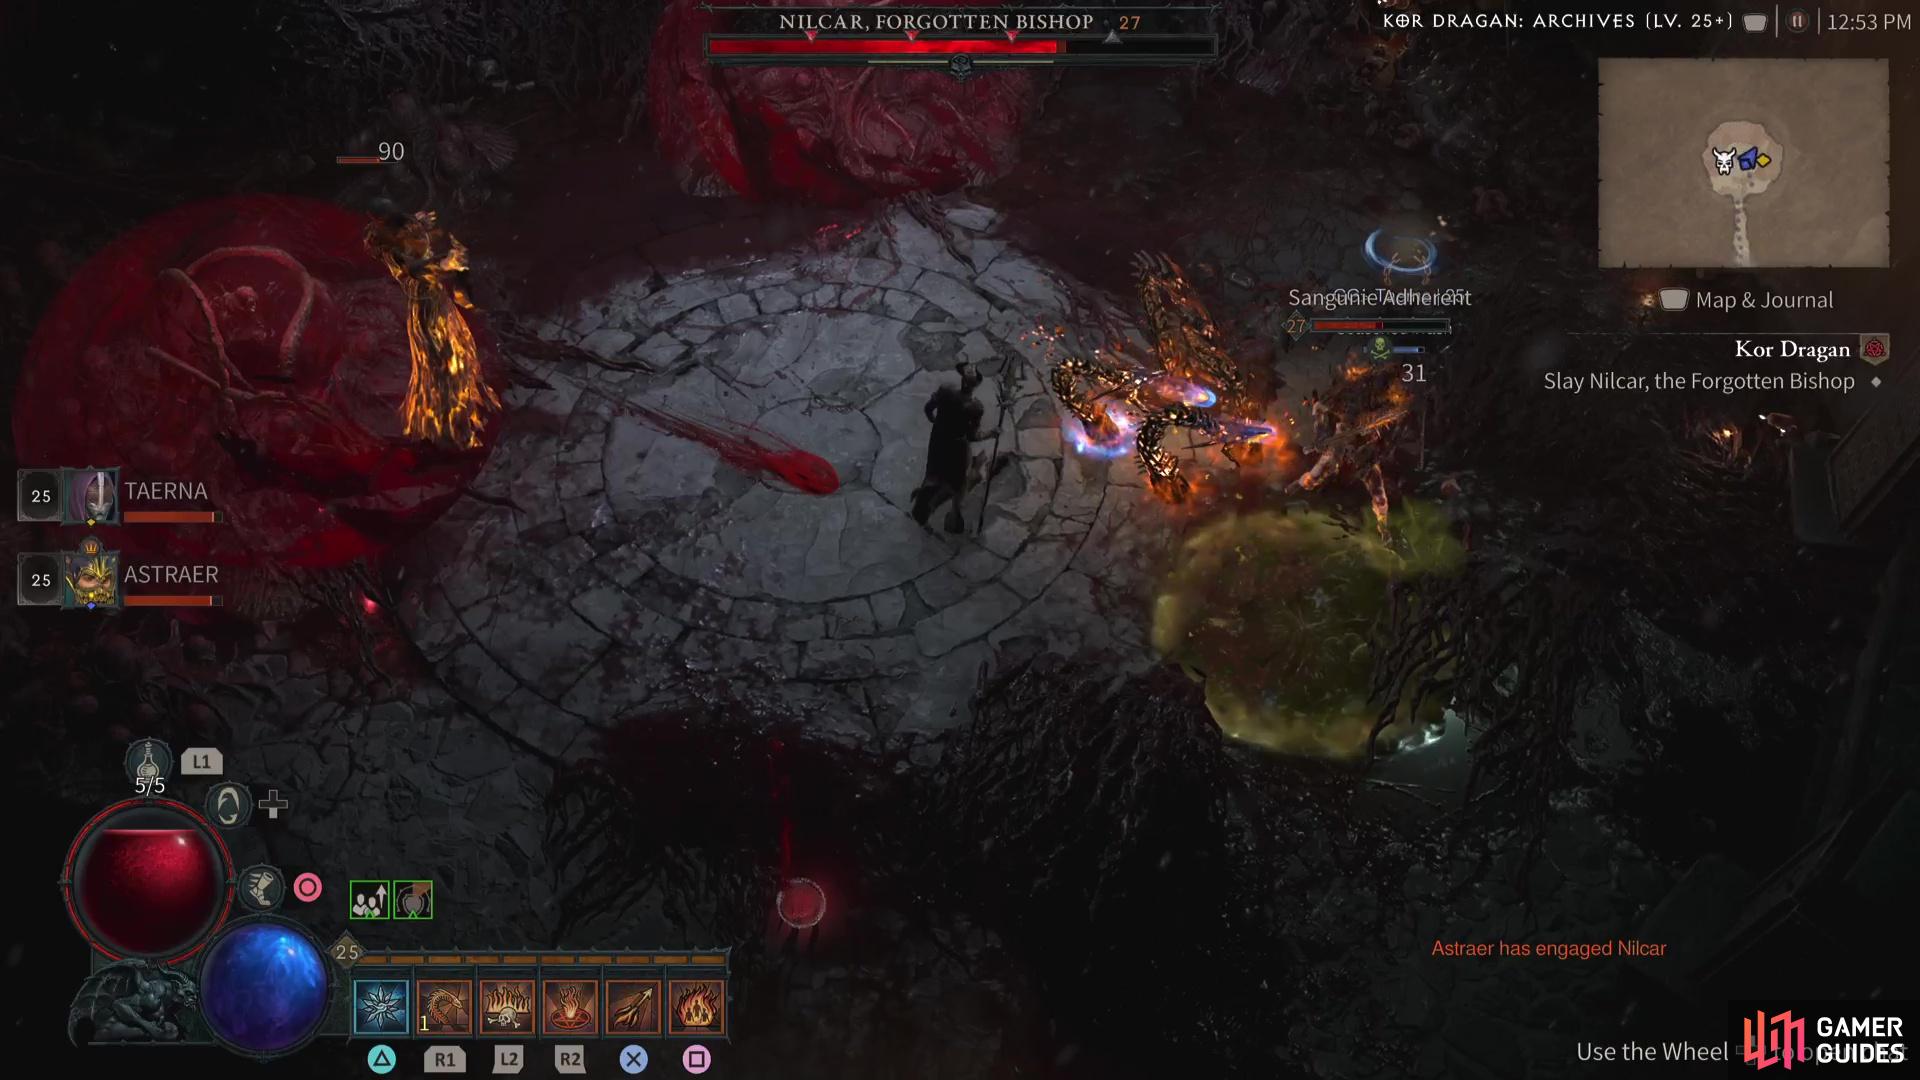
Sanguine Adds: Every time you reduce Nilcar’s HP by a quarter, not only will he drop some potions, but he will break open one of the Incubators to spawn a difficult Sanguine add. Turn your attention to these enemies before returning to focusing on Nilcar.

Sanguine Knight: As mentioned above, Nilcar will call out adds but the Sanguine Knight that spawns from the third Incubator is the biggest issue. It has a massive aura so you’ll want to group it with Nilcar if possible and burn it down as quickly as possible.

The battle against Nilcar is a tough one that gets more challenging as he brings out more adds. You can never fully defeat them, as they’ll only be Dazed for a while, so you’ll need to pick your moments in dealing the adds and inflicting damage on Nilcar.

Try to line up Ultimate skills with any abilities you have that can inflict Vulnerable (such as the Sorcerer’s Frost Nova) to deal maximum damage to Nilcar at any one point. AoE’s will help out once the battle gets a bit crazy at the end with all of the adds out, don’t let the Knight be active for too long!

Detailed Location

Screenshots

Region

Icon for <span>Fractured Peaks</span> Fractured Peaks

Interactive Map Locations

Marker screenshot

1. Sanctuary Map

X: 12977 Y: 7633

Bosses items in Diablo IV (89)

"Alpha Dernold Evershift" iconAlpha Dernold Evershift"Baelgemoth, Infernal Tormentor" iconBaelgemoth, Infernal Tormentor"Blackhorn" iconBlackhorn"Blood Bishop" iconBlood Bishop"Brighde" iconBrighde"Broodguard" iconBroodguard"Captain Ezmin" iconCaptain Ezmin"Corik Trost" iconCorik Trost"Darcel" iconDarcel"Death Priest" iconDeath Priest"Demotath" iconDemotath"Den Mother" iconDen Mother"Eanan" iconEanan"Golmothos" iconGolmothos"Khazra Abomination" iconKhazra Abomination"Knarltooth" iconKnarltooth"Lilith's Lament" iconLilith's Lament"Odhran" iconOdhran"Outlaw Sharpshooter" iconOutlaw Sharpshooter"Resurrected Malice" iconResurrected Malice"Rohaksa" iconRohaksa"Sarat" iconSarat"Seething Abomination" iconSeething Abomination"Spiritcaller of Squalls" iconSpiritcaller of Squalls"Stana, Blackweald's Sovereign" iconStana, Blackweald's Sovereign"Tchort" iconTchort"The Butcher" iconThe Butcher"Tidewitch Ne'gana" iconTidewitch Ne'gana"Tomas" iconTomas"Tomb Lord" iconTomb Lord"Wymund Cagebane" iconWymund Cagebane"X'fal, The Scarred Baron" iconX'fal, The Scarred Baron"Yulia the Hellbound" iconYulia the Hellbound"Vhenard" iconVhenard"The Warmaster" iconThe Warmaster"Knight Council" iconKnight Council"Mother's Judgment" iconMother's Judgment"Dianthus" iconDianthus"Frosthorn" iconFrosthorn"Sentinel (Deranged Knight)" iconSentinel (Deranged Knight)"Mera (Deranged Knight)" iconMera (Deranged Knight)"Cyhrach the First Born" iconCyhrach the First Born"Shatterhorn" iconShatterhorn"Duz'agur, Eriman's Bane" iconDuz'agur, Eriman's Bane"Valtha" iconValtha"Nilcar, Forgotten Bishop" iconNilcar, Forgotten Bishop"Mohlon, Snake Queen" iconMohlon, Snake Queen"Bramble" iconBramble"Chief Marauder" iconChief Marauder"Drowned Seahag" iconDrowned Seahag"Innes, Vengeance of Glór-An-Fháidha" iconInnes, Vengeance of Glór-An-Fháidha"Scourge of the Land" iconScourge of the Land"Seething Hivemaster" iconSeething Hivemaster"Slither" iconSlither"Spiritcaller of Flames" iconSpiritcaller of Flames"Spiritcaller of Frost" iconSpiritcaller of Frost"Carthas, Corrupted Zakarum Paladin" iconCarthas, Corrupted Zakarum Paladin"Blood Echo" iconBlood Echo"High Council" iconHigh CouncilSephiran BloodpulseXanthus (Malevolent Spector)"The Curator" iconThe CuratorEransyx ShockweaverDommik Taintspawn (Ritual Leader)Velda Duplicius (Ritual Leader)Kolfinna Razorpulse (Ritual Leader)Zorym - The Profane SummonerLycidas PusblisterLord MolokLord TidusMaulk Thunderdancer - Corpse MasonLogan Doomspawn - Corpse MasonBemkeilr Flareney (Corpse Mason)Din (Fractured Spirit)Wes (Fractured Spirit)Tif (Fractured Spirit)Venkalth Shivermaw (Sentinel Guardian)Bell GuardAnchorbound ChaplainHigh InquisitorDerwin FrostburnOndroth DoomspawnCleaveant ThunderdancerXelcan (Warden of Anguish)Viktor the DiseasedWebwalker (Infested Villager)Jirahl (Bane of Eridu)Malurop (Bane of Eridu)Genbar
No Comments