The Curator Bosses
In-Game Description
![]() The Curator is a hulking undead monster who wields a large scythe. Often mistaken as death itself, this menacing creature can be found controlling the undead hordes in the
The Curator is a hulking undead monster who wields a large scythe. Often mistaken as death itself, this menacing creature can be found controlling the undead hordes in the ![]() Cathedral of Light.
Cathedral of Light.
Description
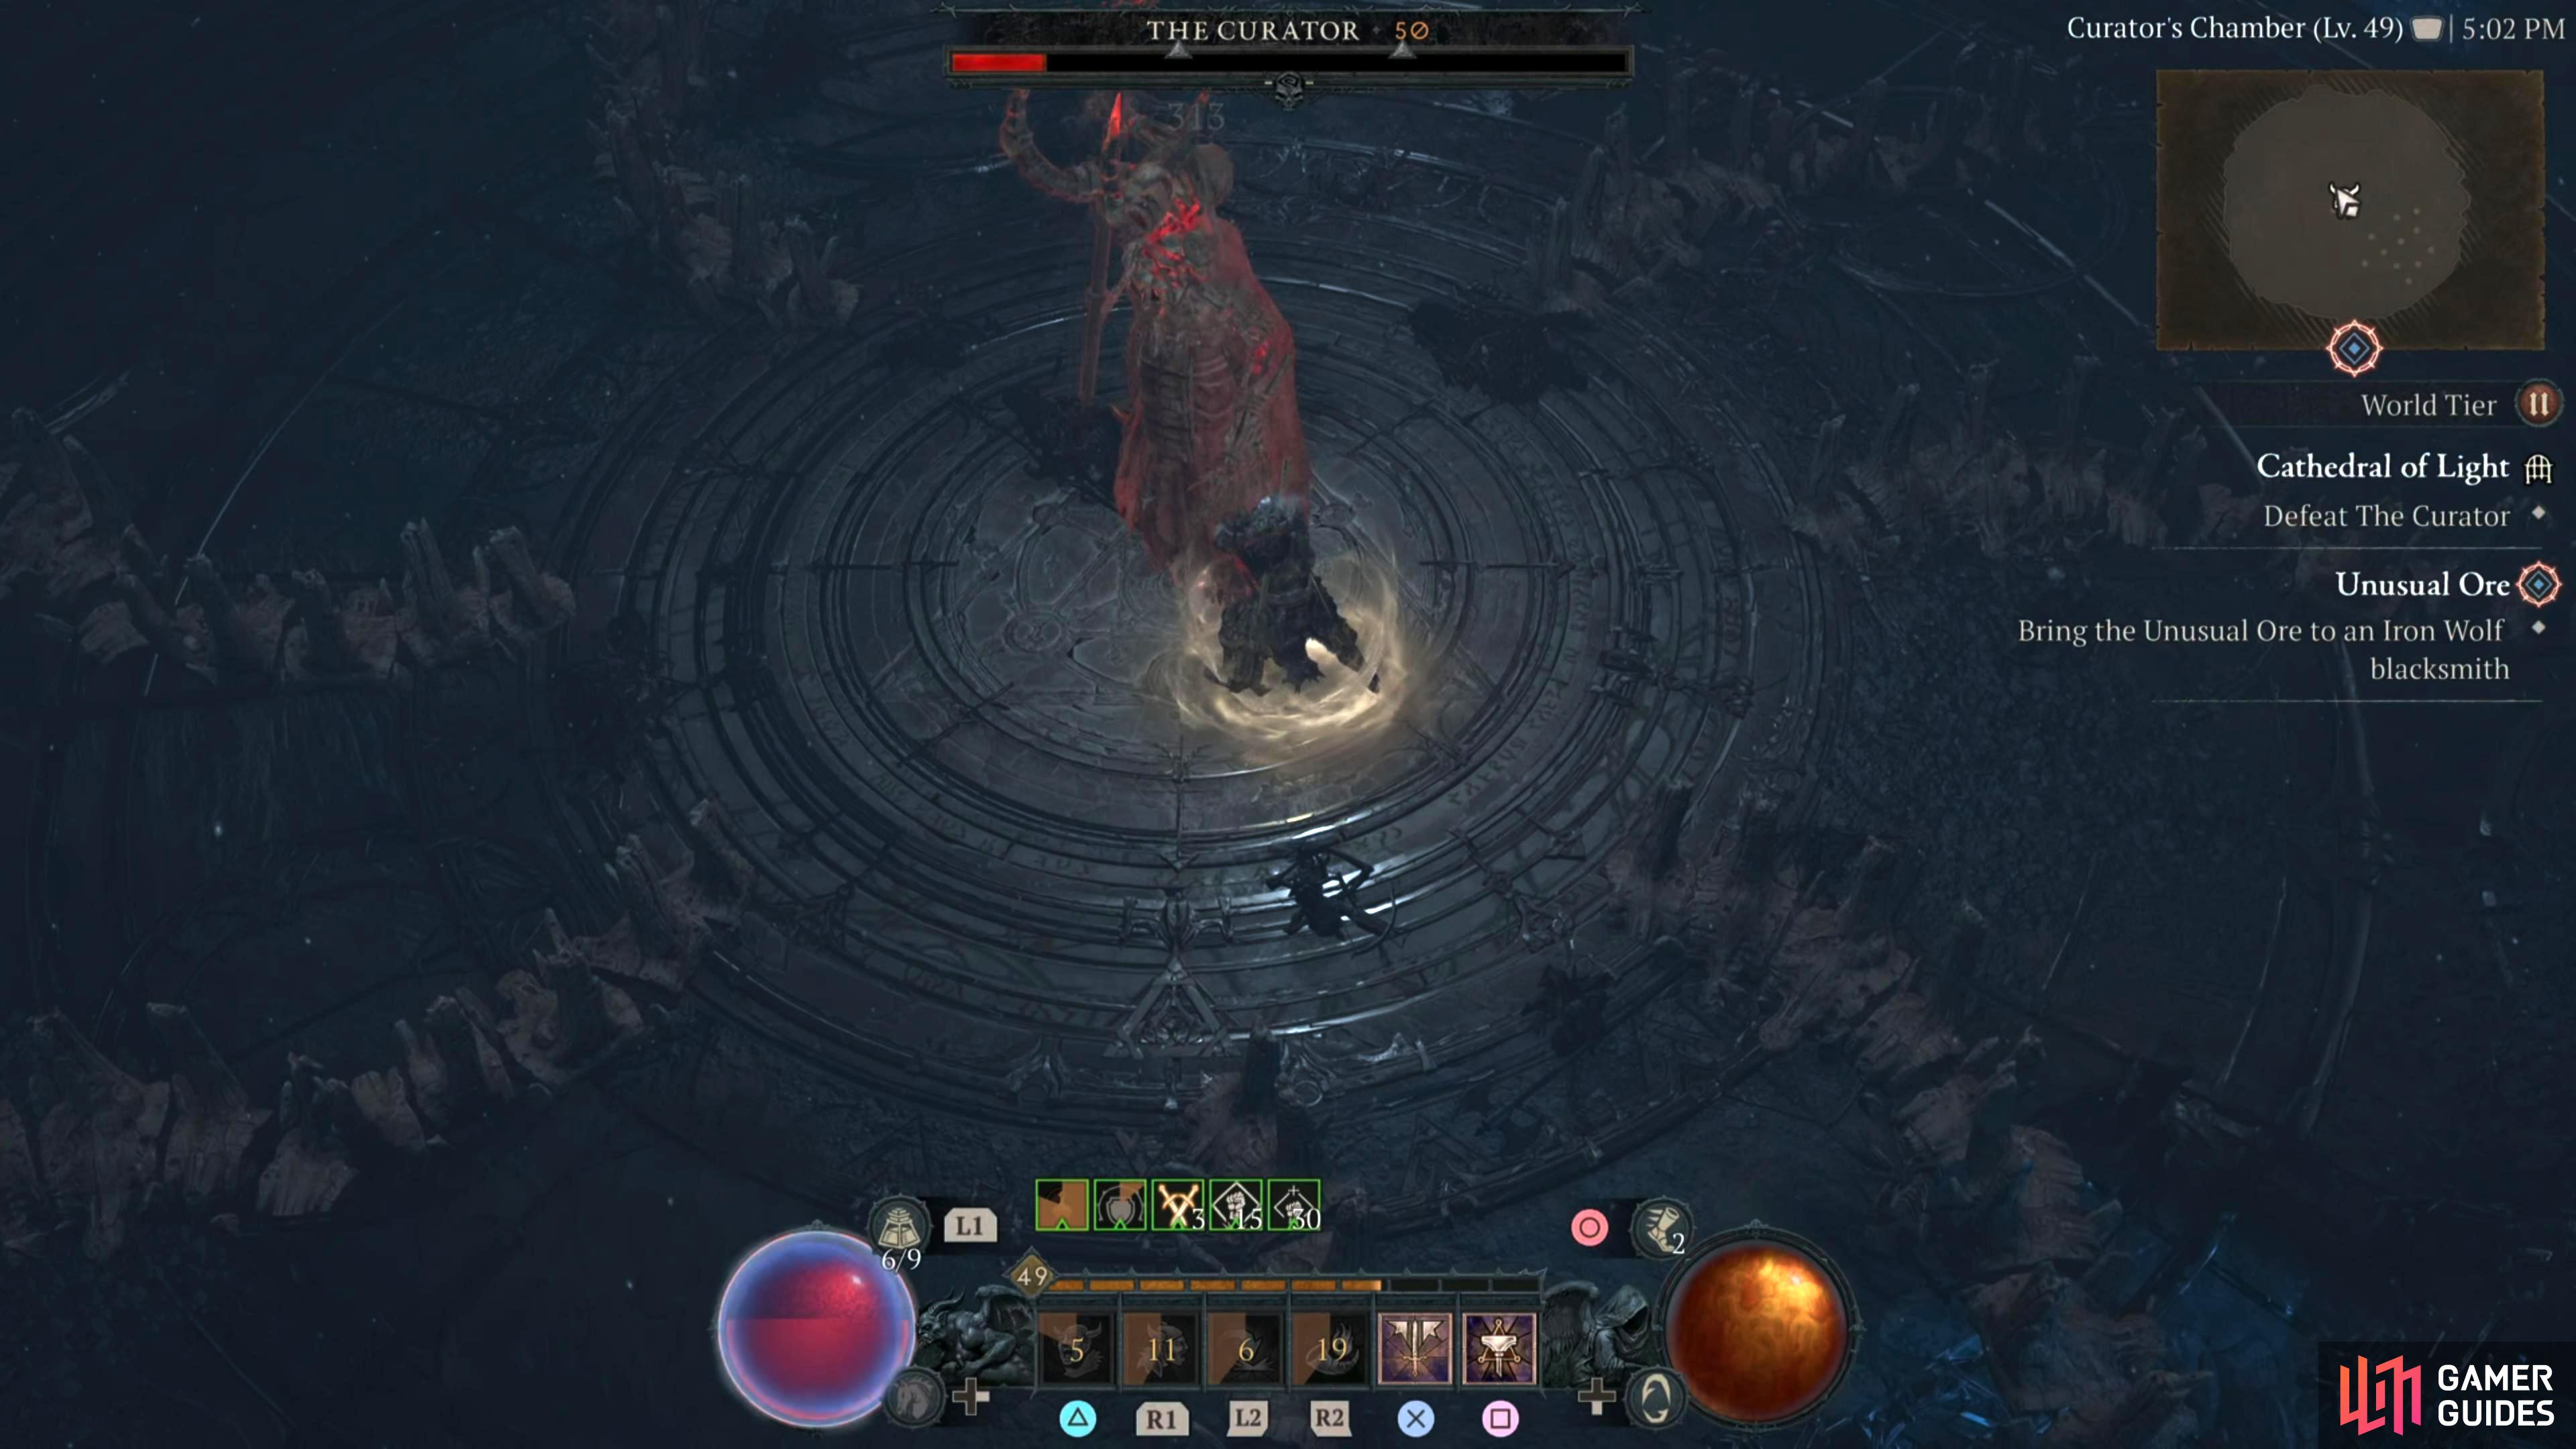
One of the better bosses in the game, mainly due to the numerous attacks it has in its arsenal. ![]() The Curator will rotate through its attacks at a rapid pace which means you need to be quick on your feet. Equipping a pair of boots with an extra Evade Charge is nice for this battle, especially if it has some movement speed on them too. Here’s what to expect from
The Curator will rotate through its attacks at a rapid pace which means you need to be quick on your feet. Equipping a pair of boots with an extra Evade Charge is nice for this battle, especially if it has some movement speed on them too. Here’s what to expect from ![]() The Curator:
The Curator:
-
Sweeping Scythe - This is the boss’ regular attack. It will perform two large sweeping scythe attacks which let out ghostly skull projectiles after the attack. This attack can deal approximately a quarter of your health per attack (depending on defense and other various factors). Try to keep up your damage mitigation tools (Barrier, Fortify) to absorb some if not all the damage. Save your dodges for its other attacks.
-
Explosive Bone Walls -
 The Curator will place Bone Walls all around the arena which may trap you in place before it explodes after a brief period of time. This ability gives its summons somewhere safe to attack from, but it can also deal a lot of damage if it explodes next to you. Either stand in a spot away from the walls or destroy the ones next to you.
 -
Blindnadoes - Throughout the battle, several tornadoes will be spread throughout the arena, if you touch them, they will cause the screen to go black causing a brief blind effect. This will stop you from using any actions while you’re in this state. Simply move out of them, and avoid them to counter this.
-
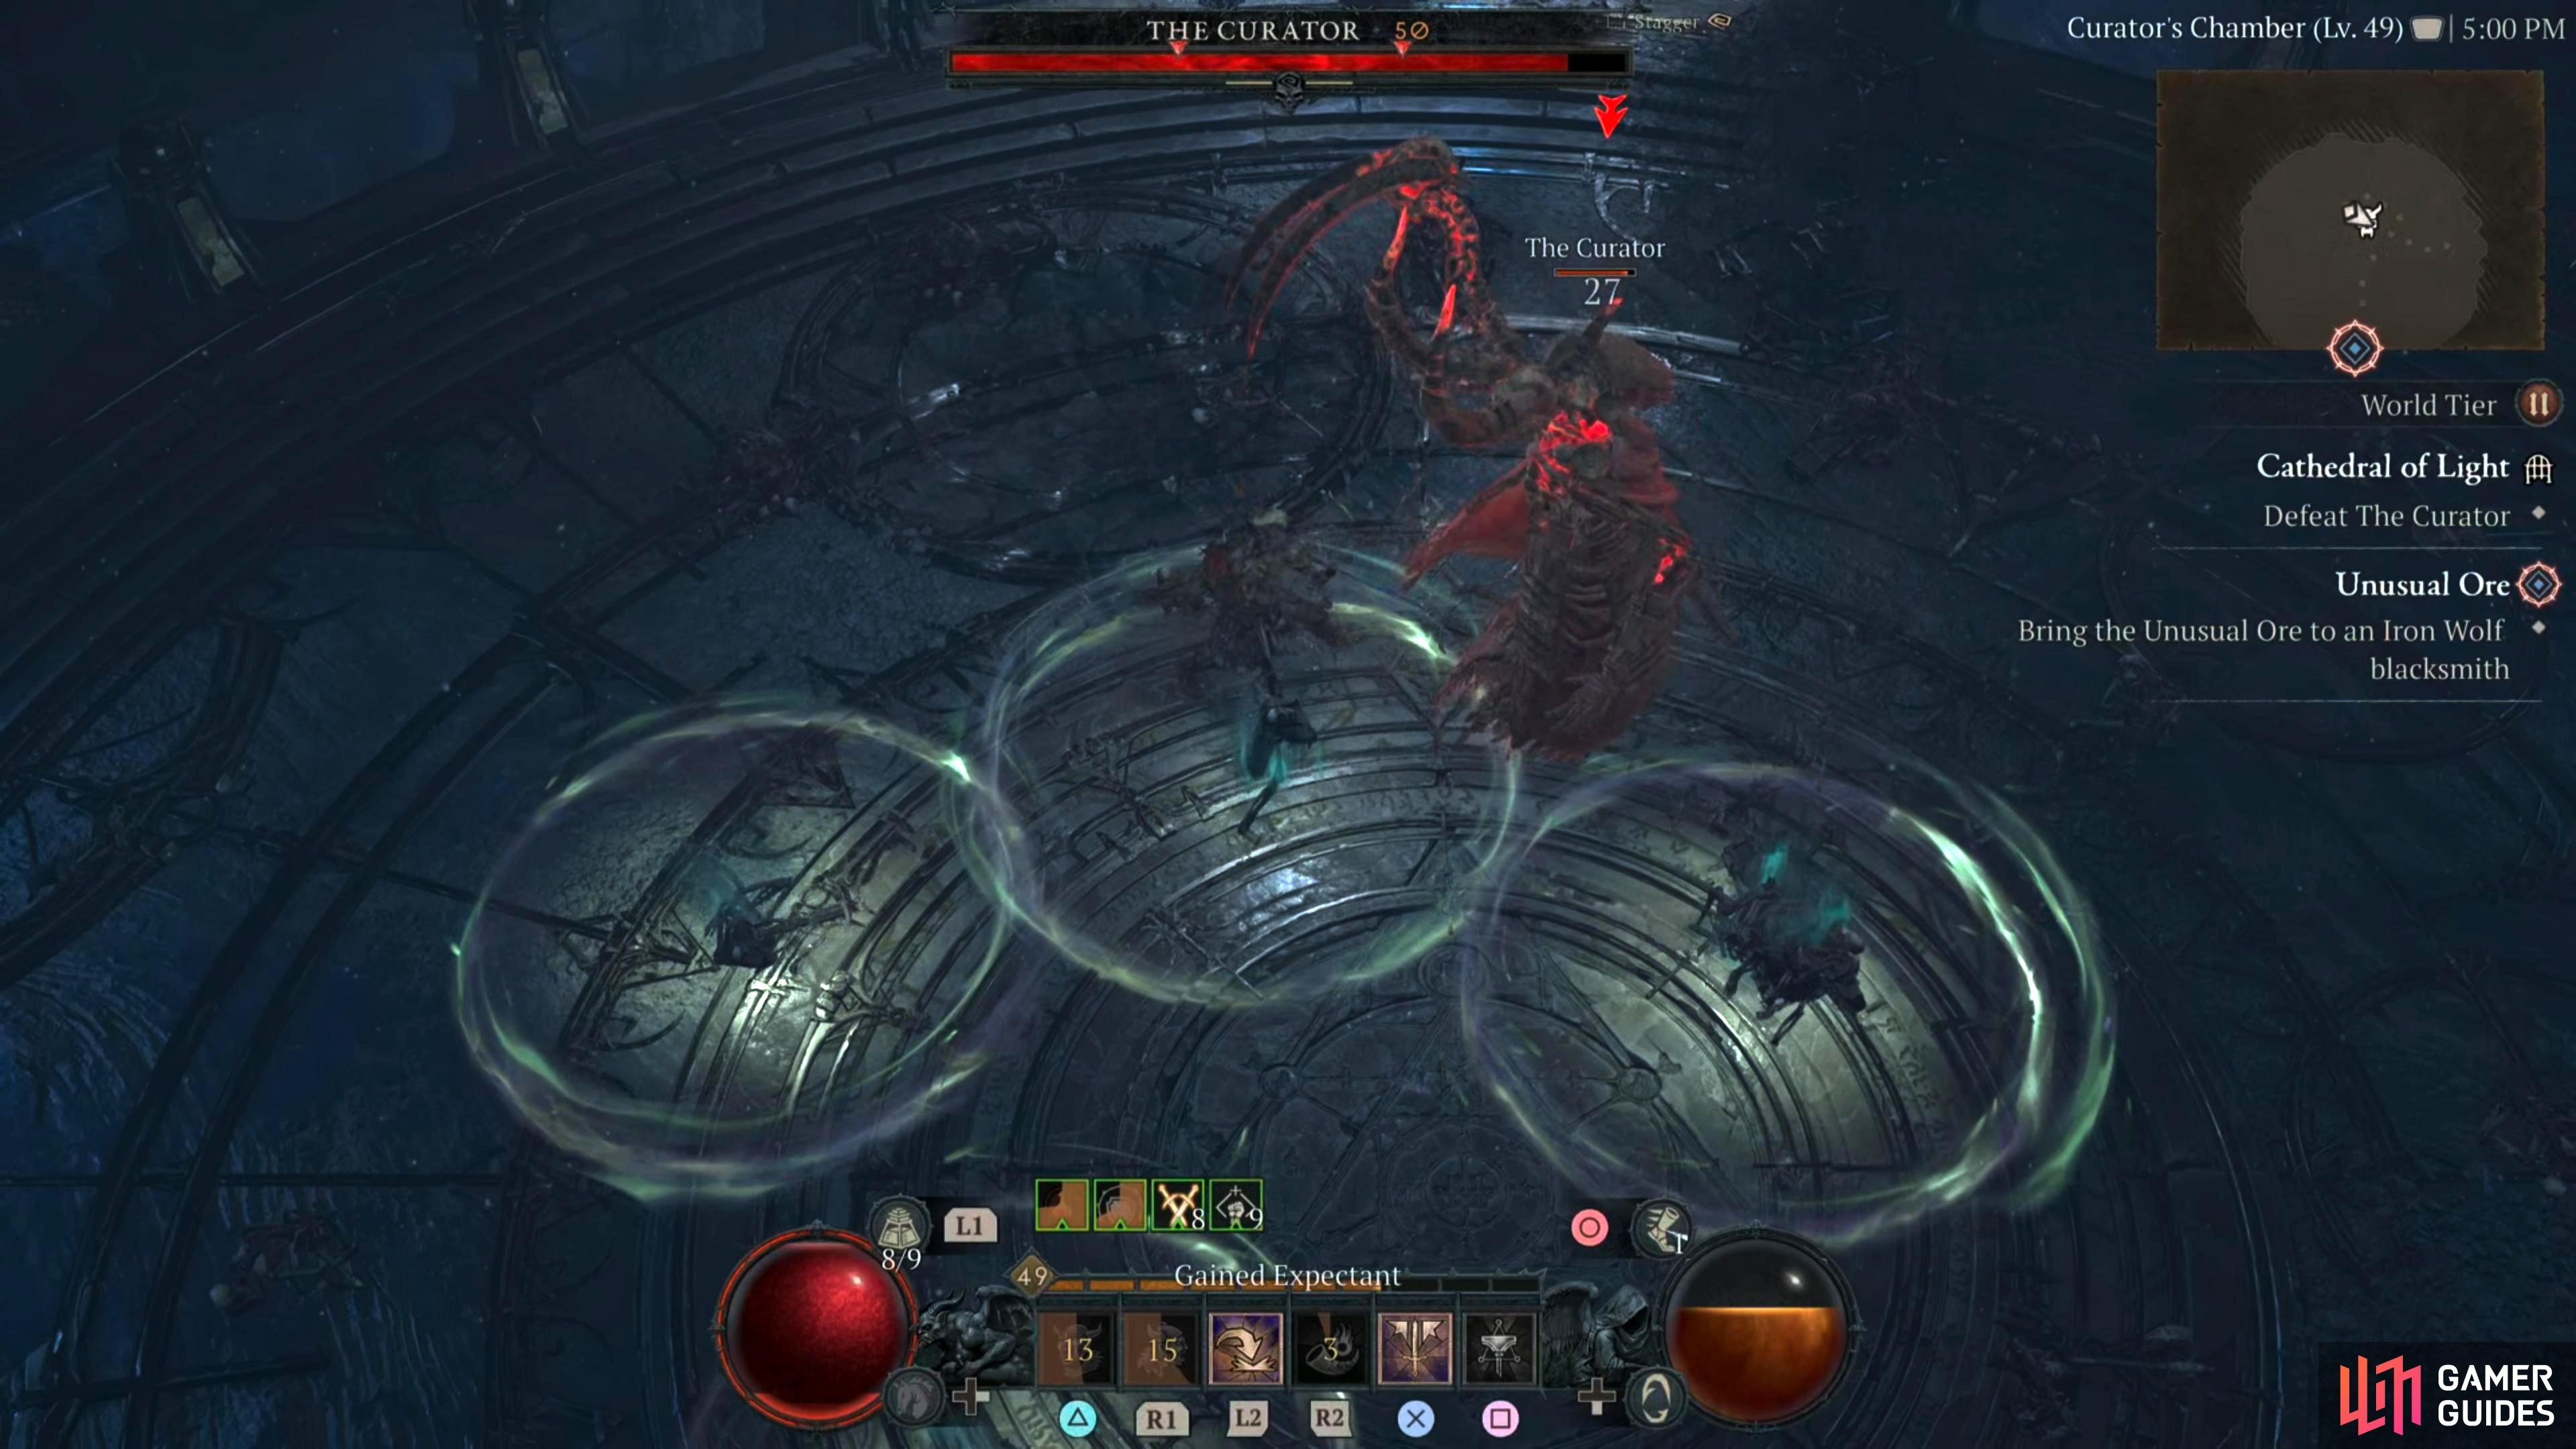
Summon Undead -
The Curator will summon numerous whitish circles on the floor which will summon numerous undead skeletons. Once they have spawned, the circle will explode into many ghostly skulls around the arena which will deal minimal damage to you. You can ignore the skeletons for the most part, but if a Skeletal Ballista appears, take them out as soon as possible because they can deal some hefty damage. -
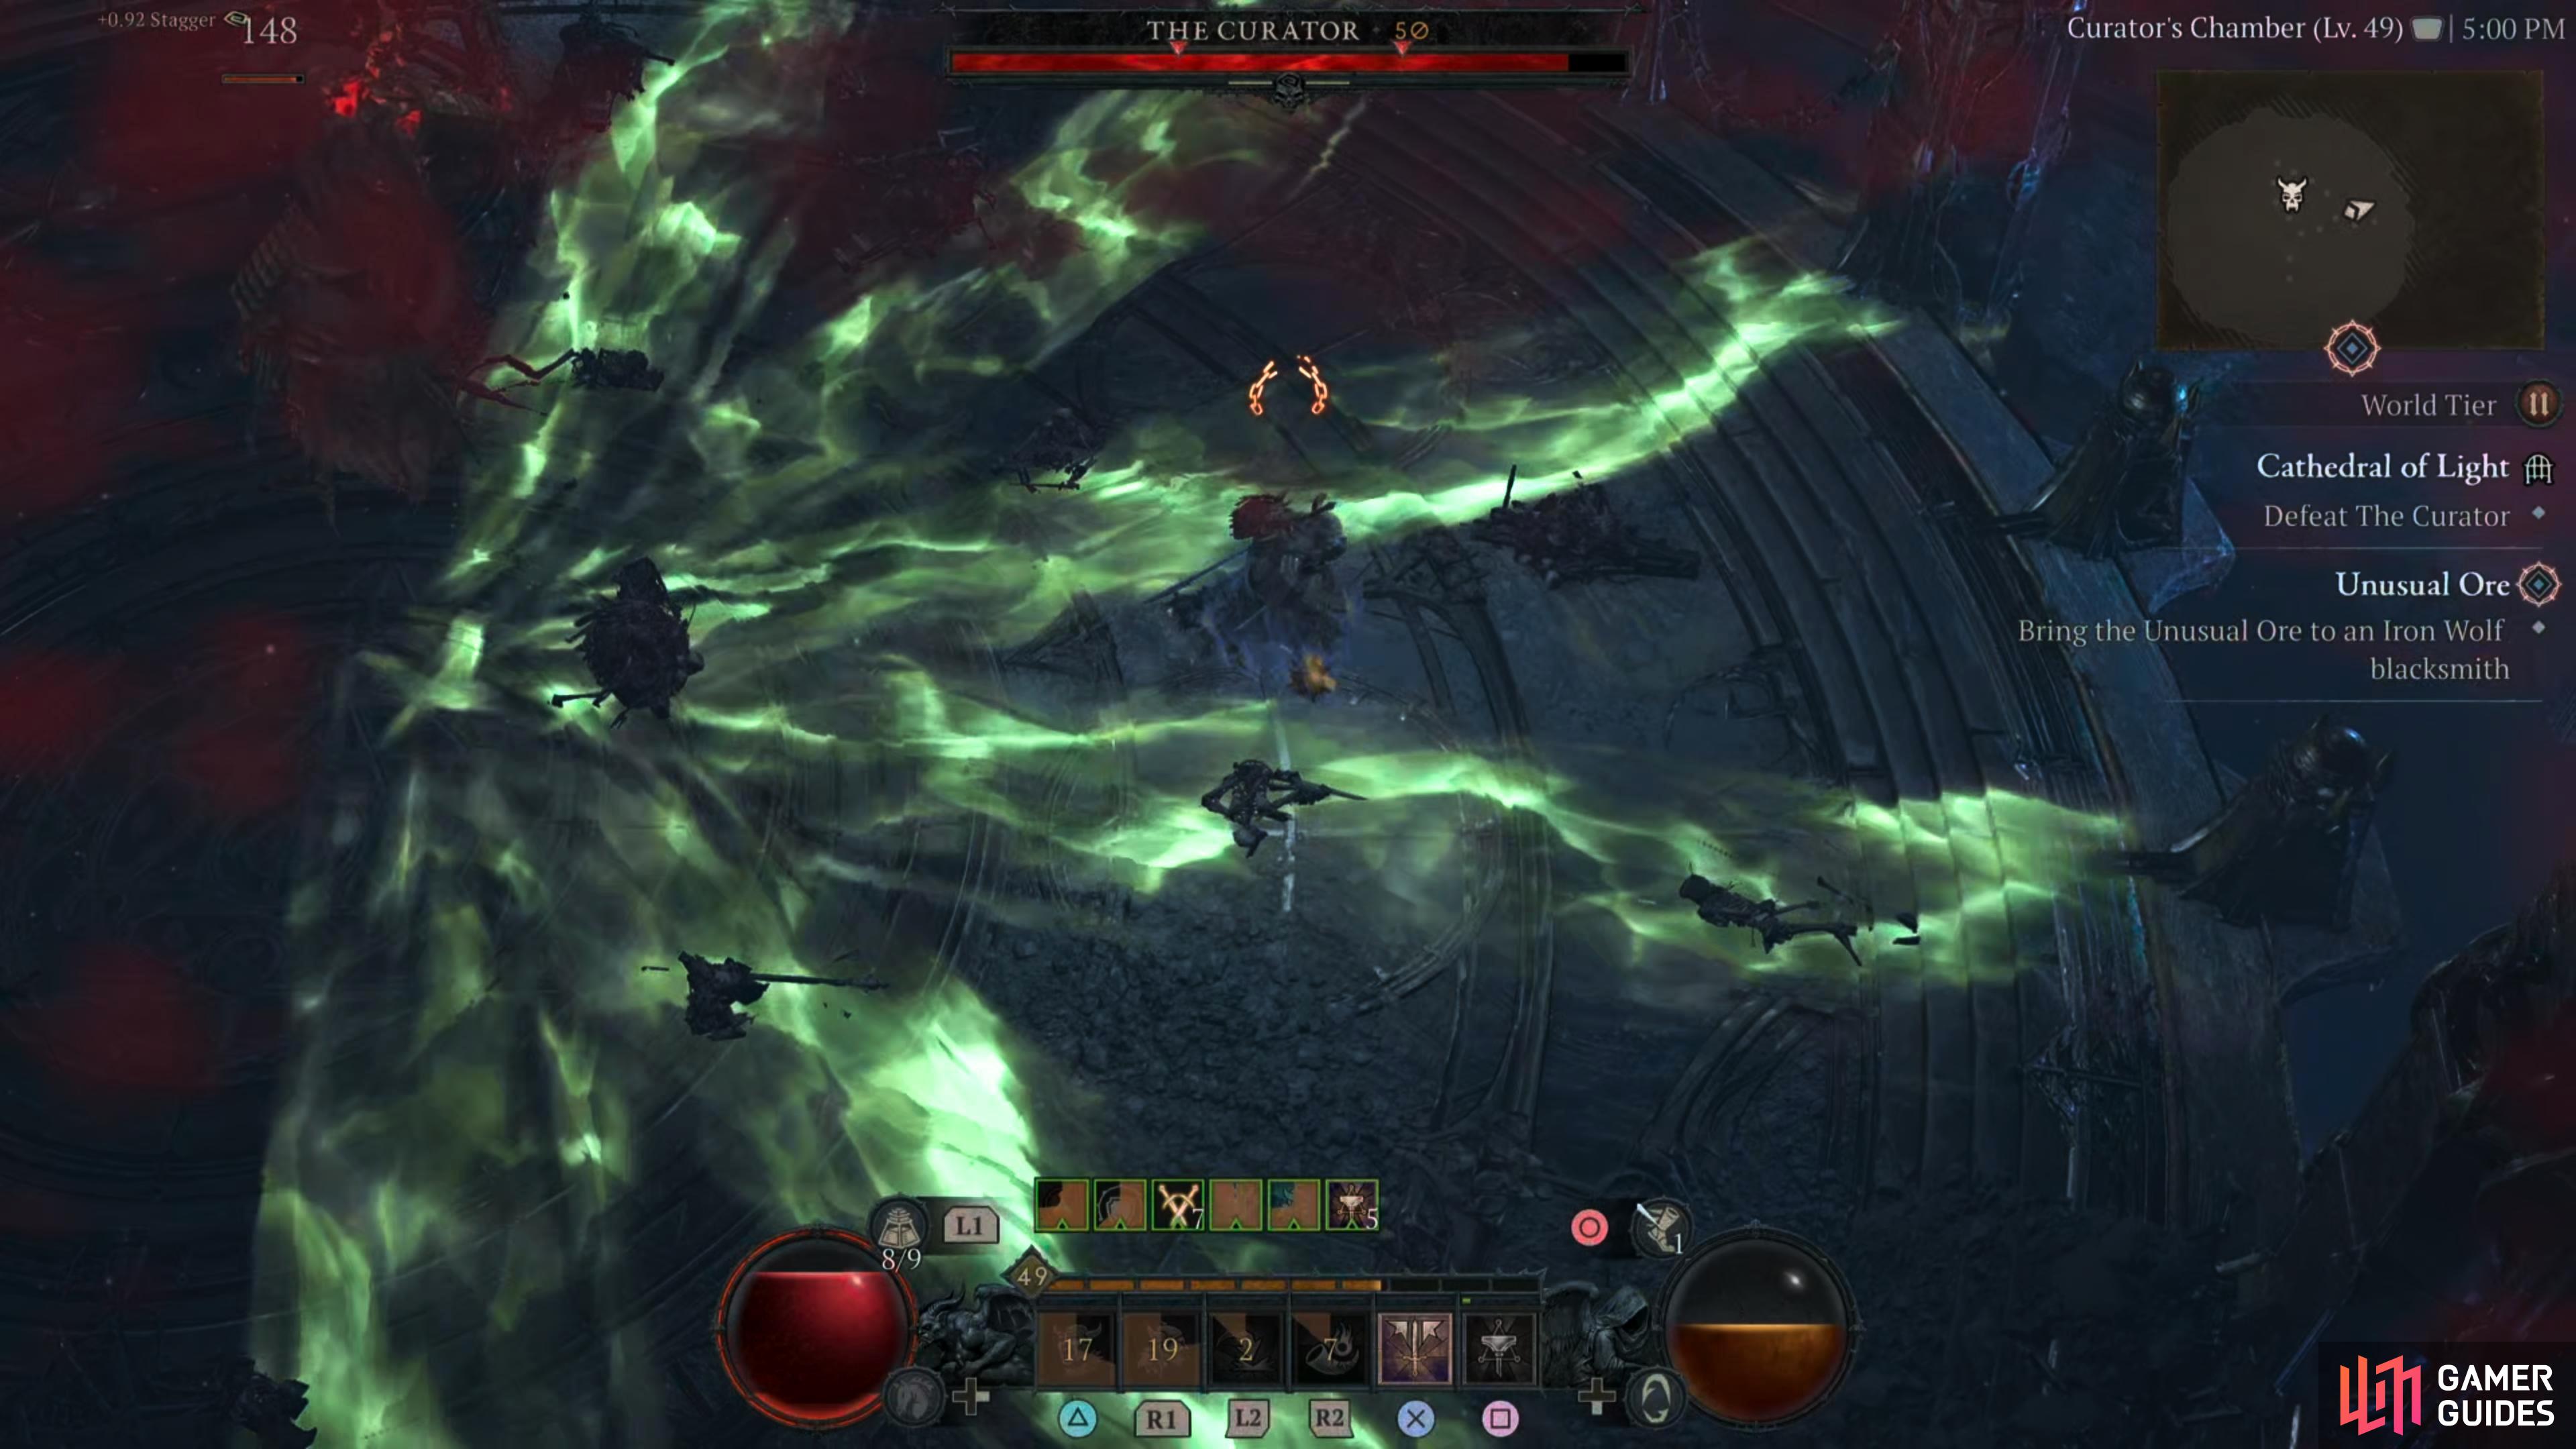
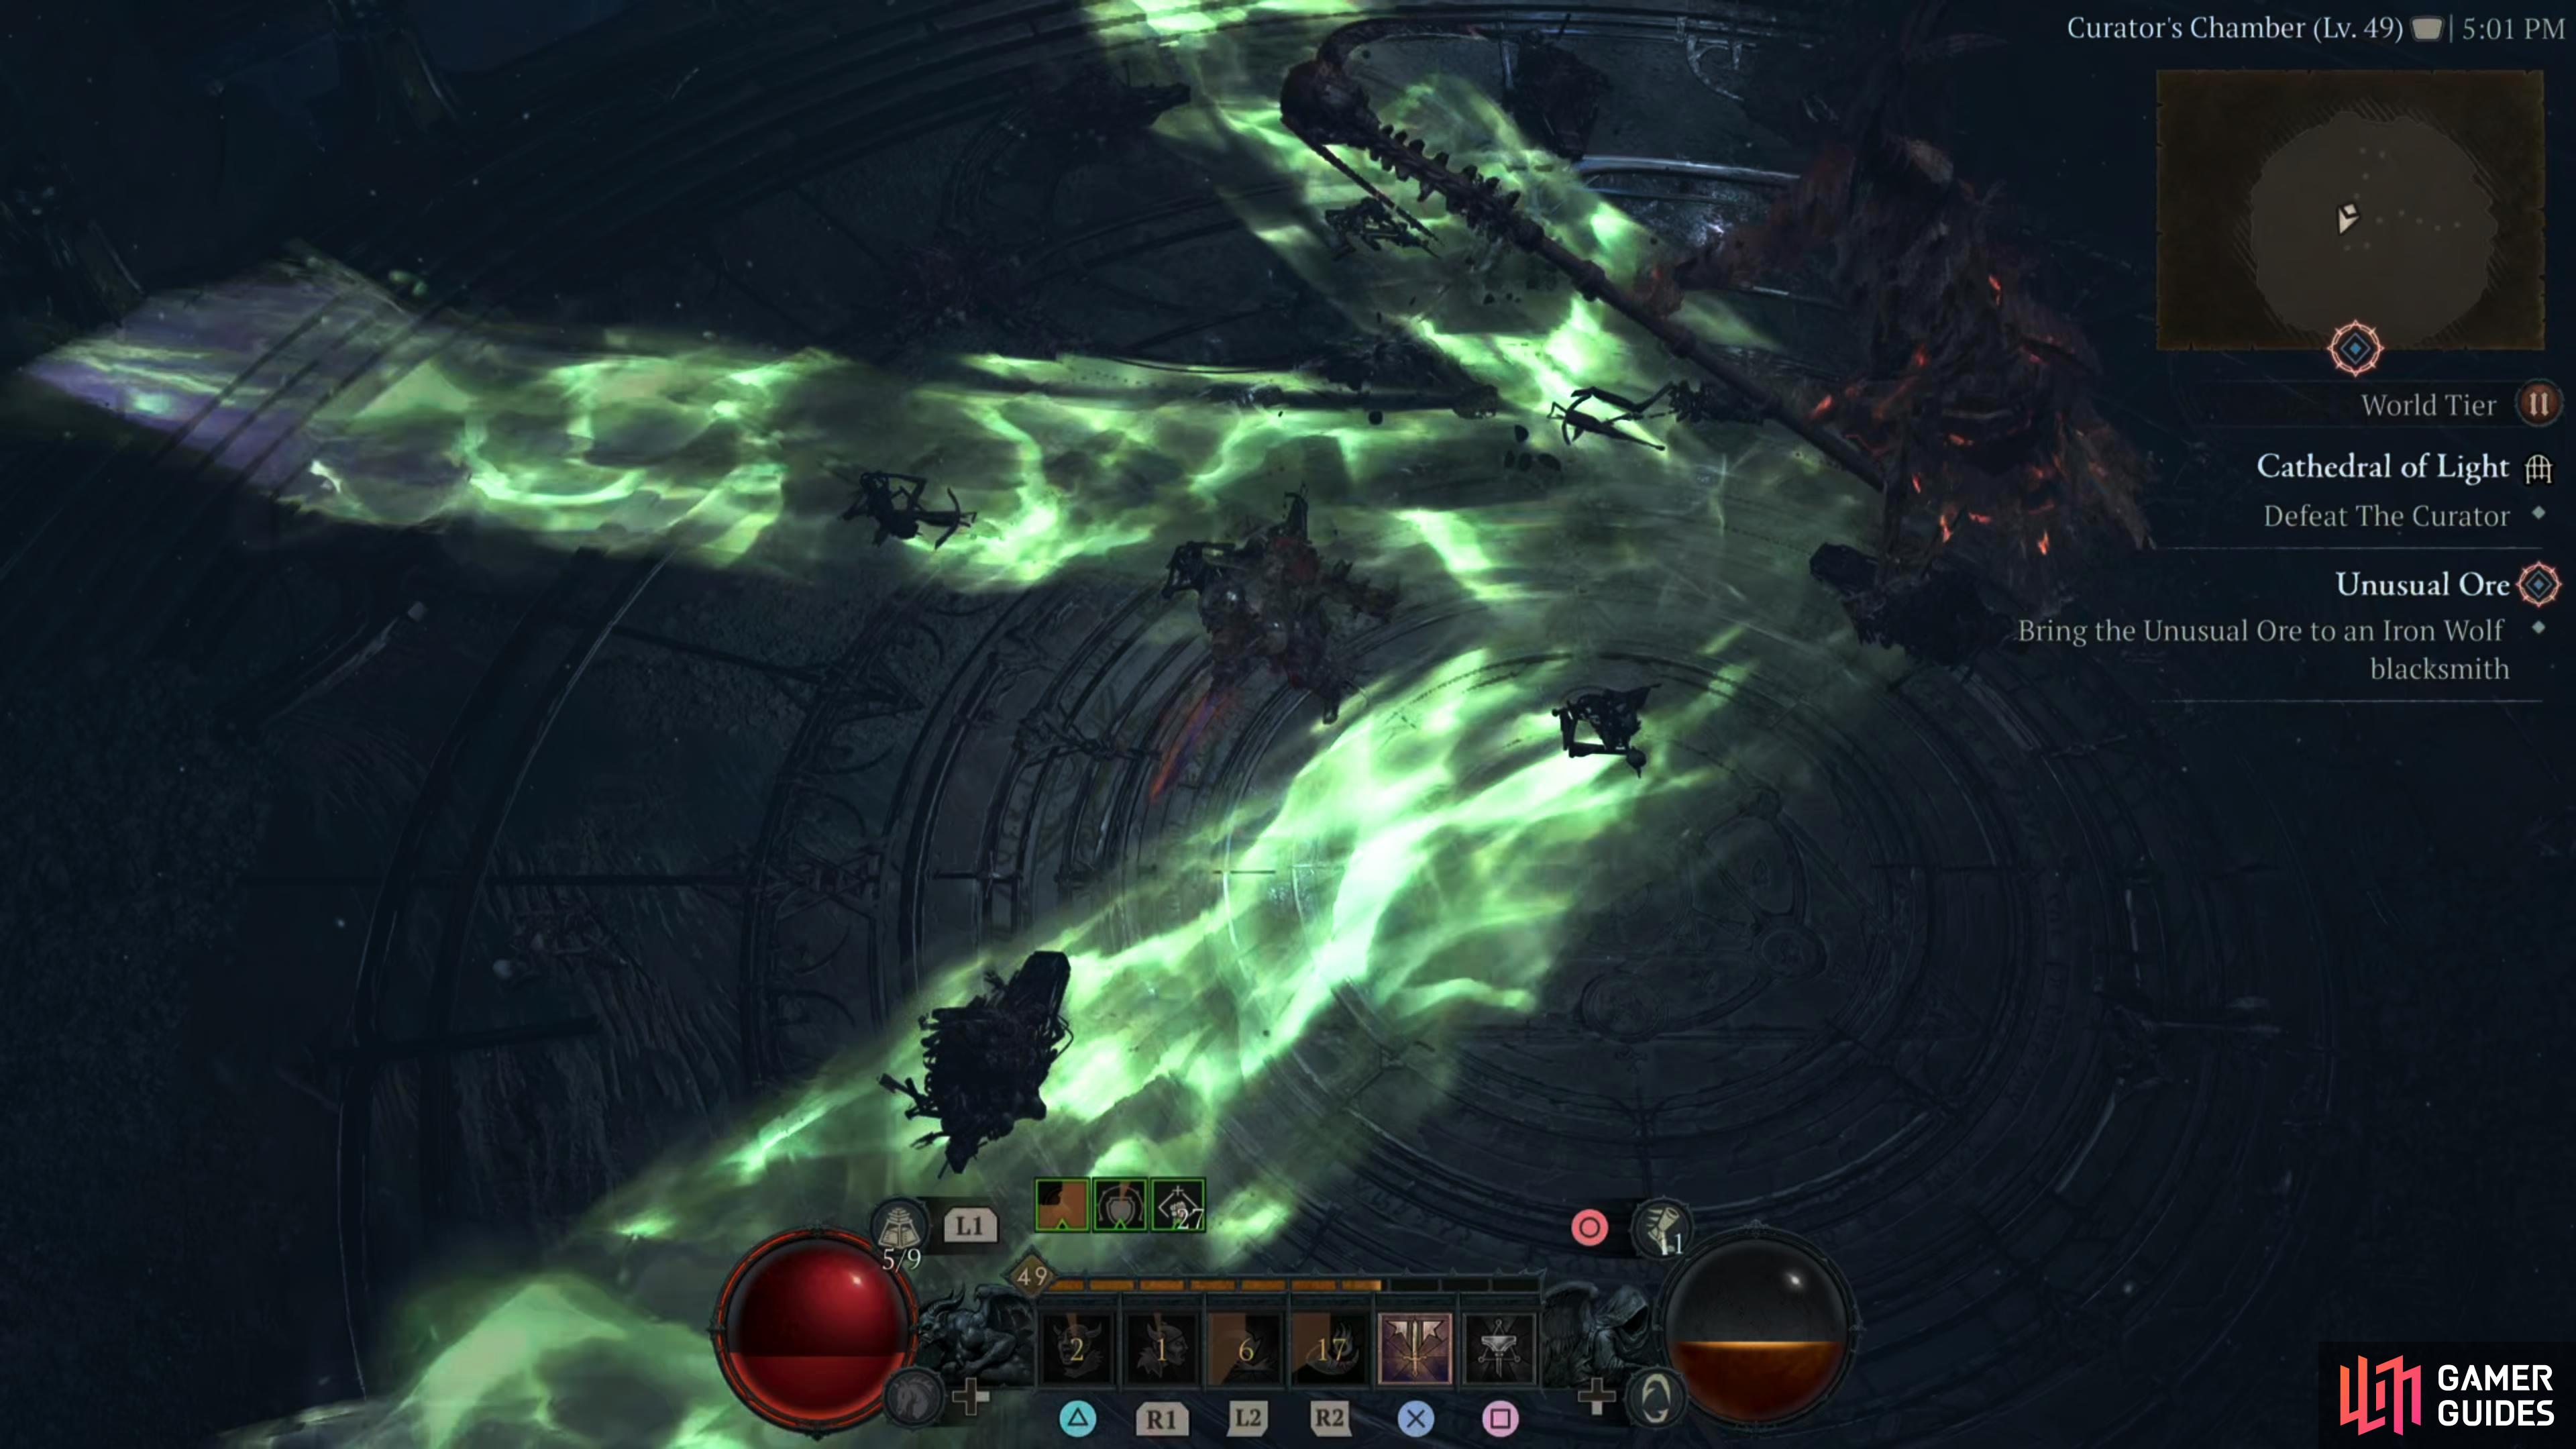
Ghostly Lines - For lack of a better name,
The Curator will display three green lines on the floor before unleashing an attack along them. This can go any direction, and you’ll want to stand in between the lines to avoid it. -
Teleporting Ghostly Lines Combo - This is a more difficult version of the above attack.
The Curator will teleport around the arena three times while unleashing several Ghostly Lines in various directions. Each consecutive attack will come at you quicker and quicker, so you’ll need to be deft to avoid them. Similarly to the above attack, you’ll want to stand in the gaps created by the lines to not take damage. At later stages of the battle, you’ll have to deal with this while other attacks are being used.
One thing you can say about ![]() The Curator is its speed. Considering it is large, it moves fairly quickly and uses its attacks even quicker which leaves you not much time to react. The main threat of the boss is its Teleporting Ghostly Lines Combo attack, as you’ll most likely get hit by this multiple times due to its speed. The other problem is the amount of chip (slight) damage you’ll consistently take. From its ghostly projectiles, its sweeping scythe attacks, or the random shots taken from the undead skeletons.
The Curator is its speed. Considering it is large, it moves fairly quickly and uses its attacks even quicker which leaves you not much time to react. The main threat of the boss is its Teleporting Ghostly Lines Combo attack, as you’ll most likely get hit by this multiple times due to its speed. The other problem is the amount of chip (slight) damage you’ll consistently take. From its ghostly projectiles, its sweeping scythe attacks, or the random shots taken from the undead skeletons.
This is why some form of mitigation tools are imperative in beating the boss with little trouble. Using Fortify to reduce the damage, or Barrier to absorb it, the majority of the bosses attacks won’t bother you too much which leaves you to focus on avoiding the bigger area of effect attacks it has. Another good thing to have for this battle is area-of-effect attacks of your own such as Hammer of the Ancients for example as this will deal with much of the Bone Wall, and summons that’ll keep spawning. Finally, using your strongest Iron (armor) elixir can help a ton too.
Detailed Location
![]() The Curator is the last boss of the Capstone dungeon
The Curator is the last boss of the Capstone dungeon ![]() Cathedral of Light.
Cathedral of Light.
Screenshots


Region
 Fractured Peaks

 Sign up
No Comments