

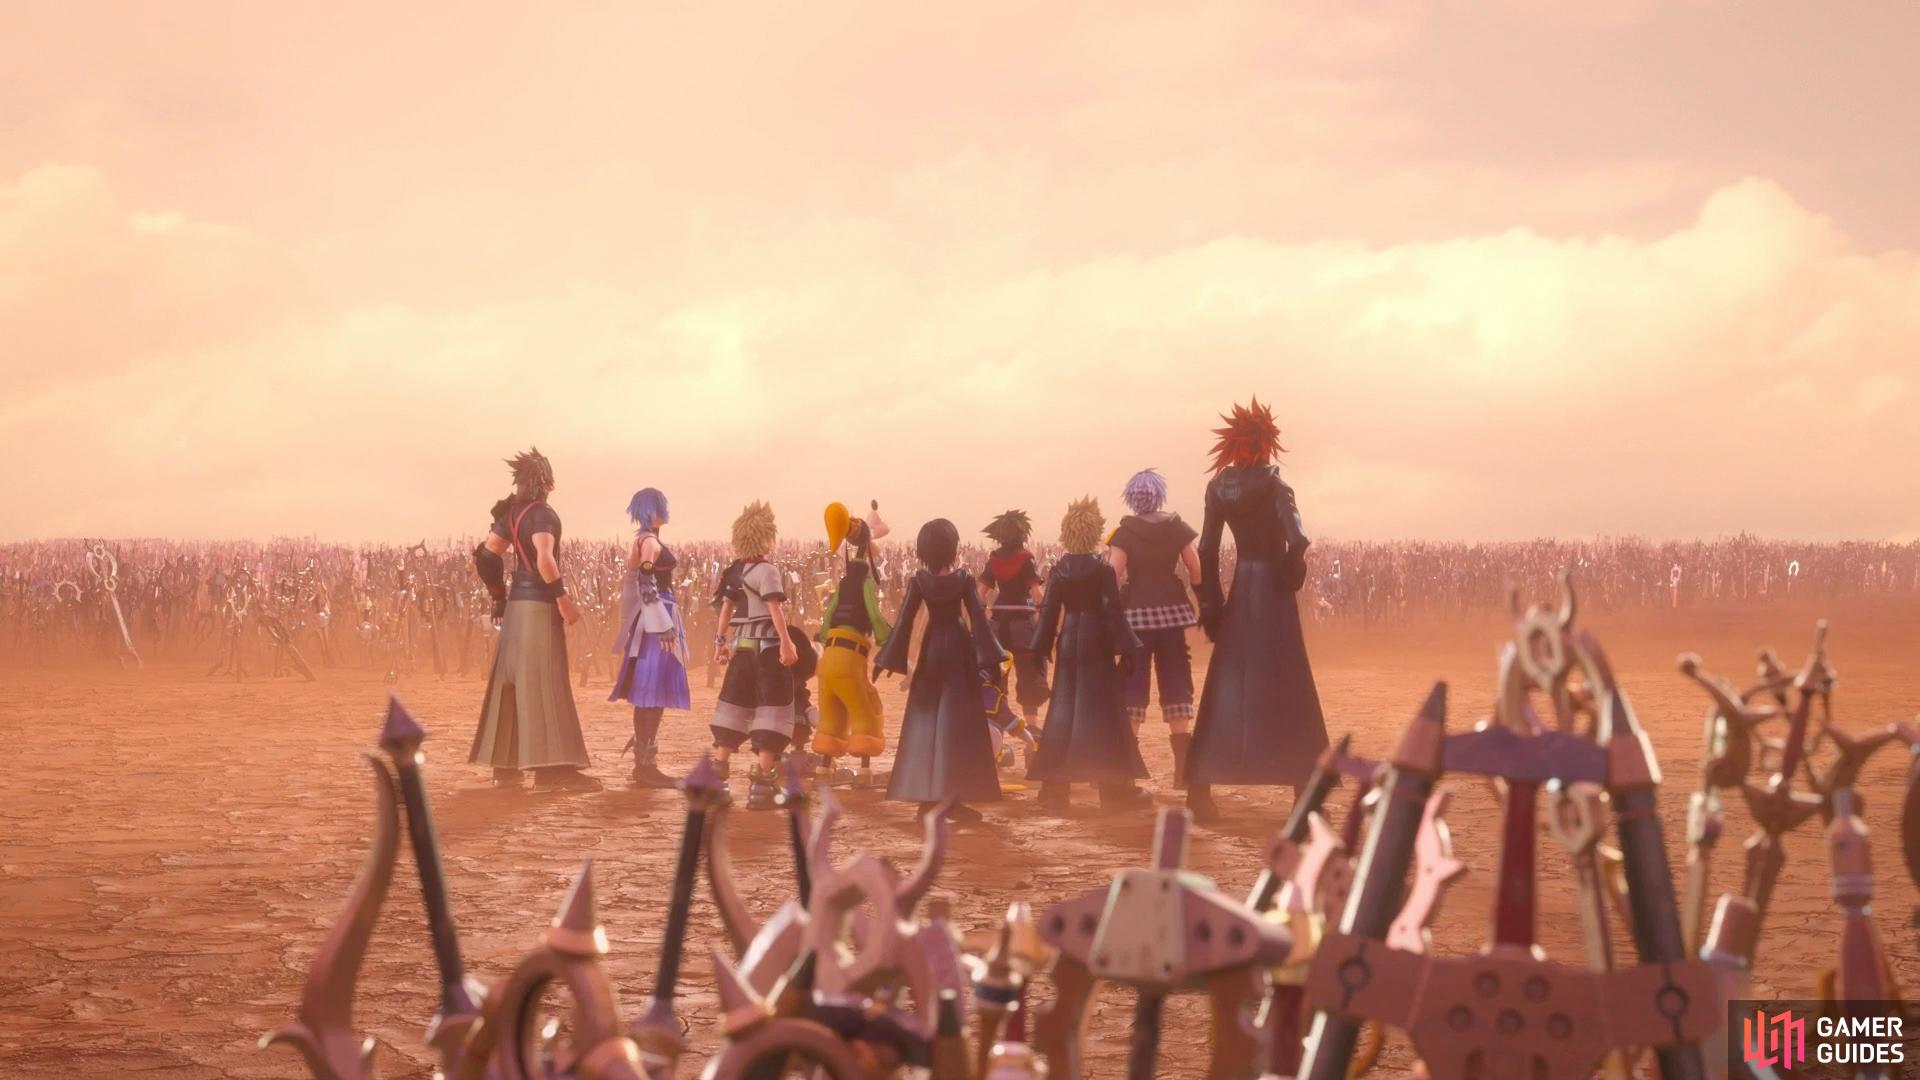
Re Mind opens with lengthy cutscenes detailing more background information on some of the series’ deeper lore. Once you regain control of Sora, you’ll find yourself back in The Keyblade Graveyard at the start of the decisive battle in the Badlands. Once Sora realises what’s happening, you’ll find yourself face to face with the first boss of Re Mind.
Boss: Dark Inferno X
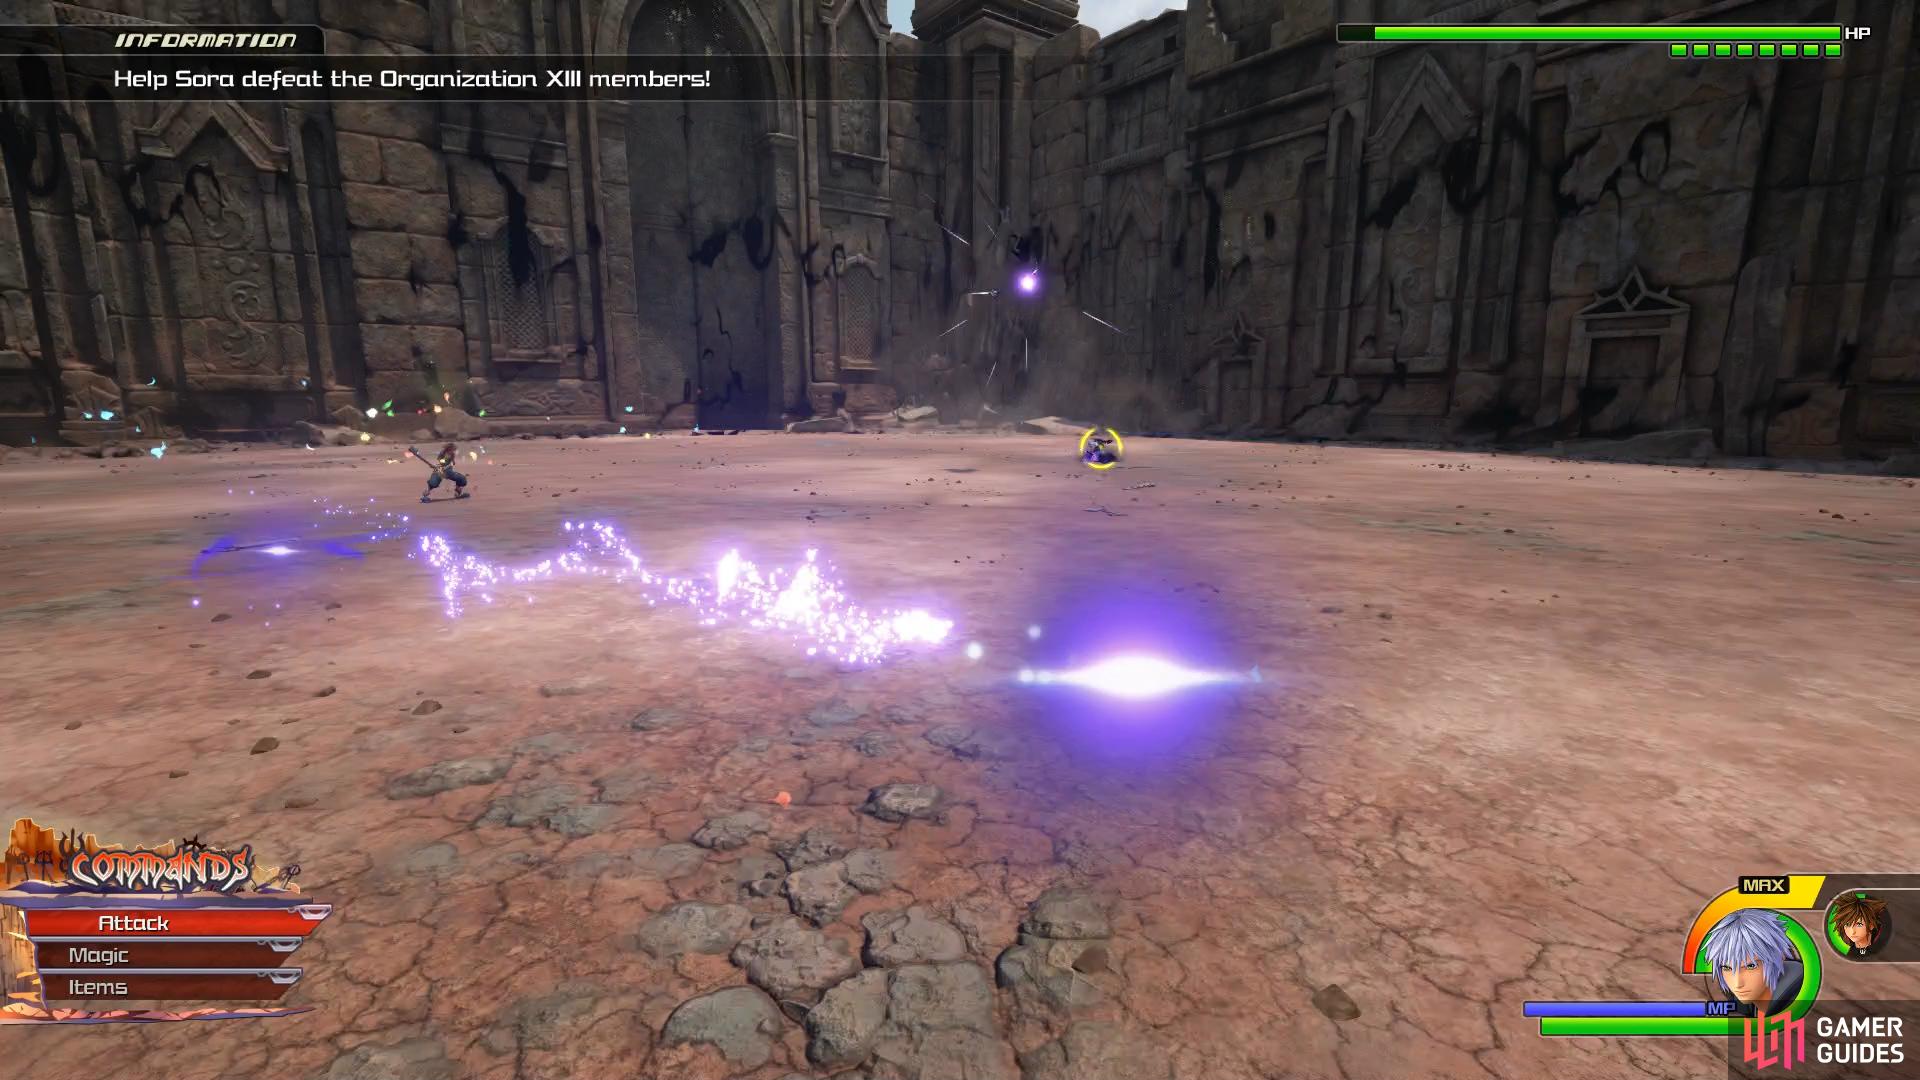
This is a slightly modified version of Dark Inferno found in [Battlegate 14] and as such, if you’ve already beaten it before, you’ll know what to expect going into it. You’ll be alone for this battle as Donald and Goofy won’t be around however the arena is large enough to avoid getting hit.
To begin with, Dark Inferno X with close the distance with a fast Sword Combo, all of these hits can be easily deflected or dodged and will also leave it open for a return combo from Sora. He has two finishers here depending on your position, the first will slam you down into the ground while the other will see him do a rising slash. Dark Inferno X will also shoot out a circle of Darkness Orbs that will circle around Sora before closing in on him, stand still and deflect the first barrage before pausing to deflect the second.
(1 of 4) Wait for the Orbs to circle you and then deflect them as they shoot towards you
Finally, and most importantly, Dark Inferno X will glow red before unleashing spinning blades in a wide range around him, these can’t be block so be sure to leap over them before it’s released. Fail to do so and you’ll take hefty damage and suffer the Stun status, be sure to move the [LS] around to break out of it as quickly as possible to deflect the follow up combo.
Dark Inferno X’s greatest threat is it’s speed and as such, you’ll want to keep locked on at all times to keep track of where he is. Your best chances at hitting it is immediately after deflecting a combo from it or by hitting it from range with either magic or Shotlocks. If you have Ultima Weapon, the Shotlock is devastating against it if you can charge it in time. Likewise, the Oathkeeper and Oblivion Keyblades will make shortwork of him, especially if you form change. Dark Inferno X is a rather easy battle to kick off the DLC with and provided you had no problems with the Battlegate version of it then you should breeze through this battle.
| Character | Ability |
|---|---|
| Sora | Item Slot Unlocked |
Watch the cutscenes that follow and you’ll soon find yourself in yet another boss battle, this time against a familar foe.
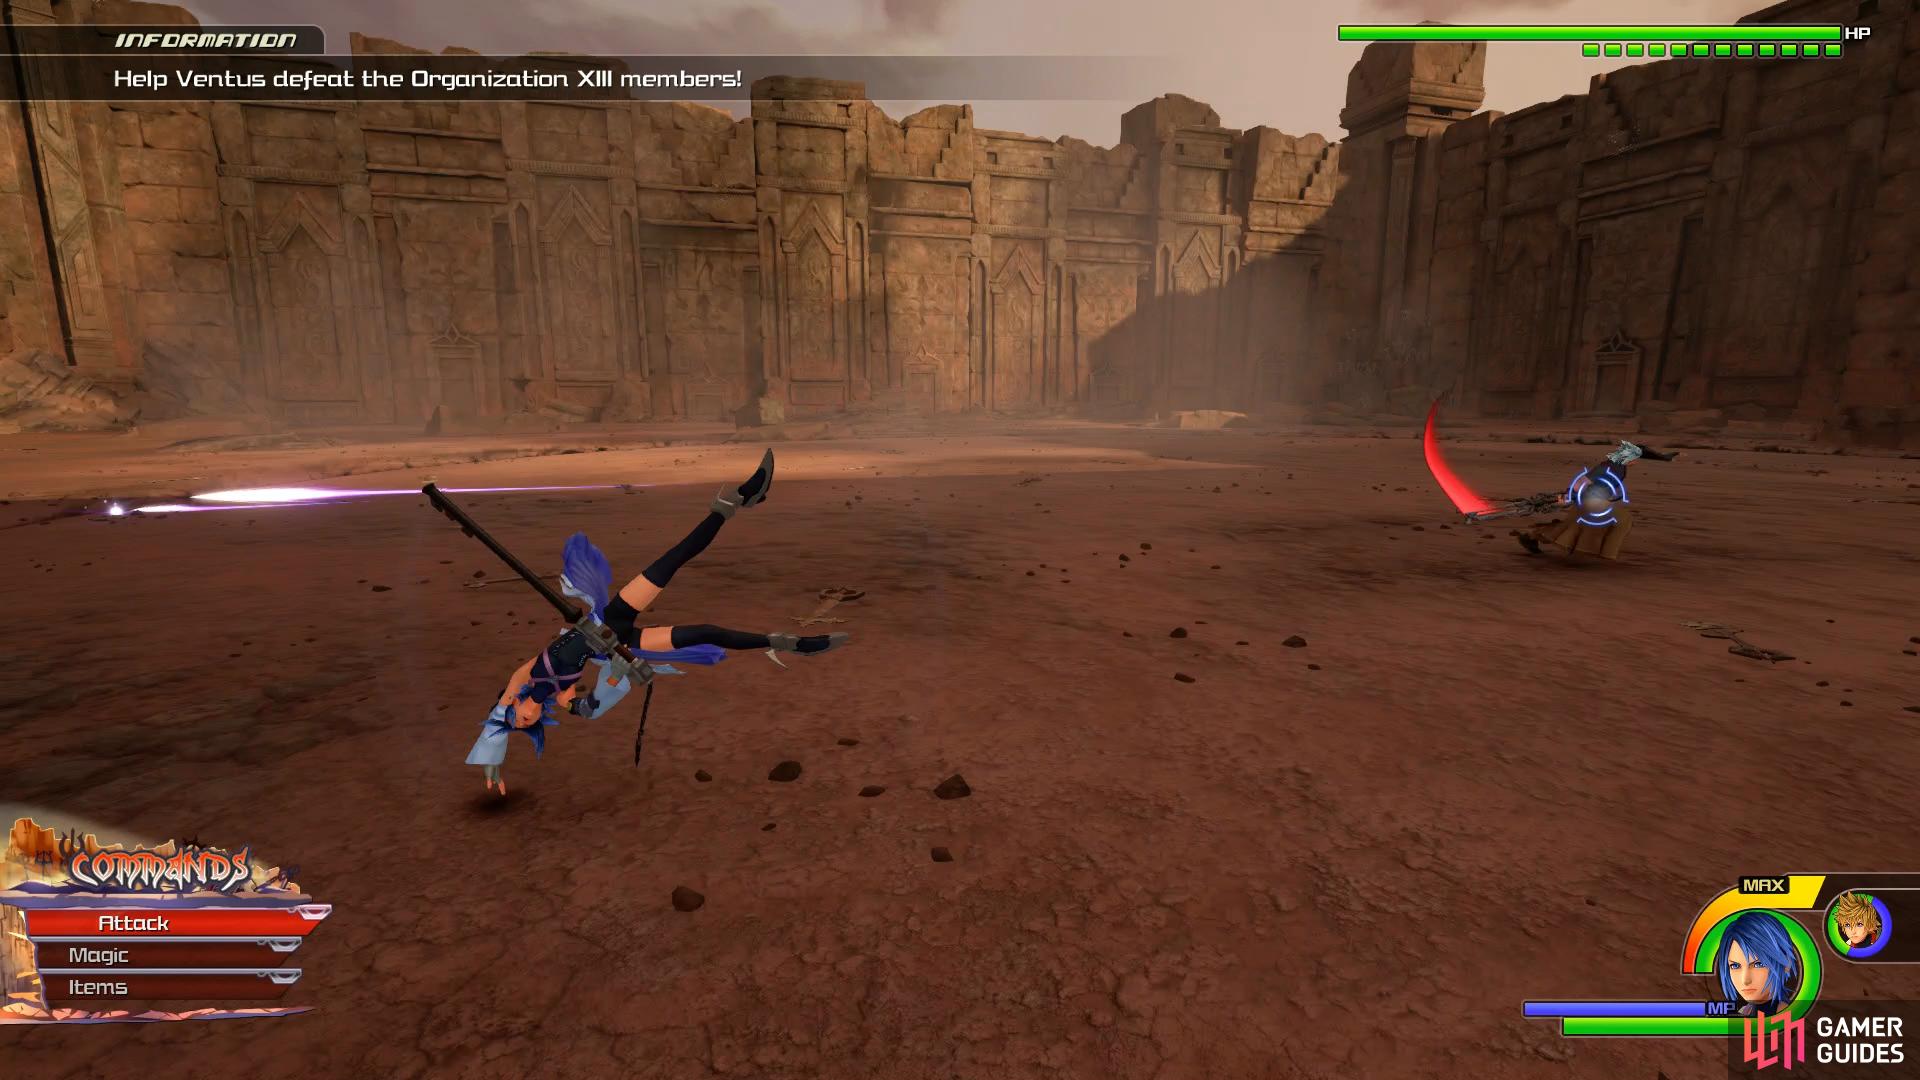
Boss: Anti-Aqua
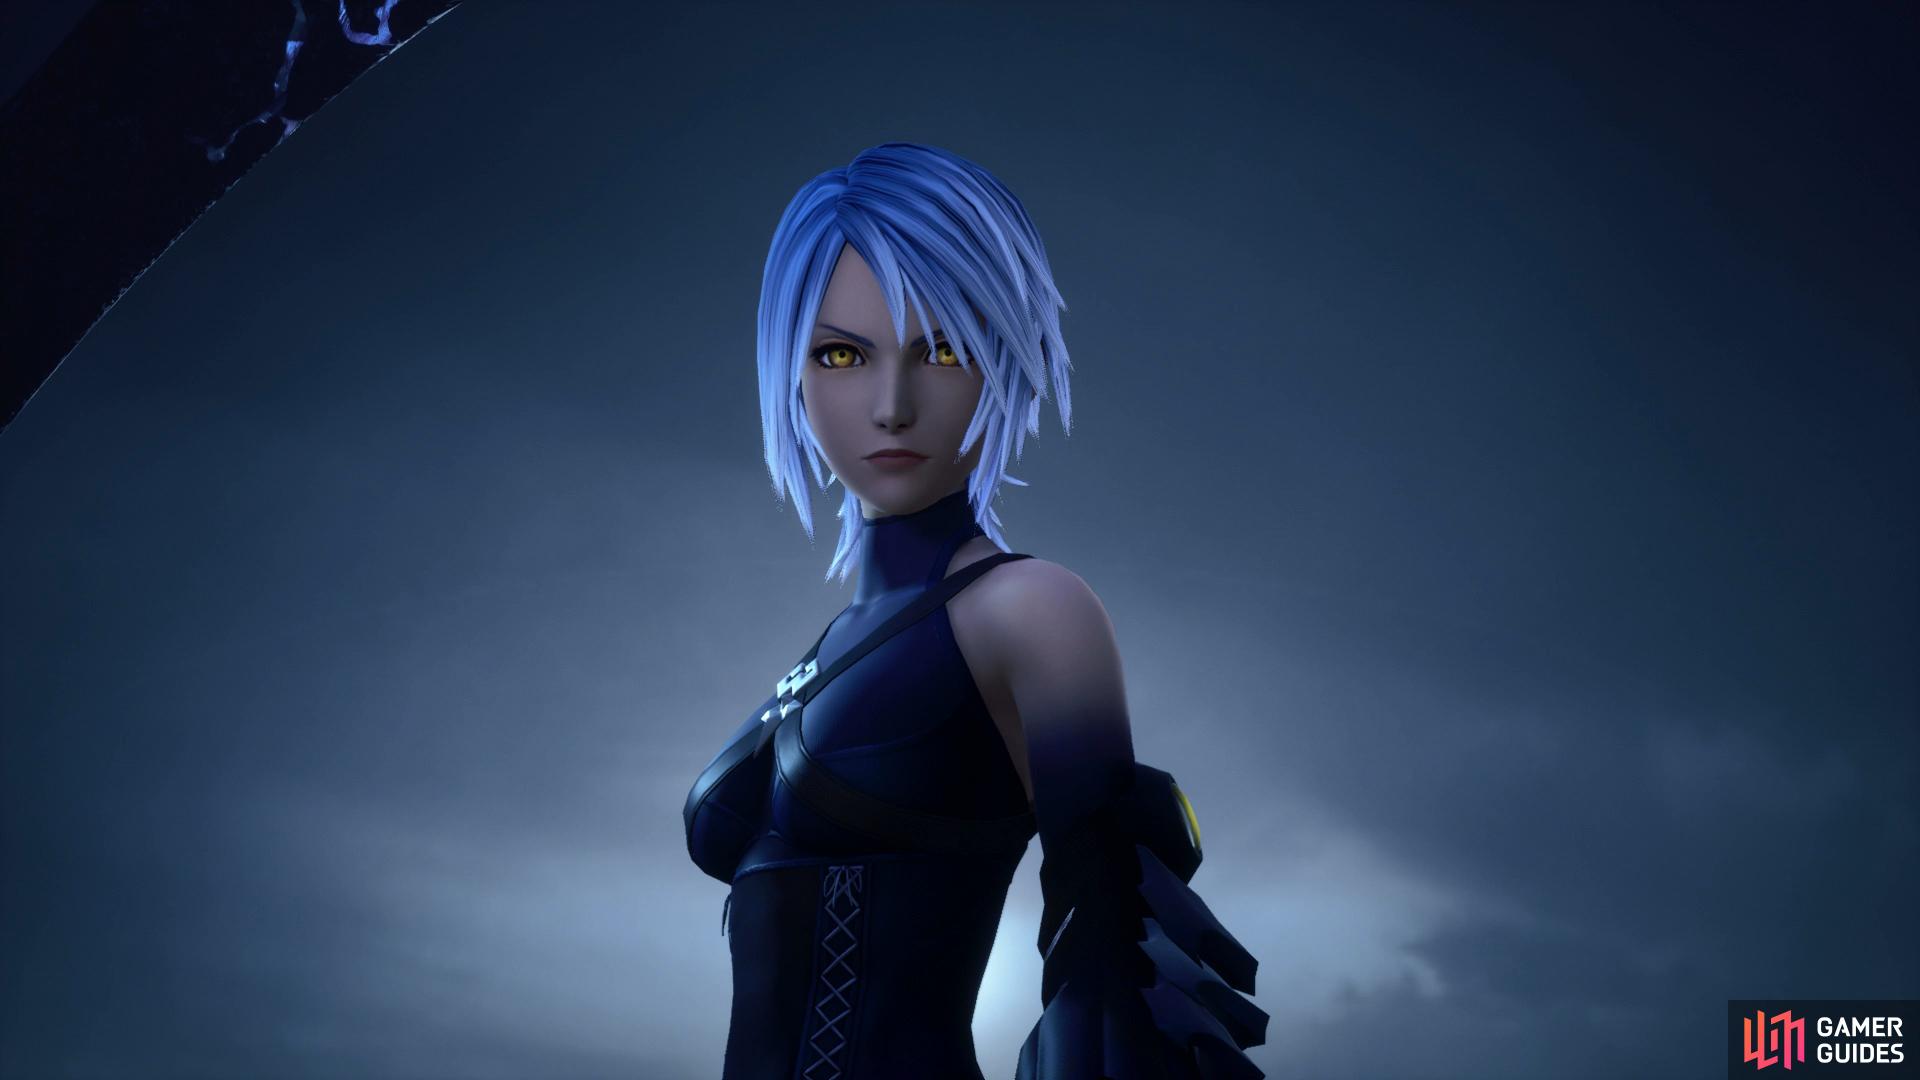
If you cast your mind back to when you fought Anti-Aqua upon completion of the final Disney World, you should know what to expect in terms of her moveset. She’s not too different here but she does have a few new tricks up her sleeve. The first major difference is that she will now appear with multiple clones when she vanishes and appears close to Sora, this means you’ll have to focus on deflecting or dodging multiple and remember that she’s open for a combo following the attack. She has an attack where she will conjure up multiple large crystals, these can’t be deflected so stay on the move and Dodge Roll as needed.
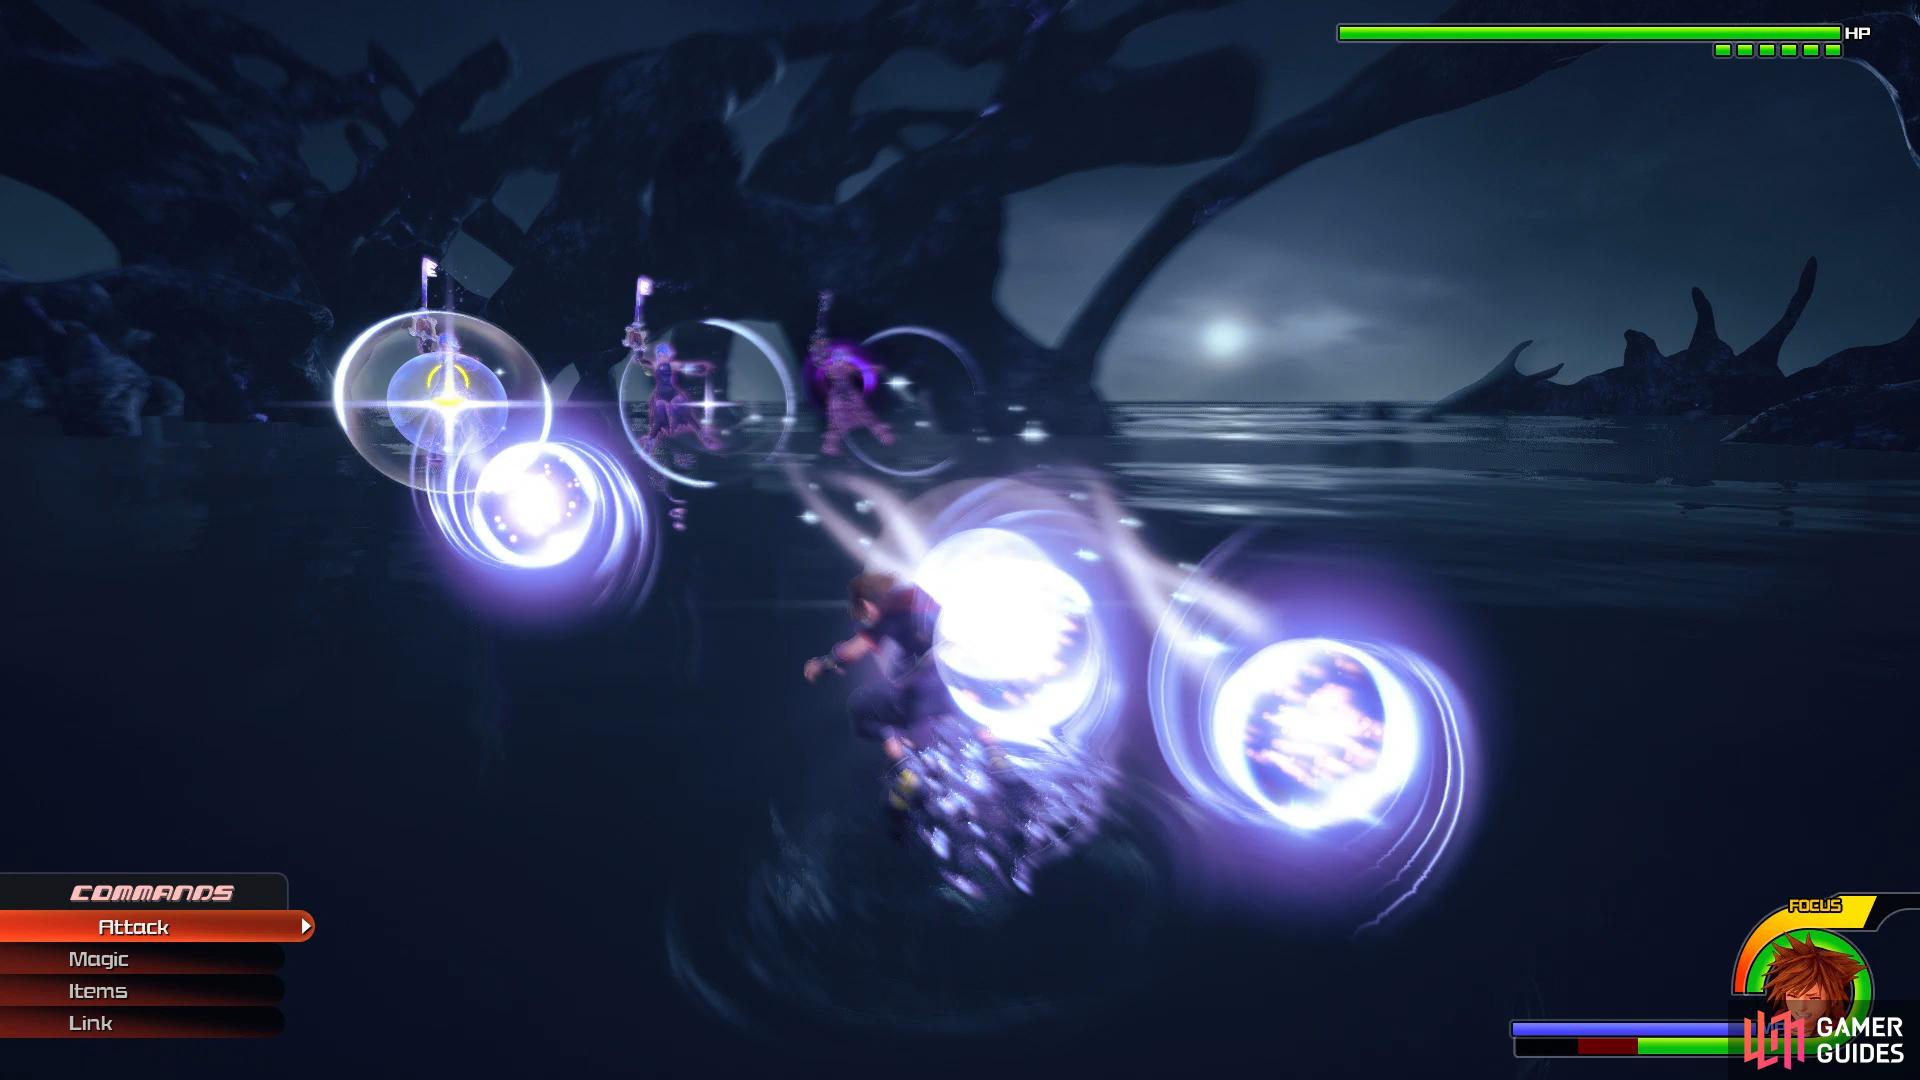
Finally, when she does her Spin Attack, all clones will converge on Sora, if you’re careful you can deflect every hit here, otherwise look to Dodge Roll out of the circle she creates. For the most part, Anti-Aqua isn’t too different from her previous form other than the addition of more clones. Wait for your openings rather than taking the fight to her and you should down her in no time at all.
| Character | Ability |
|---|---|
| Sora | Max MP Increase |
More cutscenes play out following your victory and you’ll find yourself witnessing the battle between Terra-Xehanort and Lingering Will and soon enough, Sora intervenes.
Boss: Terra-Xehanort
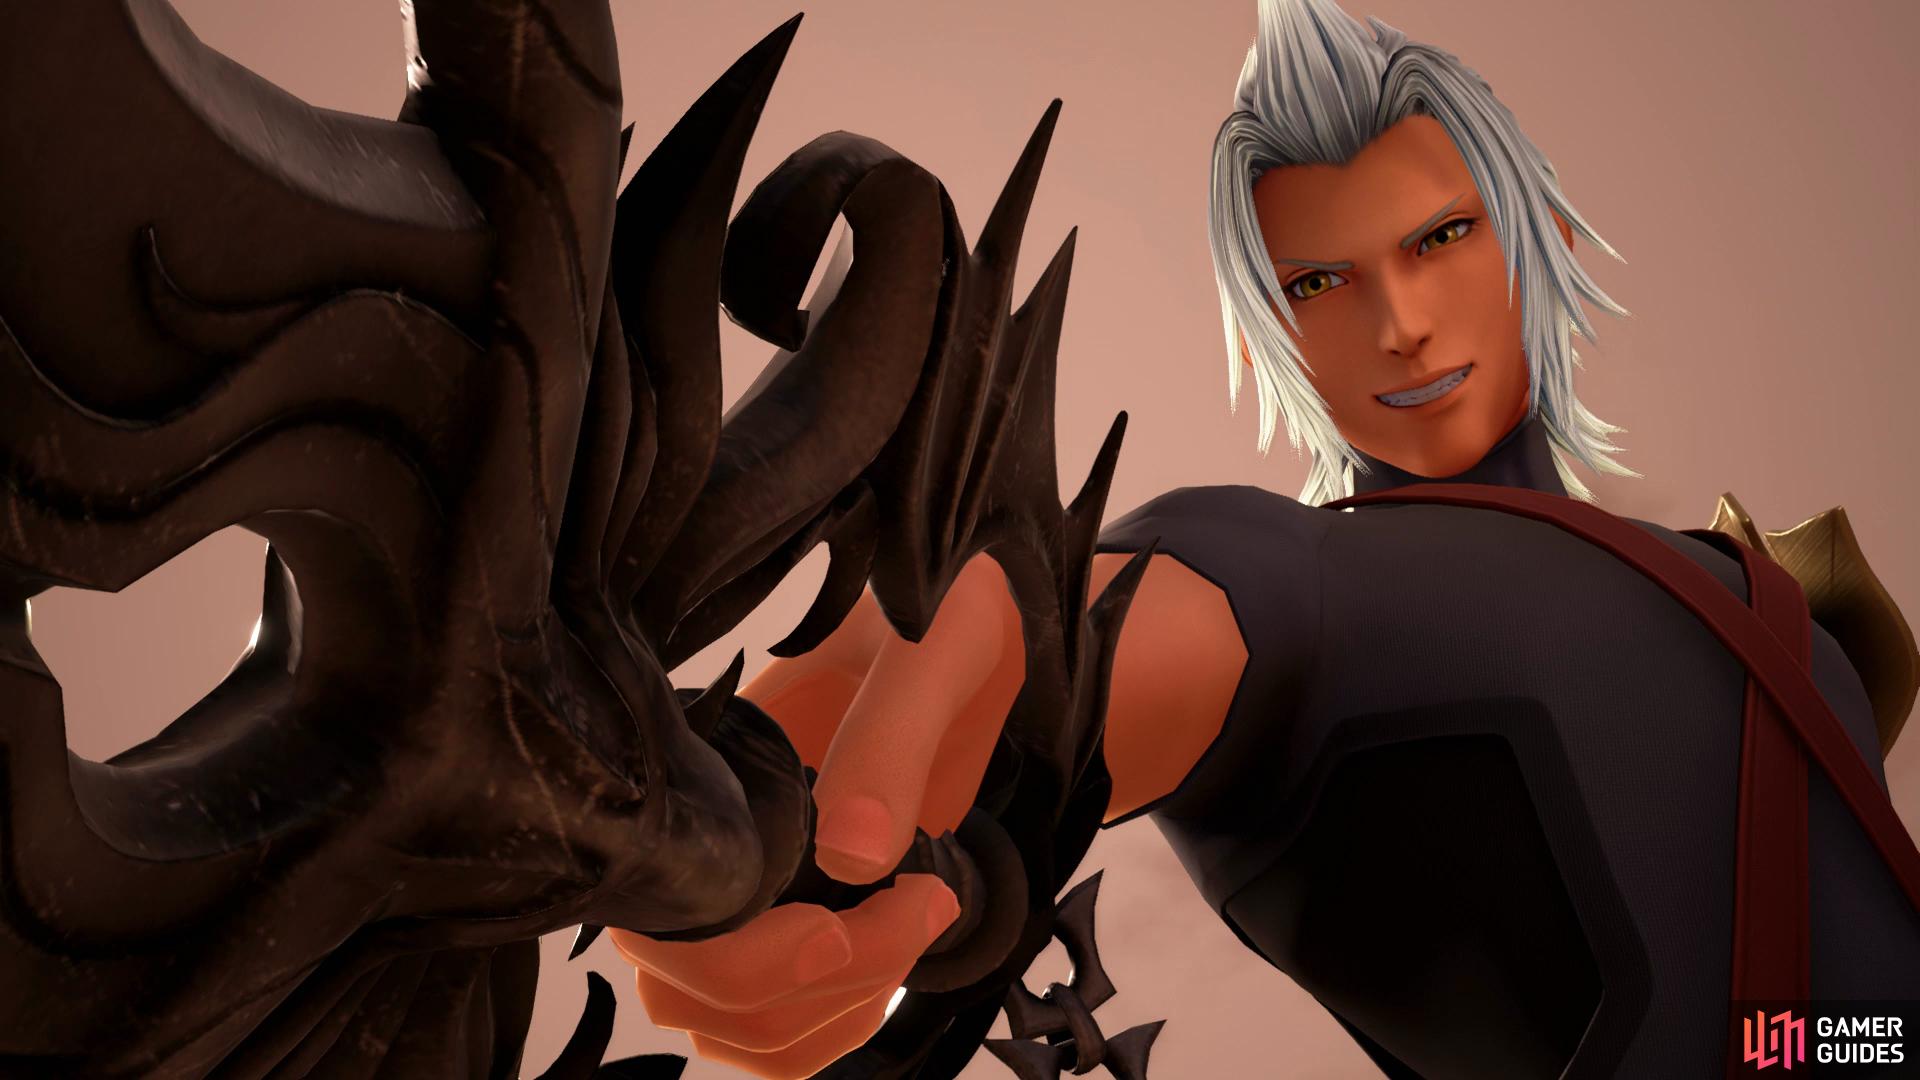
Terra-Xehanort’s moveset is rather limited in that there’s not much to deal with however what is there hits hard. The main threat is the damage and juggle potential of his Dark Shadow. It will disappear and reappear close to Sora before attacking, deflect this and the follow up attacks otherwise you’ll find yourself juggled, taking major damage. Although you can dodge all of this attack, deflecting it will create an opening for a large combo from Sora so aim for this instead.
On top of this, Terra-Xehanort will shoot Dark Projectiles at you, all of these can and should be deflected back at him for some minor damage. Once you lower his HP, Terra-Xehanort will glow before using his Desparation Move where the Dark Shadow will slam the ground where Sora is standing creating a huge collection of Dark Crystals to shoot out from the impact, keep dodging away while he’s in this situation.
Finally, and most importantly, is Terra-Xehanorts Keyblade combo, if hit by this you’ll suffer major damage and he can close the distance easily with this so attempt to deflect the attack rather than dodging it. Note however that the final slam of the combo has a slight pause in it so dodge to the side when he rises in the air to create an opening for yourself.
Terra-Xehanort deals hefty damage with his attacks so keep some MP on standby for a Curaga at all times and work on deflecting the attacks to create the openings you’ll need.
| Character | Ability |
|---|---|
| Sora | Max MP Increase |
Finally, after this long bout of Bosses, you’ll find yourself in the Skein of Severance, Trail of Valediction. You’ll be able to Save your game, upgrade your Keyblades and purchase more items for the battles ahead.
If you’ve been struggling so far (which is unlikely unless you’re extremely underleveled) you can opt to then load your save you just created by pressing the [SQUARE]/[X] button on the Load Menu to load back into the original game and boost your stats further. Once you’re ready, head down the path ahead and choose to head north to begin with.
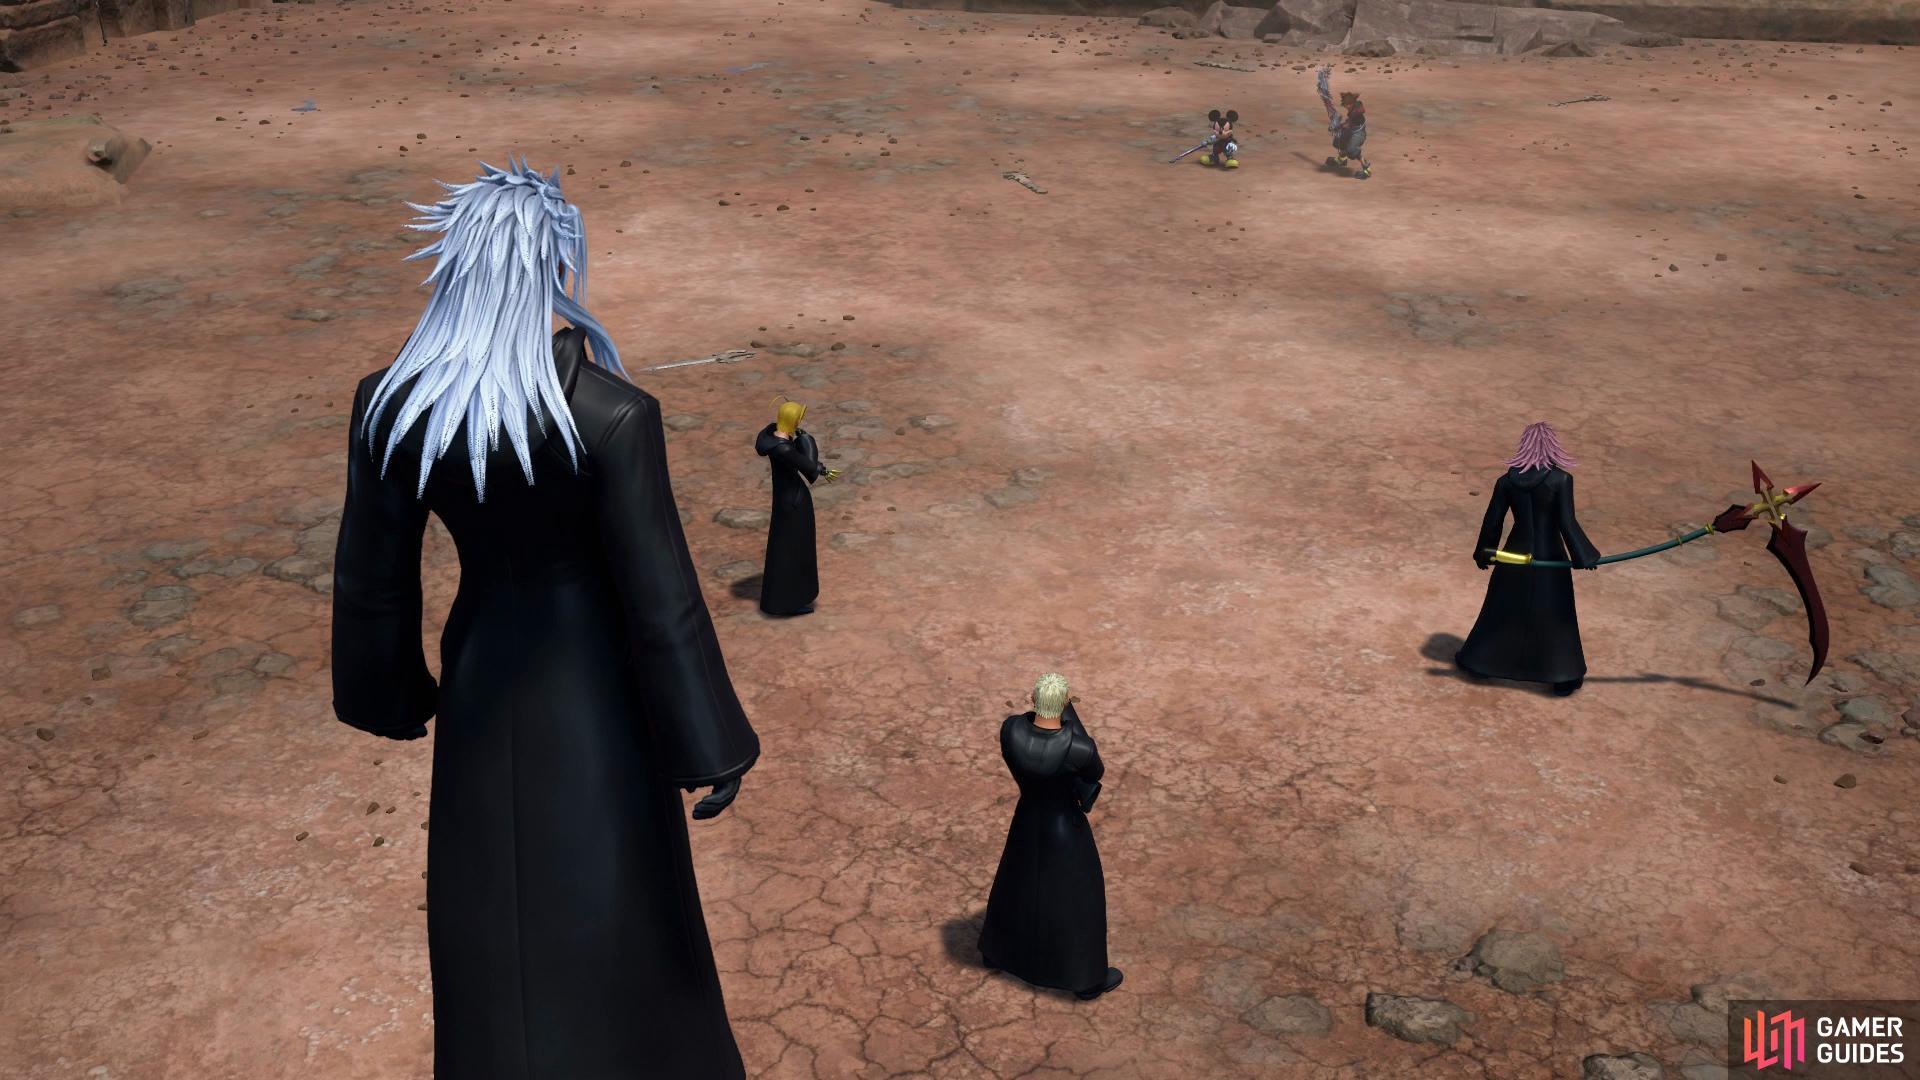
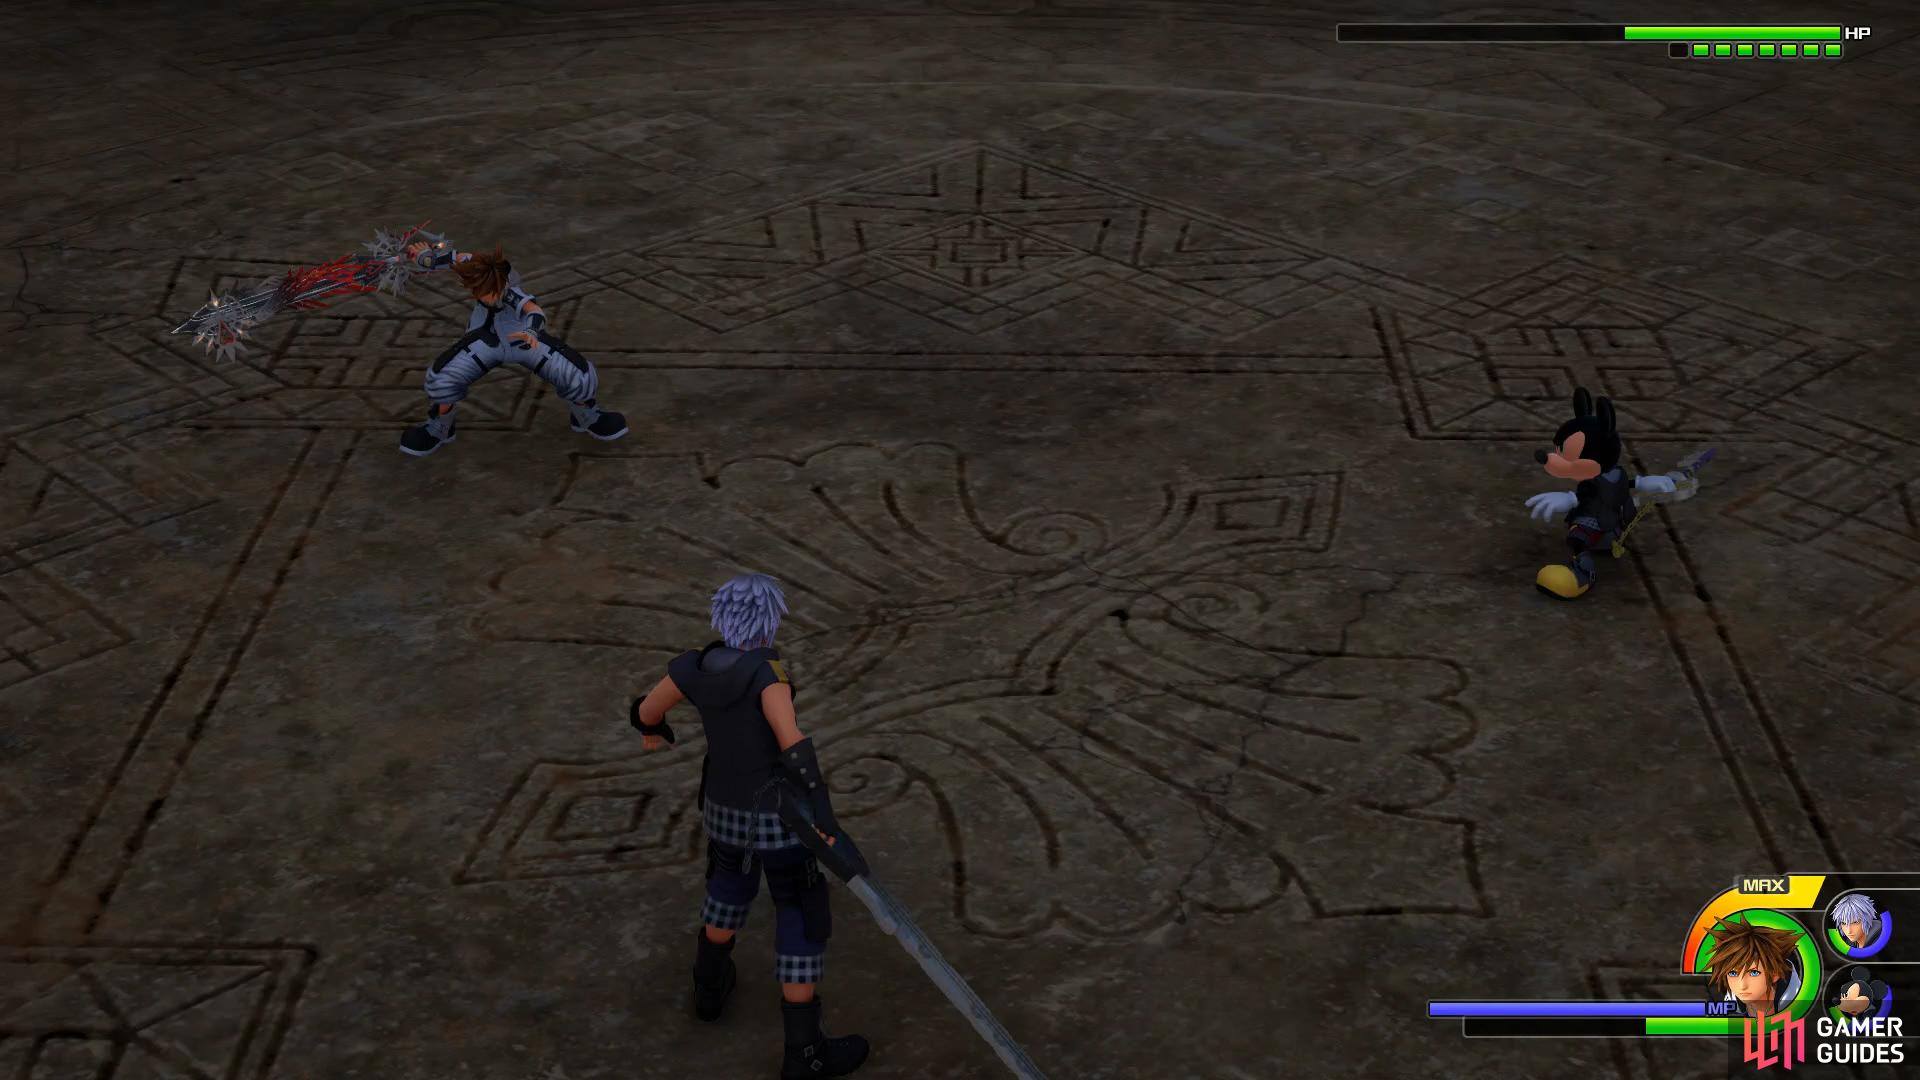
Boss: Xigbar and Dark Riku
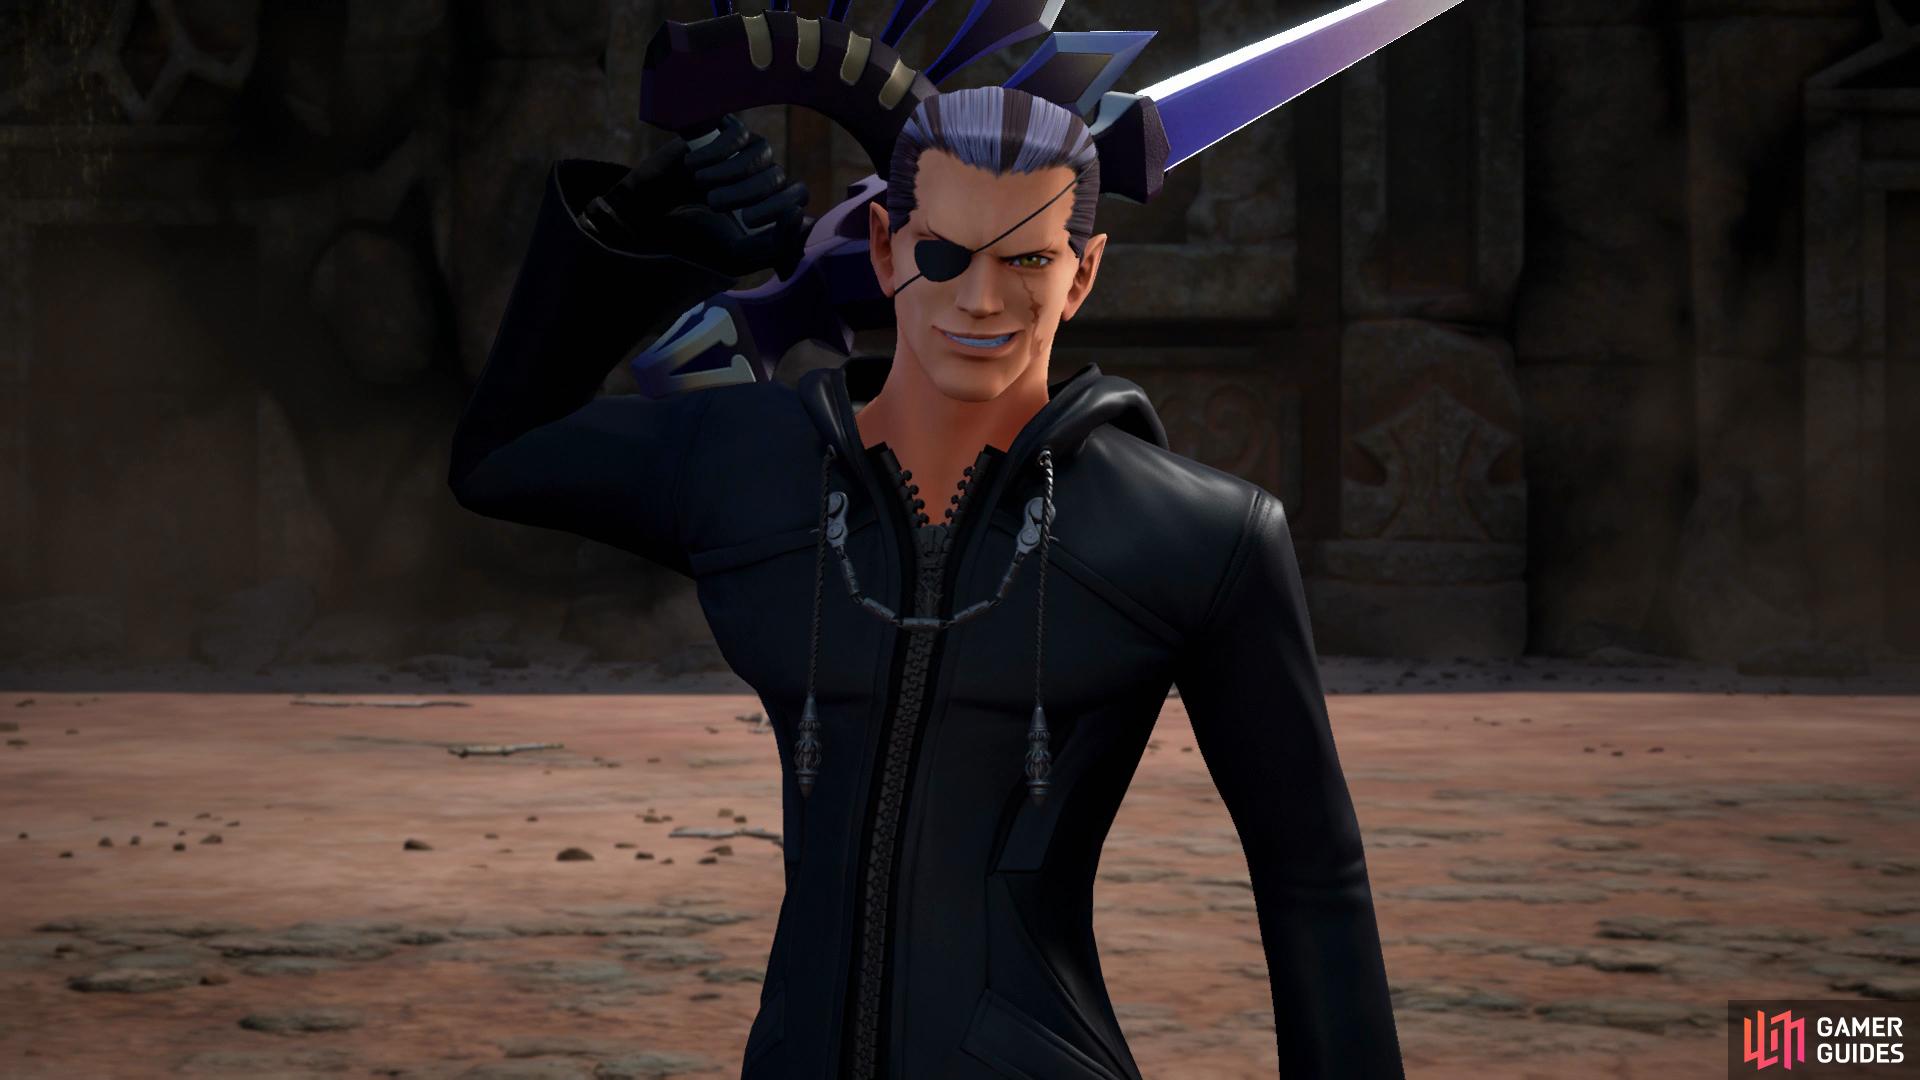
This will be a repeat of your battle against the duo in the The Keyblade Graveyard from the base game and for the most part the same strategy from before applies. The unique difference here is that you’ll have the opportunity to play the battle in the control of Riku and it’s one you should take up. Sora’s battle will be no different other than the addition of a new Situation Command with Riku.
Riku on the other hand plays somewhat similar to the way he did in the battle against Demon Tower. He come’s equipped with Thundaga, Curaga a Hi-Potion and an Ether but his real strength is his Dodge, it causes him to flash forward and makes it alot easier to avoid the various projectiles you’ll face. Likewise, his guard is Reflect, which will deflect anything all around him rather than just in front like Sora’s Guard does.
The first part of the battle will conclude once you deal enough damage to one of your advesaries at which point Ansem departs the battle. If your Sora is of a high Level and has the Ultima Weapon then you could find him dealing with the battle by himself. Regardless, like before, focus your attention on Xigbar first, being the easiest of your two opponents here.
Riku’s combo is fast and powerful and his Shotlock packs a real punch if you can nail it fully. Riku doesn’t have a Keyblade transformation but filling his gauge will allow you to use the powerful Dark Firaga, a spell that is enough to deal massive damage on Proud mode. Due to the nature of his Aerial combos, Riku can keep up with Xigbar rather easily and you can reflect his swarm of bullets when he enters his Desperation Move as it will shield him from all directions.
Dark Riku is a little more difficult but by this point, Sora should have put enough of a dent into his HP. The main threat to worry about here is his Desperation Move late in the battle where he’ll teleport at your location at will and cause explosions. Unlike when you was controlling Sora and it was a better option to Glide around the arena, Riku’s Reflect makes this a lot easier to just deflect your way through it.
| Character | Ability |
|---|---|
| Sora | Maximum MP Increase |
Once you regain control of Sora, follow the path forward to the next battle.
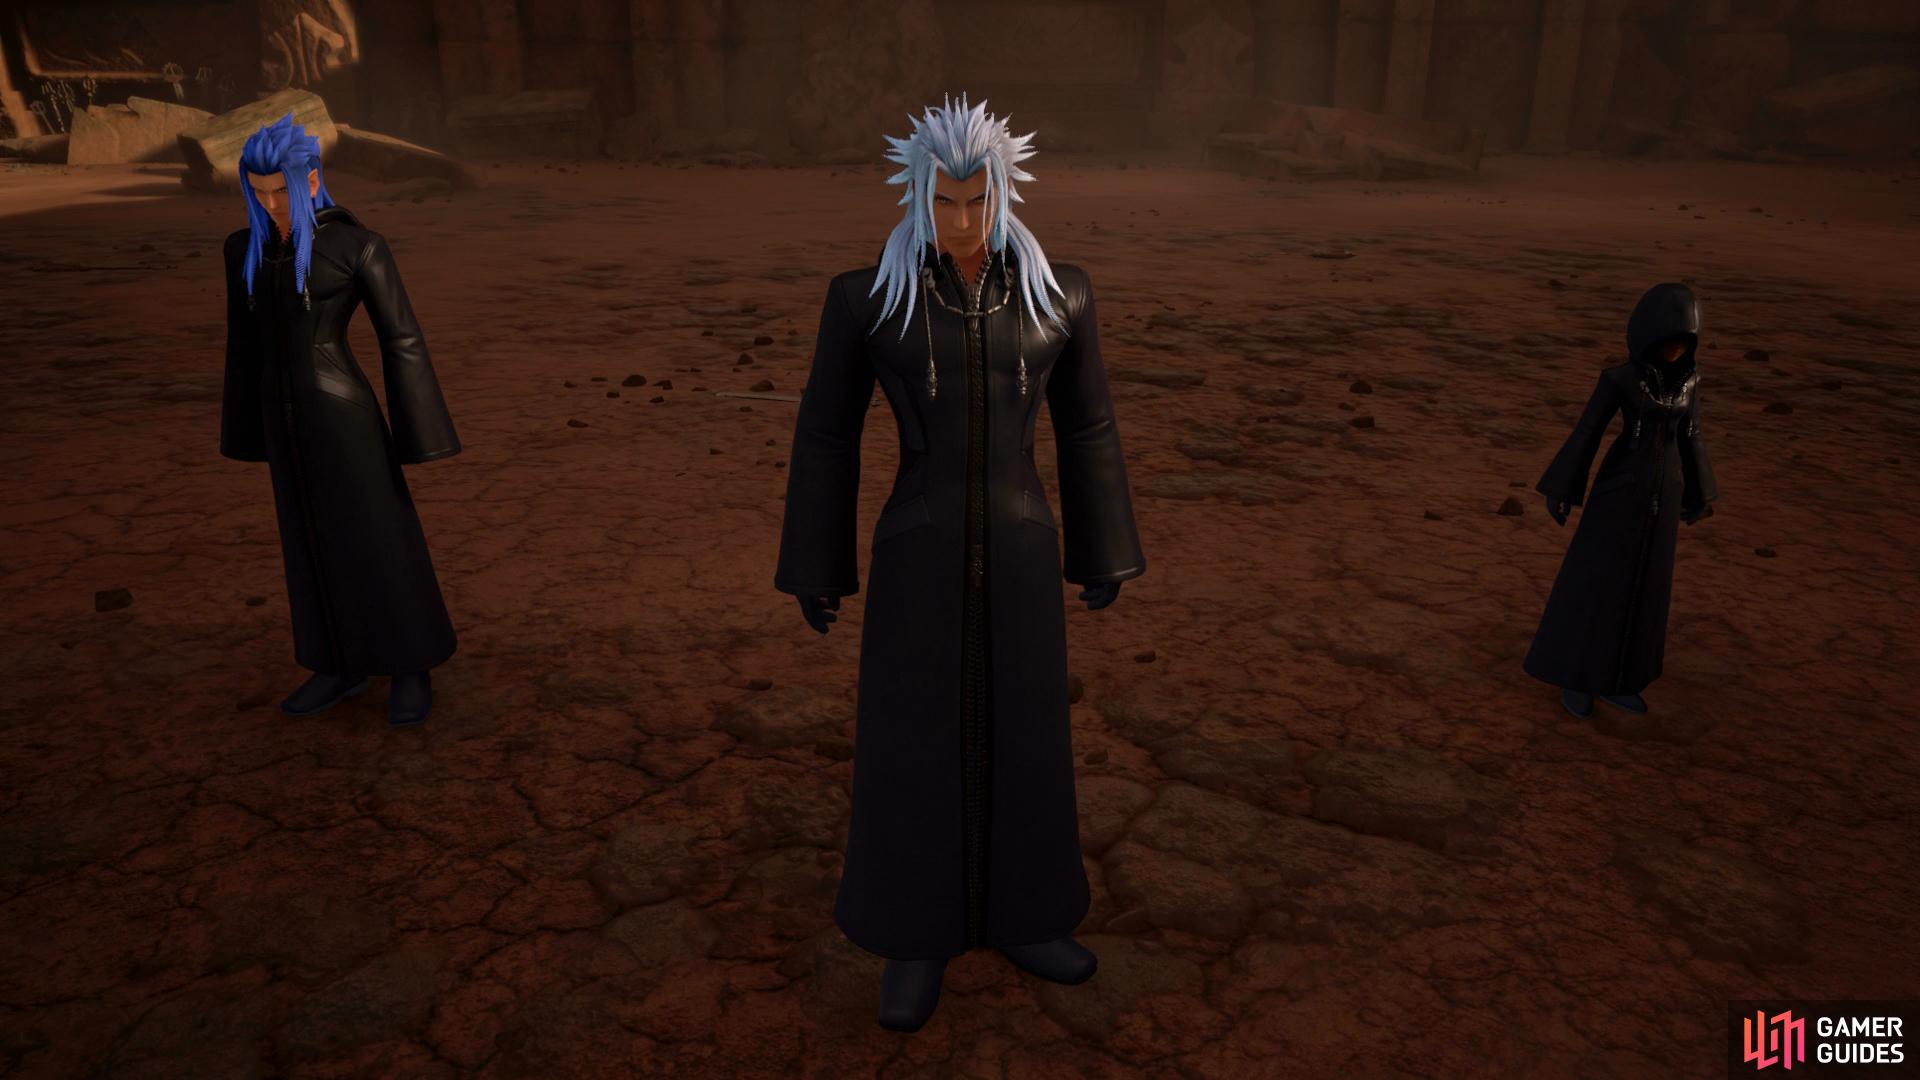
Boss: Marluxia, Larxene and Luxord
This battle plays out exactly the same as the previous battle in the main game so take a look at the the boss strategy there to learn how to handle these. There’s no optional character to play as here and your Sora should be a lot stronger than you were the last time you fought this battle. The one difference that is there however is the new Situation Command between Sora and Mickey, Faith Volley, this hits hard so be sure to activate it whenever it’s available.

Activate Faith Volley at any given chance
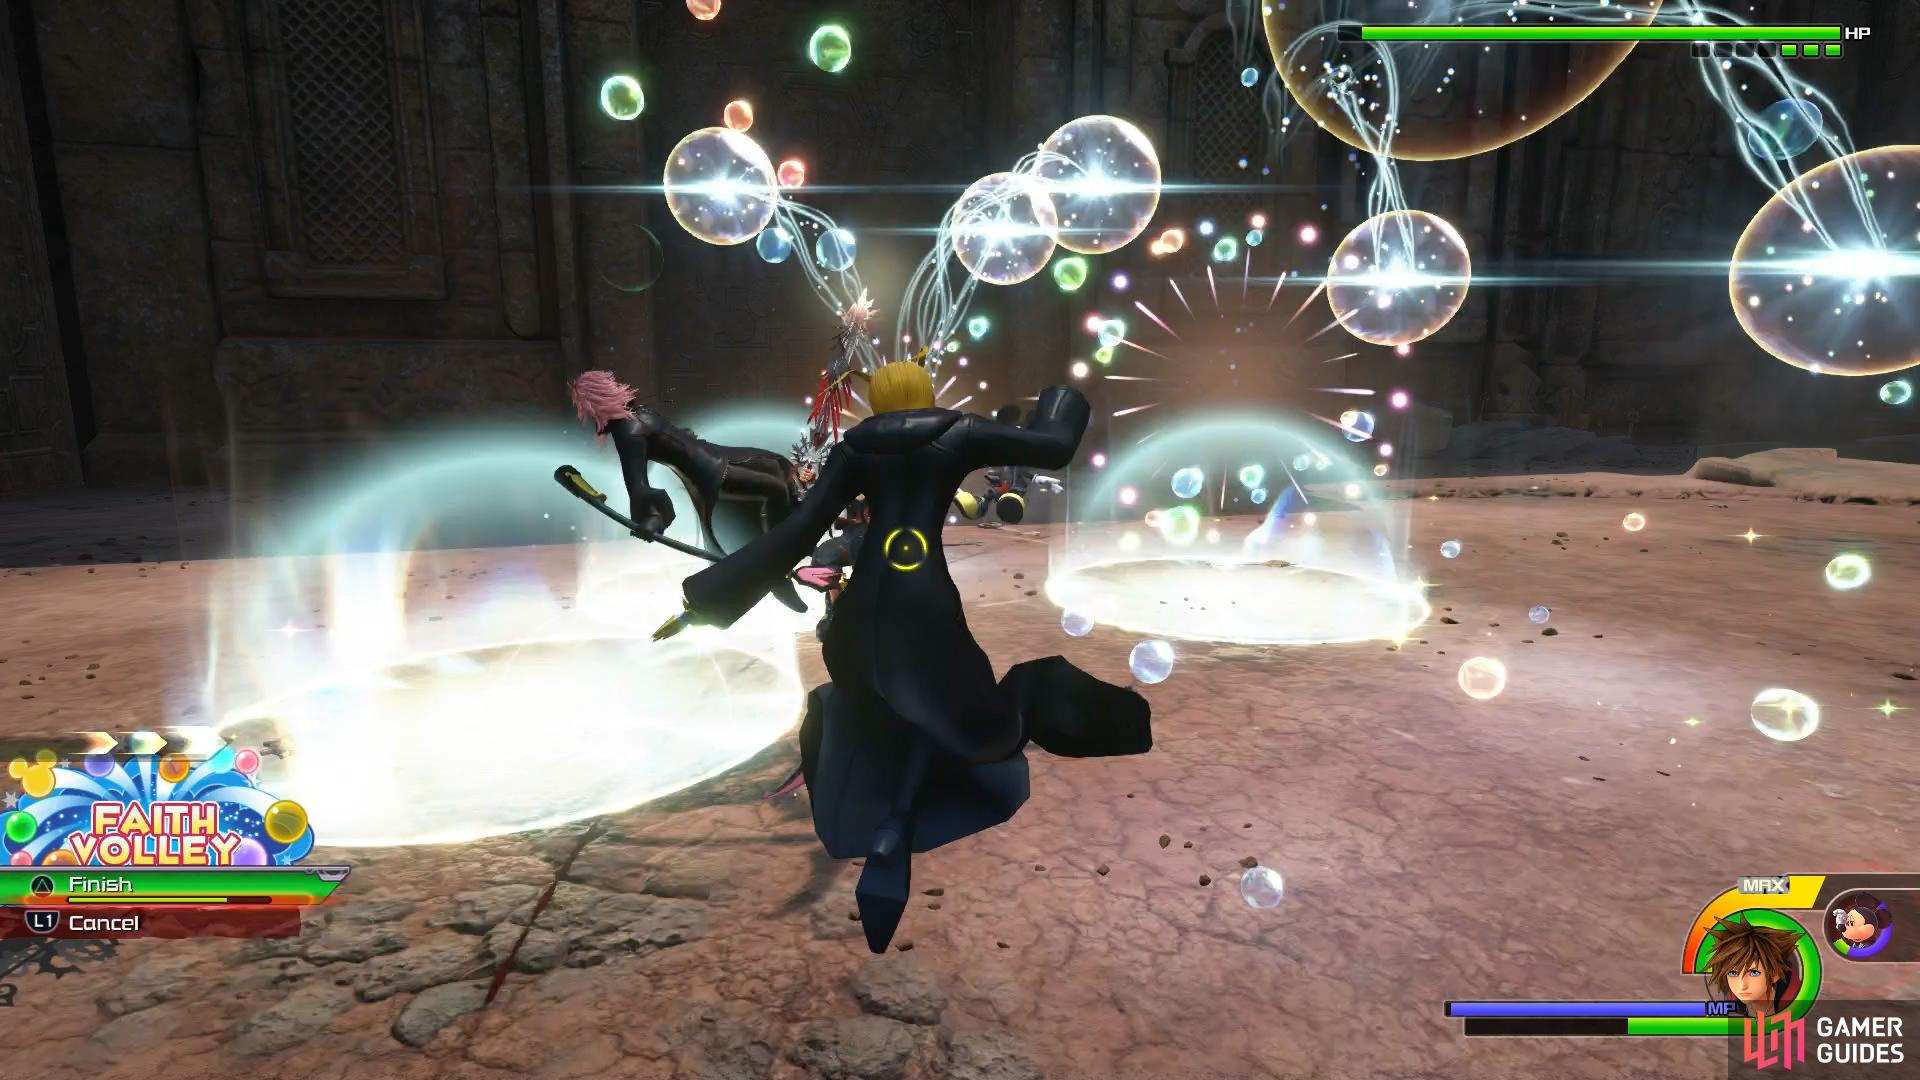
the attack deals massive damage to all around you.
| Character | Ability |
|---|---|
| Sora | Maximum MP Increase |
Following the battle, you’ll get the opportunity to save your game again at the Twist of Isolation along with any shopping you may wish to do and then head forward to begin the next showdown.
Boss: Terra-Xehanort and Vanitas
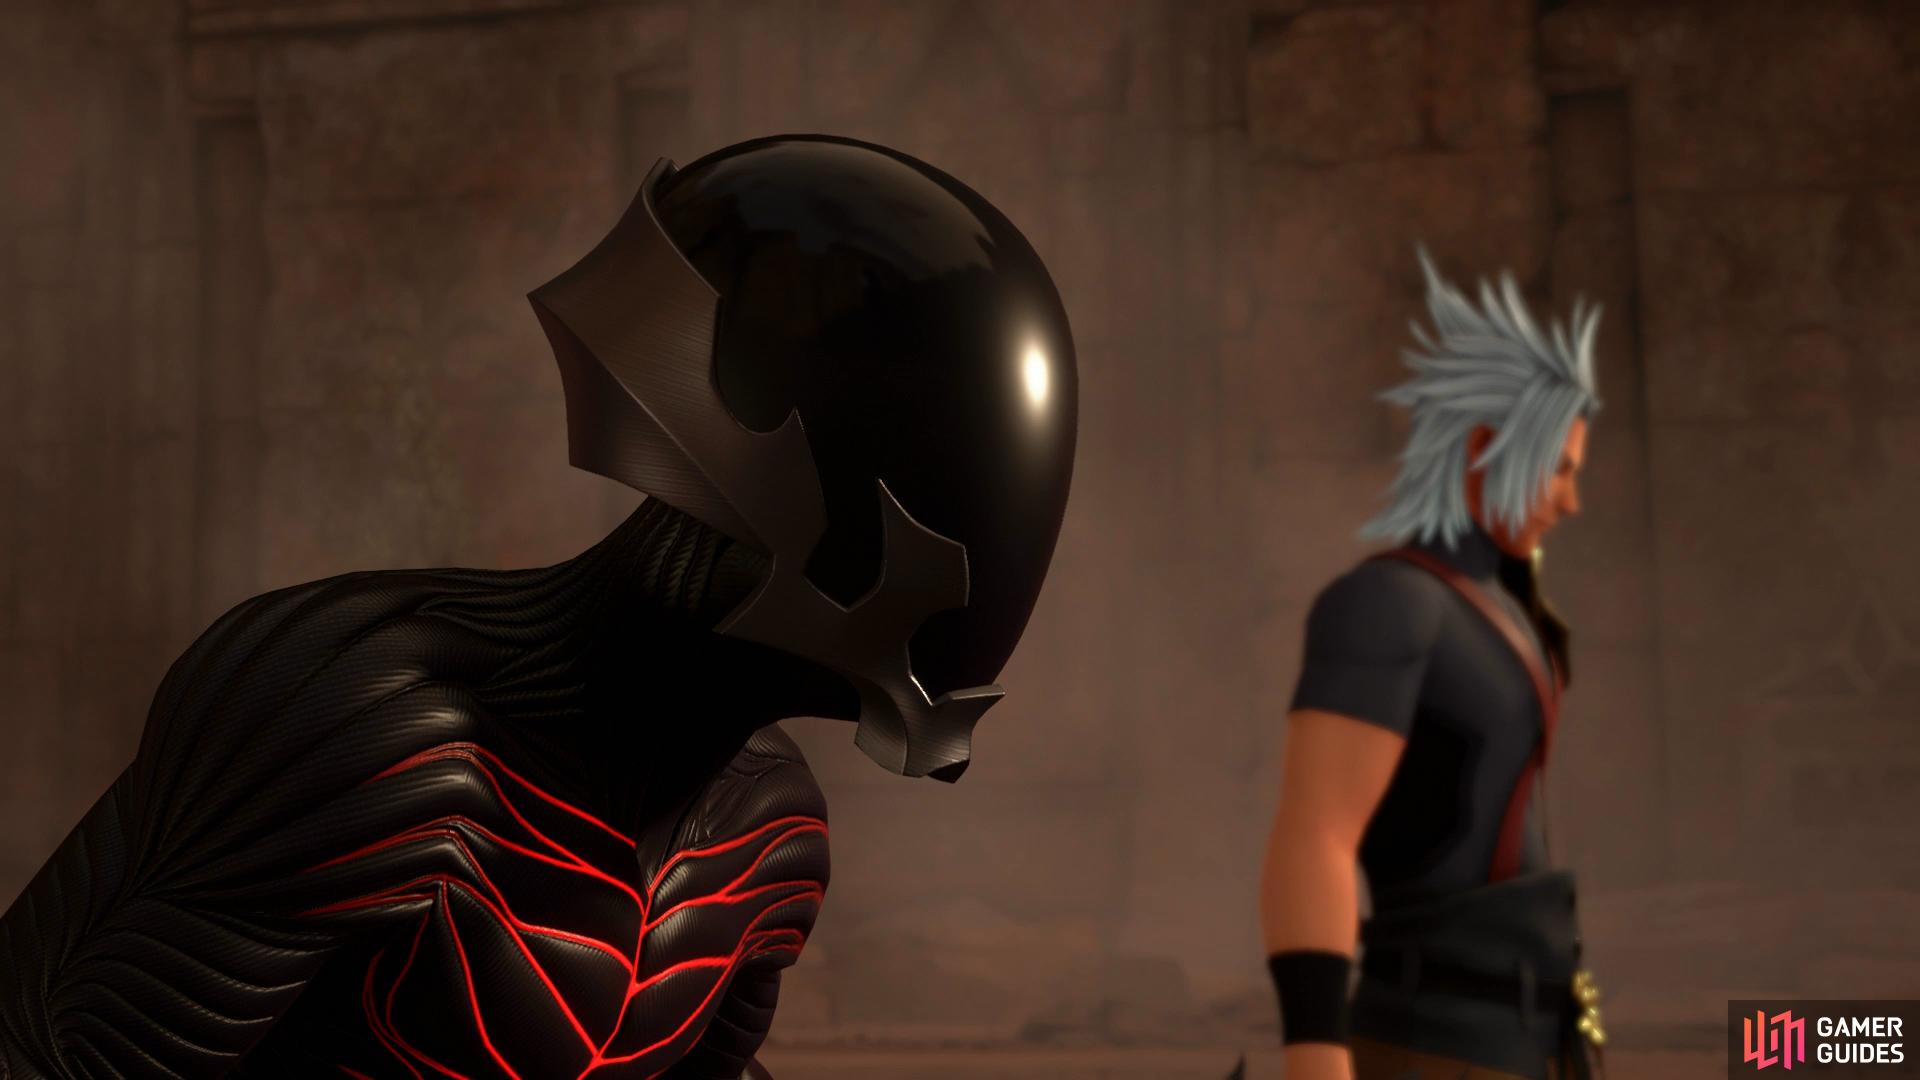
Like the previous battle against these two, it’s unchanged when you undertook this battle playing as Sora. To begin this battle, you’ll have no choice but to play as Aqua and if you cast your mind back to the battle against Vanitas in The Land of Departure, you should be familiar with her skills available. Like before, you have access to all of the magic (although you should save it for Curaga as needed) along with a Hi-Potion and an Ether.
Take care to remember the difference with Aqua’s Cartwheel roll and then focus on trying to keep your two adversaries apart, if they both focus on Aqua then you could find yourself taking a huge damage without the ability to escape from it. Terra-Xehanort should be your primary target here, he deals the most damage but his attacks are easily deflectable, especially if you learnt his patterns in the previous battle against him earlier in the Re Mind campaign, he features the same skill set. If you feel comfortable with your HP, Firaga can be used to great effect and make use of Icy Slider when available to deal massive damage to the duo. Aqua is lightweight and her HP can drop at an alarming rate so keep your eye on her at all times.
Once you deal enough damage to either of your foes, a cutscene will trigger and then the rest of the battle will unfold with Sora also in the battle. You have the choice to switch to Sora at this point and the battle will unfold like it did during the main campaign, a choice for those who struggle with Aqua’s skill set. Once again, focus your attention on finishing off Terra-Xehanort and then focus all of your attention on Vanitas when he’s on his own, taking into account his initial Desperation Move at the start when he’s on his own. With Sora in the battle with you, you can throw about magic a bit easier knowing that Sora will toss a Curaga if he can.
| Character | Ability |
|---|---|
| Sora | Max MP Increase |
Once the scenes have concluded, head through the linear path to trigger a cutscene and yet another battle.
Boss: Saïx and Xion/Xemnas
The beginning of this battle will play out the same way you it did when you fought Saïx during the main story with the added addition of Xion at the start. Focus you attention on Saïx however and once you deal enough damage, a cutscene will trigger before the real battle begins.
This time around, you have a choice between Sora or Roxas and unless you want to play out the same battle from the main story, take up the role of the unique Roxas. He wields two Keyblades which makes his attacks and combos quick and deadly and he also comes with a Hi-Potion and an Ether too although his MP is better left for casts of Curaga. You’ll be assisted by Axel and Xion to begin with and you’ll notice that Roxas doesn’t have a Shotlock however the two Keyblades more than make up for it.
Roxas’ dodge works similar to Riku’s in the sense that it travels a large distance and is quick too, make use of this especially when Saïx enters his blue Berserk mode to avoid his blasts otherwise, if you’re confident enough, you can deflect every strike of it. Roxas also has the unique Situation Command, Reversal, that can be used to dodge out of attacks and over to the enemy, this allows you to cut the distance a lot easier and keep up your assault.
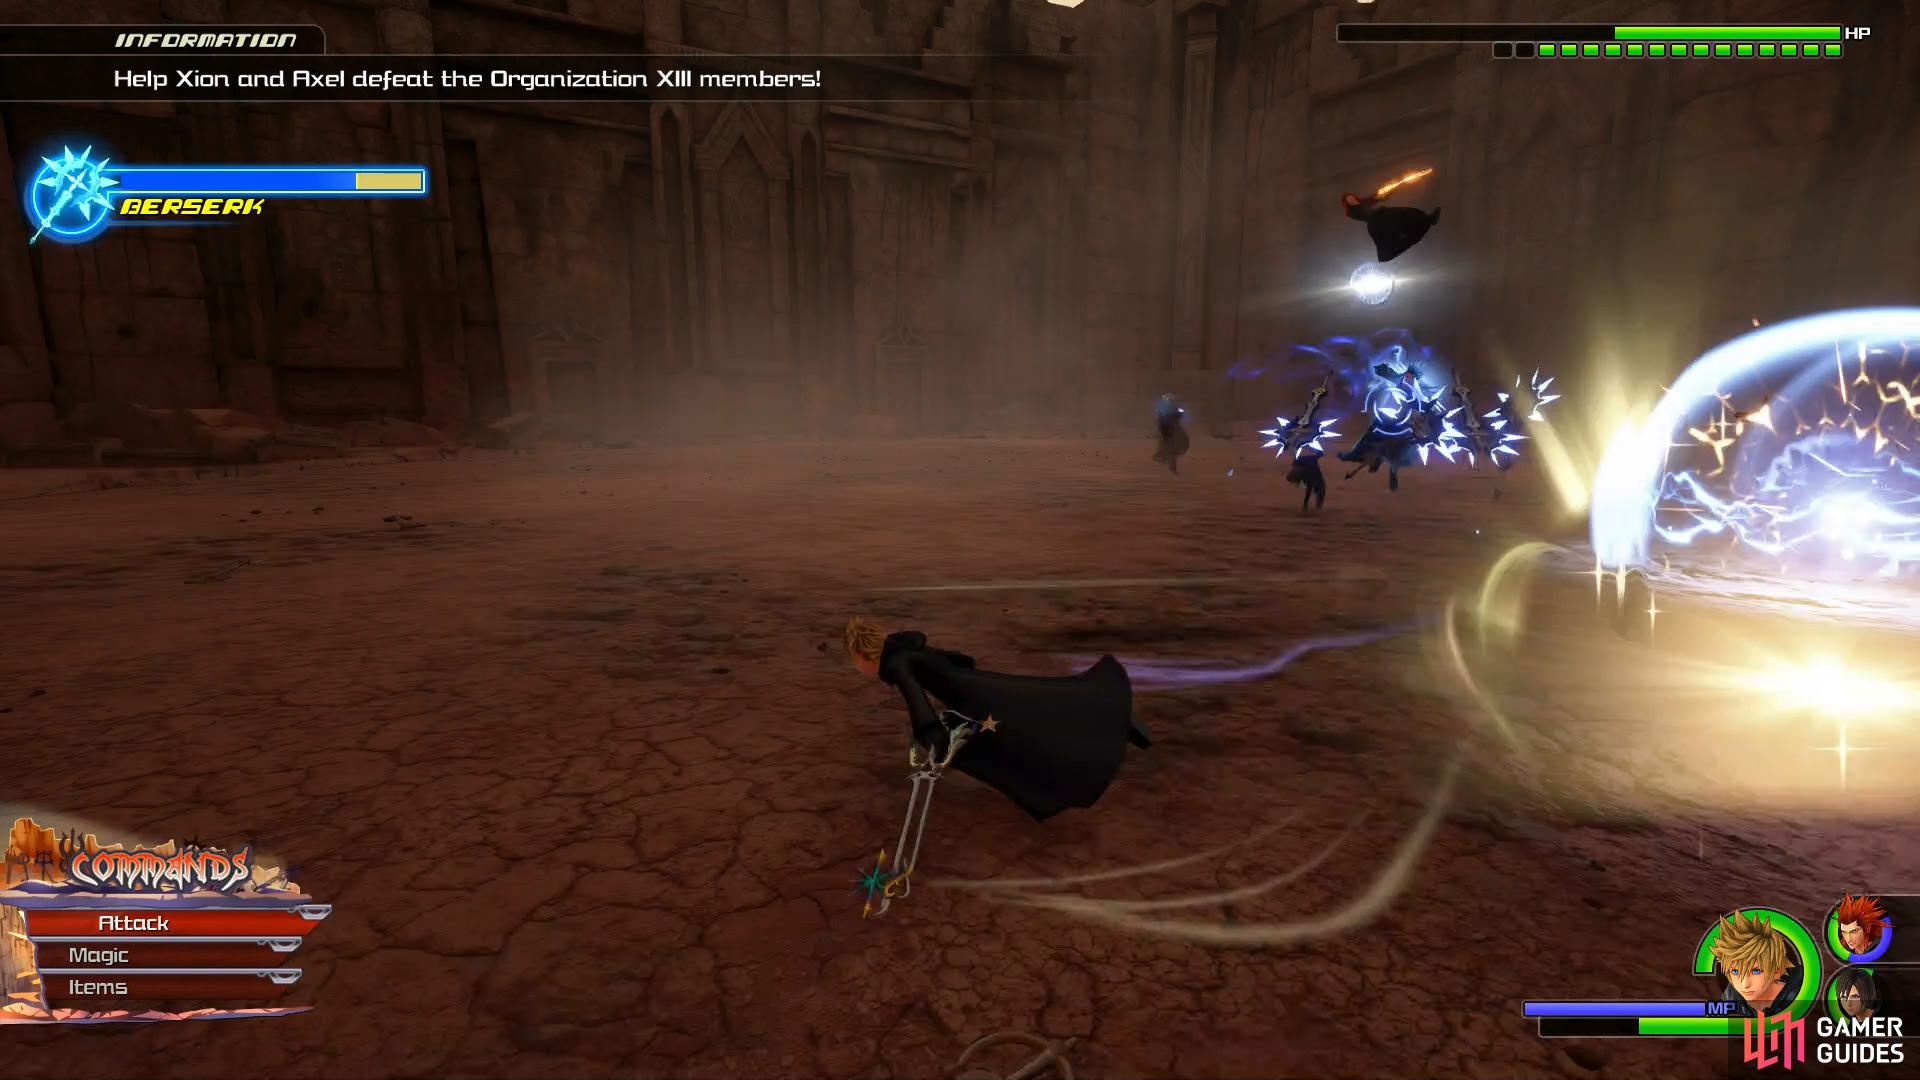
Saïx is the main threat here, target him over Xemnas but try to keep them apart lest you want to take large damage from their combined attack. Building up Roax’s gauge will also allow you to use the powerful Dual Shot Situation Command, make use of this every time it’s available. Keep an eye for the unique Situation Command, Thinking of You between all three party members. This command will allow you to bind one of your enemies and unleash a barrage of attacks before a powerful finisher.
Once you deal enough damage, Xemnas will leave the battle and you’ll be left with just Saïx as you face the battle with Sora, Roxas and Xion with the option to play as either Sora or Roxas. If you struggled in the previous phase of the battle as Roxas, switch back to Sora, otherwise stick it out with Roxas and finish off Saïx. Note that Saïx will begin in his more deadly, full Berserk state so either evade him or deflect through his initial onslaught.
| Character | Ability |
|---|---|
| Sora | Max MP Increase |
With this battle concluded, you’ll find yourself at the Tower of Endings and the final Save Point in The Keyblade Graveyard. Make use of the shop to restock should you need it and then head up the wall in front to the next battle.
Boss: Ansem, Xemnas and Young Xehanort
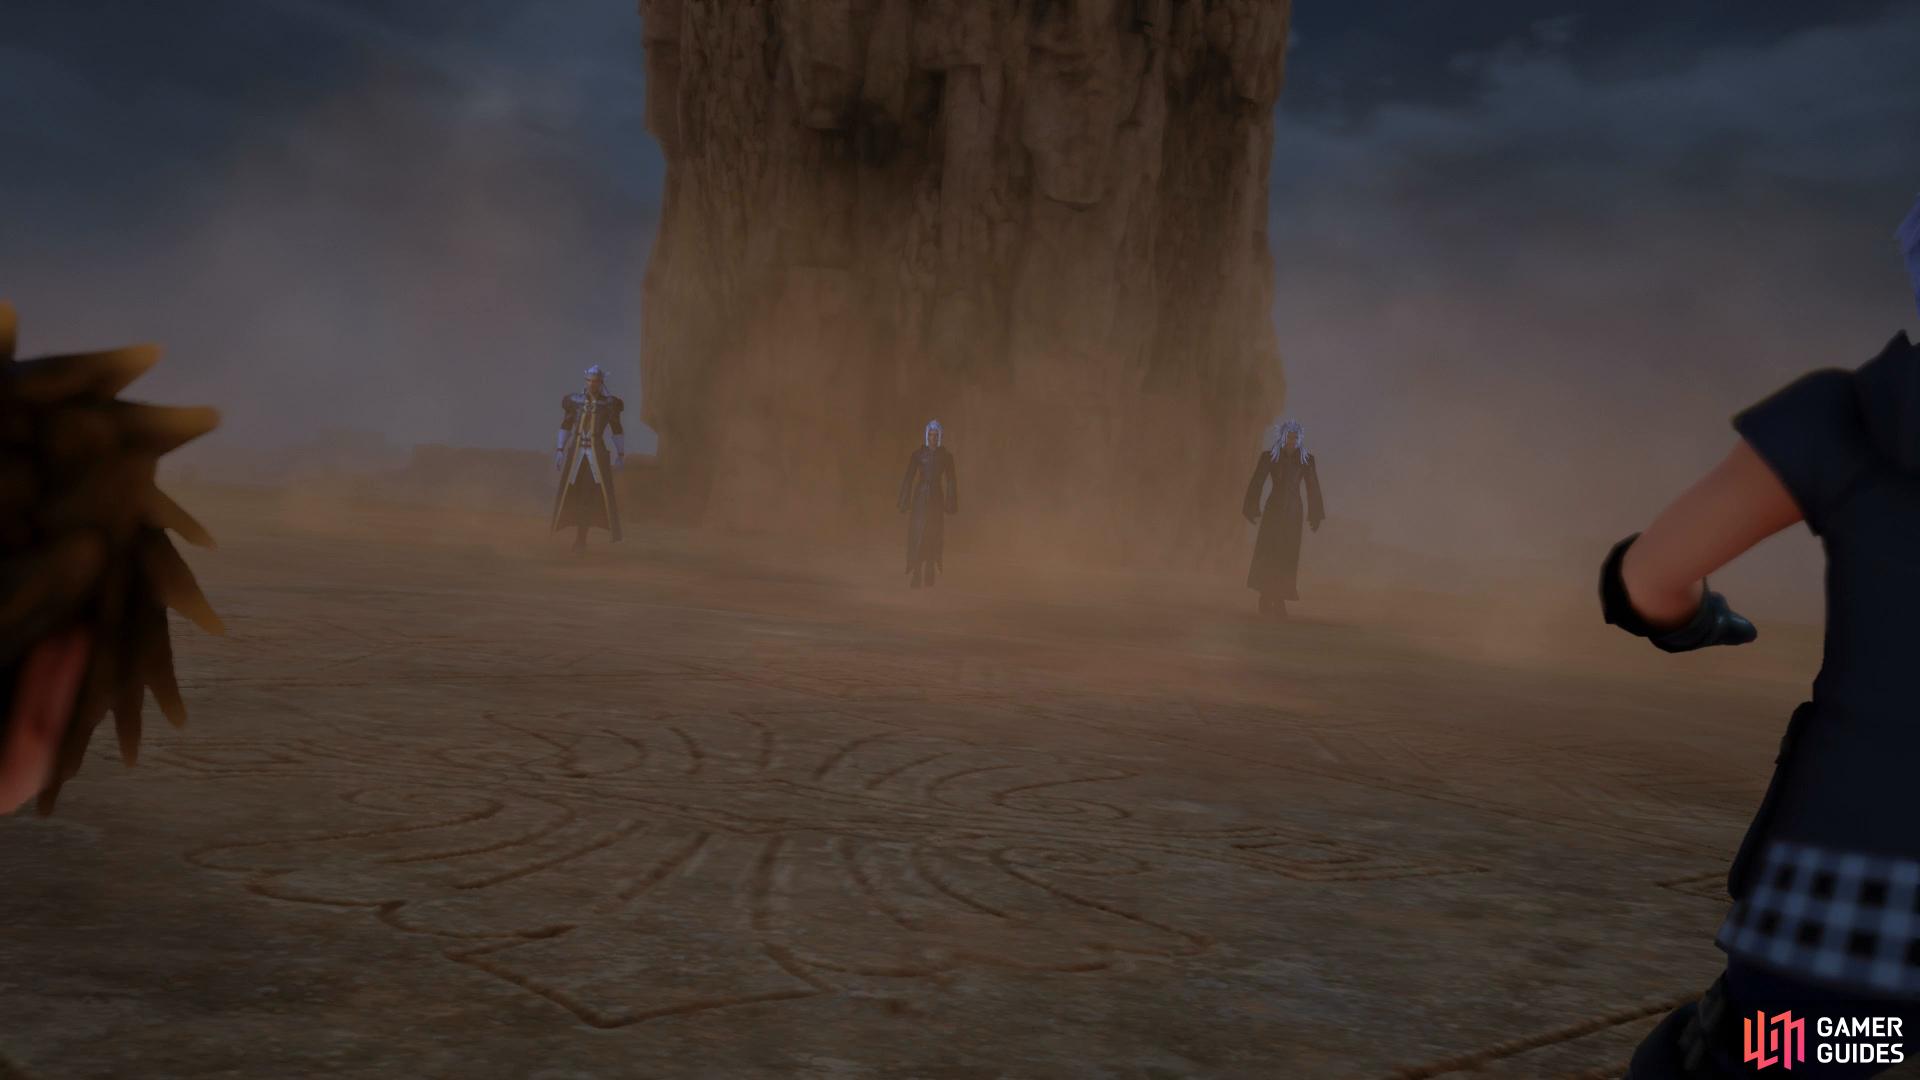
This battle, unlike many of the others you’ve faced in Re Mind so far, is the exact same battle as the one during the main story. Head over to that page to read up on how to deal with this menacing trio. The only real difference here is the addition of a new Situation Command, True End, between Sora, Riku and Mickey. This new command will cause a massive arena wide explosion that will deal heavy damage too all three of your opponents so make use of it whenever it’s available. You’ll also have access to the Situation Command, Faith Volley, with Mickey which you should know how it works by now.
Look out for the True End Situation Command
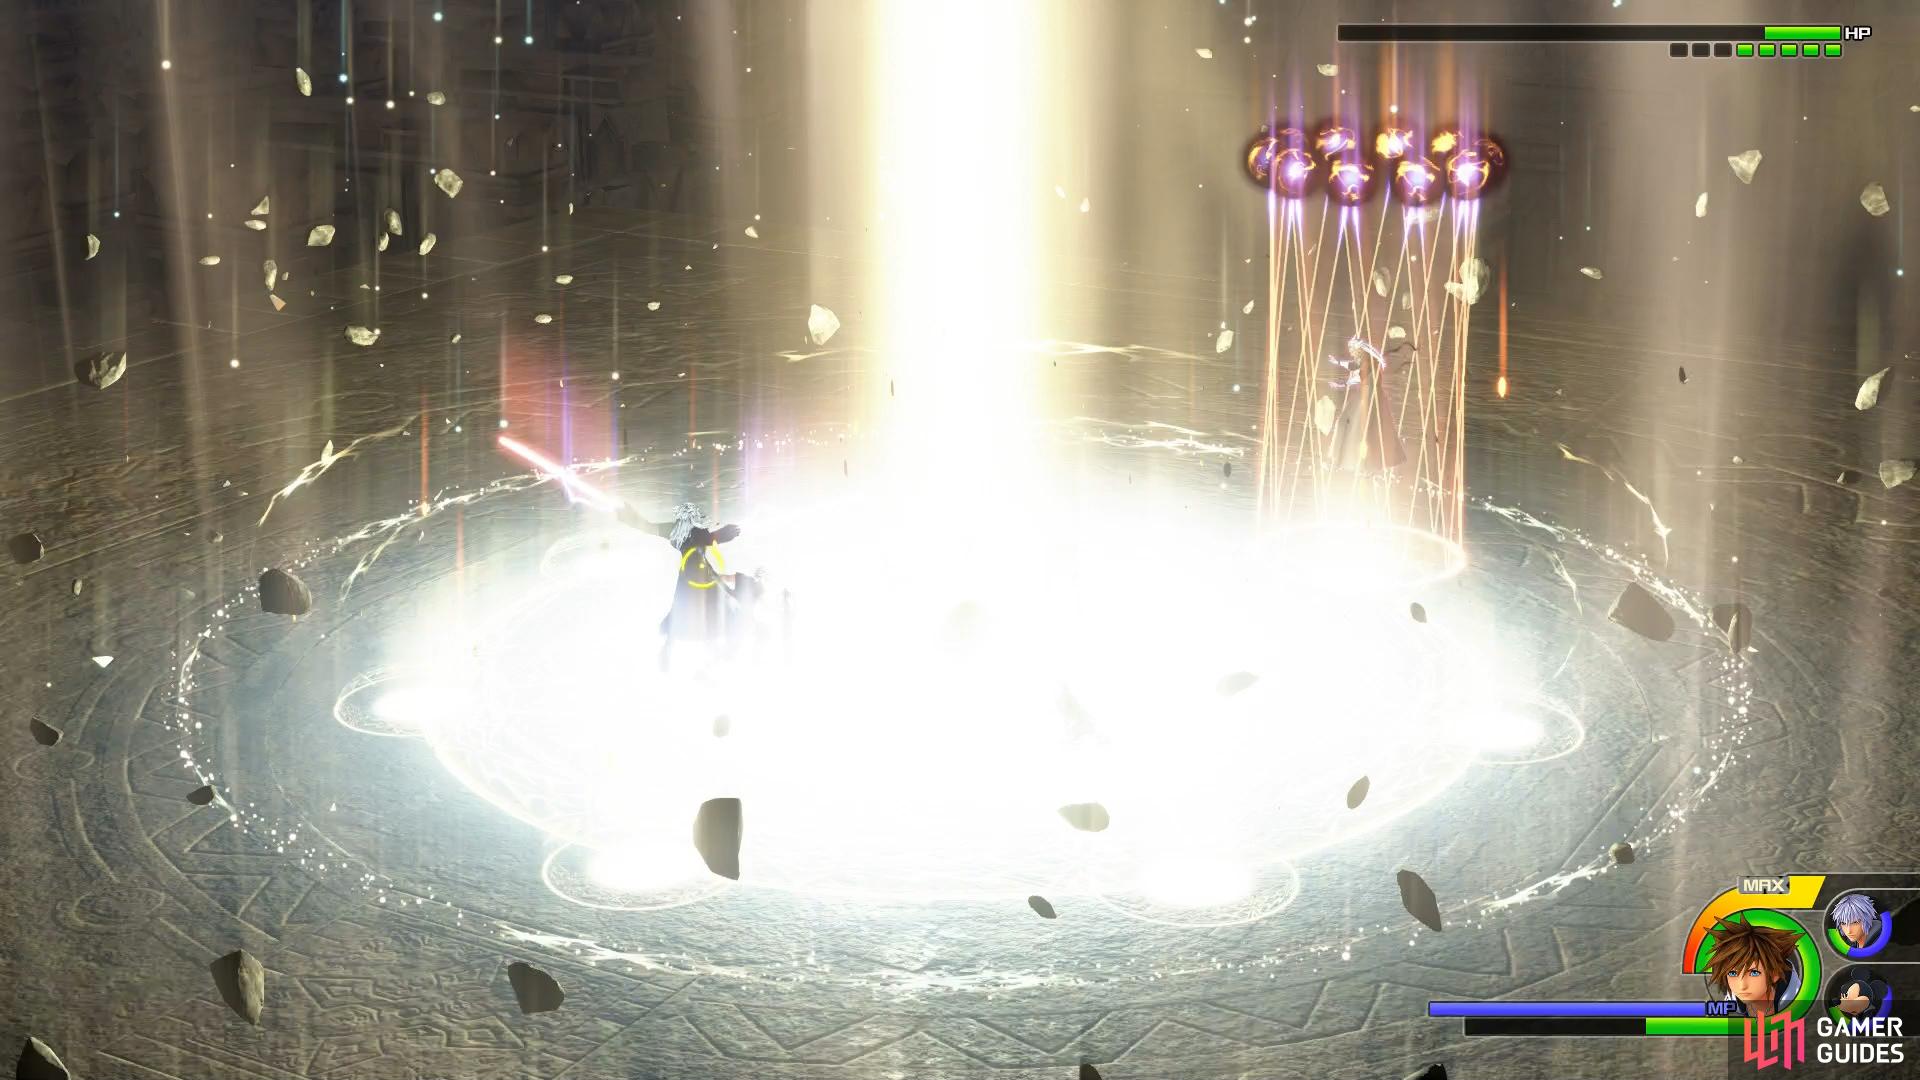
it hits a wide area for massive damage.
| Character | Ability |
|---|---|
| Sora | Max MP Increase |
With the final battle of The Keyblade Graveyard out of the way, the scenes that follow will show a different path than the one you experienced in the main story. Eventually, you’ll find yourself back in Scala Ad Caelum before the time of the fated battle.
No Comments