
Edward managed to let his greed addle his senses, unwittingly (or perhaps uncaringly) selling sensitive items to the Templars early in the game. Despite his cavalier attitude and piratical instincts, after securing a hideout Edward will allow himself to dabble in restitution. One of the ways these manifest in Assassin’s Creed Black Flag Resynced is via Templar Hunts. This page in particular will cover the Templar Hunt associated with Rhona Dinsmore!
Page Breakdown
| Quick Search |
|---|
| How to Start Rhona Dinsmore’s Templar Hunt |
| Bureau Under Attack |
| A Thief in the Market |
| Arms Race |
| Flint’s End |
How to Start Rhona Dinsmore’s Templar Hunt
As with much new content in Assassin’s Creed Black Flag Resynced, you can start this (and every other) Templar Hunt after completing the main quest This Old Cove, after which you’ll have a lot more freedom to explore and upgrade. Rhona Dinsmore’s Templar Hunt can be started by approaching the Assassin’s bureau along the southeastern edge of Havana.
This Templar Hunt consists of four subquests, which are generally short enough that they’ll all be included on this page.
Bureau Under Attack
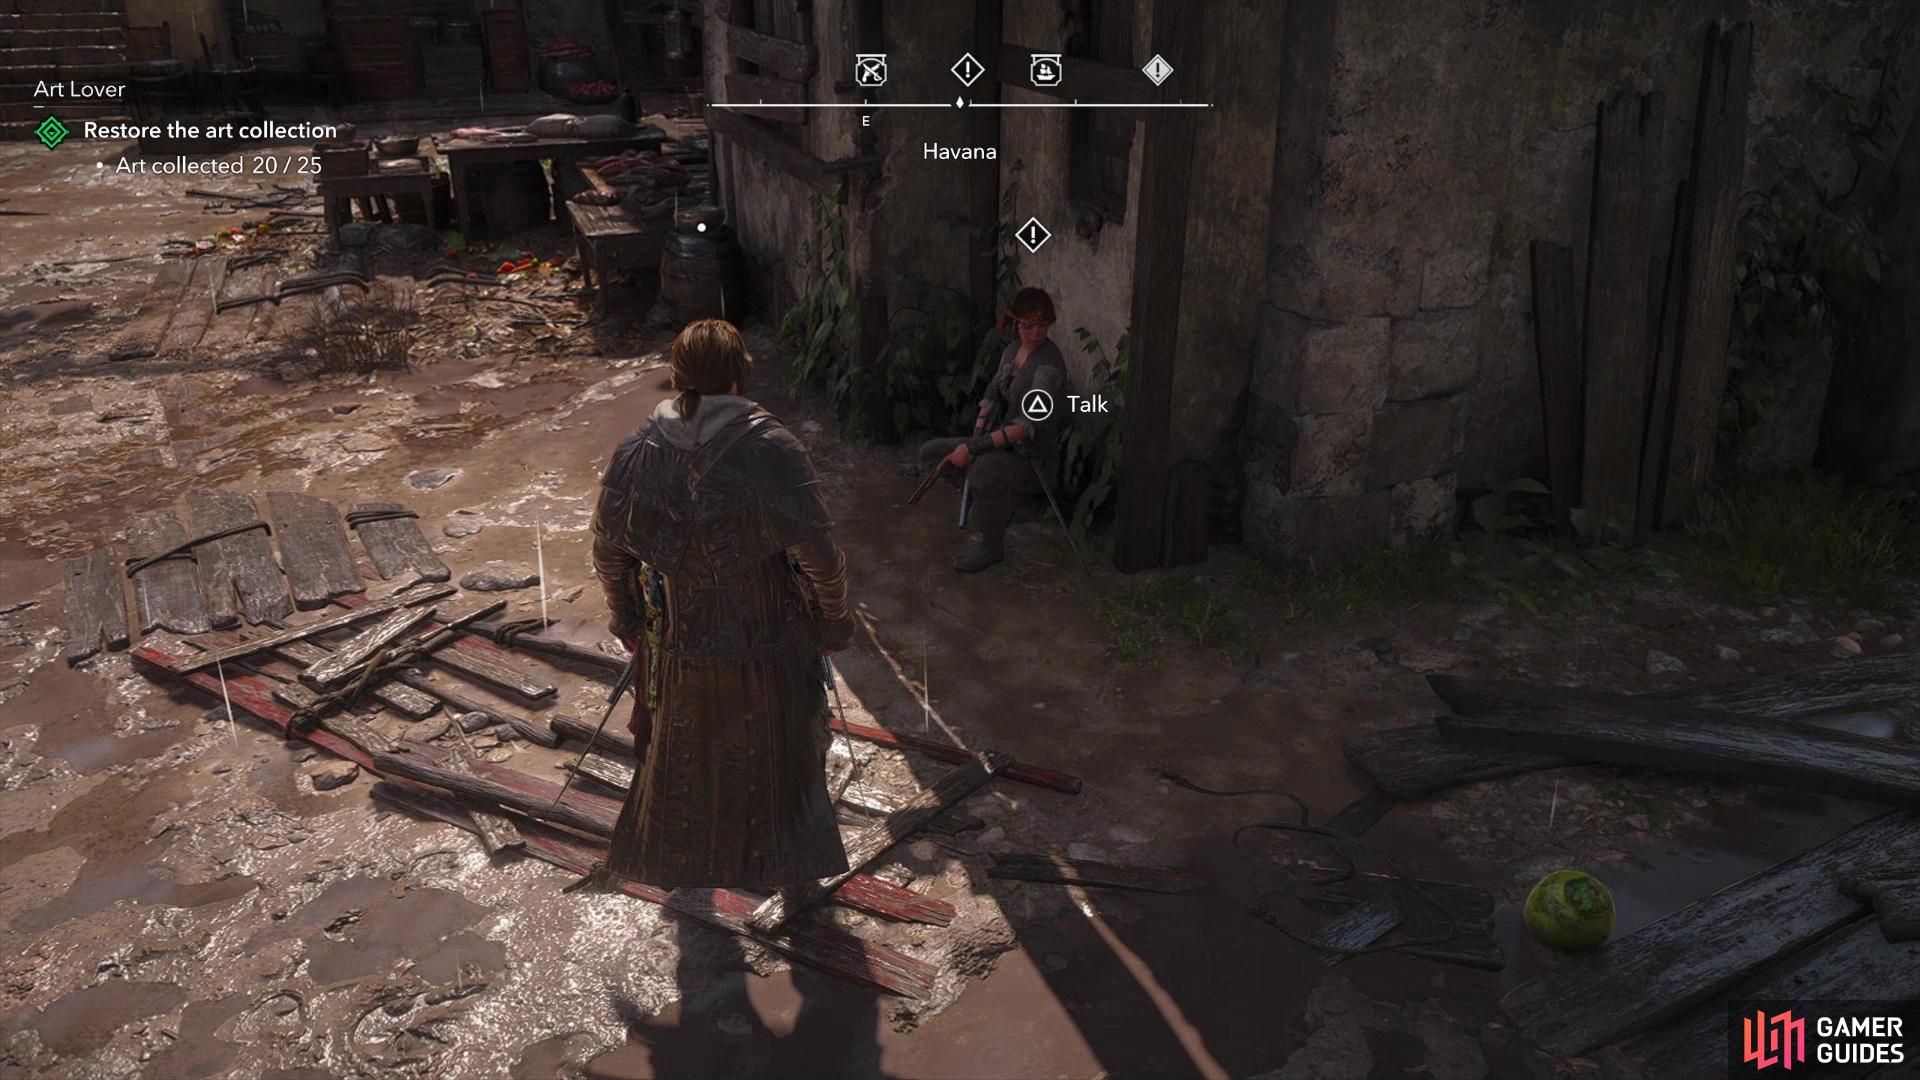
When you approach the bureau, you’ll hear the sounds of gunfire - a clear indication that the intel Edward sold at the start of the game has started to have dire consequences for the hapless assassins. Talk to the besieged assassin - the eponymous Rhona Dinsmore - and after some chatter you’ll be tasked with helping her fend off her assailants.
For the rest of this quest you’ll have to dispatch several groups of Spaniards, who are mostly the common dagger or sword variants, with the odd heavy showing up from time to time. They shouldn’t be too much trouble, especially since half of them at any time will likely be focusing on Rhona. To spice things up even more, between the waves of enemies you’ll have a few seconds to scour the area for red gunpowder barrels, which you can place near the three entrances to the bureau grounds; Rhona will even take the lead by placing one each round, in case you’re not certain where these barrels can be found. This is optional, of course, but you can shoot the barrels as enemies approach to thin the herd a bit, making the fight a bit more dynamic than you standard holdout objective.
Once you’ve driven off the Spaniards and ensured Rhona’s safety (at least temporarily) she’ll inform Edward that she’ll let him know if she has any more chores for him - his penance is clearly not yet paid.
A Thief in the Market
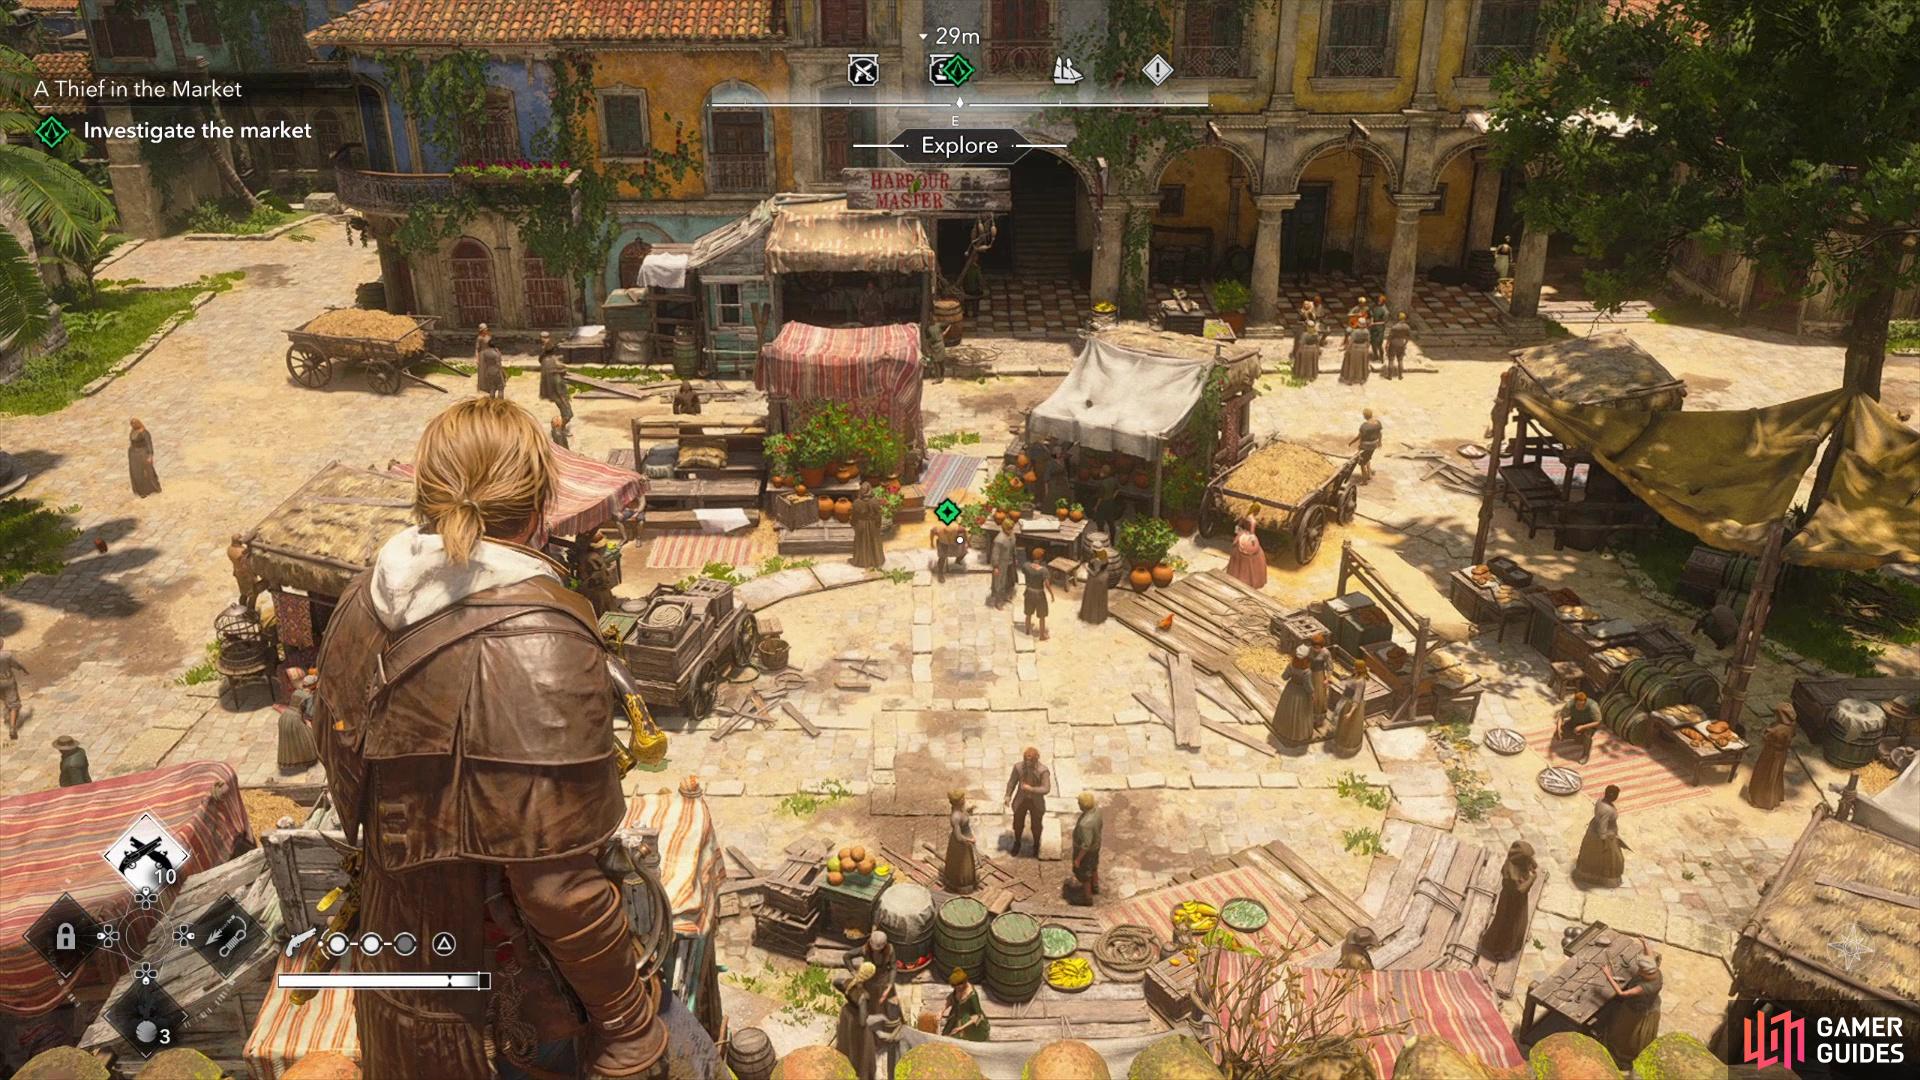
The next quest in this questline can be started northwest of where the last quest ended. Make your way to the marker to find Rhona standing on a roof and talk to her to learn that she wants you to investigate some thefts in a nearby market. Edward seems to be more on the supply side of thievery, but in this case we’ll reverse our roles.
Make your way northeast to the market and hold  to scan for persons of interest. You should find two merchants, who will glow green when you look at them - talk to them to learn more about the thief, then either find a way to blend in - we just sat down on a bench in the market. After remaining incognito for a bit, the camera will focus on a thief, who will run for it.
Chase the thief down - don’t worry about catching him, just keep pace until he stops at a dead-end and turns violent. Put him down and loot him to get A Pickpocketed Map, which details the location of stores of gunpowder and is signed by one “Hilary Flint”.
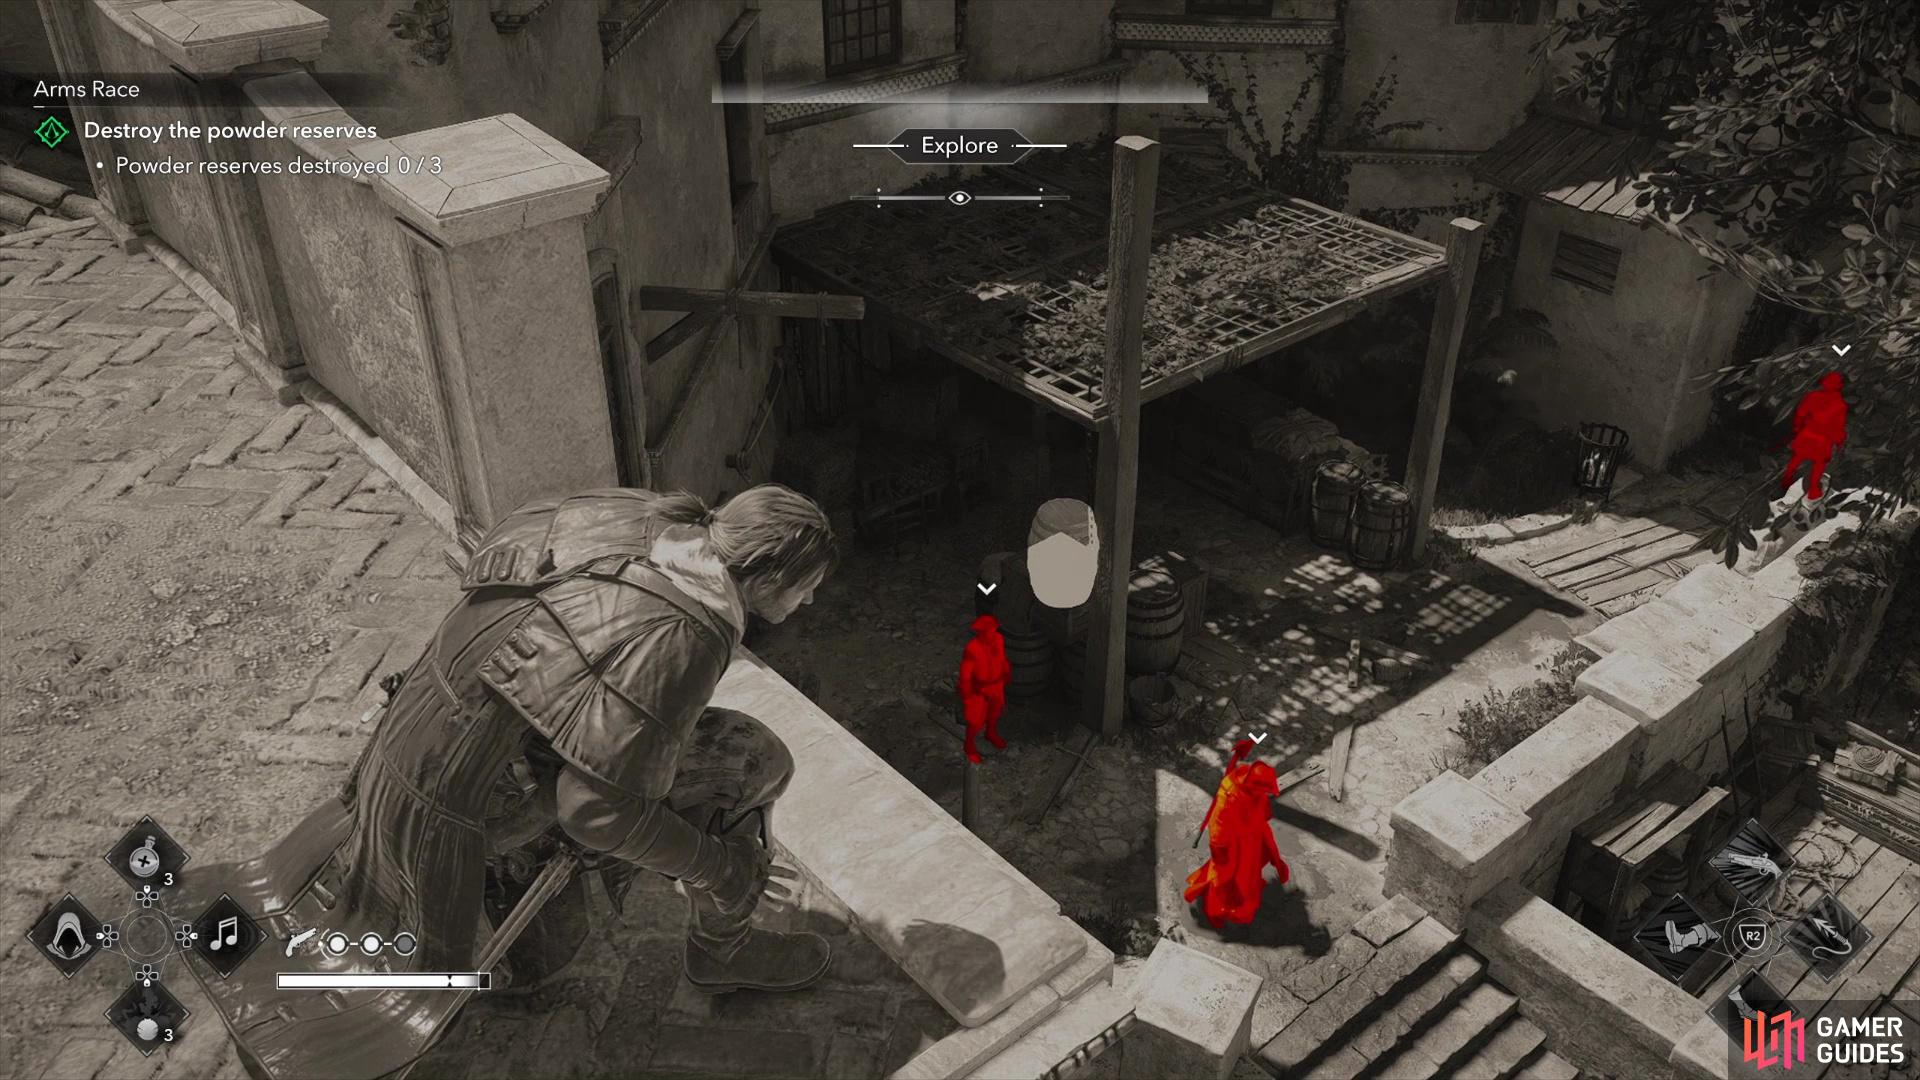
(1 of 3) Head to the three marked areas and scan for guards and the gunpowder barrels you need to dstroy.
Arms Race
Look for the next map marker in this questline and you’ll find Rhona waiting for you. Talk to her and, at length, she’ll tell you that she needs you to help destroy the Templar’s gunpowder stores.
There are three large barrels of gunpowder you need to destroy, one northeast of where this quest starts and two to the northwest, one nearer and one further. Remember to use hold down  to scan for enemies and objects of interest, like the gunpowder barrels you seek - they’ll appear solid white while viewing in this mode, and can be seen through walls and other obstacles.
Each of these gunpowder barrels will be guarded by enemies, who may be somewhat numerous, but otherwise aren’t particularly dangerous or noteworthy. The northeastern barrel can be sniped from a nearby rooftop, making it a trivial matter to deal with, but the other two are a bit trickier, the nearer one being in an alley and the further being in an enclosed wooden structure. Mind guards on the roof for the two northwestern targets and if you care to, try to use stealth to whittle down the guards to make it easier to reach the gunpowder barrels. If you can’t get a shot at the gunpowder barrels from afar, you’ll have to get close and ignite them by hand, after which you need to get away to avoid being caught in the blast!
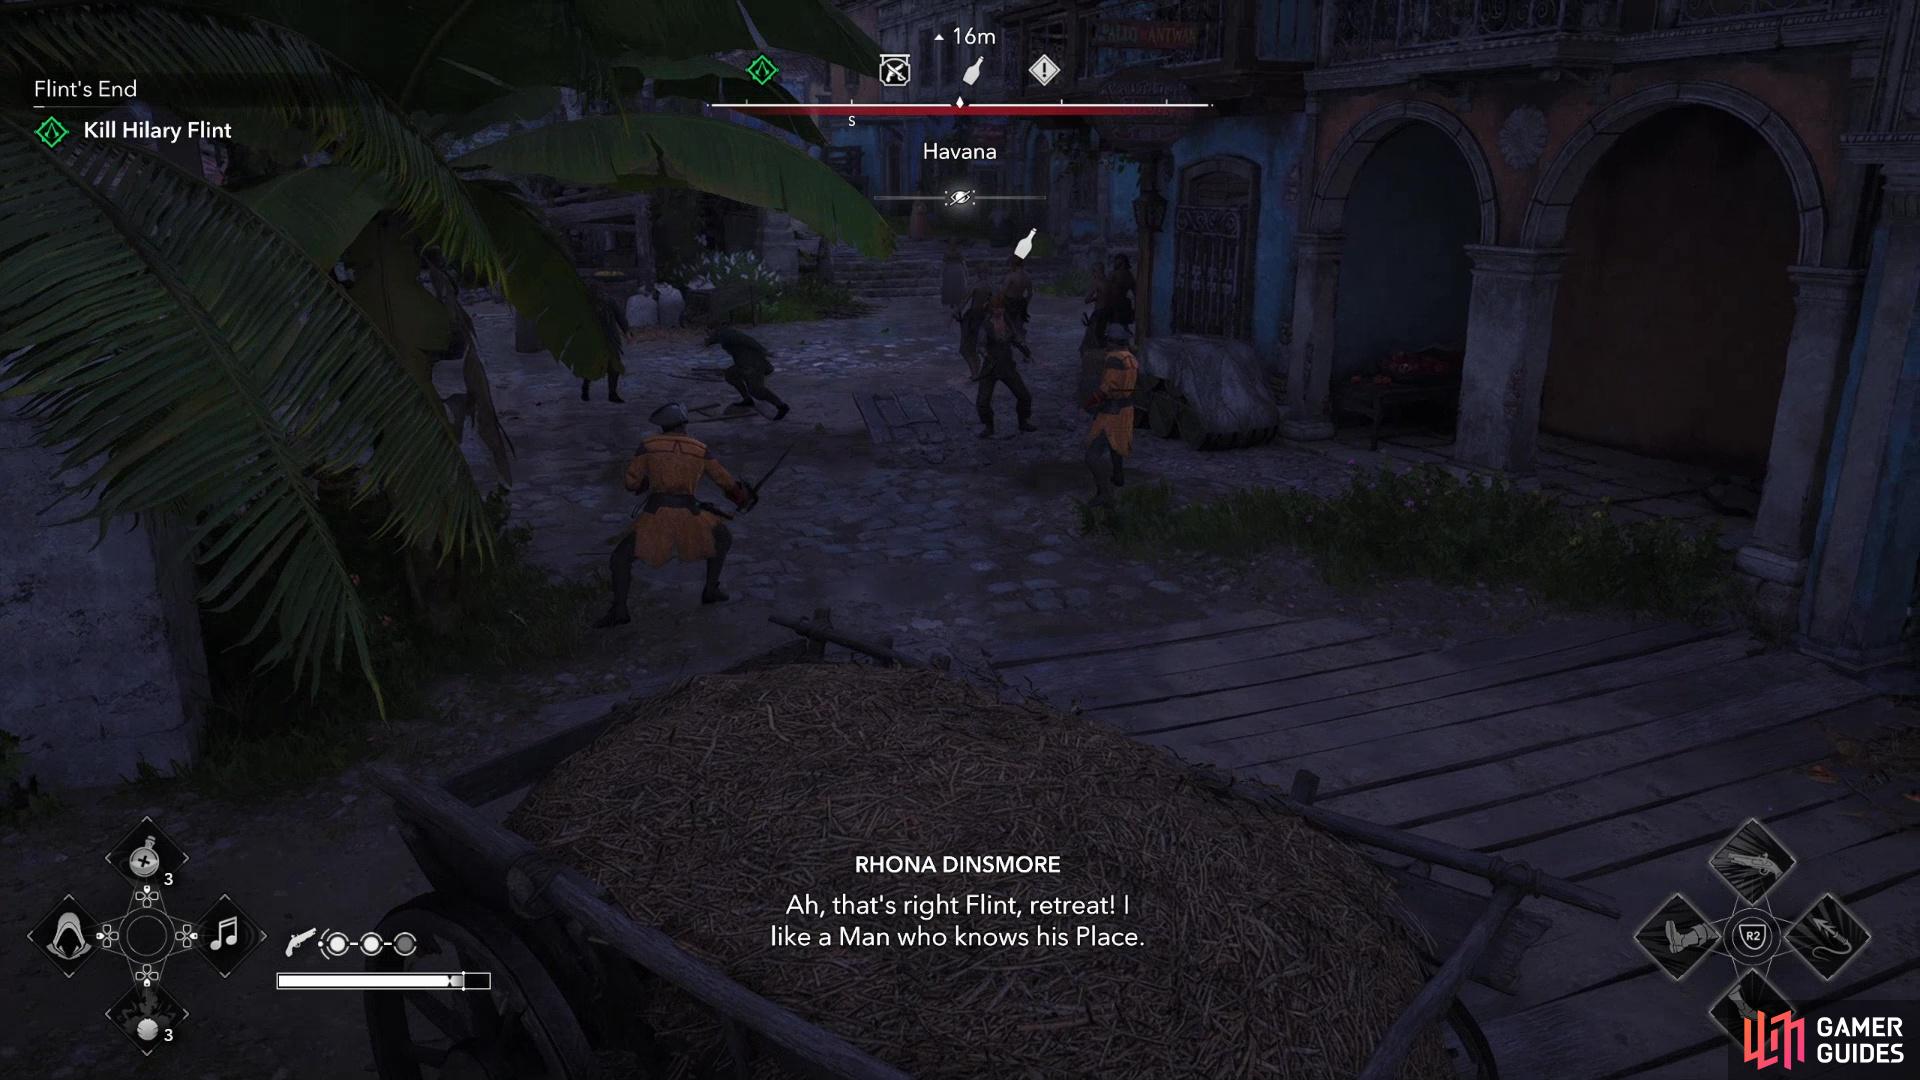
Follow Rhona and she’ll distract the guards for you,
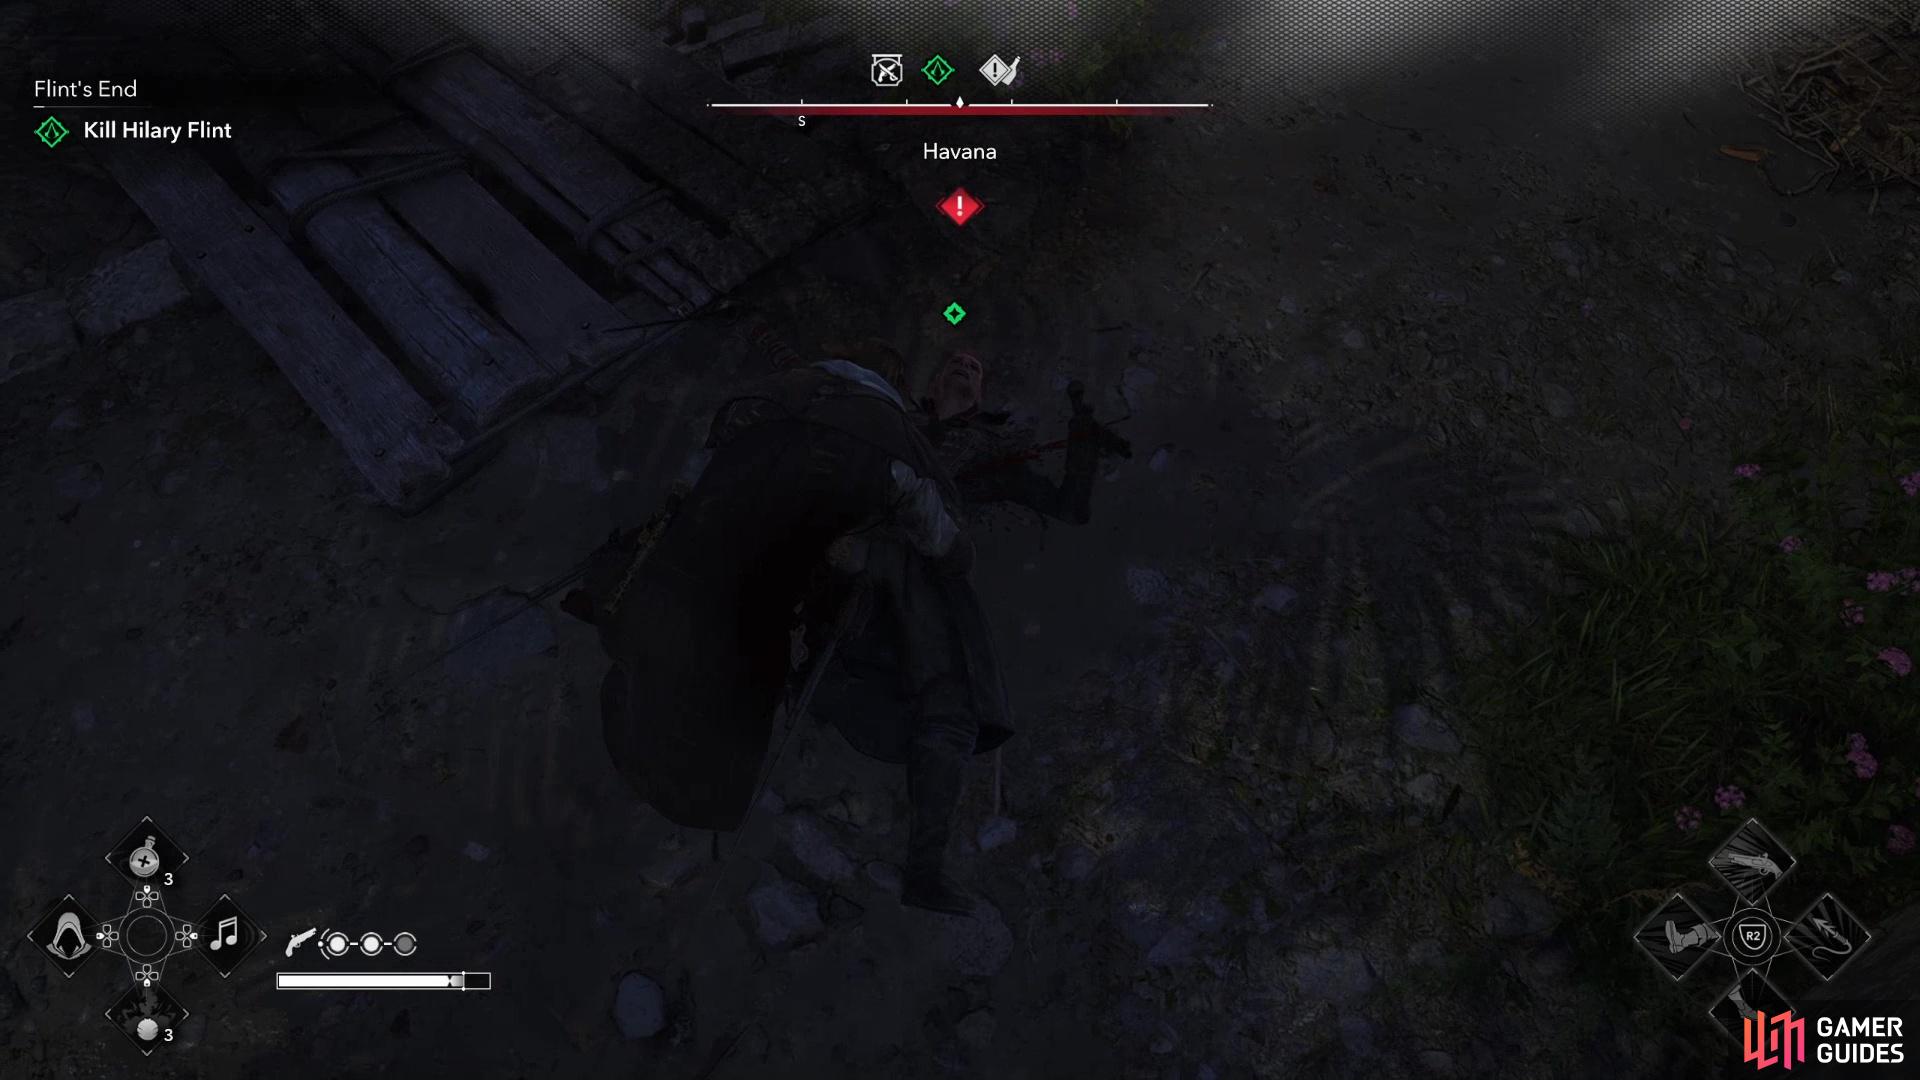
allowing you to (ideally) ambush and dispatch Flint with ease.
Flint’s End
Now that you’ve rescued Rhona and restored the balance of power by destroying the templar’s gunpowder stores, you can finally seek out and eliminate this templar - Hillary Flint. Return to Rhona and she’ll seem reluctant to engage Flint in combat herself, offering to serve as a distraction so you can do the dirty work yourself.
Follow her to the docks and dive into a wagon of hay, after which Rhona will carry out her plan and draw the attention of quite a few guards. All you need to do now is avoid combat (optional, but it’ll make this easier) and scan for Flint by holding down . In our game he was closer to the water and took a while to be drawn in by the ruckus Rhona was making. Get high ground and try to get close to easily assassinate Flint if you can, or failing that, put him down in a less sneaky way. Either way, once Flint is dead you’ll get a scene and this questline will end.

No Comments