
Various doors around the Ishimura require a Security Clearance to open in Dead Space Remake. You may have seen specific doors or containers that have Master Override Clearance on them and wondered how you can get that. Well, this is a reward for completing the You Are Not Authorized side quest that you can start at the beginning of Chapter 4. Here we will guide you step-by-step on how to accept and finish the quest.
How to Unlock the You Are Not Authorized Side Quest
As stated above, you can start this quest at the start of Chapter 4 after speaking to Hammond in the Captain’s Nest. After you’ve finished talking to him, head over to the Bridge Security Console to the right of Hammond and the map. This will give you a prompt for Crew Rigs, and ask if you want to activate Master Override. Accept the prompt only to be denied due to the Crew Rigs missing. This will start the side quest where you’ll need to track down six Crew Rigs. The kicker? Most of the areas where the Rigs reside are locked until Chapter 10.
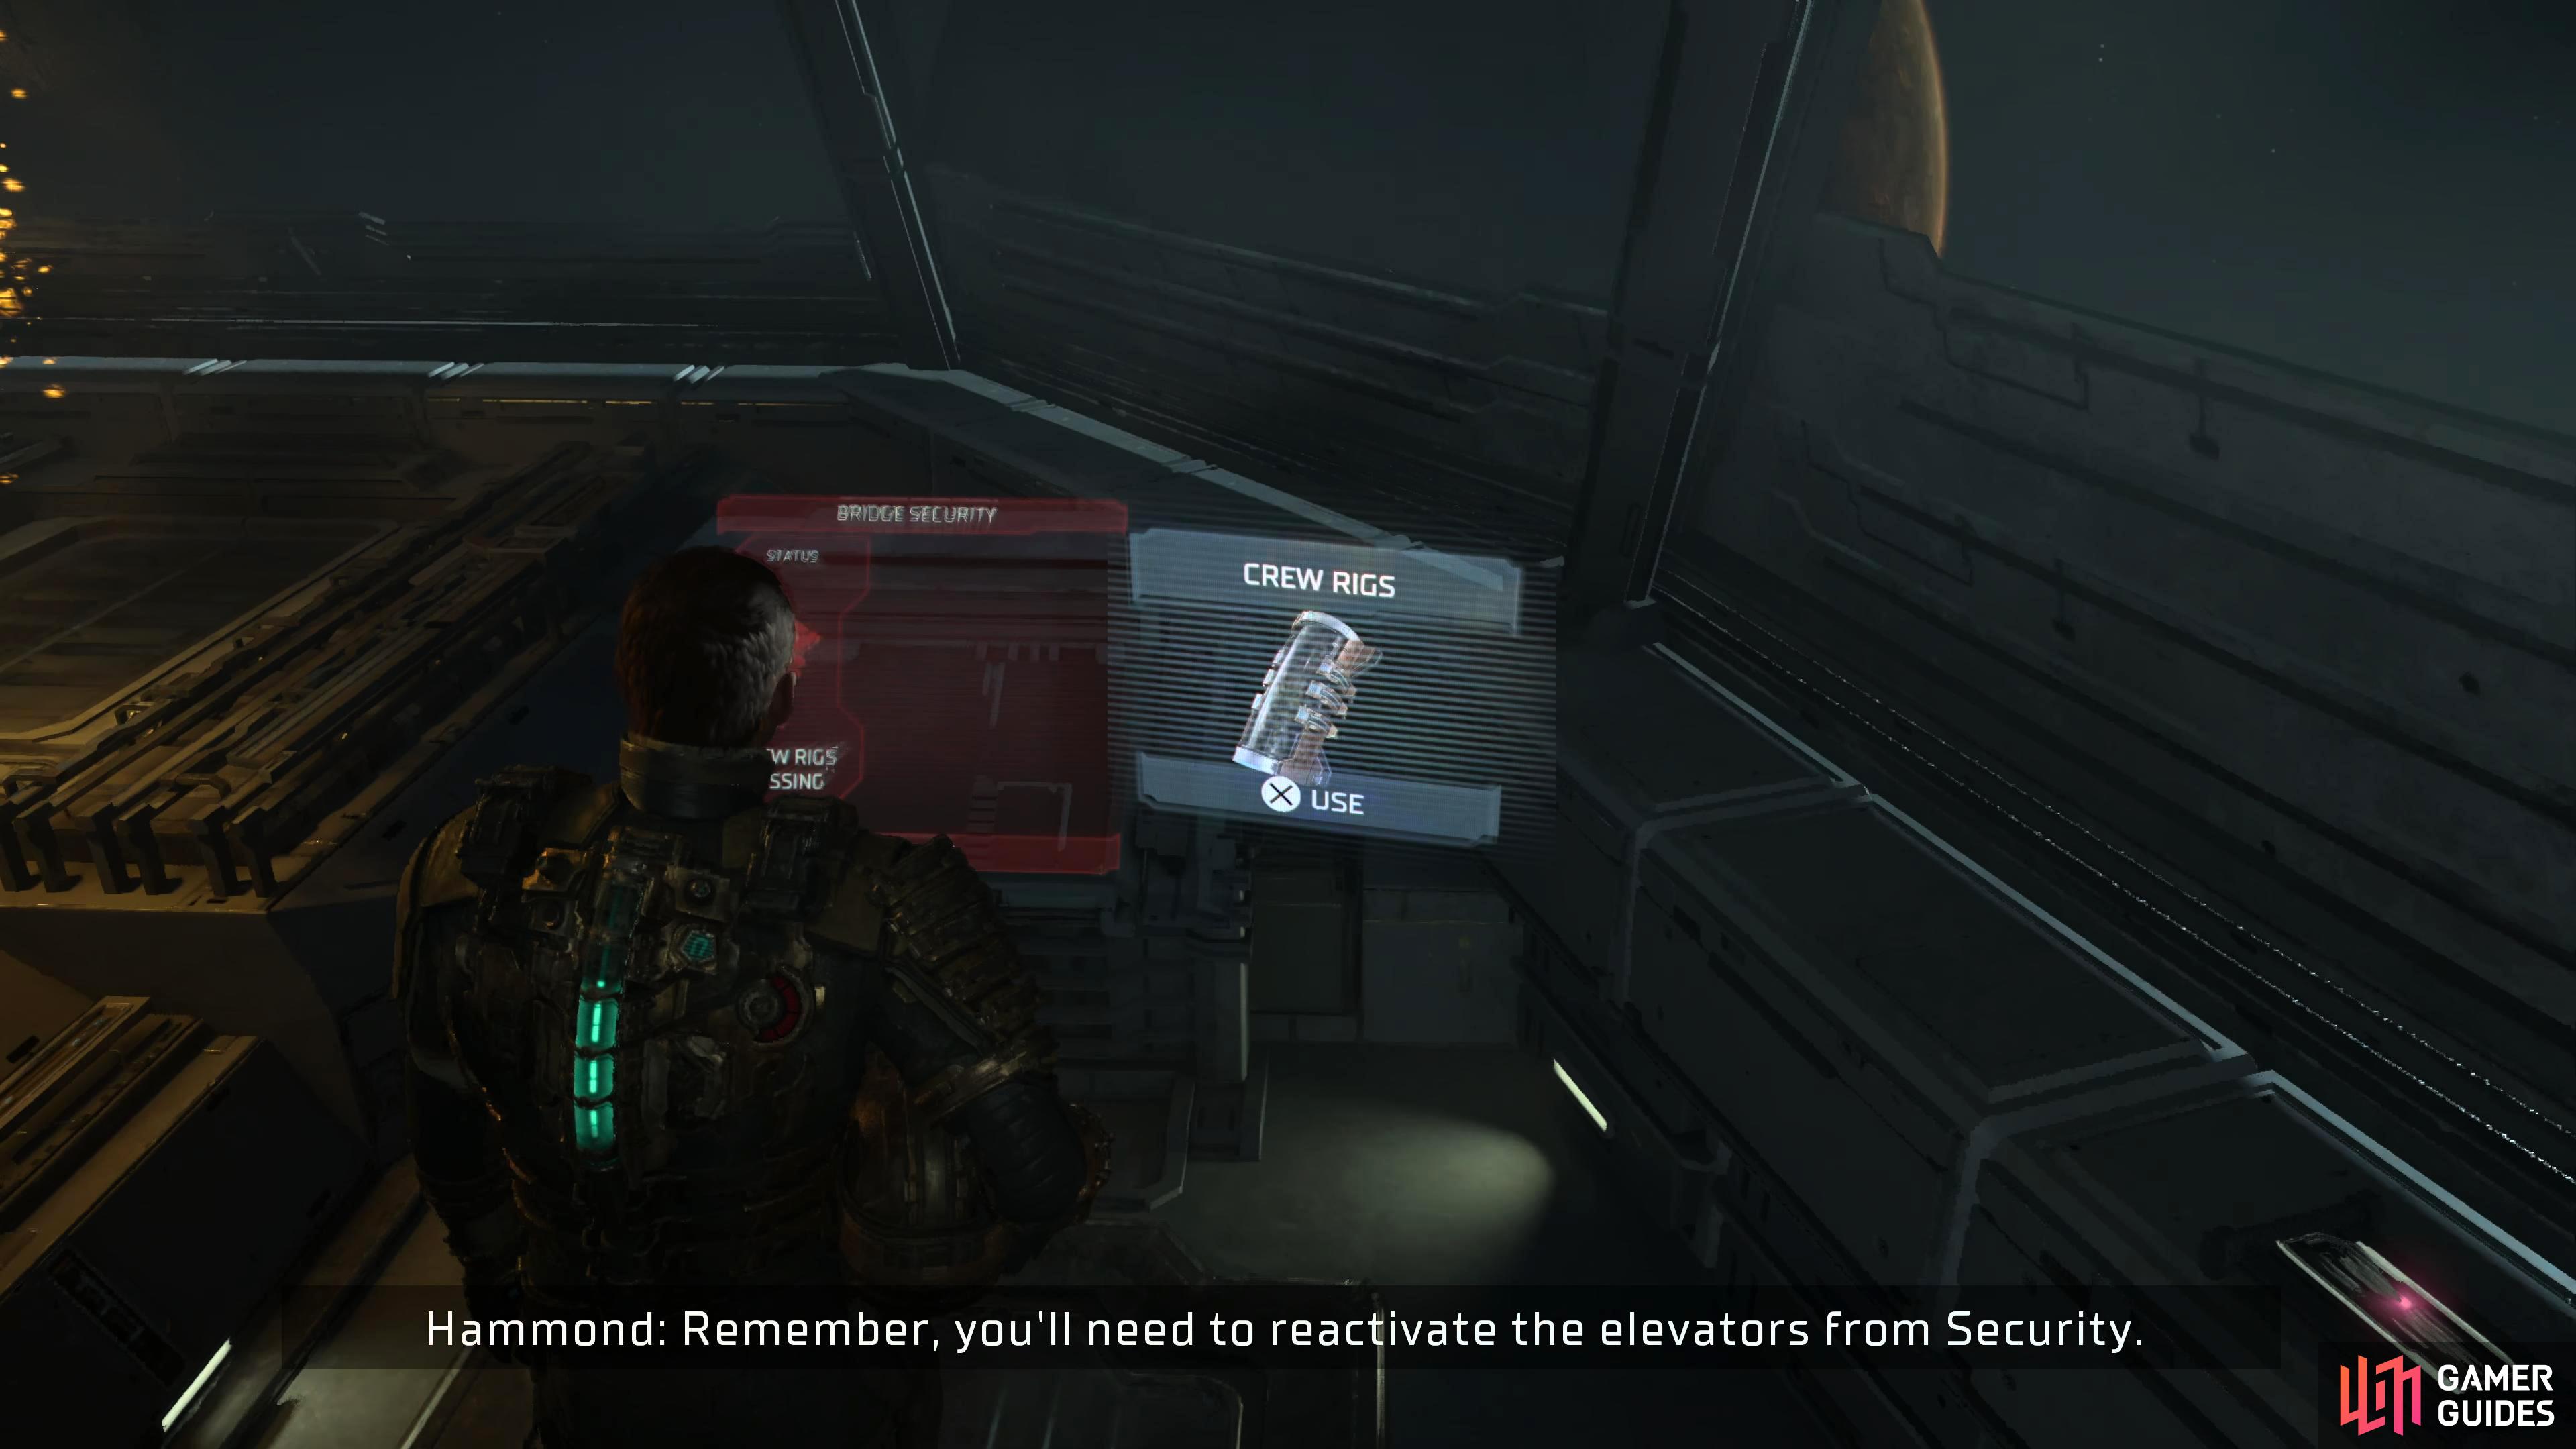
You can start the quest in the Captain’s Nest in the Main Atrium of the Bridge Deck during Chapter 4.
How to Complete the You Are Not Authorized Side Quest
It is best to wait until late in the game to complete this quest, as you will not be able to get most of them due to them either being behind a Security Clearance 3 door or being in an area of the ship that is not accessible. Saying that you can get one of the Rigs before you even start the quest, and you can get it during Chapter 4.
Find Mining Supervisor Dallas’s RIG
| Station | Availability |
|---|---|
| Mining Deck | Chapter 7 |
You can find Dallas’s RIG during Chapter 7 on the Mining Deck. Progress the story until you have to find the Admin RIG and follow the objective until you get to the Mineral Processing Control room. This is a zero-g room where you need to use your Kinesis to destroy the four large boulders. If you look carefully as you go through the hole, you can see a door on the opposite side of the room. This is where you’ll find Dallas’s RIG. Head into the room where you’ll find their corpse opposite their desk.
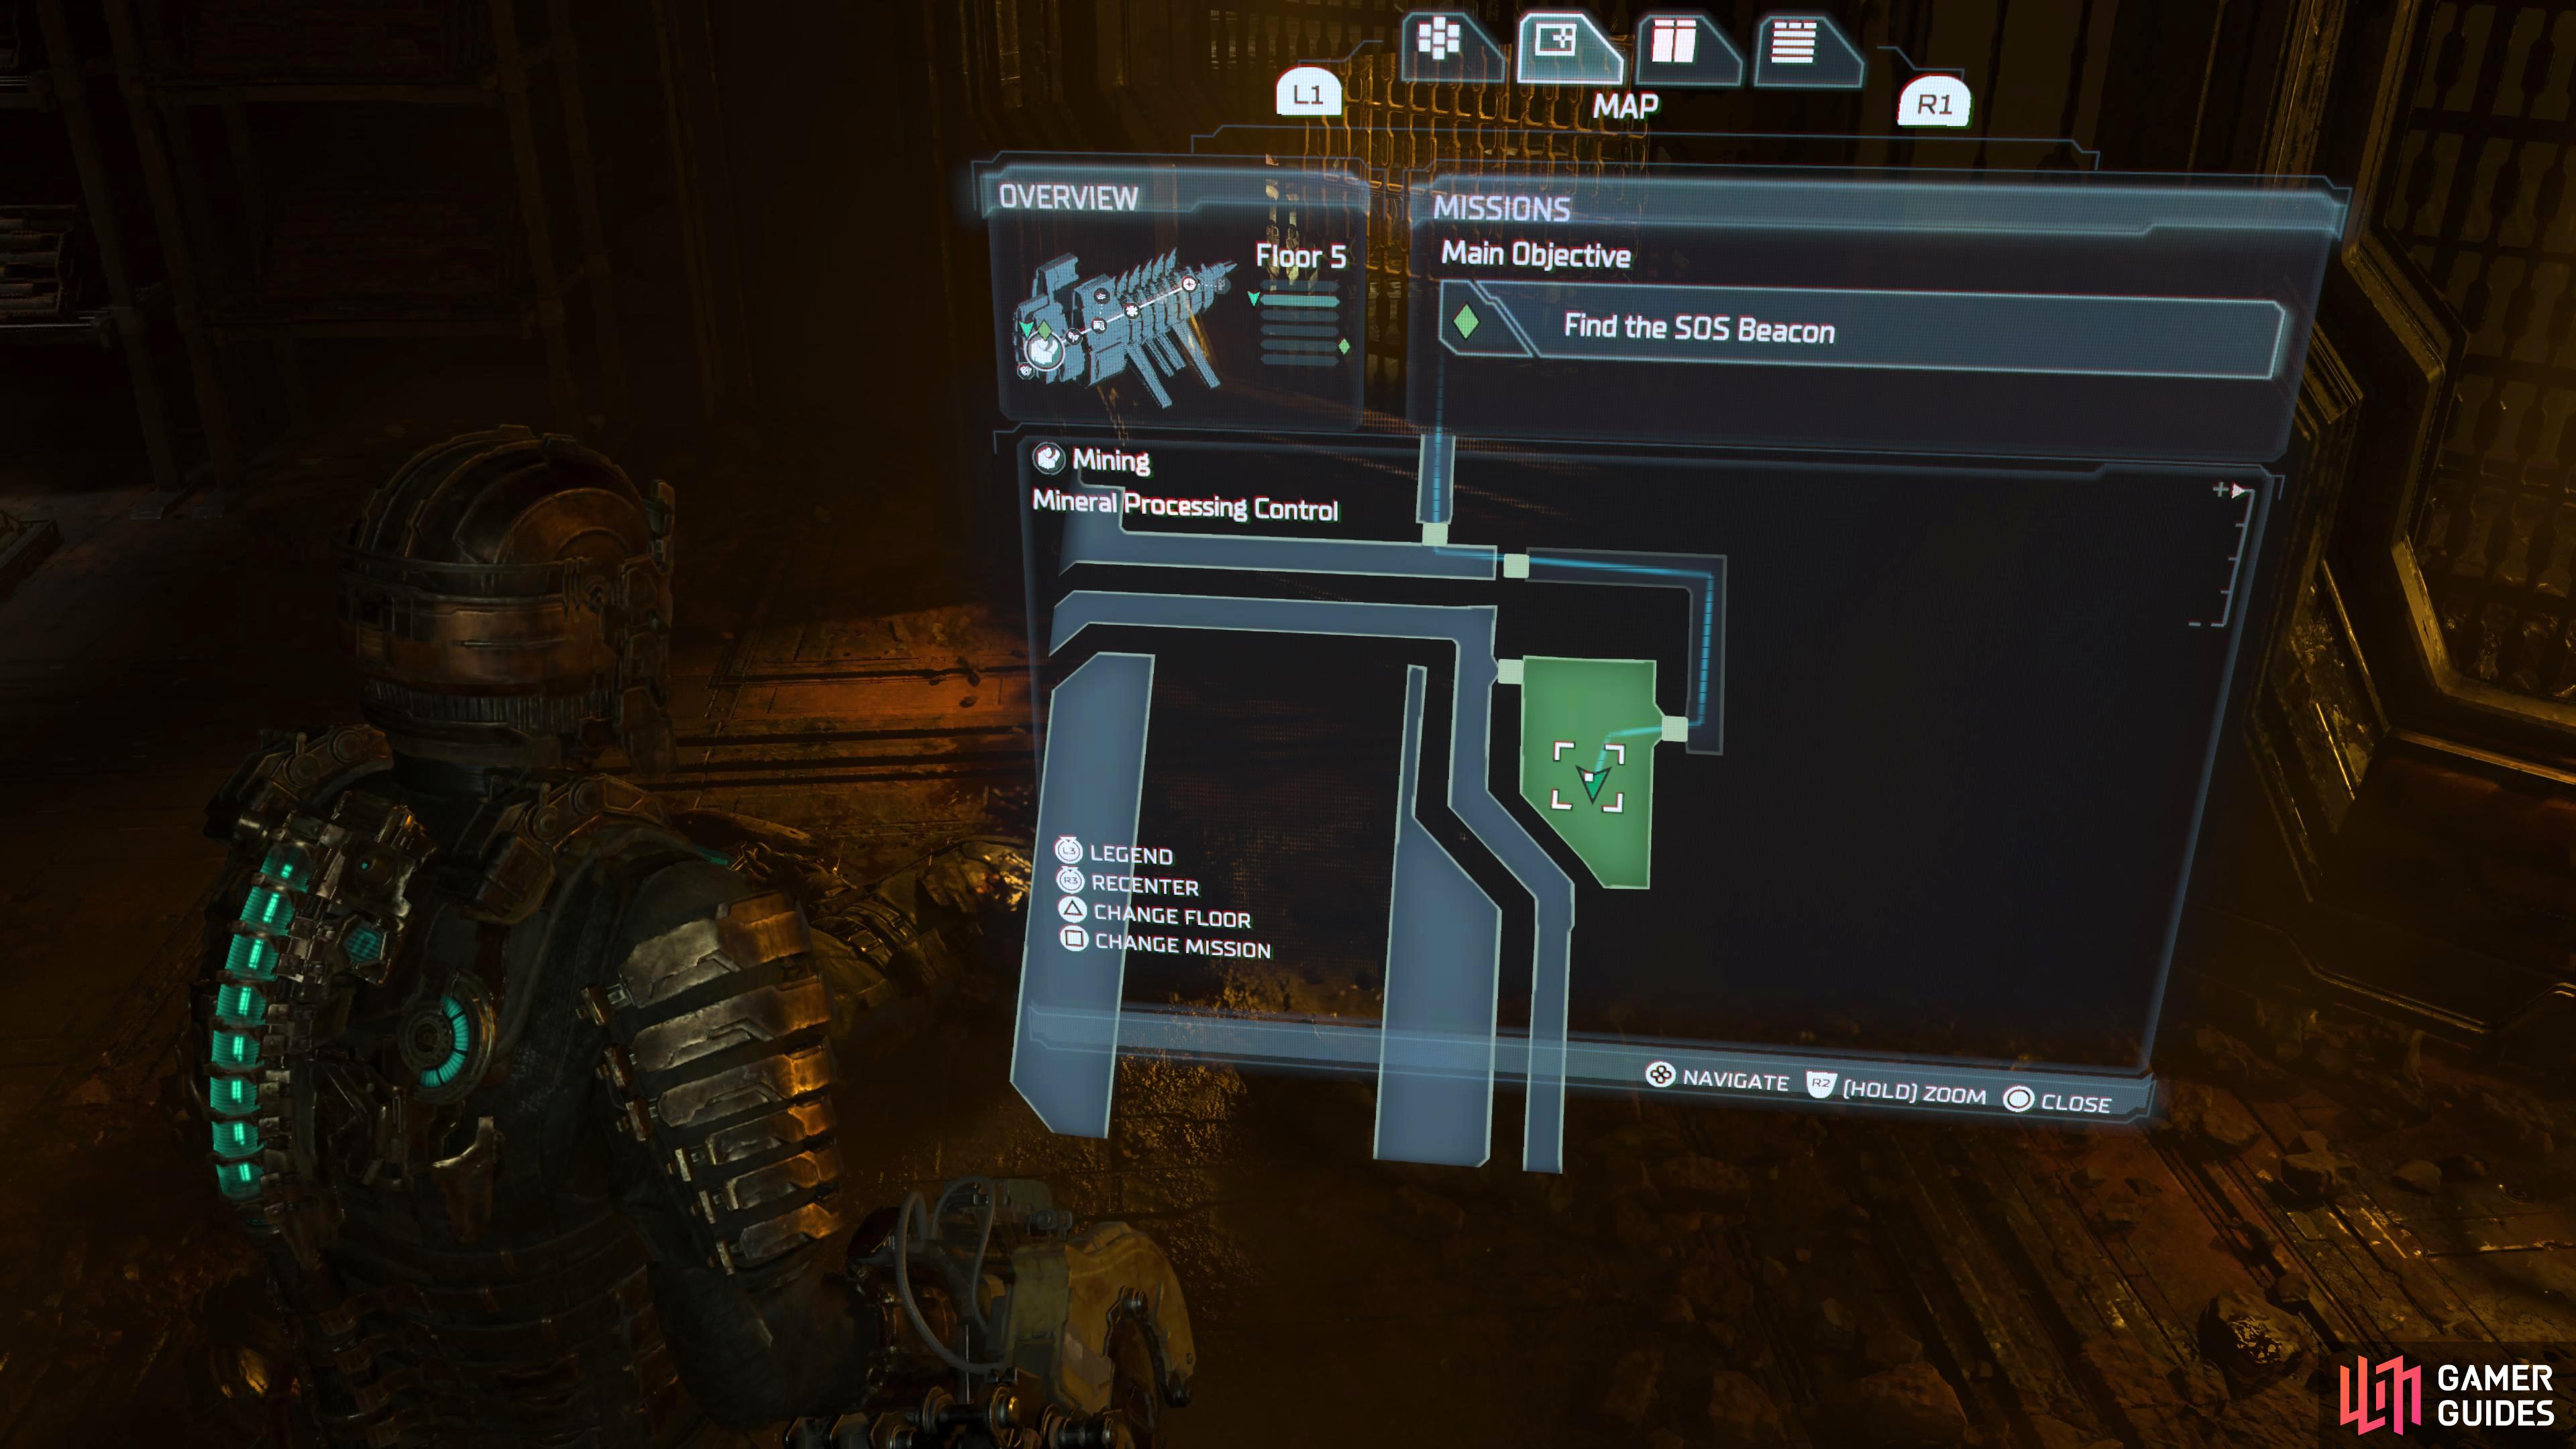
Head to the Mineral Processing Chamber, and head through the door on the opposite side you entered from.
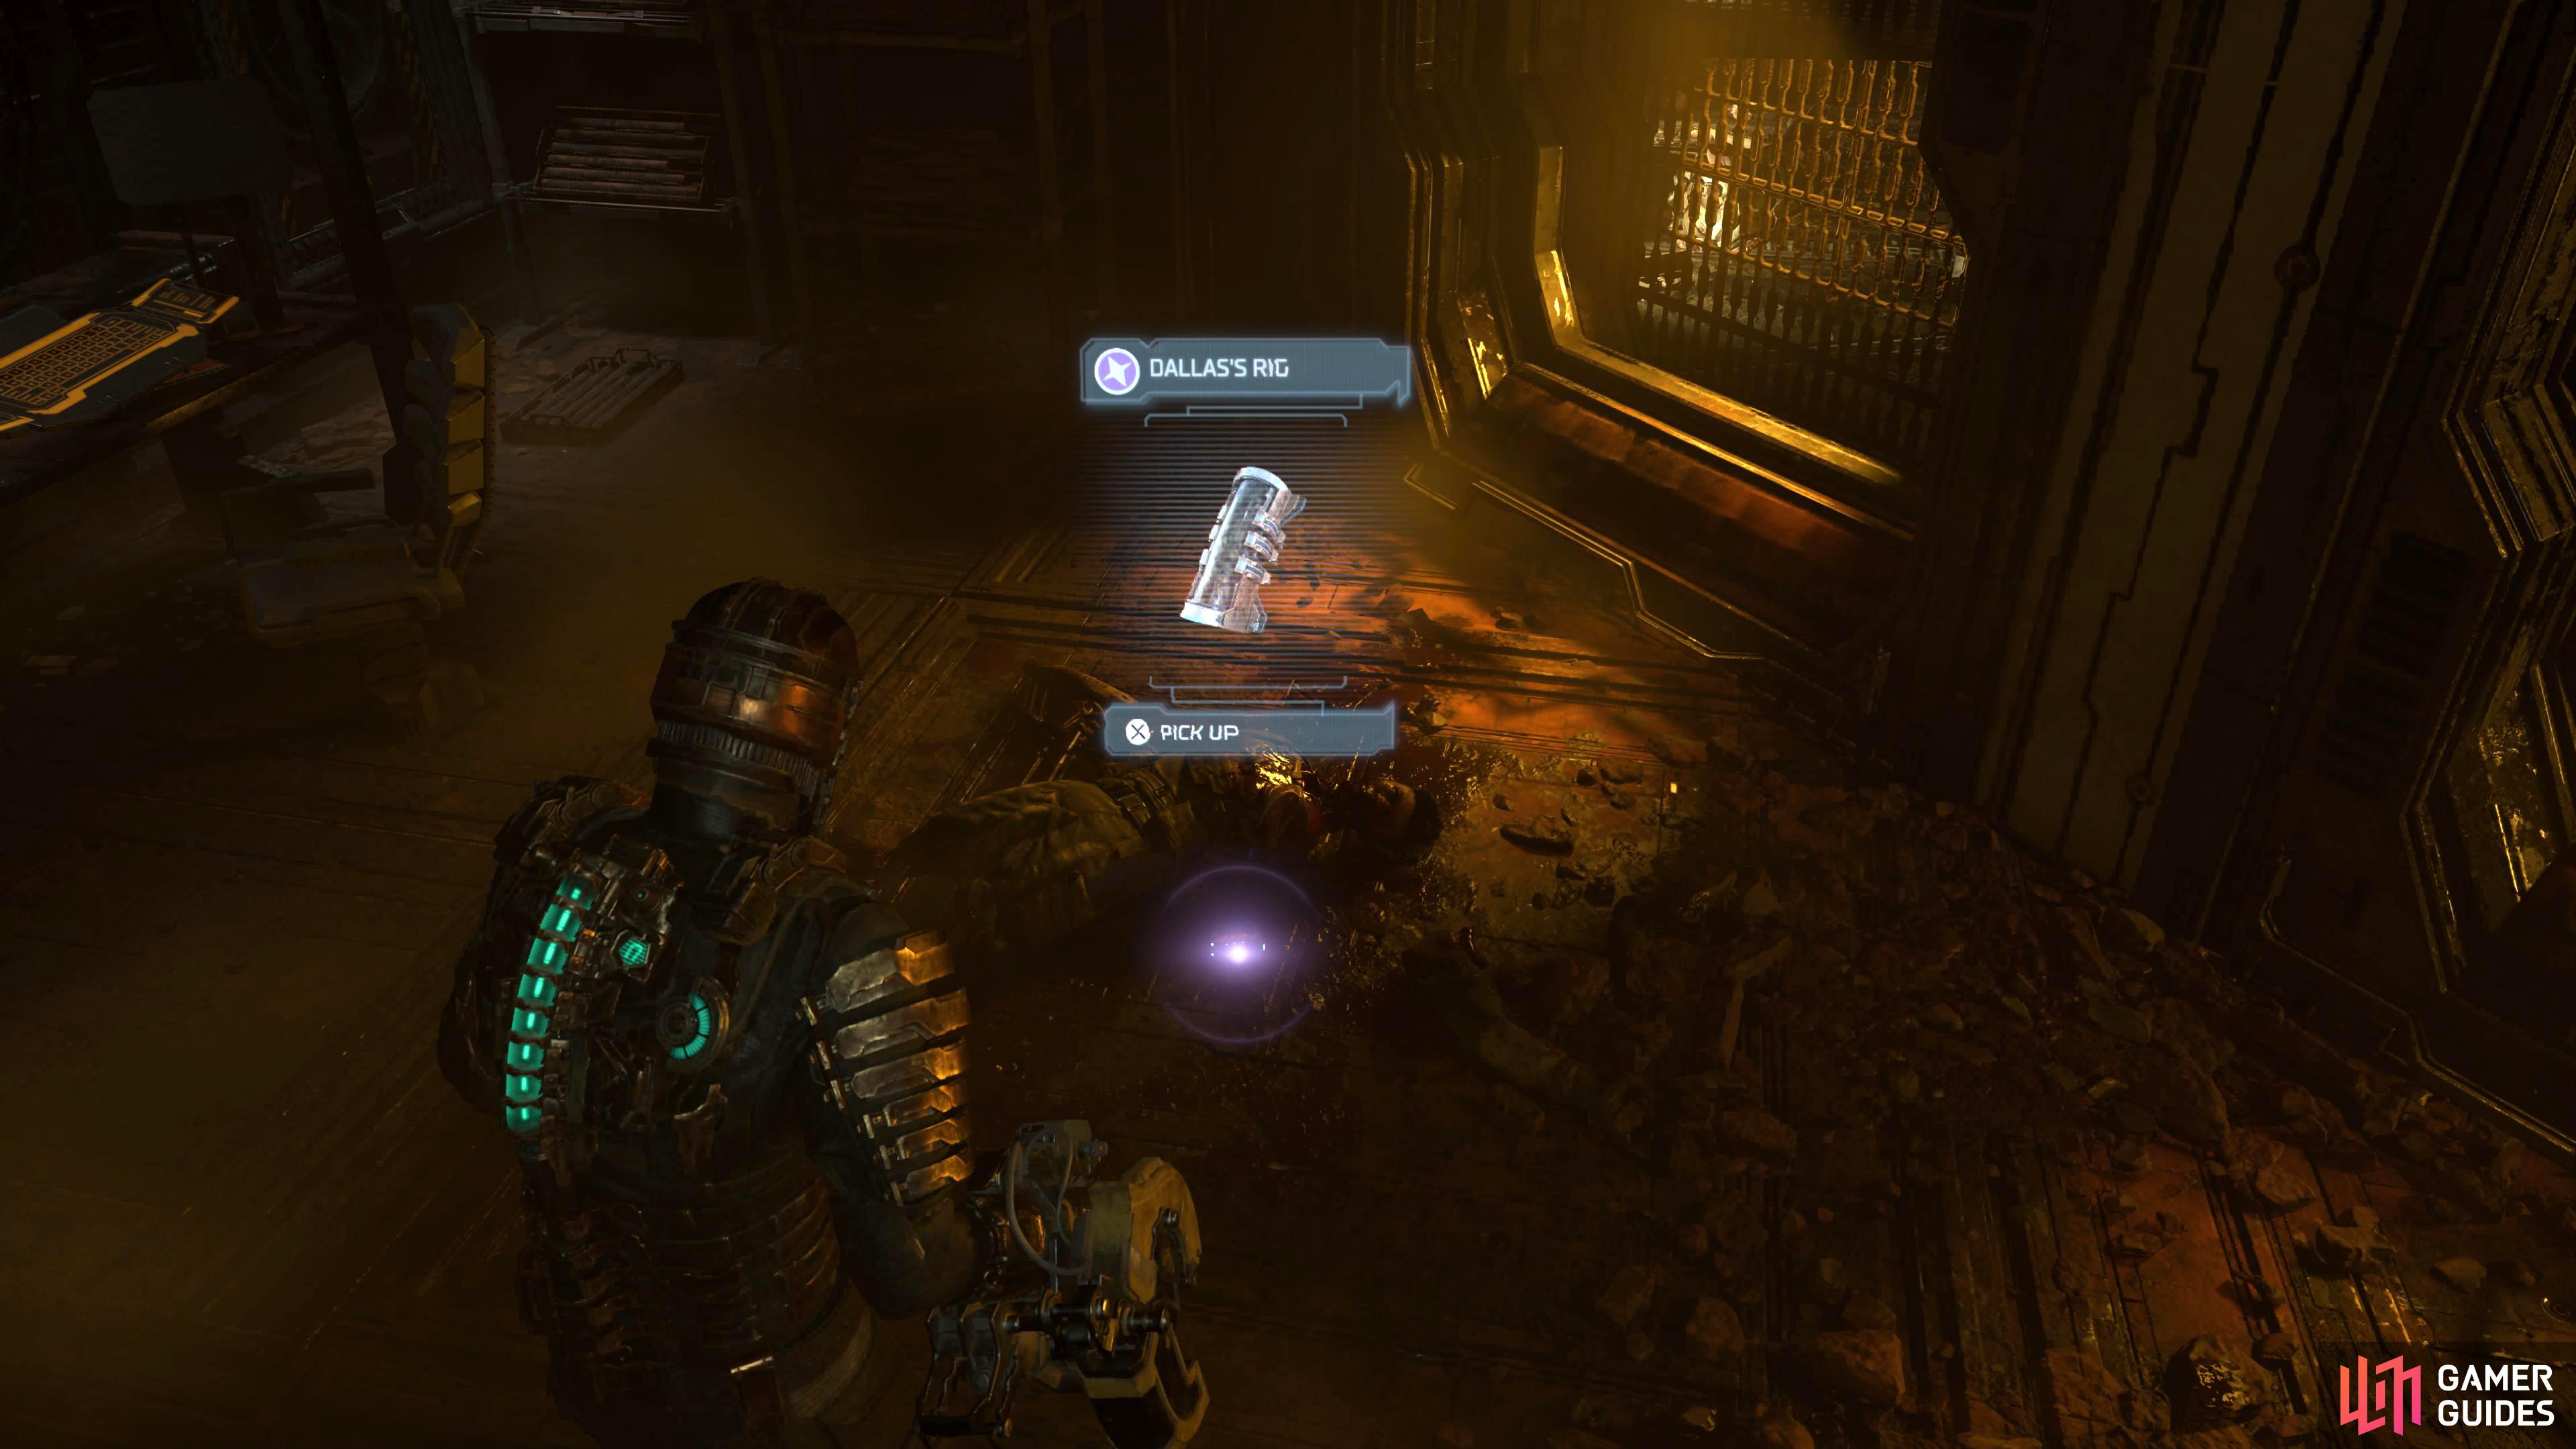
The RIG will be next to the corpse opposite the desk.
Find Chief Engineer Rousseau’s RIG
| Station | Availability |
|---|---|
| Engineering | Chapter 7 |
Rousseau’s RIG is inside a locked door with Security Clearance Level 3 which signifies you’ll have to progress the story to at least Chapter 7 when you pick up Dallas’s RIG as doing so will give you the clearance you’re seeking. Head to the nearest Tram Station, and take it to the Engineering Deck. From the Engineering Tram station, head through the door and follow the hallway until you reach the intersection. Take a right then go through the entrance to the right of the Save Station.
This will lead to the zero-g room with the enormous fans to your left. Go through the door at the opposite end, and through the hall into the Engine Room. Go through the pustule-filled room and take a right when you can. When you get into the main area where all the tendrils are, head right again where you’ll find the Security Clearance Level 3 door. Now that you have the clearance level, you can enter the door. Enter the room, and you’ll discover Rousseau’s RIG on the floor to your right, in front of the lockers.

You’ll need Security Clearance Level 3 to get this RIG. When you do, head to the Engineering Engine room and enter the Level 3 door there.
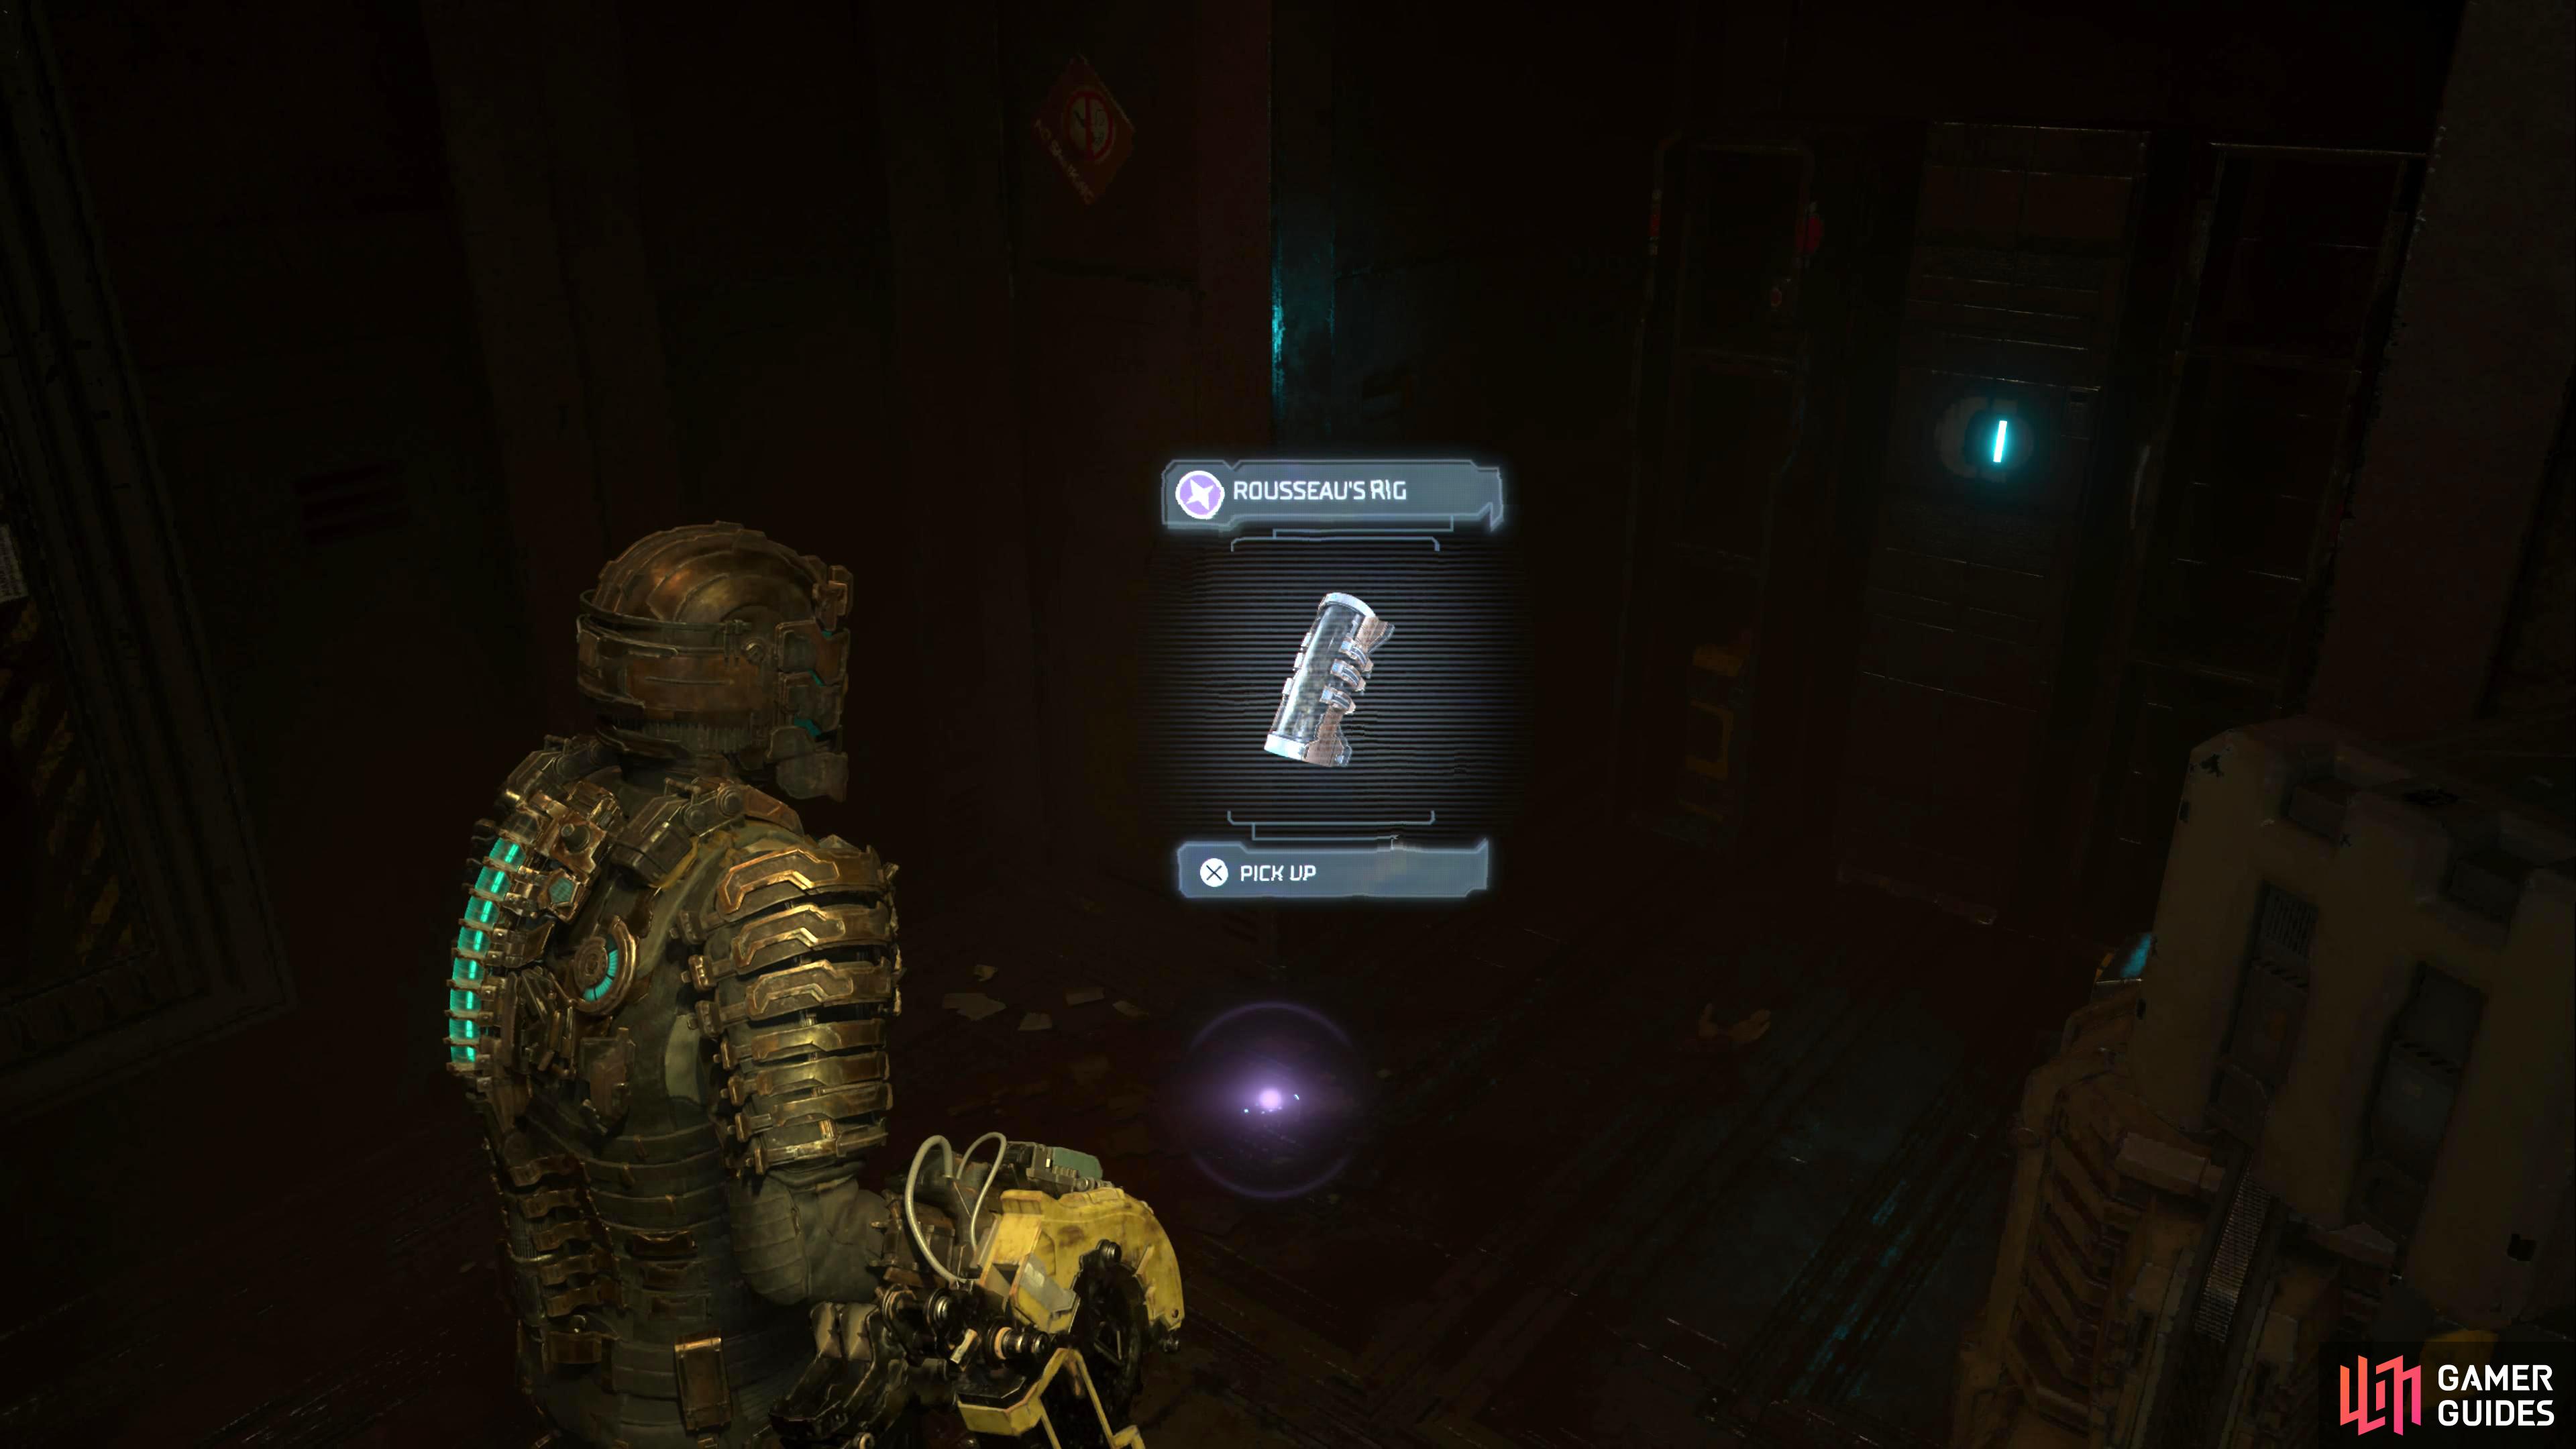
The RIG will be on the floor in front of the lockers.
Find Comms Officer Bailey’s RIG
| Station | Availability |
|---|---|
| Bridge Deck | Chapter 8 |
Comms Officer Bailey’s RIG is one of the easier RIG’s to find. During Chapter 8, Daniels will ask you to fix the Comms Array. Head to Floor 3 from the elevator in the Main Atrium and go through the Comms Array to Electrical Systems door. Follow the corridor past the two Guardians and go through the Comms Access door. Proceed through the hall and go into the Comms Control Room. The RIG will be in the door to the left labeled “E. Bailey”. Go into the room and the RIG will be on the desk at the back next to Bailey’s corpse.

During Chapter 8, follow the objective to fix the Comms Array until you reach the Comms Control Room.

The RIG will be in Bailey’s room which is the left door in the control room.
Find Tram Supervisor Benson’s RIG
| Station | Availability |
|---|---|
| Crew Deck | Chapter 10 |
This will be the last RIG you’ll get. After you complete your successful foray into the USM Valor you’ll gain access to the Crew Deck. As the RIG belongs to the Tram Supervisor, it only makes sense that their body will be on the Tramway. Go to the Crew Quarters via the previously locked entrance next to the Store and follow the corridor to reach the Tram Tunnels. Now go down the stairs onto the tramway and head to the end to find what’s left of Benson’s tattered corpse and their RIG.
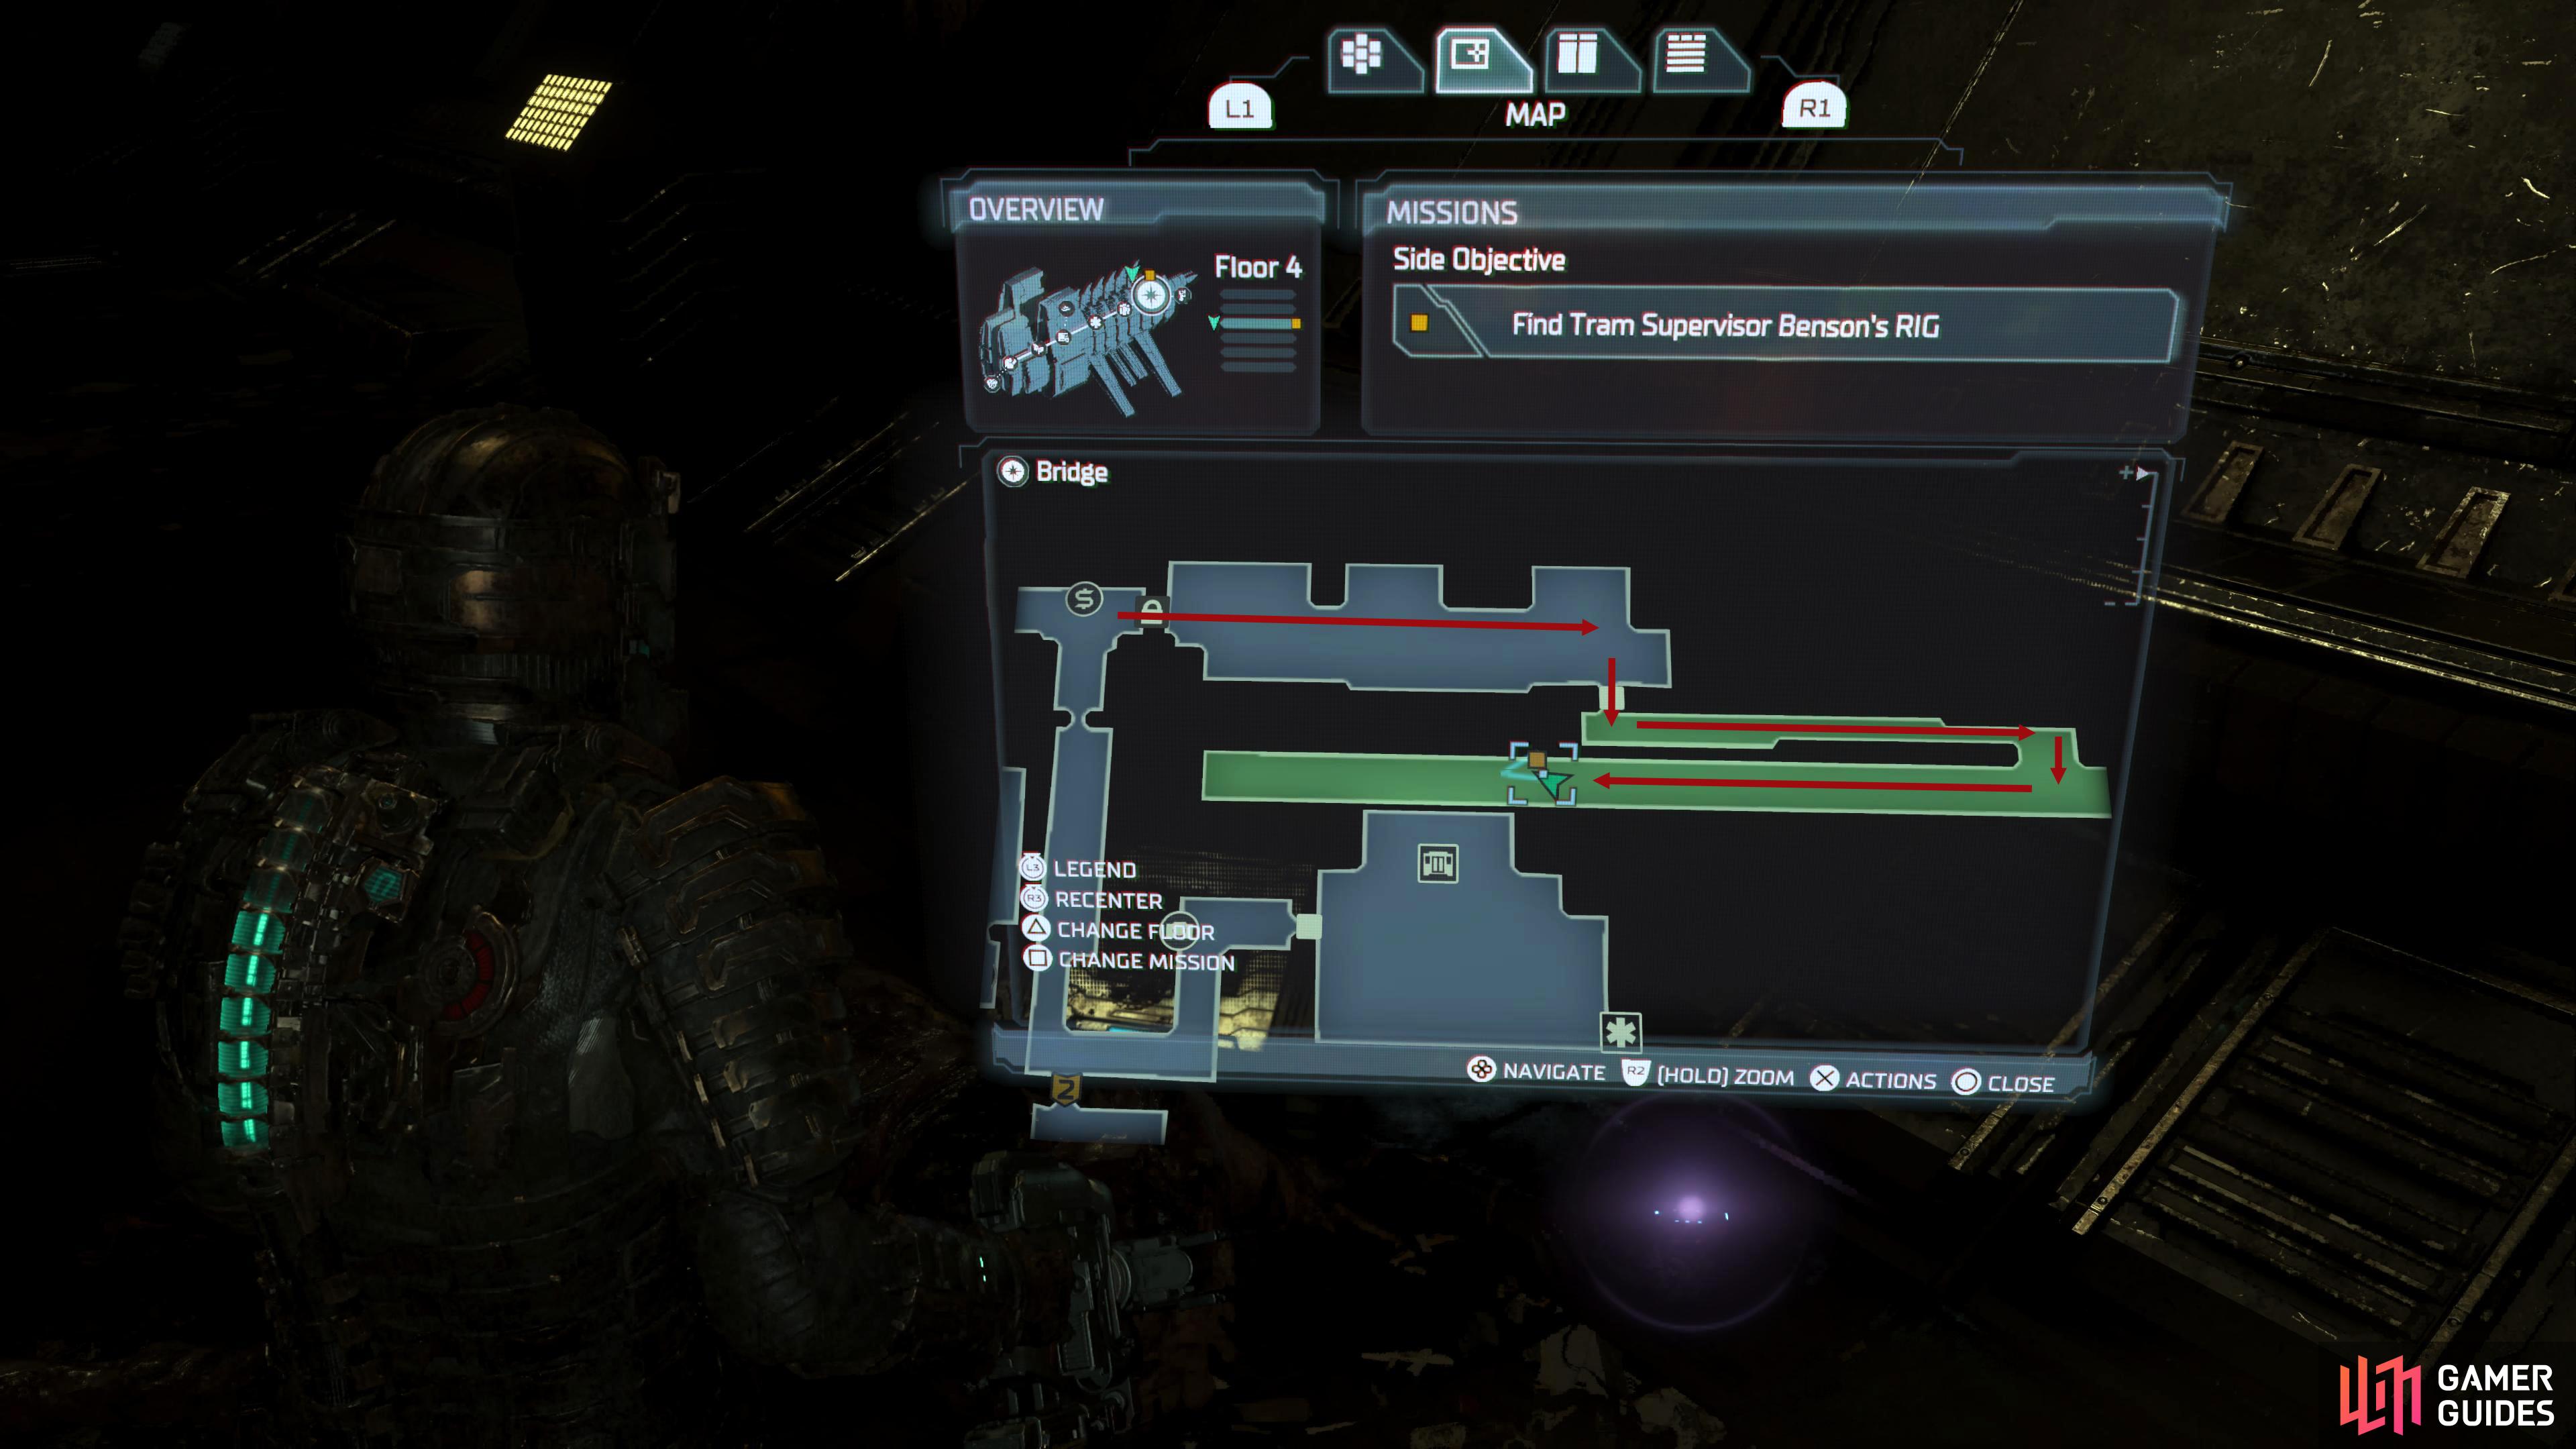
Go through the unlocked entrance next to the shop. Follow the corridor to the Tram Tunnels. Go down the stairs and double back on yourself and follow the tramway to the end.
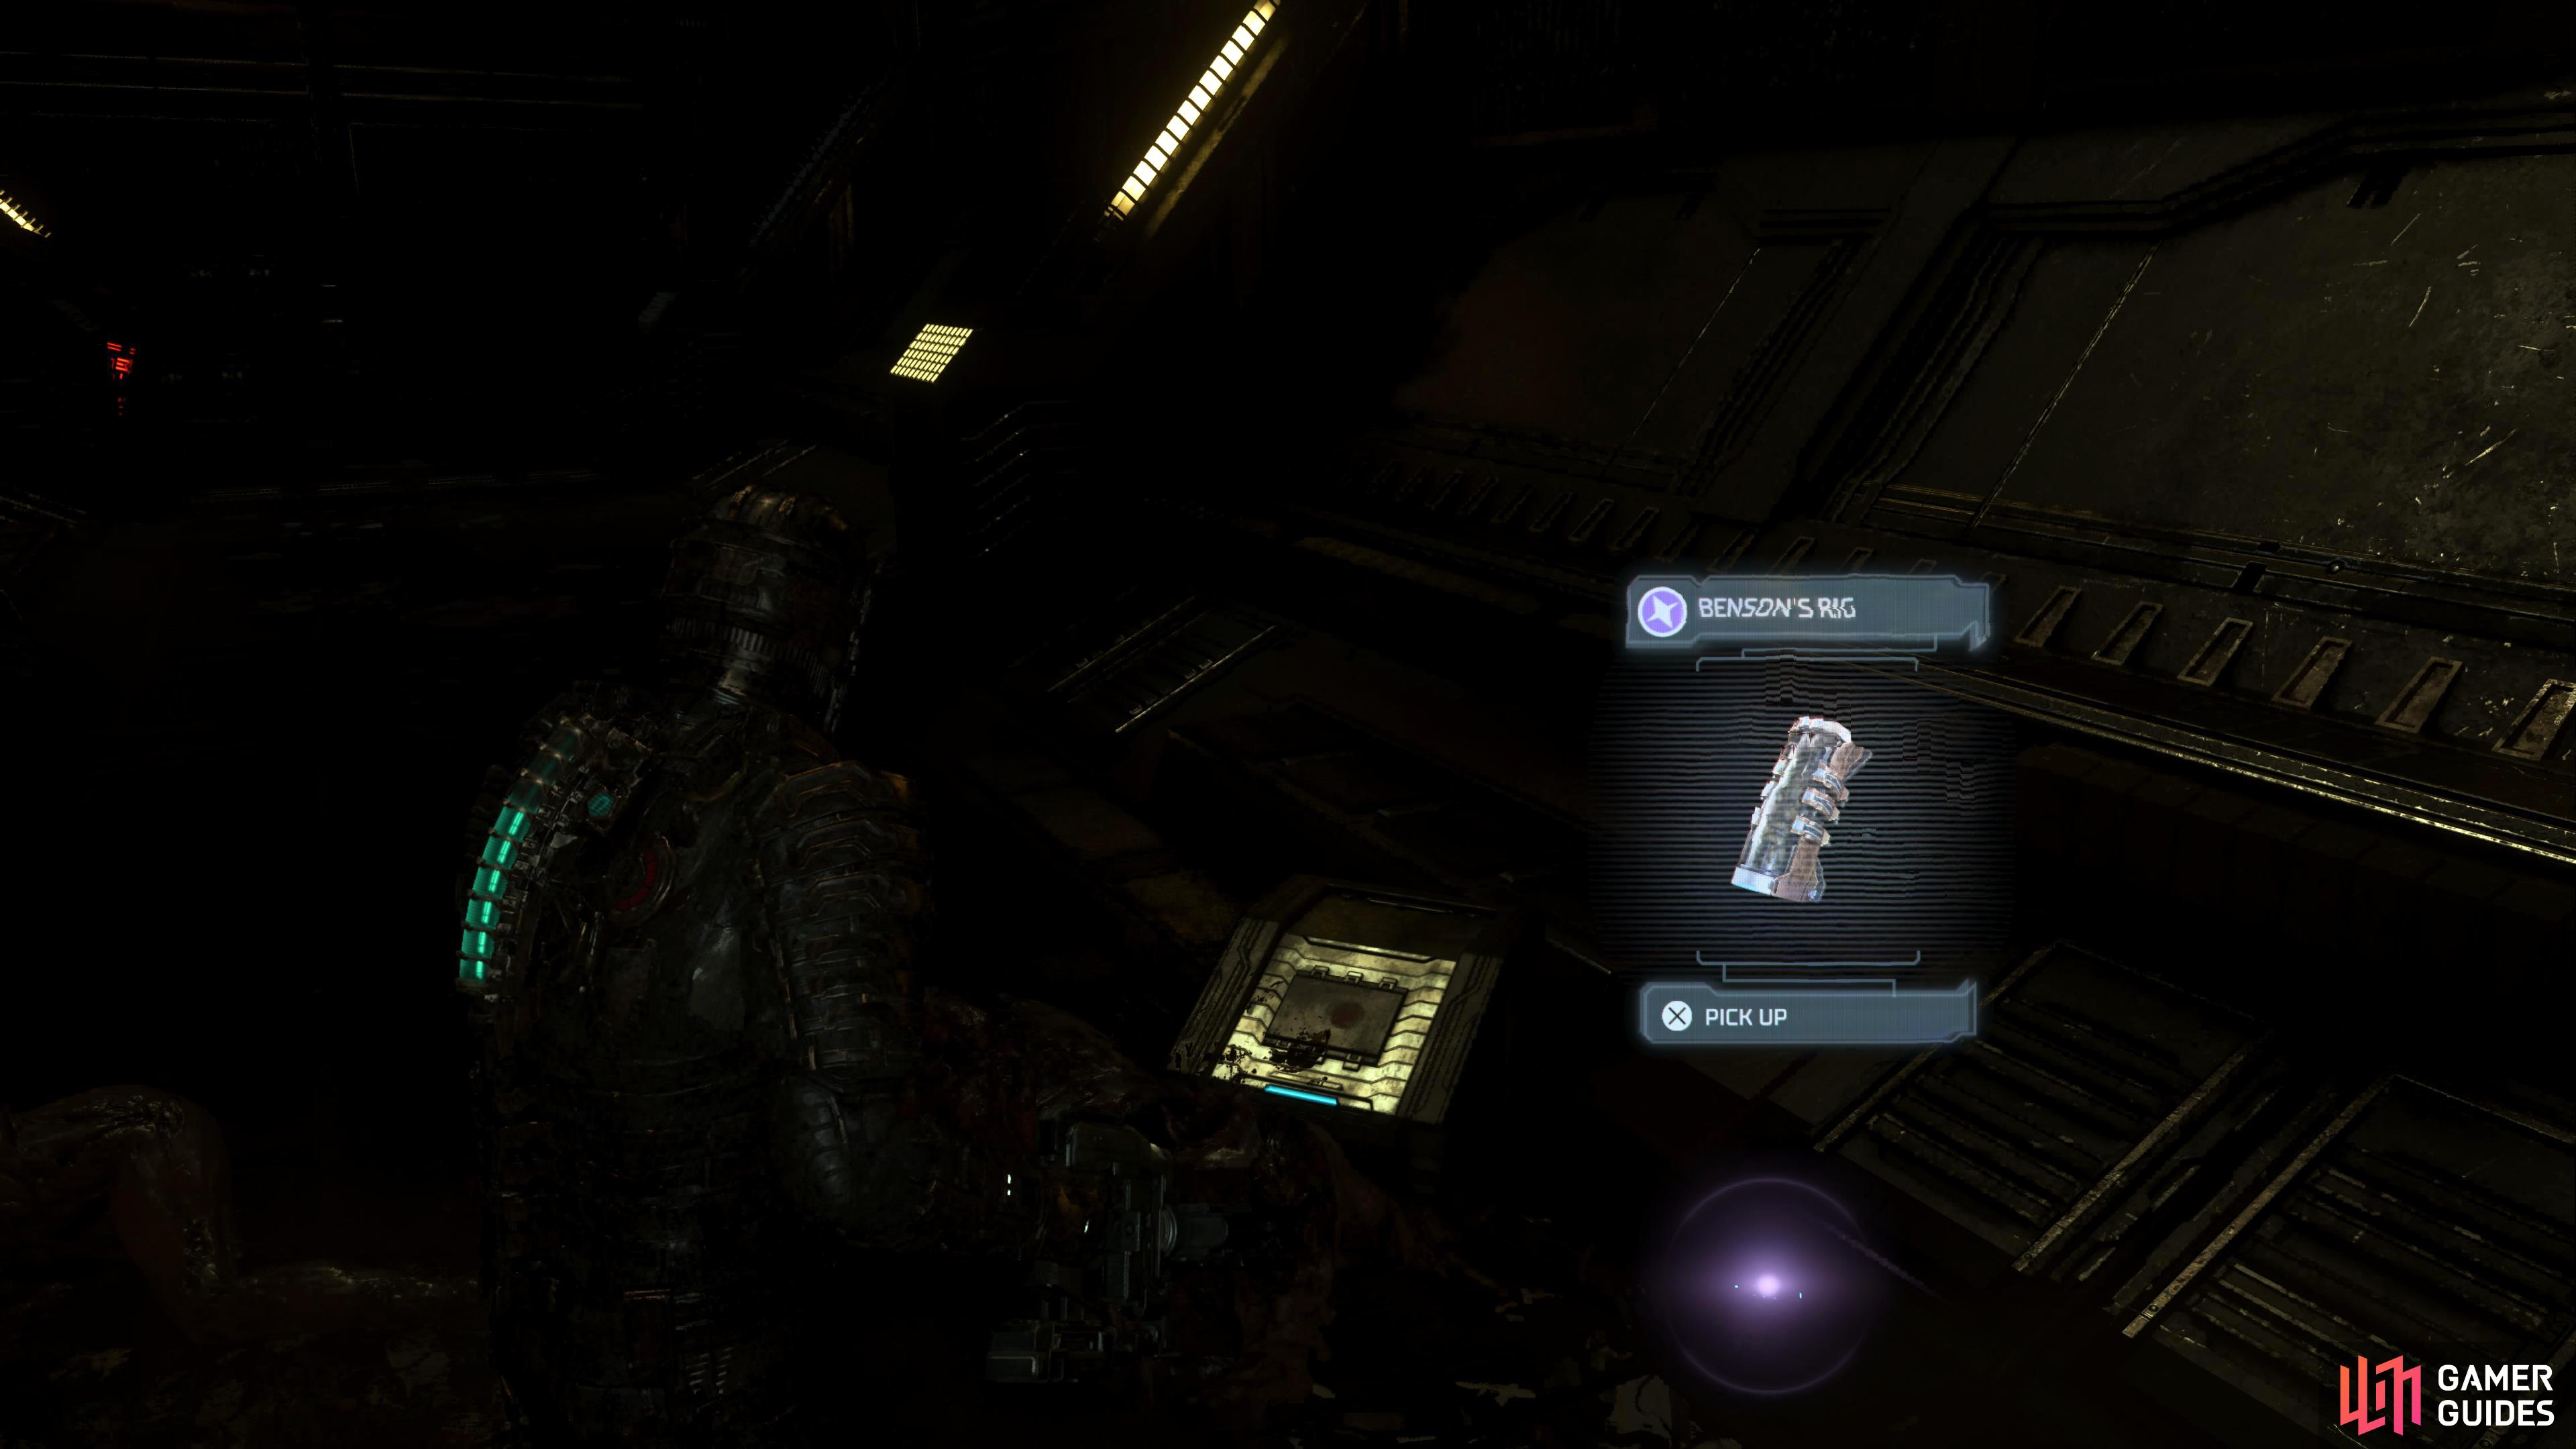
The RIG will be near the container at the end of the Tram Tunnels.
Find First Officer White’s RIG
| Station | Availability |
|---|---|
| Bridge (ADS Cannons) | Chapter 4 |
During Chapter 4, you’ll have to calibrate the ADS Cannons. Follow the objective until you are out in space where the ADS Cannons are situated. Use your thrusters to propel you toward the third ADS Cannon and you should notice a floating body to your left (opposite the O2 Dispenser near the third cannon). This is what’s left of First Officer White and his RIG. It is on the ledge just past the cannon if you have trouble finding it.
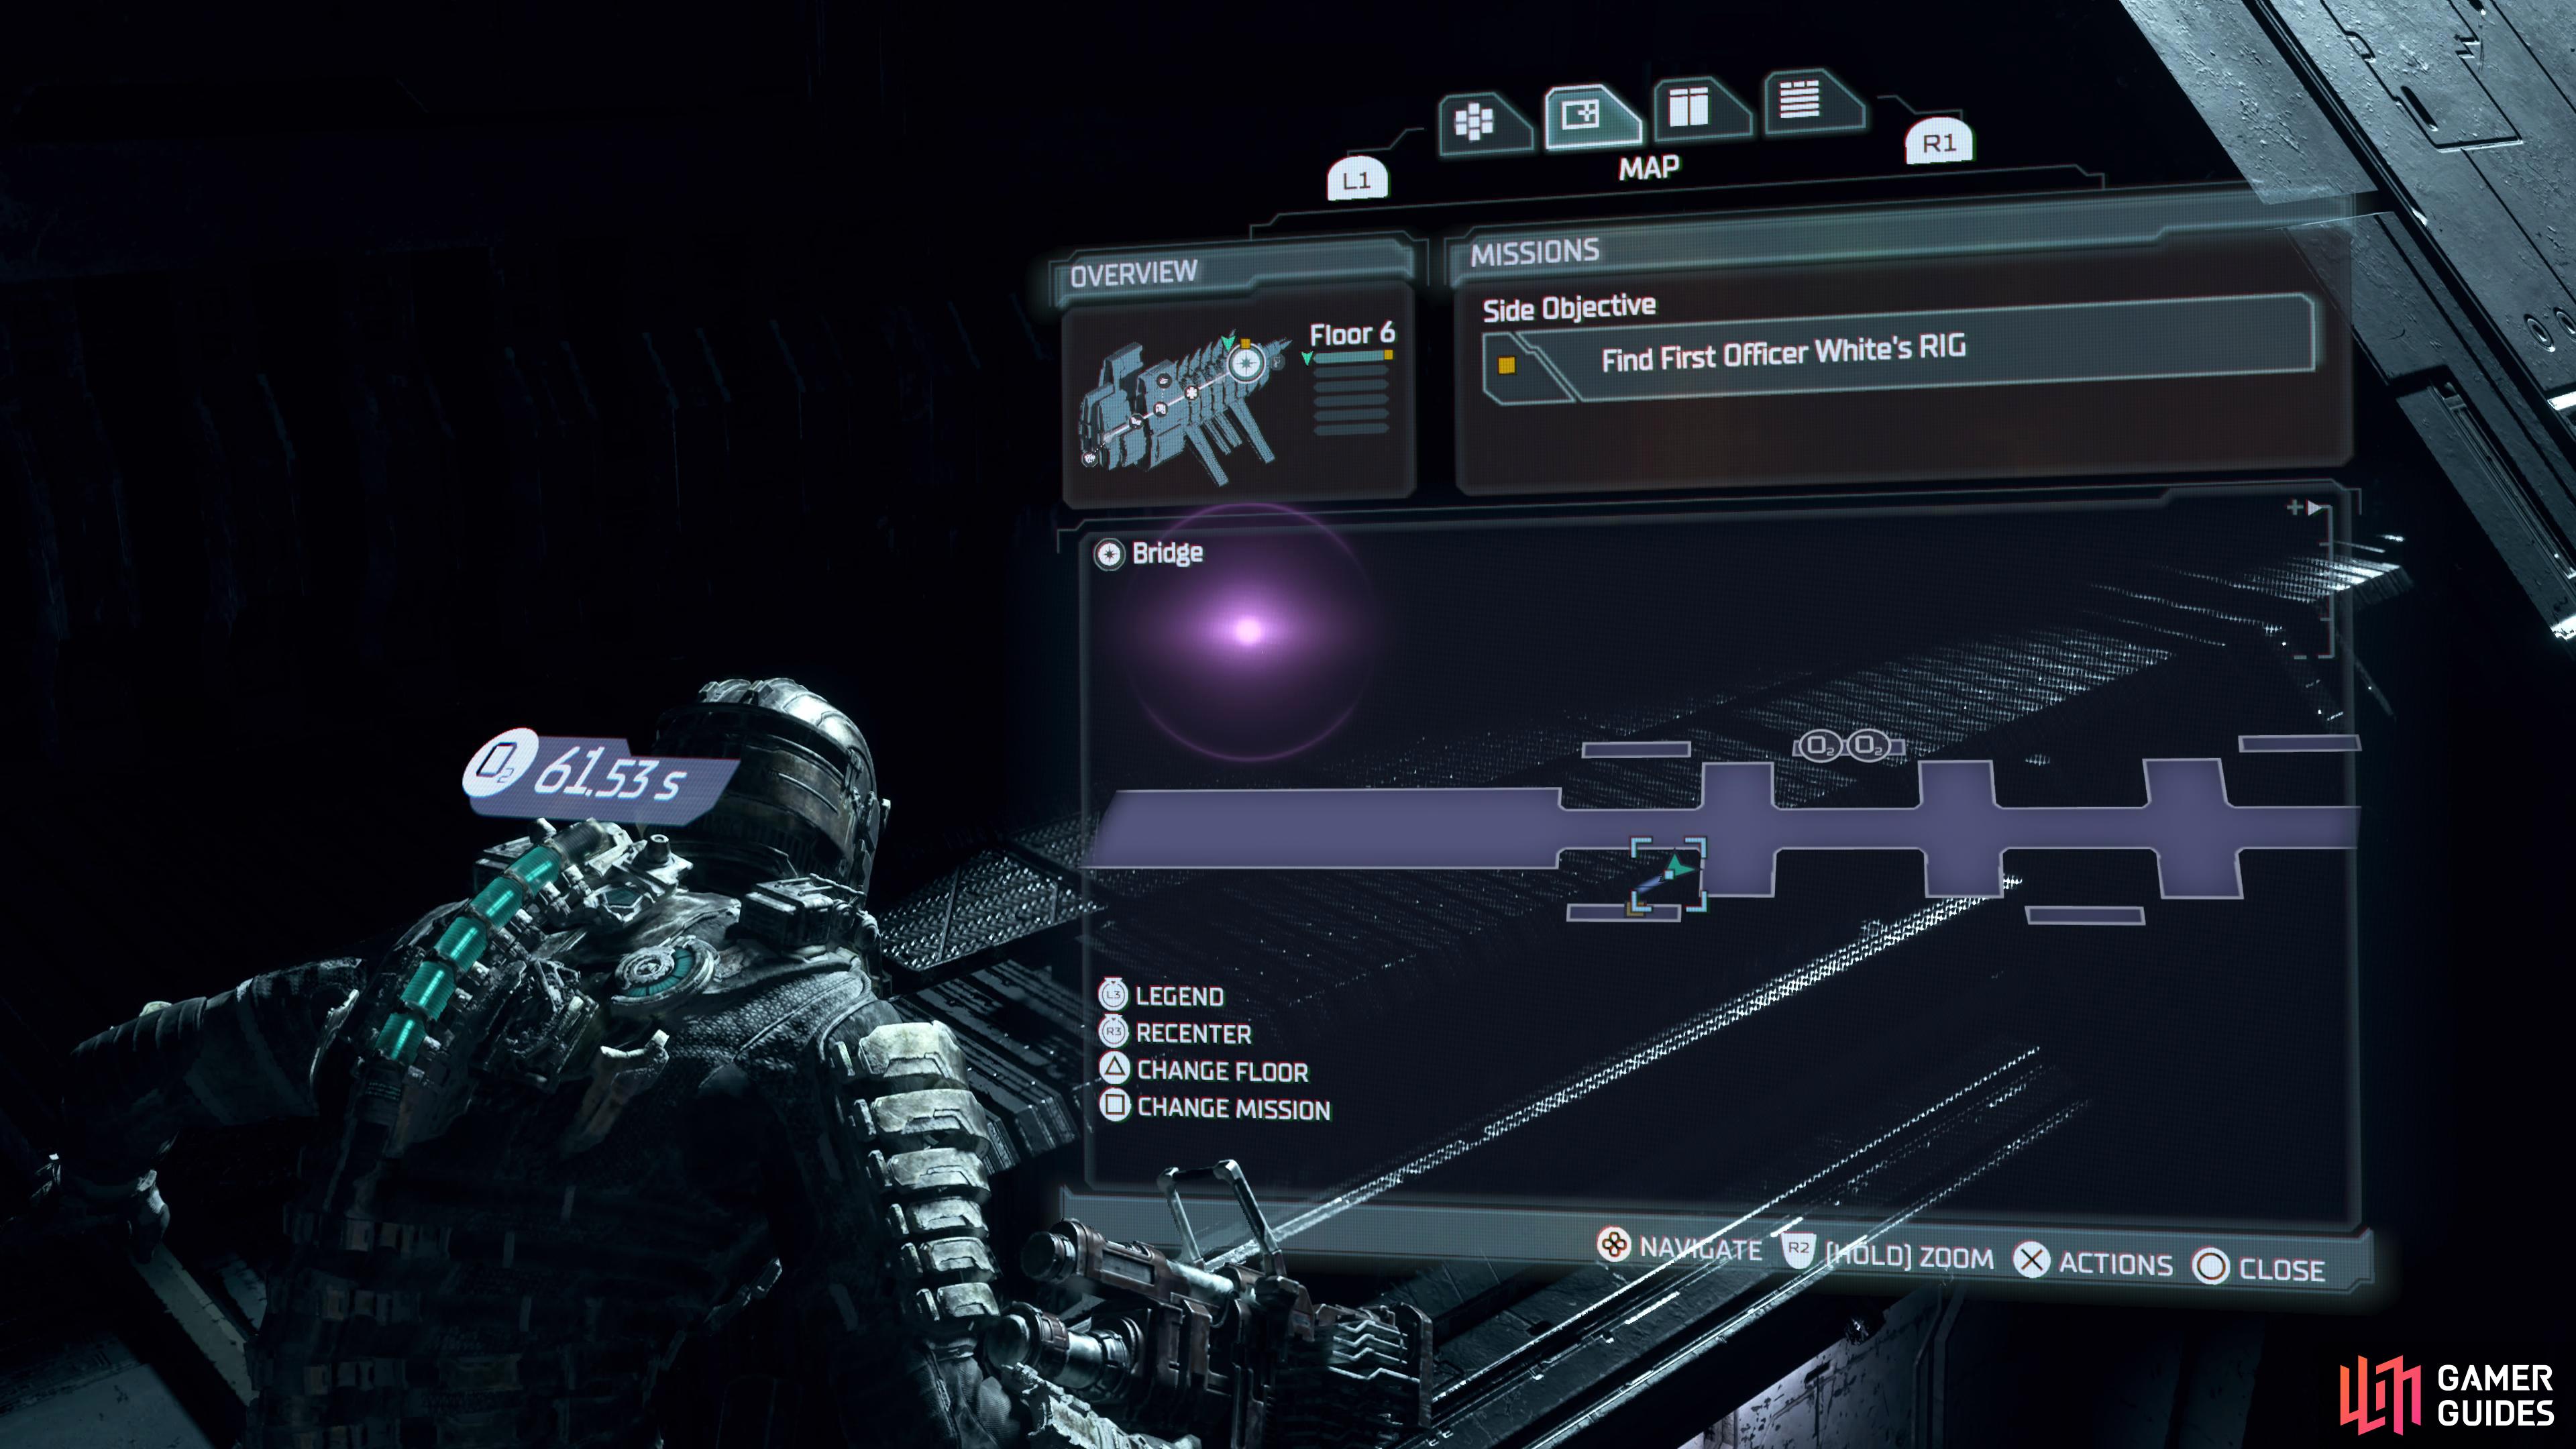
Officer White’s RIG will be on a ledge to your left just past the third ADS Cannon.
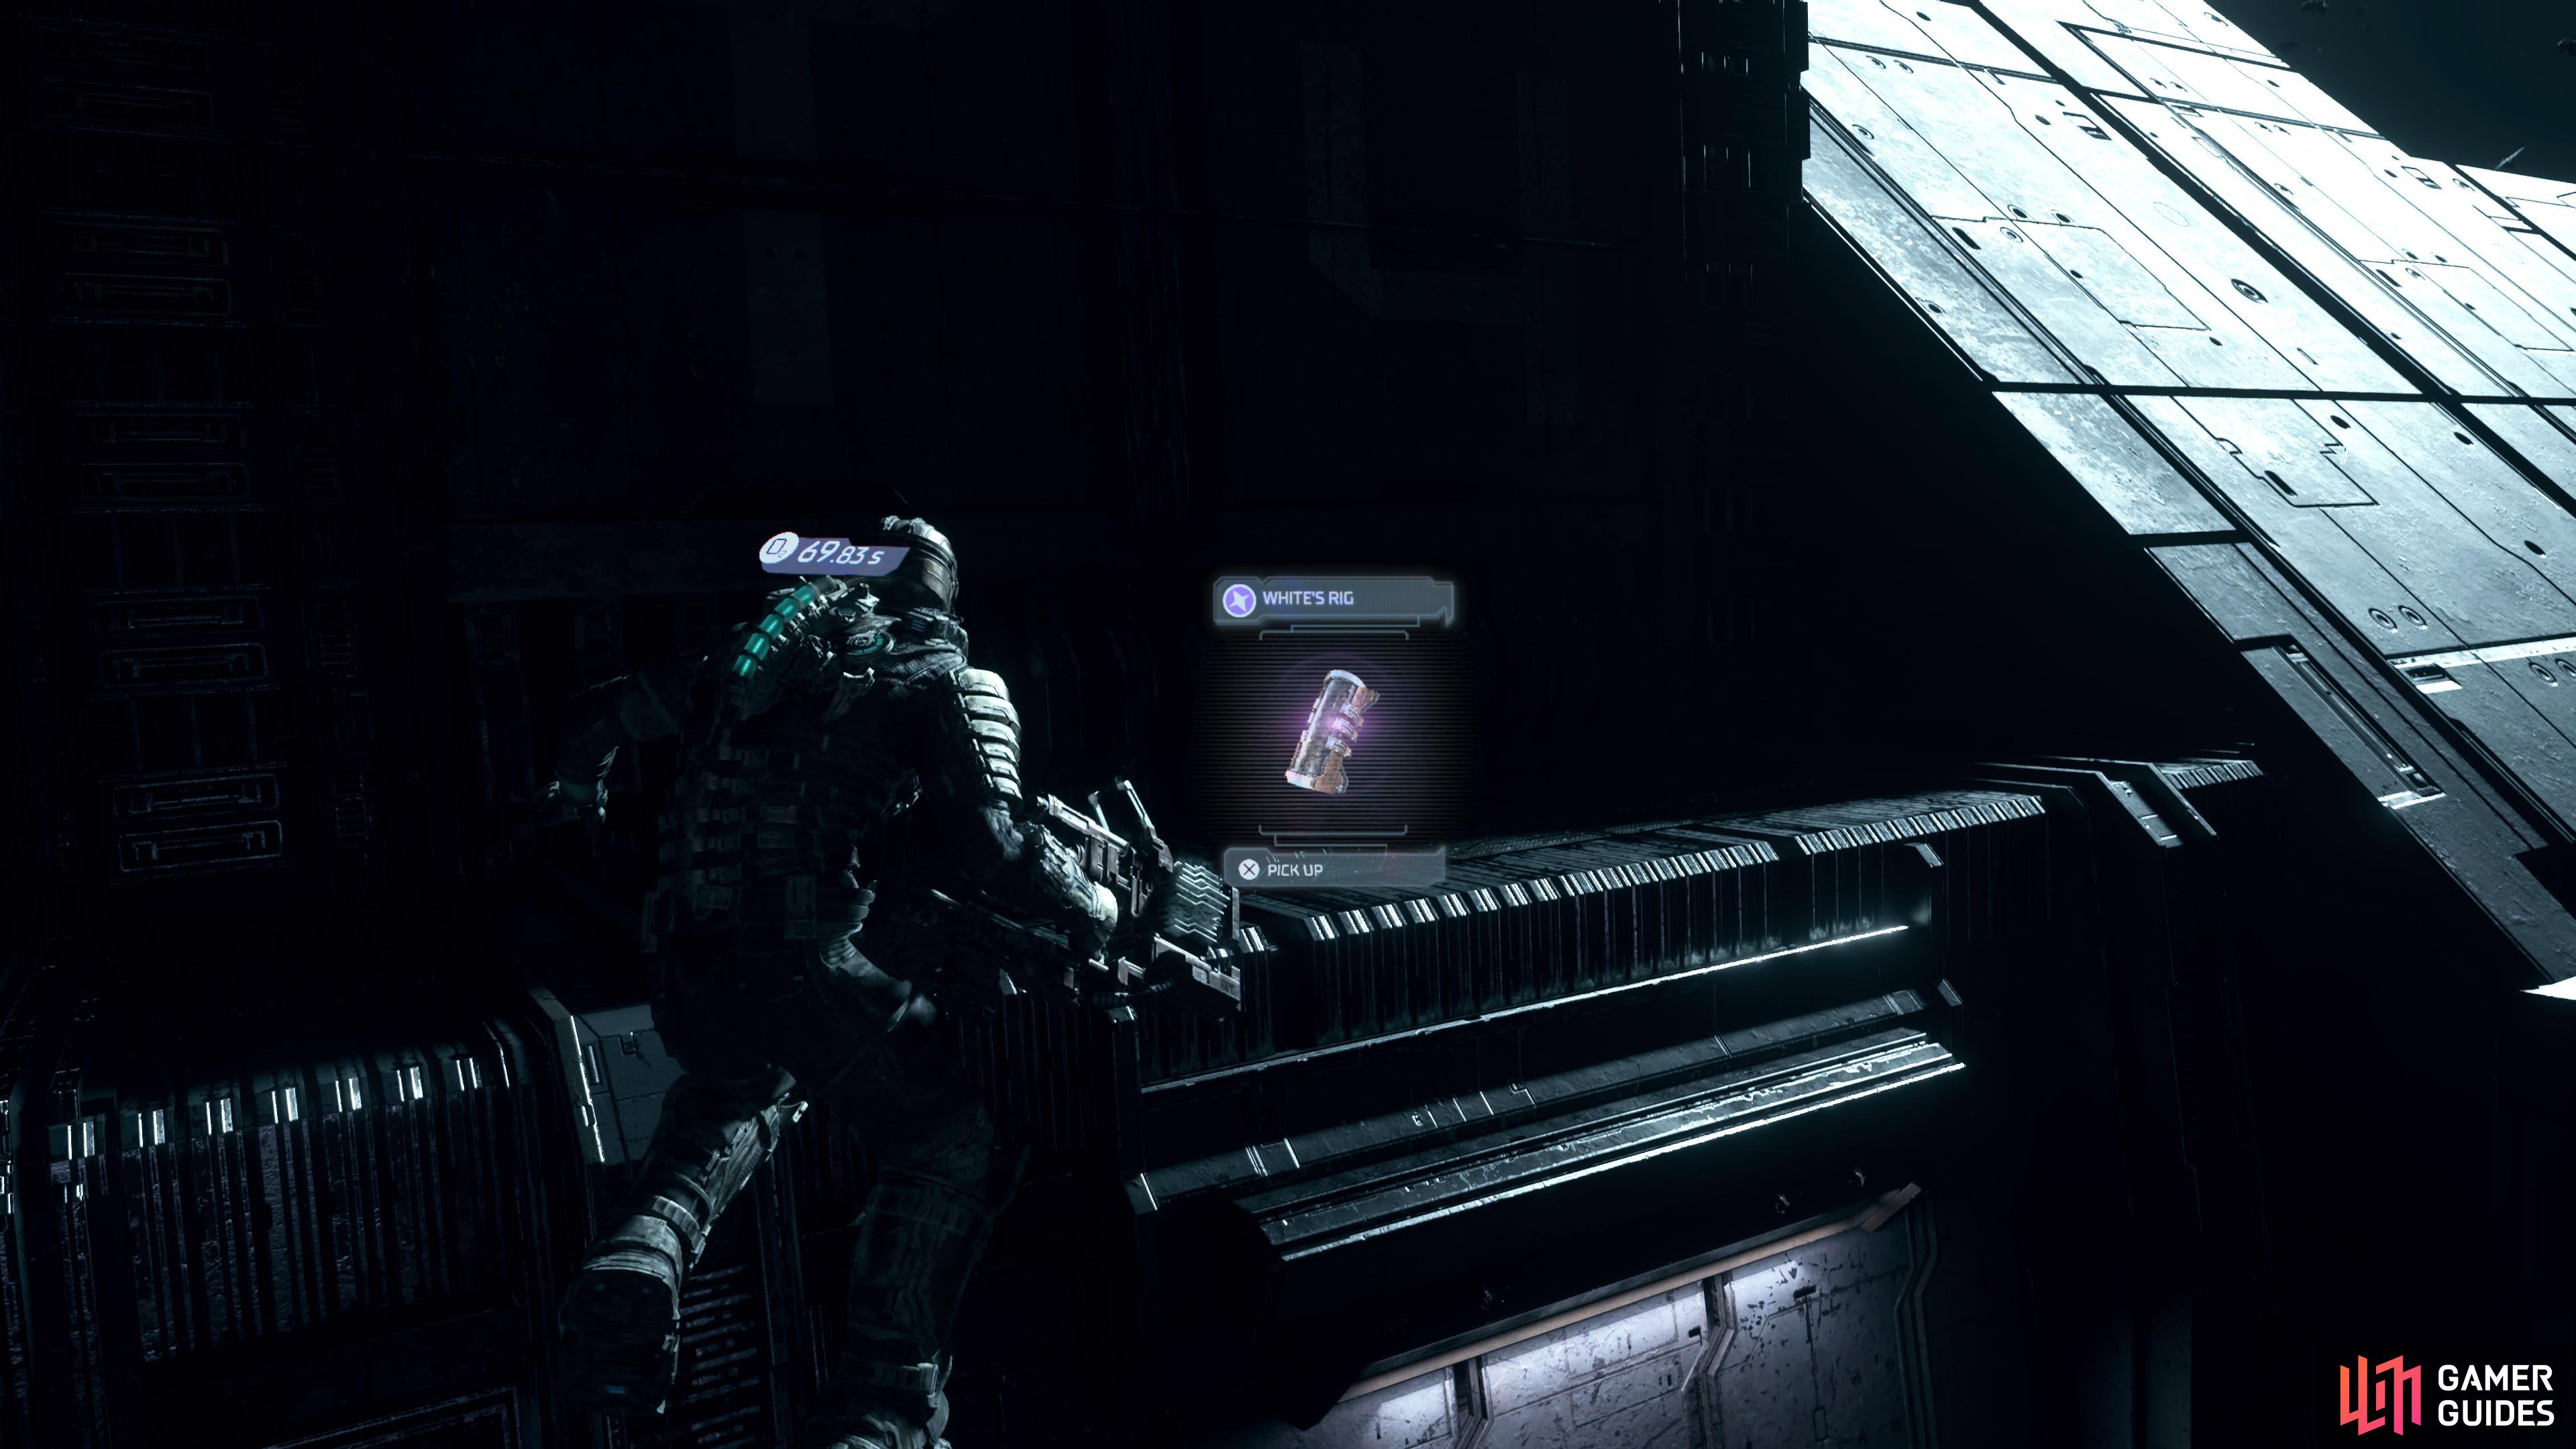
Float up to the body to pick up his RIG.
Find Lt. Commander Holt’s RIG
| Station | Availability |
|---|---|
| Hydroponics Deck | Chapter 6 |
One of the harder-to-find RIGS, and you can get it during Chapter 6 when you have access to the Hydroponics Deck. Go through the Hydroponics Tram Station and enter the door at the opposite end. Follow the hallway past the bathroom and enter the Central Hub to Hydroponics via the elevator. Enter the Sapling Room by using the only door available and follow the winding path around the room past the creepy hologram to enter the door at the end.
If you’re progressing the story, this is where you’ll create the enzyme. If you look to your left, you’ll see a door that goes “To West Tower”. This is the room you’ll want to go through, but if it’s locked, you’ll need to progress the story first. All you need to do is go through the room at the other side of the room, and you’ll be sent back to inject the Wheezers which will unlock the door.
Go through the To West Tower door and enter the Flow Control room. This room will require you to get past the sprinklers, which will hurt you if you are hit by them. Wait for each one to go off, and wait in between them before heading past the next one. Take the elevator at the end of the hall, and you’ll be on top of the Flow Control area where a Necromorph waits for you.
Defeat the Necromorph and progress through the door at the end. This will take you into the West Growth Chamber. As you head further into the room, you will have to deal with a wonderful variety of Necromporphs, but thankfully you can pick up the powerful Force Gun in the Security Clearance 2 door on the left side of the room.
When you’re ready to explore again, take the elevator in the middle of the room to the second floor. There are two doors up here, and you want to go through the East Grow Chamber entrance where you’ll need to unlock it by the nearby circuit board. In the East Grow Chamber, there will be a tendril with three growths that you need to shoot. The RIG will be obscured under the growth near where you entered the Chamber.
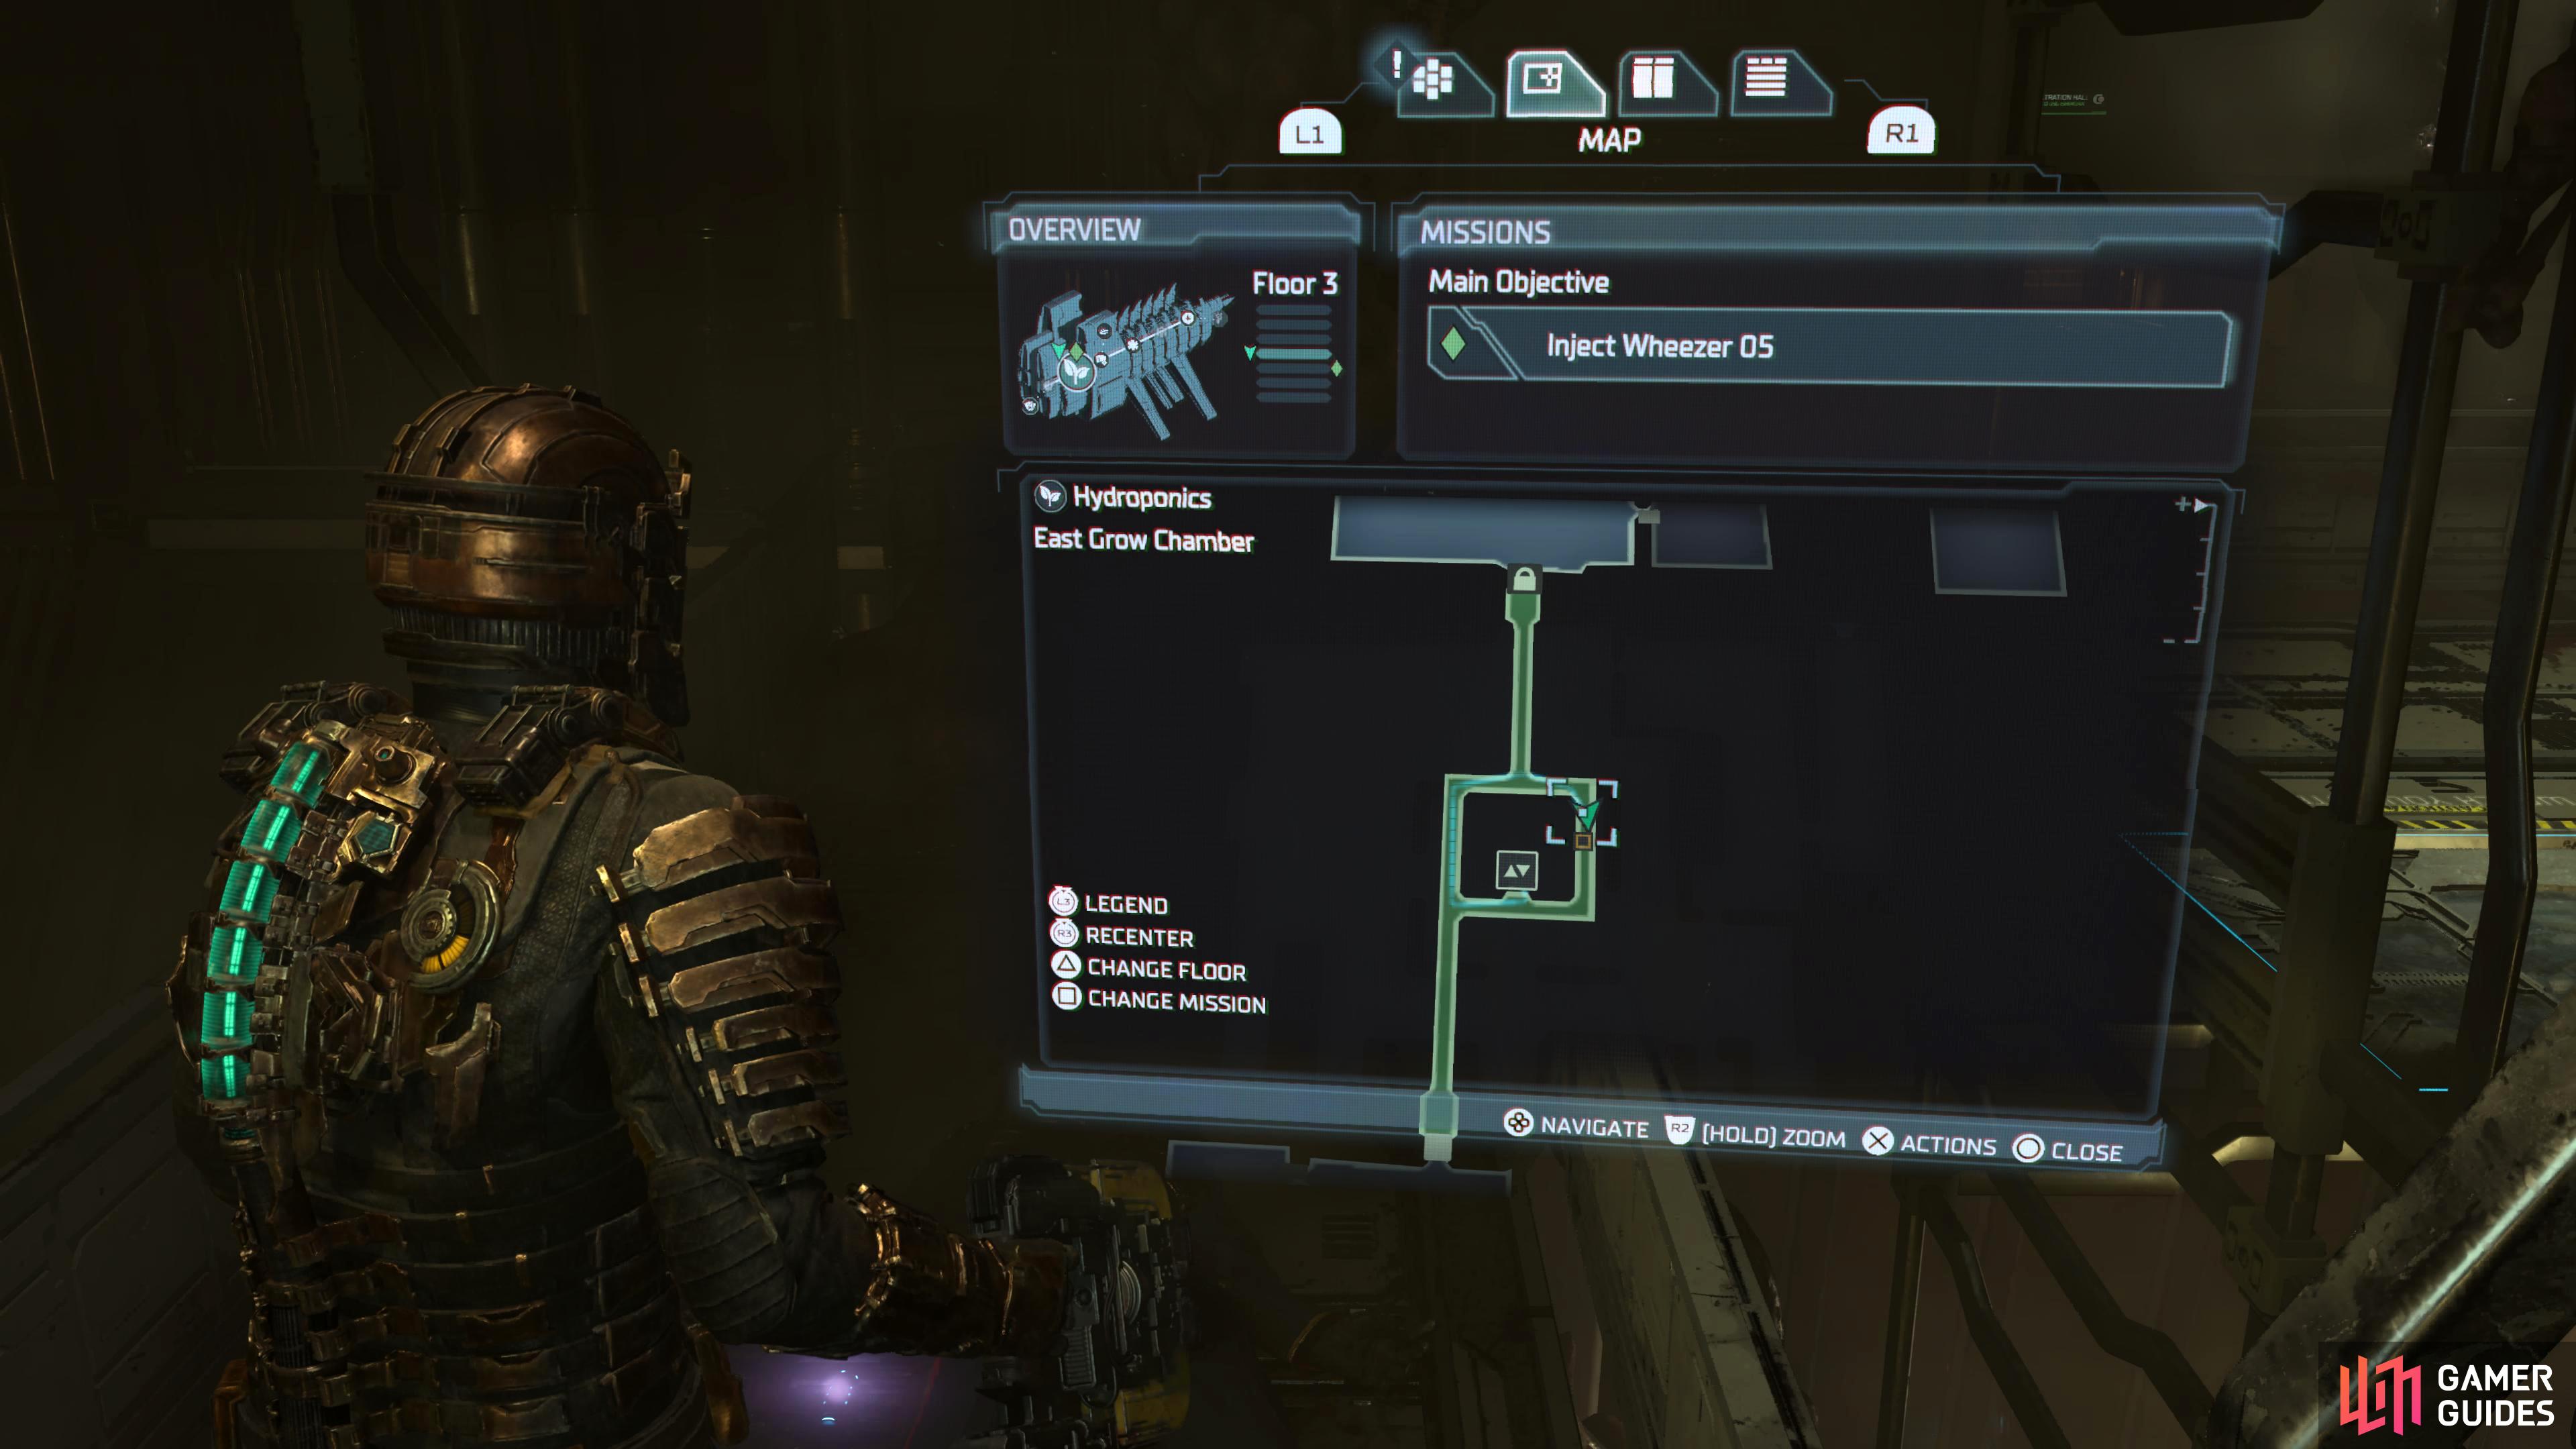
Holt’s RIG will be in the East Grow Chamber in the Hydroponics during Chapter 6.

After shooting the growth you’ll be able to pick up the RIG.
Bring the RIG’s back to the Bridge
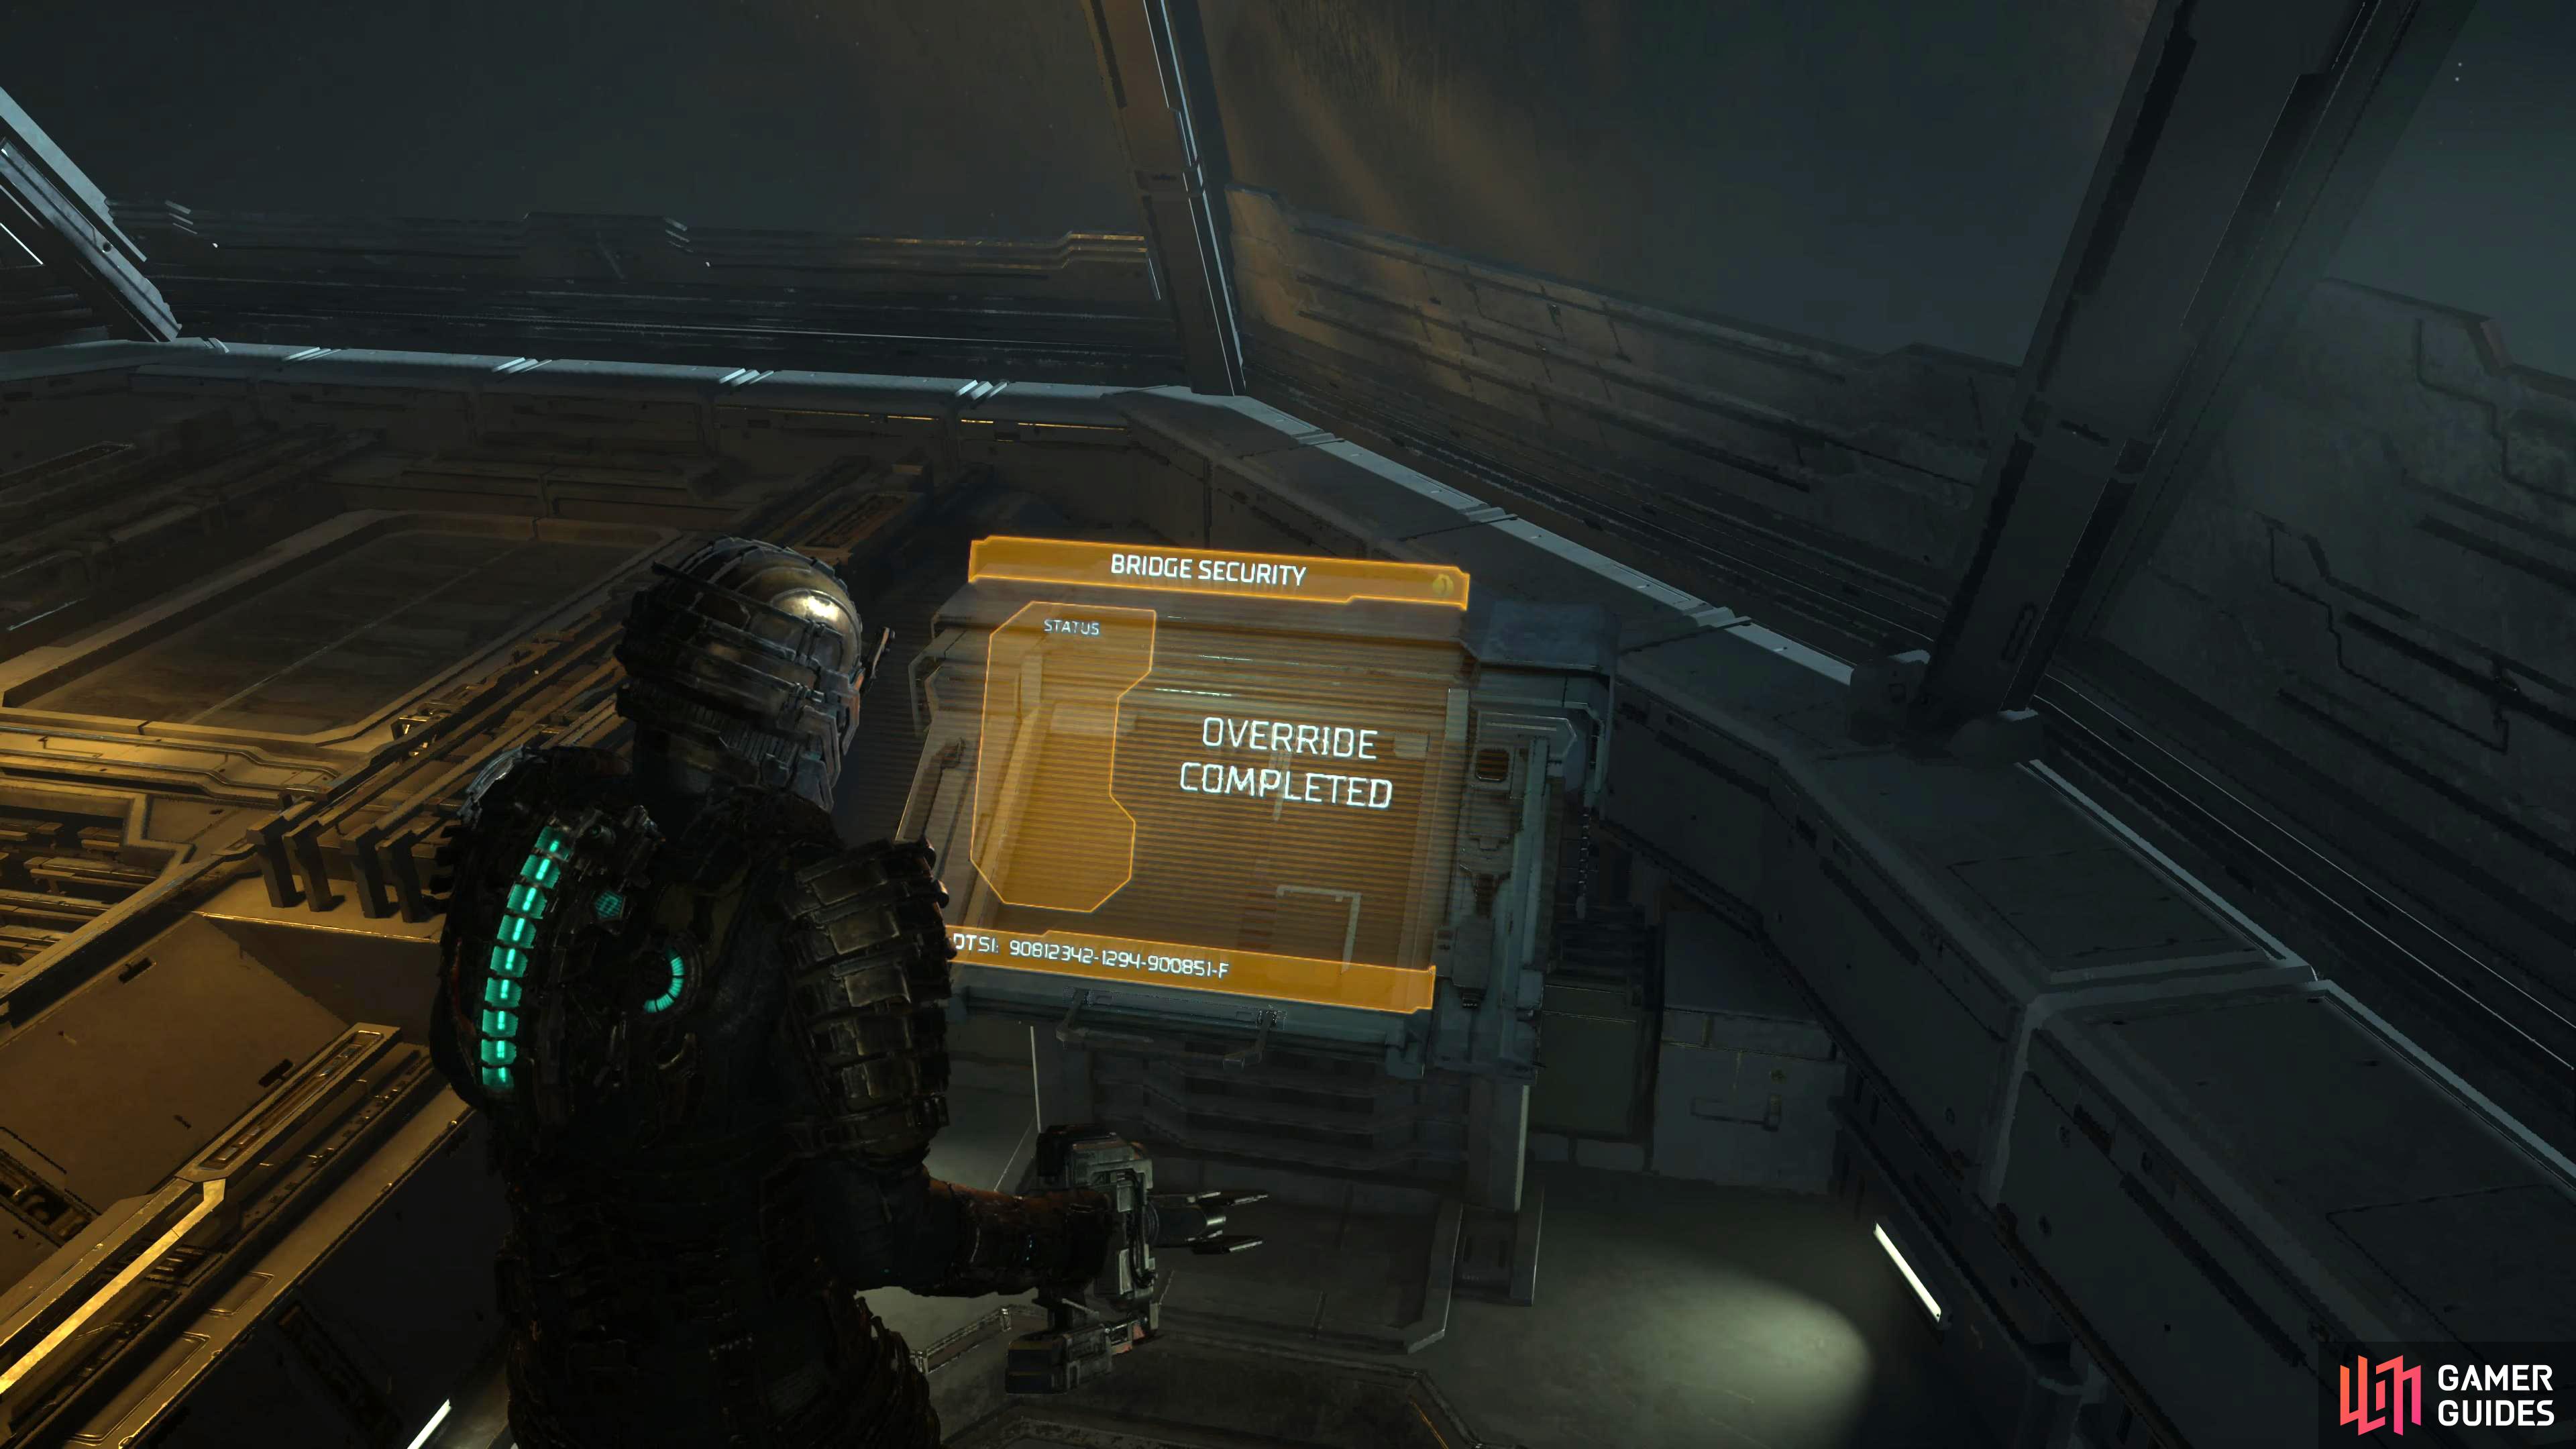
Head back to the console in the Captain’s Nest with all the RIGS to acquire the Master Override Keycard.
Now that you have all the RIGS, head back to the Captain’s Nest near the Main Atrium on the Bridge Deck, and place them in the console that you started the quest with. After you’ve activated the console, you’ll acquire the highest Security Clearance in the game, Master Override.
No Comments