| Collectibles | . |
|---|---|
| Diary Pages | 2 |
| Instruments | 0 |
| Morality Points | 4 |
| Achievements/Trophies | 1 |
As you begin the mission you will be in a tunnel that is doubling up as a crypt of sorts. You will see skeletons in indentations in the wall. Keep an eye out on the left hand side of the tunnel, in one of these areas you will find Diary Note [Note 1/2] . Continue onwards towards the light at the end of the tunnel until you exit.
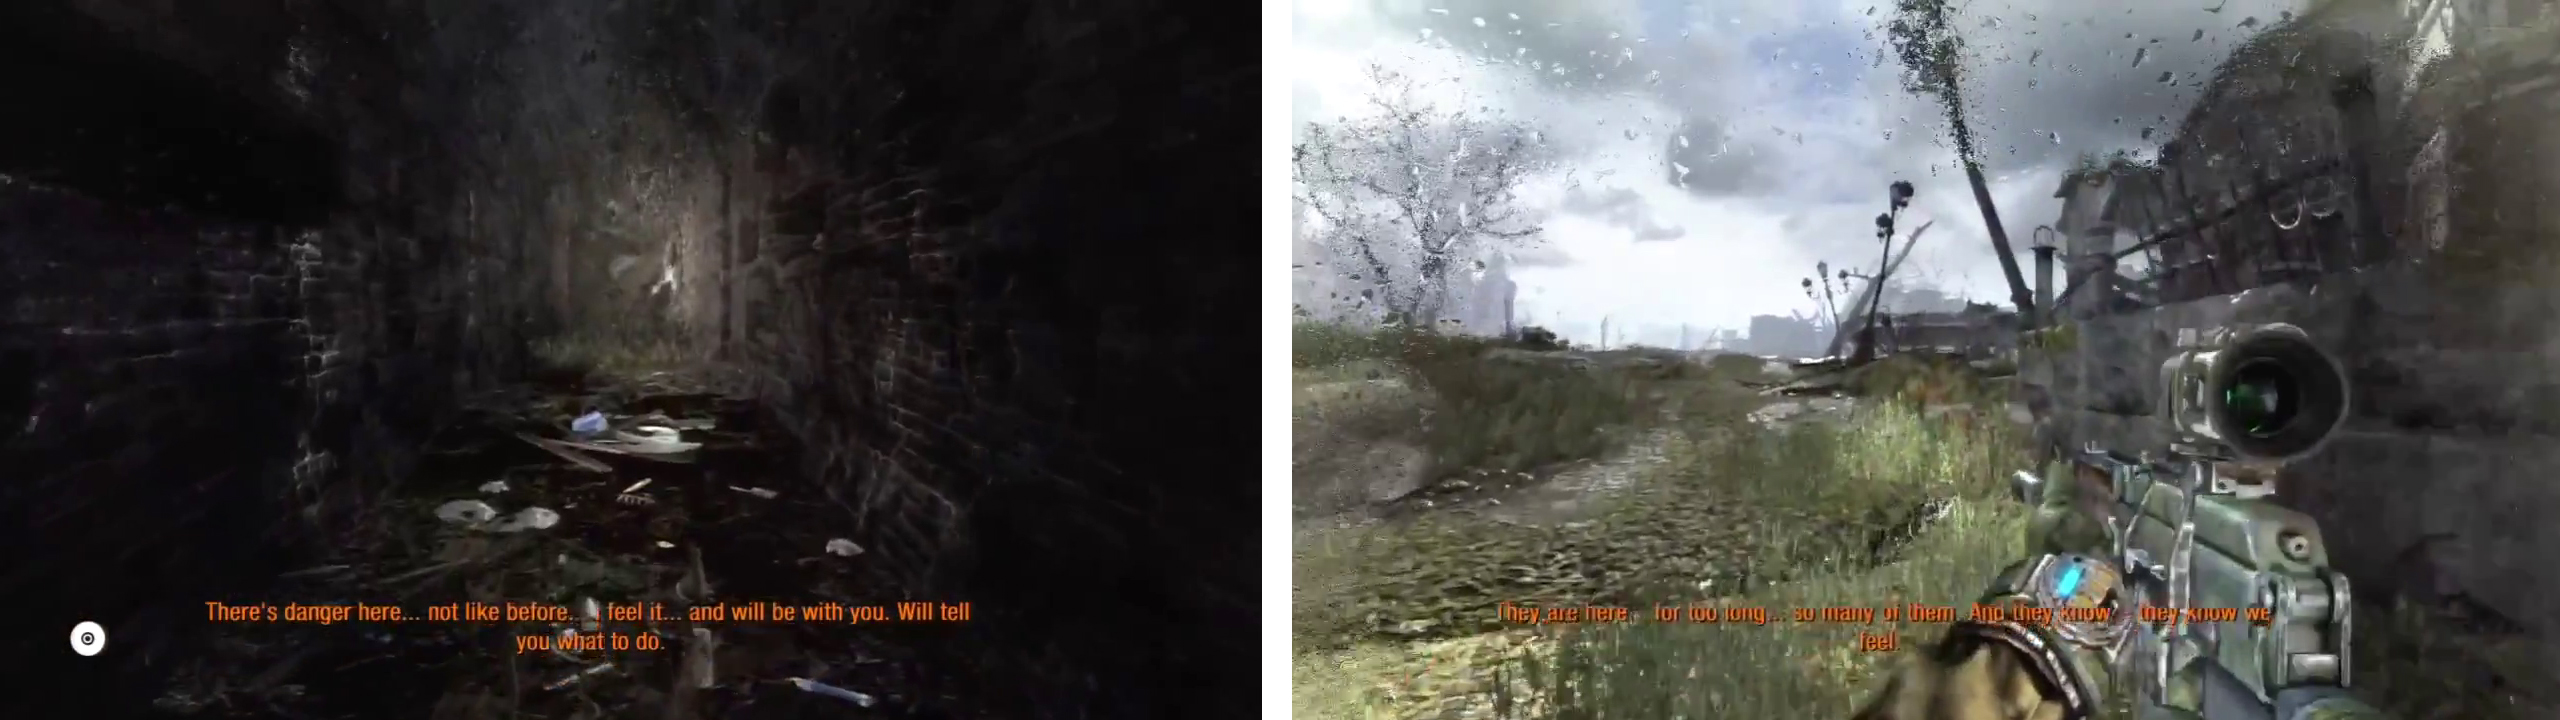
Look along the left hand wall for a Diarny Note (left). Return outside to continue (right).
Climb up the ramp in front and as you go past the cylindrical object in the centre of the path, loot the body propped up against it for some ammo and Filters . To the right of this body, in the doorway to the dilapidated bus you will find an additional stash of ammo . Continue up the path away from the bus and as you approach the large building to the right you will see a large number of watchmen appear on the walls above. Wait for a few moments and they will back off. If you let them go without shooting you will earn a Morality Point .
Run up to the ruined bus ahead, and climb the steps to the building to the right. Follow the path along for a scene and loot the three corpses in the area for Filters , a Gas Mask, Medkits and ammo . You’ll also earn another Morality Point for exploring the area. Return to the bus. Inside you will find another corpse to loot with a Medkit, Filters and ammo . Move to the front of the bus and make your way down the ramp here.
During this section, you need to follow your friend and stop where he stops. Run down to the first safe area and loot the body here for Filters and a Medkit . When he starts moving follow him along the left hand wall and just before you arrive at the car, loot the body here for Filters and ammo . Wait here until your friend starts moving again.
When you are told to do so, follow your friend, hanging out against the left hand wall. Loot the body here for ammo and continue around the corner to the left. A watchman will be pointed out to you at this time. It will not attack you unless you provoke it or get too close. You can still walk up close to it and loot the body in front of him for a Filter from the furthest possible distance without being attacked. If you leave it alone, you will be rewarded with a Morality Point . Continue to follow your friend.
Drop down to the area below and immediately turn and continue to the left. Follow the path around the top of the waterfall here, hugging the edge until you end up on the opposite side of the river from where you entered. Climb the ramp here into the blue tunnel for a scene. Afterwards, follow your friend along the set path until your vision returns to normal.
Climb the slope ahead and at the top turn left and climb the stairs. If you turn right at the top and follow the walkway around you will find a corpse with a Custom Weapon . Continue to follow the walkway until you reach another set of steps leading down. At the bottom of these drop into the dry river bed below.
Follow the riverbed until you drop down into a flooded building ruin. Immediately turn to the left and follow the wall along until you find a tunnel leading back in the direction that you came from. Follow this all the way to the end and through the open doorway here. In the next room, climb the stairs and at the top head over to the right. You will find a mausoleum with a body lying in state in a glass coffin and on the floor in front of this is Diary Note [Note 2/2] . There is a Custom Weapon and a Filter/ammo stash here too. Additionally, there is a set of stairs to the left of where you climbed up from with another pile of ammo and Filter to loot. Backtrack all the way to the flooded area.
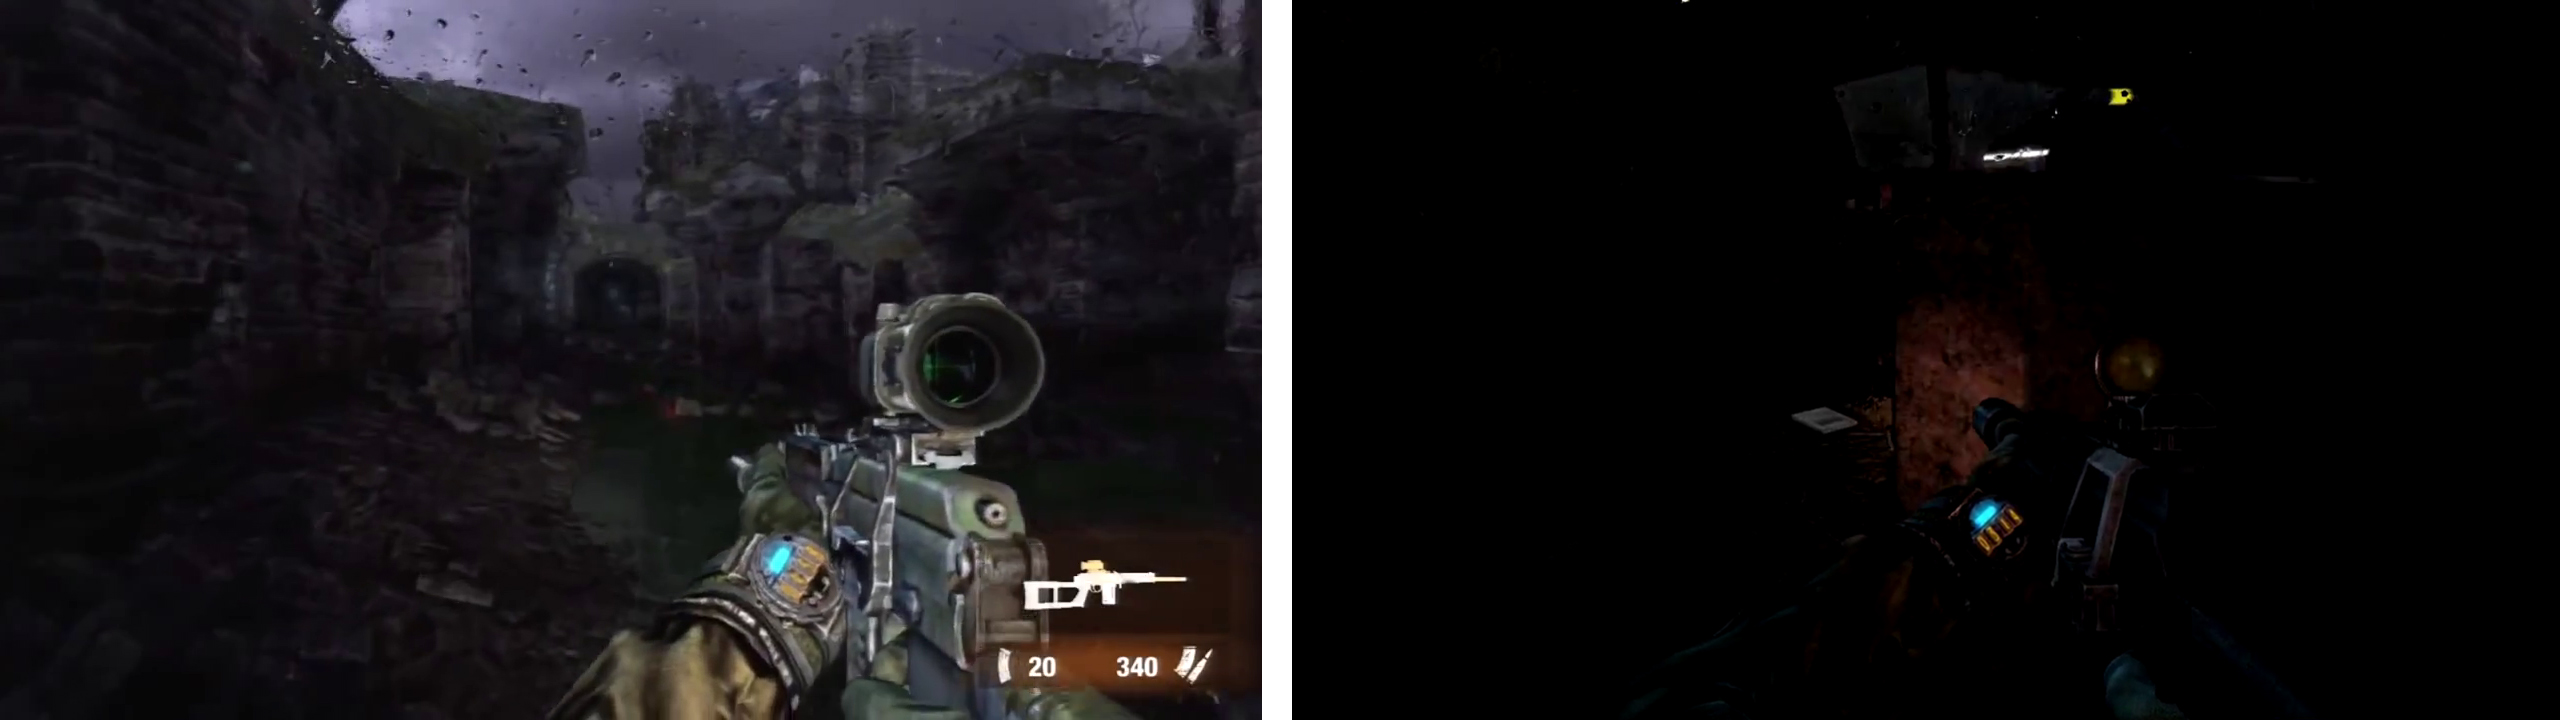
When you reach the ruins (left). Find the hidden tunnel and follow it until you reach a glass casket to find a Diary Note below it (right).
Work your way over to the far end of the flooded area and climb the dirt slope to the left. Drop down into the courtyard below.
This section might be the most difficult in the entire game. As you cross the courtyard you will be ambushed. Multiple snipers will appear in windows surrounding the courtyard and enemies will enter from a door at the far end of the area. This is much less difficult if you are not going for a no-kill run as you will be able to return fire on the snipers.
Unfortunately, if you are still going for a no-kill run at this point, you can do nothing against the snipers as killing them will void the achievement/trophy. As such, you need to stay in cover and wait for the ground forces to approach you, then quickly run up and punch them out and run back to cover. Use med kits as necessary (if you run out there are plenty of bodies lying around to loot) and repeat. Fortunately, your friend is able to periodically highlight the enemies in the area to give you a general idea of where they are at, and where to expect an attack.
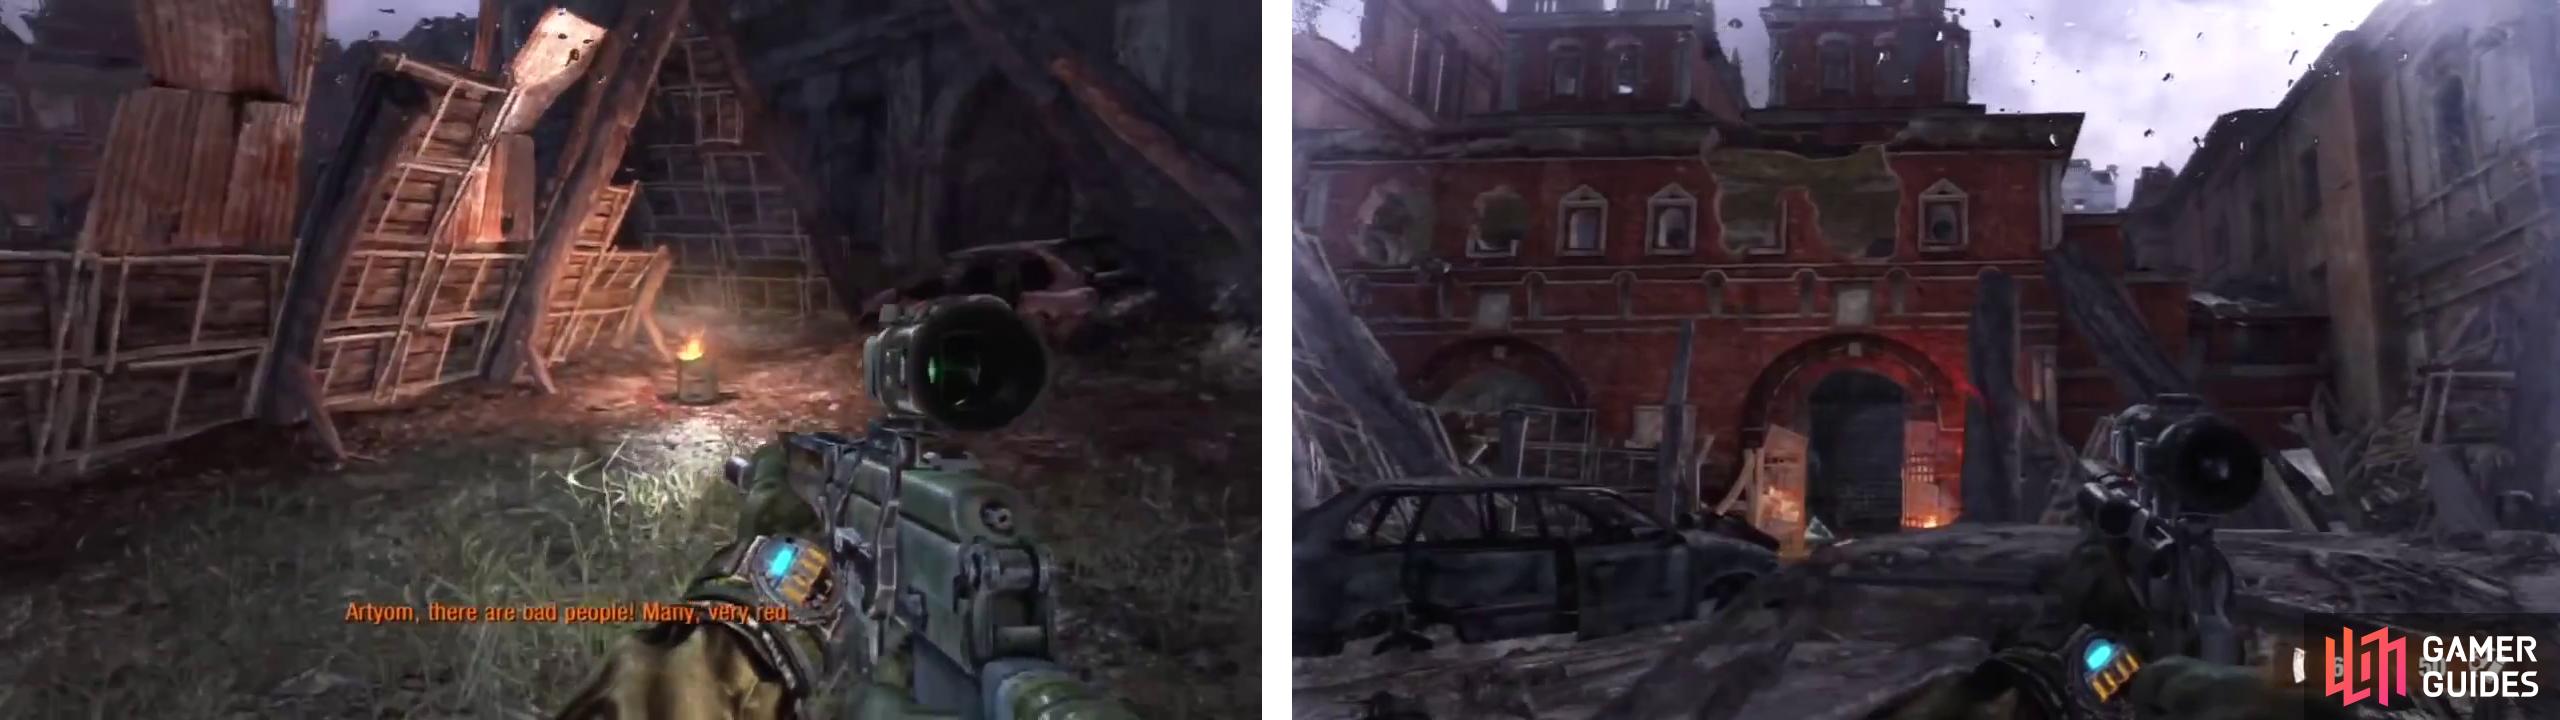
Use the makeshift barricades as cover to take out the enemies that come. Enter the red building when the bad guys stop coming (right).
The ground attack will come in two waves. There are a total of four ground soldiers that will attack in the first wave. If you stay behind the two pieces of cover closest to where you dropped down into the area, they will be able to shield you from the majority of sniper fire. Once the first wave of ground forces are knocked out, you will have to wait for around a minute.
The main bad guy will monologue at you over a loud speaker. When he says “This is becoming tedious” this is the trigger for the second wave of ground forces to attack. Fortunately, only one of them will come to attack you. So deal with him and sprint for the now open door at the far end of the area whilst using cover as much as possible to move up whilst minimising sniper fire. When you reach the door, use a med kit and charge inside. There are two enemies just inside the door. Knock them out.
Approach the open doorway at the back of the small room and peek around the corner. This guy is pretty much invincible for the moment, so feel free to shoot him. After shooting him, he will run off so continue to the top of the stairs and look round the corner. Repeat the process; continue to peek out each time he tries to ambush you and pop him a few times until he runs off and then move up to the next area.
After the third time you shoot him, approach him as he lies on the ground for a scene.
When you regain control, you have a decision to make.


After the scene, go through the hole in the wall to the left of the body. Climb down the wooden ramp until the screen fade out and the mission ends.
No Comments