| Collectibles | . |
|---|---|
| Diary Pages | 2 |
| Instruments | 0 |
| Morality Points | 0 |
| Achievements/Trophies | 2 |
Once the railcar stops moving, exit through the open door onto the platform on the left. Hang out with the rest of the crowd here, listen to the audio and then continue forward when you are able to do so. Along the right hand wall you will see a radio desk. Sitting on this you will find a Diary Note [Note 1/2].

After the pep talk, look on the bench next to the weapon rack for a Diary Note.
The gun mounted on the wall to the right of this is a weapon cache and will allow you to replace your currently equipped weapons with an assortment of non-modified firearms.
Weapon cache:
- Valve
- Kalash
- VSV
- Kalash 2012
- Shambler
- Saiga
When you are ready, continue through the open gate.
Note the barricade in front and the ammo crates to the left and the right of the small enclosed area you are limited to. Make your way up to the barricade and crouch behind it. After a few moments a scene will play and all hell will break loose.
If you are still in the hunt for a no-kill run, you can essentially hide behind the barricade here and stay in cover for the entire fight. Do not kill anyone until I tell you to!
Enemies will start pouring through a hole in the back wall and we need to hold them off for a short period of time. After your friends have done a fair bit of shooting and have managed to kill a few approaching bad guys another scene will play. When you are back in full control, run up to the barricade in front and stay in cover until your comrades successfully stave off the attack.
Once the enemy soldiers stop coming, turn to the left, grab some ammo from the crates here and look over the railing to the distance. You will see a tank on the tracks opposite and we need to take it out. Note DO NOT shoot the enemy soldiers on the tank or tracks opposite as this will void your no-kill run. Focus on the tank and the tank alone!
To destroy the tank, you need to firstly stay in cover to avoid taking splash damage from the incoming explosive projectiles and enemy machinegun fire. Next wait for the tank to move all the way left and then back up a little. At this point we can start attacking. Note the sections of the tank that have a reddish hue to them. These are the pieces that we need to attack. In order, you will need to attack the following:
-
- The rod connecting the wheels together.
-
- The front and back wheel.
-
- The rocket turret on top.
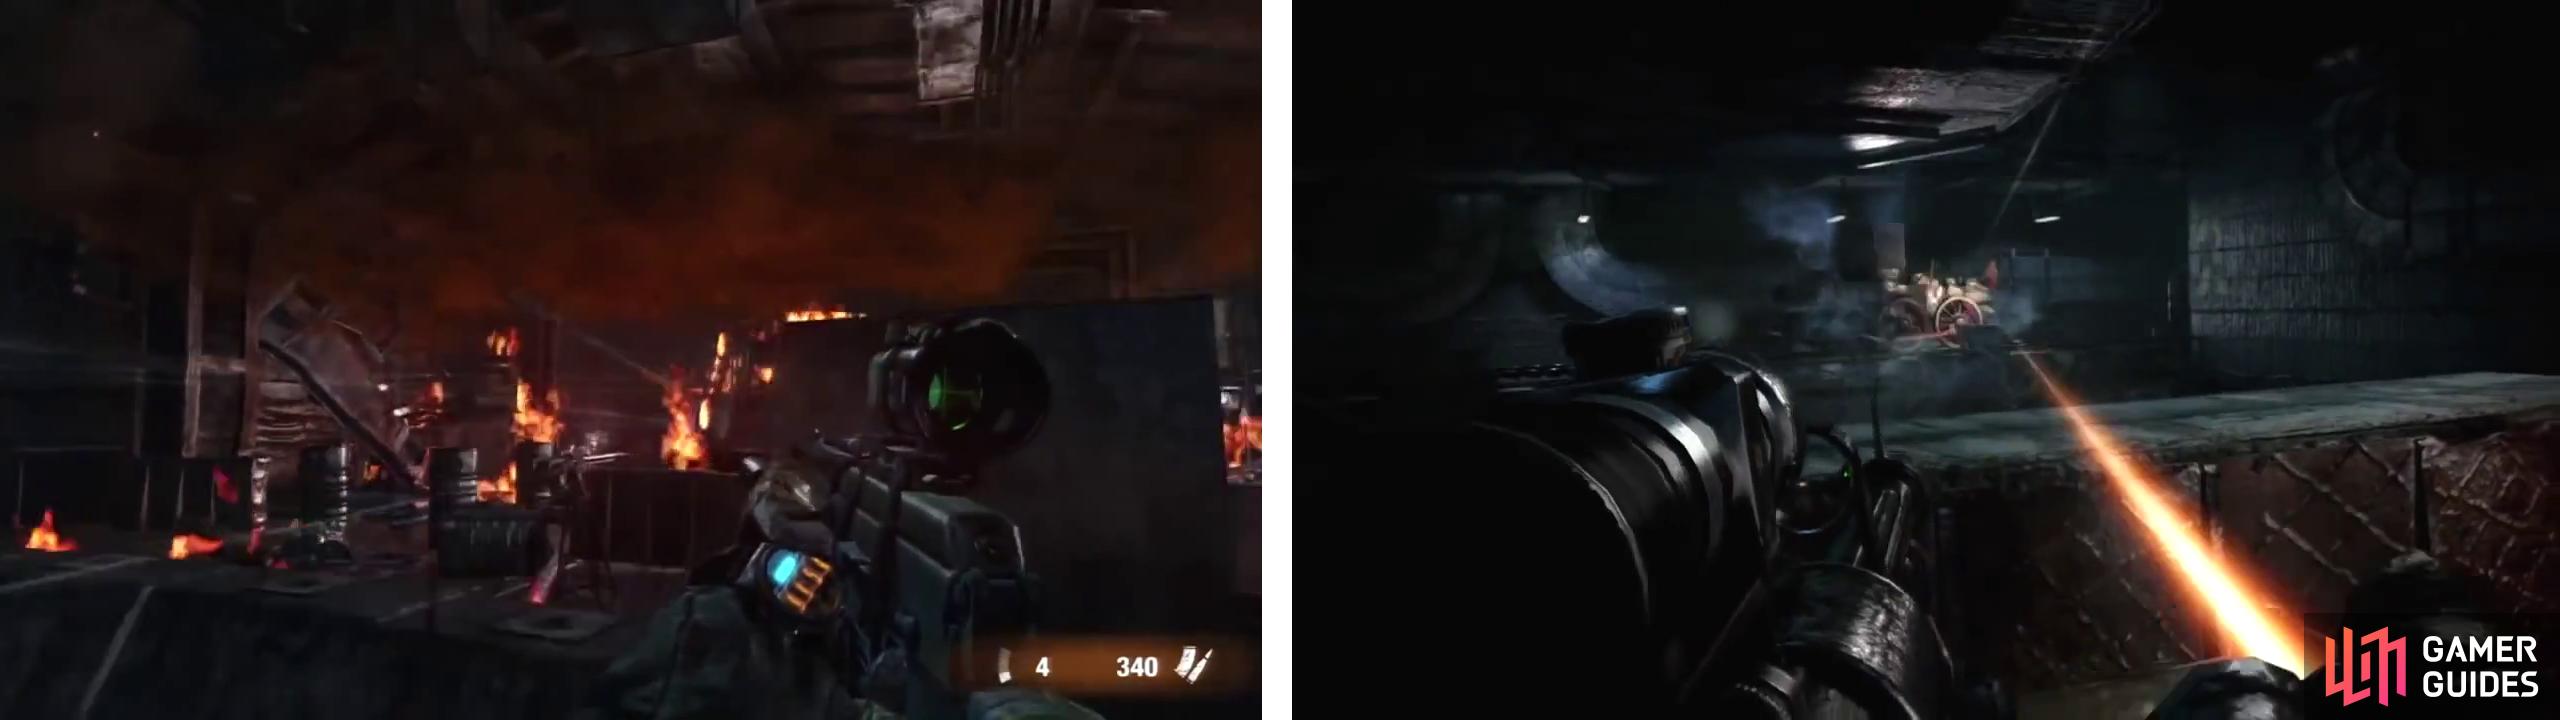
Stay behind cover (left) until the tank shows up across the gap (right), then you’ll need to take it out by shooting the red parts.
Once the tank has been destroyed, you will have a few moments to chill out. Quickly grab some ammo if you require it from one of the ammo boxes nearby and then make your way to the in-tact barricade opposite the burning one (you’ll need to jump up the wall). In the corner to the right you’ll find another ammo crate and sitting just in front of this is a Diary Note [Note 2/2] .


Now we have to wait for our crew to defeat another wave of enemies. Note the mini-gun propped up against the barricade. This is a pneumatic weapon and will require you to pull out your recharger to pump it up again when it runs out of pressure. There are two waves of enemies that will attack you at this point.
First up is a group of around 20-25 regular soldiers. Do not attack at this point. Instead, stay in cover and allow your friends to have all the fun. After your comrades have managed to kill off a sufficient number of bad guys, a smoke screen will appear.
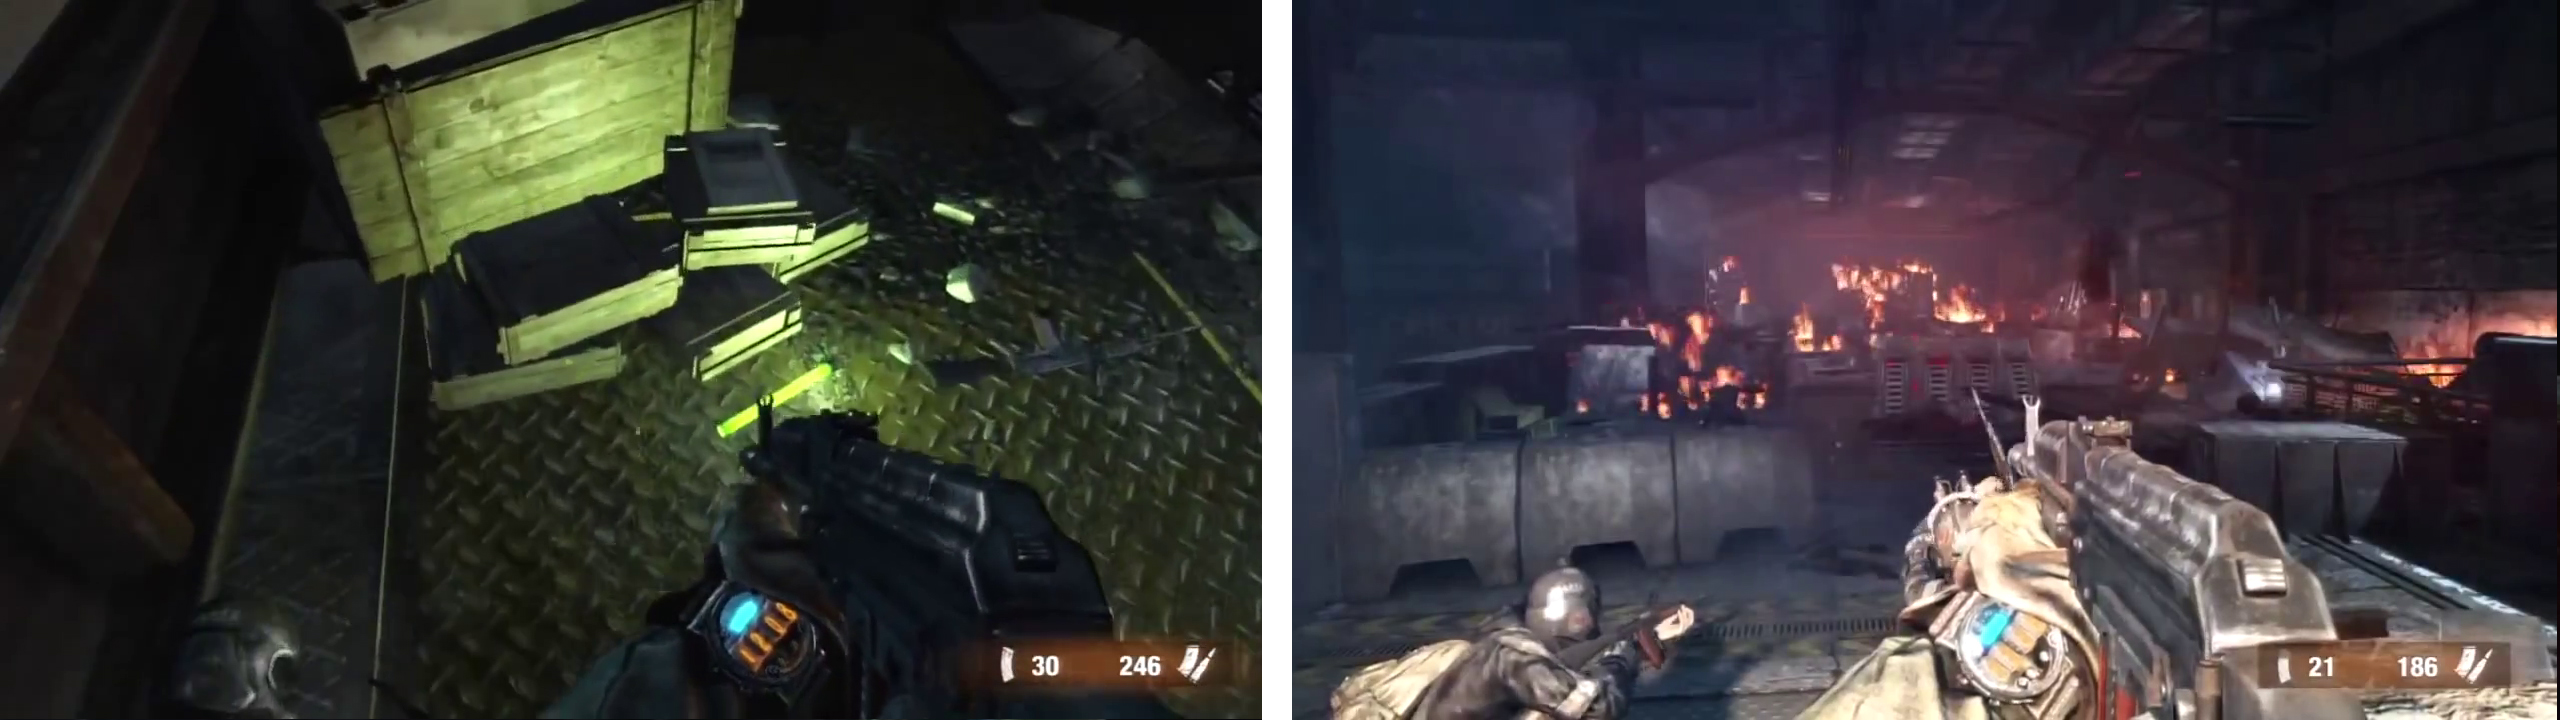
during the final defense sequence, grab the Diary Note (left) before focusing on the shieldwall (right).
Once the smoke subsides, you are free to attack! You will see a flamethrower enemy behind a shield wall being carried by 8 regular soldiers. The shield wall will walk towards you. To destroy it you need to shoot through the rectangular holes close to the top of the shields to hit the soldiers behind. Killing a shield bearer will leave a hole in the wall for a brief moment so use the opportunity to either shoot the flamethrower enemy behind or to pop some of the other shield guys before they re-form and advance again.
Once the shield wall goes down and the flamer is dead a scene will play to complete the mission and the game.


Congratulations, you have just finished Metro: Last Light!
No Comments