| Collectibles | . |
|---|---|
| Diary Pages | 2 |
| Instruments | 0 |
| Morality Points | 4 |
| Achievements/Trophies | 1 |
Section 01: The Garden
As soon as you start this mission, turn to the right and loot the corpse for a Filter . Move forward and loot the body along the path in front of you for some ammo and Filters . Drop down into the shallow stream on the left and follow it back in the direction that you came from to find another corpse with a new Gas Mask and Filters to loot. Return to the path and follow it until you reach the water. Loot the corpse under the tree at the water’s edge for a Custom Weapon and Filters .
Similarly to the swamp/marsh area earlier in the game, we need to work our way across the flooded area here. Unfortunately stepping into deep water will deal you some damage and plop you back onto solid ground nearby. To cross, follow the red flags! To begin with cross to the large building off to the right. As you reach the solid ground after the third red flag, you should see a dead tree in front of you, look to the left for a short set of stairs with railings on either side rising from the water to create an island. Run over here to grab a Filter from the corpse.
Return to the third flag and follow the solid ground to the left. As you proceed, keep an eye out to the right for a fallen iron gate. You can run behind this and follow a small wooden platform over to the wall of the building. Hop off and follow the watery passage to the left and enter the open doorway here. Entering this area will give you a Morality Point . Look along the back wall for a safe containing ammo and follow the water to the left to find a corpse with Medkits and +5 Military Grade Rounds . Walk into the hole at the end of the area and burn the cobwebs. There is a lockbox here containing Filters and +40 Military Grade Rounds .
Return outside and to the iron gate I pointed out earlier. Keeping your back to the building we just looted you should see another fallen iron gate ahead. Run up to this and loot the corpse at its base for Filters and then continue along the shore to the left of this to find a log in the water leading to another small island.
Loot the corpse here for some Filters and walk around to the other side. You should see another partially submerged log here. Run across to the cave opposite. When you reach the end of the log, stop and disarm the trap . There is an Incendiary Grenade and a Custom Weapon here. Crouch and enter the small cave for a Morality Point . Note that you will also probably be attacked by a shrimp here. Destroy it and return to the area with the fallen iron gates. Follow the next set of red flags over to the next piece of solid ground.
As you arrive, you will be attacked by watchmen. Note that if you can make it through this area without killing any of them, you will be rewarded with a Morality Point when you reach the end. We can do a quick bit of looting first however. From where you land, you should see a small cave ahead illuminated by green mushrooms. Loot the corpse in here for +10 Military Grade Rounds . To the right is a ruined staircase with a couple of wooden planks forming a makeshift bridge over to a small platform. The corpse here has some Filters and Medkits .
To make it to the end of the area, without killing any of the watchmen, you need to follow the linear path to the left. You will need to sprint to keep ahead of the watchmen and not stop to loot either of the bodies along the way. If you need some additional guidance, you can pull out your diary and follow the arrow to the end. When you arrive you will need to crouch under the branches here and crawl all the way along the path and out the other side.
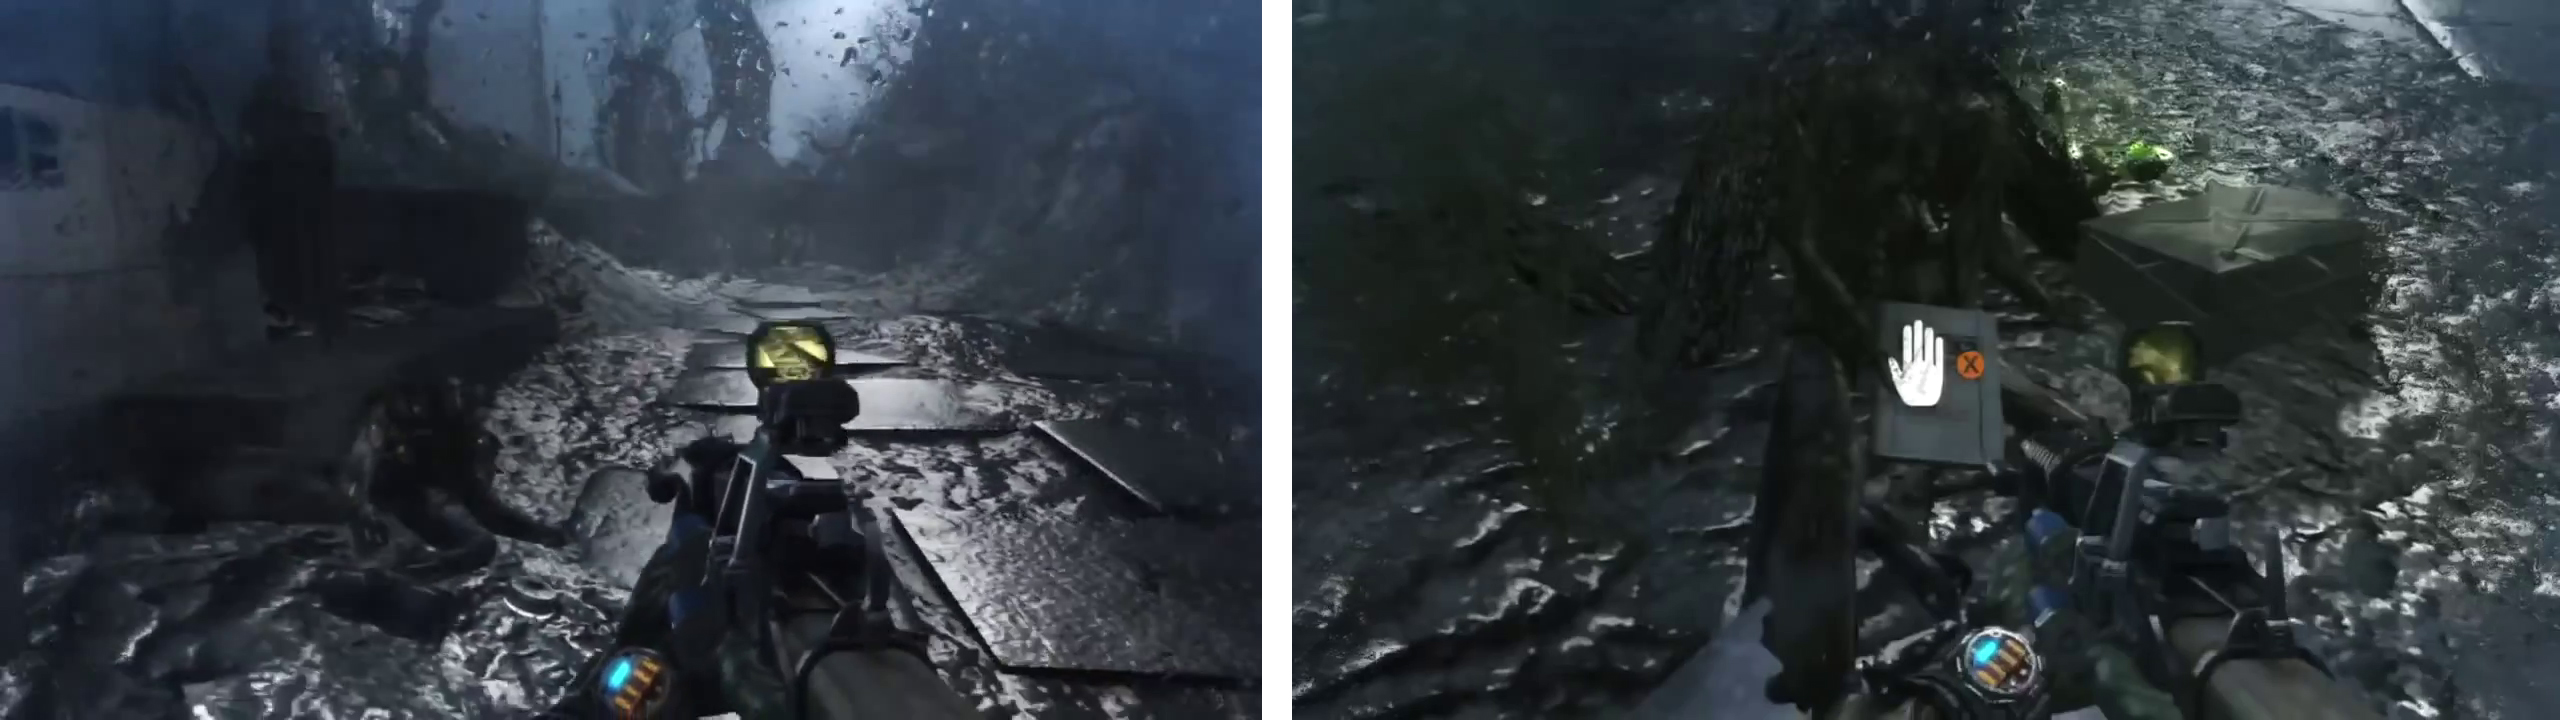
After runnning through the watchmen infested area, crawl through the gap to find a Diary Note (right) on the far side.
As you exit, examine the corpse propped up against the root in front of you for a Gas Mask and a lockbox containing Medkits, ammo and Filters and check out the ground in front of it for Diary Note [Note 1/2] . Grab this and continue up the ramp where you saw the bear earlier. Drop down into the large open area below.
Section 02: Boss - Mother Bear
As you walk forward into the area, the mother bear will appear on the opposite side. She is similar to the Rhino we fought earlier in that she will charge at you and use powerful melee attacks to strip your health very quickly. Unfortunately, unlike the Rhino, there are no ruins or other obstacles in the area to help stun her and end her charge. The trick to the fight is to keep your distance, stun her by shooting at her or planting Claymore Mines. Stand behind them to have her charge them and then whilst she is temporarily stunned, shoot her weak spot (her back) and throw grenades and incendiaries at her to dish out damage.
During the early part of this fight, you will have to put up with watchmen who will jump into the area and attack both Artyom and the boss. As their actions are unpredictable, it is best to kill them off as soon as you see them. Fortunately, once you have killed 8-10 of them, they will no longer attack you and will only spawn when you stun the boss.

When the bear is stunned, its weak spot will appear red (right).
When the bear has taken enough damage, it will run off and create a hole in a wall on one side of the area. Quickly follow her through the gap and in the next room you will see her on the ground being attacked by watchmen. Kill the three watchmen attacking her to earn the achievement/trophy ‘Forest Guardian’.


Afterwards turn to the left and loot the corpse at the foot of the tree for ammo and Filters . Follow the set path through the trees here until you reach some stairs on your left leading up to a church. Climb the stairs and before going through the gate at the top, look on the handrail to the left for Diary Note [Note 2/2] . Grab the ammo and Filters from the ground below it and continue straight across the nearby courtyard and into the open door ahead for a scene.

Before entering the building, look on the railing to the left of the stairs for a Diary Note (right).
Following the scene, the chapter will be complete.
No Comments