
Knights of the Nine is one of the two main DLCs for The Elder Scrolls IV: Oblivion Remastered, although it’s the lesser of the two. While The Shivering Isles will transport you to an entirely new map, this one will focus on a questline in the base game’s map. It is possible to start this series of quests as soon as you exit the sewers during the prologue. This page will detail where to start the Knights of the Nine DLC, as well as how to complete the Pilgrimage quest.
Knights of the Nine is one of the two DLCs included with the remastered edition.
Knights of the Nine DLC Location
As mentioned in the opening paragraph, you can start the DLC as soon as you have access to the open world. There are a lot of NPCs around the world that have a Prophet dialog option when speaking to them. Choosing this will point you towards the city of Anvil, on the western coast. Luckily, you can just fast travel there, so you don’t have to make the trek on foot. In the southeastern corner of the city is the Chapel of Dibella, the place you’ve heard got attacked.
Directly across from there should be someone screaming, but if he’s not there, then pass the time until you do find the person there. This person shouting is The Prophet, the one you’re looking for, so walk up to him and start a conversation. He mentions the attack on the chapel is the work of Umaril, who has returned to seek vengeance upon the gods. In order to stop this Umaril, you will need to hunt down the Crusader’s Relics. Before you can go do that, though, you’ll have to prove yourself. You prove yourself by going on a pilgrimage and praying at wayshrine for each of the Nine Divines, starting the Pilgrimage quest.
Pilgrimage Quest Walkthrough
The goal of this quest is to go around and pray at Wayshrines, one devoted to each of the Nine Divines. The Prophet will hand over a map to you, showing you the locations of each wayshrine, but there’s a little extra thing to be mindful of here. While you can go to each of the wayshrines on the designated map, you can actually go to any of the wayshrines in the game. It is equally important that you try to do the entirety of the Knights of the Nine DLC in one go, as gathering any Infamy during the course of it may require you to do this Pilgrimage all over again.

Speak to the Prophet in Anvil to get started with this quest chain.

To prove yourself, you’ll need to visit a wayshrine to each of the Nine Divines.
Wayshrine of Arkay
The Wayshrine of Arkay found on the in-game map is to the north of Anvil, and west of Kvatch. Fast travel to the Horse Whisperer Stables and follow the road leading out of it to the north. It will start curving east and you’ll come across the Brina Cross Inn, so start going north from there. You should eventually see the shrine, kind of covered by some trees, so go up to it and interact with the center to count it towards your total.
Note that once you activate the wayshrine, move away from it until you see the quest tracker pop up and update.
Wayshrine of Mara
The Wayshrine of Mara marked on the map is just outside of Skingrad, so fast travel to the Grateful Pass Stables. From there, you will want to start moving to the northwest. Specifically, the shrine will be just underneath the “S” of Skingrad’s name on the map.
Wayshrine of Dibella
The Wayshrine of Dibella is found just south of Chorrol, which is easily accessible by just fast travelling to Weynon Priory. From there, head straight south and down some hills to find it.
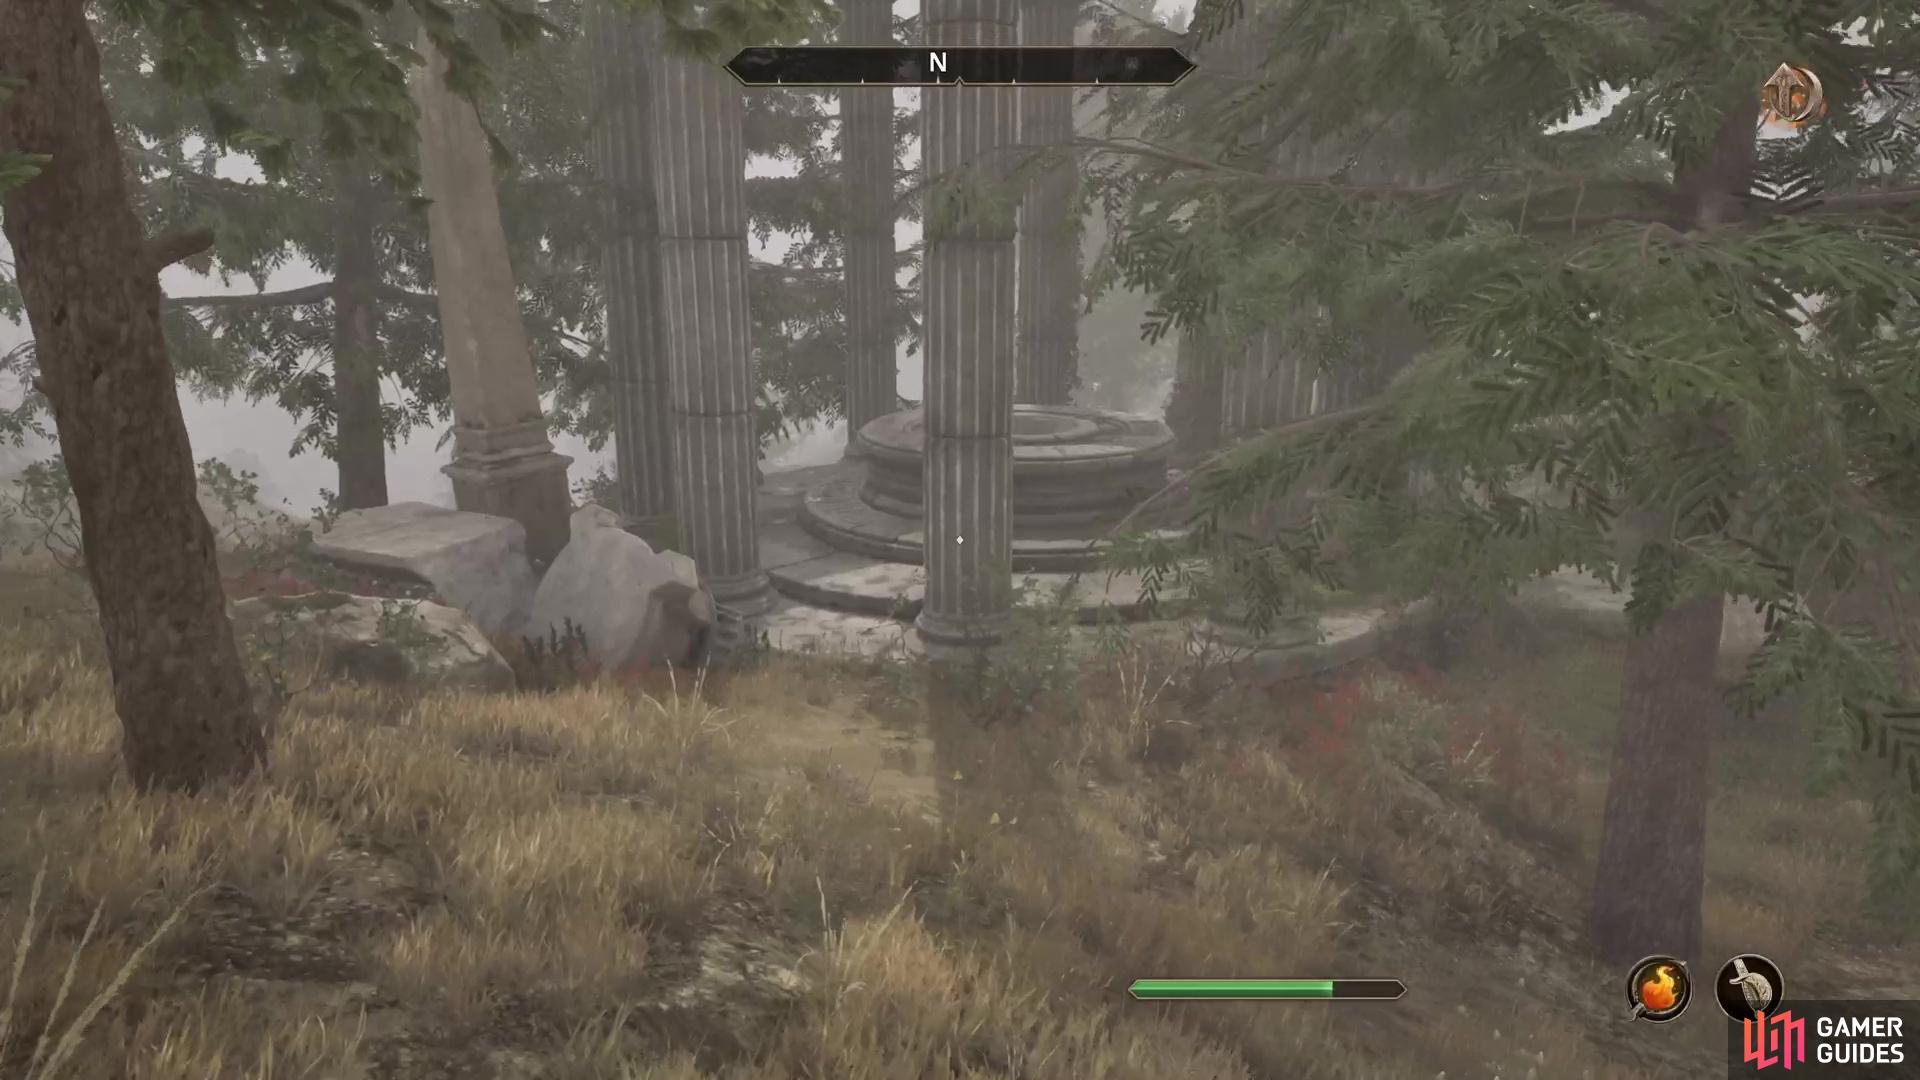
Wayshrine of Akatosh
The Wayshrine of Akatosh is found very close to the city of Bruma, in the northern end of the map. Fast travel to the Wildeye Stables, then start going south and a little west from there. You will have to drop down a cliff or two to reach the shrine, but you should be able to easily spot it from up above.
Wayshrine of Talos
The Wayshrine of Talos is found south of the Imperial City, not too far from an elven ruins in the vicinity (Sardavar Leed). If you look at the map, you should see “The Nibenay Valley” name just north of Bravil, along the coastline. Head to the “i” in Nibenay and you’ll find the shrine pretty close to it, a little southwest.
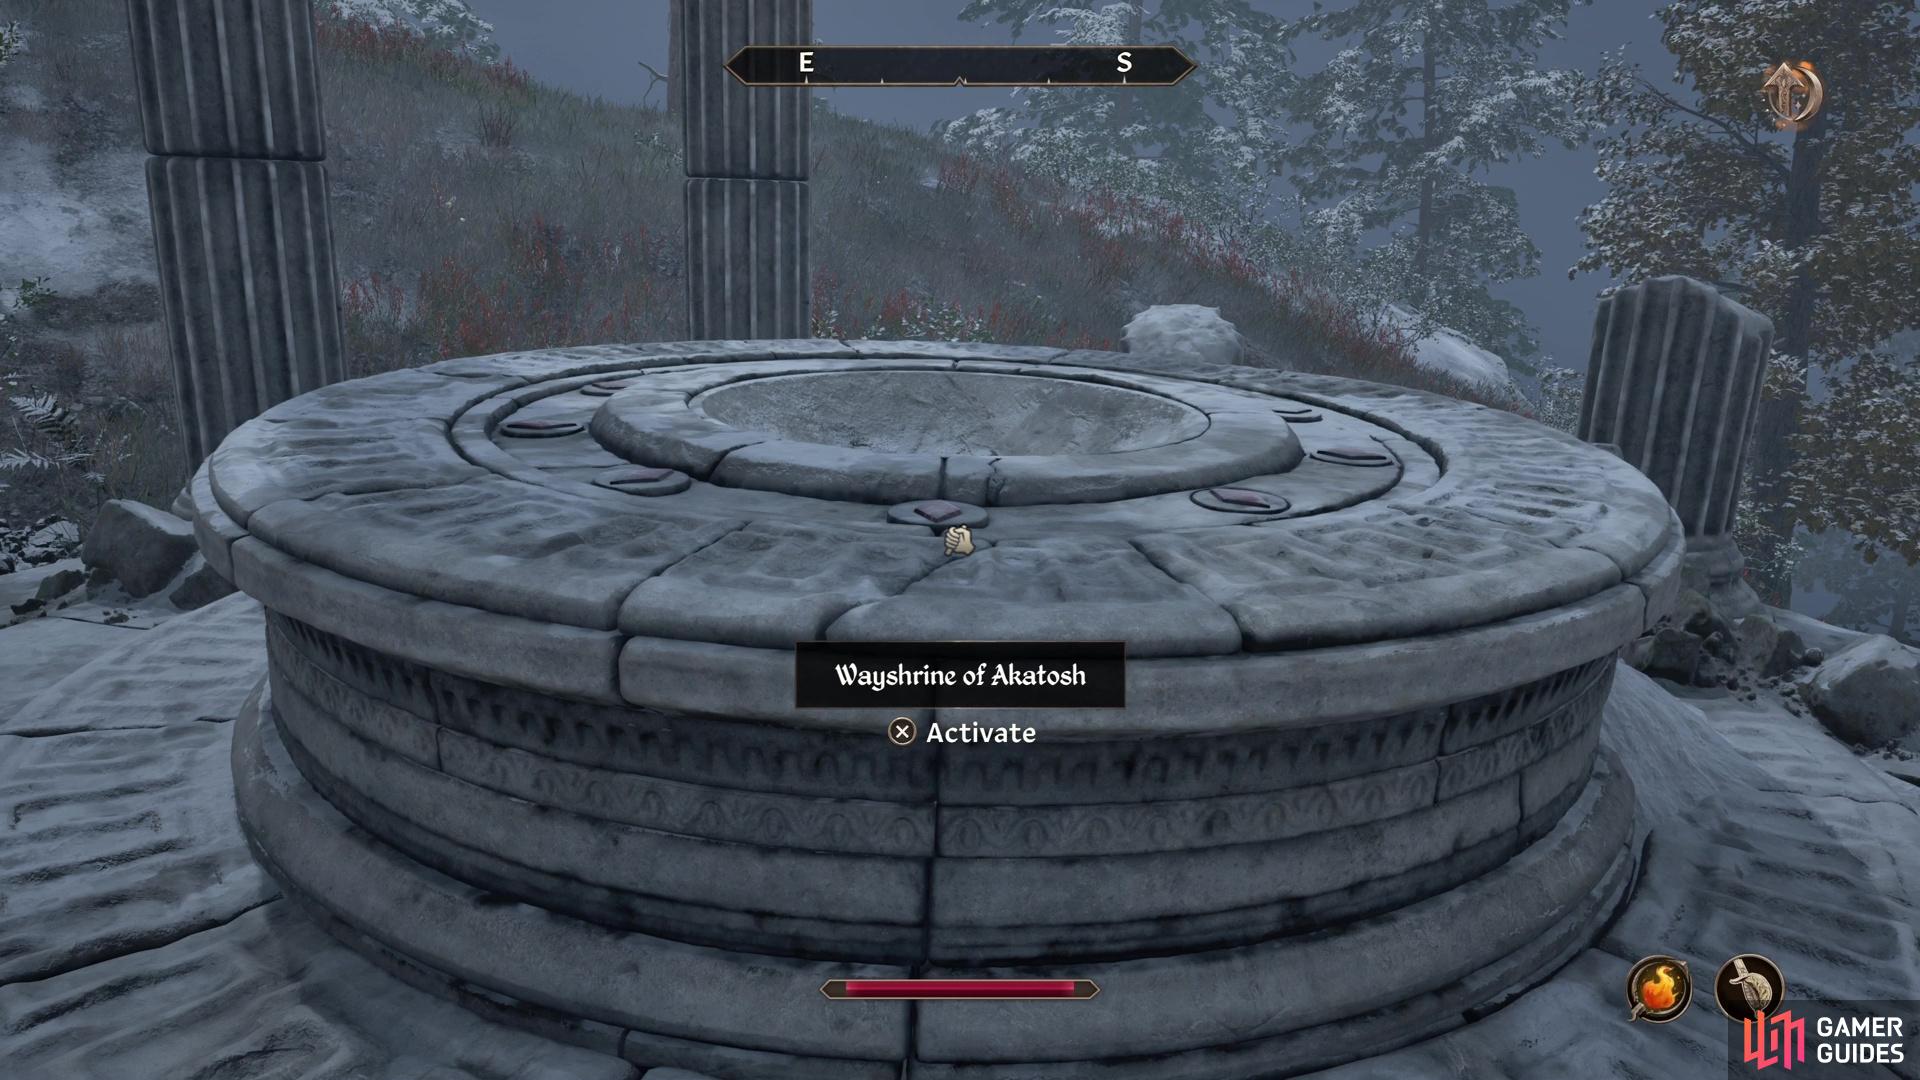
Simply go to each of the shrines and activate them.
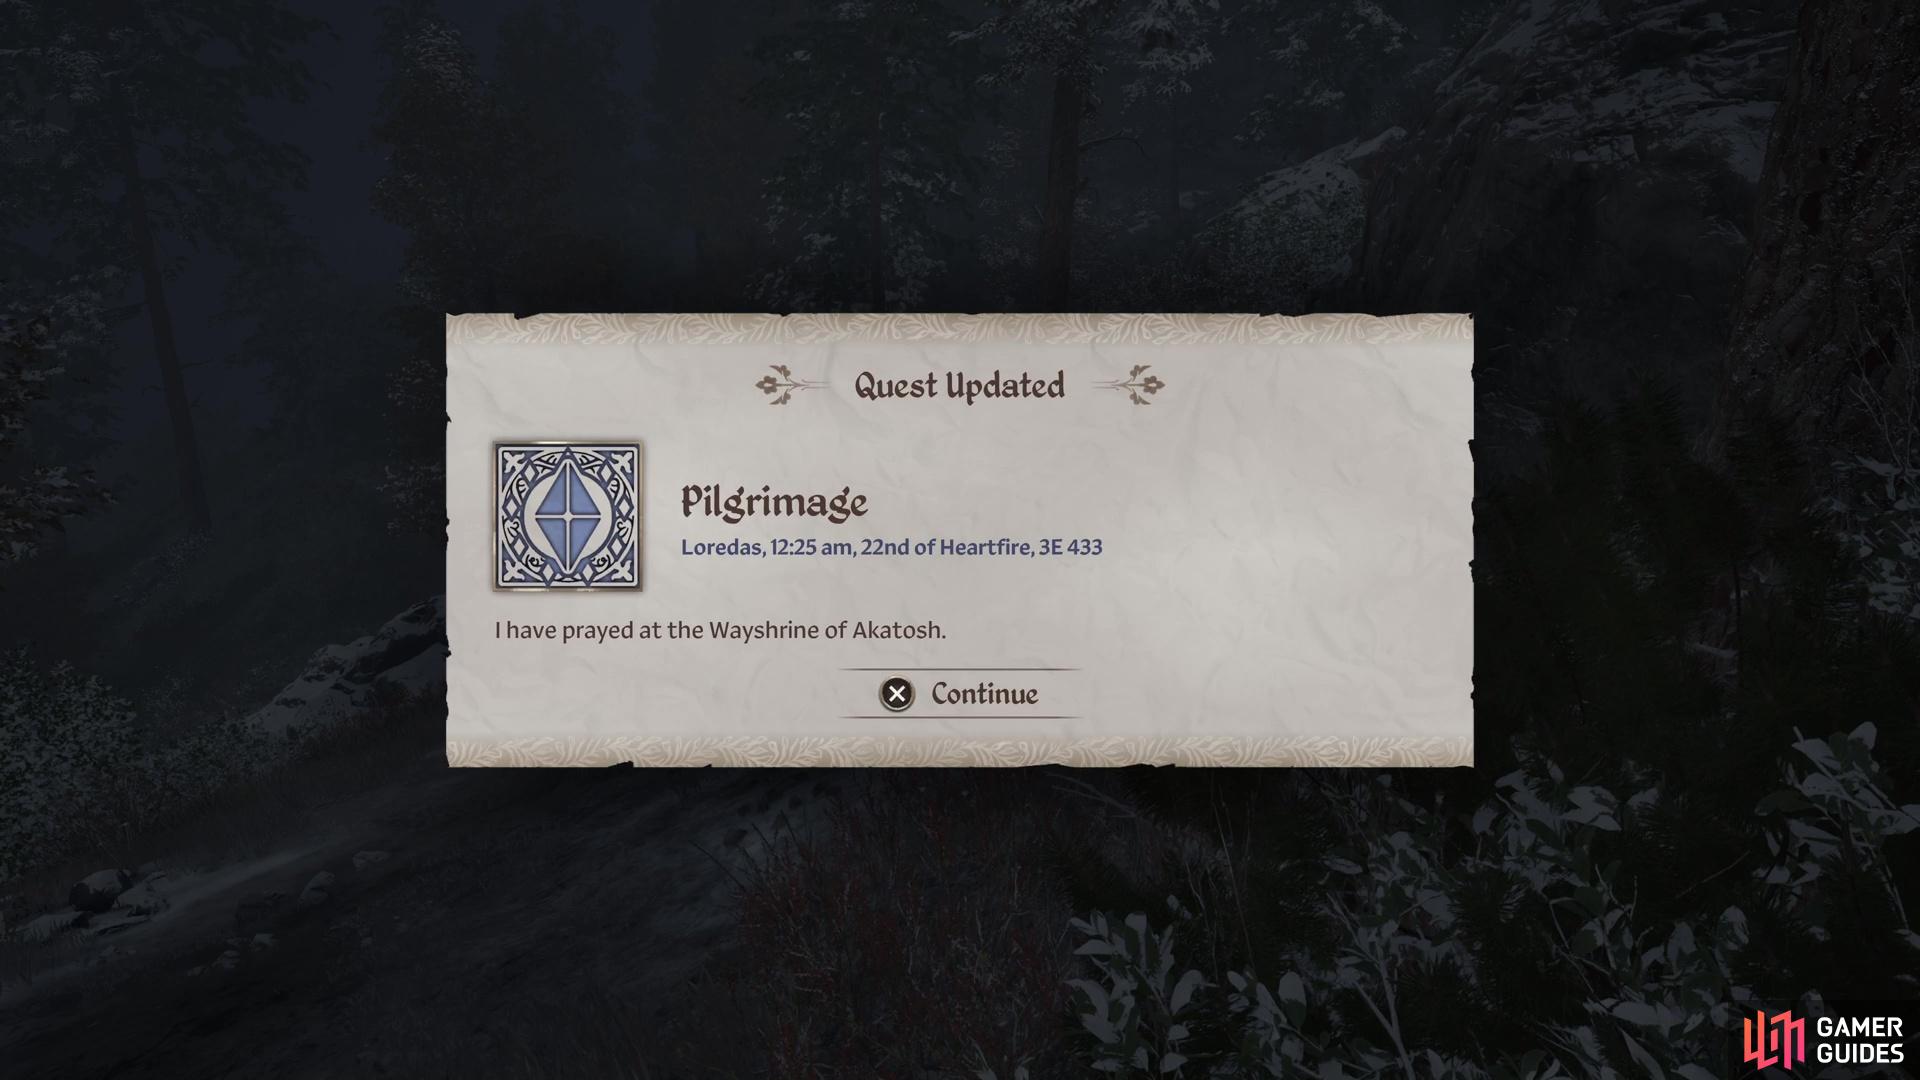
As you move away from them, the quest will update and you can move onto the next one.
Wayshrine of Zenithar
The Wayshrine of Zenithar is close to the previous one (Talos), but will be a little further south. From the Talos shrine, head to the coastline and follow it south. If you reach Bravil, then you’ve gone too far, as the shrine is north of it. As long as you’re close to the shoreline, then you should be able to see it without any problems. It’s pretty much just north of the Flooded Mine location.
Wayshrine of Julianos
The Wayshrine of Julianos is found not too far from the Imperial City, to the southeast of it. If you get on the eastern side of the city, on the outside of it, then you should notice a road running north-to-south near the coast. There is also a big bridge right by where it says “The Upper Niben” on the map. Cross that bridge to the east, then go along the road that’s venturing eastward to eventually find the shrine about halfway before the little detour to the south on the map.
Wayshrine of Kynareth
The Wayshrine of Kynareth is located far away from any of the towns, so it might be a little difficult to pinpoint. East of the Imperial City is an area on the map designated The Nibenay Basin. Right where the “Basin” part of the name is a small lake/pond, and that’s where you need to go. Head for the eastern side of that little body of water and you should locate the shrine about in the middle of the “s” and “i” in Basin.
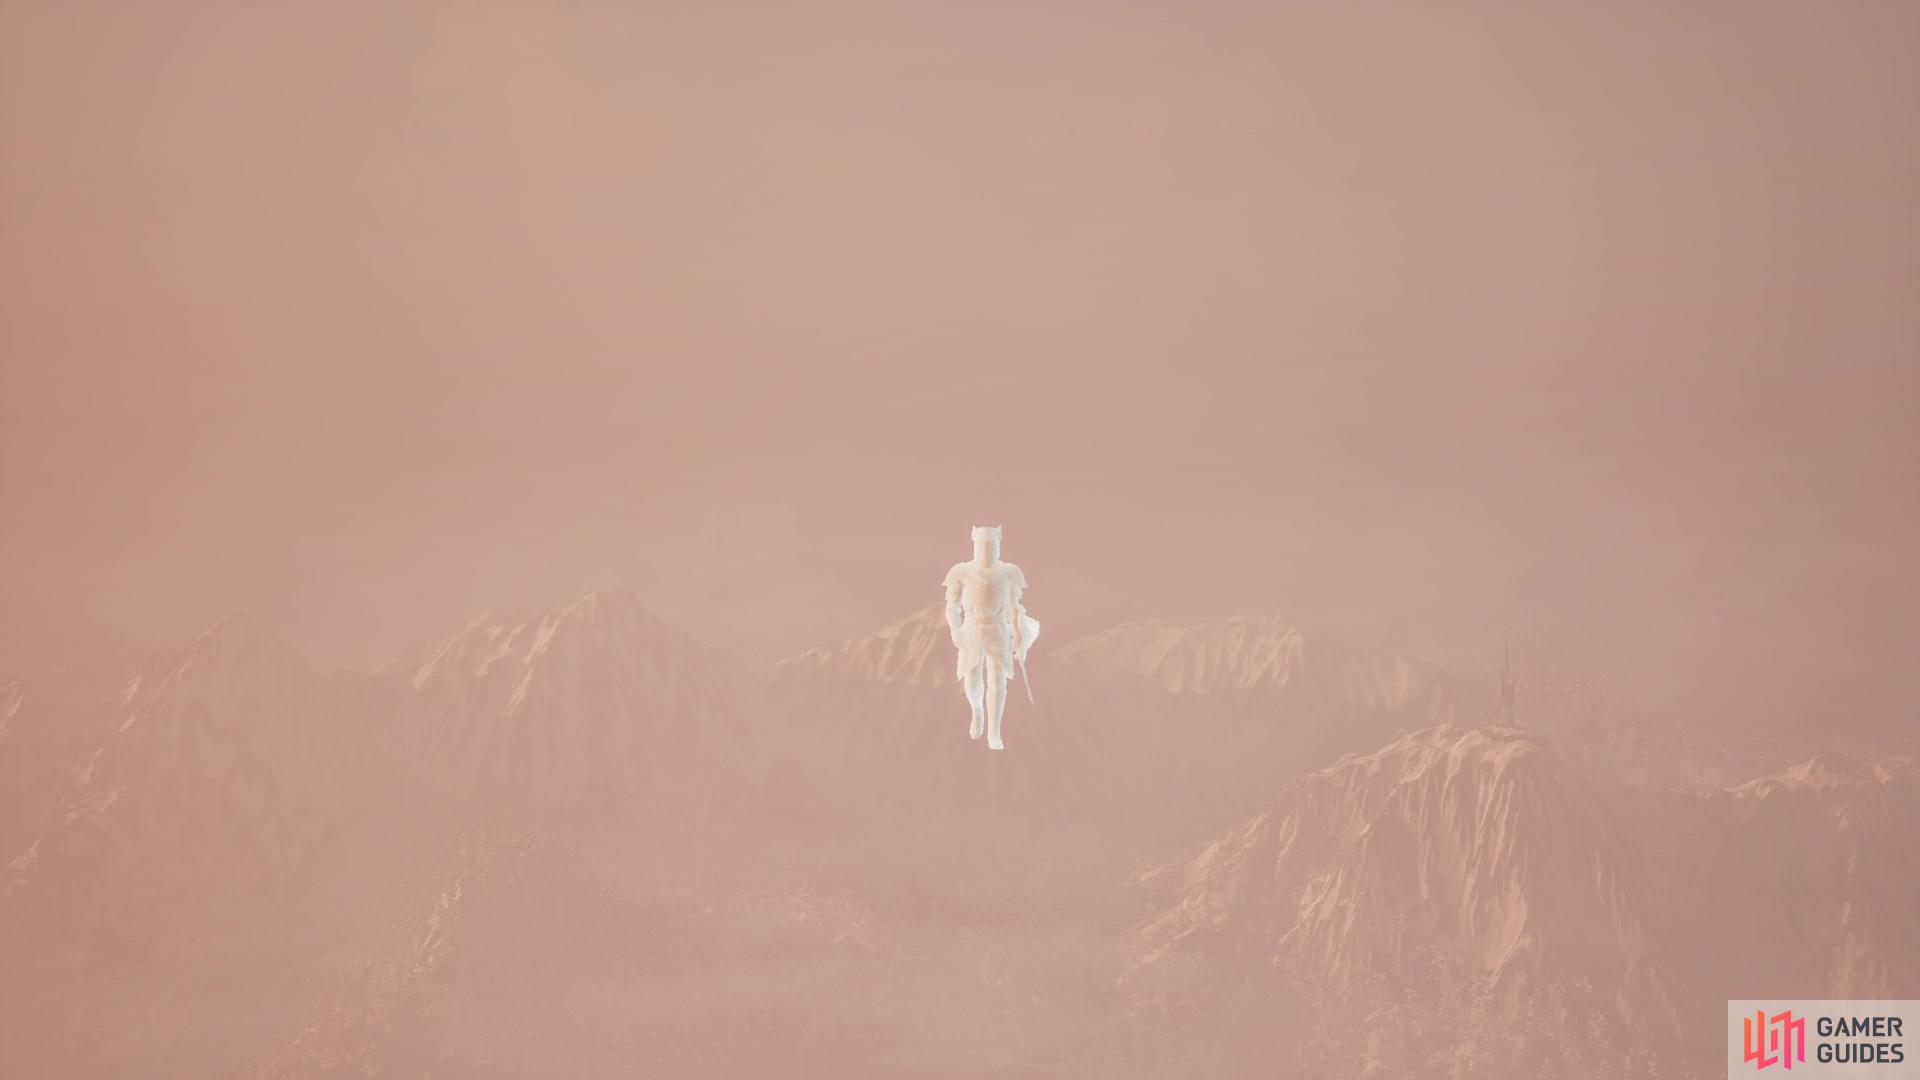
If you did everything right, you’ll see a vision upon activating the final shrine.
Wayshrine of Stendarr
The Wayshrine of Stendarr is a little more south of the one for Zenithar. It might be easier to start from Leyawiin, so fast travel to the Five Riders Stable. From there, just follow the coastline to the north, until you reach the Water’s Edge settlement. Once you reach that, it’s only going to take a little more traveling to the north to find the shrine.
If you did all things correct and prayed at each of the shrines, then the quest will update and mention you’ve completed your pilgrimage. At this point, you will be unable to move and will receive a vision from the Divine Crusader, Pelinal Whitestrake. This will end The Pilgrimage and start the next quest in the chain, The Shrine of the Crusader.
No Comments