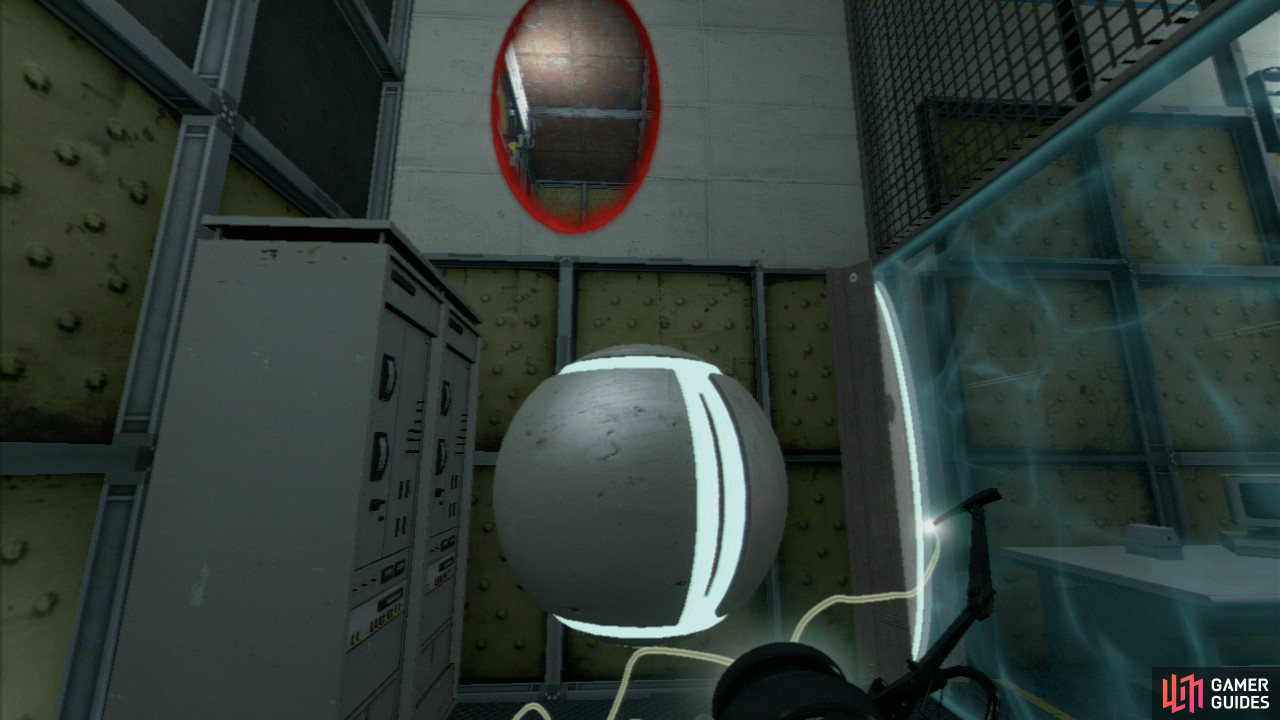
Player 1: Once you cross the metal walkway into the building ahead, step into the force field on your left and immediately turn to face the pipe on left. Now pick up the weighted ball and turn around to face the wall behind you.
Player 2: Upon entering the building set your first portal on the wall directly beside the ‘override’ beam and then fire at the top of the wall through the metal grating (where player 1 will currently be). Step through the portal, grab the ball from player 1 and set it in the override slot to open up the path to part 2.
Part 2
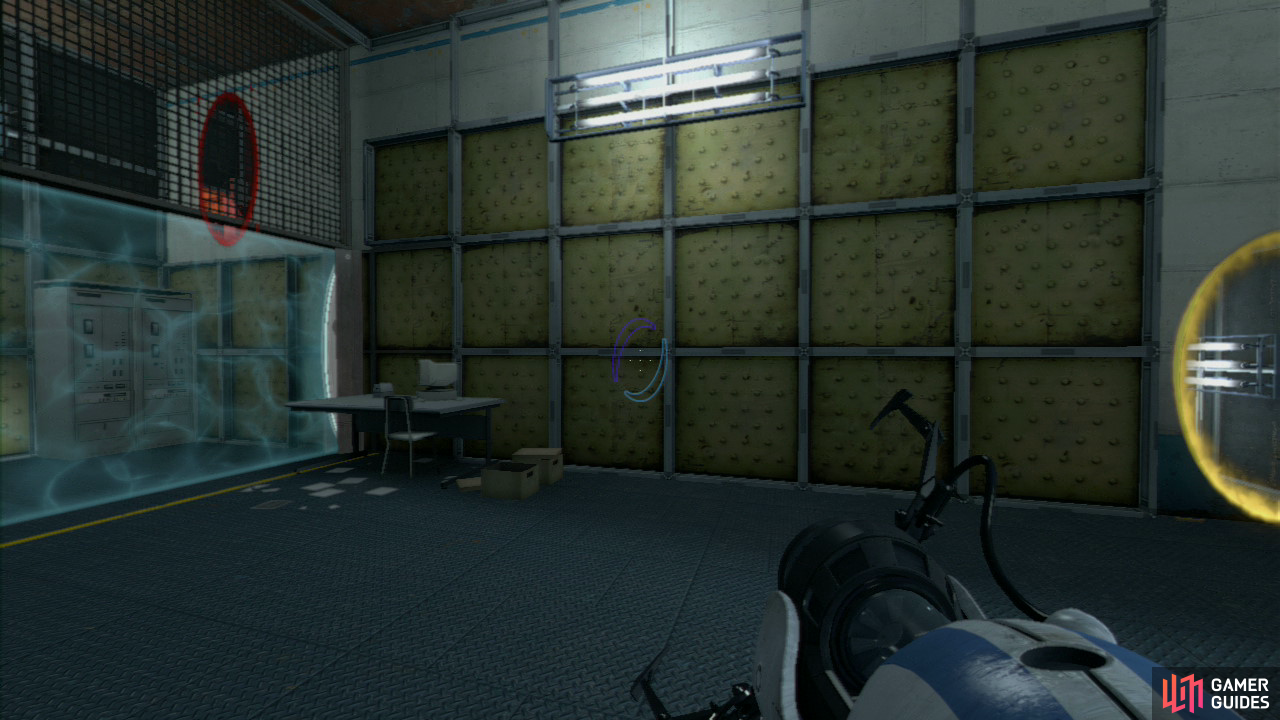
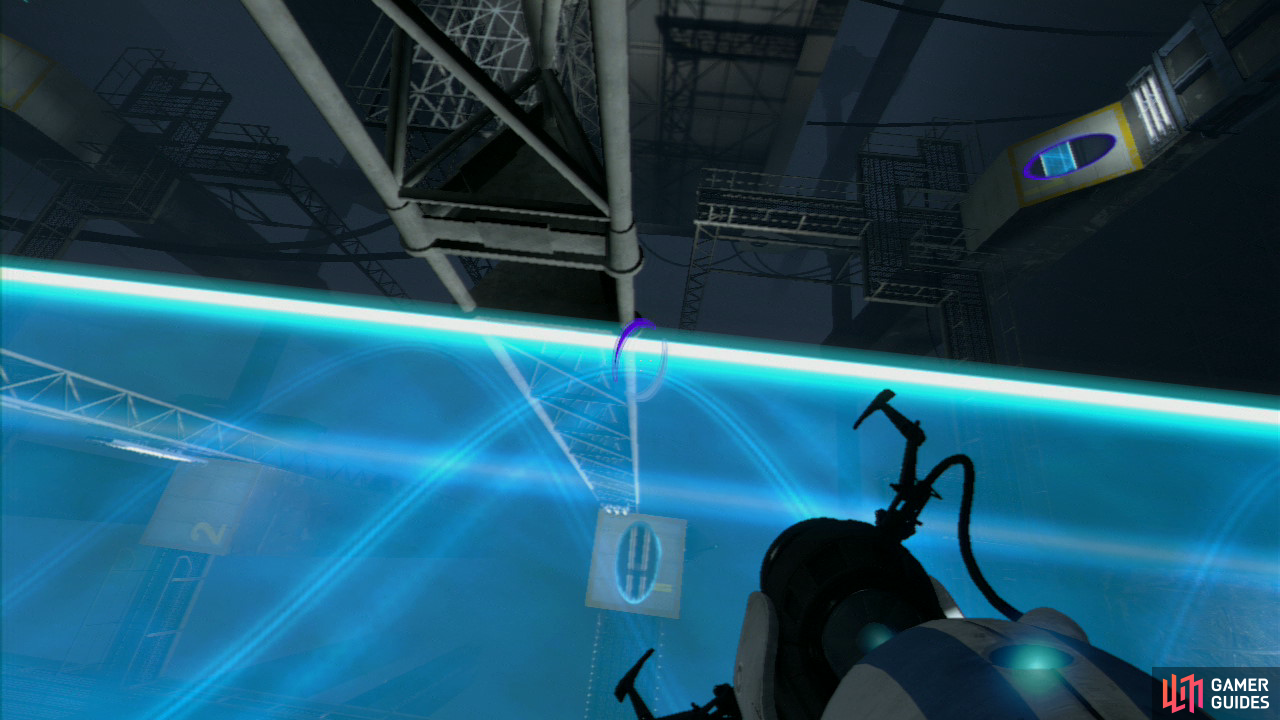
Player 1: Run down the walkway and take a left towards the blue force field and run on through it. Look for the slanted wall panel to your right (it has a yellow border running around it), and set your first portal right here. Now look directly above you and you should spot a second shoot-able wall panel (again covered in a yellow border). Fire your second portal up here.
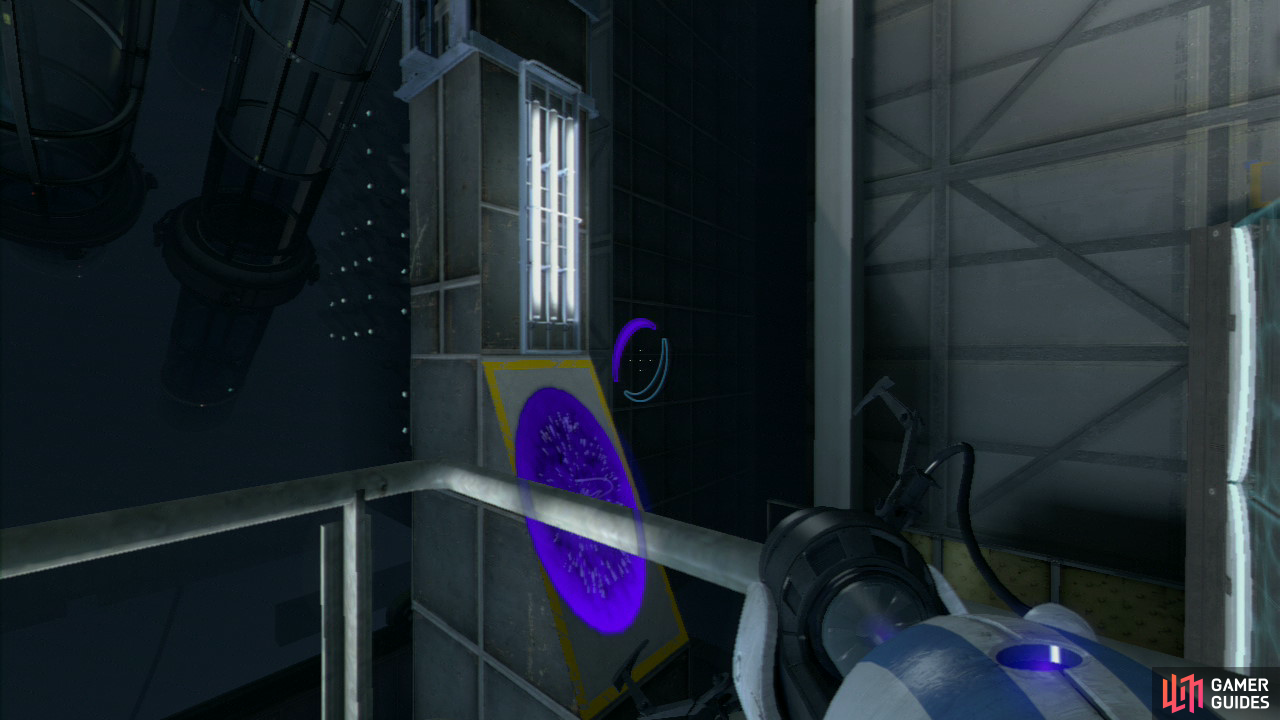
Player 2: Your task is to stay away from the force field, and instead focus on the horizontal light bridge located to your left. You’ll want a portal on the wall it’s hitting and you’ll want to place your second portal on the vent just above your head (behind the force field still). This’ll create a barrier that’ll catch the ball as it flies into it, bouncing it into the portal player 1 just created a few seconds ago.

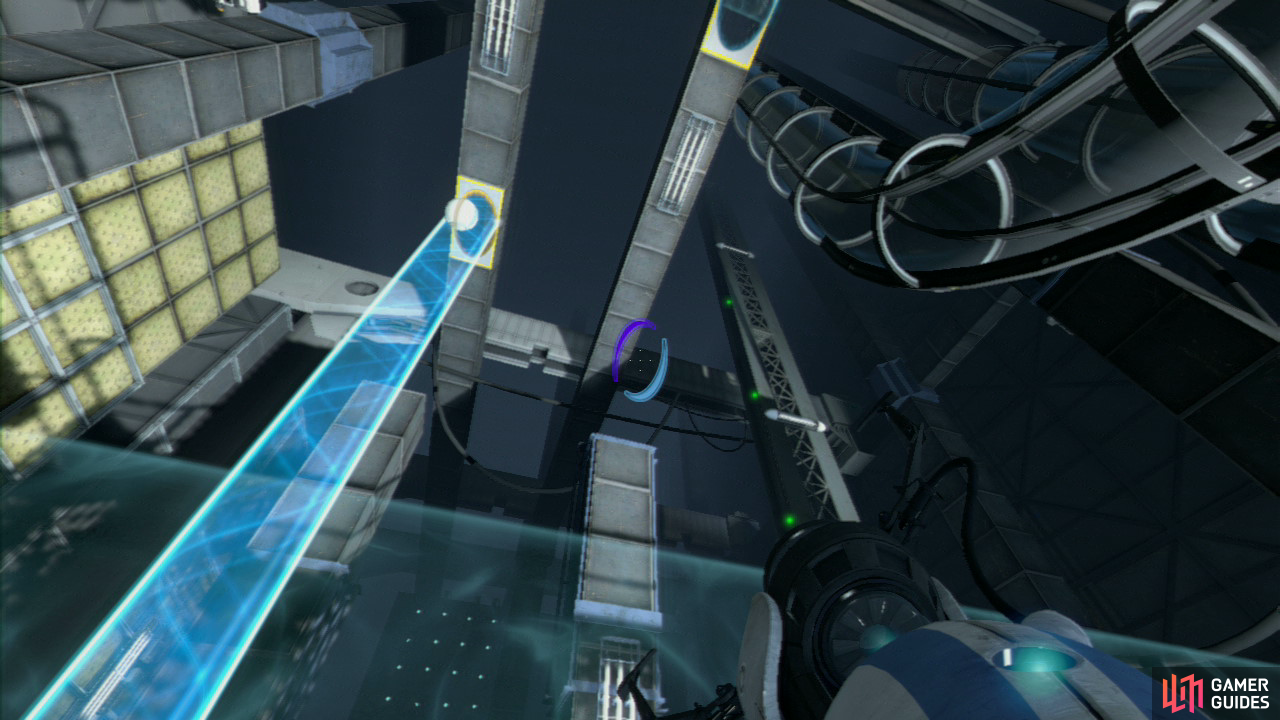
Player 2: As soon as the ball hits the vertical light bridge barrier you want to quickly fire a portal at the angled wall panel to your lower-right (close to where player 1 passed through). This will create a slanted light bridge that’ll catch the ball and watch as it rolls onto the permanent horizontal light nearby.
Part 3

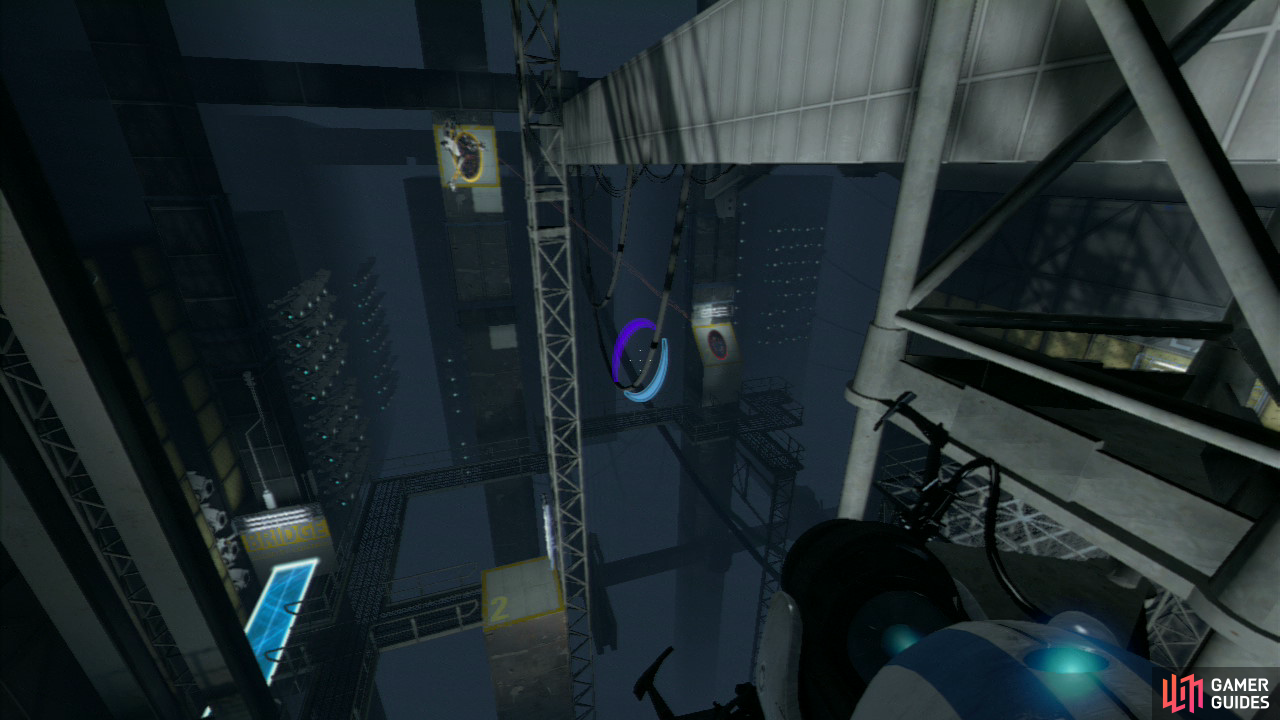
Player 2: As soon as you enter the final test area hang a left and look for the wall with the ‘Bridge’ writing on it, get a portal here and then look for the large square wall panel with the yellow border up and to your right, this is where your second portal needs to go. This’ll create a light bridge that’ll extend right across most of the test area. Ask player 1 to join you as you step through the portal.
Player 1: Walk across the light bridge until you’re standing directly above the square piece of floor with the Number ‘1’ painted on it. Fire a portal onto this piece of floor so you’re directly above it. Now look for the slanted wall panel located up and to your right a bit, this is your exit, so set your second portal here.
Player 2: You need to wait for player 1 to signal that they’re ready for you, as you now have the most important task. Position yourself so you’re directly above the floor panel with the ‘2’ on it, now look for a slanted wall panel up and to your left. You need to be quick for the next sequence of events, so make sure you’re aim is quick! Fire a portal at the slanted wall panel and you’ll both start to drop towards the ground, as you fall, get an entrance portal directly underneath yourself quickly. If you’re quick enough, you’ll both hurtle into each other in mid-air, causing you to drop on the platform below.
No Comments