The most important thing to realise about Chapter 5 is that it’s not the usual series of Chambers, instead, you’ll follow your companion through a series of metal walkways, conveyor belts and several rooms.
It’s not an especially difficult chapter to finish (there’s no new elements brought into play here), so we’ll cover the more difficult ‘puzzles’ you’ll come across (rather than give you a boring and unnecessary blow-by-blow walkthrough). You can view the full run through videos for each part of Chapter 5 below if you still feel you’re needing any extra guidance.
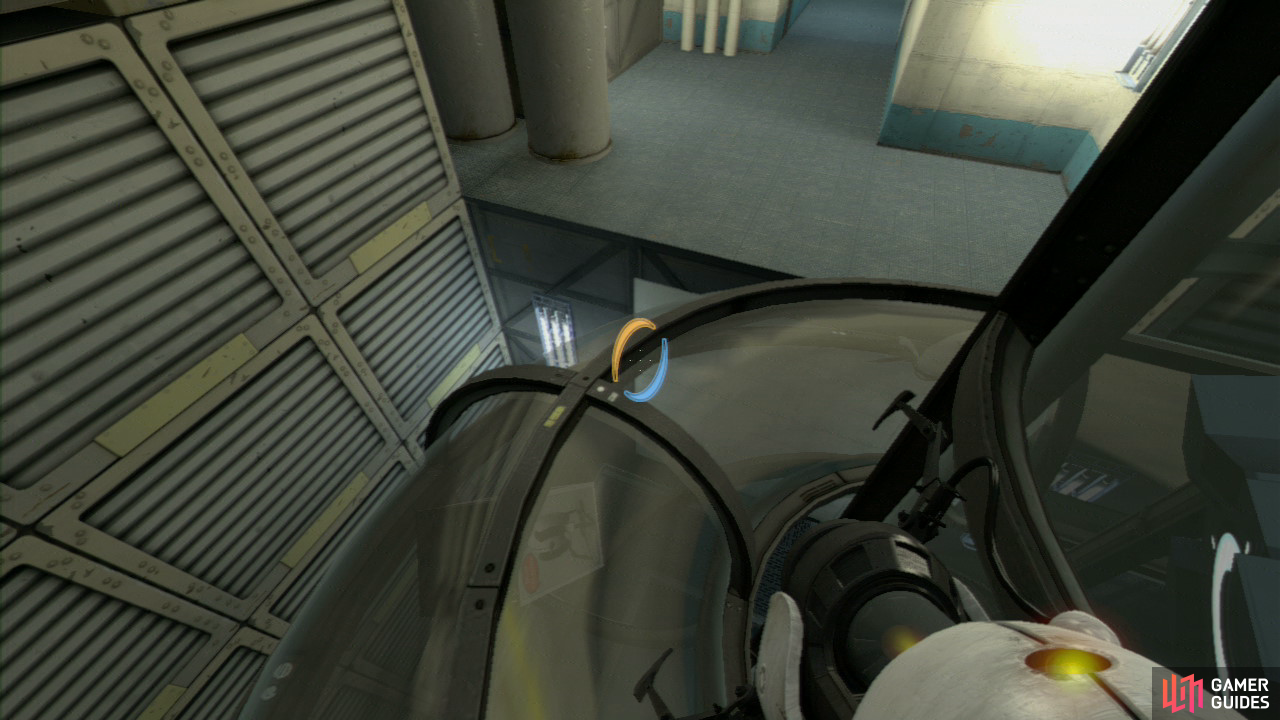
When you reach the room with the spiral Turret tube, jump off and towards the centre of the tubes. You should land on top of one of the spiralling segments, allowing you to simply walk off and towards the door leading to the second part.
The start of the second part requires you to fire a portal at the wall above the conveyor belt and then another one at the wall behind you. This’ll take you onto the conveyor belt where you can now jump across to the second conveyor belt to your right and then at the end jump off to your left onto the walkway below.
Before jumping off of the second conveyor belt, pick up the Turret that’s says he’s different. This will unlock the ‘No Hard Feelings’ Achievement/Trophy.
MISSABLE ACHIEVEMENT/TROPHY ALERT!


In the room where the turrets are firing at the test dummy, you need to set a portal on the wall (above the glass panel in front of you) and then put the entrance portal on the wall to your right. Hide behind the panel after dropping down, and fire a portal at the wall in the distance and then - very quickly - place a portal on the wall by the dummy to reach the platform behind.
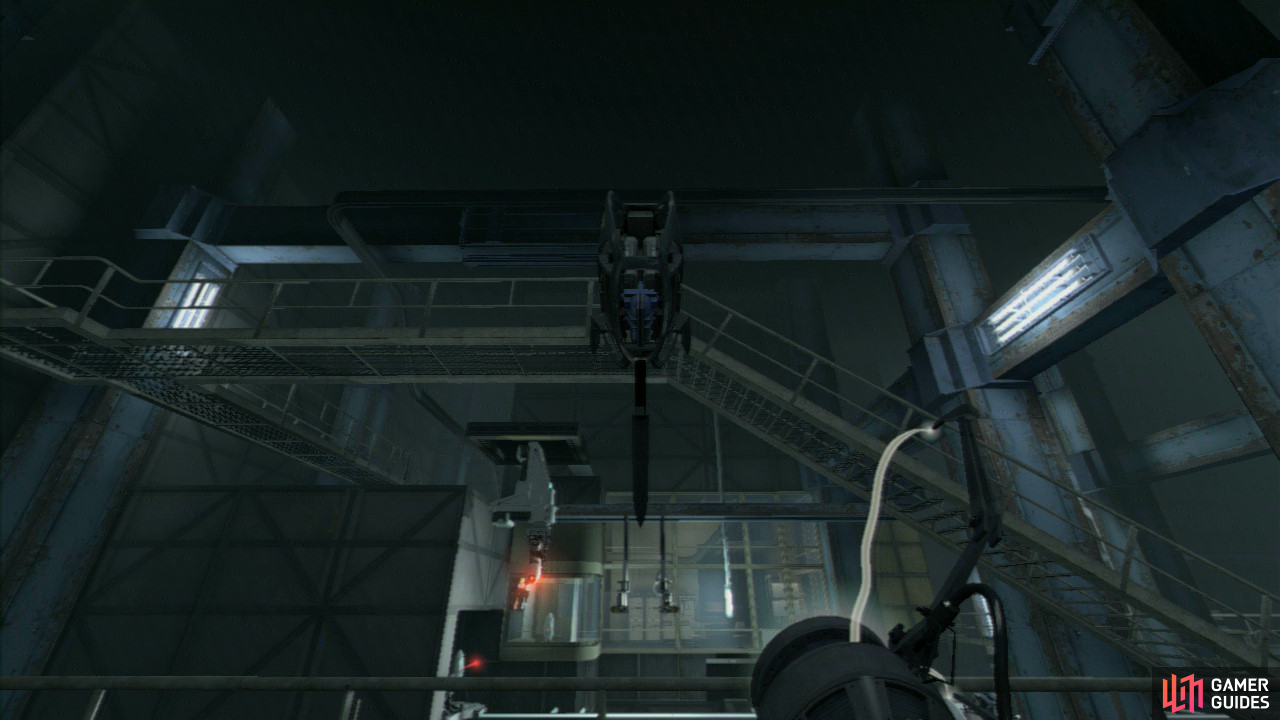
Once you reach the turret inspection room, stand by the funnel to the right of the entrance and turn around to face the turrets as they’re inspected. Look up and when a defective turret is flung your way, catch it and take it around the walkway to where Wheatley is.
In the room where Wheatley ‘hacks’ the door, you need to remove the working turret and replace it with the dodgy one. Fire a portal through the broken glass to give you access to the room.
MISSABLE ACHIEVEMENT/TROPHY ALERT!

Just before you swap the good turret for the bad one, stand in place of the turret yourself and as you’re scanned, the ‘Scanned Alone’ Achievement/Trophy will unlock.
The third part of Chapter 5 sees you entering the Neurotoxin chamber, so when you reach the top of the lift, look at the wall where the red laser beam is cutting the tiles. There’s a white wall at the back here, so time your portal shot so it hits. Now press the button to open the locked door up ahead.
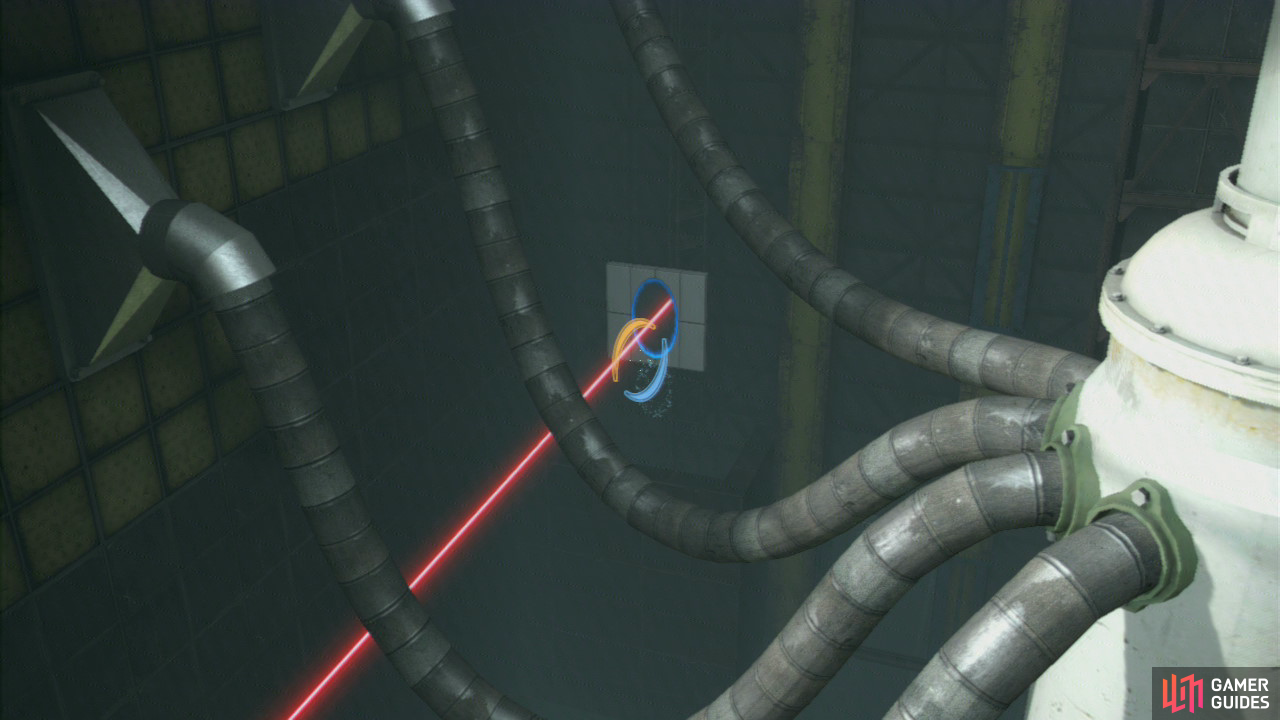
Aim your gun down into the bottom left-hand corner of the room and in the distance you should notice some white tiles travelling vertically. Fire off the exit portal as soon as a wall tile appears and the laser beam will pass through, cutting the pipes that pump the Neurotoxin around the chambers.
If you now aim up and to your right you should notice a wall panel travelling horizontally, fire your exit portal here now so the beam catches all four pipes. Once all four are cut, head back down to Wheatley and enter the room to trigger the fourth and final part of Chapter 5…
This is it, the last part to Chapter 5, so as soon as you reach the bottomless pit, look into the distance and for the horizontal white wall panels. Get a portal over there and then another one on the wall to your left. Activate the door handle for a cheeky surprise…

Once the ‘Stalemate Button’ is live, you need to place a portal on one of the side walls and then another one by your feet. This’ll trigger the defence plates, so aim another portal at the wall opposite form you, step back in the last portal you came, now simply run to the button and hit it.
No Comments