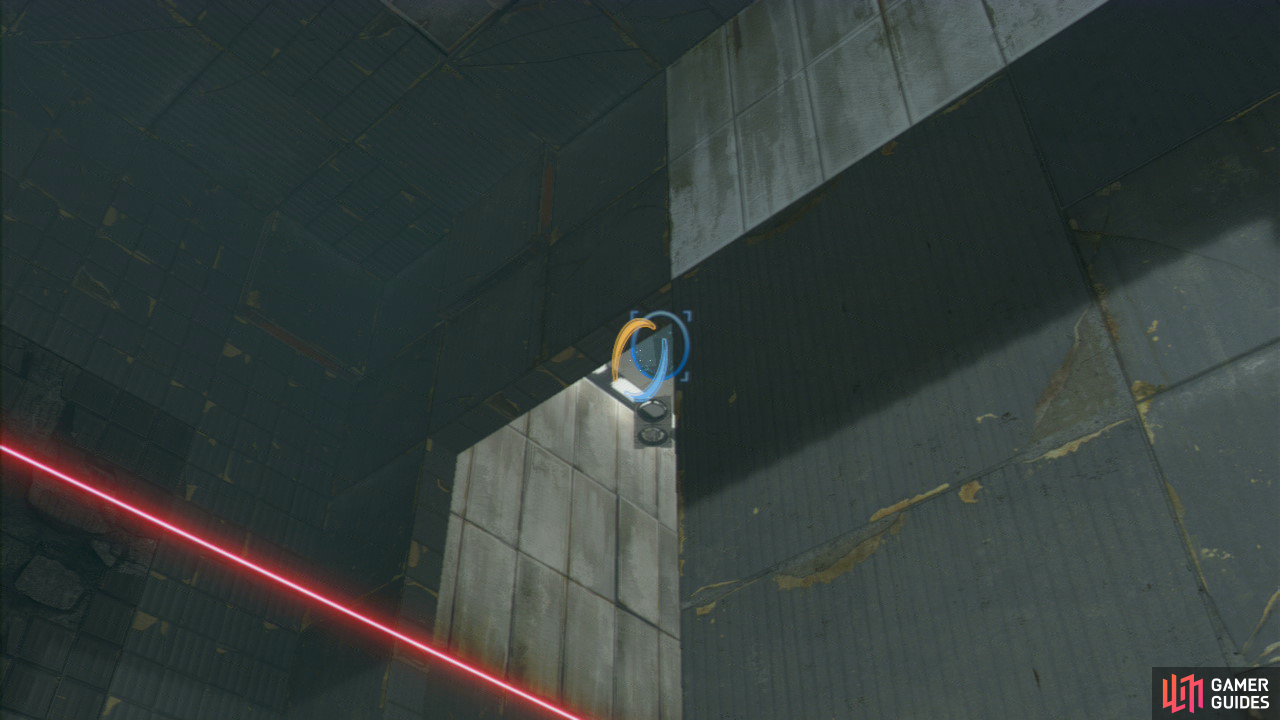
The Displacement Cube in front of you is your first target, so position a portal directly under it then look up behind you and to the left-hand corner (where the laser beam is extending into). Fire the next portal on the wall/roof of the ledge up here.
Now fall through the portal so you join the Cube up here and pick the Cube up again. Position it so it’s directing the laser through the first power cone and through the next one directly across from you.
Drop down to the floor, and look up near where you first entered the test chamber. There’s a wall panel up on the roof (to the right of the wall camera). Place a portal here and then one by your feet. You’ll land on the next Displacement Cube, so pick it up and drop back down to the ground floor.
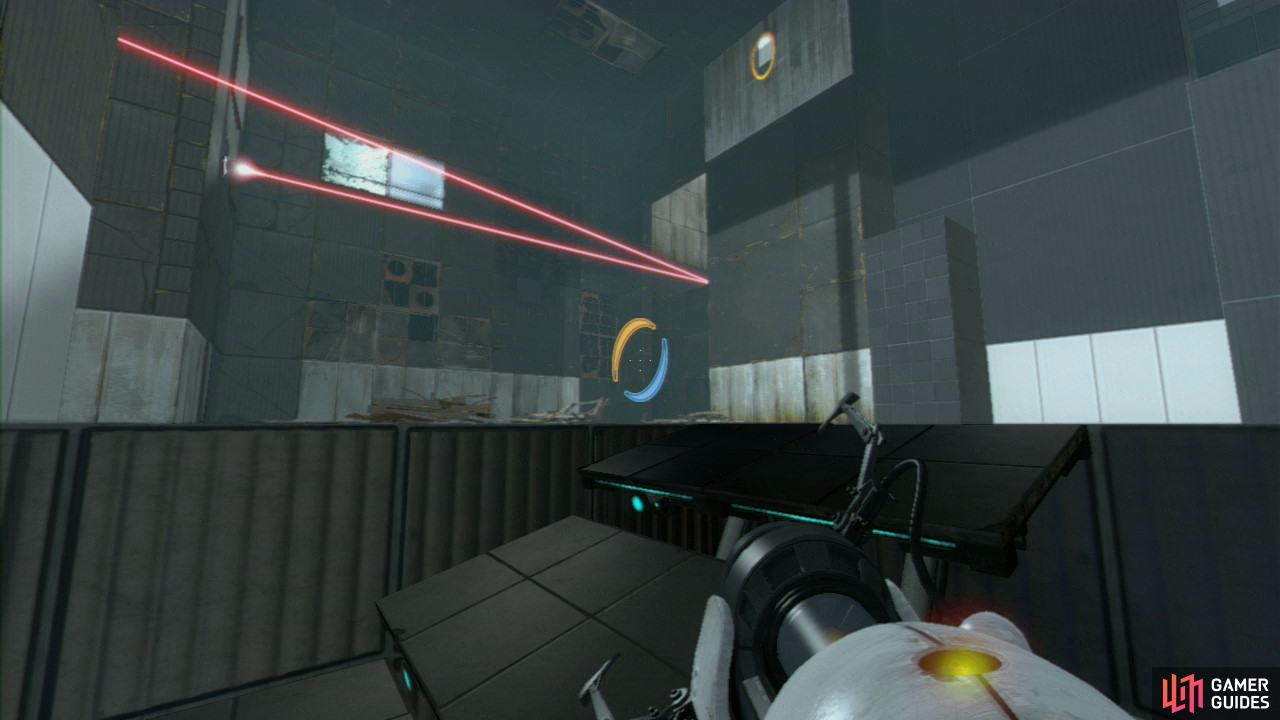
Set the Cube down and fire a portal into the panel with the blue target painted on it (it’s directly above some jump plates). Now turn around and look back up to where the wall camera is. Set the exit portal in the top-centre of this wall, then pick up the Cube and drop it on the jump plates.
This’ll cause the Cube to go flying over to the power cone you directed the beam over to a bit earlier. Leave the first portal (sitting over the jump plates) where it is and then drop a portal by your feet. You’ll fall down onto the jump plates, and as you’re ascending, re-fire the portal that lead to the jump plates on the wall where the Cube came out of.
As you descend again, you’ll pass through the wall high up and land beside the Cube and the power cone.
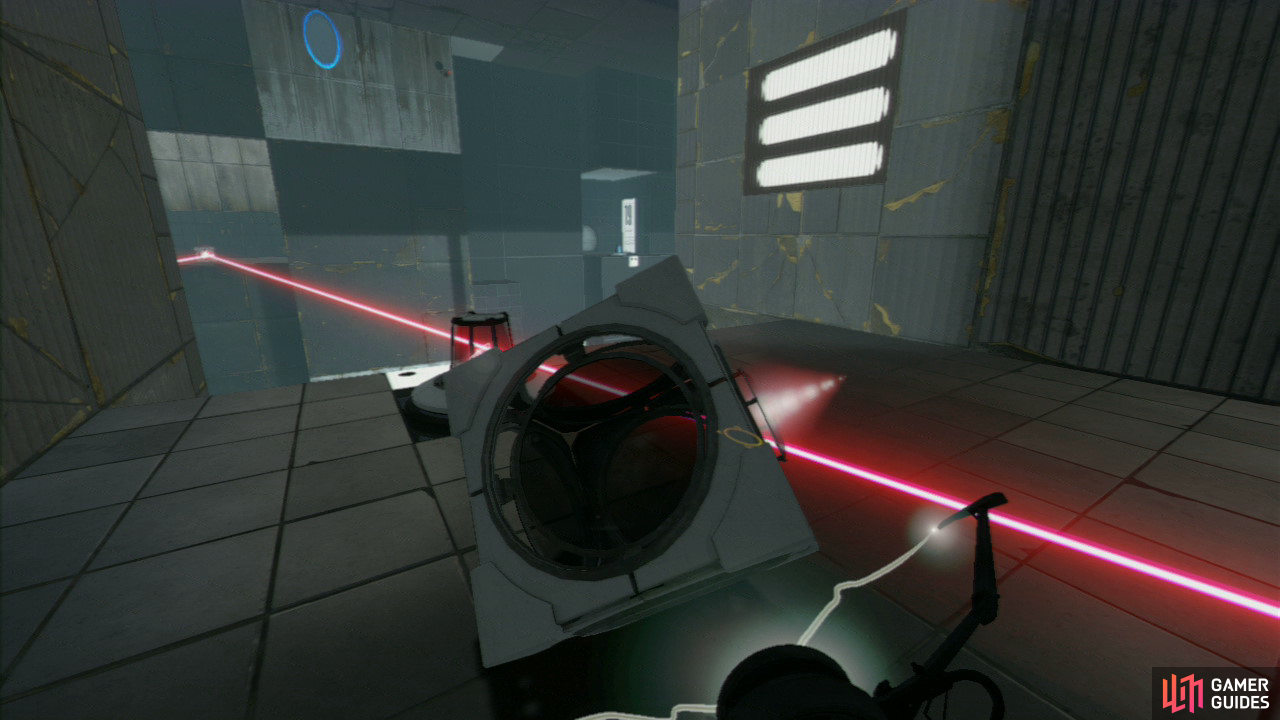
Direct the beam through the second cone and straight through the third one opposite the chambers entrance.
Drop back down to the ground and look up to the wall to your right, now aim your portal gun at the top-left corner up here (opposite where the third and final Displacement Cube is resting). Place a portal by your feet and above the jump plates so you’re once again gaining some height fire off the exit portal into the top-left corner.

You’ll now fly over to the Cube, displacing it, so make sure you and the cube are up on the platform where you entered the chamber.
Pick up the Cube and use the beam to destroy the three turrets that are blocking the exit. Finally set it down once the laser beam is lined up with the receptor panel on the left wall. Set a portal back above the jump plates and one on the ground by your feet.
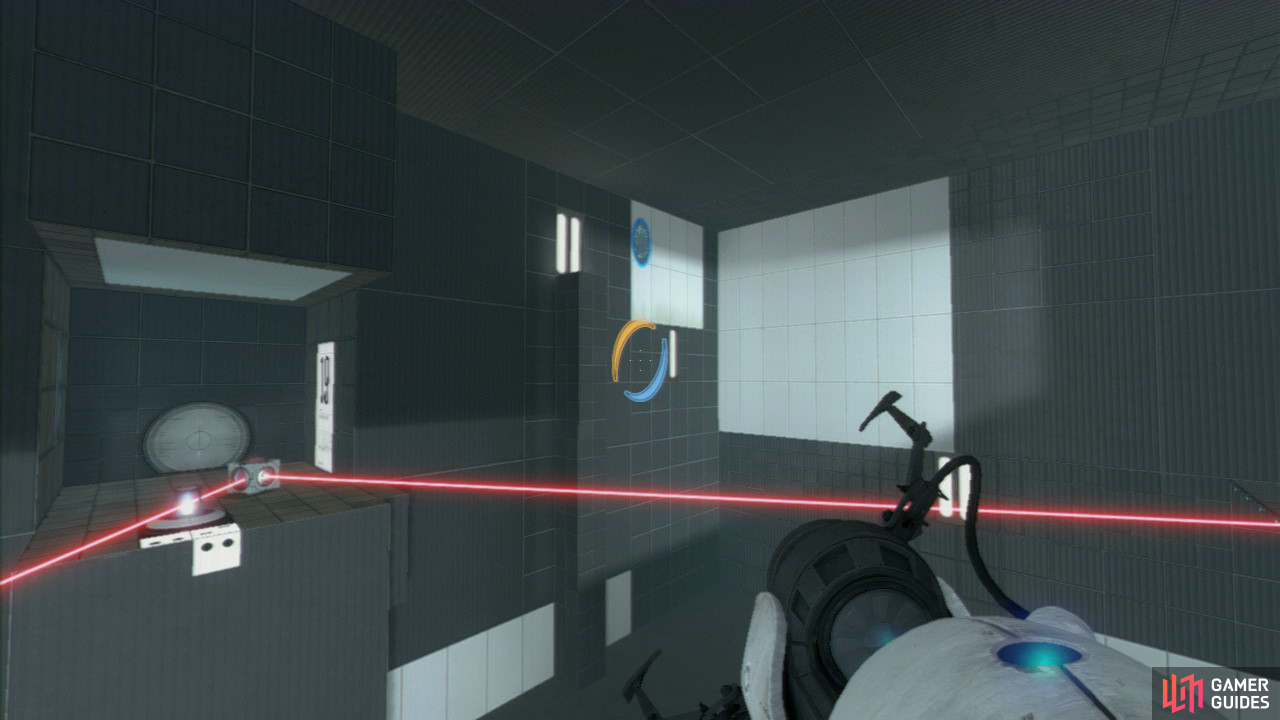
As you’re descending, set the exit portal on the white wall that’s facing directly opposite the exit (see screenshot above). The momentum will carry you right over to the exit!
No Comments