| **Collectibles** | # |
|---|---|
| Voxophones | 4 |
| Kinetoscopes | 3 |
| Telescopes | 1 |
| Infusion Upgrades | 0 |
| Equippable Gear | 0 |
Welcome Centre
After exiting the pod, you will be free to move about. Grab the coins on the bench here if you like before heading down the stairs to the left. Around the statue here are three other doors. Go through the door to the left first (it’s the room with flowers all over the floor). At the far end of the room, look in the alcove to the right for our first Voxophone [1/4] .
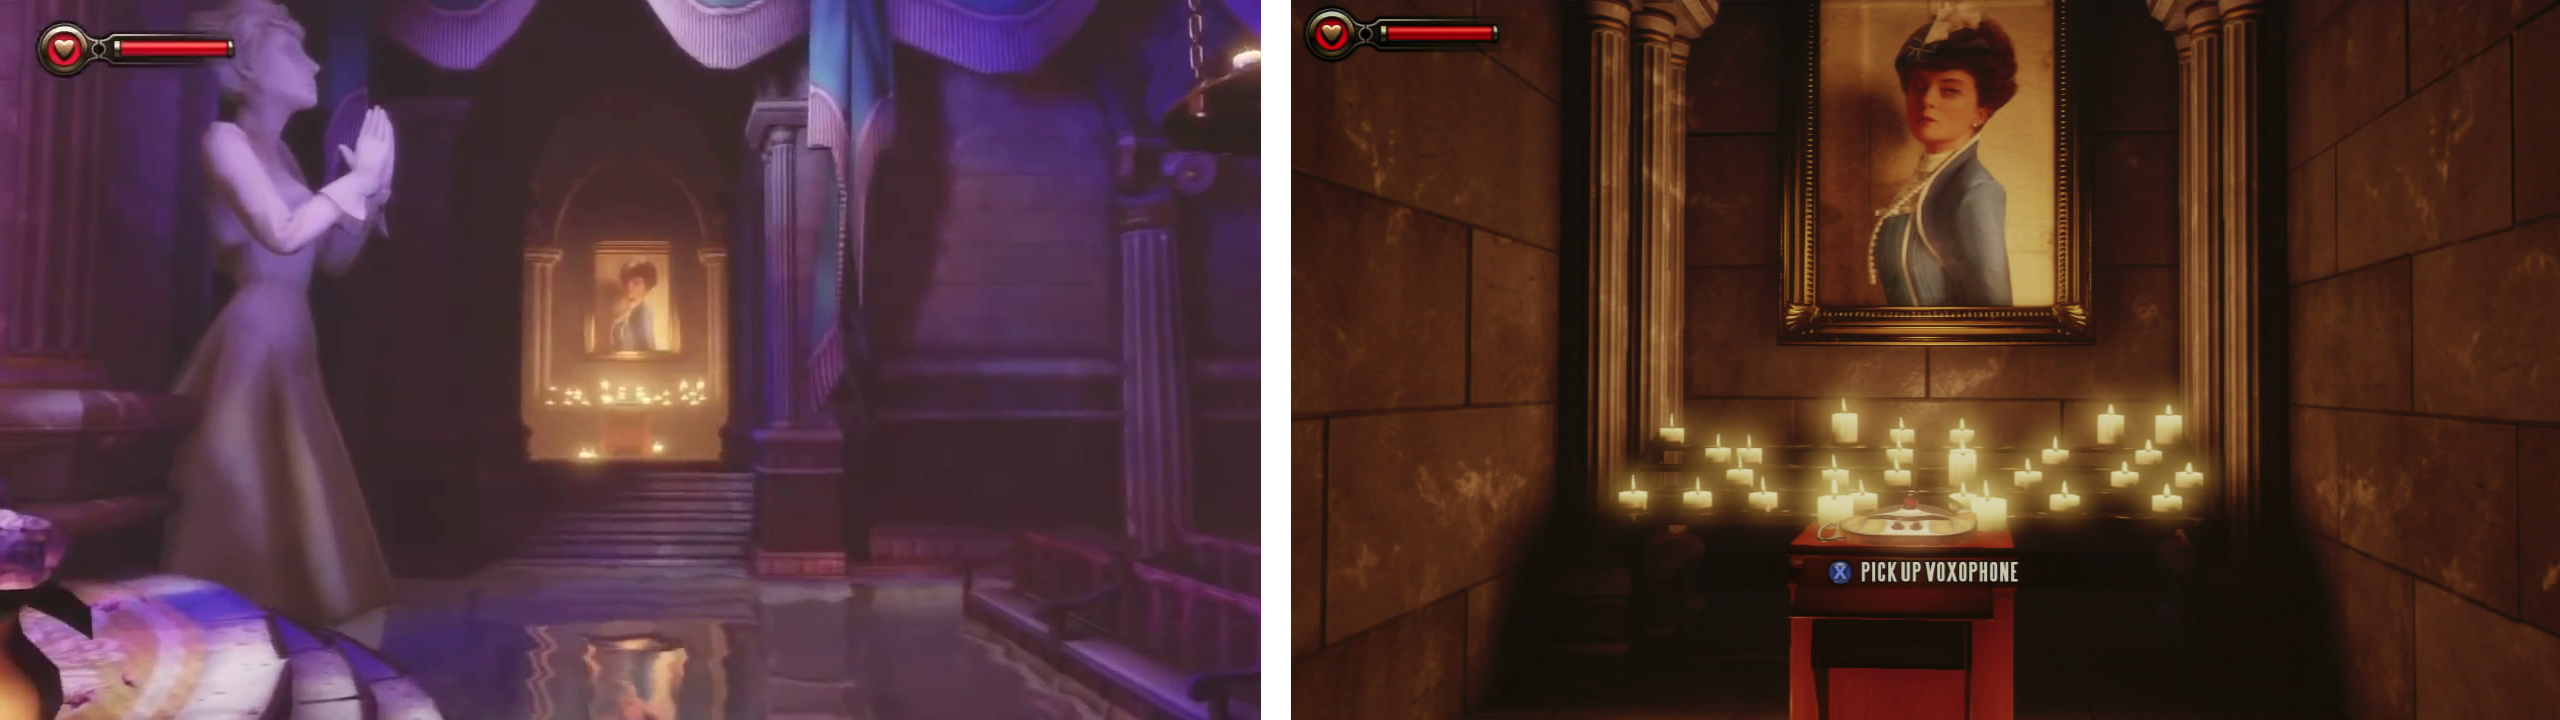
The first Voxophone is in the alcove to the right of the statue in the room with flowers on the floor.
Loot the rest of the room to find some coins scattered around the altar and a gift box and some more coins in the alcove on the right.
Return to the statue. You can check out the room on the right as well if you want a few more coins to find but when you are ready, go through the door opposite the stairs we came from. Follow the spiral staircase all of the way down. At the bottom, proceed to the far end of the room.
Let the priest continue his sermon if you wish (although it does go on for a little while), when you are ready to proceed walk up to the people in front and hit the interact button to enter the circle. When the priest holds out his hand to you, move forward and interact with it for a scene.
DeWitt will have a short flashback type sequence and you’ll find yourself in another area. Simply walk up to the door at the far end of the room and open it.
The Garden of New Eden
When you are back in Columbia, climb the stairs in front and grab the apples for some health and coins from the nearby bench at the top. Note that just about everyone in this area has something to say if you want to hear it, so be sure to hear them all out if you like that kind of thing. Follow the set path around to the left and enter the door at the end.
New Eden Square
As you enter, the floating city segment in front will join onto the one you are on, allowing you to cross over. Do so when you are able. As you progress through the next area, look out for trash cans to loot and food and coins stashed around the place as there is quite a bit to be found.
When you reach the giant statue of the prophet, look to the right. Wait for the floating shop named “Hudson’s” to dock. When it does cross over and head inside. There is a Kinetoscope [1/3] at the counter and a Voxophone [2/4] in an open safe behind the counter.
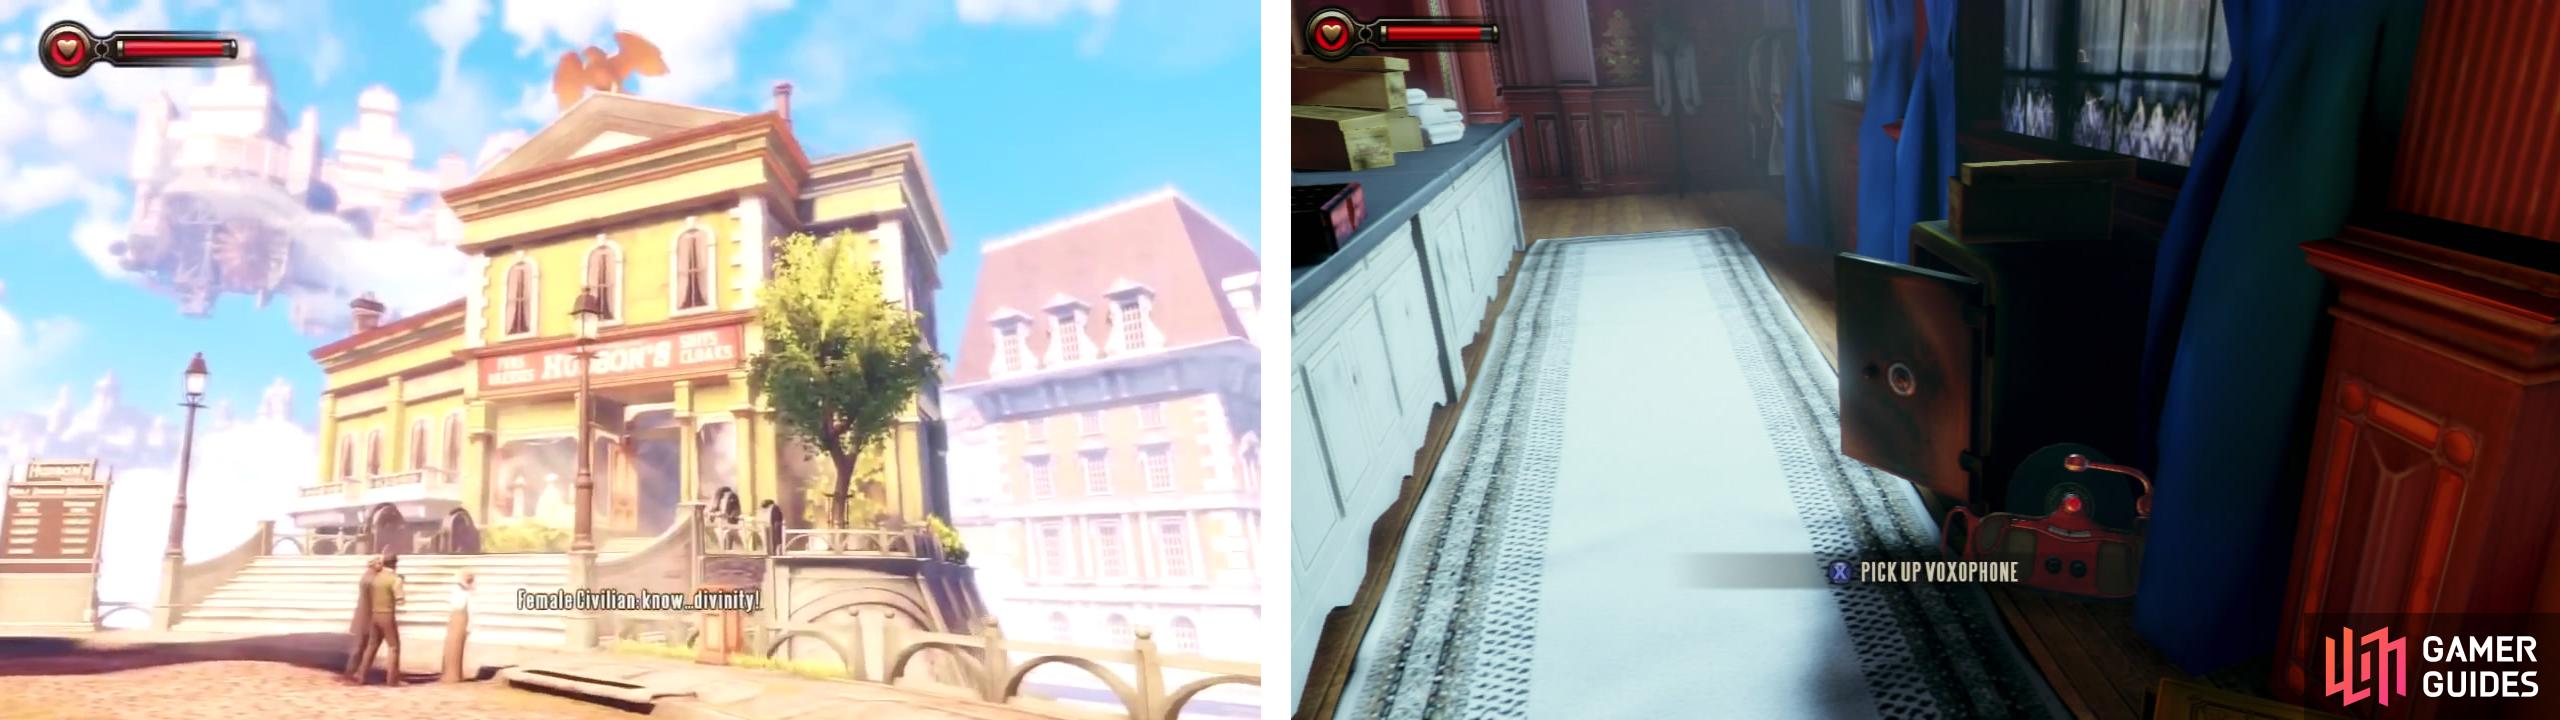
Wait for ‘Hudson’s’ to dock and go inside. You’ll find a Voxophone and a Kinetoscope within!
Exit the store and continue down the street on the opposite side of the prophet statue. Wait at the police roadblock until the parade floats pass and then continue across the bridge when it lowers. At the far end, climb the stairs and you’ll see another section of the city dock to the left. Before heading over there, go over to the grocery store on the right. Look against the wall to the left of the entrance to find a Kinetoscope [2/3] , you can go inside the store for a couple of lootable boxes and some coins if you are keen.
When you are ready to move on, continue over to the next platform that has docked. Climb the stairs and follow the road to the end.On a table in the garden here is another Voxophone [3/4].
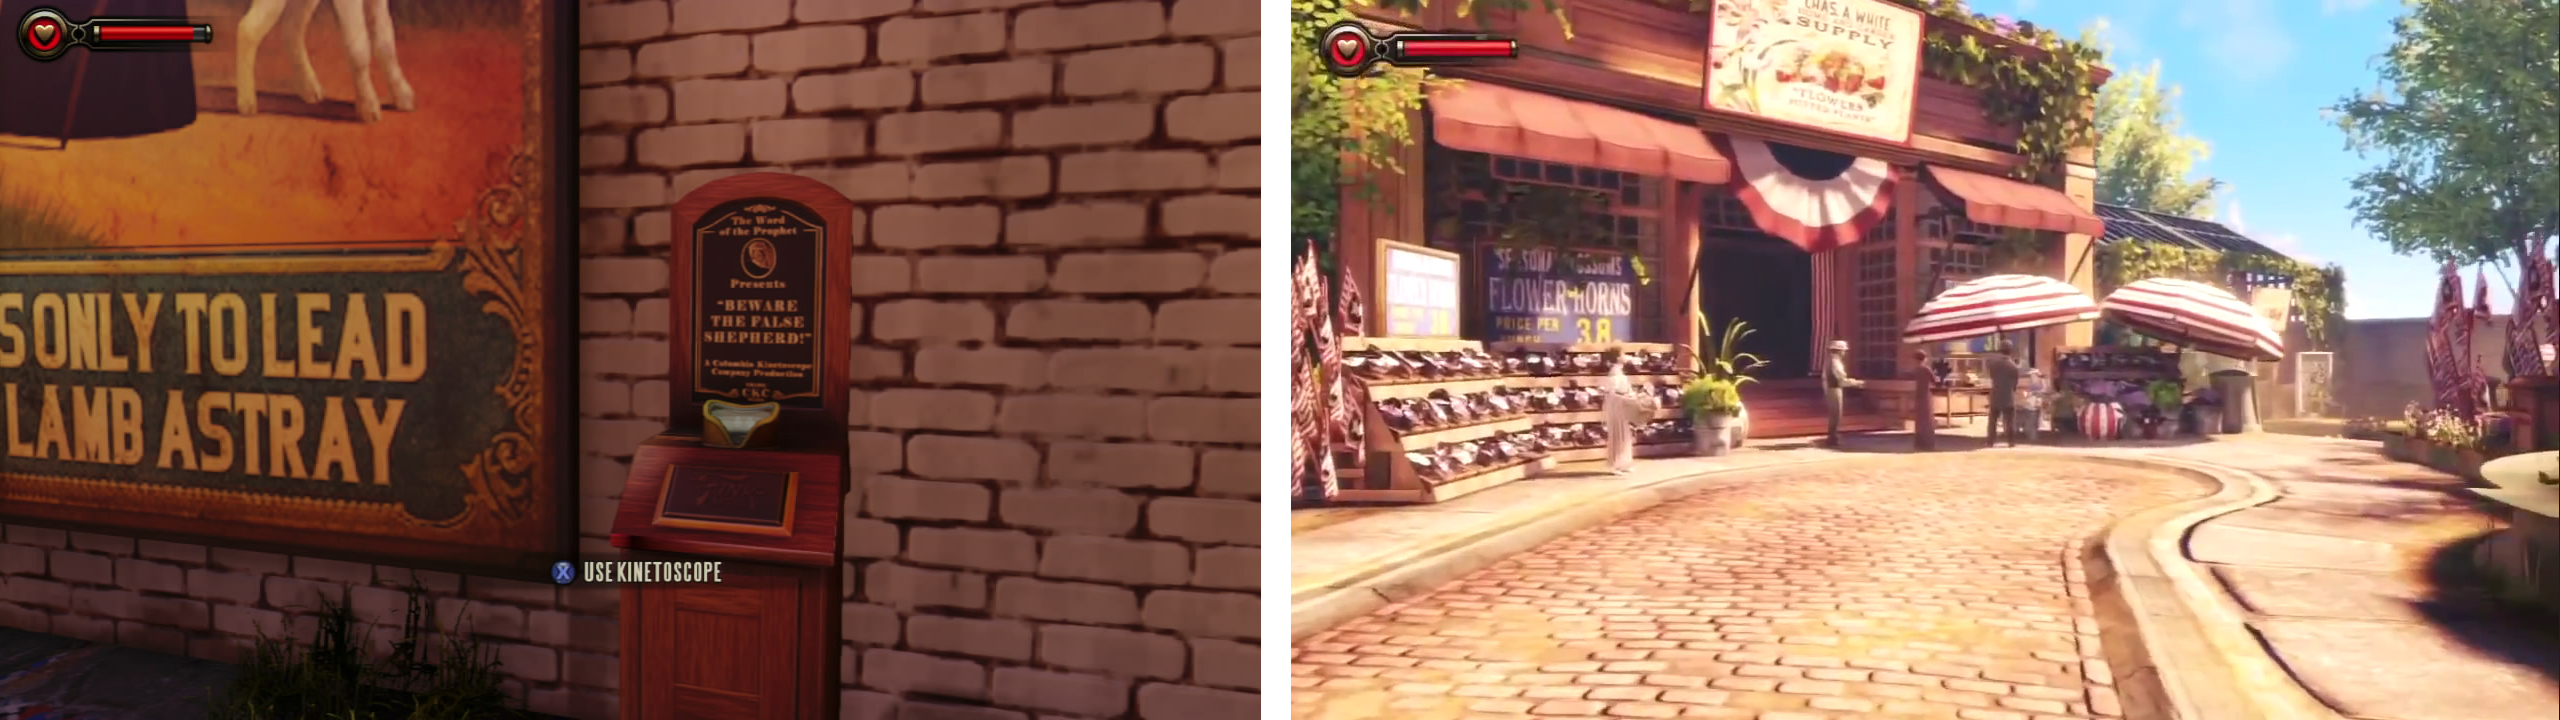
There is a Kinetoscope by the grocery store (left). Follow the path on the right (right) to find a Voxophone at the end.
Return back to the previous platform with the grocery store and continue along the path to the left. Note the quartet singing a Beach Boys song in 1912 – awesome! Climb the stairs to the right at the end and enter the gateway flanked by angel statues for a quick scene.
After receiving the telegram, turn left and find a Telescope [1/1] here, note you will need to interact with it for it to count as a collectible. Continue back past the entrance door and up the stairs in the distance to find the entrance to the fair. At the top of the stairs and before going in the gate check out the Kinetoscope [3/3] on the wall to the right.
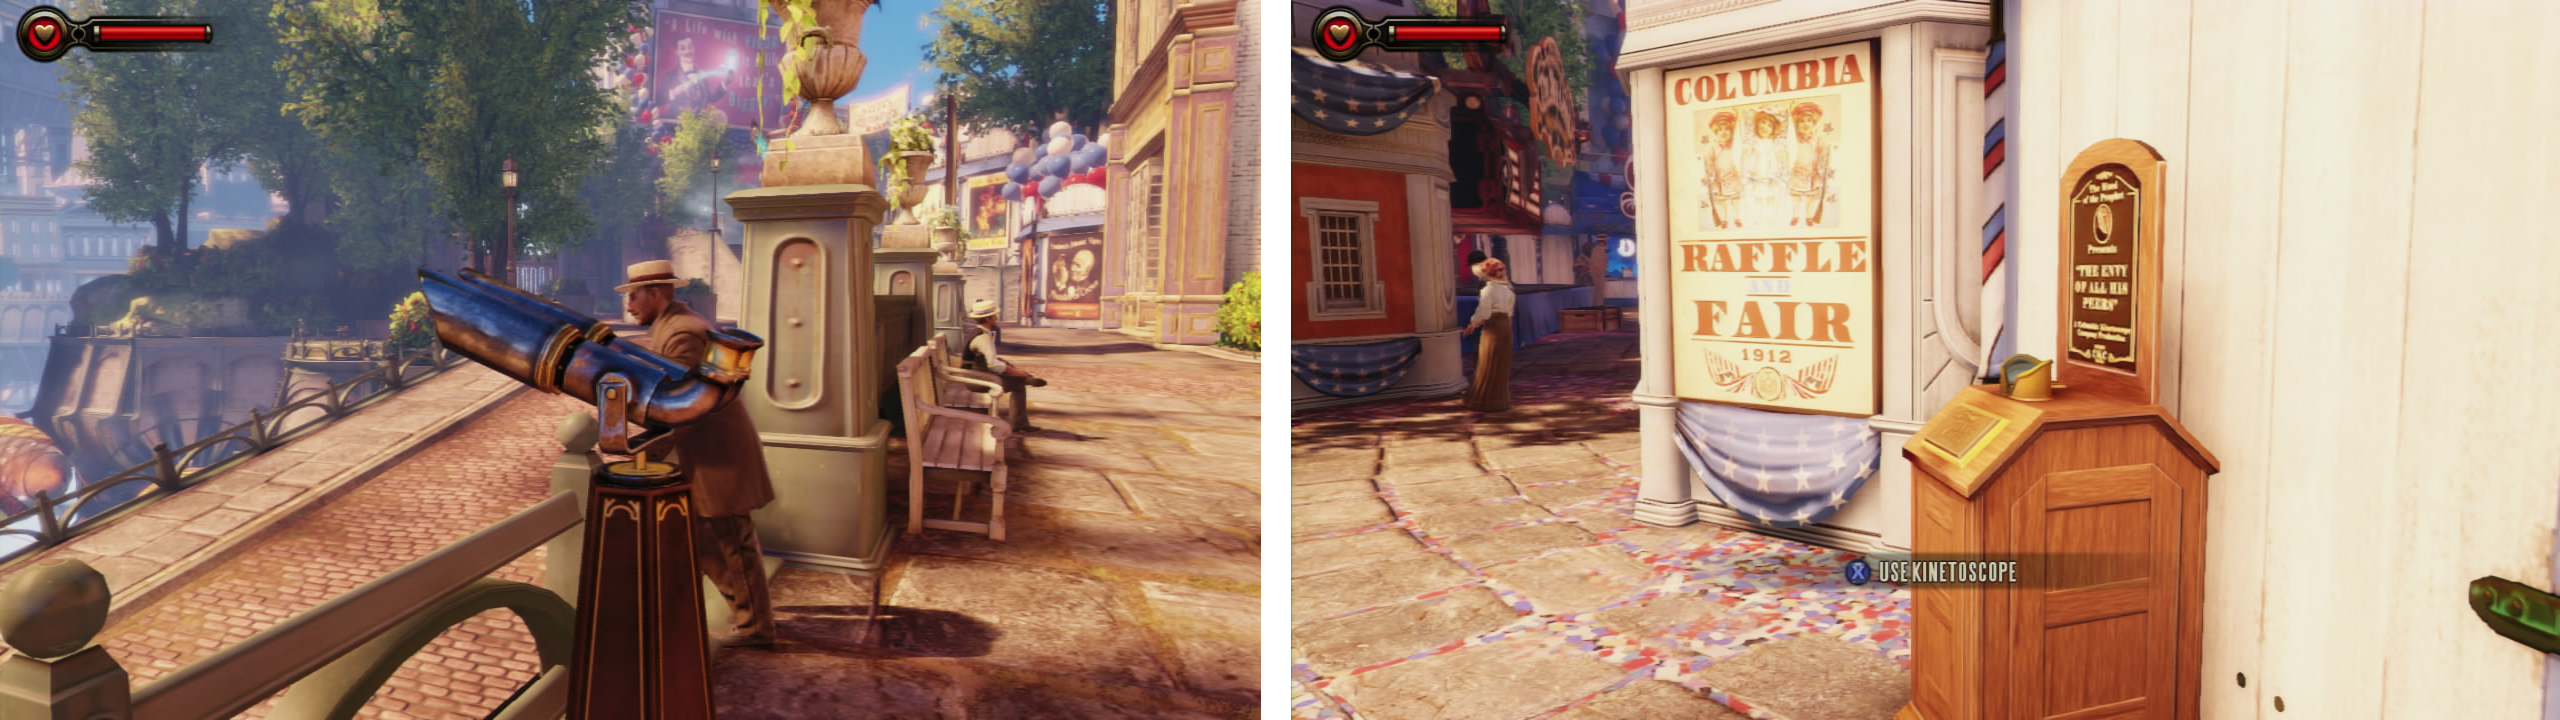
After receiving the telegram, look left to find a telescope (left). The next kinetoscope is nearby, at the entrance to the fair (right).
The Fairgrounds
The fairgrounds are quite large and surprisingly detailed and before continuing onwards, there are a number of mini-games that you can do in the fairground that bear no real importance on the game, but acts as a brief tutorial of sorts for the shooting and vigor attacks. In addition to introducing a few controls, you can earn you a little extra money from them by beating the high scores if you feel the need.
The carnival mini-games are located in the following places:
- Cast Out the Devil - You’ll see this one as soon as you enter the fairgrounds. You’ll be given a Devil’s Kiss vigor (something to look forward to later) and you’ll need to shoot the devil with it whilst avoiding the woman in the foreground.
- Bring Down the Skyline Vox - Located to the right of the entrance and has you shooting down targets moving along the rails at the back of the booth using a shotgun. Hitting 20, 10 or 5 targets will reward you with prizes.
- Hunt Down the Vox - Located to the left of the entrance and has you shooting down pop up targets using an air rifle. Hitting 20, 10 or 5 targets will reward you with prizes. Note that hitting the bonus target will reward you with a couple of points.
To progress with the game, you can pass through the fairgrounds by following the road to the left and speaking with the lady standing in front of the ‘Free Sample’ sign under the tent to the left of the locked gate for a scene. Afterwards you will have your first Vigor – Possession .
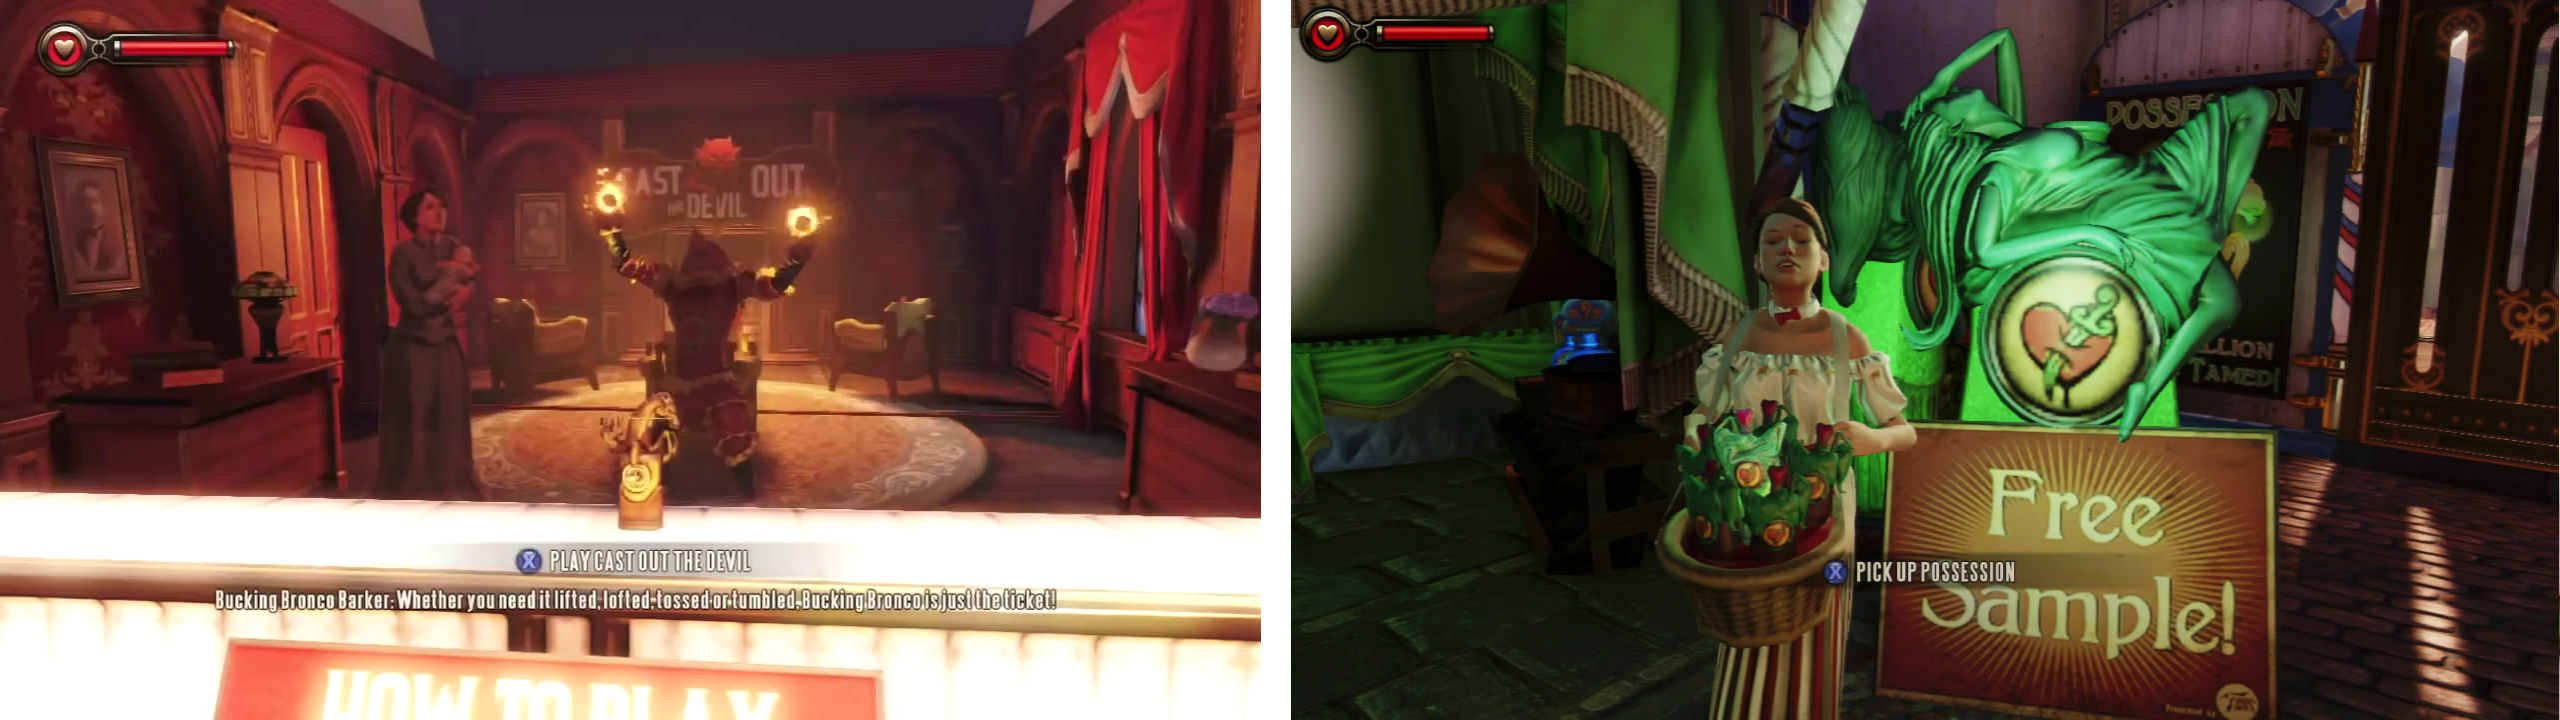
Cast the Devil Out, one of the fair games (left). Grab the Possession vigor (right) to proceed.
Note that vigors use up salts signified by the blue bar in the bottom left of the screen. To refill these, you will need to use a salt machine – there is one just on your left, or by picking up blue vials in the environment – there are several on the table in the possession tent.
Use possession on the robot gatekeeper next to the possession tent and he will open the gate for you. Grab some salts to refill your supply and then continue through the now open gate. Approach the two strangers blocking your path for a scene. Hit the interact button when prompted during the scene and they will walk off.
Path of the Scroll
Walk forward and you’ll see a Dollar Bill vending machine in front. These machines can be used to purchase weapon ammo, health and salt. Turn to the right and follow the path down the stairs and around the corner to the left.
As you round the corner and continue along the road, you will be prompted to hit the interaction button to look at a statue that is morphing. Look at the base of this statue to find the final Voxophone [4/4] for this chapter.
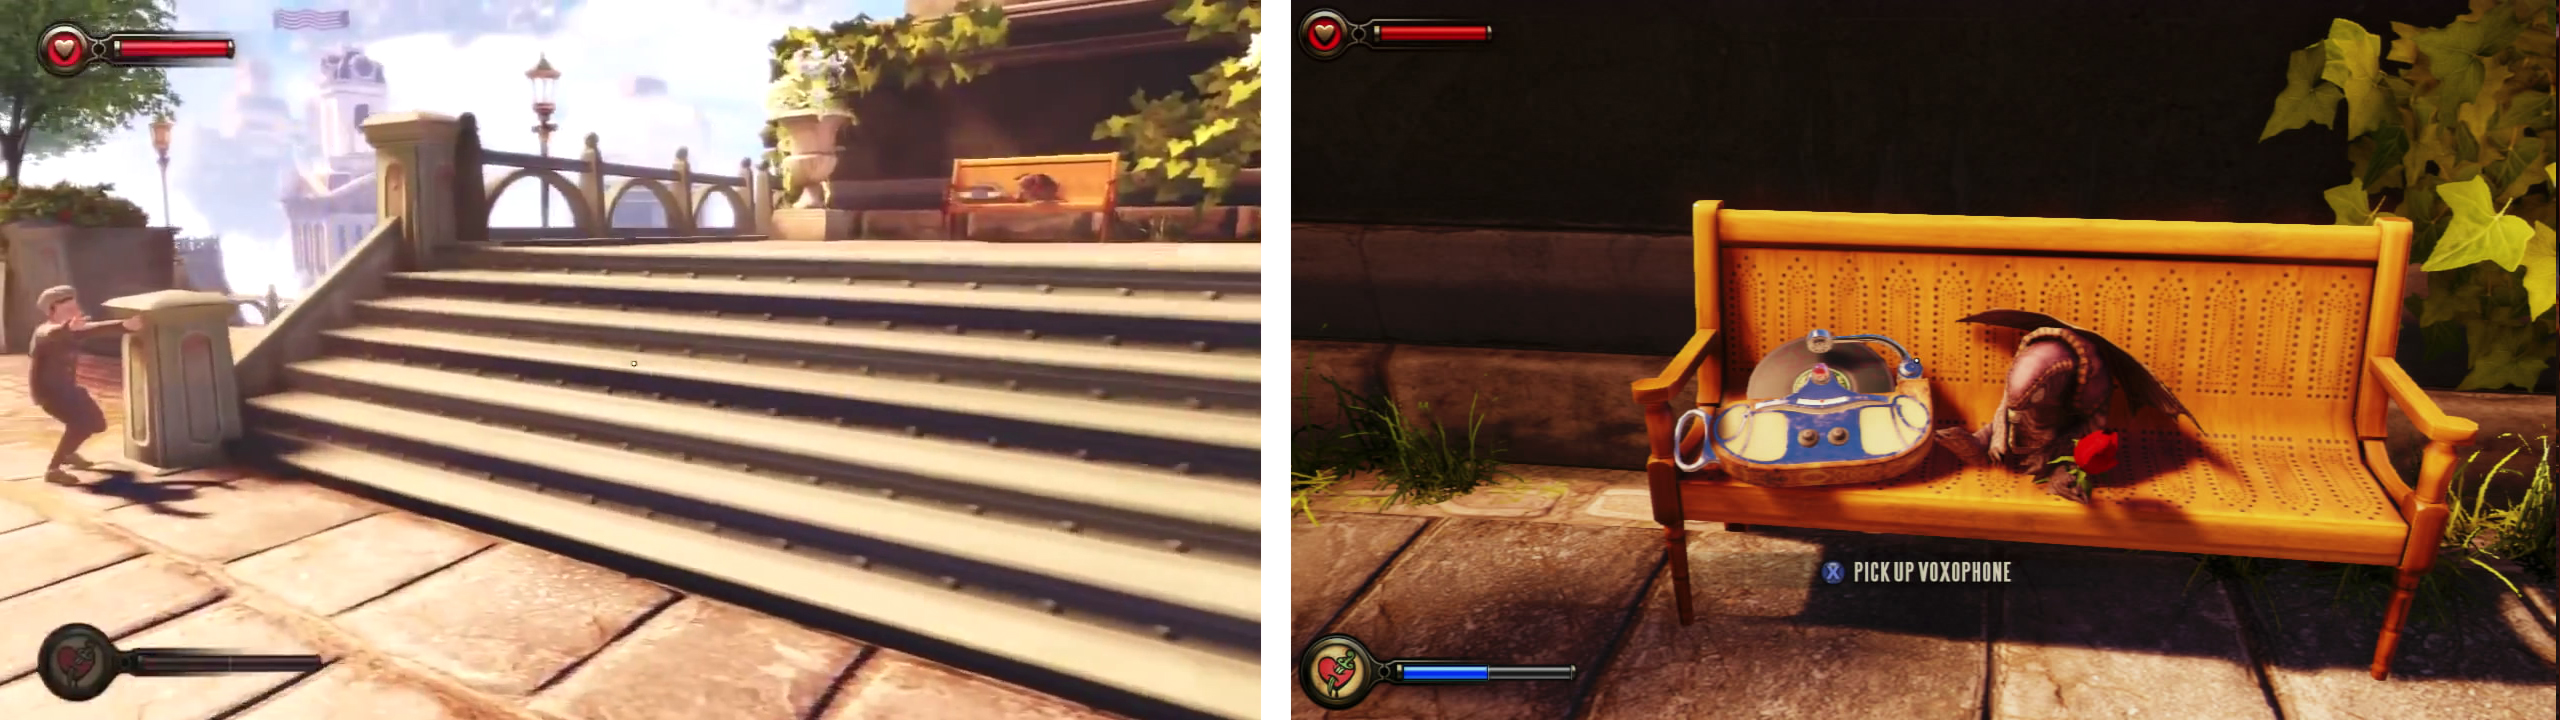
Look at the base of the morphing statue to find a Voxophone on a bench.
Continue up the road and through the large archway in front for another scene.
Proceed into the next area.
No Comments