| **Collectible** | # |
|---|---|
| Voxophones | 1 |
| Kinetoscopes | 0 |
| Telescopes | 0 |
| Infusion Upgrades | 0 |
| Equippable Gear | 2 |
The Hall of Heroes
In this room is a rotunda with a circular historical guide in the centre with three exhibits behind it: The Boxer Rebellion, The Battle of Wounded Knee and The First Lady – note that the First Lady exhibit will unlock once the other two have been cleared out. To the left and right of the entry door is a Dollar Bill and a Minuteman’s Armory vending machine so use them if you need them! When you are good to go, lets clear out the Boxer Rebellion exhibit first.
Peking Exhibit
Proceed along the path until the door opens automatically in front of you. Continue along the path a little further until you climb a short flight of stairs. At the top, enter the door to the right marked ‘Employees only’. Grab the piece of gift wrapped Equippable Gear [1/2] off the table at the back of the room. Loot the rest of the area and return to the exhibit.
Kill the enemy that has appeared during your short stint in the side room and then follow the path straight ahead and through the next door. You can interact with the statue in this room for a bit of historical poetry if you are into that kind of thing and to continue, proceed through the door behind the statue.
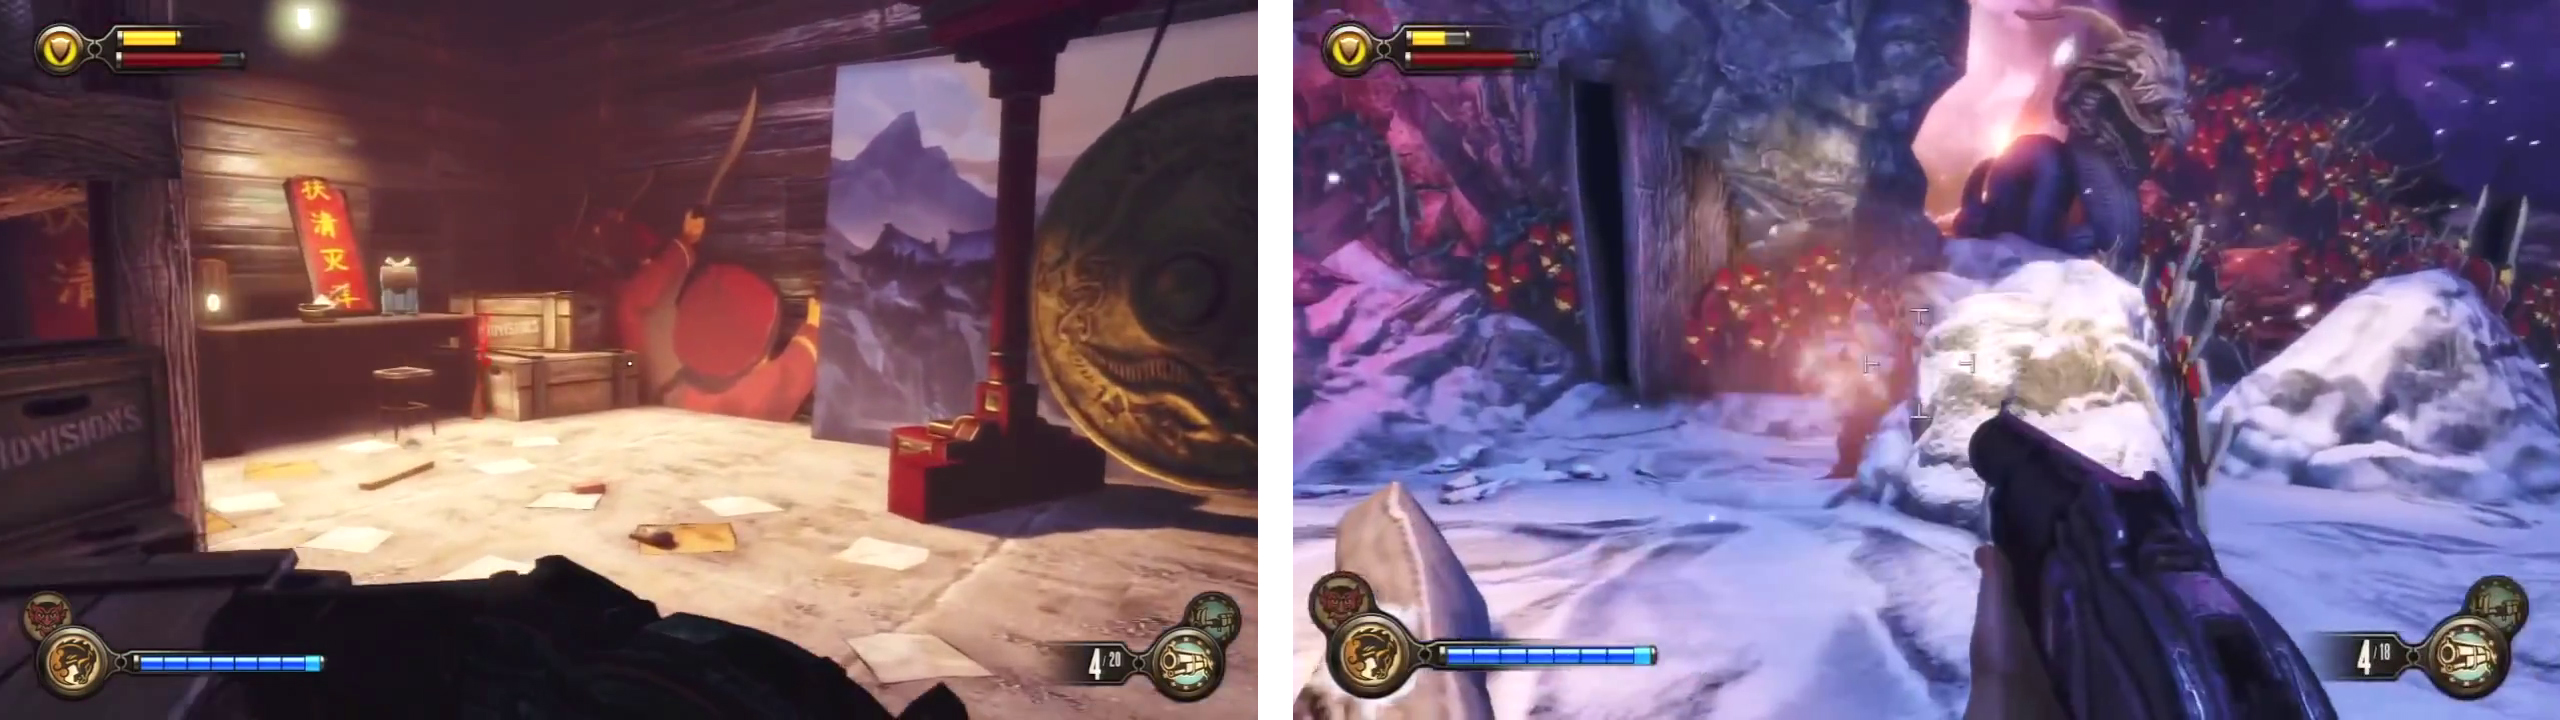
Grab the piece of Gear (left) from a side room as you go through the exhibit before experiencing an ambush (right) in the final room.
After a short moment, a group of enemies will attack. There will be 4 veterans and a fireman. Kill them all. Note that the fireman spawns in the raised platform at the back, right of the room so be sure to use the bits and pieces of exhibit to stay in cover whilst avoiding those grenades! Once the room is clear, we need to backtrack through the exhibit to the hub room with the circular guide in the centre. As you approach the room, you will see another four veterans to kill. Finish them off and then it’s time to head into the Wounded Knee exhibit.
Wounded Knee Exhibit
Follow the passage straight ahead along the set path until you reach the first short set of stairs. At this point, enter the door to the left marked ‘Employees only’. Kill the veteran lurking inside and then check out the desk at the back of the room. Here you’ll find a gift box with some new Equippable Gear [2/2] and an RPG if you wish to use one. Go back out to the exhibit.
Follow the path straight ahead and through the next door. As with the Peking Exhibit, you can interact with the statue in this room for a bit of historical poetry and to continue, proceed through the door behind the statue.
Similar to the Peking Exhibit, in this room you will need to fight off a number of enemies. 10 veterans will attack, coming in 3-4 at a time before a Crow appears to add a bit of flavour to the end of the fight. There is plenty of cover to be had amongst the props in the exhibit to take out the veterans and enough open space in the centre of the room to lure the crow into traps so you should not have too much difficulty.
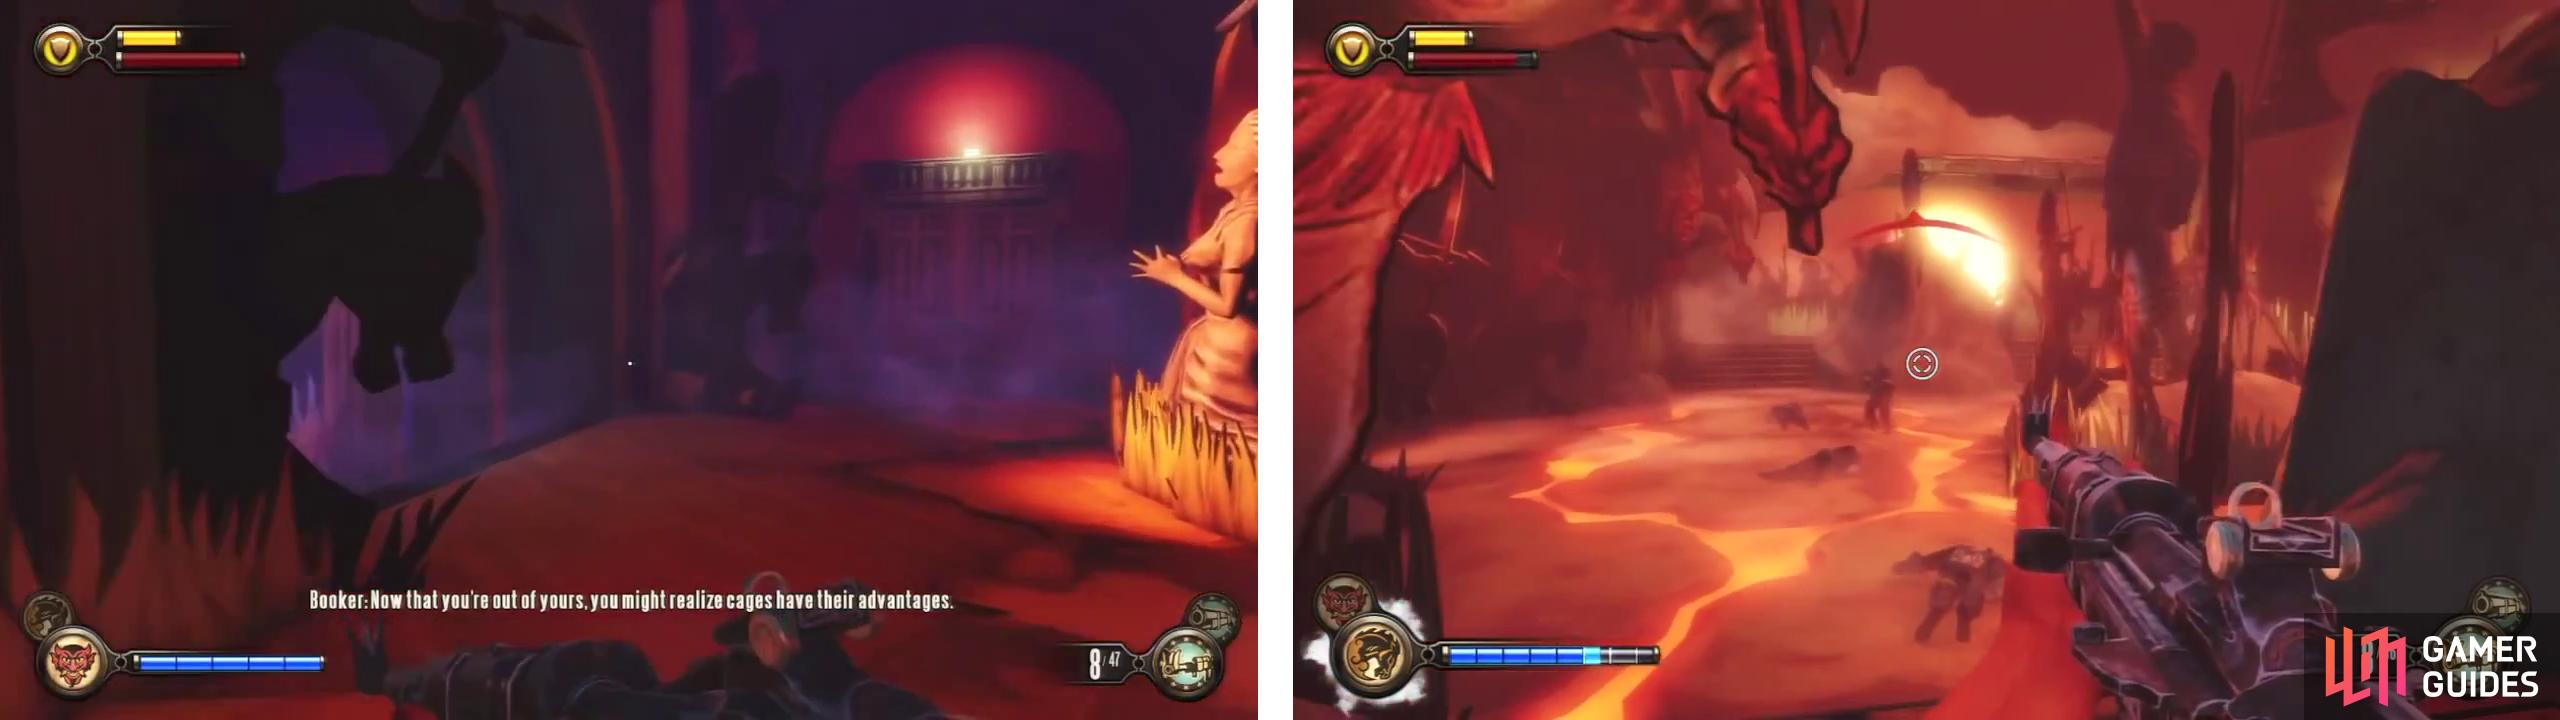
Grab the piece of Gear from a side room (left) as you go through the exhibit before experiencing an ambush (right) in the final room.
Once you have successfully destroyed the enemies, it’s time to backtrack to the rotunda.
When you arrive, you will note the First Lady exhibit is now accessible. If you have some salts available, throw a trap at the foot of the door to this exhibit. As you approach the door, three veterans will run out of it to attack. Kill them before proceeding inside.
The Memorial to Our Lady
Proceed through the room here, down the stairs, past the statue and enter the door at the top of the short stairs at the far end of the area. As you enter the next room, go under the bridge to the left and have Elizabeth unlock the door here when you are able to do so.
Upon entering the next room, look in the side area to the right and you’ll find a Voxophone [1/1] on the chair in front of a fireplace.
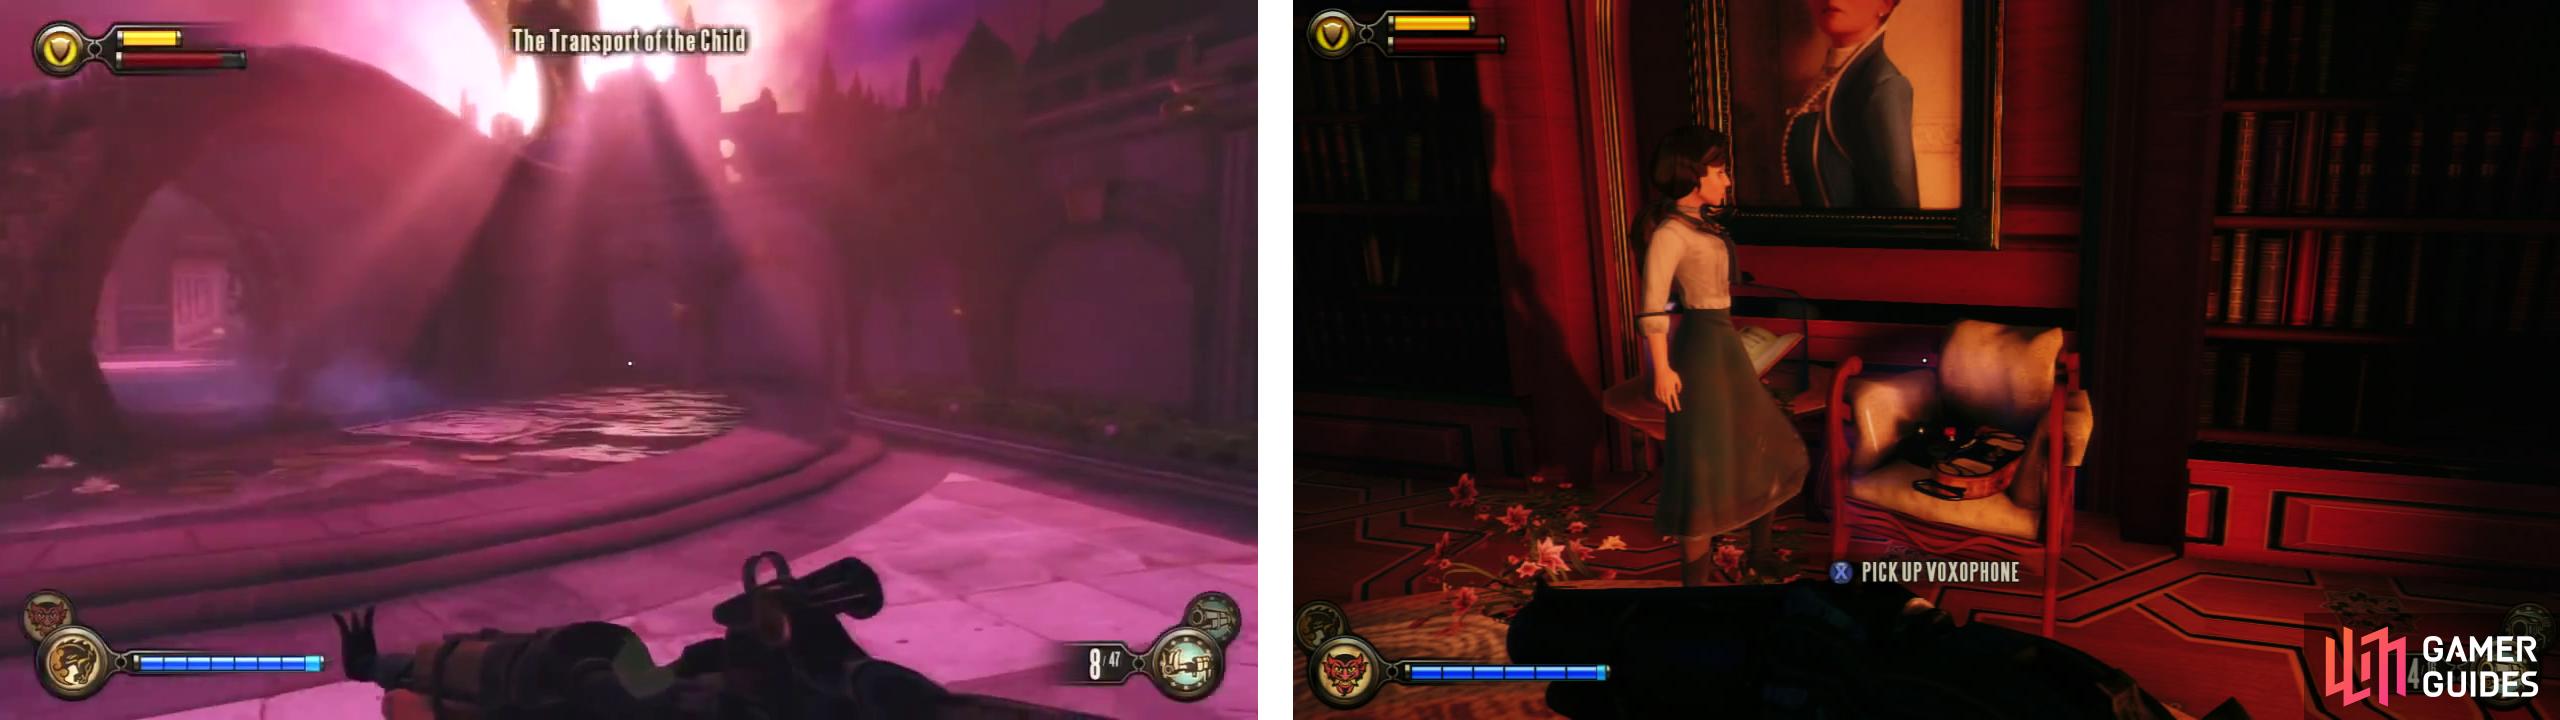
Work your way through the memorial (left) and find the Voxophone in front of a fireplace (right) as you go.
Proceed down the stairs and through the next door. Head across the room here and enter the last door here to exit the exhibit.
The Courtyard
Go down the stairs and Elizabeth will slip through the gate here. At this point you will get a brief tutorial on tears and how Elizabeth is able to use them whilst you are in combat to give you a helping hand. The gist of it is to aim at the tear until a ghostly image of the object that can be brought into the world appears and then hit the action button to have Elizabeth make it so. Throughout the rest of the game, these tears will now appear in combat situations. Note that you can only have one active tear at a time. Bring in the freight hooks behind the gate and use the skyhook to jump over the gate.
You’ll now be shown a couple of tears that Elizabeth can use to bring objects into this area.
| **Tears in this Location** |
|---|
| An auto-turret in the centre of the courtyard below. A series of freight hooks around the top of the room. A discount Dollar Bill vending machine at the top of the stairs at the far end of the room. |
Now as you can see, the courtyard is not empty. There are 4-5 veterans that we can see, an enemy auto turret on the stairs at the back of the room and another 3-4 veterans who will enter the room (including an RPG gunner on the stairs) once we begin our attack. For now, I recommend activating the freight hooks and using them to jump across and down to the balconies on the left of the main room without being detected. Next possess or destroy the auto turret on the stairs. Finally bring in the friendly auto-turret and assist it in picking off the enemies below. Note that there is an oil slick on the left hand side of the room which may be of assistance in killing enemies more efficiently with a bit of Devil’s Kiss.
Once the area is clear, hop down to the courtyard below and climb the stairs at the back. At the top of said stairs there is another tear which can be used by Elizabeth to bring in a discount Dollar Bill machine. It offers prices at 50% off their usual value, unfortunately the only upgrade on offer is:
Discount Minutemans Armory Machine
| **Weapon(s)** | **Upgrade(s)** | **Cost** |
|---|---|---|
| Pistol | Clip Increase | 220 |
Grab the discounted upgrade from the vending machine if you like and when you are ready to go, enter the next door.
No Comments