Kehjistan Dungeon - Diablo IV Database
| Icon | Title | Category | Subcategory |
|---|
Kehjistan Dungeon
| Icon | Title | Details | Screenshots | |||||||||||||||||||||||||||||||||||||||||||||||||||||||||||||||||||||||||||||||||||||||||||||||
|---|---|---|---|---|---|---|---|---|---|---|---|---|---|---|---|---|---|---|---|---|---|---|---|---|---|---|---|---|---|---|---|---|---|---|---|---|---|---|---|---|---|---|---|---|---|---|---|---|---|---|---|---|---|---|---|---|---|---|---|---|---|---|---|---|---|---|---|---|---|---|---|---|---|---|---|---|---|---|---|---|---|---|---|---|---|---|---|---|---|---|---|---|---|---|---|---|---|---|

|
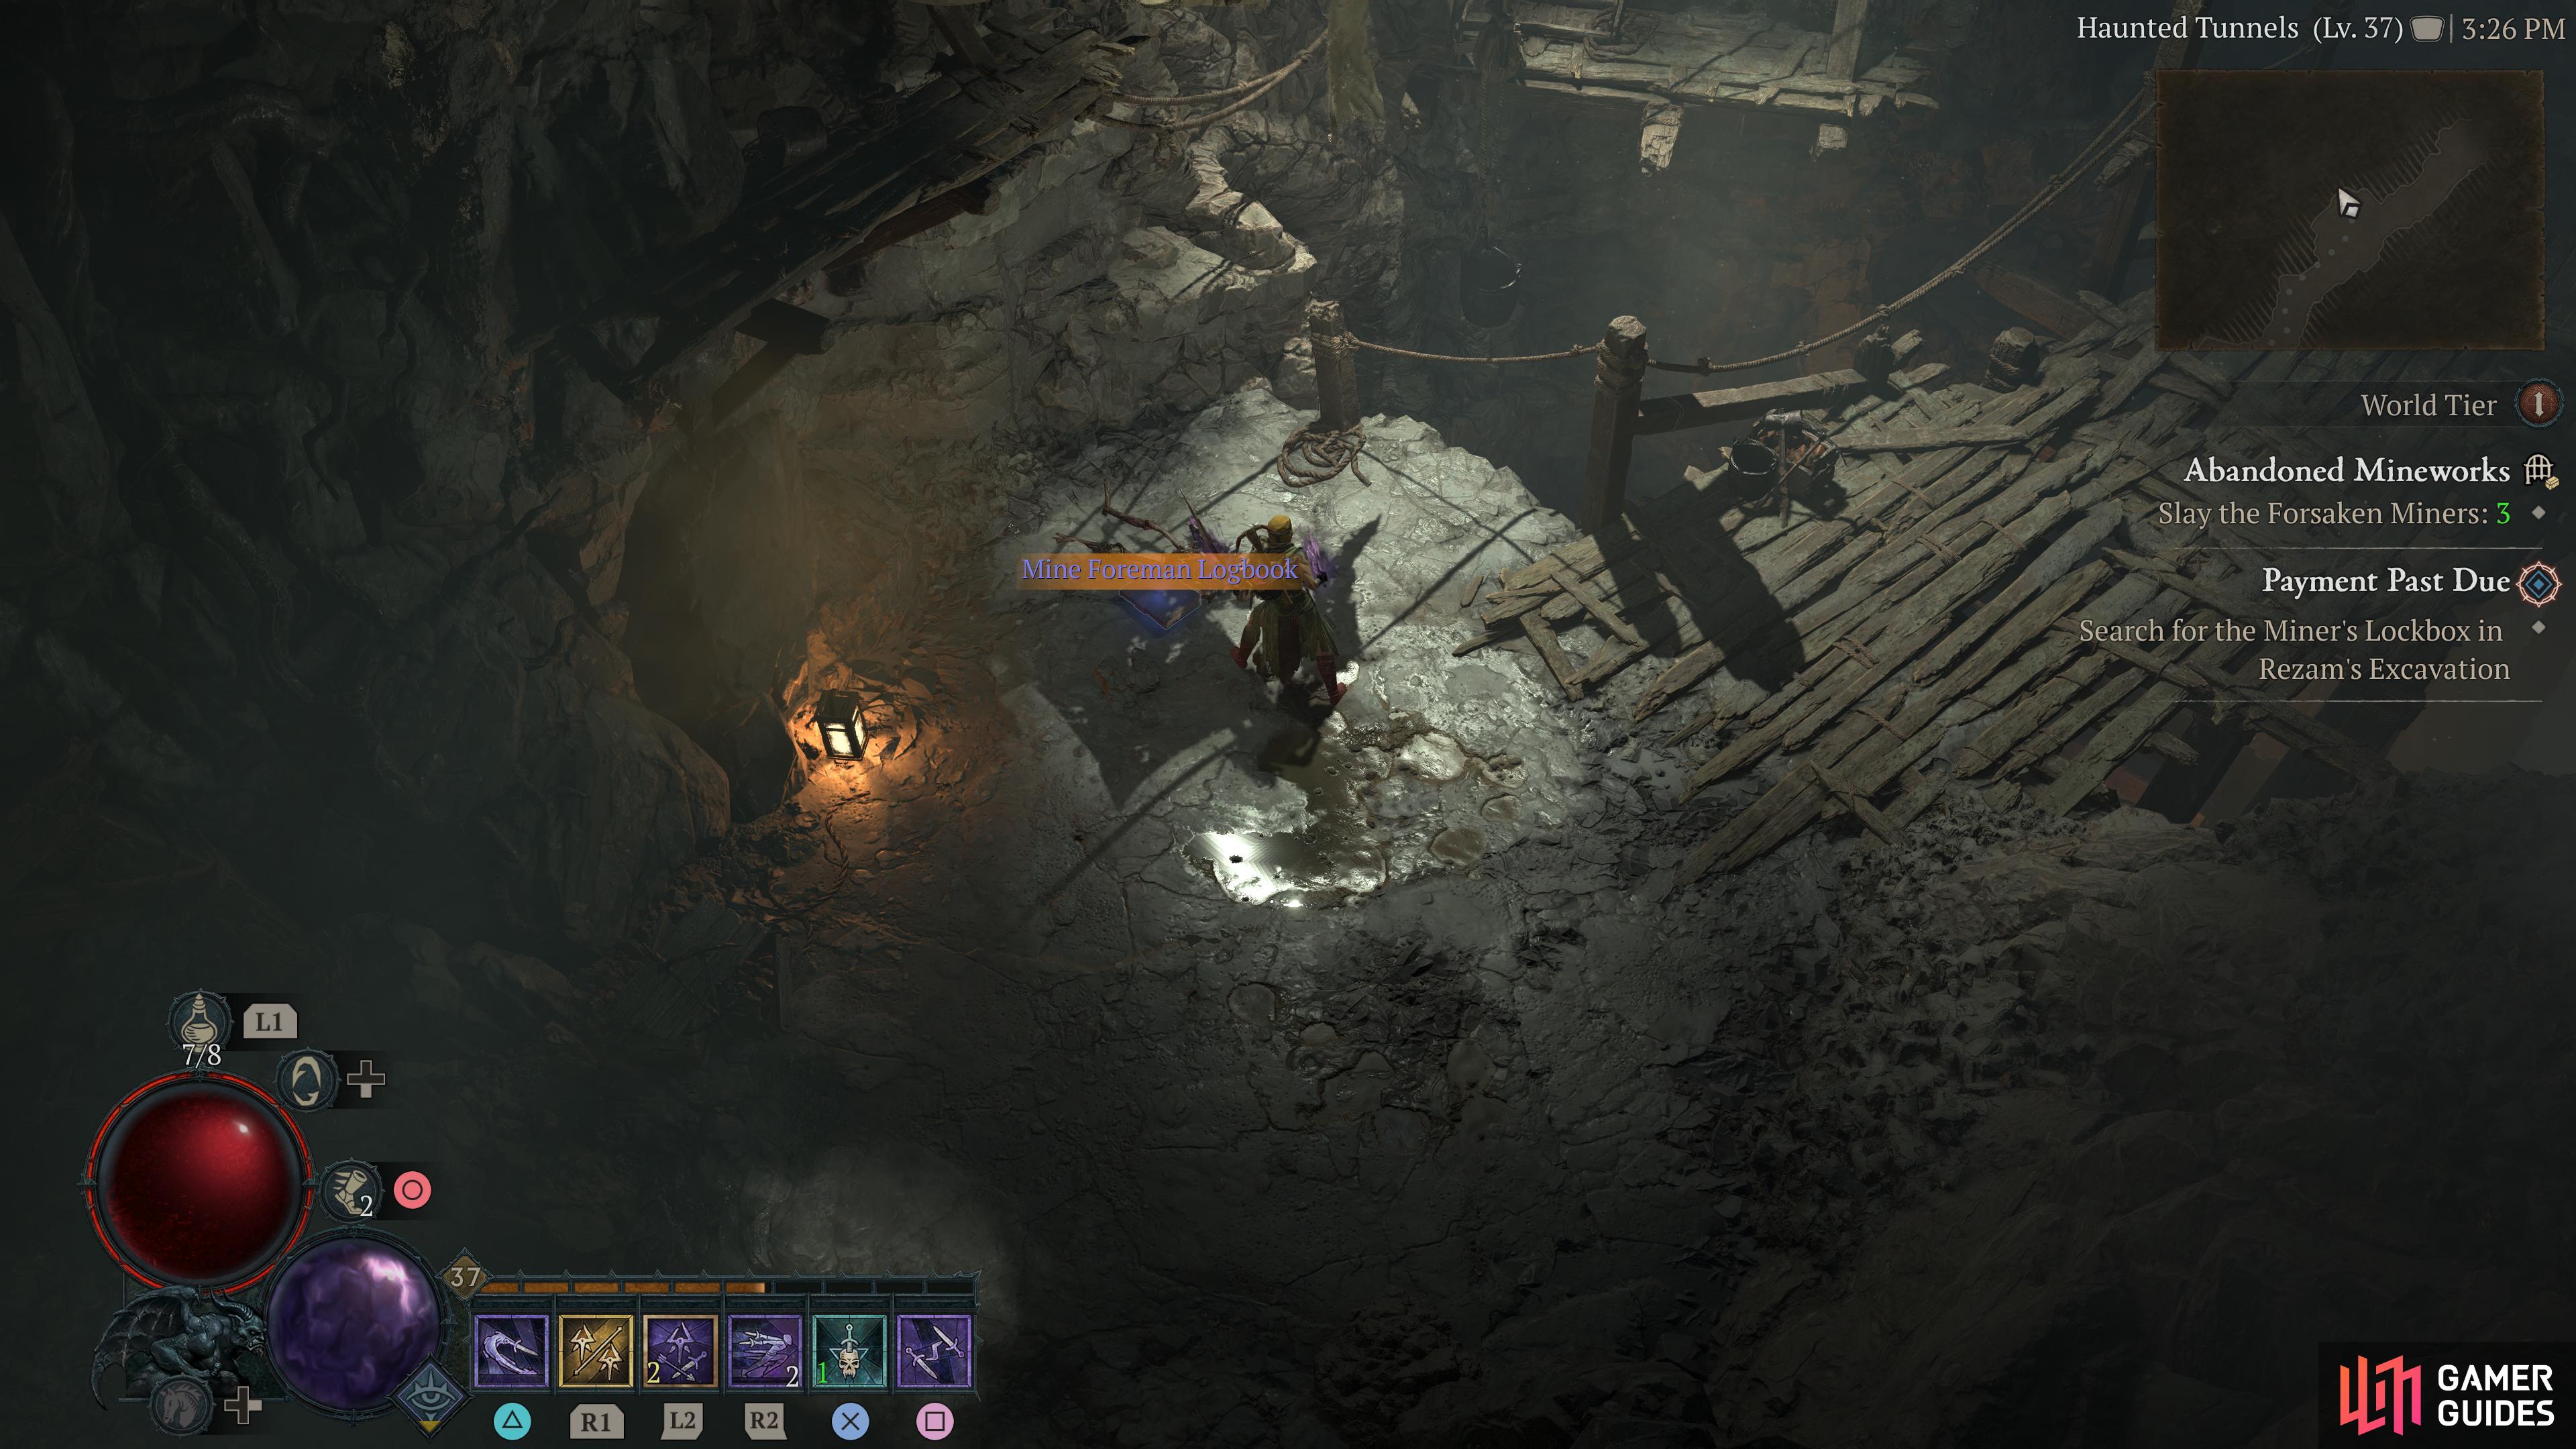
Abandoned Mineworks |
A maze of tunnels, walked by those who died here. Awards the
Objectives
Description
+30 Kehjistan Renown on completion.
Enemies
Detailed Location
Related Quests
1×
Region
General Reward
|
|
|||||||||||||||||||||||||||||||||||||||||||||||||||||||||||||||||||||||||||||||||||||||||||||||

|
Collapsed Vault |
In dead hands do these ancient treasures lie.
Objectives
Description
Tis dungeon is often filled with Bugs and The Unstable Rampart is typically a tunnels, which then leads to more tunnels shaped in a sqaure shaped route, withh the occasional dead end or roundabout along its path. It then also leads to a locked door. This is where you need to kill all enemies. When you get to the next stage of the dungeon, this area has more tunnelsm which lead to square shaped areas, with the pedestal objects on either end of the named area. You’ll also encounter elites, shrine objectives and general trash. Once when all objects are returned, you then fight the boss, and complete the dungeon.
Region
General Reward
|
||||||||||||||||||||||||||||||||||||||||||||||||||||||||||||||||||||||||||||||||||||||||||||||||

|
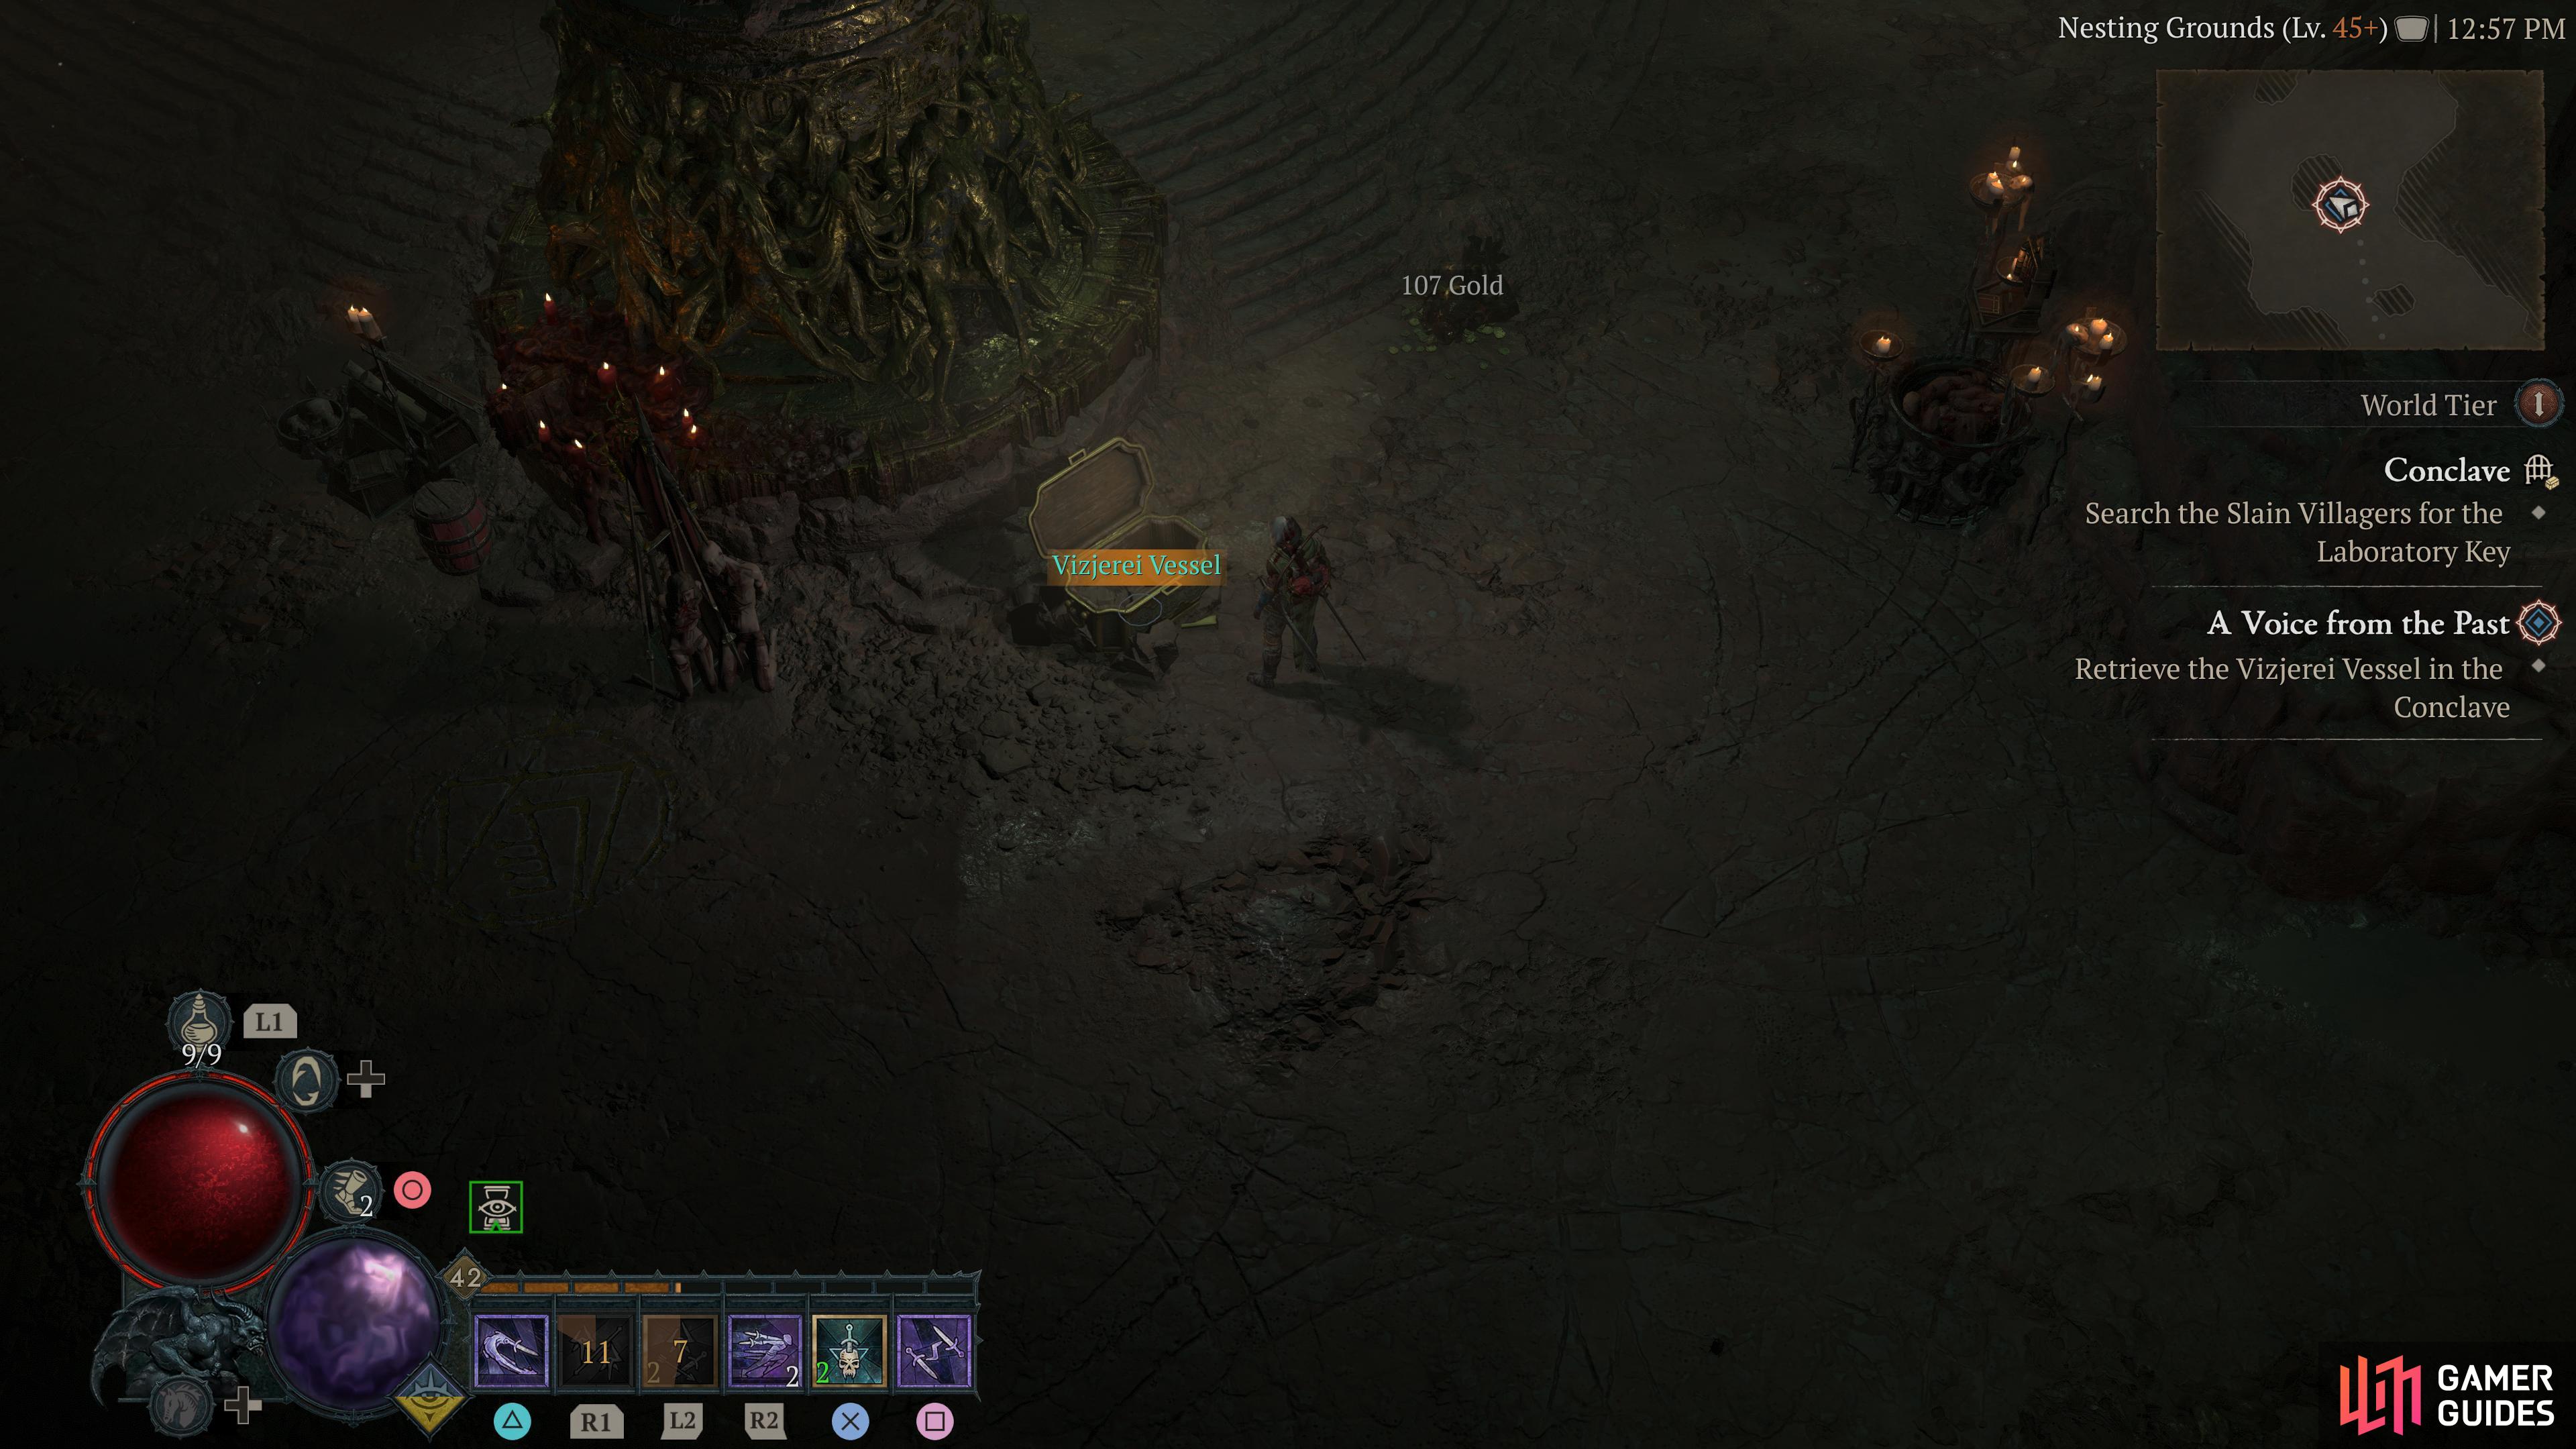
Conclave |
Tales of profane rituals grip the people with fear. Successfully completing this dungeon awards the Changeling’s Debt aspect.
Objectives
Description
+30 Kehjistan Renown upon completion.
The first half f the objectives require players to kill certain named mobs with the objective name inserted on their nameplates. These enemies are often in the first major room, so progress through, and kill them when you can. They typically stick to the edges of the end of the first large room. The next stage typically is another large hall, with a thin corridor connecting them. Here, your mission is to head into the other large cultists room and look for bodies across a large spaces. Once again, these bodies are typically near t eh edges of the large room, or near walls on the inside of the room. Once you get the key, you open a door, and encounter a variation of Infested Walkers, Fallen creatures, and Cultists,m with you needing to kill them all for this stage of the mission. Once that complete, the final elite spawns to complete the dungeon.
Enemies
Detailed Location
Related Quests
1×
Region
General Reward
XP and Gold
Item Reward
1×
|

|
|||||||||||||||||||||||||||||||||||||||||||||||||||||||||||||||||||||||||||||||||||||||||||||||

|
Corrupted Grotto |
The Forgotten dead languish under barren rock.
Objectives
Collect Animus from Animus Carriers
Description
The dungeon has mixed enemy types, featuring Drowned (Undead), The dungeon’s first map typically has a pathway to follow, which then branches left and right, with a few connecting pathways in the middle to each side. The Animus enemies often occupy to the sides of the map, and occasionally in the middle connecting pathways.. You then deposit the animus near the door at the top middle pathway. Once you’re through the door, you enter another tunnel area. The main pathway essentially goes in a direct line, with slight curves here or there, depending on map generation. Then there’s typically four spare along this path with dead ends with more enemies you need to kill to complete the dungeon.
Detailed Location
A dungeon inside the Southeast corner of the Jagged Coastline. Take the northwest road out of the capital city, and cross the border into Jagged Coastline, then turn left and find a part of the map you can traverse to get to the dungeon.
Region
General Reward
Aspect of Grasping Vines |
||||||||||||||||||||||||||||||||||||||||||||||||||||||||||||||||||||||||||||||||||||||||||||||||

|
Crumbling Hekma |
A hate-infested catacomb of the Zakarum faith.
Objectives
Description
The dungeon is monastery tileset, featuring a lot of undead enemies. We therefore recommend using the The first set of the dungeon is a place called Desolate Sacellum, which is shaped in a rectangle, with small rooms in the corners of the map. You will need to run around the rectangle, pulling any enemies and killing them. You will also need to open the doors to aggro the enemies inside the small rooms. You can occasionally find shrines in these corners. After you have defeated the Cathedral area, you ten head into the catacombs. The catacombs is shaped similarly to the catacombs in other dungeons like the Crsader’s Cathedral dungeon in Caldeum. Go in a large rectangle, with each of the sides of the catacombs (lest, north and south) having a dead end, typically with an objective enemy inside. Once you have cleared the area out, head to the top of the map, and then you can find the door. This leads to the boss the
Enemies
Detailed Location
A dungeon that is locked, requiring players to beat the
Region
General Reward
|
||||||||||||||||||||||||||||||||||||||||||||||||||||||||||||||||||||||||||||||||||||||||||||||||

|
Crusaders' Cathedral |
Knights seized this temple and its undead warriors alike.
Objectives
Description
The Crusader’s Cathedral is a dungeon similar to the For the first part of the dungeon, you are looking for the key, which is often in a coffer box, typically founds in one of the first few rooms of the large cathedral area. Once you have the key, the door to the catacomb is typically somewhere on the north side of the cathedral. When you enter the catacombs, the map is often shaped as a large square, with dead ends rooms containing the Blasphemers on the left, top, and right sides of the catacomb. Each of the rooms contains an Elite, which are always one Elite
Enemies
Knight Errant
Knights
Detailed Location
A dungeon found in Caldeum, Kehjistan which is only accessible once you beat the campaign for this map in Act VI.
Region
General Reward
|
||||||||||||||||||||||||||||||||||||||||||||||||||||||||||||||||||||||||||||||||||||||||||||||||

|
Deserted Underpass |
A threat lurks in caves under the ruined Overlook
Objectives
Description
The Underpass is a level filled with various forms of spiders, meaning that an As you enter the dungeon, you’ll get a thin winding tunnel, with several other tunnels that form to make circles, with some other dead end pathways here or there. You need to kill of these spiders, visiting the pathways and all tunnel routes you can take to open the door, typically on the right side of this first area. The next area is similar to the first, with thin corridors, with its pathway leading to several circular pathways, and then some side routes that go to dead ends. The dead ends are host to the Ward of Eyes objectives, so you will need to find these dead ends and check if the objective is spawned in any of them. This area is large, so the wards can spawn across a lot of the dead ends on the top, left, and right sides of the caverns. When you fight these Wards, they will typically spawn the giant snake enemies, the Nangari, which you find in Hawezar swamp areas.
Enemies
Detailed Location
A dungeon in the Caldeum region. it can be located along the road leading to Caldeum from the Denshar Waypoint.
Region
General Reward
|
||||||||||||||||||||||||||||||||||||||||||||||||||||||||||||||||||||||||||||||||||||||||||||||||

|
Fading Echo |
These ruins have become host to a growing arm of demons.
Objectives
Description
The dungeon is infested with demon threats, meaning an At the start of the dungeon, you mainly after a fallow a winding path, which eventually splits into two different directions. Follow these two routes, as both lead to an elite lieutenant to kill. Once both are dead, return to this path, as the door is in the middle of the pathway splits. When you go through the door, the boss room is typically on the right, with one elite along that path you need to kill for the objective. So, go left, and follow all the paths you can till you have cleared the area out of objective elites. Then, go towards the other pathway, take care of the last elite, then open the boss door with the Animus Urn. inside the boss room , you need to kill a few Demons, such as a
Detailed Location
Unlock this dungeon by completing the palace mission in Act 4.. You can find it in the very top right corner of the Kehjistan map, in the desert area where you pathed through it via the camel.
Region
General Reward
|
||||||||||||||||||||||||||||||||||||||||||||||||||||||||||||||||||||||||||||||||||||||||||||||||

|
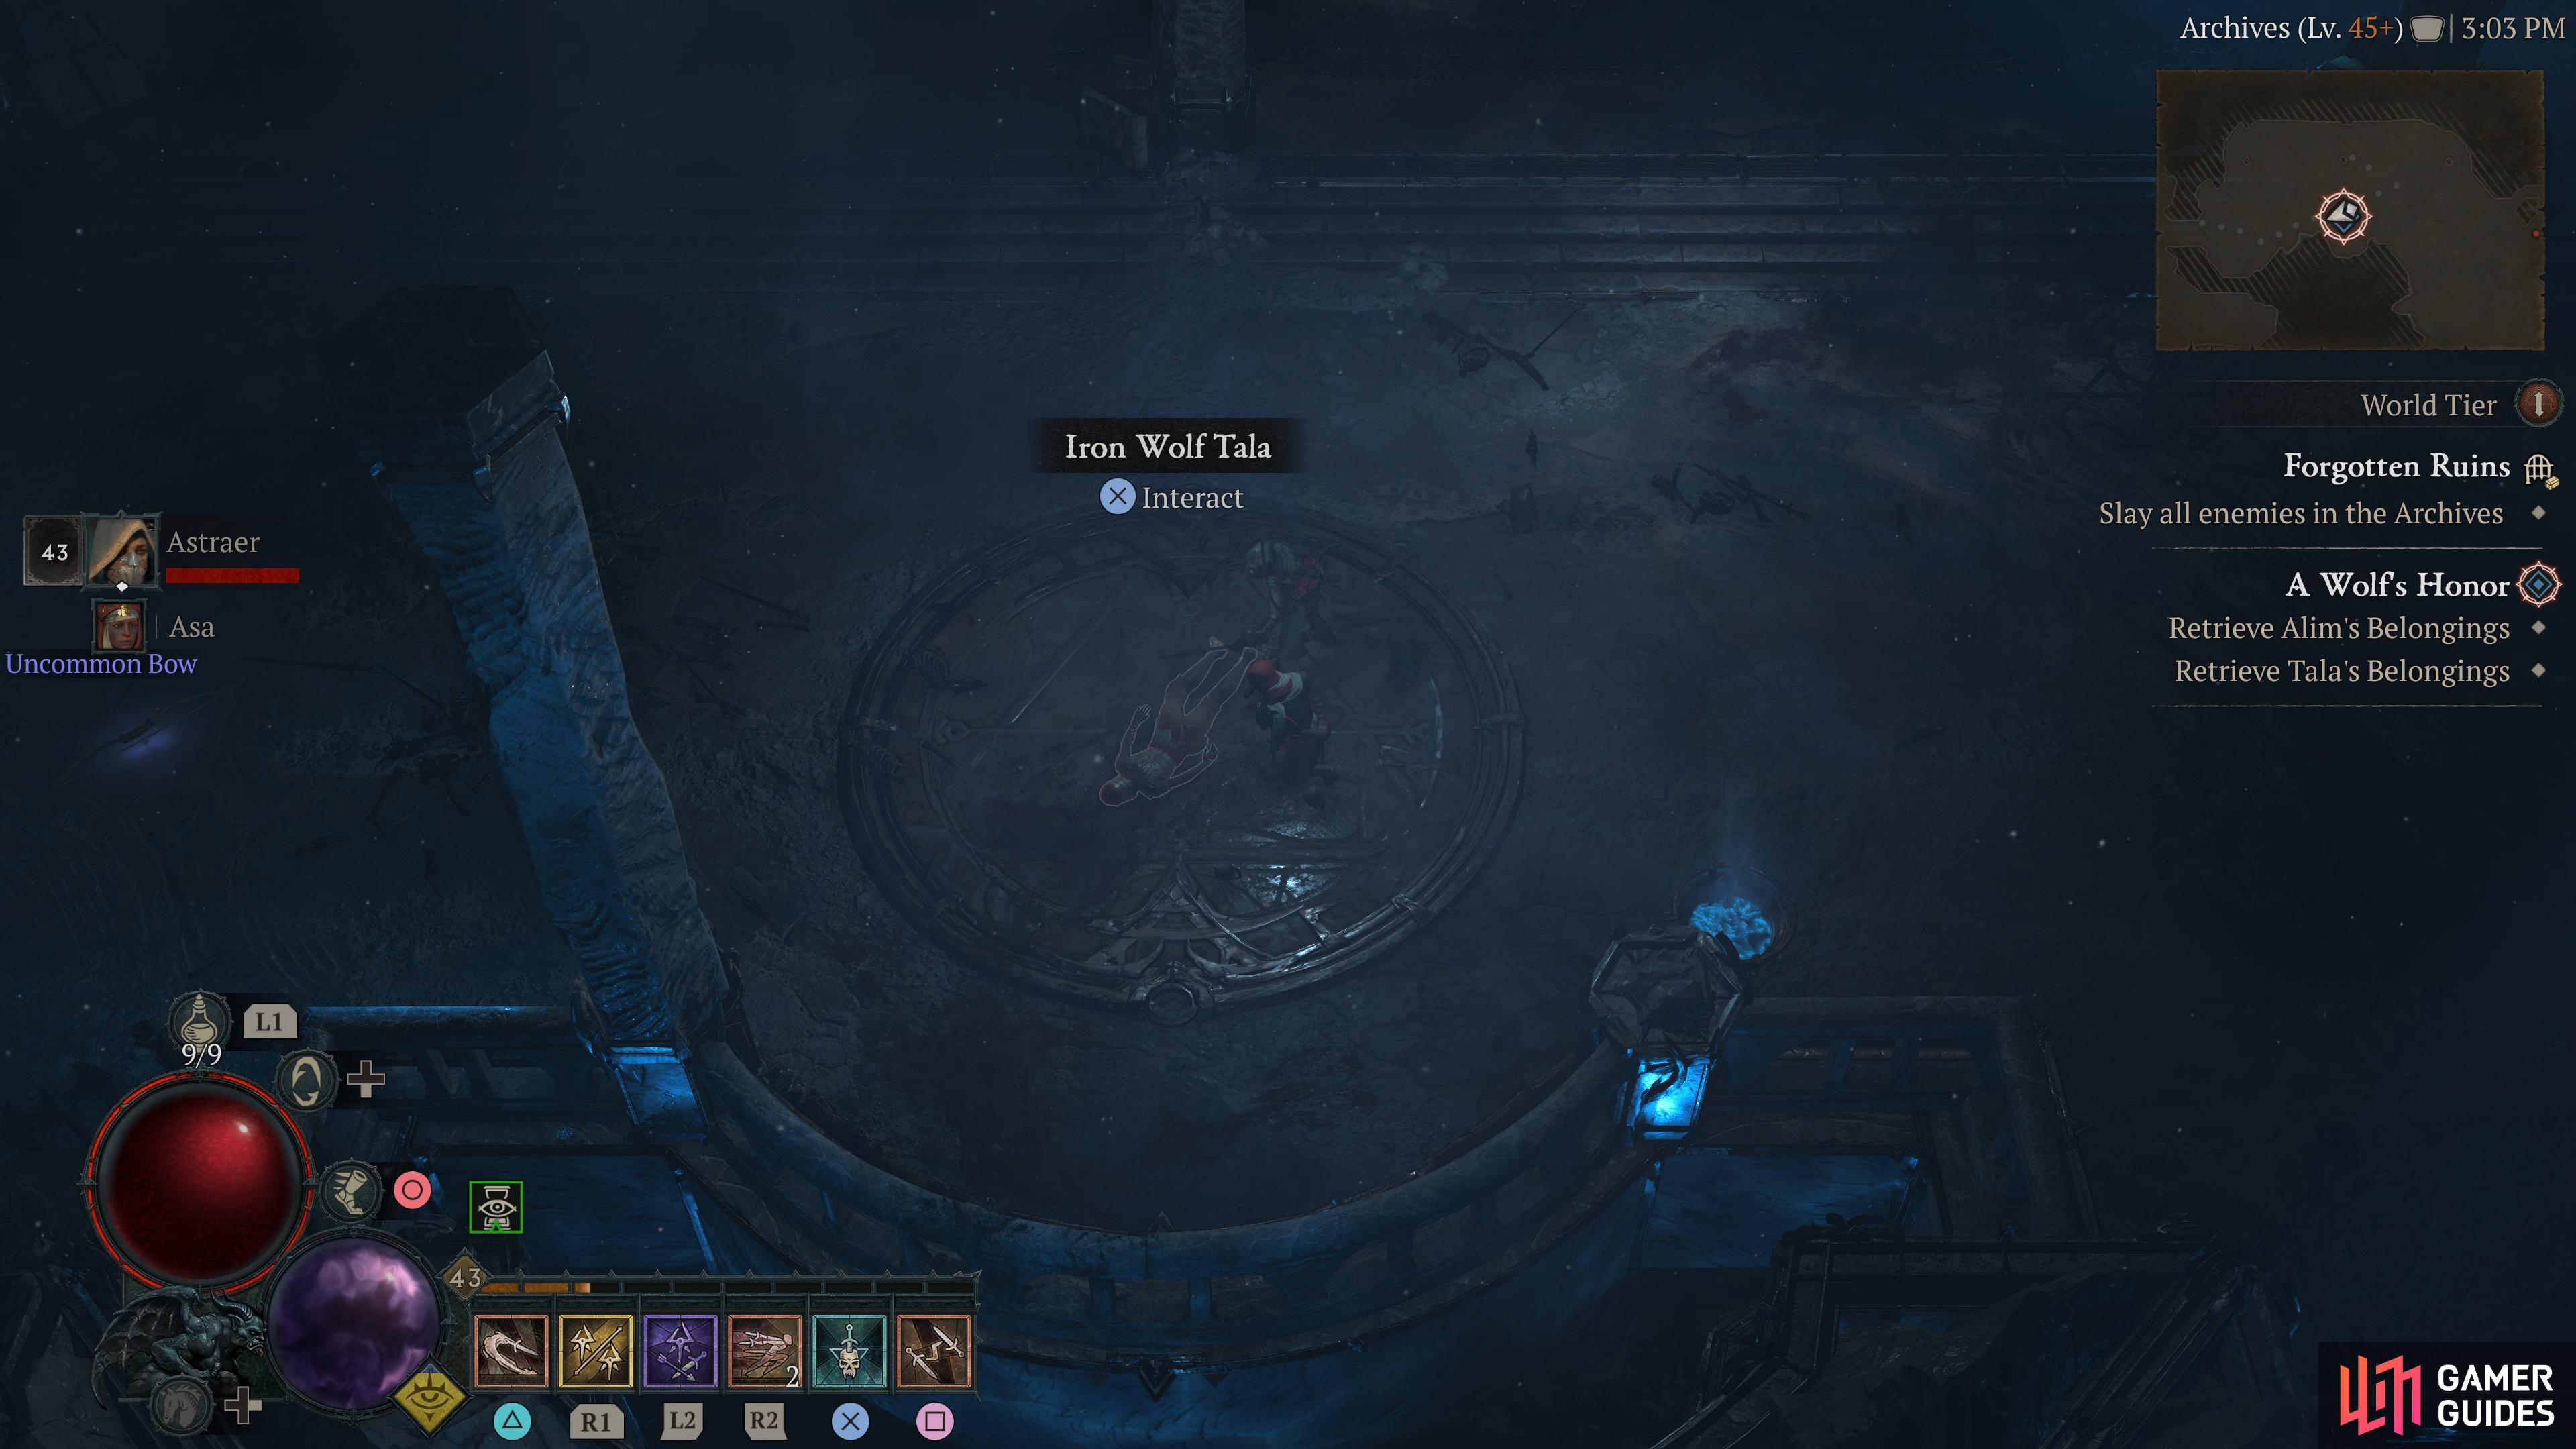
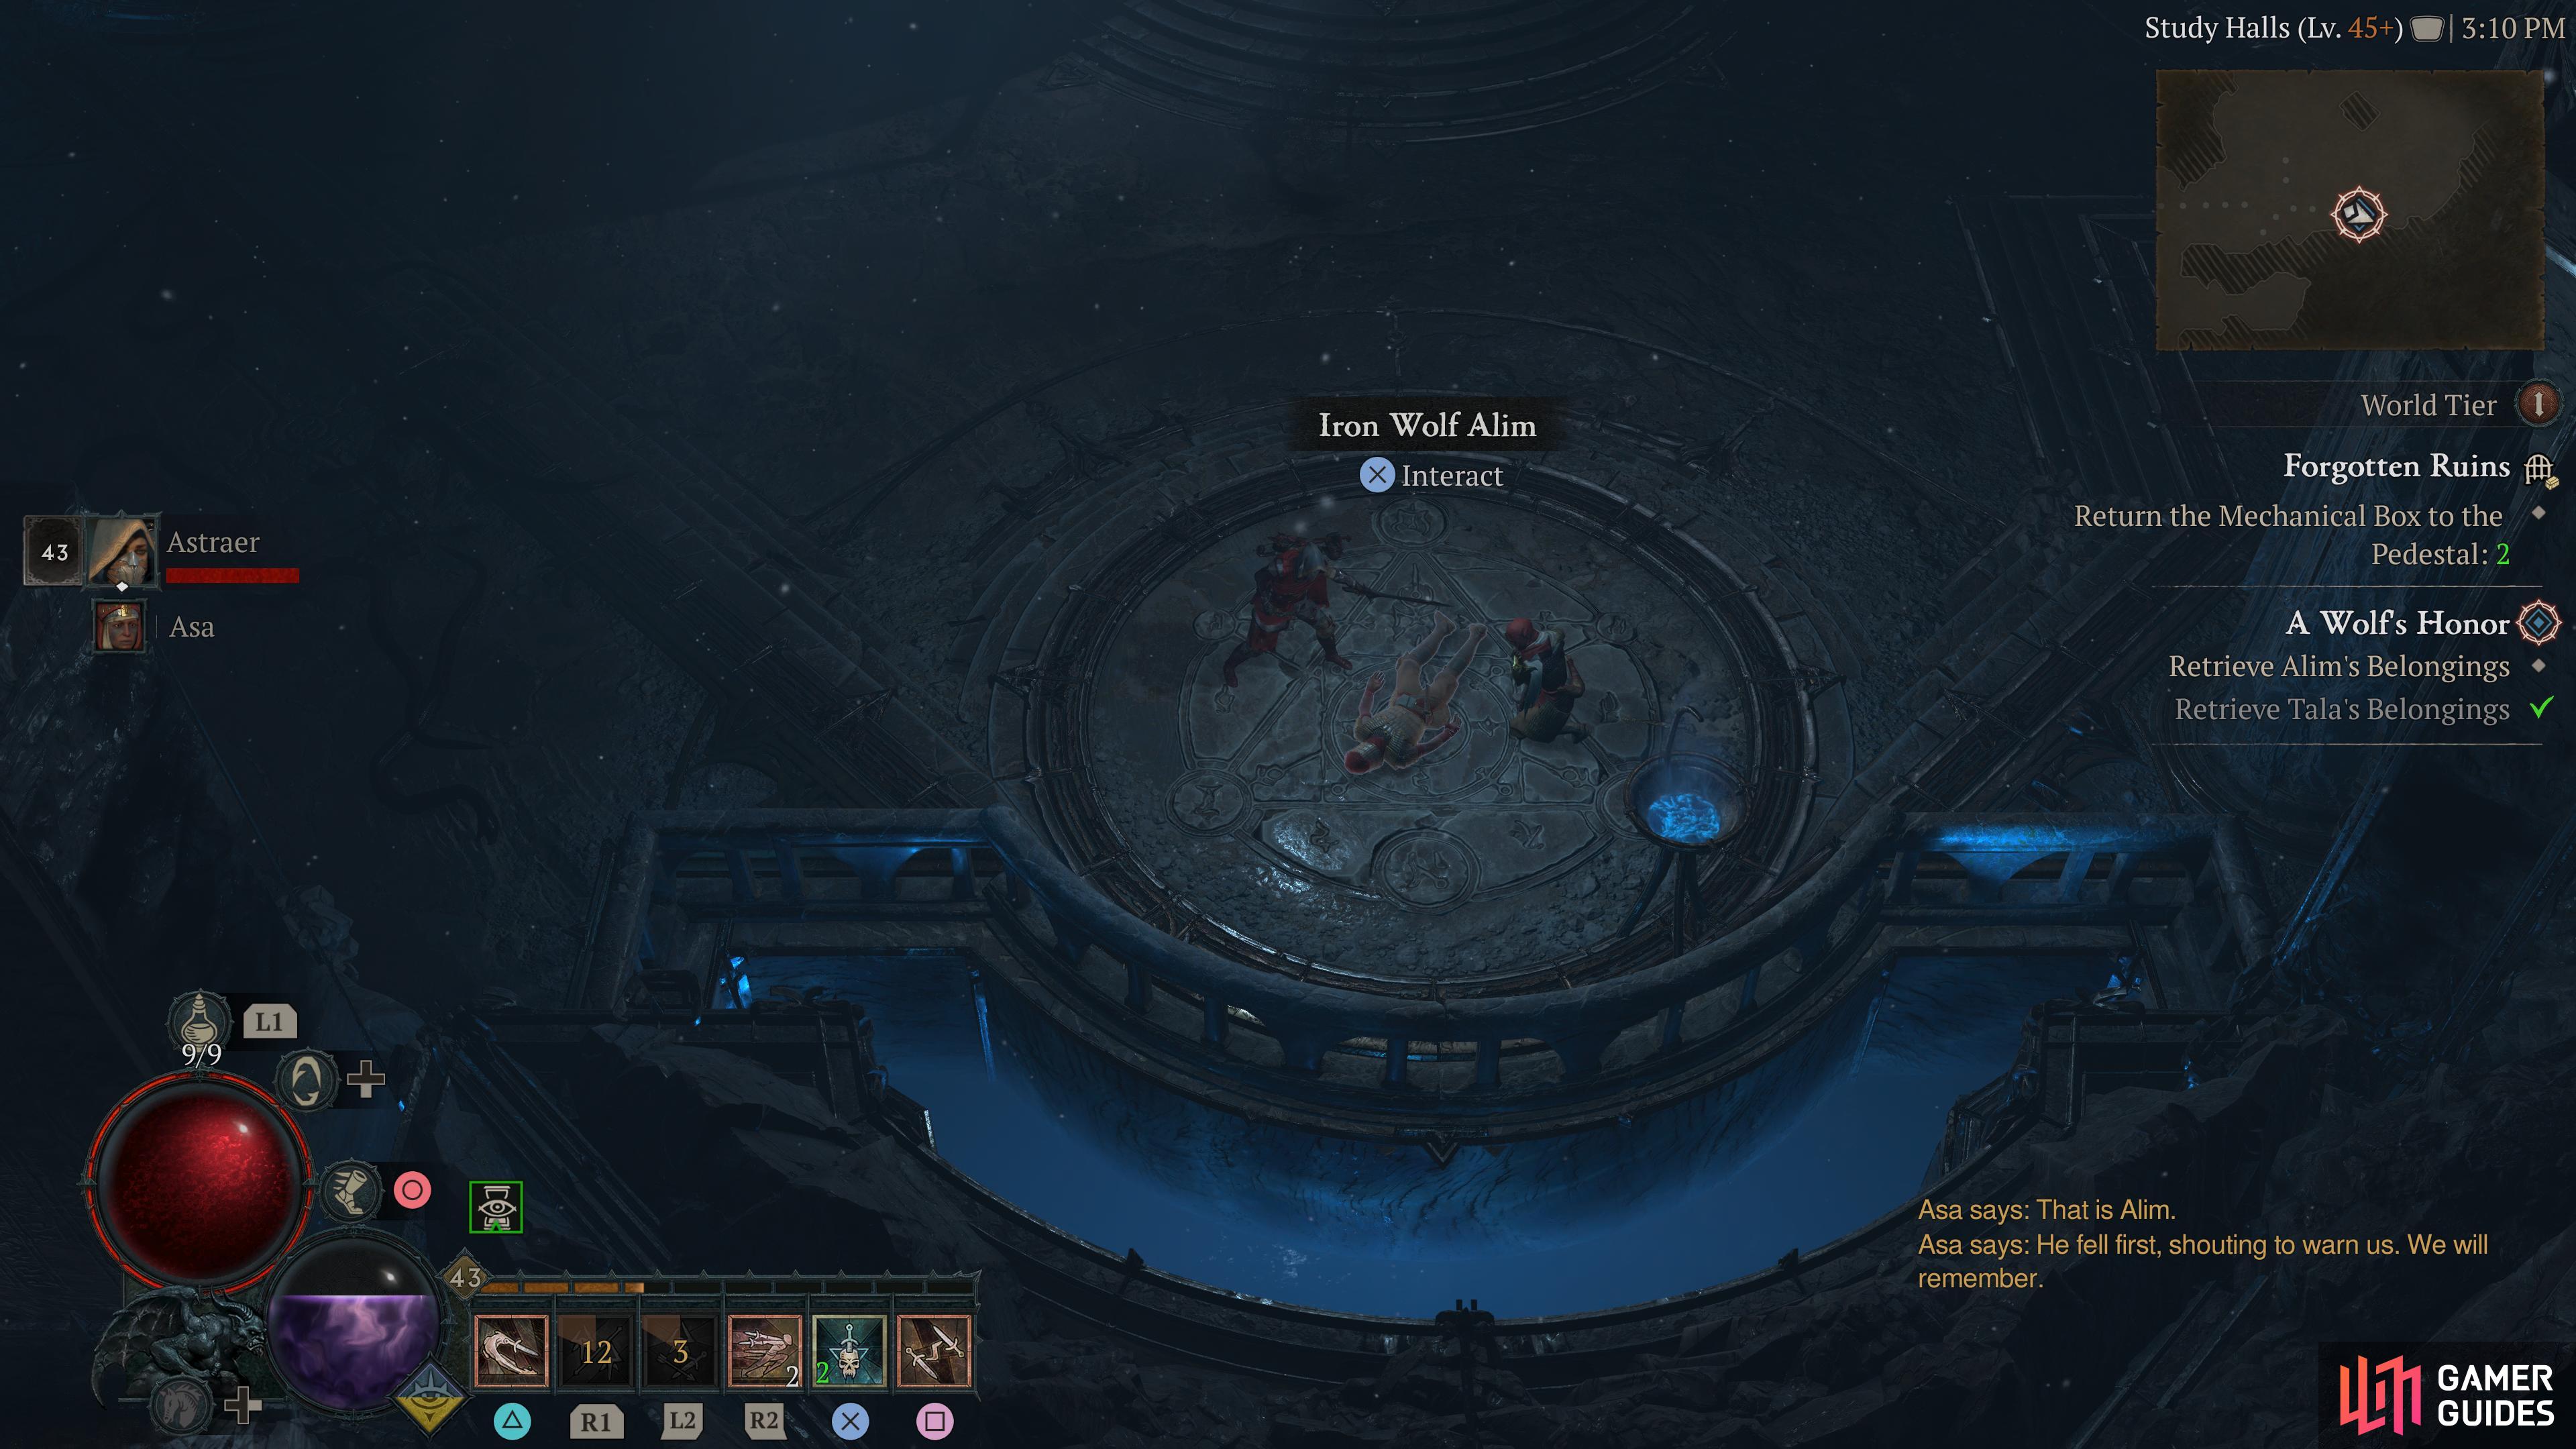
Forgotten Ruins |
Serpents infest the bones of these forbidden mage halls. Completing this dungeon will award players with the
Objectives
Description
+30 Kehjistan Renown upon completion.
Enemies
1×
1×
1×
1×
1× Nangari Spitter
Snakes
Detailed Location
Related Quests
1×
Region
General Reward
XP and Gold
Item Reward
1×
|
|
|||||||||||||||||||||||||||||||||||||||||||||||||||||||||||||||||||||||||||||||||||||||||||||||

|
Hakan's Refuge |
This one grand manor lies in ruins, festering with memories.
Objectives
Description
The dungeon is often occupied by the dead, meaning an As you progress through the start of the dungeon, you wan to to look for rooms around the main pathways around the map. These rooms can contain the Pedestals, which are most often easily tracked by paying attention to your minimap. The first one is often located near the start of the map where the enemies spawn. Meanwhile, the second one spawns much further down the main pathway. The Pedestal area is typically found towards the the right side of the main map area, typically within range of the dungeon entrance marker on your minimap. As you get through the door, you have an intermission add phase. Typically, Nagari snakes and serpents spawn here. Once they stop spawning, the door will unlock, allowing you to progress to stage 2 of this dungeon. Once you’re through, follow more winding paths, until you come to a more wider area of the map. It is here, you will find more of the Snake enemies. The matriarchs arre also scattered through various corridors, and dead end in the main area. Check the left side, bottom side and right side of this huge area to find the Matriarchs
Enemies
Detailed Location
A dungeon located very close to the Gea Kul city in the southwest of Kehjistan. Take the north exit from the city, then turn right, and follow the path with its wall facing the city. You will come across this dungeon.
Region
General Reward
|
||||||||||||||||||||||||||||||||||||||||||||||||||||||||||||||||||||||||||||||||||||||||||||||||

|
Halls of the Damned |
Triune mages once pioneered strange magics here.
Objectives
Description
This dungeon is often filled with undead and The first stage of this dungeon is filled with pathways, rooms, and other sources of undead nightmares. The door is also typically located towards the top right region of the dungeon. So, you typically want to look for the Idol and Seaborn Goddess by accessing a portal in the south, and another in the top left of the main dungeon room. Once you’re through the blocked door for the objective, you want to travel through the halls occupied by the dead, and either kill them for XP and loot, or rush the boss objective by following the main pathway through, ignoring the side rooms. When you enter the boss room, activate the shrine statue, and the boss will spawn, where you once again fight the
Enemies
Region
General Reward
|
||||||||||||||||||||||||||||||||||||||||||||||||||||||||||||||||||||||||||||||||||||||||||||||||

|
Heretics Asylum |
A jail home to the corrupt and cruel.
Objectives
Description
The dungeon is filled with enemies similar to As you enter the dungeon, follow the path, bringing you to a sort of jail area. Follow the linear path, until you see the locked door, and a wing to your left and right. Both the left and right wing share the same path, so, pick a side, and scoop up the enemies. If you’re in a party, have one player go left, and another go right. Once done, go through the animus door, and then follow the jail area upwards, all the way to the top. Eventually, you’ll reach a path that jolts left and right with a few connected cells and dead ends. The named NPC you need should pop up on the minimap with a skull. Now you have defeated the named NPC, and got the key, go back down the path towards the animus door. Partway down there should be a path that brings you to a locked bods room door, for you to open and defeat the final boss, which is three lites taking different forms of Penitent mob types.
Enemies
Detailed Location
A dungeon located on the keep along the coast of Kehjistan adjacent to the Jagged Coastline. The area is filled with Heretic Templars and Fanatics.
Region
General Reward
Veteran’s Brawler Aspect |
||||||||||||||||||||||||||||||||||||||||||||||||||||||||||||||||||||||||||||||||||||||||||||||||

|
Inferno |
We have carved into the rock to seek Hell.
Objectives
Description
The dungeon is filled with Mother’s followers, meaning that the Elixir of Human Slaying is the best choice for DPS boost at the start of this dungeon, followed by demon slaying, thanks to the demons in the second half of the dungeon, including the end boss fight. Upon entering the dungeon, follow the pathway, right until it splits into two direction, left and right. The route is often connected into several squares or rectangle, depending on map generation, with the entire area being connected. Follow a path around if you’re solo, or split the part with one half going one way and another going the other. If you’re in a party of four, one got top left, bottom left, bottom right and top right within this Animus Carrier area. Once they are all defeated, go to the door, which is around the center of the animus area. Progress through, and now look for a Bloodstone, which unlocks the pedestal to the boss room. The object is typically down a pathway that loops around towards the pedestal door area. The object is normally on the south. Party players split so you can maximize XP and clear speed, while solo players just wrap around the path and bring it back to the door. The boss you will encounter is the
Enemies
Region
General Reward
|
||||||||||||||||||||||||||||||||||||||||||||||||||||||||||||||||||||||||||||||||||||||||||||||||

|
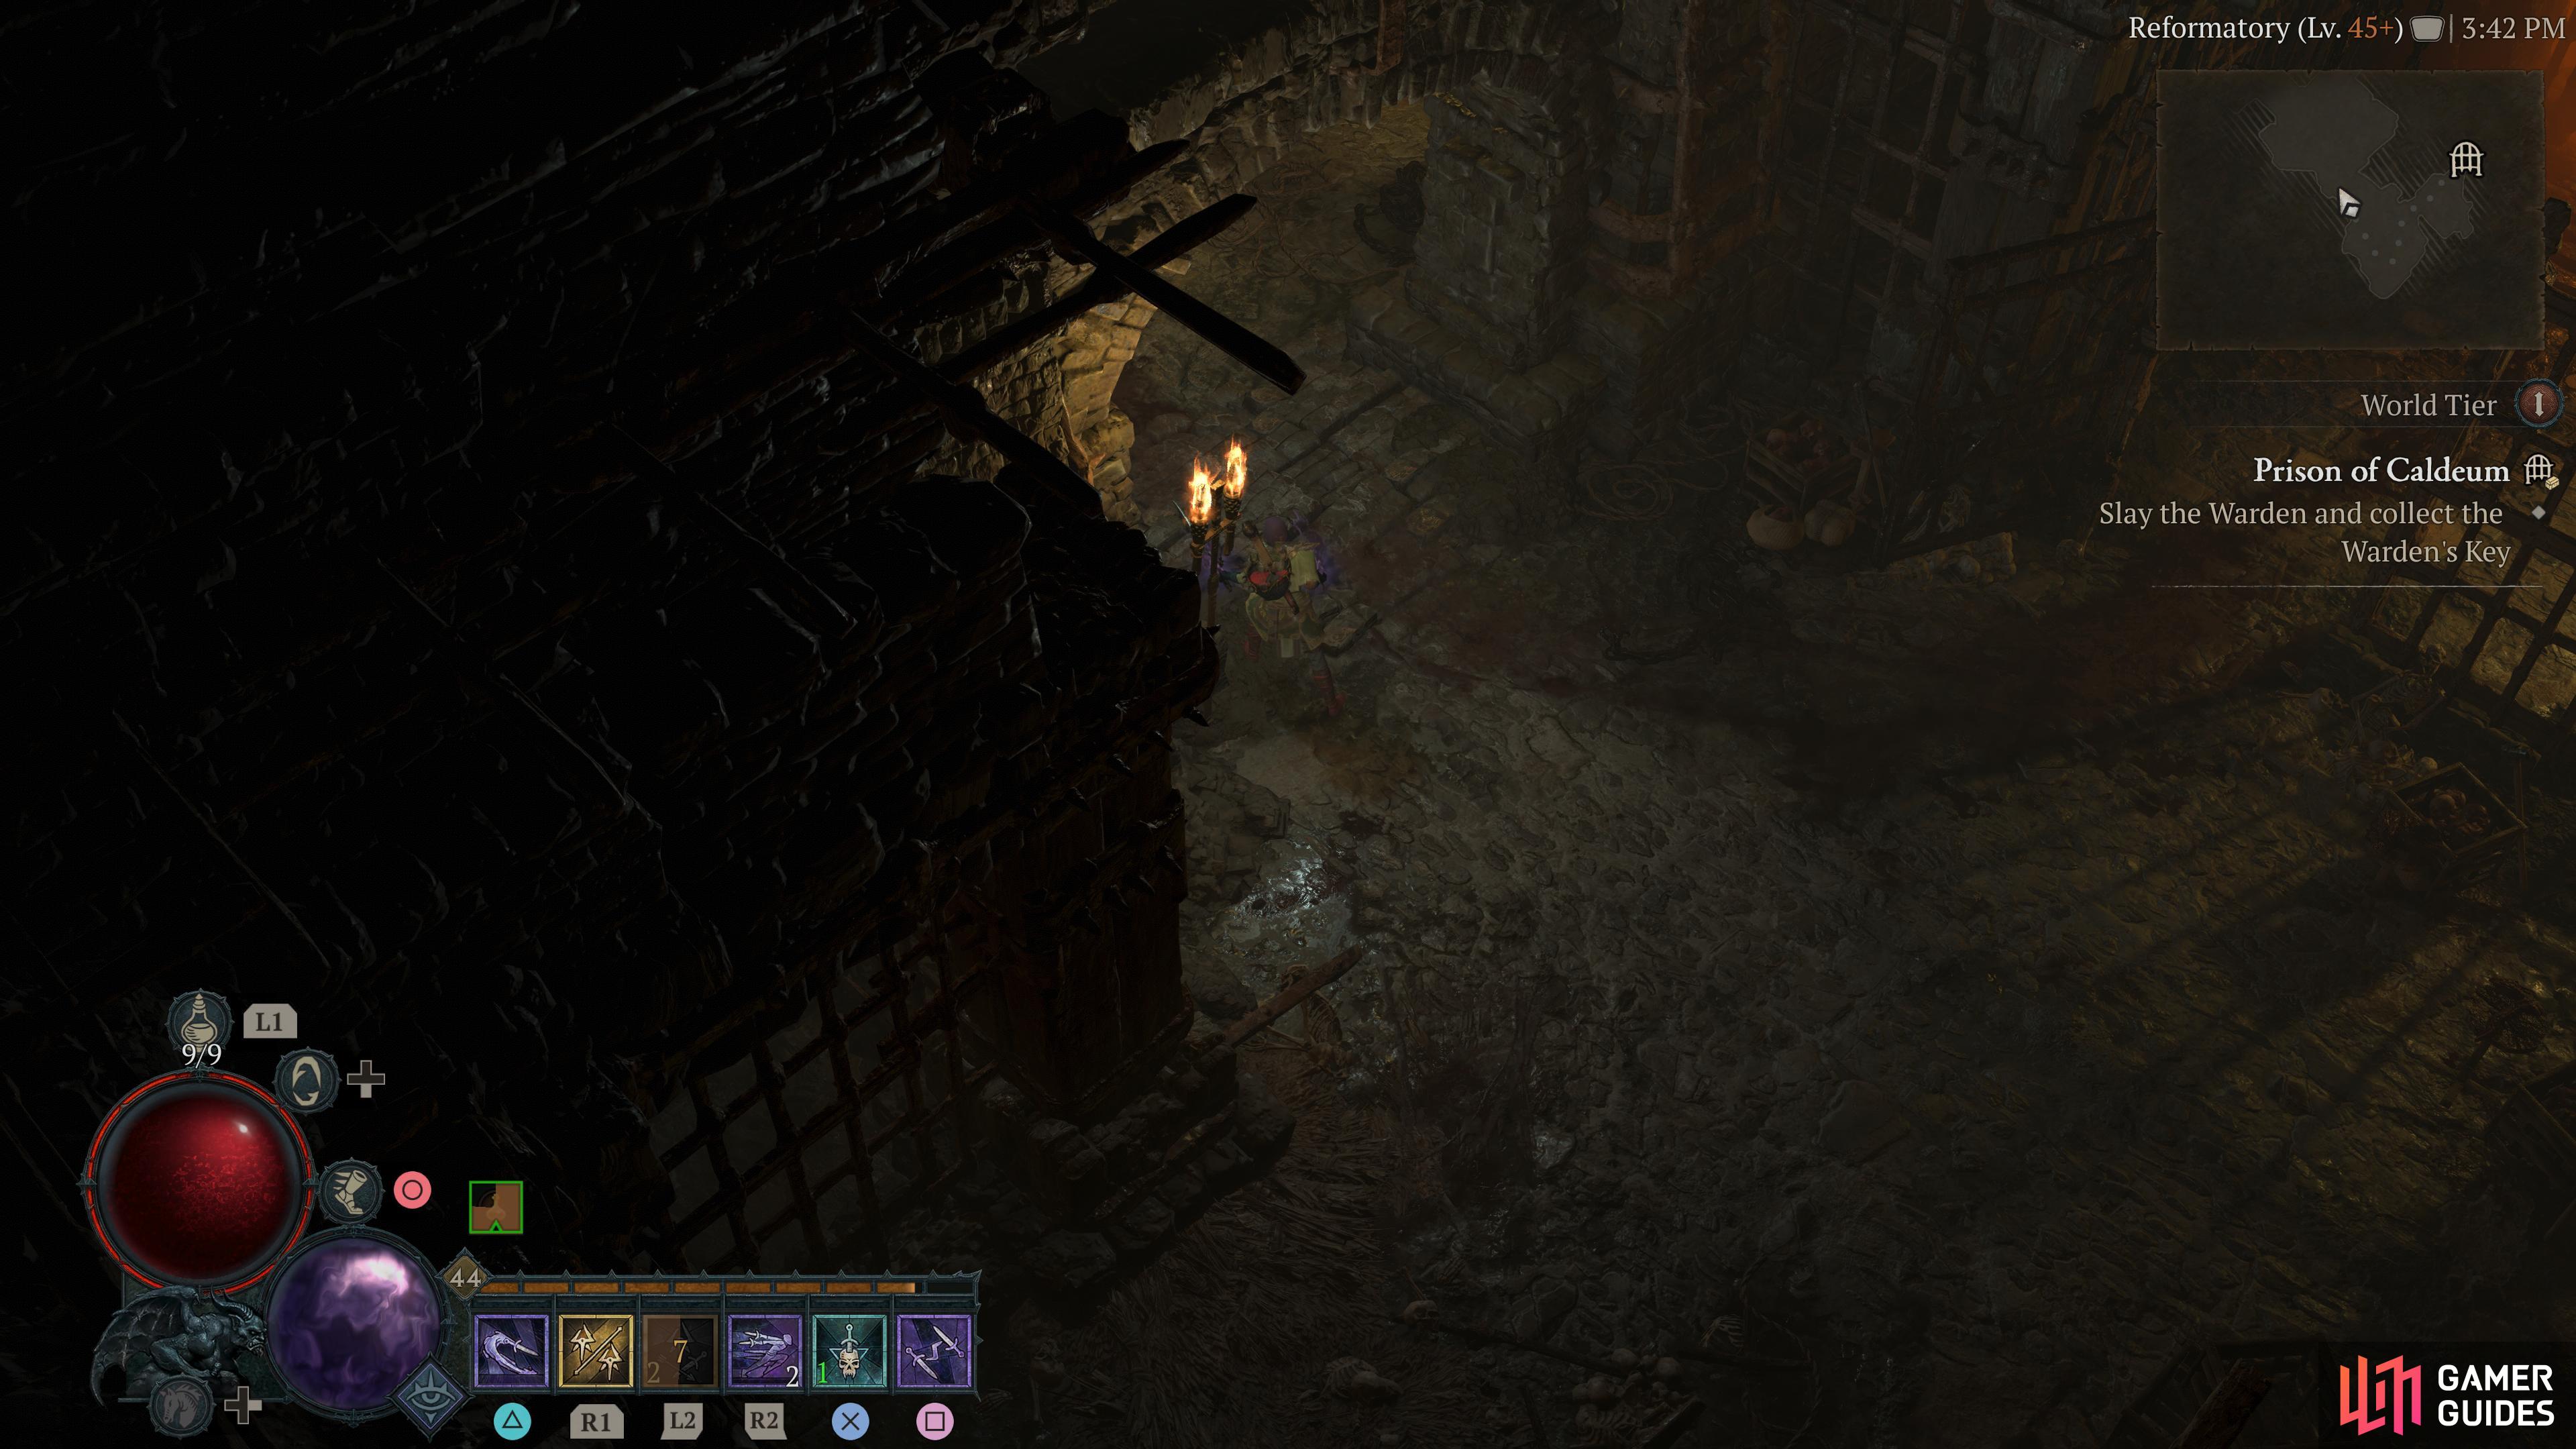
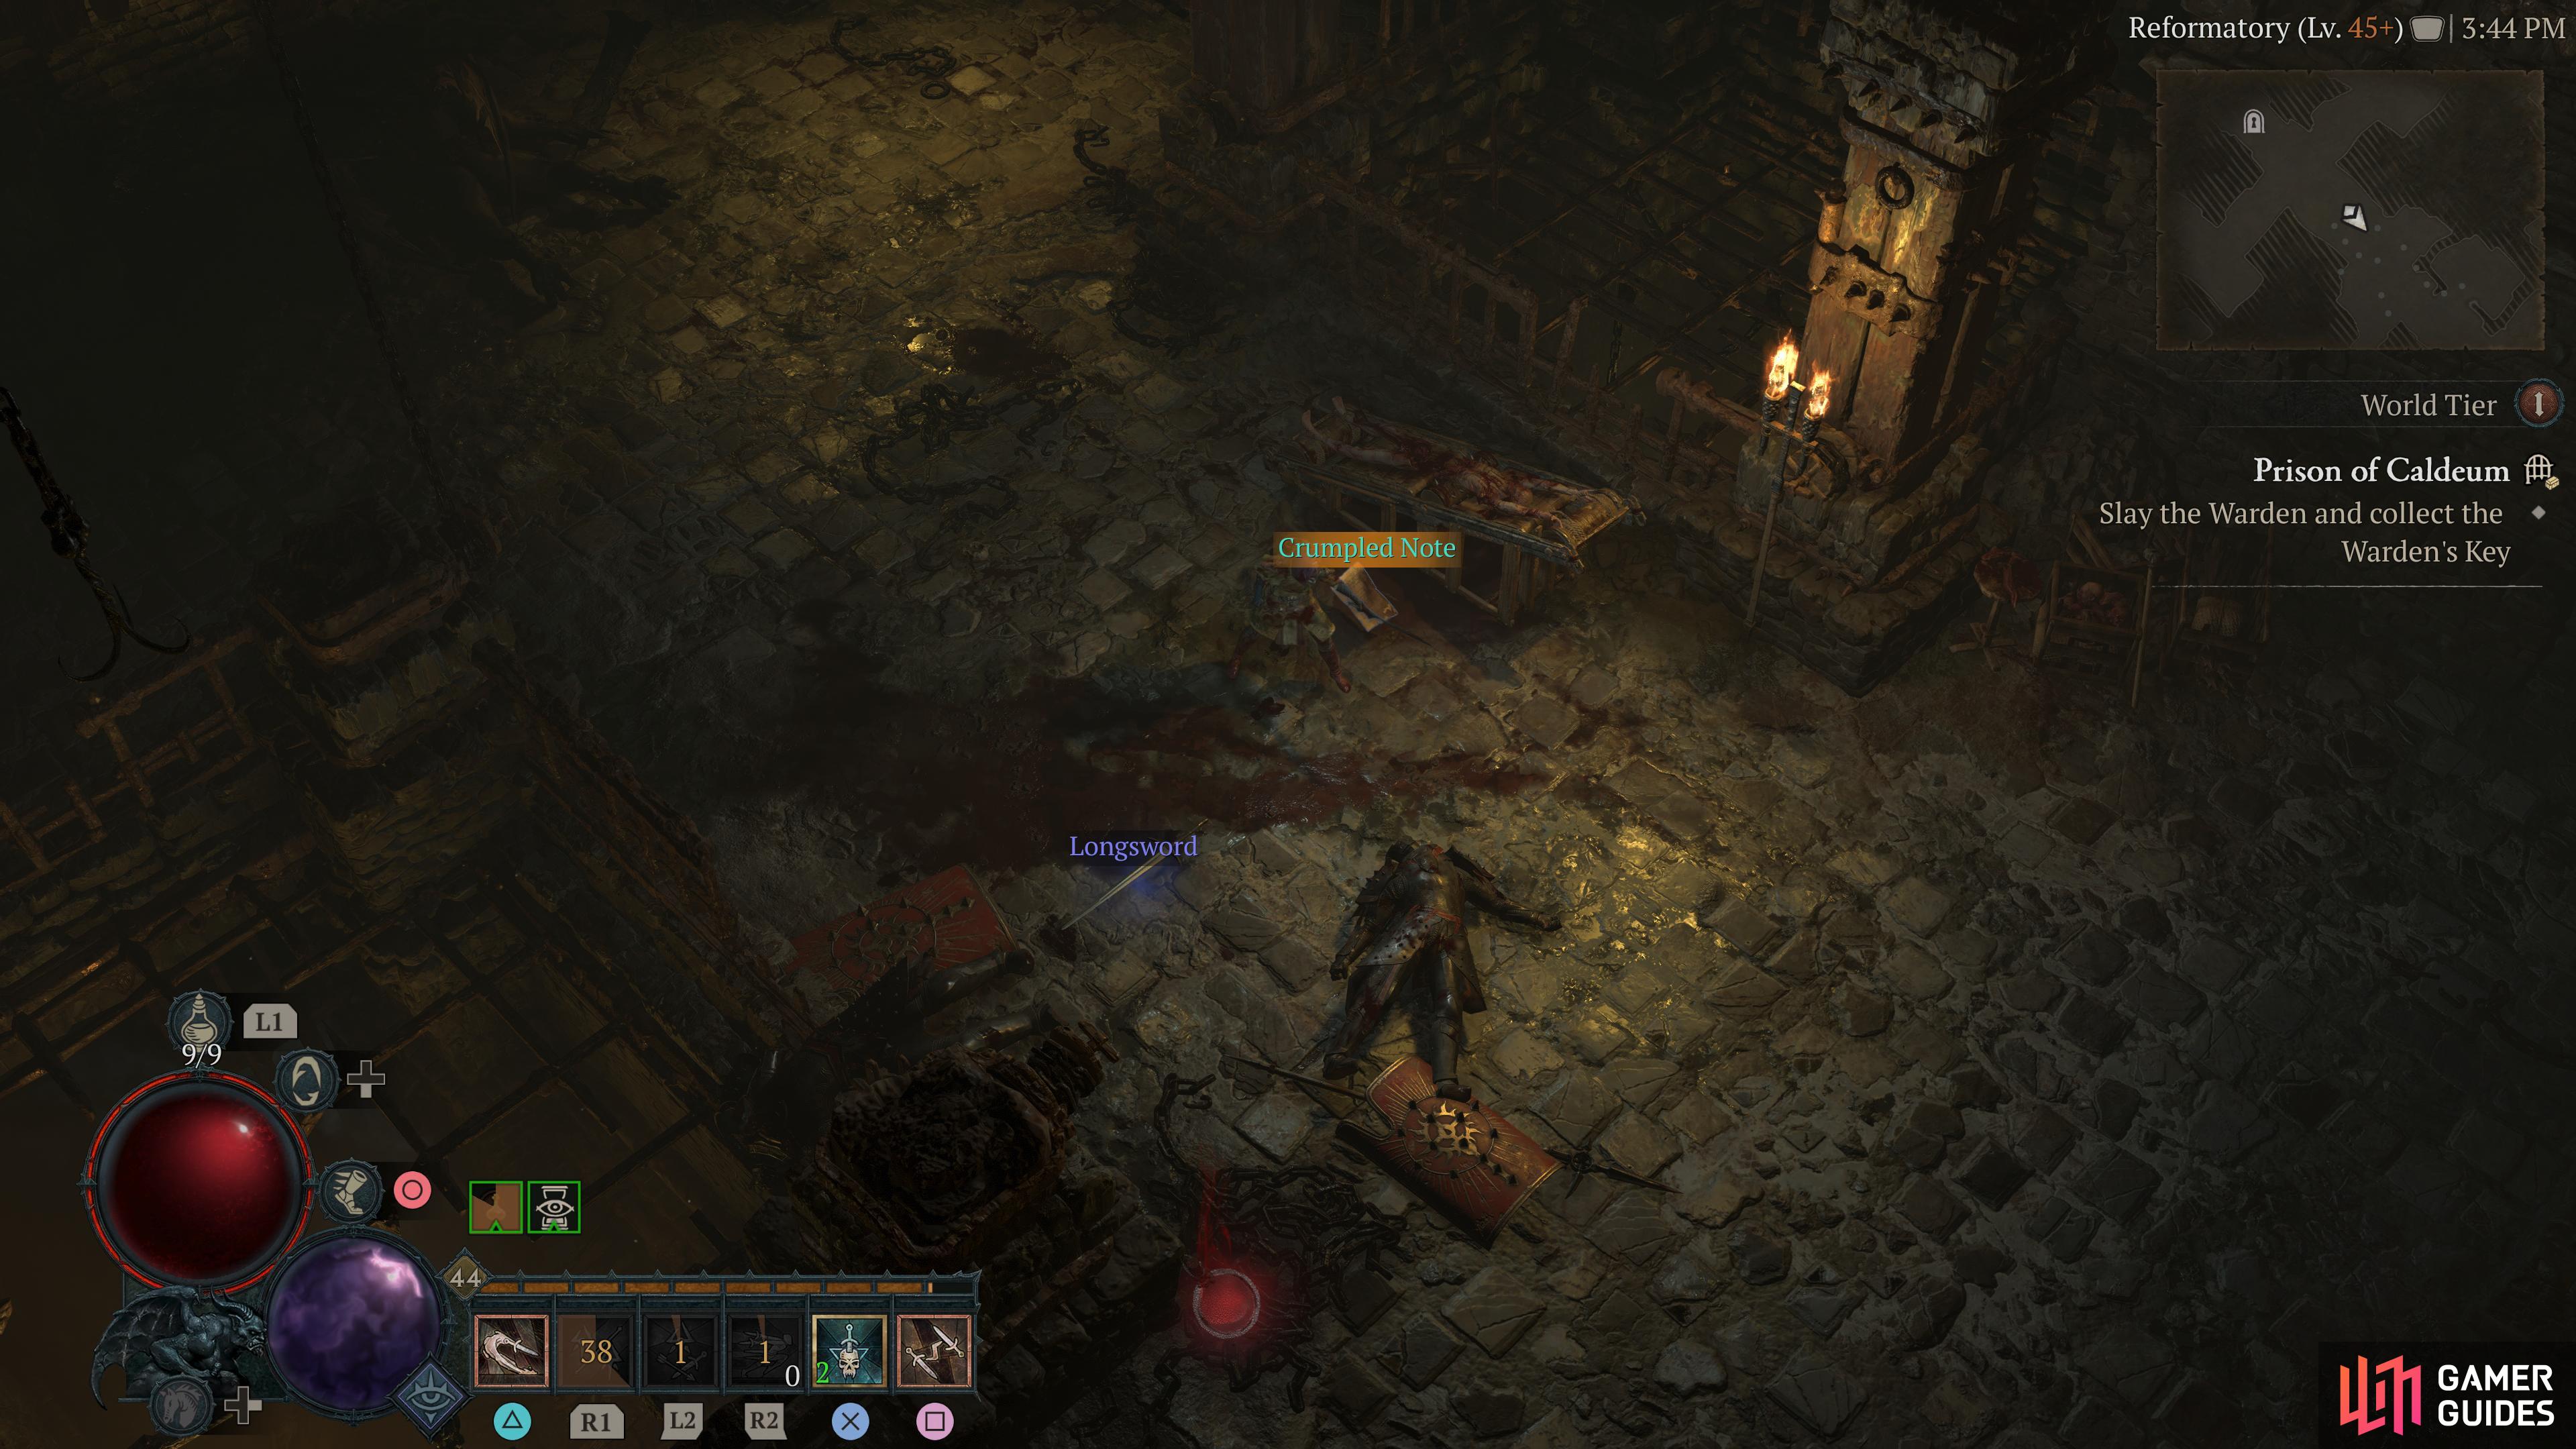
Prison of Caldeum |
Something wicked stirs in the prison. Completing the dungeon awards the
Objectives
Description
+30 Kehjistan renown upon completion.
Enemies
1×
1×
1×
1× Knight Errant
Knights
1×
1×
Detailed Location
Region
General Reward
XP and Gold
Item Reward
1×
|
|
|||||||||||||||||||||||||||||||||||||||||||||||||||||||||||||||||||||||||||||||||||||||||||||||

|
Putrid Aquifier |
Death taints the water
Objectives
Description
The dungeon is filled with different types of snakes and undead, with multiple creatures dealing Poison damage, so a flask of poison resistance is ideal for this dungeon. The stage of the dungeon often generates with a pathway, followed by several circular paths where you can find Animus Carriers. Parties can split, up, while solo players will need check all pathways. At the very top of the paths, you’ll find two dead ends in the corner, which can host the Animus collector and allow access to the other half of the dungeon. Now you need to destroy the Corpse piles. Ponce again, follow pathways, with arcing paths and dead end normally containing the Corpse Piles.
Enemies
Detailed Location
Found on the far central, eastern part of the Jagged Coastline in Kehjistan.
Region
General Reward
|
||||||||||||||||||||||||||||||||||||||||||||||||||||||||||||||||||||||||||||||||||||||||||||||||

|
Renegade's Retreat |
Renegade Knights reap the spoils from Inarious’ Crusades.
Objectives
Description
The dungeon is filled with bandit enemies, meaning the best case scenario for the elixir use is the Elixir of Human Slaying. The first area of this dungeon is a large Kehjistan residence tileset, meaning you have large areas to cover towards the far right side of the dungeon, often in a large rectangular-ish shape. Typically, you can find the Keepers around the far edges of each side of this map. You’ll often find them in large rooms on the very edges of each area, so, that’s a lot of pathing and trash to handle in this dungeon. Once all the Keepers are dead, you can head back towards the dungeon start, before you entered the large rectangular shaped area for the Keepers, and find the Doorway near the LifeWell. Open it using the key you got from the final Keeper. In the final room is the
Enemies
Detailed Location
Inside Caldeum City, which unlocks after beating the Act 6 Campaign.
Region
General Reward
|
||||||||||||||||||||||||||||||||||||||||||||||||||||||||||||||||||||||||||||||||||||||||||||||||

|
Sepulcher of the Forsworn |
Evil stirs below the alter of Baal.
Objectives
Description
This dungeon contains a mix of enemies, featuring Goatmen at the start, and more demon enemies on the second half of the dungeon, with the When you enter the dungeon, you’ll notice a large shrine area, similar to the Once you’re through the door, typically towards to the top end of the map, you need to do an intermission slay all enemies fight. Once you’re through, you need to find the objectives. These typically are in the very far corners of the room. Most of the time, they are in the bottom right, and top left, but, it can depend on the dungeon generation.
Enemies
Pestilent Host
Demons
Detailed Location
This dungeon is unlocked by completing the Alter of Ruin Stronghold in Kehjistan. There is a waypoint next to this dungeon.
Region
General Reward
|
||||||||||||||||||||||||||||||||||||||||||||||||||||||||||||||||||||||||||||||||||||||||||||||||

|
Shivta Ruins |
The corruption in
Objectives
Description
The dungeon consists of quite a lot of undead at the start throughout the dungeon, followed by the few skittering mobs. We recommend taking the The main mapping of this dungeon is done in what may as well be one very, very large rectangle, with the occasional room splintering off, leading to potential pedestal spawns. Throughout the far edges of the map, you will find small rooms where you can get the pedestals from. One typically spawns on the souther / right side of the map, while another on the left and upper part of the map. You will need to cross lots of wide open spaces filled with mobs to make it to both destinations. Once you have both, you can typically find the doorway around the top right corner of the map. Open the door, kill the boss, and you’re done
Enemies
Pestilent Host
Demons
Detailed Location
Go to the Dunes of Despair, which is a region of the Amber Sands province in Kehjistan. Follow the pathway up the the ruins, and the dungeon will be near a set of stairs.
Region
General Reward
|
||||||||||||||||||||||||||||||||||||||||||||||||||||||||||||||||||||||||||||||||||||||||||||||||

|
Sirocco Caverns |
A foul infestation has claimed these caverns.
Objectives
Description
This dungeon is filled with a variety of beasts and maggots, meaning an As you enter the dungeon, typically, the map generates to create a crossroads, with the starting objective typically being left and right. Follow the pathways down to destroy the Silk spires, and then progress north from the crossroads point to get to the next objective. The next major threat in the dungeon is the intermission doorway to the second half of the dungeon. This can spawn some Demon units like Once that’s done, pretty much follow the cavern in an easy to follow route, as it will take you to the objective elite naturally.
Enemies
Detailed Location
This dungeon is found on the border between Dry Steppes and Kehjistan, very close to the
Region
General Reward
|
||||||||||||||||||||||||||||||||||||||||||||||||||||||||||||||||||||||||||||||||||||||||||||||||

|
Sunken Library |
The dead guard secrets confined in the ancient vault
Objectives
Description
The dungeon is largely filled with undead, meaning a The dungeon has a a simple follow the track at the start, with its later branching off into several different directions. In general, the first objective is on the left at a dead end from the first turning, with the remaining objectives along the other pathways you can find when they split off. You will typically find all three as follows:
Once that objective is done, you need to head into the second half of the dungeon, and look for an named Elite with the Head Librarian prefix under its name. This is often found in a circular pathway area fairly early into the second half of the dungeon, with its position varying depending on map RNG layout. Now its dead, grab the key, and follow the pathway till you reach the doorway. Its not too difficult to find regardless of map RNG creation. Now its time for part 3, kill all enemies. Just run around moving one pack into another and proceeing as normal. If you miss one or two enemies its fine, as around the 20 enemies remaining mark, mobs will teleport to you.
Enemies
Detailed Location
The
Region
General Reward
|
||||||||||||||||||||||||||||||||||||||||||||||||||||||||||||||||||||||||||||||||||||||||||||||||

|
Tomb of the Saints |
This once barren tomb was fat with gold. Awards the
Objectives
Enemies
1×
1×
1×
1×
1×
1×
Detailed Location
Located just below the Zakarum Chapel to the west, found in the Amber Sands region of Kehjistan.
Related Quests
1×
Region
General Reward
+30 Kehjistan Renown on completion.
Item Reward
1×
|
||||||||||||||||||||||||||||||||||||||||||||||||||||||||||||||||||||||||||||||||||||||||||||||||

|
Uldur's Cave |
A den of murderers and carrion feeders.
Objectives
Description
The dungeon is home to lots of bandits, making the Elixir of Human Slaying the best choice for DPS boosts. As you enter the dungeon, you want to follow winding paths, As the main pathway leads to a few barricades, which then lead to other barricades. This will complete the first objective. If you take the other routes not near the barricades, it could lead to potential shrines and events in the dungeon too. Once you get to the second half of the dungeon, its kill everything time. The map tends to have lots of X shaped pathways, so explore and pull several of these enemies in the region, and bring them to the cross point and kill them to make things faster solo. Or, get your parties to take different routes to make killing them all easier. There’s also some areas that follow a circle, meaning there’s other areas you can split up to increase clear speeds, or whither enemies down from them to teleport to you.
Enemies
Detailed Location
A dungeon found in the center of the Jagged Coastline province of Kejhistan.
Region
General Reward
|
||||||||||||||||||||||||||||||||||||||||||||||||||||||||||||||||||||||||||||||||||||||||||||||||

|
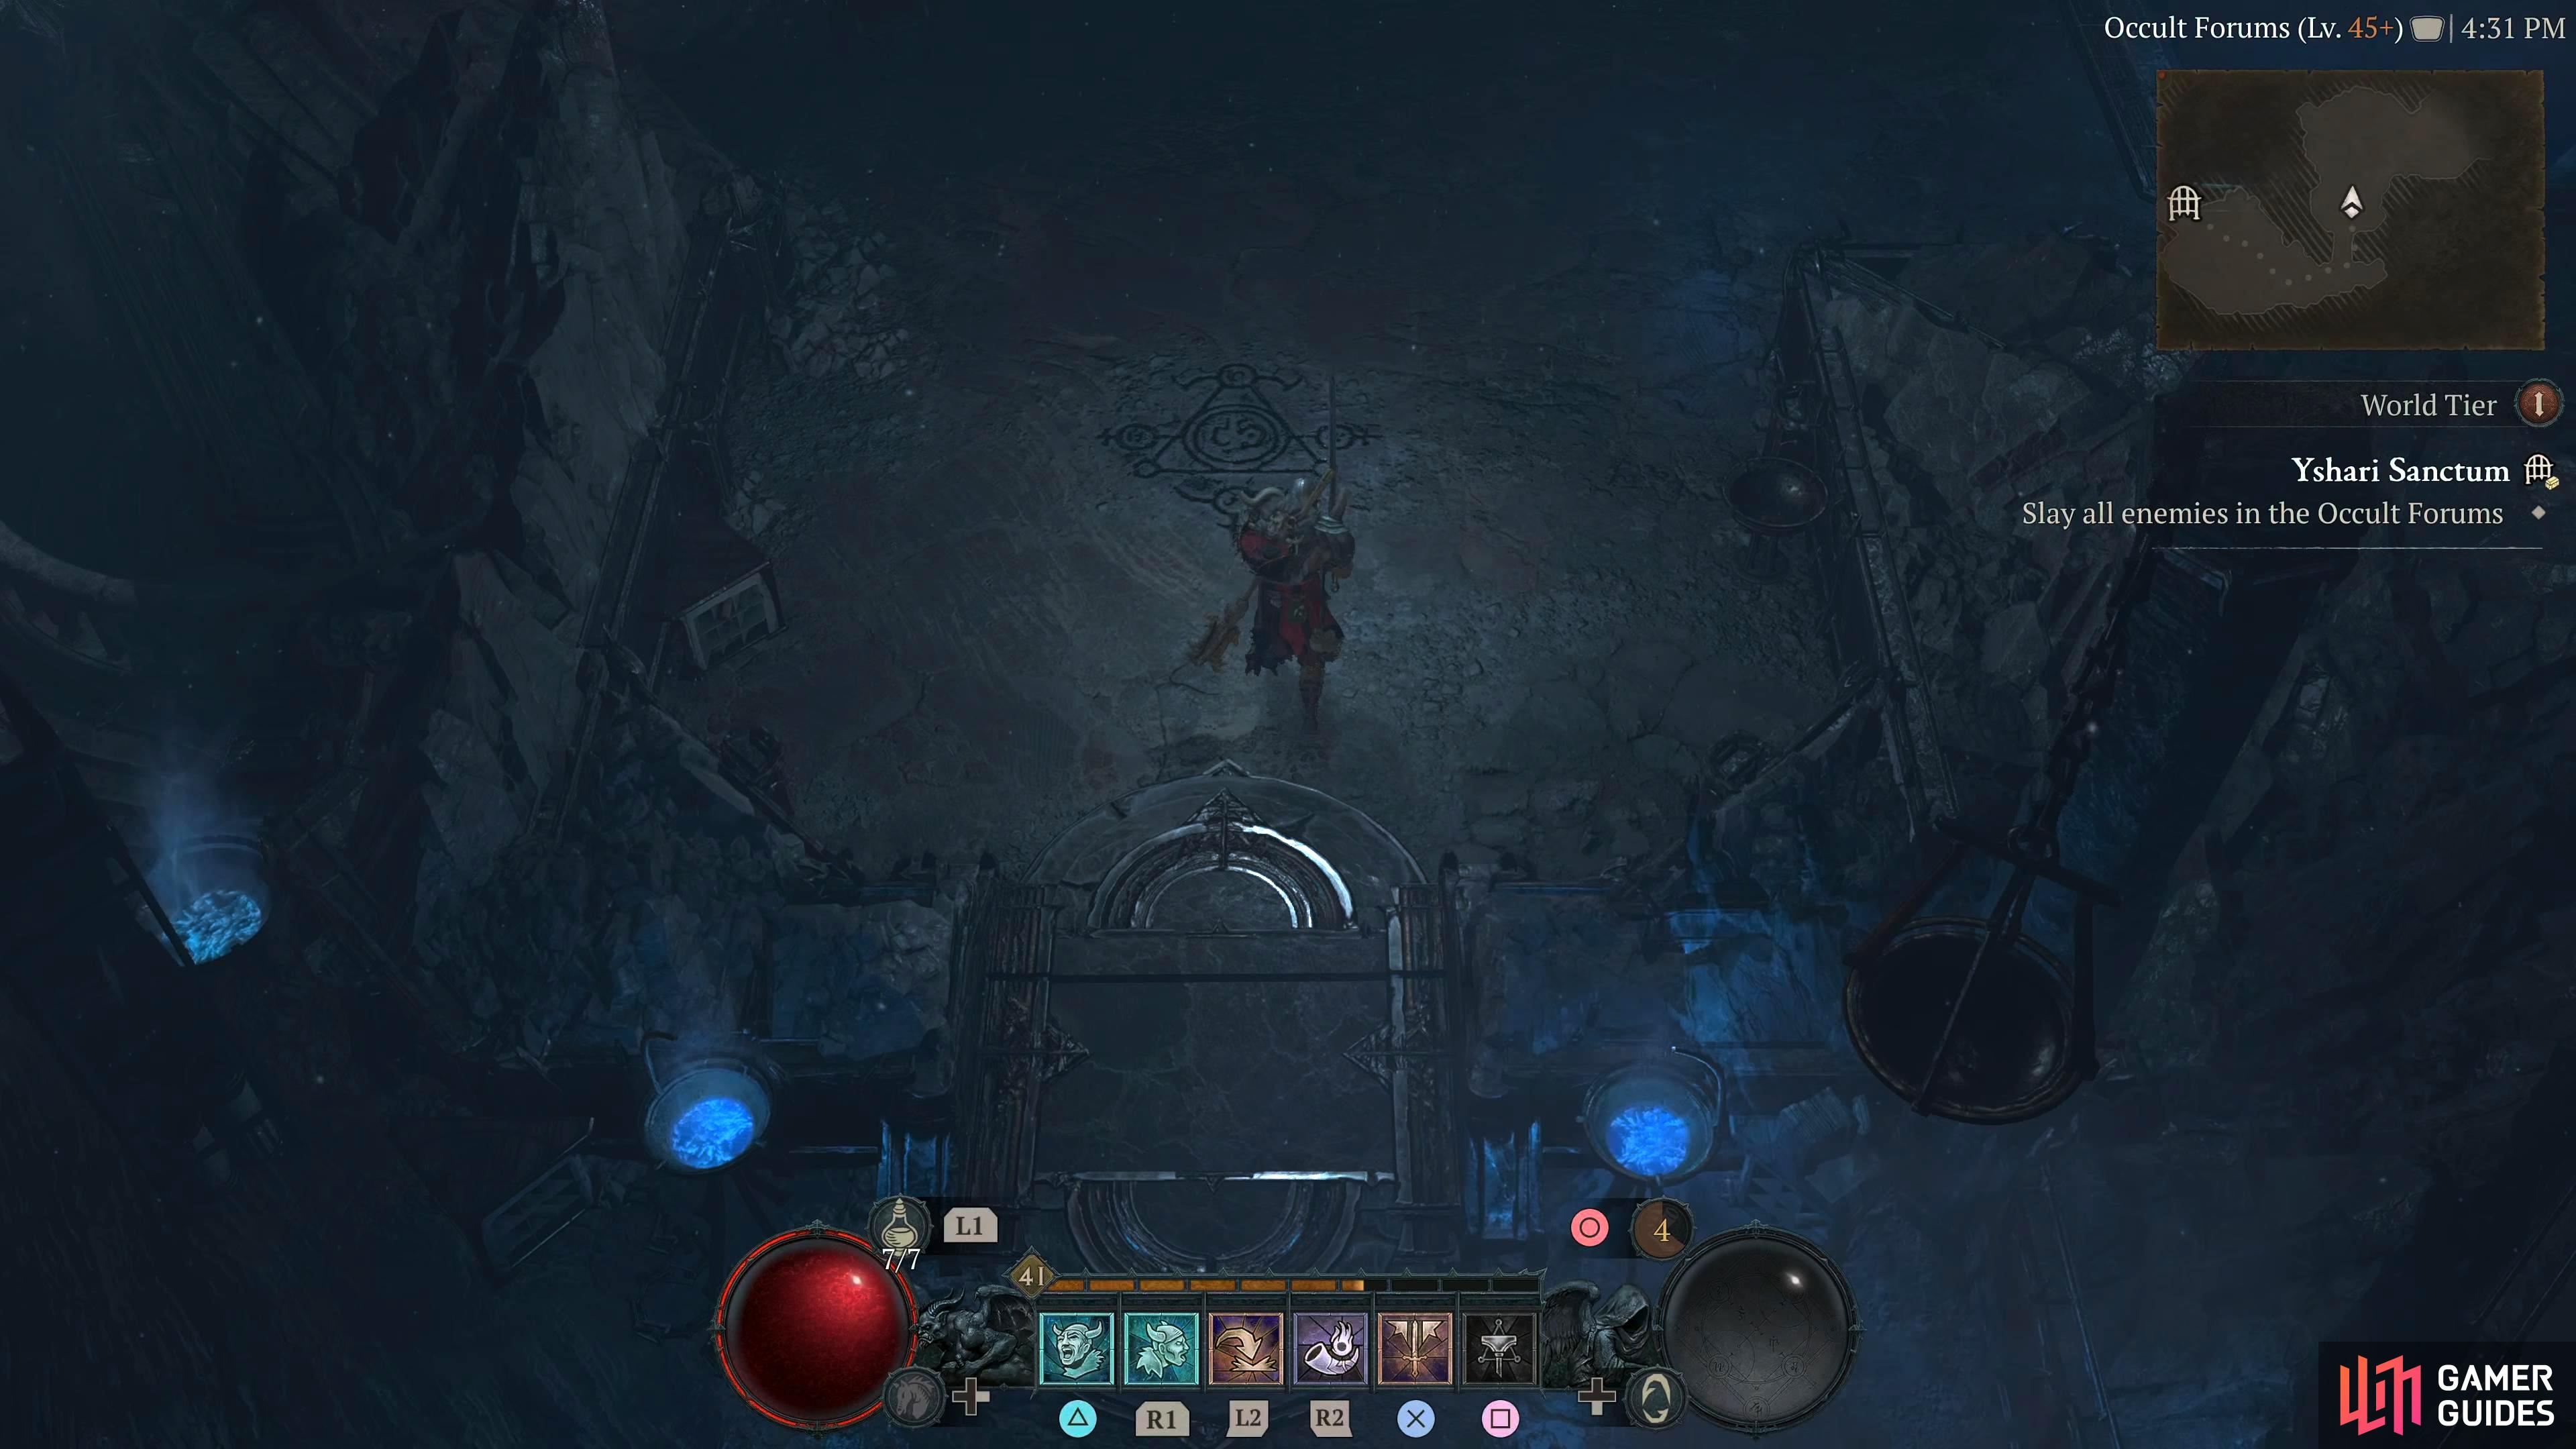
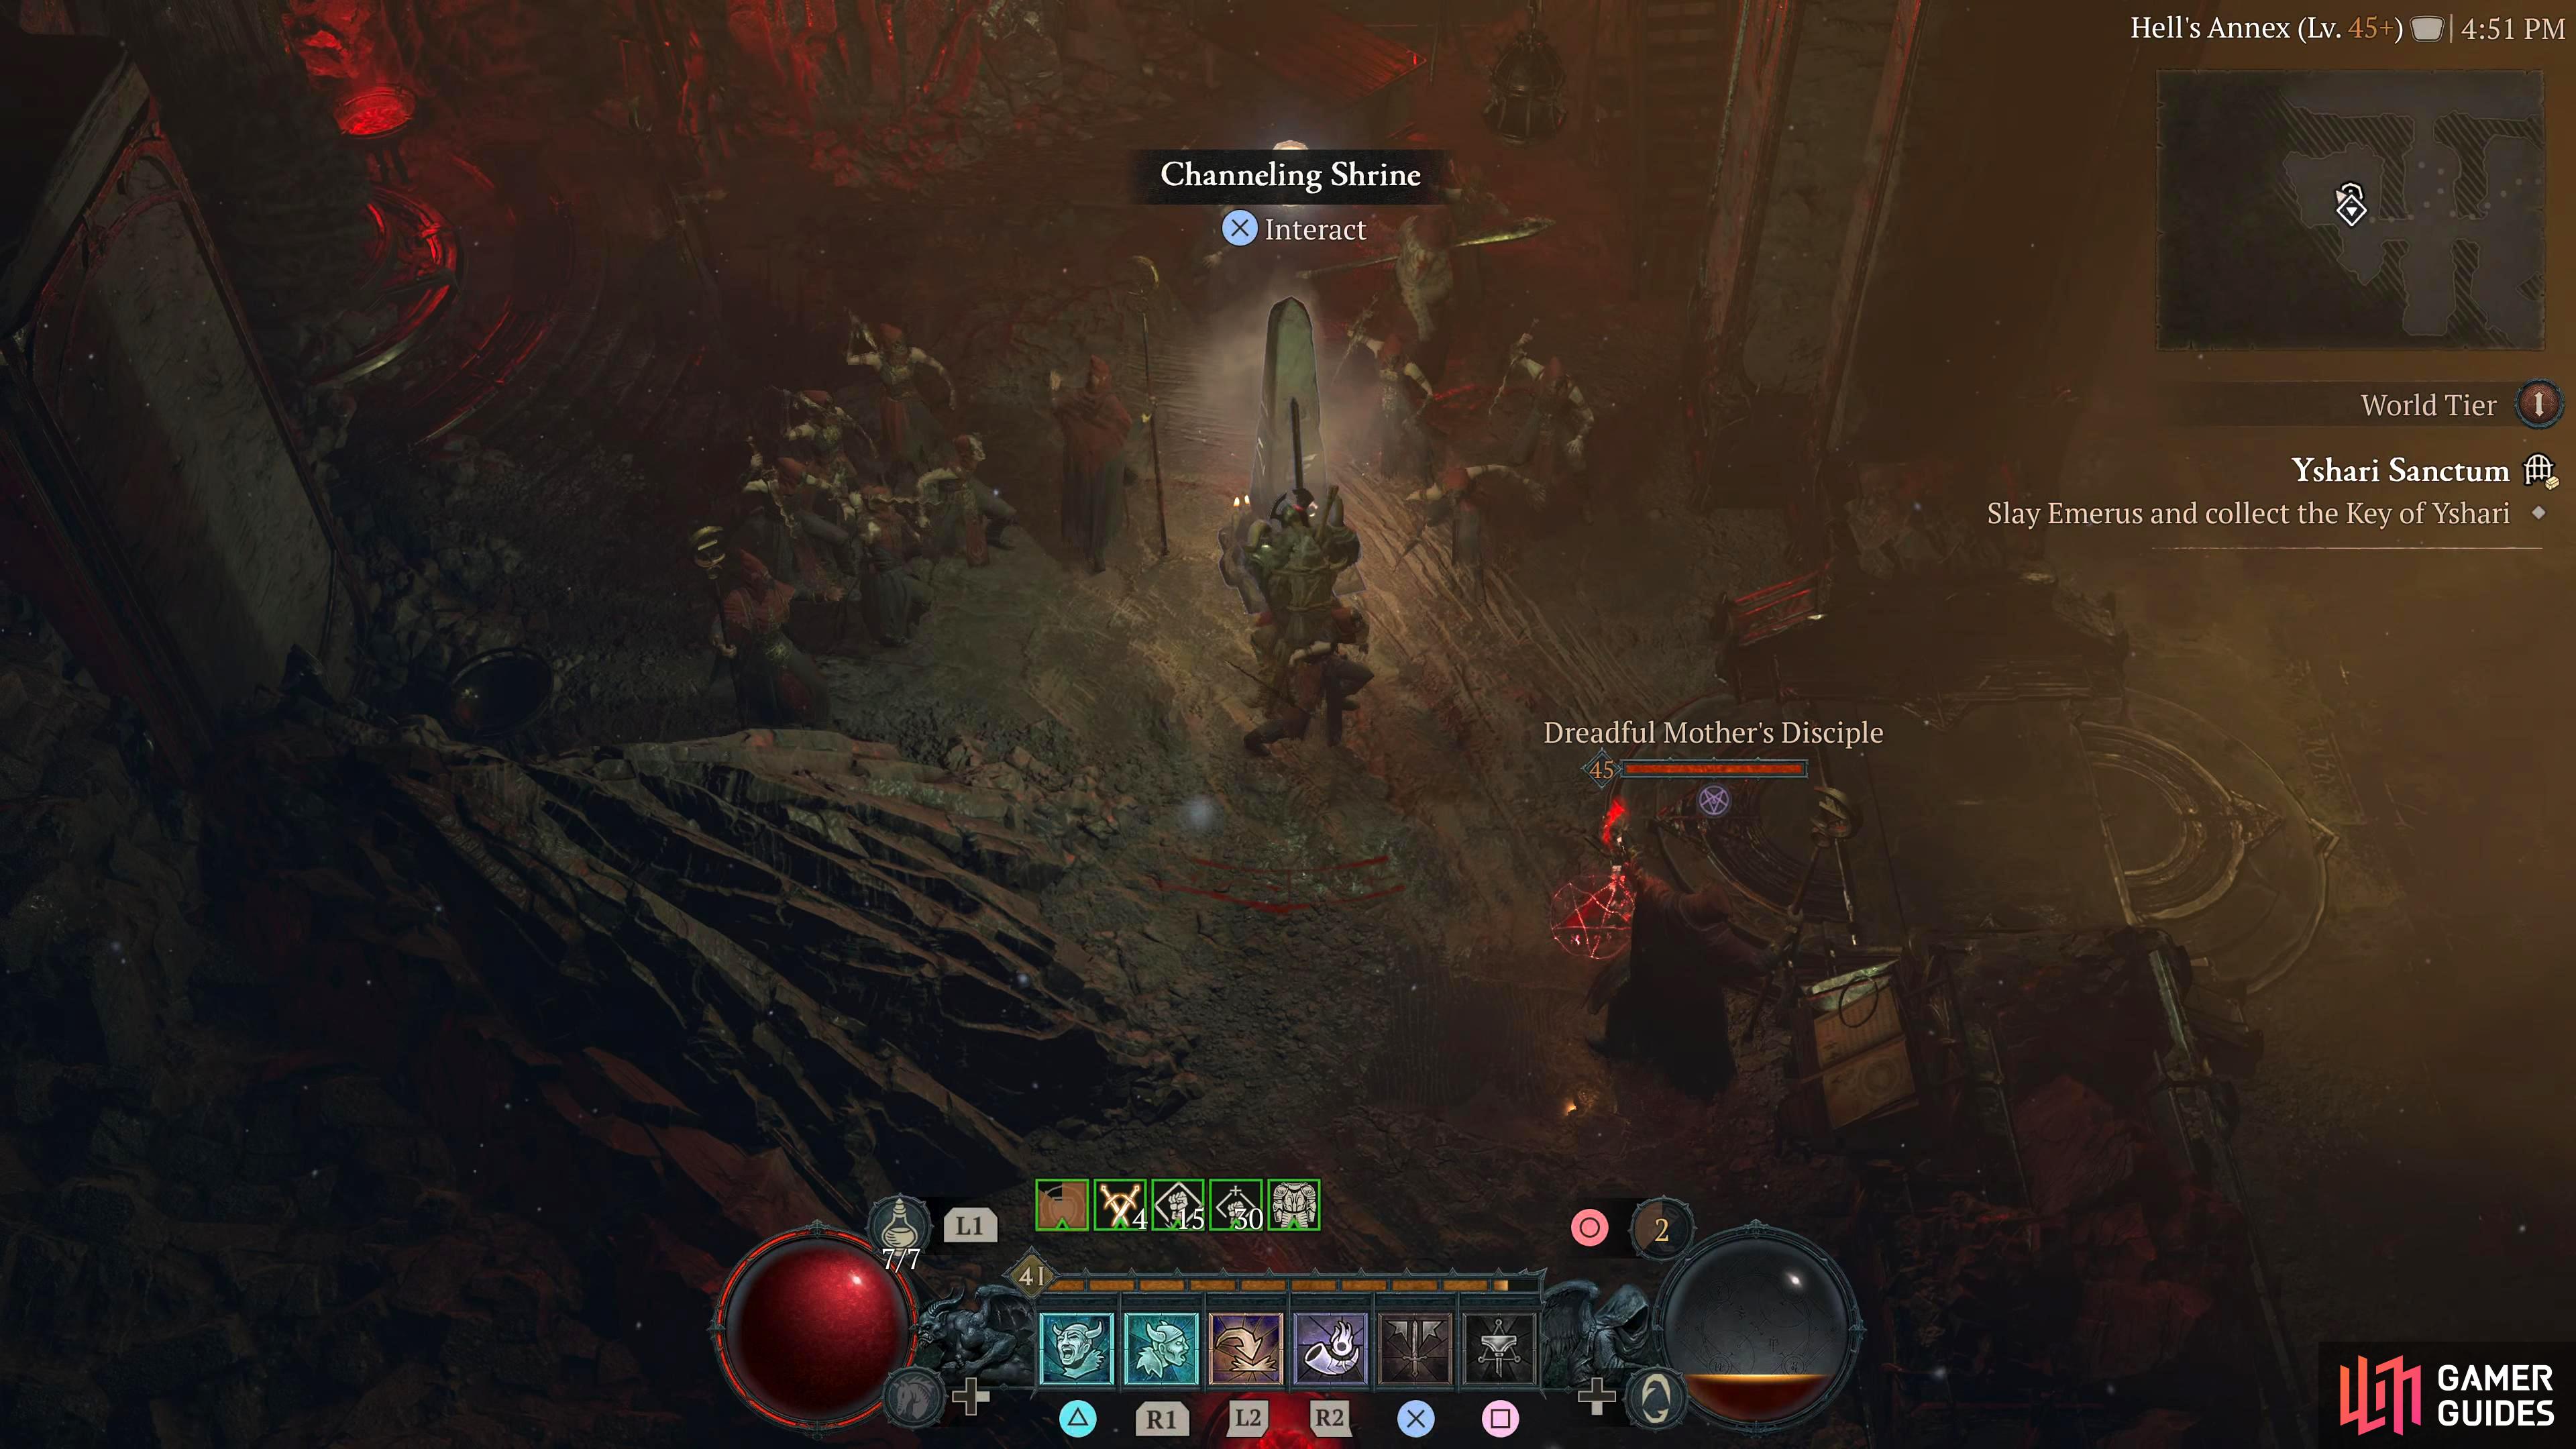
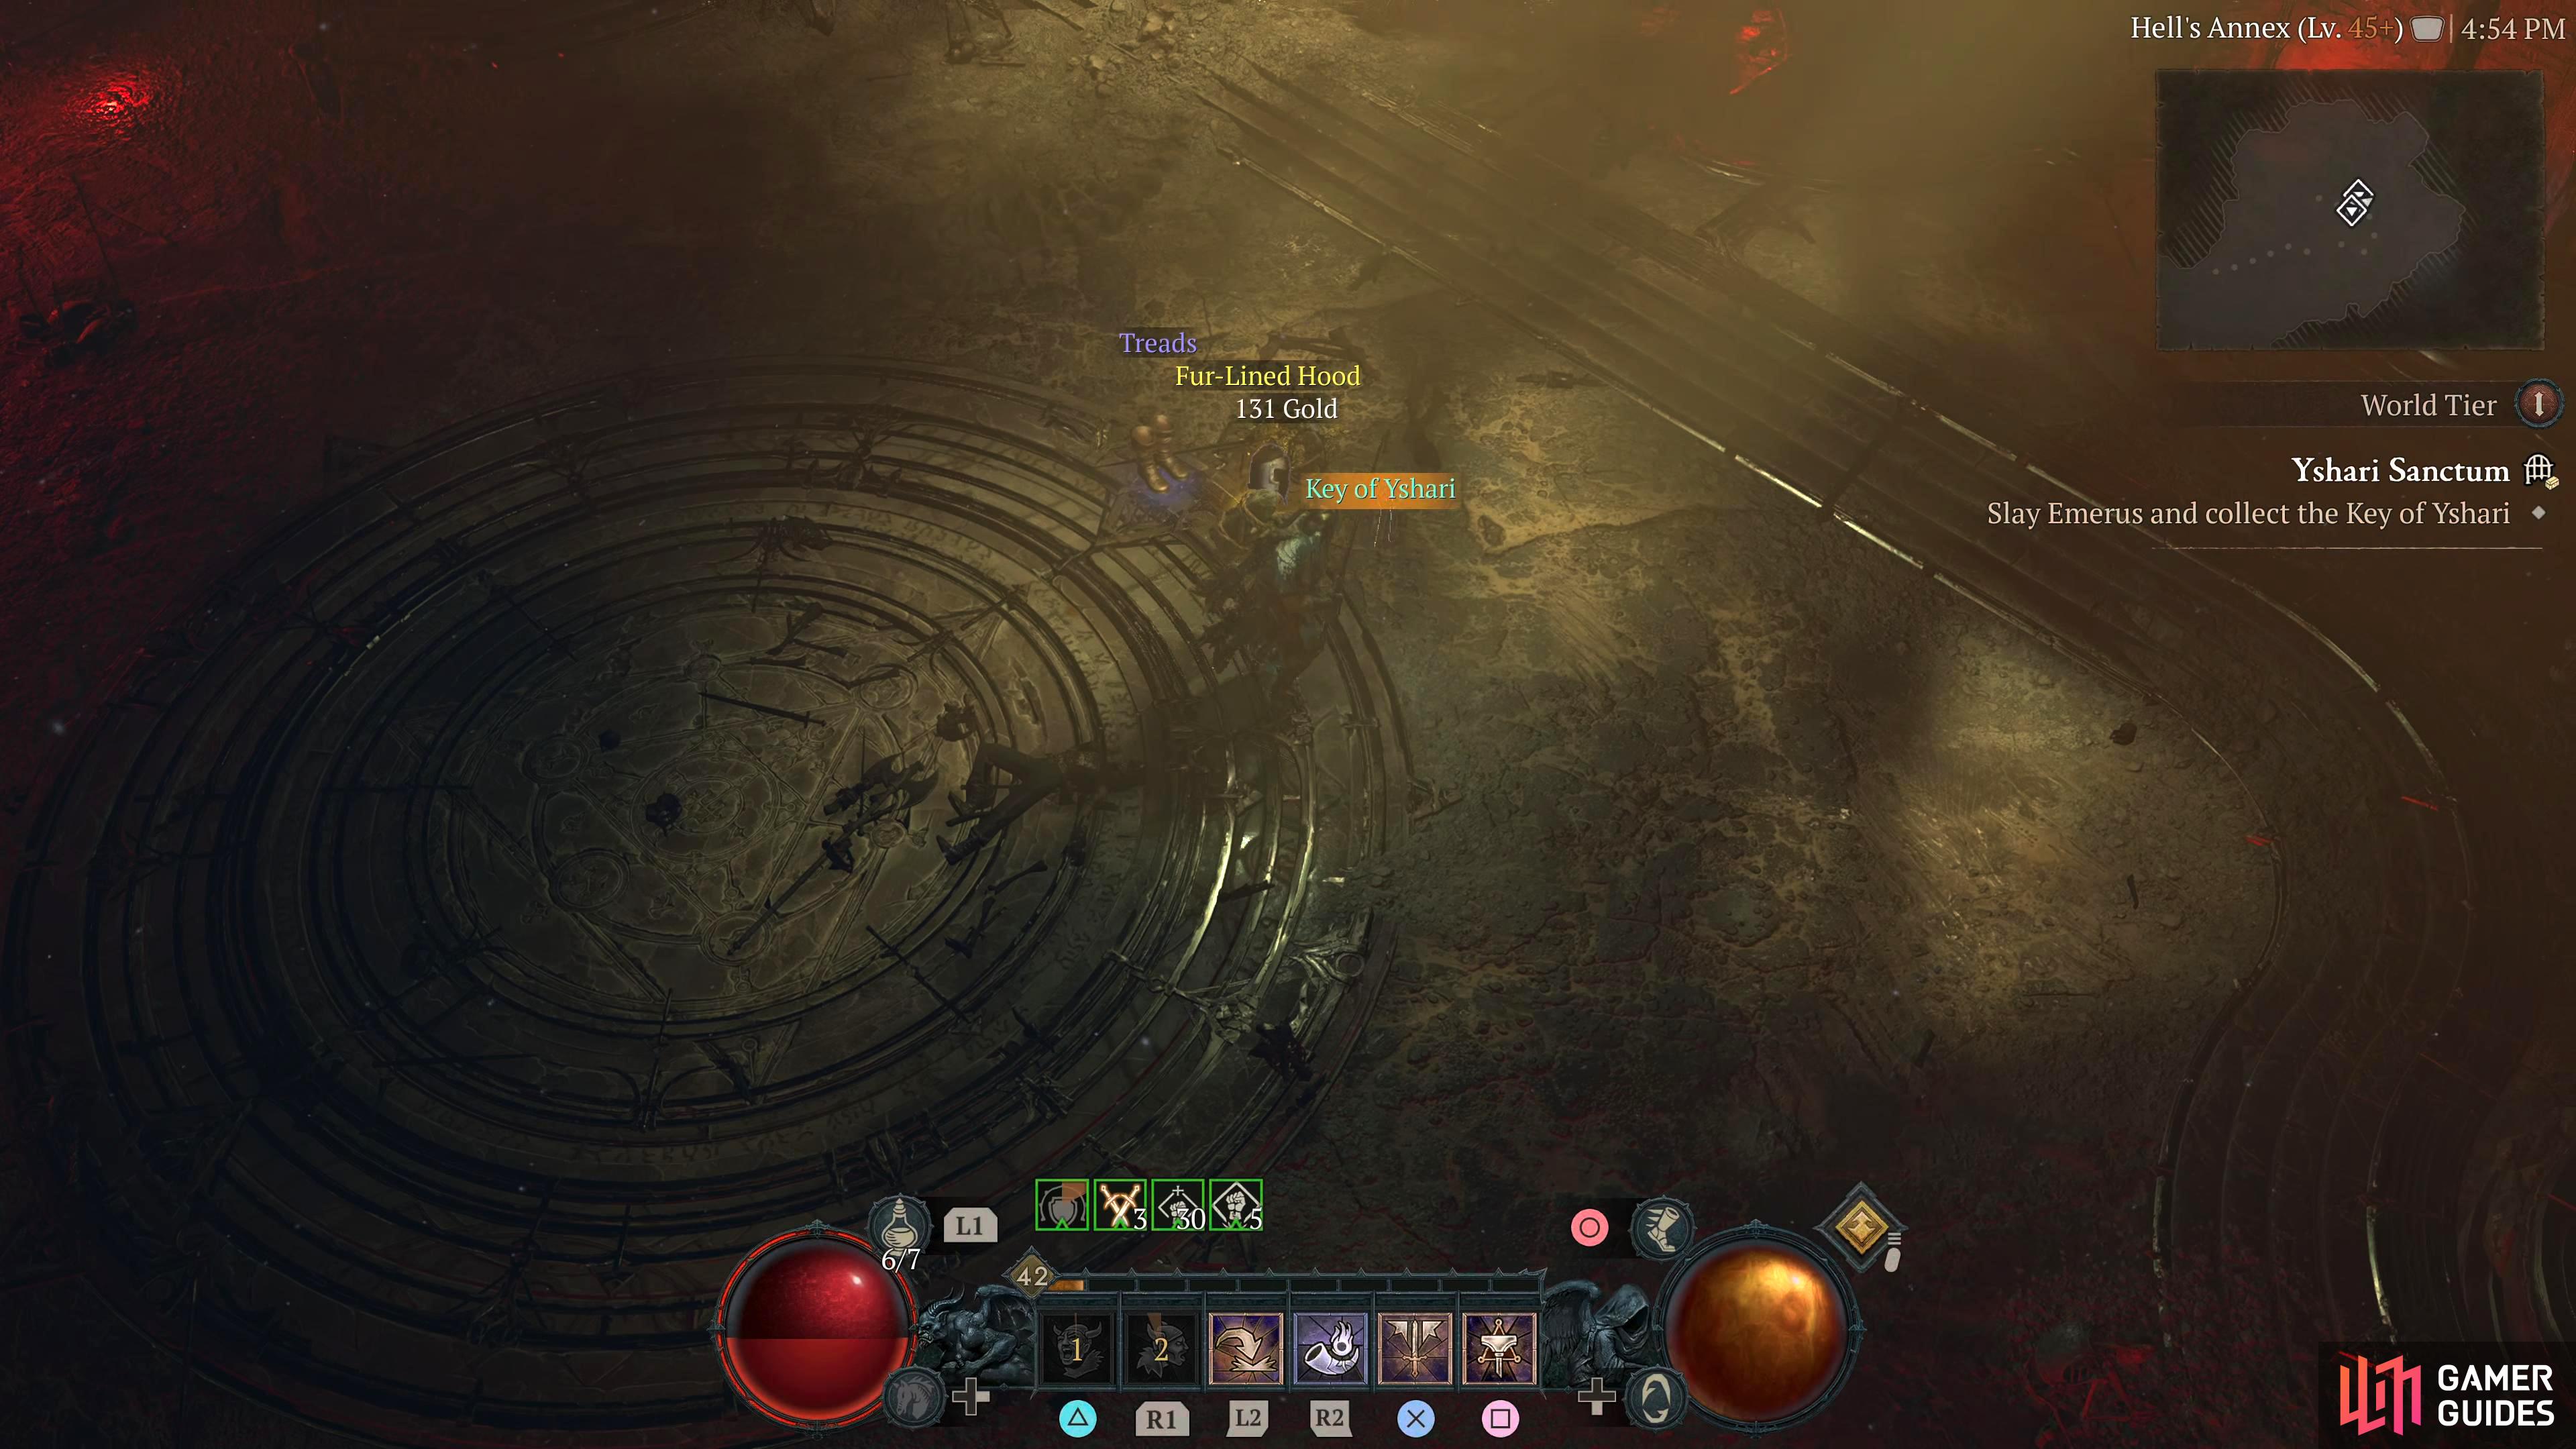
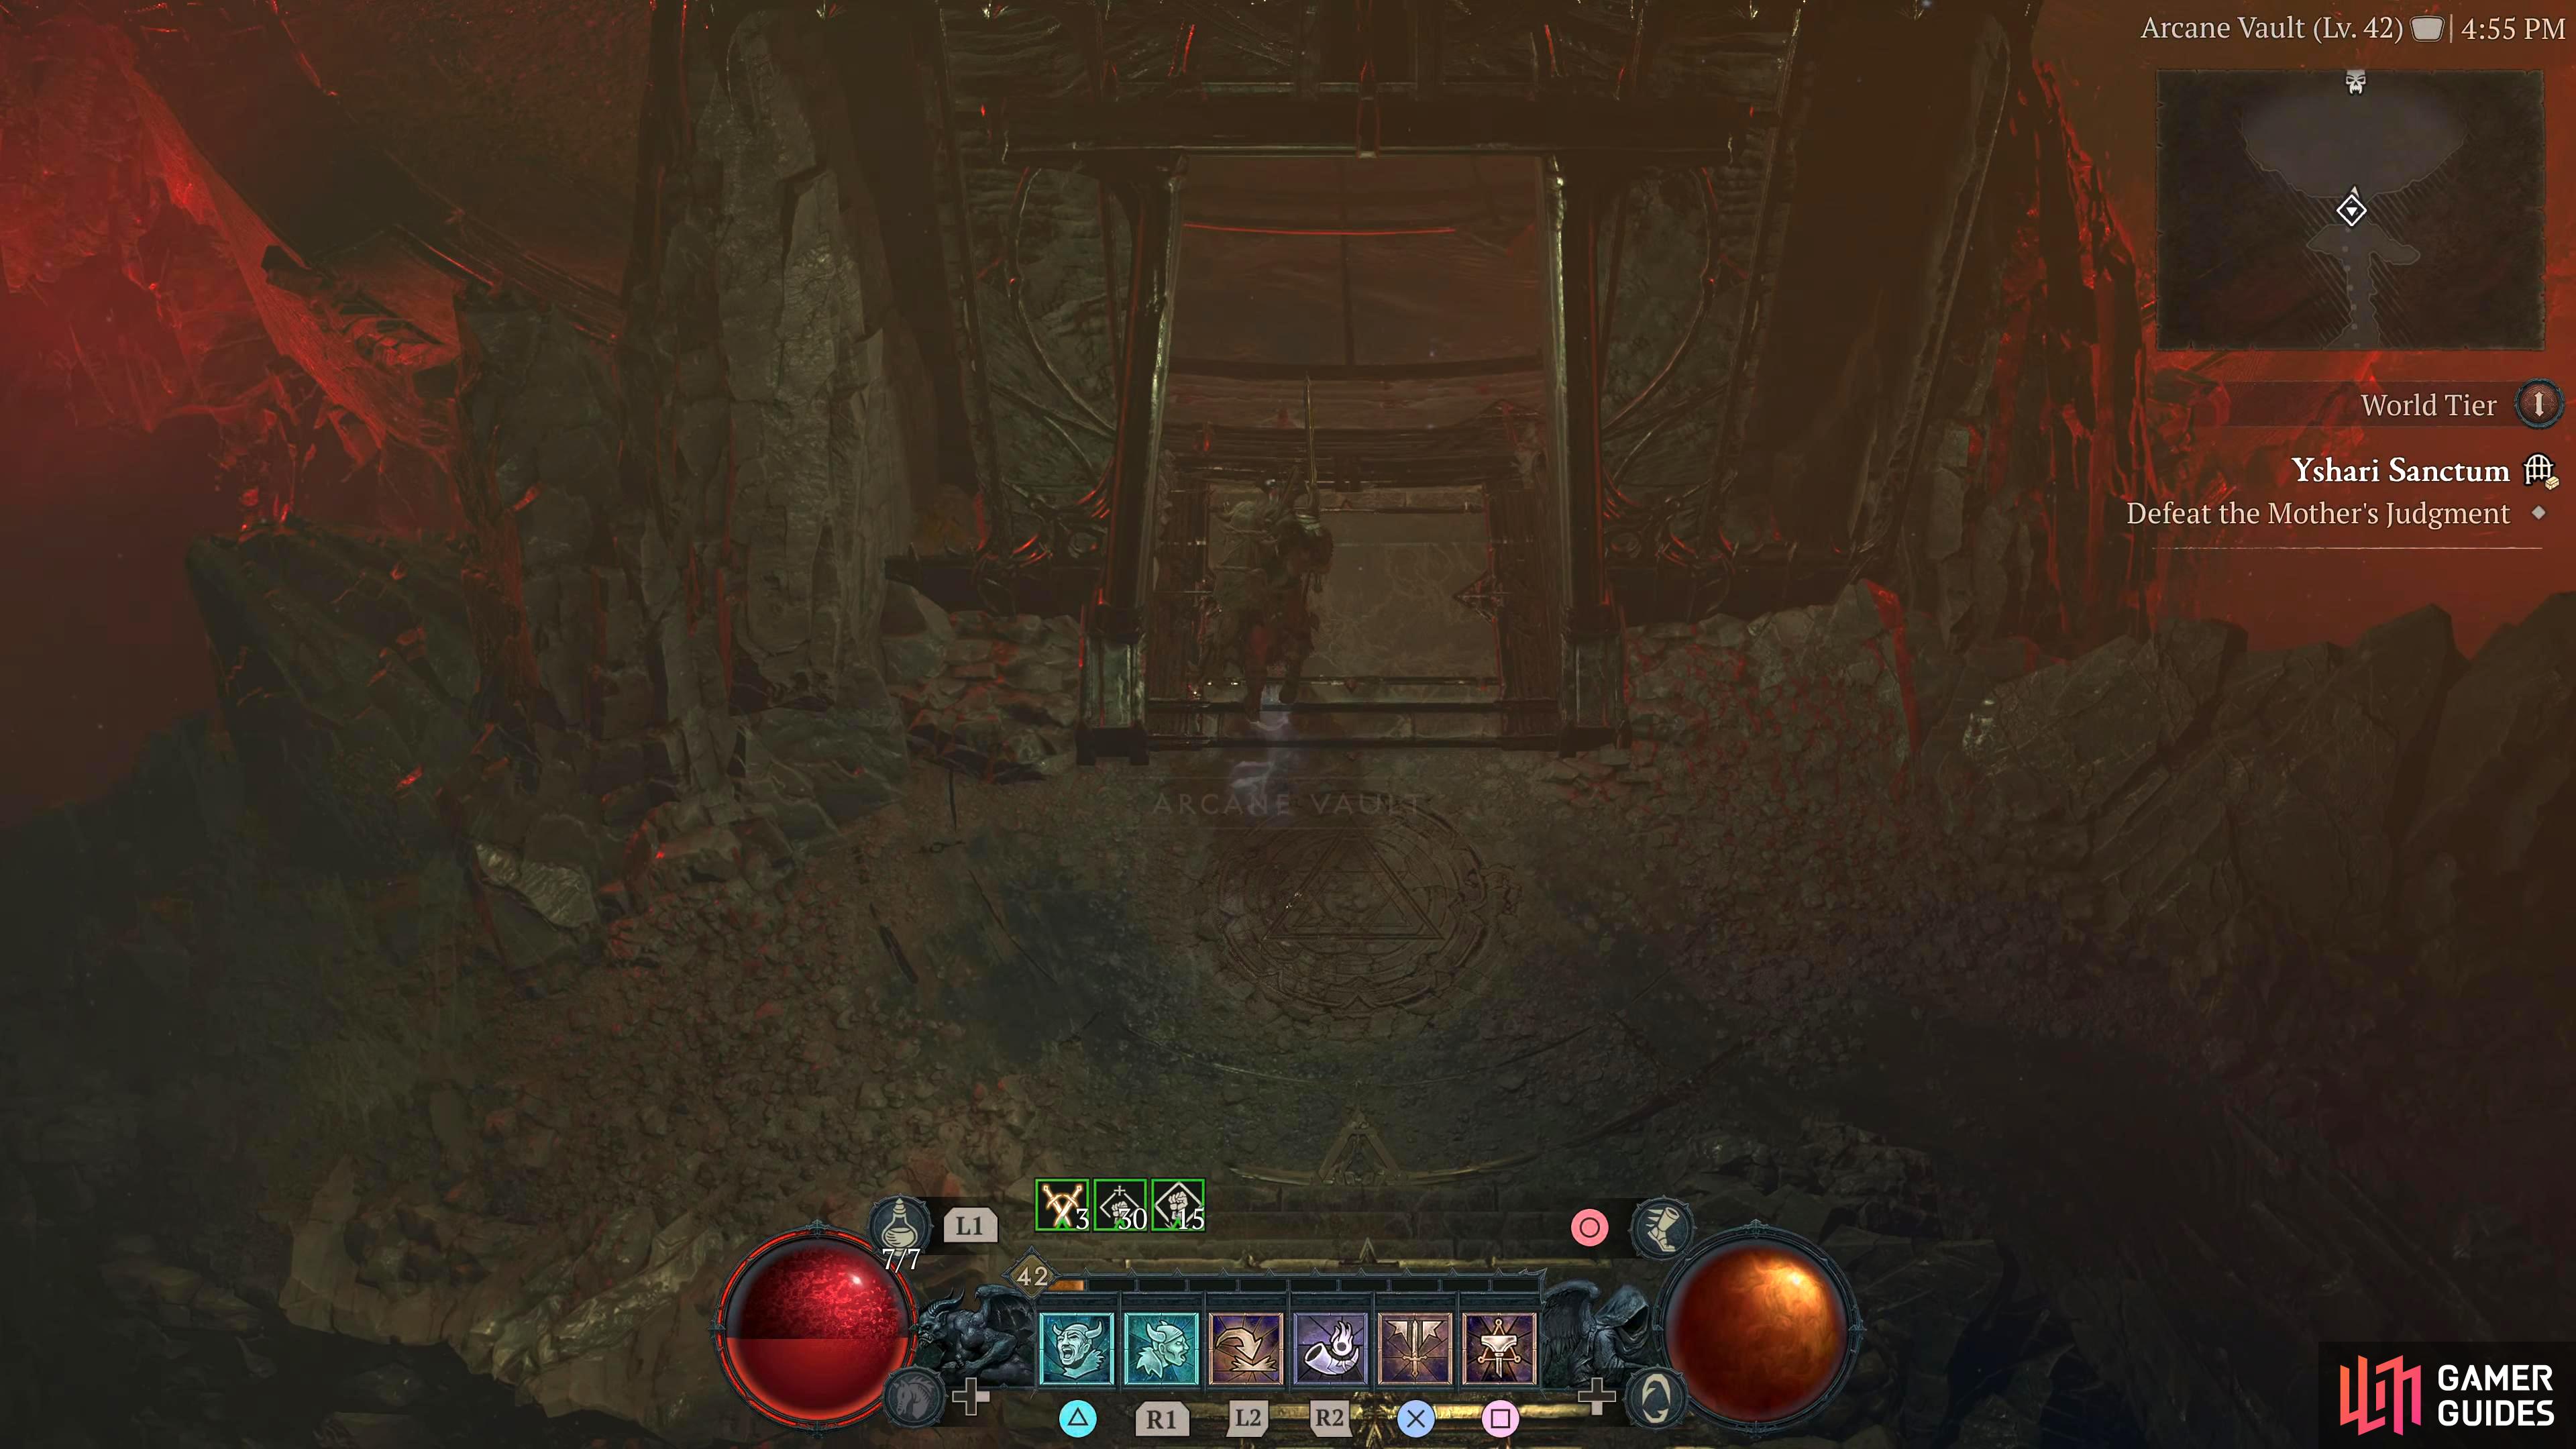
Yshari Sanctum |
Cultists corrupt the ancient Sanctum.
Objectives
Description
+30 Kehjistan Renown
Enemies
Burning Dead Corpse Axe
Skeletons
Detailed Location
A dungeon found in the library annex of the Caldeum. You will need to progress the main storyline past Act VI to access this dungeon.
Region
General Reward
XP and Gold
Item Reward
1×
|
|
|||||||||||||||||||||||||||||||||||||||||||||||||||||||||||||||||||||||||||||||||||||||||||||||

|
The Exalted Terrace |
A place of study where Elias shares Lilith’s gifts.
Objectives
Description
You will access this Dungeon as part of the
Detailed Location
Related Quests
1×
Region
General Reward
XP and Gold |
||||||||||||||||||||||||||||||||||||||||||||||||||||||||||||||||||||||||||||||||||||||||||||||||

|
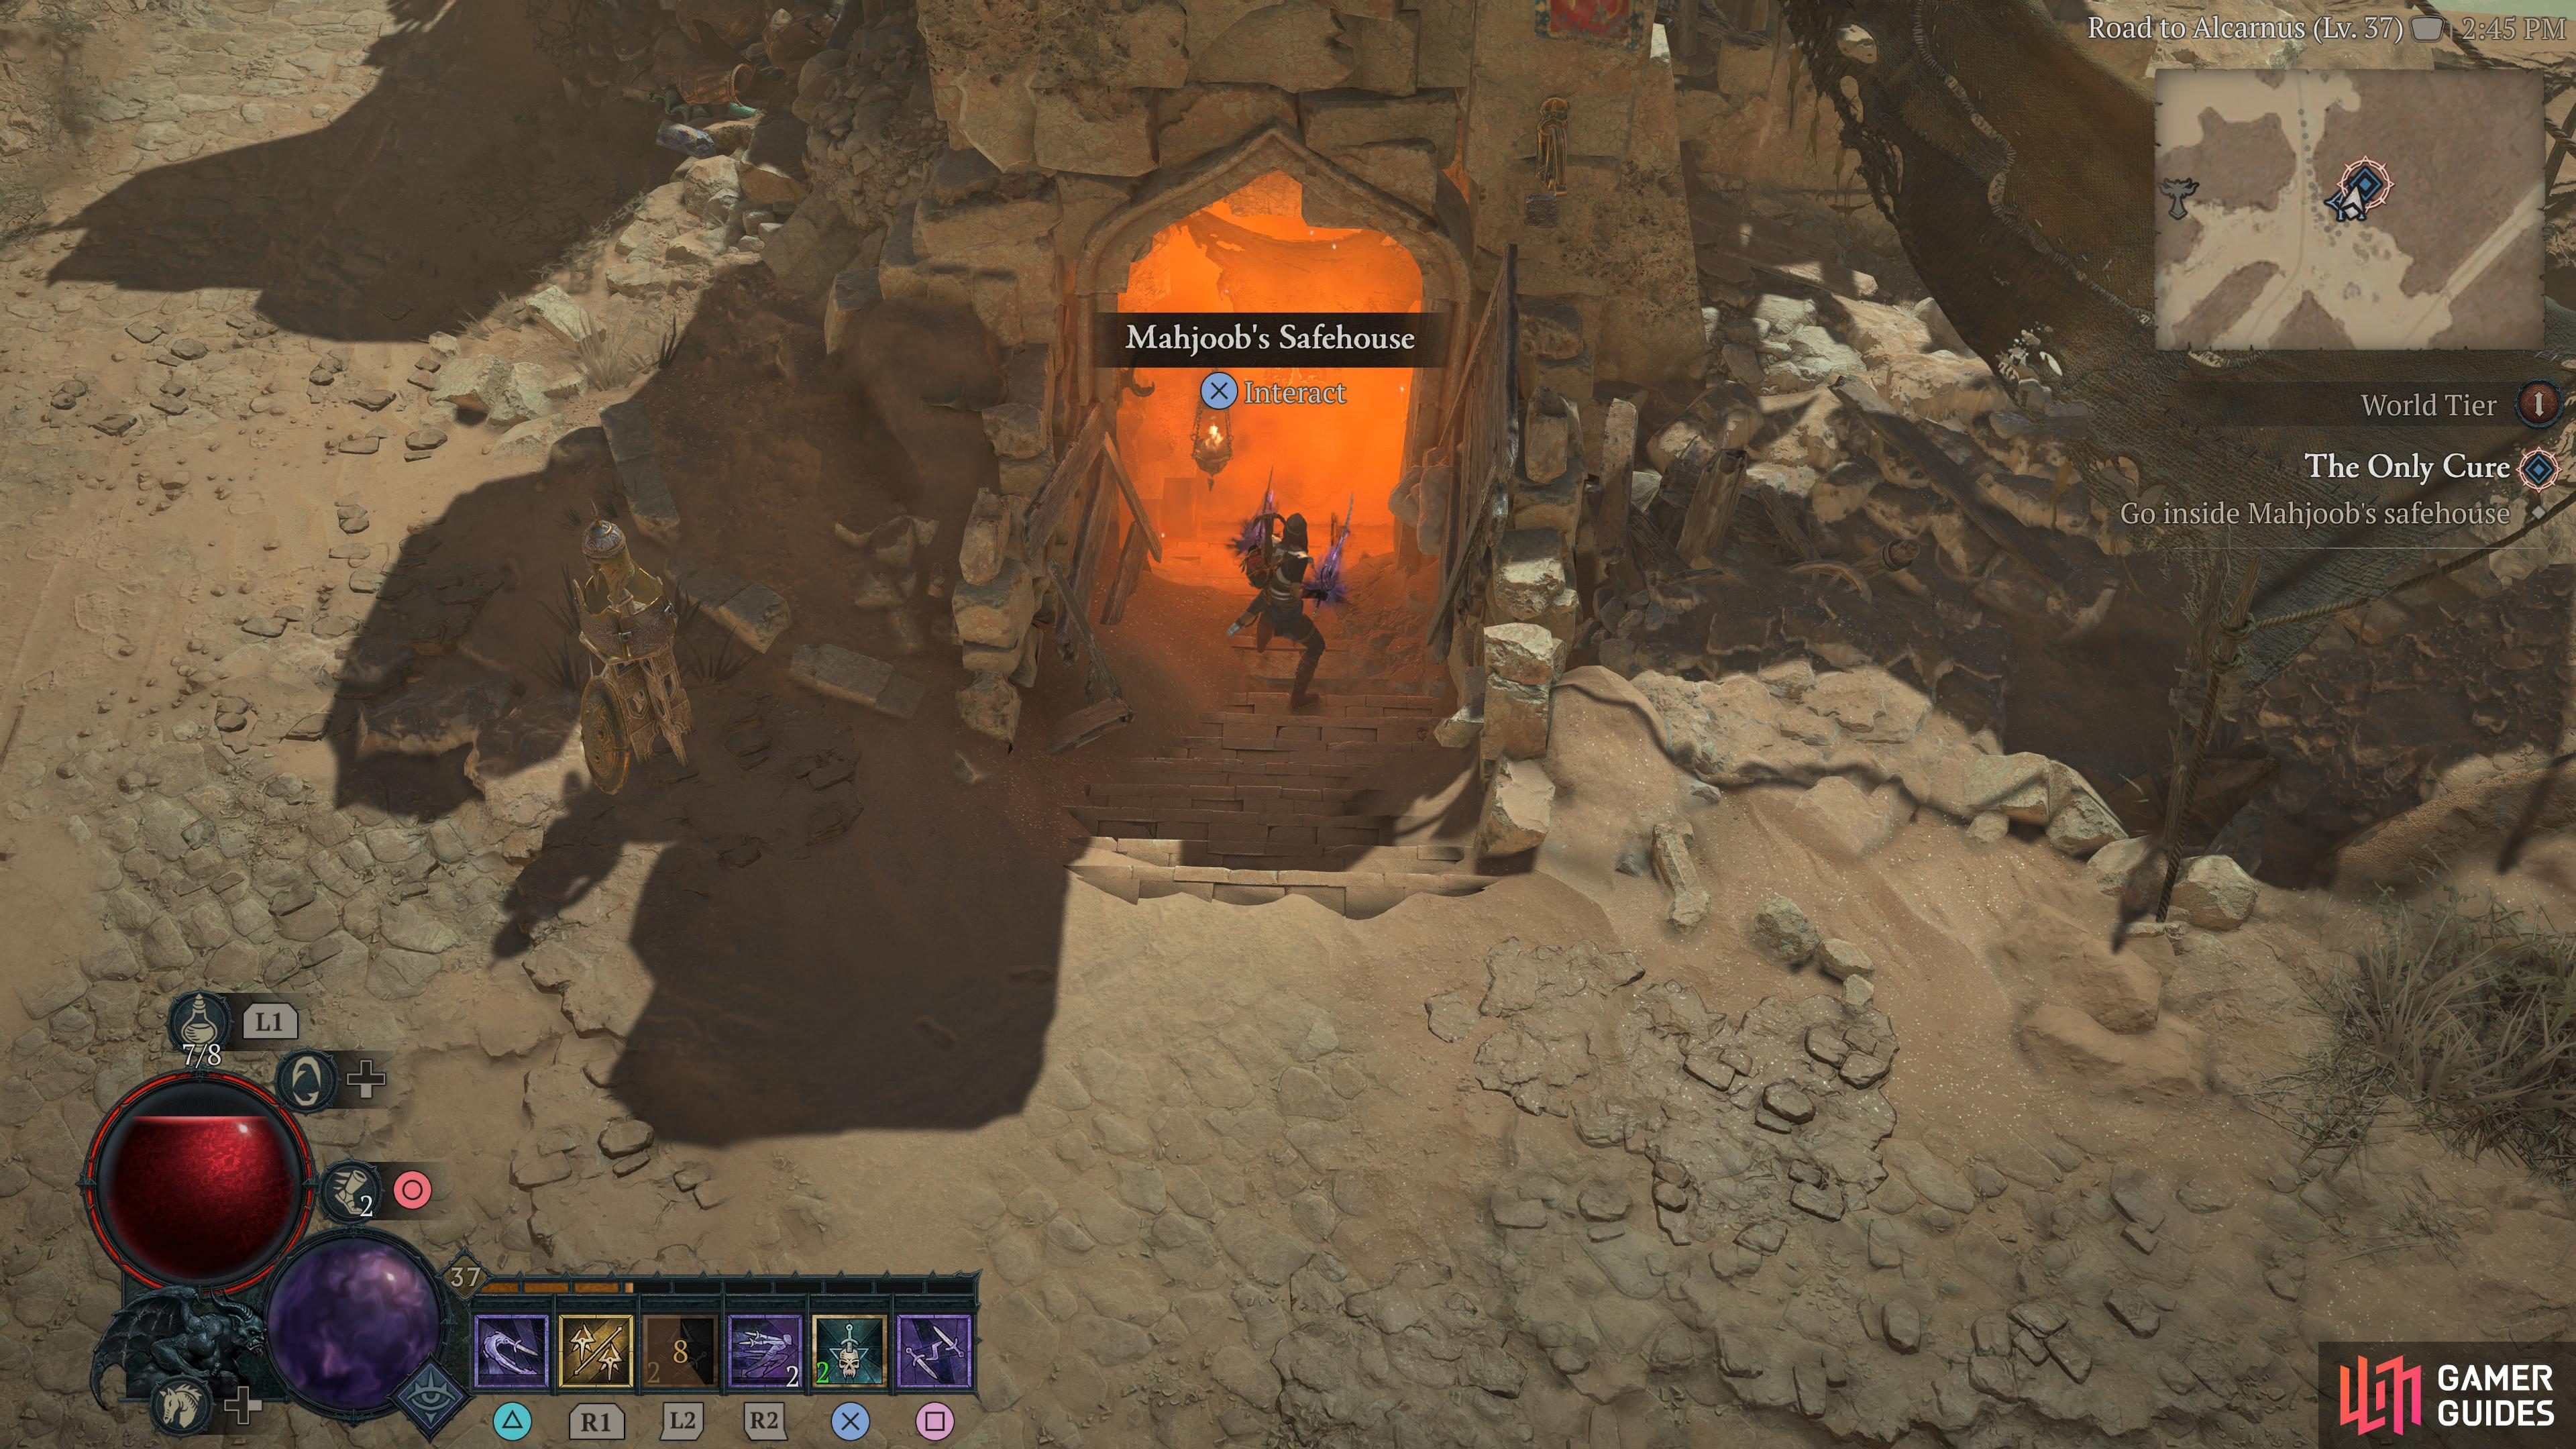
Mahjoob's Safehouse |
A place of reprieve for the Kehjistani guide. You will only be able to enter this Side Dungeon during the Only the Cure Side Quest.
Detailed Location
Related Quests
1×
1×
1×
Region
General Reward
XP and Gold |
|
|||||||||||||||||||||||||||||||||||||||||||||||||||||||||||||||||||||||||||||||||||||||||||||||

|
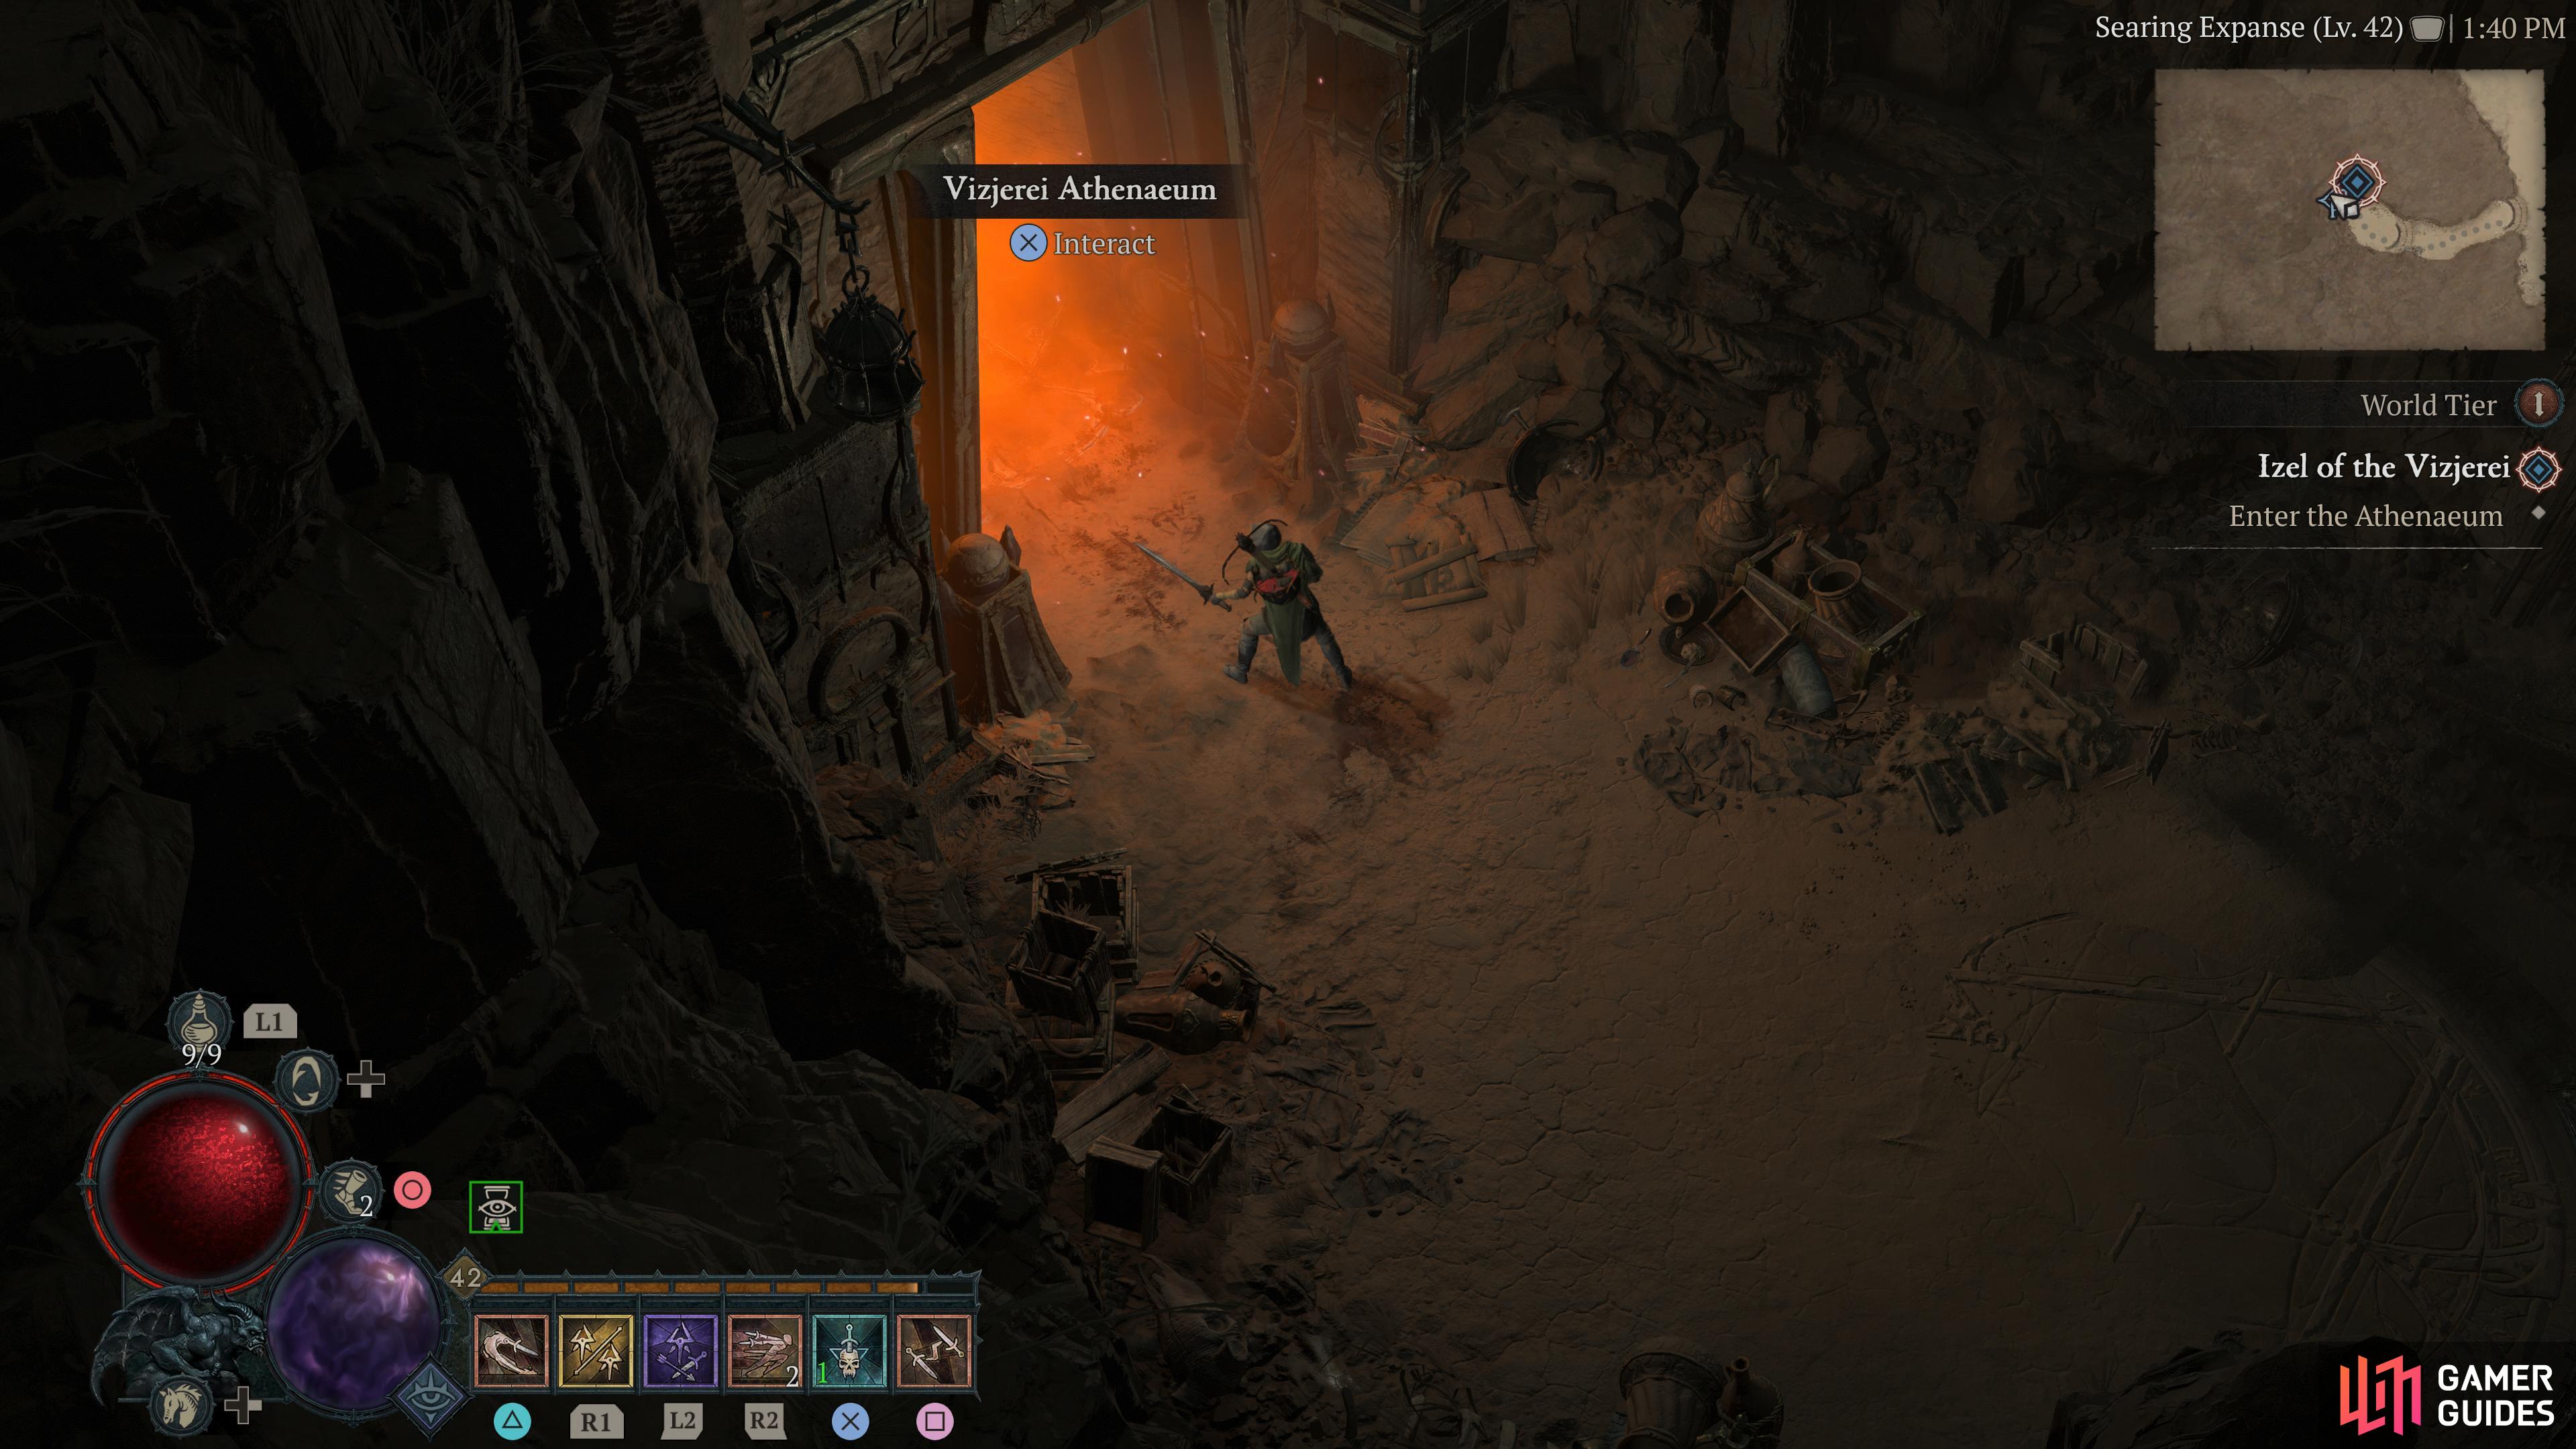
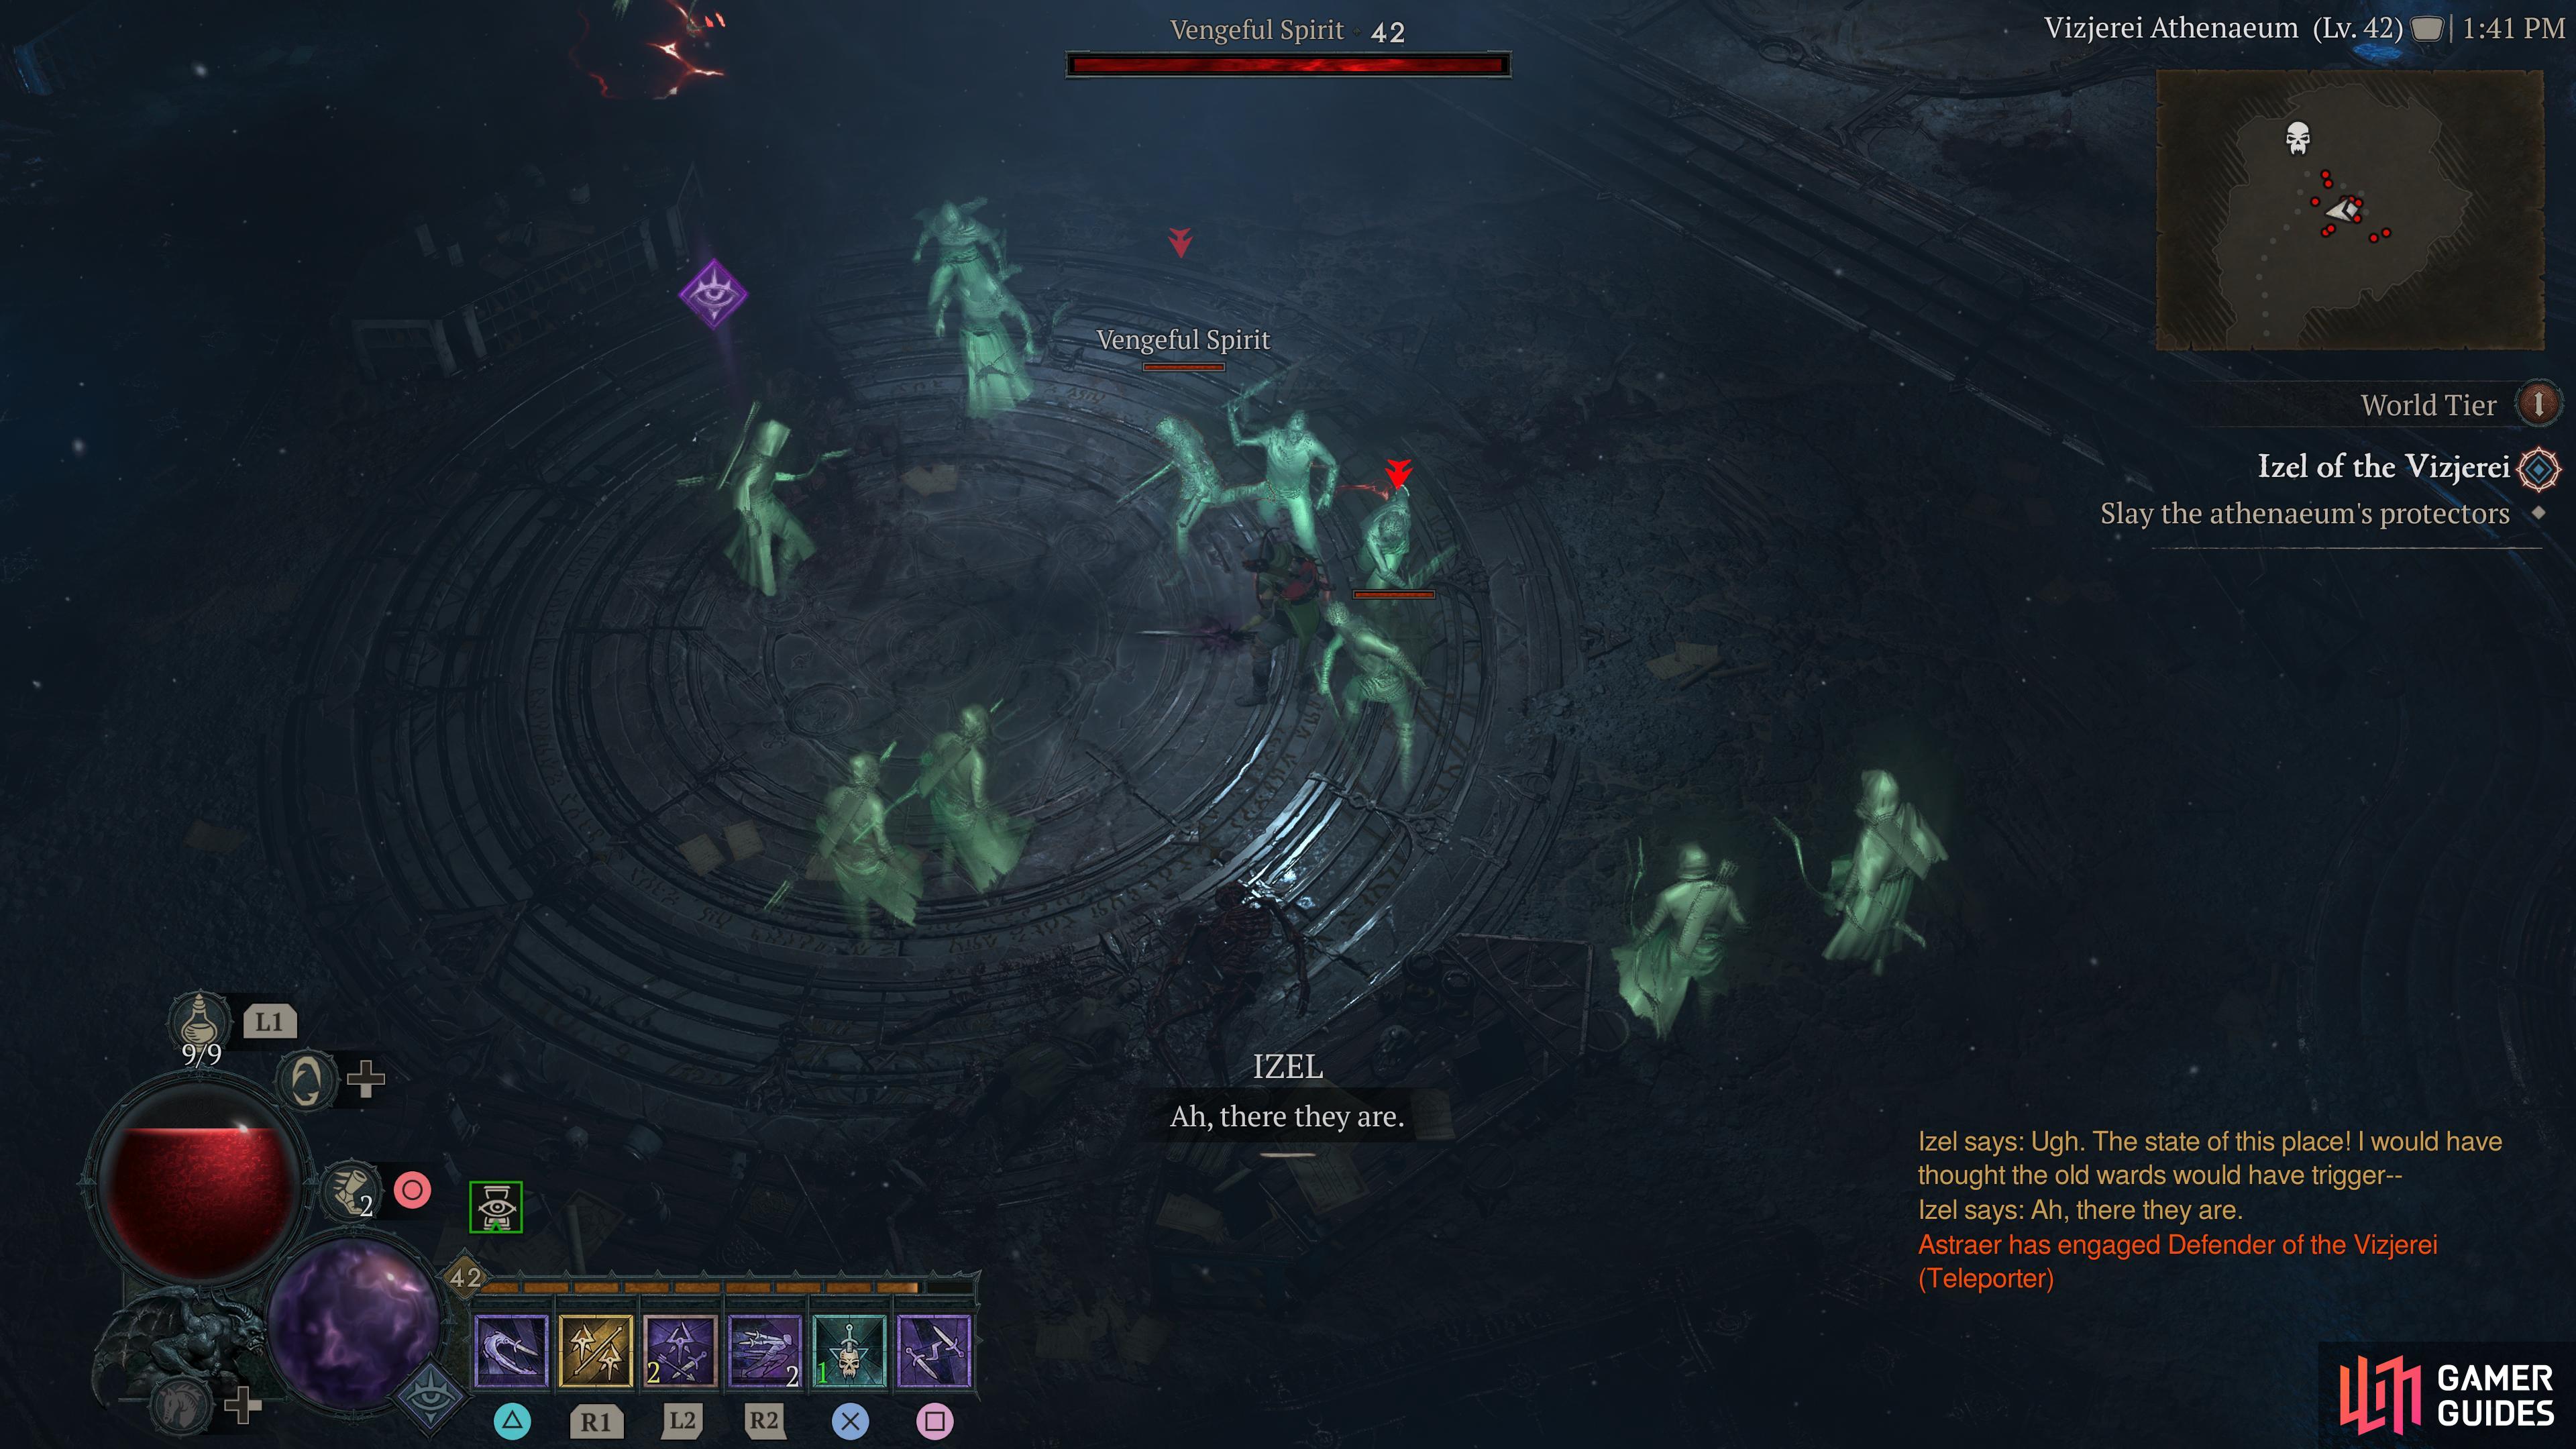
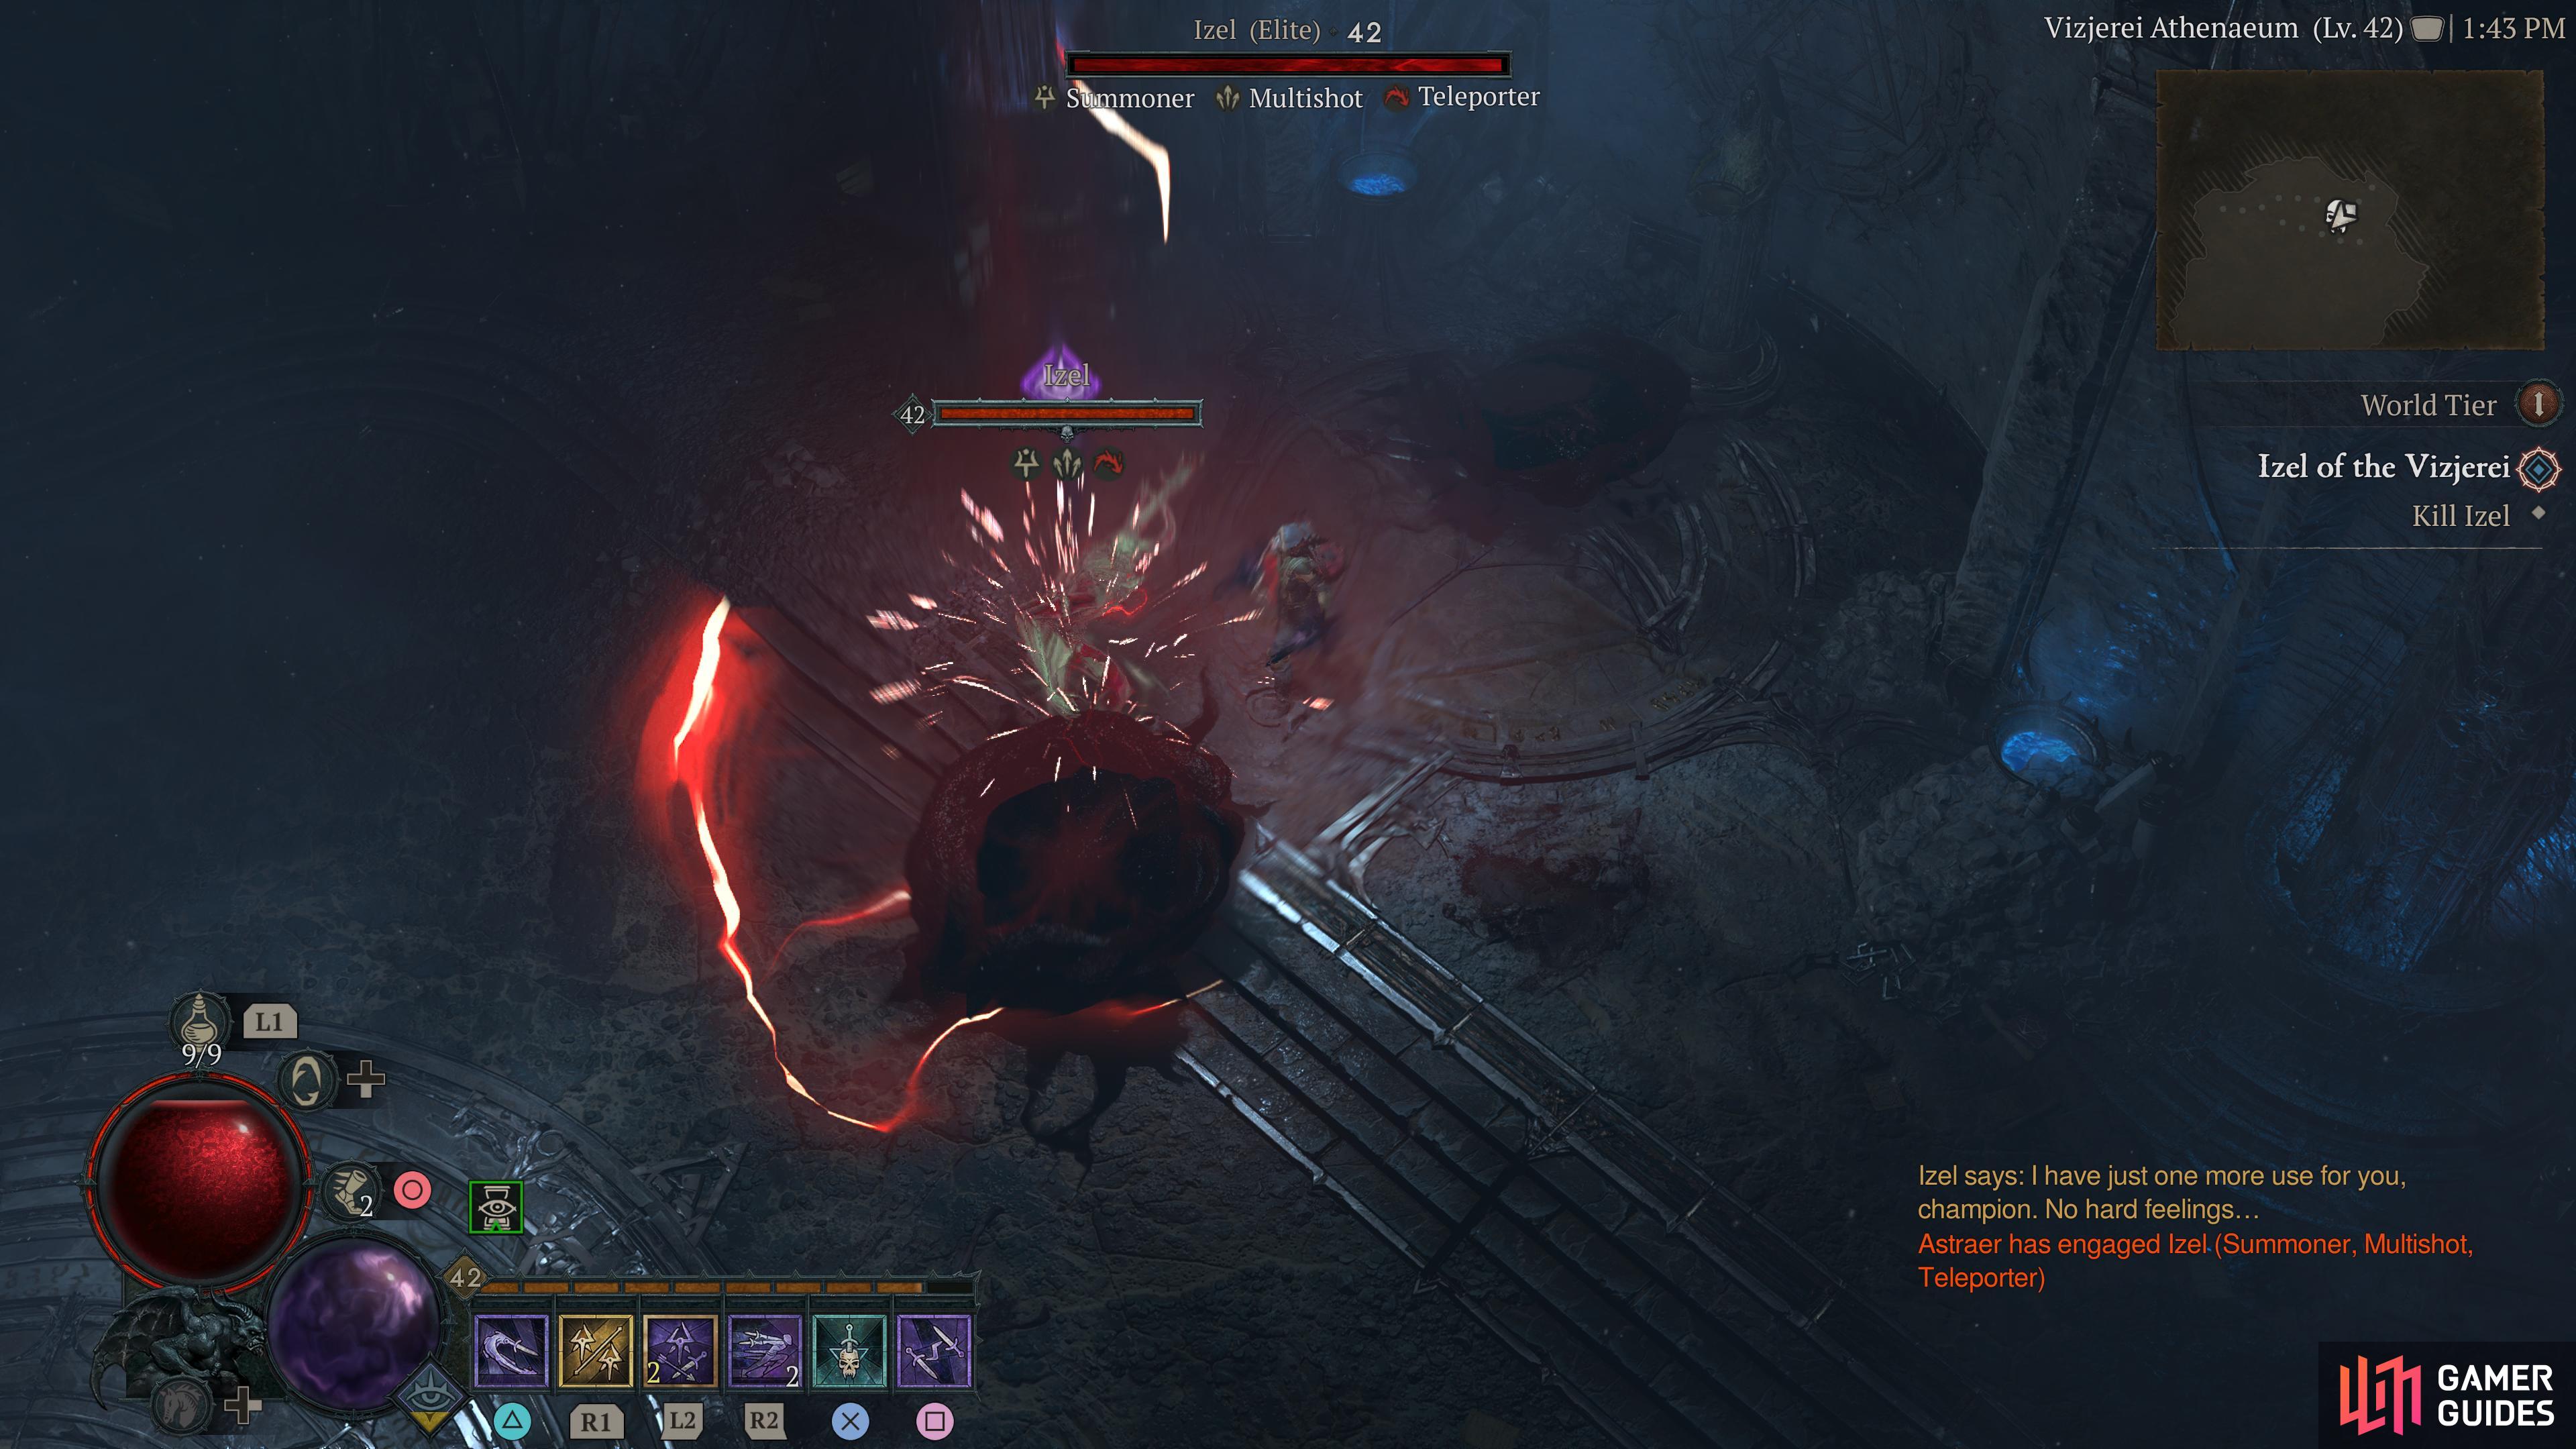
Vizjerei Athenaeum |
Ruins belonging to the once great Vizjerei Mage Clan. You will only be able to enter this Side Dungeon during the
Enemies
1× Bonesnapper
Bandits
Detailed Location
Related Quests
1×
1×
1×
Region
General Reward
XP and Gold |
|
|||||||||||||||||||||||||||||||||||||||||||||||||||||||||||||||||||||||||||||||||||||||||||||||

|
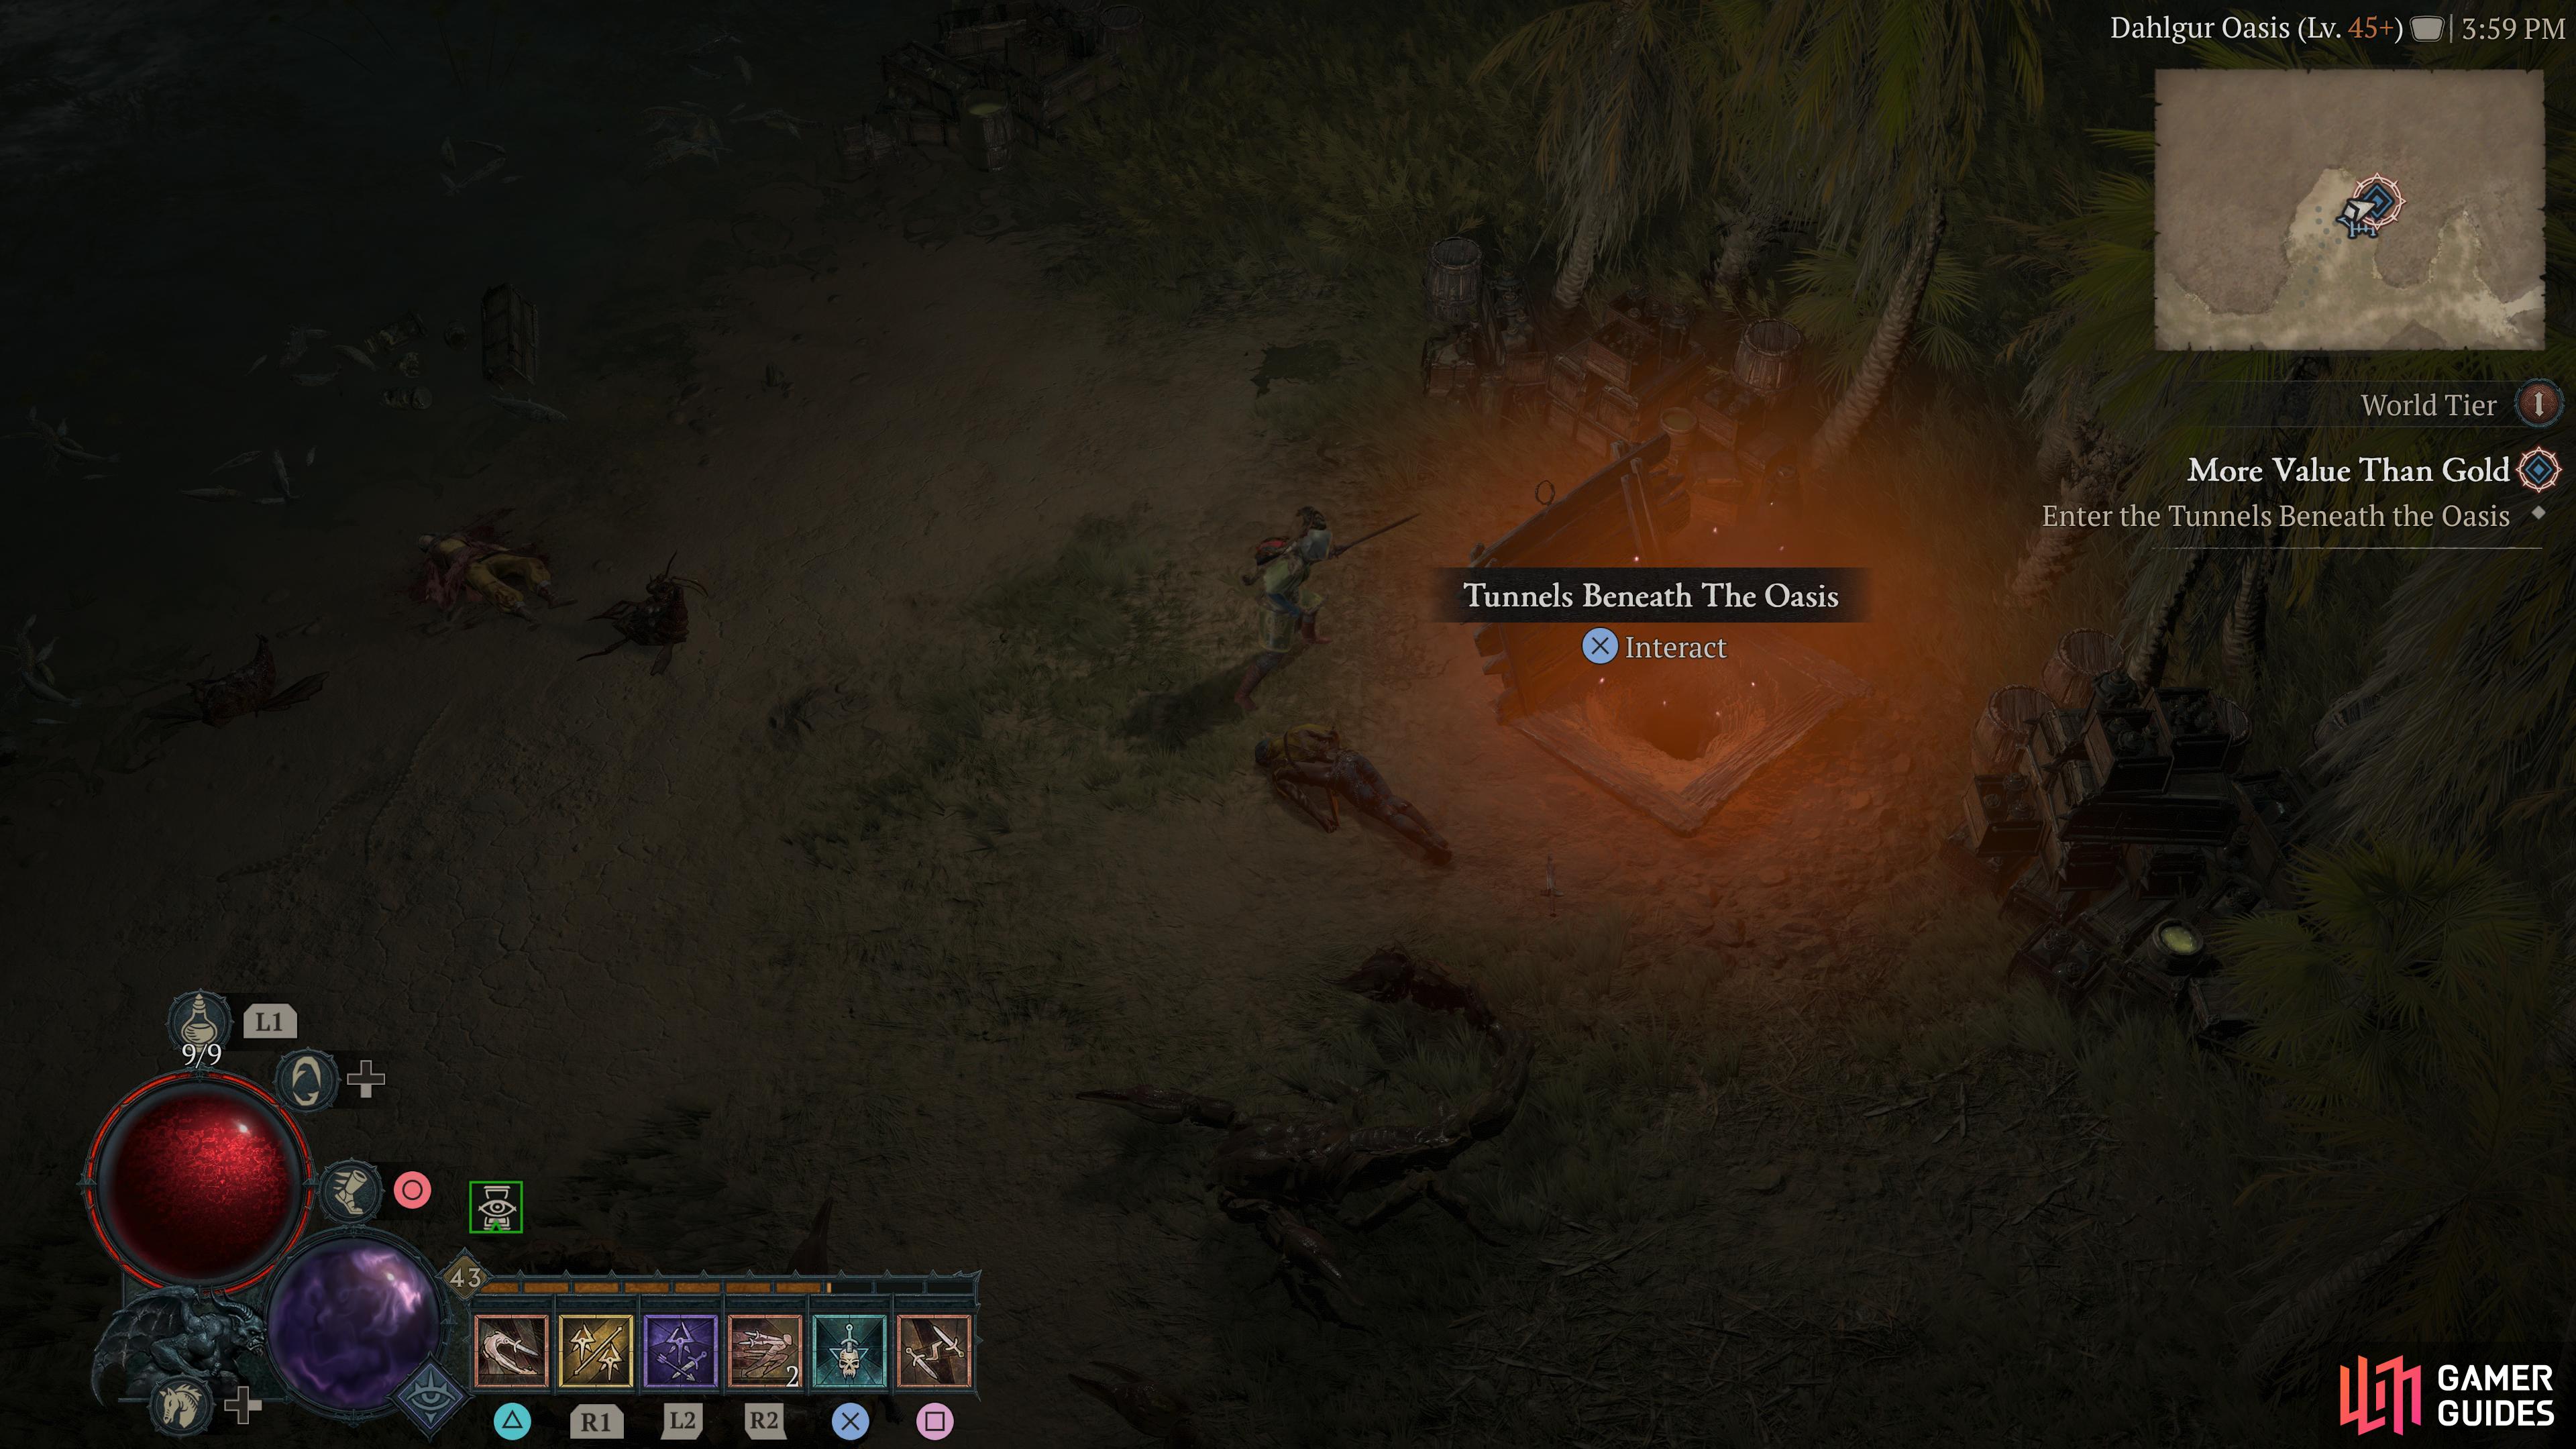
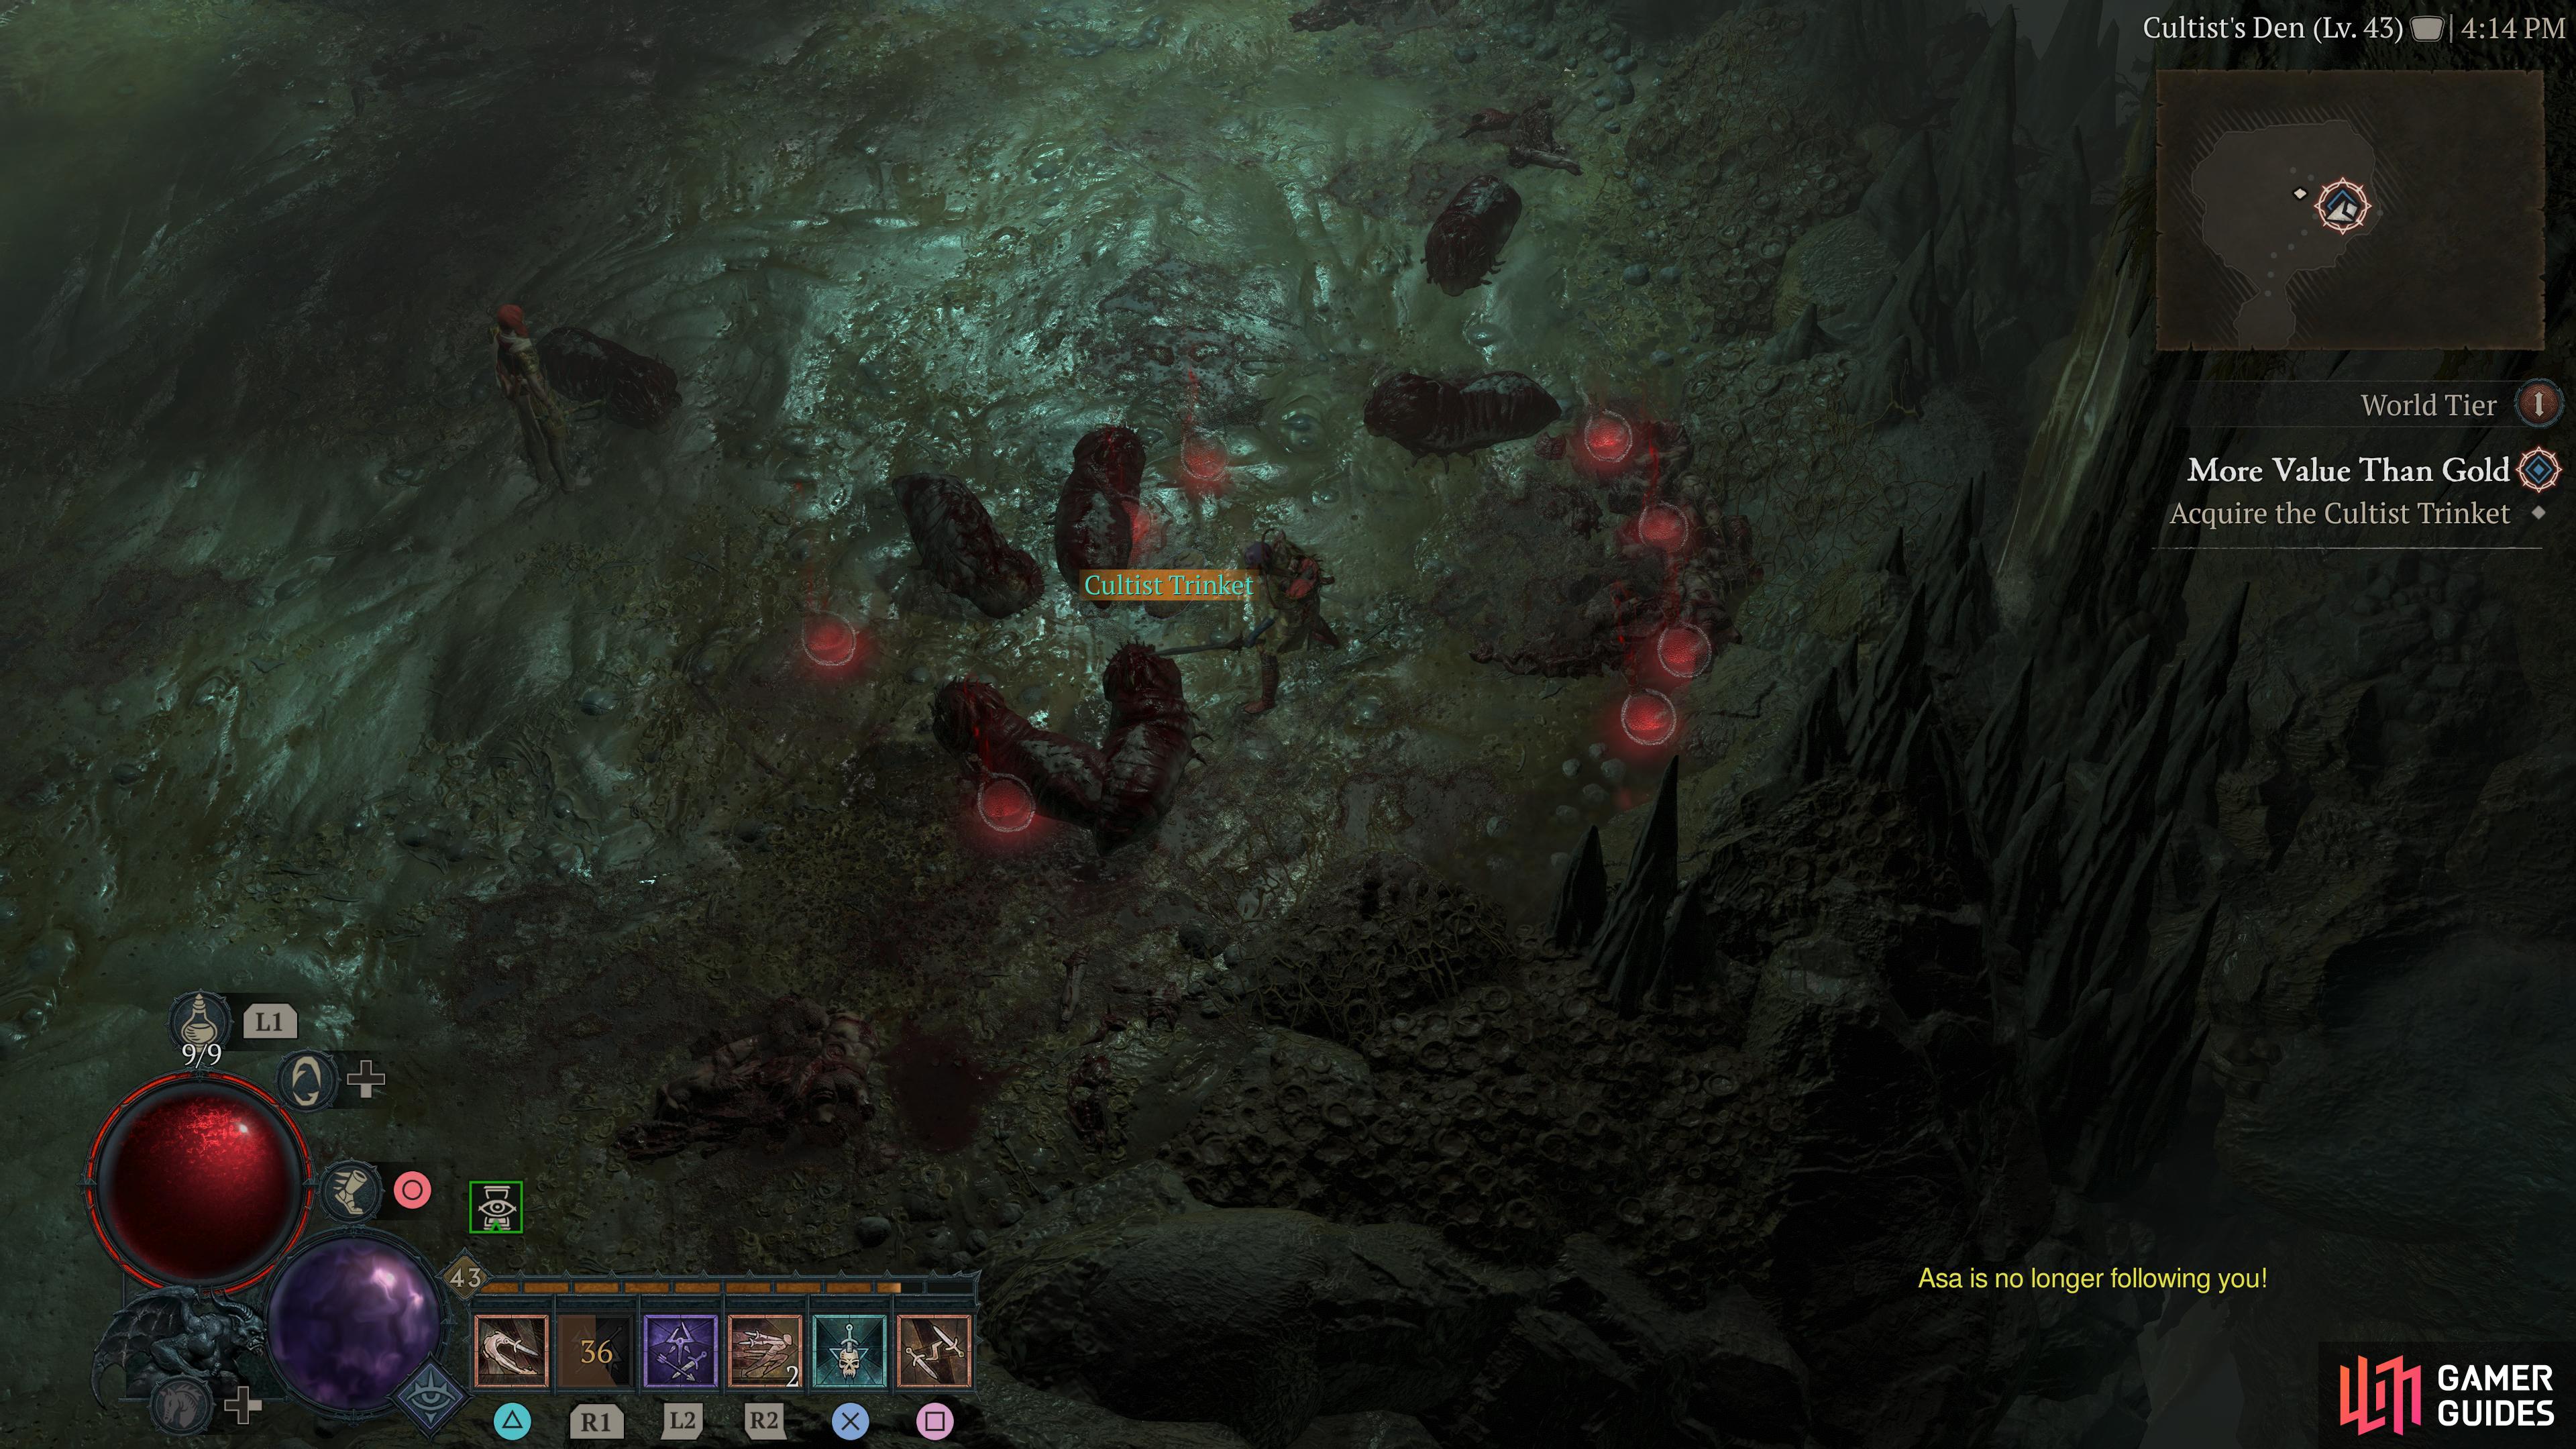
Tunnels Beneath The Oasis |
Sharp acrid smells seep from the hidden caverns. You will only be able to enter this Side Dungeon during the
Enemies
1×
1× Bonesnapper
Bandits
1×
1×
1× Pestilent Host
Demons
Detailed Location
Related Quests
1×
Region
General Reward
XP and Gold |
|
|||||||||||||||||||||||||||||||||||||||||||||||||||||||||||||||||||||||||||||||||||||||||||||||

|
Triune Hideout |
Under the Iron Wolves’ noses, Triune plot and connive. You will only be able to enter this Side Dungeon during the
Detailed Location
Related Quests
1×
Region
General Reward
XP and Gold |
||||||||||||||||||||||||||||||||||||||||||||||||||||||||||||||||||||||||||||||||||||||||||||||||

|
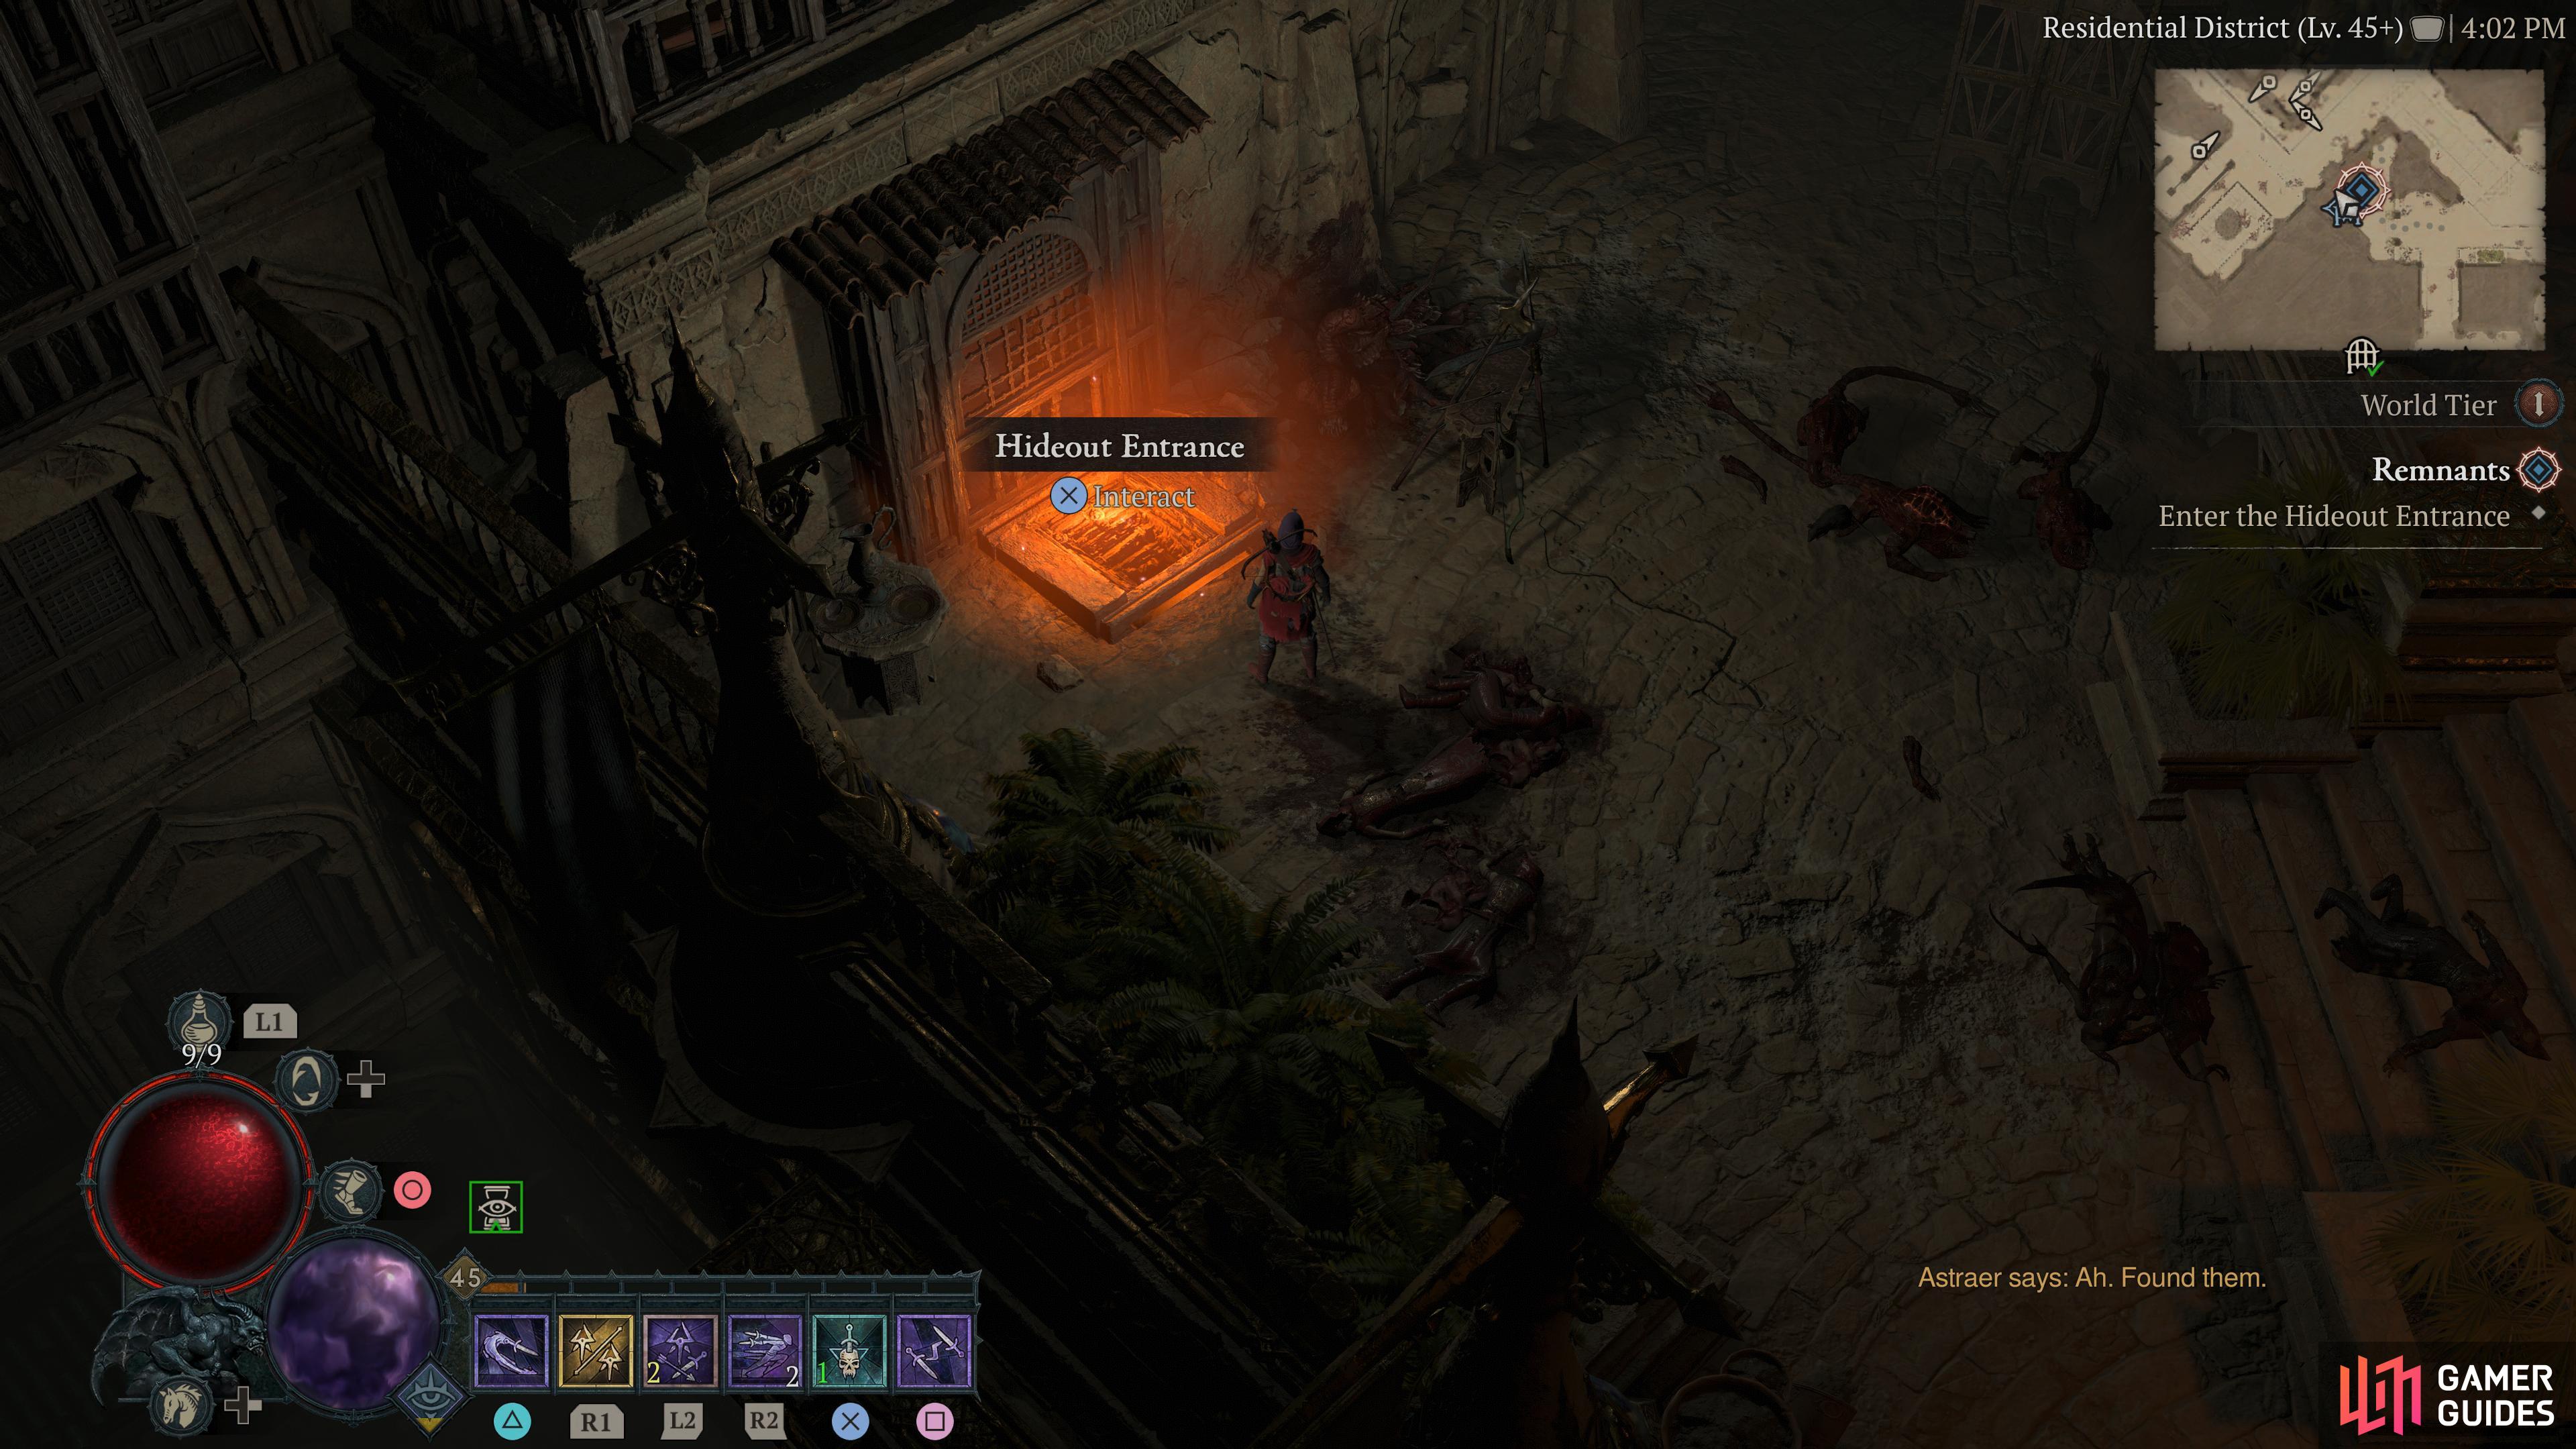
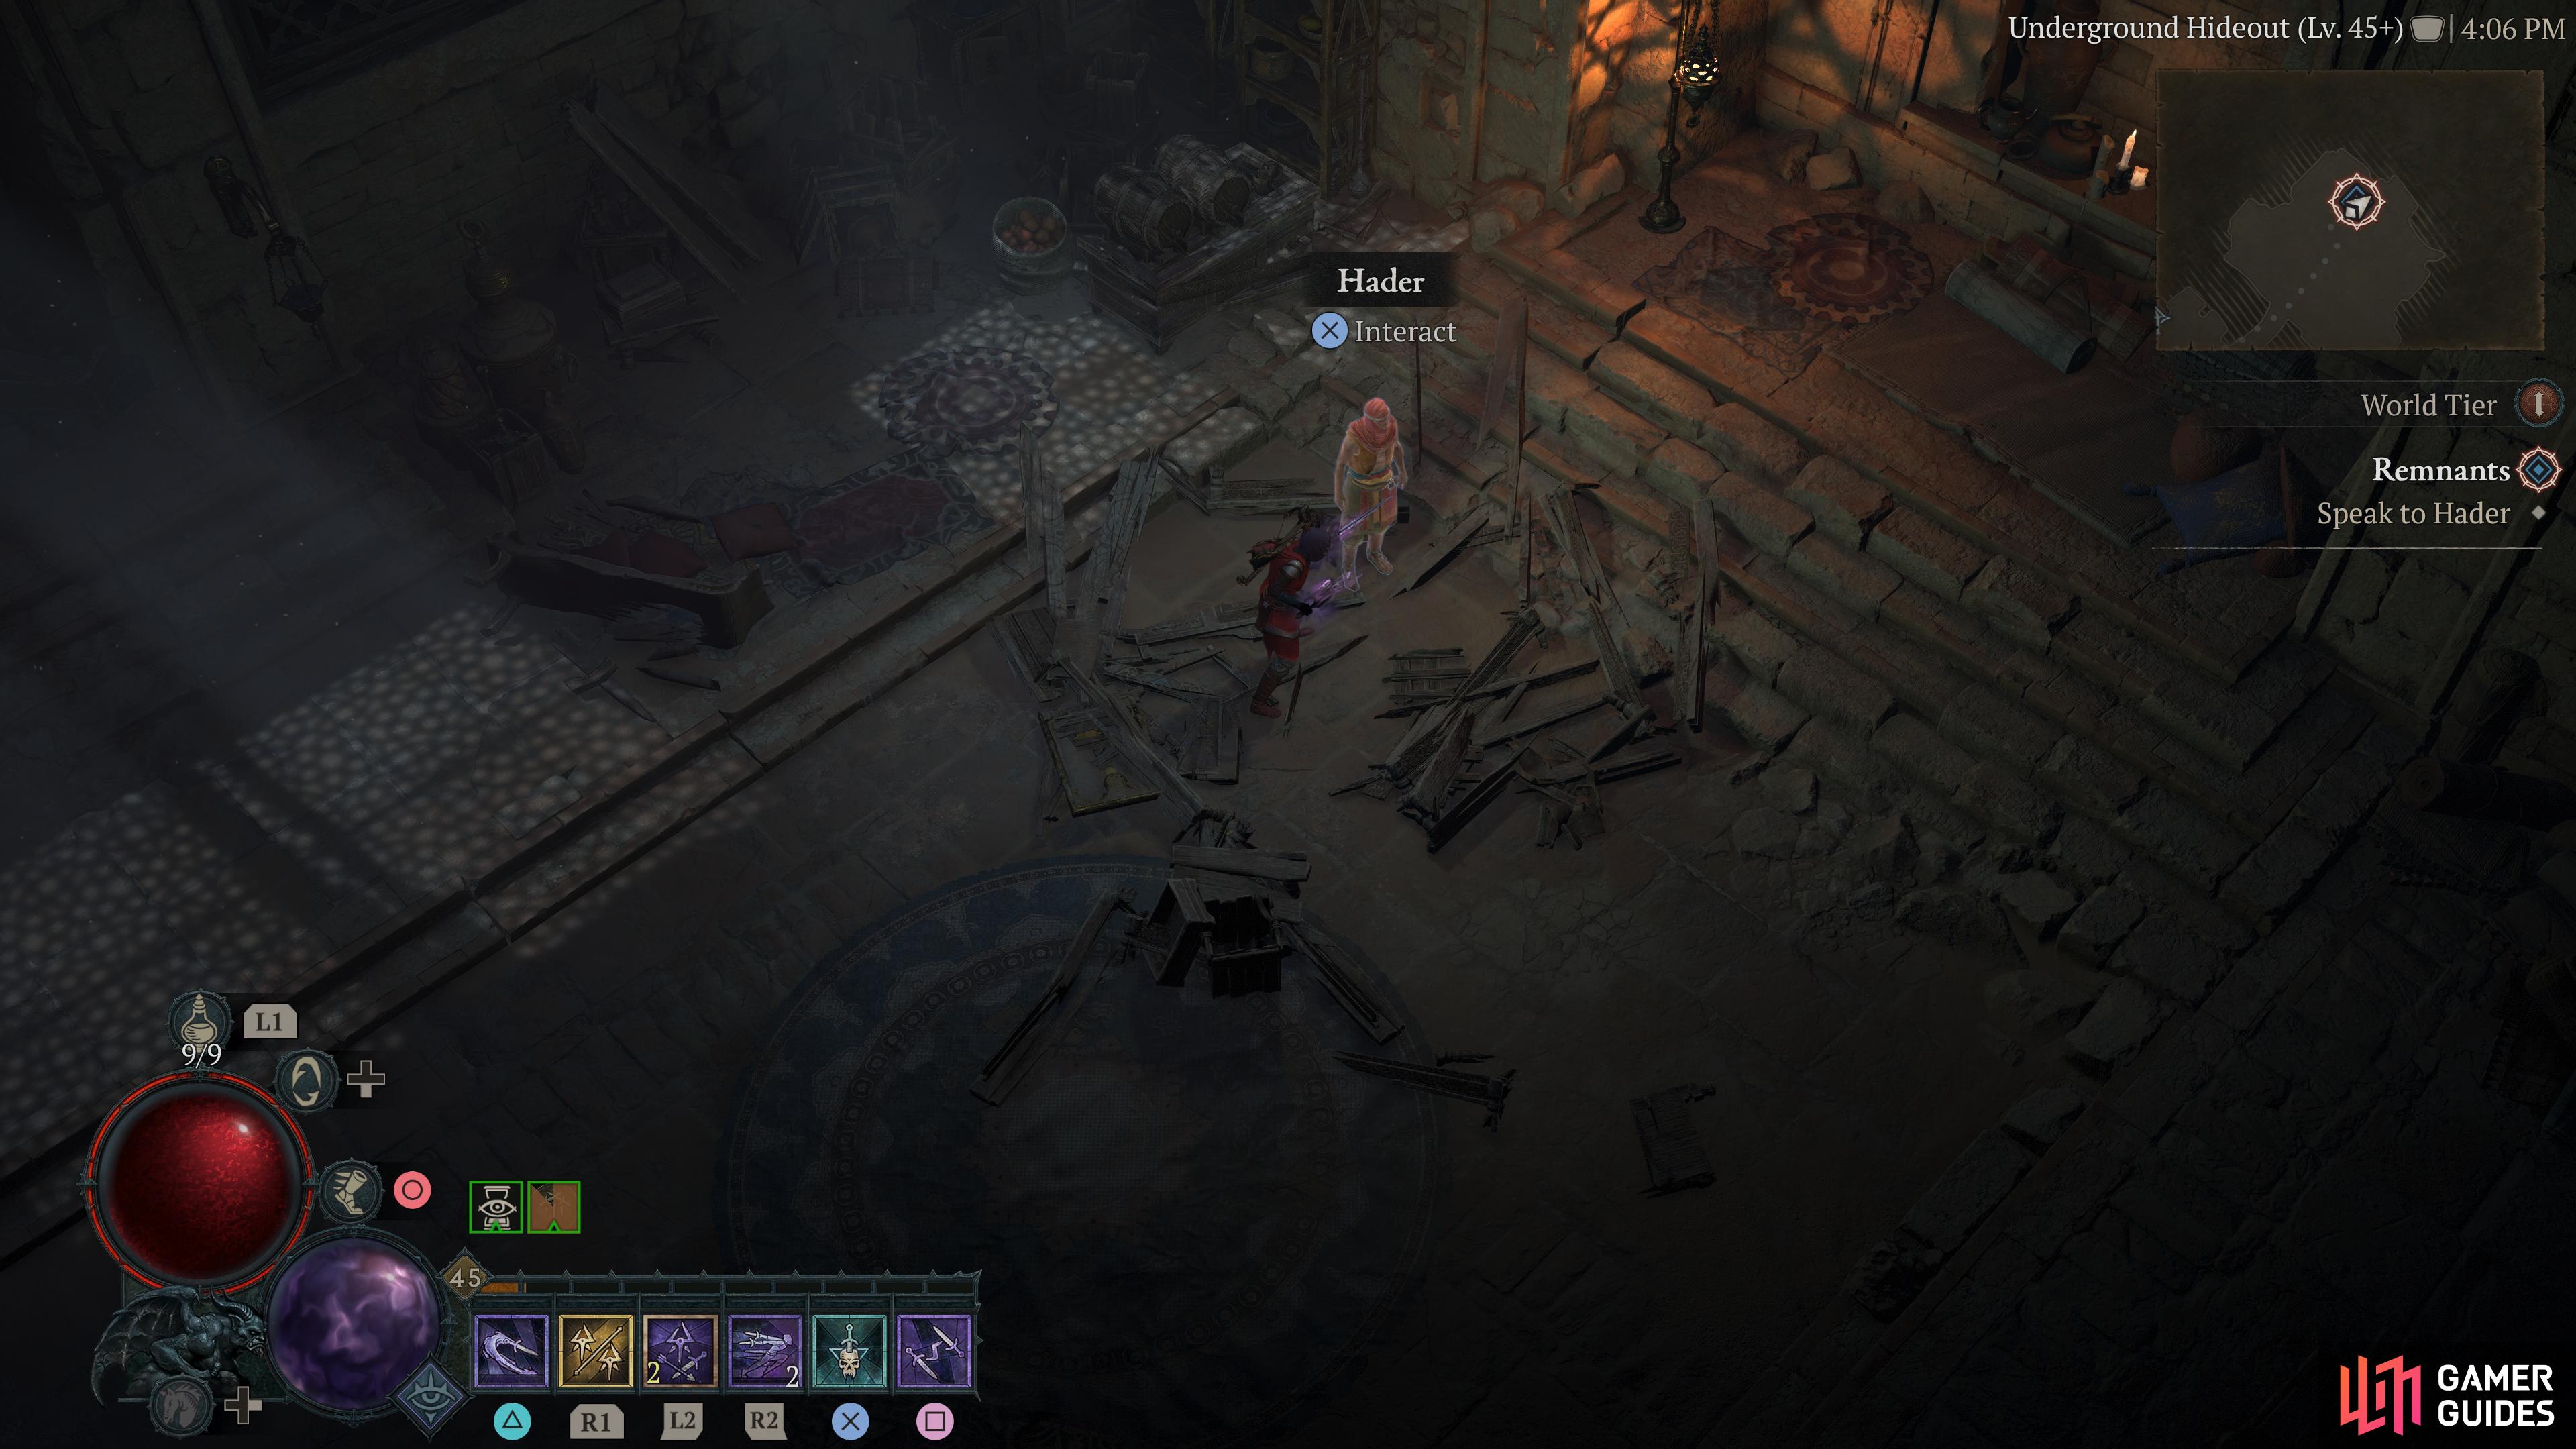
Hideout Entrance |
This entrance was obstructed by rubble. You will only be able to enter this Side Dungeon during the
Detailed Location
Related Quests
1×
Region
General Reward
XP and Gold |
|
|||||||||||||||||||||||||||||||||||||||||||||||||||||||||||||||||||||||||||||||||||||||||||||||