
In this section you can easily look up and find where the game’s various Bobbleheads are located. Granted, they are all covered in the guide itself (with many tied to particular missions), but if you want to go out of your way to find them on your own time, they’ll be listed individually, as well.
Fallout 4 All Bobblehead Locations
Right, below is the definitive list pf the locations of all the Bobbleheads in the game. Use it to tick off the ones you might be missing from your collection.
Strength Bobblehead
Description: “It’s essential to give your arguments impact.”
Effect: **** Your Strength has been permanently increased by 1.
Location: You can find this Bobblehead in the Mass Fusion building, north-east of Diamond City. Unlike most Bobbleheads, this one is in a rather humorous location as it is resting inside the building, on top of a metal statue at the very top of the building. You will need to ascend to the top floor and search the metal ledges up there to find it. Note that with a scope, you can easily look up and see it after you enter the building. You will also need to fight your way through several Gunners to retrieve it. Also note that you naturally come through here if you go through the Institute or Brotherhood of Steel main missions.
Perception Bobblehead
Description: “Only through observation will you perceive weakness.”
Effect: Your Perception has been permanently increased by 1.
Location: This is likely the first Bobblehead you will get in the game. It is located in the Museum of Freedom, located on the southern edge of Concord (which is south of your starting location of Sanctuary). You can find this Bobblehead when doing the quest “When Freedom Calls”, as it is located in the same room where you meet Preston and Sturges, on a desk. Very hard to miss.
Endurance Bobblehead
Description: “Always be ready to take one for the team.”
Effect: Your Endurance has been permanently increased by 1.
Location: The Endurance Bobblehead is located in the “Poseidon Energy” building, which is in the south-eastern corner of the map (East of the Quincy Ruins). After getting in the building via one of the master-locked doors (or through the pipes in the water to the south), you will have to fight your way up past the catwalks to the central metal building where you can find this bobblehead on a desk (in a room with a Steamer Trunk, skill magazine, and all sorts of other goodies). Beware of Mirelurks and Raiders!
Charisma Bobblehead
Description: “Nothing says pizzazz like a winning smile.”
Effect: Your Charisma has been permanently increased by 1.
Location: This bobblehead can be a bit hard to ge, mainly due to the fact that you have to do two side-quests before you can access the location that has this bobblehead. First things first: head to the “Cabot House” location north of Goodneighbor (north-east of Diamond City). You can interact with the speaker outside the house and talk your way inside (use the speech check!). Doing this leads to the “Special Delivery” side quest (you can also get this quest by talking to a ghoul named Edward Deegan at Bunker Hill),which will have you traveling north to “Parsons State Insane Asylum”. Remember this location, as we’ll be coming back to it.
After you complete that first side quest, you’ll need to complete a second called “Emogene Takes a Lover” , which will take you to Goodneighbor and then Charles View Amphitheater. Finish that quest up and you’ll get a third quest called “The Secret of Cabot House” . You will gain access to Parsons State Insane Asylum in this quest. Follow Jack throughout this quest and once you reach his office check out the desk for the Charisma Bobblehead.
Intelligence Bobblehead
Description: “It takes the smartest individuals to realize there’s always more to learn.”
Effect: Your Intelligence has been permanently increased by 1.
Location: You can find this bobblehead at the Boston Public Library, which is just east of Diamond City and should be retrieved shortly after you get to Diamond City. To get inside the Library you’ll need to either pick the door or pass an easy speech check, but once you are in you can find it past the Protectron barrier to the north, in a computer room sitting on a console.
Agility Bobblehead
Description: “Never be afraid to dodge the sensitive issues.”
Effect: Your Agility has been permanently increased by 1.
Location: This bobblehead is a long ways away from your starting location, and is found in the south-eastern corner of the map. Specifically, in the “Wreck of the FMS Northern Star”, which is a destroyed ship in the southeast corner. You will need to make your way onto the deck of the ship and fight your way to the bow (past several Raiders), where you can find this bobblehead just sitting on the bow of the ship. It looks like Fallout Boy is balancing on the edge of the ship!
Luck Bobblehead
Description: “There’s only one way to give 110%.”
Effect: Your Luck has been permanently increased by 1.
Location: Spectacle Island is where you’ll want to go if you are looking for the Luck Bobblehead, but it also isn’t a place you’d visit without trying to. Spectacle Island is the island to the far east on the map, and requires a bit of swimming to reach (so bring some Rad-X or a Hazmat Suit). Once you are there, kill off the Mirelurks as you head south and explore the wrecked ship you find to locate the Luck Bobblehead. Be ready for a fight with a Mirelurk Queen afterwards though!
Barter Bobblehead
Description: “Never forget to walk away with more than you’ve brought.”
Effect: Prices are permanently 5% better.
Location: To get this bobblehead make your way to Longneck Lukowski’s Cannery, which is south of the Museum of Witchcraft in the upper north-east portion of the map (along the coast). Once you get in, you’ll see a man named Theodore arguing with Trader Rylee. Intervening in their discussion afterwards leads to the “Mystery Meat” quest. Fortunately, you don’t need to bother with this. Instead head to the back and follow the catwalks here to the north-east corner (you will have to wind your way up there) and up in the corner room you find you can find a Tales of a Junktown Vendor magazine and the Barter Bobblehead.
Big Guns Bobblehead
Description: “The best way to win an argument is to be the loudest.”
Effect: Permanently gain +25% critical damage with heavy weapons.
Location: The Big Guns bobblehead is located inside of Vault 95, which you can find on the north-east edge of The Glowing Sea (or south-west of Diamond City quite a ways). It is completely taken over by Gunners, so be ready to fight your way inside (including taking out their Assaultrons). Once you are inside, clear out the initial resistance and head right, which leads down into the Gunner’s sleeping area. You will find this bobblehead sitting in this area, on top of a radio in their “living room”.
Energy Weapons Bobblehead
Description: “Arrive at peaceful resolutions by using superior firepower.”
Effect: Permanently gain +25% critical damage with energy weapons.
Location: Unlike most bobbleheads, you will need to advance the main story a bit to get this one. This bobblehead is located at Fort Hagen, which is south of Sanctuary in the “central western” area of the map. However, you cannot reach this bobblehead until you start the main quest “Reunions” , so for a much more detailed guide to this area and this bobblehead, refer to that quest in the guide.
Explosives Bobblehead
Description: “The best way to solve a problem is to make it go away.”
Effect: Permanently gain +15% damage with explosives.
Location: This bobblehead is located at Saugus Ironworks, which is located in the north-east portion of the map (east of the Malden Ruins). You may want to consider getting the quest “Out of the Fire” first, but it isn’t really necessary. You will have to fight your way through “Forged” enemies here (they are just fancy-named Raiders, to be honest). Clear out the inside and locate the “Saugus Blast Furnace”. You will have to kill a named-enemy named Slag here. Once you kill him off, check the area behind where he was standing for a Steamer Trunk and to the left of that, up on a console, the Explosives Bobblehead.
Lock Picking Bobblehead
Description: “Always strive for the unobtainable.”
Effect: Lockpicking is permanently easier.
Location: This bobblehead is located in Pickman’s Gallery, which is north-east of Goodneighbor/Diamond City. Head inside the demented gallery and you’ll need to make your way down to the basement. If you can pick the locked door [Master] on the first floor you can reach the sewers directly, but if not you’ll have to head to the top floor and search for a broken wall that will lead you to the sewers. Fight your way forwards (watching out for Raiders and traps) until you find Pickman. He is about to get jumped, so help him out. Once you are done talking to Pickman, search the floor in this room near the pillars to find the bobblehead (it is by the burning garbage can).
Medicine Bobblehead
Description: “The smart man knows a bandage only hides his wounds.”
Effect: Stimpacks permanently heal 10% more damage.
Location: The Medicine Bobblehead is located inside of Vault 81, which is located to the west of Diamond City (fairly easy to find). You will need to either pay (with Fusion Cores) or talk your way into the vault and even then you won’t be able to get to this bobblehead immediately. Instead, you will need to do a few things for the dwellers of the vault and then you will uncover the “Hole in the Wall” quest, which leads to this bobblehead (and the companion Curie). You can find the bobblehead on a desk in the room where Curie is trapped.
Melee Bobblehead
Description: “It’s important to do business up close and personal.”
Effect: Permanently gain +25% critical damage with melee weapons.
Location: This bobblehead is located at Trinity Tower, at the very top inside of a locked cage, where the Super Mutant (and possible travelling companion) Strong is incarcerated. Ascend the tower and kill the Super Mutants there (led by a unique specimen named Fist) to reach the top (completing the quest “Curtain Call” along the way) to claim your bobblehead.
Repair Bobblehead
Description: “Why go down with the ship when you can try to fix it?”
Effect: Fusion cores permanently last 10% longer.
Location: The Repair Bobblehead is located at the Corvega Assembly Plant, which is itself located south of Lexington, south-east of Sanctuary. The bobblehead itself is outside the plant, along the catwalks above the building. Follow the stairs up (way up, leading south-west) and around the blue globe, leading up to a dead end where you can find this bobblehead sitting on a crate at the end (near a Toolbox and lantern, so it is easy to spot!).
Science Bobblehead
Description: “Always be prepared to explain the hows and the whys.”
Effect: Get one extra guess when hacking terminals.
Location: You can find this bobblehead at Malden Middle School, which is located in the ruined city of Malden. If you head south-east from Sanctuary you’ll find the (ruined) city of Lexington. From there you can head north-east (past the water) and head past Covenant to find the Malden Ruins. Locate the middle school from there and enter into the basement. Once you do this, you will find out (slight spoils!) that you have actually found Vault 75. This actually starts a quest called “Vault 75” , which following will also get you this bobblehead. The area is filled with Gunners, whom you’ll have to kill in order to obtain a “Vault 75 Lab Access Card”, then a “Vault 75 Admin Access Card”. In the room with the Gunners who have the latter card (which requires the previous card to reach) you’ll find the Science Bobblehead, on a desk near a window overlooking the training area.
Small Guns Bobblehead
Description: “Because it’s easier to have courage from a safe distance away.”
Effect: Permanently gain +25% critical damage with ballistic guns.
Location: This is another bobblehead you will have to fight your way to! This one can be found at Gunners Plaza, inside of the building. Gunners Plaza is located south of Diamond City, and south of the “Milton General Hospital” and “West Roxbury Station” locations. As the name implies, the outside and inside of this area is full of Gunners, so be ready to wipe them out. Notably, once you are inside you can kill some named Gunners for the “GNN Recording Room Key” which you can use to access a central recording room that has the Gunner Commander in it (you can alternately pick the [Master] lock). Take him out and loot the room for this bobblehead.
Sneak Bobblehead
Description: “The safest distance between two points is a shadowy line.”
Effect: You are permanently 10% harder to detect.
Location: This bobblehead is a trip to get. Literally. You can find it at Dunwich Borers, which is a giant quarry located in the northeast portion of the map (west of the Museum of Witchcraft). You have to kill off the Raiders outside the quarry and then head north at the bottom and enter the quarry itself. Here you will fight your way through a number of Raiders until you reach “Station 4”, where you can find this bobblehead just to the left of Station 4’s terminal. Now to just get out of the mist without falling victim to the Ghouls lurking around…
Speech Bobblehead
Description: “Let your words be your weapon.”
Effect: All vendors permanently have 100 more caps for bartering.
Location: There aren’t too many of these, but the Speech Bobblehead is actually tied into the Main Quest Missions. This particular one is tied into the mission “Unlikely Valentine” , which takes you to Vault 114, to the east of Diamond City. It is in your best interest to tie these two things together and just plan to get this bobblehead once you do the Unlikely Valentine quest (which can honestly be done early in the game’s story, depending on how fast you want to rush the main story missions of course).
Unarmed Bobblehead
Description: “When words fail, there’s always fists.”
Effect: Permanently gain +25% critical damage with unarmed attacks.
Location: This bobblehead is located at the Atom Cats garage and is one of the easier bobbleheads to get (since the Atom Cats aren’t out to kill you like most things in this game!). That being said, the Atom Cats Garage is in the far south-east corner of the map, so it is quite a ways away from Sanctuary. It is out on a small peninsula, northeast of the Quincy Ruins but south-east of University Point (it has the junkyard icon). Once you get there, search the warehouse in the back to find this bobblehead chilling on top of a car.
How to use Bobbleheads in Fallout 4
Using bobbleheads is straightforward. Once you discover a Bobblehead all you need to do is approach it and interact with it, typically by pressing a button (e.g., ‘E’ on PC, ‘X’ on PlayStation, or ‘A’ on Xbox). Upon interaction, a notification will pop up informing you of the specific benefit you’ve gained, and the Bobblehead will be added to your inventory under the “Misc” category.
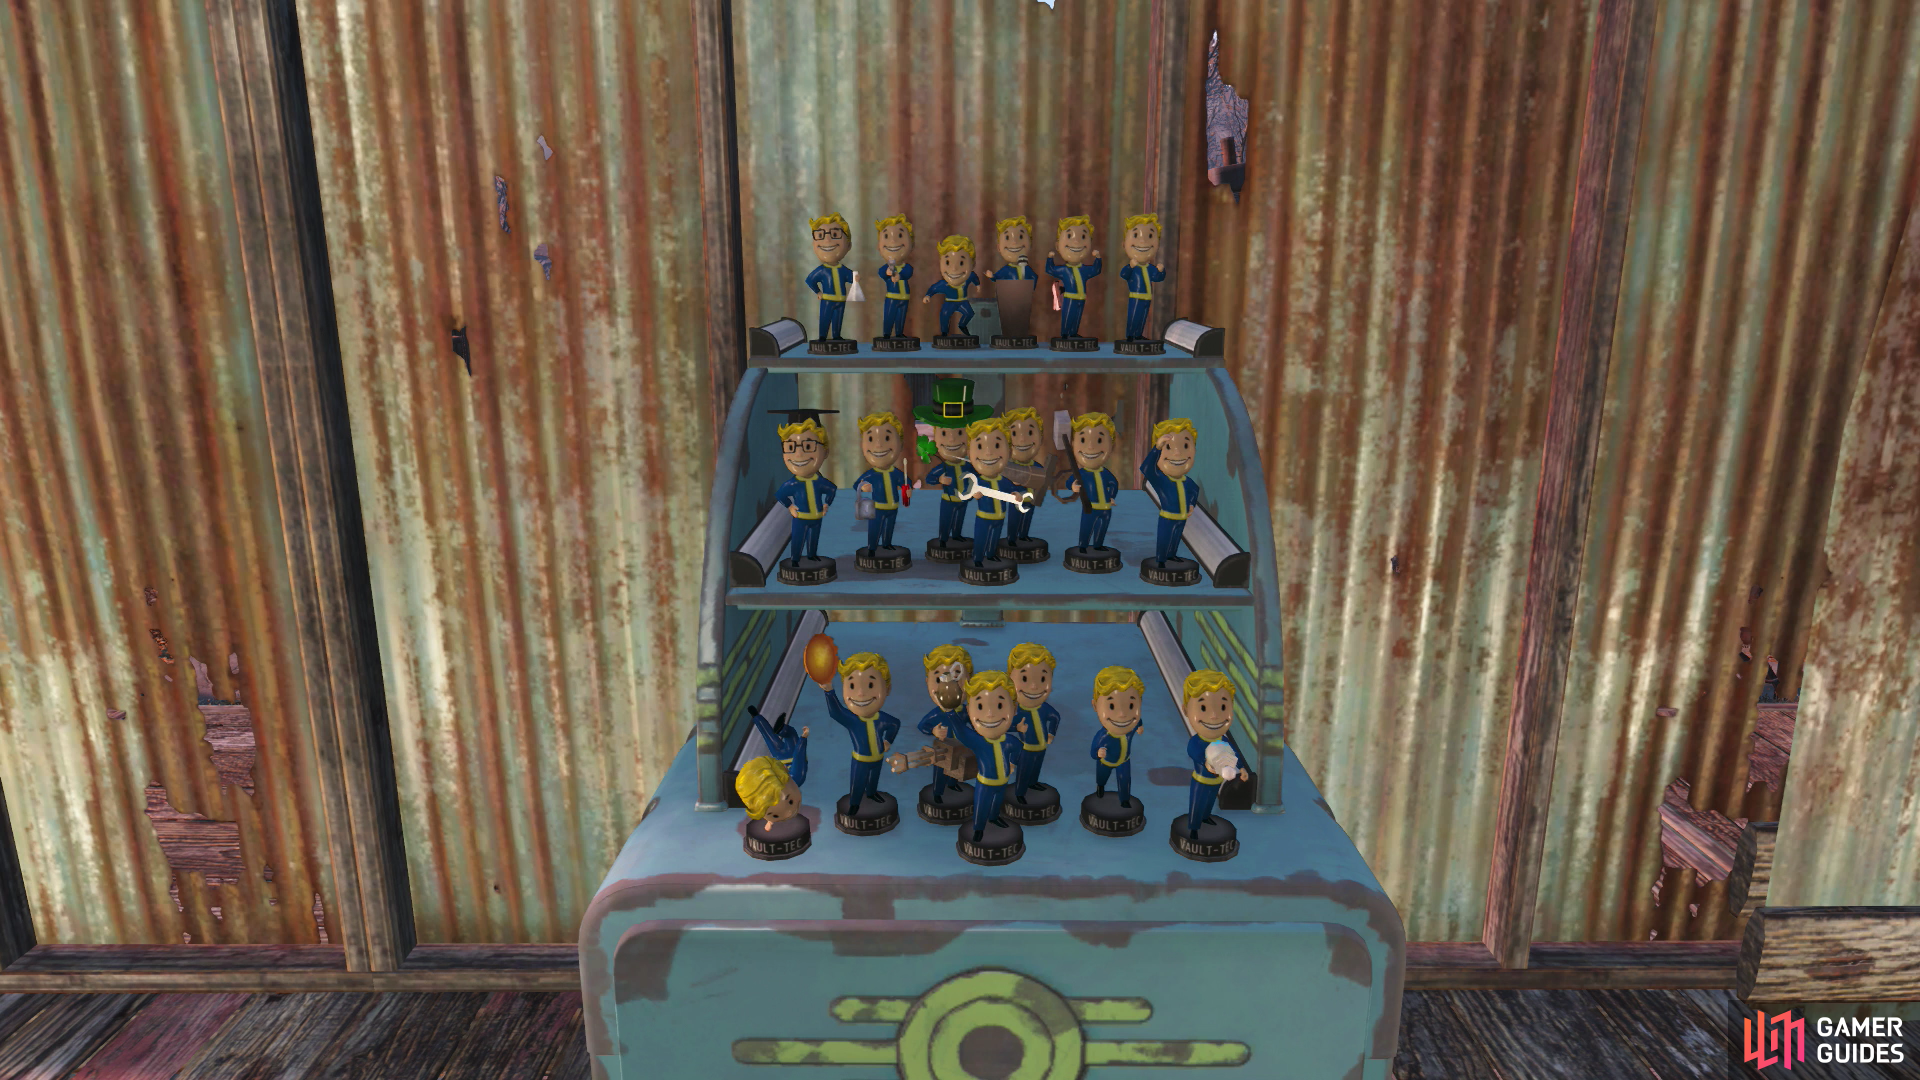
If you wish, you can also display collected Bobbleheads on Bobblehead stands, which can be crafted in your settlements. This allows you to showcase your collection while adding a decorative touch to your home base.
No Comments