Guarding the Light
Defeat the Unversed as usual when you enter a new world. The Wild Bruisers are pretty tough especially against Magnet and Zero Gravity spells, beat them with good combos and strong spells. After the scene open the nearby chest for an Abounding Crystal then head north. Empty the chests for the Never Land Map and a Hi-Potion and utilize the save point and shop. Go west to the Indian Camp and bounce off the trampoline then hit the highest point on the totem pole to make a Thundaga fall.
Head back to the Gully and go north to the Jungle Clearing. Open the chest here for a Hi-Potion then move to the next area. As you tackle the Unversed, take a swim to find a chest with an Elixir on an island and another with a Dark Haze in an alcove to the northeast. Leave at the southern exit and make your way to the Rainbow Falls: Base. Grab the two treasures for a Megalixir and Zero Graviga and jump up and Air Slide to reach the Rainbow Sticker.
Return to the Mermaid Lagoon and go through the northern exit to the Cliff Path. Open the chest at the bottom for a Hi-Potion and destroy the rocks that block your path. Defeat more Unversed and destroy the rock formations to unveil a chest with a Firaga inside. Reach the top platform for another chest with a Mega-Potion then jump and Air Glide through the hole in the cliff. Be cautious as you fight off the Unversed and open the chest for a Geo Impact.
Return to the Cliff Path and go north to the Cove where you will find a Save Point and two chests with an Ether and Hi-Potion inside. Continue north to the Skull Rock: Entrance via the row boat. Run around the corner without going north to trigger the scene, and open the chest for a Panacea . Climb to the top of the area and ignore the false chest as you enter the Skull Rock: Cavern. Open the chest for a Megalixir then Air Slide across to two more containing Ars Solum and a Chaos Crystal . Exit here for the Prize Pods and a Chip Sticker then go back inside and jump down to initiate the scene and another boss fight.
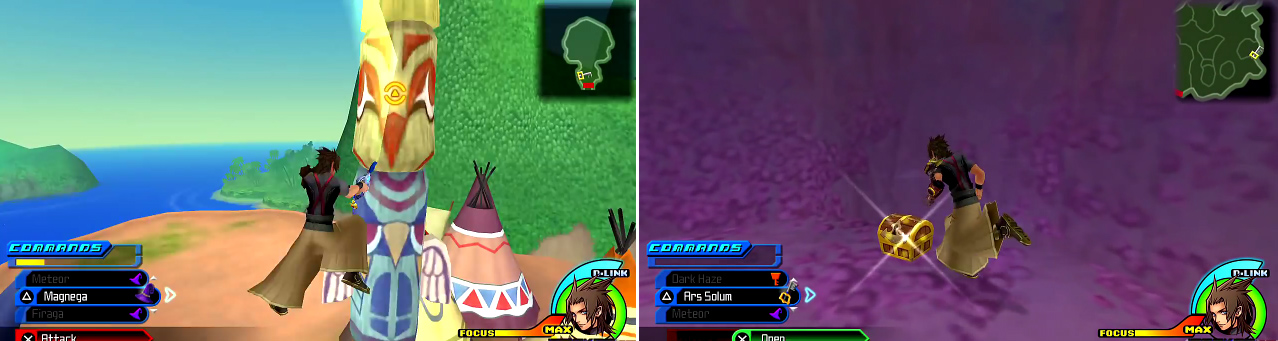
Bounce on the trampoline and hit the totem pole (left) to get Thundaga to drop. Search across the water (right) for chests spread around.
BOSS - Peter Pan
Peter Pan can do some quick damage and he is rather evasive with his flight but you can just sit and wait for him to come to you. Plant some Mine Square or Mine Shields so that, when Peter comes down to attack you, he is hit, leaving himself wide open for easy combos. A D-Link with Aqua will also do the trick if you leveled her up twice since she will have Mine Square then. You only need to drain half of Peter’s HP to win this fight.
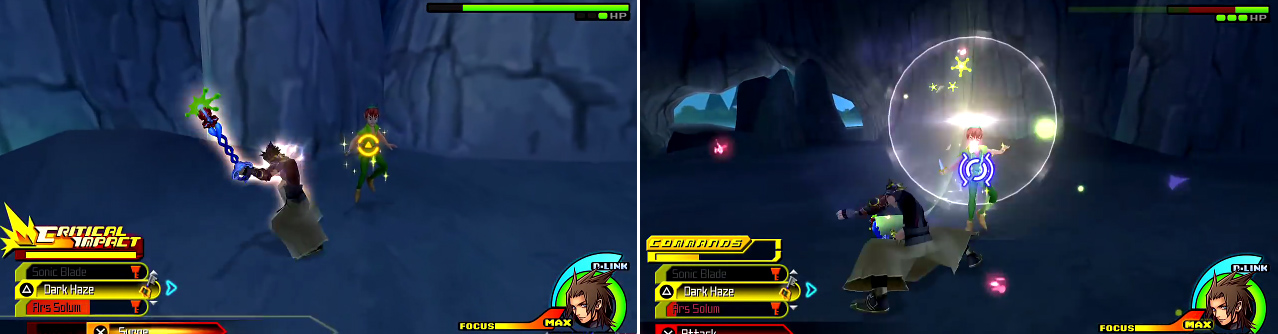
You can hit Peter with strong attacks like Dark Haze and he will go down quickly. You only need to take his HP down to half.
Prizes
| Prize Category | Name |
|---|---|
| Dimension Link | Peter Pan |
| Command Style | Blade Charge |
As you leave the area you will be summoned back in, so turn around and help out the little ones. Defeat Jellyshades until the scene triggers, one that will help connect the story line.
Prizes
| Prize Category | Name |
|---|---|
| Power Up | Deck Capacity +1 |
| Keyblade | Pixie Petal |
| Keyblade | Ends of the Earth |
| Command Board | Never Land |
When you finally regain control of Terra, head back to Never Land via the Gully entrance. Go north and then enter Peter’s Hideout via the tree. Open the two chests in the back for Mega Magic Recipe and a Shimmering Crystal , then jump up to the Dewey Sticker . Head out to the World Map and go to the Badlands.
Unversed Mission - Element Cluster
Location : Indian Camp
Reward : Voltage Stack Command
1 Star: 0-39
2 Star: 40-69
3 Star: 70+
The objective here is to hit the Element Cluster with an element corresponding to the color of the middle pillar: Yellow for Thunder, Red for Fire, and Blue for Blizzard. Thus, the best way to do this is stock up on Thunder Surge, Fire Surge, and use a Snow Bear to trigger the Diamond Dust Command Style to attack the Blue (just don’t trigger the Finisher so you don’t have to re-apply).

 Sign up
No Comments