
How to find and rescue Miley in Leysha’s second scene (Scene 03 - The Loft) in Vampire the Masquerade: Swansong.
During Leysha’s second scene (Scene 03 - The Loft) your main goal is to find out what happened to the Prince’s childe, Miley, and rescue her, if possible. Of course, this also requires you to infiltrate and investigate the site where the alliance between the Hartford Chantry and the Prince of Boston was celebrated… perhaps prematurely, and certainly ill-fatedly.
Which Container is Miley In?
To rescue Miley, you’ll need to reach the balcony, talk to Agent Eister, and opt to take container KI2 down.
If you want information about how to properly deduce this or actually do the legwork required to rescue Miley, you’ll find all that below.
How to Find Miley
You’ll have to progress through most of the scene to find Miley, but you can find various clues and intel along the way that’ll help you actually determine what happened to Miley and where she is.
After the intro conversation with Halsey, Obfuscate to copy the uniform of a Homicide Officer, pass through the police tape to enter the second room and get through the first confrontation with Halsey. Check out the link for more information about how to win the series of three confrontations you’ll have with Halsey, all of which must be dealt with en route to Miley.
Once done, go through a door to the loft proper and turn right, passing through the living room where you’ll be treated to a scene of some cops and feds divvying up the crime scene. Continue forward and when you reach a fork turn right down a hallway, where you’ll have your second confrontation with Halsey.
To your right is the Safe Room - Bathroom. Head on inside and search a handbag near the sink and investigate a letter inside, near a cigar. Read the letter, after which you’ll be able to take it, acquiring Miley’s Speech and keeping it out of the hands of dangerous, inquisitive mortals. While getting your hands on this intel comes highly recommended, you can also note the wine spilled on the handbag and the cigar itself. These aren’t essential clues for finding Miley, but if you take the time to scour the loft they could help narrow down your search.
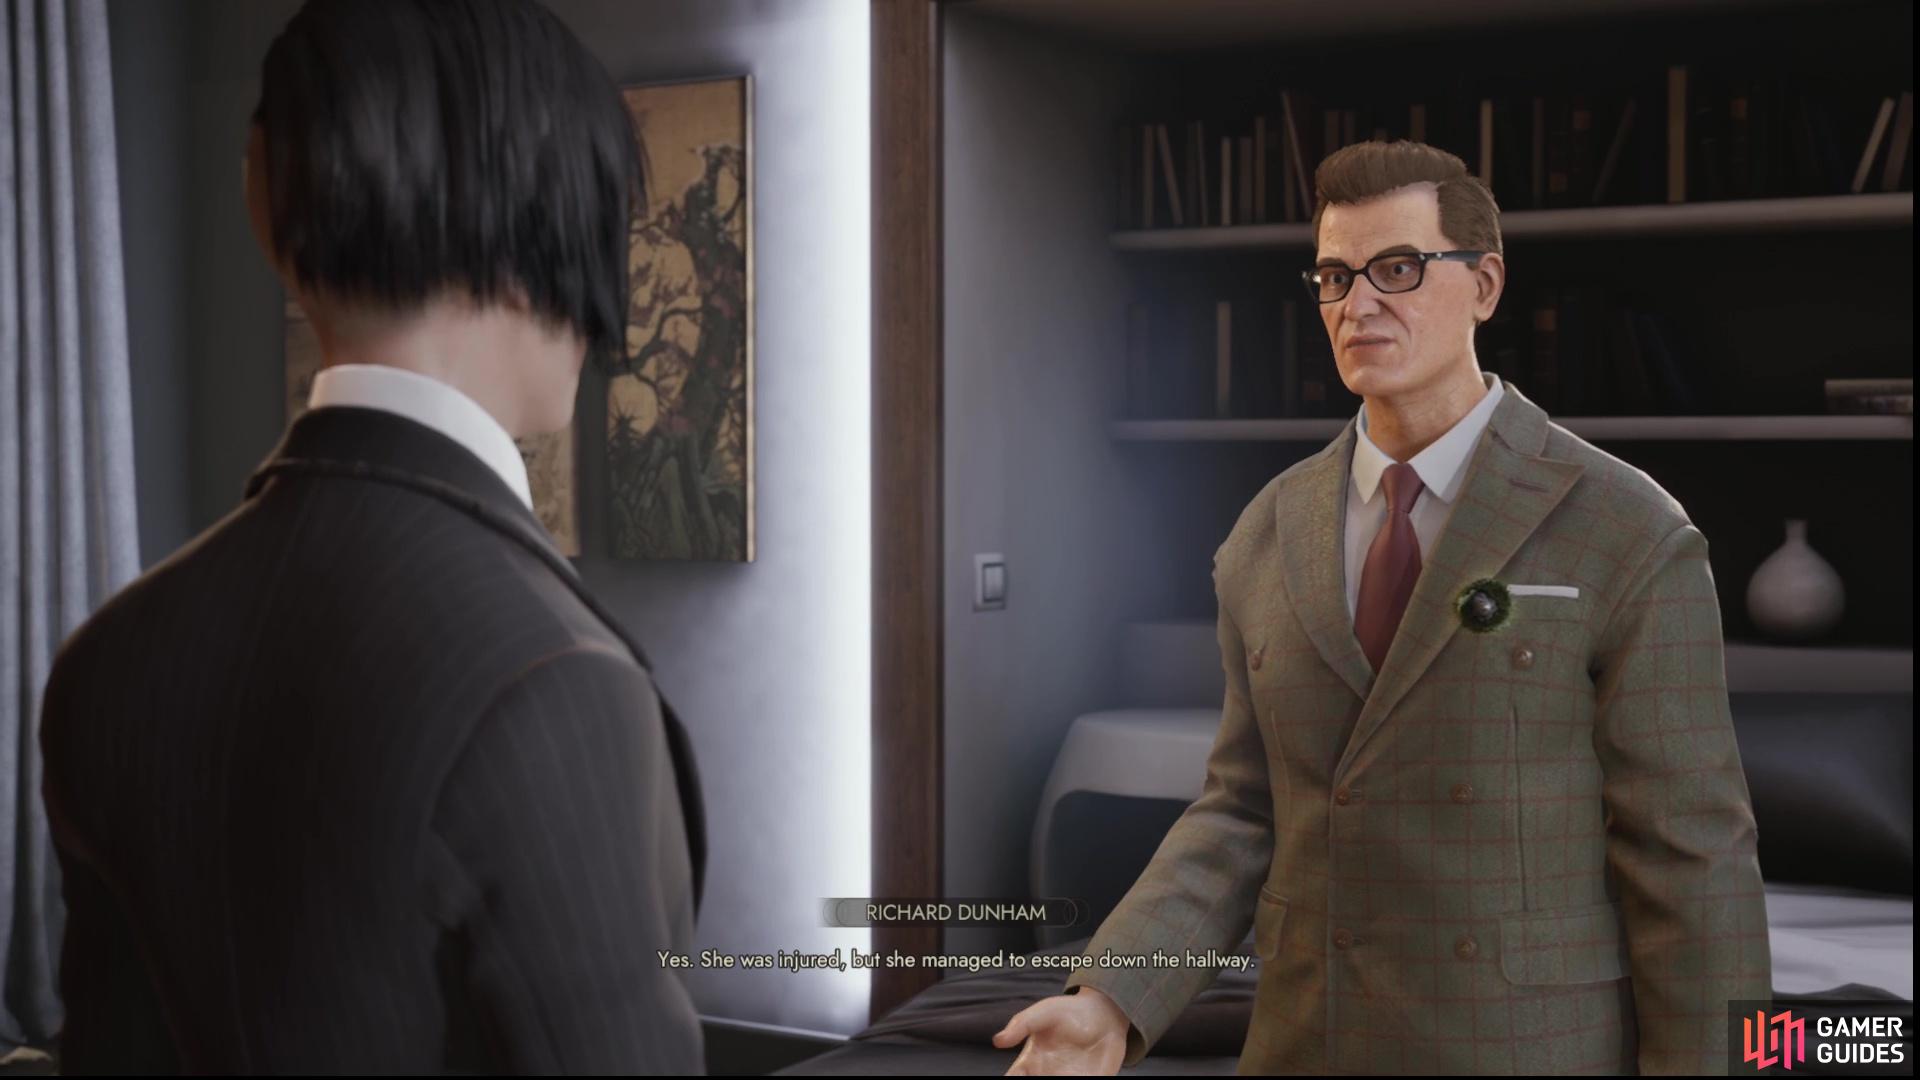
(1 of 3) Win the confrontation with Richard and he’ll give you information about Miley.
Next, through a door to the left to reach the kitchen. If you search the doorway between the kitchen and the wine room in the back you’ll find a chalk outline of a body with the note “KI2” inside the outline. Worth keeping in mind. Talk to Officer Opuedo (he can be found standing nearby in the kitchen), then use Obscucate to copy a Forensics Specialist uniform. Change in the Safe Room - Bathroom, then cross the police tape just outside the kitchen. Halsey will appear shortly thereafter and guide you into another Safe Room, where the third confrontation with Halsey will occur.
After the third encounter with Halsey, exit the Safe Room - Laundry Room and turn right. Head down the hallway and go through the door to the right. In this room you’ll automatically engage in a confrontation with Richard. Check out the linked page for info on how to win the confrontation with Richard, but winning said confrontation isn’t necessary to rescue Miley. If you do win the confrontation with Richard, he’ll tell you some information about Miley, namely that she ran down the hallway when the attack started, and that she was wounded and captured, but is still nearby.
It’s not much of a stretch to deduce that the chalk outline - KI2 - in the doorway between the kitchen/wine room, which lies down the hall from the room where you found Richard and near the bathroom where you found Miley’s purse, marks where Miley fell. The cigar in the ashtray in Richard’s room also matches the one found in Miley’s purse, which brings matters into even sharper focus.
When you’re done with Richard - for better or worse - go through a hole in the wall to the left, which exits out to the balcony. When you reach the balcony turn left and approach the agent blocking your way forward. Copy his suit to obtain the Government Agent outfit, backtrack to a Safe Room and change into this new outfit, then return to the balcony. You should now gain access to the main part of the balcony.
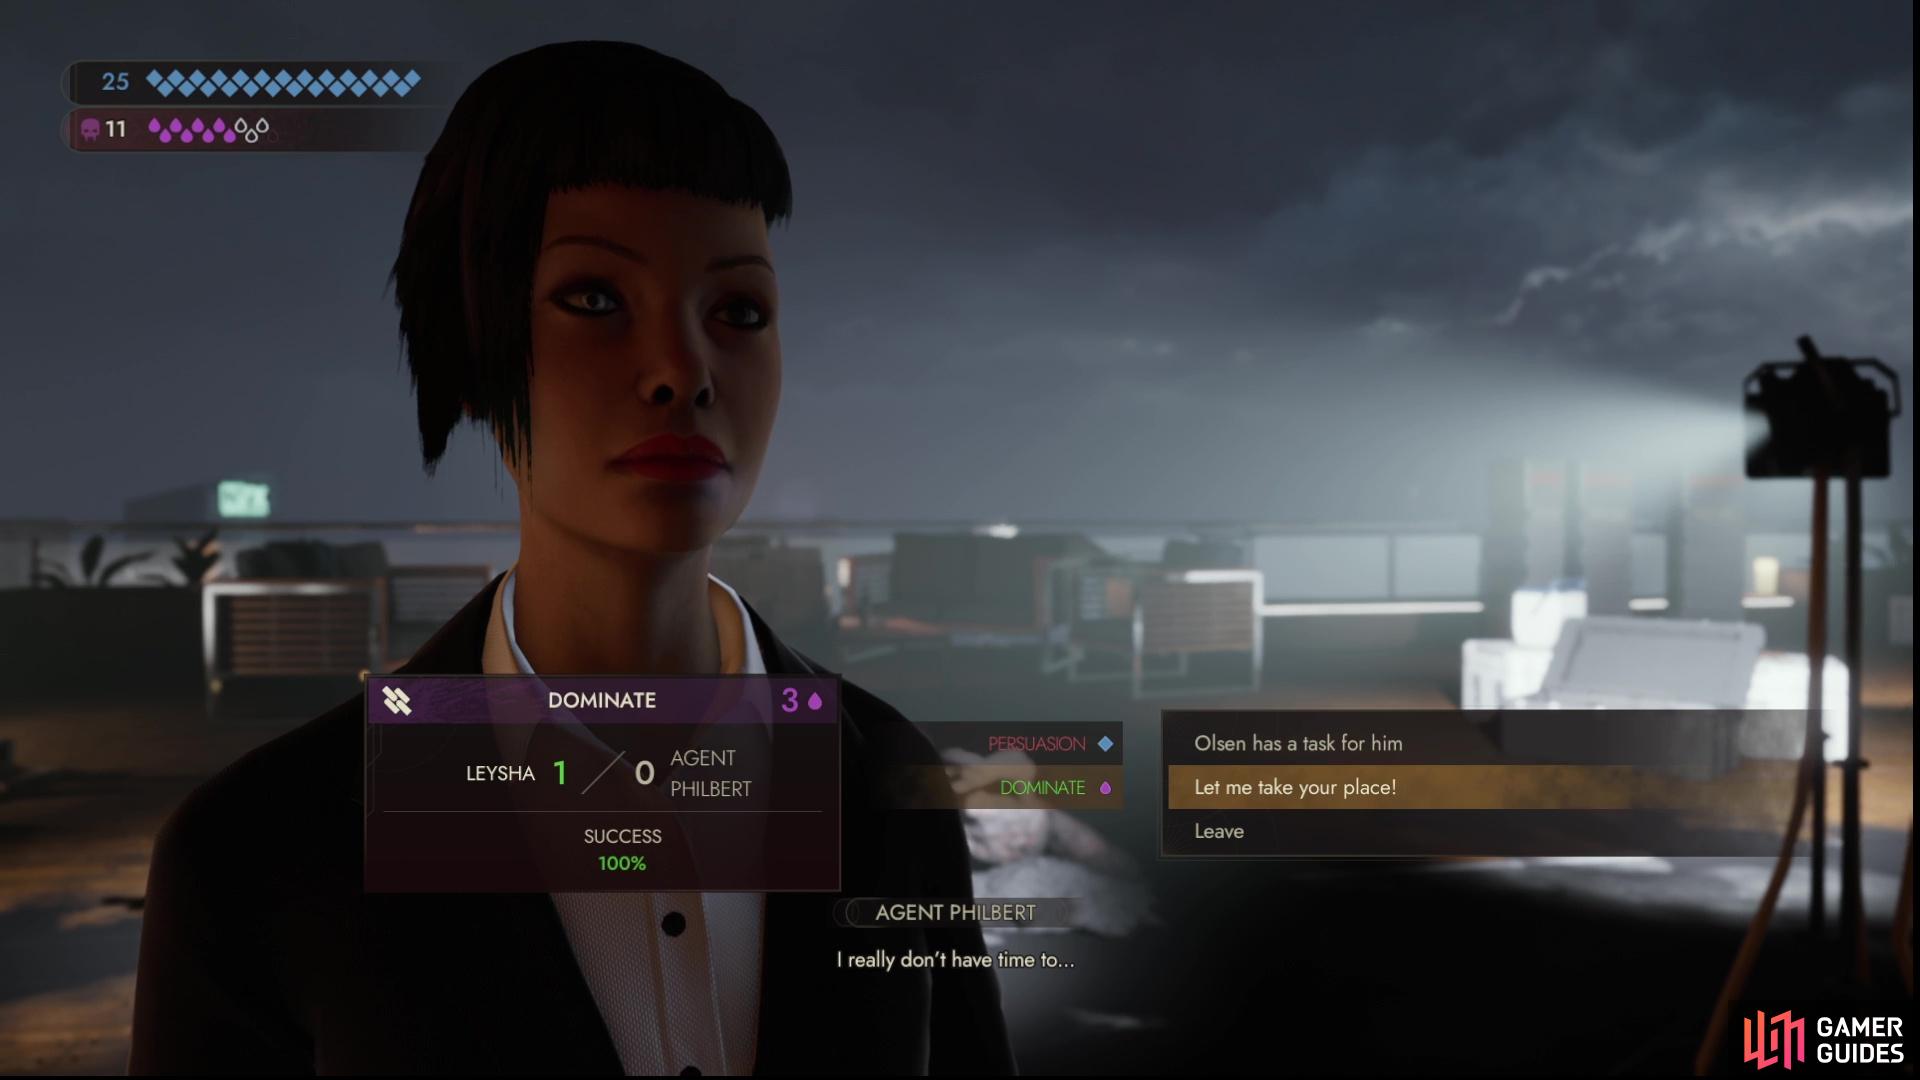
Deal with Agent Philbert using either Persuasion or Domination,
then check out the intel nearby for information about Miley.
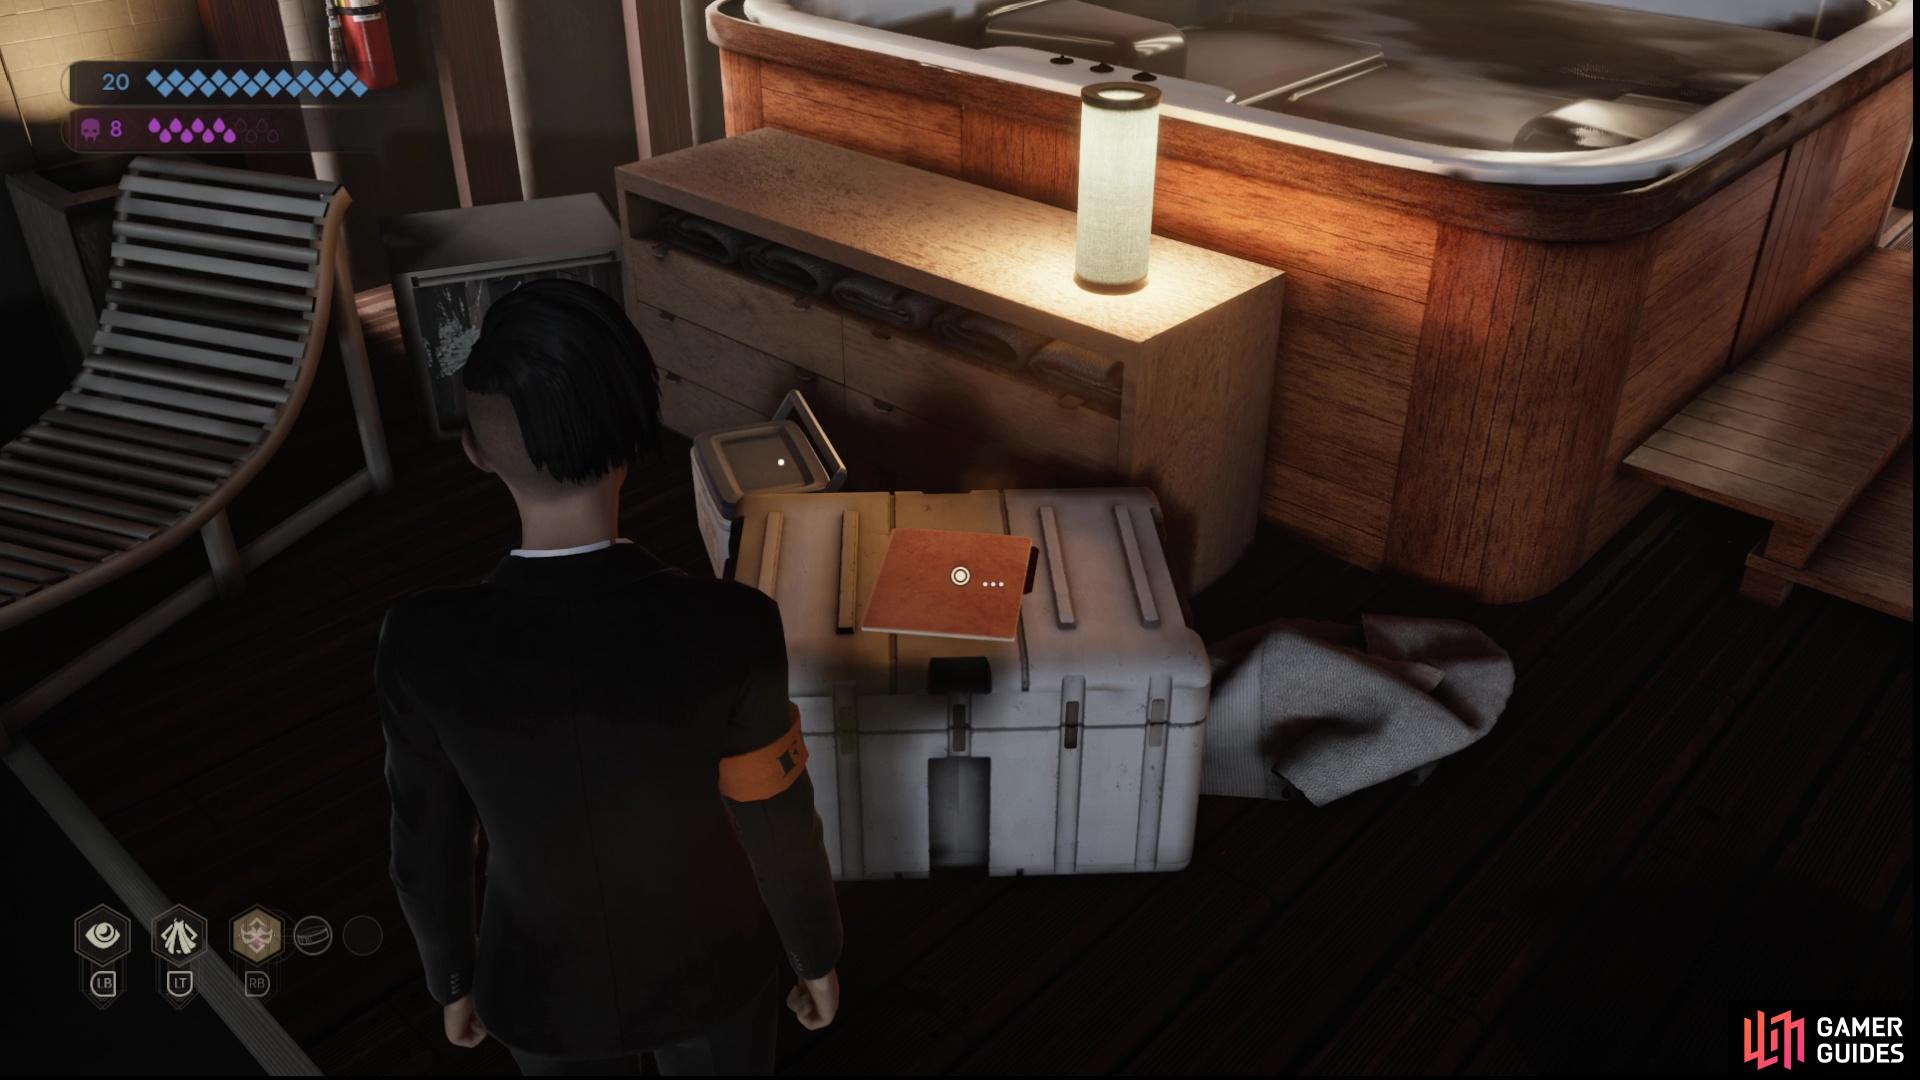
If you want to cash out, rescue Miley and end the mission, you can do so now - just seek out Agent Eister, and opt to take container KI2 down. If you want a bit more intel, examine a paper to the right of the containers on the edge of the balcony and you’ll find notes on the various vampires captured. Finally, you can find and talk to Agent Philbert near the hot tub. Agent Philbert isn’t all that interesting on his own, but he does watch over a nearby folder - the last bit of intel you need to acquire. You won’t be able to claim this intel until you deal with Agent Philbert, which you can achieve by talking to him and using Dominate (3 Hunger). Alternatively, find and talk to Novice Olsen (he can also be found on the balcony) the return to Agent Philbert and you’ll now get the option to pass a Persuasion 2 check. If you manage to pass this check, follow up by saying ”Go see the local police” during a timed dialogue selection to get rid of Agent Philbert. Once he’s gone you can examine the intel he was guarding, which provides more details on Miley, and other vampires at the loft these mortals were targeting.
With all the clues pieced together, it’s pretty clear that Miley is KI2. Just talk to Agent Eister and you can simply tow Miley away, escaping in plain sight.
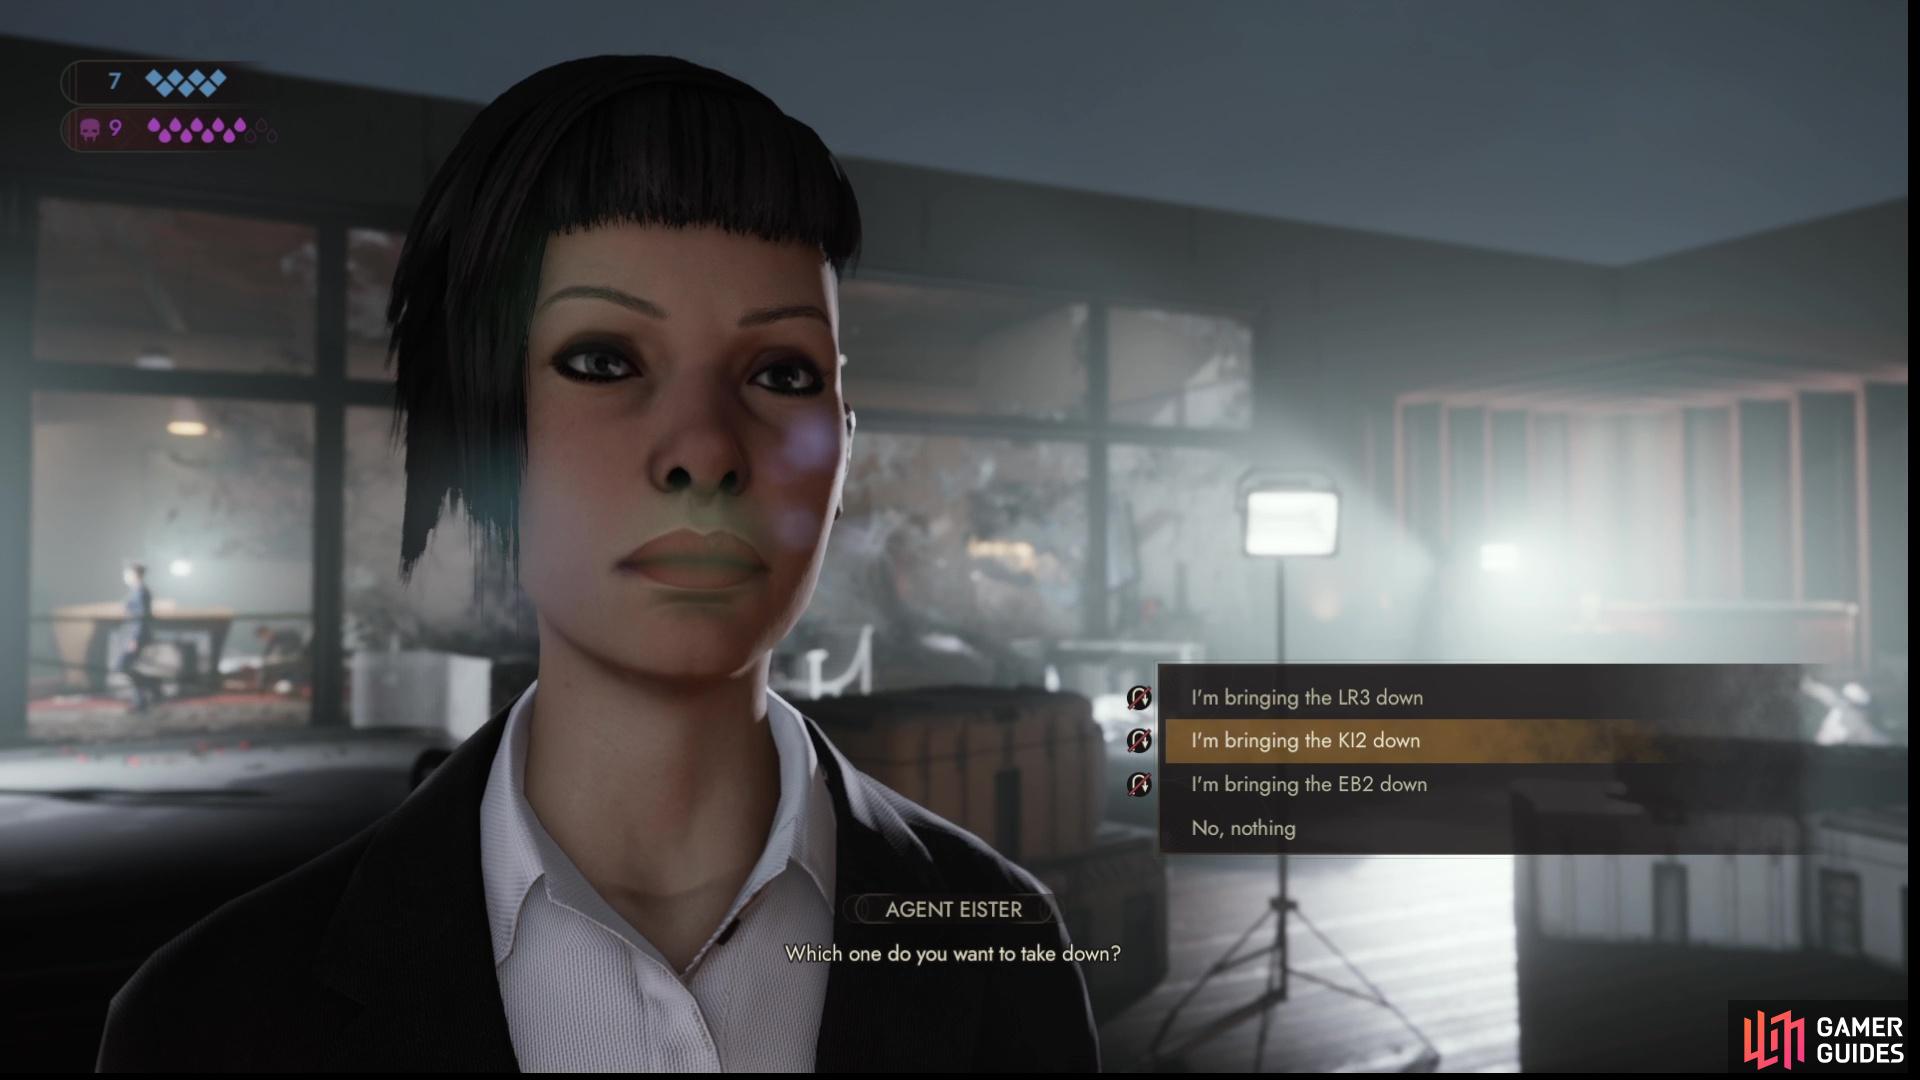
To end the scene and rescue Miley, talk to Agent Eister and take container KI2 with you.
No Comments