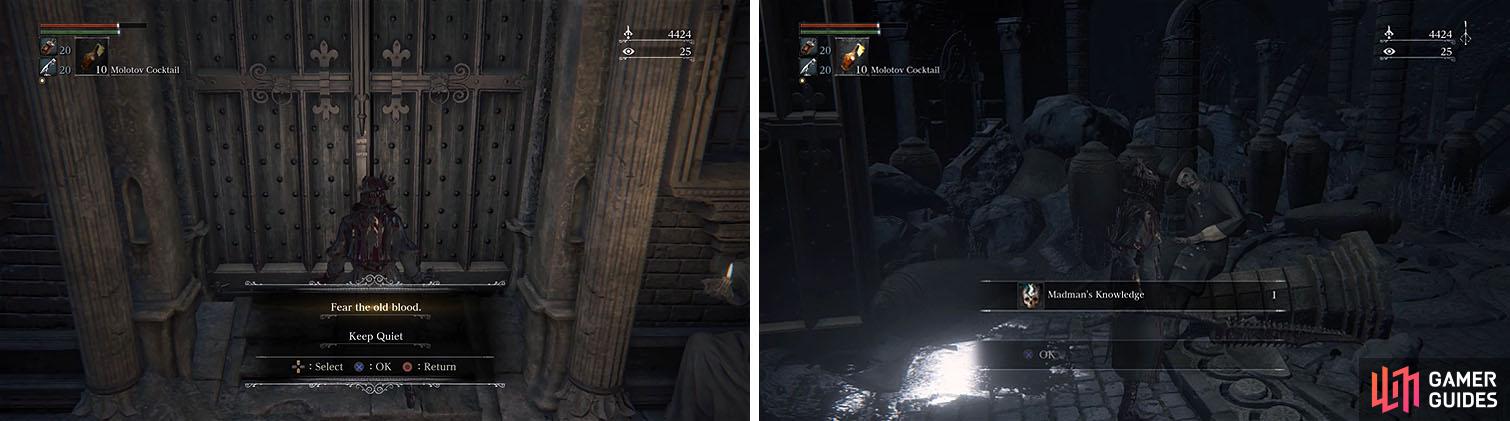
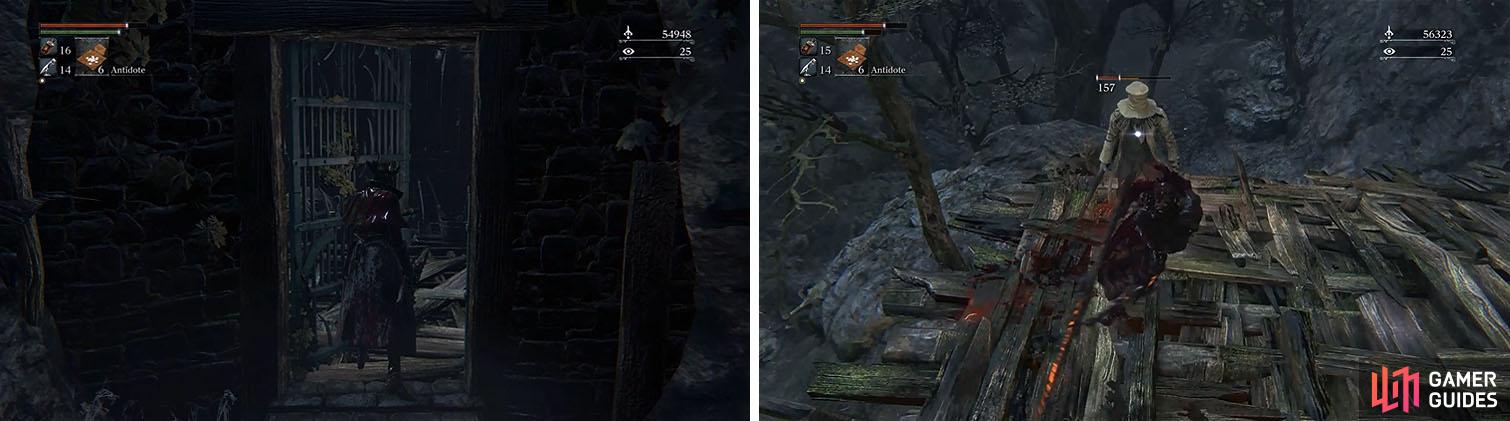
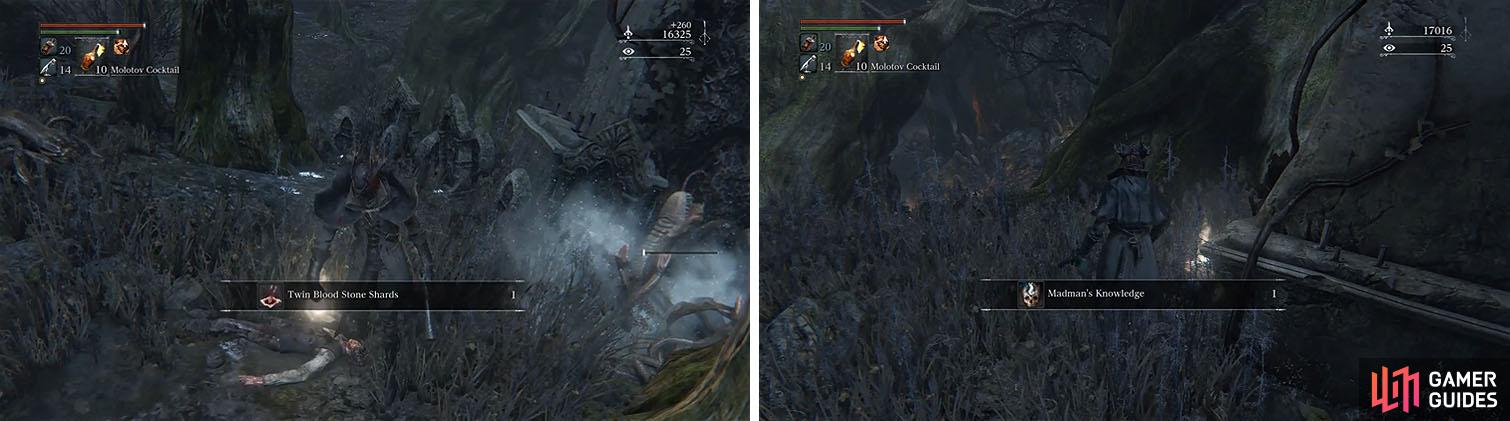
With Vicar Amelia dead you can now return to the locked door in Cathedral Ward, to the left of the graveyard area with two Church Giants, and head past Vileblood Hunter Alfred to the door which you now have the password. Talk to the corpse just inside the door for a Madman’s Knowledge and then follow the spiral staircase down to reach the Forbidden Woods.
Return to the locked door in Cathedral Ward and enter the password to enter the woods.
Head down the staircase, turning right to get a Thick Coldblood (6) by a tree, and then follow the path to a split and head straight across to a Twin Blood Stone Shards in the tall grass. Return to the split to deal with Large Huntsman and Huntsman throwing Oil Urn and then pick up the Pebble x2 before taking the upper path.
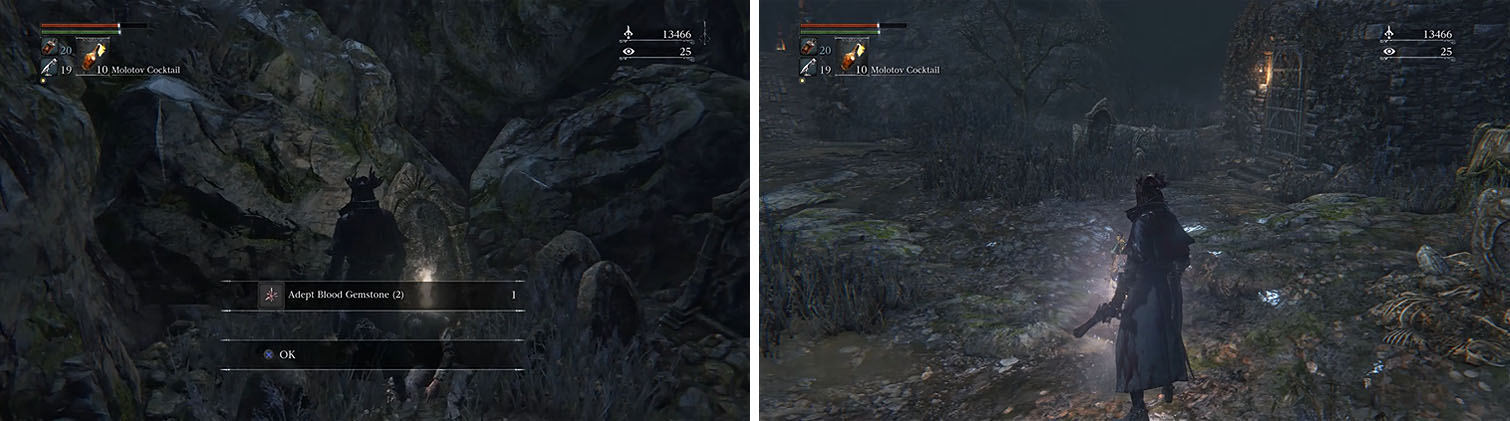
This path is a dead end, but leads to an Executioner guarding an Adept Blood Gemstone (2) and Madman’s Knowledge before returning to the previous split. The path leading down to the lamp has nothing of note, so light the lamp and then kill the two Carrion Crows nearby to check the side of the house for Antidote x3 .
Make sure to check the dead end for some items and then continue down to light the lamp.
Carefully cross the bridge and kill the two Huntsmen, but be careful of the trap trigger on the ground that send a spiked log swinging into your face, and then check the ledge to the left for another Twin Blood Stones Shards .
Backtrack and continue along the path, killing Large Huntsman off to the right, and then head to the ledge overlooking the Huntsmen and Rabid Dogs below. It is best to pull the Rabid Dogs up to you with a Pebble or gunshot to take them out without any additional enemies and then you can now either drop off the ledge and take out the ranged enemies or walk down to deal with the melee enemies.
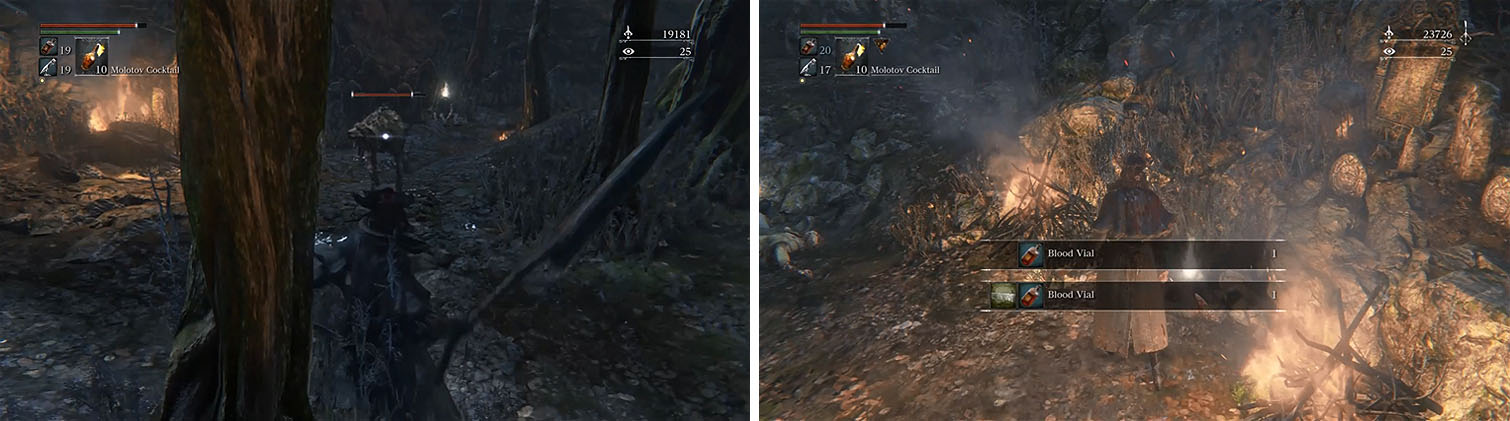
Once the area is clear make sure to check the path to get the Thick Coldblood (6) , Blood Vial x2 , Twin Blood Stone Shards , and Quicksilver Bullets x10 and then hug the right path to find a Wandering Nightmare with three Carrion Crows.
Kill the Rabid Dogs and Huntsmen before picking up the items in the road.
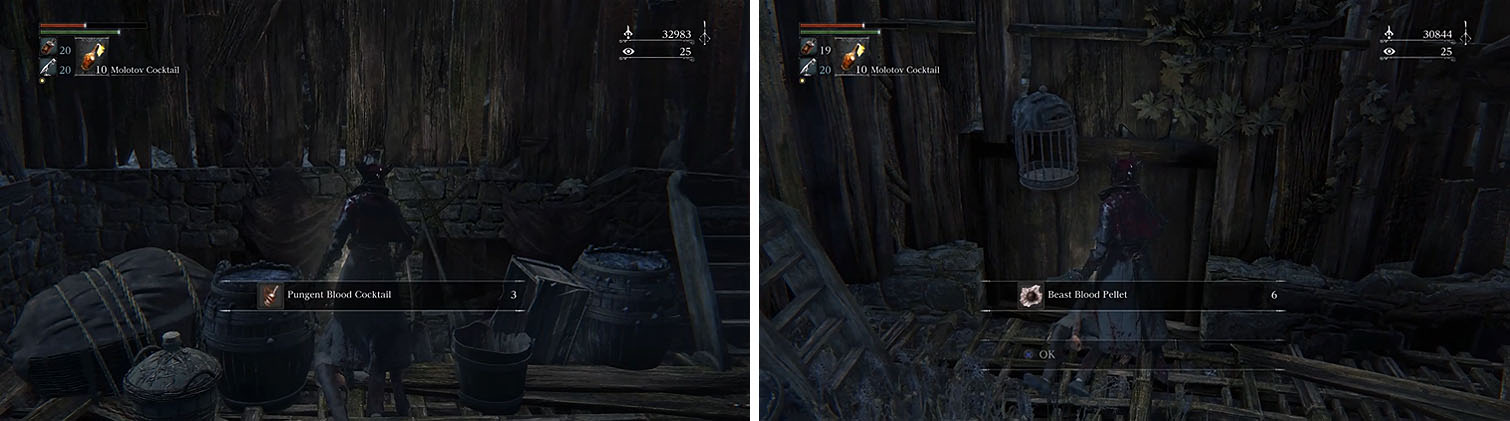
Head back to the split and turn right to pass a flaming horse and fall into the village. Avoid the pit of wood in the middle of the village, as this will drop you into a trap, and kill the three Huntsmen and the Large Huntsman. Turn around to kill two more Huntsmen inside a house, one of which is a Rifleman, and then grab the Pungent Blood Cocktail x4 before falling into the pit in the middle of the village.
The ambush of three Carrion Crows protects a corpse with Antidote x4 , so keep moving to avoid death and then climb back up the ladder. You can now turn left to enter a building in the far corner for the Pungent Blood Cocktail x3 , near the future shortcut, and then cross the area to a small alley near the burning horse to kill a Rifleman and grab the Beast Blood Pellet x6 in the second house.
Grab the item by the shortcut and then make sure to check the small alley for another.
Exit the town toward the gate instead of through the water, grabbing the Blood Vial x5 near the two Huntsmen, and then head through the gate and watch out for the trap on the ground. Head straight up the hill and grab a Thick Coldblood (6) by some tombstones and then take the path behind you to a Large Huntsman near a hut with some additional Beast Blood Pellet x3 .
Backtrack to the village gate and turn left to head up a new path to pick up the Quicksilver Bullets x6 on the ledge and then talk to the door of the nearby building to get the Tonsil Stone from Patches the Spider . If you head toward the gate straight ahead the Huntsman will close the gate and unleash the nearby caged Rabid Dogs, so ignore the gate and turn left to kill the Rabid Dogs while they are caged.
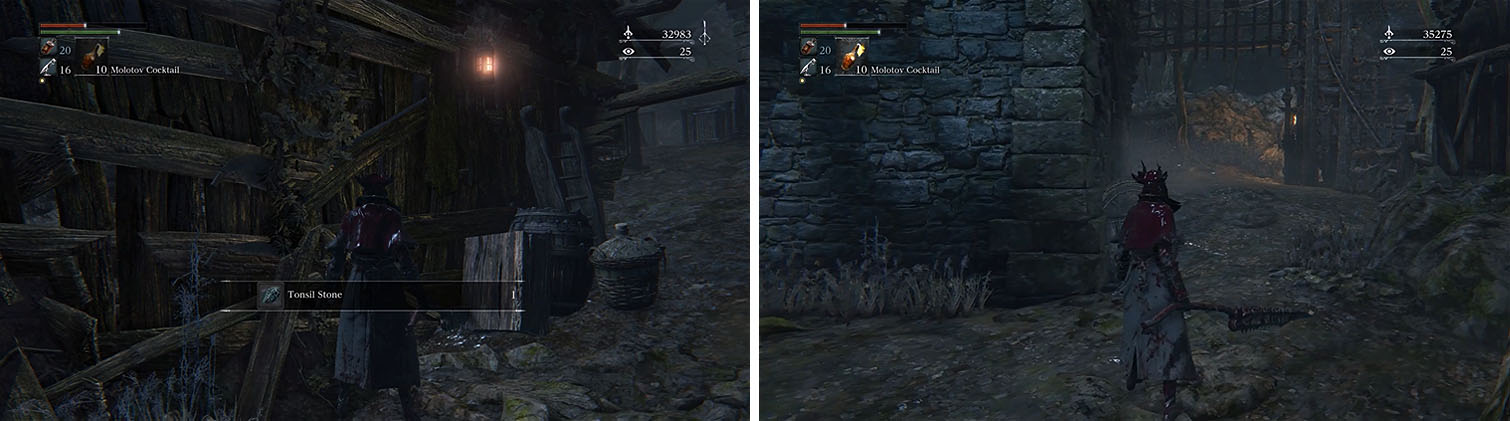
Get the Tonsil Stone from the house and then ignore the gate, heading left to kill the dogs.
Turn right from the cages to reach the back of the building, killing the Carrion Crow, and then climb the ladder to the roof for three more Carrion Crows and the White Church Set . You should equip this for the Poison Resistance and then climb down the ladder and head behind the one empty cages you just passed to find a hidden path.
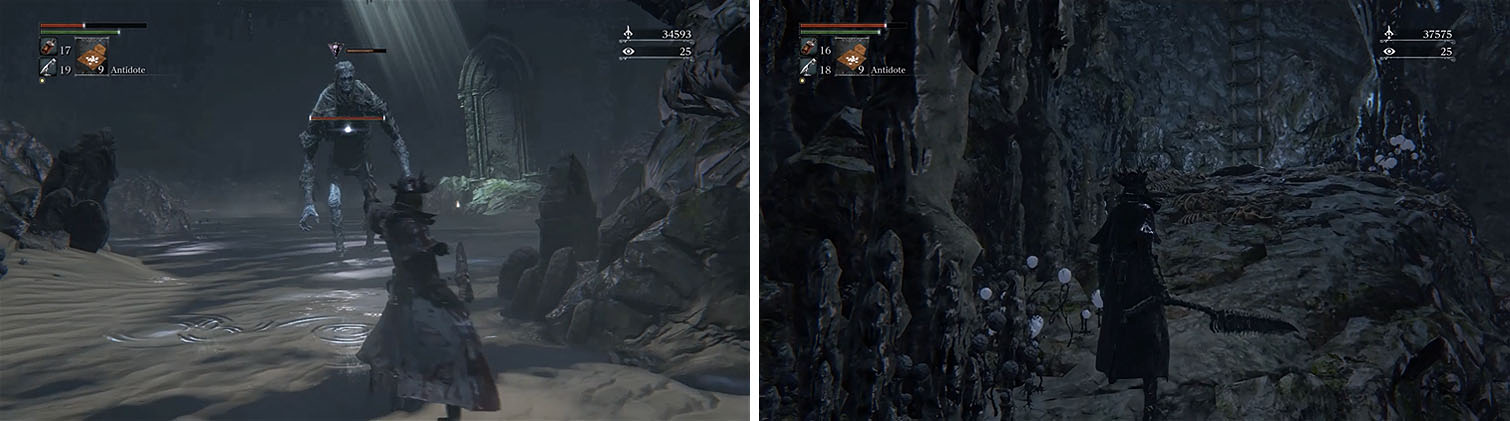
As you enter the cave hop off the left ledge and look under it for an Antidote x2 and then continue through to a cavern. The water here is poisonous and contains three Church Giants and many Parasite Larva, so tread carefully and make sure to equip your Antidotes.
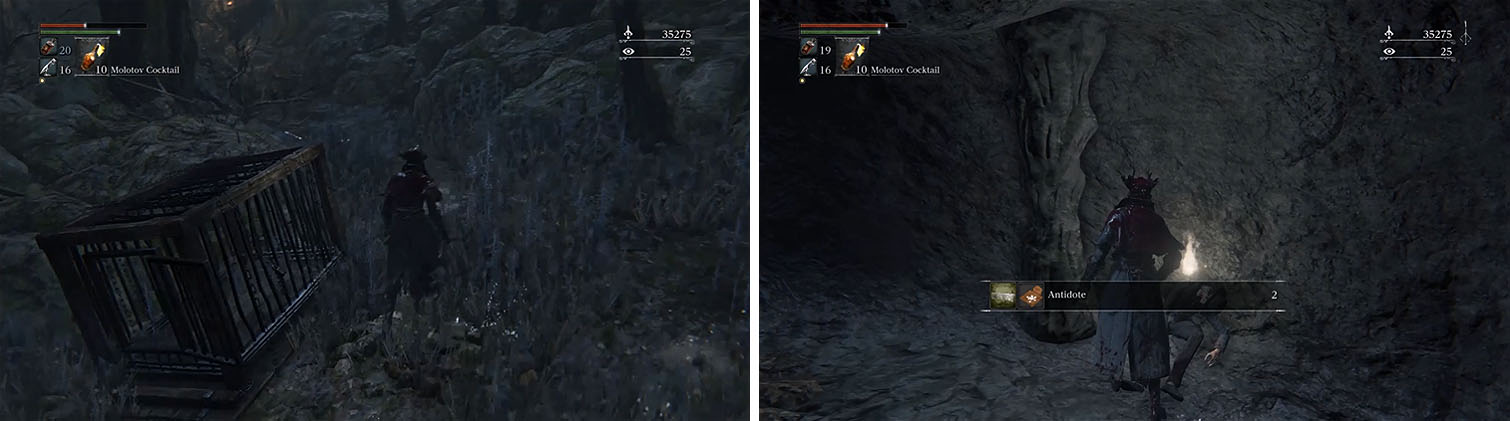
Enter the hidden cave behind the cages and drop to find some Antidotes.
Pull the first Church Giant to the cave opening, which he can not enter, and defeat him before you turn right for a Frenzied Coldblood (7) in the corner. Enter the water and hug the right wall, dealing with three Parasite Larva, to reach the next rock formation for another Frenzied Coldblood (7) and then take out the other Church Giant nearby.
You can now enter the tunnel nearby where you’ll notice a ladder leading up. This leads to the back of Iosefka’s Clinic, which I will be covering later, but if you wish to explore the area now you can unlock a shortcut back to the Central Yharnam lamp.
Defeat the Church Giant before entering the tunnel and explore up the ladder if you wish.
Exit the other side of the tunnel, where you’ll want to kill the two Parasite Larva straight ahead, and then check both the rock formations to grab the Nourishing Blood Gemstone (2) and Dirty Blood Gemstone (3) , but beware that attacking anything in front of the Church Giant as he will become aggressive.
You can now check the enemy-filled tunnel the Church Giant was facing to grab the Arcane Blood Gemstone (2) and then backtrack all the way to the cages.
Return to the area behind the building, where you picked up the White Church Set, and proceed forward to have two Rabid Dogs pop out from the next area. If you want to take these out easily, climb back up the ladder and then drop onto the Rabid Dogs for easy damage.
Continue and head behind the next building to fight a Kidnapper guarding the Blood Vial x6 and then enter the building to grab the Beast Roar . You can now make your way to the gate to kill the gatekeeper before you enter the building Blue Elixir x4 .
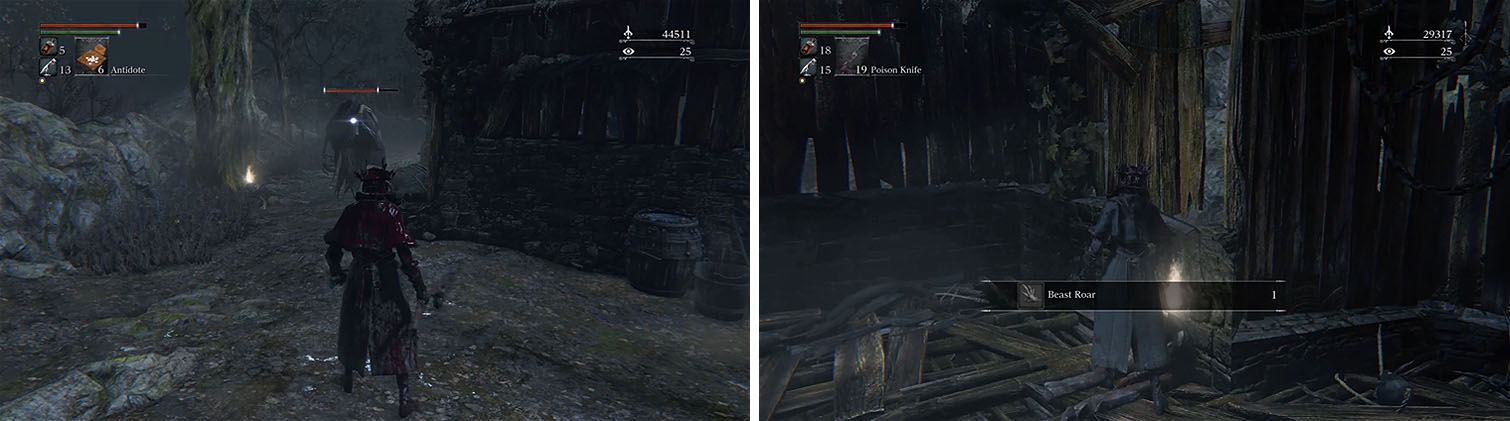
Defeat the Kidnapper behind the building and then enter it for the Beast Roar arcane item.
Backtrack a bit to the previous area and walk onto the roofs between the village and the water, killing the multiple Huntsmen along the way, and at the final roof drop down to the balcony below for some Molotov Cocktail x11 .
You can now drop into the water that you saw behind the main village and kill the Rotted Corpses as you continue, killing the Large Huntsman in the alcove before grabbing the Twin Blood Stone Shards x2 .
Turn around and enter the tunnel behind you for Twin Blood Stone Shards x2 and then continue to unlock the shortcut in the village. You can now backtrack through the tunnel and turn right to a hill with two more Huntsmen, making sure to head to the top of the building to kill the Rifleman.
Unlock the shortcut back to the village and then continue, killing the Rifleman.
As you enter the next village you’ll want to head into the first building on your right, avoiding the cannon at the end of the area, and then grab the Blood Vial x6 before rolling through the barrels into the next house.
Cross the street to another building, containing two Huntsmen, and then rush to the final building on the left to deal a Large Huntsman guarding Beast Blood Pellet x4 . You can now kill the enemy on the cannon and check the right side of the windmill for a Twin Blood Stone Shards .
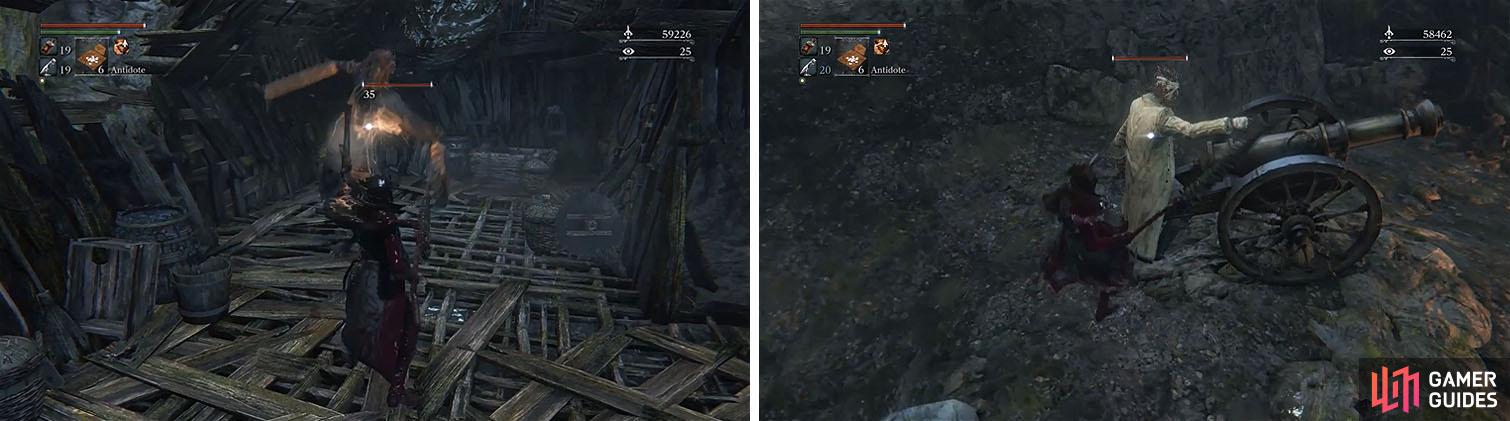
Defeat the Large Huntsman and then you can finally kill the man behind the cannon.
Enter the windmill, staying on the same level, and exit through the opposite door to drop down outside. Follow the path around the outside of the windmill to a Large Huntsman and then climb the ladder and then cross the cogs, grabbing the Poison Knife x8 . You can now head up the nearby steps to another Poison Knife x3 hanging off the windmill’s ledge.
The nearby Transformed Man , chilling in a pile of bodies, is actually a dangerous NPC who will kill any NPCs if you send him to Oedon Chapel. The good news is that you can select to send him to a location for some Pungent Blood Cocktail x2 and then attack him to prevent him from heading off.
The bad news is that the man is actually an Abhorrent Beast in disguise and will transform after hitting him enough, making him extremely dangerous. Luckily, he can’t enter the windmill and will get stuck at the doorway, where you can easily throw those Poison Knifes and wait him out.
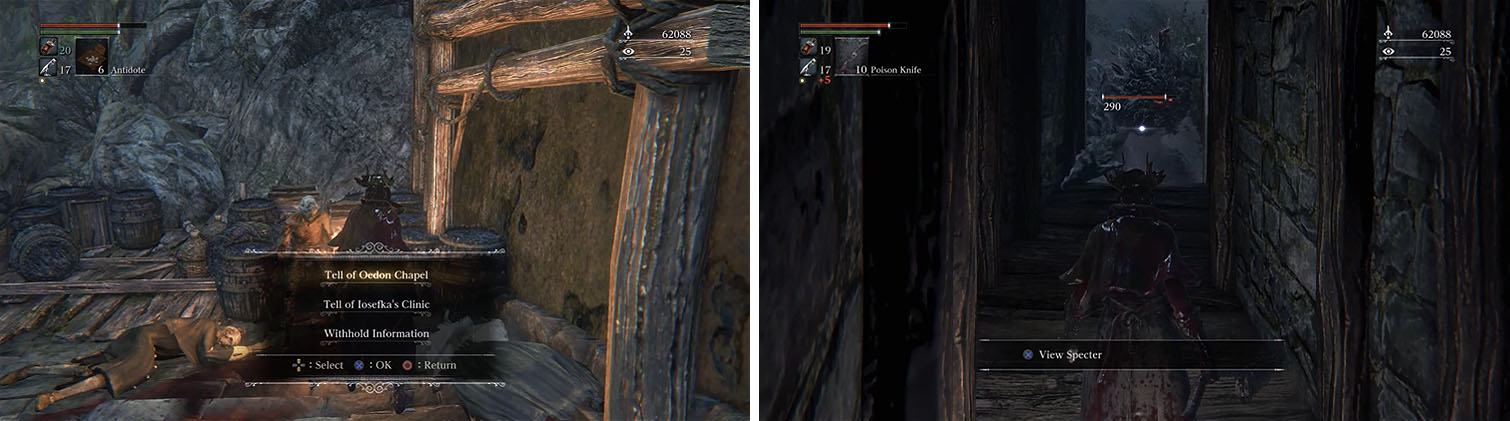
You can give the NPC information and then attack him to reveal his true nature.
Return inside and drop off the cogs to grab the Cannon and then carefully drop down to the main part of the windmill.
Head to the bottom floor and sneak up behind the enemy standing by an item and use a charge/visceral attack, refusing to give him time to reveal his true nature as a Snake Parasite. You can now grab the Madman’s Knowledge behind him and exit through the only path available, as the other one will be a lift shortcut that you’ll unlock later.
Cross the bridge, dealing with another Snake Parasite, and then head up the hill on the right for a Twin Blood Stone Shards before taking the lift, which leads to an Antidote x4 and a gate right next to the lamp at the beginning of the area.
Grab the Twin Blood Shards on the ledge near the lift and unlock the shortcut.
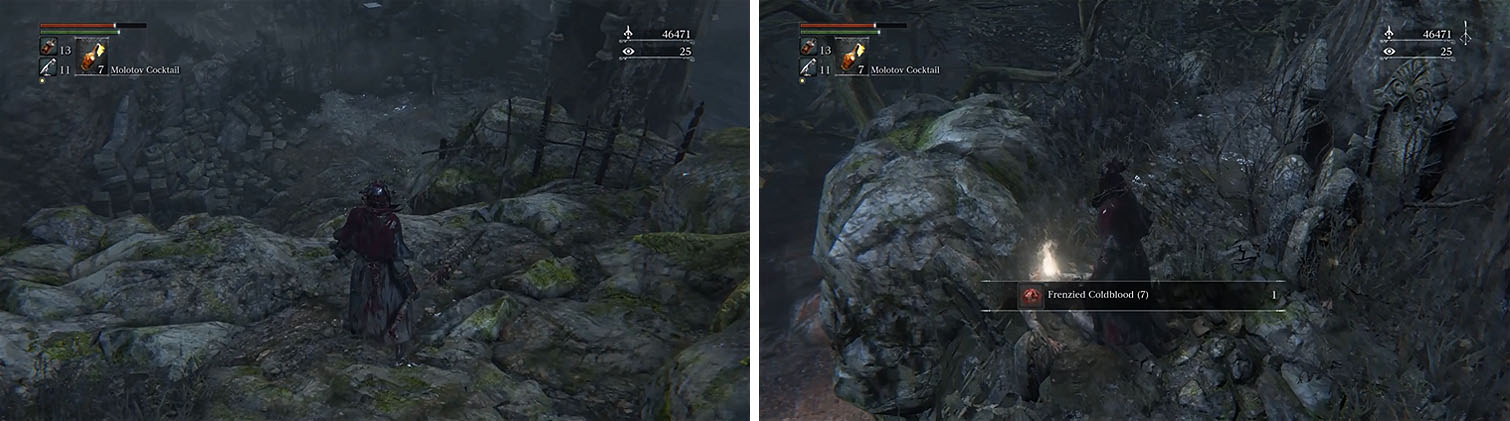
Backtrack down the lift and head down the path, falling off the road to the left to find a Frenzied Coldblood (7) by some tombstones, and then head back up a bit to the right to drop to a lower ledge. Hop or roll across the gap to reach a new area with an Executioner and Twin Blood Stone Shards x2 and then backtrack to the gap and drop into the forest.
The forest is huge and it is easy to get lost, but if you note that the main road runs through the center you can use it as a navigation point.
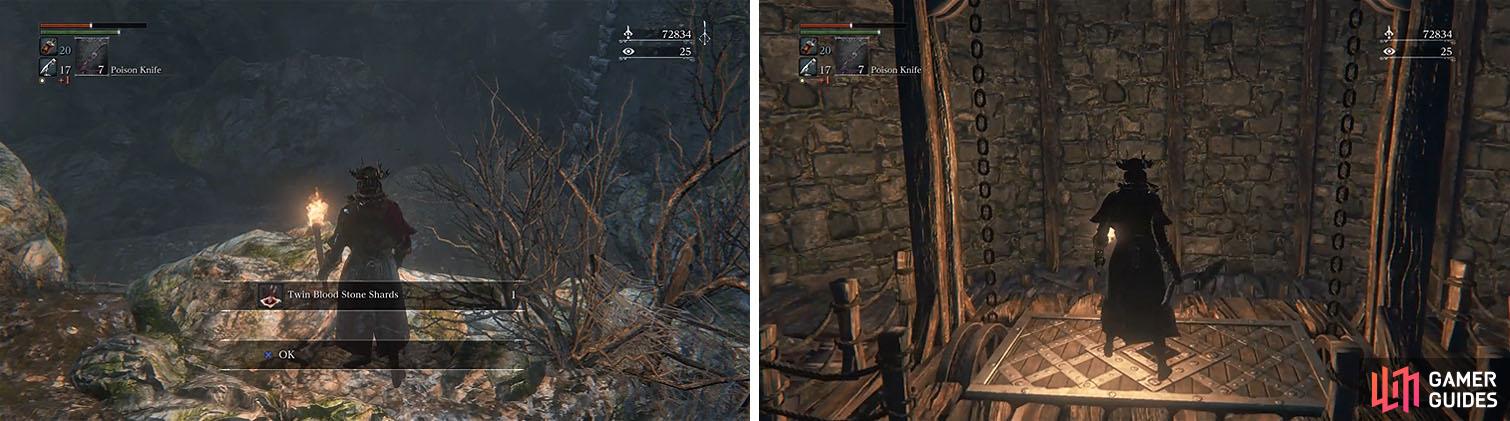
Kill the two Snake Balls to grab the Shining Coins x6 nearby and then circle behind the large tombstone, following the left ledge to kill two sets of Snake Balls near a Twin Blood Stone Shards . Hug the cliff’s edge to continue around another tombstone and kill the Snake Ball near another Twin Blood Stone Shards and then continue along the cliff to grab a Madman’s Knowledge on the back of a tombstone.
Follow the left wall for some Twin Blood Stone Shards and a Madman’s Knowledge.
Backtrack the way you came to the start of the road and follow the main road this time, looking to the right for a fire with a Snake Parasite standing beside it and approach silently for a visceral attack. Take out the four Snake Balls around the fire and then grab the Twin Blood Stone Shards in the open and the Twin Blood Stone Shards x2 behind the large tree.
Turn around and follow the left wall to get another Madman’s Knowledge while killing some additional Snake Balls.
Return to the fire and head behind it to kill two Snake Balls and then pass between the large tombstone and the tree, where you can sneak up behind another Snake Parasite on the hill to the right. Make sure to kill the two Snake Balls before you grab the Twin Blood Stone Shards x2 and then hug the right wall to pass up another hill with a Large Snake Ball.
You can then check behind the large tree for a Thick Coldblood (6) , behind the large tombstone for the Clear Deep Sea Rune, and head up the opposite hill with two Snake Balls to grab the Twin Blood Stone Shards hanging off the edge.
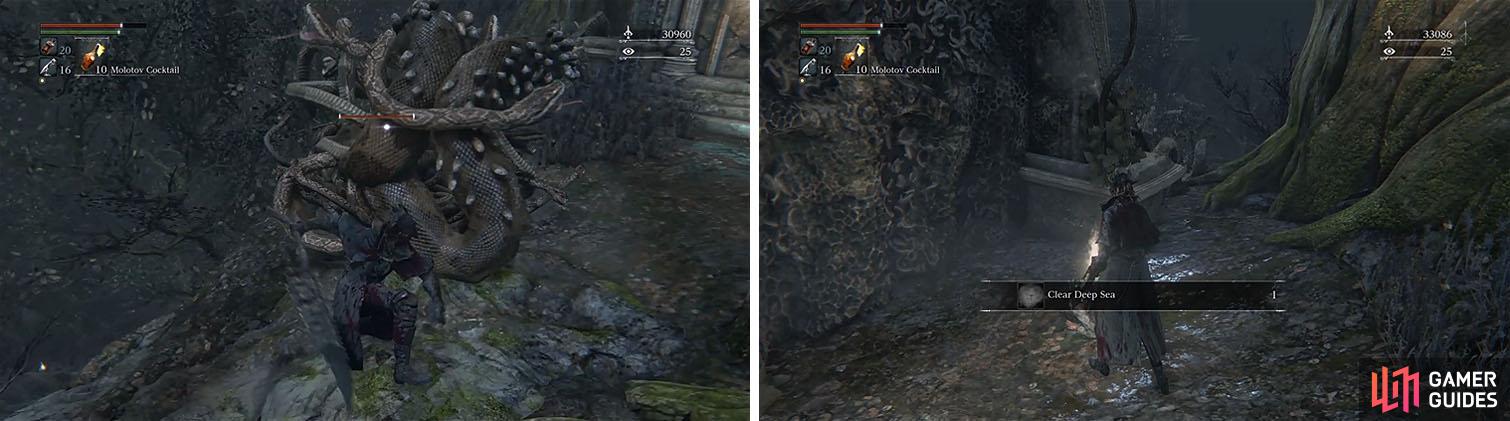
Defeat the Large Snake Ball and then make sure to grab the Clear Deep Sea Rune.
Return down the hill, do not drop, and stick to the right as you walk slowly to avoid aggroing the three Snake Parasites in a small cave on the right. You’ll need pull them over one at a time until they are all dead and then you can grab the Blood Stone Chunk they were guarding and the Shining Coins x5 above the ravine with two Large Snake Balls.
Ignore the two Large Snake Balls and turn left to spot another Large Snake Ball that you can sneak up to and focus on him before you deal with the smaller Snake Balls. You can now return to the ravine and either throw some Oil Urns / Molotov Cocktails or plunging attack the Large Snake Ball in the back to quickly take him out, allowing you room to move around the other one.
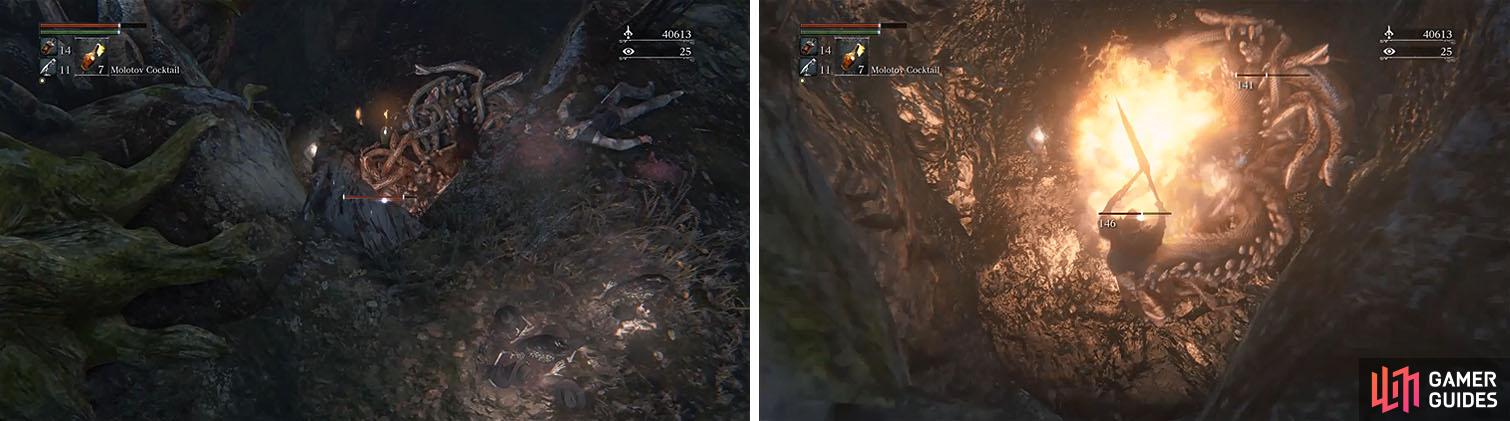
Use Molotov Cocktails and/or plunging attacks to kill the two Large Snake Balls.
Pick up the Deep Sea Rune, Twin Blood Stone Shards , and Twin Blood Stone Shards x3 and then exit to the right and follow the right ledge around a large tree to find another Large Snake Ball with many smaller Snake Balls. Focus on taking out the Snake Balls first, while avoiding the ranged Poison attacks, and then kill the Large Snake Ball to get behind the tree for a Frenzied Coldblood (8) .
Follow the right ledge again, ignoring the drop off that you’ll explore later, and head up the hill to a dead end with a Frenzied Coldblood (7) . Return down the hill on foot and turn right to find the road again, which leads right or left around a hill in the center, but instead of following the path you should cross the road and head left around the hill.
Ignore the lower area and head up the hill for a Frenzied Coldblood (7) at the end.
Depending on the timing you may encounter another Snake Parasite, who summons some Snake Balls if given the chance, and then walk up the hill slowly to sneak up behind a Maneater Boar.
Turn left to an overturned tree, where you can spot an item on a ledge that you can not reach, and then grab the Graveguard Set to the left. Drop off by the armor set to return to the road and turn left, following it to the flaming horse.
If you hang a right here you’ll notice a gap in the fence with a ledge on the opposite side that looks rather close, so get a running start and jump across to find the Graveguard Mask you saw just a moment ago when crossing the overturned tree. You can now head back to the gap and jump back, which you’ll always miss, to land on a ledge just above two Small Celestial Emissaries.
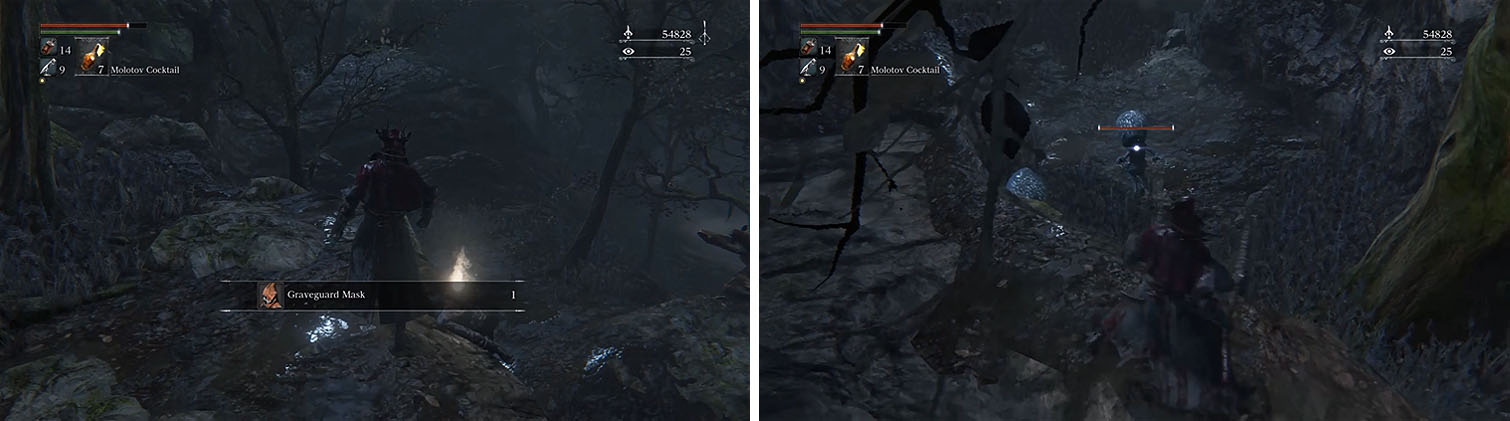
Grab the Graveguard Mask and then drop down to the area below the gap.
Kill the two enemies before checking the dead end with a Madman’s Knowledge and then continue down the path for another Madman’s Knowledge , dealing with another Small Celestial Emissary.
As you move toward the two tendril enemies in the alcove another Small Celestial Emissary will come running over, so kill it and rush in behind the casters to take them out quickly. You can now grab the Anti-Clockwise Metamorphosis Rune and then follow the path to a final Small Celestial Emissary and check behind the tree for another Madman’s Knowledge .
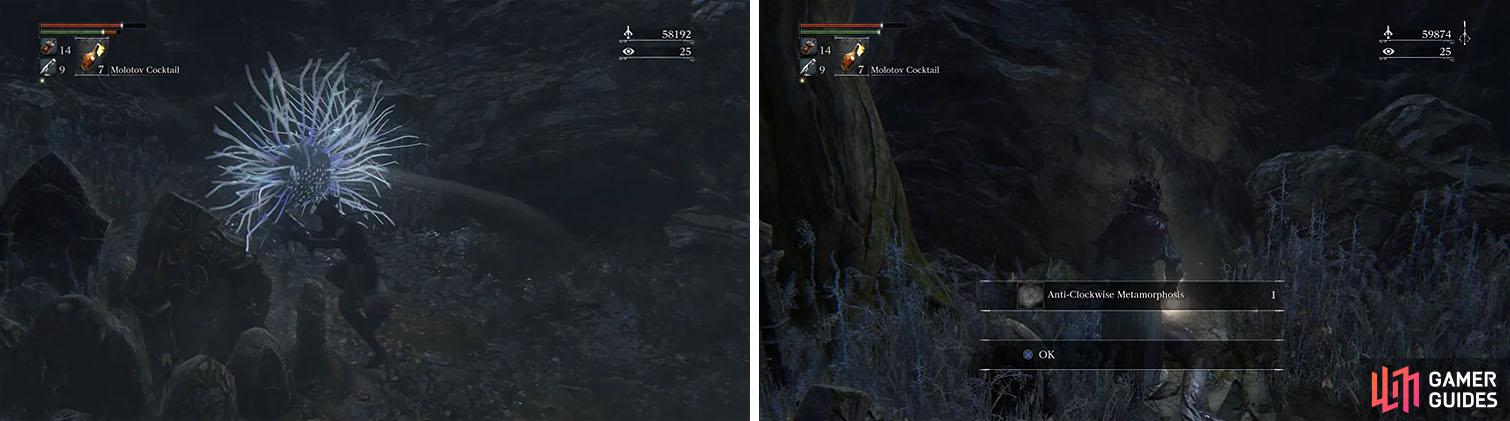
Defeat the Small Celestial Emissaries and then pick up the rune before continuing.
Follow the path to a small pool of water with fireflies and three paths, two on the right and one straight ahead. Take the first right path up to a Twin Blood Stone Shards and then continue to another split, which is actually the hill that had the Maneater Boar on it.
Since you’ve already explored the right path, take the left path and look for a gap in the fence to find two Snake Balls protecting a Frenzied Coldblood (7) . There isn’t anything else here, so backtrack to the road and head down the path to another pool of water that leads left or right.
The right path leads to the boss, so head left to return to the pool of fireflies and take the right path that was the straight one before. This path leads to a Snake Parasite hiding behind a tree and the shortcut back to the windmill, meaning you can head through the windmill and up the hill to the other lift to return to the lamp at the beginning of the level.
The path behind the Snake Parasite leads to another shortcut, this one to the windmill.
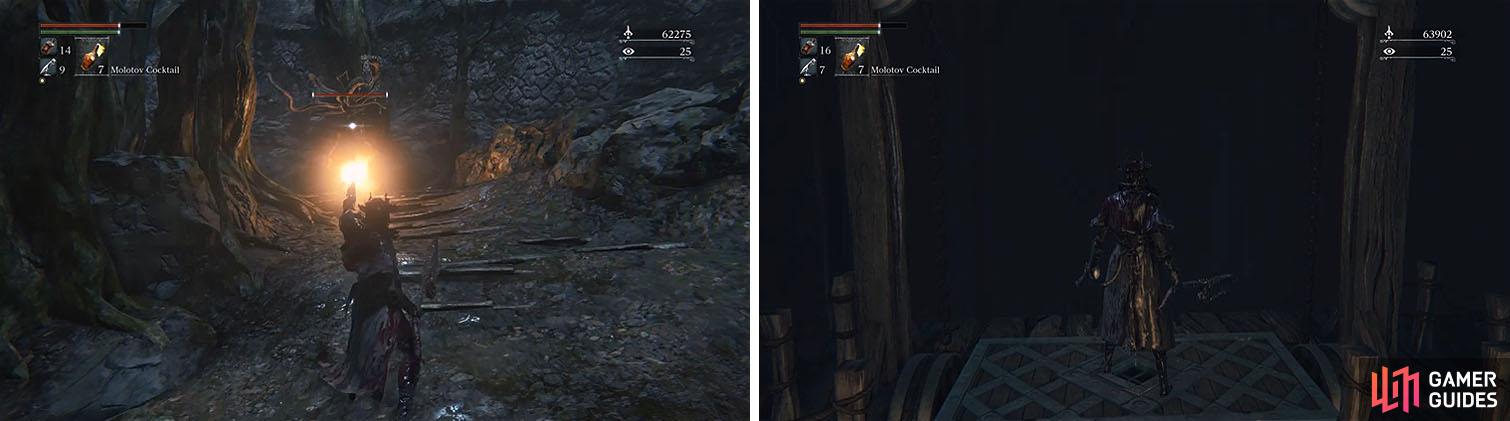
Backtrack again to the pool with fireflies and head left, slowly following the Maneater Boar until he stops to perform a visceral attack.
Turn around and head under the roots in the water to kill four Rotted Corpses and then pick up the Dissipating Lake Rune. You can now continue to the next area, killing two more Rotted Corpses, and wait for another Maneater Boar to walk past and stop before you sneak up behind it.
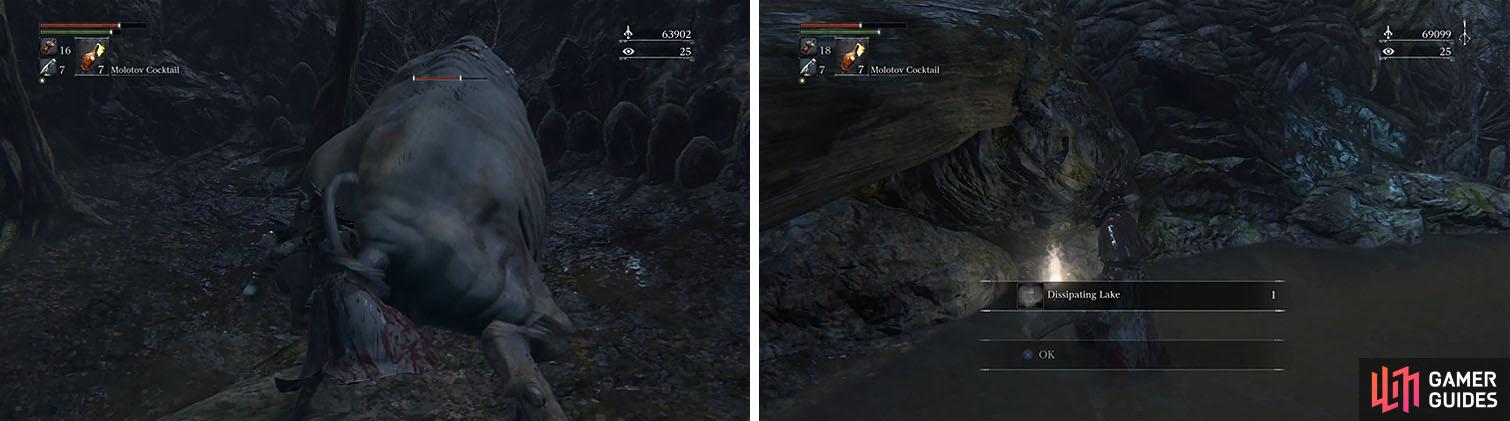
Sneak up behind the Maneater Boar and then check the water for a valuable rune.
Kill the final Rotted Corpse behind you, who was trying to sneak up on you while you were walking up behind the Maneater Boar, and then grab the Sharp Blood Gemstone (3) .
You can now head past the fire, down a path to another split, and take the right path to a gate that leads to the area I previously informed you not to drop down. Inside, kill the Snake Parasite to grab the Clockwise Metamorphosis Rune and then backtrack to the split and continuing down to the boss.
 Sign up
No Comments