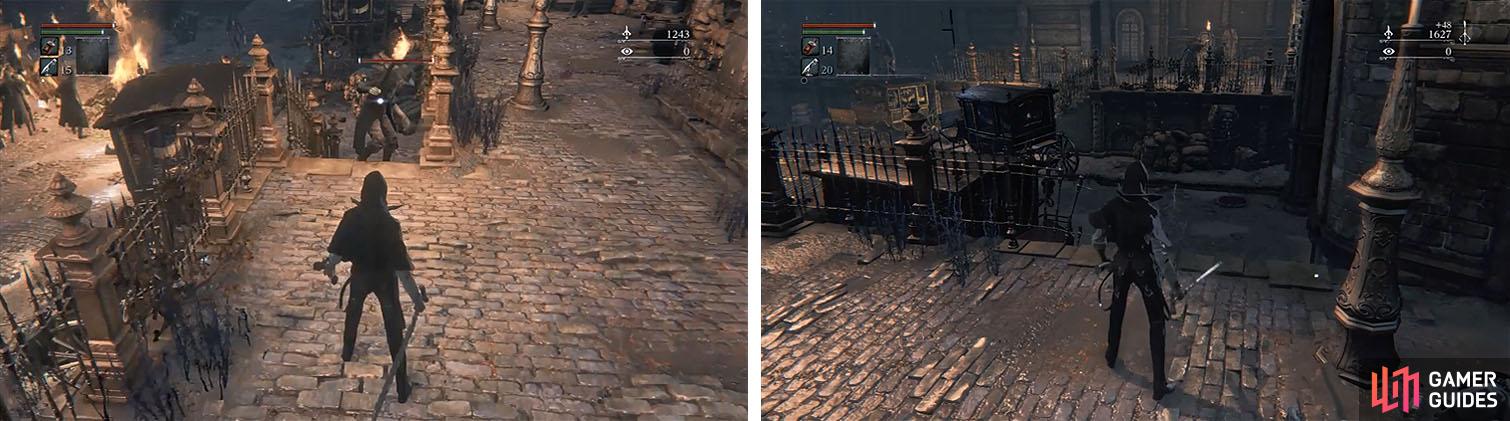
Take the stairway directly ahead for a body with Blood Vial x4 and then backtrack and turn left to encounter your first Huntsman hiding behind the second carriage. The trick is to bait the enemy to strike and then go all out with your attacks to take him down in one go.
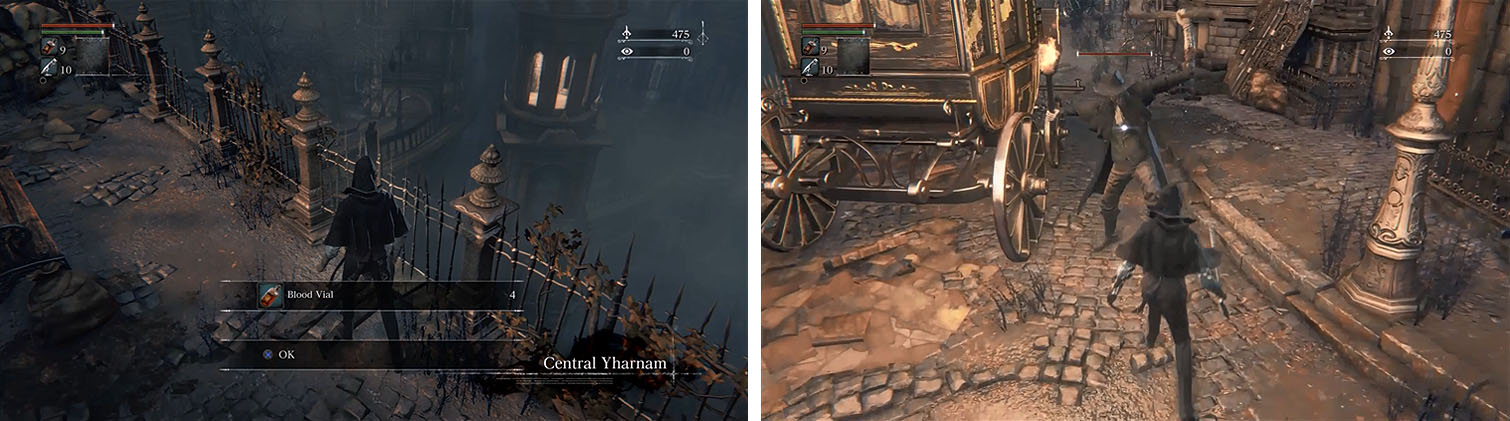
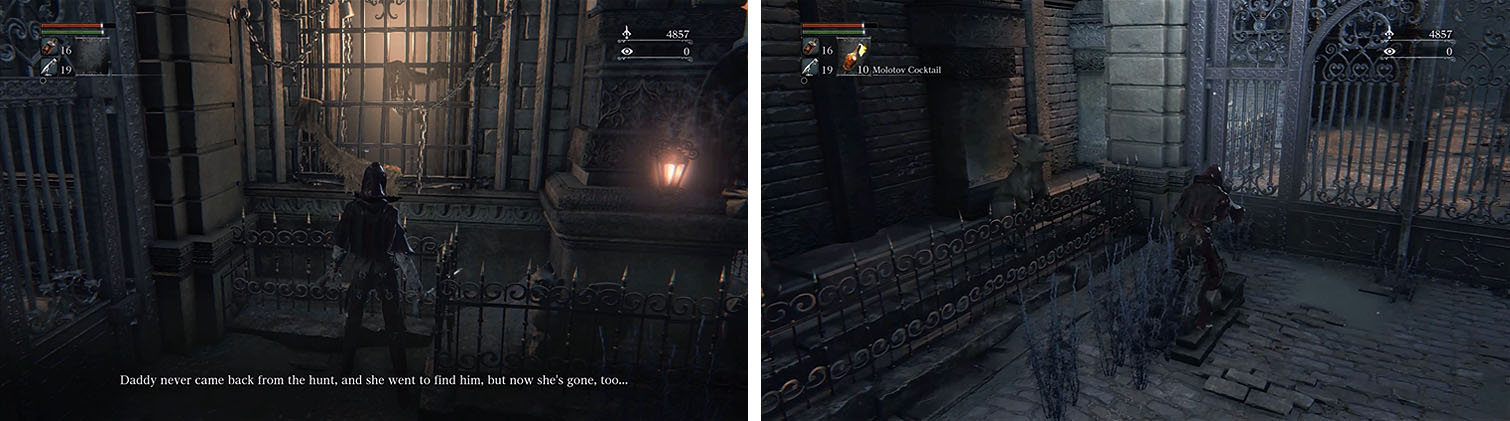
Pick up the Blood Vials before you encounter the first Huntsman in Central Yharnam.
Near the first enemy there is a lever you can pull to lower a nearby ladder, but don’t take it, and grab the Blood Vial x2 on the body next to it. Kill the two Huntsmen playing dead at the end of the road before breaking the boxes in the corner to grab the Molotov Cocktail x6 and then climb the ladder to reach the Central Yharnam lamp.
If you talk to the window of the building next to the lamp a man named Gilbert will introduce himself, though he won’t say much at the moment.
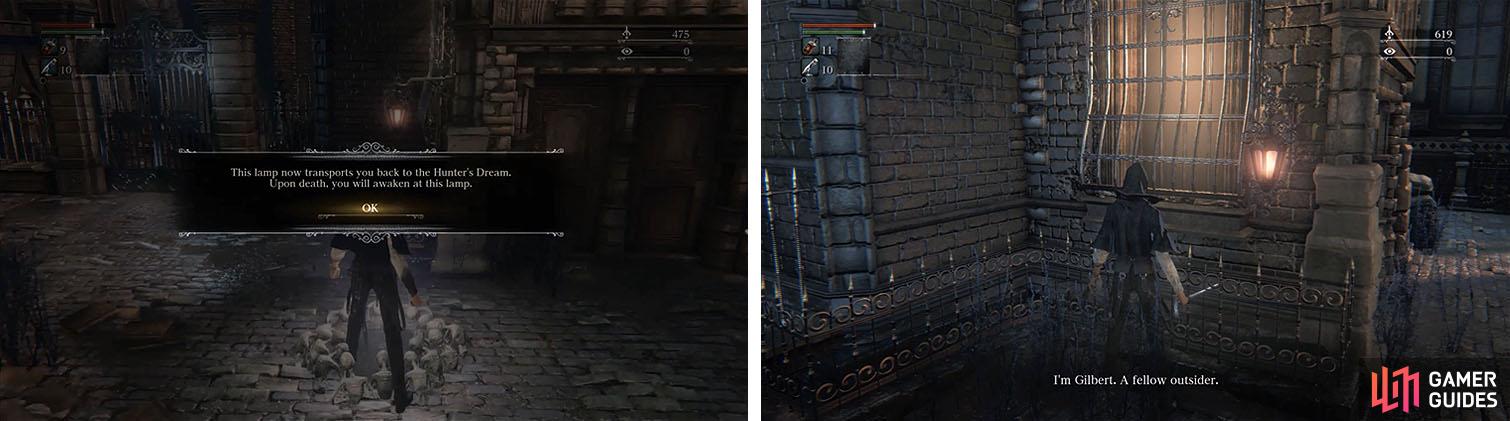
Light the Central Yharnam lamp and make sure to meet Gilbert in the nearby building.
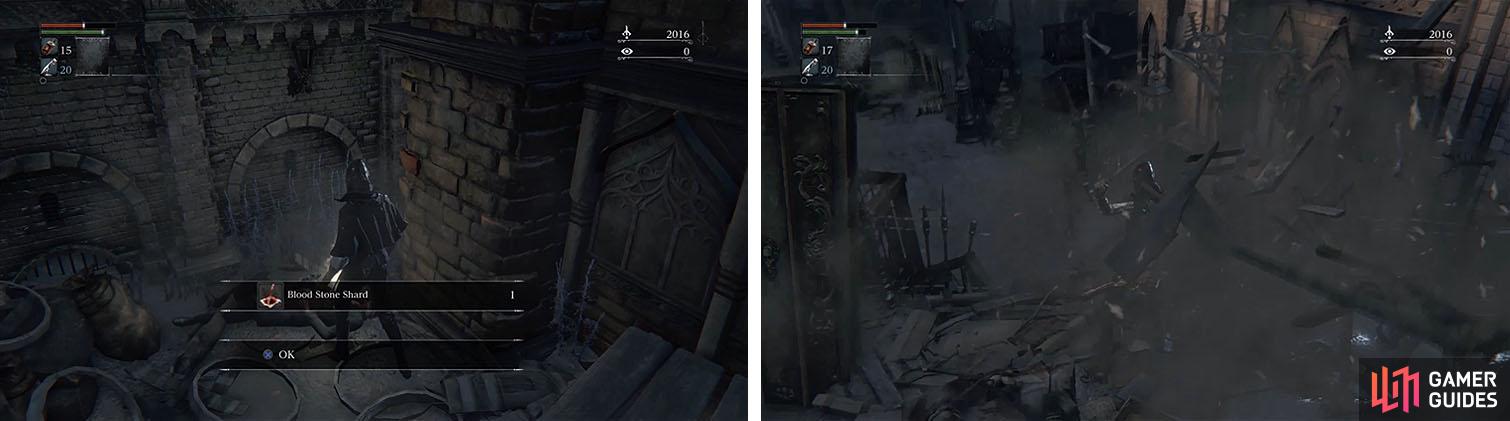
Take the only stairs to a body with Pebble x8 and then continue, watching out for the Huntsman on the right behind some boxes. There are two paths to choose: the stairs that lead down to the main street and the drop that leads to a bonfire with another Huntsman. Go ahead and take the drop, dealing with the enemy, and then grab the Molotov Cocktail x4 behind the well.
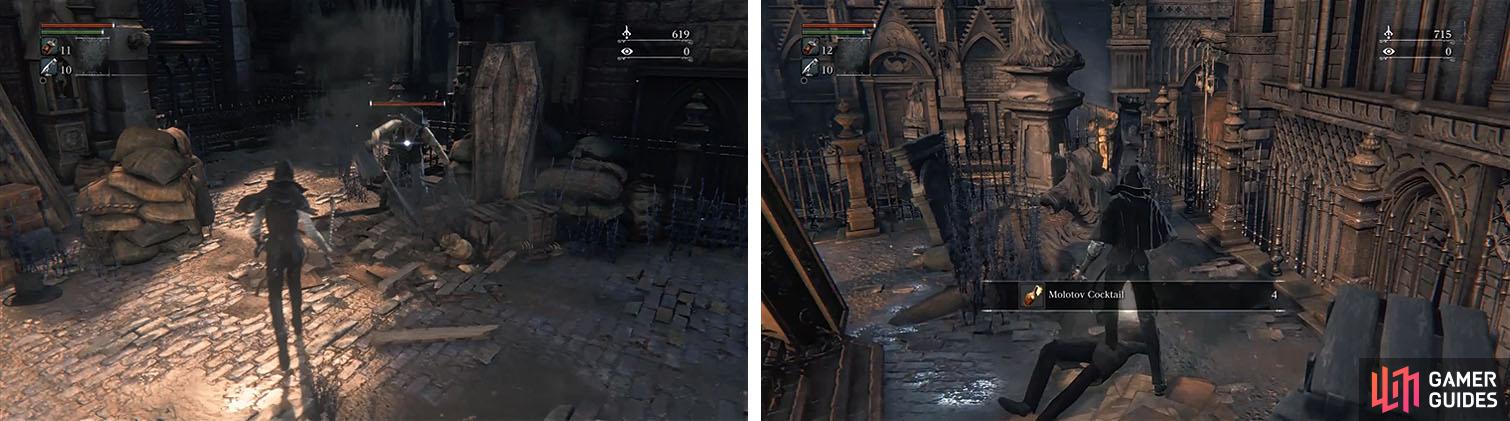
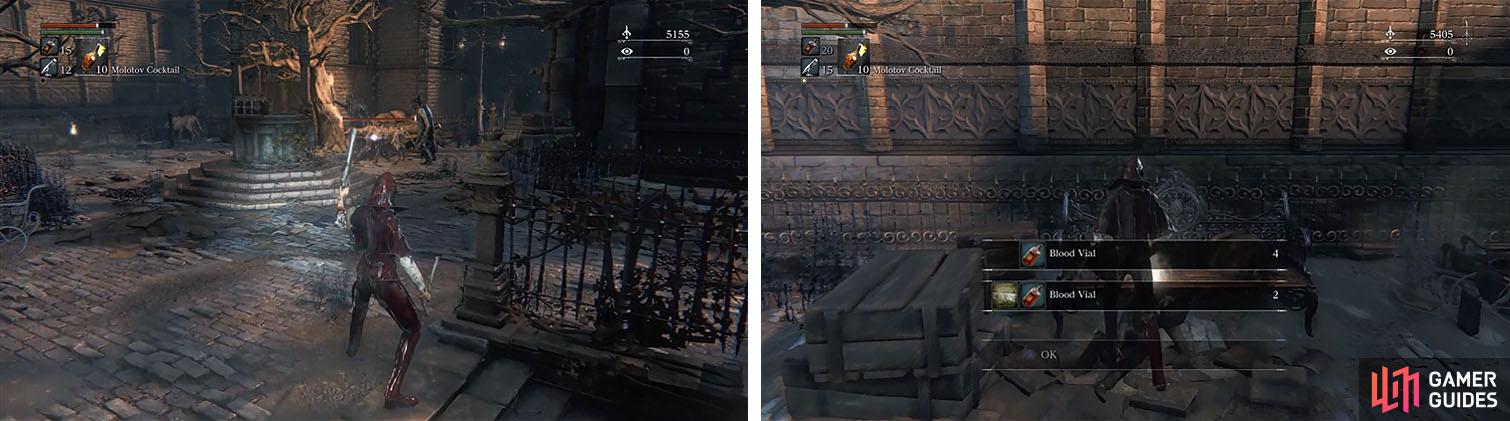
Watch out for enemies hidden behind objects in the environment (left) and make sure to pick up the Molotov Cocktails (right).
As you head down the stairs you’ll likely want to convert your weapon with L1, allowing you to have more range and chances of hitting multiple enemies, and then kill the two Huntsmen below. If you head left you’ll encounter another group of Huntsmen, which will sneak up behind you if you don’t deal with them now, and a staircase that simply leads back up to where you dropped down.
Head to the end of the street to pull a lever, opening the shortcut back to the entrance of Central Yharnam, and then check the small alley nearby. The Executioner that resides in this alley can kill you in one hit at your current level, so avoid it.
Head back up the street to find a new staircase hidden behind a carriage, making sure to kill the slumped over Rifleman so he doesn’t come up behind you later, and then take the next set of stairs to kill the Huntsman that jumps out to ambush you before picking up the Blood Stone Shard . Back down the steps, turn right to deal with another surprise attack behind the railing of the building’s steps and then continue.
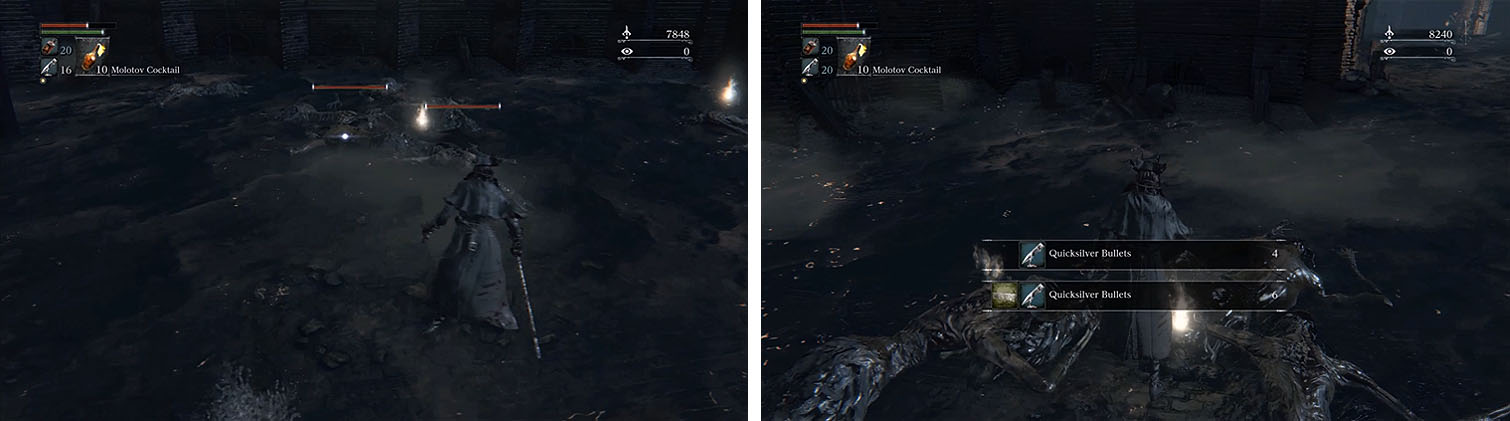
Don’t be fooled by enemies playing dead or hiding around corners.
As you approach the next area you’ll notice a Huntsman on the same level as you and many more around a pyre in the center of the street. While it may seem like you can easily take out the enemy on your level, walking past the steps will aggro a few of the Huntsmen in the courtyard.
This is fine, provided you know what is coming, so run forward just enough to draw their attention and then deal with them at the stairs, where they are forced to huddle up. The remainder of the enemies will begin to walk back up the street and you can cut them off by running back and taking the stairs.
Return to the upper level and continue toward the end of the road to grab the Quicksilver Bullets x5 off the corpse and kill the nearby Huntsman hanging by a gate. There are two Riflemen in this area: one on the top of the carriage on the opposite side of the street and one standing by the pyre. If you drop off the ledge you can turn left to quickly kill the first Rifleman and then either back up or run to the stairs on the left to avoid the other Rifleman shooting at you.
Lure enemies when they appear in large groups before you go in to finish off the rest.
With most of the enemies cleared out you can now rush across the street, run up the stairs on the opposite side of the street, and take out the other Rifleman. There are likely still a few stragglers you’ll need to deal with and a Rabid Dog to continue.
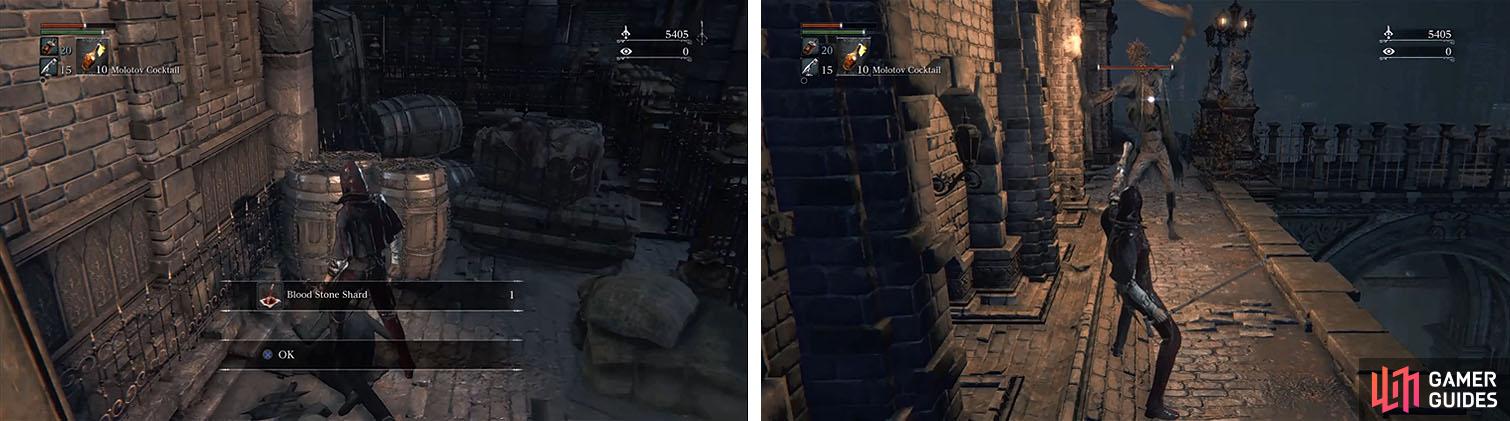
With the area finally clear you can get the Blood Vial x2 in front of the large double doors and then head upstairs to check the back corner for a Coldblood Dew (1) .
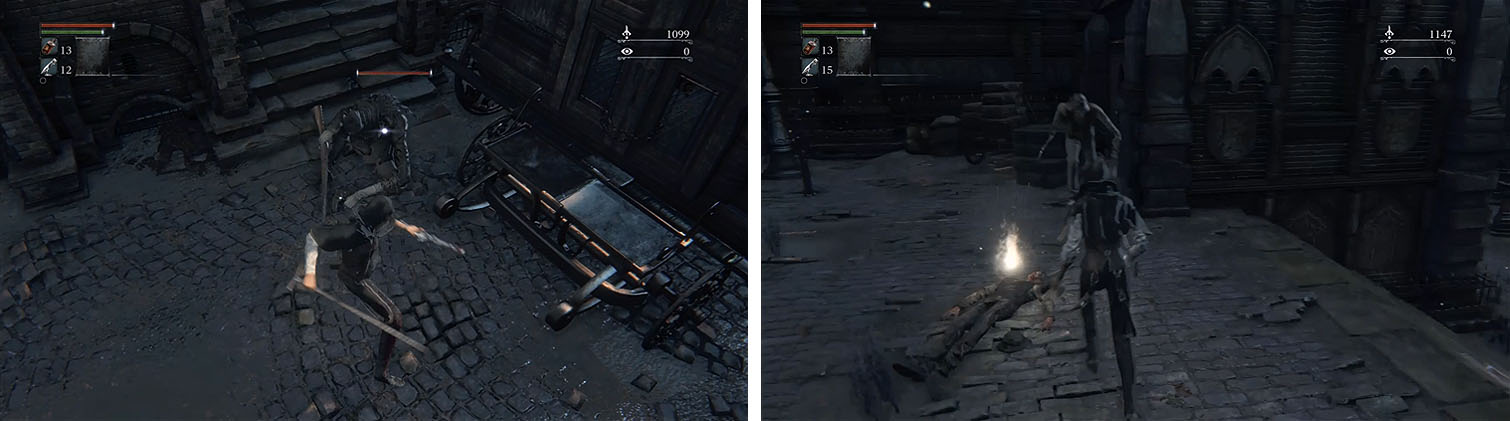
Continue through the opened gate to grab the Blood Stone Shard in the corner, behind some barrels, and then grab the Blood Vial x2 in plain sight by the steps. Instead of heading down the steps into the fountain plaza, strike the stacks of coffins directly across from the stairs to reveal a shortcut.
Check your corners for treasure and then smash the coffins near the staircase for a shortcut.
There are some caged Rabid Dogs here that are freebie kills and down the steps on the right is another Rabid Dog, as well as some more caged ones. Head toward the bridge and turn left to a walkway with another Rabid Dog and then grab the Coldblood Dew (3) .
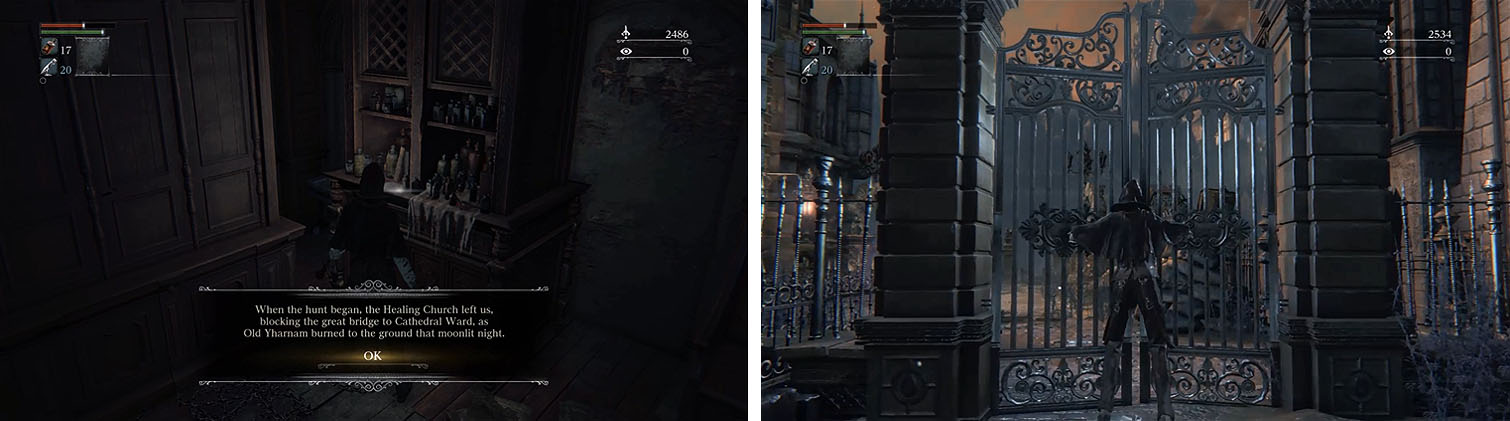
You can now cross the bridge and kill the Rabid Dog barking at the door of a Lonely Old Dear , who is looking for a safe place. The stairs here lead down into the sewers, but before taking on this dangerous area you’ll want to unlock a shortcut.
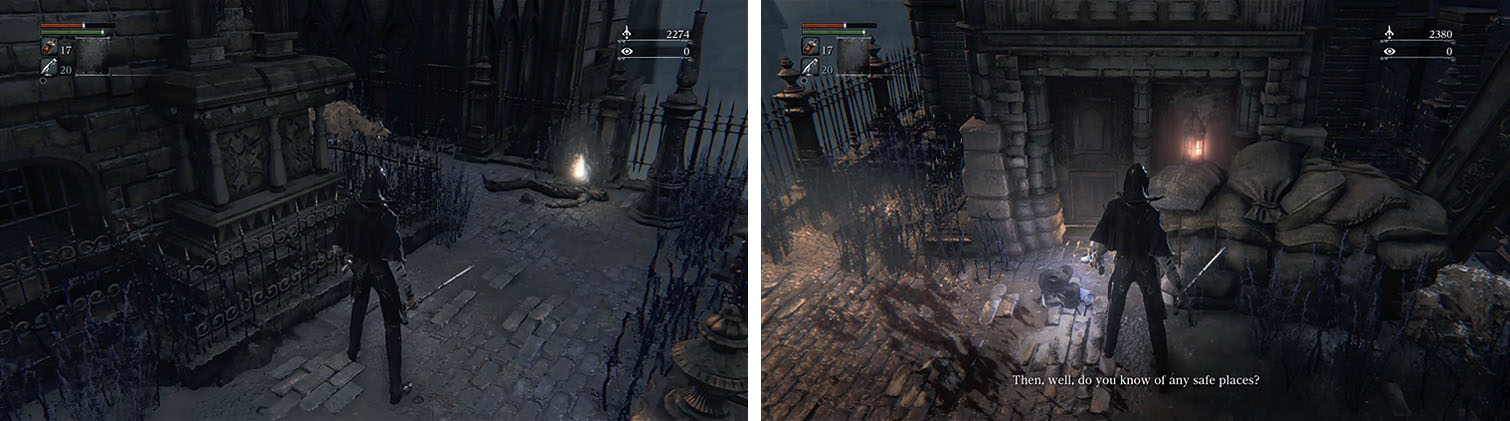
Get the treasure in the small alley and then save the Lonely Old Dear from a Rabid Dog.
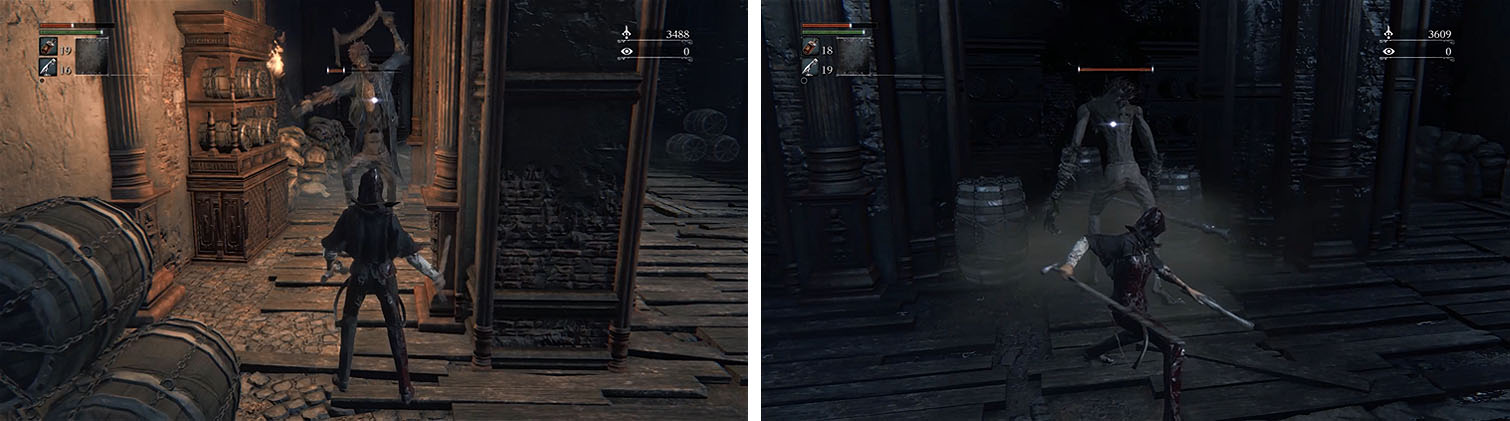
Backtrack across the bridge, take the stairs, and turn right to head up another set of stairs and then take the left staircase to a dead end with a Coldblood Dew (1) . Return down the stairs and u-turn, ignoring the staircase on the right that we’ll be using later, and enter a dark house. Make sure to kill the Huntsman hiding in the dark and then carefully move forward and attack the small lamp, revealed to be a Wheelchair Huntsman.
With the room clear you can now grab the Pungent Blood Cocktail x2 , read the note in the corner, and exit out the other side of the building. Head up the stairs straight ahead for another Huntsman and then grab the Blood Stone Shard before continuing up the steps to open the gate that leads back to the Central Yharnam lamp.
Check the house for a lore note and exit the other side to find a shortcut gate to the lamp.
Return through the gate and down the stairs, but this time take the stairwell to the left of house to reach a large courtyard. There are two Huntsman’s Minions in this area, so draw one over at a time to make your life a whole lot easier.
Once the courtyard is clear you can head straight to an elevator, though you won’t be able to access it at this moment and should remember where it is for later. You can now take the stairs nearby to return to the area with the caged Rabid Dogs, cross the bridge, and enter the building.
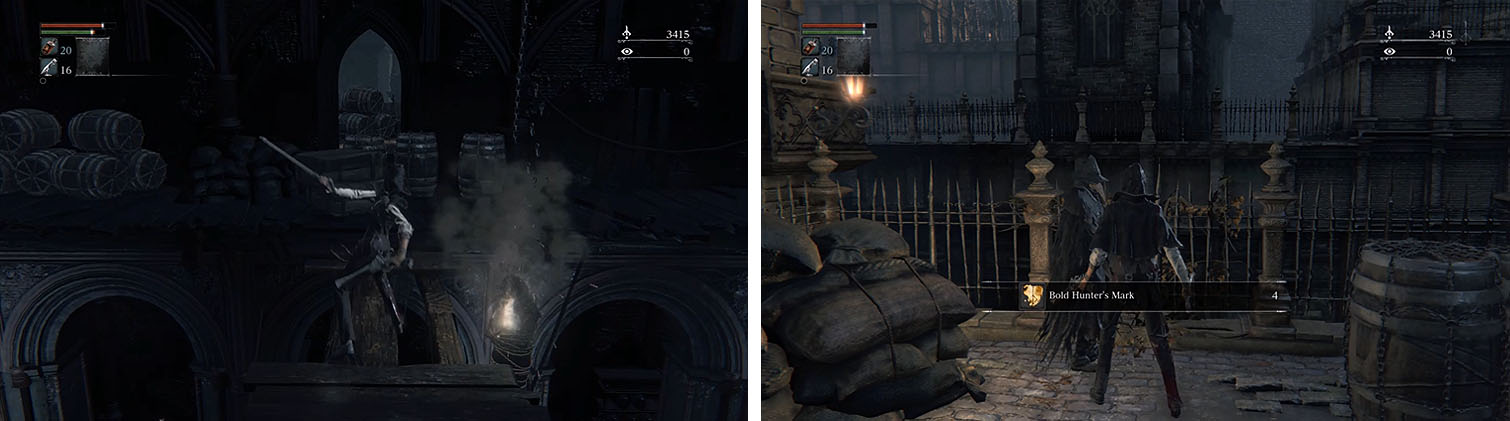
Break the barrels on the right wall to uncover a hidden path into the rafters, where you should carefully cut down the hanging corpses, and then grab the Coldblood Dew (1) . If you check the wall directly across from one of the walkways you should be able to spot an open archway behind some barrels, where you’ll find Eileen the Crow and can obtain the Bold Hunter’s Mark x4 and the Shake off Cape gesture by talking to her multiple times.
Drop the corpses and make sure to speak with the NPC in the hidden room.
You can now grab the nearby Coldblood Dew (1) behind the pillars and exit through the archway near the Rifleman’s location.
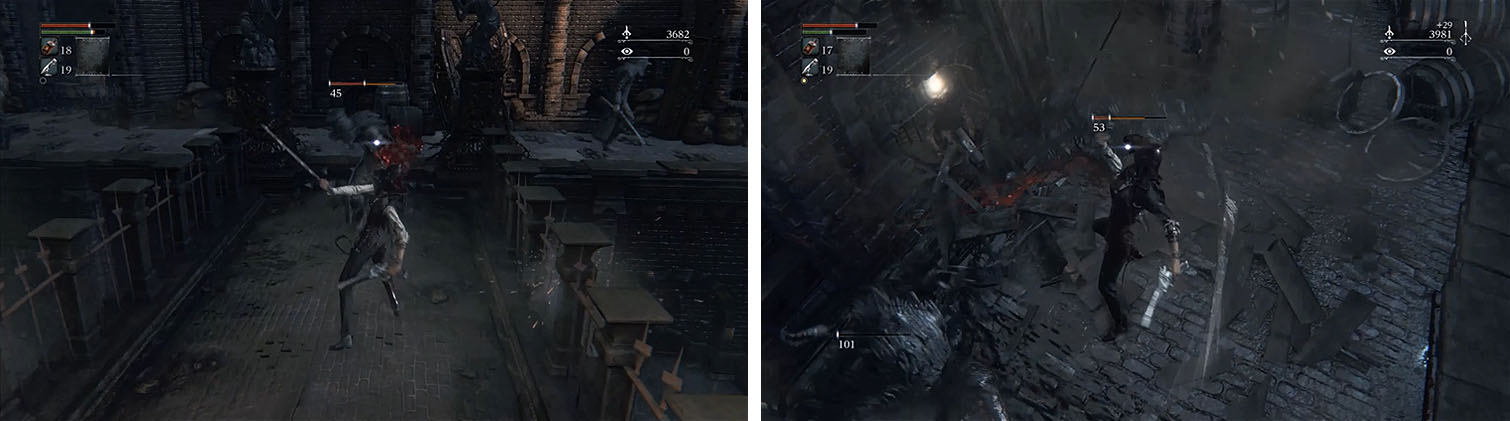
You’ll need to drop off the rafters in the corner by the stairs, making sure you attack the Large Huntsman that walks up and down the staircase leading back upstairs, and then stick to this side of the room. Continue about halfway up and check behind the pillars for another Large Huntsman and then kill the Rifleman nearby before crossing to the other side, where you’ll have to fight another Large Huntsman with a spear.
Kill the Large Huntsman hiding behind the pillars and then sneak up behind the other one.
You can now grab the nearby Coldblood Dew (1) behind the pillars and exit through the archway near the Rifleman’s location.
Hang a left and carefully cross the bridge to take out the two Riflemen, who will attack you from behind if you don’t take them out, and then deal with the Large Huntsman that rushes over. You can now grab the Coldblood Dew (1) at the far end of the area before you continue past the bridge to defeat the Carrion Crows, cross another bridge, and head along the other side to some more Carrion Crows guarding Oil Urn x2 .
Kill the enemies and proceed around the area to find some hidden Oil Urns near the Crows.
Look down at the beams below, spotting one with a Blood Stone Shard , and then drop down and head back along the sewer to an opening to the room where you dropped the corpses. Pass all the boats to the end of the room, defeating the two Labyrinth Rats, and grab the Madman’s Knowledge off the corpse. You can now return to the previous area and climb up the ladder to your right to reach the floor above.
Since you are now above the area where you dropped the corpses you can now drop down on either side to get the items from the bodies ( Blood Stone Shard + Saw Spear ). You can finally return to the sewer and continue to a large room with some Rotted Corpses huddling around an item, but for the moment you want to take the long ladder to leave the sewer.
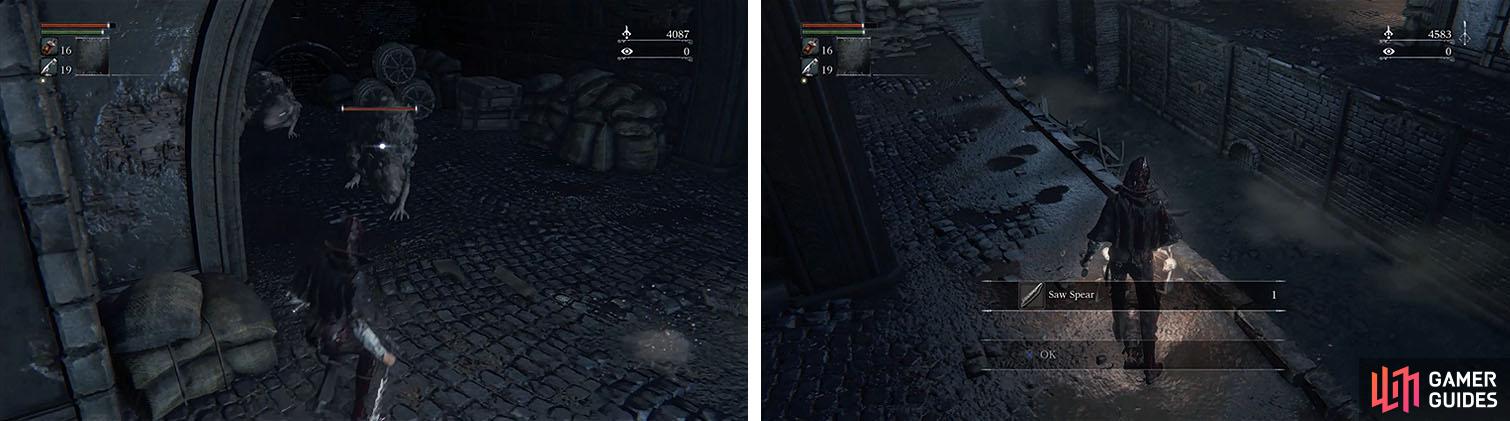
Kill the rats and collect the treasure off the dropped corpses, including the Saw Spear.
Turn right to kill with four Carrion Crows guarding a Madman’s Knowledge on the nearby corpse and then cross the bridge and deal with another Huntsman’s Minion.
The ladder here leads to a locked gate, that you can open with the nearby lever to create a shortcut to the fountain plaza, and then talk to the window to meet a young girl. This girl, only known as Viola’s Daughter , asks you to find her mother and hands over the Tiny Music Box .
Speak with the Yharnam girl to begin her quest line and then open the shortcut nearby.
Take the stairs on the right to find the Huntsman’s Minion that was knocking on the large double doors by the pyre and then grab the Torch , which you should equip, and Molotov Cocktail x4 . On the opposite side of the plaza, kill three Carrion Crows guarding Oil Urn x2 and then return back up the stairs and hang a right to find a Coldblood Dew (1) by the closed gate.
The next courtyard has three Rabid Dogs and some more Huntsmen, including a Rifleman, that can be difficult to deal with if you rush in. I suggest walking to the top of the steps and pull over a Rabid Dog with a gunshot before pulling back to defeat it from a safe spot and then repeat with the other enemies.
With the area clear you can then grab the Blood Vial x6 and then take the staircase to a bridge, turning left to check behind some statues for a Blood Stone Shard .
Lure the Rabid Dogs out of the courtyard carefully and then pick up the Blood Vials nearby.
Head toward the Scourge Beasts on the bridge, but instead of engaging them take the staircase on your left to access and area overlooking the pyre. Grab the Pebble x10 on the corpse hanging over the edge, a Blood Stone Shard behind the nearby sandbags, and a Blood Stone Shard from the alley behind some boxes and then continue to break the boxes to drop into the sewers.
Drop down the ledges to reach the sewers and then make sure you drop down on the left side, where you’ll meet a Large Huntsman walking your way. After dealing with him, cross the bridges to deal with two more.
Find the hidden sewer entrance near the Blood Stone Shard and kill the enemies below.
With all enemies on the upper level dead you can now look down at the beams below to spot a Thick Coldblood (5) and then carefully drop on the Labyrinth Rat below.
You’re going to want to take out the Labyrinth Rats behind you first, since you don’t want them sneak attacking you, and then head to the exit of the sewer and look left to spot a Large Huntsman guarding the Hunter Set .
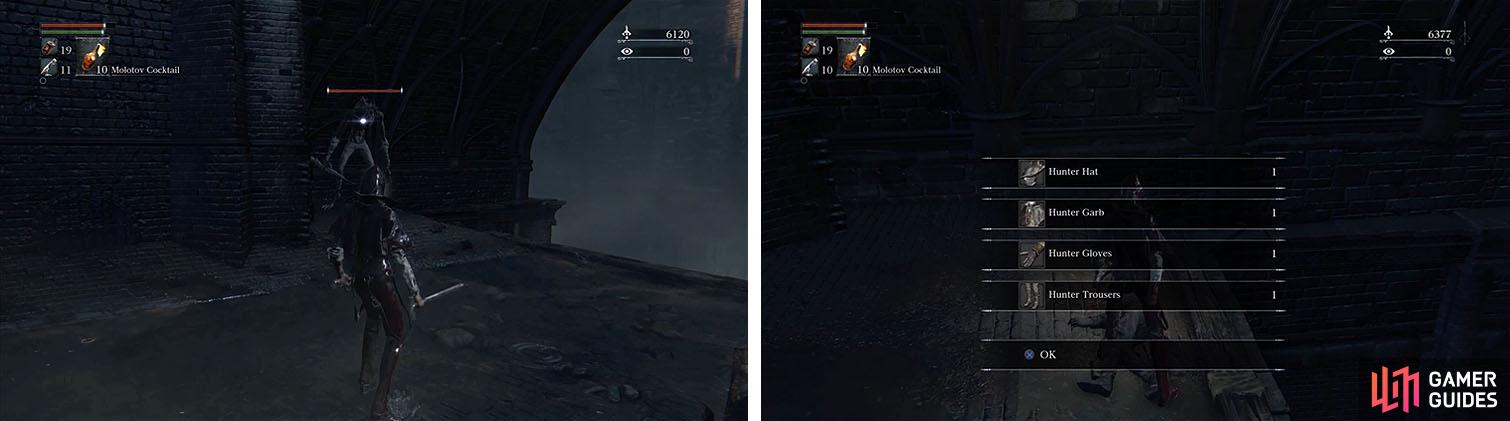
Kill the Large Huntsman hiding in the corner and collect the Hunter Set.
Backtrack out of the sewer to the main bridge and quickly run past the Scourge Beasts, taking the left stairs to enter the second floor of the dark house. Make sure to kill the two Hunstmen in the house before you grab the Coldblood Dew (1) and then turn around to find the Scourge Beastsstuck in the door, allowing you to easily kill them with charged attacks.
You can now return to the area that overlooks the pyre to drop, take the path to the fountain plaza and then head down the ladders near Viola’s Daughter to reach the sewers again.
Drop down and carefully kill the Carrion Crows behind you before you take out all the Rotted Corpses guarding the Quicksilver Bullets x10 , like it’s some sort of treasure, and then continue along the sewer to three more Rotted Corpses.
Don’t be fooled by the enemies pretending to be dead near the Quicksilver Bullets.
Make sure to check the small alcove for a Blood Stone Shard and then take the ladder to the right of the tunnel to reach another bridge.
Ignore the bridge and enter the nearby building to activate the elevator, which leads to the Huntsman’s Minions near the dark house and other shortcut to the lamp, and then return down the ladder. The tunnel next to you has a Maneater Boar at the end of it, but if you rush past it as it roars you can get behind it for a charge attack to stagger it and follow that up with a visceral attack.
You can now pick up the Saw Hunter Badge and Coldblood Dew (2) before exiting the tunnel out the other end and climb another ladder.
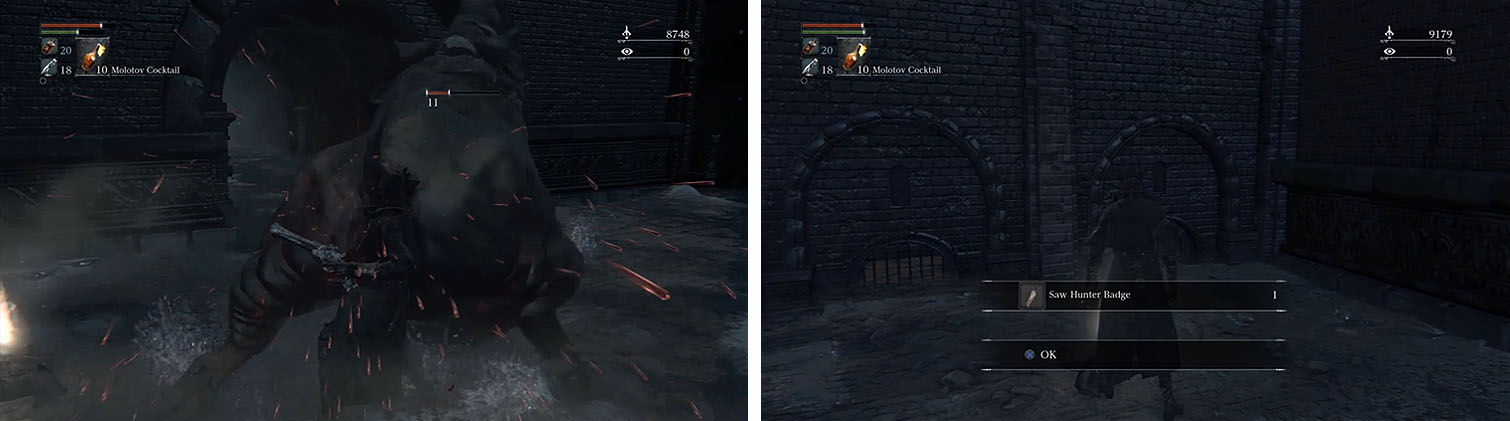
Defeat the Boar with a visceral attack and pick up the Badge, unlocking items at the shops.
This leads to the other side of the large bridge you were just at, when you activated the elevator, and you can easily take out the shielded Huntsman and Huntsman’s Minion. You can now take the nearby stairs and carefully pull over one of the Large Huntsman with a gunshot to make your life easier and then grab the Bold Hunter’s Mark x2 nearby.
If you continue up the stairs you’ll reach the second boss arena, but DO NOT ENTER. Instead, use a Madman’s Knowledge and then head across the bridge to the elevator and use the lamp.
No Comments