Warp to the Witch’s Abode and make your way back to the crossroads with two Executioners in Hemwick Charnel Lane. As you approach the large tombstone next to the main road a cutscene will occur, in which a carriage to Cainhurst appears. You can now ride the carriage to Cainhurst and climb the steps, waiting for the gate to open, and then light the lamp.
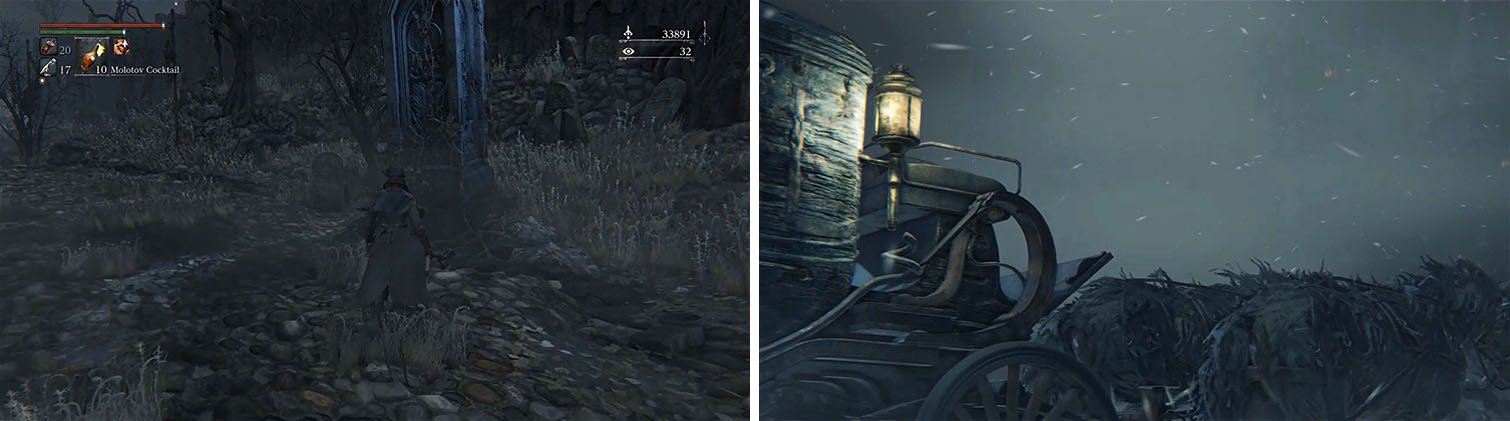
Return to the tombstone in Hemwick to reach the Forsaken Cainhurst Castle.


There are multiple paths to take from the lamp: one towards the fountain, one down the hill into a ravine, and another to a building off by itself with an inactive lift. Start by heading behind the building to grab the Frenized Coldblood (9) and then make your way down into the ravine full of Parasite Larva to grab the Tempering Blood Gemstone (3) at the end.
There are no items on opposite side of the ravine, so kill the two Bloodlickers if you like and then return toward the lamp and make your way to the fountain.
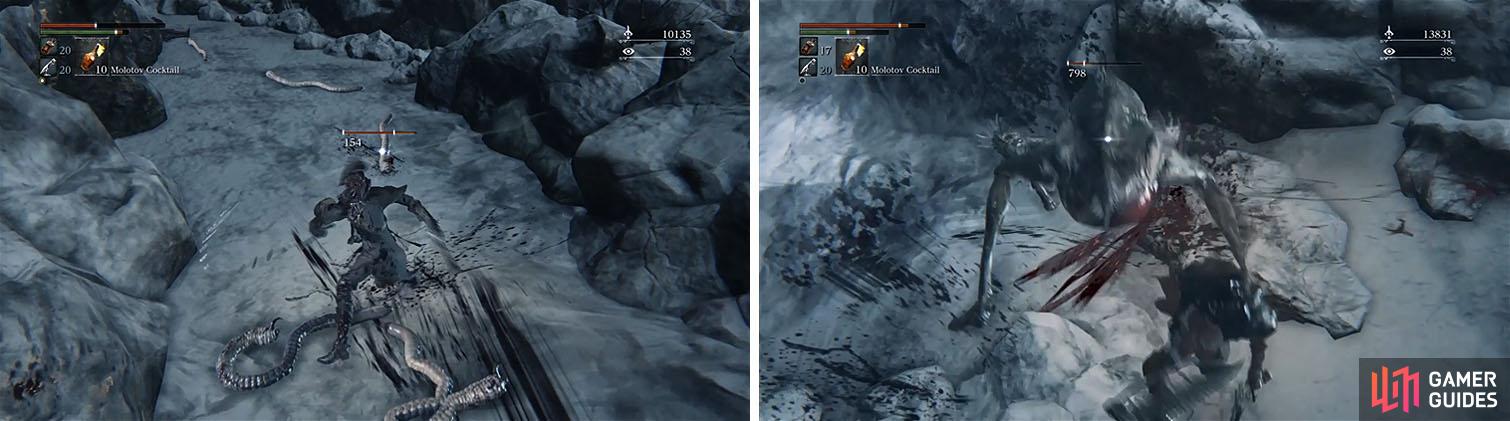
Defeat the Parasite Larva for the Gemstone and then kill the Bloodlickers.
Kill the two Bloodlickers around the fountain before grabbing the Numbing Mist x2 and then follow the right ledge of the ravine to a corner with another Bloodlicker and more Numbing Mist x4 . You can now cross to the opposite corner, to the left of the castle entrance, and kill three more Bloodlickers to collect the Numbing Mist x4 , Frenzied Coldblood (9) , and Frenzied Coldblood (8) .
Enter the large double doors to the castle and sweep both floors for Cain’s Servants, making your life a bit easier when the Forsaken Castle Spirits appear after picking up the first item. You can now collect the following items: Blood Stone Chunk , Reiterpallash , and Madman’s Knowledge x2 .
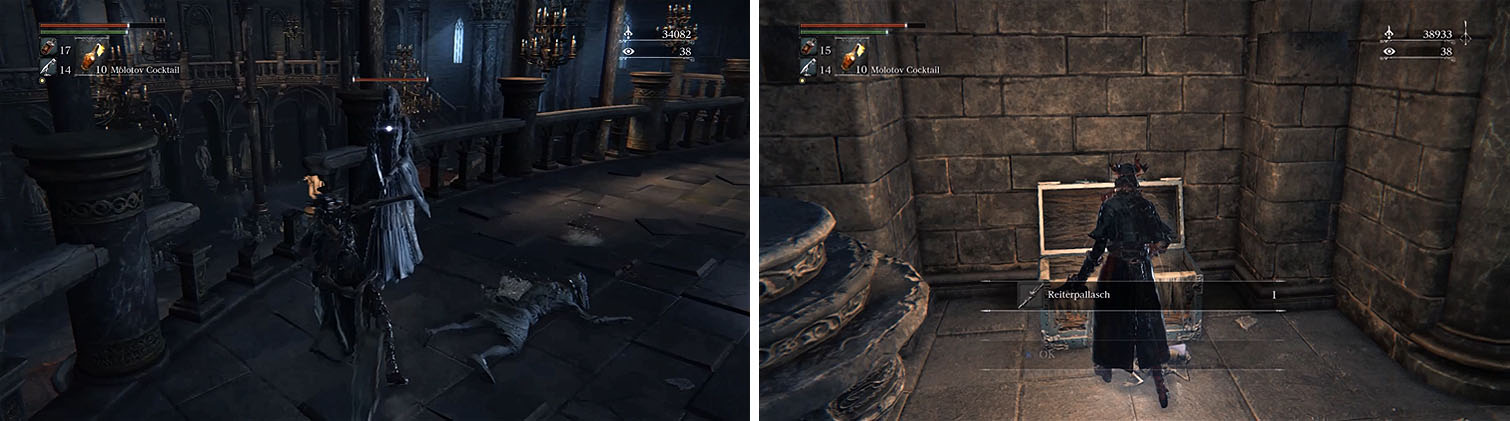
Once you pick up an item the spirits will spawn, so enjoy picking up the Reiterpallash.
The next room has some more Forsaken Castle Spirits in it before you grab the Quicksilver Bullets x4 and then make sure to check the chest in the side of the room for the Noble Dress . You can now exit to the balcony and take the stairs to find a Lost Child of Antiquity straight ahead, beware because he blends in with the statues.
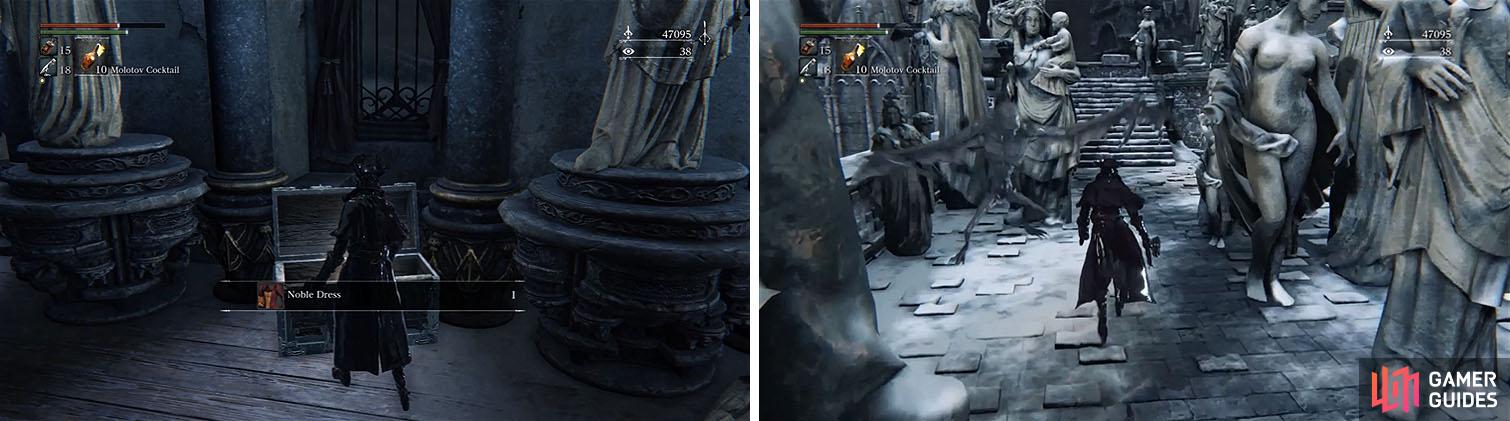
Grab the Noble Dress and then exit up the stairs, watching out for the enemy on the left.
Take the stairs at the back of the area and swing left behind a statue to reach the top of the tower for a Blood Stone Chunk . Return downstairs and kill the Lost Child of Antiquity standing in the open and then continue, killing the Lost Child of Antiquity just before the doorway on the left and his friend that comes swooping in.
Inside the tower you’ll come across your first Cain’s Servant with a rapier, so attack him quickly to avoid his combos, and then exit the tower and turn right to spot the Executioner Set between two Lost Child of Antiquity that you can easily shoot off the ledge. Enter the next building and open the nearby chest with the Vileblood Register before activating the lift back to the beginning of the level.
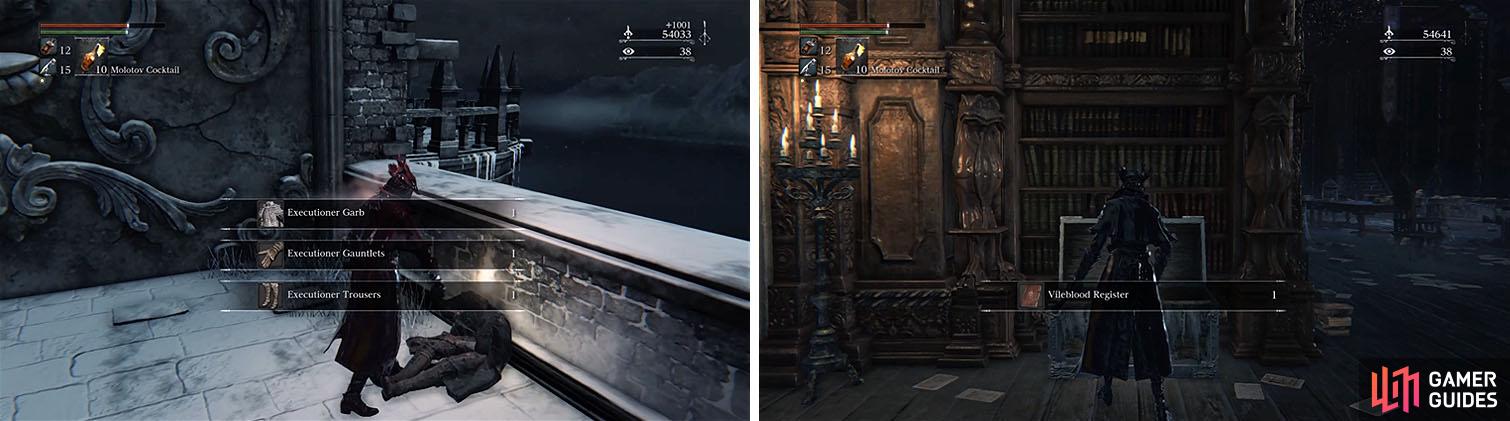
Make sure to get the Executioner’s Set and the Vileblood Register near the elevator.
When you return to the library floor you’ll want to rush to the back of the area to kill the Cain’s Servant with a blowgun on the movable staircase, this will prevent the many Forsaken Castle Spirits from becoming extremely aggressive. You can now clear out the Spirits, grab the chest with the Evelyn by running up the moveable staircase and dropping onto the table, and then head upstairs.
There are multiple Cain’s Servants on this level that you’ll want to quickly take out and before you exit the window make sure to follow the left wall to a Blood Stone Chunk . Outside, carefully drop down between the ledge edge and the gargoyle statue for some Quicksilver Bullets x6 and then make your way to the ground.
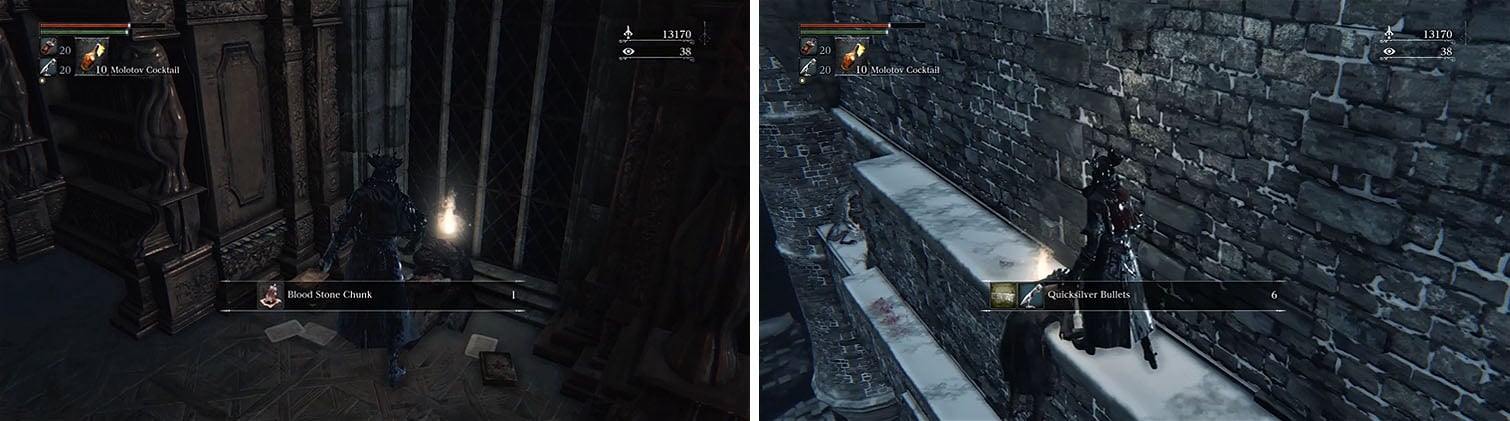
Pick up the hidden Blood Chunk and then make sure to check the ledge for some bullets.
Enter the building and kill the Forsaken Castle Spirits, backing away from the headless ones when they raise their heads to avoid being binding, and then open the chests for the Executioner’s Gloves and Knight’s Set .
Return outside and cross the ledges to the rooftop on the far edge for and Kin Coldblood (10) , beneath a Lost Child of Antiquity, and then drop back into the library. Pull the device to activate the shortcut leading back to the elevator, which also reveals a ladder, and climb to the upper level to find a chest with a Warm Blood Gemstone (3) in the corner. If you run around the outside of the balcony you’ll find a Wandering Nightmare and you can then enter the spiral staircase near the ladder to continue to the rooftop.
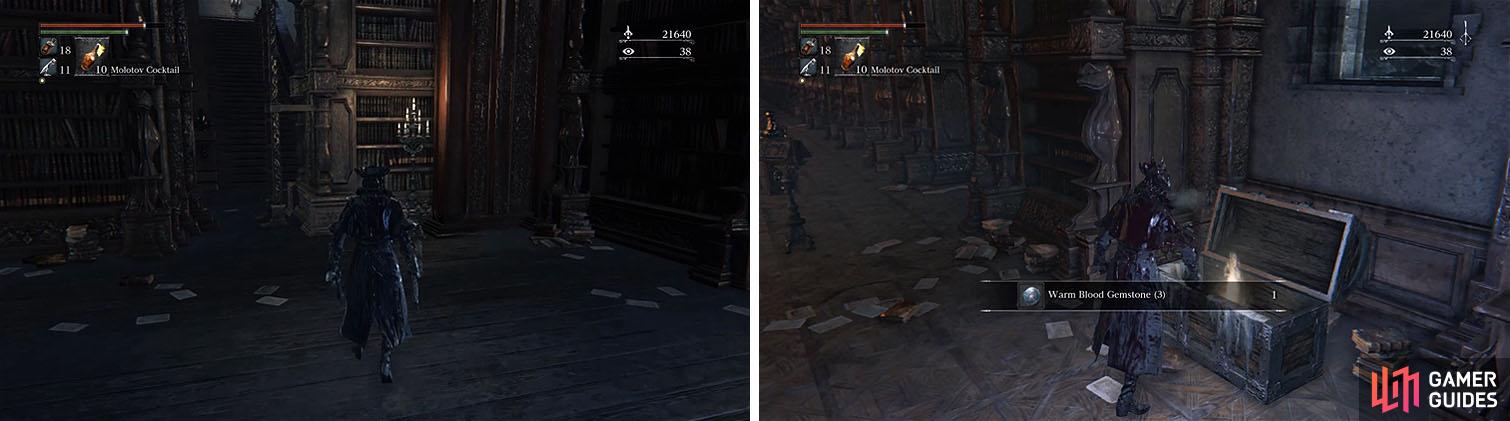
Unlock the shortcut to climb up and open the chest with a Blood Gemstone.
Kill the Lost Child of Antiquity on the roof, as well as the two that fly in when you pick up the Knight’s Wig , and then drop to the lower roof. Hug the circular roof to drop to the fenced roof and then drop to another circular roof, dropping one more time. Grab the Kin Coldblood (10) and then climb the ladder and then head straight ahead for the Bold Hunter’s Mark x2 before approaching the boss.
No Comments