

Lush Woodland Path - Serah leaves Noel to sulk alone for a while, and control switches to Noel. Follow Serah through the Forest Crossroads to the Assembly Area and watch Snow get mutilated.
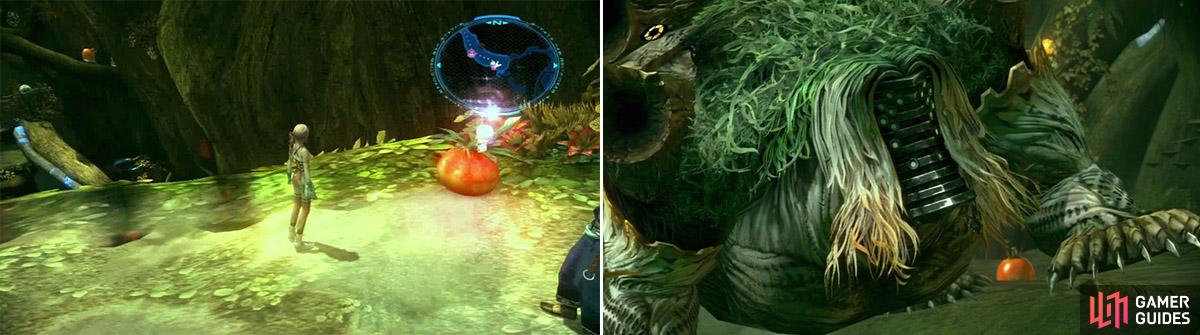
Boss Battle: Royal Ripeness
His Royal Ripeness gets continuously healed by a bunch of smaller Flans near his base, and you cannot do anything about it. At the start of battle the entire team gets poisoned, so whip out MED paradigms and Esuna yourself. Then the Flan will keep slapping you with those big hands of his. Stick Deprotect and Deshell on the tomato until it’s staggered, and then bring out the pain with triple COMs. As an added bonus Snow fights alongside you, but you cannot directly control his actions.
Cinematic Action Sequence Incoming! (after removing about 20% of boss’ HP)
- Press Square
Doing so grants Protect to the entire party. When his HP is quite low, he’ll ready a big slam by raising its arms high in the air. Switch to triple SEN to guard a big chunk of the damage, then proceed to your regular slimekicking.
The reward for a perfect Cinematic Action is a Crystal Heart . Um, the flan isn’t dead yet? The party promptly escapes to the Base of the Crystal for a Live Trigger: (Snow’s here because of something Lightning said in his dream. What else does he know?), then talk to Snow to get the Map of Sunleth Waterscape.
Anyway, currently you’re on the very north of the map at the Base of the Crystal. To your left is the north shiny gate, so just examine it for reference, then go south, cash in 625 gil from a treasure sphere, and you arrive at the Undergrown Path. Grab onto the vine to swing over past the giant Flan into the Assembly Area and from there go to the Forest Crossroads. To the northwest is another shiny gate, so examine it for reference.
We highly, highly, recommend that you battle Oannes enemies, which drop Moistened Scales . Get four of these and you can buy weapons with ATB +25% rate!
| Category | Items |
|---|---|
| Accessories | Ember Ring, Frost Ring, Spark Ring, Zephyr Ring |
Use Moogle Hunt on these apparitions (left). This wasn’t how I planned it! (right)
Continue past the crazy chocobo girl and the path will split. There’s two sets of Flan apparitions blocking your way, so get rid of them all with R1. Take the right path into the Overgrown Forest and take the 960 gil from a treasure sphere at the dead end. Return to the Lush Woodland Path and now take the left path, pick up 9x Vitality Droplet as you pass, and walk over tree trunks to reach the Overgrown Forest. Use the vine to swing further, then continue to jump up the next two platforms until you reach the dead end. Oho, an artefact! But it’s blocked by some minor enemies, which can be quickly dealt with.
After the battle deal with the Live Trigger: (Snow’s friends are still trapped in the pillar. What should Noel ask him about?), and you can nab the Thundering Artefact tthat activates the shiny gate in the Base of the Crystal area. A Live Trigger Cube also appears close to you, so claim its contents. Jump down to the lower platform and grab the vine to swing back to the Lush Woodland Path. Chocobo riding has been enabled - sweet! Mosey over to the Forest Crossroads and check down the southwest path. Prepare for the next boss batt…? What?
Animal Trail - I got me a monstar! While traversing the area on the beast, the party spots several treasure spheres out of reach, and suggest throwing the moogle to retrieve them. But Mog doesn’t approve, hehe.
Practice moogle throwing on the three treasure spheres near you, and when you nab them all (they contain Librascope , Silver Bangle , and 8x Mana Chip ), the beast moves on. Look to your left now! When you spot an artefact, ready the moogle and toss it to retrieve WILD ARTEFACT (02/10).
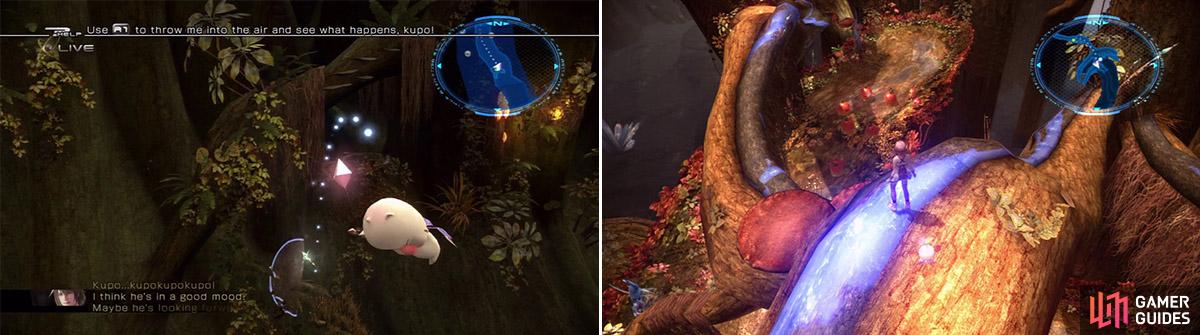
Throw Mog at this point for the Wild Artefact. Keep your eyes peeled for it as it is easily missable (left). Combat Artefact in sight (right).
Get off the beast when it stops to reach the Warpwood, and stop near Chocolina. Toss the moogle at the treasure sphere out of reach to get 7x Vitality Chip , then go southeast. Use the vine to swing over to Bow Isle. When you land, Mog’s bobble lights up. North from your position there’s a concealed vine dangling from above, so press R1 to uncover the vine, but don’t use it yet.
Go southwest, grab the Zephyr Ring , and check in with the shiny gate at Bow Isle. Then there’s a path that branches off to the southeast from Bow Isle that we haven’t yet explored. Jump over the tree trunks onto Bumpy Bough…
… until you reach the bottom of the Isle of Arboreal Embrace. As you hit the ground, there is a treasure sphere floating just above you, so use Moogle Throw to snipe an Ember Ring , and turn around. Another artefact is being guarded by a bunch of minor enemies. Clear them all to obtain the Combat Artefact which activates the shiny gate at Bow Isle. And killing off those enemies also enabled chocobo riding in this part of the Waterscape.
Return to the Bow Isle and use the vine we uncovered a short while ago to swing over to the Hidden Woodland Area. First you run into a concealed treasure sphere, so reveal it with R1 to get a Unicorn Horn , then collect the Frost Ring from the other treasure sphere. Use another vine to land near Chocolina in Warpwood, then turn around and use R1 to uncover one more concealed vine.
Return to the Forest Crossroads and hike east to where you obtained the Thundering Artefact in the Overgrown Forest. Turn around and drop down to the lone platform with a fragment above you. Toss the moogle up to retrieve AF300 SUNLETH WATERSCAPE FRAGMENT - Extraordinary Egg (01/02) + 300CP !
Now work your way over to the shiny gate in the Base of the Crystal area and use the Thundering Artefact to unlock AF??? Archylte Steppe.
No Comments