Floor 12
Okay, there are three circular walkways with southwest, southeast and east facing rooms. Your starting point is in the east room. Check the orange terminal to turn the east room around, enabling you to exit. The general way to navigate the tower is fiddling with terminals - they turn rooms around and connect walkways allowing you to move to the next area.
Flip the switches to rotate the rooms (left). This platform takes you to the 15th floor (right).
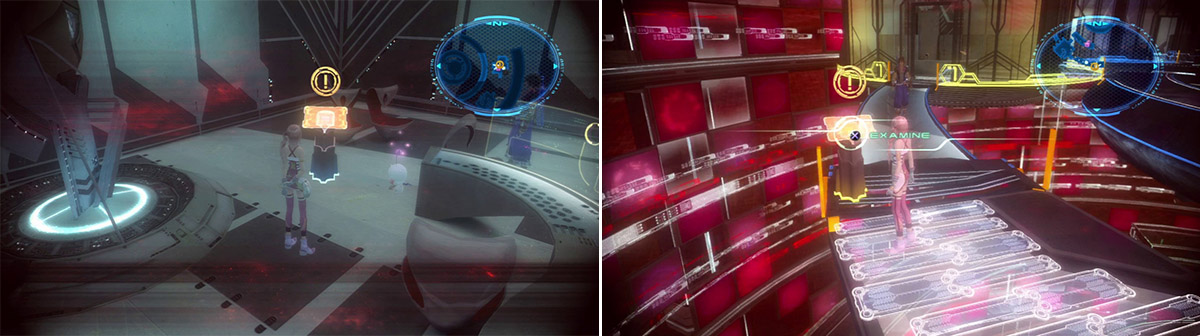
Exit to the middle walkway, and a robotic voice will say a number [1]. Go south, check terminal No.2 to rotate the southeast room and walk through it to the outer walkway. The robotic voice will say number [2]. Walk north to reach 9x Mana Sliver , then turn around and walk west. Examine terminal No.3 twice to rotate the southwest room. When you step out of it onto the middle walkway, the robotic voice will say number [3]. An elevator descends in the middle of the floor. Go north on the middle walkway to reach 800 gil , then board the elevator and fiddle with the terminal to go to floor 14.
Floor 14
Here we have three circular walkways with west and southwest rooms. Step off the elevator and head west to the middle walkway with Chocolina’s (who sells new accessories). There is also a scene of another elevator being lowered near the outer walkway. There’s a ledge north from the elevator with a treasure sphere on it. Toss the moogle over there to claim 2x Potion .
| Category | Items |
|---|---|
| Accessory | Delicate Spark Ring, Durable Spark Ring, Delicate Zephyr Ring, Durable Zephyr Ring |
Check the terminal No.7 south from Chocolina twice to rotate the west room.
Walk through the west room (pocket 8x Vitality Bolt ) onto the outer walkway into southwest room (the robotic voice will say number [7]). Inside the southwest room, examine the terminal once to rotate the southwest room, allowing you to reach the concealed treasure sphere with 6x Vitality Sliver , then fiddle with the terminal once more to rotate the southwest room, then exit southeast to reach the aforementioned lowered elevator (the robotic voice will say number [1]). Stand on it, and fiddle with the terminal to rise to floor 15.
Floor 15
Here we have three circular walkways with southwest and west rooms. Turn around and from your current position, use Moogle Throw to reach a treasure sphere with a Phoenix Down . Now walk through the southwest room onto the middle walkway and dash to the north-most edge of the middle walkway. Use Moogle Throw to reach the Librascope on the far ledge. Finally check the terminal No.7 thrice to rotate the southwest room and you can now reach the west room (the robotic voice will say number [7]). Bash terminal No.2 next to the west room twice to rotate it (the robotic voice will say number [2]).
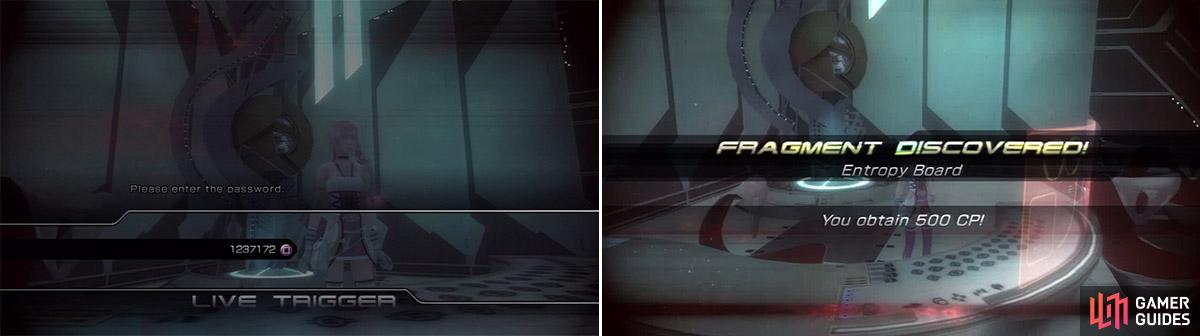
The correct password (left). Entropy Board fragment (right).
Examine the orange monitor in the room for a Live Trigger (Please enter the password. / 1237172 - or the numbers the robotic voice was spewing) and you will receive AF300 AUGUSTA TOWER FRAGMENT - Entropy Board (01/01) + 500CP ! You also get the Access Key 50 , and that annoying screen effect is gone, too. Leave for the Historia Crux and re-enter AF200 Augusta Tower.
No Comments