
Exacter Dunmire will be one of the first NPCs you meet in Lords of the Fallen, and he’ll have a quest that spans the entire game. As you complete the steps of his quest, he’ll sell you more equipment and spells including the coveted Lucent Beam radiance spell while you’ll also unlock more of his story about a holy man who gradually loses himself to the Umbral void. Here, you’ll find a step-by-step walkthrough of Exacter Dunmire’s quest.
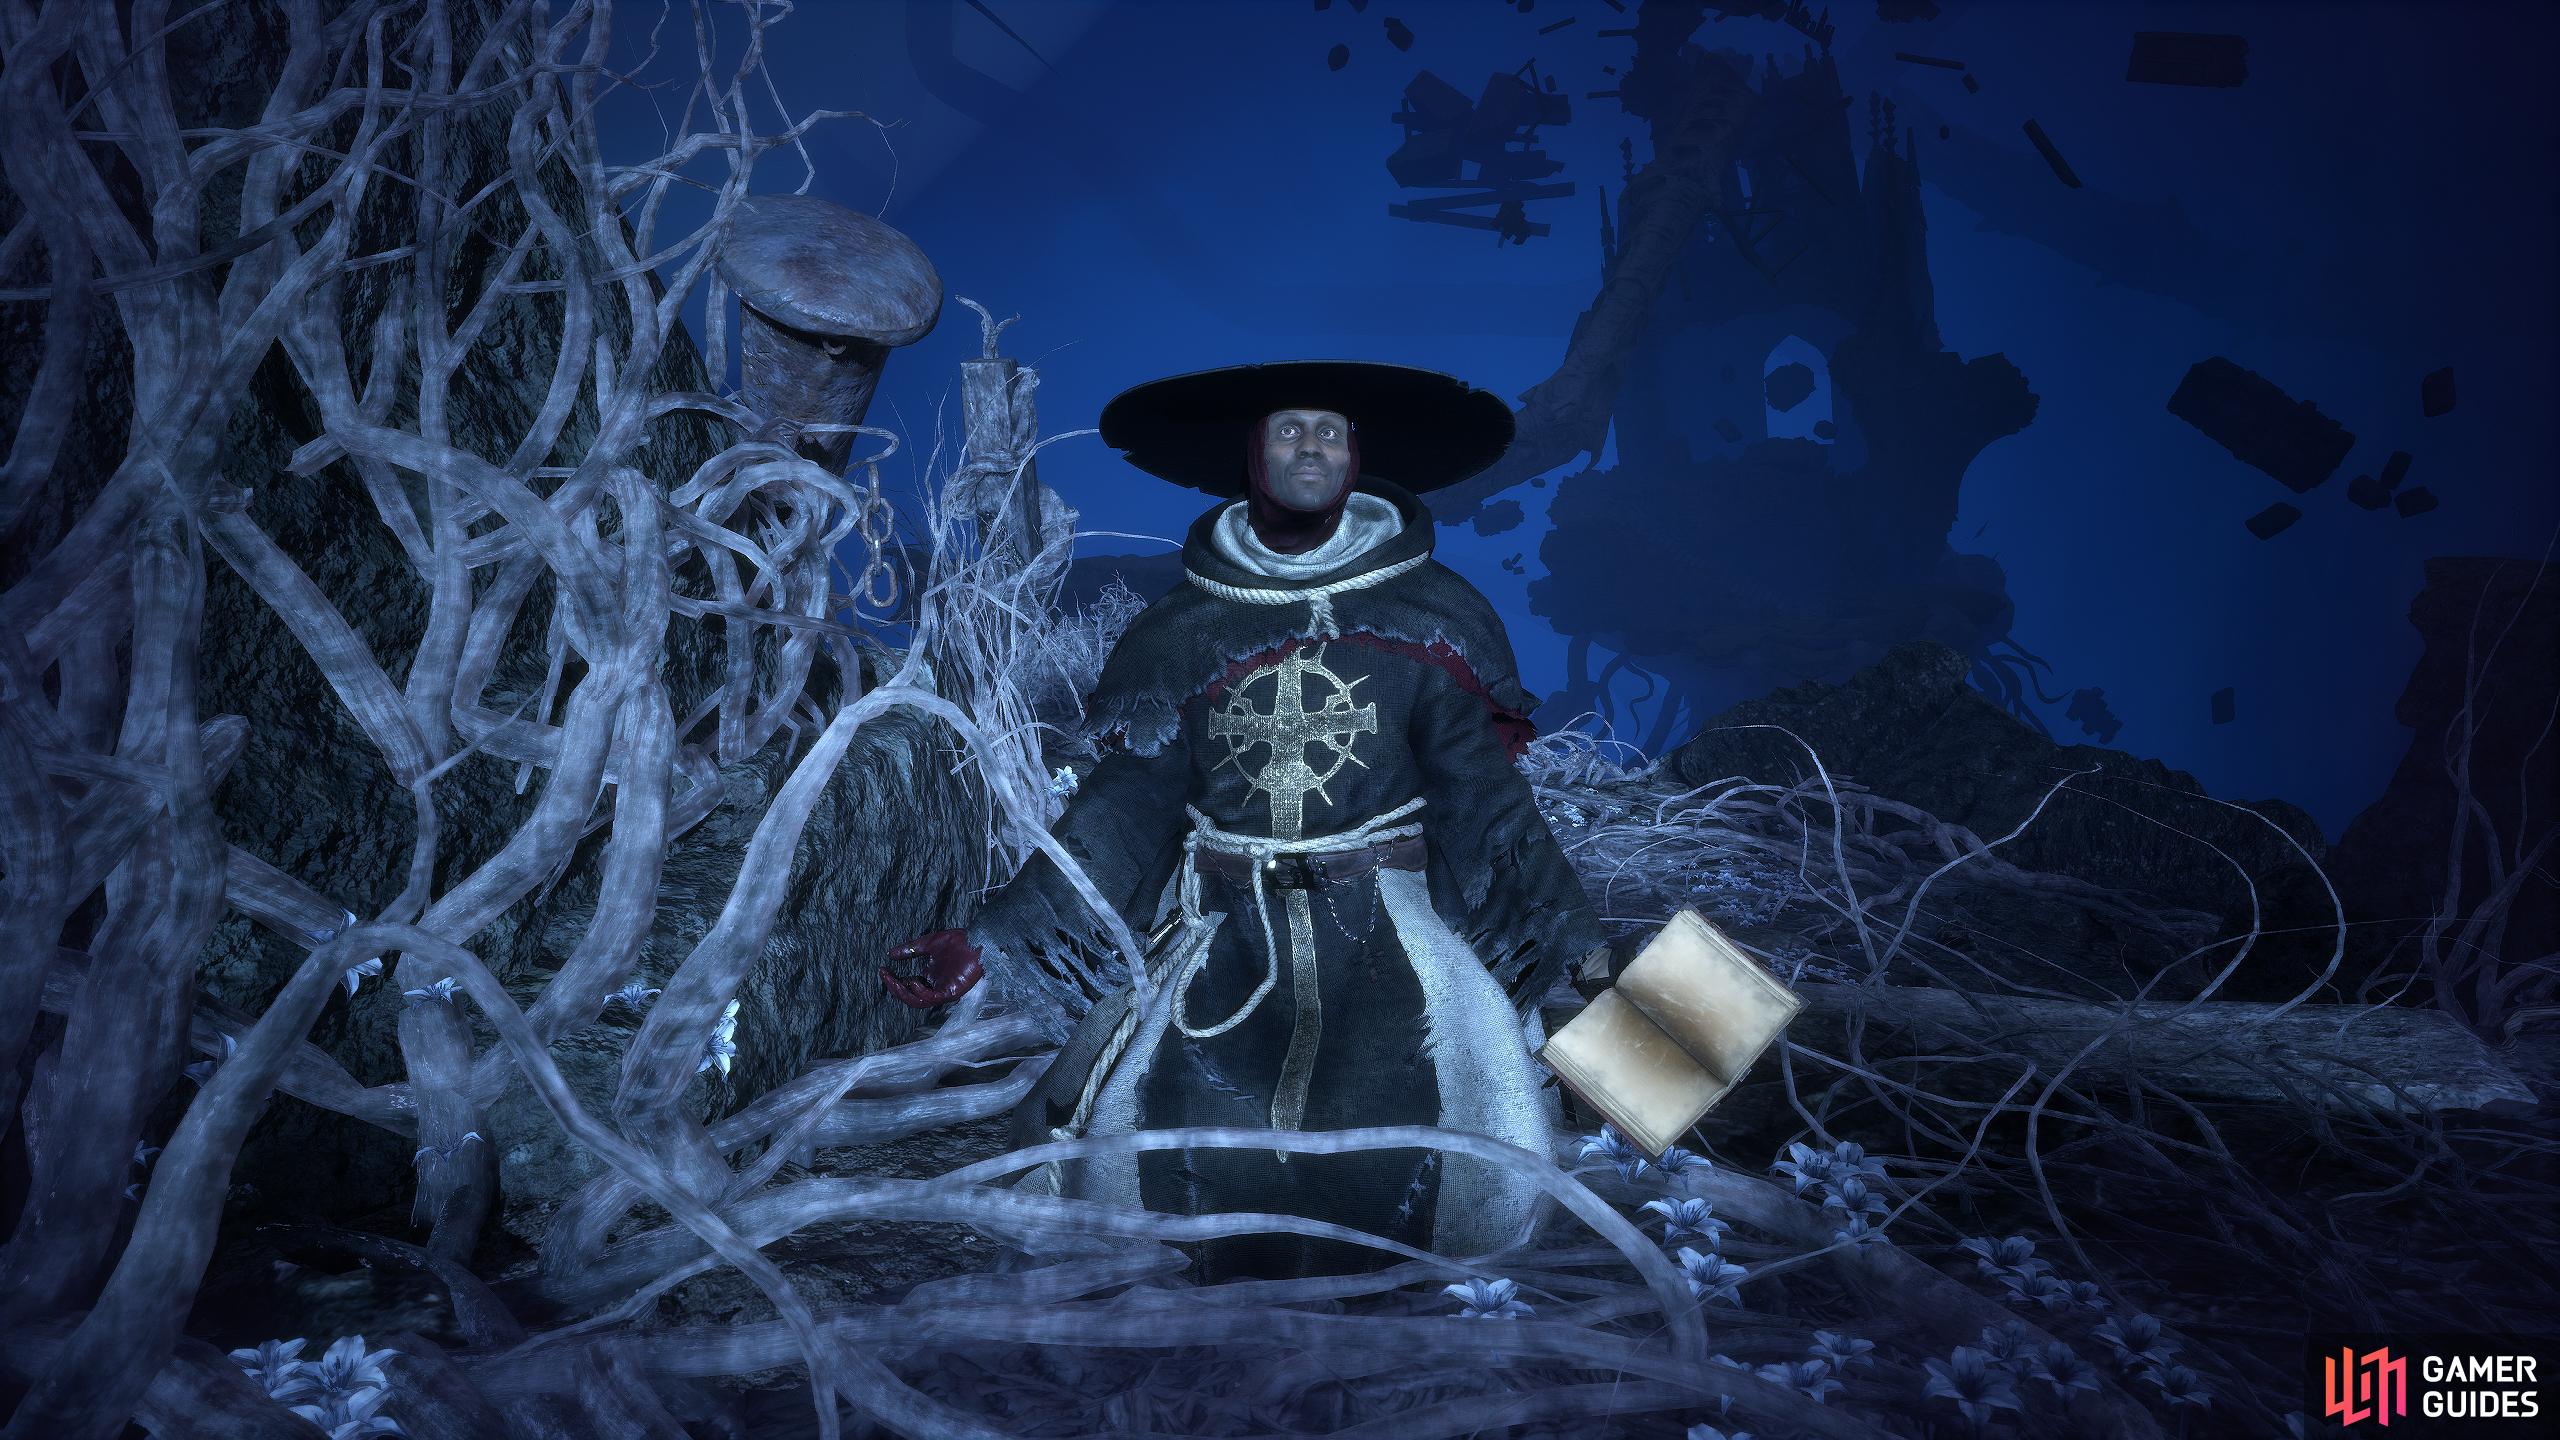
Exacter Dunmire looks a lot different than he used to. Want to know why? Read below.
First Meeting - Skyrest
The first time you’ll meet Dunmire outside the opening cutscene is when you reach the Skyrest hub for the first time standing opposite the Vestige. Talk to him and exhaust his dialogue, and he’ll explain to you what he expects out of you, as the ![]() Umbral Lamp owner. When you’re done talking to him, you’ll receive the Dark Crusader’s Gesture and you can peruse his stock of items which is mainly starting gear from other classes.
Umbral Lamp owner. When you’re done talking to him, you’ll receive the Dark Crusader’s Gesture and you can peruse his stock of items which is mainly starting gear from other classes.
Rest at the Vestige, and you’ll find out that he’s moved to his study which can be found past the archway to the left of Pieta, and Molhu’s room. Speak to him again, and he’ll want you to find evidence against the Hallowed Sentinels. This will send you on a wild goose chase looking for several items which you can find as you progress the game, and explore new areas. The items he wants you to find must be given to him in the correct order which are as follows:
 Bloody Aspergillum - Pilgrim’s Perch.
 Book of Sin - Pilgrim’s Perch.
 Hallowed Sentinel Scripture - Pilgrim’s Perch.
 Vanguard Barros’ Rosary - Forsaken Fen.
 Ravager Gregory’s Rosary - Lower Calrath.
 Dark Crusader’s Call - Revelations Depths.
 Umbral Tome - Upper Calrath.
 Perception Wisp - Tower of Penance.
After speaking to Dunmire the first time and resting afterward, he’ll head to his study near Pieta.
Where to Find the Bloody Aspergillum
Warp to the Vestige of Chabui, and climb the two ladders on the opposite side of the room. At the top, head right across the beam to the other side, and make your way to the bottom. This room is the boss arena of Scourged Sister Delyth. If you want a boss guide on her, check out our Scourged Sister Delyth Boss Strategy page. Once she’s defeated, head back to the door where you entered the arena, and look opposite it to find an altar with an item on it where you can pick up the item to obtain the Bloody Aspergillum. Note, you don’t need to defeat the boss to obtain the item, you can loot it at the start and then die to the boss if you want, but you will need to defeat the at some point.
If you’ve just started the game, read our in-depth walkthrough to obtain the Bloody Aspergillum which will walk you through how to reach the Vestige of Chabui. You can find the page here: Bloody Aspergillum Location. Once you have the item, speak to Dunmire back at Skyrest, and hand over the Bloody Aspergillum. This won’t give you any rewards for now, so exhaust his dialogue, and he’ll ask for the next item on the list which is the Book of Sin.

It won’t be able to climb the ladder, so you can take it out from up here provided you have some form of ranged attack. When it’s defeated, drop again, and head to the left where you’ll find the second Ardent Penitent; defeat him as well, then enter the Umbral Realm. Head down the nearby bone ramp, and follow the path around while defeating any enemy that gets in your way. Eventually, you’ll find an Umbral Belly to Soul Flay which will reward you with the Book of Sin. If you want a full walkthrough to reach this area in more detail, head over to our Book of Sin Location Guide.
Once again, head back to Dunmire in Skyrest, and hand over the Book of Sin. You’ll find out a bit more of what’s happening before he asks for the next item on the list, the Hallowed Sentinel Scripture which is also in Pilgrim’s Perch.
Hallowed Sentinel Scripture Location
Warp to the Vestige of Blind Agatha, and make your way down the tunnel to your right until you reach some water. Enter the Umbral Realm to find a new path where the water used to be. Follow the path up the tunnel with the red explosive orbs and follow the path around to the left where you’ll find a chest. Opposite the chest, is a small set of stairs, head up the stairs, and follow the path outside. Here, you’ll find numerous mages, a Holy Bulwark enemy, and two Ardent Penitents. Make your way to the cage at the back of the platform to find the Scripture.
If you’re under-leveled for these enemies, ignore them, pick up the item, and head back up, or use a ![]() Vestige Moth. Head back to Dunmire, hand over the scripture, and once again, you won’t receive a reward. Instead, you’ll get a new task of obtaining both the Vanguard Barros’ Rosary and the Ravager Gregory’s Rosary.
Vestige Moth. Head back to Dunmire, hand over the scripture, and once again, you won’t receive a reward. Instead, you’ll get a new task of obtaining both the Vanguard Barros’ Rosary and the Ravager Gregory’s Rosary.

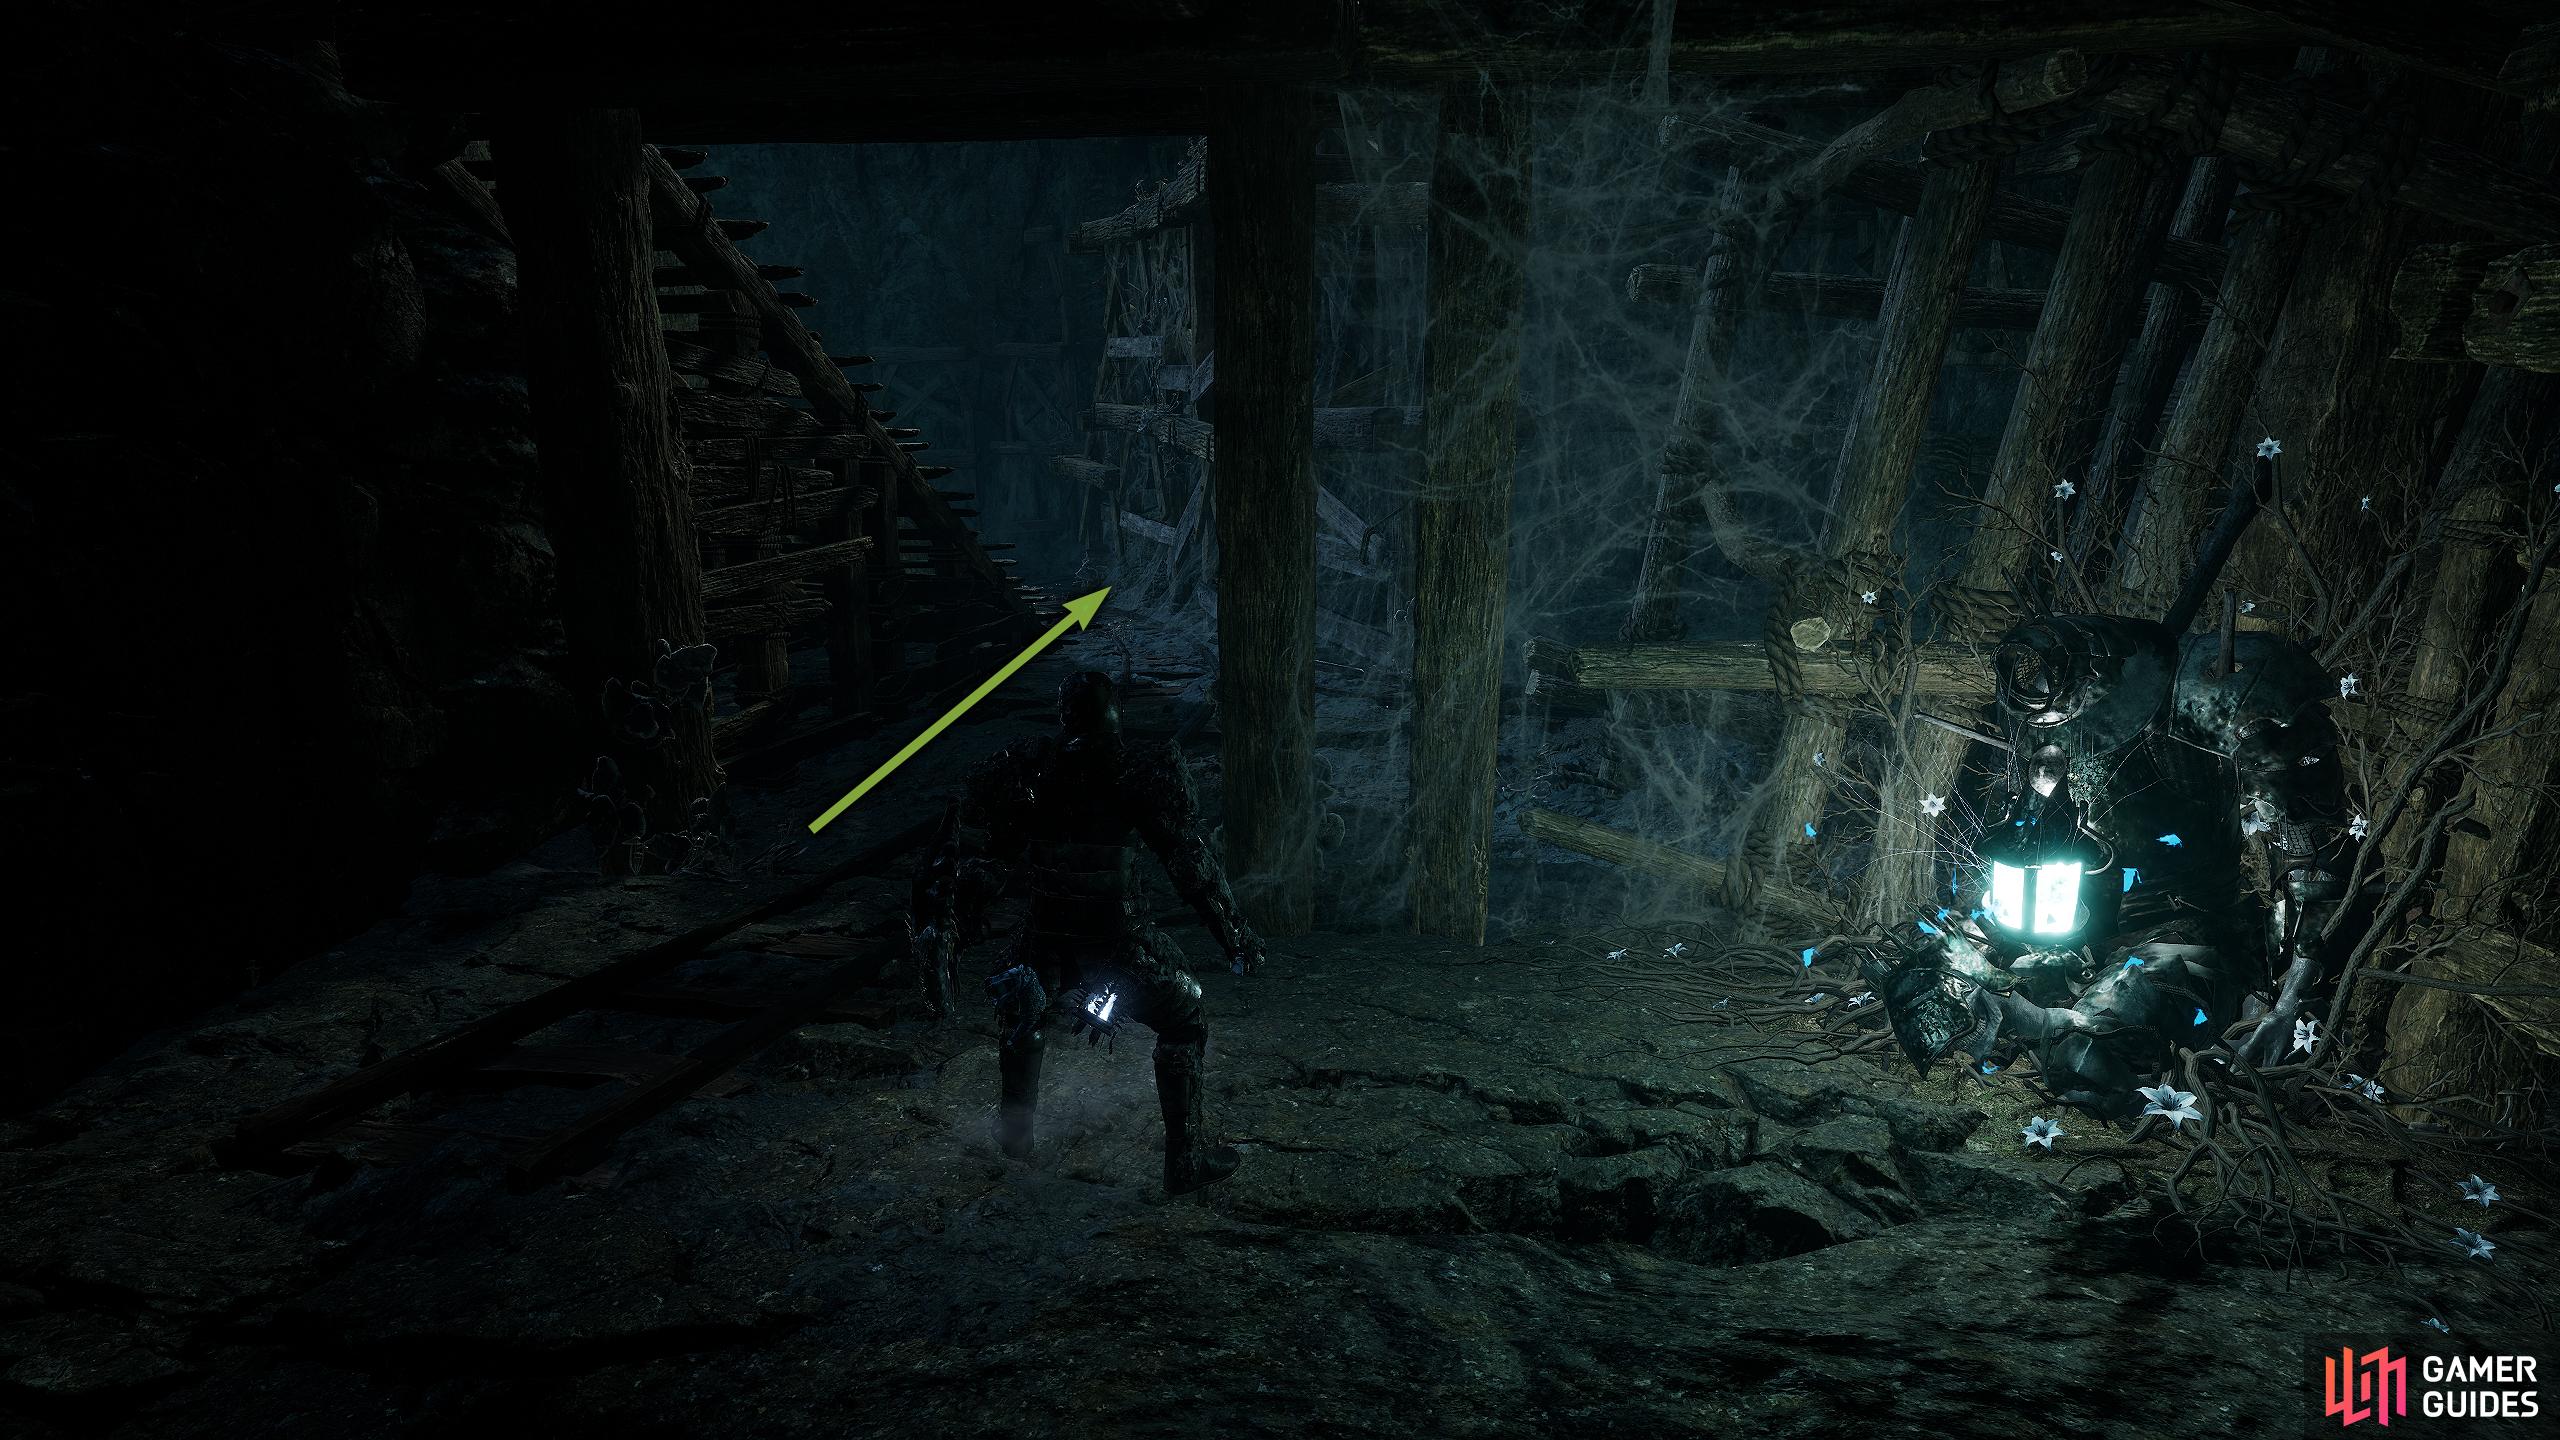
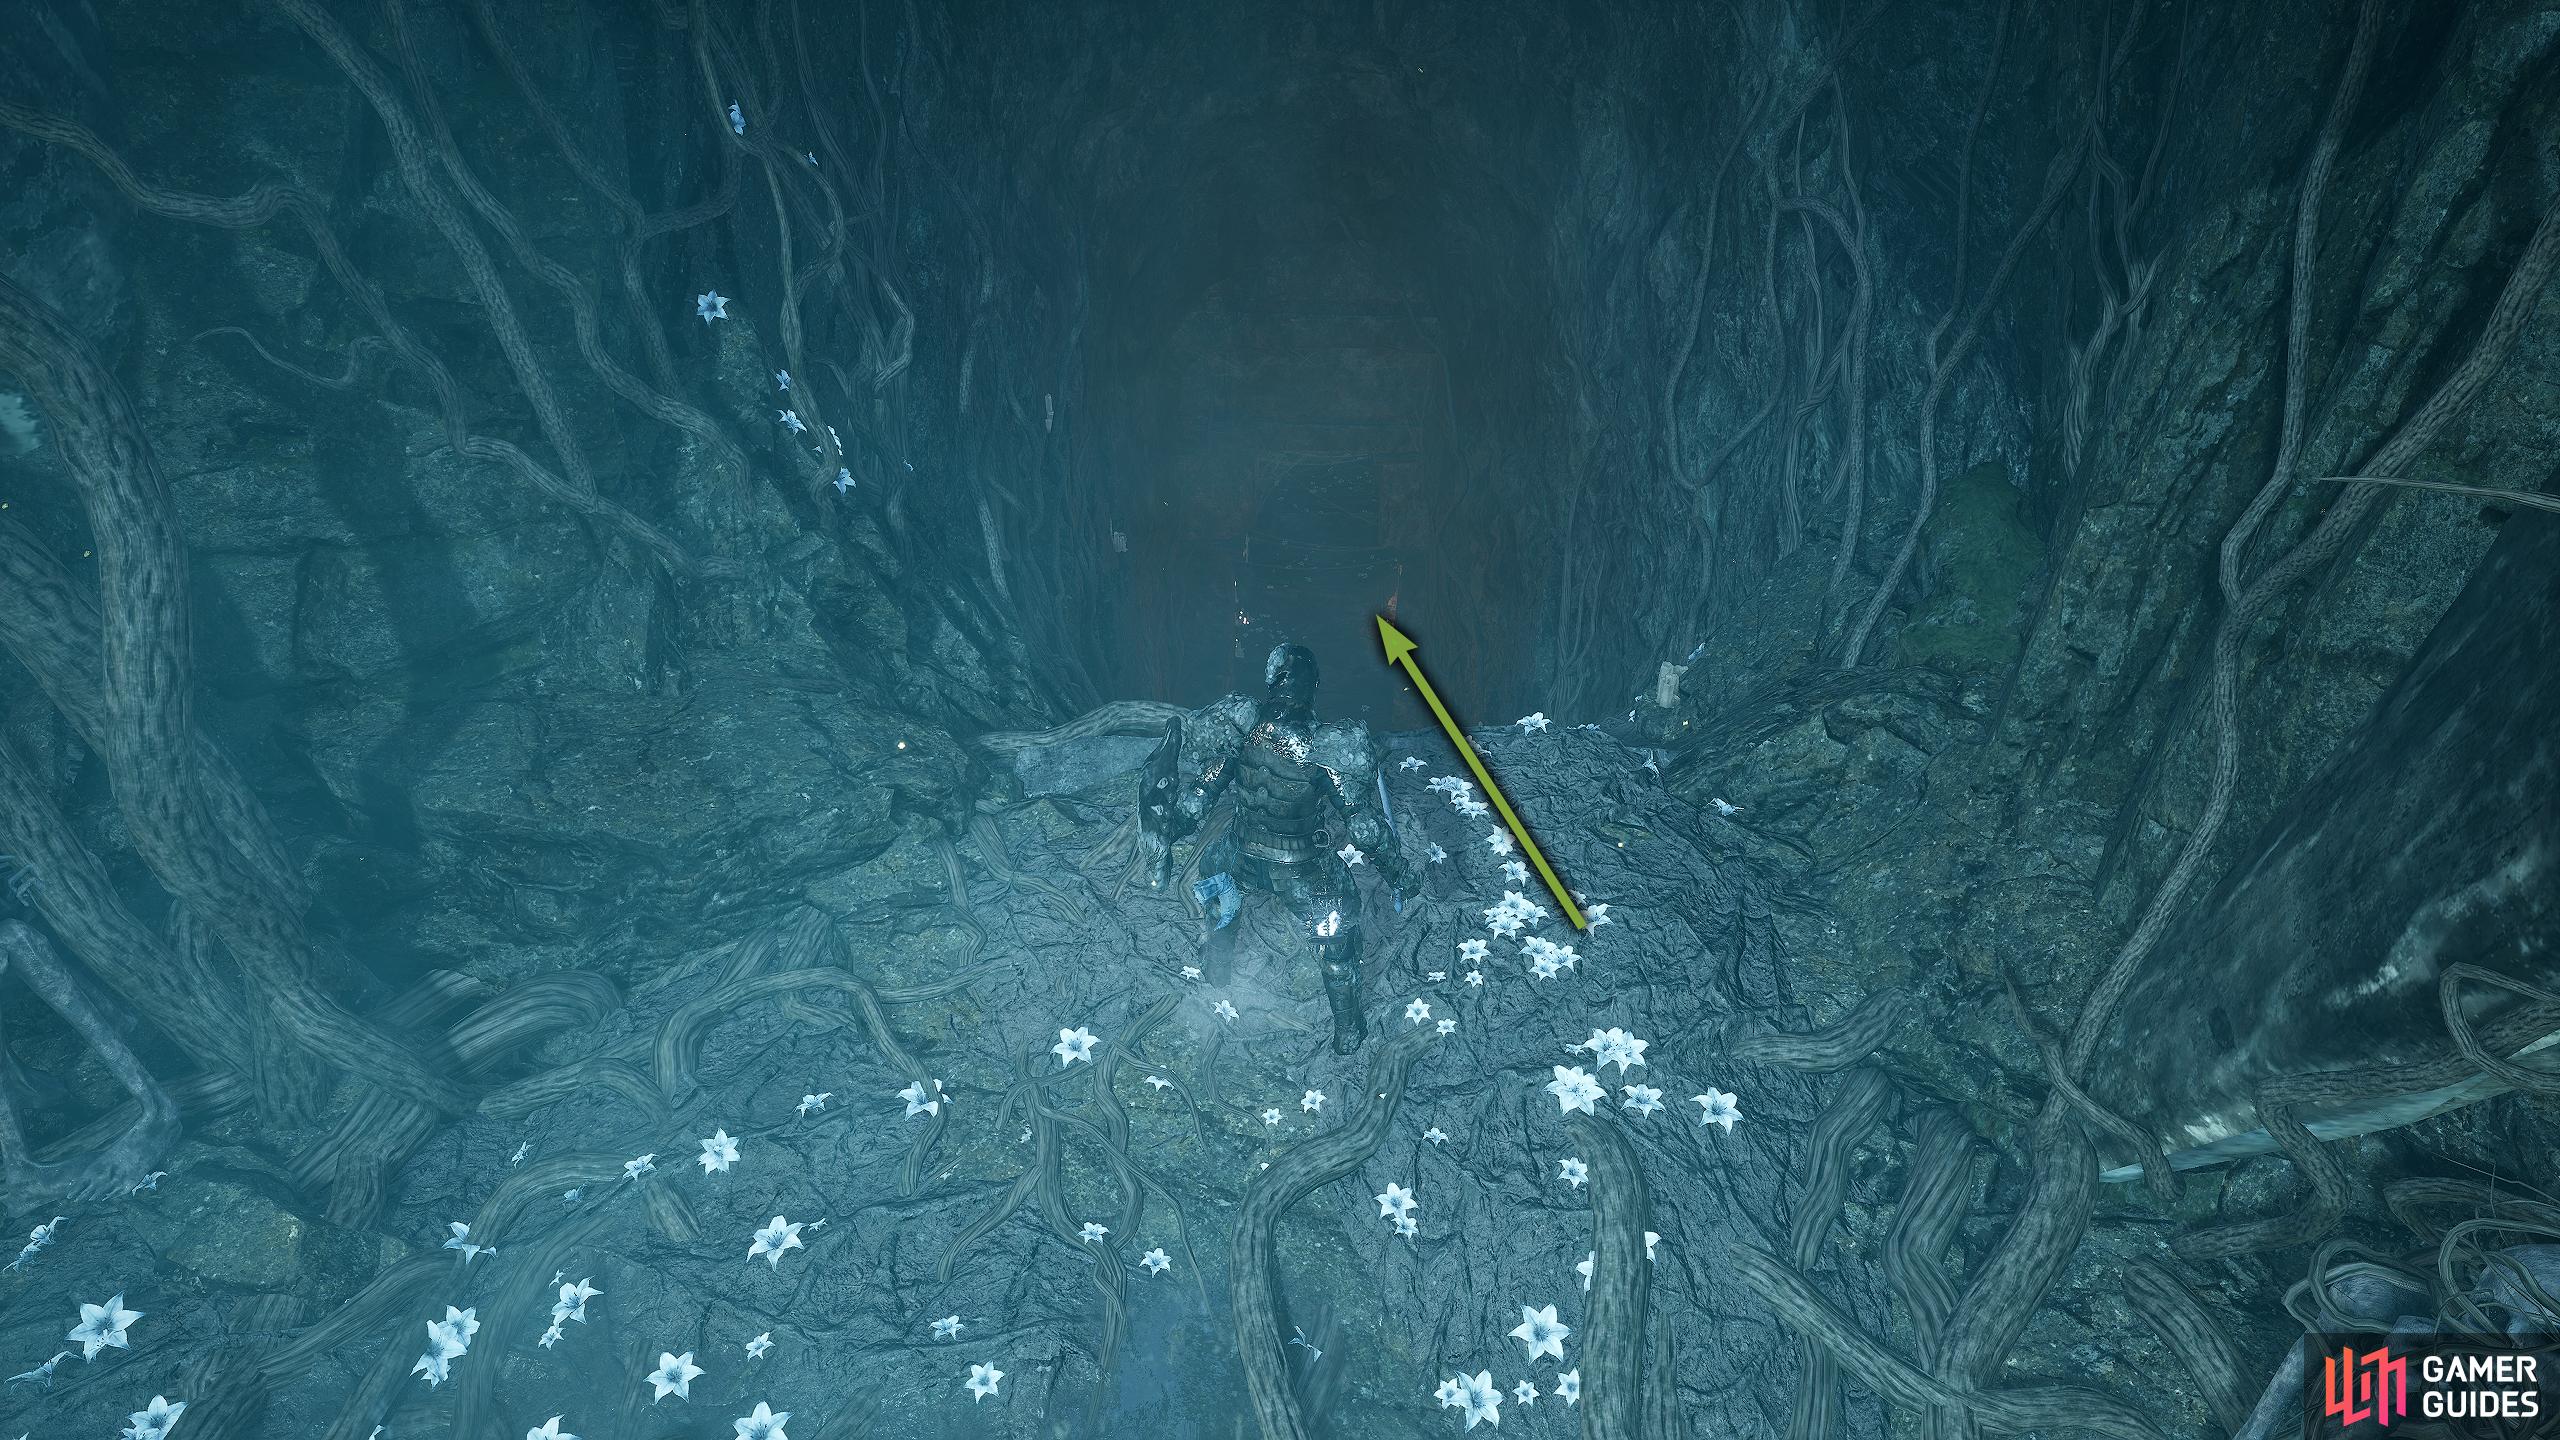
(1 of 4) From the Blind Agatha Vestige, follow the tunnel to the area with water then enter the Umbral Realm. Drop into the new area and head right.
Vanguard Barros’ Rosary Location
The Vanguard Barros’ Rosary is the first out of the two Rosarys you will find, and you’ll find it in the swampy marshes of the Forsaken Fen, fun. This item is a fair way into the Forsaken Fen, so progress the area until you reach the Valade Vestige. Follow the path forward until you reach a large bonfire with numerous enemies, and defeat them. Continue past the bonfire and defeat the enemies in the following area. Once they’re dealt with, proceed forward until you reach some water in front of you, and a path to your left. Enter the Umbral Realm and the water will disappear, and a new path will appear.

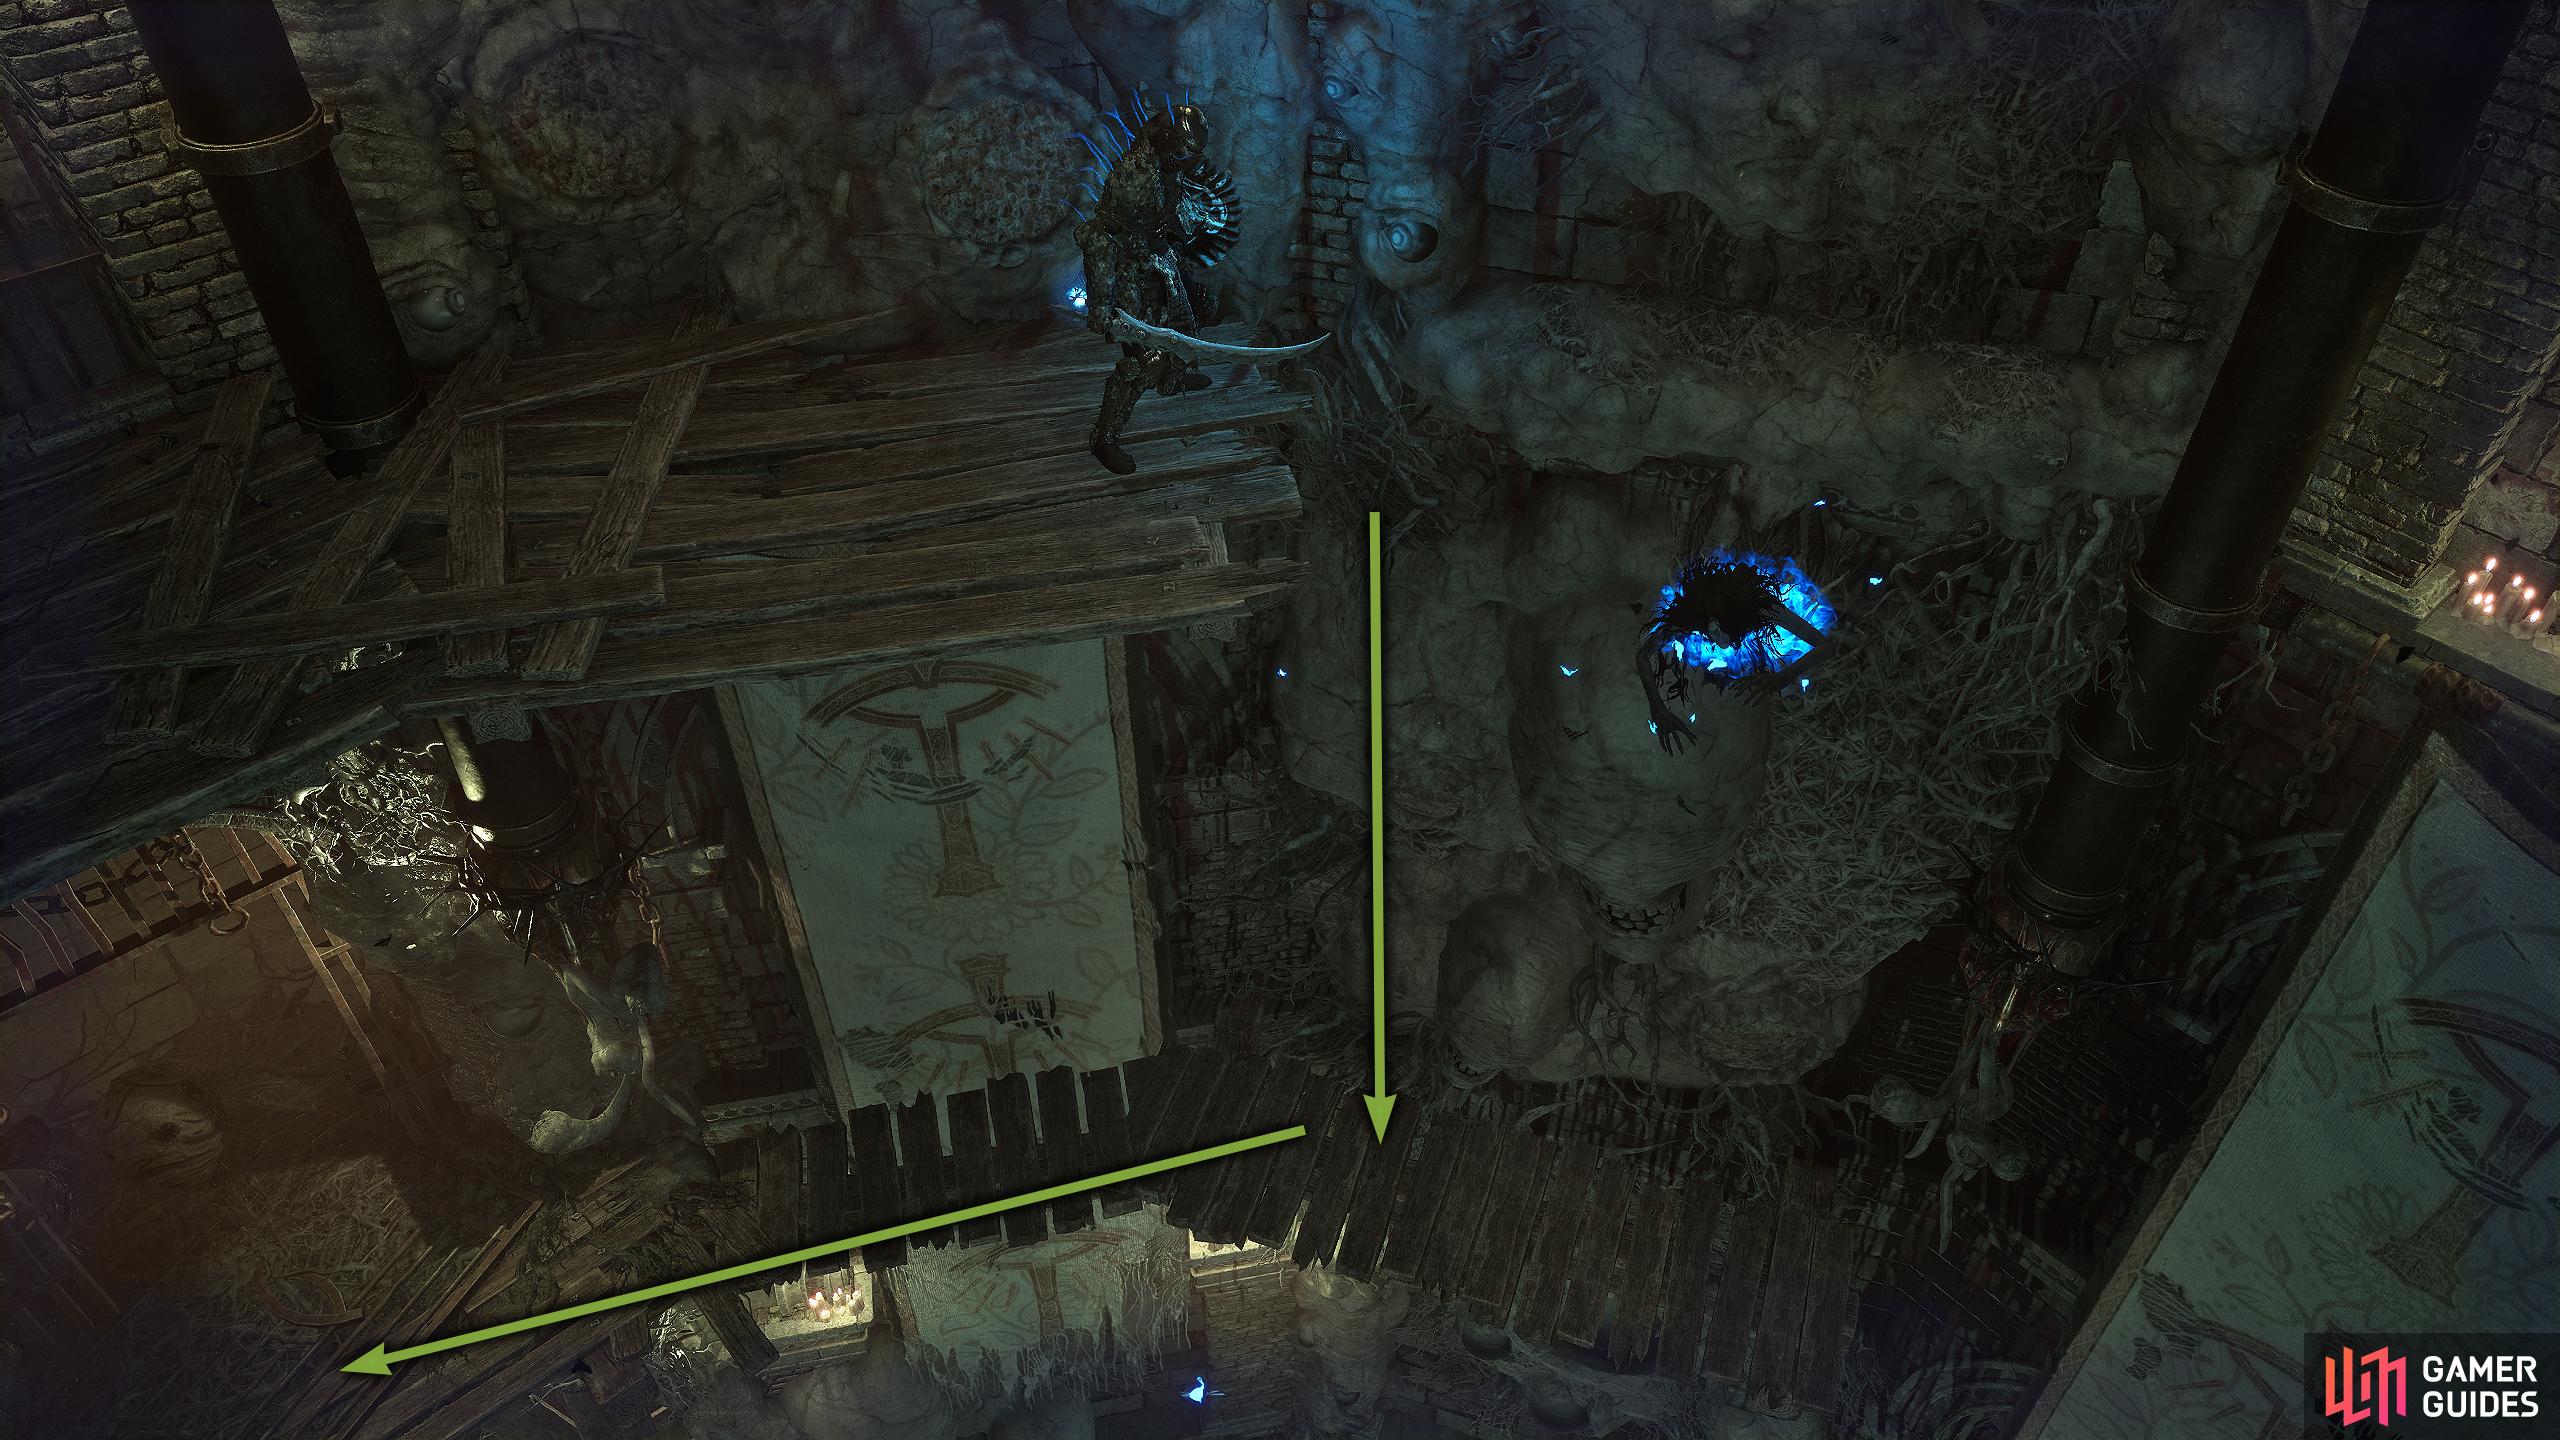
Follow the path until you reach a cave entrance with vines covering it. Attack the vines to gain access to the cave, and then take the path to your right which will lead up a hill. Continue along the path, and you’ll find a door you can Soul Flay, do so, and you’ll find the boss, Mendacious Visage. This boss is intimidating at first, but it isn’t too difficult once you know how to defeat them. Soul Flay its head, and it’ll open up to expose its weak point. It will still attack you, but you can now deal proper damage to it. A second Soul Flay, while its face is open, will give you a grievous strike attempt which can deal massive amounts of damage. Whenever it closes its face, Soul Flay it back open. If you need to replenish your Soul Flay gauge, use the numerous pods in the arena to replenish it.
In terms of its attacks, its charge and jumps are its most deadly, but nothing a simple dodge won’t negate while also having a few Wither attacks that shouldn’t be too problematic provided you hit the boss to replenish the withered health. Once the boss is defeated, Soul Flay the Umbral bellies in the arena to open up a new path and then head to the wooden walkway at the back of the arena. Follow the pathway around the corner, defeat the nearby enemies, and enter the hut at the back. In the corner, you’ll find what’s left of Vanguard Barros, and you’ll obtain the Rosary.
Bring it back to Dunmire, and you’ll get access to Barros’ equipment in his store, and you’ll need to get the Ravager Gregory’s Rosary.
(1 of 4) At the top of the hill, you’ll find a door that you can Soul Flay open which will take you to the boss arena.
Ravager Gregory’s Rosary Location
This rosary can be found in Lower Calrath. Progress the area until you reach the Vestige of Lydia the Numb Witch (Alehouse). From the Vestige, head up the ladder to the left of it (if you’re looking at it) and walk up the planks to reach the roof where you’ll find an impaled Gregory. Before picking it up, take out the two Raw Manglers first with one of them having fire axes.
Note, this ladder is from a shortcut, if you haven’t lowered it yet, you’ll have to come around the other side, use your lamp on a large brown double door that can’t be interacted with, and follow the walkway around. Bringing this back to Dunmire will unlock the Ravager Gregory set including his powerful sword which is highly recommended. Once you’ve exhausted his dialogue, he’ll ask you to find Harrower Dervla who stole his Dark Crusader’s Call, and he wants you to return it.
From the Alehouse Vestige, climb the ladder to the left of it (if looking at it) and climb the wooden planks to the roof.
On the roof, defeat the two hidden Raw Manglers, and loot the impaled corpse.
Where to Find Harrower Dervla
Harrower Dervla is at the bottom of an optional area called the Revelation Depths. To get there, make your way through the Sunless Skein until you reach the Cistern. Heading up the Cistern will take you to the Skinstealer boss (you’ll need a key from him) then eventually to Upper Calrath, but going down will eventually take you to the Revelation Depths, but you’ll need to do some prep work first.
Make your way down the Cistern until you find a parasite-protected Raw Mangler. Defeat him, and head through the small doorway to your left just past him. Follow the tunnel forward, and you’ll come to an intersection. Head straight on, and take out the invisible archer while you make your way to the end. Turn right and head up the ladder then open the locked door with the key you obtained from the Skinstealer Boss. Interact with the lever to drain the water, then exit the room and head left. There is a Fire Swordsman who is protected by a parasite in here, either take him out, or run past him behind the altar, and drop into the hole.

(1 of 3) Head down the Cistern, run past the Mangler, and head left into the sewer area.
This will bring you back to the tunnel with the invisible archer. Now, follow the tunnel back to the intersection, and head left through the doorway, and drop off the ledge. Go through the tunnel to your right, and immediately go through the doorway to your left. Follow the tunnel and you’ll be back in the Cistern. Drop to the crates below, and follow the path into a doorway that will take you to the Revelation Depths.
Now, Dervla is right at the bottom of the depths, so you’ll need to make your way down. Note, that there are two elevator shortcuts to find here and plenty of Umbral Flower Beds which you will want to use as there are no Vestiges in the area. However, you will unlock the elevator shortcut relatively early on which will take you to the Catrin Vestige. When you reach the bottom, you will find the Lost Berescu Vestige under the stairs. From the Berescu Vestige, head down the path opposite the stairs, and you’ll eventually find Harrower Dervla.

(1 of 3) Head left at the intersection to bring you to this room, and then go right into the tunnel and then immediately left, and follow the tunnel.
You won’t get the chance to talk to her, and you’ll be thrown into a boss battle straight after the cutscene. Dervla has a longsword, and a crossbow, and she’ll switch between the weapons on the fly, and will even combine attacks from both of them. All of her attacks will be some form of Wither/Frostbite, so wear equipment that protects against it. One of her more dangerous attacks is when she performs some attacks with her sword before leaping into the air and firing off her crossbow while airborne. This boss battle has two phases, so don’t waste all your healing items in the first phase. If you’re doing Kukajin’s quest as well, you’ll need to summon her for this battle which can help with the first phase.
Defeating Dervla will give you the Dark Crusader’s Call that Dunmire requested. Head back to Skyrest and hand it over to him, and you’ll begin to notice a change in his behavior, more specifically, his obsession with the Umbral. The next thing he’ll ask for is the Umbral Tome as he wants to know more about the Umbral.
The Lost Berescu Vestige is behind the wooden stairs at the bottom of the Depths.
Follow the path forward down the stairs into the boss arena.
How to Get the Umbral Tome
Fortunately, the Umbral Tome is a relatively easy item to get provided you’ve reached the Vestige of Hooded Antuli in the Sunless Skeins which you should have. Warp to the Hooded Antuli (Mines), turn the camera to face behind you, and head up the tunnel to the left of the Sunless Skein door. When you reach the next room, follow the stairs on your left which spiral around to the top. At the top, head under the structure, destroy the crates, and drop onto the ledge where the mage is. Follow the planks to the end, and enter the Umbral Realm. Jump on the bone platform that appears and head into the room to find an Umbral Belly containing the tome.
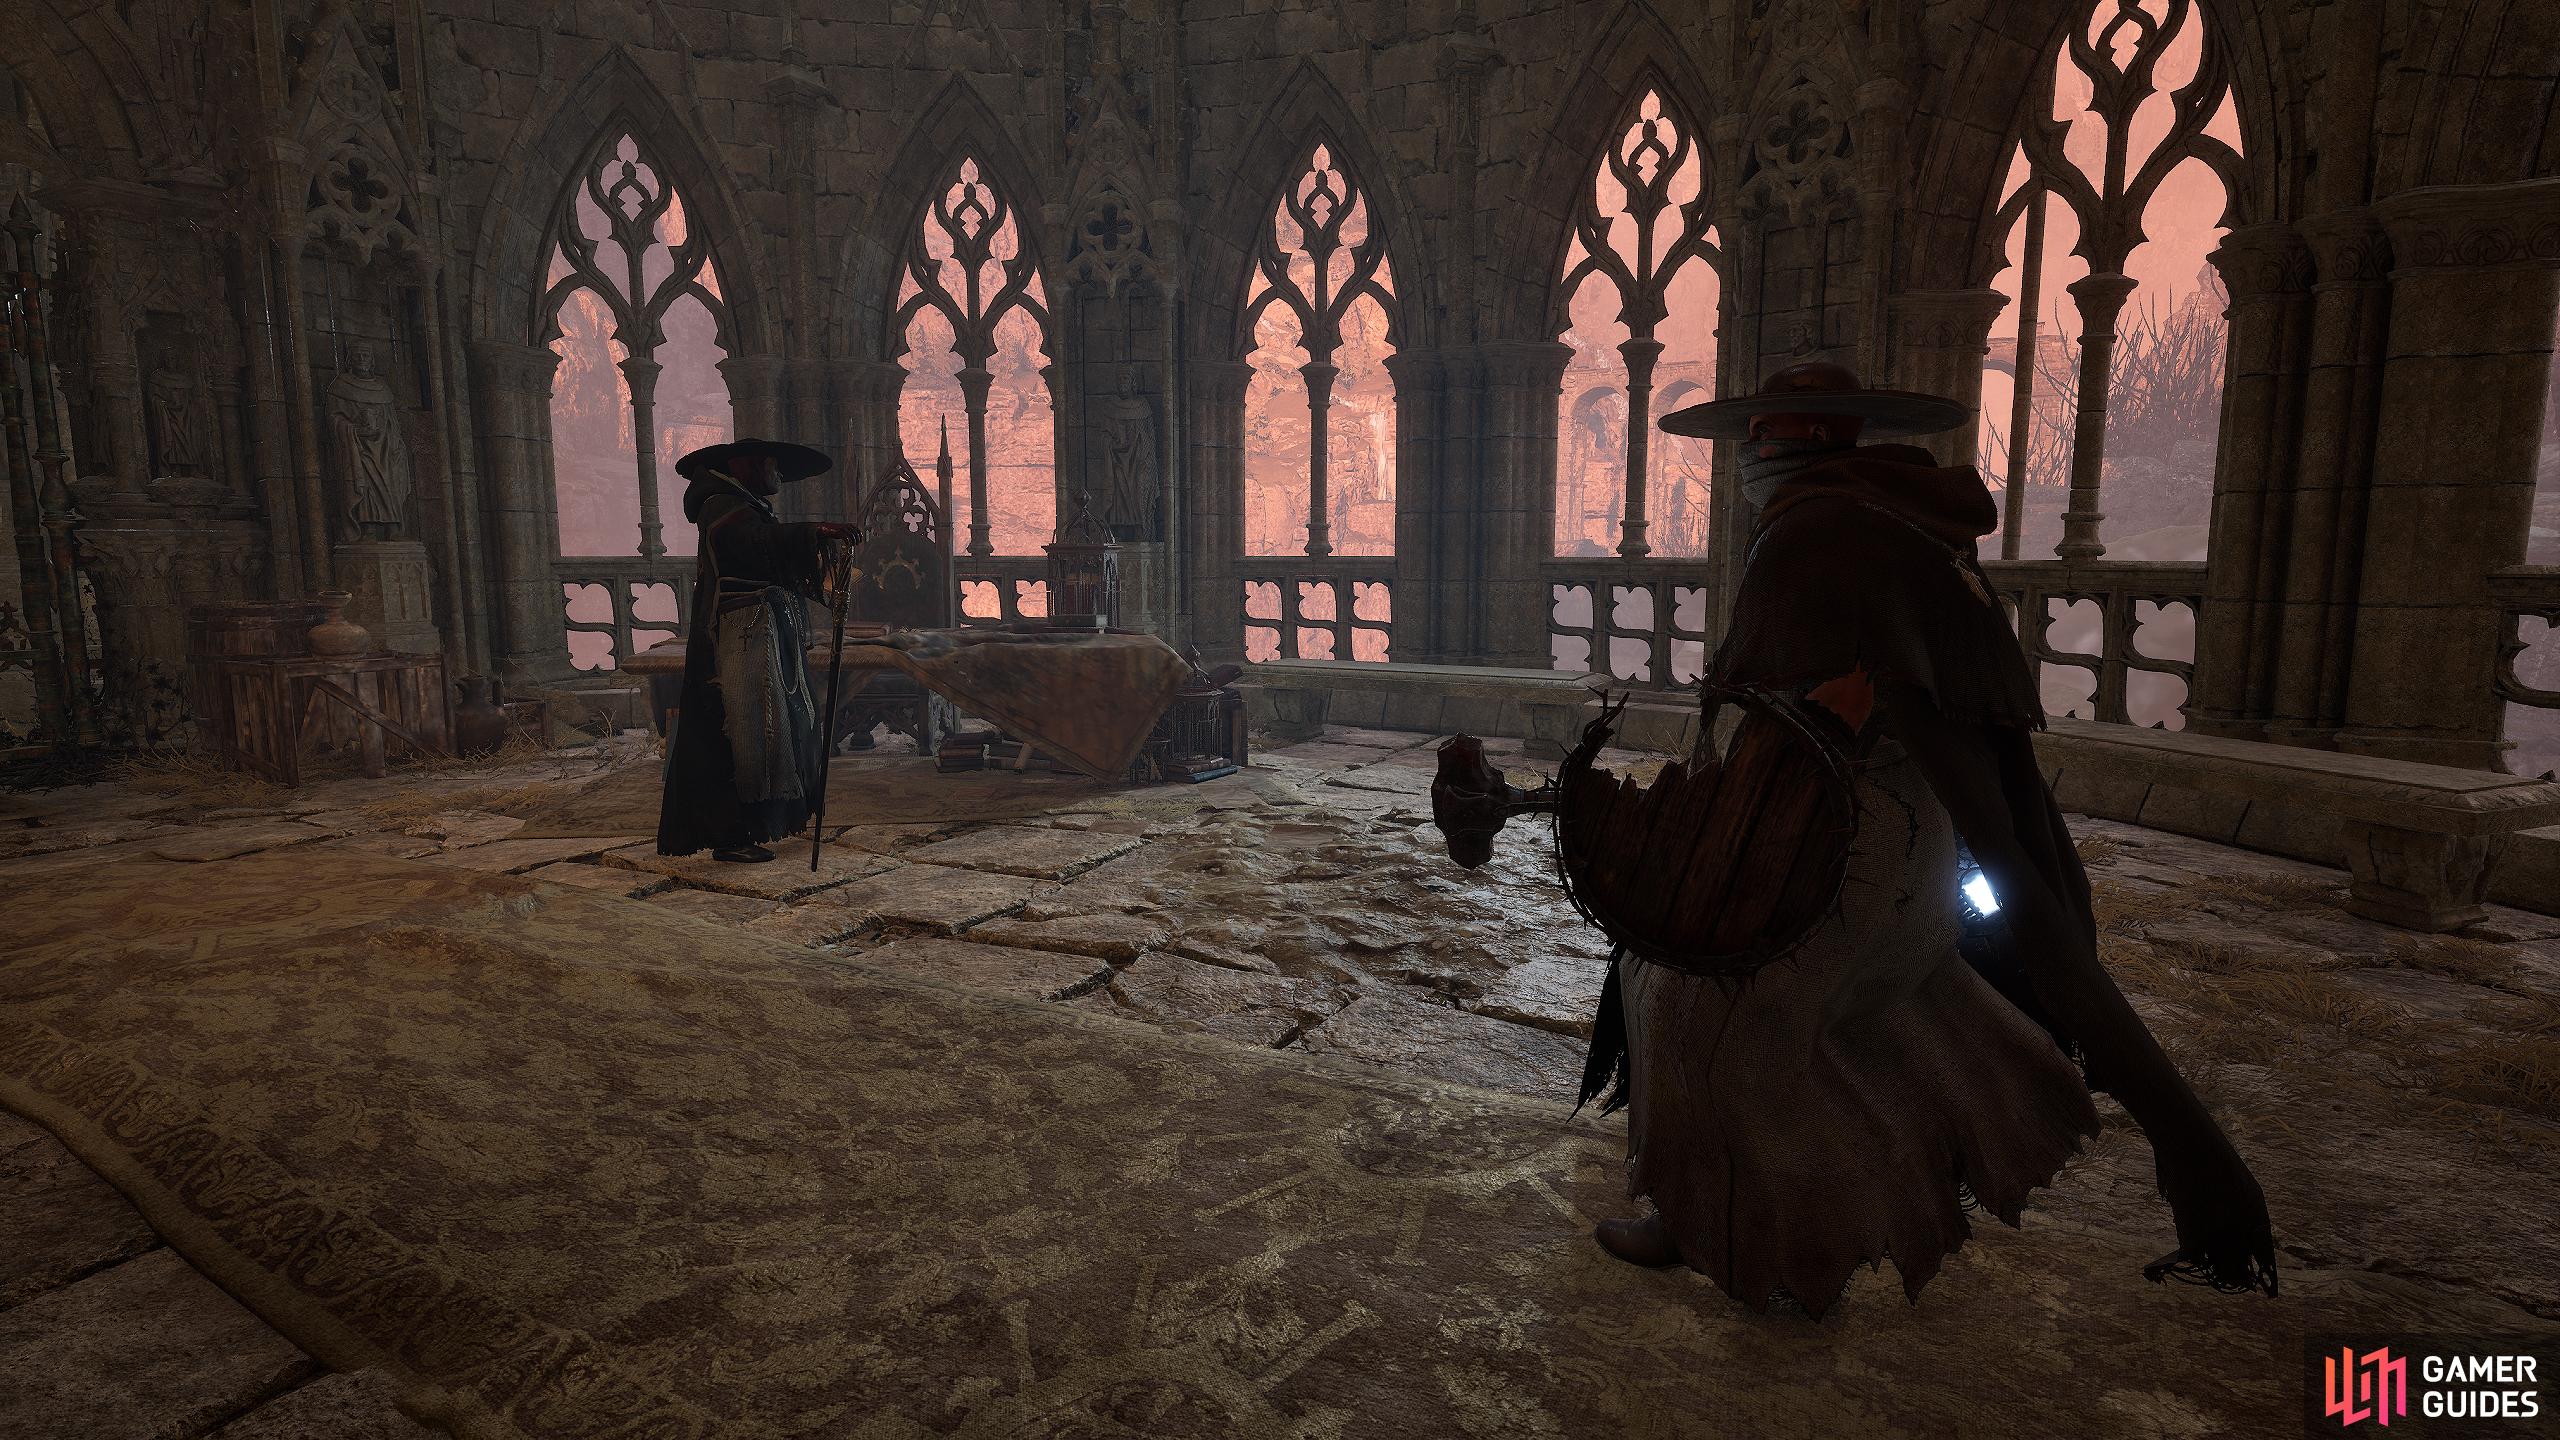
Hand over the tome to Dunmire, who is now in the area with Molhu, and he’s becoming madder by the minute. Now is a good time to purchase any items you want from him as he will disappear after you hand in the next item which is the Perception Wisp.

(1 of 4) Warp to the Hooded Antuli Vestige and turn around. Now go up the tunnel to your left.
Perception Wisp Location
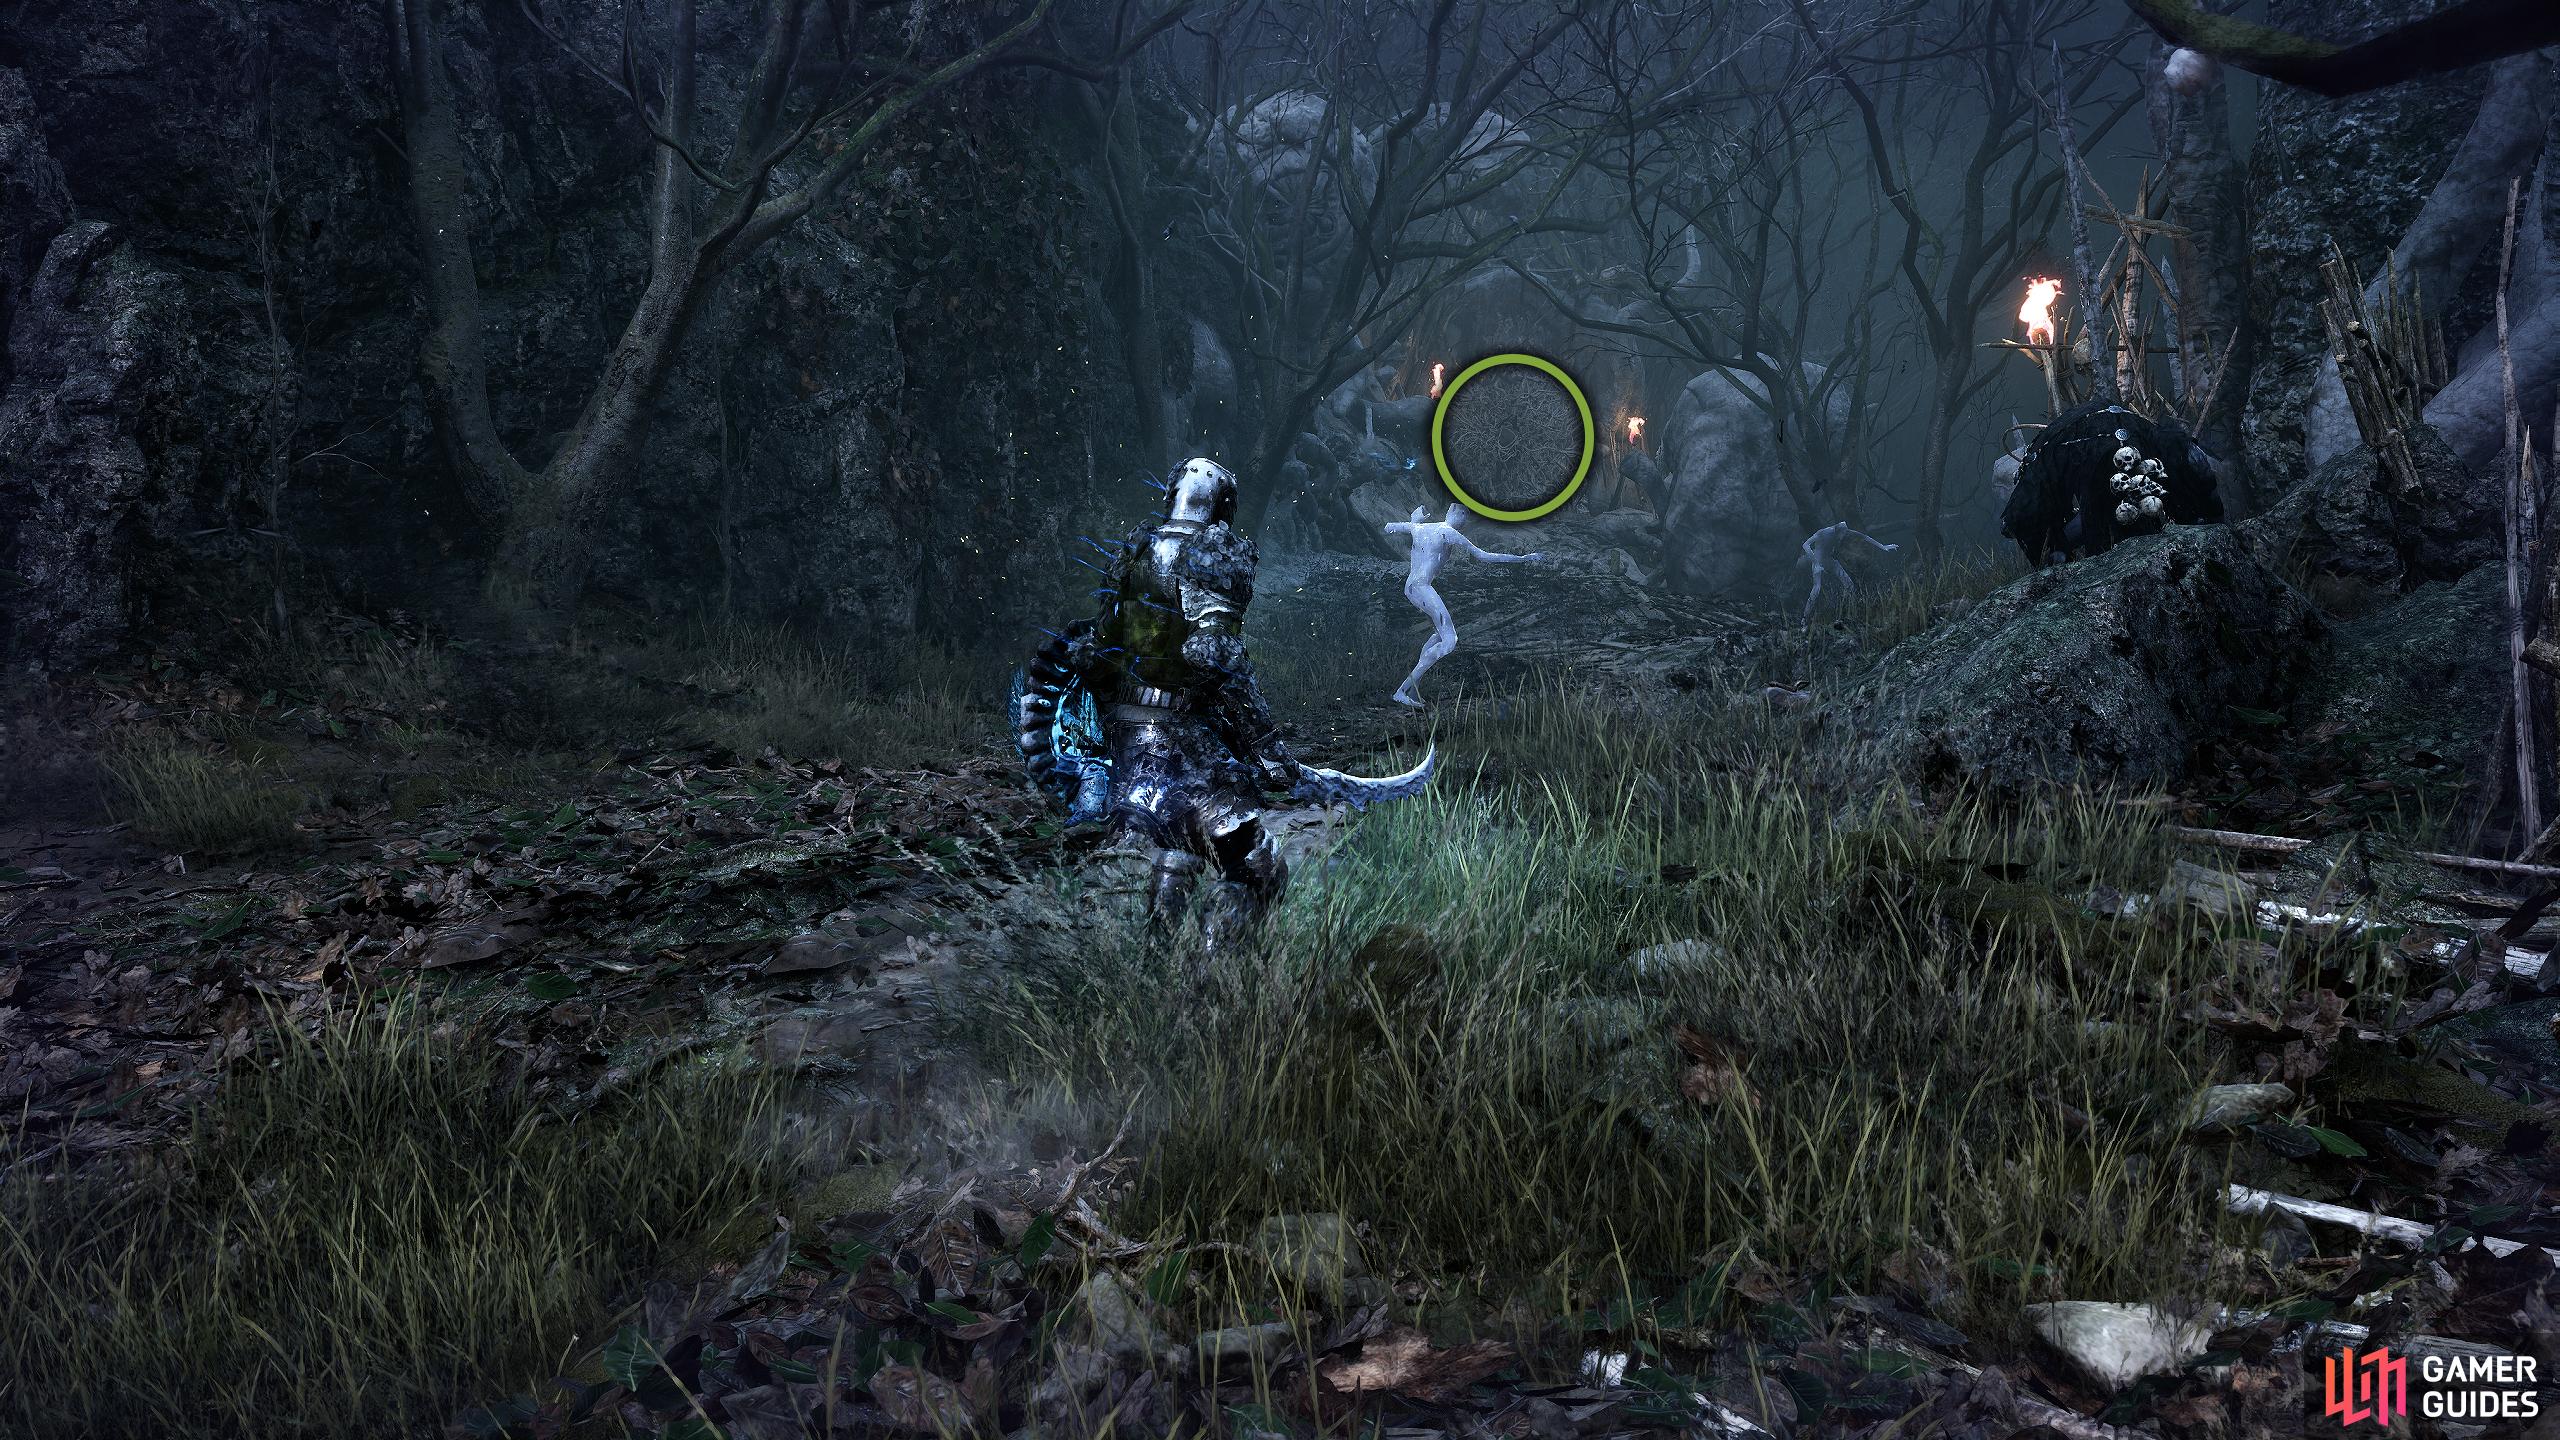
The final item that Dunmire requires is the Perception Wisp which can be found in the Tower of Penance. When you reach the tower, walk around the outside to find an elevator that you can ride to the top of the tower. Enter the tower, go into the Umbral Realm, and then pull the stone platform out. Jump across, and head down the ladder to your left to the next floor. Go left to the edge of the platform, and Soul Siphon the red orbs to hit the enemy before dropping to finish it off. Walk around the platform, and pull over the stone platform. Before you jump over, make note of the breakable wooden wall as there is an Ardent Penitent behind it.

Instead, throw something at it to break it, and Soul Flay the enemy of the platform and watch it fall to its death. When it’s defeated, go back to where you dropped (next to the Soul Flay body), and drop to the narrow wooden platform below. Walk around to the nearby jail cell, and drop again to the jail cell below, and you’ll find it boarded up with wooden planks. Destroy it to unveil a Stigma that you can Soul Flay. Do so, and you’ll receive the Perception Wisp after it. Once again, head back to Skyrest, and hand it over to Dunmire, who’s all but lost his mind at this point. When you rest, he’ll disappear from Skyrest, and you’ll have to find him somewhere else.
(1 of 3) Drop to the wooden platform below where the red orbs were and head right to the next jail cell.
Dunmire Location after the Perception Wisp
Dunmire will have moved to the Sunless Skein, so head to the Vestige of Hooded Antuli, and then follow the path into the mines. Take the first ladder to your right which was originally a shortcut, and follow the walkway to the end and break the wooden wall situated on your right. Defeat the miner and mage in there, and make your way down the stairs where you’ll find Dunmire at the bottom of them peering at the poisonous pit. Speak to him, and exhaust his dialogue then rest at a Vestige to make him move somewhere else, which will be the Revelation Depths.

(1 of 3) Head straight down the tunnel from the Hooded Antuli Vestige, and head up the ladder to your right.
Where to Find Dunmire after the Sunless Skein
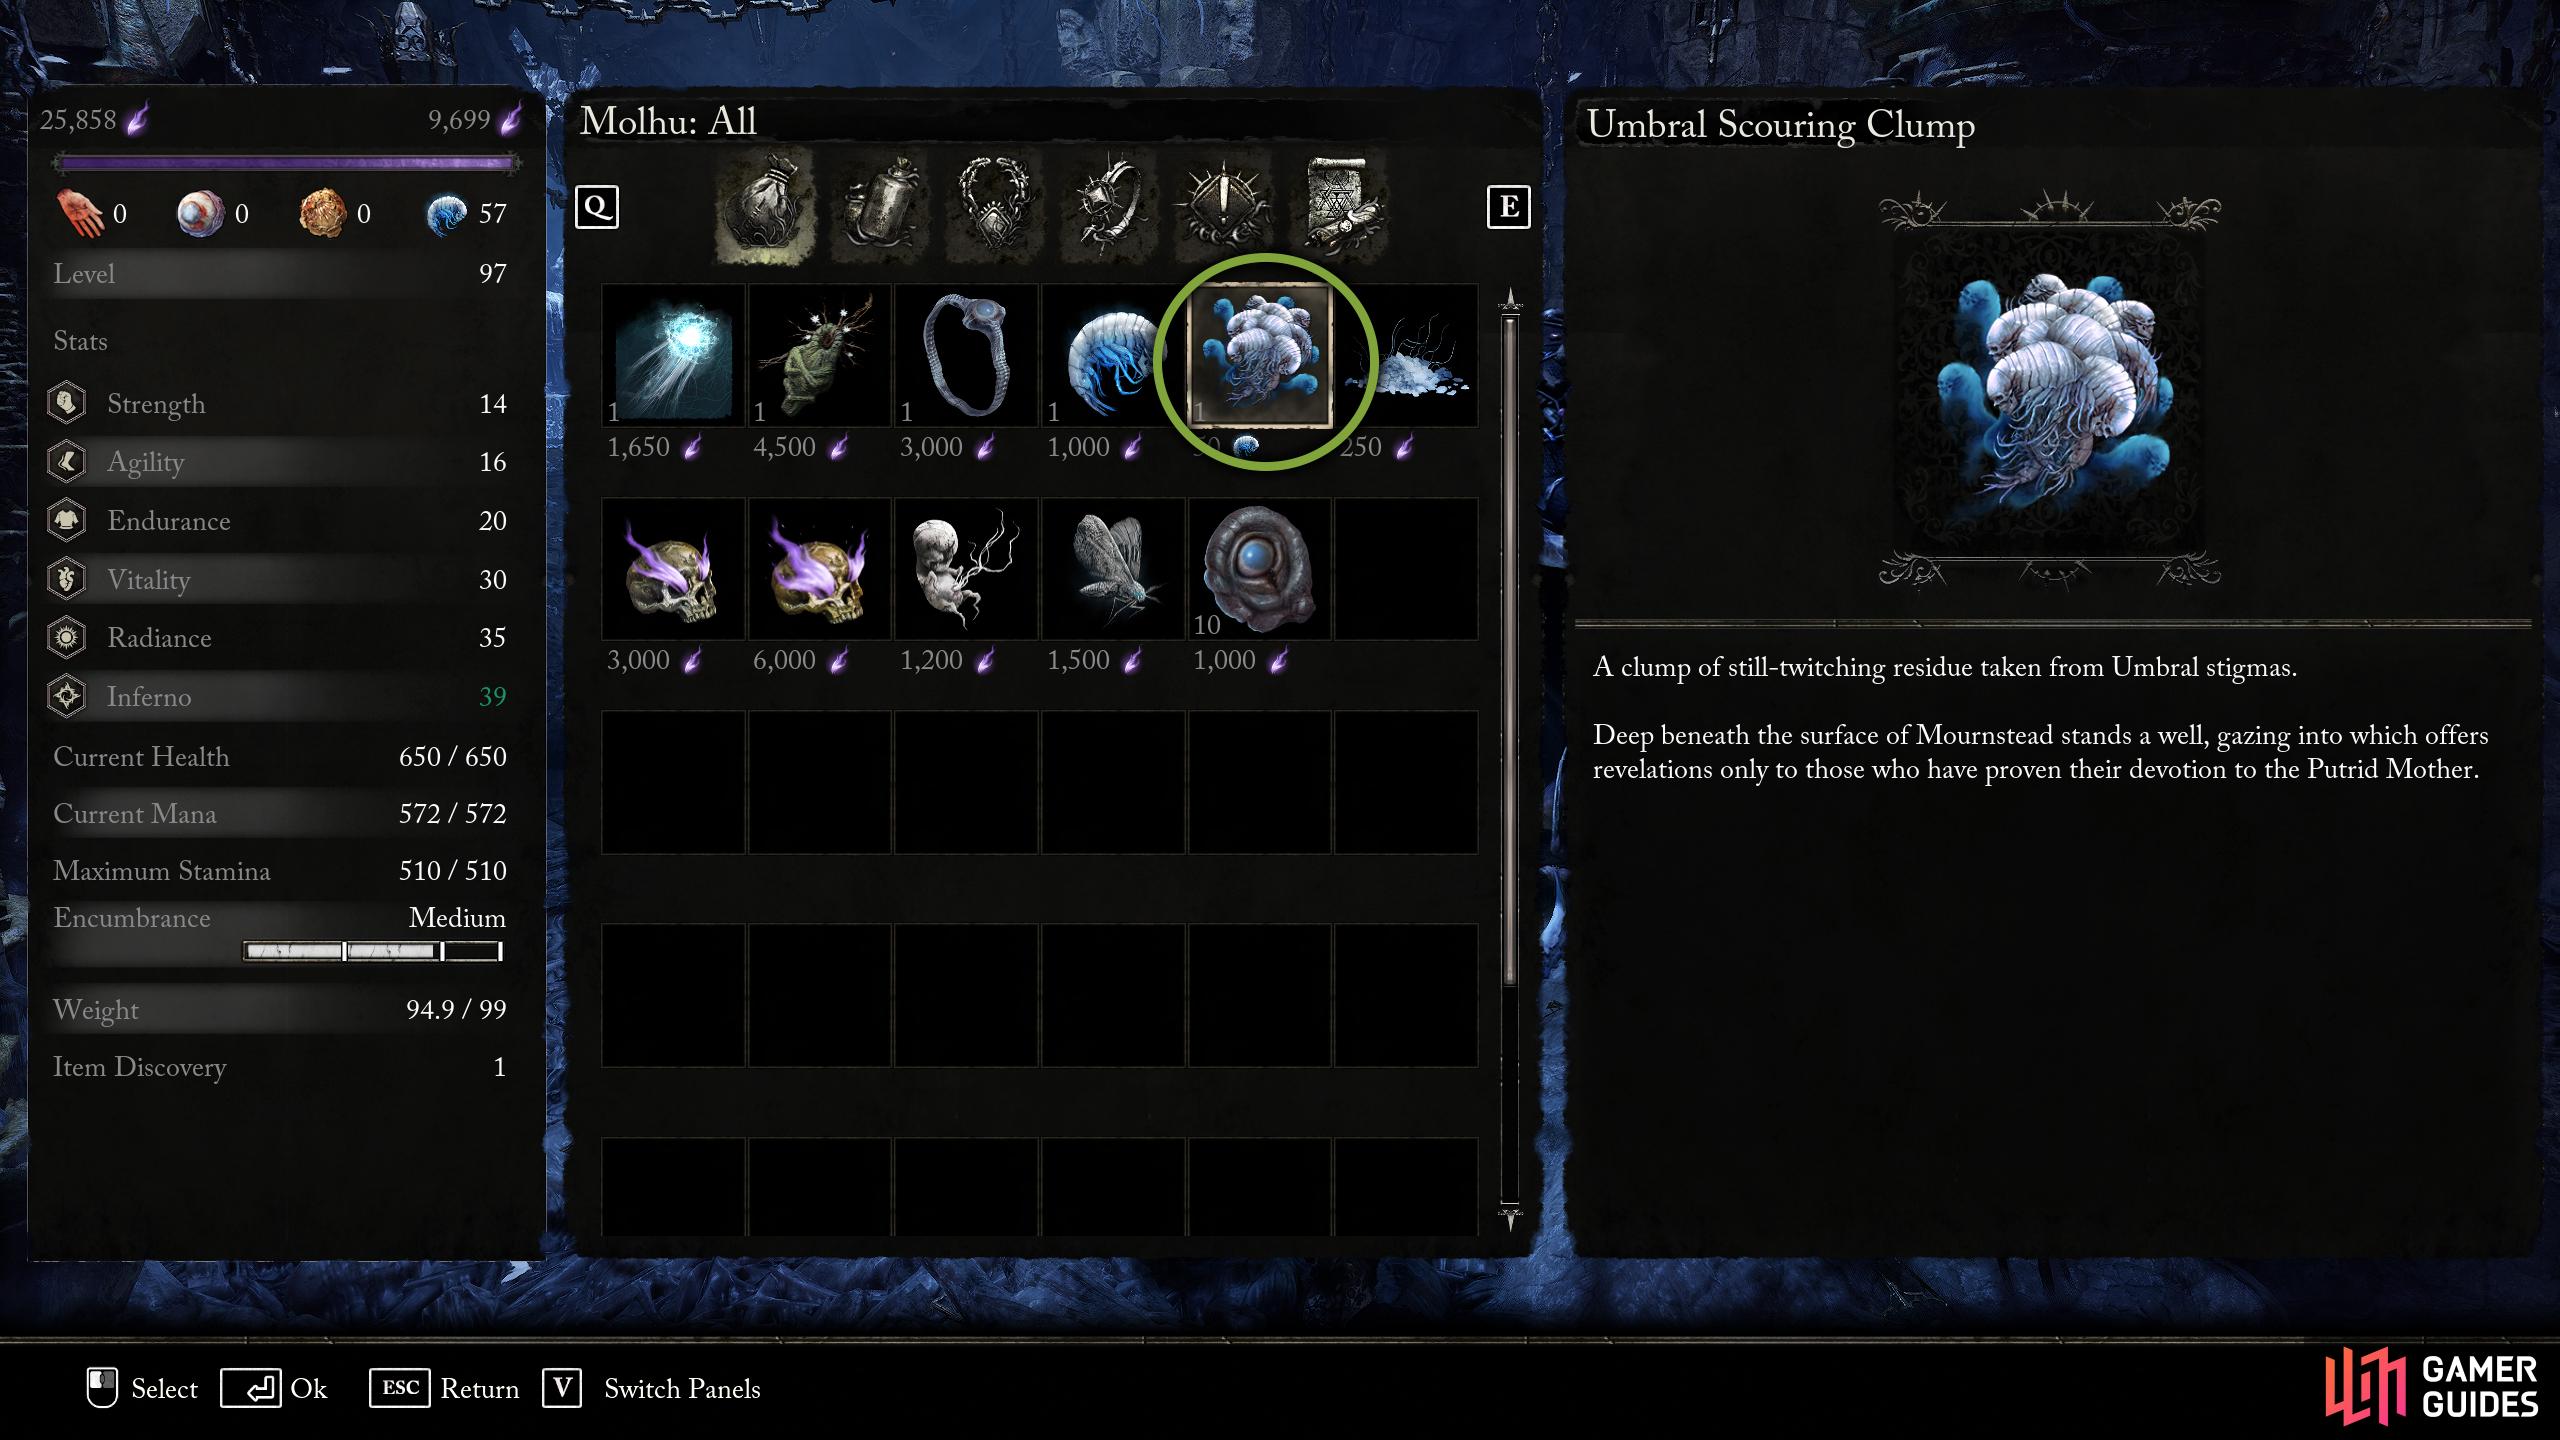
Warp to the Vestige of Lost Berescu with an Umbral Scouring Clump in your pocket, and head to the Dervla boss arena. At the back of the arena are some stairs that lead to an altar. Beside the altar is an item to pick up. Collect it to obtain Dunmire’s Ring and Rosary, and then interact with the altar to hand over the clump. This will take you to a new area called Mother’s Lull which is where you’ll find Dunmire. Speak to him, and you’ll soon find out that he has lost his mind. Exhaust his dialogue, and exit the area the same way you came in, via the altar. This is the end of the quest, but there’s still one more thing to do.
How to Get Dunmire’s Weapon and Armor Set
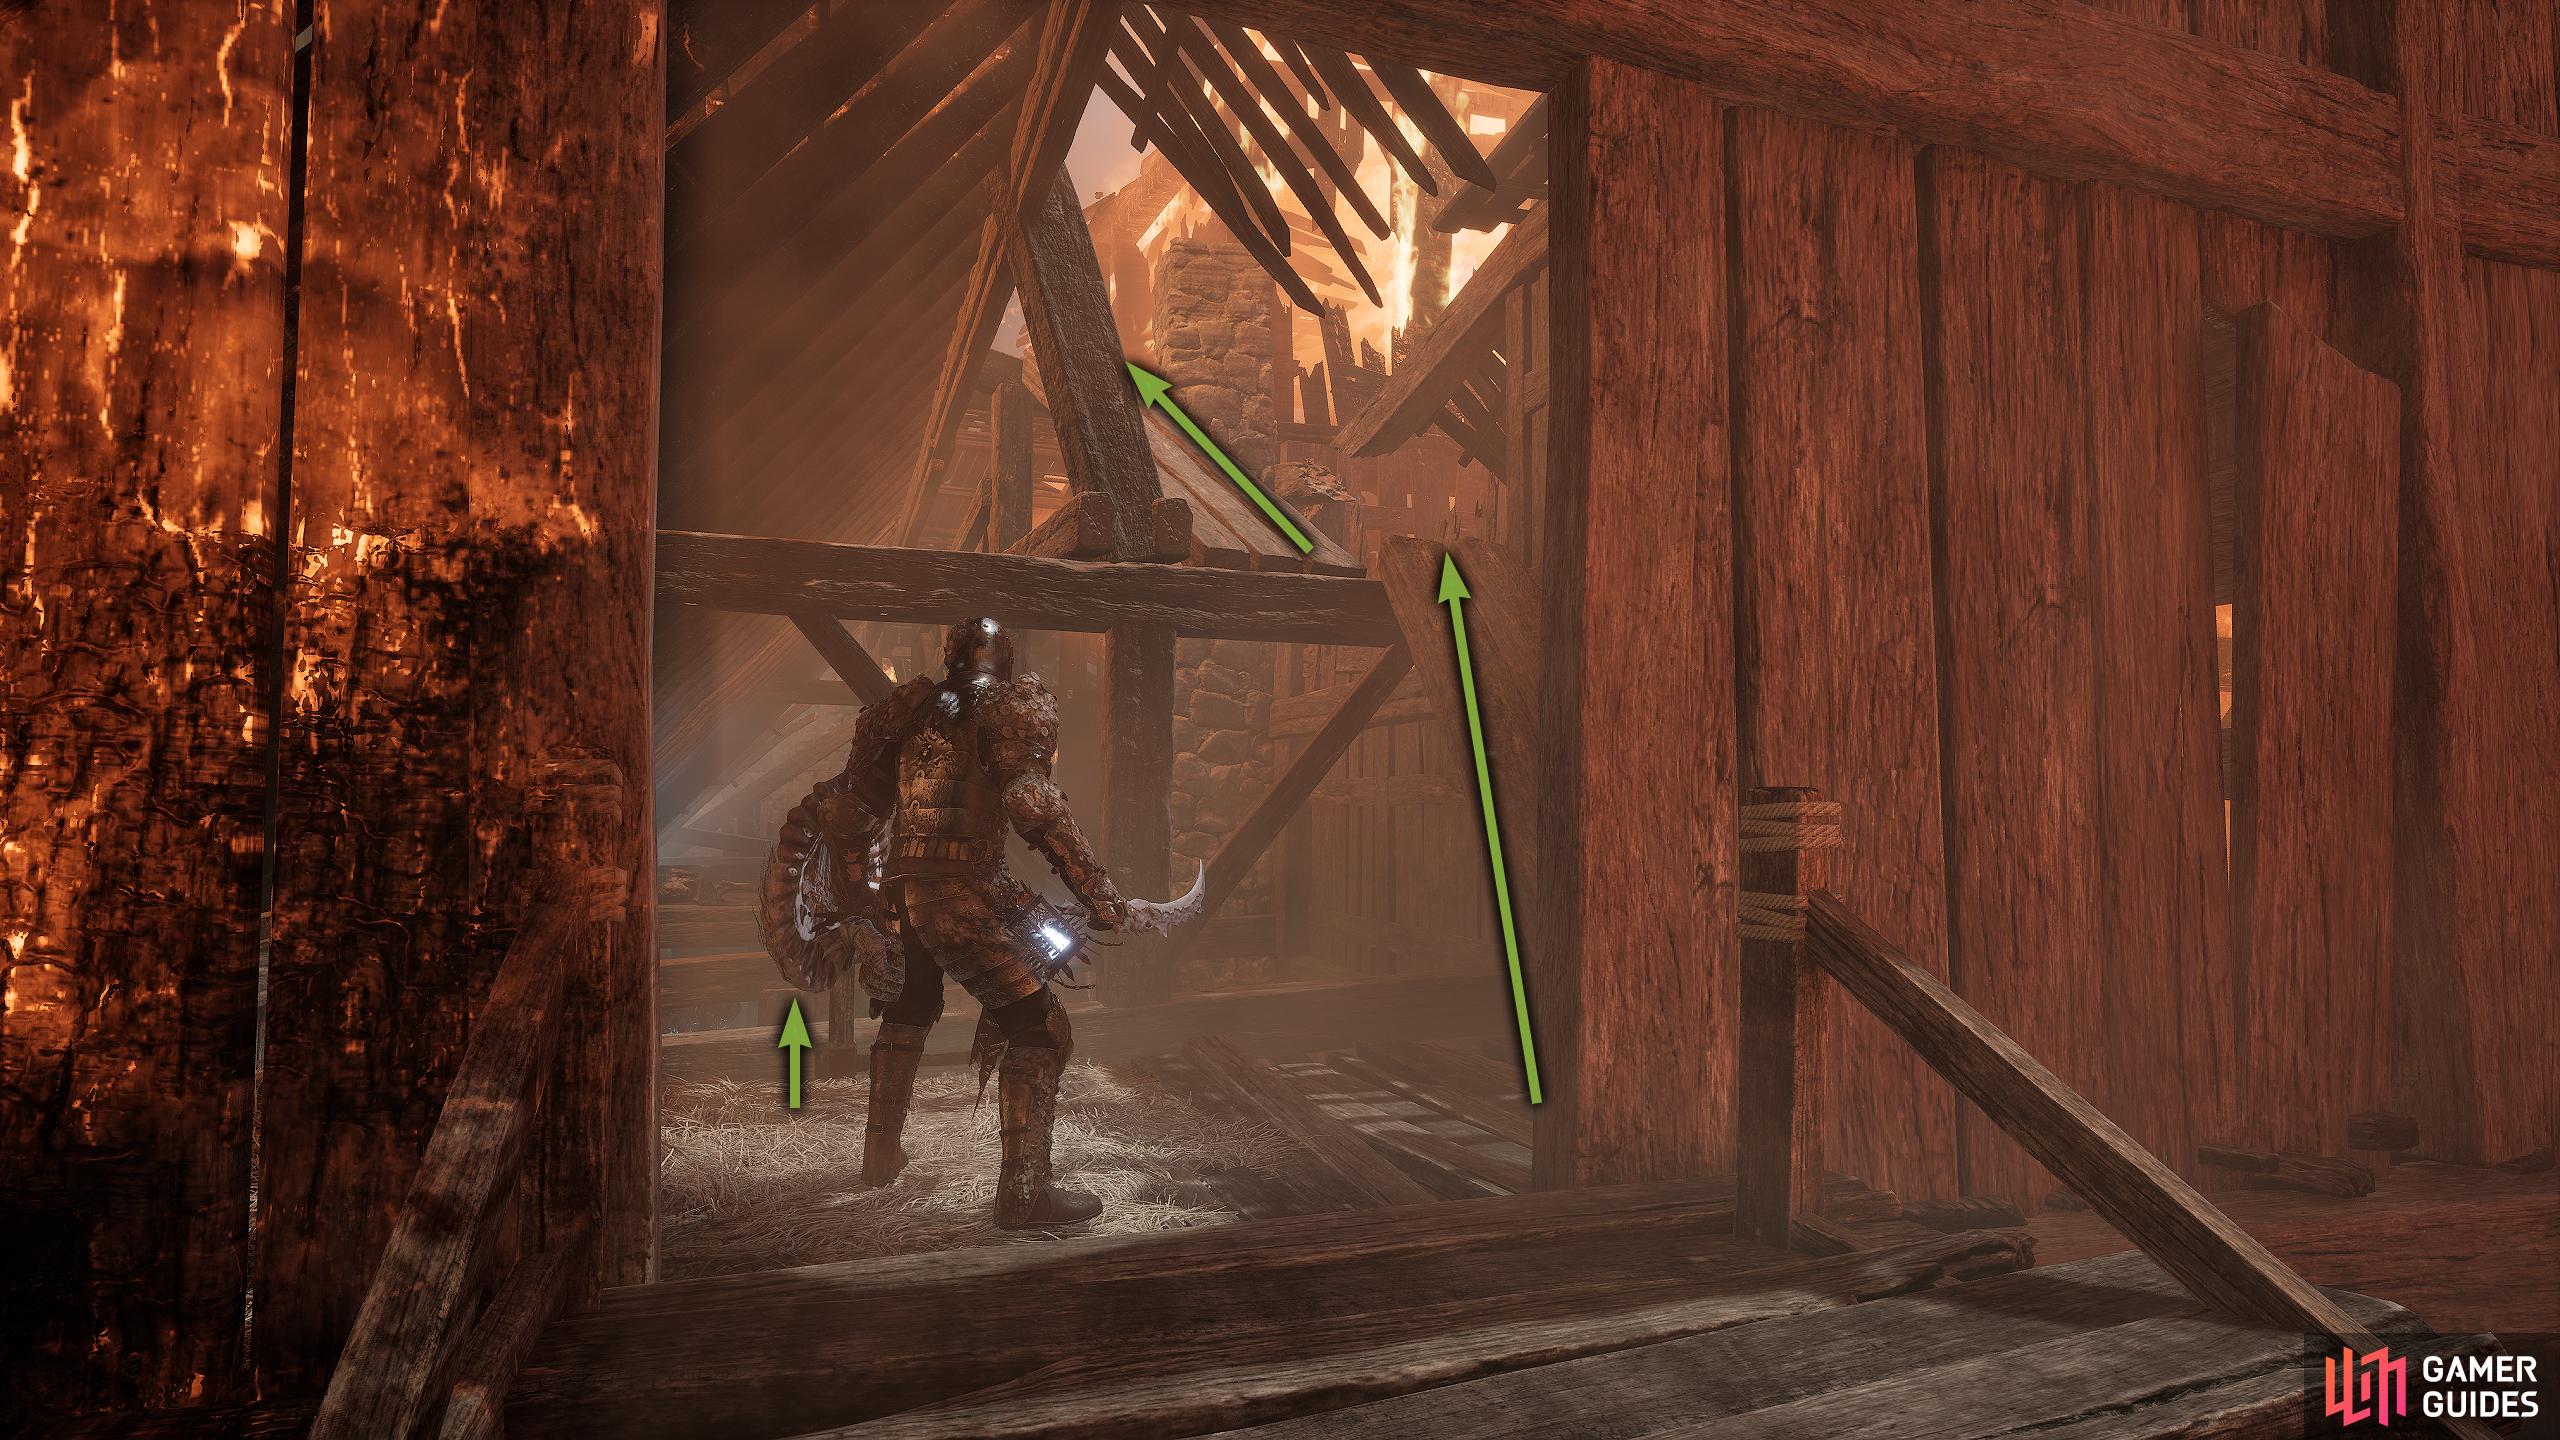
Head back to the Hooded Antuli Vestige in the Sunless Skein Mines, and head up the tunnel you went up to get the Umbral Tome. Halfway up the tunnel, you’ll find an item to pick up on the tracks. This will give you the Exacter Dunmire armor set, his catalyst, and his weapon as well as the following achievement:


There you have it, a man from holy origins, seeking knowledge on the forbidden Umbral magic, and in doing so, cost him to lose his mind forever. Is he happy with the outcome? Only he knows.
More NPC Quests
If you are doing the other NPC quests, why not follow our in-depth guides below?
No Comments