
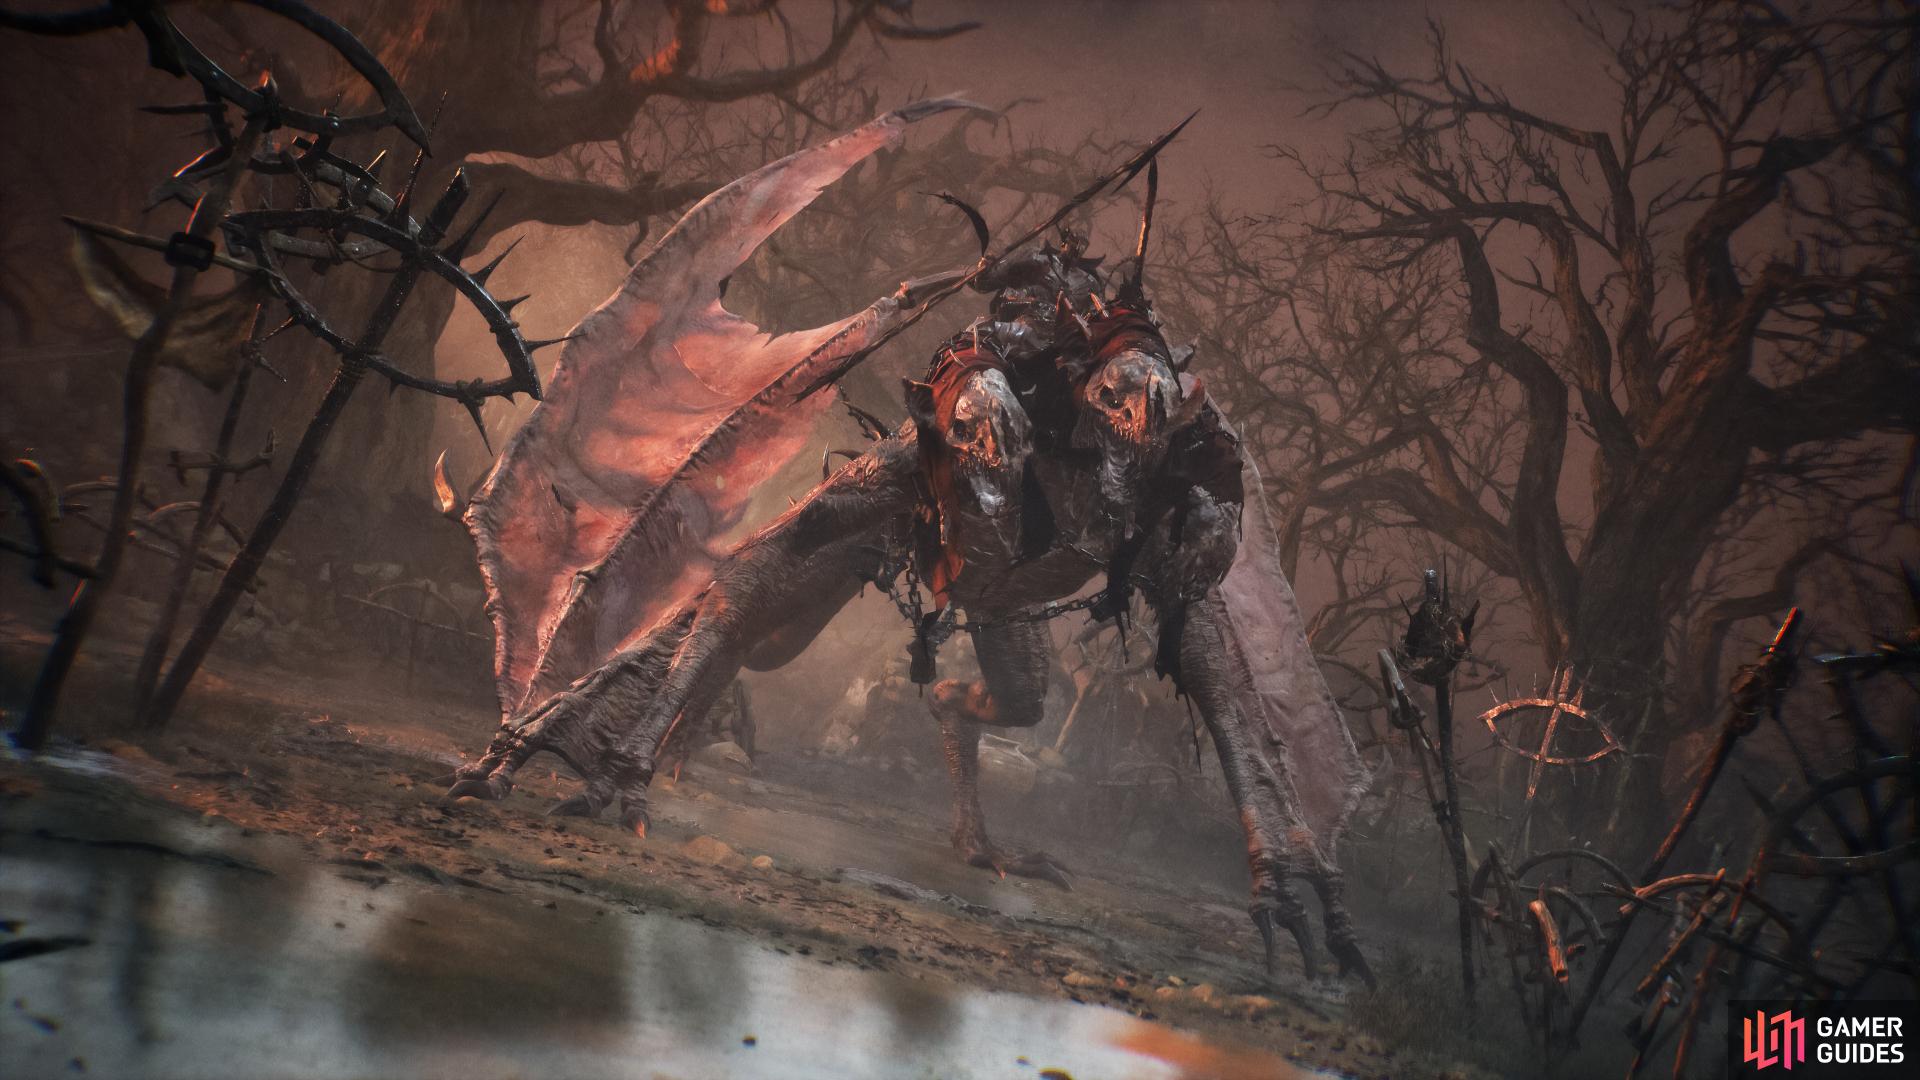
Through the realms of Mournstead, various characters will arrive to assist players on their journey. The likes of the Iron Wayfarer, Kulkajin, and many more have quests you can partake in and earn their favor as they’ll come to your aid at various points in the game. However, players have one side quest character that you can find who is recruitable, but not through means you necessarily think of. That NPC is Isaac, the slain Paladin whose memory you witness throughout the game’s history. Here’s everything you need to know about Paladin Isaac’s questline in Lords of the Fallen.
This guide will assist players with completing the Paladin Isaac questline in Lords of the Fallen. Image via Hexworks.
Paladin Isaac’s Quest in Lords of the Fallen
To complete the Paladin Isaac storyline, players will need to do the following objectives. We offer more context on the other objectives you need to complete, too.
- Take the
 Flayed Skin, lootable from the Abandoned Redcopse.
 - Visit the Umbral Scouing in Clarath City
- Umbral Scouiring in the Fief of Winter’s Curse Vestige
 Umbral Scouring after the Lightreaper Arena in the Fief.
- Umbral Scouring in the Path of Devotion, and fight Isaac’s ghostly form, and claim the
 Umbral-Tinged Flayed Skin
 - Return to the Flayed Skin and open the blocked door in Abandoned Redcopse
- Defeat the Lightreaper
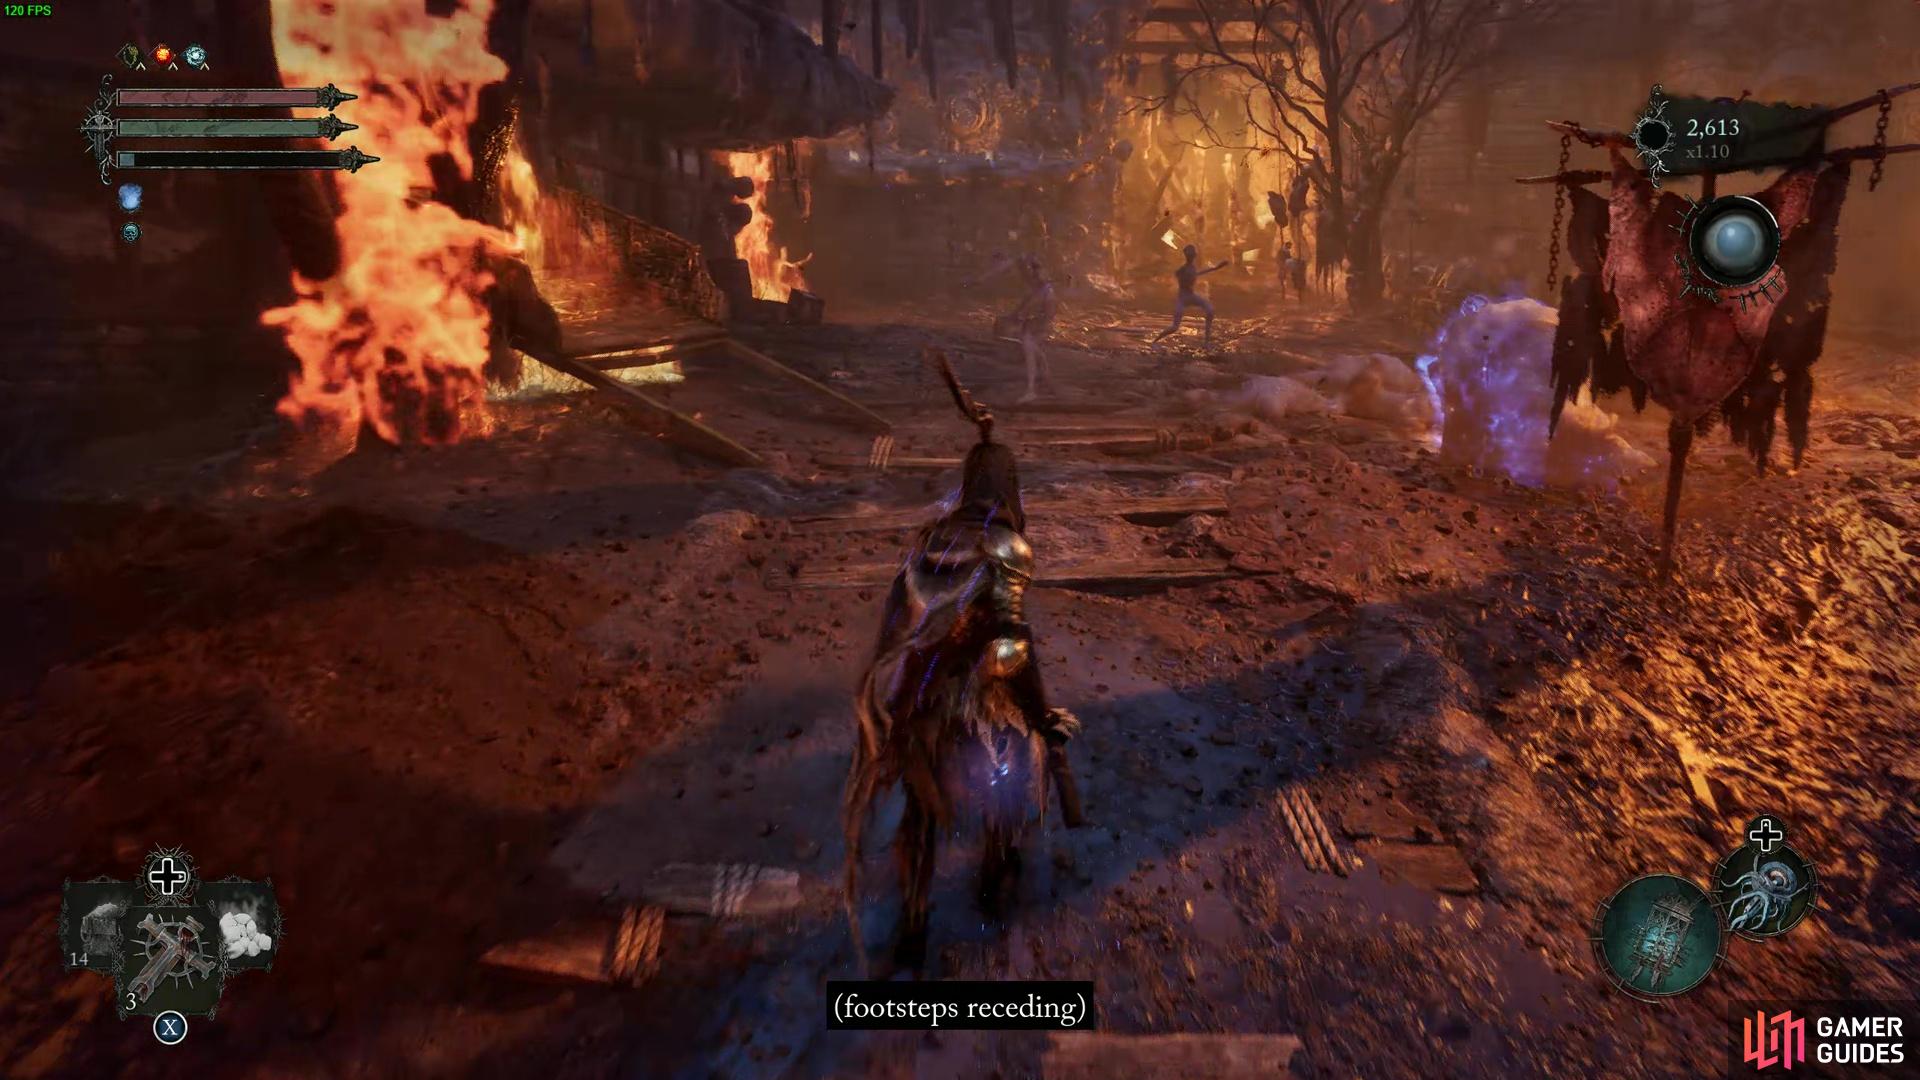
For the most part, you won’t have a proper starting quest for Isaac, but, rather, you’ll stumble upon the questline by accident and not realize you’re doing it. The journey of this fabled hero begins in Abandoned Redcopse straight after the fight with Otto and the Lightreaper. When you’re done, leave the arena, follow the dirt pathway, and take a right. If you follow it around, you’ll find some Flayed Skin beside an umbral-blocked doorway.
(1 of 3) The first Isaac memory is right at the start of Calrath as you enter the burning city from Fitzroy’s Gorge.
From there, you now need to go all the way to Calrath City. As you follow the road up to enter the city from Fitzroy Gorge, you can find a memory on the right-hand side of the burning pathway leading to the city.
The next one on the list is to go to the Fief. The Fief is unlockable after defeating the Fire Giant boss in Calrath City. From there, you will go back to the safe hub and find a note on the floor. If you acquire the note, it demands you use the Fief key to open the door near the windmill vestige. Go to that location in Abandoned Redcopse and open the door. Run through the cave system from there, and you’ll encounter a Kinragr Guardian warrior mini-boss. Defeat the boss and gain the ability to progress through the remaining cave area and reach the ruin with the Vestige for the Fief. In front of the Vestige, you’ll find an Umbral Scouring memory.
You’ll need to progress through the entire zone to get to the next Umbral Scouring event in the Fief. To do so, lift the gate at the fief vestige by pulling the lever at the ruined top of the castle. To do this, you will need to climb the ruin ladder and go through the left side of the gate to reach a cliffside pathway. Follow it down to a gate, then continue forward. From there, turn right, go over a bridge, and follow the pathway back towards the ruin. At the end, you’ll find an umbral platform with a pathway back to the ruined roof to raise the lever. From there, follow the new pathway down til you reach the end. Go right through a cave, and then follow the pathway till you reach a ruined castle. From the castle, work your way through, explore the sunken village, and then enter the raised castle rampart area. This allows you to take on the beacon boss. Once the beacon’s boss is defeated, you can go through the remaining wall area, get to the beacon, and then descend a tower back into a larger arena area. From here, you fight the Lightreaper, and once it is over, leave the arena and enter the ground. You’ll find another memory just outside the arena.

Go to the Path of Devotion, located to the right of the Bell-Rise boss, and work your way down to the Sin Piercer Archer. When it’s safe enter the umbral and make a path over to the floating arena island and fight the Paladin’s Umbral form.
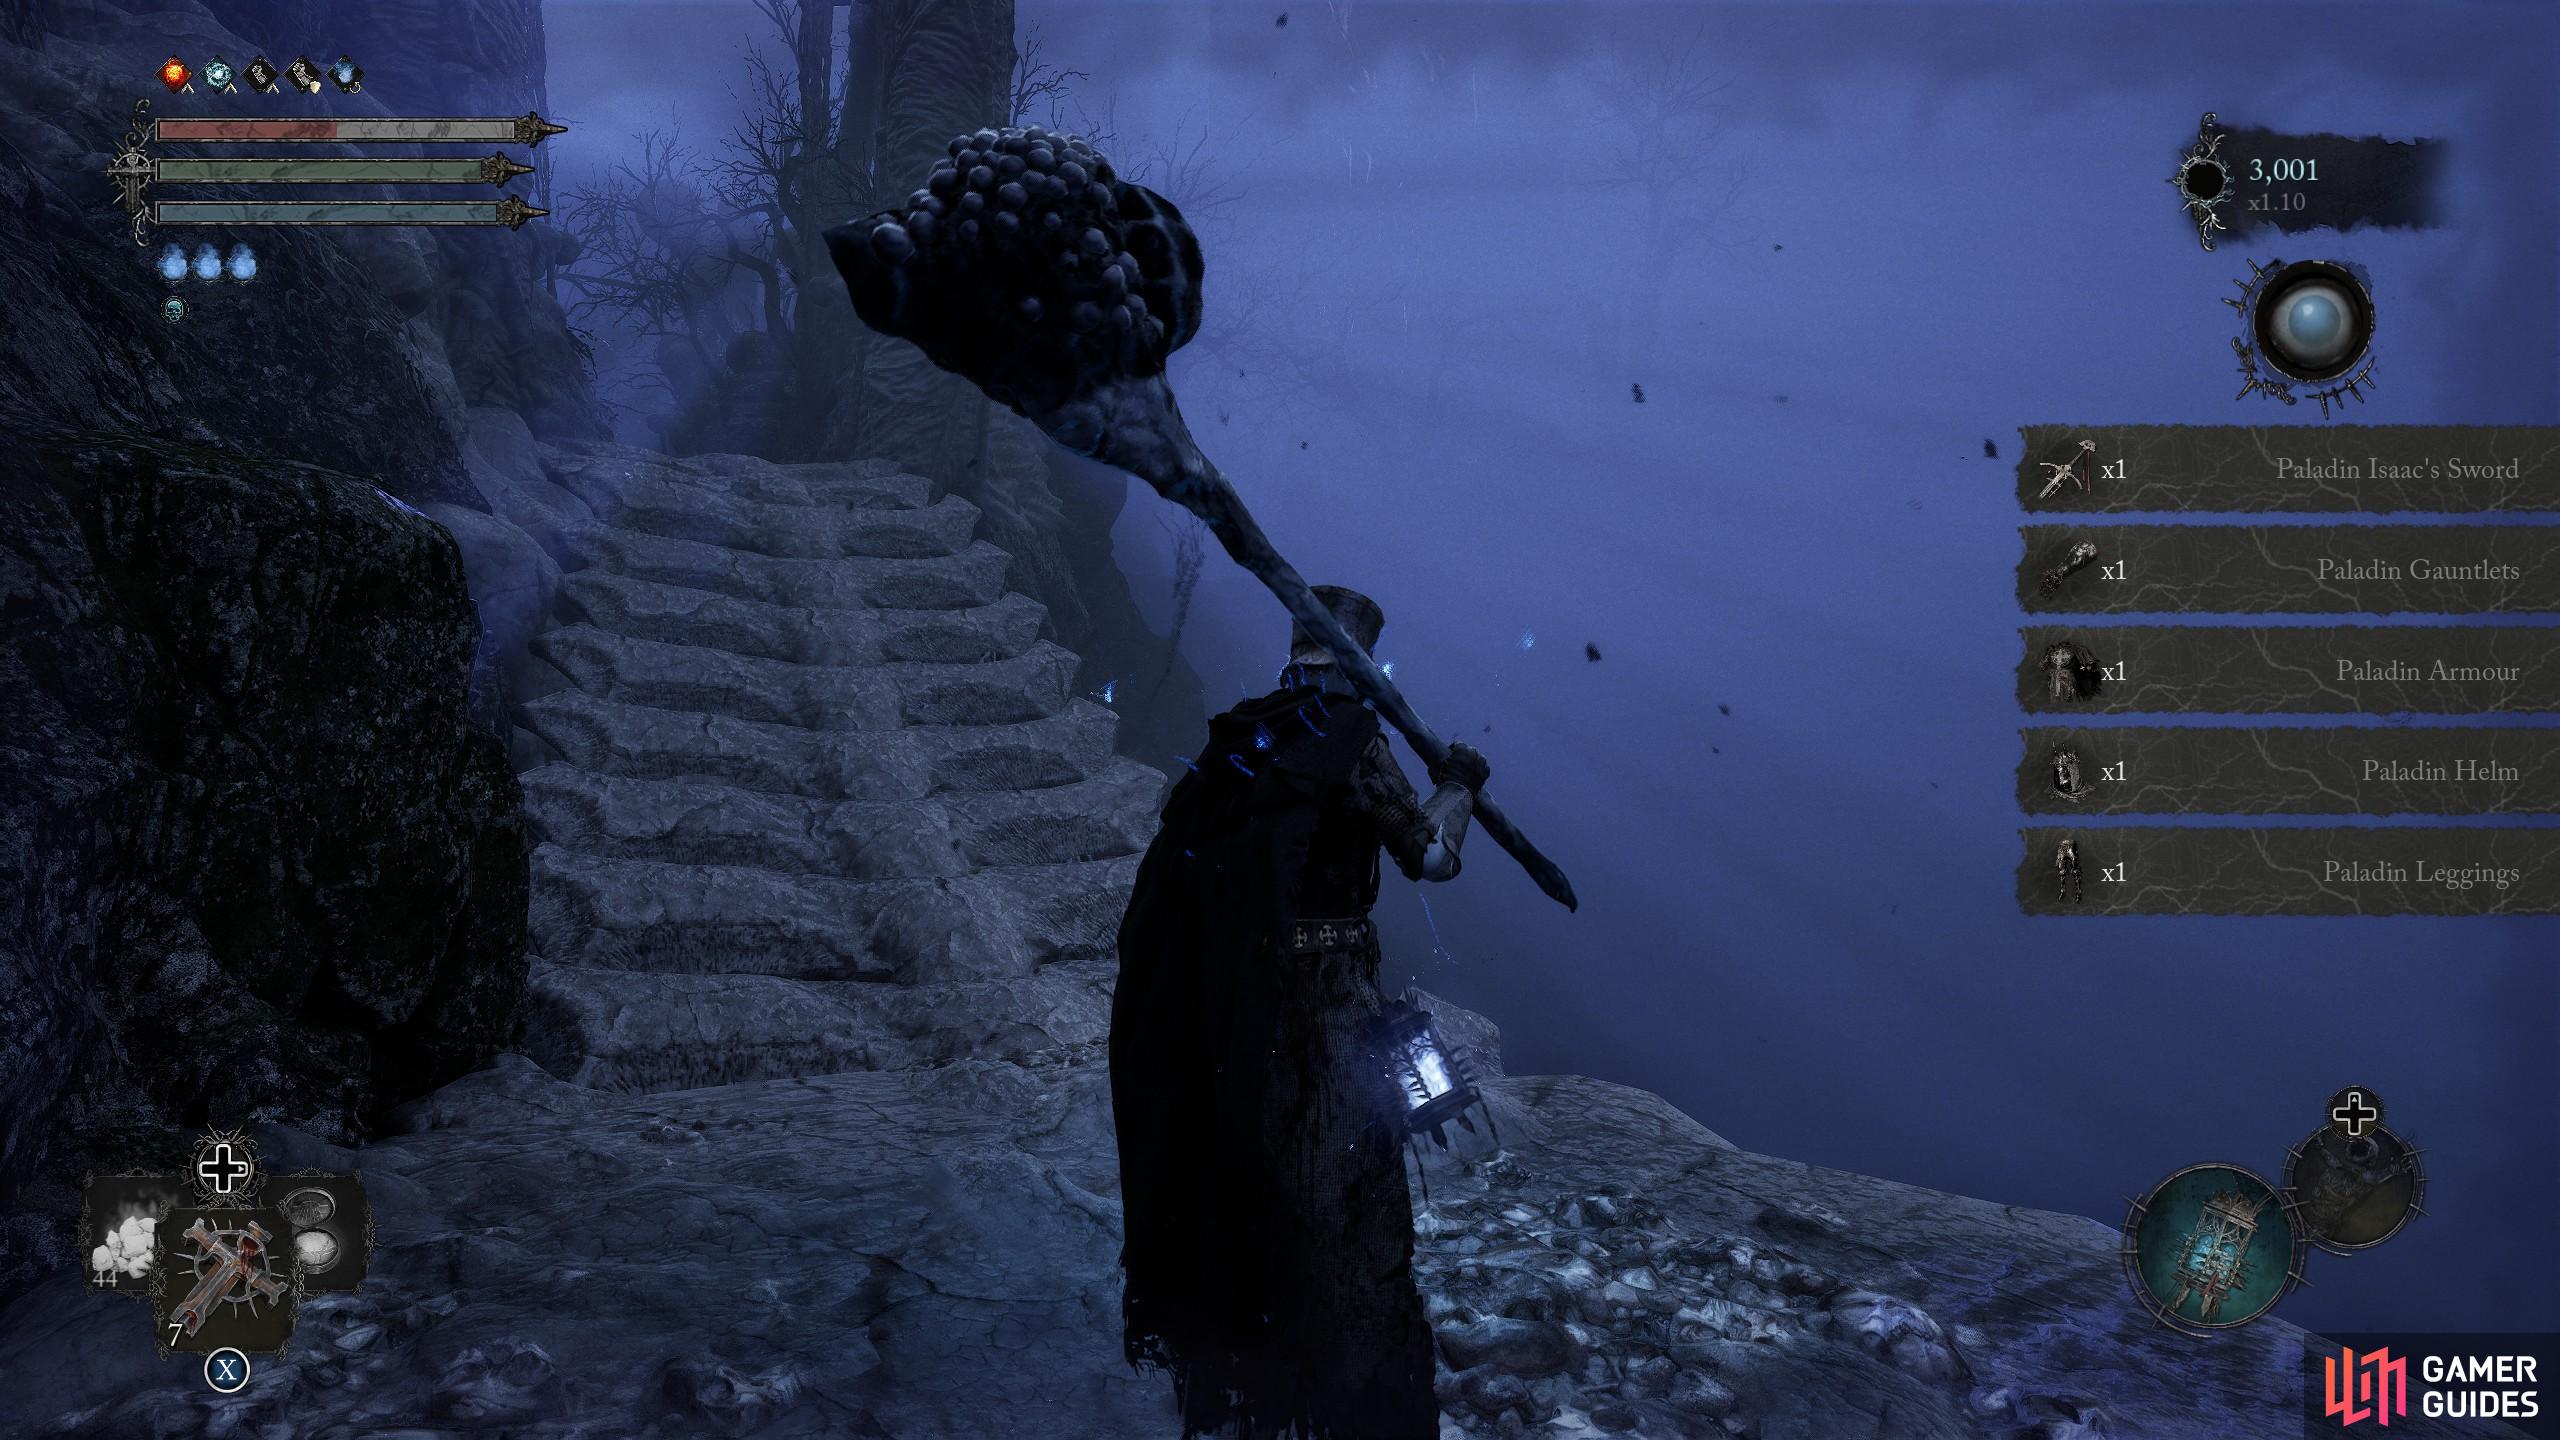
Once you have beaten the Isaac boss in the Umbral, you can now go to the first Vestige, and visit the area where you found the Flayed Skin, use the Umbral skin from the boss to open the door, and you can now retrieve the armor.
Finally, the last memory is located in the Path of Devotion. To get here, you need to have unlocked the ![]() Pilgrim’s Perch Key and opened the door to the Belled Rise, located at the unlockable door to the left of the Bell Cave Vestige in Pilgrim’s Perch. Run through the area, dodging the parkour options, route, then go outside along the boardwalk, cross the Umbral gap, and then into a cave. From there, turn right when you get near the boss room and go through the remaining tunnel to enter the Path of Devotion. When you’re there, follow the road down all the way to the Sin Piercer Archer on the dirt mound. Clear that area out, enter Umbral, and then create a pathway to the distant Umbral arena on the other side. From there, interact with the final sourcing, and it will spawn Paladin Isaac as a boss battle.
Pilgrim’s Perch Key and opened the door to the Belled Rise, located at the unlockable door to the left of the Bell Cave Vestige in Pilgrim’s Perch. Run through the area, dodging the parkour options, route, then go outside along the boardwalk, cross the Umbral gap, and then into a cave. From there, turn right when you get near the boss room and go through the remaining tunnel to enter the Path of Devotion. When you’re there, follow the road down all the way to the Sin Piercer Archer on the dirt mound. Clear that area out, enter Umbral, and then create a pathway to the distant Umbral arena on the other side. From there, interact with the final sourcing, and it will spawn Paladin Isaac as a boss battle.
Once you defeat Paladin Isaac in the battle, you can now go back to Abandoned Redcopse and go to the place where you picked up the Flayed Skin. You should now be able to use the Umbral-Tinged Flayed Skin that you got for defeating Paladin Isaac in the Path of Devotion on the door. Doing so opens it up and allows you to reach the spot where Isaac died. Looting the corpse will award you with Paladin Isaac’s Sword, along with his armor.
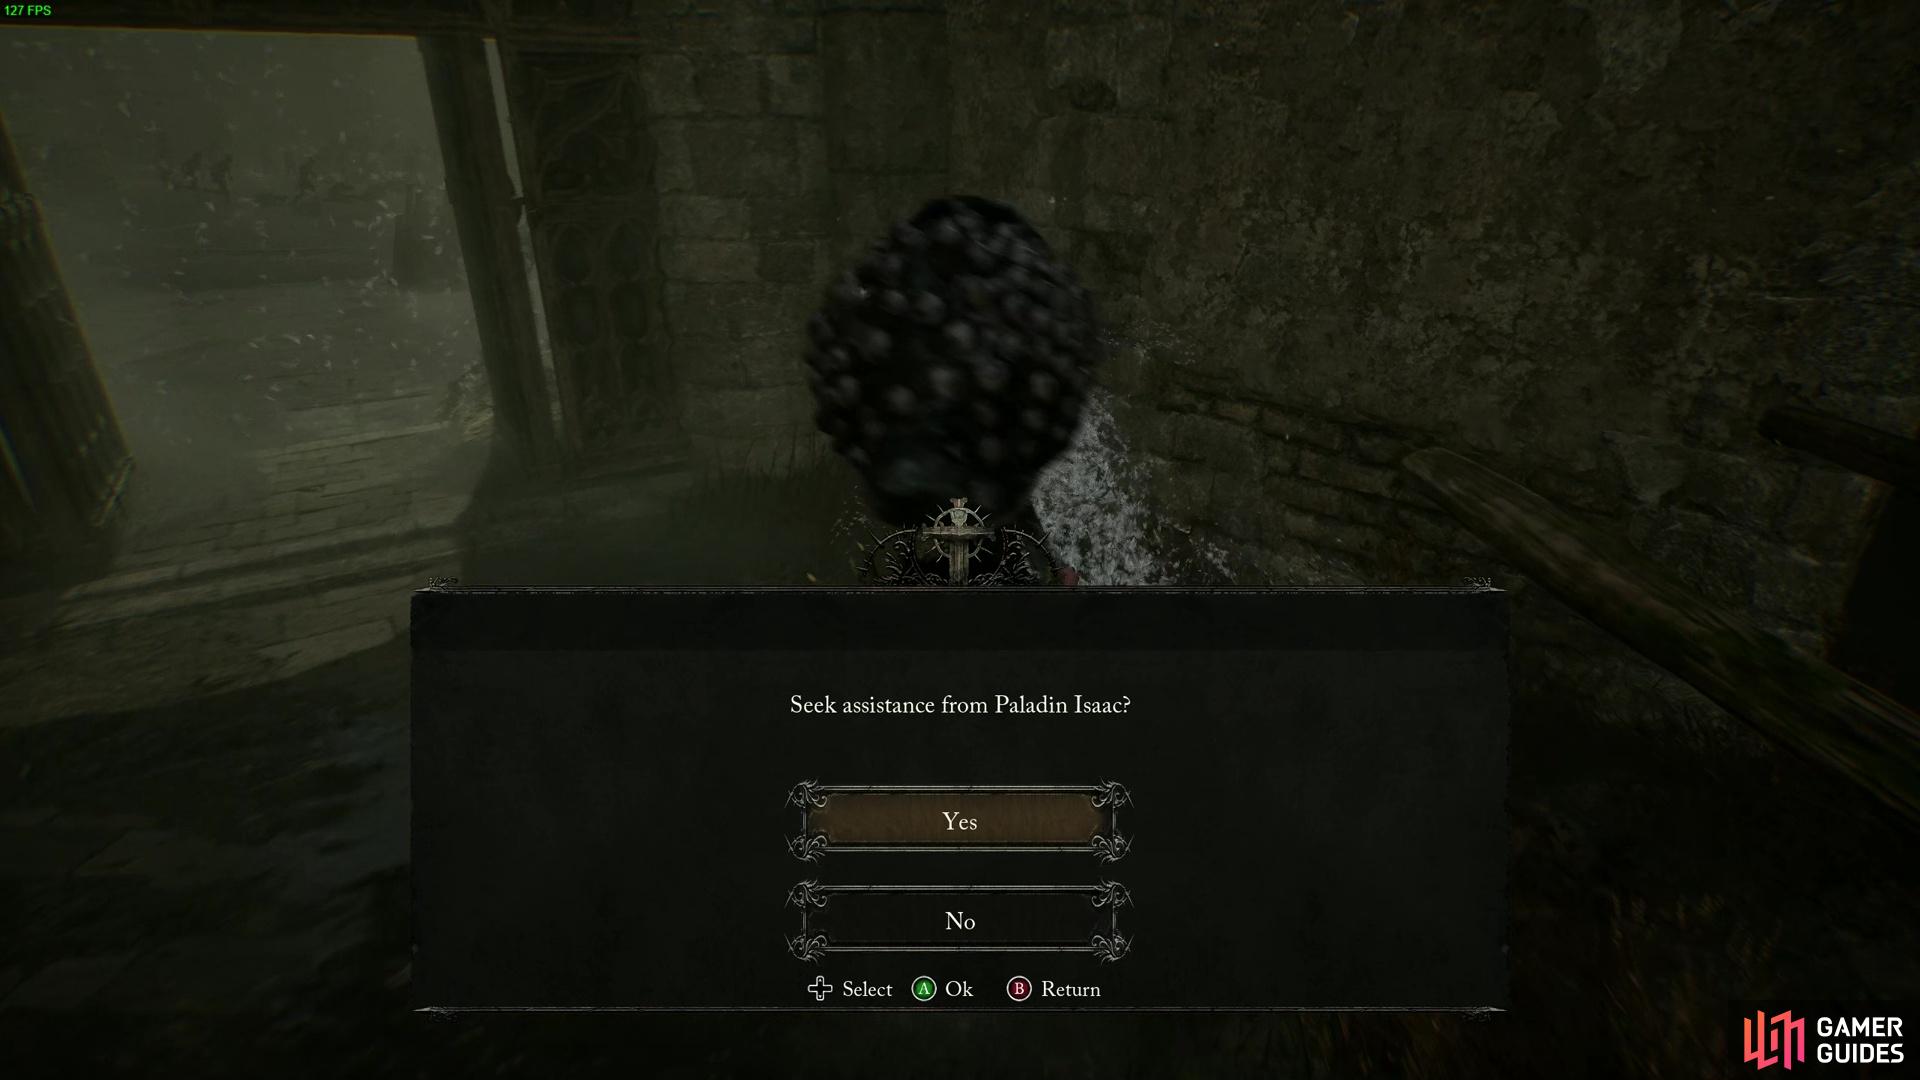
When you face off against the Lightreaper, you will be able to summon Isaac after dying to the creature, and it will allow you to bag the achievement.
With all that done, you will then need to progress the remainder of the game, taking on the Lightreaper in Upper Calarth once all other beacon bosses are defeated. You can then choose to summon Paladin Isaac against the Lightreaper. Once the Lighreaper is defeated and you have done all these other objectives, you will get a pop-up informing you that you have unlocked the Dark Crusader as a starting class.
Also, by letting the umbral reflection of Isaac face down the Lightreaper, you will gain the Vengeful Reflection achievement. You will need to lose to the Lightreaper when you enter the arena for the first time, as the summons won’t appear until after your first death to it.


Read More:
No Comments