

You may be wondering if you can upgrade your weapons in Lords of the Fallen, and you can, but it’ll require some legwork first. The NPC you are looking for is Gerlinde who can be found a little further into the game. Read below to find out where you can find the Blacksmith Gerlinde, and how to complete her quest line.
Rescuing Gerlinde will give you a Blacksmith back at Skyrest.
Blacksmith Gerlinde Location - Gerlinde First Meeting
Before you can get Gerlinde, you’ll need access to Pilgrim’s Perch which is the second area in the game excluding the main hub. To find it, you need to exit the main hub via the ramp to the right of the Vestige (if you’re looking at it). Follow the path down the stairs to find Pilgrim’s Perch. This area is full of enemies, so make sure you stay alert, especially as there are a lot of mages in this area that will attack you from afar.
When you reach Pilgrim’s Perch, climb up the ladder and follow the scaffolding until you can drop. Make sure you exhaust Thehk-Ihir’s dialogue who will be to your right before carrying on. At the end of the path, drop, but be careful of the enemies hiding among the crates (there’s a mage right below you). Make your way down while dealing with the enemies along the way until you reach the large open area. This part has a lot of enemies, so be careful, and slowly take them out.
(1 of 4) From Skyrest, exit the area to the right of the Vestige and follow it until you reach Pilgrim’s Perch.
Once they’re defeated, head up the stairs leading into the large archway to your right where you’ll find the Vestige of Chabui at the top of the stairs to the right. Activate the Vestige, and heal up if needed then go up the ladder opposite the Vestige to carry on. Immediately climb up the following ladder then go through the narrow corridor where you’ll find a beam heading across to the other side.
On the other side, head left and go down the ladder. Now, switch to Umbral Real if you want to speak to the NPC Damarose, if not, stay in Axiom. Go down the next ladder, and you’ll have to defeat the boss, “Scourged Sister Selyth”. If you die here, the run back is pretty quick, so you can keep retrying it. After defeating the boss, go through the doorway and head up the stairs. Defeat the mage overlooking the cliff then go up the ladder to your right.
(1 of 4) Head across the beam, climb down the ladder to the left then follow the path right for another ladder to go down.
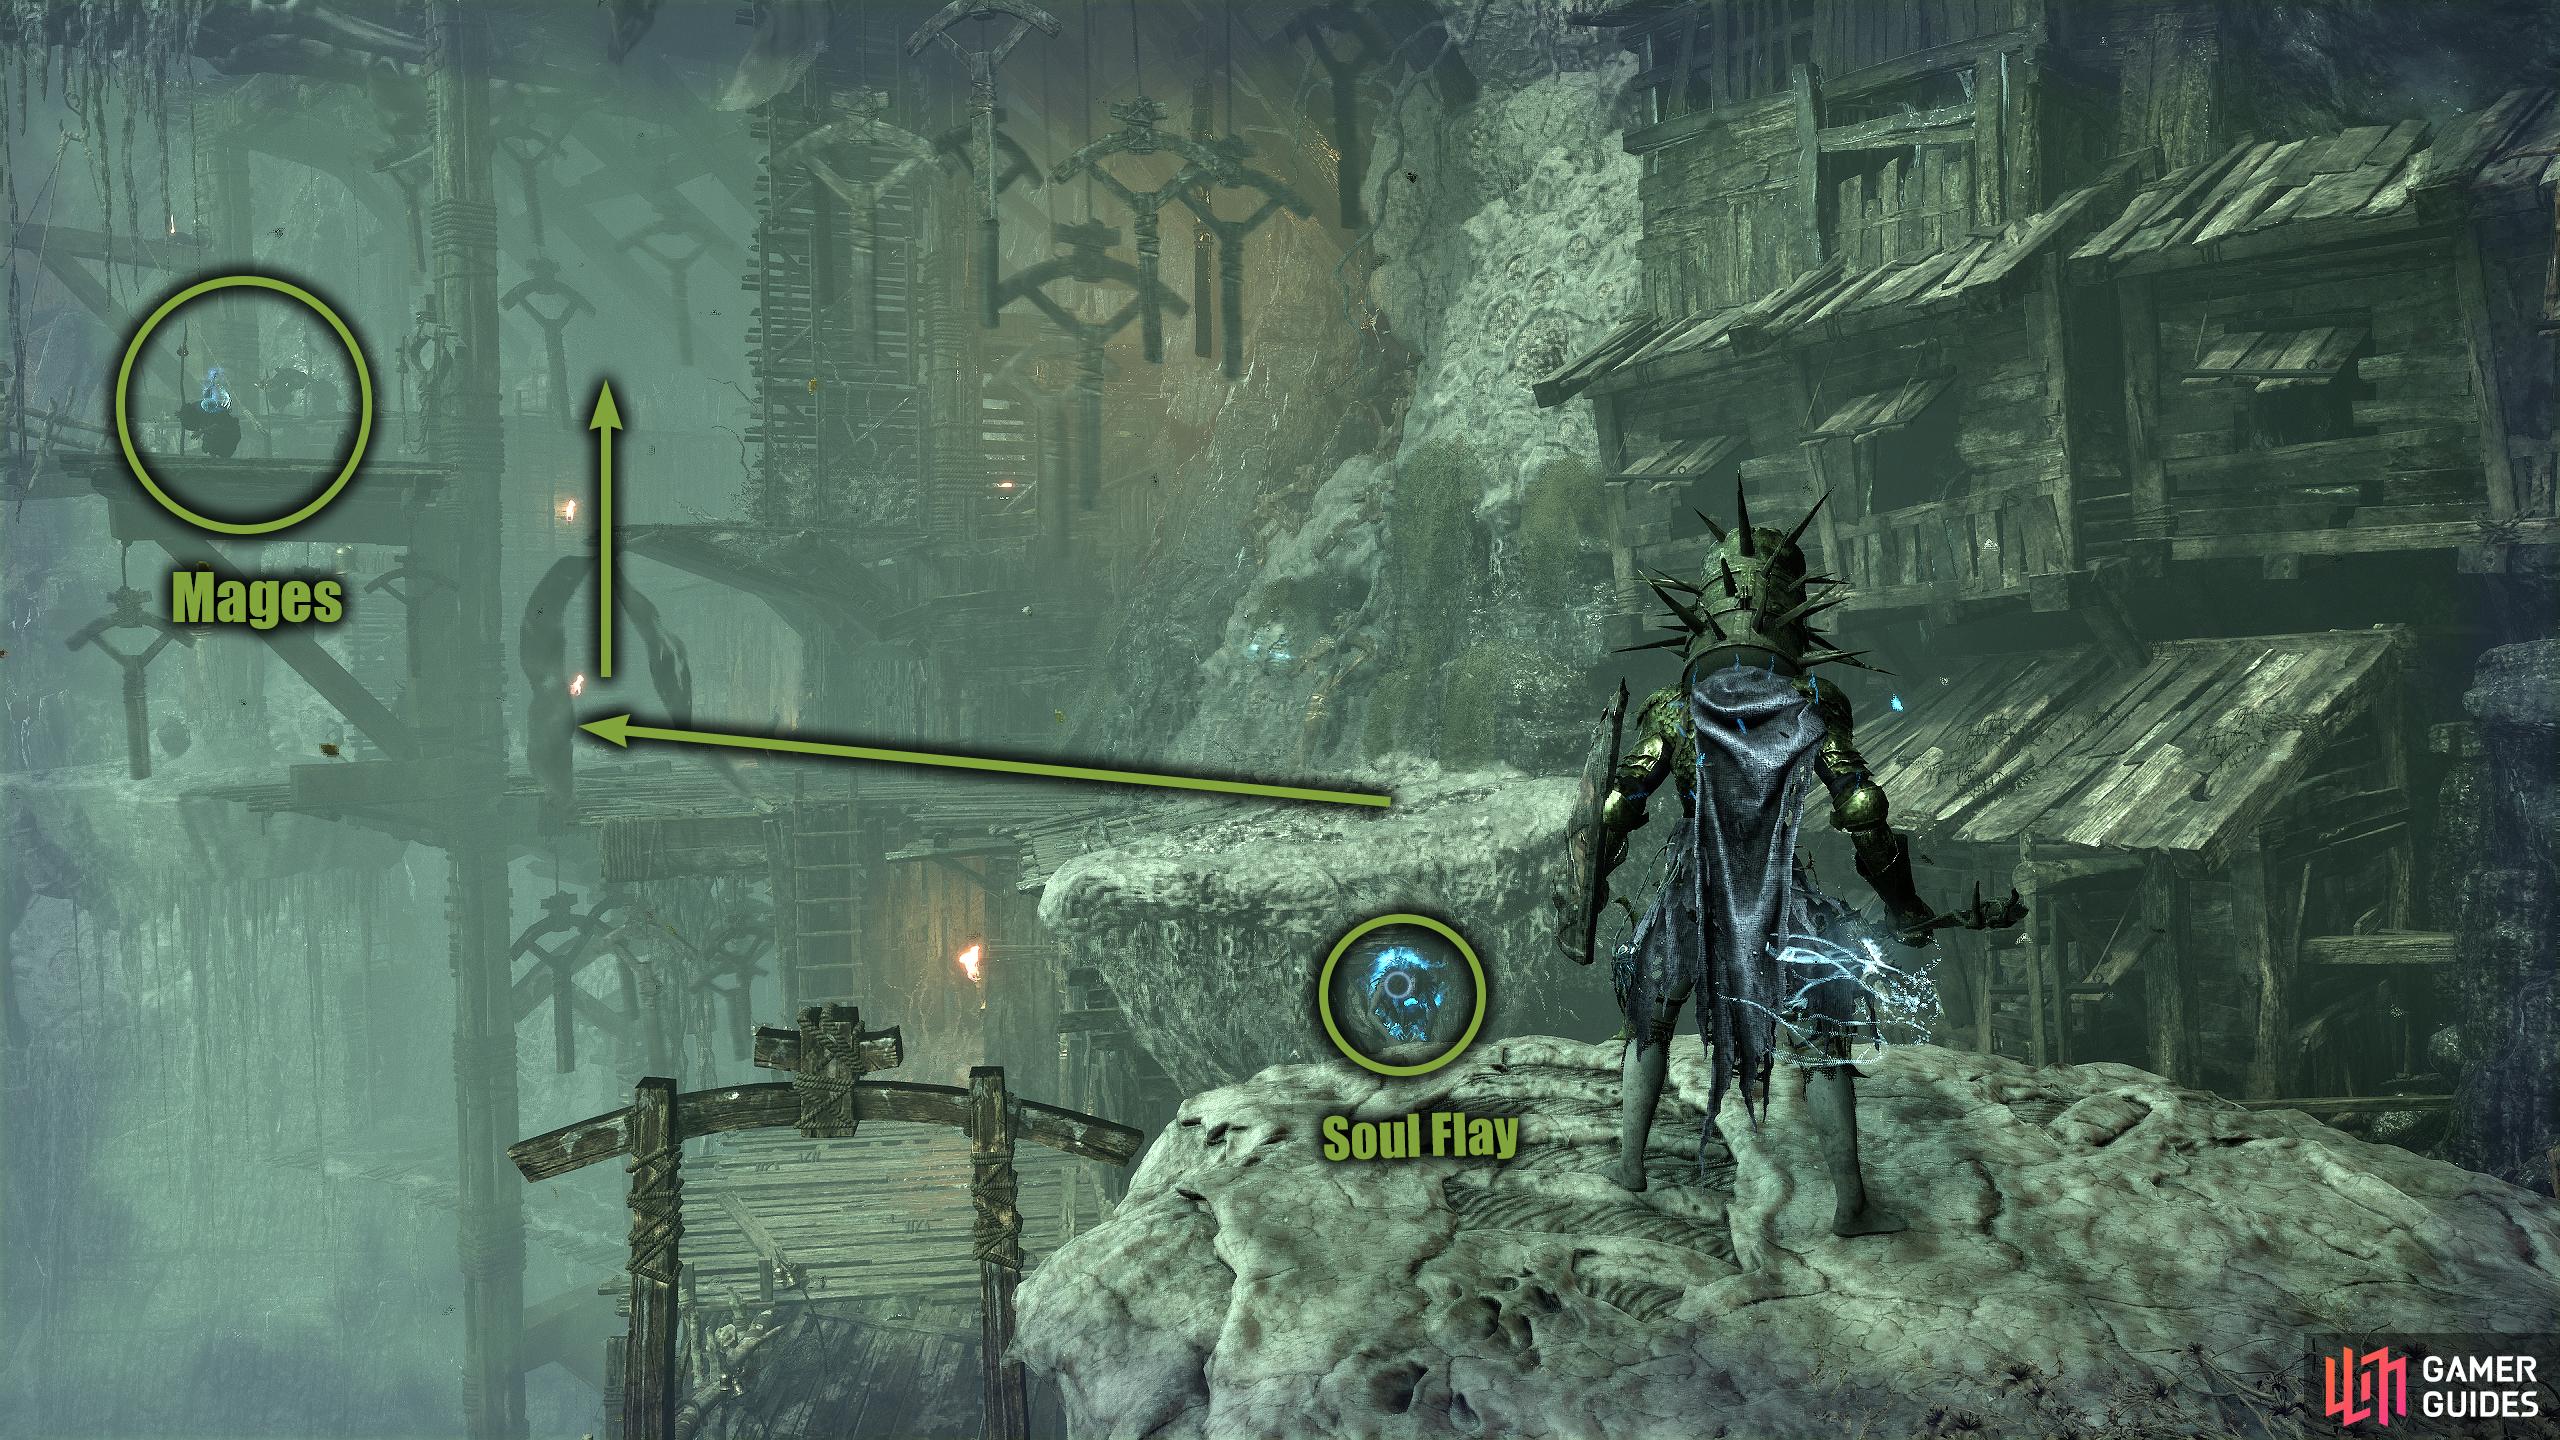
Go through the cave and open the Pilgrim door to your right if you purchase the key to acquire the Saint Resonance Armor set. To the left of it is a Bed of Flowers where you can put a ![]() Vestige Seed should you have one then continue through the cave. Exit the cave, and you’ll be outside again. Be careful here as there are a few mages on the various higher platforms and a new enemy type which are tough to deal with right now. These enemies have a spiked helmet on, have a lot of health, and hit hard. Also, they tend to run head-first at you. If you’re having trouble with them, try to bait them to run off the platform, or quickly climb up a ladder and exploit their lack of climbing ability.
Vestige Seed should you have one then continue through the cave. Exit the cave, and you’ll be outside again. Be careful here as there are a few mages on the various higher platforms and a new enemy type which are tough to deal with right now. These enemies have a spiked helmet on, have a lot of health, and hit hard. Also, they tend to run head-first at you. If you’re having trouble with them, try to bait them to run off the platform, or quickly climb up a ladder and exploit their lack of climbing ability.
Anyway, proceed across the scaffolding, defeating the enemies along the way until you reach a dead end. Climb the nearby ladder then you’ll need to switch to the Umbral Realm. Stand on the platform, lock on to the body on the other platform, and pull yourself across. On the other side, head down the ladder to your left, and kick the plank down for a shortcut. Go back up the ladder, and progress onwards. Just before the next ladder is another spiked helmet enemy. Defeat it, and use the nearby Emergence Effigy to exit the Umbral Realm.
Follow the path, and defeat the spiked helmet enemy ahead.
Switch to Umbral Realm, stand on the platform, Soul Flay to pull it across then follow the path up the ladder.
Head up the ladder next to it, and quickly defeat the two mages at the top. Now it’s time for some parkour! See that hanging platform? Well, you need to run and jump onto it then wait for it to get near to the next platform before jumping onto it. When you reach the other side, climb the ladder, walk forward a bit then climb the following ladder. Proceed forward and defeat the mage on your right then drop to the platform below. Once again, a spiked helmet enemy will be next to the tower (a ladder shortcut can be dropped here later), and a couple of mages next to it.
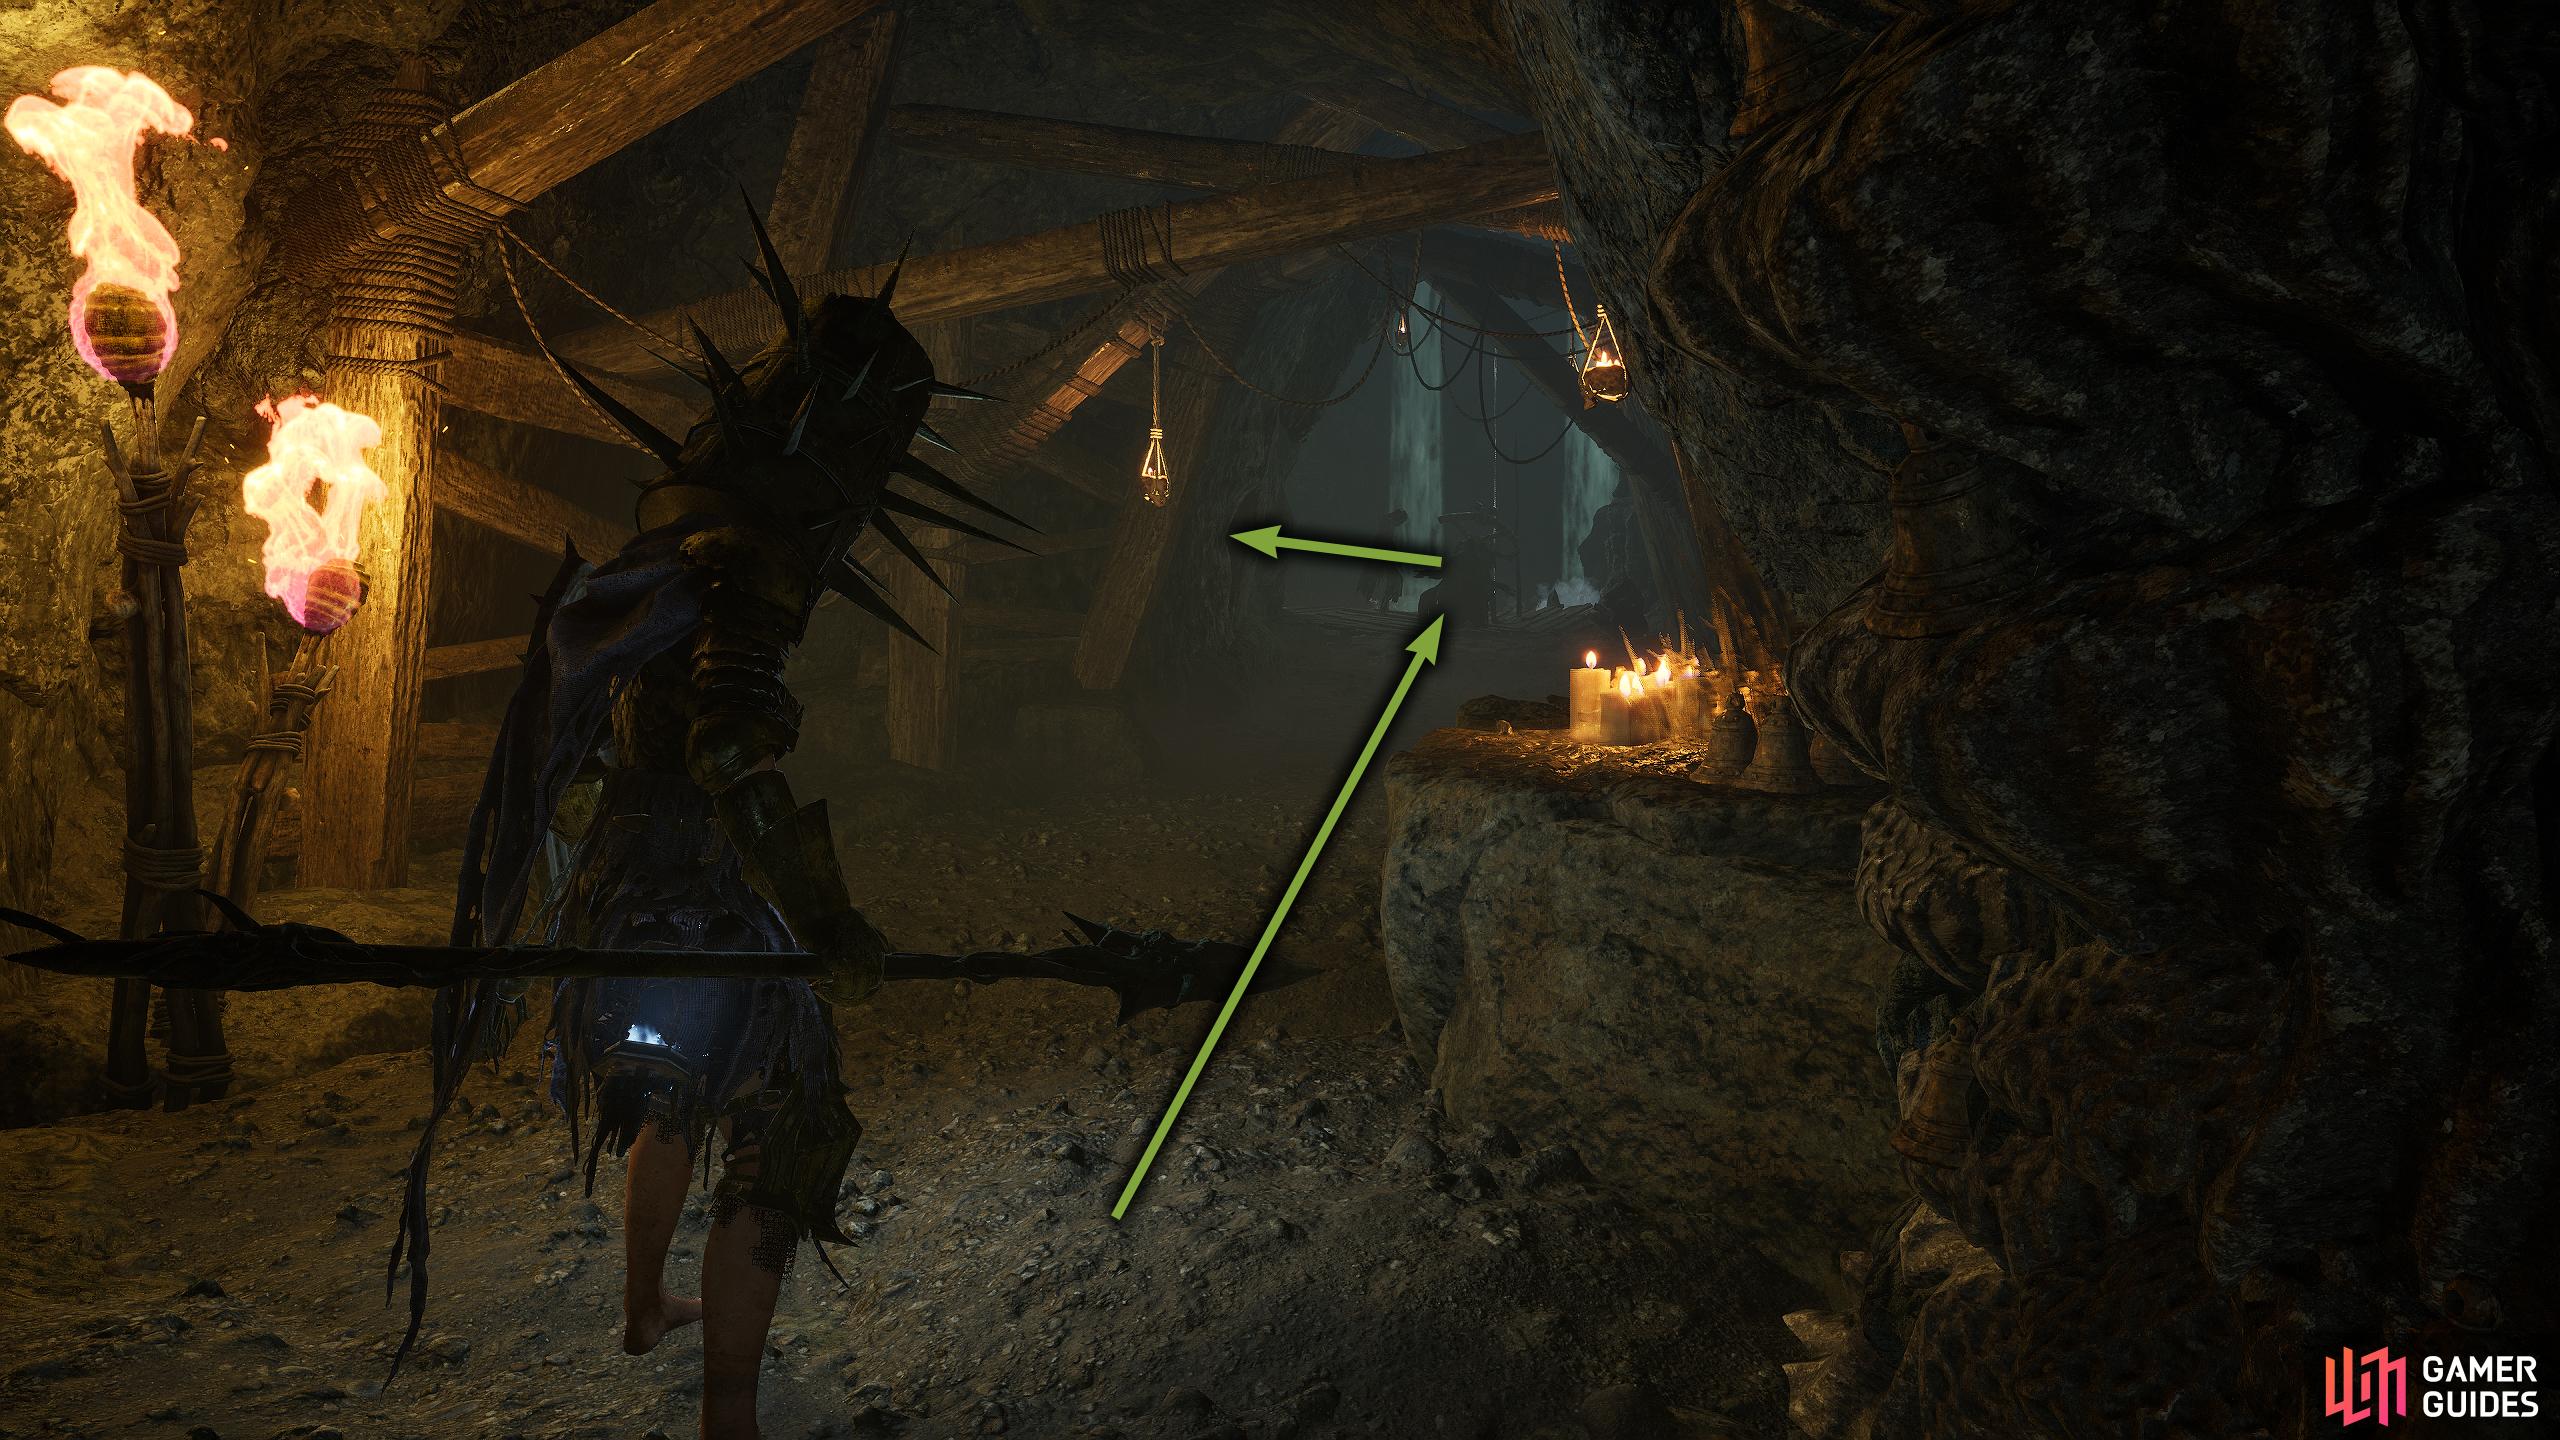
Deal with the enemies, then switch to the Umbral Realm and head across the new bridge that has formed. At the end of the bridge, Soul Flay the platform toward you, and go across onto the floating island. Follow the linear path while avoiding attacks from mages then Soul Flay the platform toward you. Jump on the platform, and Soul Flay the other side of the gap to pull you across. At the top, go along the beam to the only visible platform (if you’re in the Umbral Realm, there is an item containing the ![]() Thorned Crimson Rector Sword on the palm of the hand).
Thorned Crimson Rector Sword on the palm of the hand).
(1 of 3) Run and jump onto the hanging platform, wait for it to swing nearer to the next platform, and jump across. Finally, jump onto the next platform, and climb the ladder.
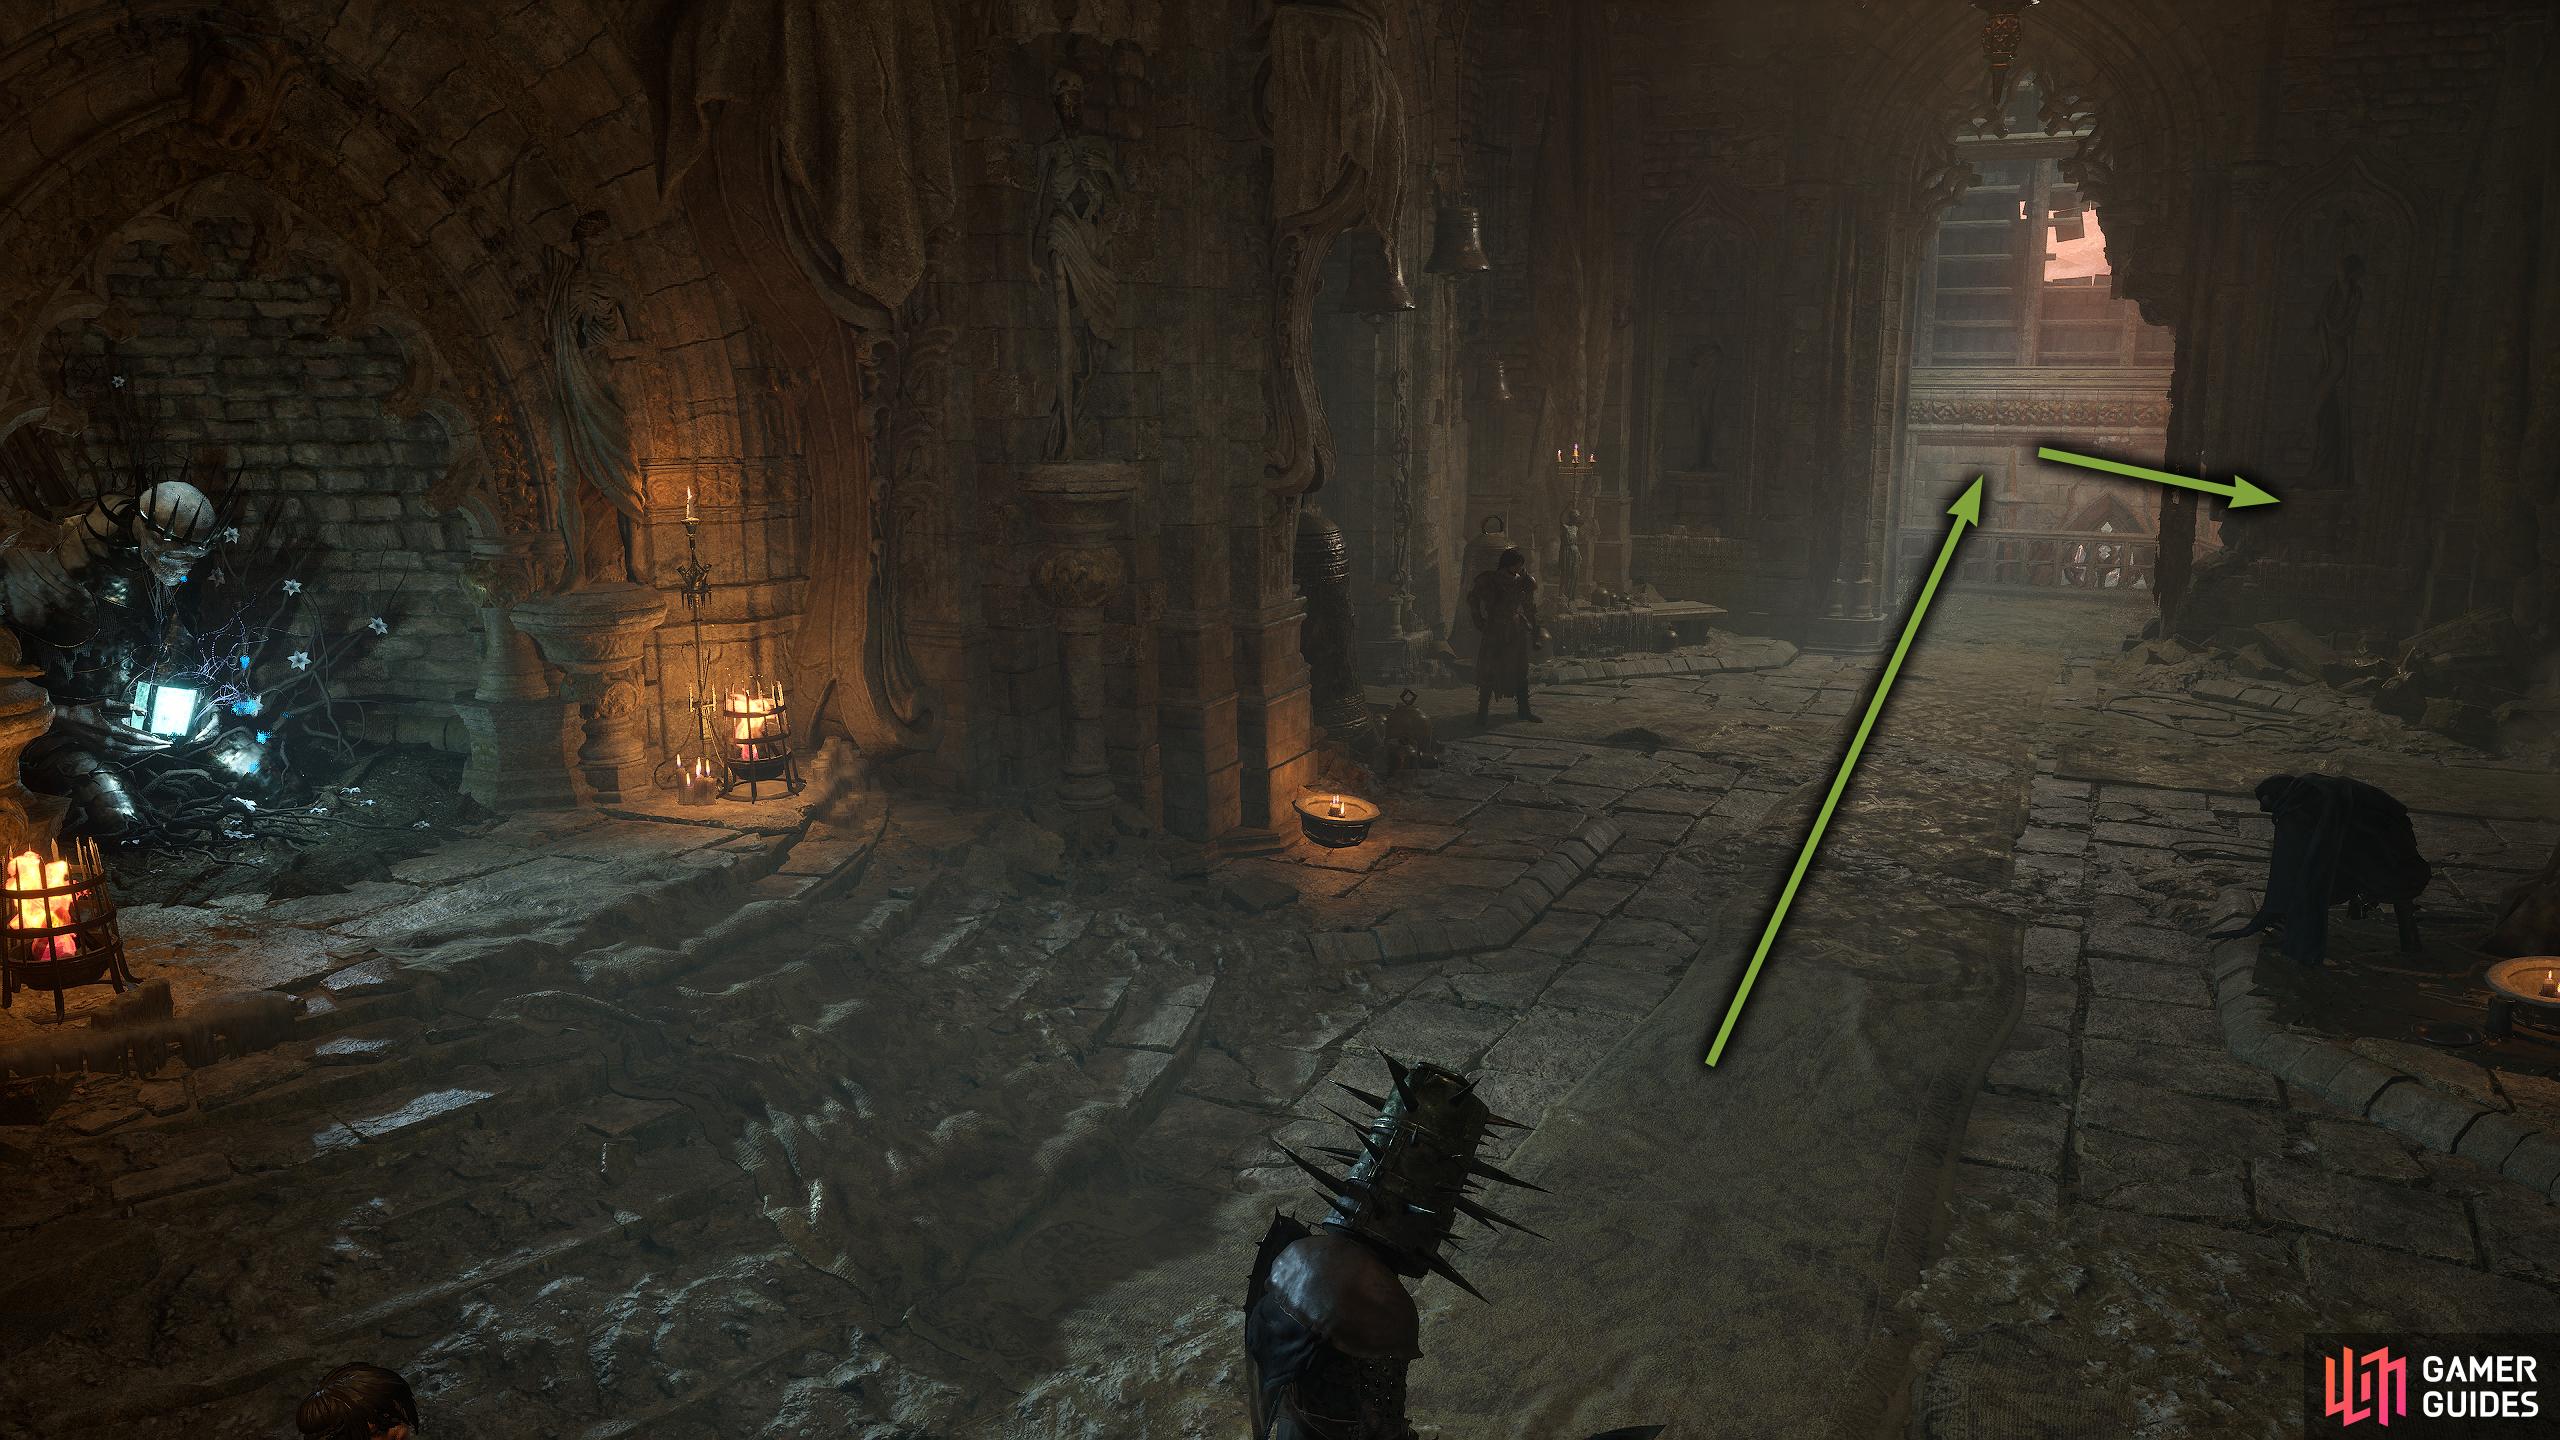
Here, there’ll be two mages, one in front of you and one on the top, and in the archway to your left, a spiked helmet enemy protected by a parasite. Note, the Vestige is just inside the room to your left. If you don’t want to fight the enemies, then bait them onto the platform, run through the doorway, and activate the Vestige. To the right of the doorway, right of the Vestige is an NPC called Byron, speak to him and make sure you exhaust his dialogue then open the Pilgrim Door behind him if you have the key. We recommend saving this area until later due to the enemies being fairly difficult there. Opposite the Vestige is an elevator shortcut, but you won’t be able to use this yet.
Be careful when you get up here as there will be a spiked helmet enemy to the left.
When the enemies are dealt with, head through the door to find a much-needed Vestige. Also, make sure you talk to Byron if he’s there.
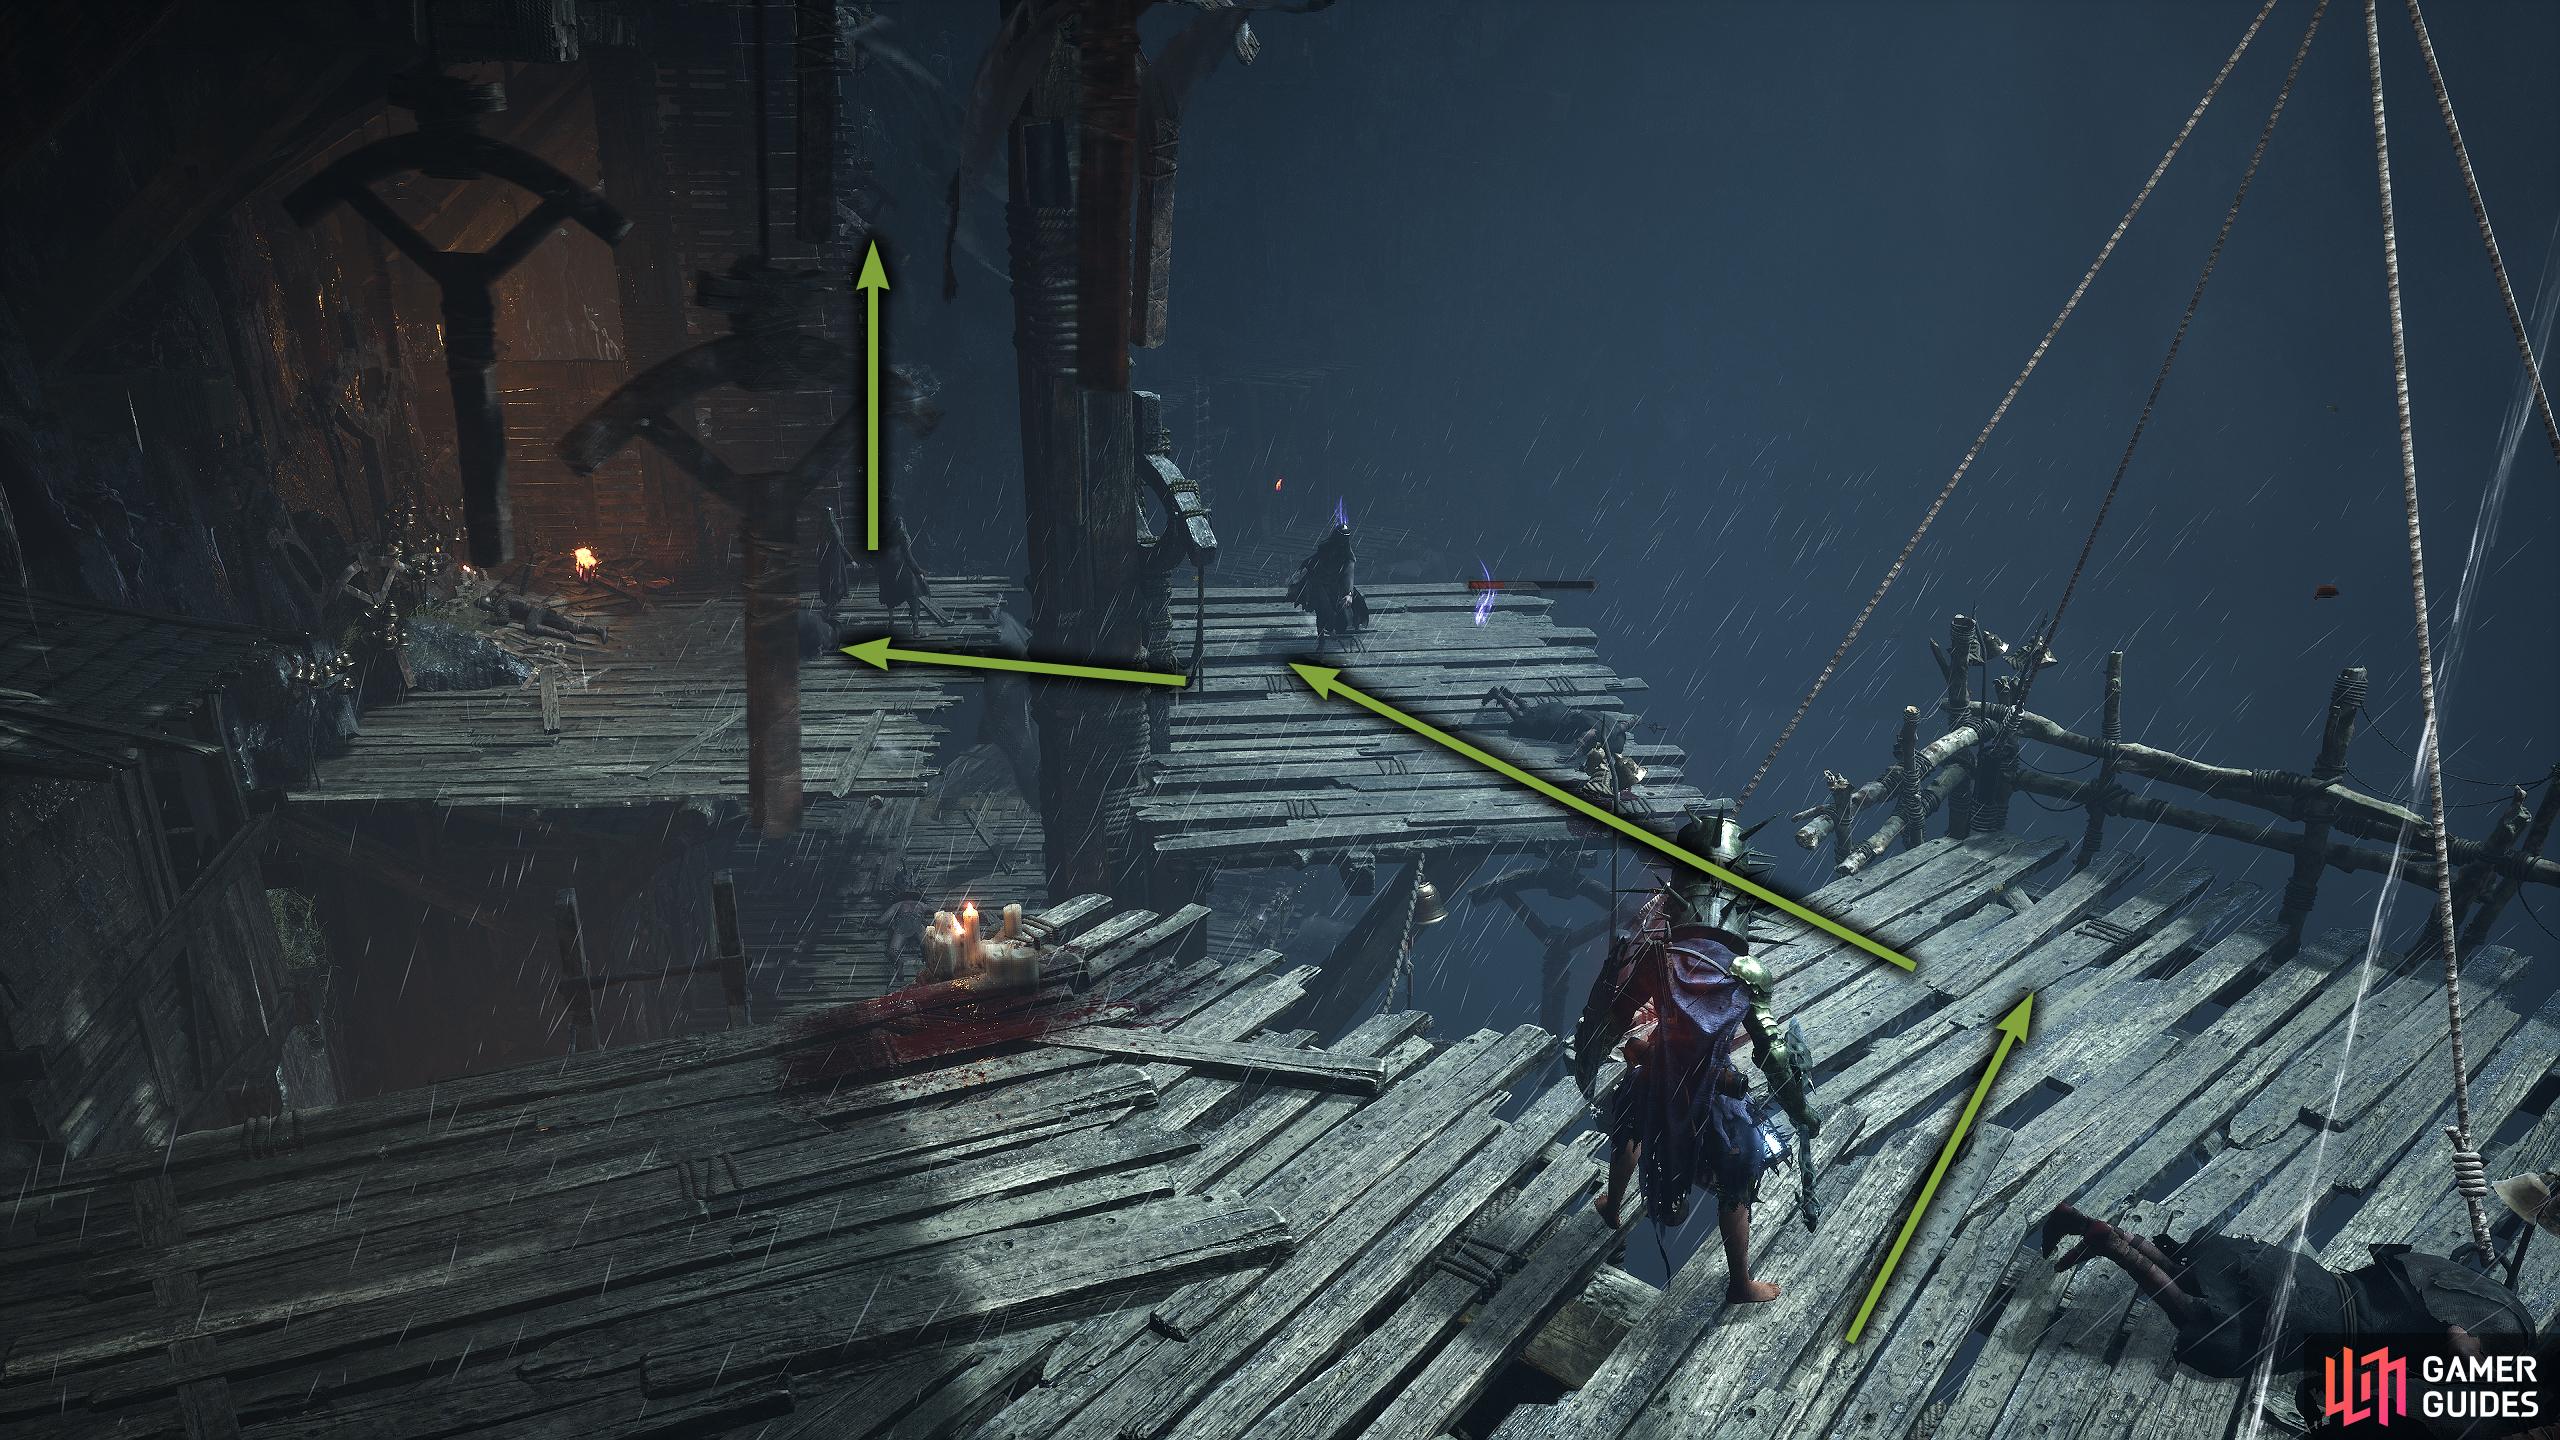
Instead, head through the corridor to your left, and defeat the abundance of mages. Follow the path that leads outside, defeat the two mages, one to your left, and one in front then jump across the hanging platform to the other side where you’ll need to defeat another mage. Continue on and defeat the spiked helmet enemy before taking the ladder down. At the bottom, there are a couple of Bed of Flowers where you can place a seed should you want to, then enter the Umbral Realm. Drop the nearby ladder, and Soul Flay the body in the center where you’ll find the ![]() Bowl of Revelations. This allows you to purchase Boss Equipment from Molhu back at Skyrest. Run across to the ladder at the other end, walk around the tower, and climb the next ladder. Follow the walkway to the right. Head across the bone beam where the mage is then use the nearby Emergence Effigy. Finally, drop to the platform below and kick the plank to create a shortcut.
Bowl of Revelations. This allows you to purchase Boss Equipment from Molhu back at Skyrest. Run across to the ladder at the other end, walk around the tower, and climb the next ladder. Follow the walkway to the right. Head across the bone beam where the mage is then use the nearby Emergence Effigy. Finally, drop to the platform below and kick the plank to create a shortcut.
(1 of 6) Head through the tunnel opposite the Vestige while taking out the enemies along the way.
Now go in the opposite direction along the path and take out the three mages before going toward the ladder. Before you go down, know that there are two spiked helmet enemies and three mages down here. Instead of using the ladder, perform a plunging attack on the two mages on the small platform to the left. From here, you can take out the mage in the center of the other platform with ranged attacks/magic, but make sure you remove the parasite first. Finally, climb down the ladder, then immediately climb back up, this should trigger the two spiked helmet enemies where you can use ranged attacks again to chip away at their health.
When they’re defeated, enter the Umbral Realm, and you’ll find an Umbral entity blocking your way. To open this, you’ll need to find two bodies to Soul Flay to open it. The first is above the door, to the right a little, and the other is to the left of the door, up the bone ramp. When you reach the end, look up and right to find the second body. Head back to the door, and then Soul Flay the body on it to open it up.
(1 of 5) Follow the path to the ladder, but be aware of the three mages before it. There is one to your left, one in front, and one to your right.
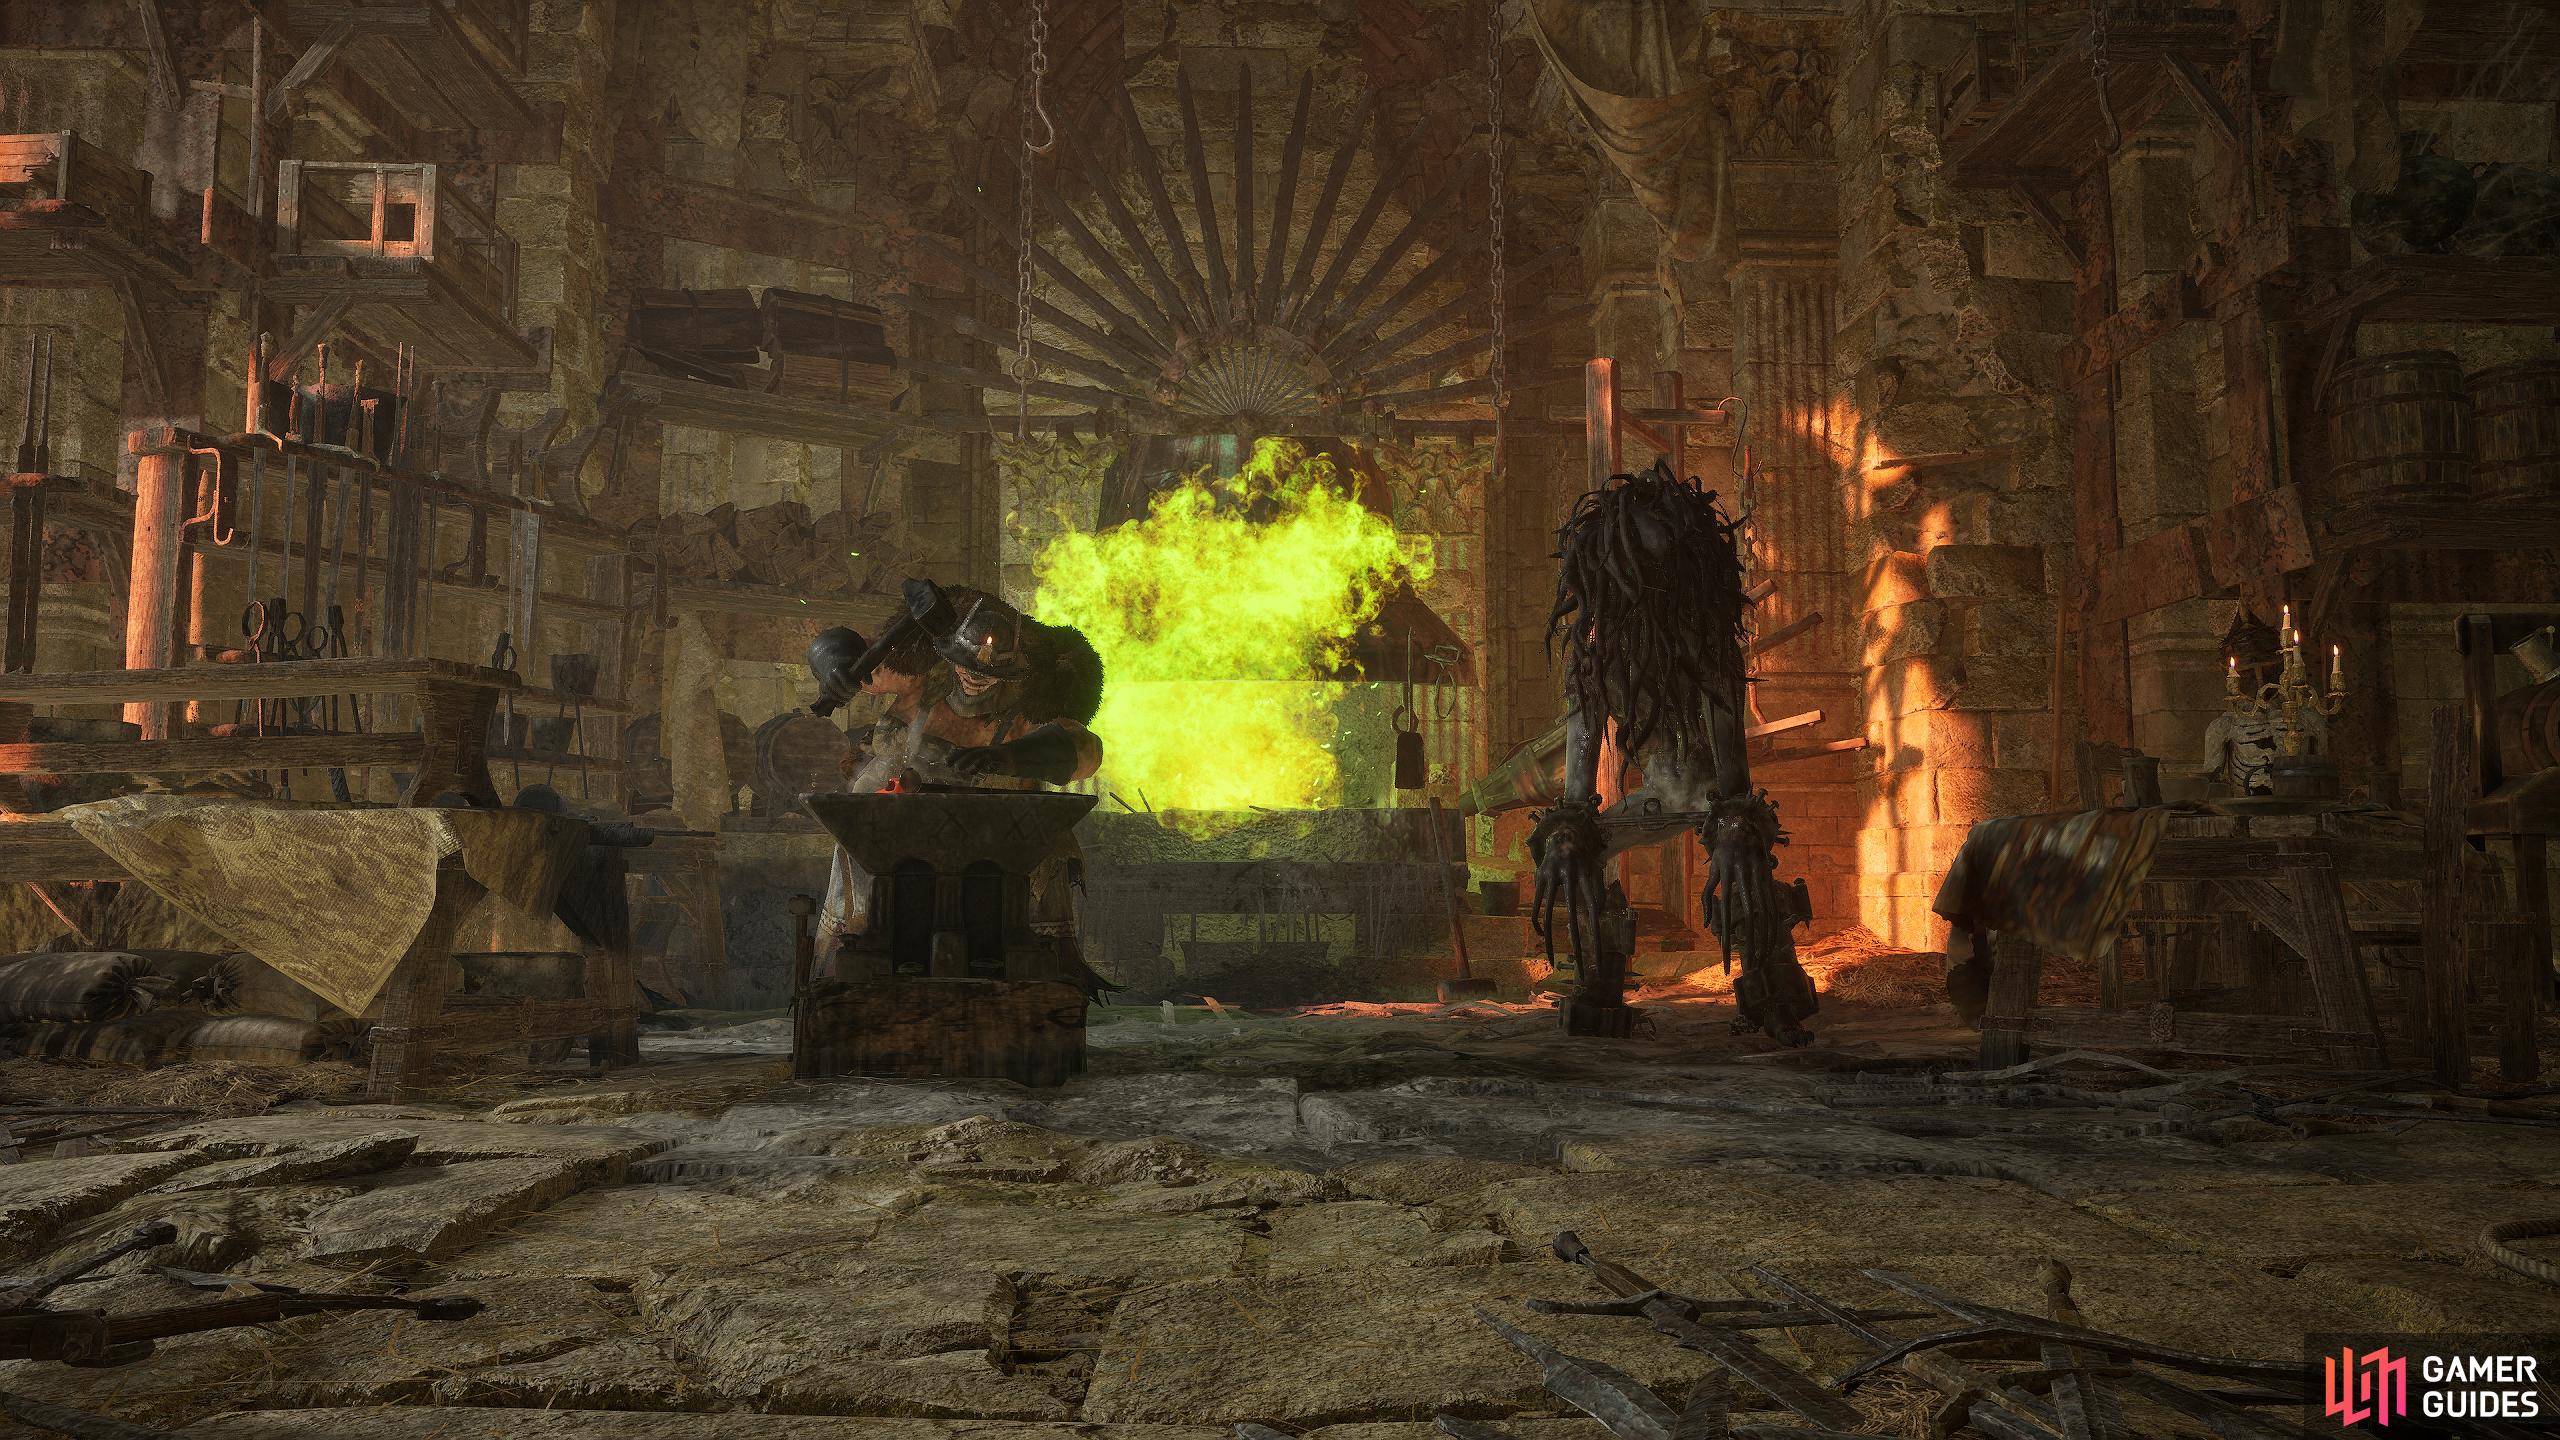
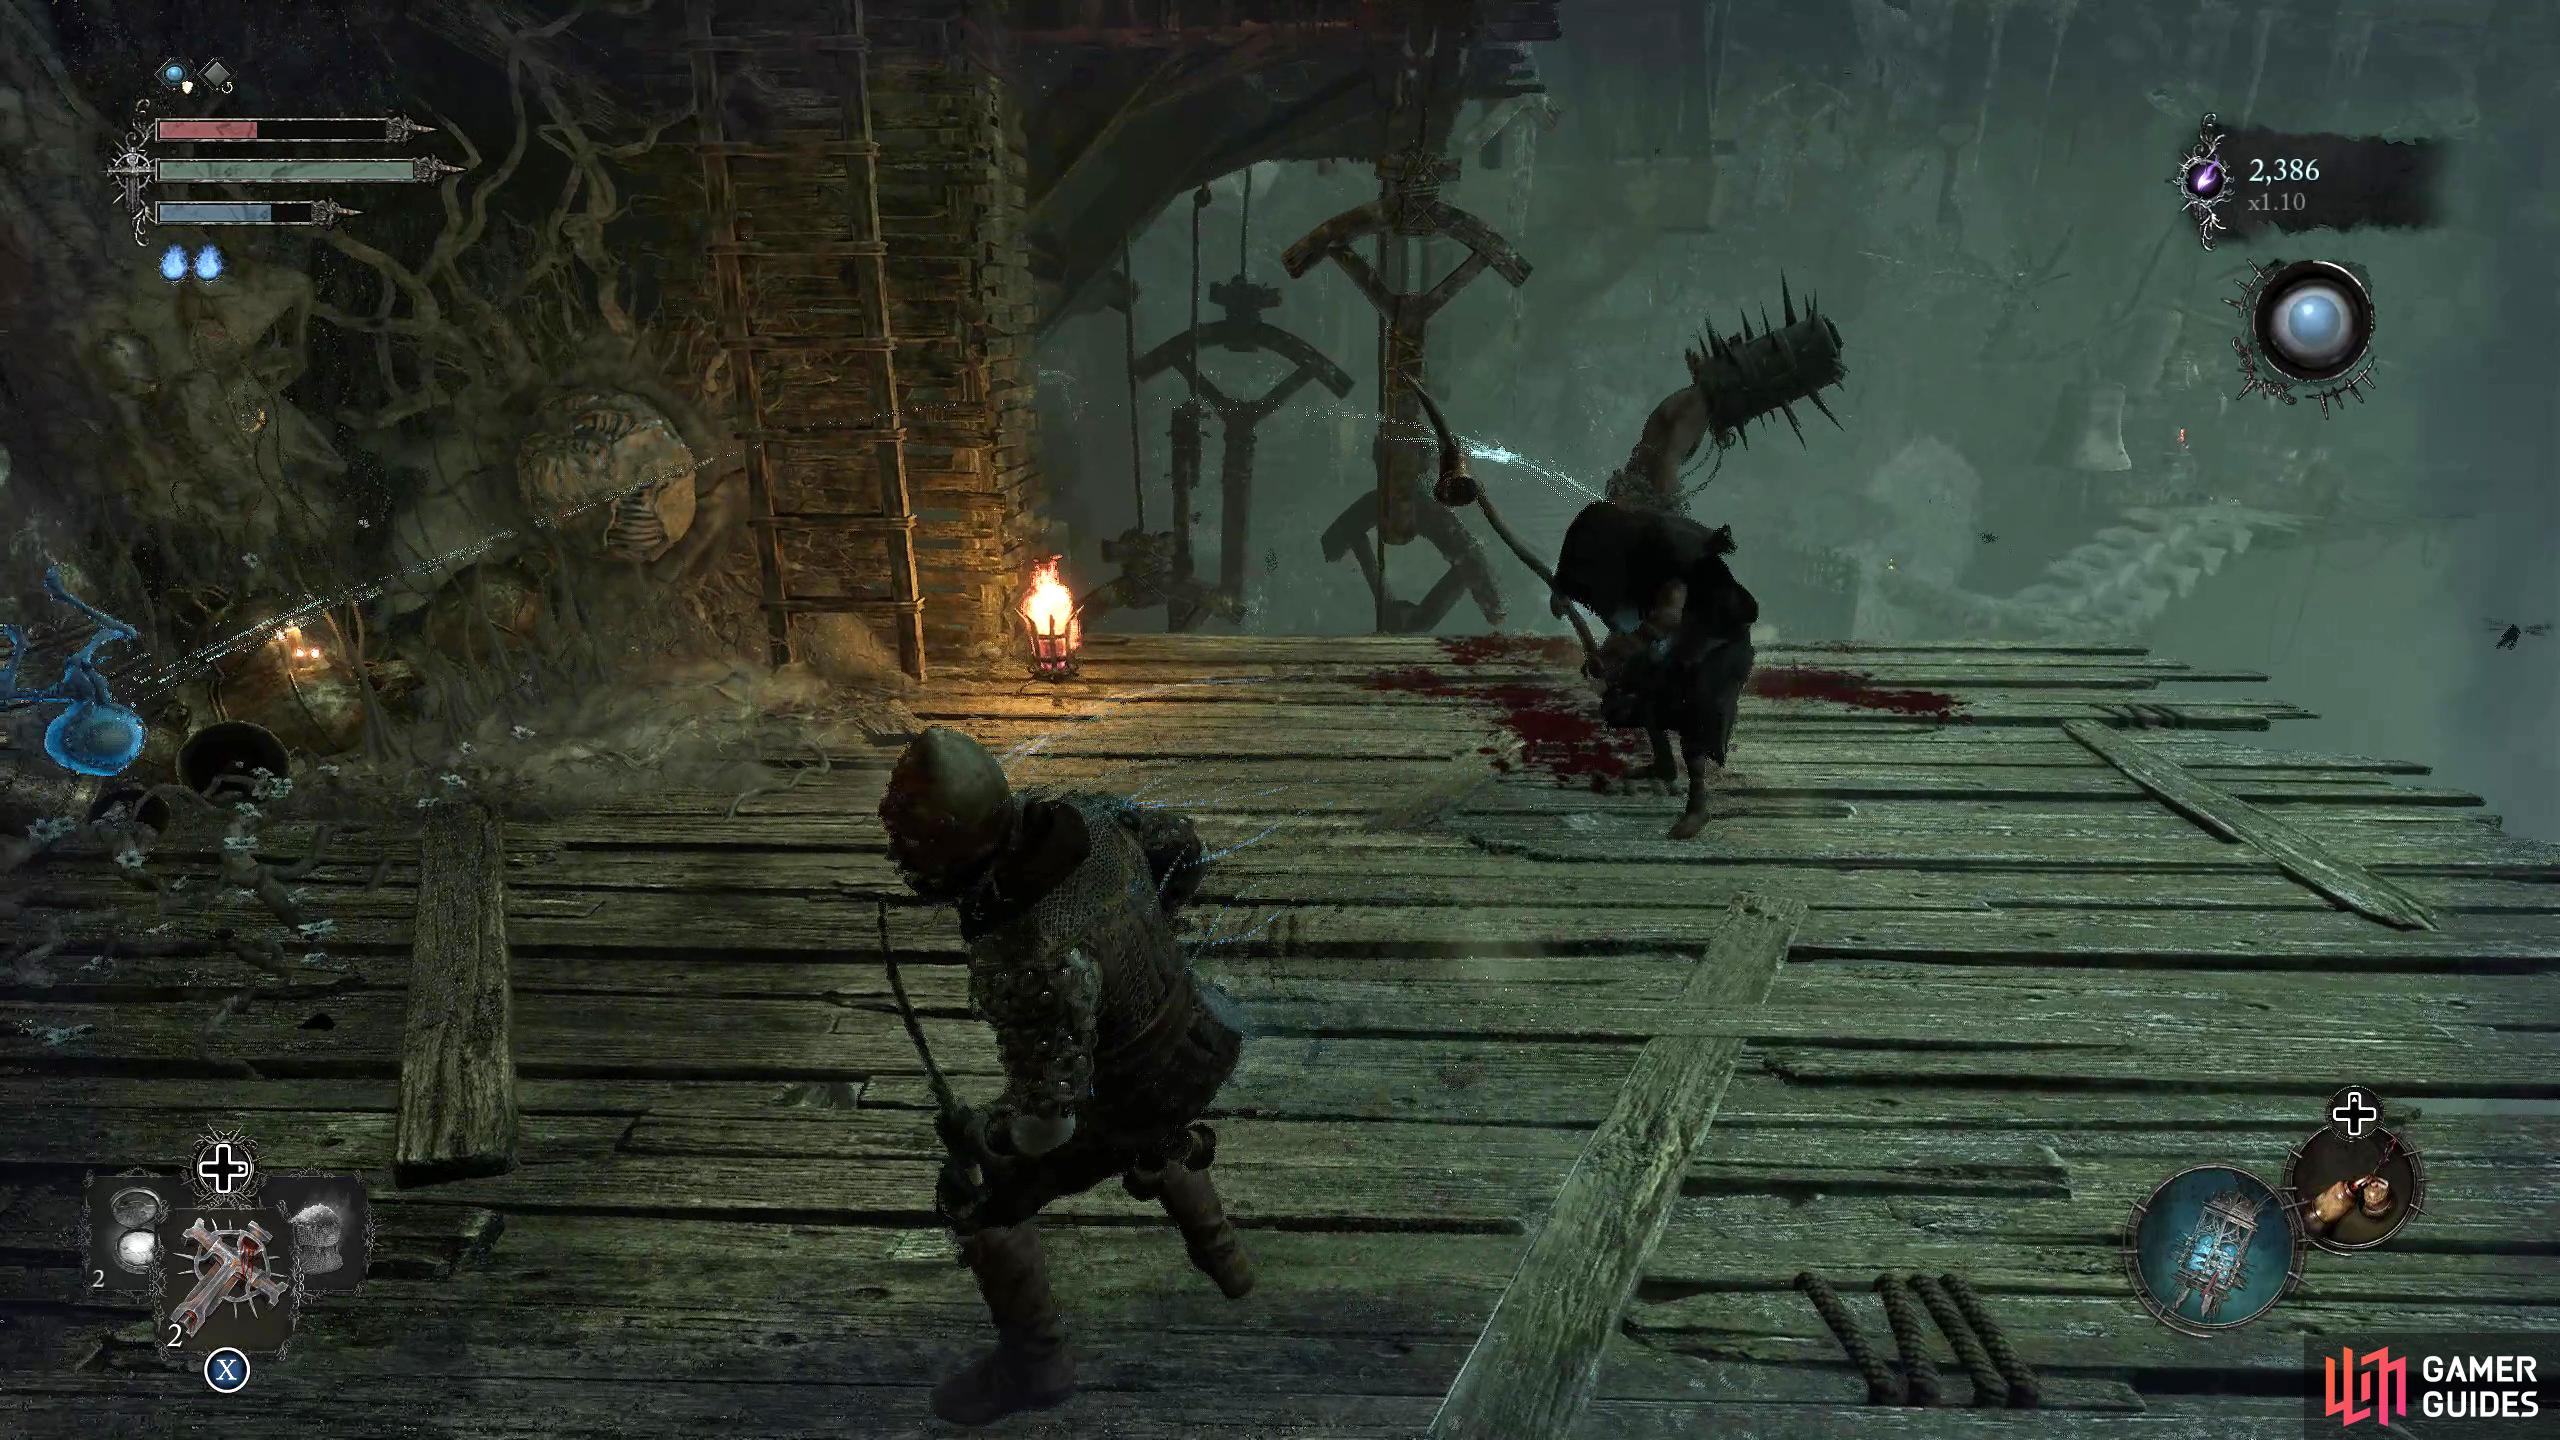
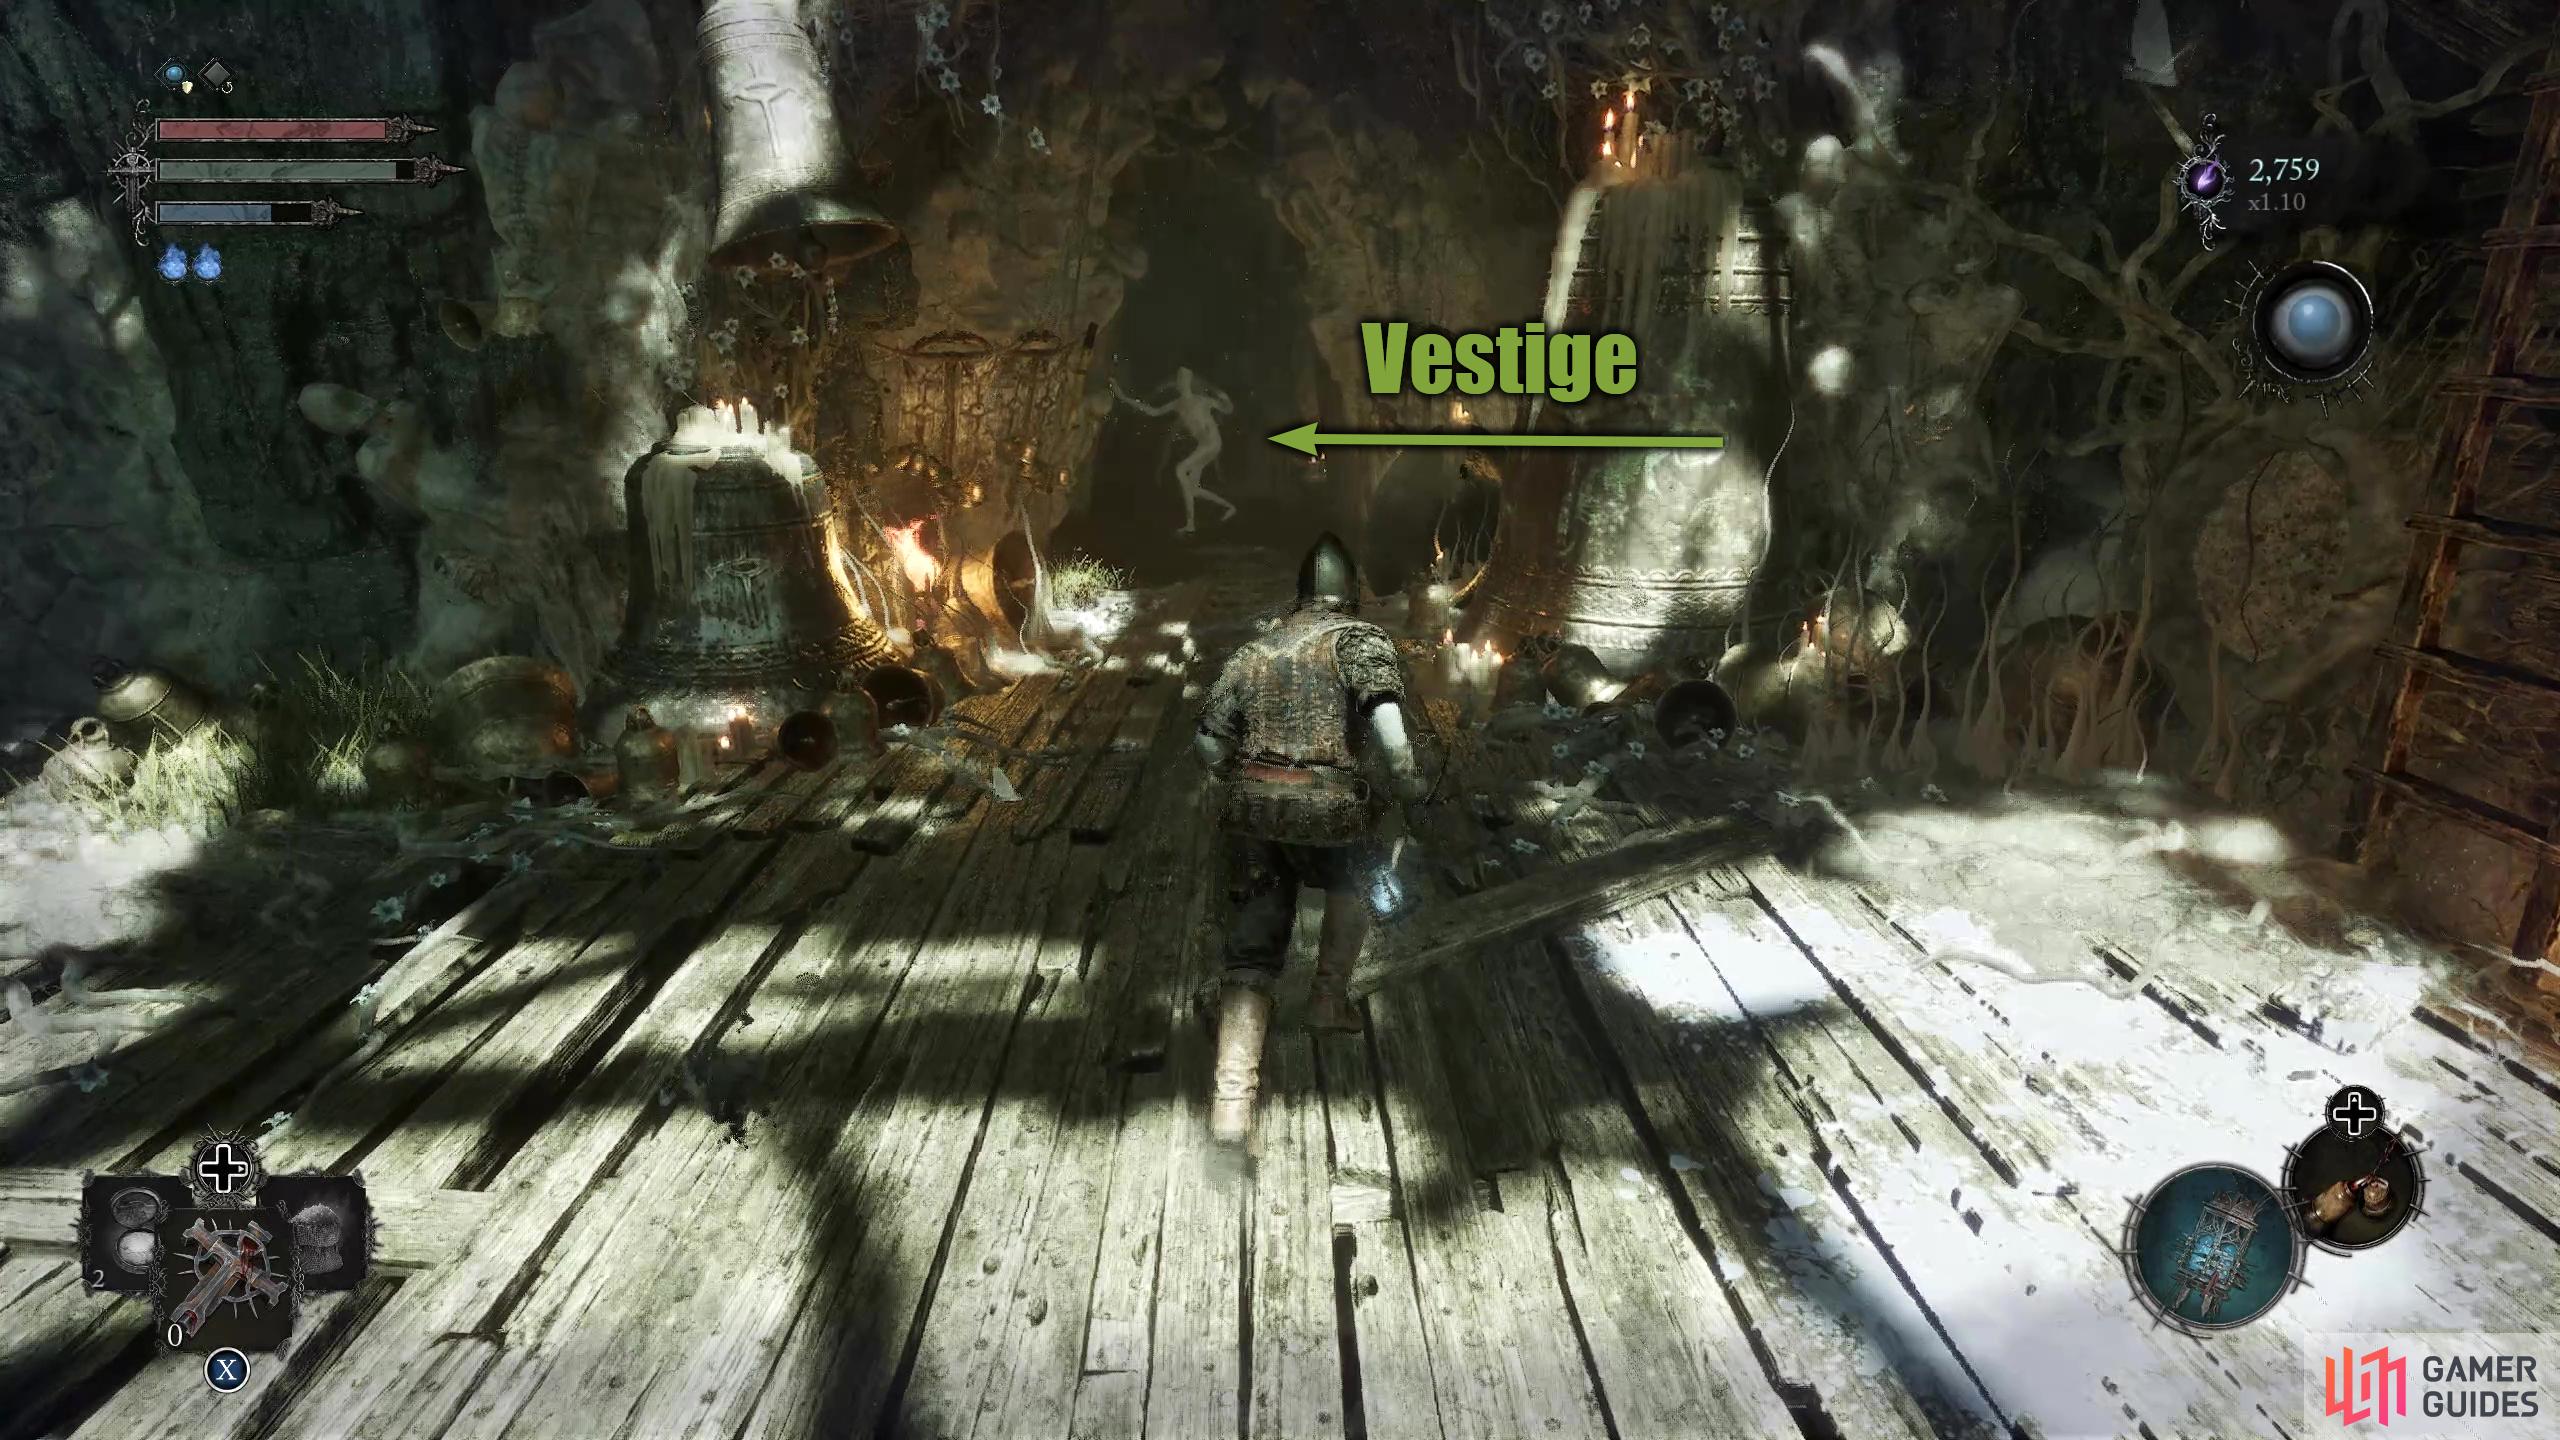
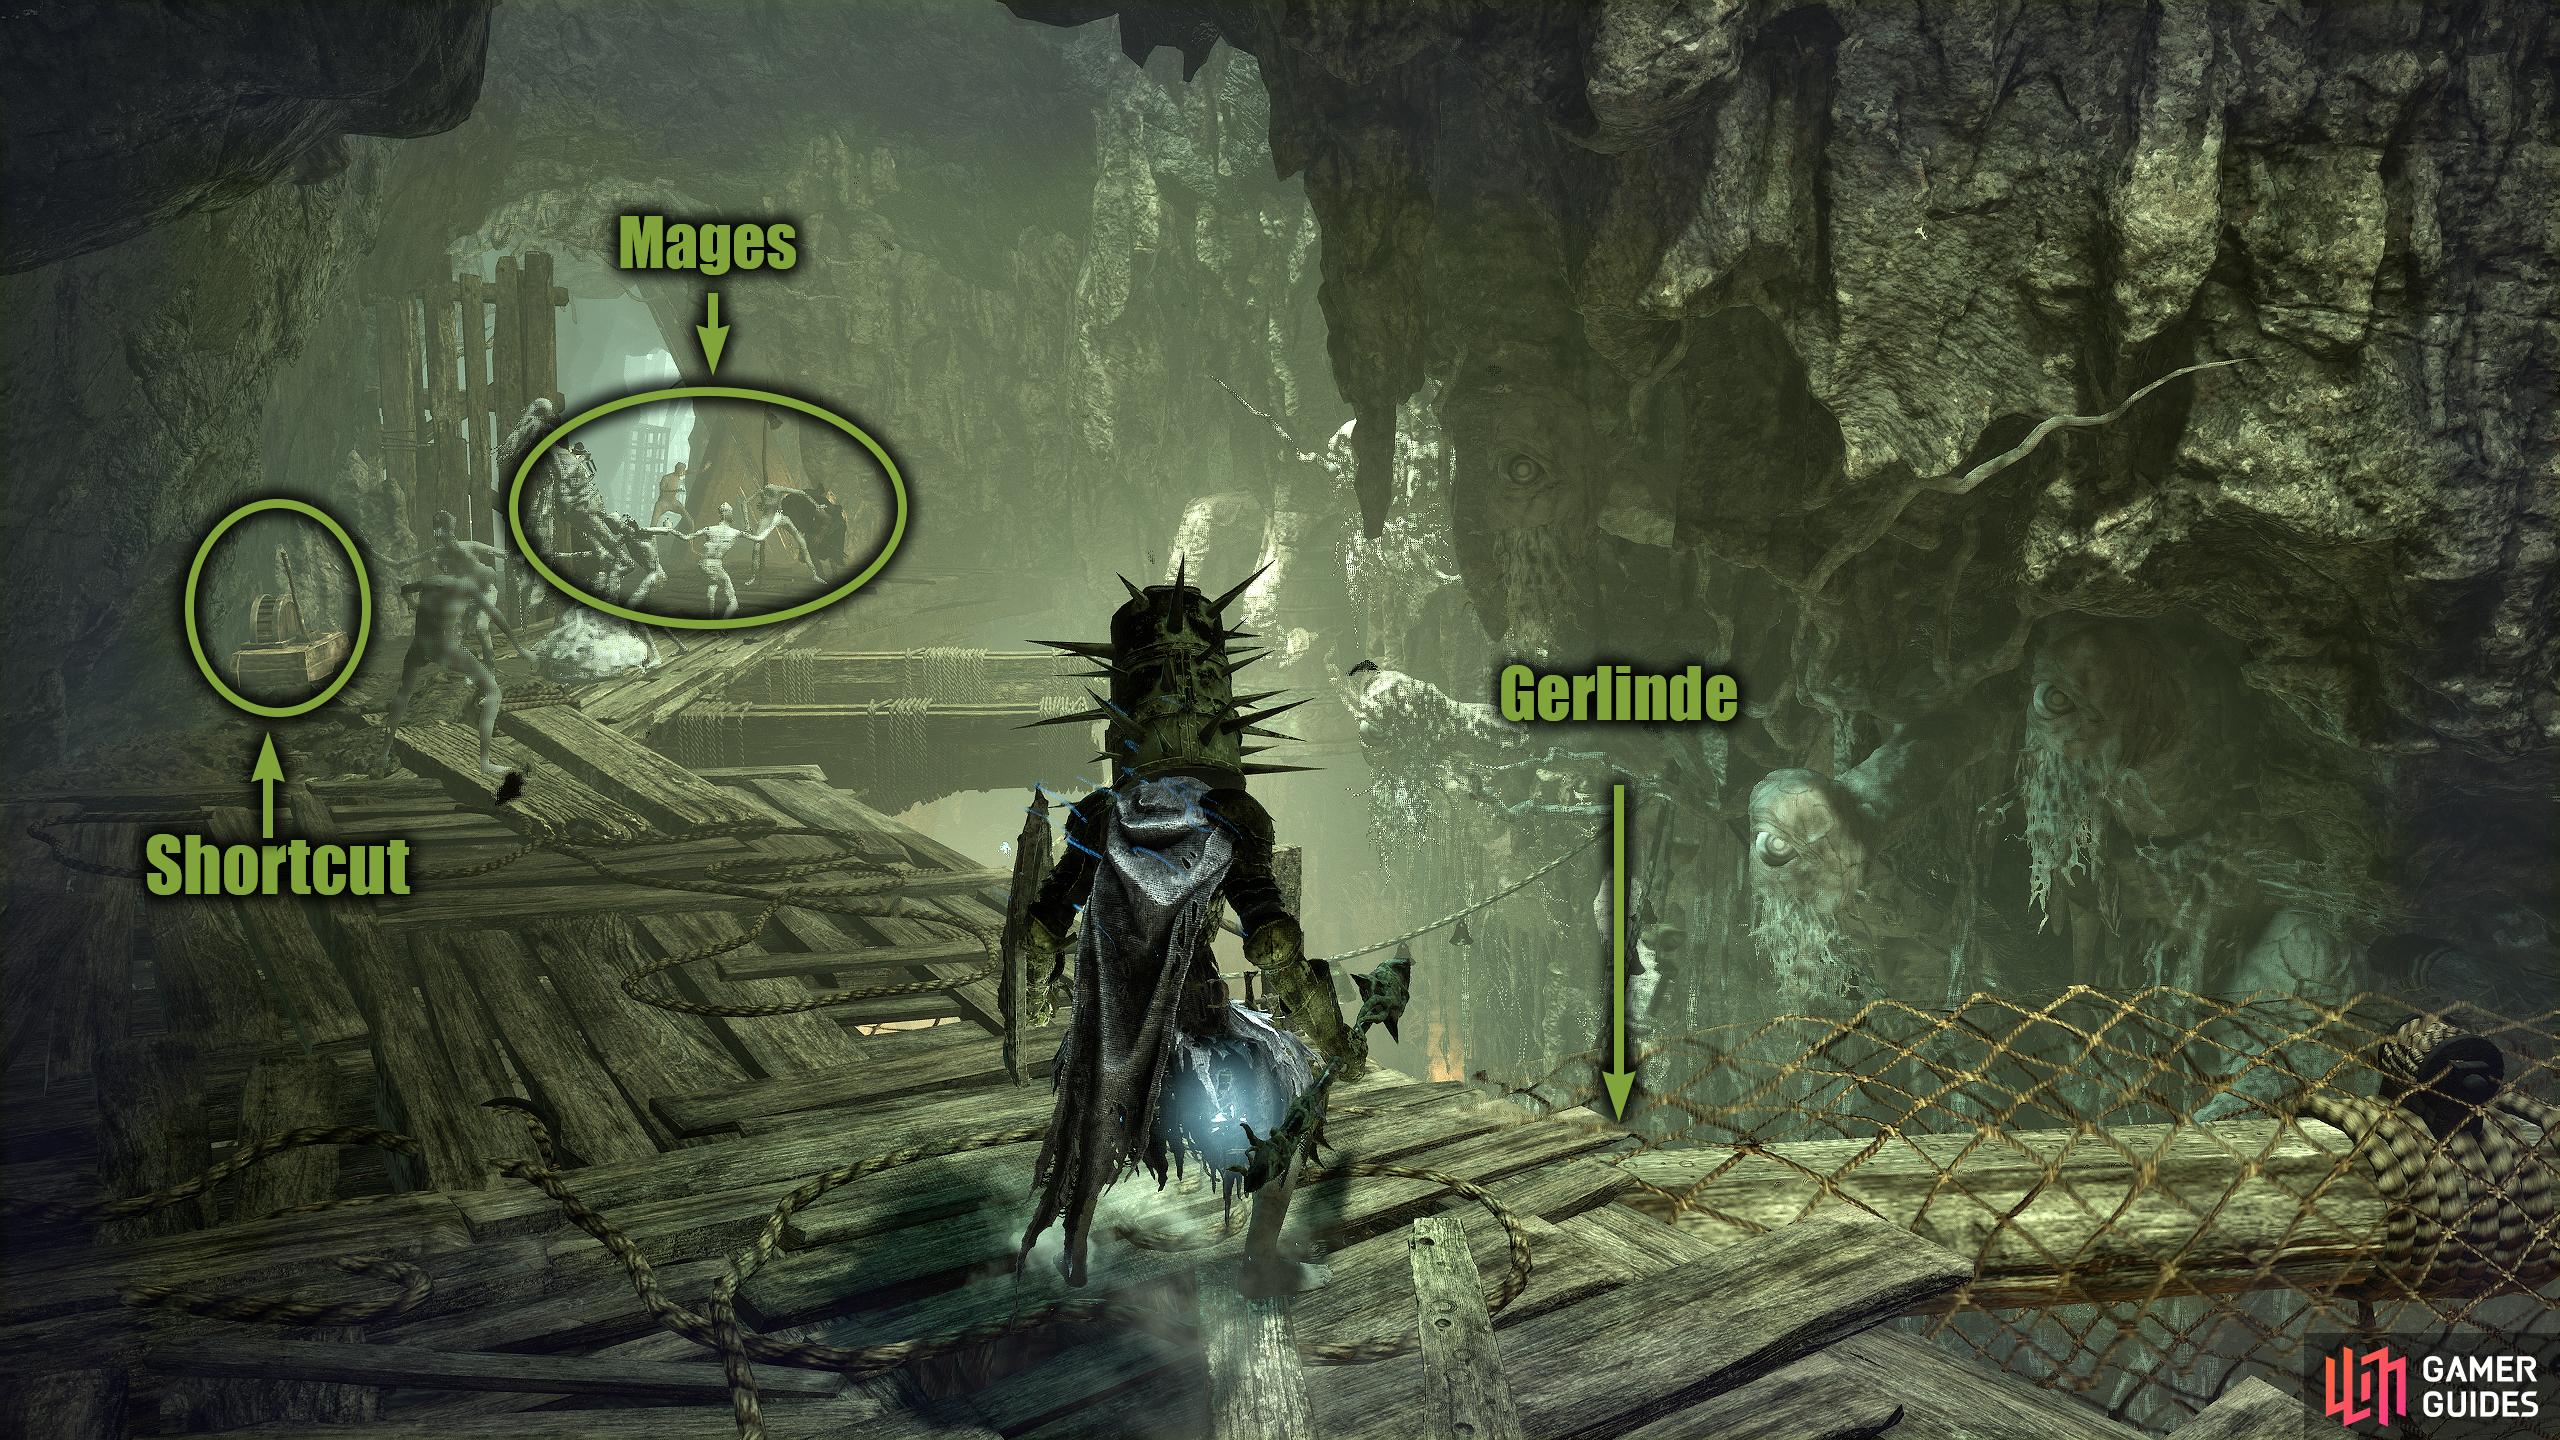
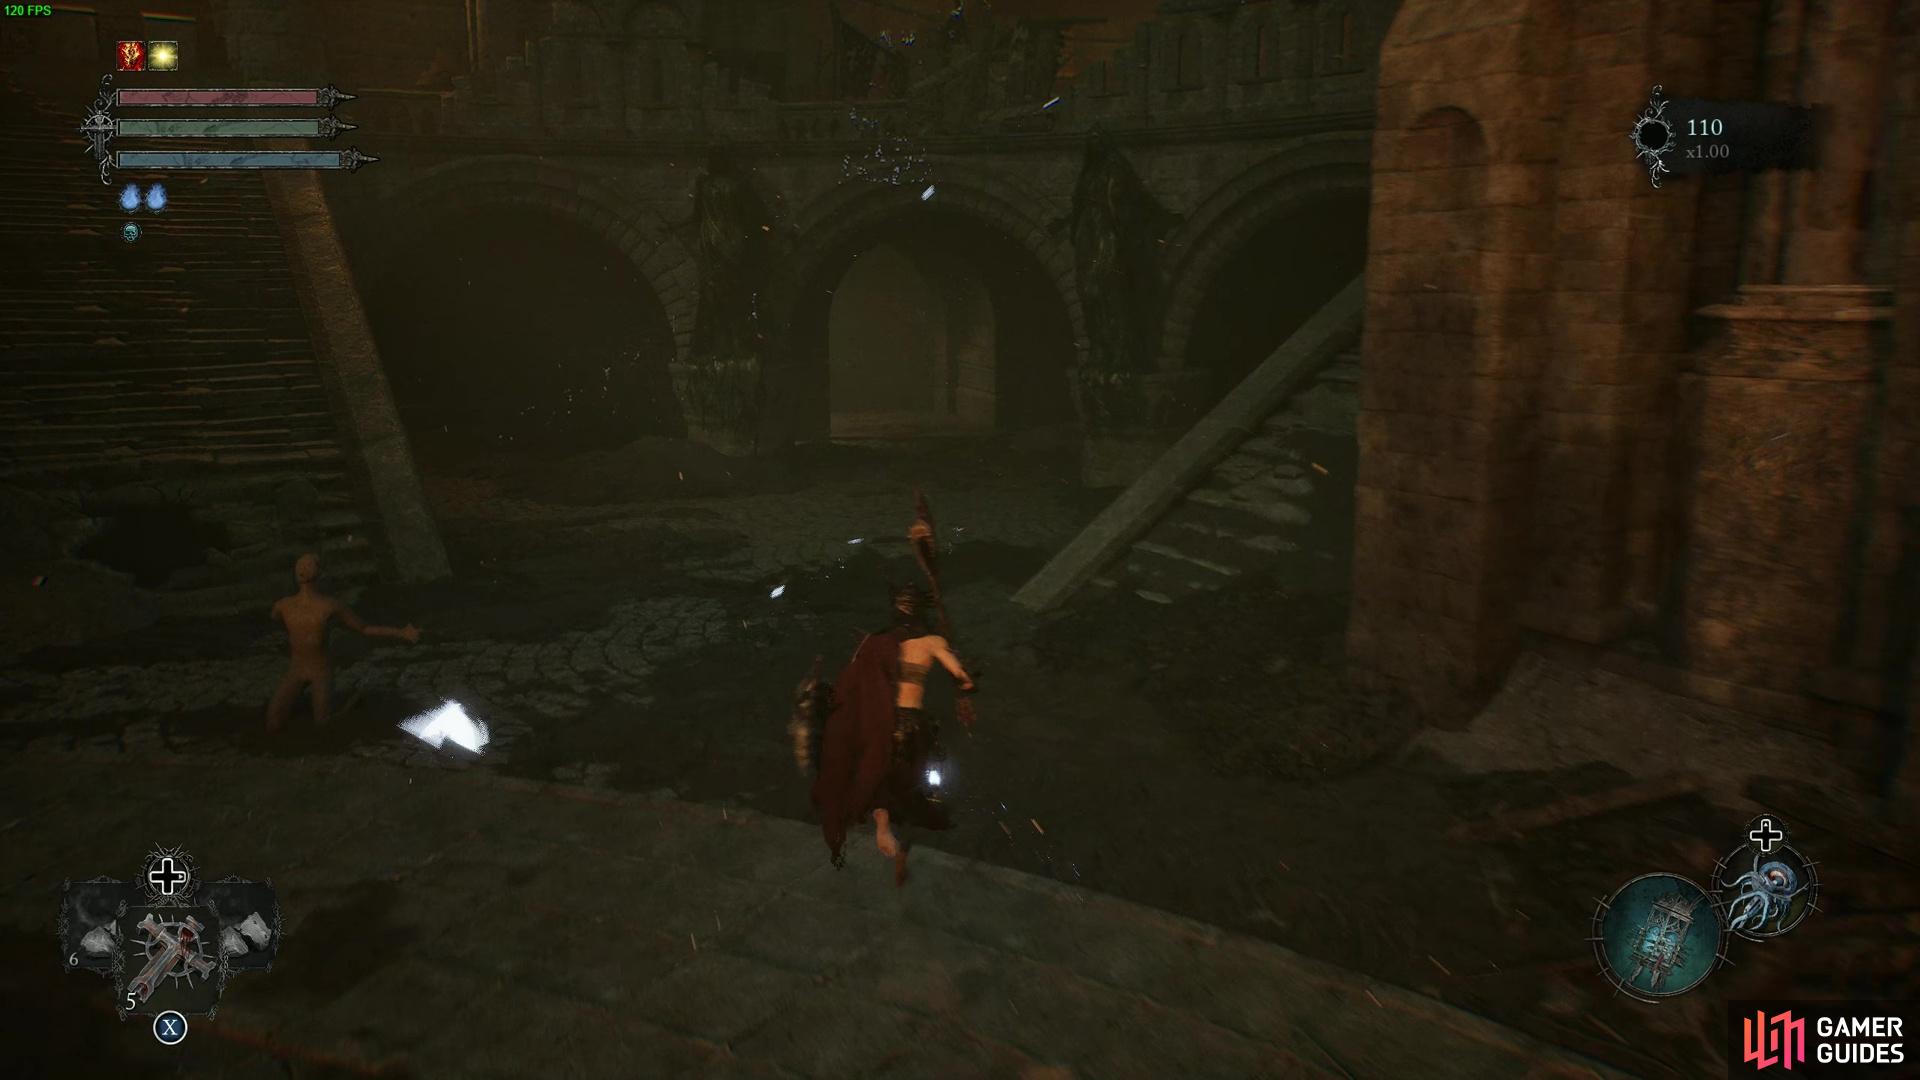
Go through the new door, head through the hall, and go down the ladder. There are Beds of Flowers here, but don’t use it as there is a shortcut nearby, so save your seeds. Continue through the hall, defeat the non-hostile enemies if you wish, and go down the ladder in between them. At the bottom of the ladder, there will be two mages at the other end of the path who will fire upon you with one more around the corner. Either, play it safe and take them out, or rush the lever just ahead to your left to activate the shortcut. When the elevator reaches you, jump in it, and rest at the Vestige. Go towards the ladder next to the elevator, but DO NOT GO DOWN IT. Instead, drop on top of the cage where Gerlinde is, and take the enemies out with magic/ranged attacks first.
There are some difficult enemies here that consist of three armored dogs, and an infantryman that has Radiance spells and a shield. If you can, take them out from here, otherwise, you will have to fight them in melee. When the threats are taken care of, pick up the key from the corpse, head over to the cage, and talk to Gerlinde while in the Axiom realm. She’ll ask you to hand the key over, so hand it over, and exhaust her dialogue. Now Gerlinde (and Sparky) will perform blacksmith services back at Skyrest. She will be opposite the Vestige, up the stairs. Note, if you enter the Umbral Realm where Gerlinde is/was, you can find a hidden door opposite it containing a chest that has the ![]() Defiance Ring.
Defiance Ring.
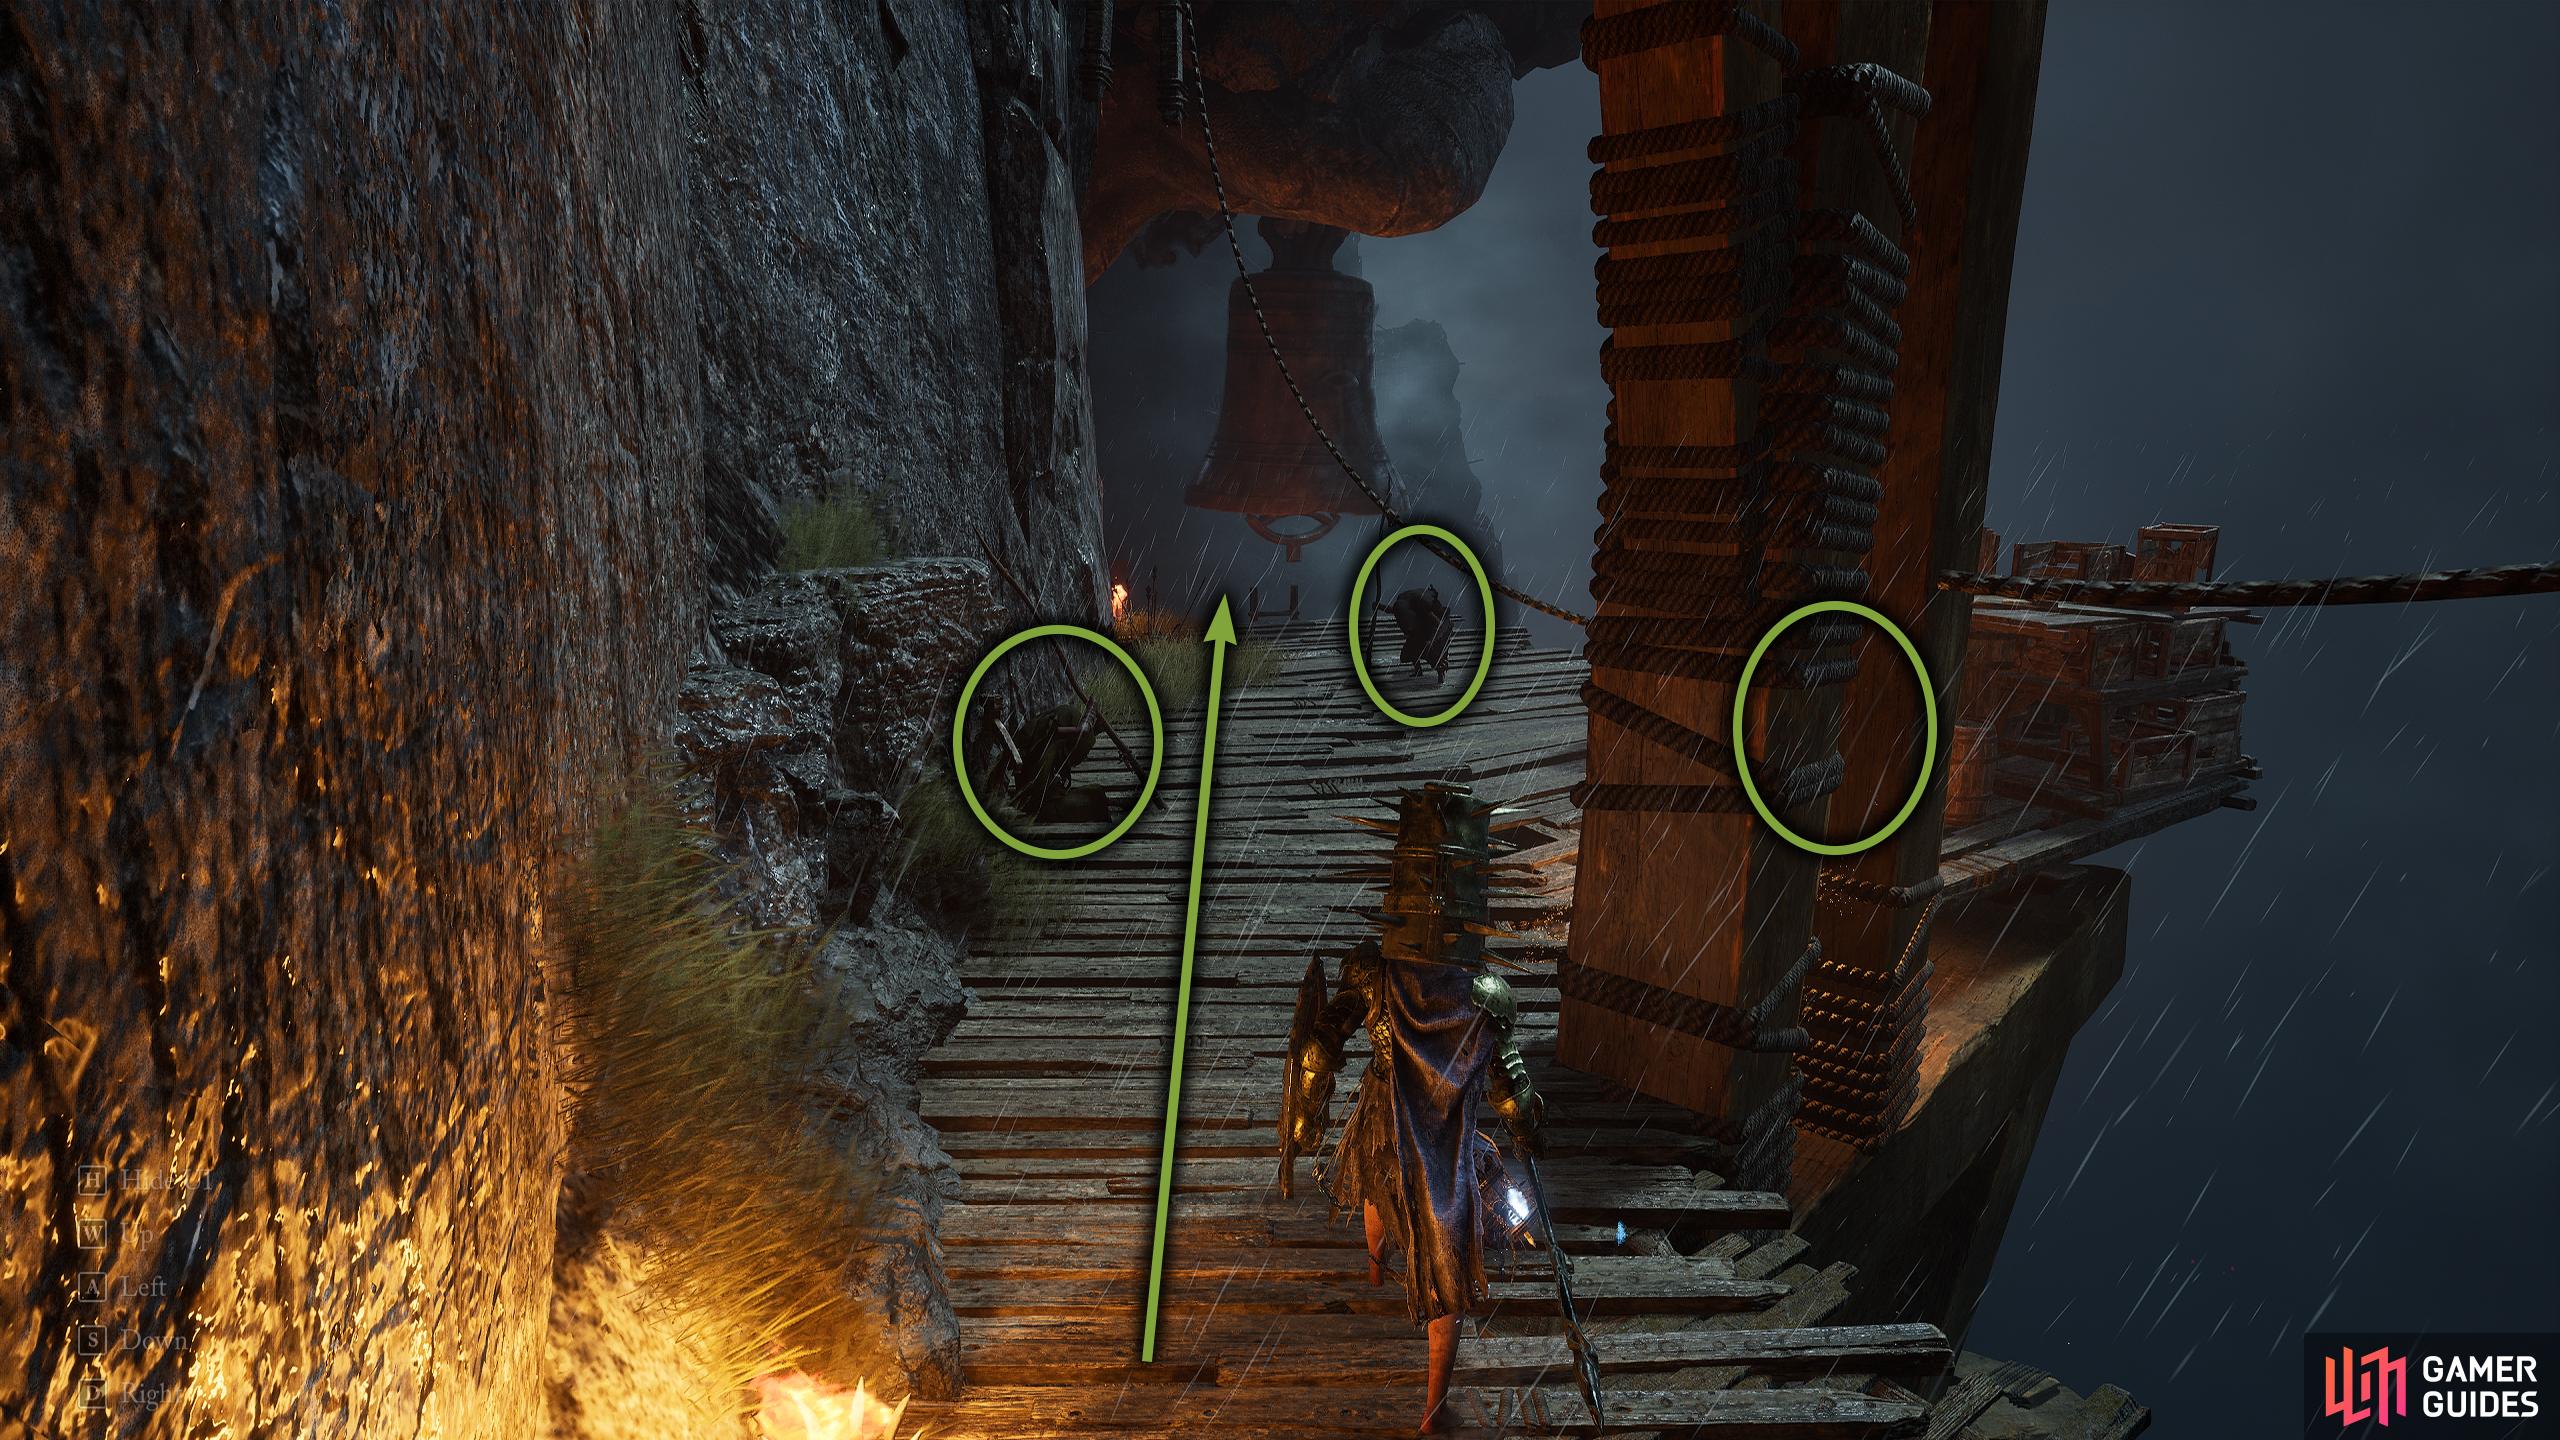
(1 of 4) Whatever you do, make sure you unlock the shortcut by interacting with the lever and jumping on the elevator.
Gerlinde Second Meeting - Obtain the Rune Tablet (Runes)
Talk to Gerlinde and exhaust her dialogue and she’ll mention rune crafting. To do this though, she’ll need the stone tablet which only Spark knows the location of, and he isn’t spilling anything to you or her. The Stone Tablet can be found in Fitzroy’s Gorge, but it’s well hidden. Teleport to the Vestige of the Pale Butcher and head across the makeshift bridge into the lit-up cavern. Follow the linear path, and you’ll get stopped by a gate; hold down the Lamp and use it to get past it.
This will take you into Fitzroy’s Gorge. At the entrance, there is a Bed of Flowers, but we suggest saving your seed for now as the run from the Pale Butcher Vestige isn’t too bad. Walk forward into the valley and when you reach the shallow water, you’ll see a dog in front. Don’t be fooled by it though as there is a fire-breathing variant hiding behind the wagon to your right. Make sure you roll away from them after you defeat them as they will explode.
As soon as you get out of the water, you’ll be further ambushed by some more dogs. Sometimes, they will be accompanied by a dual-wield axe enemy. If he isn’t with them, he’ll be on the path later. Anyway, proceed forward until you reach a crossroads. Take the right path leading to Calrath while defeating the enemies along the way. Follow it until you get Fitzroy’s Gorge pop up on the screen; now you’re in Fitzroy’s Gorge proper.
This part can be difficult until you know how to do it. You’ll have to travel a narrow path while getting shot at by explosive arrows, but before that, you’ll need to deal with a couple of dogs and an axeman who is hidden behind one of the barricades. Fortunately, the dogs will let you walk right up to them (they’re sleeping) so you can charge up an attack into their backs, and do a grievous strike on them. The axe guy however will “surprise” you by jumping out from behind the barricade; you’ll find him in between the two dogs.
With them taken care of, hide behind the rock to the left of the path. What you need to do is bait out the dog and axeman by running down the path, then quickly running back to the rock. As long as you’re behind the rock, you’re safe from the ranged enemy. Take out both the dog and axeman then when you’re ready, make a sprint down the narrow path while rolling toward the arrows. When you reach the enemy, you’ll be safe right next to the wall it’s standing on. Now, you can cheese it by popping in and out of cover from the rock taking potshots at the enemy, or you can head around the corner to take it out.
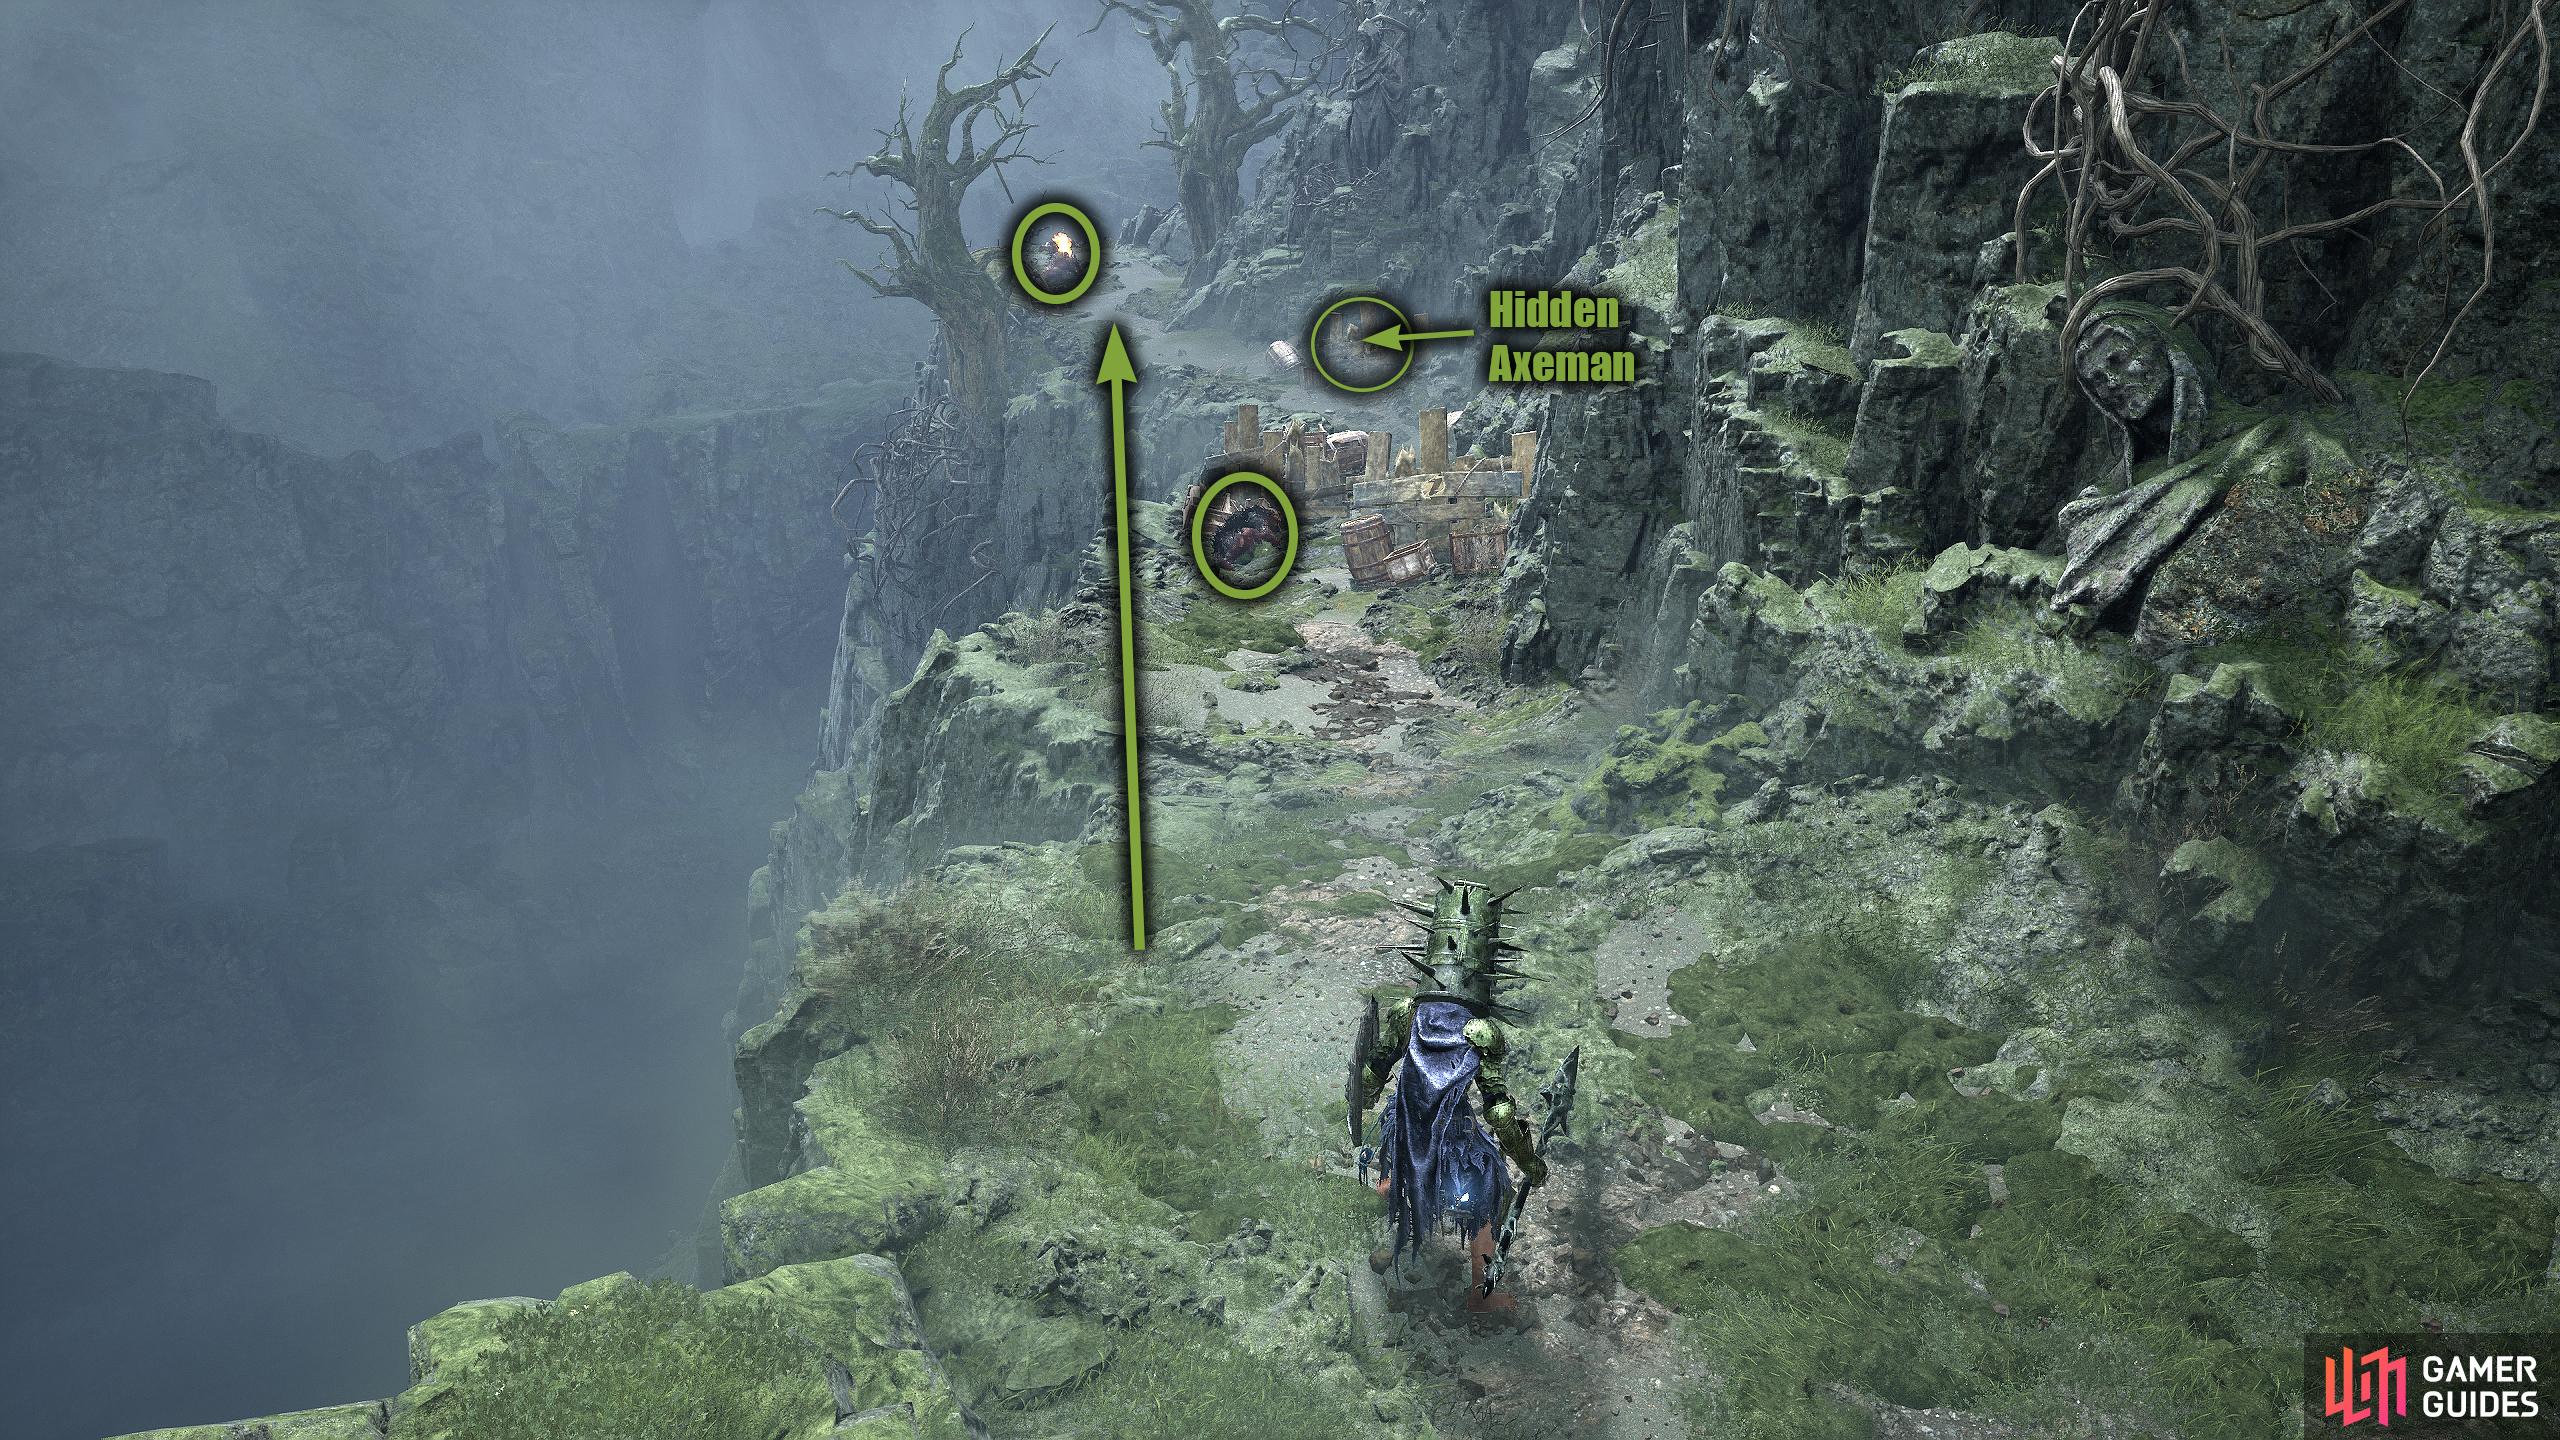
(1 of 3) Make your way down the narrow path while taking out the sleeping dogs. Make sure you don’t get ambushed by the hidden axeman behind the barricade.
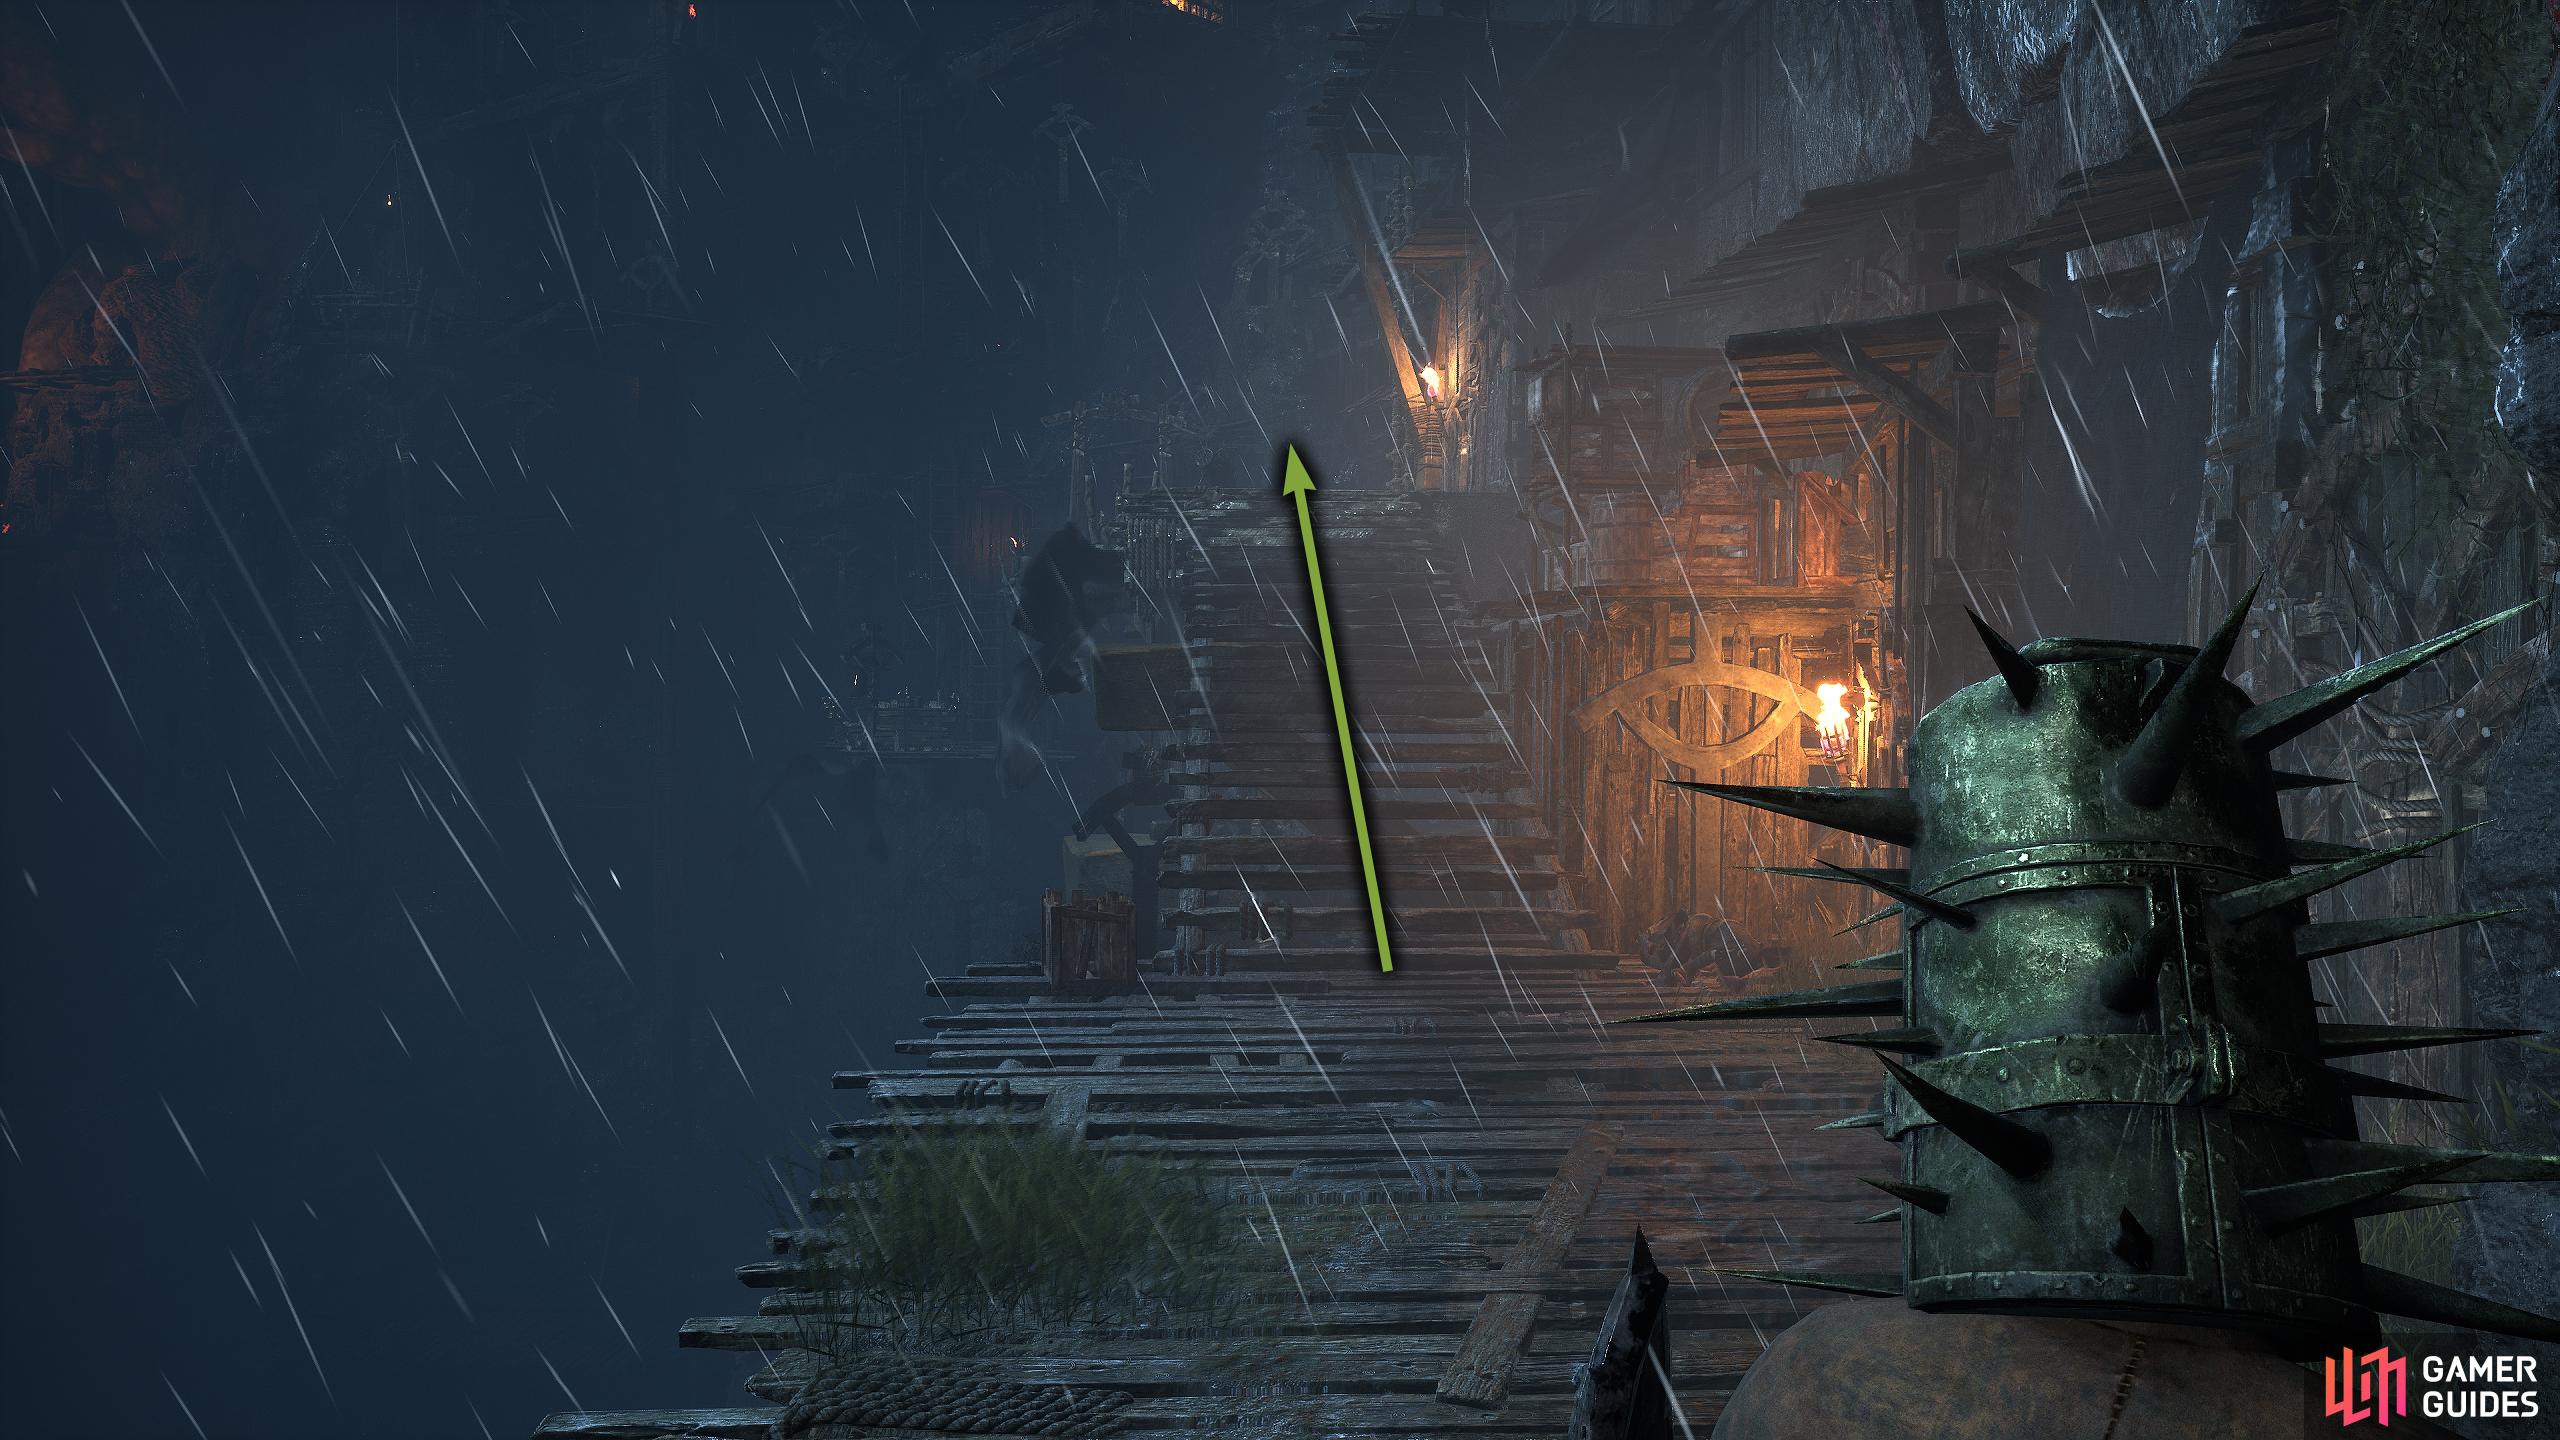
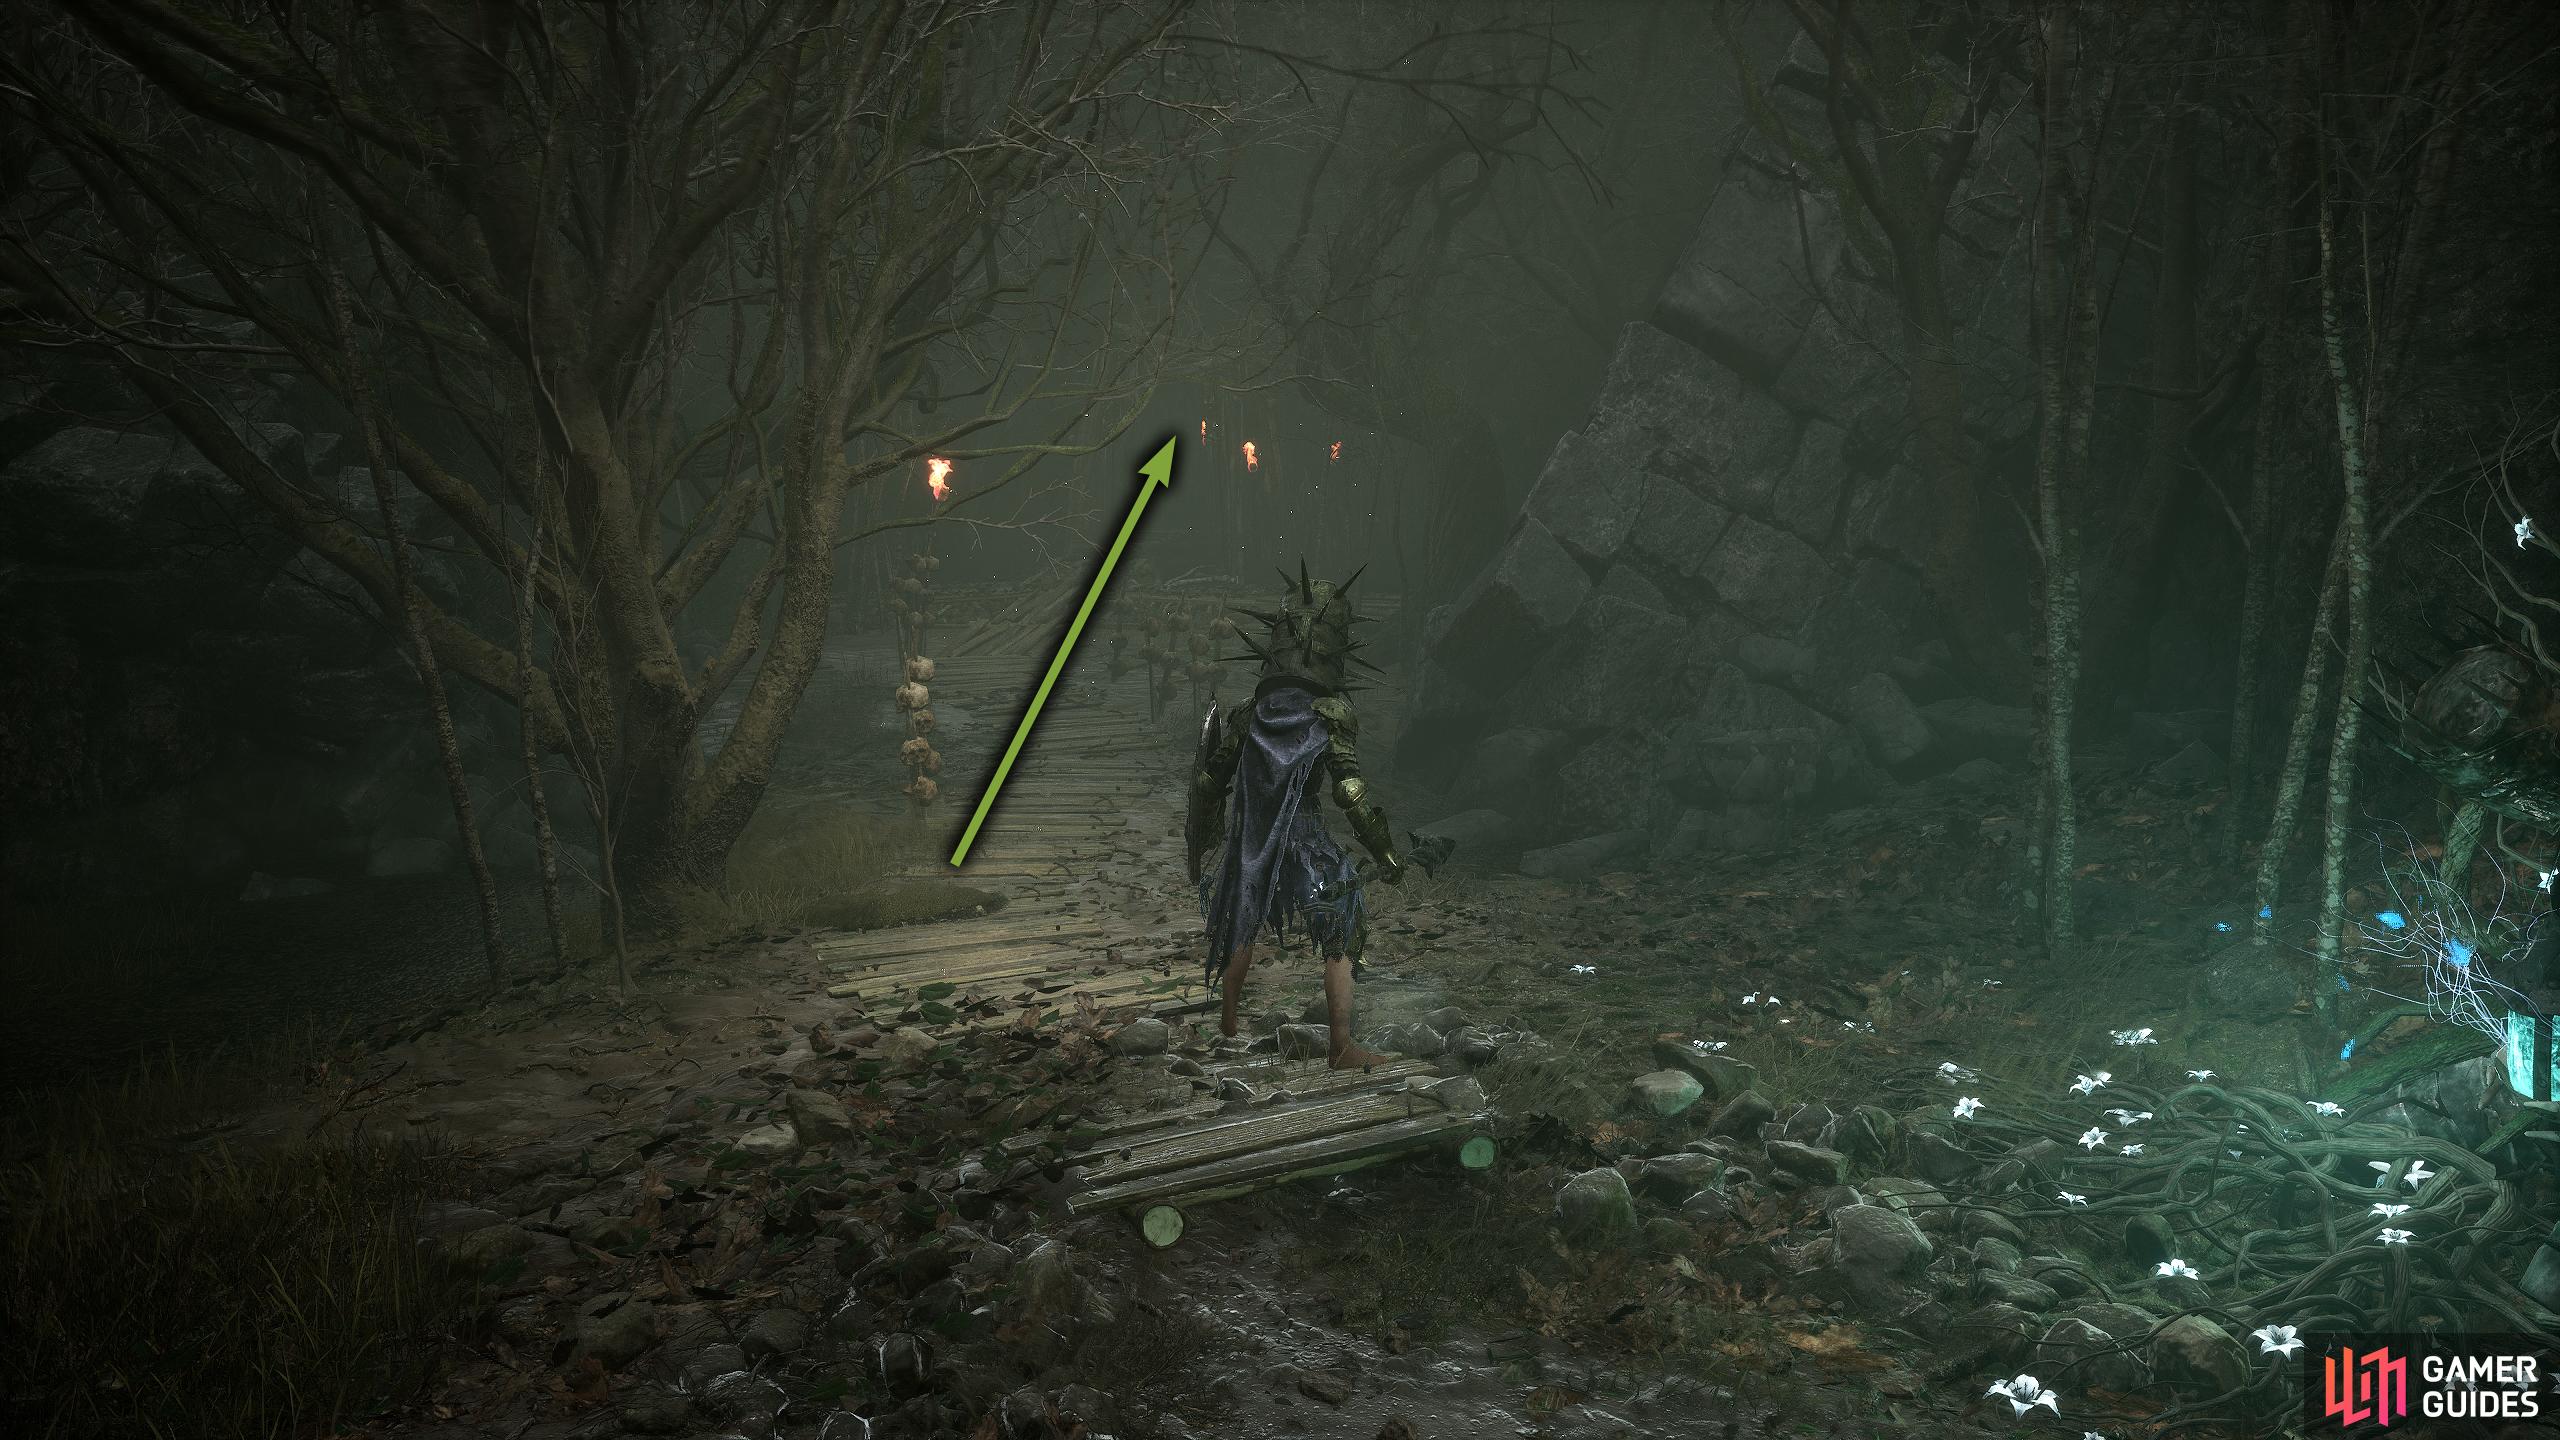
If you choose the latter option, be aware there is a fire-breathing dog around the corner. Take that out first, then fight the serpent-like creature. Don’t underestimate these in melee range as they have a lunge attack and a devastating mine attack. When the enemies are taken care of, proceed toward the gate, use your lamp, and walk through it. Before doing the same on the following gate, make note of the dog in front of you to your right, and the ranged enemy at the back to your left.
The dog has a parasite, and when you remove that, it will get up. Quickly take care of it, and sooner than later, the ranged enemy will begin firing upon you. Ideally, you want to take this out from range, preferably with magic as it’s quicker than a ranged weapon, although that’ll work too. Now, you have a safe spot against the wall to your left, use this whenever reloading (crossbow) or healing/replenishing MANA. You’ll have to get a bit closer to target the enemy, so move forward and keep firing upon it by strafing left to right, after a few hits, it should die.

You can get to it by going into the Umbral Realm and running toward it, but the ranged option is safer. When it’s down, continue through the area by going right. At the top of the hill, there will be three dogs and an axeman. When you attack one, all of them will come. There really isn’t an easy way to deal with this unless you have the Umbral spell, Putrid Lance, so keep backing up and poke away. With them defeated, head forward toward the broken bridge and enter the Umbral Realm. At the end of the “bridge,” an enemy will attack you. The best thing to do is roll forward when reaching the bridge end to avoid it.
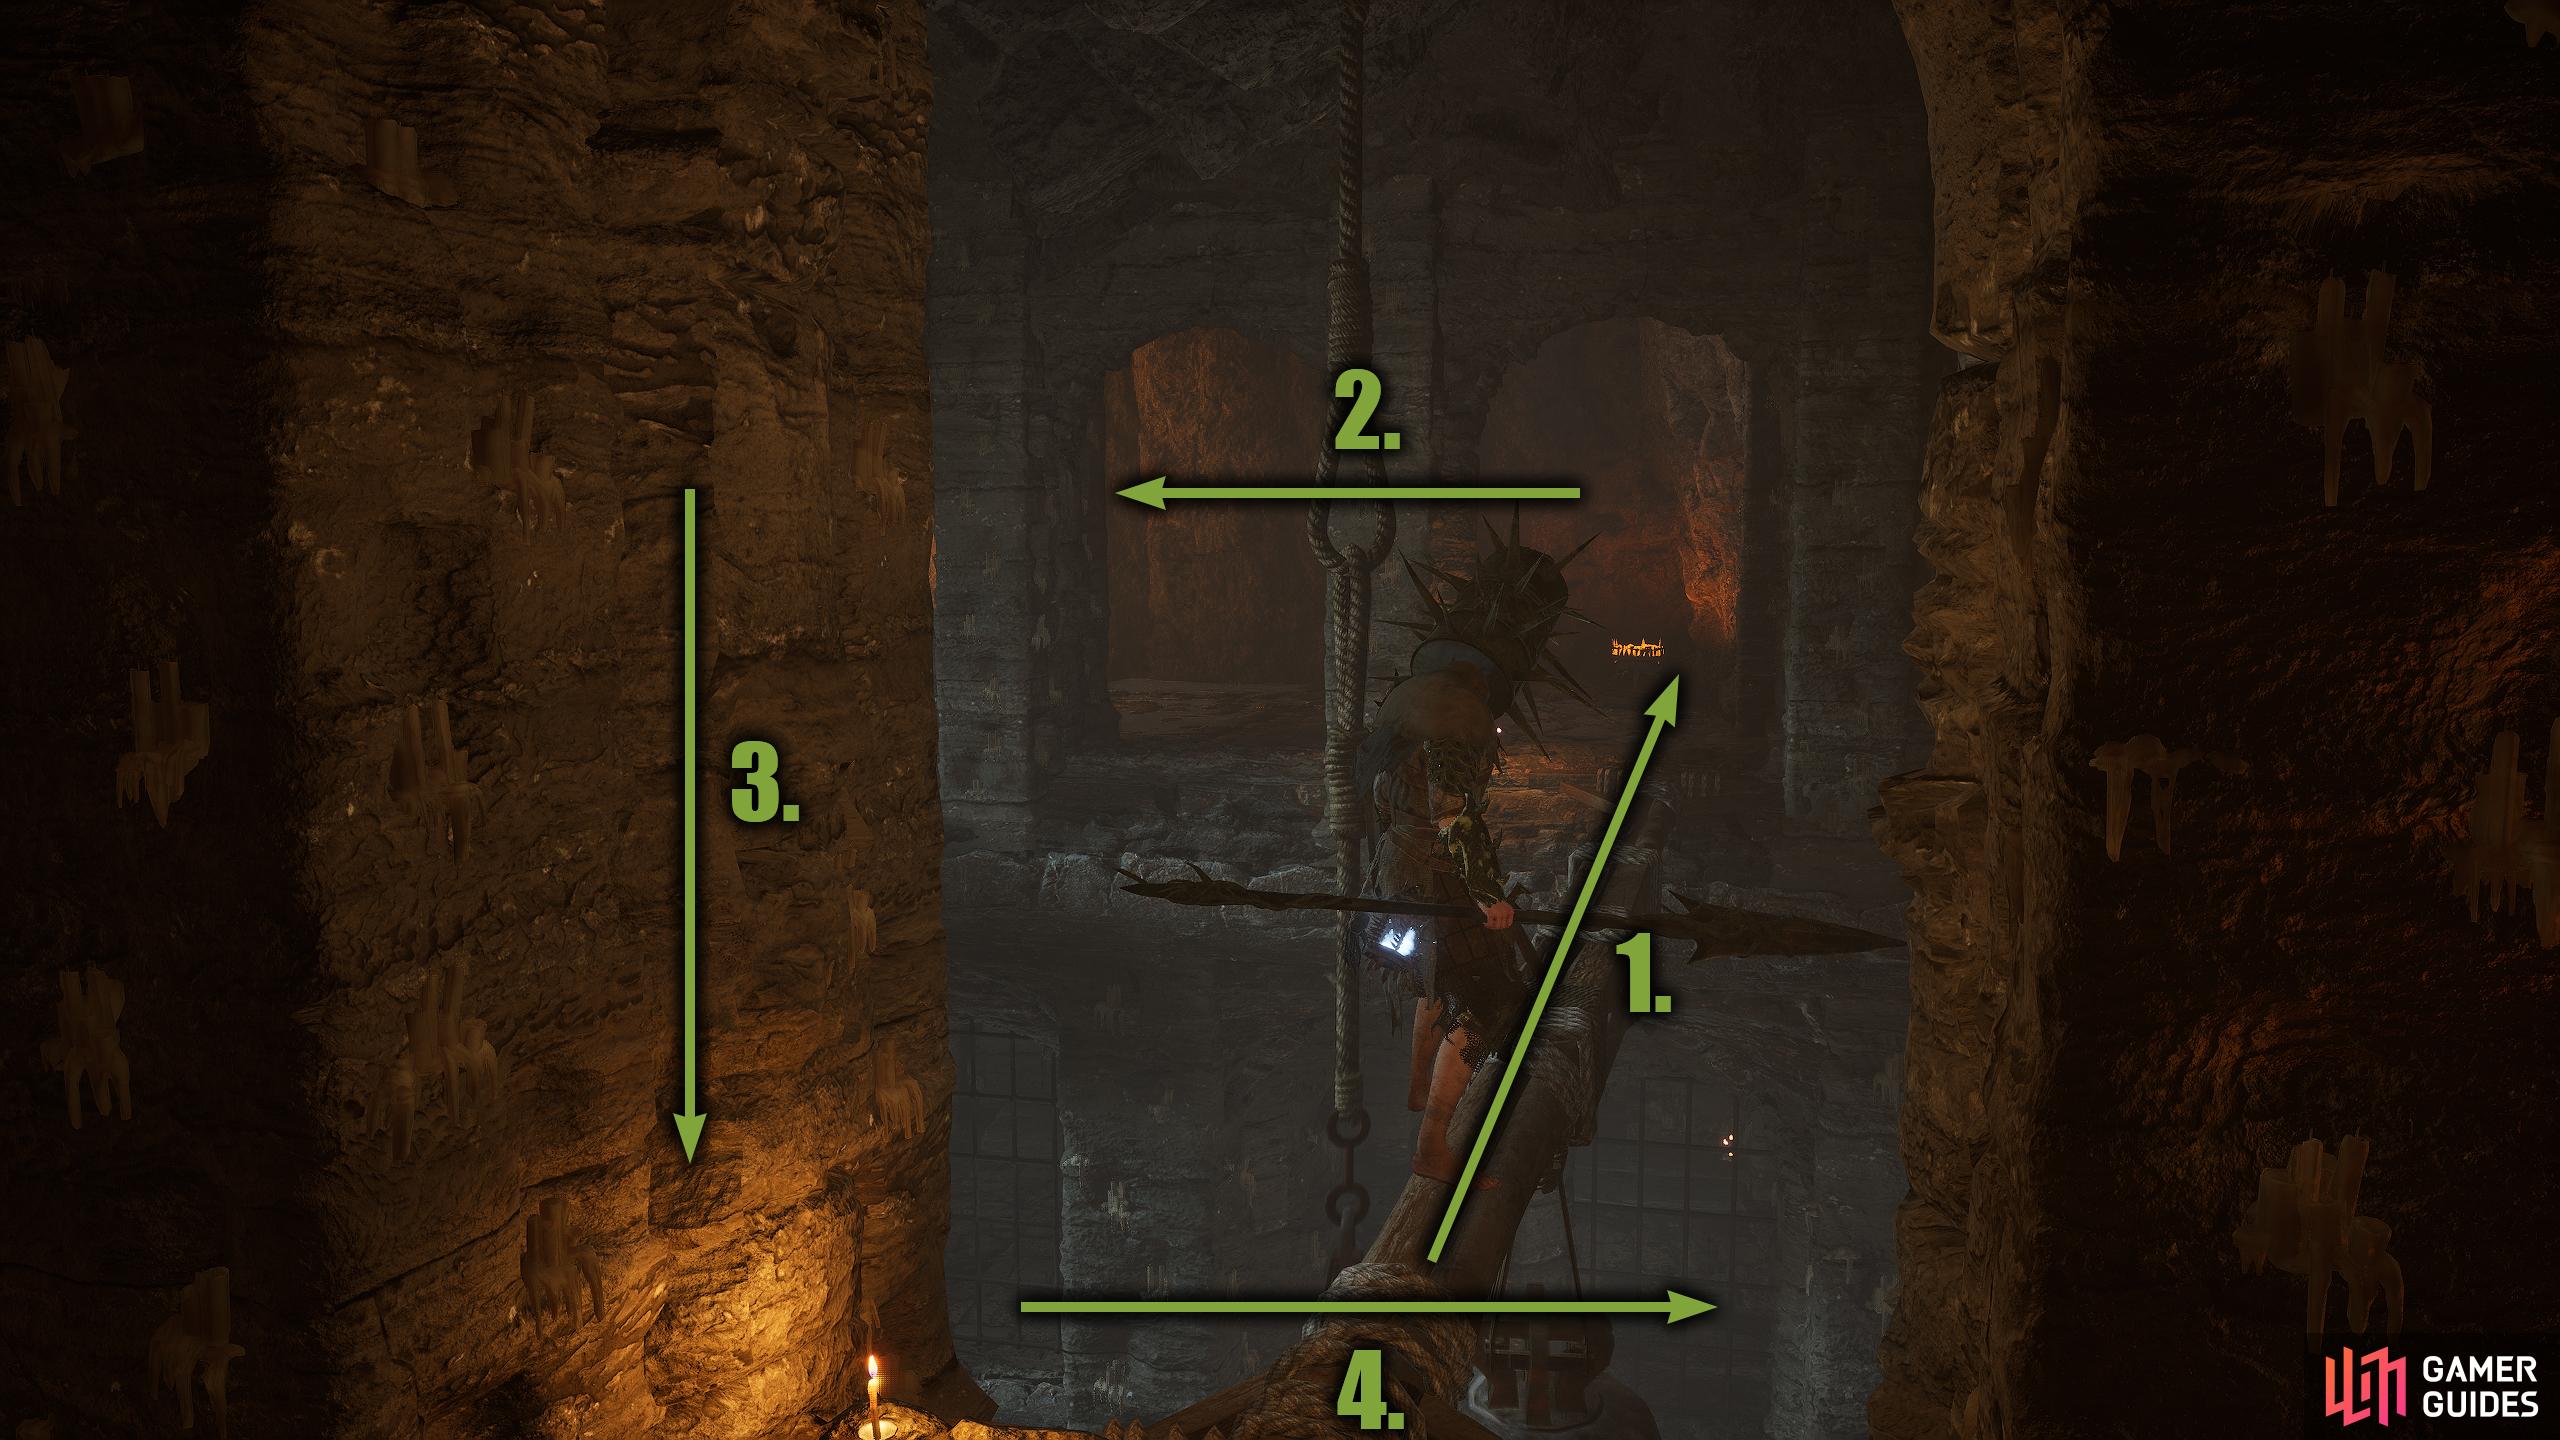
Defeat the enemies and continue until you reach a ladder. Before the ladder is a path to the right, it is quite well-hidden, so use the image to find it. It’s just before the ladder leading to the axeman, on the right wall. You can be in either the Axiom or Umbral Realm, but it’s easier to see in Axiom due to the red pulsating glow in the cave. You can get out of the Umbral Realm by using the nearby Emergence Effigy and climbing back up the ladder.

(1 of 4) When you enter the Umbral Real. Be careful of the enemy above who will dive at you as you get over the bridge.
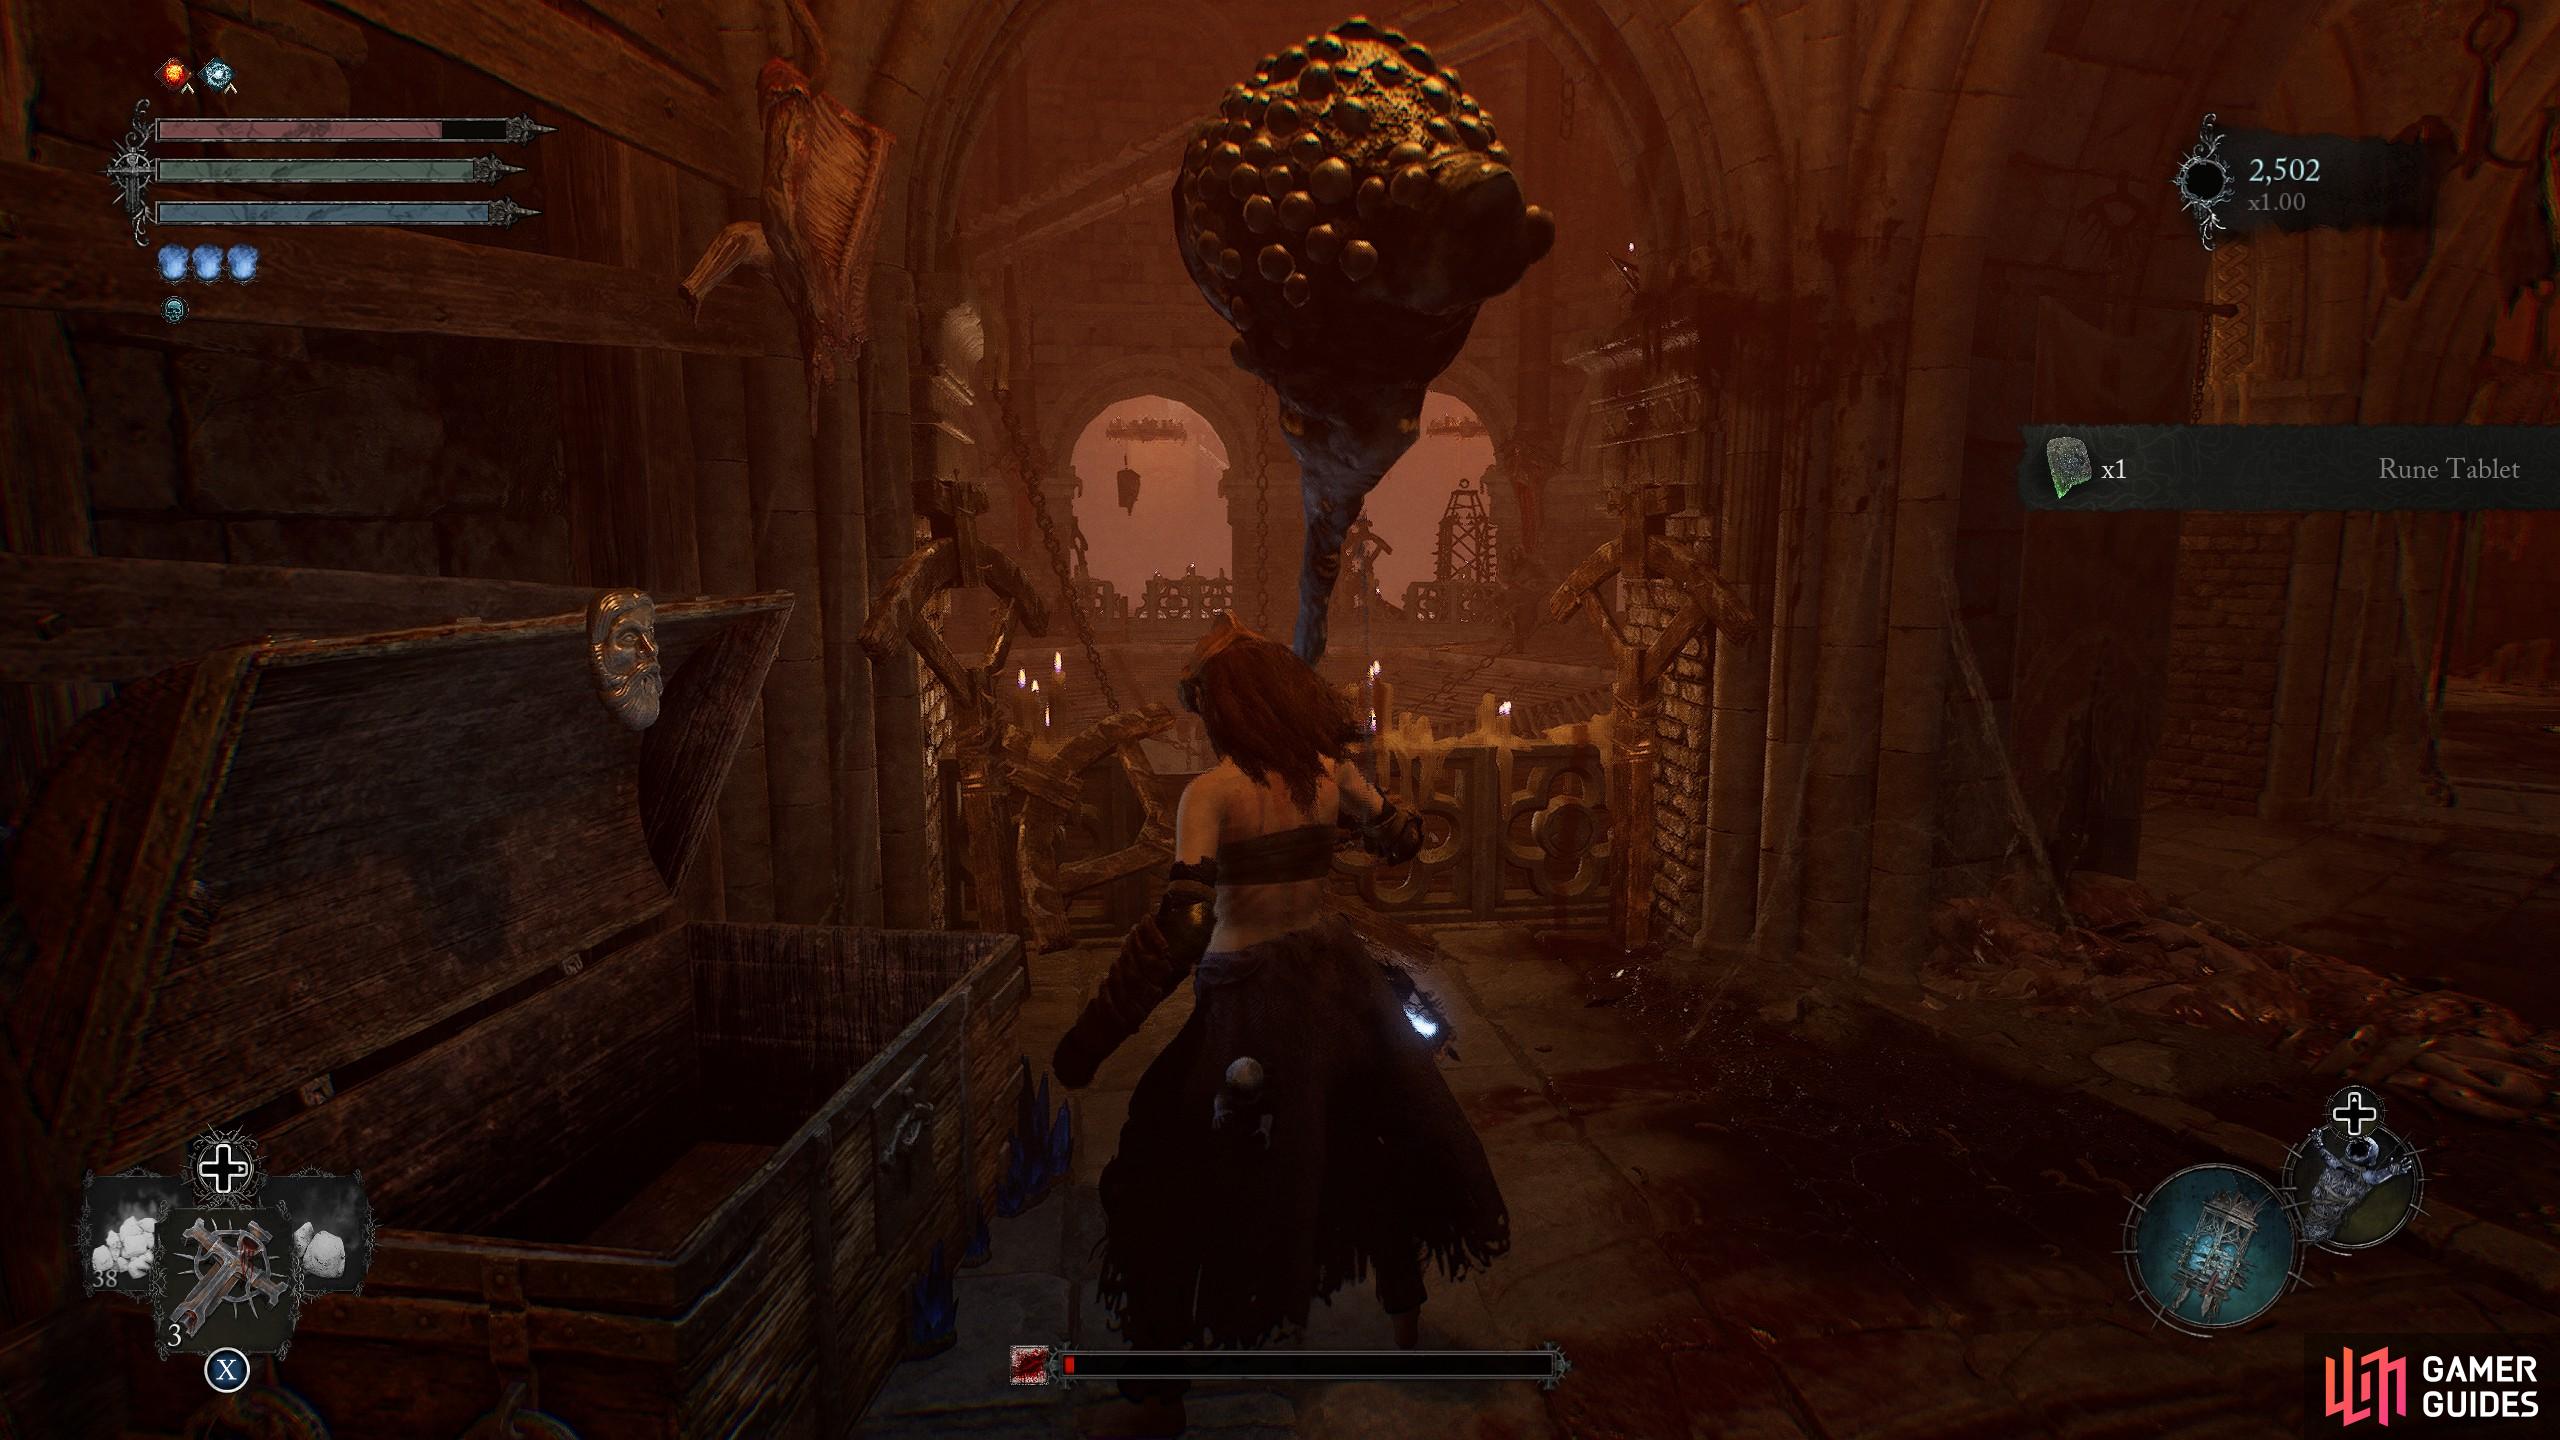
However, you won’t be able to get in there unless you’re in the Umbral realm, or you shine your lamp at the entrance and climb up the Umbral ramp. Follow the path down, and you’ll find the tablet at the end of the path, by the edge. Pick it up, and return it to Gerlinde in Skyrest. Giving her this will allow you to place Runes on your weapons, although Sparky will not be happy about it. As always, exhaust her dialogue to get the next part of her quest going.
Gerlinde Third Meeting - Following Rune Tablets
Gerlinde will still want more tablets which Sparky really doesn’t want her to have. The second one is inside the Upper area of Calrath, not to be confused with the actual area called Upper Calrath which can be accessed later. The tablet will be in a specific area, the Calrath mining district which can be accessed by jumping to the broken roof at the end of the road.
(1 of 4) After beating the Fire Giant in the Calrath City Slums area, you unlock a new access point into the mining area.
After that, the final one is in the Tower of Penance much further into the game. You will need to make your way down the tower after riding the elevator outside to to take you to a higher part of it. When you reach the main floor with the Hallowed Knights and the Ardent Penitent enemies, look for a chest at the back of the room.
The final Rune tablet location in Lords of the Fallen is on the main level in the Tower of Penance.
Give the Tablet to Gerlinde or Sparky?
Once you’ve found the final tablet, you’ll have a choice to make, give the tablet to Sparky, or to Gerlinde. The moral choice is to give it to Sparky who is clearly a prisoner and slave to Gerlinde, but doing so will upset Gerlinde who will substantially increase the cost of her wares, but you will gain the ability to craft at any Vestige. Sparky will be free, and disappear into the ether, never to be seen again. However, giving Gerlinde the tablet will make her happy, and she’ll make something for you, but you’ll have to refresh the world state by resting at the Vestige.
When you come back, you’ll get the one-of-a-kind rune “![]() Crafter’s Essence” which will lower a weapon’s weight and stat requirement to 0, when equipped on a weapon, or lower a shield’s weight and stat requirement to 0 if placed on a shield. Sparky will disappear again, and although it’s not said, it is implied that it was turned into the rune she gives you. Obviously, giving the rune tablet to Sparky is the best option in terms of the story, but who doesn’t want that Crafter’s Essence Rune? Whatever you choose, that will end the quest line for Gerlinde and Sparky.
Crafter’s Essence” which will lower a weapon’s weight and stat requirement to 0, when equipped on a weapon, or lower a shield’s weight and stat requirement to 0 if placed on a shield. Sparky will disappear again, and although it’s not said, it is implied that it was turned into the rune she gives you. Obviously, giving the rune tablet to Sparky is the best option in terms of the story, but who doesn’t want that Crafter’s Essence Rune? Whatever you choose, that will end the quest line for Gerlinde and Sparky.
No Comments