
Sometimes, when you’re playing a Souls-like game, you’ll find you may get pretty stuck as to what you want to do or need to go. We experienced this too while we played the review version of the game, with a few areas not being quite so obvious where you need to go. Considering Lords of the Fallen (2023) uses a semi-linear system, giving players a largely linear experience, with the game opening up a few pathways after the Lower Calrath Slums boss, it’s certainly easy to get lost, confused or otherwise stuck. Not to mention when you finish with all the beacons, it becomes somewhat difficult to understand where else you should go. With this in mind, this Lords of the Fallen Progression Route guide aims to assist players with learning where they should explore and visit as part of the game’s main story, along with side quests, and any other ending blockers they may experience.
As you progress through this progression guide, we will sum up the gist of key areas where you need to travel. We will also state any important side quest blockers, and other important items you may need to get if you want to progress the game so that you can keep your eyes on them too.
Lords of the Fallen Progression Guide

Here is a progression route and Lords of the Fallen Walkthrough in full, detailing all major locations, objectives, route hints, tips and everything else you need to know for a spoiler-free journey of the entire game’s main storyline.
To start, you will need to know a few things before you want to go anywhere. The first is how the optional endings work in the game. If you turn a beacon off, then you will automatically lock yourself into the Radiant ending. If you intend to do the Inferno or Umbral endings, then make sure to keep the beacons on, and then grab the ![]() Rune of Adyr, which unlocks later in the game as part of the Hallowed Sisters area. From there, you can mess around with some choices later in the game to grab either ending. We’ll avoid spoilers the best we can so you can explore those journeys for yourself.
Rune of Adyr, which unlocks later in the game as part of the Hallowed Sisters area. From there, you can mess around with some choices later in the game to grab either ending. We’ll avoid spoilers the best we can so you can explore those journeys for yourself.
Also, this page will mention where you need to go for a few side quest options, but not go too into too much detail on those quests themselves.
With that said, the general idea is you want to play through the game as follows (Note this serves as a table of contents too!)
- Defiled Sepulchre
- Abandoned Redcopse
- Skyrest Bridge
Linear Storyline:
- Pilgrim’s Perch
- Forsaken Fen
- Fitzroy’s Gorge
- Lower Calrath
- Calrath Slums
- Mining District
- Sunless Skien
Optional Pathway: Need to do this for certain side quests.
- Cistern
- Revelations Depths
Main Storyline continued:
- Upper Calrath
- Fief of the Chill Curse
- Bell Rise (Pilgrims Perch Key required)
- Path of Devotion (Optional Side Content)
- Manse of Hallowed Knights
- Tower of Penance
- Abbey of Hallowed Sisters
- The Empyrean
- Upper Calrath - Part 2
- Bramis Castle
Tutorial Area Walkthroughs
These areas of the game are fairly linear, and is something you will naturally path through. The game gives you tutorials on boss battles, one of the main antagonists, using the Umbral, Soulflaying, and other gameplay features unique to Lords of the Fallen. Proceed through these areas as advised, and you’ll naturally pick these hints and tutorials up and go from there. When you reach the Skyrest Bridge, you’ll encounter your first proper boss (not that the Lightreaper isn’t a proper boss, you can fail it and still move on with the game anyway). Defeat her, and you’ll unlock the safe hub below the bridge, as the opening cutscene told you about.
When you reach the Skyrest Bridge, you can find several NPCs around. Make sure to speak to them all and get to the point where you can start their quests. Typically you’ll find Thek and Dunmire have quests. Dunmire requires various items from object pickups in most game regions or via boss battles. Meanwhile, Thek becomes a traveling trader you find near most Vestiges, including the optional Path of Devotion. Other quests appear over time or as you discover new NPCs along your travels. In addition, some quests shut off or become open depending on what type of ending you’re looking for. These will not be included in the walkthrough due to spoiler content for players looking for multiple playthroughs. But, make sure to speak to people as and when you see them again, and take note of what they are saying depending on the path you’re on so you can return any strange lost or missing items and progress their storyline.
Lords of the Fallen Main Storyline Progression
- Pilgrim’s Perch
- Forsaken Fen
- Fitzroy’s Gorge
- Lower Calrath
- Calrath Slums (up to Fire Giant Boss)
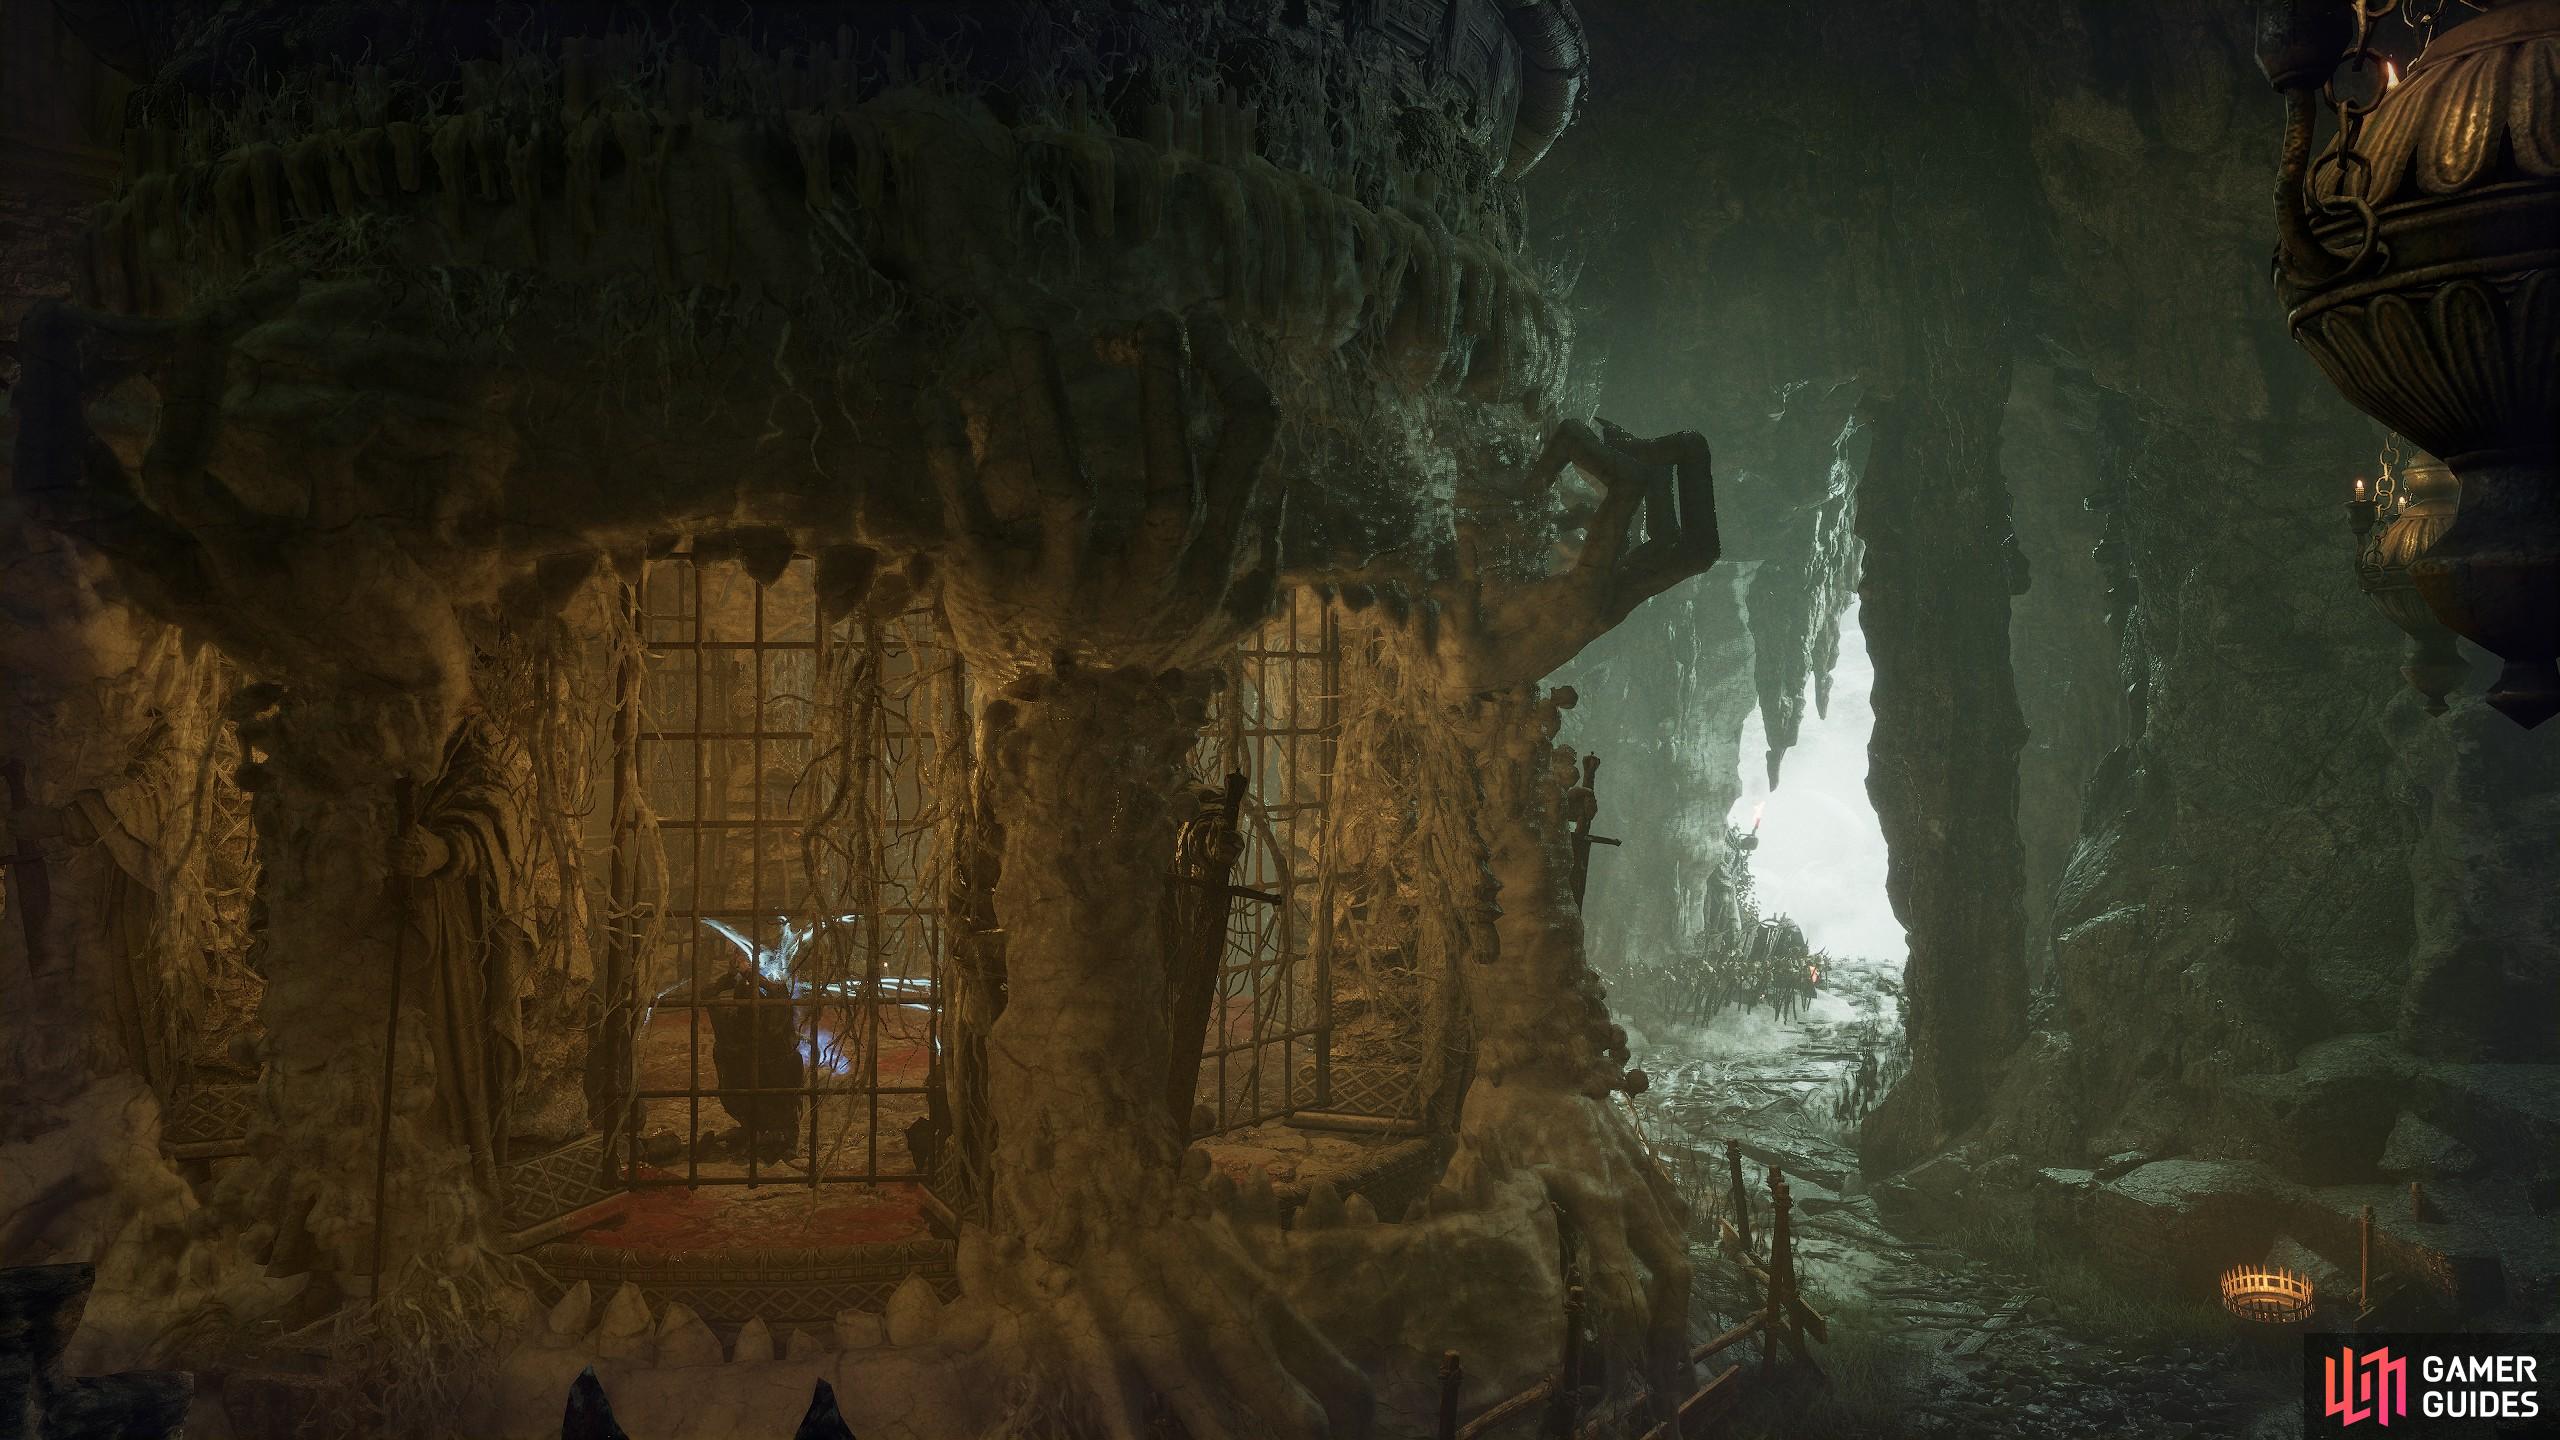
Pilgrim’s Perch Walkthrough
The Pilgrim’s Perch is the first area you venture into for some main bosses, early quints and gear, and some side quest progression.
| Important Things in the Area |
|---|
| Optional Pathways leading to the |
| Two Unskippable minibosses, but feel like actual bosses at this stage of the game. |
| Pilgrim Perch Key looked doors that you can buy, gaining access to a new area, and some loot. |
| Lots of optional routes leading to caves and other loot areas. |
| Elevator shortcut at the Vestige location. |
| You can start the Damarose Side Quest in the Sanctuary and then again before the second boss. |
The main storyline here is linear, with the players taking on the first beacon boss, alongside exploring some locations with a few progression blocker bosses, optional side bosses and loot. Pilgrim’s Perch is a painful area, with lots of verticality, risks of being thrown off the edge, and more. We advise going through the Sanctuary Bell church area, grabbing the Vestige, and then going down the ladders to deal with the boss. From there, you go through a cave, and so do some ladder climbing and platforming in both the Umbral and the Axiom worlds to progress the game. You will eventually come across a Vestige in a cave area, with an elevator shaft. This is an important location for progression reasons in this section of the guide, and for later on the Lords of the Fallen progression system. From here, you want to go down the cave, and fight your way to the lower sections of Pilgrim’s Perch, and solve a blocker near a cave entrance guarded by two spiky boys. The blockers are above, to the left, and below, accessed via an umbral path. Go down there, and you can activate the elevator, grab the key to the caged lady called Gerlinde to unlock the weapon upgrade feature, and then fight another boss, which leads to the Forsaken Fen.
Also, there’s an optional route to the side of the Sanctuary that takes you down a ladder below the scaffolding. This route takes you to the rear of Skyrest and allows you to access a hidden section to get the Skyrest Bridge Key. This can lead to a secret area of the Skyrest that allows you to get the Tortured Prisoner. If that’s another side quest you want to do, then you’ll naturally find a lot of quest items that move her through Calrath City. So, make sure to check on her after every few Calrath bosses or strange item pickups to advance her storyline.
- We have a more in depth Pilgrim’s Perch walkthrough here if you need help finding hidden items, boss tactics and other strategies.
Forsaken Fen Walkthrough
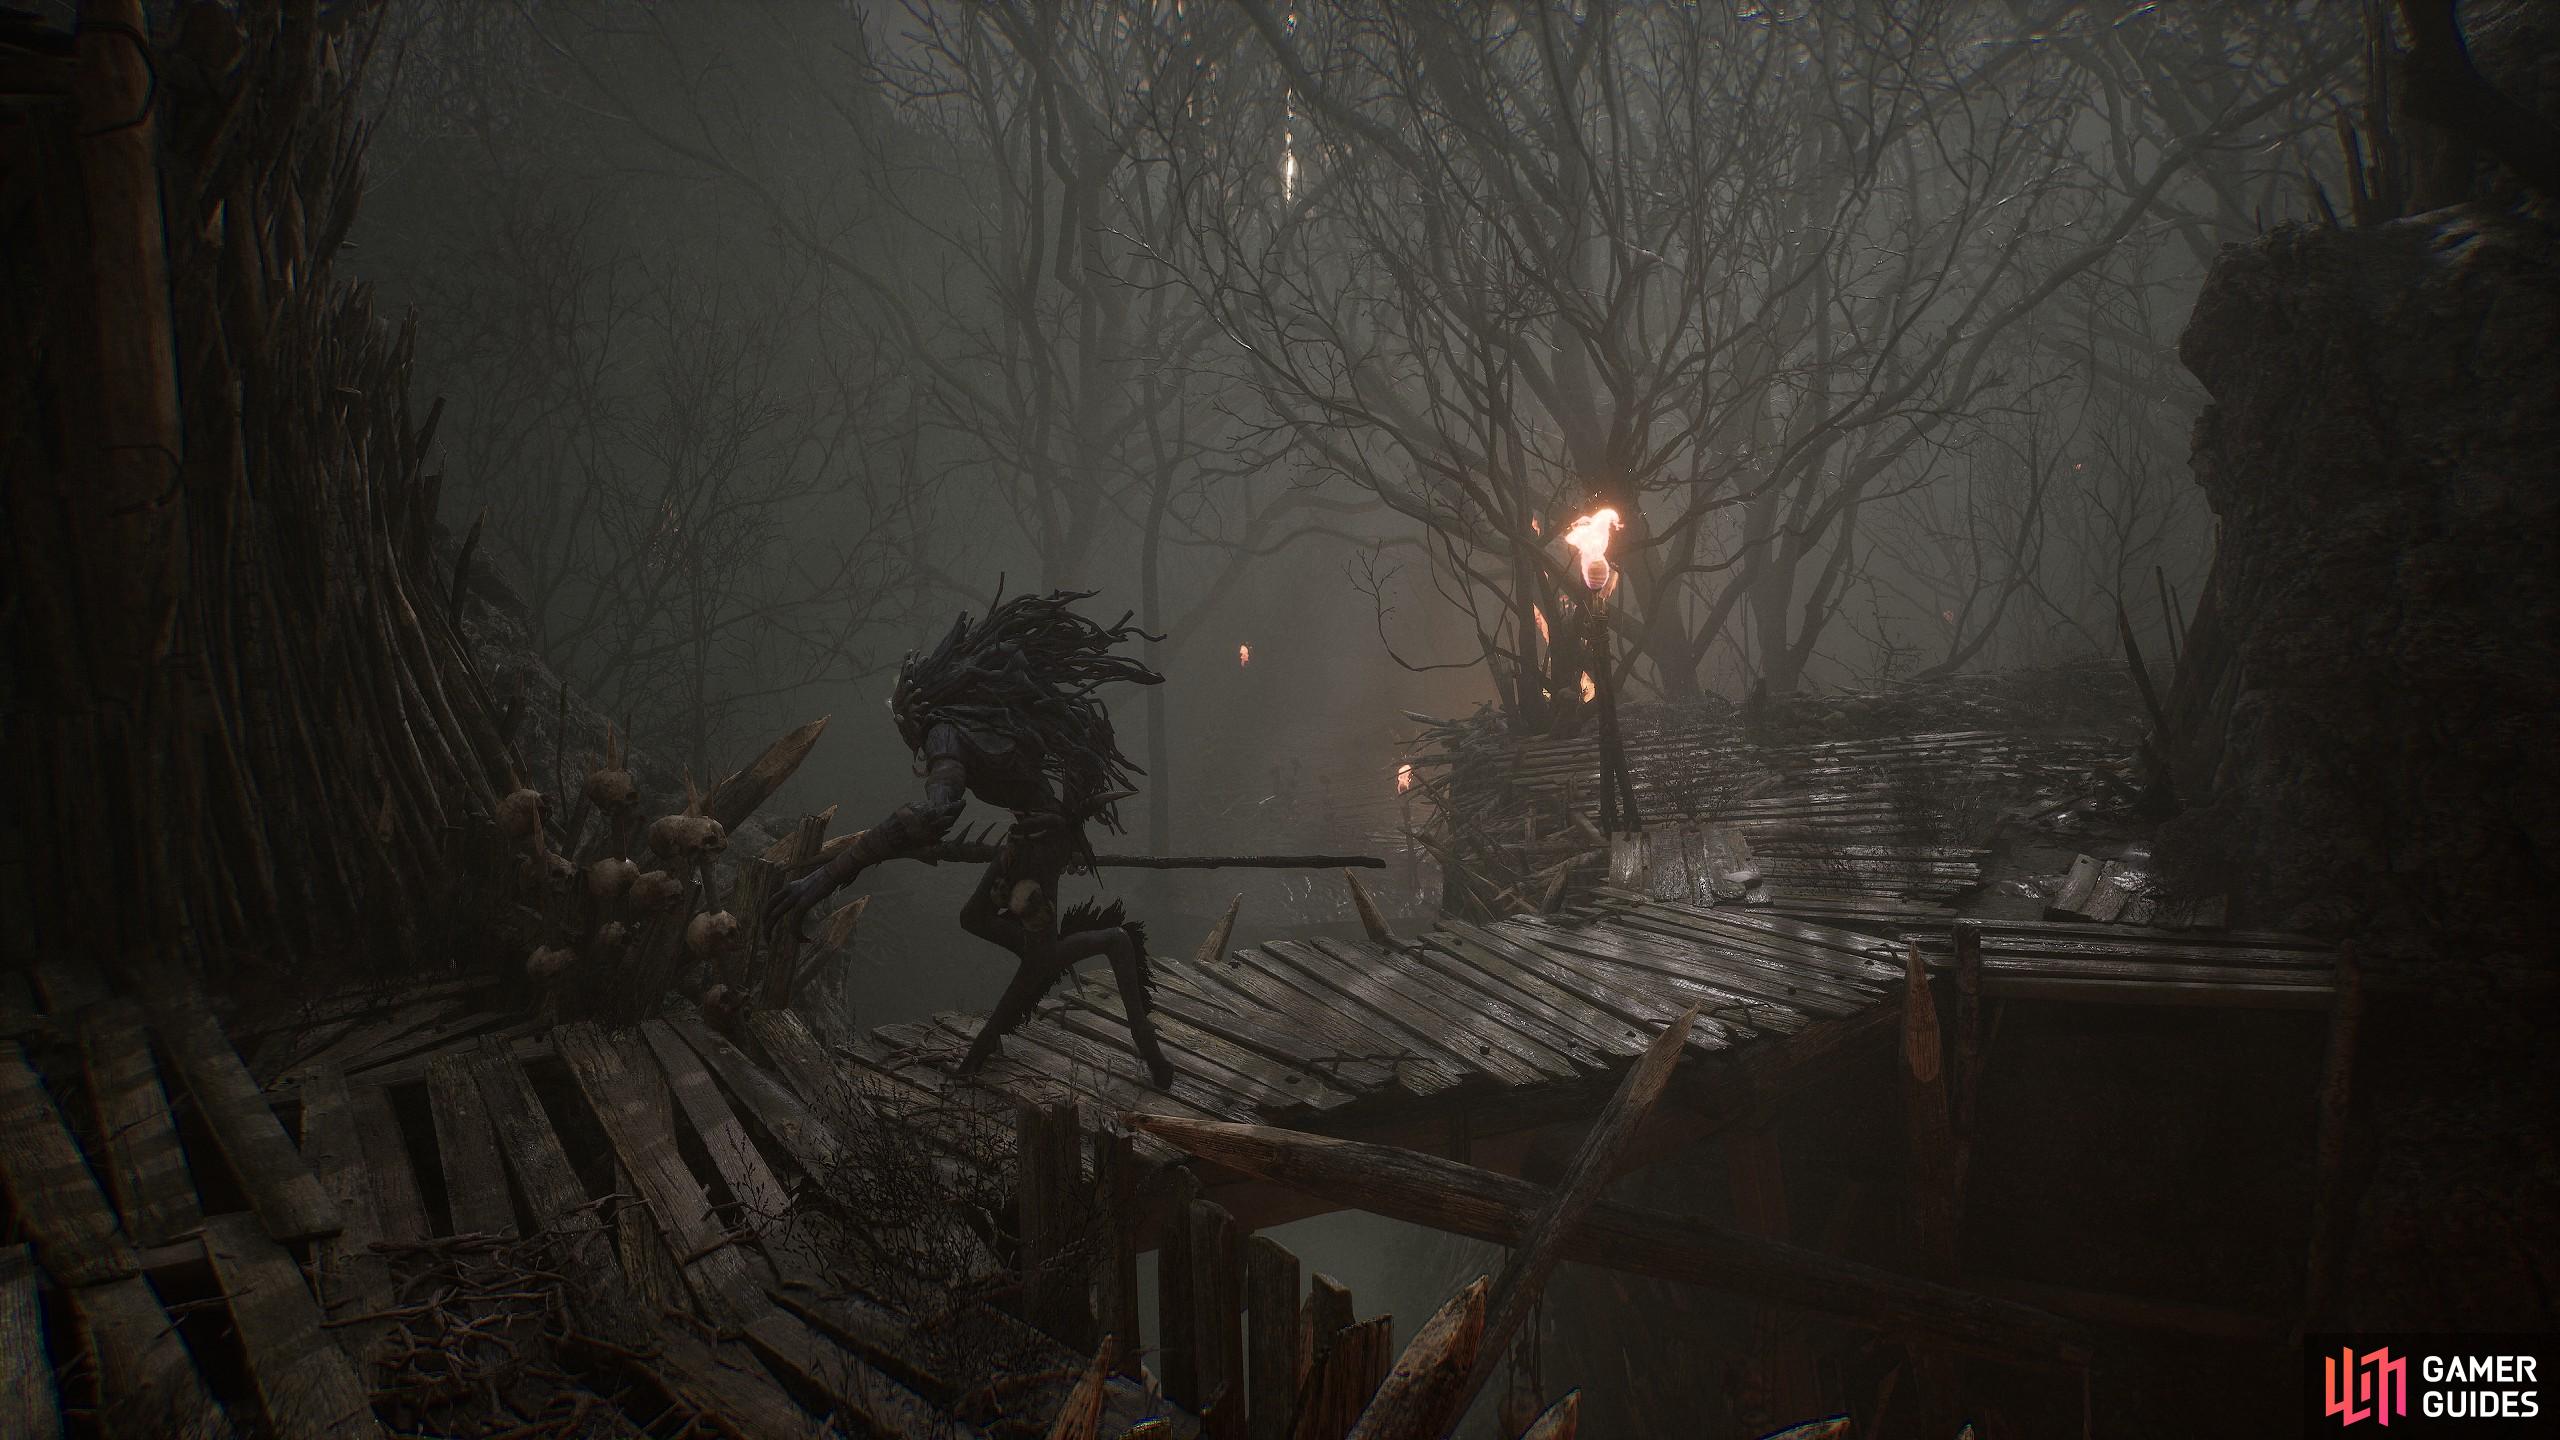
The Forsaken Fen is a gloomy poisoned swamp, with NPCs to unlock, beacons to kickstart ending directions, and other goodies scattered around.
| Important Things in the Area |
|---|
| Petrified NPC. |
| Two unskippable bosses. |
| One Optional Boss. |
| Unlock the Mercenary for Hire NPC Companion and start her questline. |
| Two Thehk-Ihir locations, one at the start near the vestige before the first boss, and one right after the beacon boss, near the vestige you unlock after beating it. |
In the Forsaken Fen, players can get a Vestige, trade with the traveling merchant, and then go through the woods and fall into a boss cave. You will need to beat this boss to go further and escape the chasm. The boss has very slow and telegraphed attacks, with a few charges you can dodge last second, and some stand-up and fall-down attacks. When the boss does these fall-down attacks, it leaves itself open to a few attacks, which can be your fail-safe strategy moving onward. When you leave that hole, you emerge in the Fen.
The Fen proper is a slight step up from the creatures you battled in Pilgrim’s Perch, as you now deal with spearman with leap attacks, long-range jabs, and mosquito boys throwing much deadlier spells at you. There are also a few zombie-type mobs around, which are not too much of a hassle, unless you get swarmed in a hard-to-escape location. Progress down the paths as normal, and you can find a village. While the village is relatively shallow, there are a few important things to grab. A ![]() Saintly Quintessence in the water, which you access safely via the Umbral, and the petrified lady. Use the Sanctify (Radiance) spell on the Petrified Lady to free her, and she becomes a mercenary for hire by bosses enabled with summons. With that out of the way, you can opt to explore the remaining area of the village, open the shortcut to the Vestige, and do some more exploring for items via the woodlands, water caves, and remaining village surroundings before crossing the water to the second half.
Saintly Quintessence in the water, which you access safely via the Umbral, and the petrified lady. Use the Sanctify (Radiance) spell on the Petrified Lady to free her, and she becomes a mercenary for hire by bosses enabled with summons. With that out of the way, you can opt to explore the remaining area of the village, open the shortcut to the Vestige, and do some more exploring for items via the woodlands, water caves, and remaining village surroundings before crossing the water to the second half.
- We think this is a really good Vigor farming location if you fancy doing some grinding occasionally and getting some extra levels.
The next half of the village takes you through no-man’s land, with more underwater areas to grab loot. These routes are largely optional for rings and other rewards. Your main goal is to get to the next village, ideally using a Vestige seed just before the bridge. From here, you need to Umbral, go into the water, deal with the progression block and go on.
Eventually, you’ll emerge into the village, with some more optional loot, Umbral Eyes and spells to pick up. There are also a few more Umbral Blockers that lead to chests with armor sets like the Armor of the Void, for example. So you can pick them up if you want to. However, the rear of the village will take you to the first major boss arena at the beacon. There’s a seed spot just to the right of the drop. We recommend activating just before the boss. After the boss is defeated, either turn the beacon off or move on, depending on the ending you want to do. From there, you can backtrack around, going to some more of the village for more potential loot. On the other hand, you can go forth into the Fitzroy Gorge.
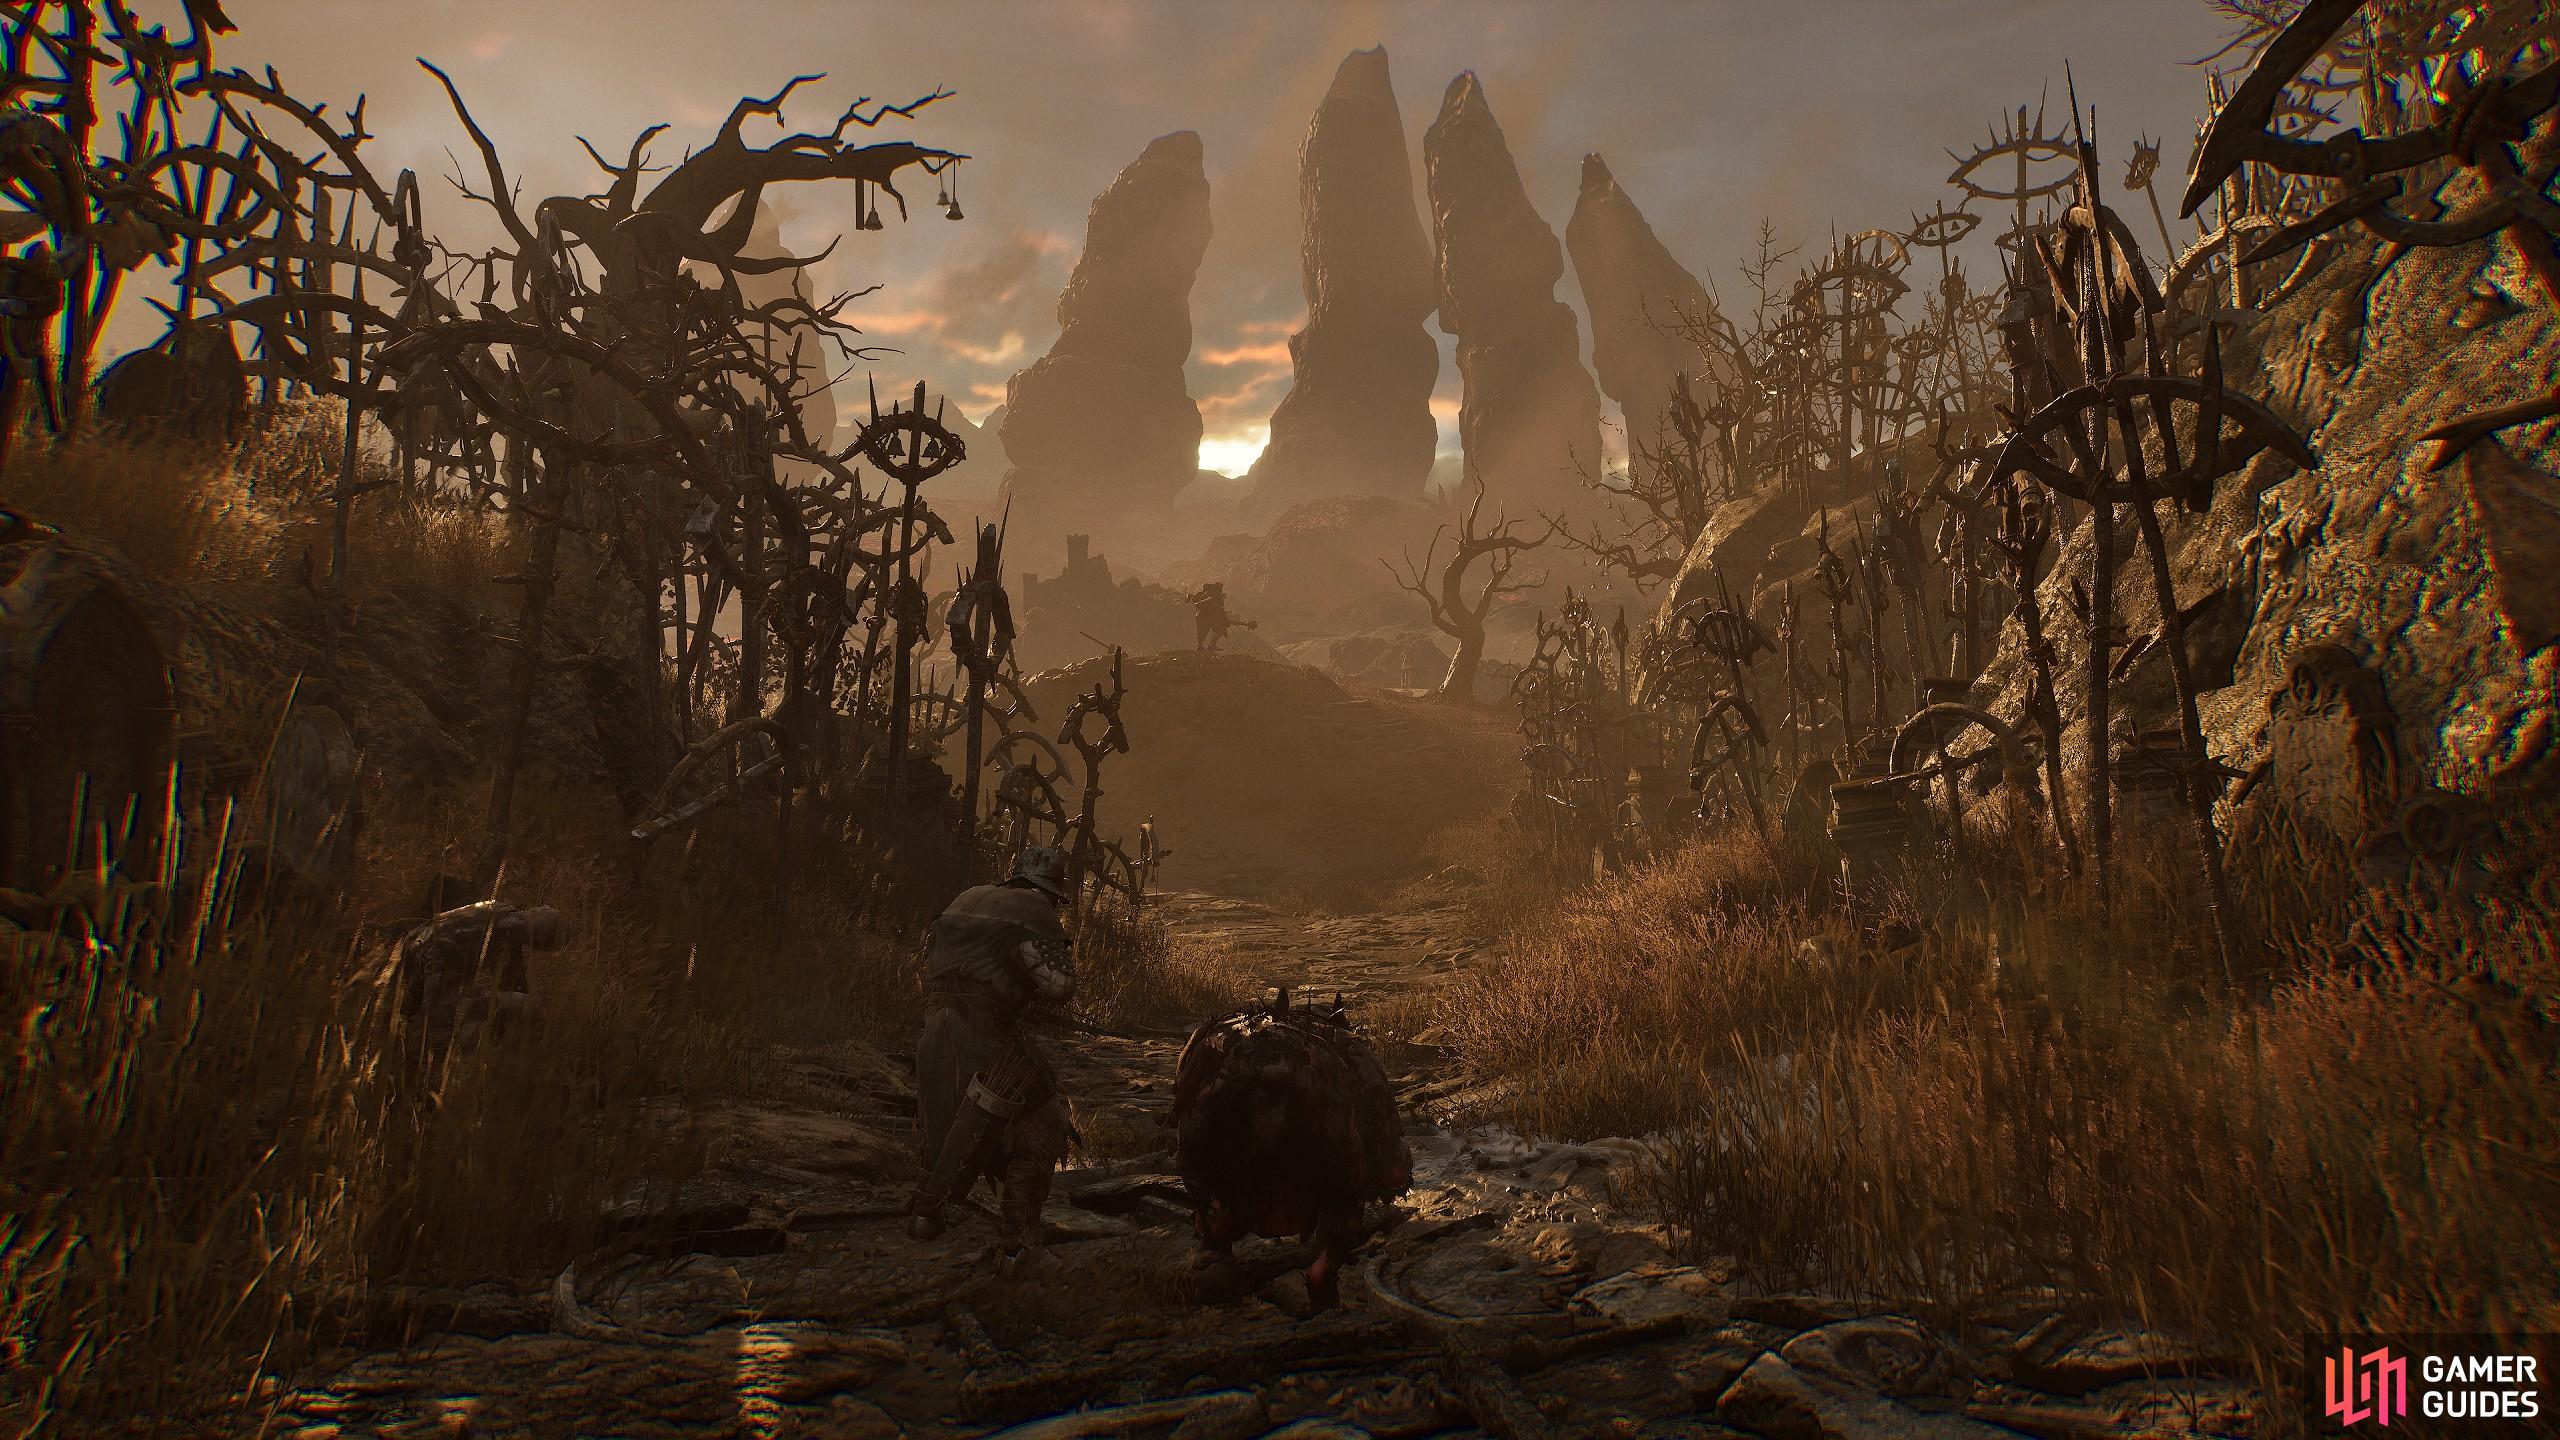
Fitzroy’s Gorge Walkthrough
The land of mountain passes, and caves hold a few NPCs, optional boss fights, hidden PvP Shrines, and other interesting side content to find in the ruined garden and tower.
| Important Things in the Area |
|---|
| Optional Boss. |
| Shortcut from Pilgrim’s Perch to Fitzroy. |
| Unskippable Boss on the bridge. |
| PvP Shrine for those who enjoy it. |
| Optional loot pickups through the tower, including eyes, weapons and gear. |
| Gerlinde’s first tablet. |
| New NPC side quest chain for a very minor character. |
When in Fitzroy Gorge, you can take two paths when you reach a fork in the road. The one on the left takes you towards a fort, where you fight an optional side boss. Defeating the boss allows you to access an elevator that takes you to Pilgrim’s Perch for a potential New Game + shortcut, alongside dropping a lifesteal axe in a chest. If you go right, you follow the main progression, and explore a cave and go down. In this cave, you can find an NPC to speak to just above part of the cave with sleeping dogs. You can also grab a tablet for the blacksmith’s quest. From there, head out of the cave and go towards the bridge where you fight a mini boss. After beating the boss, you unlock the ruin area. The ruin gives you a Lightreaper boss battle you can fail and move on with. When you bypass the Lightreaper’s arena, you will find a broken tower on the left and a ruined garden to the right. The ruined garden area is filled with hostiles, but there are a few item pickups, a potential Vigor farm, and a Saintly Quintessence by the tree. When you’re ready to move on, go up the tower, and path along. There are some Umbral Eyes and a chest at the top of the tower if you fancy grabbing those too before you arrive at Calrath City.
Calrath City Walkthrough

The Calrath Lower City and Slums area has plenty of boss blockers, side content items to find, and shortcuts to create. This area is worth going off the beaten path and looking for item pickups on top of the building when you can.
| Important Things in the Area |
|---|
| Isaac’s first memory for his questline. |
| Two unskippable bosses. One is a mini-boss based on the new fire mage enemy type. Another is a major boss battle. |
| First Chisel for |
| Umbral Eyes. |
| Missable gear for multiple builds in strange parkour and off-the-beaten path routes. |
| NPCs near the Slum’s Vestige balcony in the abandoned tavern. |
| Boss Quest Item for the Tortured Prisoner side quest. |
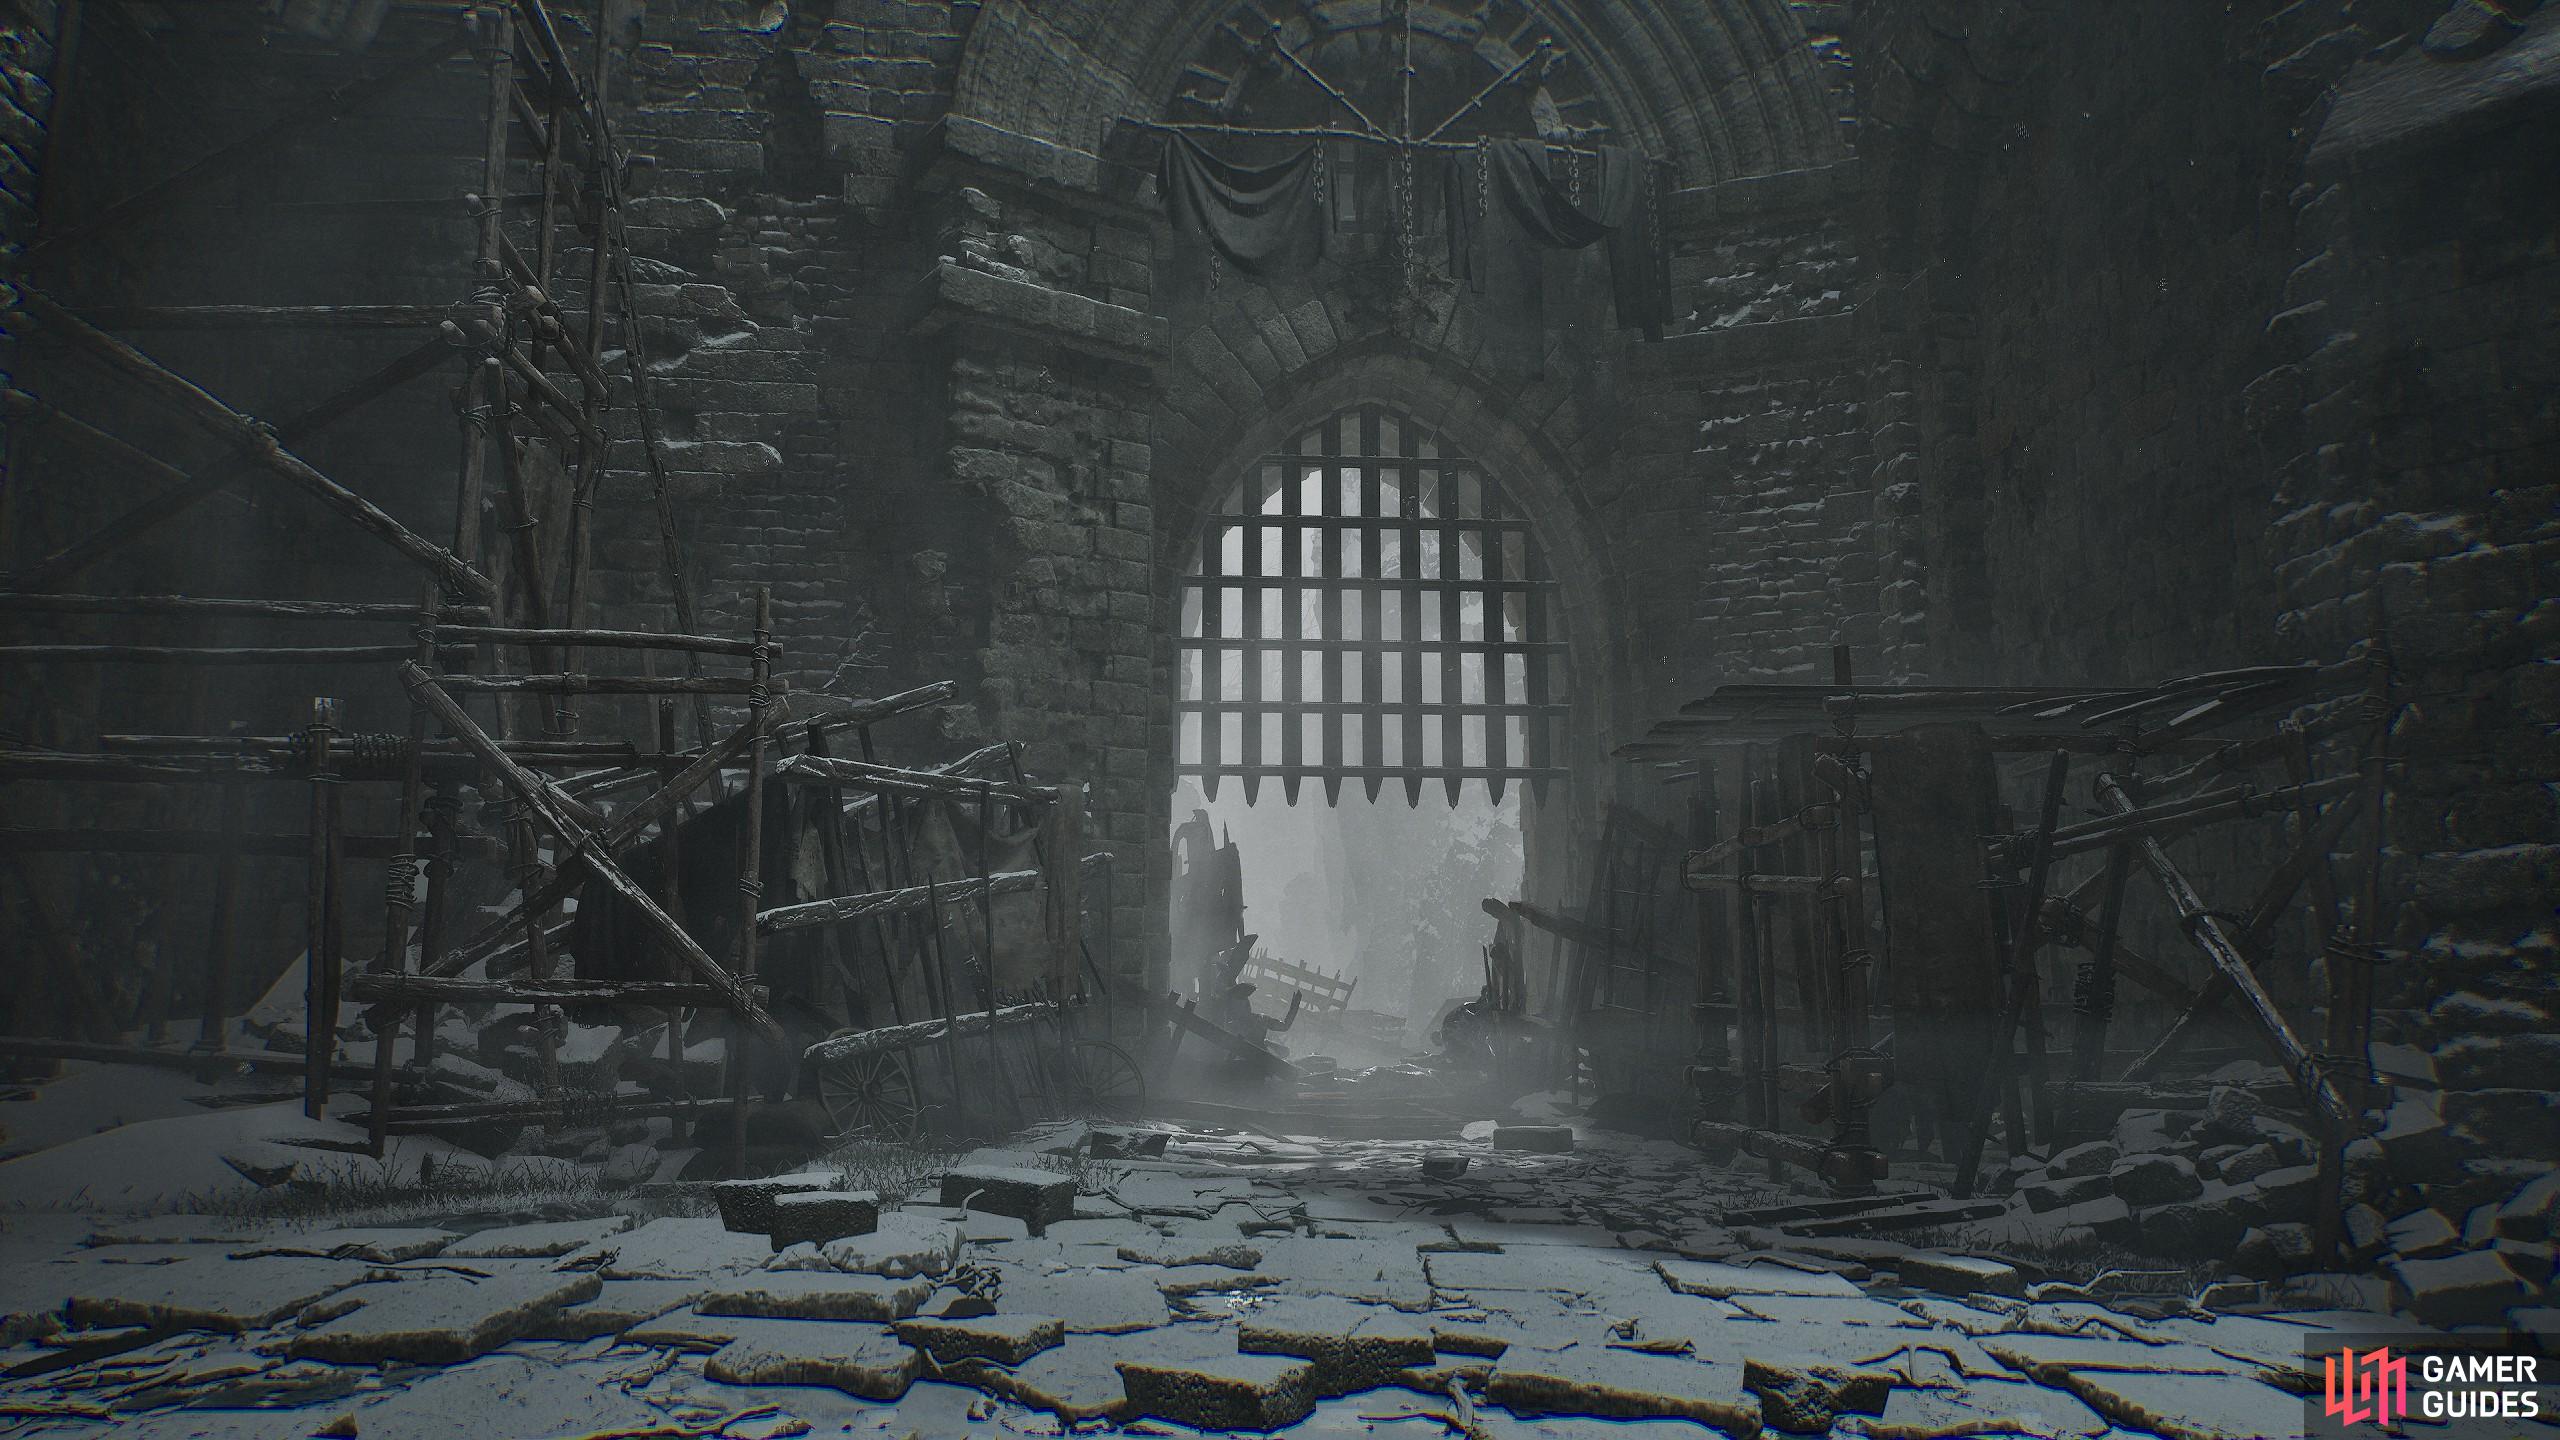
| More Quest Items for Dunmire picked up from the floor. |
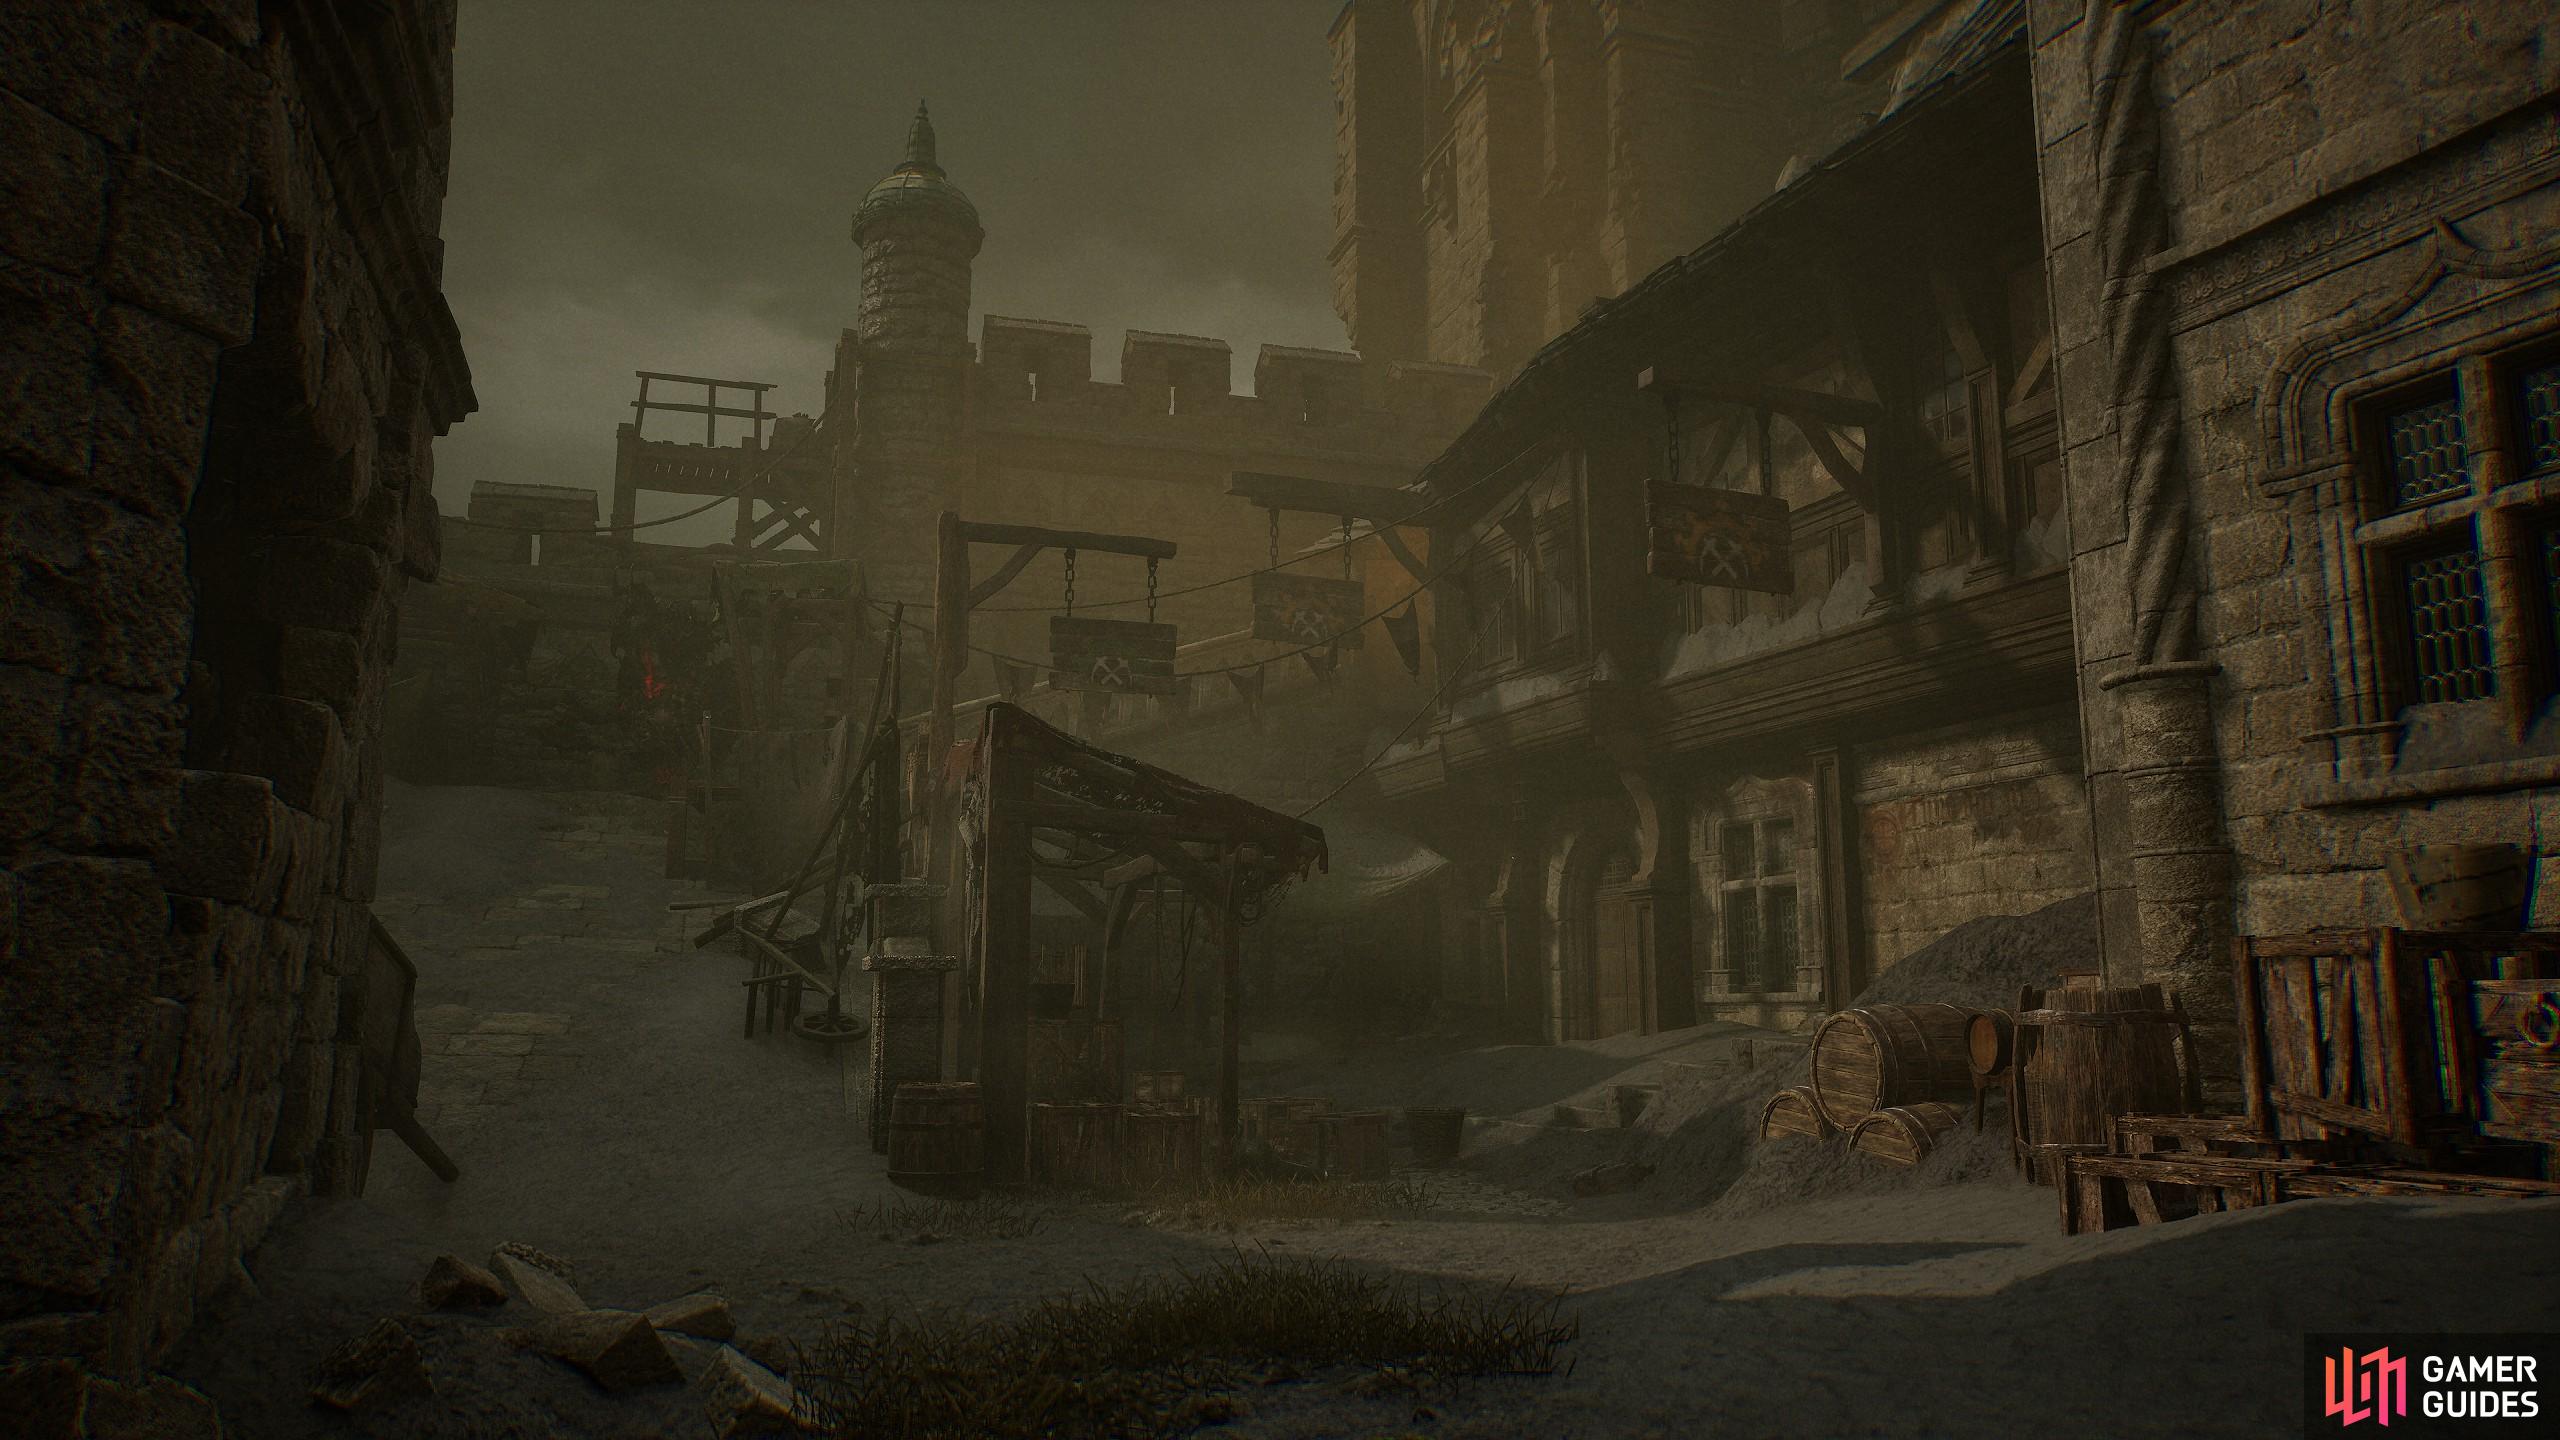
When you reach Calrath City, you’ll need to enter the city through its burning entrance. There’s the first Isaac memory here if you want to do that quest too. When you enter Calrath City, the main progression routes rely on following the roads and scaling the roofs of the buildings. If you stray off the beaten path you’ll typically find more umbral eyes, items, rings, weapons and other goodies too. You can also unlock shortcuts from the Vestige points in Lower City and the Slums area. As you progress through the city, one of the circular road areas has a Chisel in the Umbral you can grab near where the Ravager mob patrols for some more interesting loot. Also, be mindful that there’s an NPC near the Slums Vestige point by the balcony that is worth speaking to for a side quest.
You can reach the top bridge as you get higher and higher through the city. This bridge has a few mages and zombie-type enemies along the way, and some more loot too. But, once you reach the end, there’s a Vestige spot to use a seed and rest up, as it leads to a boss.
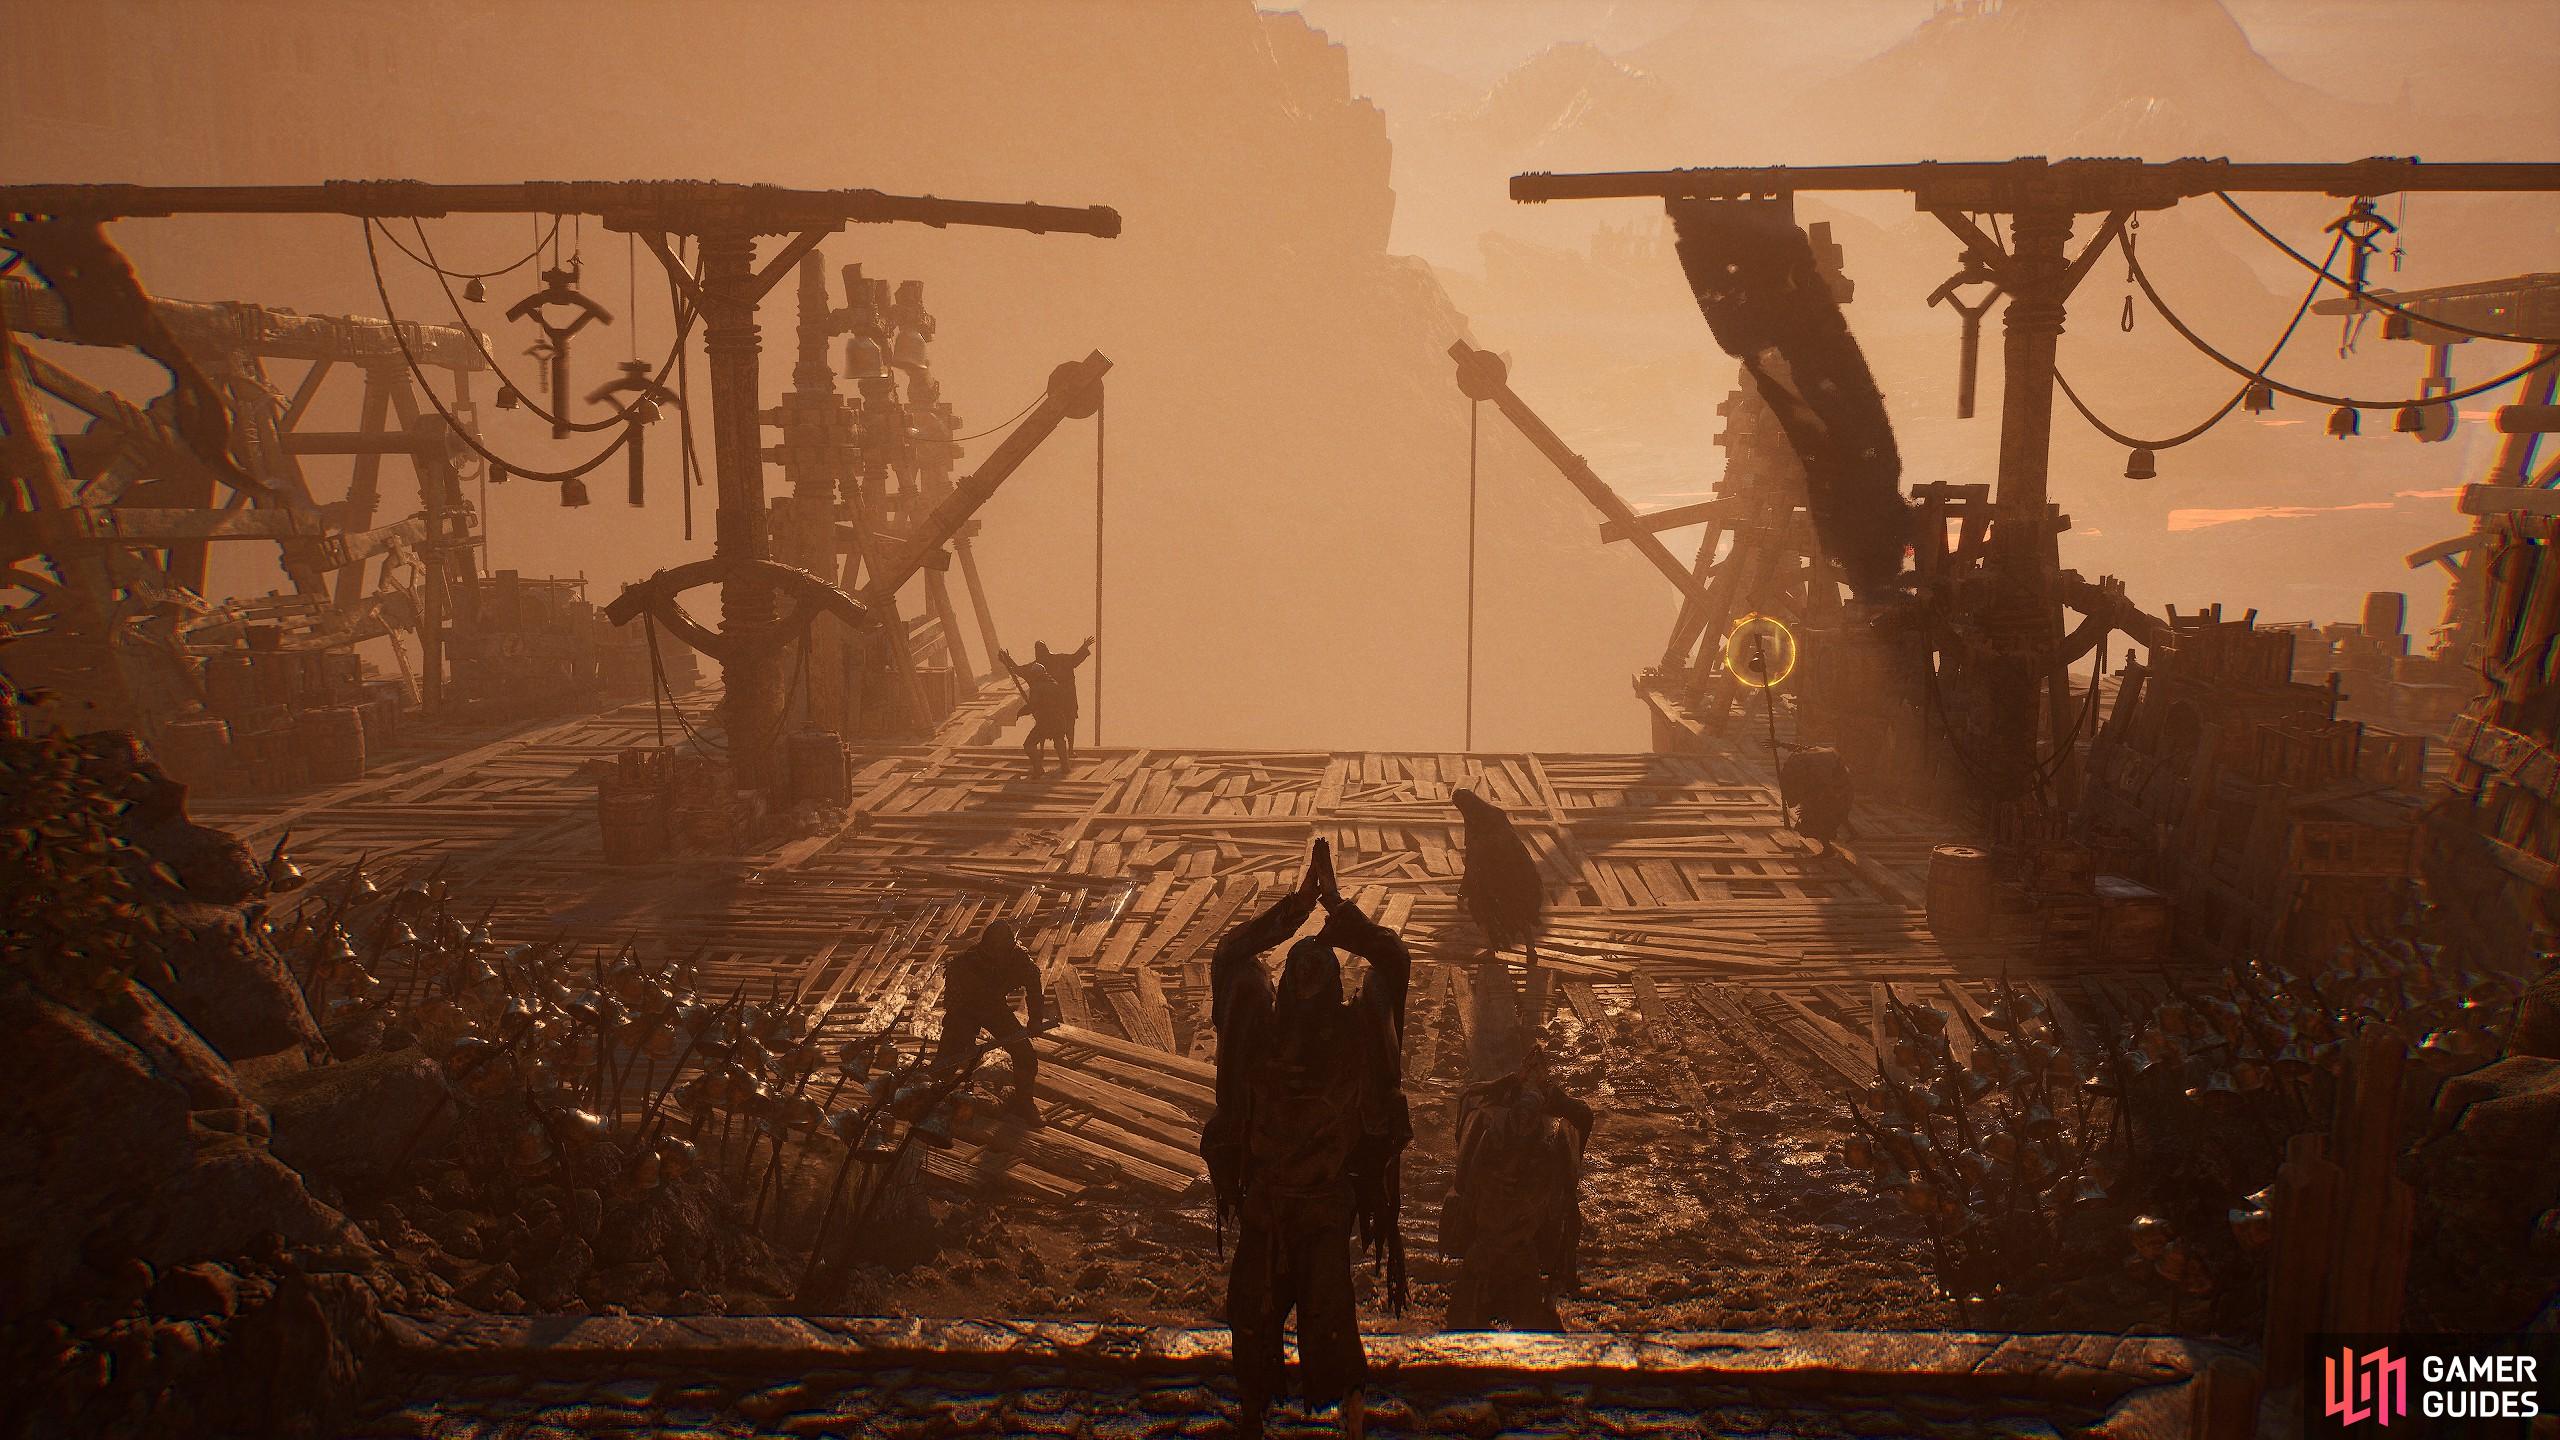
The fire giant boss is a tough one, with players needing to watch for fire magic, requiring you to run or use several dodge rolls. You must also be mindful of ground slams, and jump and sit-down slam attacks. When the boss’s HP nears the middle of the bar, it will do a molten slam, and cover the ground in fire. You need to go to the platforms, use ranged attacks, and then dodge and trade light attacks with the boss’s hands. Rotate around the platforms while dodging and trading to whittle its HP away. When the boss cycles to the third platform, it typically does a wipe mechanic. You can hide behind objects, or transition to Umbral and kill it on your second life. It is worth stating during the wipe mechanic, that the floor is no longer covered in fire so you can jump down and melee it if that’s your build’s preference.
Optional Pathway 1: Upper City and The Revelation Depths
In this section, players can choose where and what they want to do. If you return to the Skyrest Bridge, you can be told to go to the Fief, or you can continue to go through the Calrath City for its Beacon, via the Mining District, Sunless Skein, and Upper City. You can also head down to the Revelations Depths after the Sunless Skein, which is an important spot for side quests, enigmatic NPCs, and trader unlocks. For the sake of completionism and questions, we recommend you take this route.
Mining District Walkthrough
The Calrath Mining District is full of hidden loot across the streets and in Umbral pathways. There are also hidden quints near mob-dense areas, and a tablet for aside quest you will want to grab.
| Important Things in the Area |
|---|
| Missable Gear along the pathways access via Umbral pathways and puzzles. |
| Avoid the items along the mid-lower pathways as they are fake items with the moth ambushes. Same for one in the broken roof house’s tower. |
| Gerlinde’s second tablet. |
| Gear set at the top of the tower in the house with the broken roof. |
After defeating the fire giant, you can opt to go to the mining city from the arena you battled in. You can check a small archway in the top left corner from the entrance to the arena. From there, get the Vestige, then walk through the ashen streets. Be mindful that there are a few ambushers, zombies and such, with a fair few bits of optional loot, a Saintly Quintessence in the Umbral near the tree and other such items to grab. But, be warned, there are many of those fake moths knocking around that disguise themselves as loot near the stone wall areas part way down the road before the tree. There’s also a hidden great hammer in the Umbral from the street above the tree too. Either way, get the loot if you want, or just rush along the streets avoiding attacks the best you can, as the area is very mob dense and hard to handle. When you reach the end of the miner’s road, you can enter a house with a broken roof. If you decide to go up the tower, there’s a light armor set, and some other loot around the place you can grab.
When inside the house with the broken roof, we recommend grabbing the loot near the fireplace for the second tablet location. From there, you need to ideally run down the tower and open the gate at the bottom using the lever to enter the mines.
Sunless Skein Walkthrough
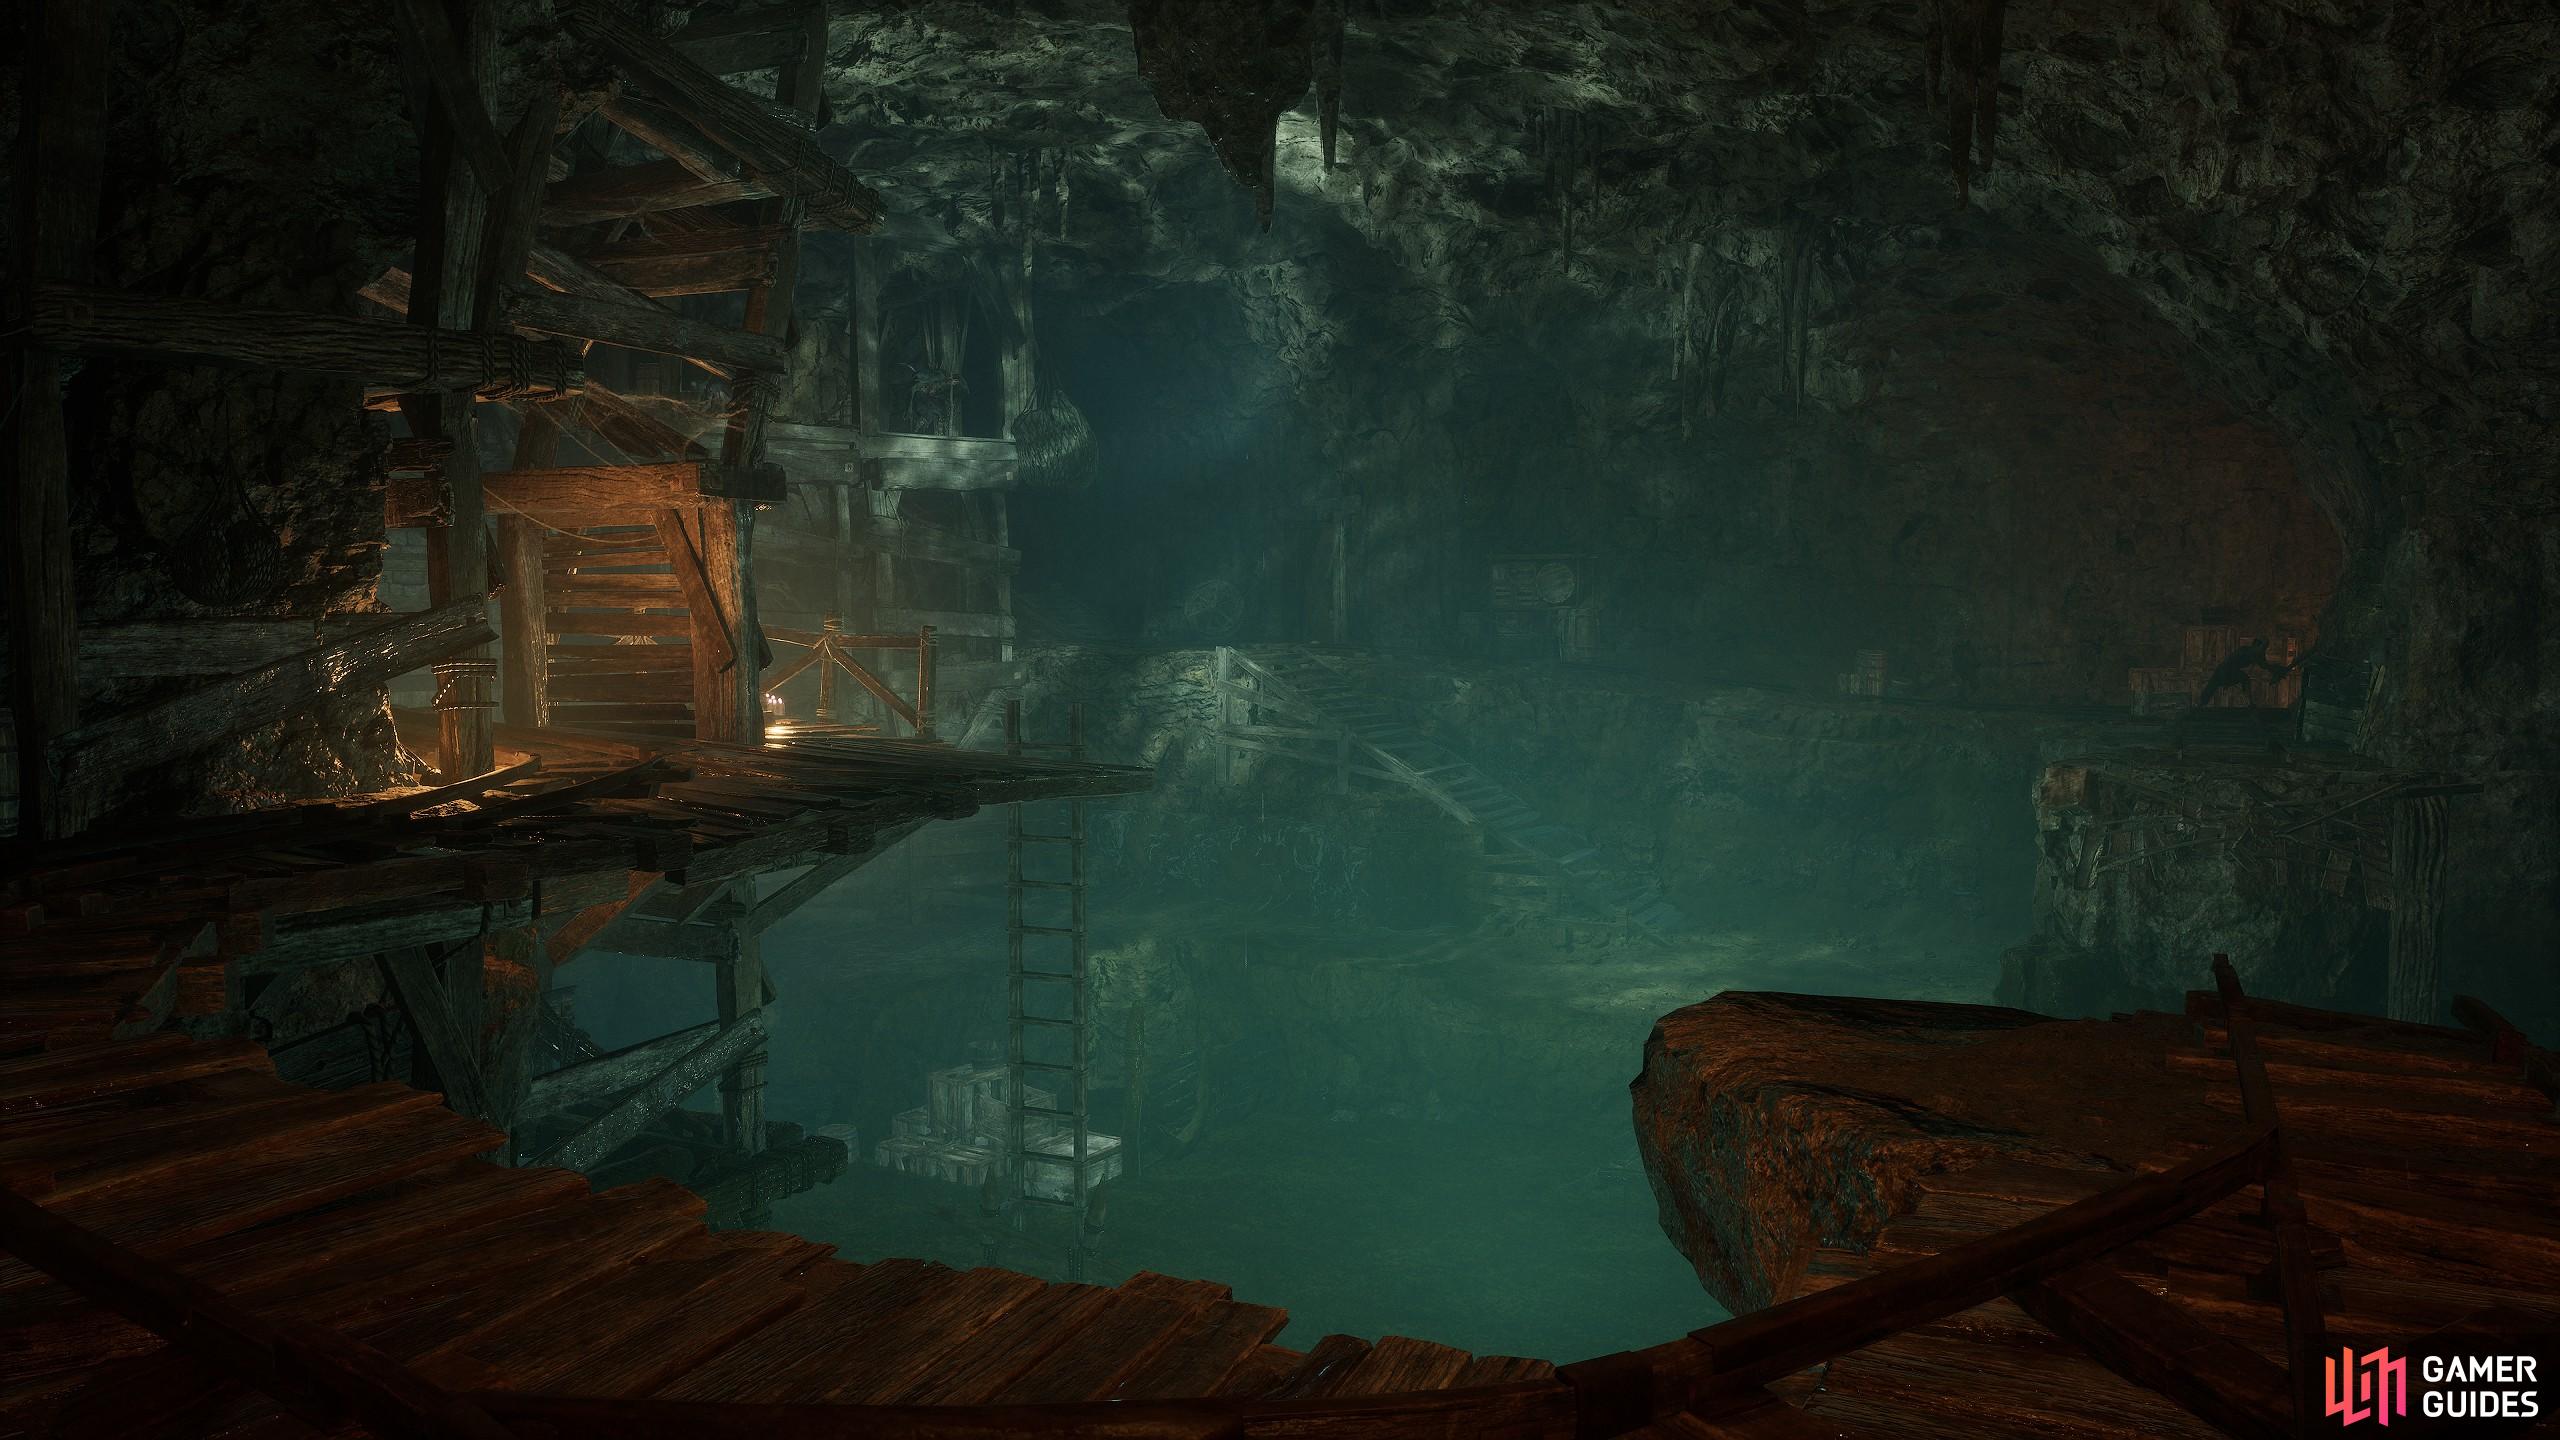
The Sunless Skein Walkthrough requires some exploration in its winding caves. Yet, its pathways lead you to the progression blockers, with a slight Umbral puzzle to solve to drain the water at the end.
| Important Things in the Area |
|---|
| Unlockable doors requiring keys. |
| Start a new quest for NPC Byron that must be done ASAP. |
The Sunless Skein is a mine and the route when you head down there is fairly straightforward. Your first major objective is to open a gate by raising the lever. But, to do that, you need to avoid the threats in the main room, and go looking for tunnels. After fighting a few enemies, these tunnels eventually take you to the lever.
When you’re through, you’ll encounter a room flooded with water. The room requires you to enter Umbral, and look to use Soul Flay on the platform to create an opening to access a lever above. When you open the lever, the floodgates open, and the water will spill out. From there, you can access a new Vestige called Hoist, along with creating shortcuts. While you’re at the Vestige, you can find Byron, an NPC who tells you to look for a necklace, which is in Revelations Depths. If you ignore Revelations Depths, then you will lose this quest progression, and lose a trader, which is blocked by accessing Upper Calrath before going down here. So, make a choice whether you want to do the side content later on, which we’ll mention.
- Read More : Find the Missing Necklace in Lords of the Fallen.
From your new Vestige, head left through the tunnel with a fire swordsman and a snake sniper at the back, accompanied by a few dogs. From there, go right and through another tunnel with a few more mages, ravagers, and firemen. Your aim here is to access the landing spot where the sniper is. There’s also a Quintessence on a beam you can drop down onto, among other loot in this area you can grab. But, when you’re ready, go to the mage’s ledge and drop down the hole at the end of it.
The new area leads to the engine room with a few more guards and dogs. It also allows you to open the door where the snake sniper was so you can run from Hoist to this location if you don’t want to use a Vestige seed later on. You’ll also find an elevator, which is guarded by a boss. If you defeat the miniboss, then you can take the long elevator up to Upper Calrath and progress with the Beacon. You’ll also get a key from it to continue exploring this location if you want to, which we highly recommend doing.
Revelations Depths
The Revelation Depths is underwater from the Cistern, and you need to beat the mini-boss to get the key to drain the area and complete Byron’s questline, among others.
| Important Things in the Area |
|---|
| Winterberry NPC. |
| Byron’s Amulet. |
| Optional Storyline Boss. |
| Few More missable items. |
To access Revelation Depths, you can do the following: There’s a doorway where the parasite-protected axeman is. If you fight the reaper miniboss (in Umbral) follow the path across and up. If you don’t, head down the stairs to find the axeman and the doorway. These will lead you to the Revelations Depths, you’ll need to use the boss key on the drainage system to enter it, mind you.
When you’re there, you can look for an NPC called Winterberry, who is the NPC you get the necklace from and hand it back to Byron at Hoist. There will be an elevator in Revelation Depths that will bring you back to Hoist if you explore the area. You can also find some more chests, a Quintessence and some other goodies down here, along with a Vestige too.
The main villain of the area is an NPC that turns into a two-phase boss. Doing this will complete the quest you’ve likely been participating in as you pick up items and return to Skyrest.
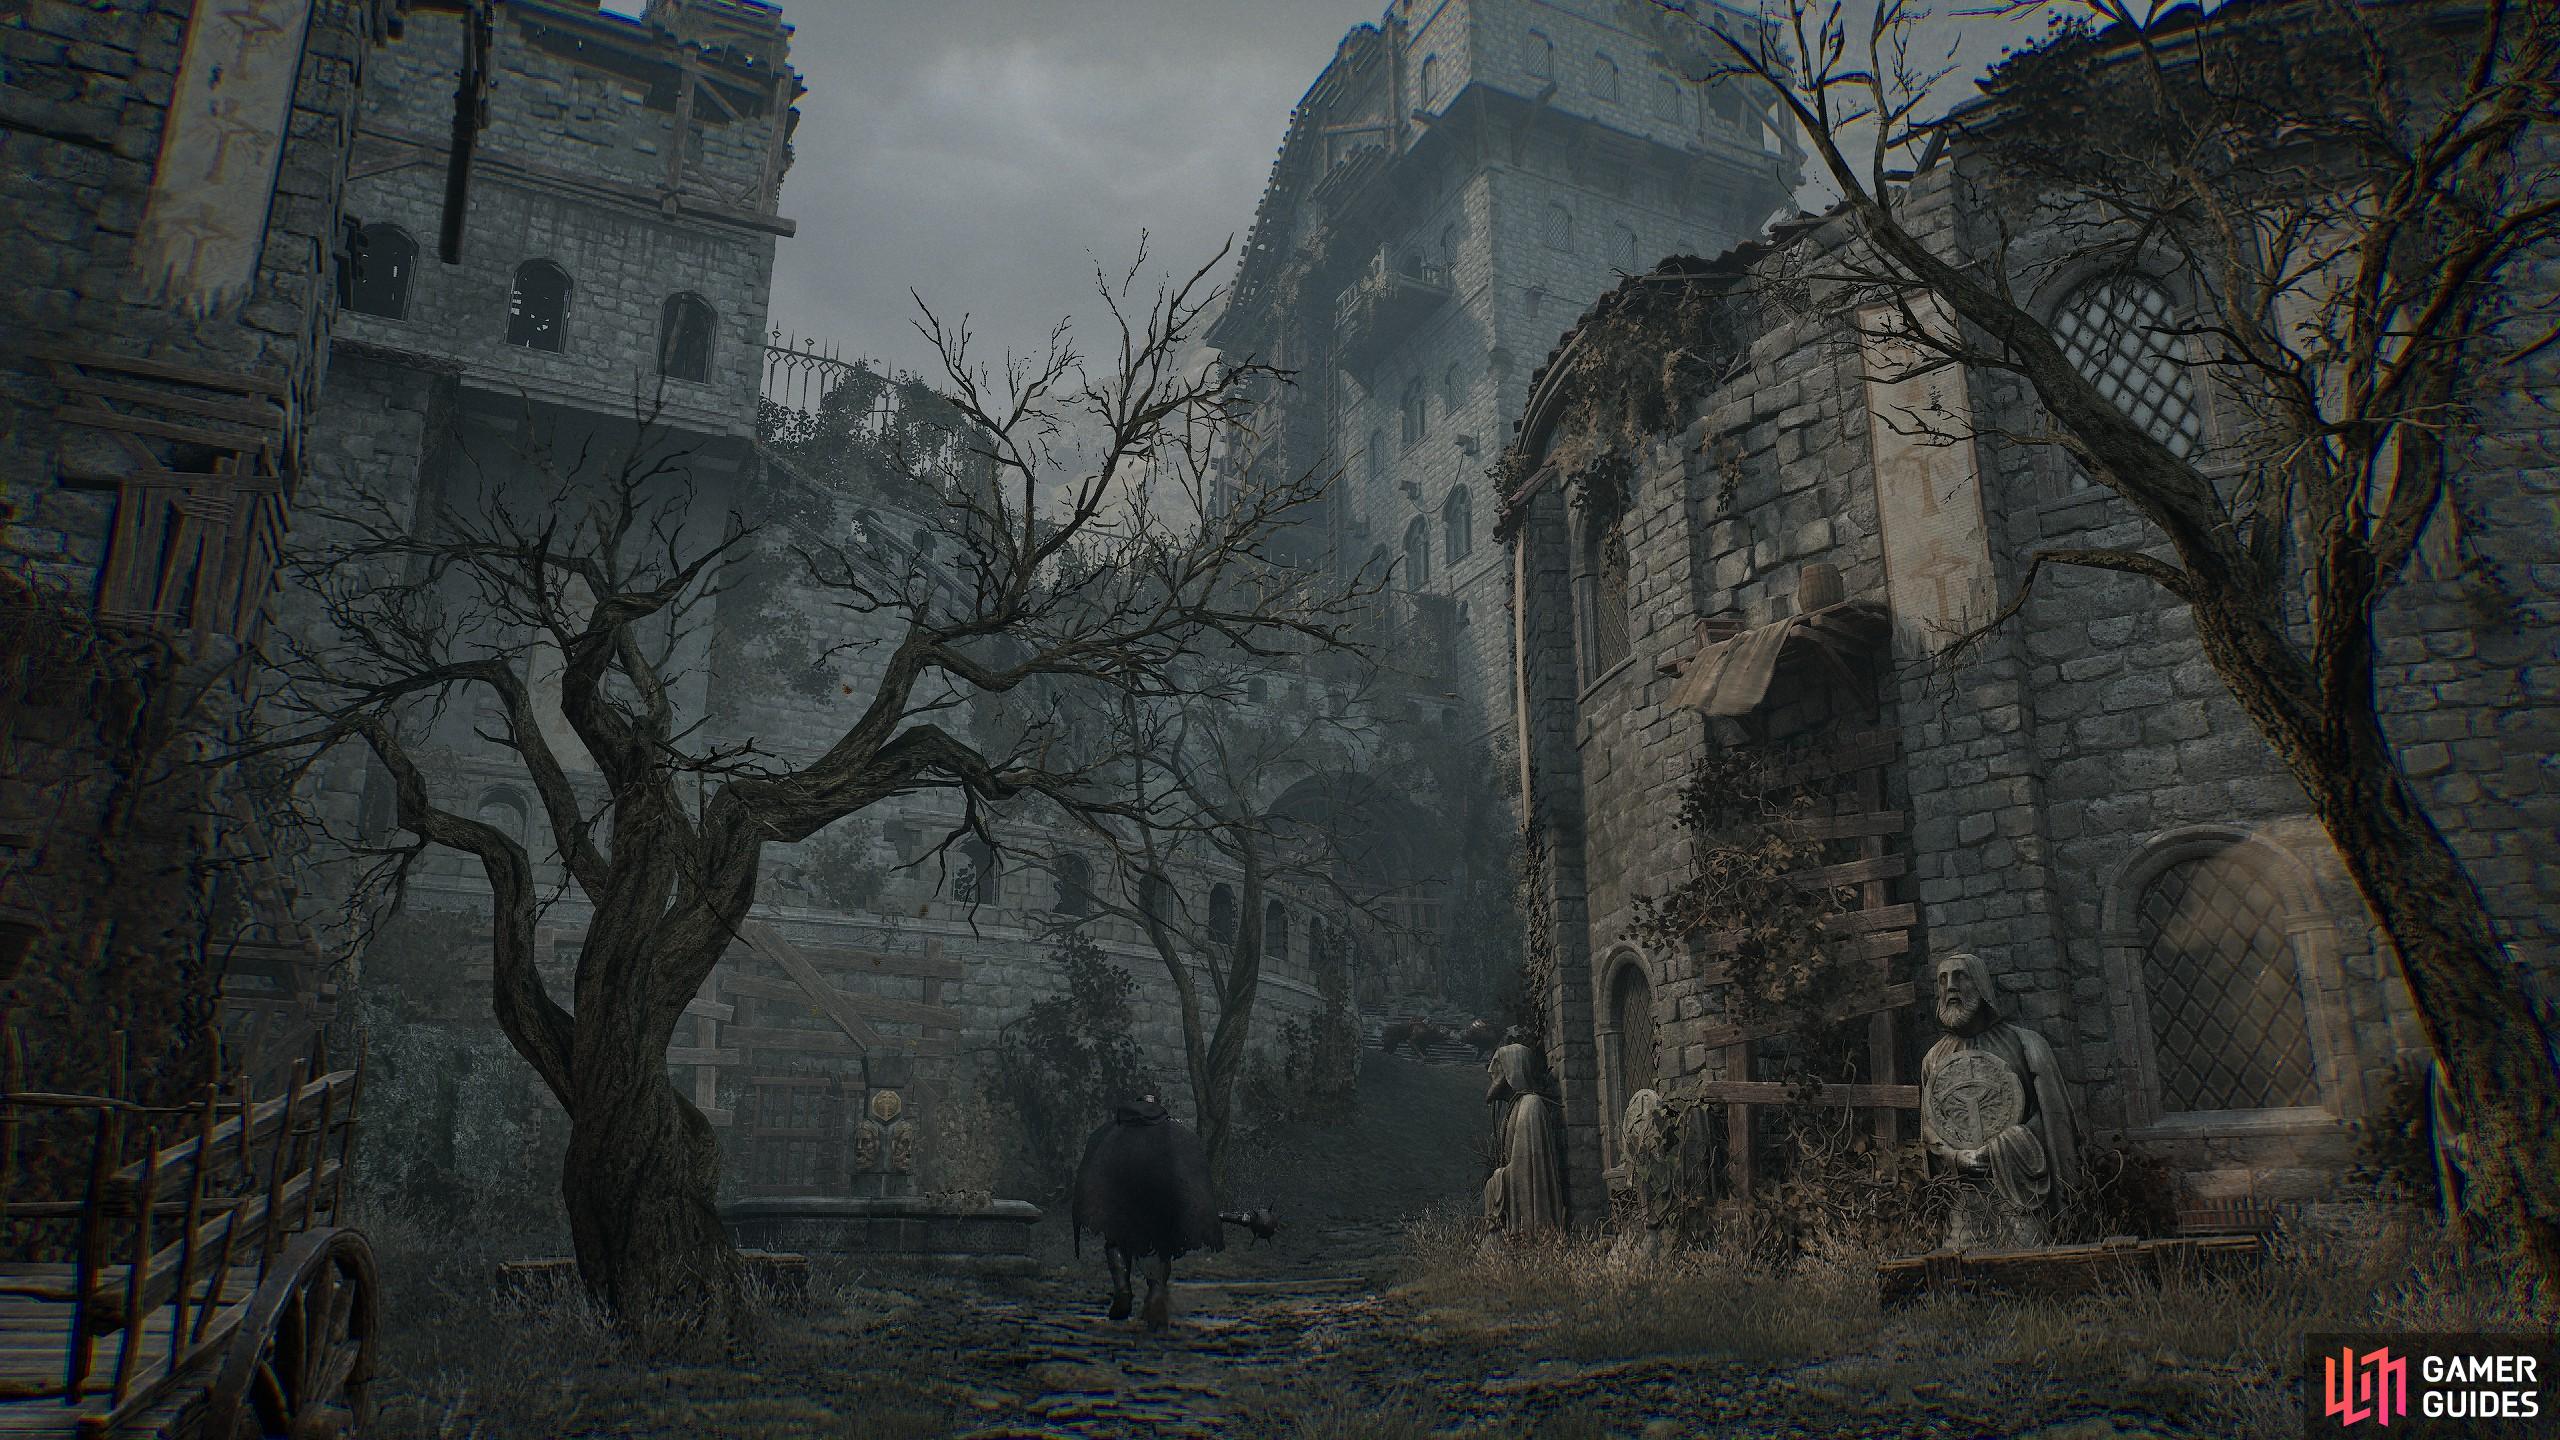
Upper Calrath Walkthrough
You can access the Upper City by the elevator in the Cistern, locked off until you beat the mini-boss in the area. You need to do this for the main storyline, and to progress a few other NPC side quests.
| Important Things in the Area |
|---|
| Missable Items. |
| Quest Items for the Tortured Prisoner. |
| Meet up with The Iron Wayfarer. |
| Andreas of Ebb’s storyline item. |
| Shortcut to Skyrest Bridge that you must open. |
Once you’re done in Revelation Depths, you can progress to the Beacon. The city is fairly straightforward, with a few Umbral puzzles, mage enemies and Ravager-type bosses around. You also encounter the four-armed boss mob as a regular mob in this area too. Make sure to explore that pathway picking up items, and a few of the smaller, yet dense areas have awesome Umbral exploration options too.
The other important part of this location is that you can find The Iron Wayfarer, which is around the marketplace in the second half of the area, beyond the circular arena bit. You can also find Andreas of Ebb’s book in the castle tower area that leads to Skyrest Bridge. It’s important you head this way as you need to open the shortcut for later. You should do this area to make those quests easier to access and progress towards the end game.
The other important item is the Perfume item that you can find in the Upper City that you can give to the Tortured Prisoner. Don’t forget she will have moved to the Fire Giant Area if you have been playing along with this quest so far.
Also, make sure to find the beacon, and cleanse it if that’s what you want to do, or do nothing if you want the other endings.
Main Progression Route 2
From this point onwards, the storyline is rather straightforward in terms of its progression options. You will follow the areas as follows:
- Fief of the Chill Curse
- Bellrise
- Path of Devotion (optional)
- Manse of Hallowed Brothers
- Tower of Penance
- Abbey of Hallowed Sisters
- Empyrean
- Bramis Castle
Fief of Chill Curse Walkthrough
The not-so-winter wonderland is filled with potential quints, respec items, and other goodies scattered around broken castles, sunken villages, and other haunting and harrowing locations.
| Important Things in the Area |
|---|
| Unskippable Mini-Boss. |
| Chisel Location in the Umbral of the viking boss. |
| Lootable respec item in a missable village at the end of the zone. |
| Missbale Items. |
| Optional Boss in the Ruin. |
| Quintessence in the Ruin with the Vestige if you grab it. |
| A missable Quintessence in the village at the end of the zone access via the Umbral after the beacon. |
| Two Isaac quest memories. |
| More random NPC encounters in the village at the end of the ice cave. |
When you return to the Skyrest, you’ll find one of the NPCs go, and state you need to go to the Fief area. To access this location, you want to go to the Windmill Vestige in Abandoned Redcopse, then turn left towards the door with a bell on it. This will bring you through a small cave filled with enemies, with the end leading to a mini-boss of a Viking brute that throws chilling stuff from its axe. It is also guarded by three ice dogs, and if you enter the Umbral, one of those annoying easter island heads. You will either need to be in Umbral to kill the parasite protecting them, or soul fire it in Axiom. You should also deal with the dogs, as it means there will be ice traps around the floor, reducing your ability to fight. When it is dealt with, learn the boss’s heavy swing attack patterns and dodge its ice casts from its blade as it swings. You’ll find openings naturally as the fight continues, or heavily break its poise with large hits from great maces. Don’t forget to enter the Umbral here and grab the Chisel before departing the cave for the Fief Vestige on the outside.
Once you’re done with the boss fight, you enter the Fief. The Fief castle has some Quintessences above and some chests, accessed via the outer ridges and return round in a U shape. You can also get an Issac memory here if you want to unlock the Dark Crusader later on in the game.
To progress in this area, simply climb up the castle, and go left. Follow the path down, dealing with archers and the smaller version of the mini-boss you just battled with. You can find some loot along the way too. When you reach the top, go right, and either do some cliffside exploration in the Umbral, or progress normally and return to the castle. If you find a ruin on your left, that contains a mini-boss of a mage creature, you can ignore it if you want to. When you return to the castle, you need to grab the Quintessence and pull the lever to open the gate. To get both, you need to make the run two times.
When the gate opens, path down the road from the Fief Vestige point, and then either drop down the road and explore, or go right towards the lodge by the lake and go through the ice cave. Follow the ice cave through, and you’ll come across lootable areas, followed by pathways surrounding the cliff that leads to a castle ruin. The castle ruins itself are filled with enemies, along with a flooded village to explore in Umbral. You will need to do this to make it to the castle’s later end and access its beacon and boss. There’s a Vestige near the boss arena, too, so, you’ll know you’re there when you get access to that. The boss itself isn’t too hard, and it’s mainly a case of dodging adds and spell effects while beating the ghost up repeatedly until you win.
When that’s done, go to the beacon, ignore it or restore it, then go down the castle. The castle will bring you to the Lightreaper Arena for another fight. If you fail again it’s no worries, as you’ll respawn at the Vestige if you activate it. From there, go forth and get the other Vestige memory of Isaac just outside the arena, up the cliff. From there, it brings you back to the river house, where you can return to the Fief and return to Skyrest.
It’s worth noting this area is quite large and has many lootable areas not connected to the main progression area, such as via the river after the Lightreaper boss, along with a lot of loot in the sunken village, and other areas around the Fief Vestige. Lastly, there’s an NPC in a small building requiring a fire, which you’ll have if you find the northern English NPC while in the Fitzroy Tablet area and the Calrath Slums Vestige balcony too. It’s worth exploring this area in your free time if you want to make the most of this zone.
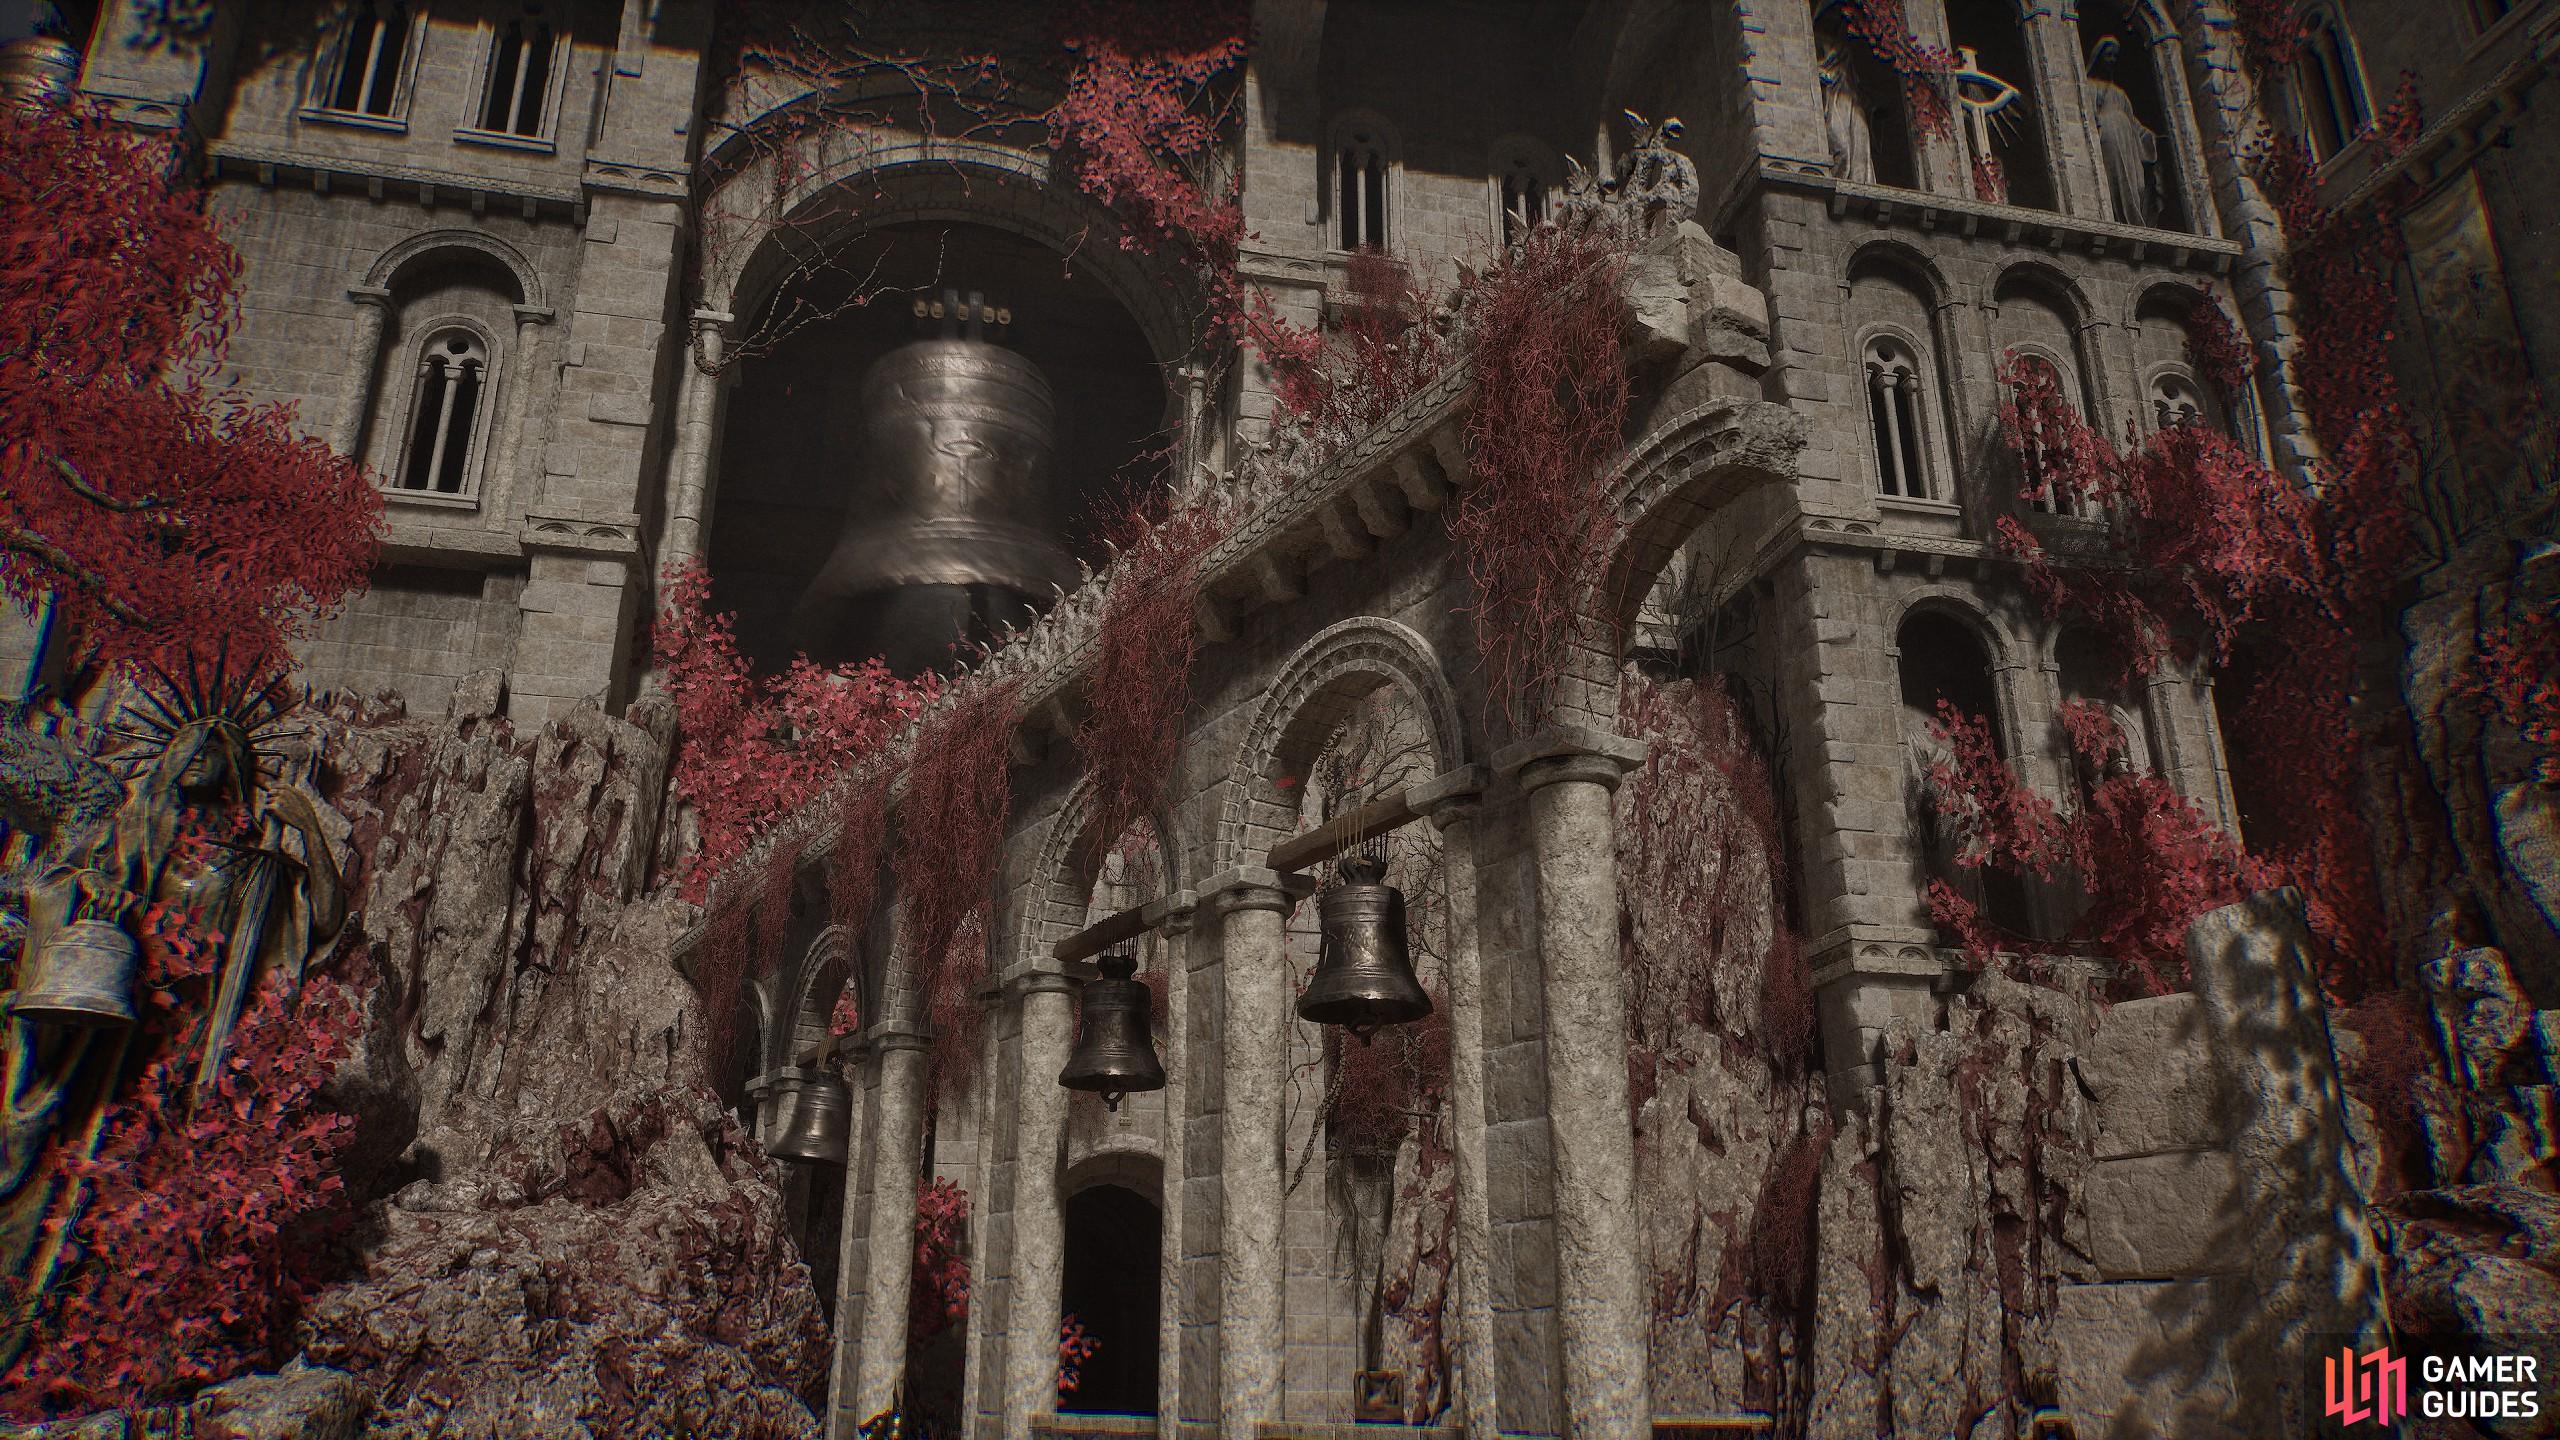
Belled Rise Walkthrough
Did you think the devs would let you off without one more extended Pilgrim Perch area?
| Important Things in the Area |
|---|
| Umbral Eyes along an Umbral path just before the boss cave. |
| Missable Loot in the pits, along the rafters, and an optional cave spot with a Moth Lady serving as an Umbral Parasite. |
| Unskippable boss. |
| An optional route to the right of the boss entrance that takes you to Path of Devotion. |
The next on the list is the Belled Rise, and to get there, you will need the Pilgrim’s Perch key, which you can buy from Stomund. You need to buy this key to get the note to progress the main storyline and Stomund’s mission. It will cost around 9k vigor to buy, so buy it when you can. When it is done, feel free to open the Pilgrim’s Perch doors near Scourged Sister Delyth in Sanctuary, another in the Bellroom cave basement, and then the main accessway next to the Bellroom elevator Vestige point.
When you’re in the Belled Rise, you must go straight on, over the parkour pit, and then through the tunnels using the umbral. Watch for the mages, crossbowmen, and mace dudes along the way. Eventually, the cave will take you to a cliff’s edge, and then you can access a tunnel on a further ramp. This tunnel brings you to a Vestige seed spot, which we recommend planting here. This gives you a reset point for the boss in the Belled Rise you need to beat to continue onwards. A pathway to the right before entering the boss room can take you a little further into another area called the Path of Devotion, which has a Vestige. More on the Path of Devotion Later.
To progress the campaign, you need to beat the boss in the Bellrise area. This boss is a meaty swinger, with some radiance magic, and a lot of supporting mages and other enemies. Mage builds that leave behind hazards can get the boss tucked below a platform if you’re looking to cheese the boss. Other than that, you can beat the boss in melee range, but, the main tactic to avoid is the one where she hits her head, as that does a large AOE. Make sure to time a dodge as she slaps the bell to survive it.
When that’s done, you’ll unlock the cliffside from the boss, and be able to find an elevator. If you want to explore, you can do so, as it leads to some more treasure locations around the area, and also connects to the Pilgrim’s Perch area. If you take the elevator, you’ve got some more pathing to do, but it will lead to an elevator to access the Manse of Hallowed Brothers.
Path of Devotion Walkthrough
The Path of Devotion is an optional area along the main storyline, which you can visit for some more Umbral Eyes and Umbral Catalysts, along with other hidden traveler merchant locations, and completes the Isaac questline.
| Important Things in the Area |
|---|
| Missable |
| Thehk-Ihir location by the Vestige. |
| Missabel loot, such as good rings and Umbral Catalysts. |
| Umbral Eyes at the bottom of the path. |
| Shortcut back to Skyrest Bridge for NG+. |
| Isaac Questline. |
The Path of Devotion is an optional location connecting to the Skyrest Bridge. While there’s no main story reason to go this route, there are a lot of potential loot, Umbral Eyes, and Quintessences to access over here. You will find the Quintessence down the road from the first pack of adds before turning the corner and going further down the hill. You need to be in the Umbral to access the ladders that lead to it. The other attractive factor is that there is an Umbral arena next to the sin piercer archer lady with the dogs. If you cross it and have activated the ![]() Umbral Scourings for Isaac in the Lower Calrath Entrance and the two in the Fief, you can fight a boss from this memory. Doing so allows you to start reaching the end of Isaac’s questline, which offers you a summon ally for the Lightreaper fight later in the game. Also, doing this and beating the Lightreaper will award you with the Dark Crusader Class for your next save. You can also speak to the traveling merchant at the Vestige as another side quest objective, which is part of that creature’s quest chain.
Umbral Scourings for Isaac in the Lower Calrath Entrance and the two in the Fief, you can fight a boss from this memory. Doing so allows you to start reaching the end of Isaac’s questline, which offers you a summon ally for the Lightreaper fight later in the game. Also, doing this and beating the Lightreaper will award you with the Dark Crusader Class for your next save. You can also speak to the traveling merchant at the Vestige as another side quest objective, which is part of that creature’s quest chain.
The Manse of Hallowed Brothers Walkthrough
The operational Base of the Hallowed Knights. Expect to work your way through secured and locked barracks, churches and other well-fortified positions before you can reach the next two beacons.
| Important Things in the Area |
|---|
| Sainty Quintessences. |
| The final Chisel. |
| Lots of missable items in Umbral areas of the dirt road, catacombs, and the temple itself. |
| Optional boss in the church gardens guarding a chest. You can get two weapons and a spell for doing this. |
| Two Keys for progressing through the level. |
| Thehk-Ihir location by the inner castle Vestige. |
The Manse is a spot in the game that you need to navigate to get to the next two beacons. At the start, you appear near a dirt road leading to a castle area. The dirt road has a few guards, that you can ignore and enter a catacomb-type area. The catacomb and the dirt path have a few locations in Umbral containing a few hidden items if you want to explore. But, the main job is to get out of the Umbral and Catacomb area, and then enter the castle grounds to find a Vestige point opposite the entrance to the grounds itself as you flee the Catacomb area.
Once you’re safe, a knight patrols outside, which you can kill to get a key to open the kitchen/barracks area. Enter that and solve the Umbral puzzle to get over to the next room. From there, you can open a shortcut to enter again, and then go through the staircase and access the roof area, allowing you to cross a bridge into the church area.
From this point on, your mission is to run around the area and look for a way into the church. The church contains a key that you need to open the garden section that leads to the Abbey and the Tower of Penance. There’s also an optional boss on the roof of the building in the garden that contains some nice spells, weapon rewards and a chest to loot too. When you get into the chapel, there are also some explorable Umbral pathways available to you around the balcony area that lead to the church roof for some more hidden loot options.
When you have the key go through the doorway, and then try and get over the bridge. You will fight a boss on the bridge, that uses a lot of poison spells and coats the area in a foggy mess. Make sure you have some anti-poison effects to make it easier. As for the boss itself, don’t worry too much about its attack. It’s mainly dodging them and avoiding being in poison. If you need a breather, the edges of the bridge near to where you entered never get hit with the poison fog. Use these areas to hide, use items to rest your poison or wait it out, and heal up before charging the boss down for a beatdown to finish it.
Tower of Penance Walkthrough
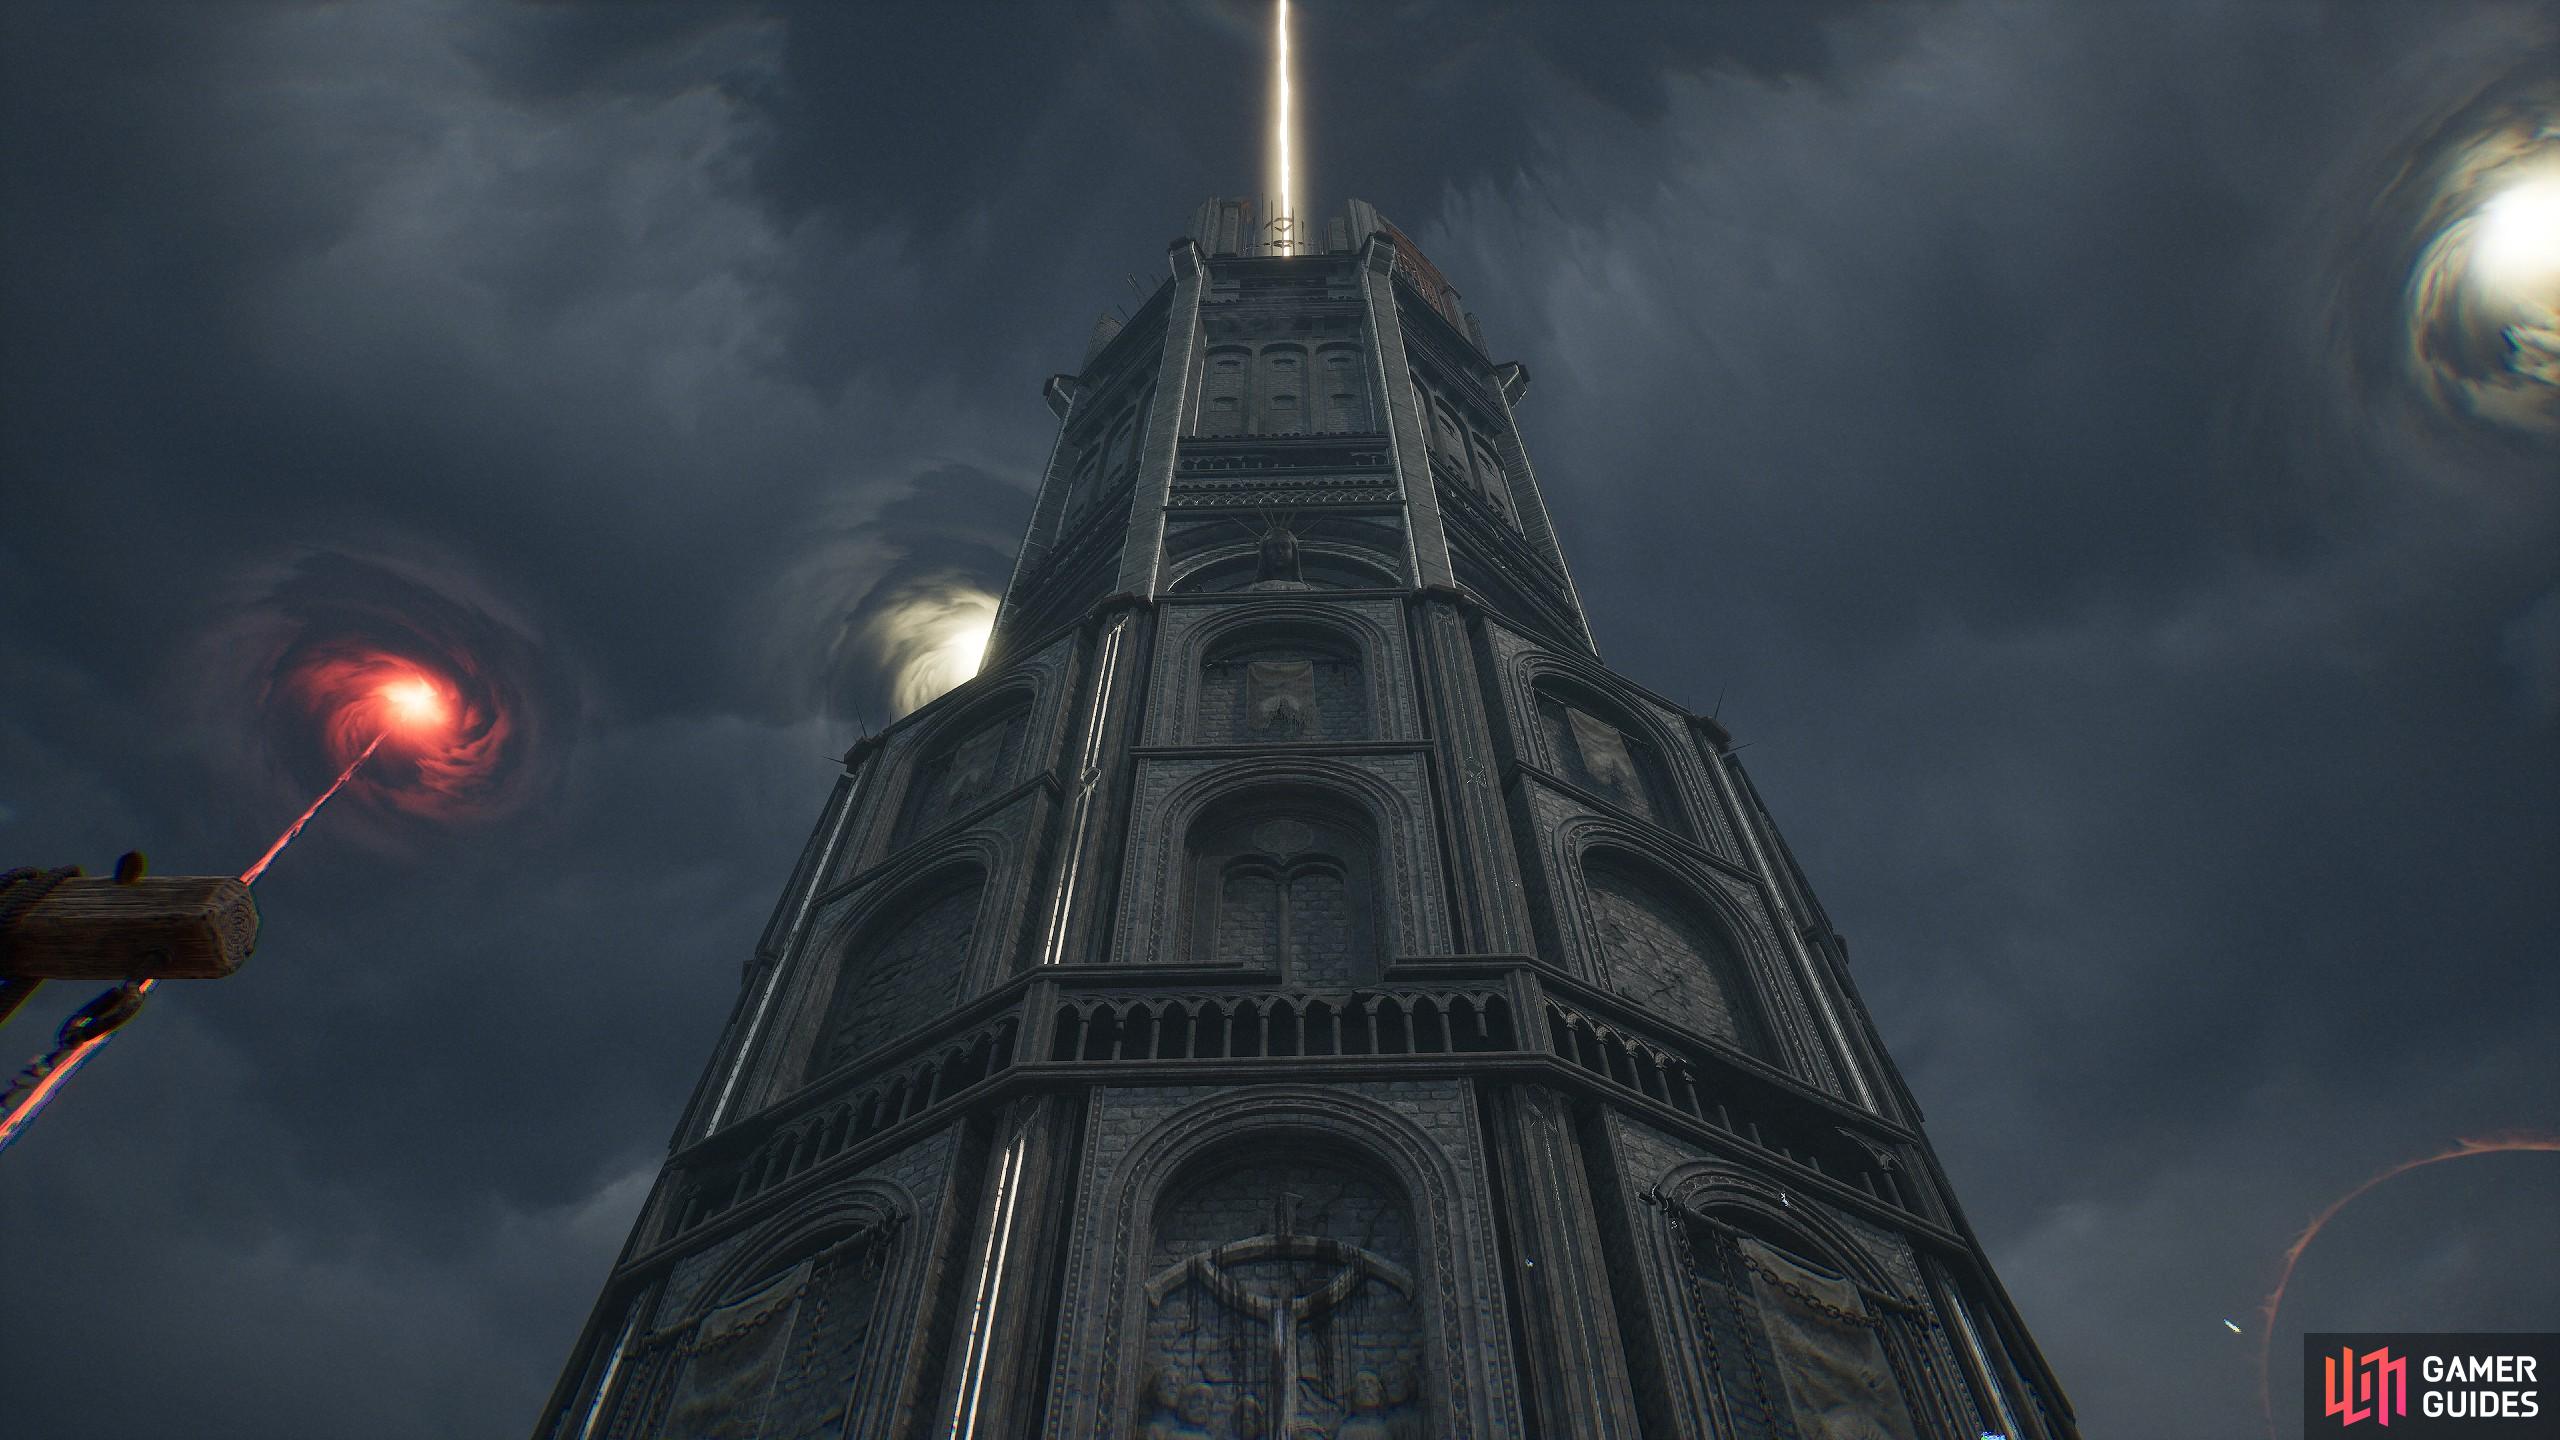
The Tower of Penance is home to lots of loot requiring parkouring to find alongside some hidden starter class armor and weapons, with a beacon at the top of the tower after beating a boss.
| Important Things in the Area |
|---|
| Gerlinde’s third and final tablet. |
| Unskippable boss. |
| Missable Items in the tower, outside the tower, and under the bridge accessed via Umbral. |
| Missable Quintessence on the outside of the tower when you reach the bottom. Accessed only via the Umbral. |
| Respec Catalyst Item in one of the cells in the upper part of the tower. |
| Beacon. |
| Radiant Catalyst armor and weapon set. |
Once you’re at the end of the bridge and stand before the tower, your task is to use the elevator and ascend the tower. When you reach the top, use a Vestige seed as a save point in case you fall or die to mobs up there. The trick here is to enter Umbral and create paths that allow you to access ladders and descend to the main floor. It’s worth noting there are a few hidden cells you need to parkour around to get loot from these locations, including a respec item and some other goodies. You may not have an issue, but some spiky helmet boys are hidden and can easily throw you to your death if you’re not careful.
As you make your way down to the main platform, you can open the front door, while avoiding more spiky dudes, clubmen and crossbow enemies on the ground floor. When it’s safe to loot, do so, and get the final tablet for the blacksmithing quest in a chest, alongside some more spells, and other loot in and around the tower’s outside. From there, it’s time to descend further down the tower, using ladders, and levers to create spaces to move further and further down. Here you’ll encounter more crossbowmen, and some of those poison knights, so be mindful of them too.
When you reach the bottom you have a few more enemies. There’s an optional route that leads outside, with a Scouring, alongside a secret area containing a quint guarded by a moth lady if you want to grab that. When you’re done, head back inside and navigate the tunnel. Make sure to create a Vestige seed in the tunnel as it leads to a boss battle. Defeating the boss awards the key to access the roof of the Tower of Penance and interact with a beacon. The boss itself is a two-stage fight, and is a slow-moving paladin-type boss, with a fast-moving demon dog in its next phase to beat that is mainly exposed when it does fire breath or other fire spell-related moves to your attacks.
Abbey of Hallowed Sisters Walkthrough
The Abbey of Hallowed Sisters houses more unique items, starter class sets, hidden quints, and items along the pathway to one of the final beacons.
| Important Things in the Area |
|---|
| Unskipabble mini-boss at the start. |
| Stomund’s questline is here. |
| Putrid Child Gear is located in the square abbey areas in the Umbral. |
| Missable Umbral loot along the rooftops and optional pathways. |
| Many winding pathways lead to blocked fences and gates for chests and other missable gear. |
| Thehk-Ihir last known location. He tells you to buy things from him now just in case, and it’s an actual warning as his services will come to an end soon. |
When you’re done with the Tower of Penance, the next place to go is back through the Tower, and then over the bridge. To the right, you should see pink followers and trees with a gate you can open. As you enter the gate, you will find Stomund, and he tells you why he is here. You can find him again and give him the Broken Banner, an item you’ll likely pick up from the Tower of Penance if you’ve been looting. You hand this over to him inside the square abbey area part way into the zone. From the gate, run along, and deal with the Sin Piercer archer and her dogs. From there, traverse the stairs, and you should encounter a mini-boss. This mini-boss is a mage-type mob, and the only real thing to monitor is her mage abilities. When she does her cold cast, dodge as it can kill you very quickly, and then attack her to beat her. Once the boss is done, continue up, and you should find a Vestige.
The pathways from the Vestige are fairly straightforward, and they naturally lead you to a square abbey. From that building, you may have a side quest to do with Stomund. There are also several hidden lootables in the region too, such as the Putrid Child armor set in the Umbral platform in the Abbey area. If you use the Umbral, there are also some other lootables on the roof.
If you want to progress, follow the stairs that lead to the outside walkways, and open the shortcut for future purposes. From there, move up the stairs, near the Scourged Sister-type mob and a Sin Piercer. This will lead to a pathway to the right leading to a more open platforming space. This area has more archers and mages, so it’s vital you use cover to survive the gauntlet. Keep dodging ranged attacks, using cover, and sprinting over more open runways, but it leads to the entrance of a large church area. Don’t forget there are some items you can loot along these pathways that you may miss with the action.
Now you’re at the church, you can use a Vestige seed just outside of it. With that settled, there are two ways you can go inside. One leads to a larger area with a doorway guarded by dogs, which brings you to a small enclosed garden space. If you path through it using the Umbral, it leads to a distant shrine space with a Quintessence location that’s very easily missable. The other location paths as normal through the gardens, eventually leading to a location called the Empyrean.
Also, you’ll likely come across a lit altar around this section of the Abbey, with an item called the Rune of Adyr, which is needed for the Inferno and Umbral endings. Who you give this item to depends on where you’re at with your main storylines. There’s more to the item, but we won’t spoil it.
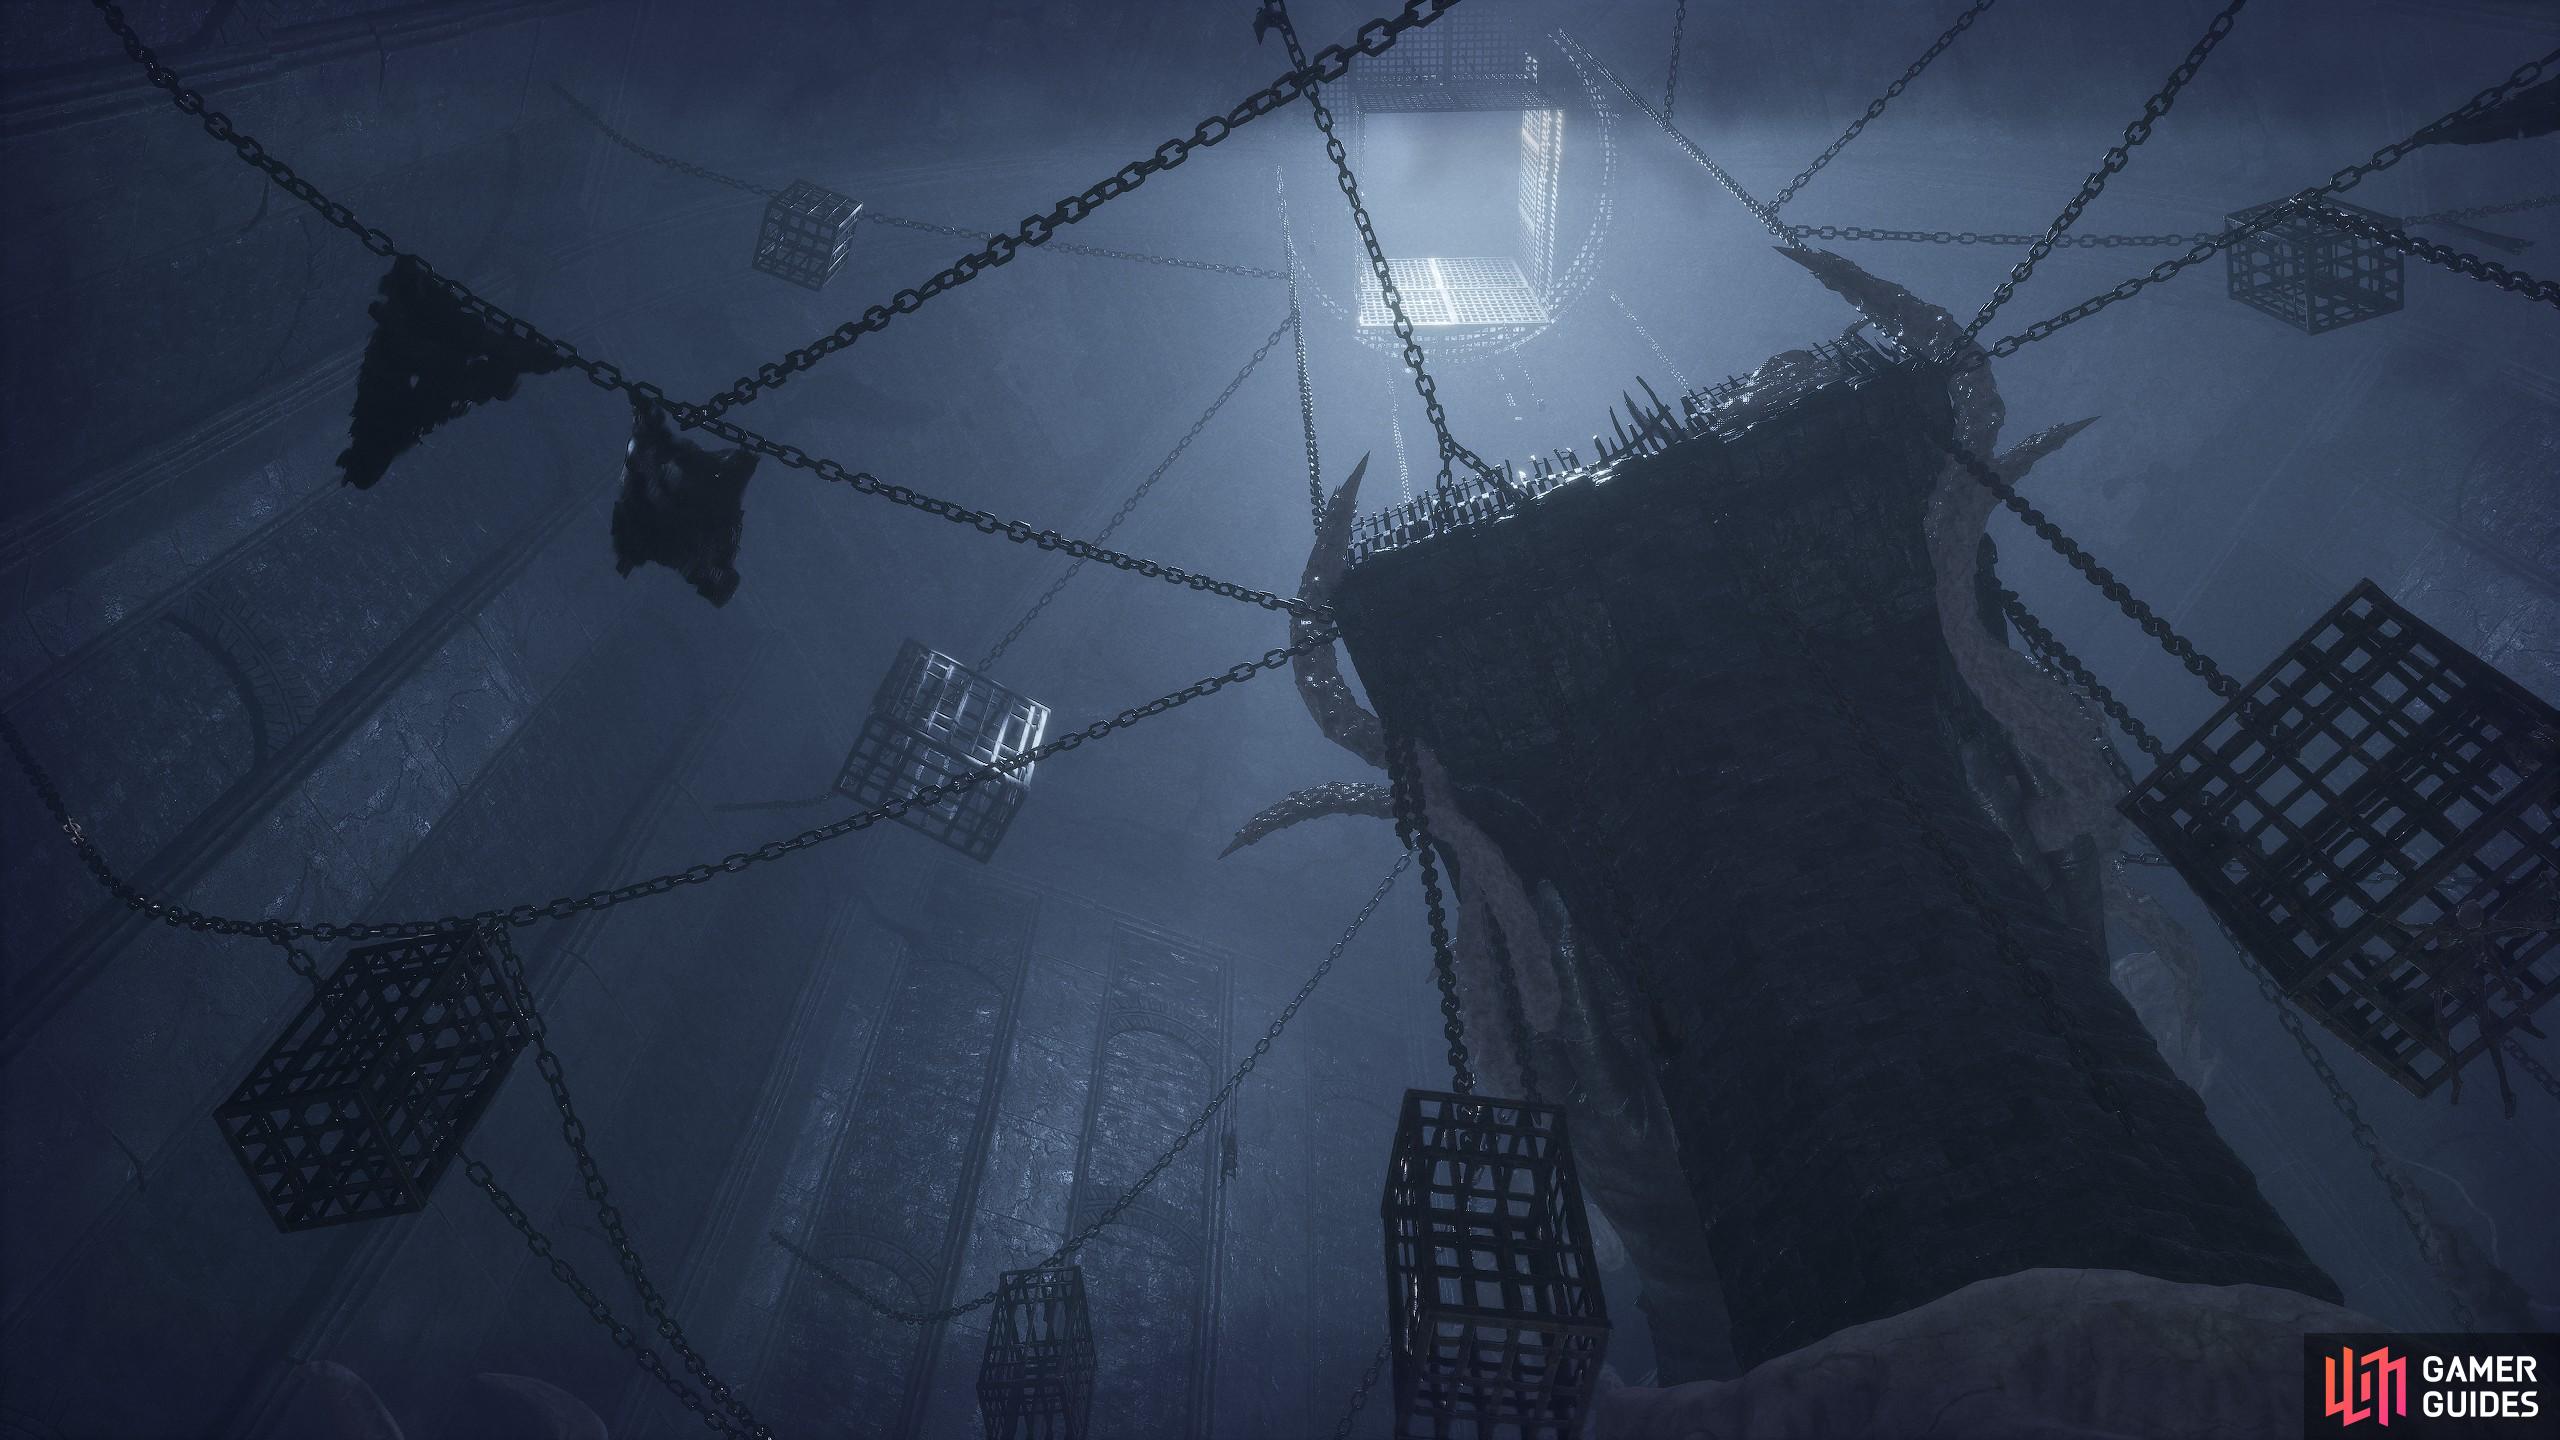
Empyrean Walkthrough
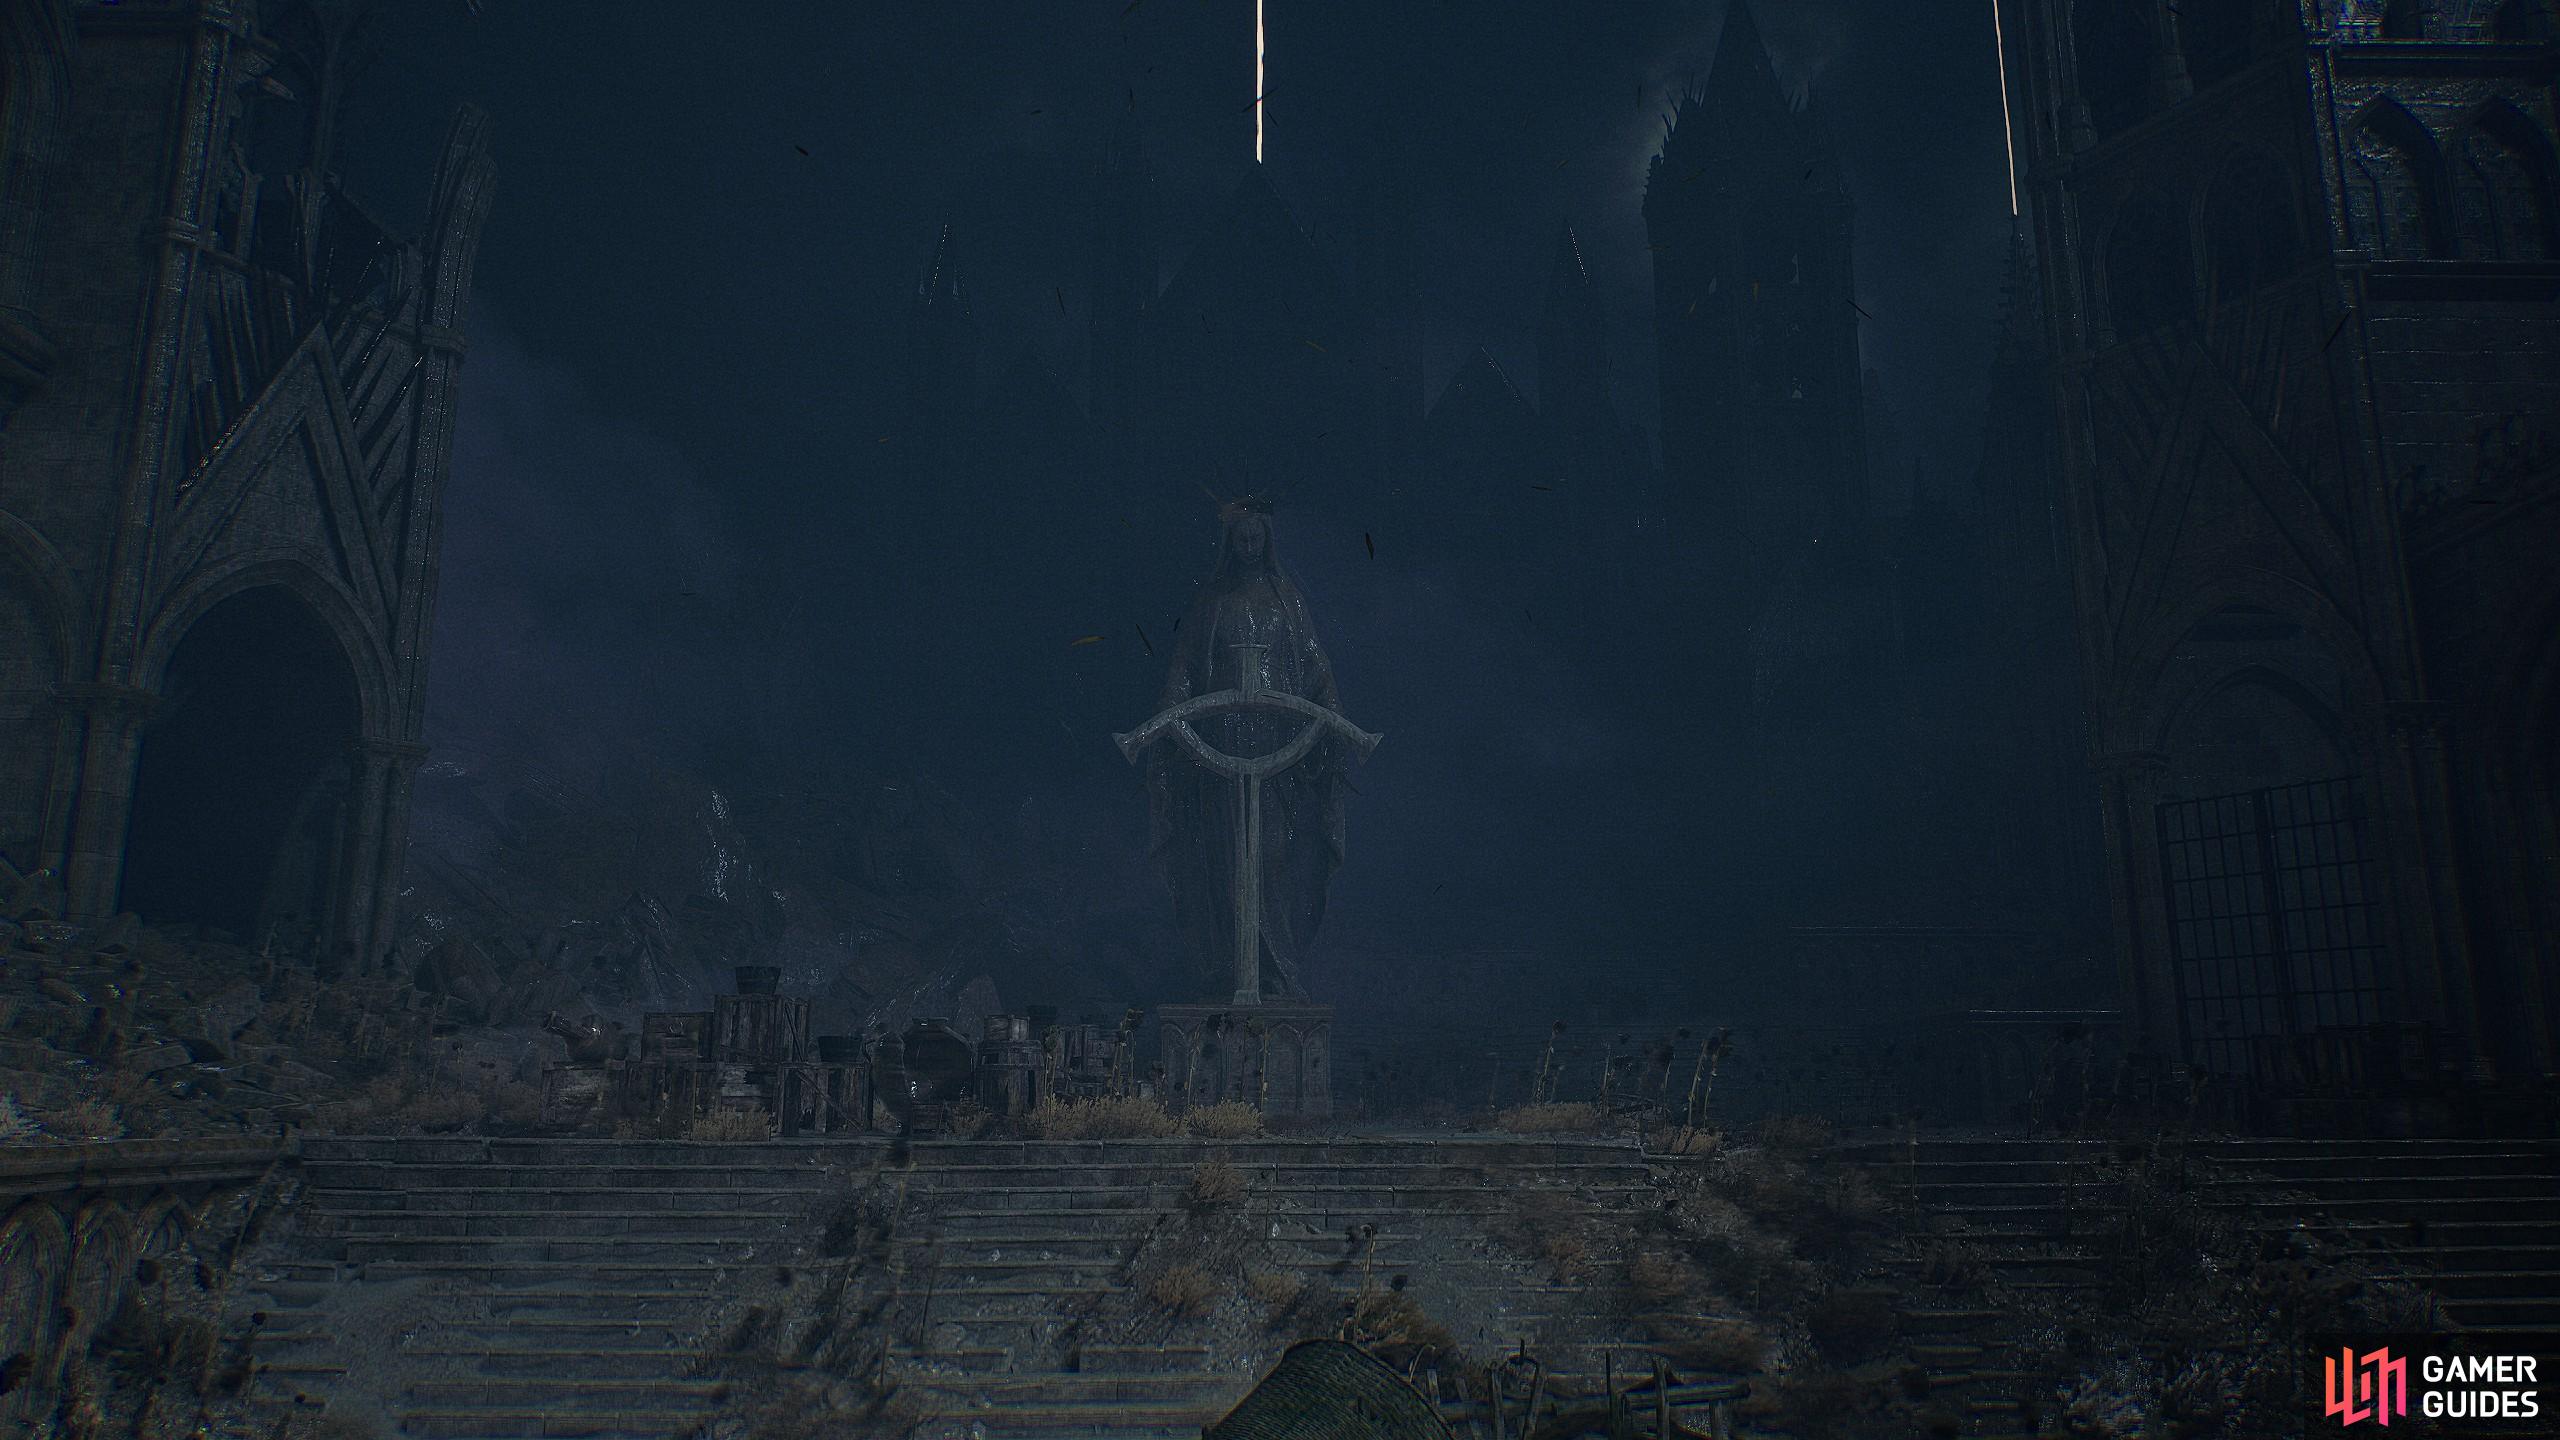
A small and dark area at the top of the Abbey, with its dark and tainted grounds occupied by the most twisted of the sisters. This place houses the few remaining items, NPC questlines, and the final beacon.
| Important Things in the Area |
|---|
| Missable items scattered around the broken garden area. |
| Missable Quintessence in the library. |
| Thehk-Ihir quest completion gear. |
| Unskippable main boss at the beacon. |
The Empyrean is an important spot, as it is a very small, yet well-guarded spot by mages, and those statue-type enemies you faced in the Manse optional boss. The main pathway here is to travel through the Umbral and look for one of the shattered towers towards the far back and left side of the space. Doing this allows you to access a library location, which enables you to progress. To get access, there’s a platform on the left of the library with some Umbral puzzles to beat and a soul flay object to pull. When you’ve solved it, go back into the library and enter.
Be warned, the library has a few of those statue enemies. The objective here is to run along the wings of the library and open the chest at the back. The chest contains a key. The other wing of the library has a Quintessence location that you can miss by accident. Lastly, when you complete the traveling merchant questline, this is where the merchant drops his gear, in the central platform of the library if you want the rewards for that questline. The quest ends after you defeat the boss at the beacon.
When you’ve got the key, head outside the library, and go back down the Umbral Tower. You can now use the key to open the doorway where the mage stands guard. When the door opens, a few items are knocking around, but note that some more statue guards will trigger. You can choose to ignore them, but running straight on leads to the Beacon boss battle, which is a two-phase fight. Essentially, the boss uses a mixture of Radiant and Fire spells, alongside some AOE blast waves, and some spear-like attacks that you can dodge. It’s not too hard of a fight, but, the status effect build-up could be what kills you. Also, the boss uses magic, with many strong shockwave-type skills you need to dodge, which may also catch you off guard. We advise using both Holy and ![]() Fire Wards for the fight and regular healing options.
Fire Wards for the fight and regular healing options.
When you’re done, interact with the beacon or move on and then get the loot near the side room near to the statues. Now head back to the Vestige and return back to the Skyrest. Don’t forget to pick up any loot you want in the garden area, as there are a few knocking around the library and the outdoor garden structures too.
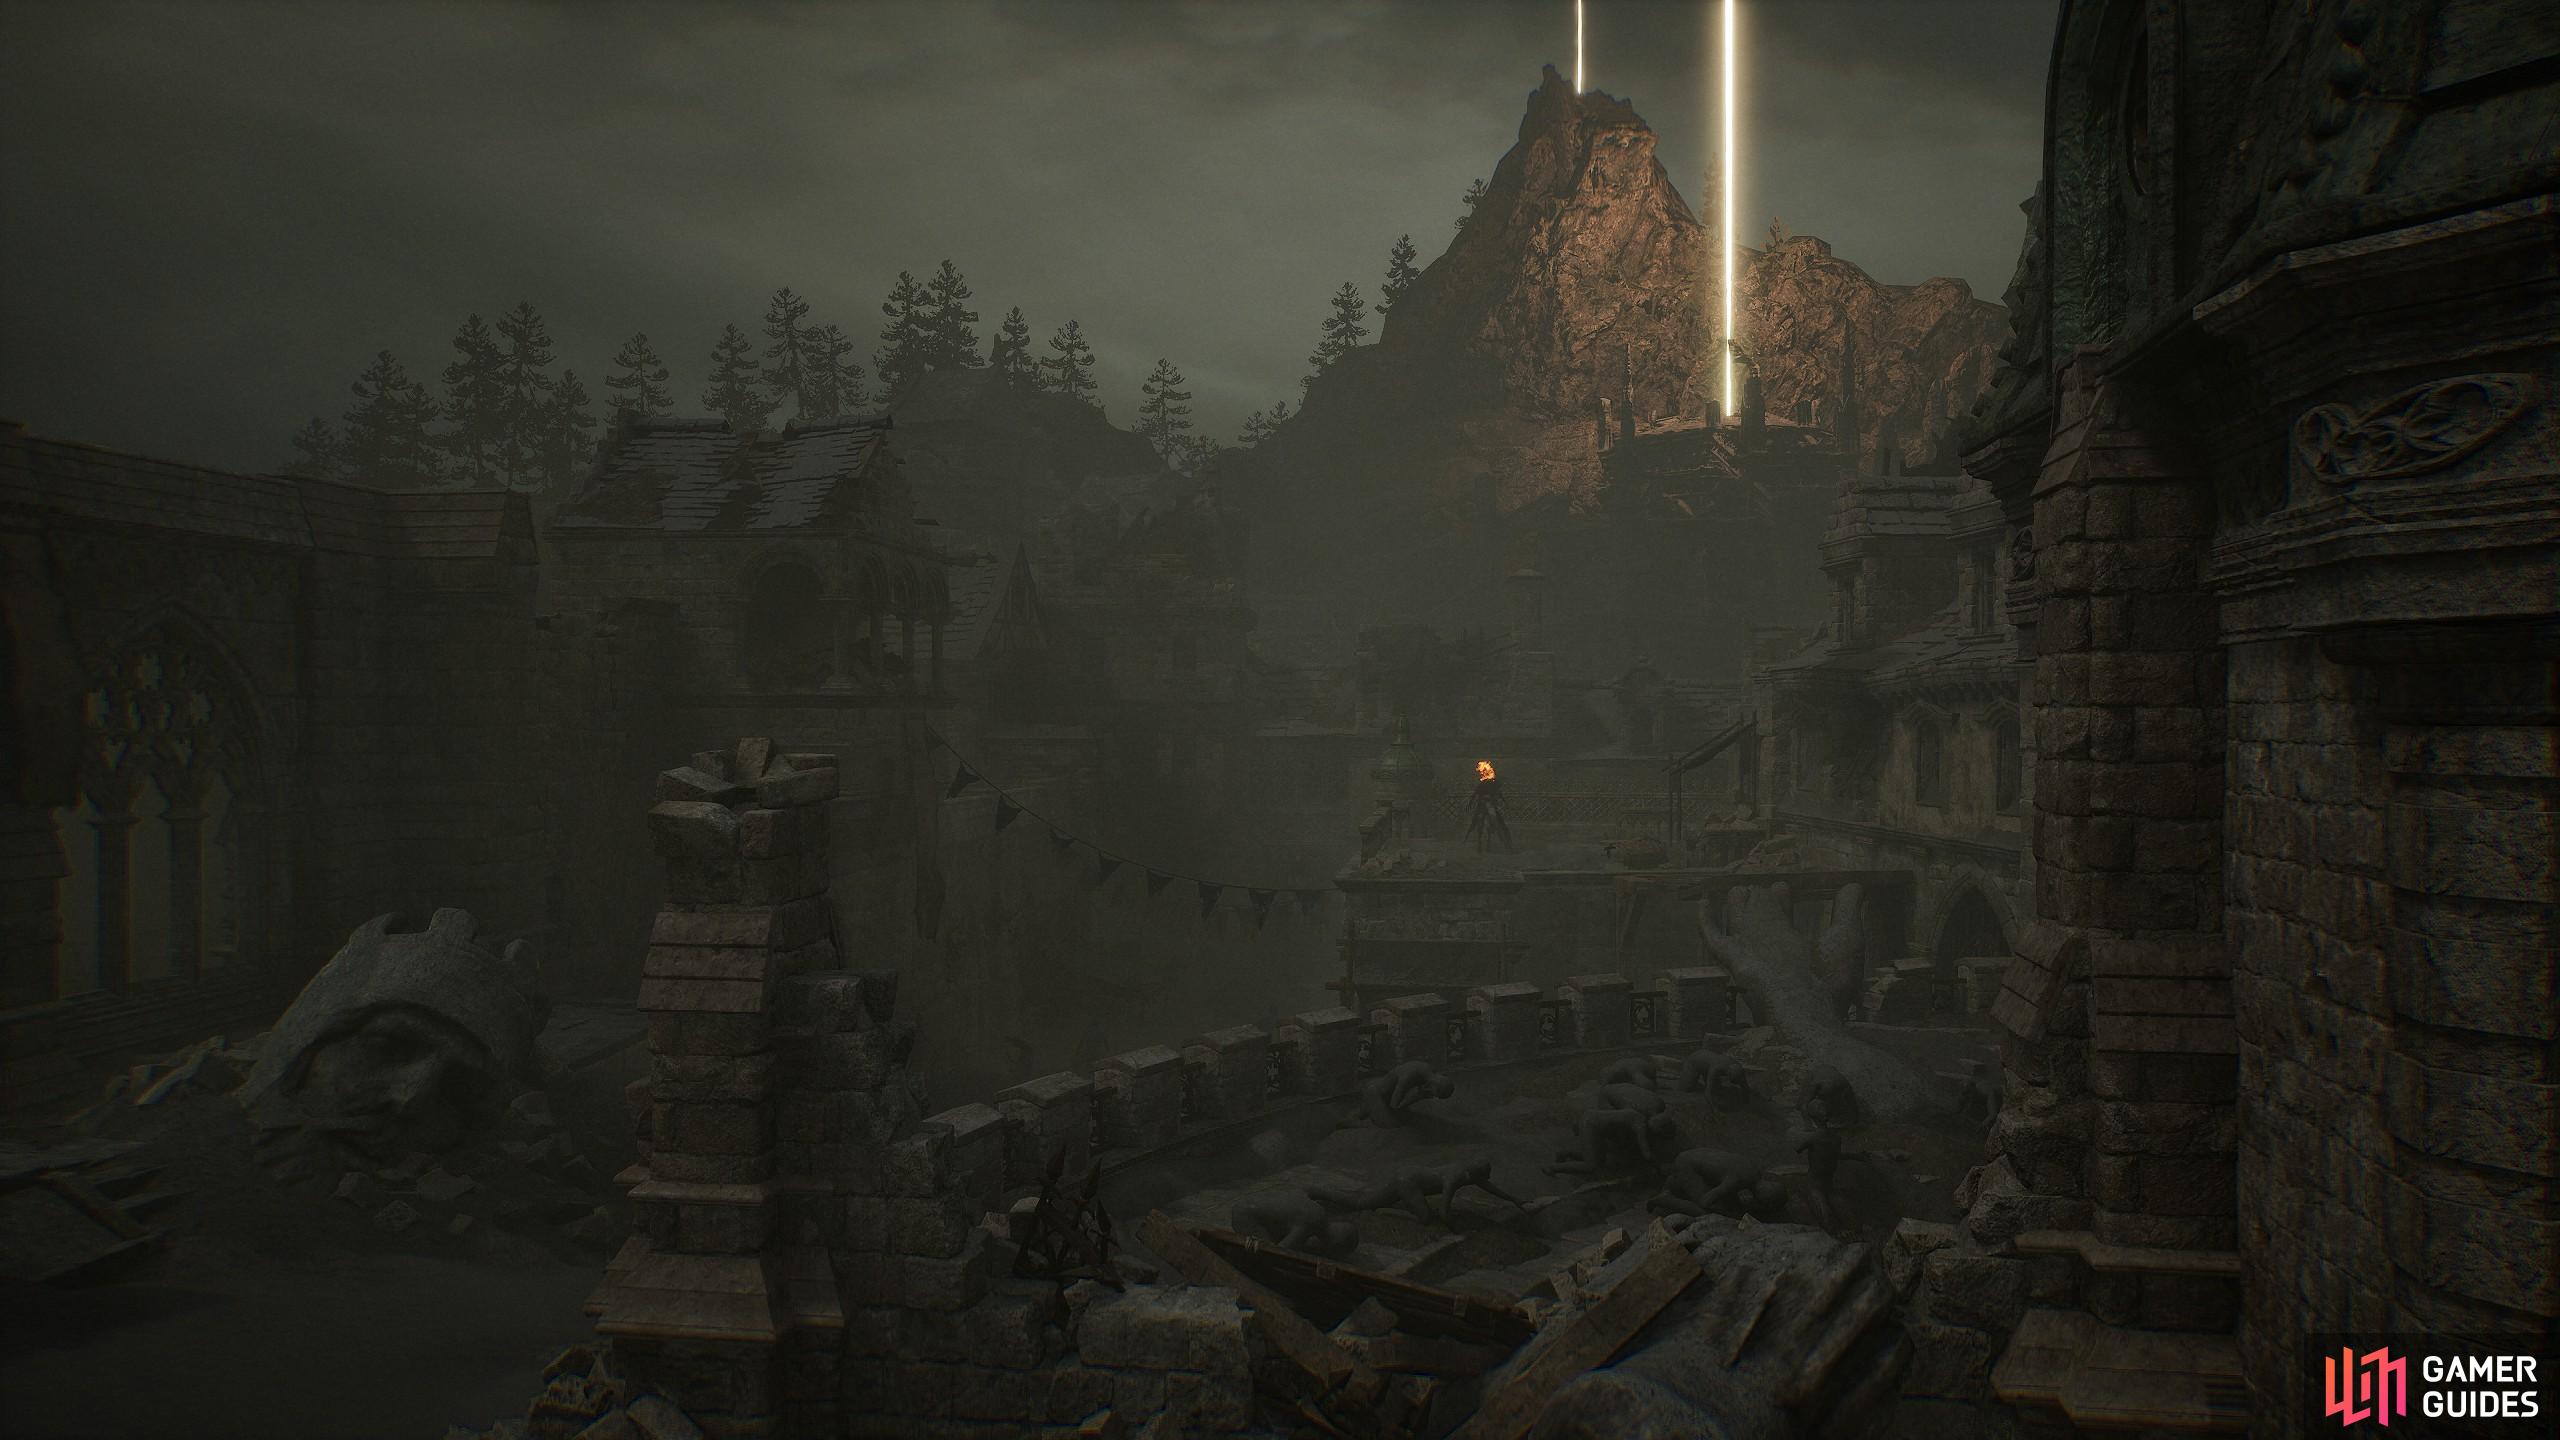
Upper Calrath and the Lightreaper
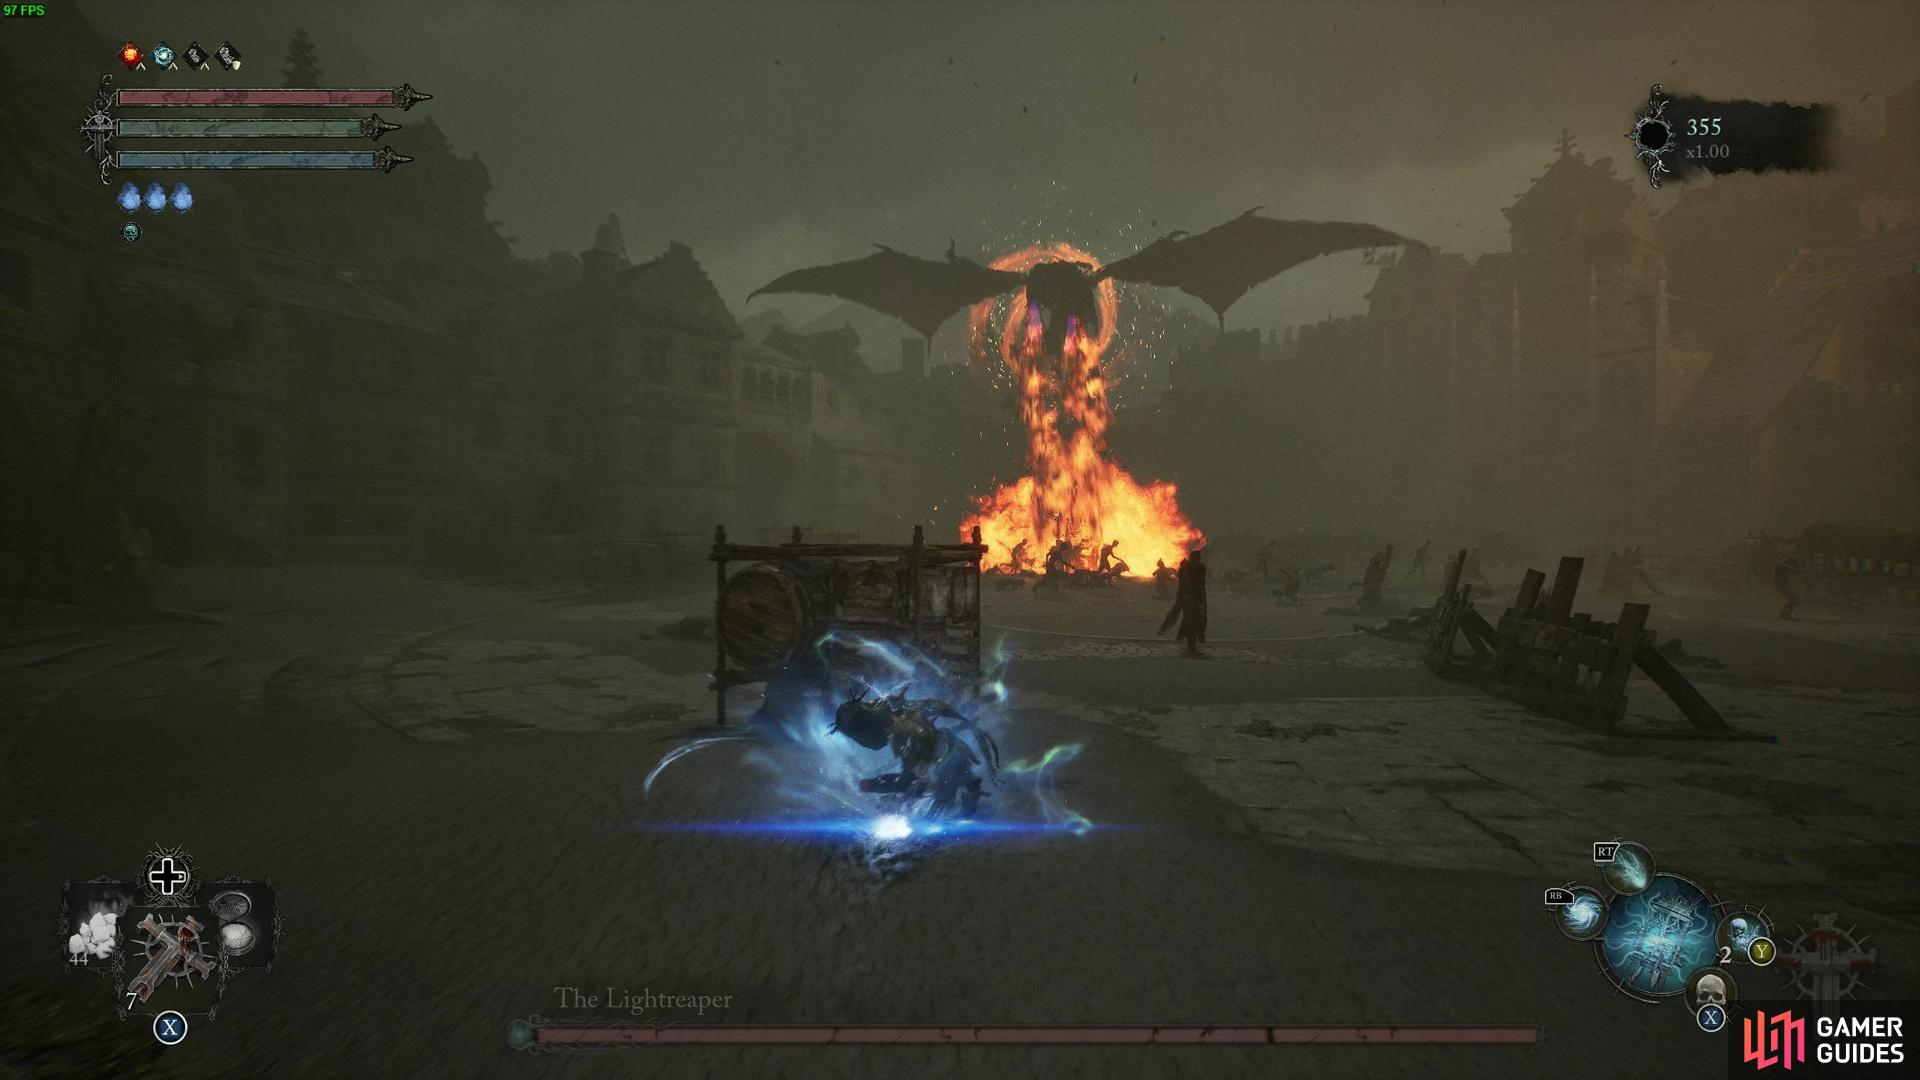
When all beacons are down, it is time to fight the Lightreaper and unlock Bramis Castle.
With the final guardian defeated in the main storyline, there’s only one location left to go; Bramis Castle. This location is hidden away in Upper Calrath City, and will require you to navigate from the Skyrest Bridge. Leave Skyrest, and go up the path you unlocked when you originally completed Upper Calrath, presuming you followed this Lords of the Fallen Progression walkthrough all the way through? Either way, go through the door if you have, or complete Upper Calrath as normal. When you’re done, you will find an Umbral clocker spawns at the Upper Calrath Vestige, and you need to defeat it to do it. To do this, you need to head through the Upper Calrath and navigate the market area leading to the large circular arena. When you head here, the Lightreaper turns up. If you handed over Andreas of Ebb’s book, he will join the fight automatically. If you fail it, you can summon companions to assist you as normal, one of them will be Paladin Isaac if you do his questline. Using him 100% allows you to unlock the Dark Crusader, but it’s likely you don’t need him to be summoned to get it.
Once the boss is down, we highly recommend Vestige seeding up, as there’s another boss right around the corner when you’re free. We don’t want you to lose your vigor for beating that boss, do we?
As the next boss is defeated, you will now want to move through the area and cleanse the umbral menace blocking the Upper Calrath Vestige location. When you do it, you want to move over to that large tumor on the gate directly opposite from the Vestige and open it. This will lead to Bramis Castle.
Bramis Castle Walkthrough
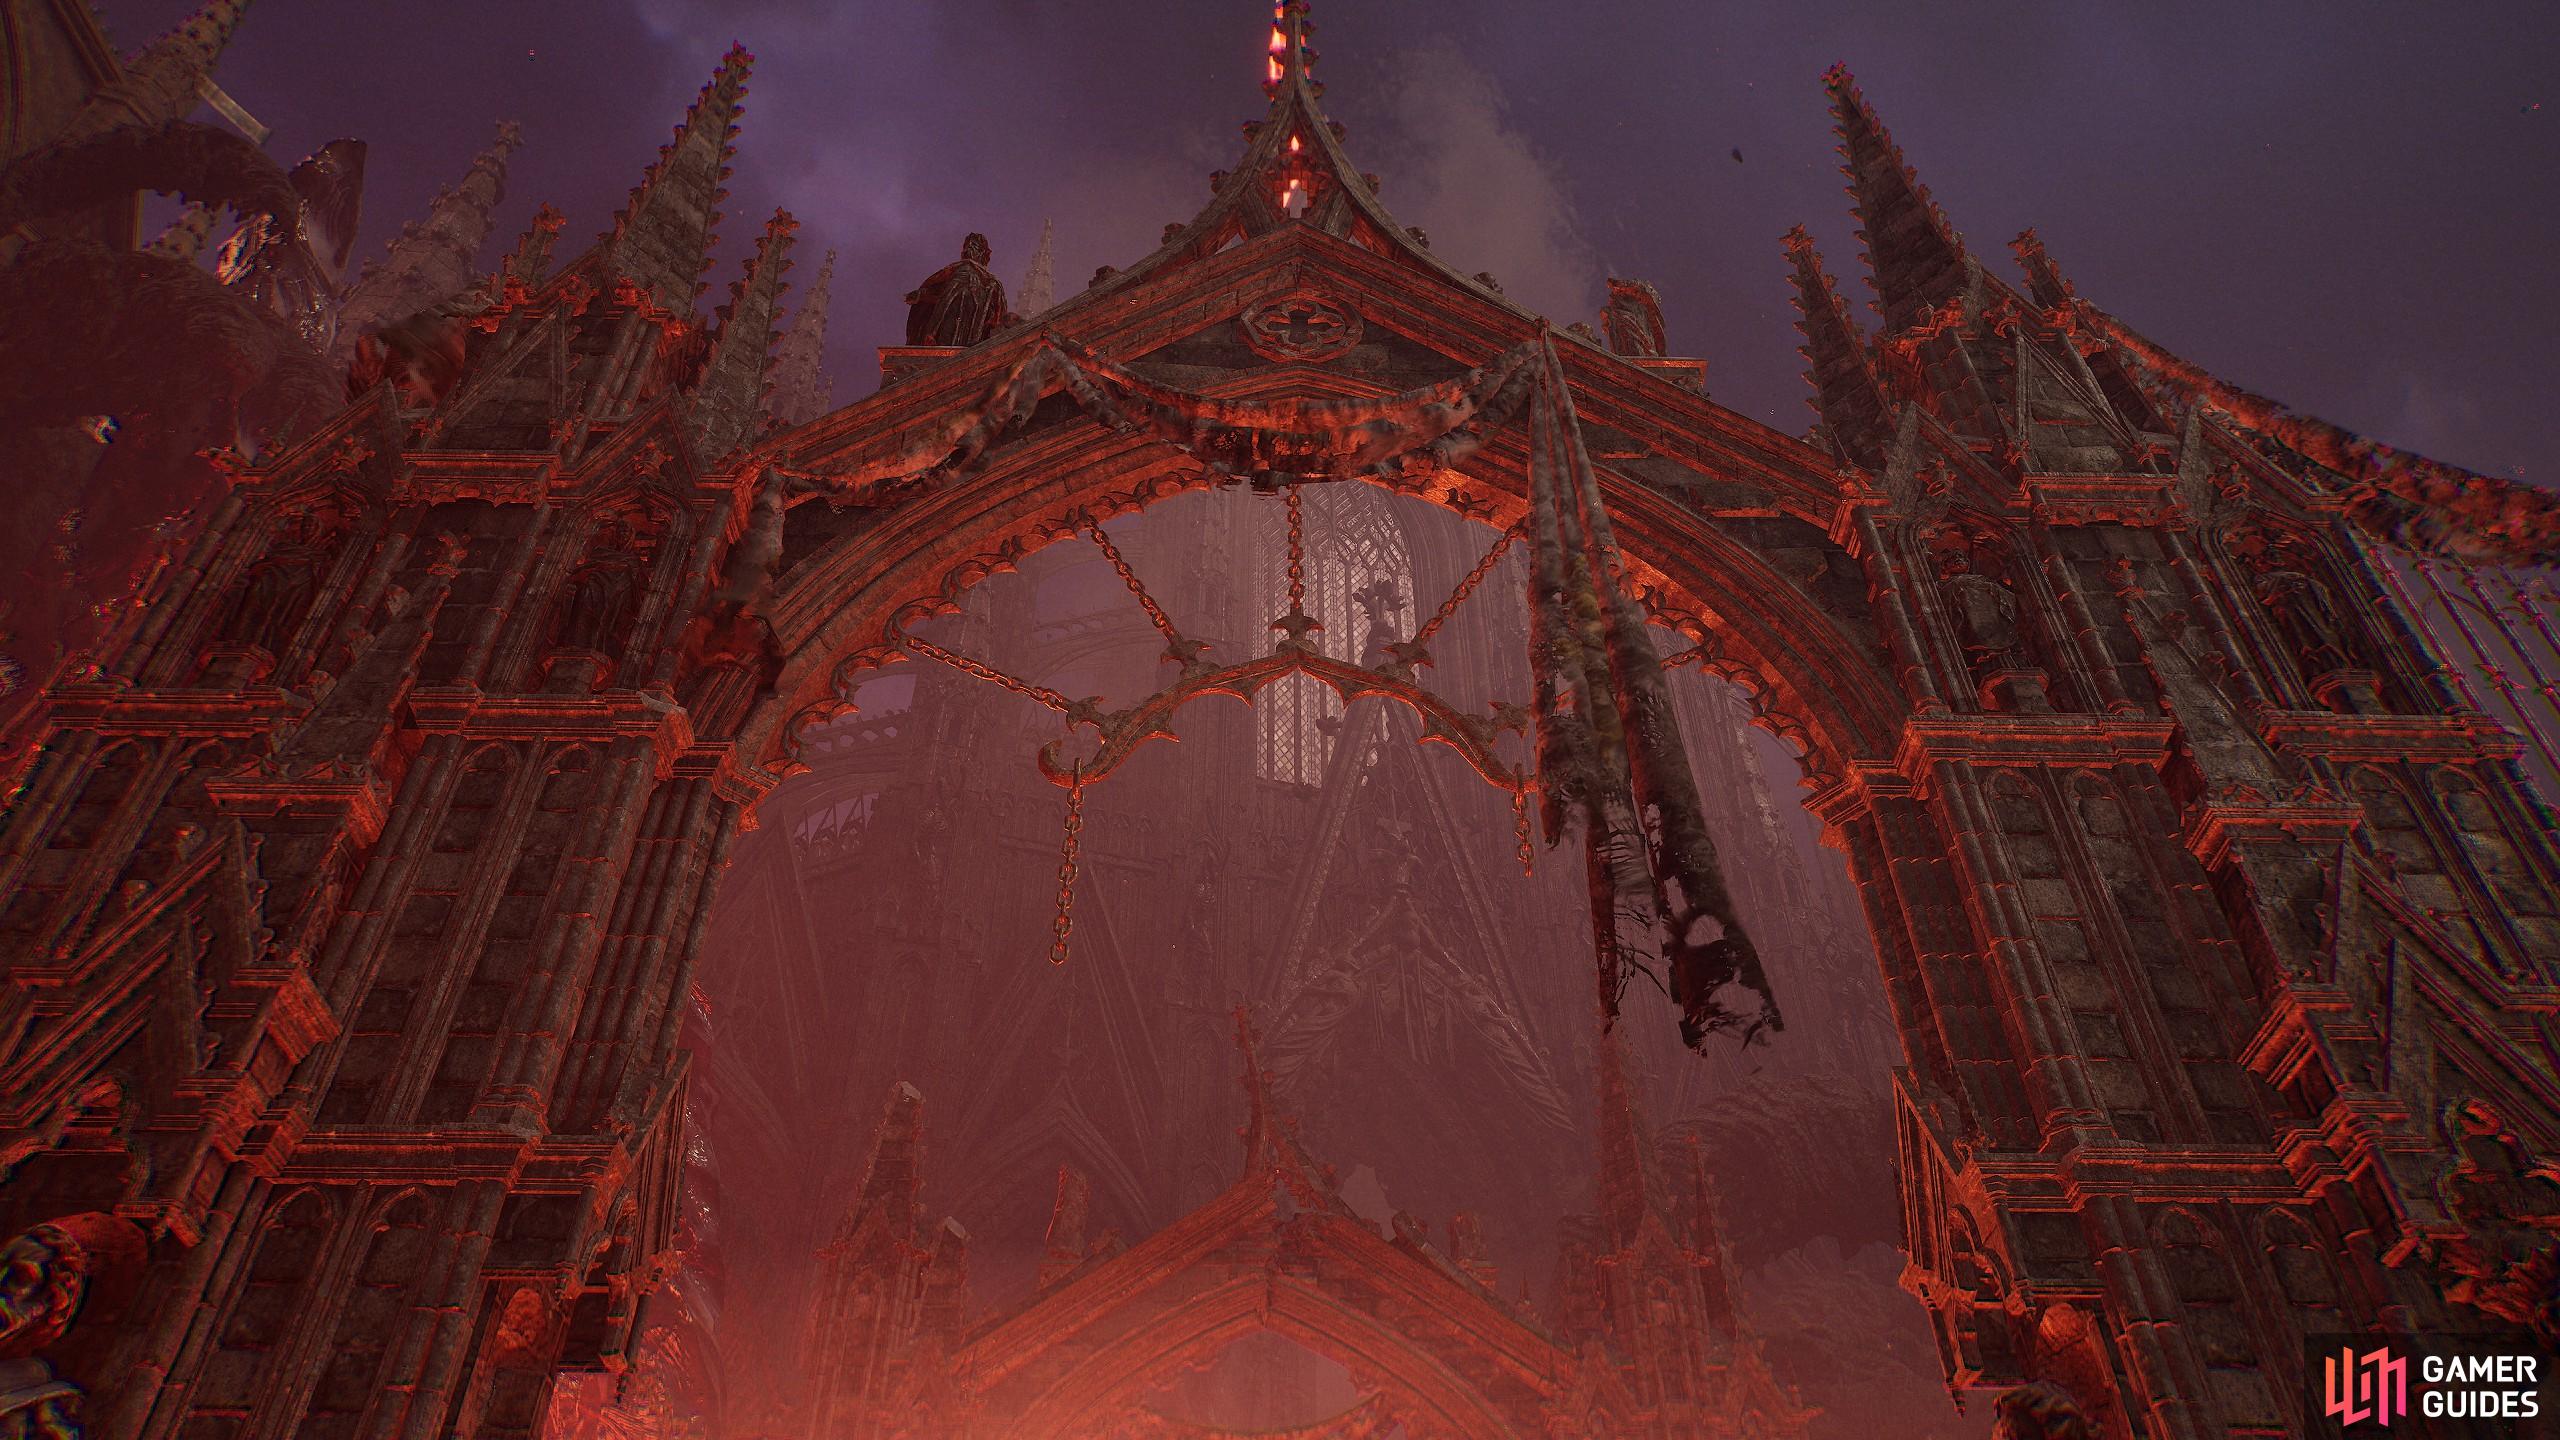
Bramis Castle and its molten gardens are the two final areas of the game, containing the remaining fire spells and radiant gear, the Lord armor set, and the final Quint needed for the healing upgrade. It also includes the final beacon guardian.
| Important Things in the Area |
|---|
| Missable Items and Umbral Eyes. |
| The Final Quintessence. |
| Strange Prisoner Quest Item in the bedroom. |
Bramis Castle starts with an entrance that requires Umbral to create a shortcut from the Vestige. So run through and lower that ladder to make your life easier. From there, continue onwards and go down the steps into a magma field. Again, you need to be in Umbral to fix this location and traverse the stone building to get closer towards the castle. There will be a lot of spaces like this with many enemies and such, so, be careful as you traverse the space.
Eventually, you’ll get close to the castle after walking through a battlement area. The Vestige is near the cliff edge of the castle ground, and will serve as a central access point going forward, especially if you unlock the shortcut in the castle. To do so, enter the castle by the lava pool near the castle walls and follow the path around. Turn right, avoid the snipers and other enemies then drop into the castle. Navigate through the main hall, dodging the Ravager enemies, and then stick to the right near the cracked floor area. From there, you can raise the gate to the Vestige point, rest, and reset enemies and your healing items. From here you can explore the castle ground, using the underground area, the staircase, and more.
From here, your main task is to grab a key and beat the demon mages dotted around the landscape. The demons are important, as their deaths typically allow access to a new location. Make sure to kill them and get their loot too. As you explore, you can eventually reach higher and higher up the castle till you reach a room where you get a key. This key opens up a room near the fire-engulfed stairs, alongside the main progression point.
The fire-engulfed stairs takes you through to a dining room area. This area is optional, with some interesting loot along some beams. It’s worth grabbing as the helmet along the beams is pretty cool and grants a lot of fire resistance for the area too.
The main objective route takes you up the stairs to where you use the key. The upstairs section allows you to access the bedroom areas, where you can enter Umbral and create a path to the other side of the outside lava pit. There’s also an important quest item if you freed the tortured prisoner in this room. The next outdoor area contains a Quintessence, alongside a shortcut route to the Vestige. It’s highly recommended you open this shortcut to the Vestige as soon as you can. The reason why is that the second to last boss is slightly up ahead near the final beacon.
Be advised the next boss is not so hard, with its main effect being similar to the Cleric’s big AOE blast zones, alongside the giant creature-like fist slams and body jumps. This fight will feel familiar, but your dodging may need some getting used to due to hit box reasons with this creature. When the boss is defeated, you can move up the stairs, and find the Effigy of the Adyr. Depending on the ending you want, you may have a choice. If you don’t have a choice, go in and beat the final boss. If you do have a choice, then decide which ending you want to fulfill.
No Comments