
Pilgrim’s Perch is the first major area you come across in Lords of the Fallen, once you have beaten the tutorial segments of the game. This location spins off into a few different areas, with plenty of optional places to path for various rewards. You can also follow the main pathway that will lead you towards the first zone with a beacon in it for the main storyline. However, the zone is pretty confusing, with many ladders, towers, and falling hazards to monitor. To help you through, we’ve got a location walkthrough for Pilgrim’s Perch in Lords of the Fallen to get you through this treacherous building standard’s hazard zone.
Pilgrim’s Perch Walkthrough in Lords of the Fallen
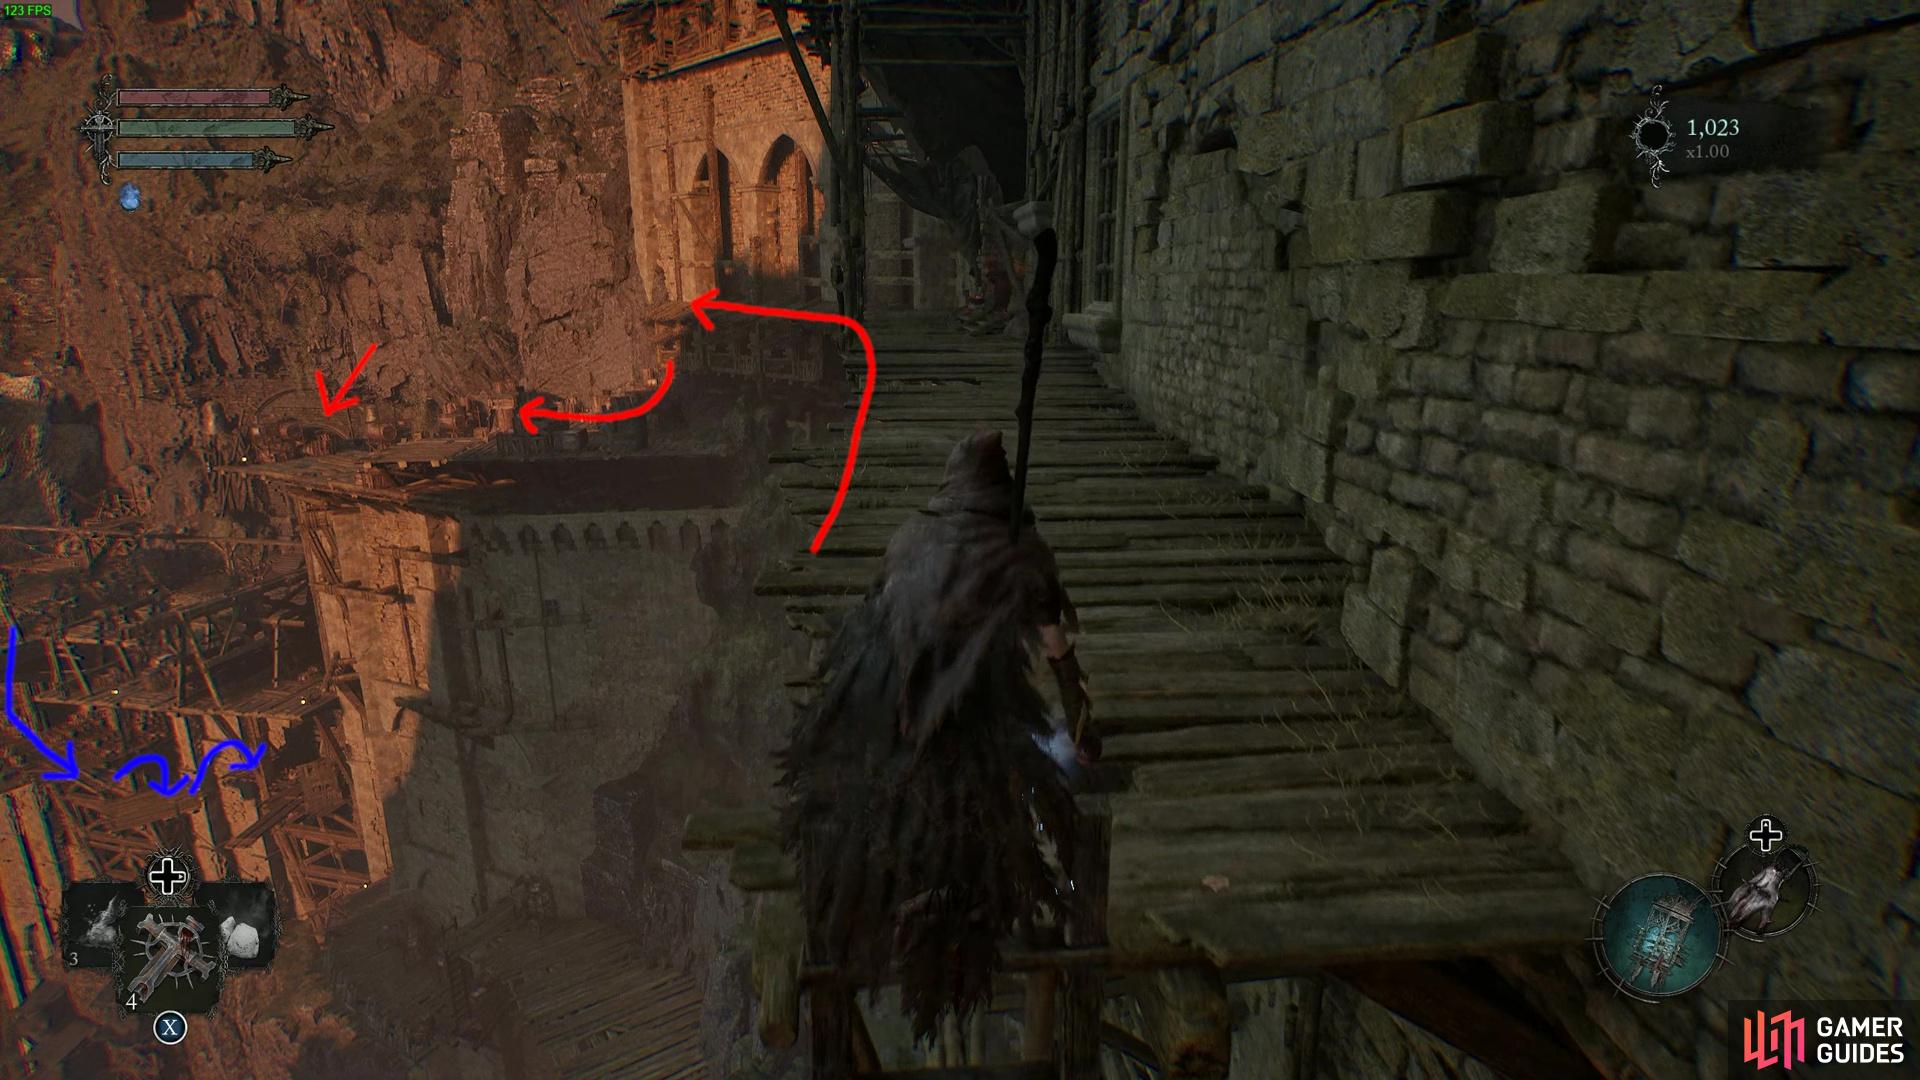
Follow the red path to make it to the Sanctuary Vestige. The blue takes you to a notable pathway which we discuss at the bottom of the Pilgrim’s Perch Walkthrough.
To start, the Pilgrim’s Perch area has two ways you can travel. The first is through the Sanctuary, the big temple built into the mountain that you can see when you first travel the path from the Skyrest. The next up is the optional path that leads to various goodies, which we’ll cover further down the page.
Okay, with that said, from the Skyrest, travel down the scaffolding area, and descend upon the main platform. If you want loot, be mindful there are a few on the scaffolding area, then again on the main platform. A few more are hidden along the beams where the mages sit, one hidden under the scaffolding, and another further along. You can also cross into the umbral on the beam to get a shield from a soul flay object right above the final set of stairs to get to the main platform area.
When you’re ready, you want to enter the Sanctuary temple building you can see in the cliff face. This location leads to a Vestige, which we recommend grabbing to make managing your death runs easier.
(1 of 3) You will need to beat this boss in the Sanctuary before you can progress. Don’t forget the Saintly Quint to upgrade your healing when it is safe to do so.
Now you’ve got the Vestige, there’s a ladder at the back corner of the room you can climb up. For this section, we recommend doing a run-through in the umbral before you drop down to the bottom of the chapel area. You can bypass a few fake doors when using the lamp or the Umbral, with a few items for you to pick up, like an Empyrean Grenade, and some soul flay creatures on the wall containing Umbral loot. There’s also an NPC in the building too before you move down the final ladder, and it is worth talking to her as part of her long quest chain later on in this chapter and for the game.
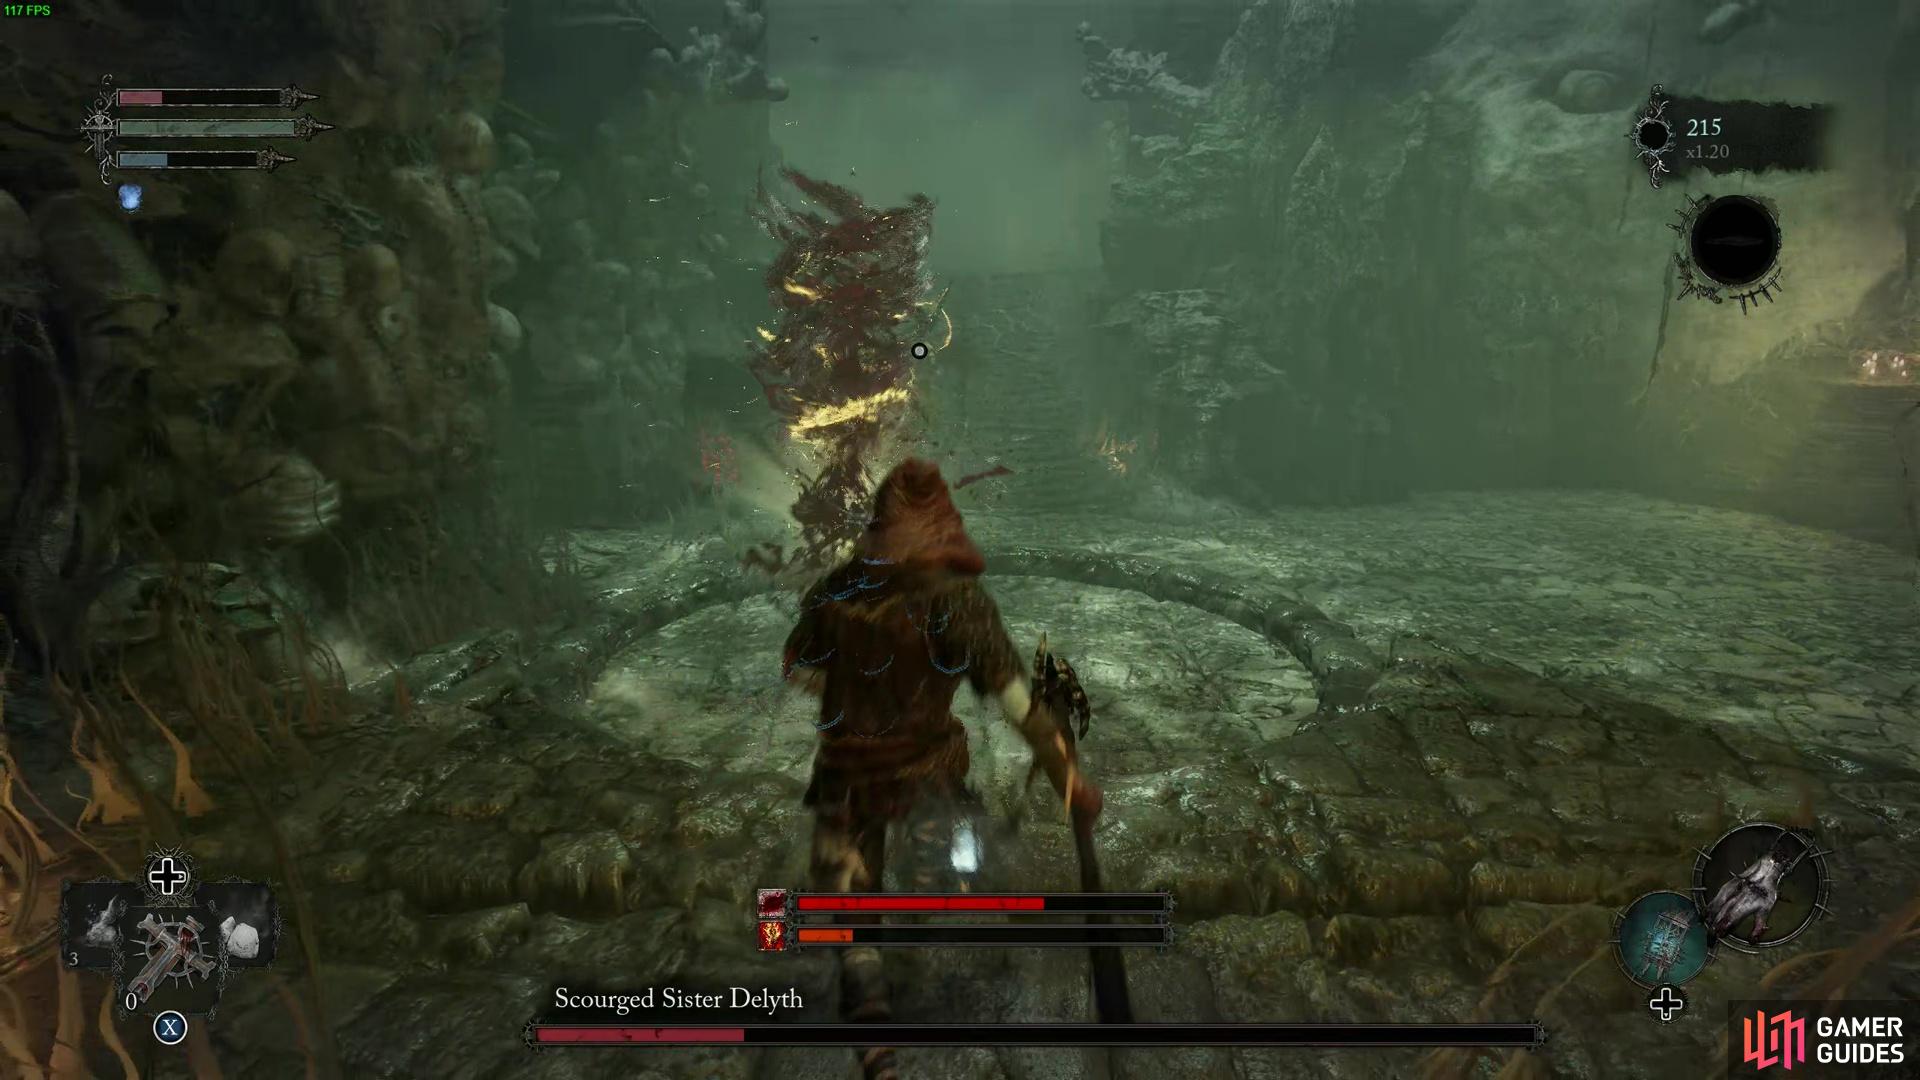
Once you’ve done this, rest up, then go to the bottom of the area. You will encounter a boss called the Scourged Sister, who is an armored flail lady. Simply dodge her attacks and try to use the stairs or other terrain features to block the ranged attacks.
Don’t forget to go into the small cubby to the side of the room, as you can get a Quintessence from the soul flay creature in its wall!
With the boss defeated, it’s time to go through to the next area. You’ll enter through a cave and find one of the bell wizards overlooking the edge. Feel free to boot it off. If you’re looking for missable content, there’s an item directly to the left, and then if you cross into the Umbral, there’s an optional route with more rewards too. You’ll find three Bleed Salts if you want to experiment with bleed modifiers on your weapon for a short period, and if you jump the gap in the umbral, you’ll get a Lacerating Knife, a type of throwing knife that applies bleeds too. If you’re a fan of the Bleed builds in Elden Ring, then this one might be helpful to you. When you’re ready to progress, go up the ladder. There’s another small gap to the right of the first ladder you can check out too, if you so desire.
As you climb up the next ladder, you’ll find a cave system. Inside the cave is a locked door, requiring the Pilgrim’s Key. You can get this from Stormund in Skyrest and open the door. However, it will set you back 9500 vigor. Inside contains a decent heavy armor set, which is worth grabbing if you’re looking for some decent armor upgrades early on. This is one of three doors this opens, with more loot to come later. We also recommend using a Vestige Seed in here to create a checkpoint for the area moving forward.
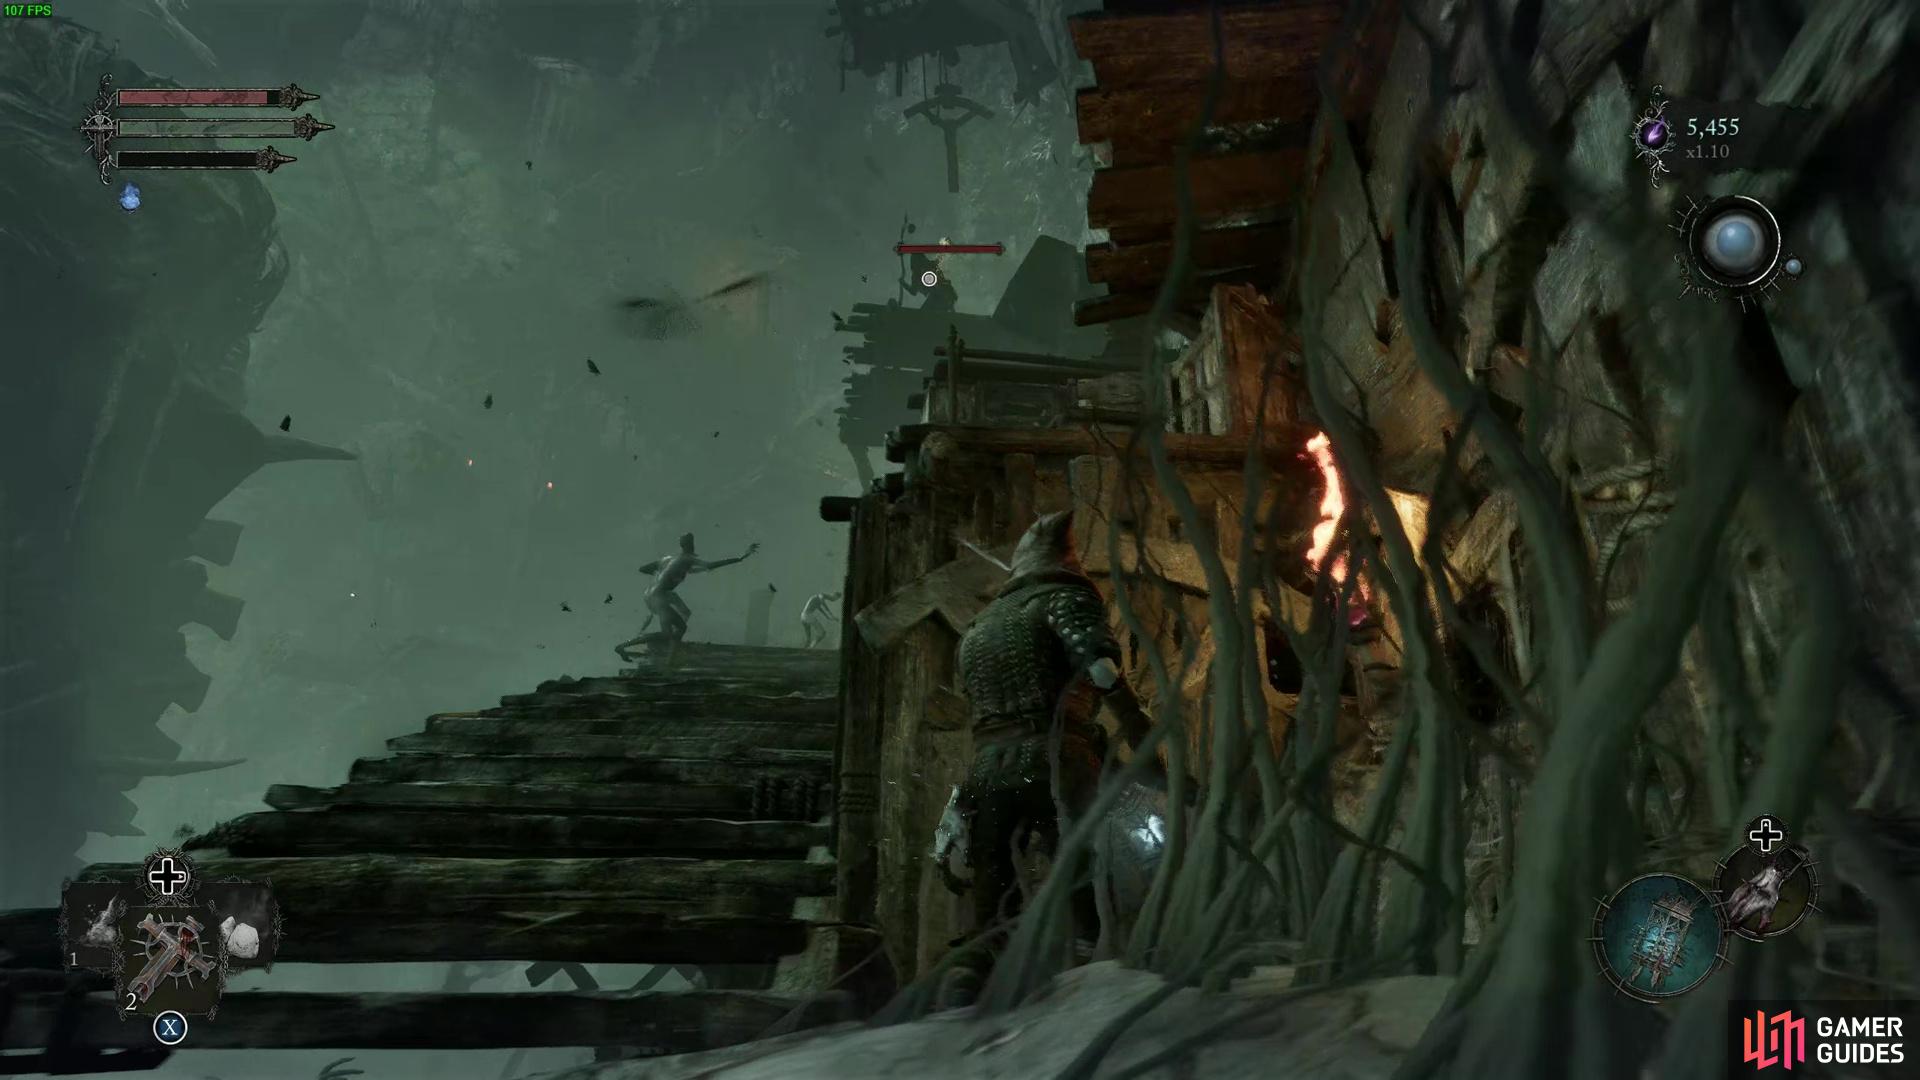
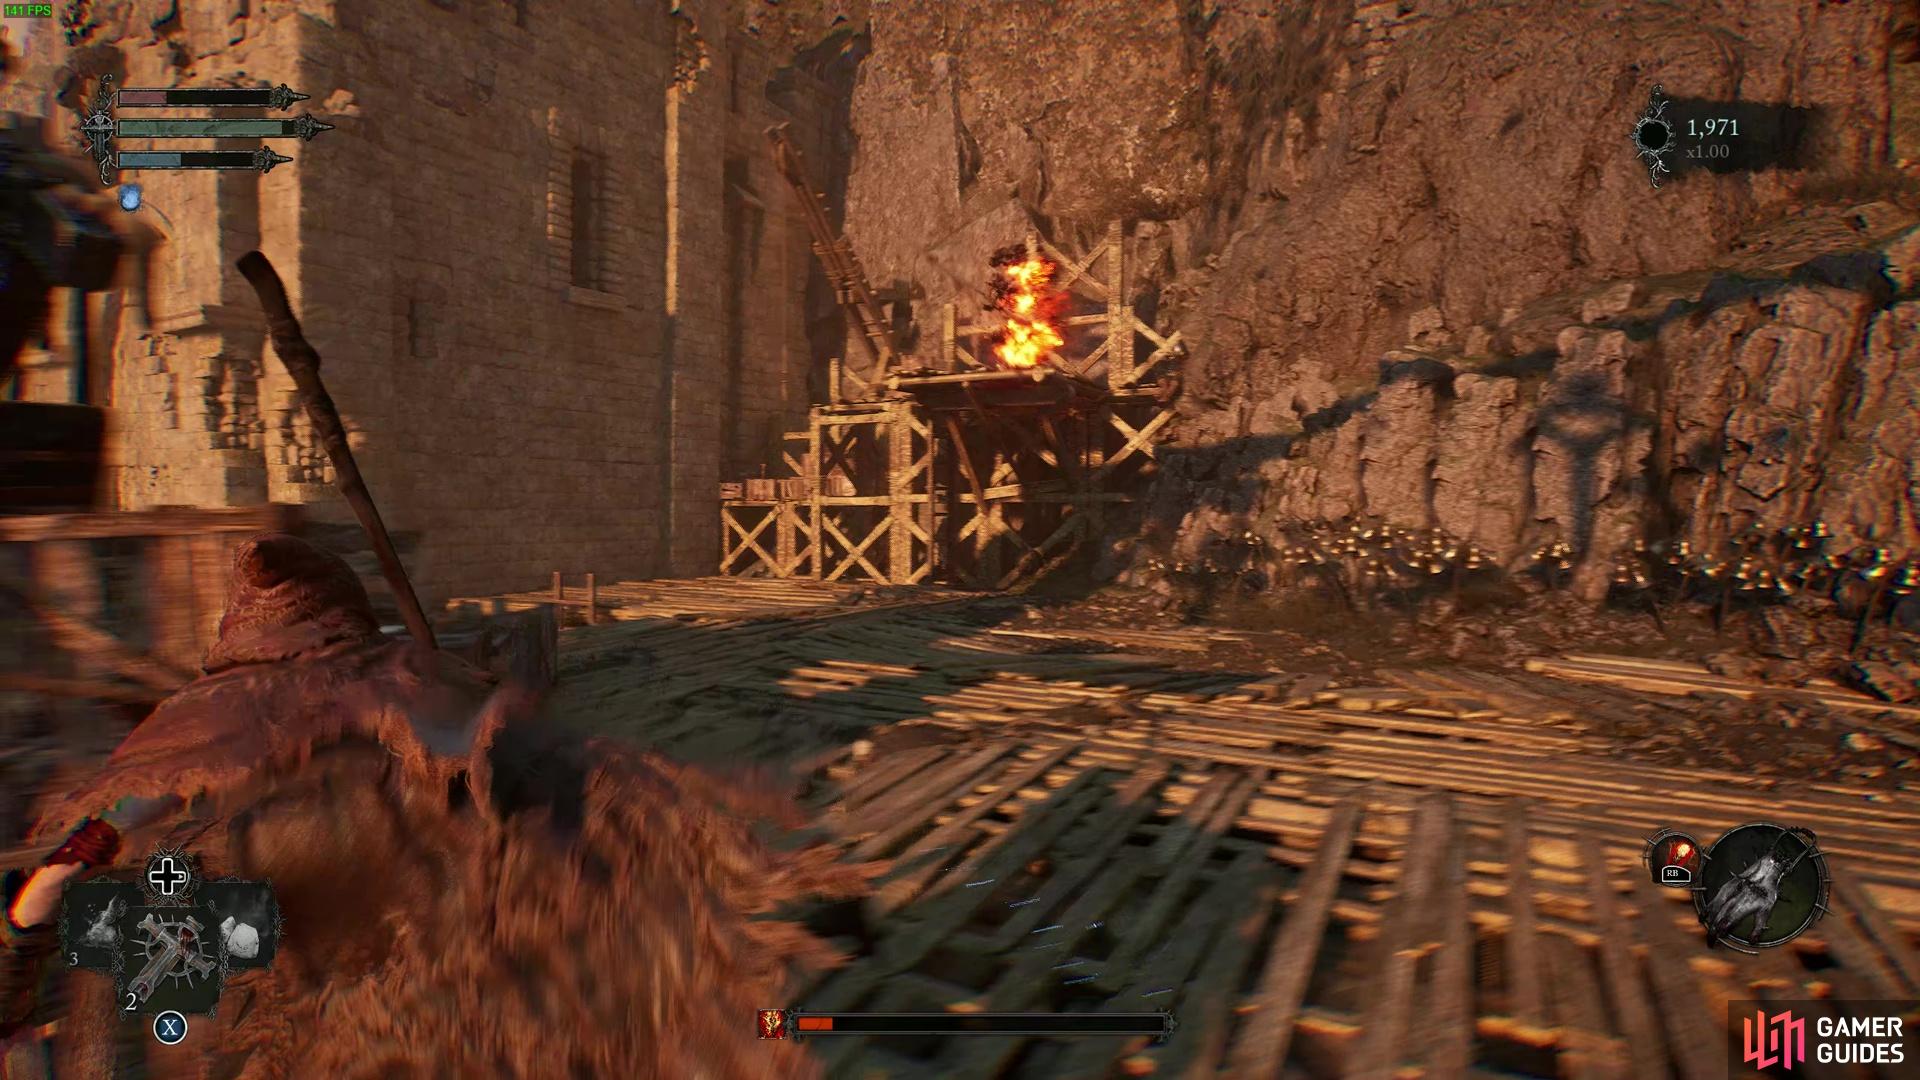
Okay, now begins the gauntlet. The next stage of Pilgrim’s Perch is filled with enemies in both Axiom and the Umbral. The first threat you face is a wizard above. You can use the cover to hide behind it if you wish, then make a run for it when it is done casting. Do be careful though, as you will encounter a new enemy type. These creatures wear spiky helmets and can do lots of damage, they also charge at you after whipping themselves repeatedly, so do be careful not to get speared off the edge like it is a royal rumble match. These enemies are tough to kill early on, so, you can try to avoid them and run up and climb the ladder to deal with the mage and get a Plain Shield item drop behind it. Also, make sure you’re in the Umbral, as you need to bridge over to the other side of the platform, which can only be done through Umbral platforming. When the bride is kicked down, run back and reset your Umbral and rest, and ignore the respawning spiky man and mage boy above.
(1 of 5) Hide behind this spot to avoid the mage and not aggro spikey, only moving when it’s safe to do so.
Once you’re back in place and over the bridge, more ladders can be climbed. You will then need to jump across the hanging platforms, and then back over to another wooden scaffolding area with yet another ladder. We highly recommend using a ranged weapon before crossing the bridges, or magic via your catalyst, as the mages can easily pick you off, and if you do survive a crossing, you have another spiky boy to contend with before accessing the last ladder.
As you reach the next area, you must once again cross into the Umbral. There’s a platform on the left made of Umbral, and it leads to a point where you can cross moving platforms using your soul flay skill. This will allow you to cross the gap and access the next spot along the route. Don’t forget to take the item on the hand and get yourself some more goodies. Also, go through the cave on this platform, as it brings you to the Bellcave vestige point. Be careful of the other spikey boy hiding in that corridor, but you can bait it to charge itself off the edge and avoid that fight altogether.
The Bellcave
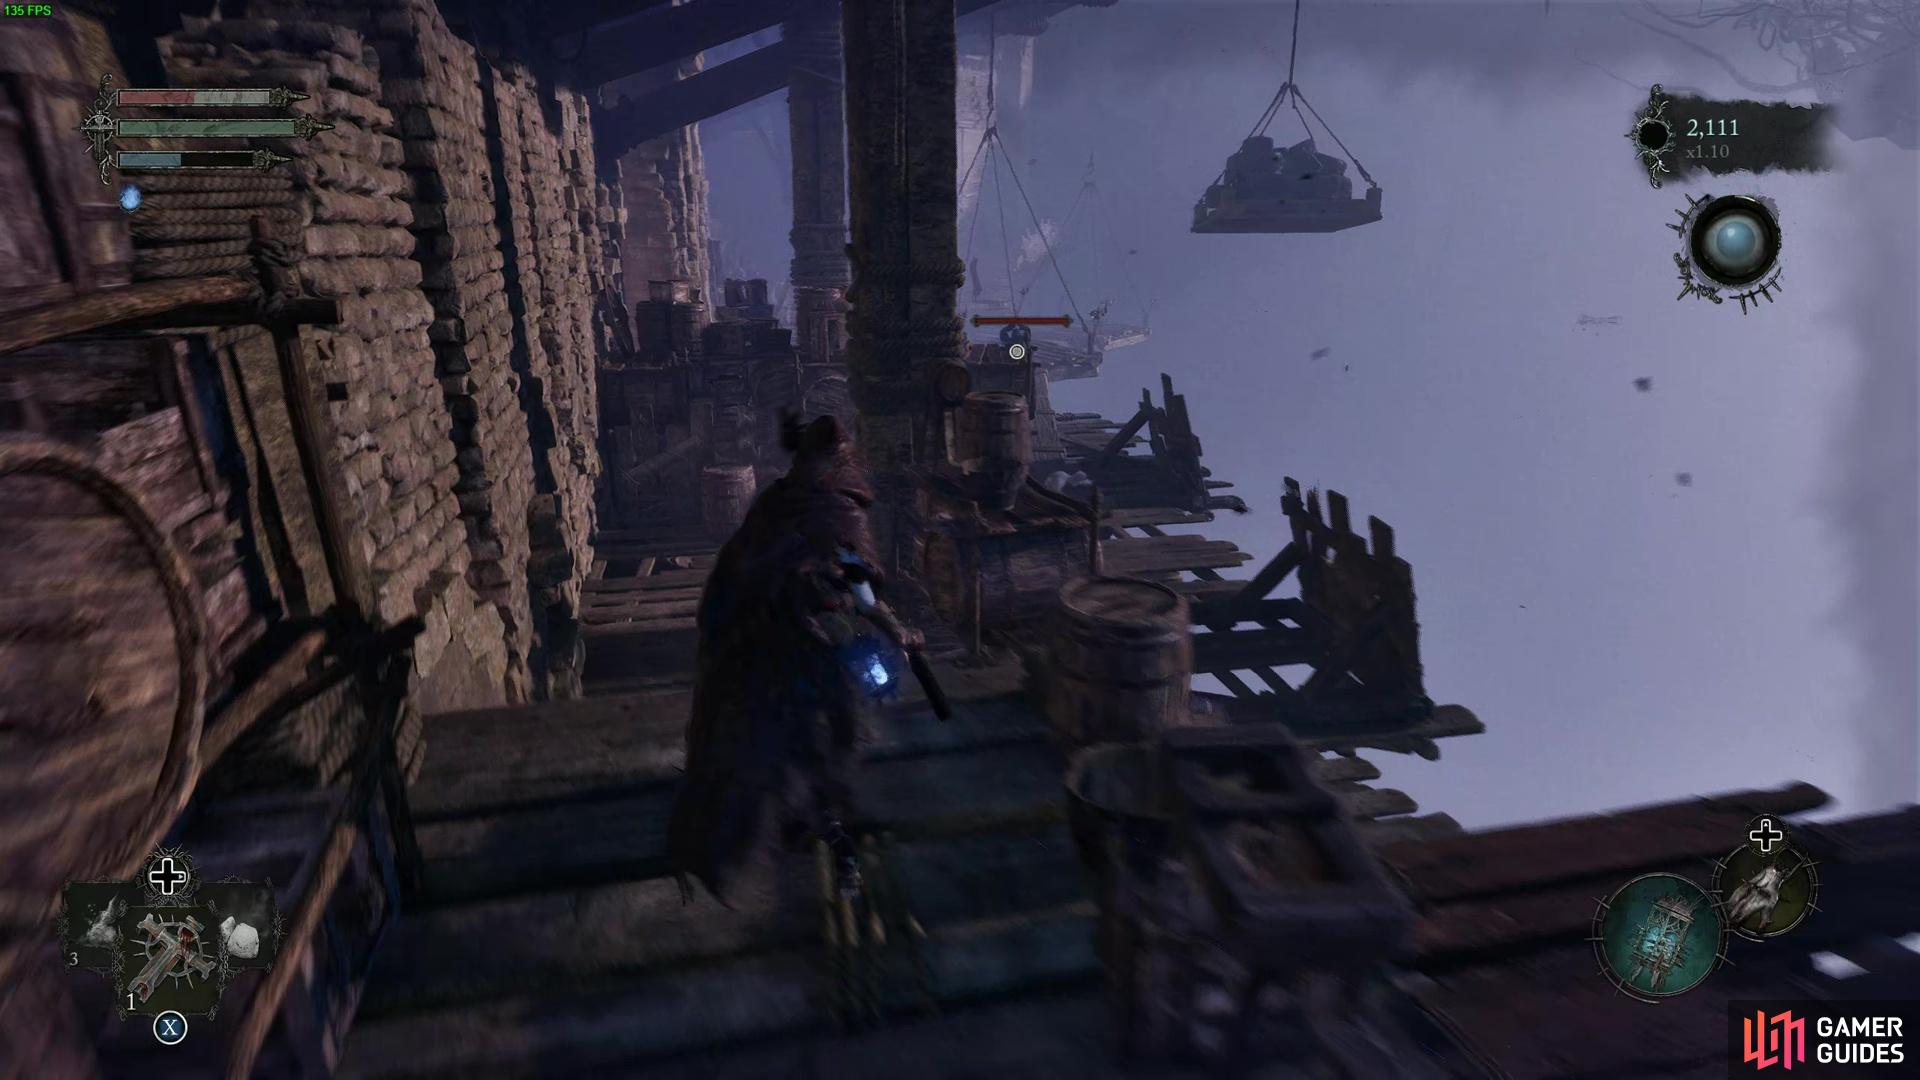
Now you’ve rested up at the Vestige, your next objective is to progress through the cave, taking the tunnel to the right of the Vestige. Follow through, and deal with the worshippers and wizards by the cave’s water. There are a few more outside the cave that return you to another area of the Perch. Once the hostiles are dealt with, there’s another jumping platform to do using the hanging planks. After making the jump, there’s a long ladder going downwards.
When you reach the bottom, we recommend using a Vestige Seed here, as a gauntlet is coming up. It makes it easier to rest if you die. It doesn’t matter if you don’t have one spare.
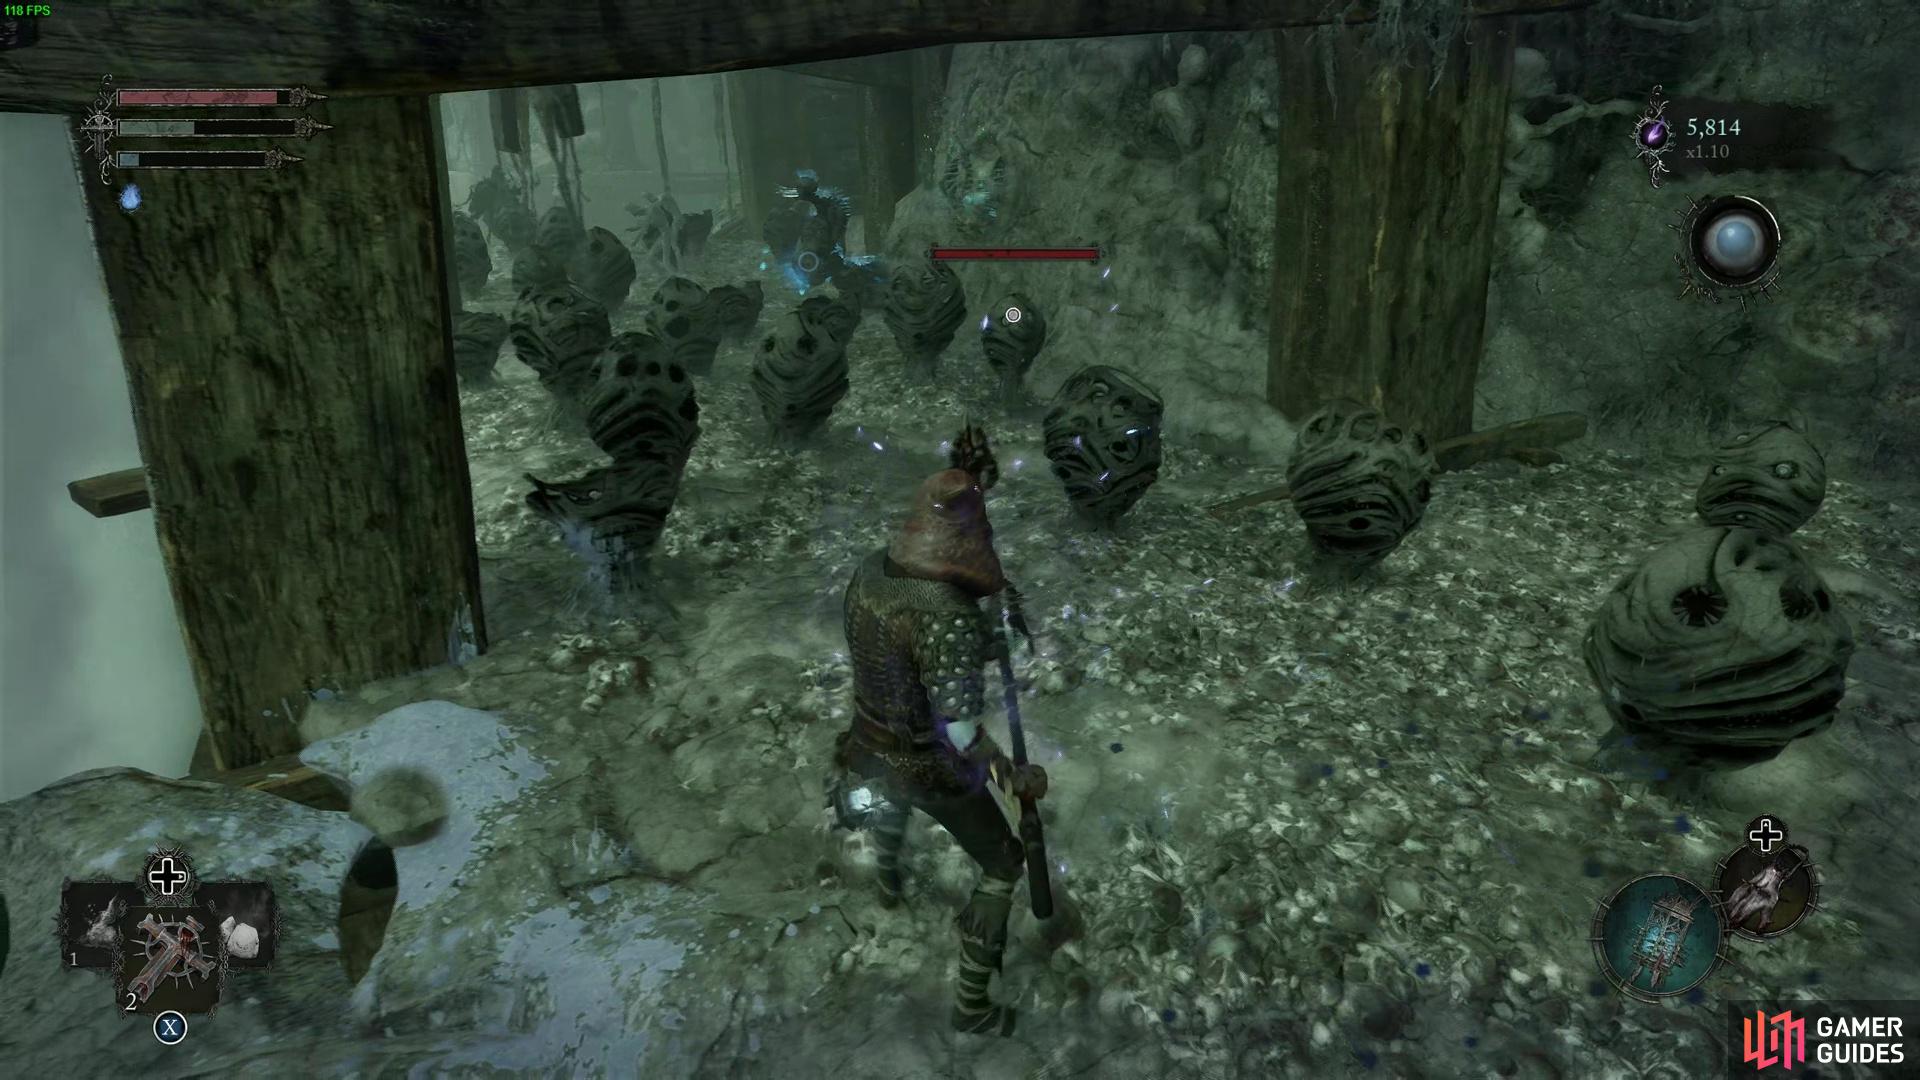
As for the next stage, you have a few options. There’s a large Umbral platform below with a few umbral mages, shamblers, and a moth lady that you can fight if you want to. You can get yourself an item called the Bowl of Revelations, and some Umbral currency from soul flaying the memory down there. Alternatively, you can progress down the walkway, fighting the mages hiding behind debris, and then down an even steeper ladder with a platform with more mages down below. Now for the hard part. There are two more spikey head boys down there. The best way to handle these nerds is by standing on the platform the mages stand, and then using that to make falling attacks for some bonus damage. Rinse and repeat till they’re dead. Or, you can stand by the edges of the platform and hope they charge themselves off the edge. The choice is yours.
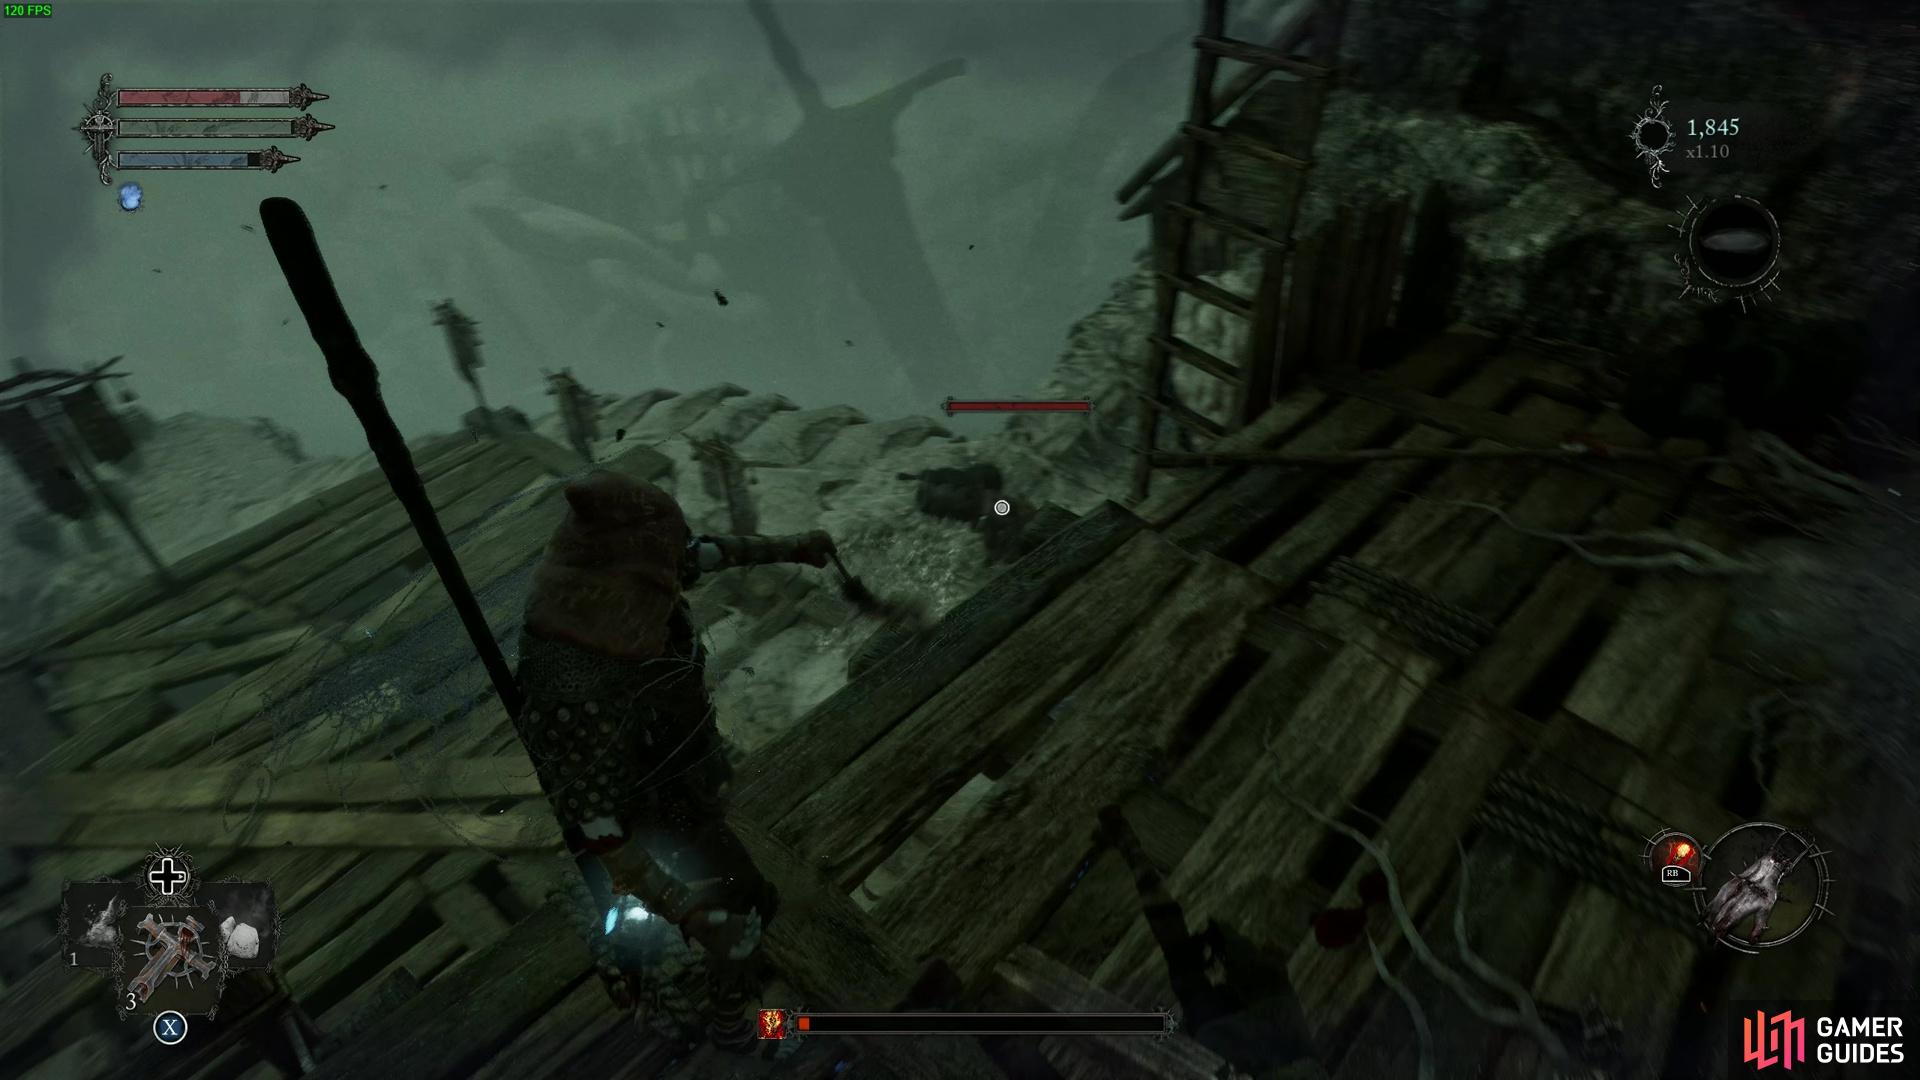
Lure the spikey enemies to the edge and drop on them for more damage.
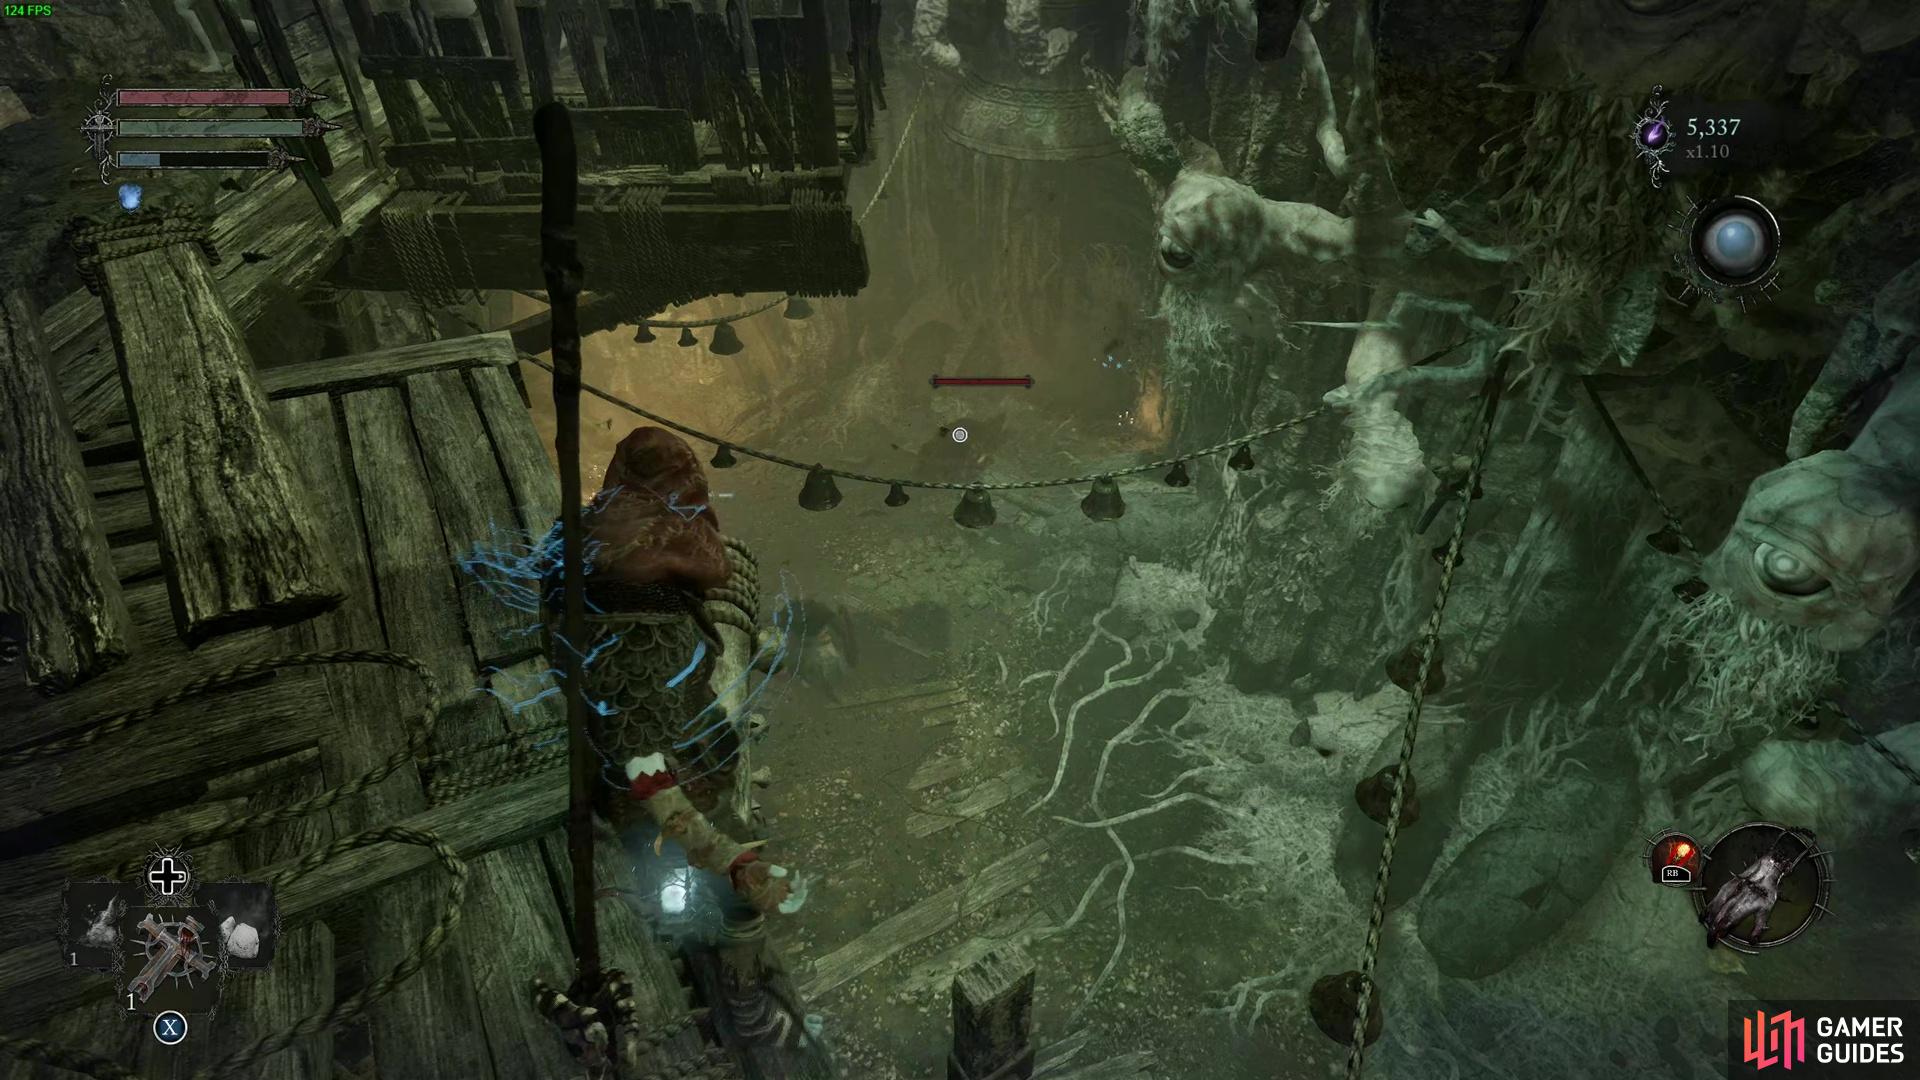
Follow the Umbral path down below the platform you need to open up.
Once the spikers are dead, you need to enter the Umbral and look for three soul-flay creatures. You can find one just above and to the right of the doorway, then another to the left of the main ladder that brings you to the platform you’re on. The final one requires you to take the Umbral pathway going downwards and under the scaffolding. There are lots of egg sacs that spawn the shambler enemies so take your time and make sure they don’t swarm you or make it so you roll off the edge. Yeah, we learned the hard way here…
Now you’re in the cave, you need to take on a few more enemies here before, yep, you guessed it, another ladder. This one leads to a roofed area above a blacksmith in a prison cell. Take care of the bell wizards on your level, and then reactivate the elevator. You can now go up to the Vestige point. Cash in your currency, get some needed character levels and come back down when you’re ready and rested.
There are dogs below and mages on the same platform as you, so be careful before restoring the elevator.
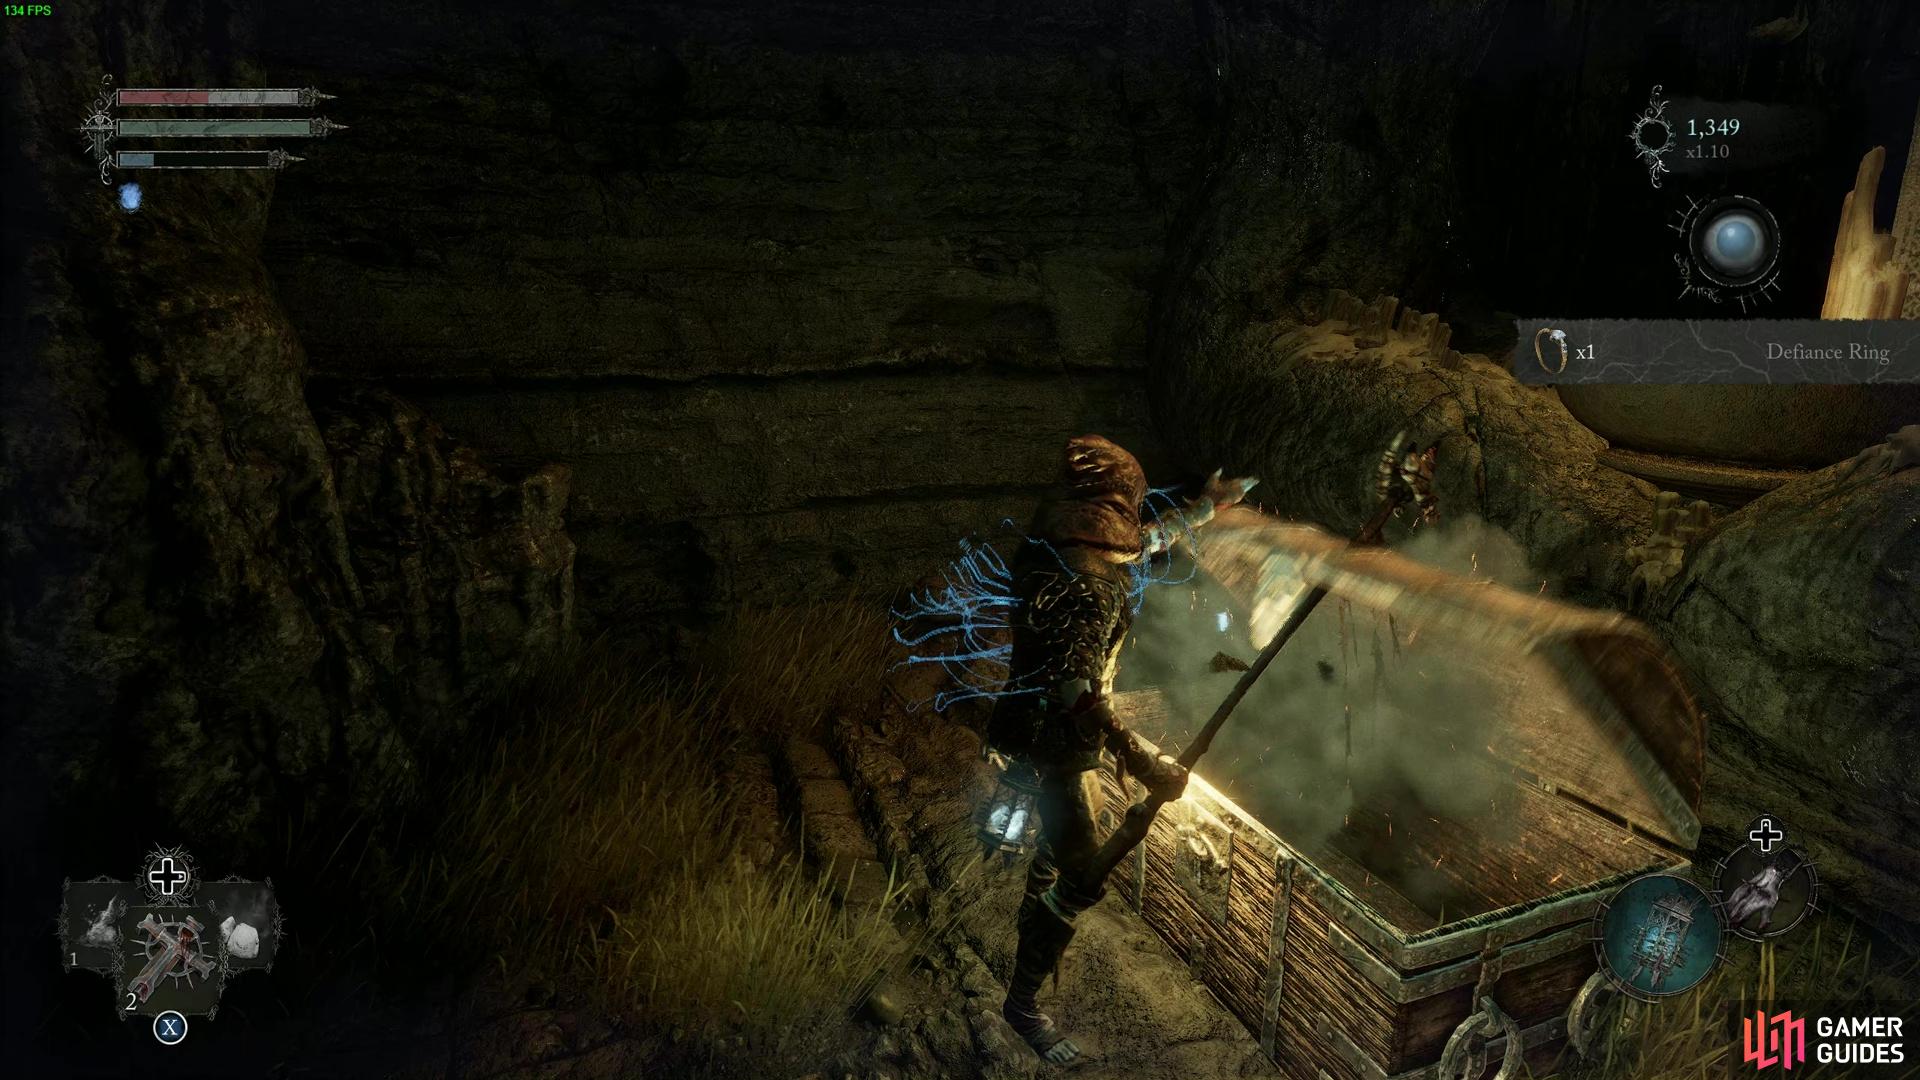
Go into the Umbral and access the blocked room and get yourself your first ring of the campaign.
For this next stage, you’re going to need to clear out the mages on the decks first. Coming down the elevator it can get a little clunky, so, try to drag them in front of the elevator and then prod them safely. When it’s free to move, feel free to either range harass the dogs below or air strike them on your way down. Now for the big guy. The large knight carries the keys to the cage at the back of the room. Kill it, avoiding its lumbering attacks and poking when you can to whittle it down the best you can. When it’s dead, get the keys and speak to the blacksmith to unlock weapon upgrades and a new trader in your camp. There’s also a door to the side here that you can open with the Pilgrim key, which leads to some higher-level enemies, and a soul flay object that drops a physical attack and defense boost necklace. It is worth noting that it is a great necklace for most builds.
One last thing to note is that in the Umbral, there’s a Soul flay blocker near to one of the dog spawns. That leads to a chest containing a Defiance Ring, which is your first ring of the game for most starting classes.
Now that’s done, you can follow the path down near the elevator, and enter a boss room. Before going in, the NPC you spoke to before the Sister Flail boss lady in Sanctuary is also here. She can sell you a few Infernal-type items and some consumables before heading in.
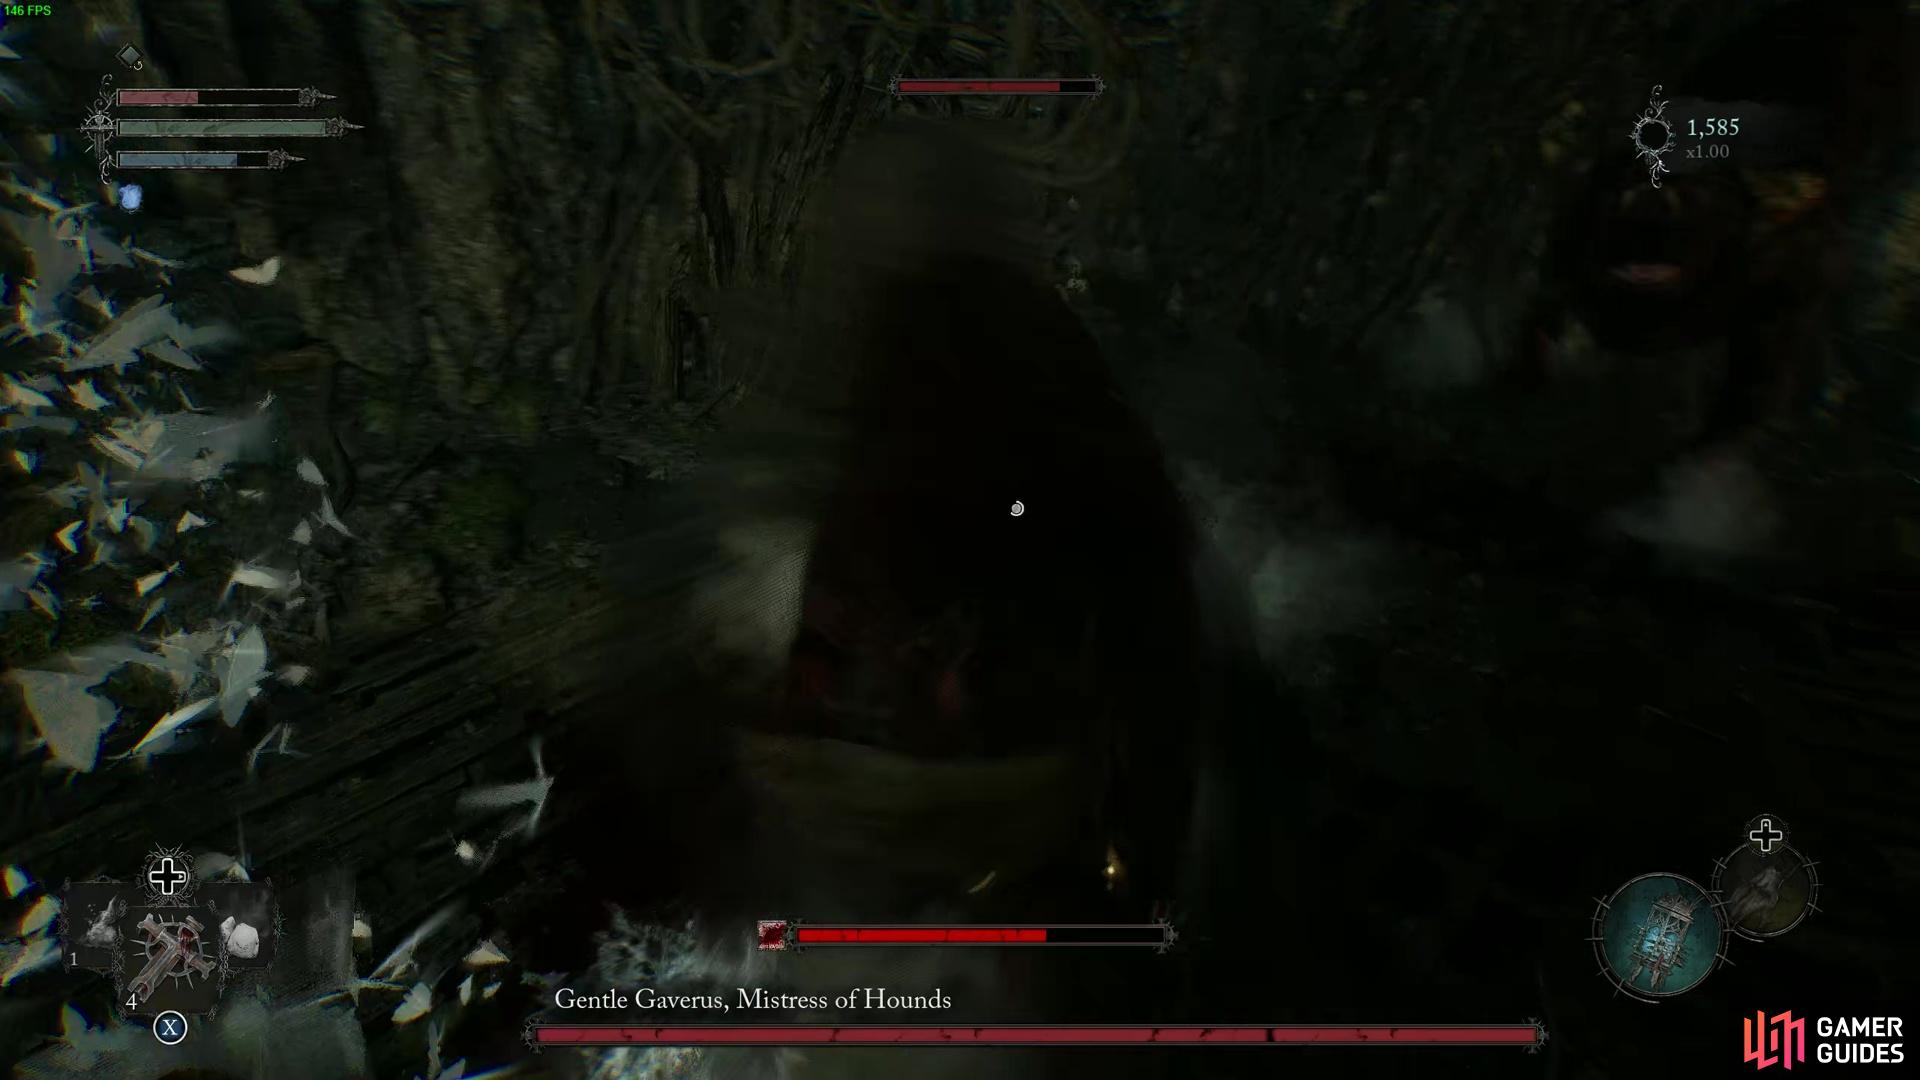
Gentle Gaverus, Mistress of Hounds Boss Battle
Stand near the barrier to the boss to avoid her arrows while fighting the dogs.
Now you’re here, the Mistress of Hounds boss is an archer, with two daggers at close range. She also periodically spawns dogs to assist her in combat. We recommend backing up into the barrier as you enter the boss room and aggroing the dogs to you. The barrier is slightly around a bend, and it means the archer cannot hit you with her arrows. This means you can easily deal with the dogs, and then move on to the boss.
If you’re a ranged player, you can easily kite the boss in a circle, dodging her arrows easily, then trading back with your catalyst, crossbow, or bow, and trading moves like that. Don’t forget to deal with the dogs that respawn over time and whittle her away like that. You should have enough mana restoration and ammo replenishers to get through this fight doing this strategy.
If you’re melee, then learn her attack patterns with her daggers. Great weapon players can find that she’s easily poise breakable with a few heavy hits when you can do those.
Once the boss is defeated, you can continue on out of the cave, get a new Vestige, and make your way to the beginning of the Fen area.
Pilgrim Perch Optional Route Walkthrough
Look for the ladder near this caster at Pilgrim’s Perch near the Sanctuary Vestige.
Go down the ladder and follow this route straight on towards the elevator, board it, and go beyond.
Now that the main story stuff is out of the way, there’s an optimal route to the right of the Sanctuary entrance. This takes you to the far end of the main platform at the start of the zone. The area brings you to a ladder that you can access at the edge near the bell staff wizards. Go down it, and you can find another longer strip of platforming, that leads you under where you started the area from the Skyrest. Follow the platform along, and you can find some more platform jumping spots to take you across a broken section of the area.
When you make it over, follow it down again, and enter an indoor arena, that leads to an elevator. The elevator will bring you near to the Skyrest area. Take note of the loot here, as there are a few spots. One is behind the fountain, which is a Tinct. Keep walking, and you can find a memory in the Umbral across one of the stone pathways. There’s a platform that requires you to lamp-walk across and then drop down to a ledge below. This grants you the Faithful Bludgeon, a 28-strength requirement grand hammer if you want to use big meaty hammer-type weapons - looking at you, Warwolf and Dark Crusader players. From there, enter the Umbral proper, and walk across the gap. You will find an undead creature’s shoulders and arm serving as a bridge with a soul flay lootable on it. This grants you the key to the Skyrest areas that you’ll need later on in the game. Grab it and run across, before getting out of the Umbral by taking the checkpoint on the left as you cross over. You don’t want to deal with the Wraith if you can avoid it. From there, walk up the steps again, bringing you back to the Skyrest, and you can open a door and reemerge in the Skyrest safe and sound.
There are also some other lootable spots as you progress through Pilgrim’s Perch. However, we think these areas are much easier to access later on in the game as part of the Bell-Rise area, which is considered its own hotspot access via the Pilgrim’s Perch key for the mid-game.
No Comments