
If you’ve been playing Lords of the Fallen for a while now, you may have some trouble upgrading your weapons due to a lack of materials, especially if you’re like us, who change weapons every time you find a new one! Well, this is why we’ve decided to do a guide on how to farm all four upgrade materials with a focus on the Large ![]() Deralium Shards, and
Deralium Shards, and ![]() Deralium Chunks as they are the more difficult materials to find.
Deralium Chunks as they are the more difficult materials to find.
Use the Deralium materials to upgrade your weapons to their final form.
Upgrade Material Tiers Explained
Before we get started with the farming tips, let’s take a look at all the materials you’ll need to upgrade your weapons. There are four tiers of materials and each tier will upgrade a weapon to a specific upgrade number. For example, Small ![]() Deralium Fragments upgrade your weapon to a maximum of +2. The first two tiers are relatively easy materials to get a hold of as you can purchase them from Gerlinde, the Blacksmith, and Thehk-Ihir. Thehk-Ihir will also sell a few of the Large Deralium Shards, but these are limited; you may get enough for one full-tier upgrade.
Deralium Fragments upgrade your weapon to a maximum of +2. The first two tiers are relatively easy materials to get a hold of as you can purchase them from Gerlinde, the Blacksmith, and Thehk-Ihir. Thehk-Ihir will also sell a few of the Large Deralium Shards, but these are limited; you may get enough for one full-tier upgrade.
| Icon | Name | Tier | Max. Upgrade |
|---|---|---|---|
| Small |
1 | +2 | |
| Regular |
2 | +5 | |
| Large |
3 | +9 | |
| 4 | +10 |
Best Small Deralium Fragment Farm Location
As briefly stated above, Gerlinde the Blacksmith will sell these for 500 Vigor a piece (double if you mess her quest up), and there are infinite of them to purchase. Due to the low cost of these, it’s the most time-efficient way to obtain them. Saying that, if you’re cheap like we are, you may want to farm them yourself. Now, the Small Deralium Fragments drop from three enemy types: Pilgrim Mage, Shuja Warrior, and the Raw Manglers. We’ll list below the best place to farm these enemies but bear in mind that these enemies have a low drop rate while also having a large loot pool. We recommend equipping the Bountiful ring and using the ![]() Lucky Paws to increase your item discovery.
Lucky Paws to increase your item discovery.
Pilgrim Mage Small Deralium Fragment Farm
Warp to the Vestige of Blind Agatha then run through the tunnel. At the end will be two Pilgrim Mages with one more being to the left. Continue through the tunnel until you reach the outside where you’ll find three more Pilgrim Mages, one in front, one behind the crates to your left, and one on the other platform. Defeat them, pray to the loot gods they drop what you want, then rest back at the Blind Agatha Vestige, and repeat it as many times as you like.
Shuja Warrior Small Deralium Fragment Farm
Warp to the Valade Vestige in the Forsaken Fogfen, head left through the shortcut door, and defeat the two Shuja Warriors there. Continue along the upper platform and take out the Shuja Warrior standing on the tree root. Turn to your left, and defeat the two standing by the large bonfire. Finally, run past the bonfire to find one more Shuja Warrior standing by the wall. You can just run through Fogfen as the place is filled with these enemies, but for efficiency, run back through the shortcut door, and rest at the Vestige to repeat the process.
Raw Mangler Small Deralium Fragment Farm
This method works best with the Crimson Rector Percival boss being defeated, and using a ![]() Vestige Seed in the Umbral Flower Bed in the arena. Saying that warp to the Pale Butcher Vestige, and head forward into Fitzroy’s Gorge (use your lamp to get past the gate.) Follow the path while defeating the enemies (dogs) and take the left path at the intersection. There will be a couple of Raw Manglers (dual axemen) along the way. Follow the path, and you’ll see a huge battle taking place at the end of the path, this will be your farm, but for now, head past them while defeating them, and you’ll be in the boss arena of Percival.
Vestige Seed in the Umbral Flower Bed in the arena. Saying that warp to the Pale Butcher Vestige, and head forward into Fitzroy’s Gorge (use your lamp to get past the gate.) Follow the path while defeating the enemies (dogs) and take the left path at the intersection. There will be a couple of Raw Manglers (dual axemen) along the way. Follow the path, and you’ll see a huge battle taking place at the end of the path, this will be your farm, but for now, head past them while defeating them, and you’ll be in the boss arena of Percival.
If you haven’t defeated him yet, do so (he can be AFK poison killed) then place a Vestige Seed in the Umbral Flower Bed. Now, rest at the temporary Vestige, and run back the way you came. There are four Raw Manglers in the brawl and one more who is accompanied by a dog a little further down. The idea is to kill these five, run back to the Vestige Seed, rest, and repeat. You could continue running forward then right at the end, head back to the Pale Butcher Vestige, and you’ll most likely encounter one more Raw Mangler, but this takes longer and is less efficient than running back to your temporary Vestige.
(1 of 3) Make your way to the Crimson Rector Percival boss arena in Fitzroy’s Gorge, plant a Vestige Seed, and head out the door.
Best Regular Deralium Nuggets Farm Location
Regular ![]() Deralium Nuggets drop from various enemies such as Skinstealers (Calrath/Upper Calrath/Sunless Skein Hoist), and a few enemies in the Umbral Realm including Womb of Despairs, Shrouded Sparrows, and Bringer of Stillness’. None of these can really be farmed though as the Skinstealers are not near a Vestige, and the other creatures require spending time in the Umbral.
Deralium Nuggets drop from various enemies such as Skinstealers (Calrath/Upper Calrath/Sunless Skein Hoist), and a few enemies in the Umbral Realm including Womb of Despairs, Shrouded Sparrows, and Bringer of Stillness’. None of these can really be farmed though as the Skinstealers are not near a Vestige, and the other creatures require spending time in the Umbral.
However, there are two enemies that you can farm, the Mendacious Visage enemies that look like easter head islands, and the Marksman enemies (Avowed who have crossbows). Our personal favorite is the former as you’ll get useful items even if you don’t get the nuggets.
Mendacious Visage Regular Deralium Nuggets Farm
Warp to the Vestige of Catrin in the Sunless Skeins Hoist area, and switch to the Umbral Realm. Head out the door (not the shortcut to Revelation Depths) and run to the end of the broken path. Look down and to your right to find the Mendacious Visage on the floor. Soul Flay it then drop down, and attack its face (ignore the wither damage it does) until it dies. Now head back up the ladder opposite the enemy, rest at the Vestige, and repeat the process.
The only thing you really need to watch out for regarding these enemies is when they jump; when they do, simply dodge toward it. This can be really easy, and you can defeat them in a couple of seconds depending on your build. We use an Umbral Build, so we drop to its open face and throw two or three Barrage of Echoes at it to finish it off. Even if you don’t get a Deralium Nugget, you will get many useful items from large manastone clusters to ammunition satchels and even runes.
(1 of 3) From the Catrin Vestige (Sunless Skeins), head through the door and stop at the end of the broken path.
Marksman Regular Deralium Nuggets Farm
This “farm” is more of a loop. Warp to the Valade Vestige in Forsaken Fen and head through the shortcut door. Defeat the nearby Shuja Warrior then enter the Umbral Realm. To your left, an umbral ladder will be unveiled; climb the ladder and follow the path while defeating the two Shuja Warriors and the Pilgrim Mage at the end. Take the left path, and use the Emergence Effigy to your right. Stop, and slowly rotate the camera to look behind the barricade to find a Holy Bulwark enemy ready to ambush you.
(1 of 5) At the Valade Vestige in the Fen, head through the shortcut door, and defeat the Shuja Warrior.
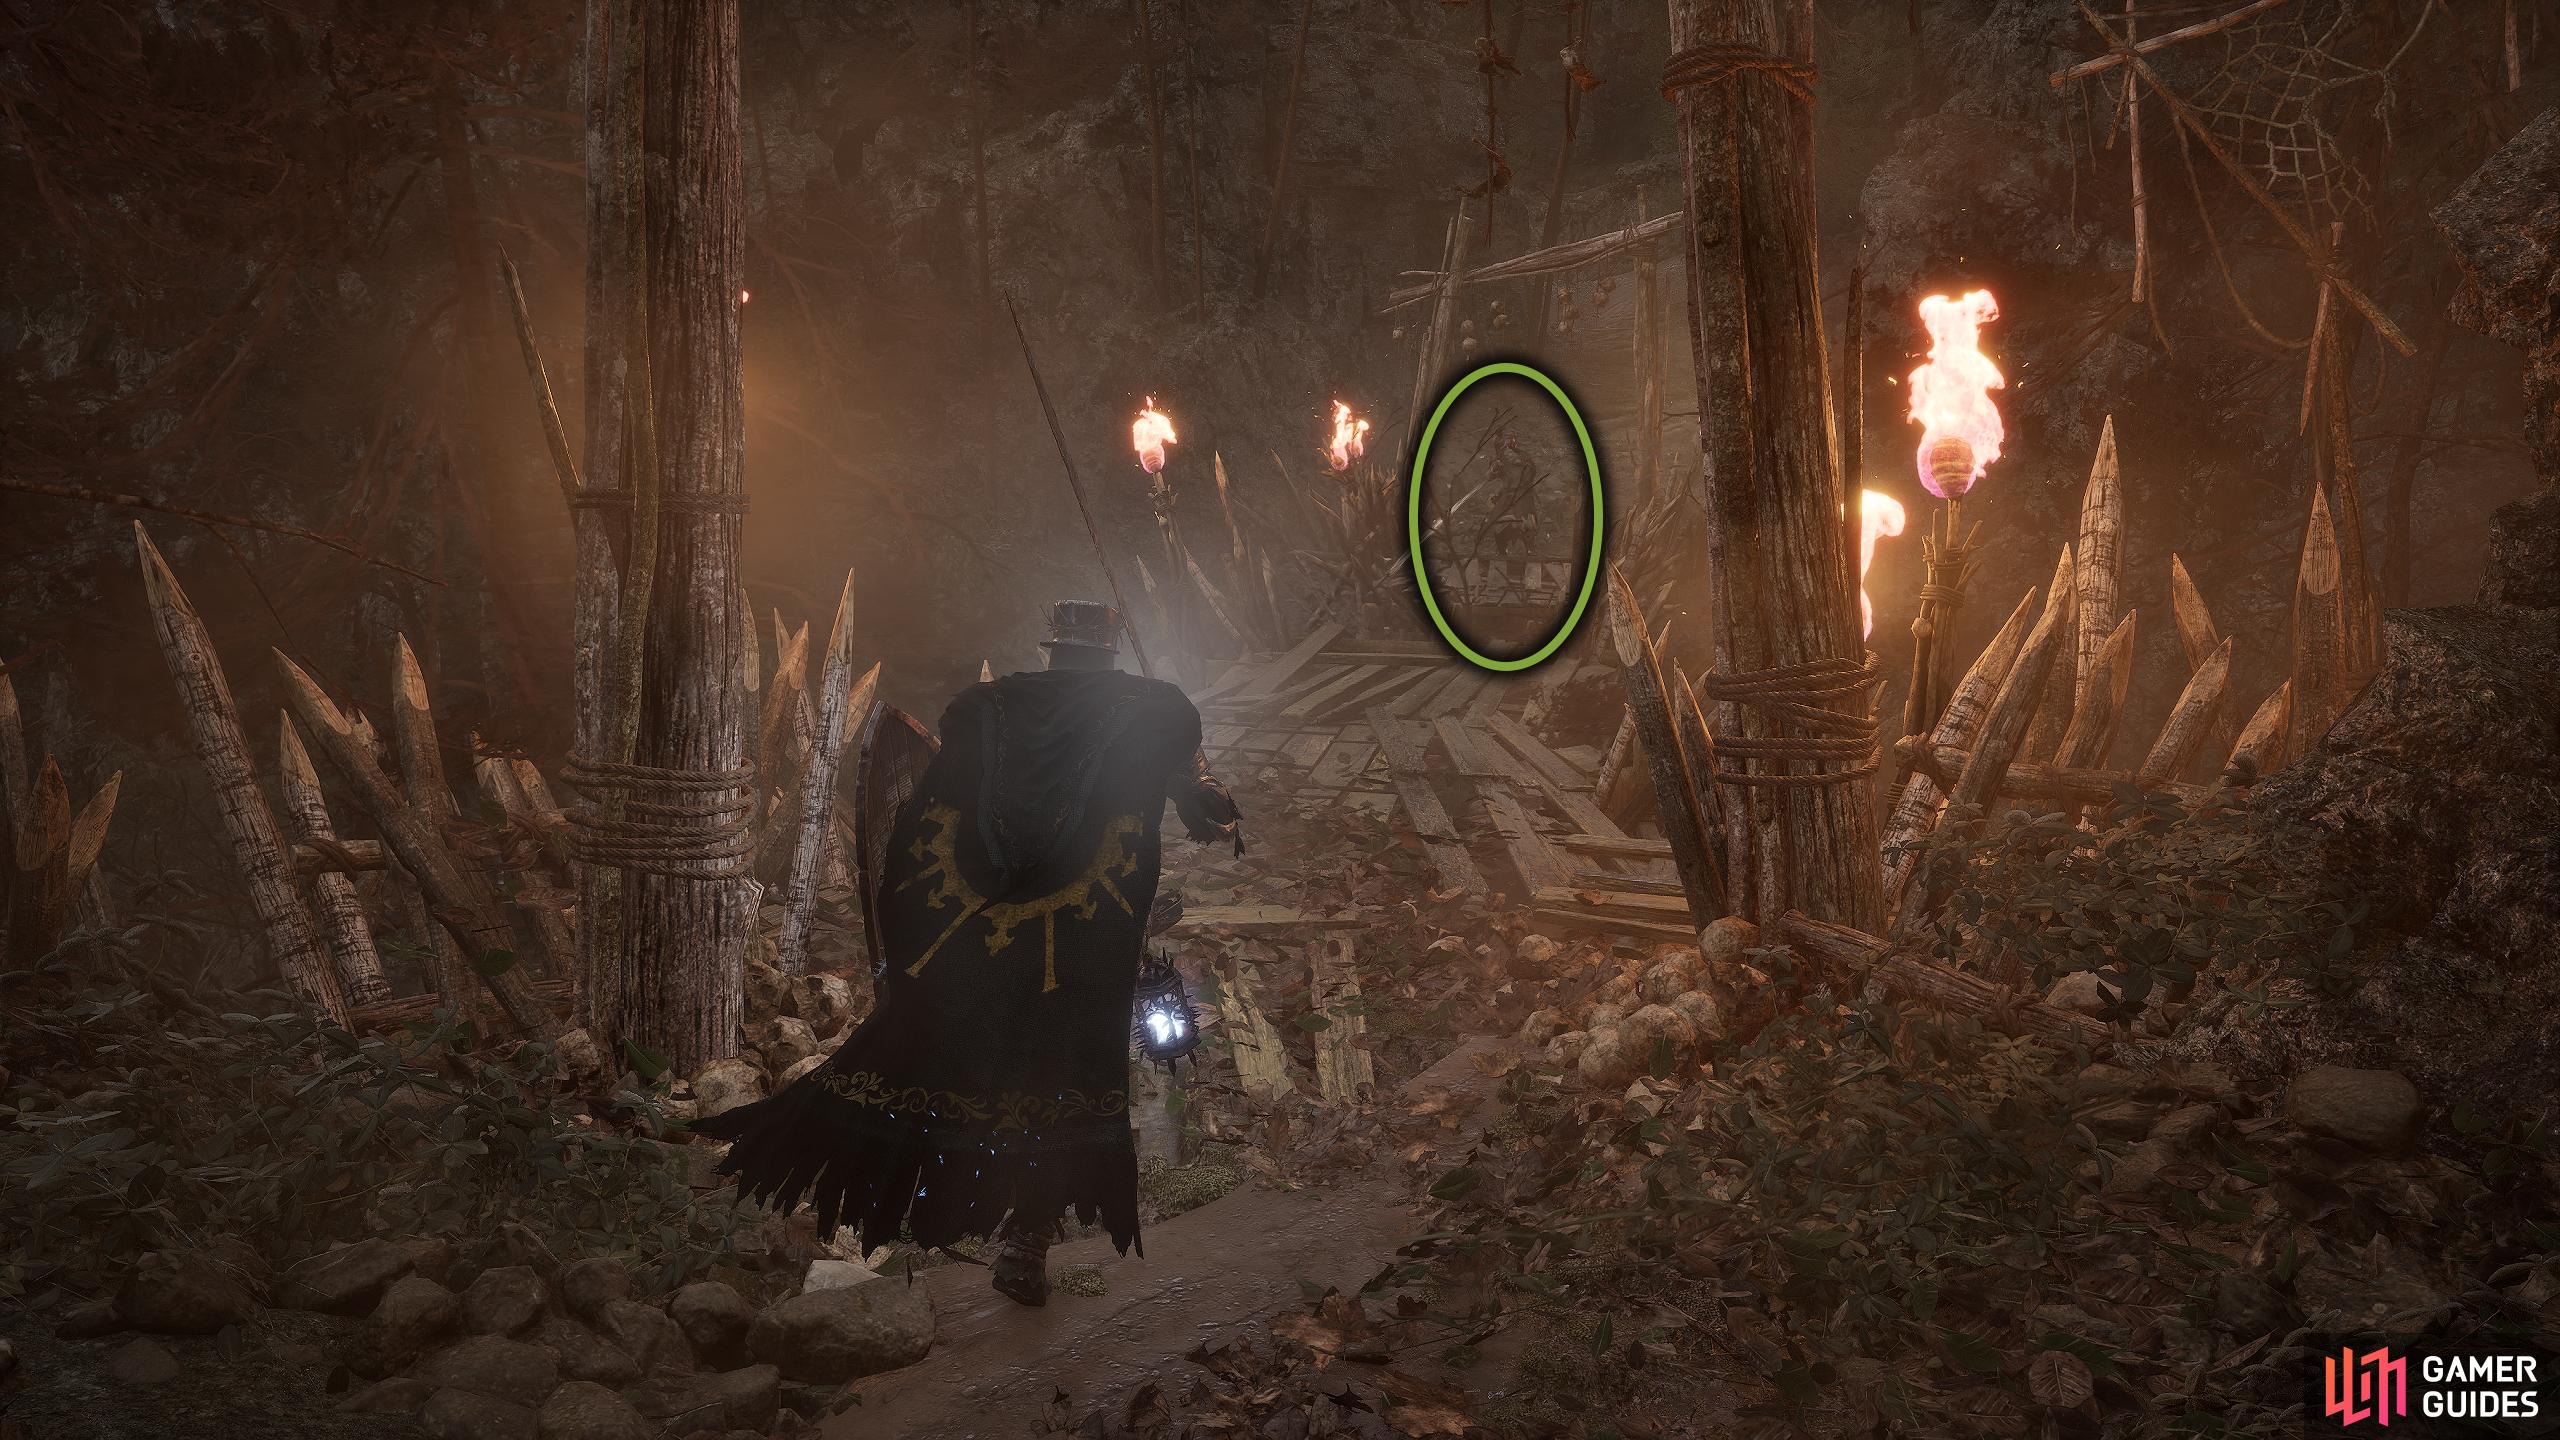
Defeat him, then take out the first Marksman in front who’ll have their back to you. Continue around the path where you’ll find the second Marksman across the broken spiked bridge. Take him out with a ranged attack, then head over the gap while shining your ![]() Umbral Lamp over it which will temporarily bridge (pun intended) the gap. Head up the slope and around the corner to find the third, fourth, fifth, and sixth Marksmen with three of them being on the floor, and the other being on the raised platform to your right. Defeat them all then follow the path around the corner, and over the Umbral Flower Bed then drop to the floor below where you’ll be back at the Valade Vestige. Rest, and repeat to your heart’s desire.
Umbral Lamp over it which will temporarily bridge (pun intended) the gap. Head up the slope and around the corner to find the third, fourth, fifth, and sixth Marksmen with three of them being on the floor, and the other being on the raised platform to your right. Defeat them all then follow the path around the corner, and over the Umbral Flower Bed then drop to the floor below where you’ll be back at the Valade Vestige. Rest, and repeat to your heart’s desire.
(1 of 4) Continue around the corner, and take out the Marksman across the bridge. Now use your Umbral Light to cross it.
Best Large Deralium Shards Farm Location
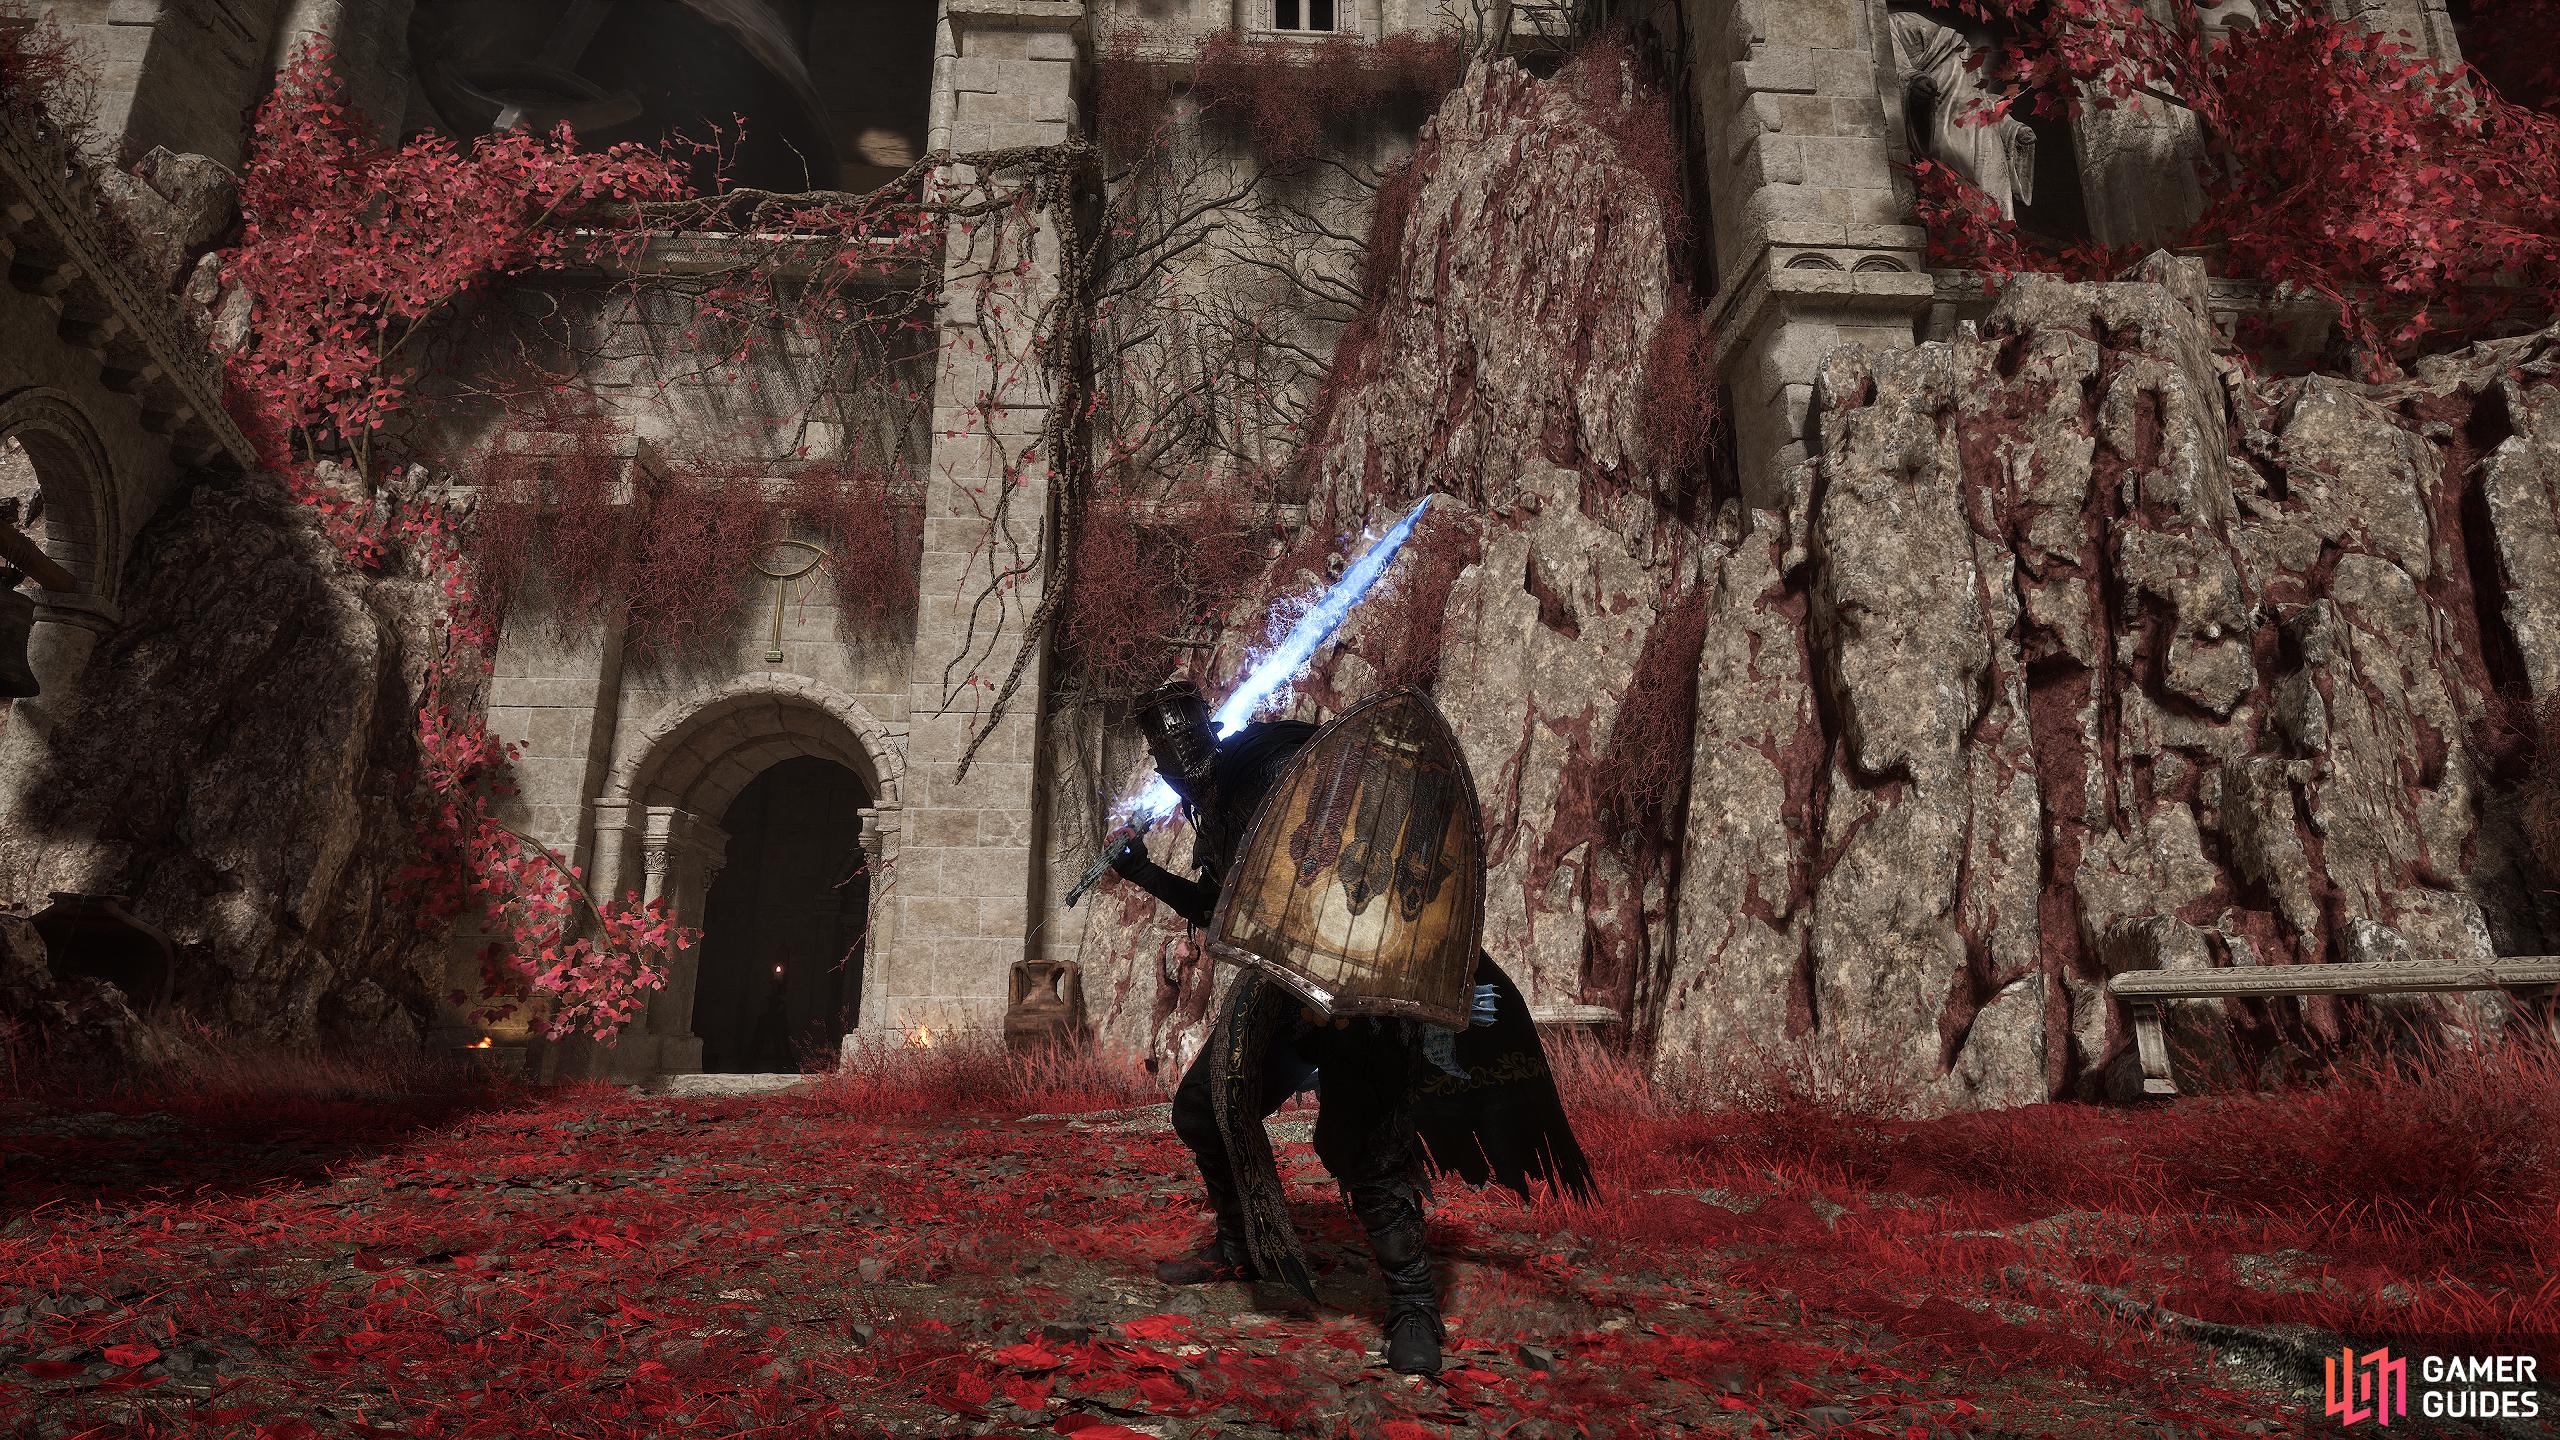
Large Deralium Shards are needed to upgrade your weapons to +9. These can drop from three different enemies: Ruiners, Holy Bulwarks, and Conflagrant Seers. The easiest, and quickest way to farm these coveted materials is from the Holy Bulwarks, with one specifically in mind. Warp to the Vestige of Brother Jeremiah in the Manse of the Hallowed Brothers area (second Vestige).
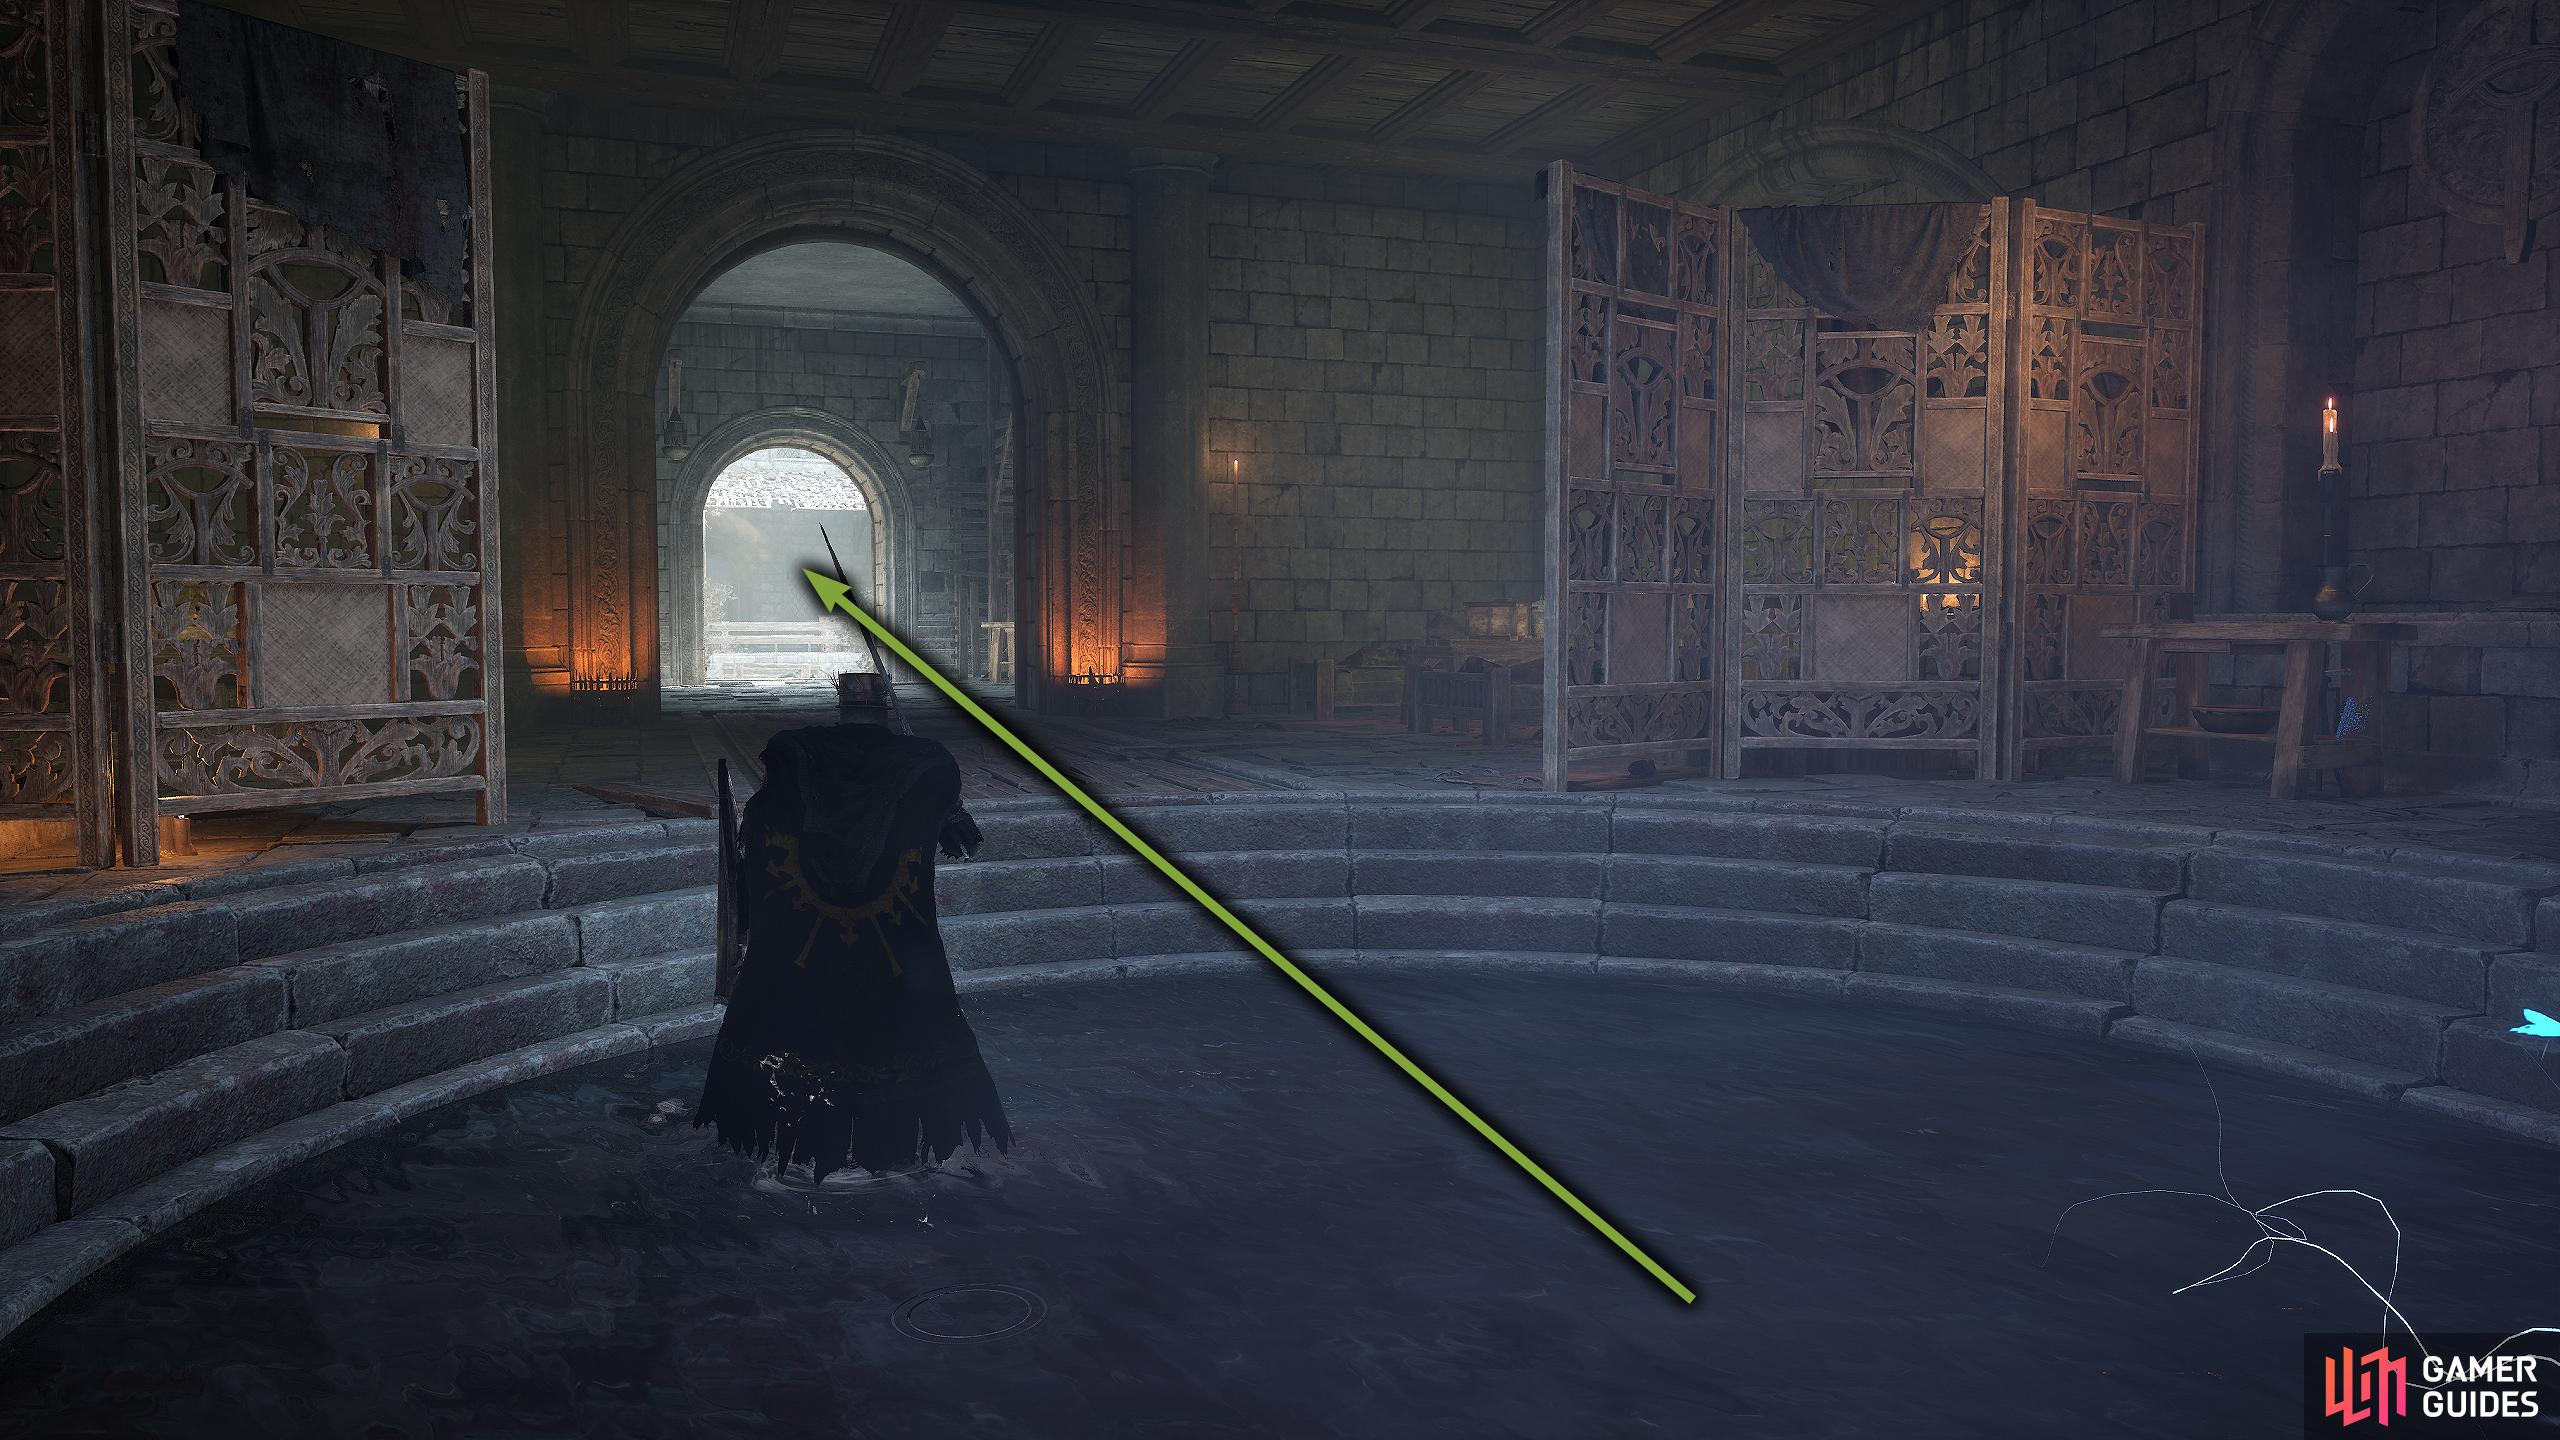
Head out the door opposite it to the outside, and you’ll find a Holy Bulwark wandering the courtyard. Defeat and loot him, then return to the Vestige to rest as that will make him respawn. Repeat the process until you have the desired amount. The Holy Bulwarks can be tough enemies as they have a lot of health, hit like a truck, and are deceptively quick. Ideally, you’ll use magic to take him out, but you can run in with a sweeping attack which will make him flinch briefly then run back out. Repeat this until he’s dead. Note, there will most likely be three enemies who will come from the Vestige door to attack you, if they do, run past them, and rest at the Vestige.
(1 of 3) From the Brother of Jeremiah Vestige in Manse, head outside via the door opposite the Vestige.
Best Deralium Chunk Farm Location
Like most Soulslike games, the highest tier material, in this case Deralium Chunk cannot be farmed. Instead, you’ll need to find them throughout the game. As of right now, there are only four Deralium Chunks in the game; if you want more, you’ll need to head into New Game Plus where you’ll be able to get them again. The four locations are:
Fief of the Chill Curse Deralium Chunk Location
Warp to the Vestige of Loash in Fief, head into The Hollow Crow’s Boss arena and defeat it if needed. Now, enter the lit-up doorway to the right of the arena to find a small ladder leading down. At the bottom of the ladder, exit the tower, and follow the left path through a tower to the end where you’ll find a second tower that hosts the beacon. Enter the tower, climb to the top, and open the chest to the right of the beacon. This will contain numerous upgrade materials including one Deralium Chunk.
(1 of 5) From the Loash Vestige in Fief, head through the boss arena; defeat the boss first if you haven’t already.
Revelation Depths Deralium Chunk Location
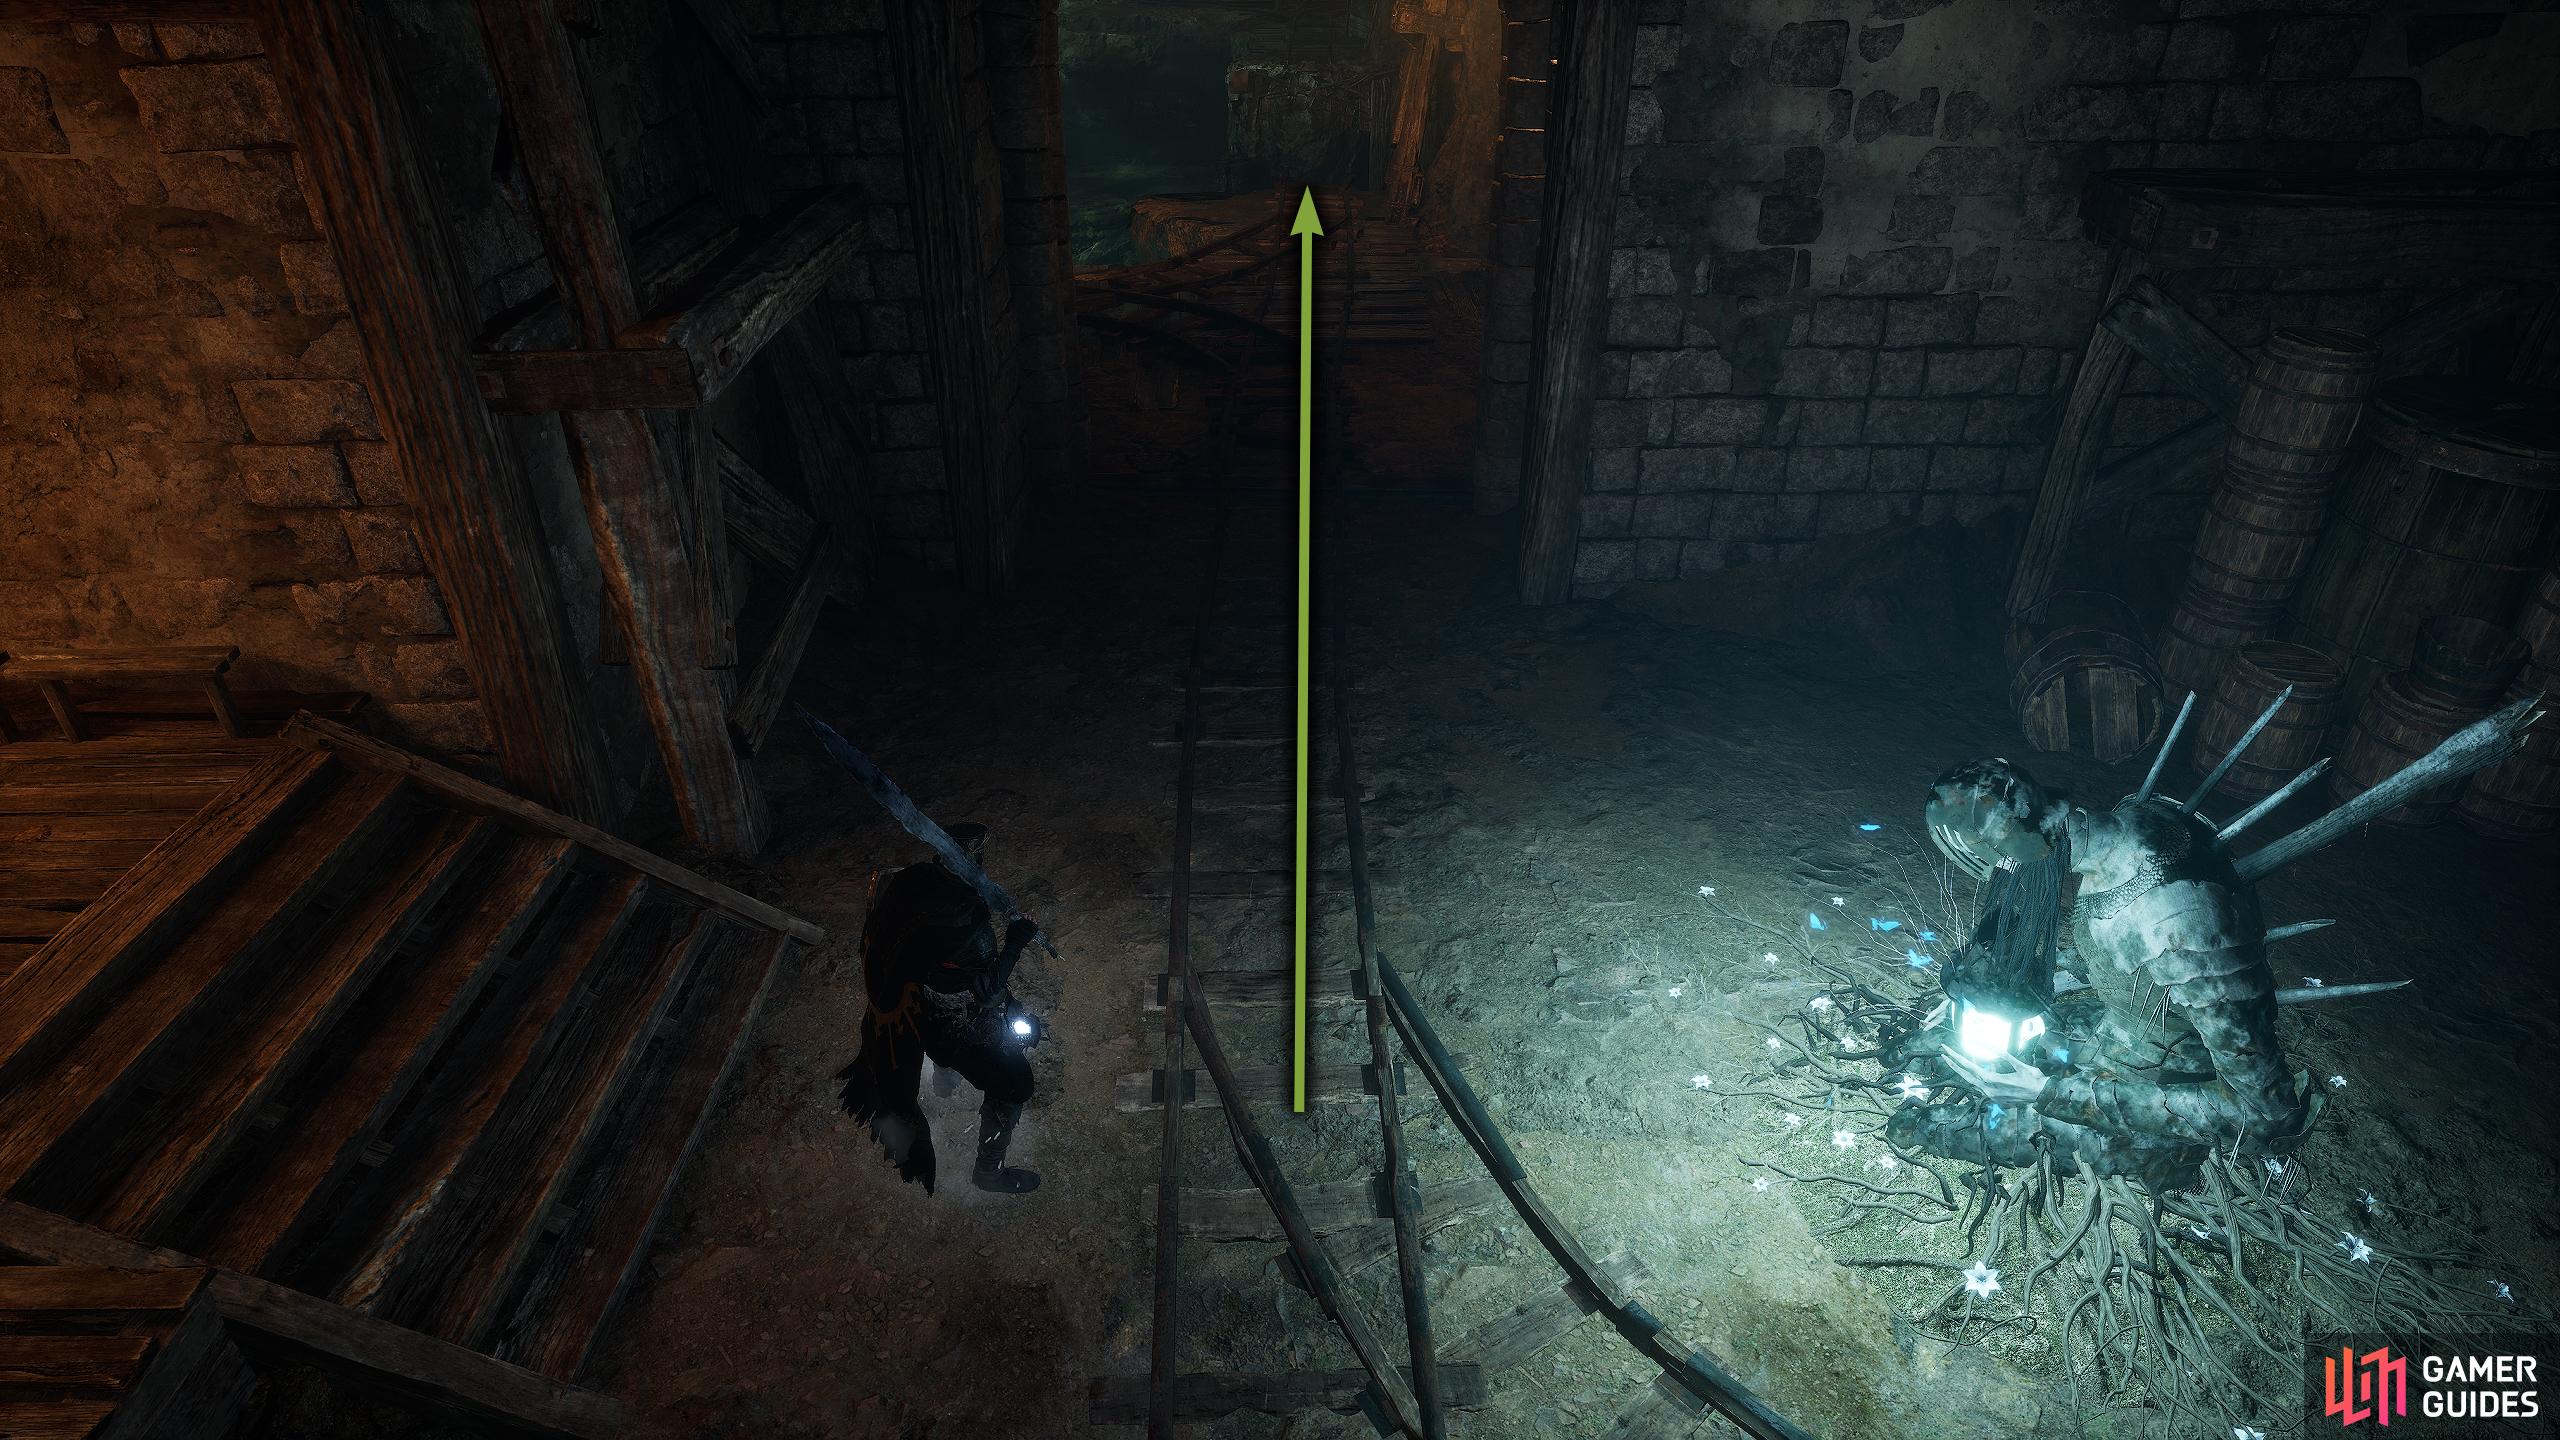
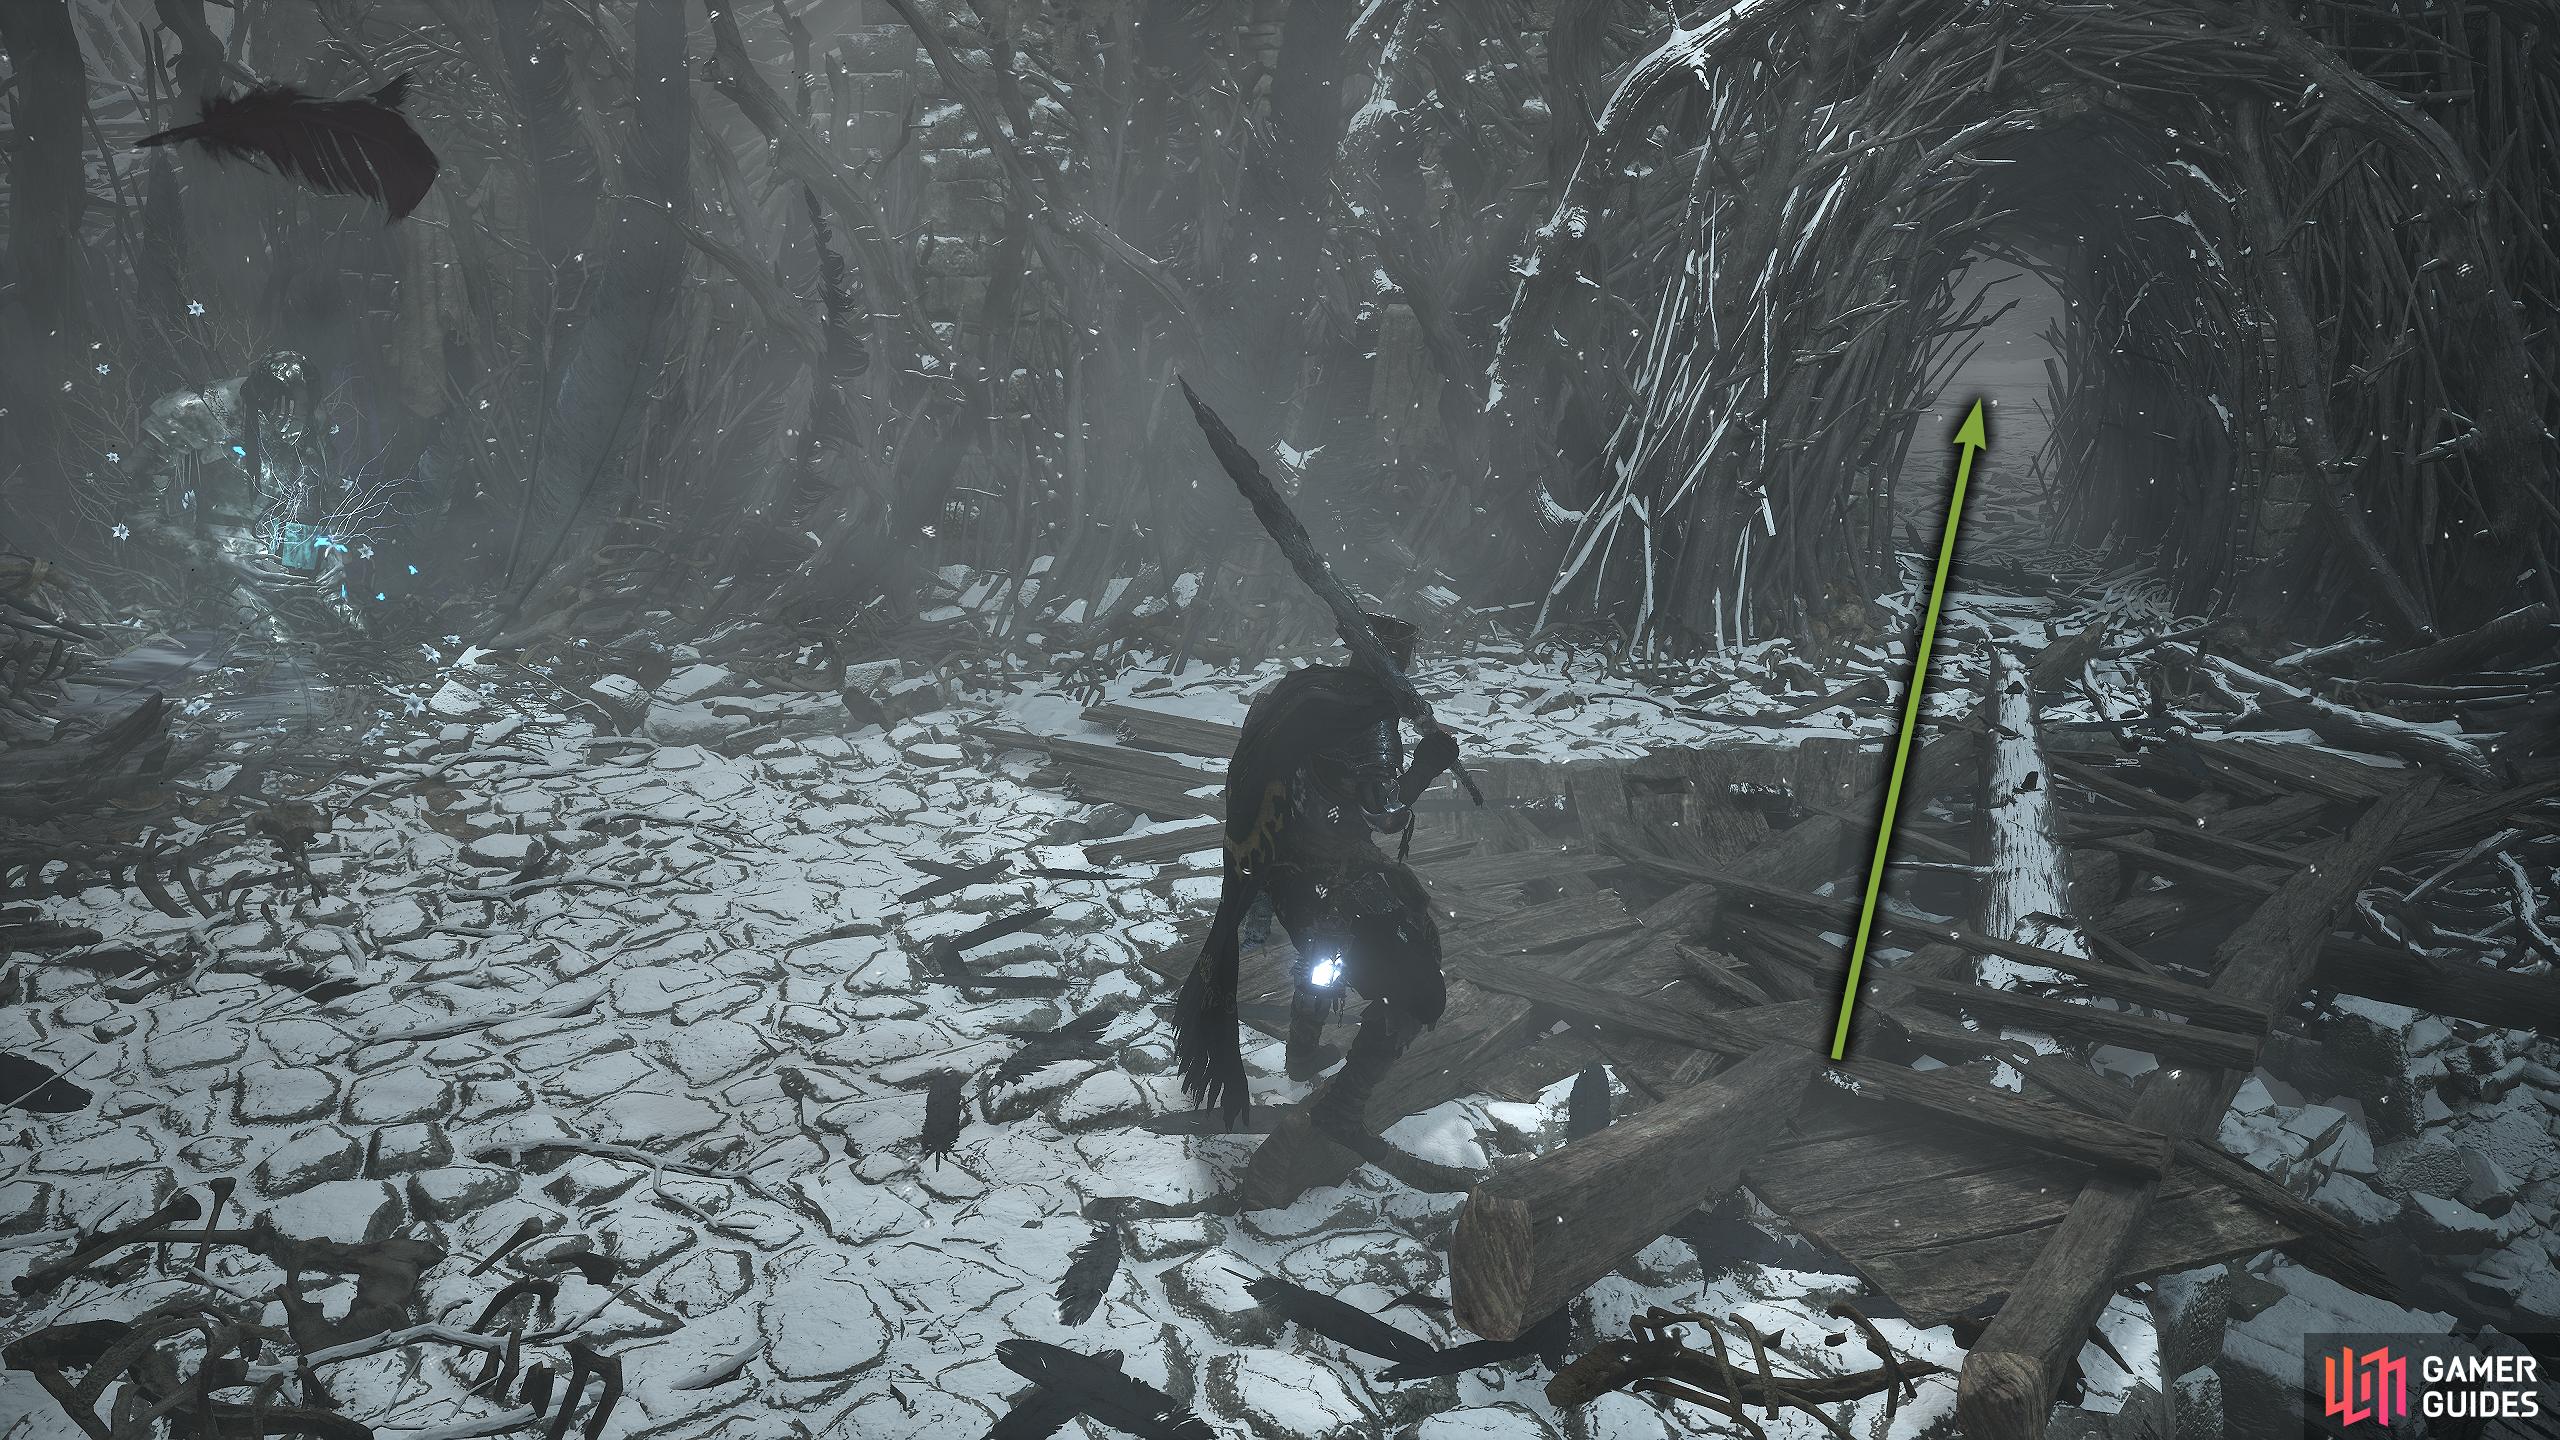
To find this chunk, it’s best to start from the end, although you can take the two elevator shortcuts down to get to the same place. From the Vestige of Lost Berescu, head up the wooden stairs in front of you. Fight or avoid the enemies, head up the next two ladders which follow each other almost immediately. At the top, you’ll have numerous Marksman and Infantrymen ready to take a stab or a shot at you. Once again, fight or run past them, and follow the path to where you’ll find another ladder, but this time to your left.

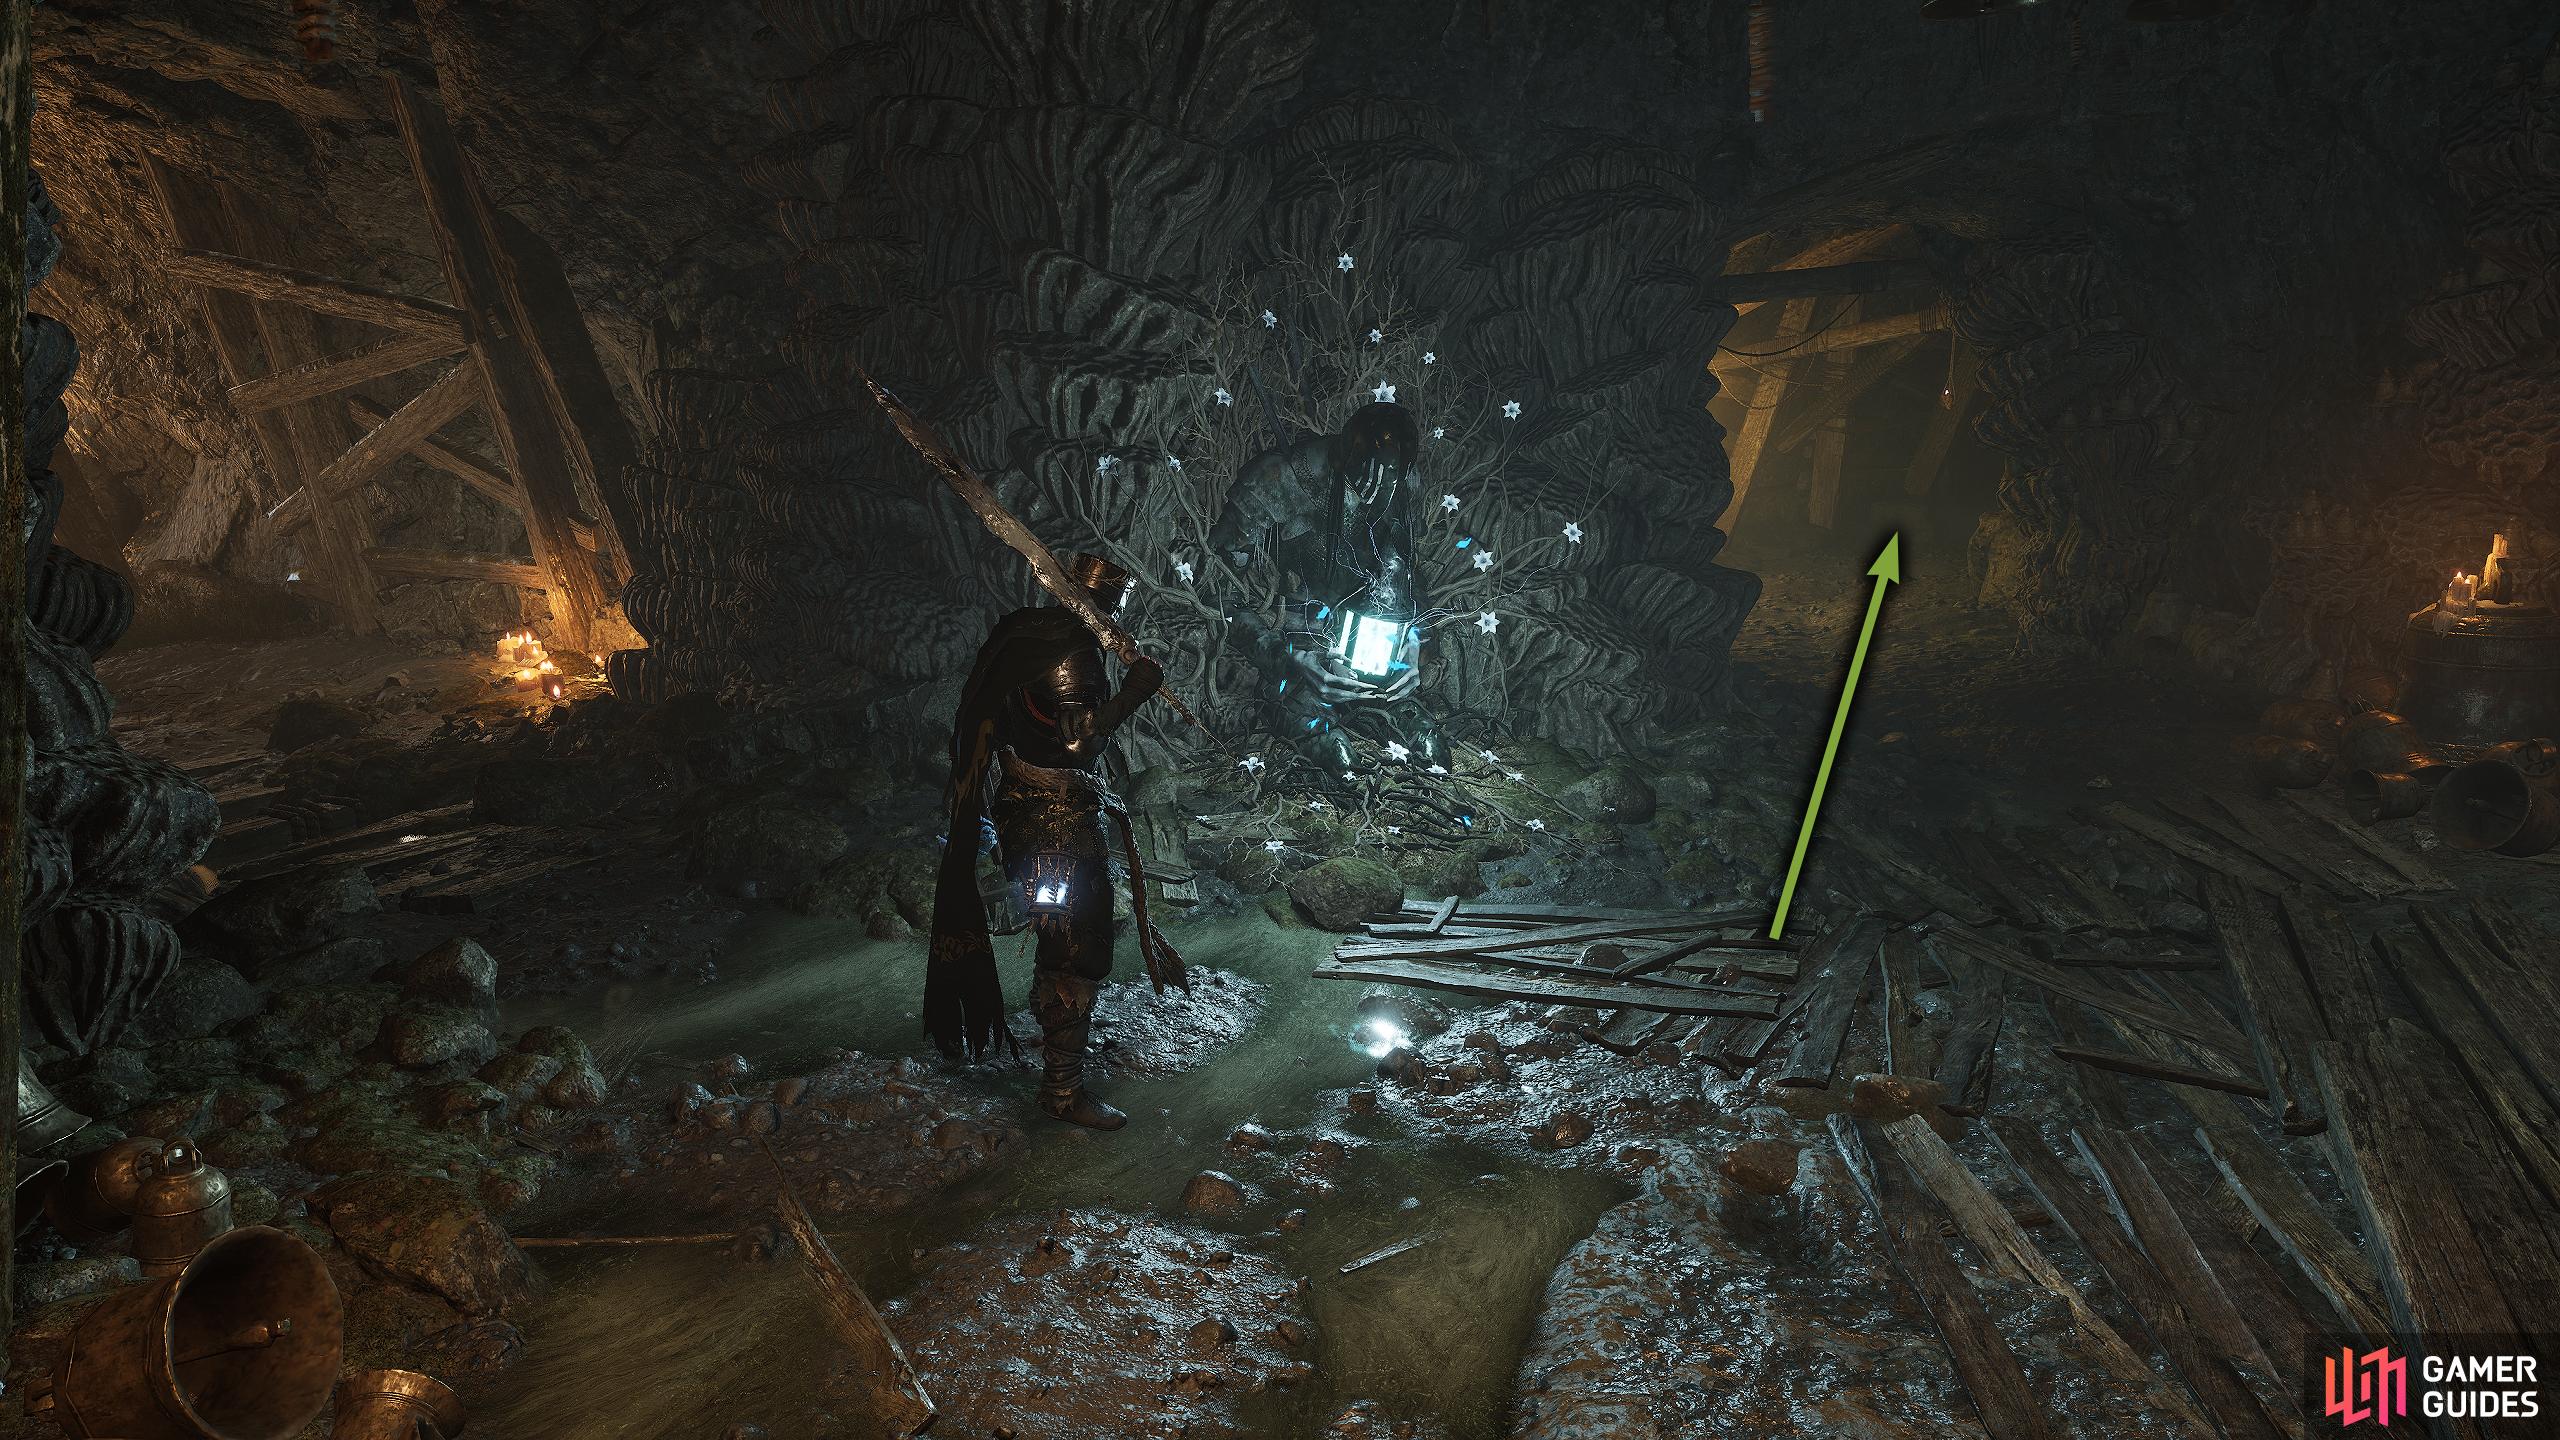
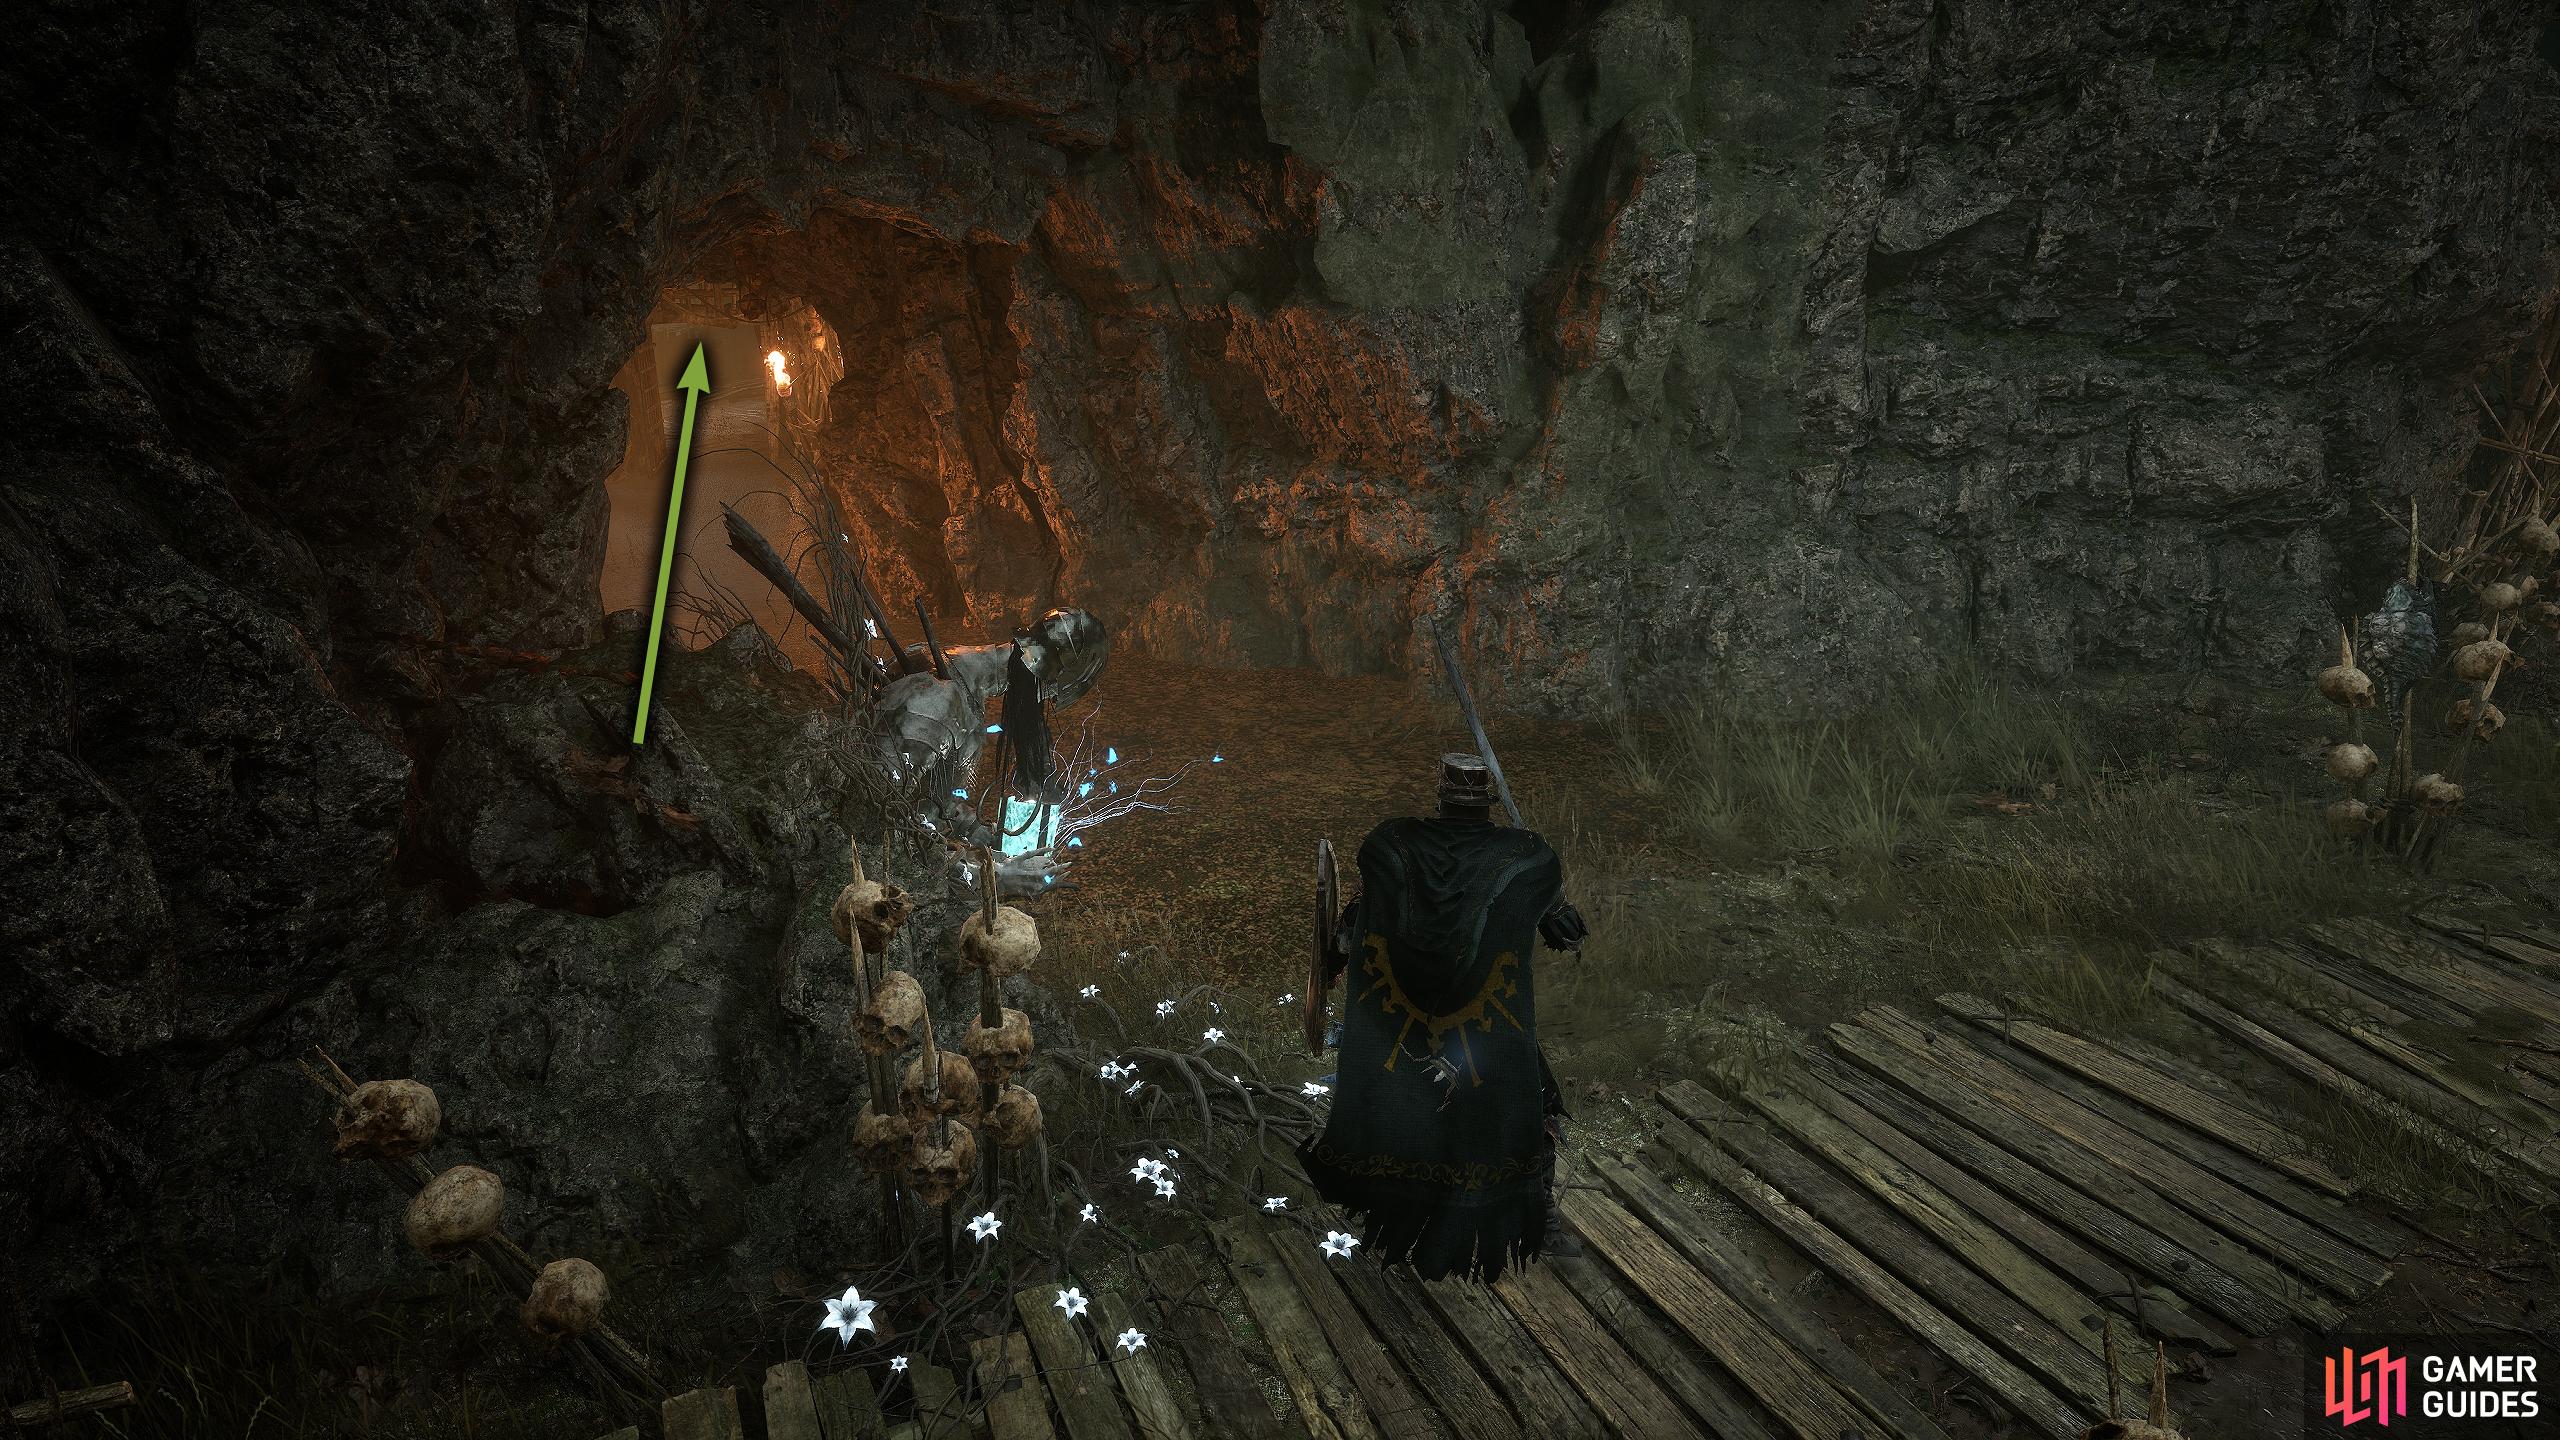
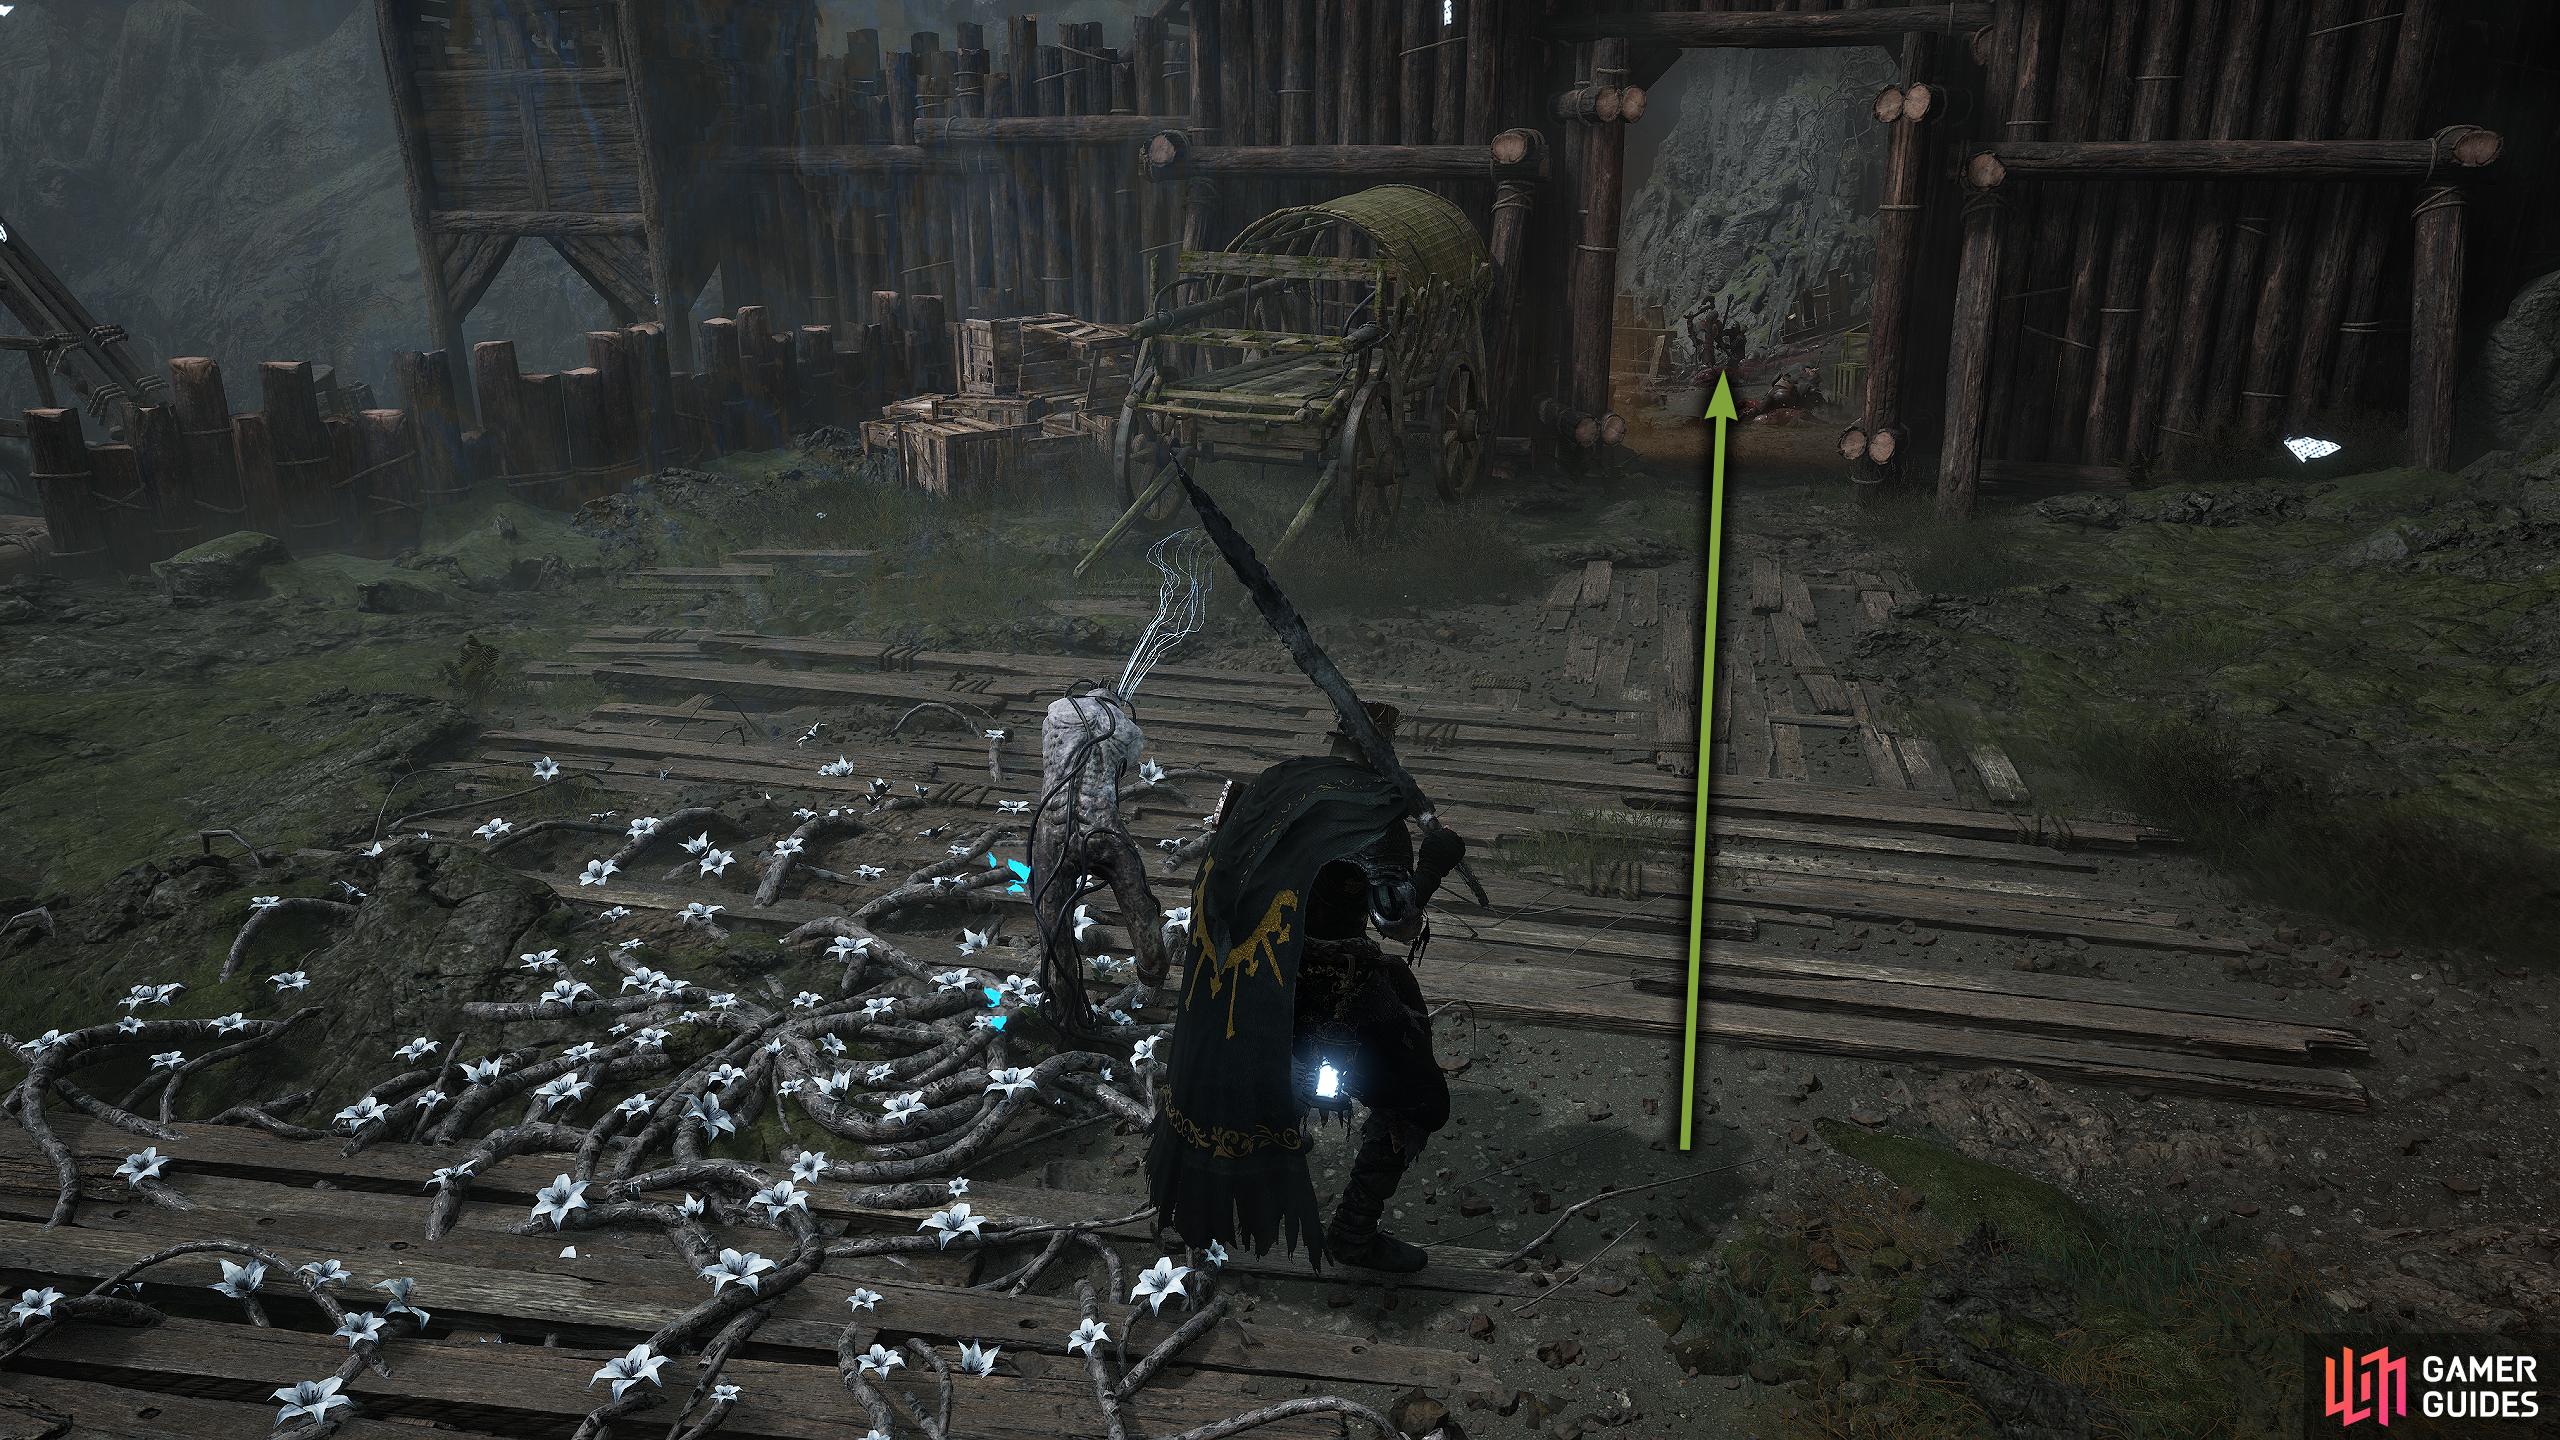
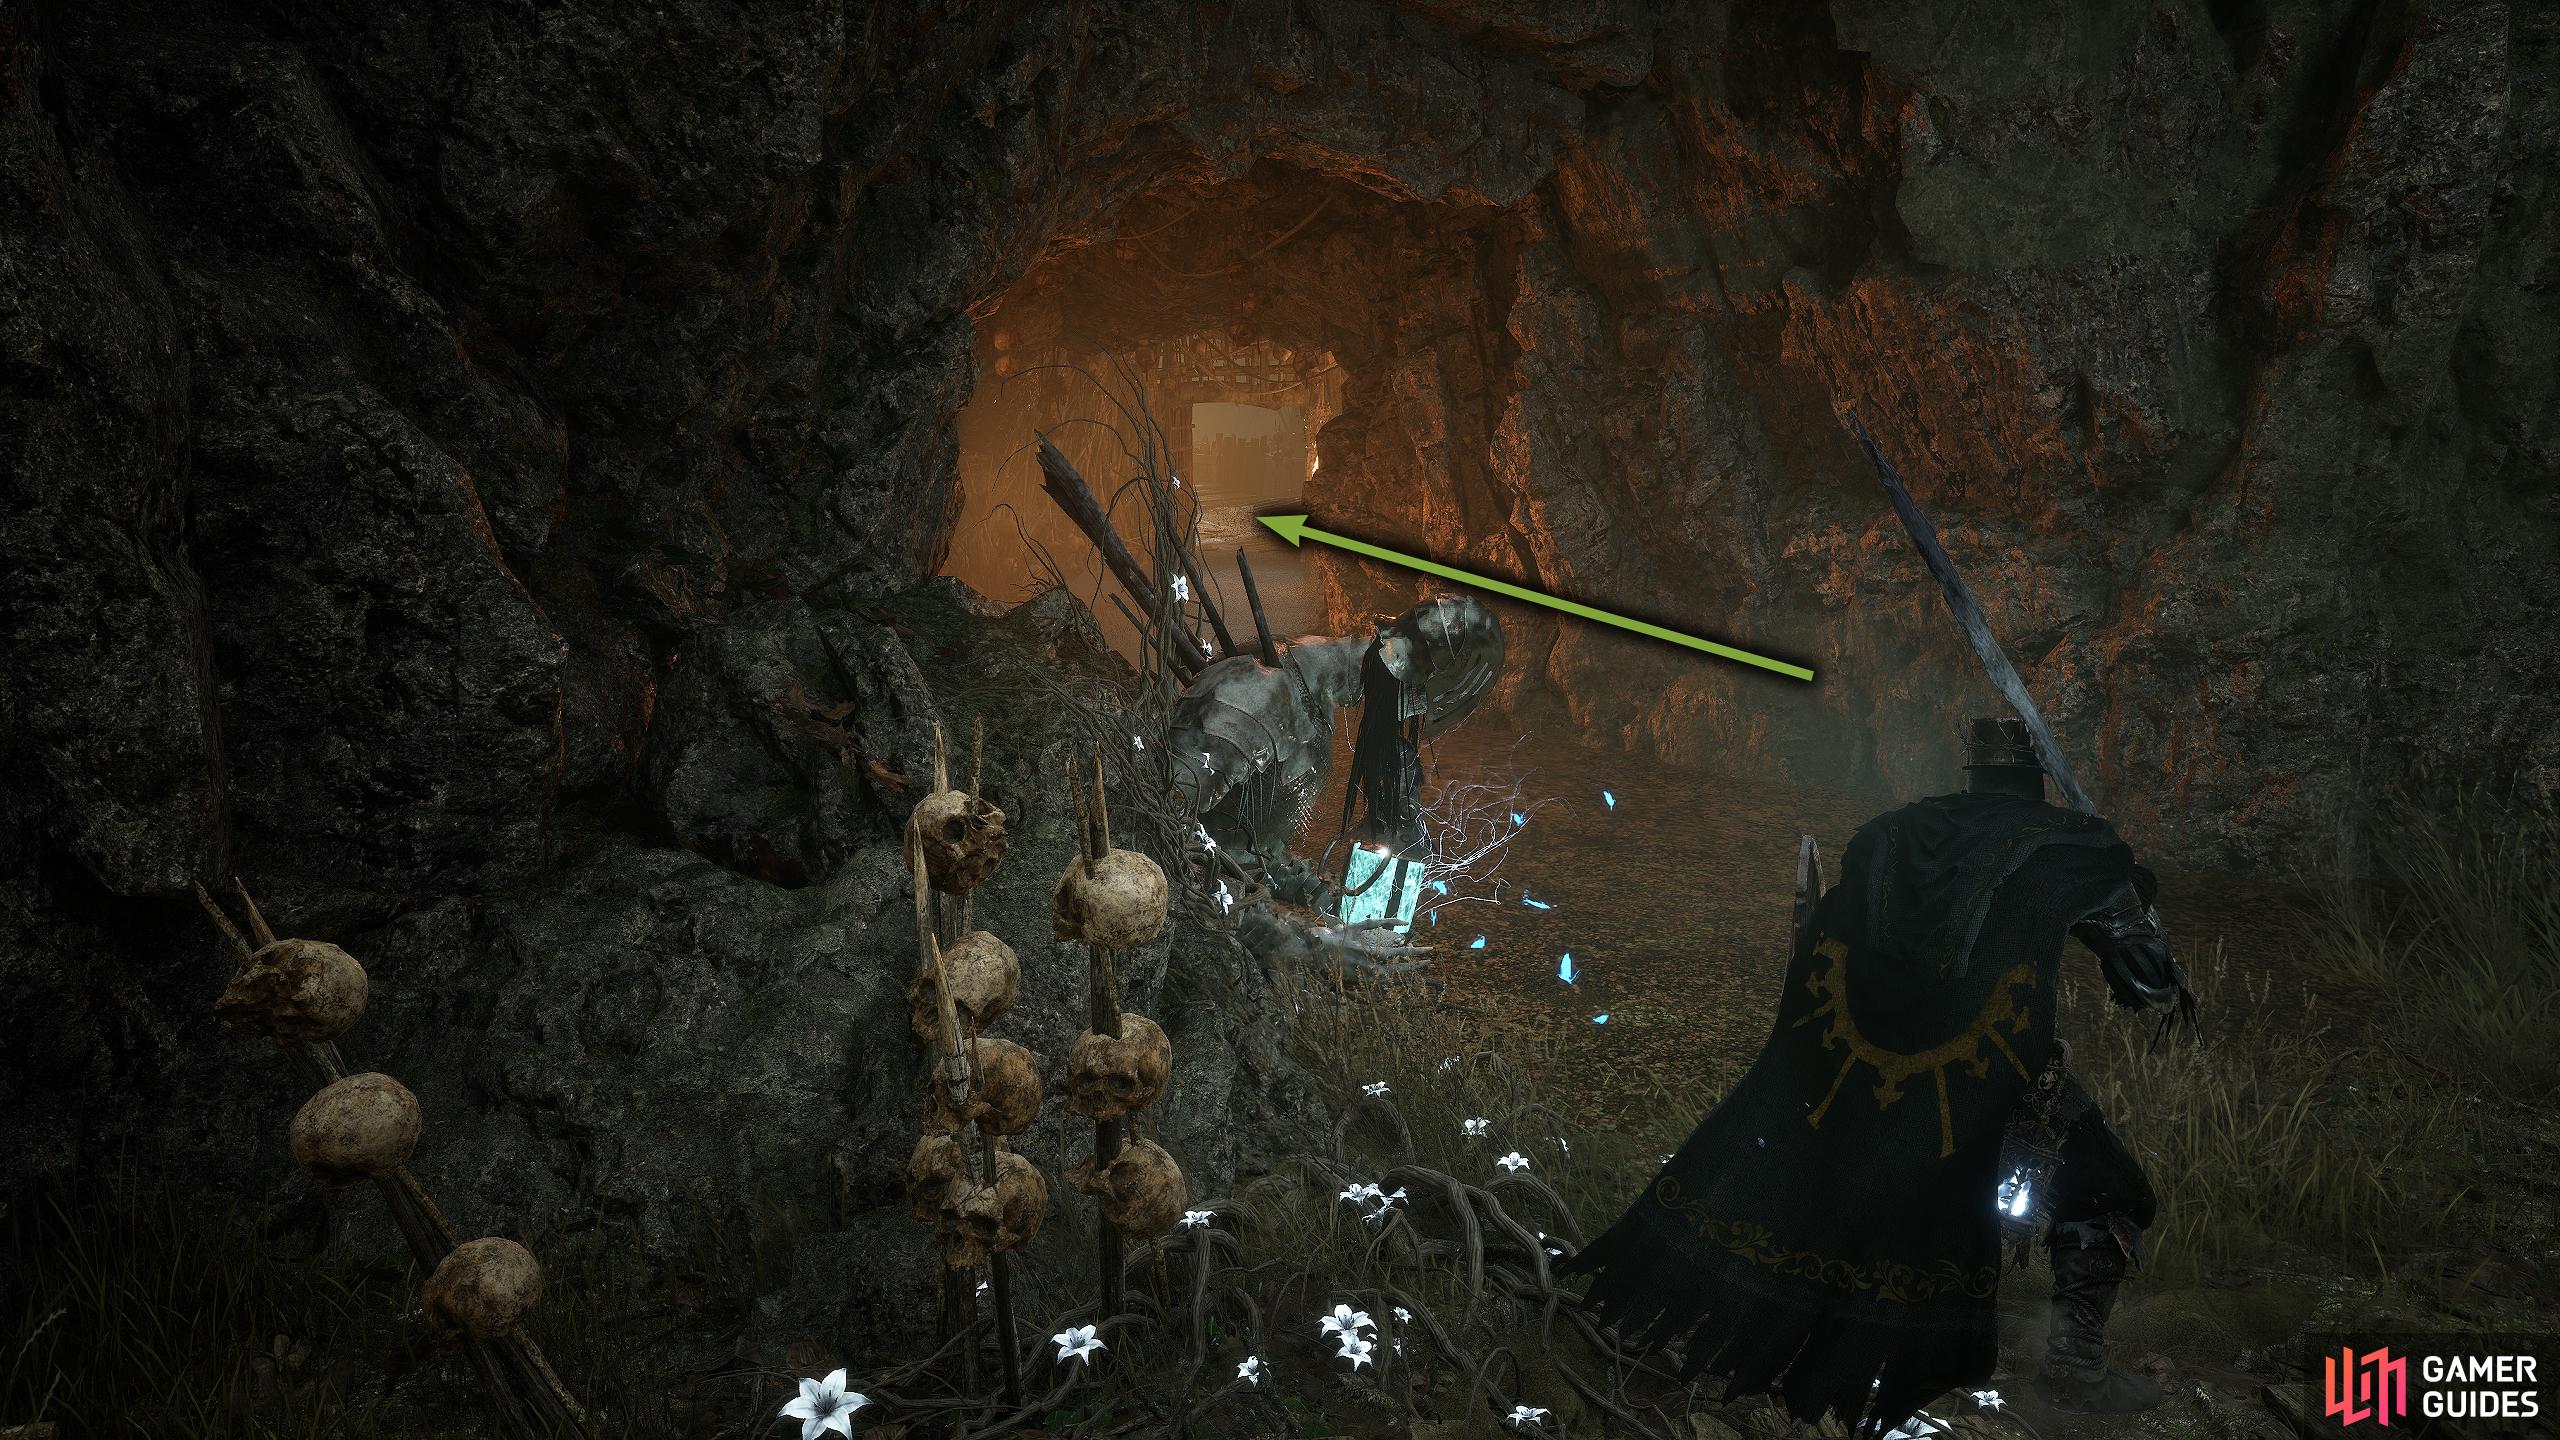
This will take you into a small encampment of soldiers which has two Holy Bulwarks waiting for you inside. Run past the enemies, and smash the barricade to your right which will take you to a bridge. From here, you want to enter the dark cave to your left, but if the enemies are still following you, take the right path to lose them then come back. In the cave, there are numerous Enslaved Miners (approx. 6 or 7) who are all protected by a parasite. Either, run around the area looting what you can (various materials including the chunk), or destroy the parasite which is hidden among the crates to your right, and take out all the miners. Whatever you choose, the Deralium Chunk will be in the center of the cave, behind some rocks.
Conclusion
If farming isn’t your cup of tea, but you still want to get your hands on the materials, Gerlinde the Blacksmith (and Thehk-Ihir to a lesser extent) will gradually begin to sell each tier as you progress through the game as far as Large Deralium Shards which should become available by the time you reach the Manse of the Harrowed Brothers/Abbey of the Harrowed Sisters areas provided you’ve been doing her quest. Furthermore, it appears these are in infinite supply, or at the very least, she’ll have 999 of each item.
Note these materials are needed for achievement hunters, as you can get the Honed to Perfection trophy for fully upgrading an item.


No Comments