
The Iron Wayfarer is one of the first NPCs you’ll speak to in Lords of the Fallen, and arguably one of the most important, especially when you find out his backstory. Typically, in the Soulslike genre, you will speak to an NPC, exhaust their dialogue, and they’ll move on to somewhere else where you’ll repeat the process while uncovering more about who they are, and what they want. Read below to find out where you can find the Iron Wayfarer, and how you can complete his quest line.
First Location - Vestige of Hannelore - Redcopse Village
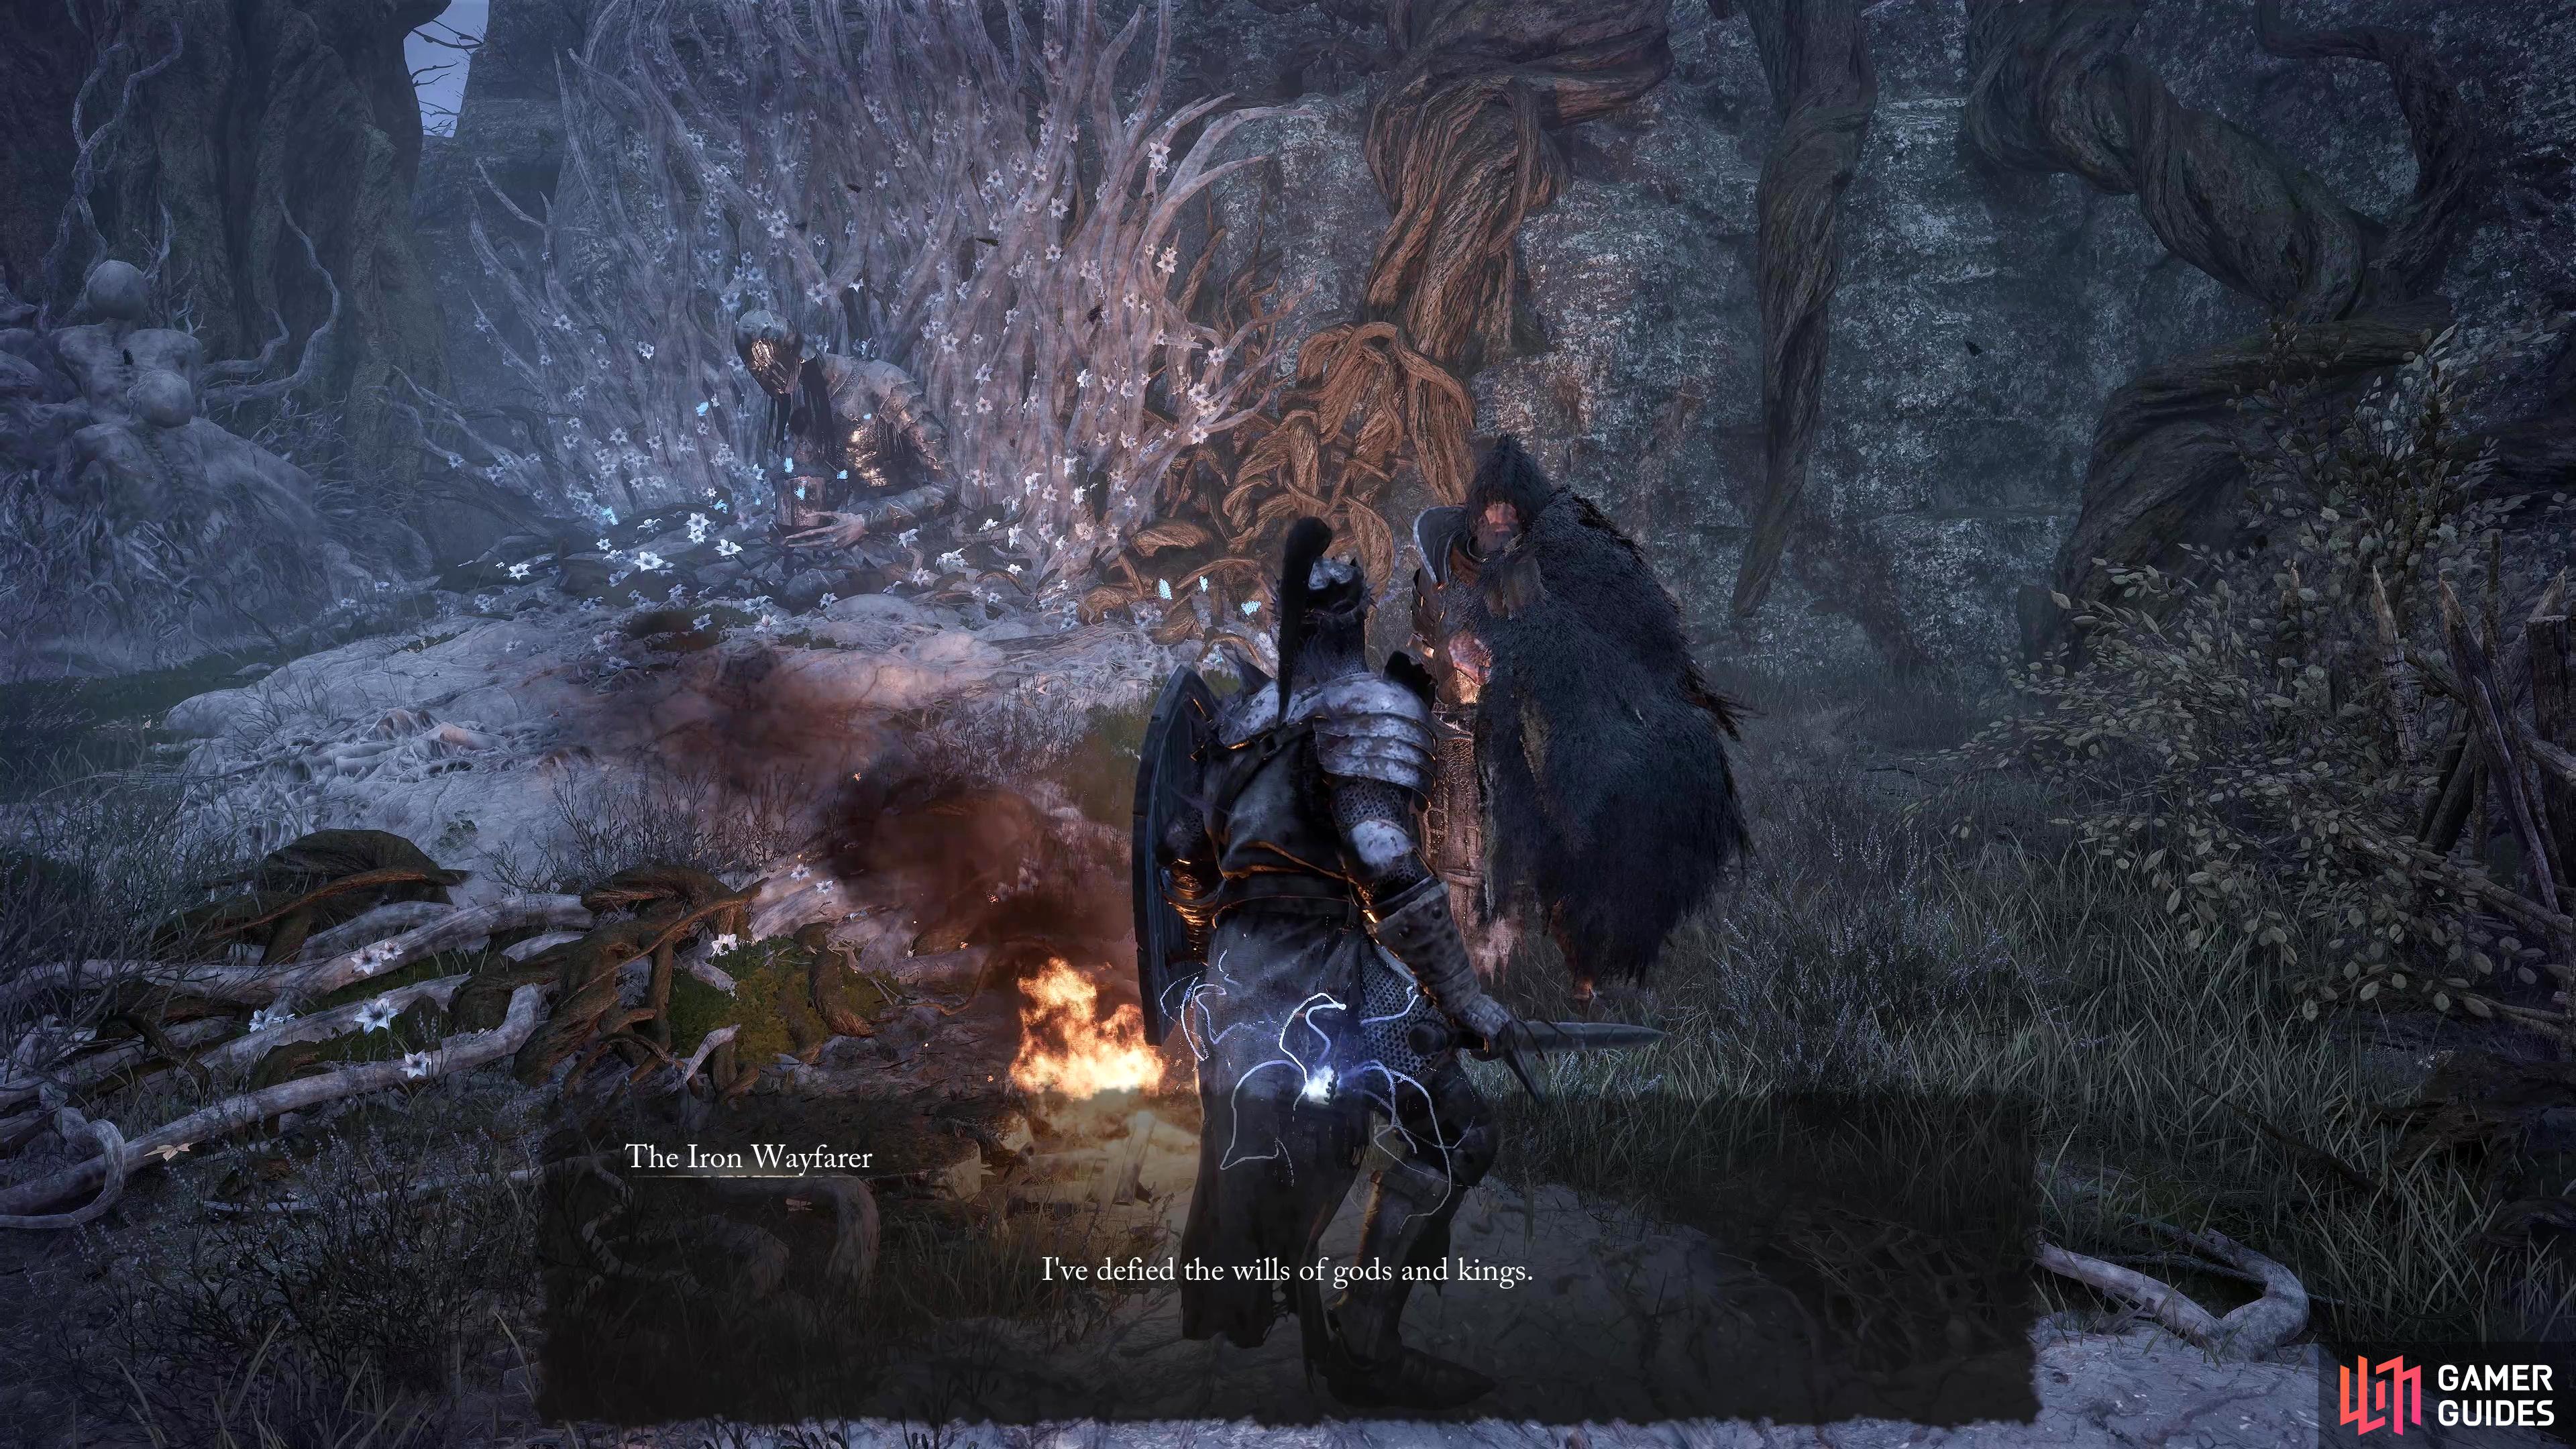
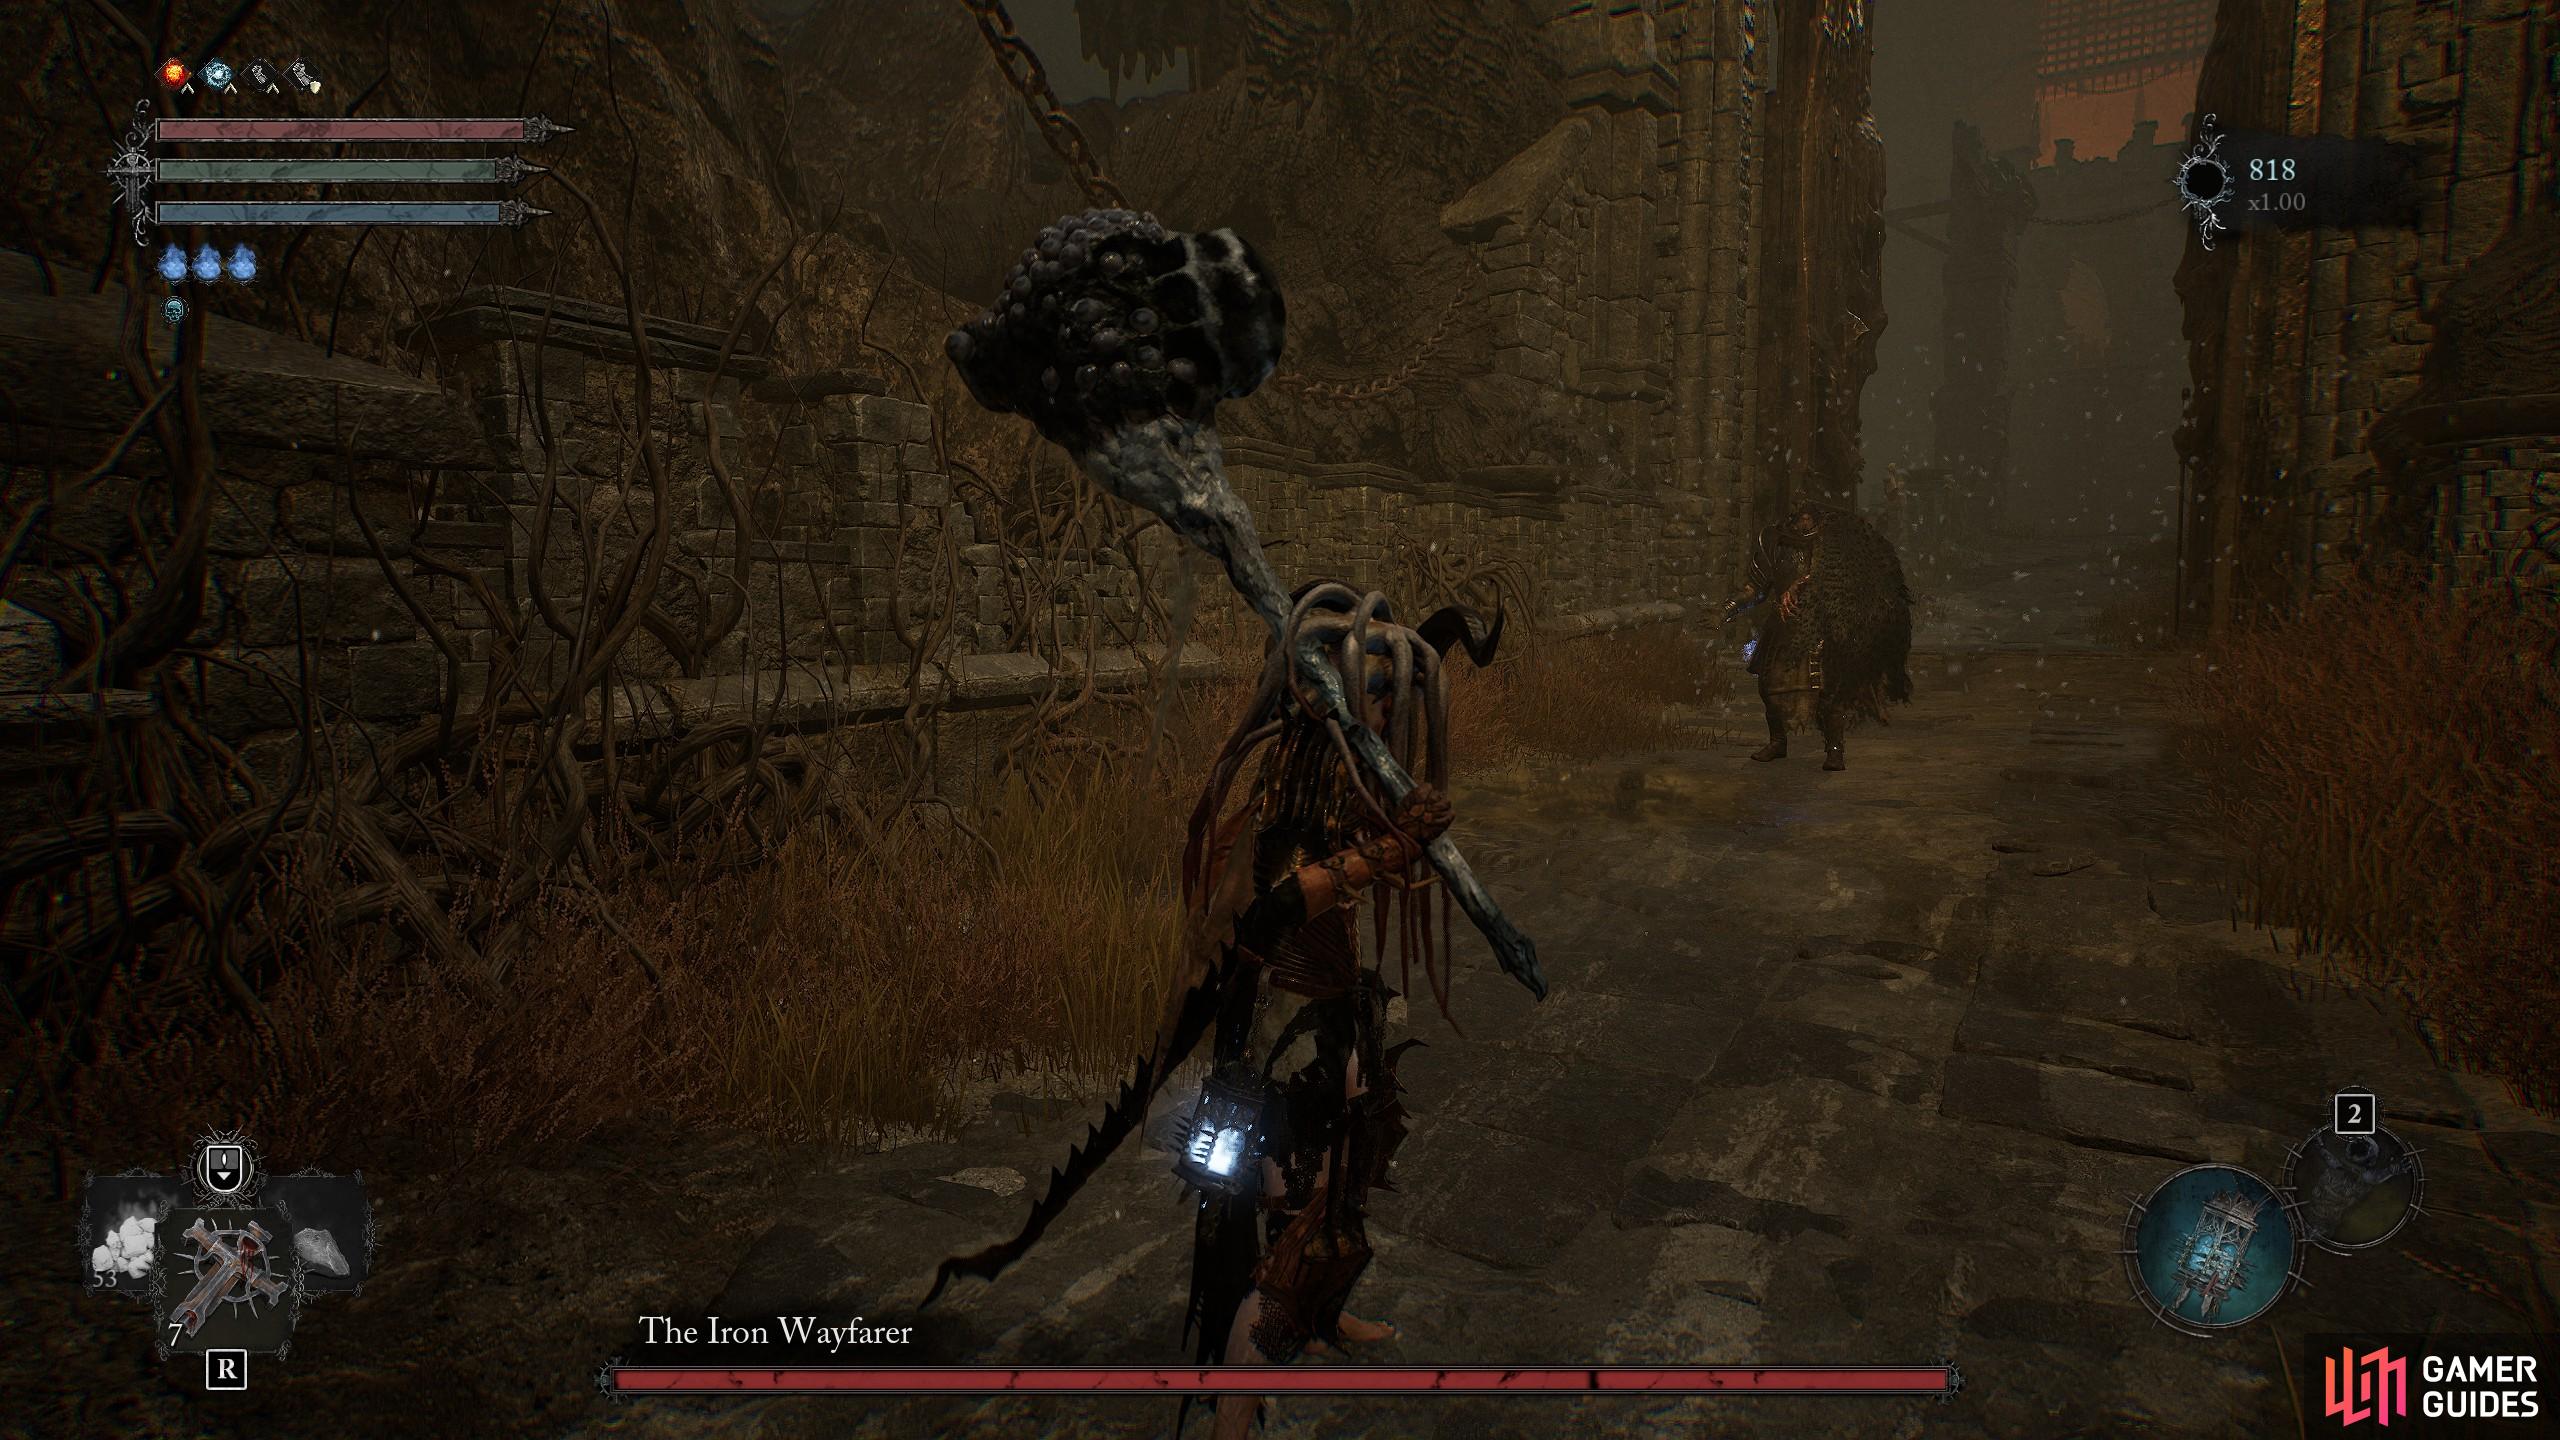
The first time you see The Iron Wayfarer will be at the Vestige of Hannelore which can’t be missed as it is at the entrance to the Redcopse Village. Speak to him, and he’ll tell you some interesting stuff, especially how the lamp you carry may be seen as a tool, but if you don’t take it seriously, you’ll find out it is more than that. Furthermore, he’ll mention that you’re marked by Adyr, the infernal architect of the Rhogar. One more interesting thing he’ll tell you is that he’s felled gods and kings in the past.
The first location of The Iron Wayfarer is at the Vestige of Hannelore in Rodecopse Village.
Second Location - Just Before First Boss - Redcopse Village
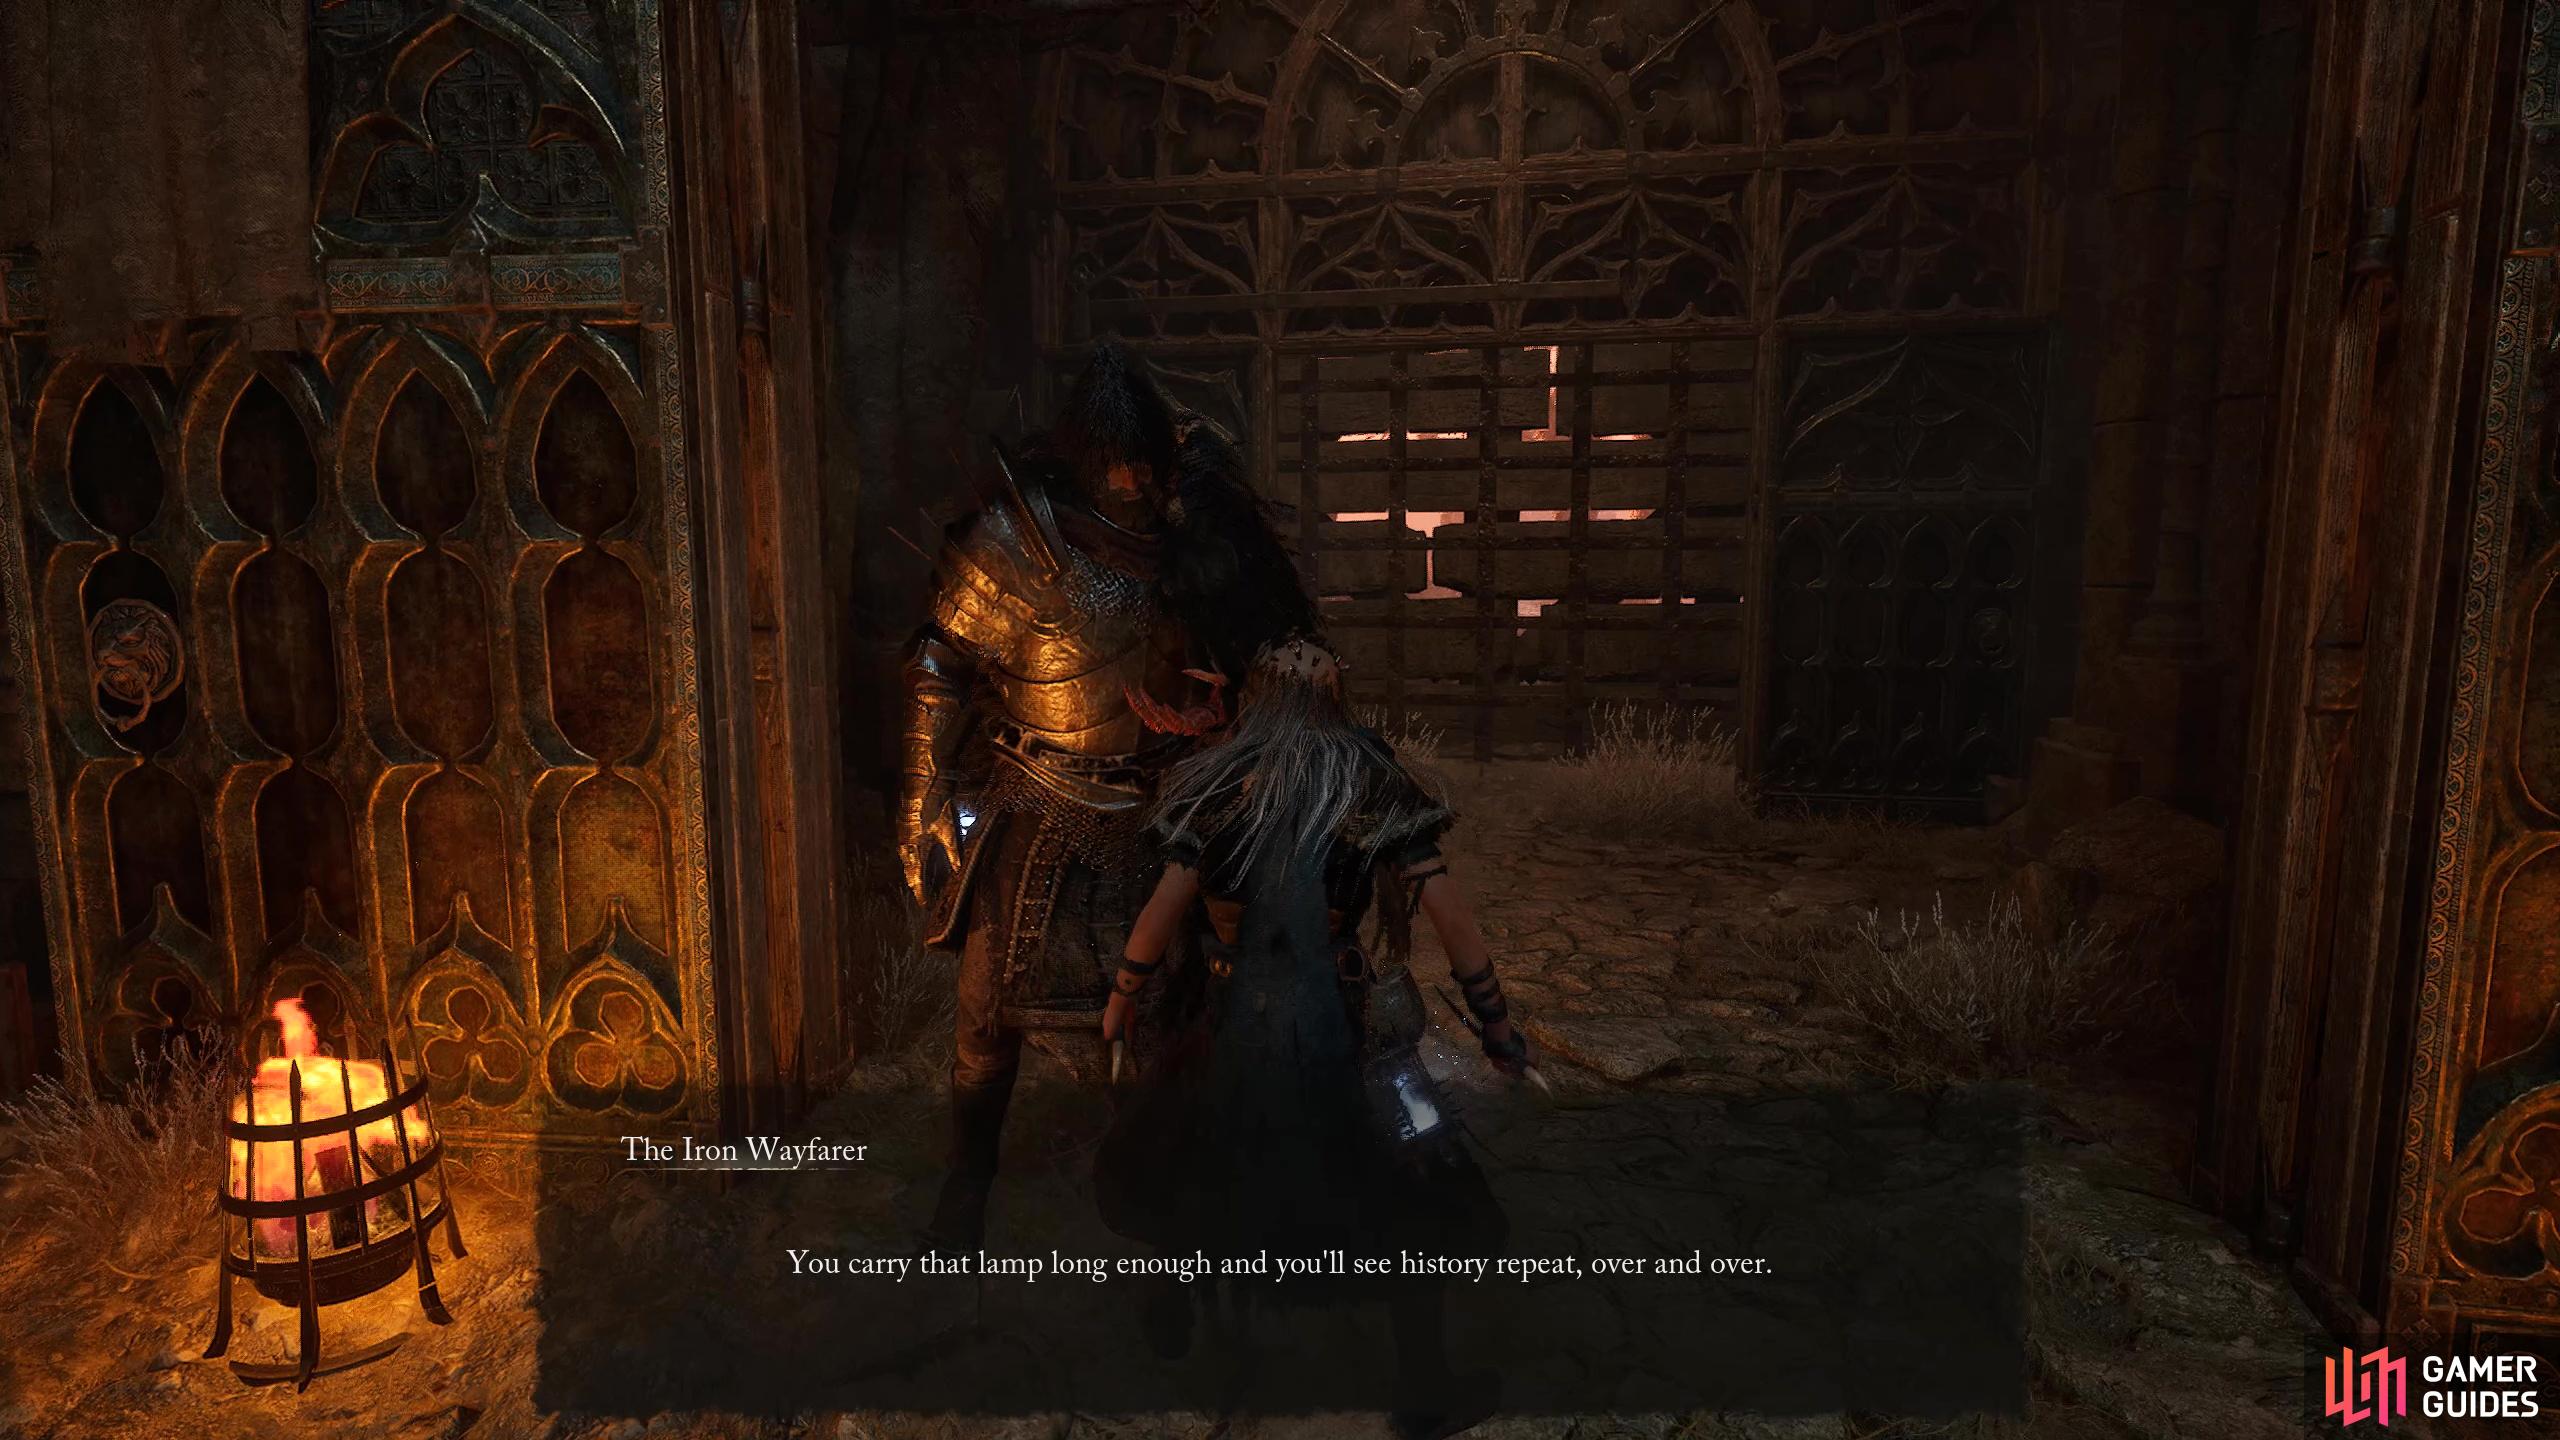
Make your way through Redcopse Village and towards the end you’ll be forced into the Umbral Realm to progress. When you exit it via the Emergence Effigy, continue along the path until you find a ladder next to a brazier. Climb up and drop to the floor on the other side, and you’ll find the imposing Iron Wayfarer standing at the back. Once again, speak to him, and he’ll talk about how carrying the lamp long enough will repeat history over and over. It’s clear the lamp isn’t exactly what you think it is. After his dialogue, he’ll give you a Vestige Seedling which acts as a temporary Vestige which you can place next to him.
The second location of The Iron Wayfarer is below the bridge near the first boss. Speak to him for a Vestige Seed.
Third Location - Forsaken Fogfen
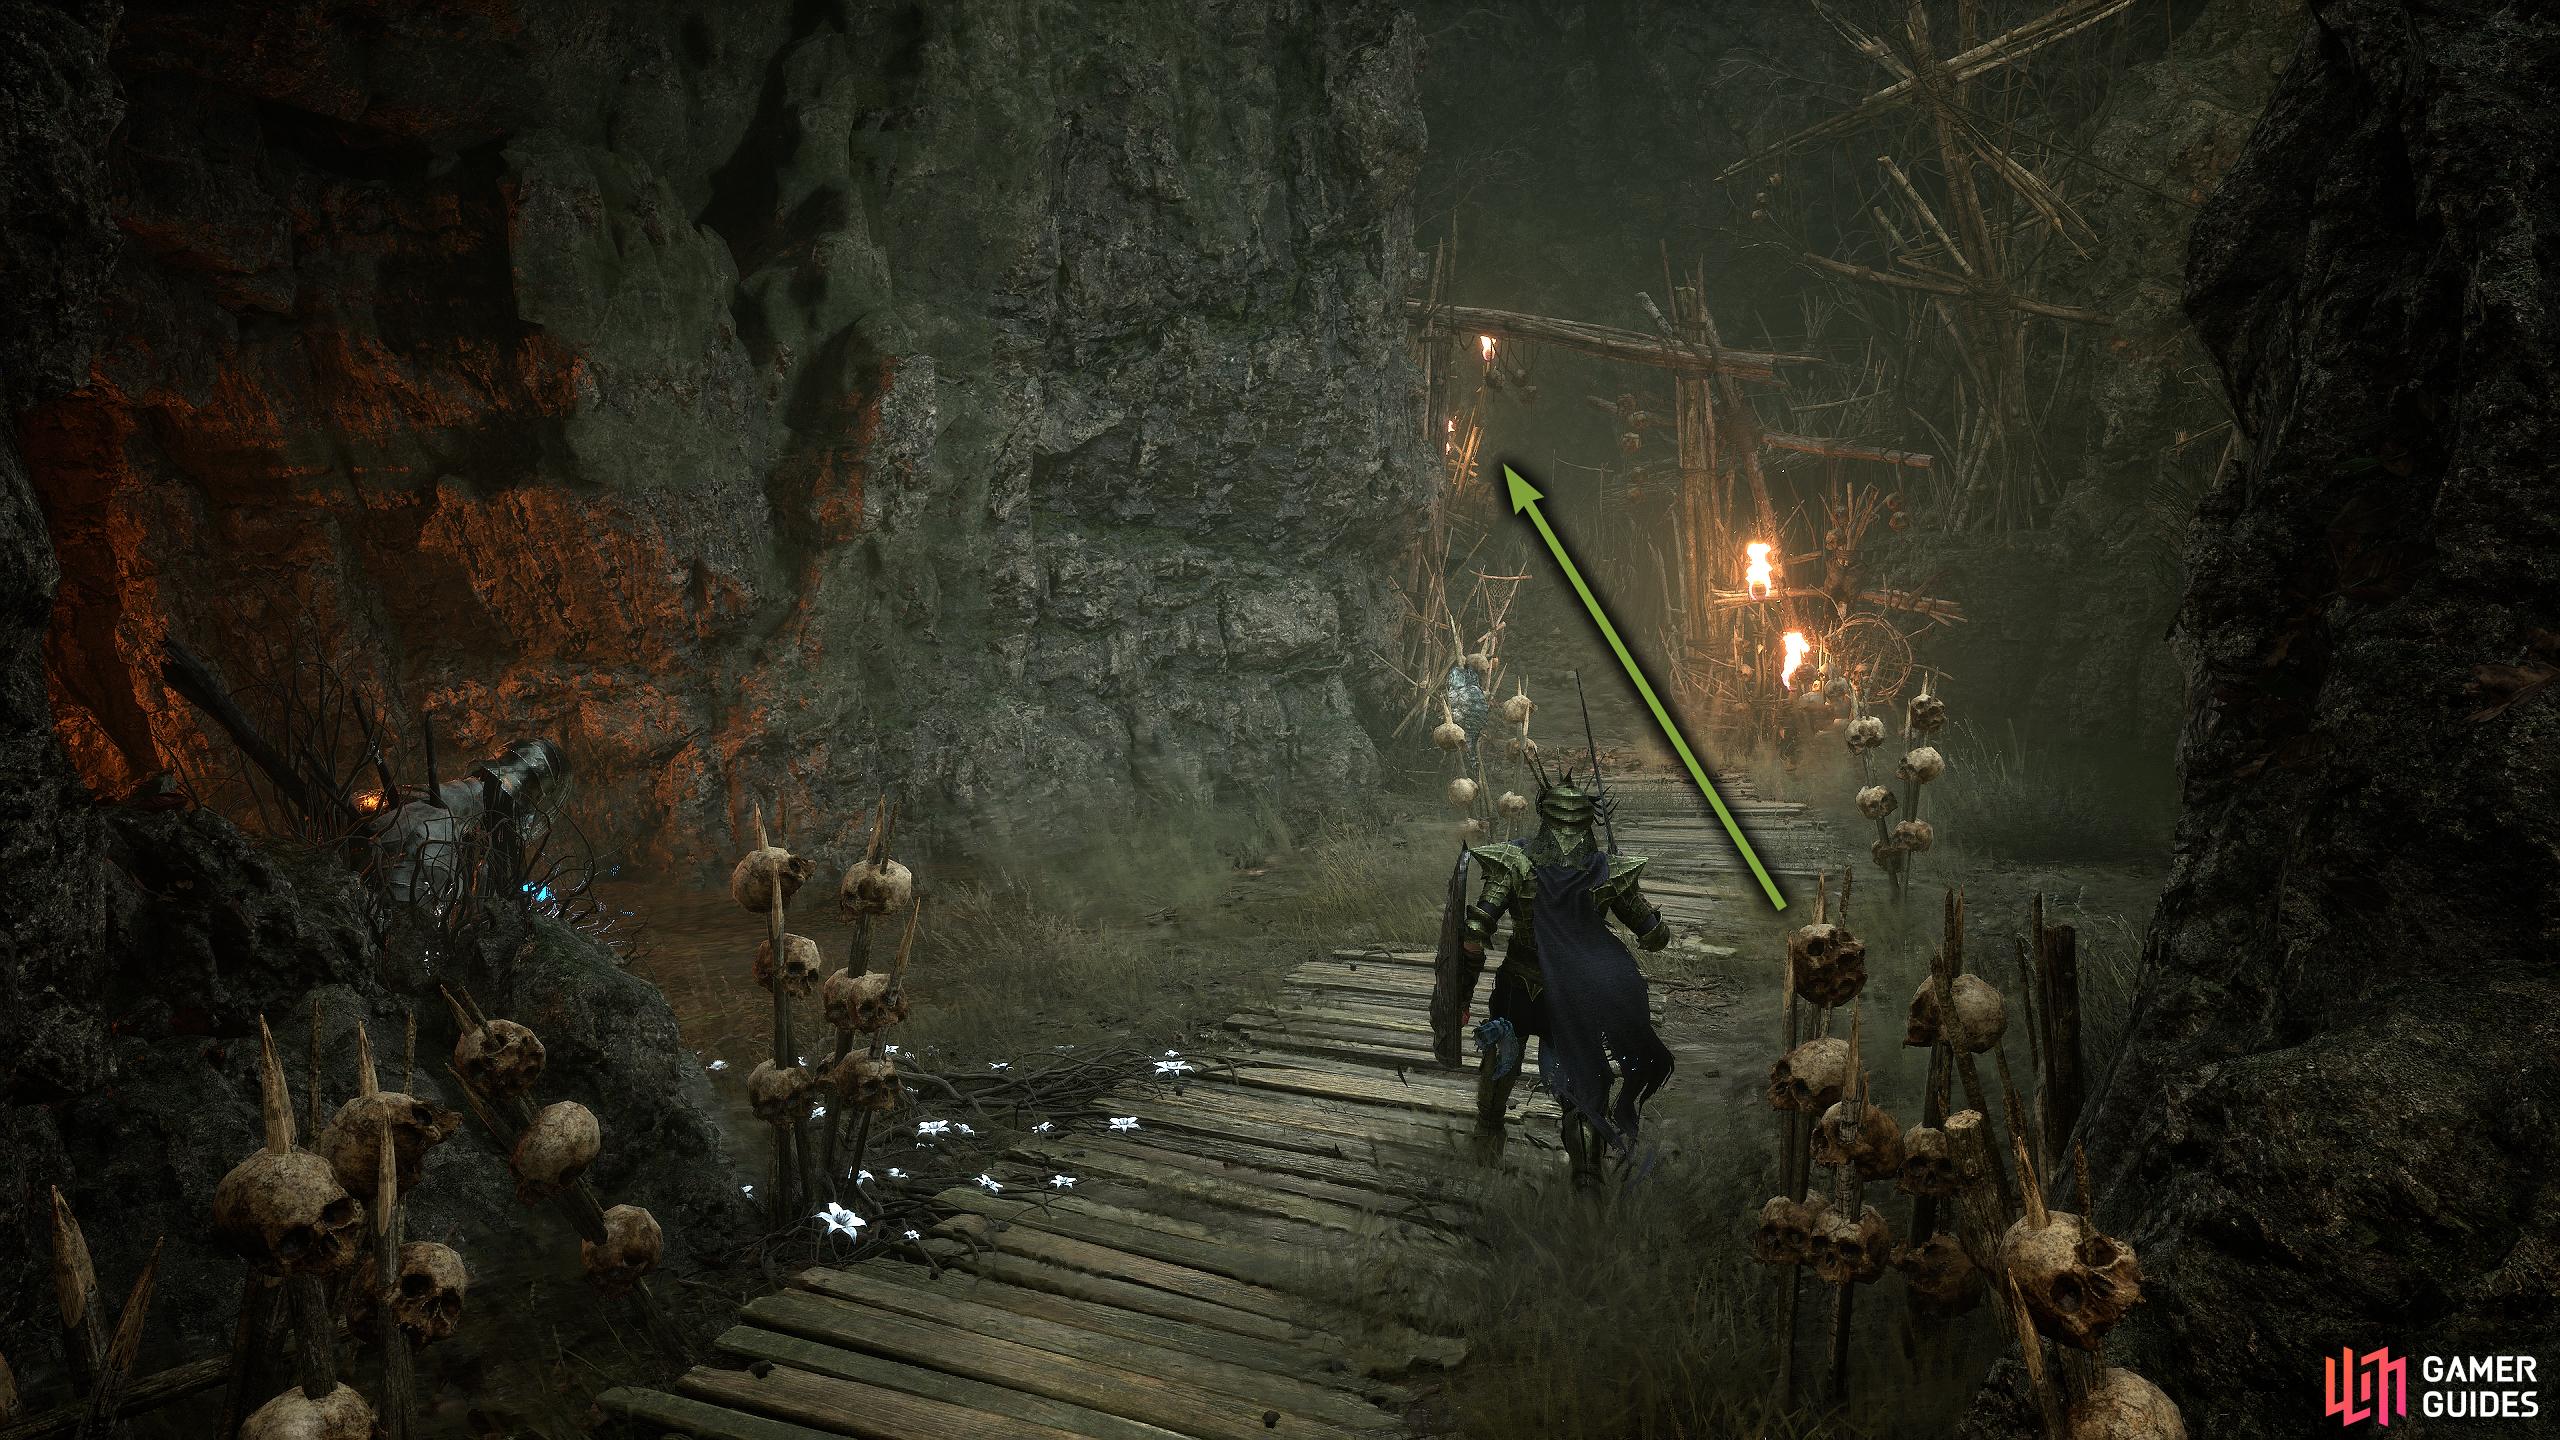
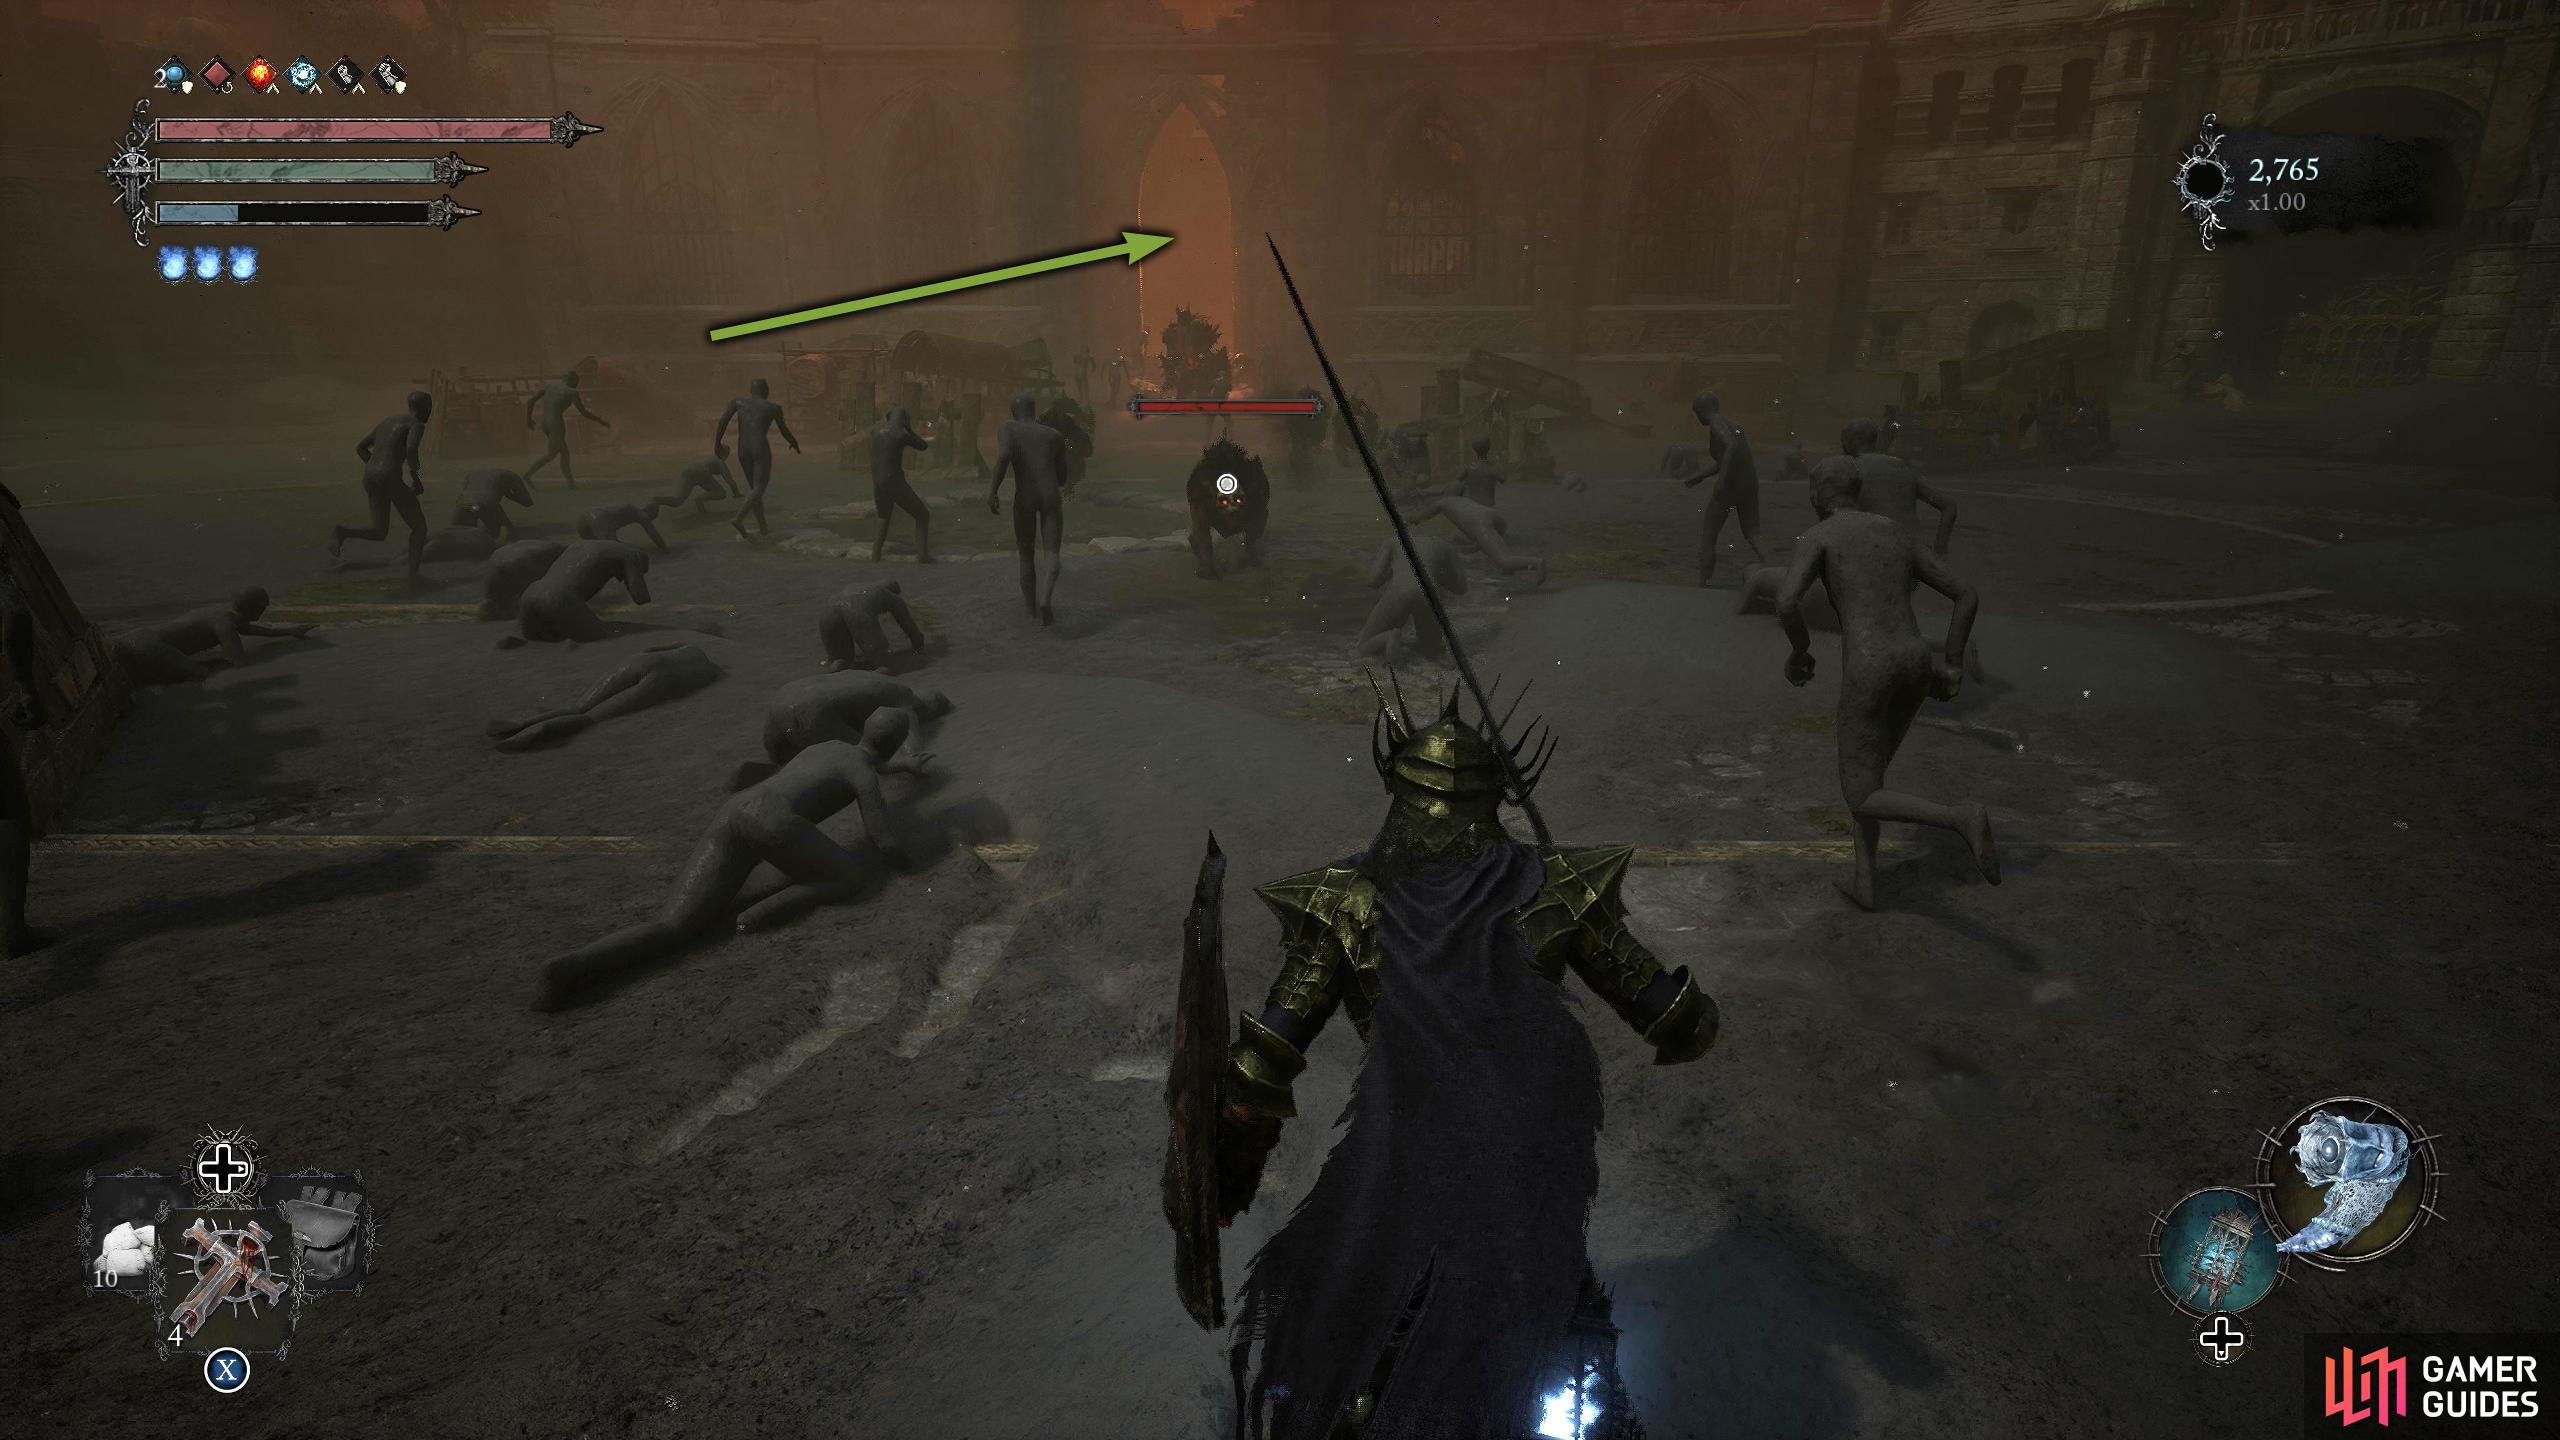
You won’t find The Iron Wayfarer again until you reach the swampy area of the Forsaken Fogfen. Make your way through the area until you reach the Valade Vestige. Byron will be standing here too, if you spoke to him previously. Now, if you’ve unlocked the shortcut door to the left, this will be quicker, if not, not to worry as this guide will assume you haven’t. From the Vestige, head forward up the slope, and follow the path until you reach the spiked archway after the shallow swamp.
Continue along the path until you reach a large bonfire. There are many enemies around here, so take them out first if you want to be safe. With them dealt with, head across the bridge to the left of the bonfire, and continue forward while defeating the enemies until you reach some water. Switch over to the Umbral Realm to find a path leading to a Bed of Flowers, and The Iron Wayfarer. Speak to him, and once again, he’ll talk about the lamp, and he’ll appear surprised that it hasn’t affected you yet, and he’ll give you some tips on how to deal with the lamp in general.
Fourth Location - Upper Calrath - Tunnel
Your next meeting with The Iron Wayfarer won’t be until you reach Upper Calrath which can be accessed after defeating the boss in the Sunless Skein mine, and taking the elevator up. At the top, exit the elevator room, turn right, and head to the end. Enter the Umbral Realm and Soul Flay the body opposite the door (need to get where the Enchantress is/was) to open the Umbral door then head into the next area.
Use the Emergence Effigy on the other side then enter the large circular room. Here, there will be several dogs and a Ravager. Take them out, and head through the doorway where the Ravager came from. Jump over the gap, and head up the stairs while taking out the Enchantress. Be careful not to rush her as there is a fire-breathing dog just behind her. At the top, turn right, and follow the path to the end. If you’re in the Umbral Realm, you can use the platforms below to get to a chest that contains the Calrath Guardsman Armor Set.
With that looted, drop to the floor, and use the nearby Emergence Effigy if you got the chest. Head through the doorway just in front of that, turn right, and go through the doorway into a tunnel. Follow the narrow corridor to the end and take out the enemies around the corner. This will consist of two axemen (one fire), a serpent crossbow enemy, and an Enchantress who is attached to a parasite…fun times. Once you’ve dealt with them, The Iron Wayfarer will be just around the corner. As always, speak to him, and you’ll find out a bit more about who he is, and what he’s been up to.
Fifth Location - Upper Calrath - Courtyard
Carrying on from the last location. When you exit the tunnel, head left, and follow the path into the main courtyard where you’ll find a Skinstealer roaming about as a normal enemy (Sunless Skein boss). Take it out, preferably from ranged…with Putrid Lance, and loot the area then head through the double doorway between the braziers where you’ll find The Iron Wayfarer again. Talk to him once more, and you’ll find out even more about him, and the story starts to become a bit clearer.
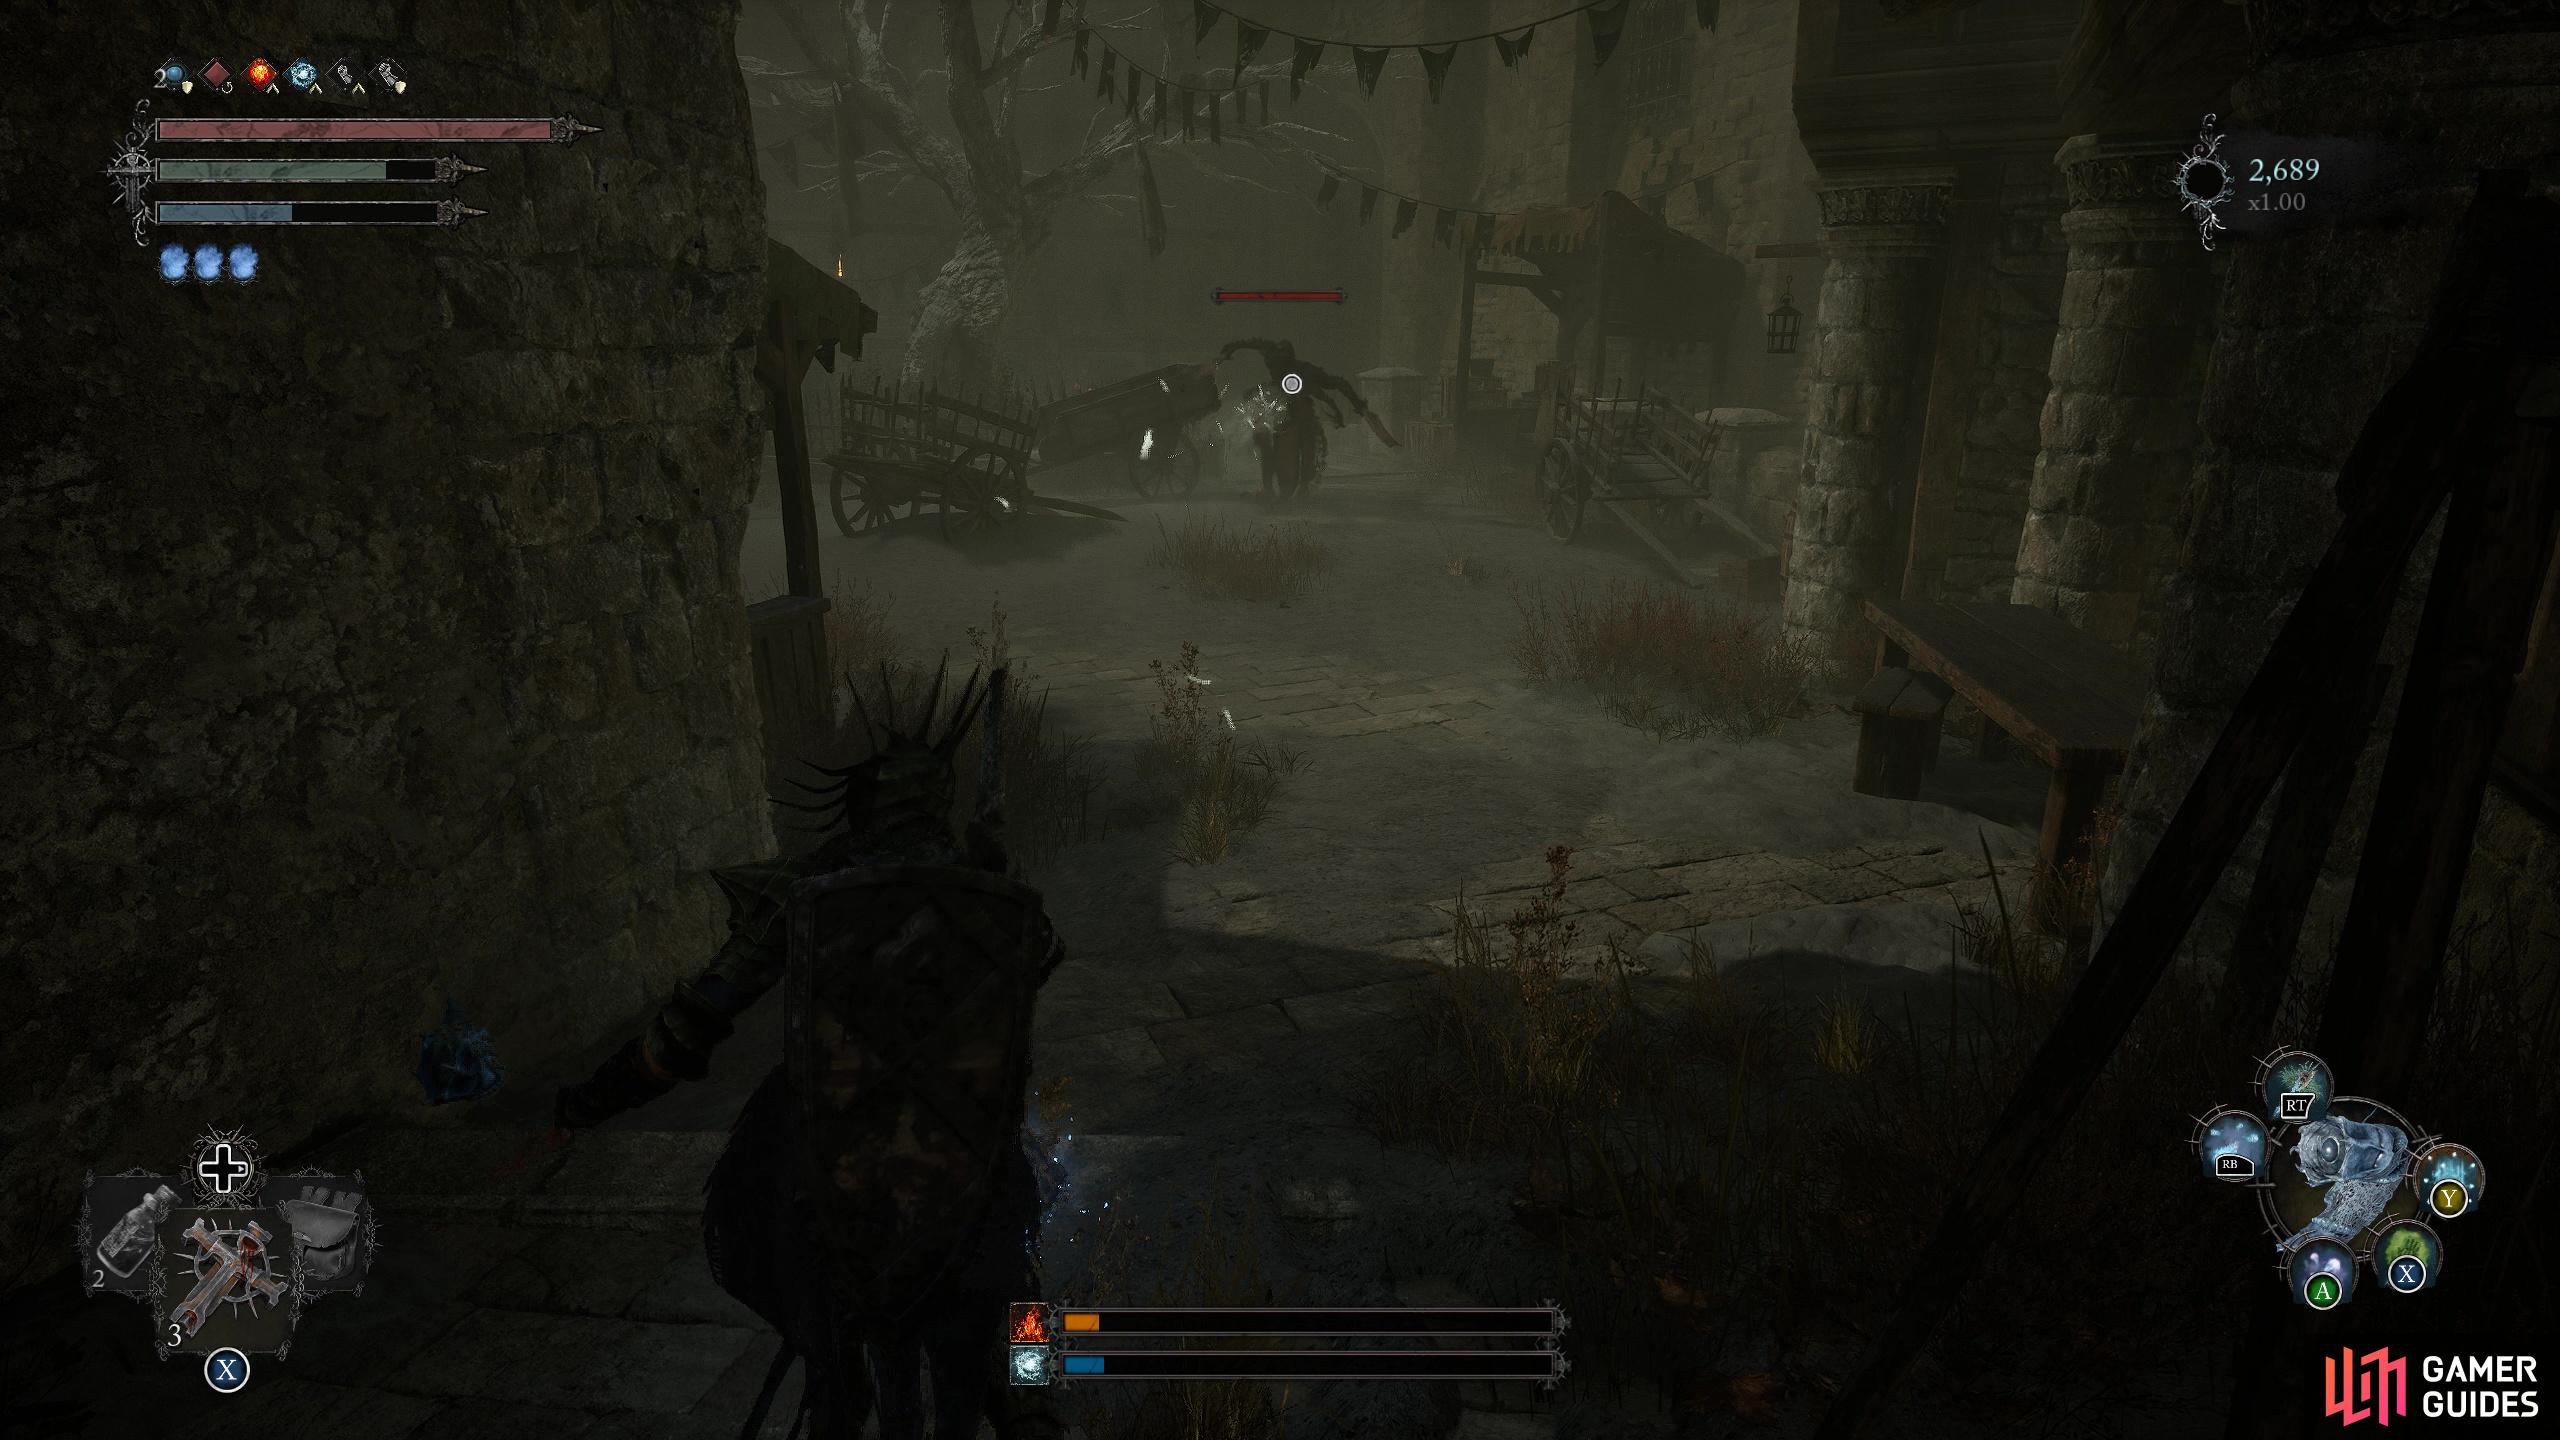
(1 of 3) After speaking to The Iron Wayfarer in the tunnel. Exit, and follow the street left into the courtyard where the Skinstealer is.
Sixth Location - Manse of the Hallowed Brothers - Vestige of Ferrers the Charred
The Iron Wayfarer moves to the Vestigge at the start of the Manse near the elevator.
The next location of the Iron Wayfarer in Lords of the Fallen is at the very birth of the Manse of Hallowed Brothers. To access this location, acquire the ![]() Pilgrim’s Perch Key, and then open the door next to the vestige in the Pilgrim’s Perch cave. This takes you through the Belled Rise area, where players can defeat a boss, and access the upper areas of Pilgrim before boarding an elevator to get to the Manse. When you’re there, move to the vestige, and you should see the burly figure overlooking the vista.
Pilgrim’s Perch Key, and then open the door next to the vestige in the Pilgrim’s Perch cave. This takes you through the Belled Rise area, where players can defeat a boss, and access the upper areas of Pilgrim before boarding an elevator to get to the Manse. When you’re there, move to the vestige, and you should see the burly figure overlooking the vista.
Again, exhaust the dialogue and you will find out you are on the hunt to find the Mark of Adyr. This is an important quest item required to unlock Bramis Castle for the Inferno and Radiance endings, and it’s used for the Umbral ending too.
Seventh Location - Abbey of Hallowed Sisters - Temple
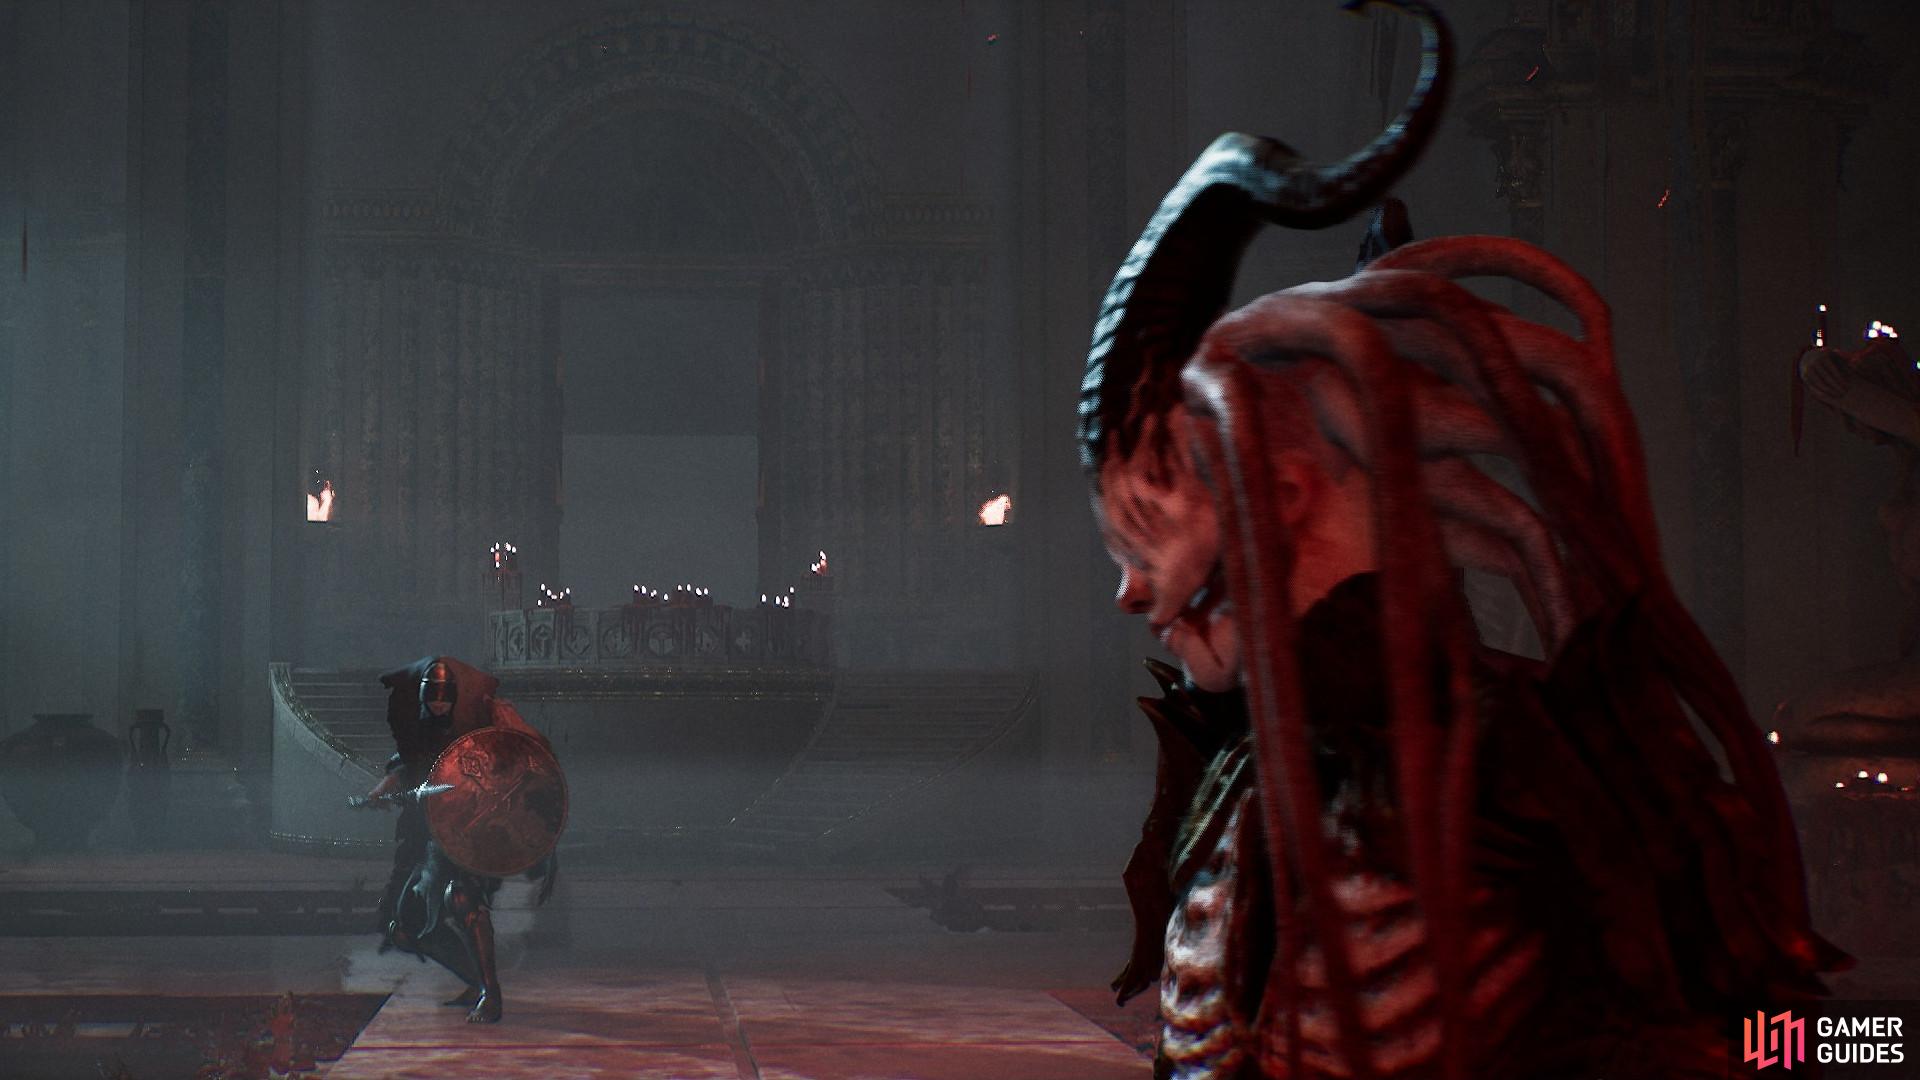
Interact with the Mark of Adyr, and you can get this boss. The Wayfarer can come and steal the item from you while you do this battle, but it depends if you’re backtracking or not (like I am)
The seventh location of the Iron Wayfarer is a mere technicality, and you don’t necessarily need to speak to him here. If you’re backtracking the quest, simply interact with the Mark of Adyr in the temple, located directly at the front of the large temple’s ground floor level. If you interact with it, you get a cutscene, where a mini-boss comes to guard it. Defeating it will give you the Mark of Adyr. Once this is done, you can now proceed with the main quest and unlock the gates of Bramis Castle. If you’re not backtracking, the Wayfarer should appear and take the Mark and run off to Bramis Castle with it.
Eighth Location - Upper Calrath - Bramis Castle Door
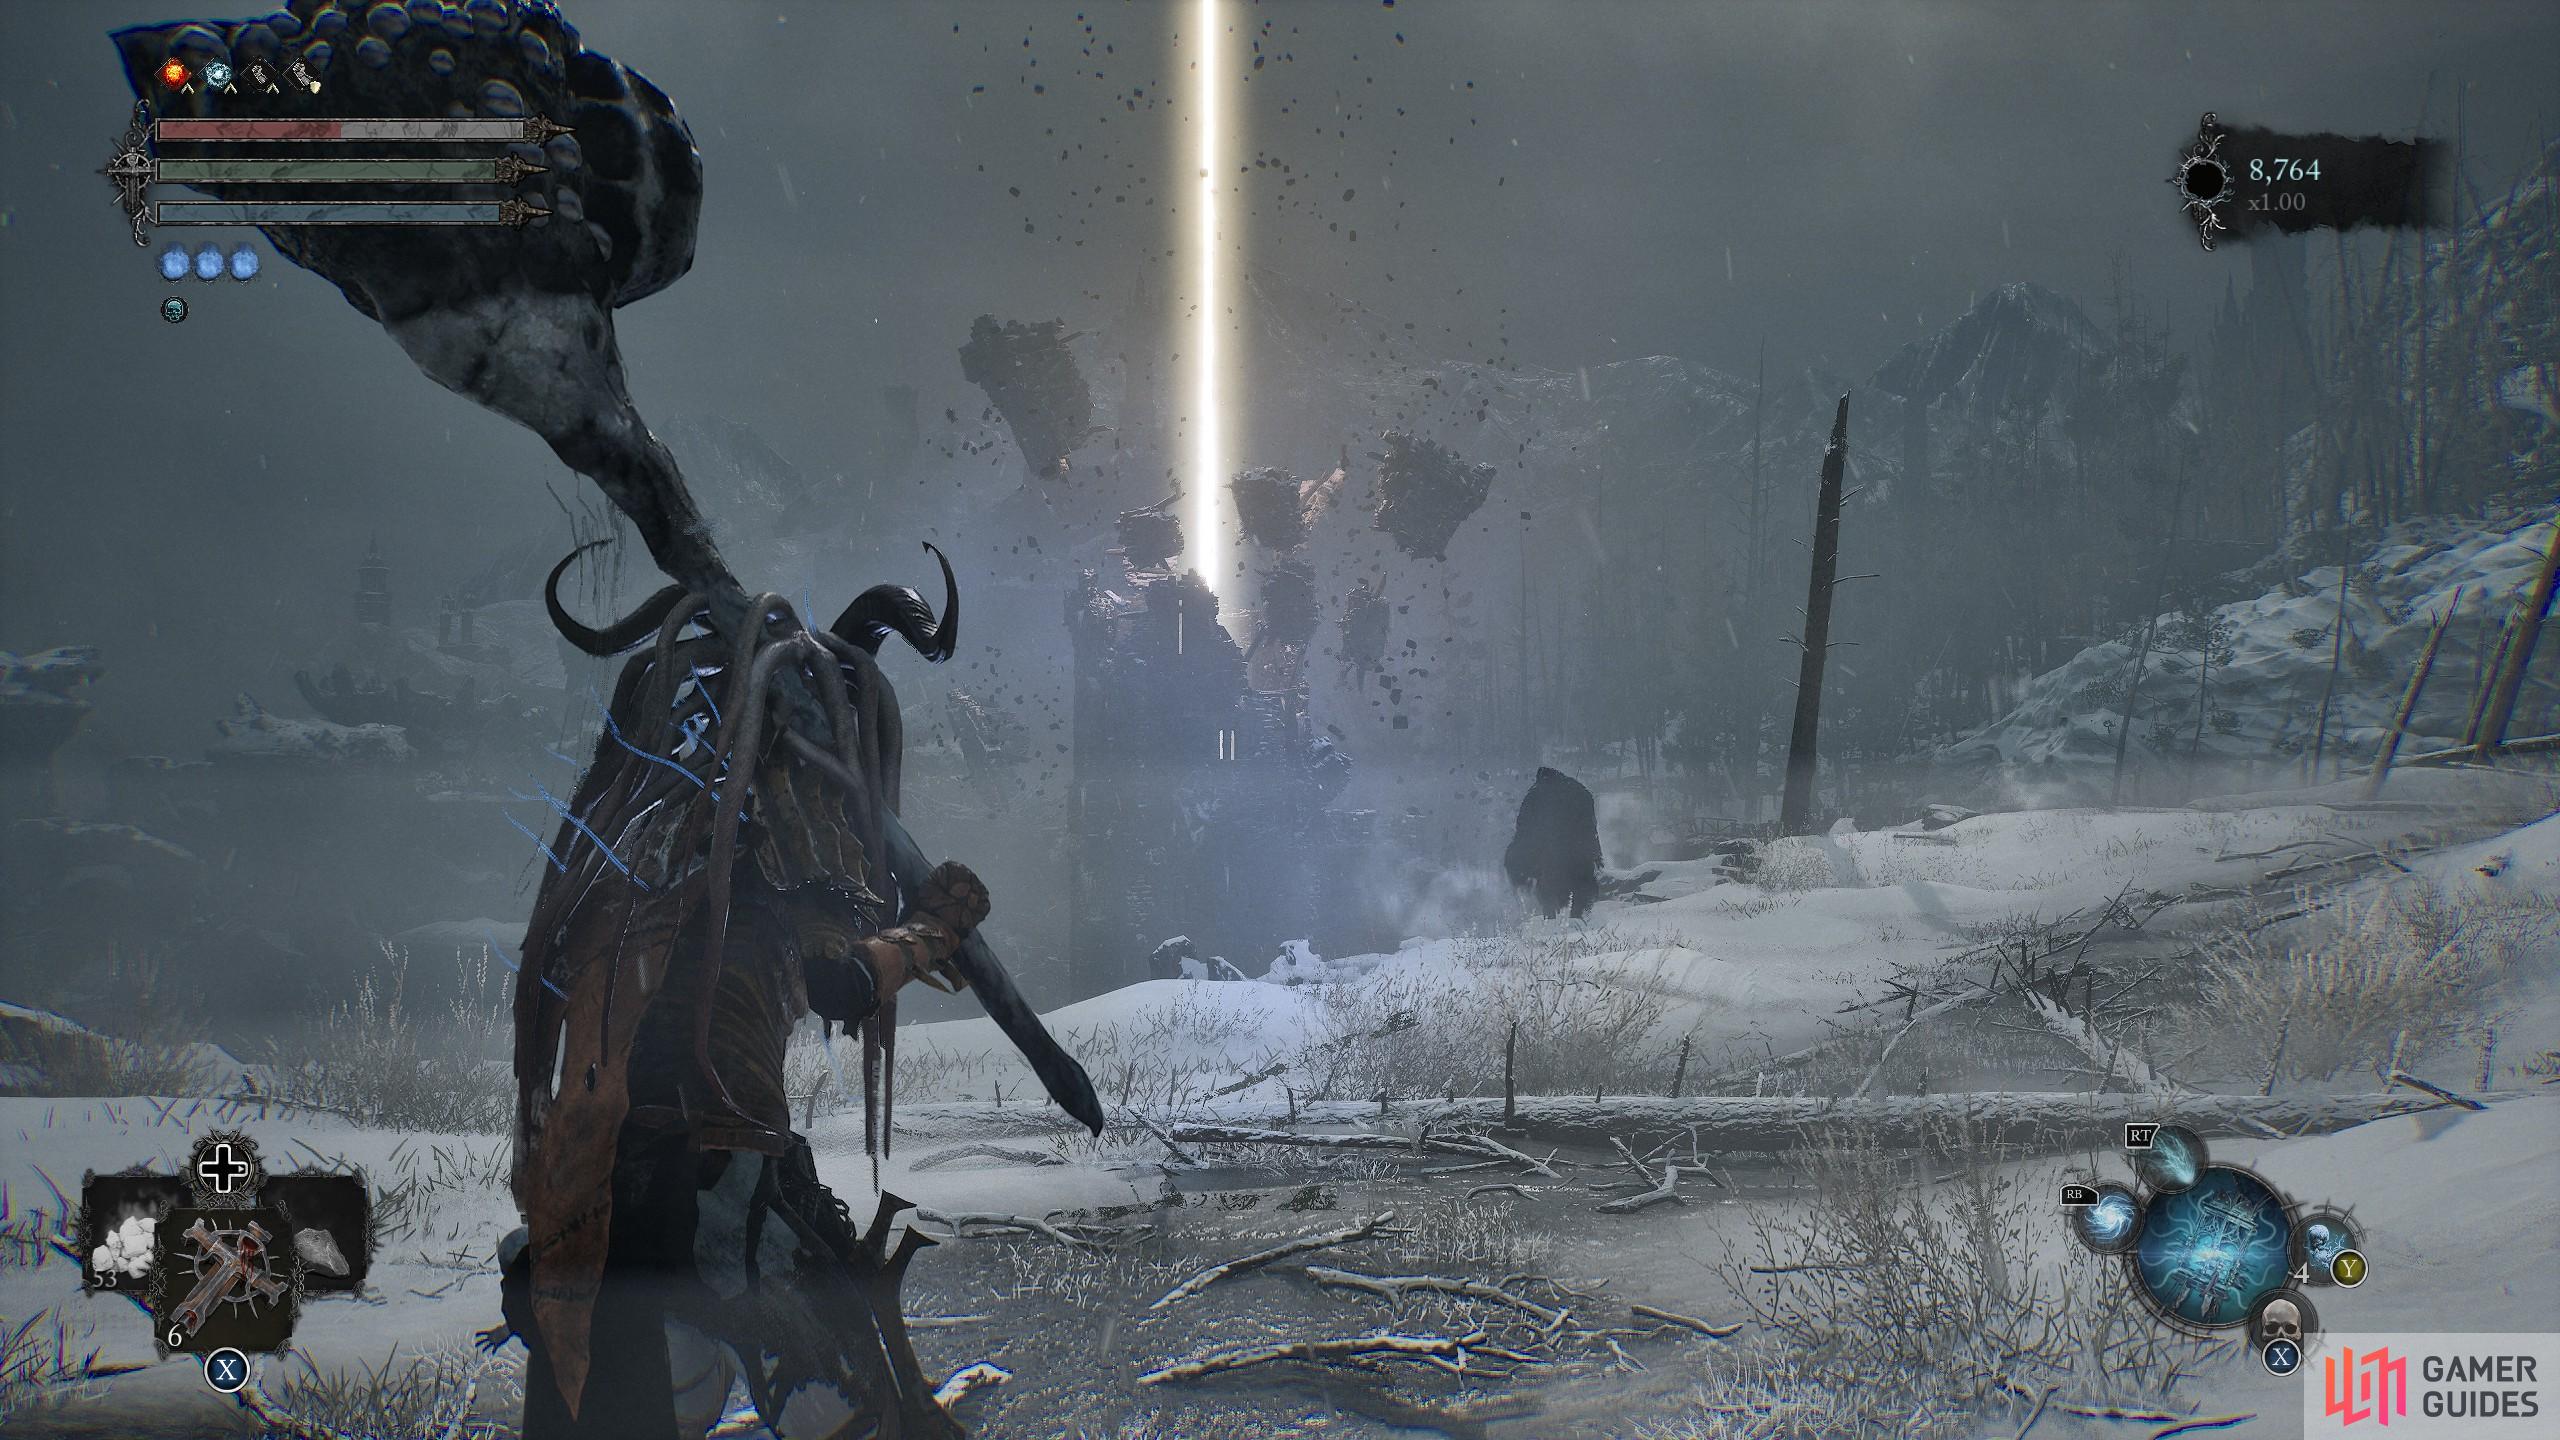
You must now defeat the Iron Wayfarer in combat at the gates of Bramis Castle.
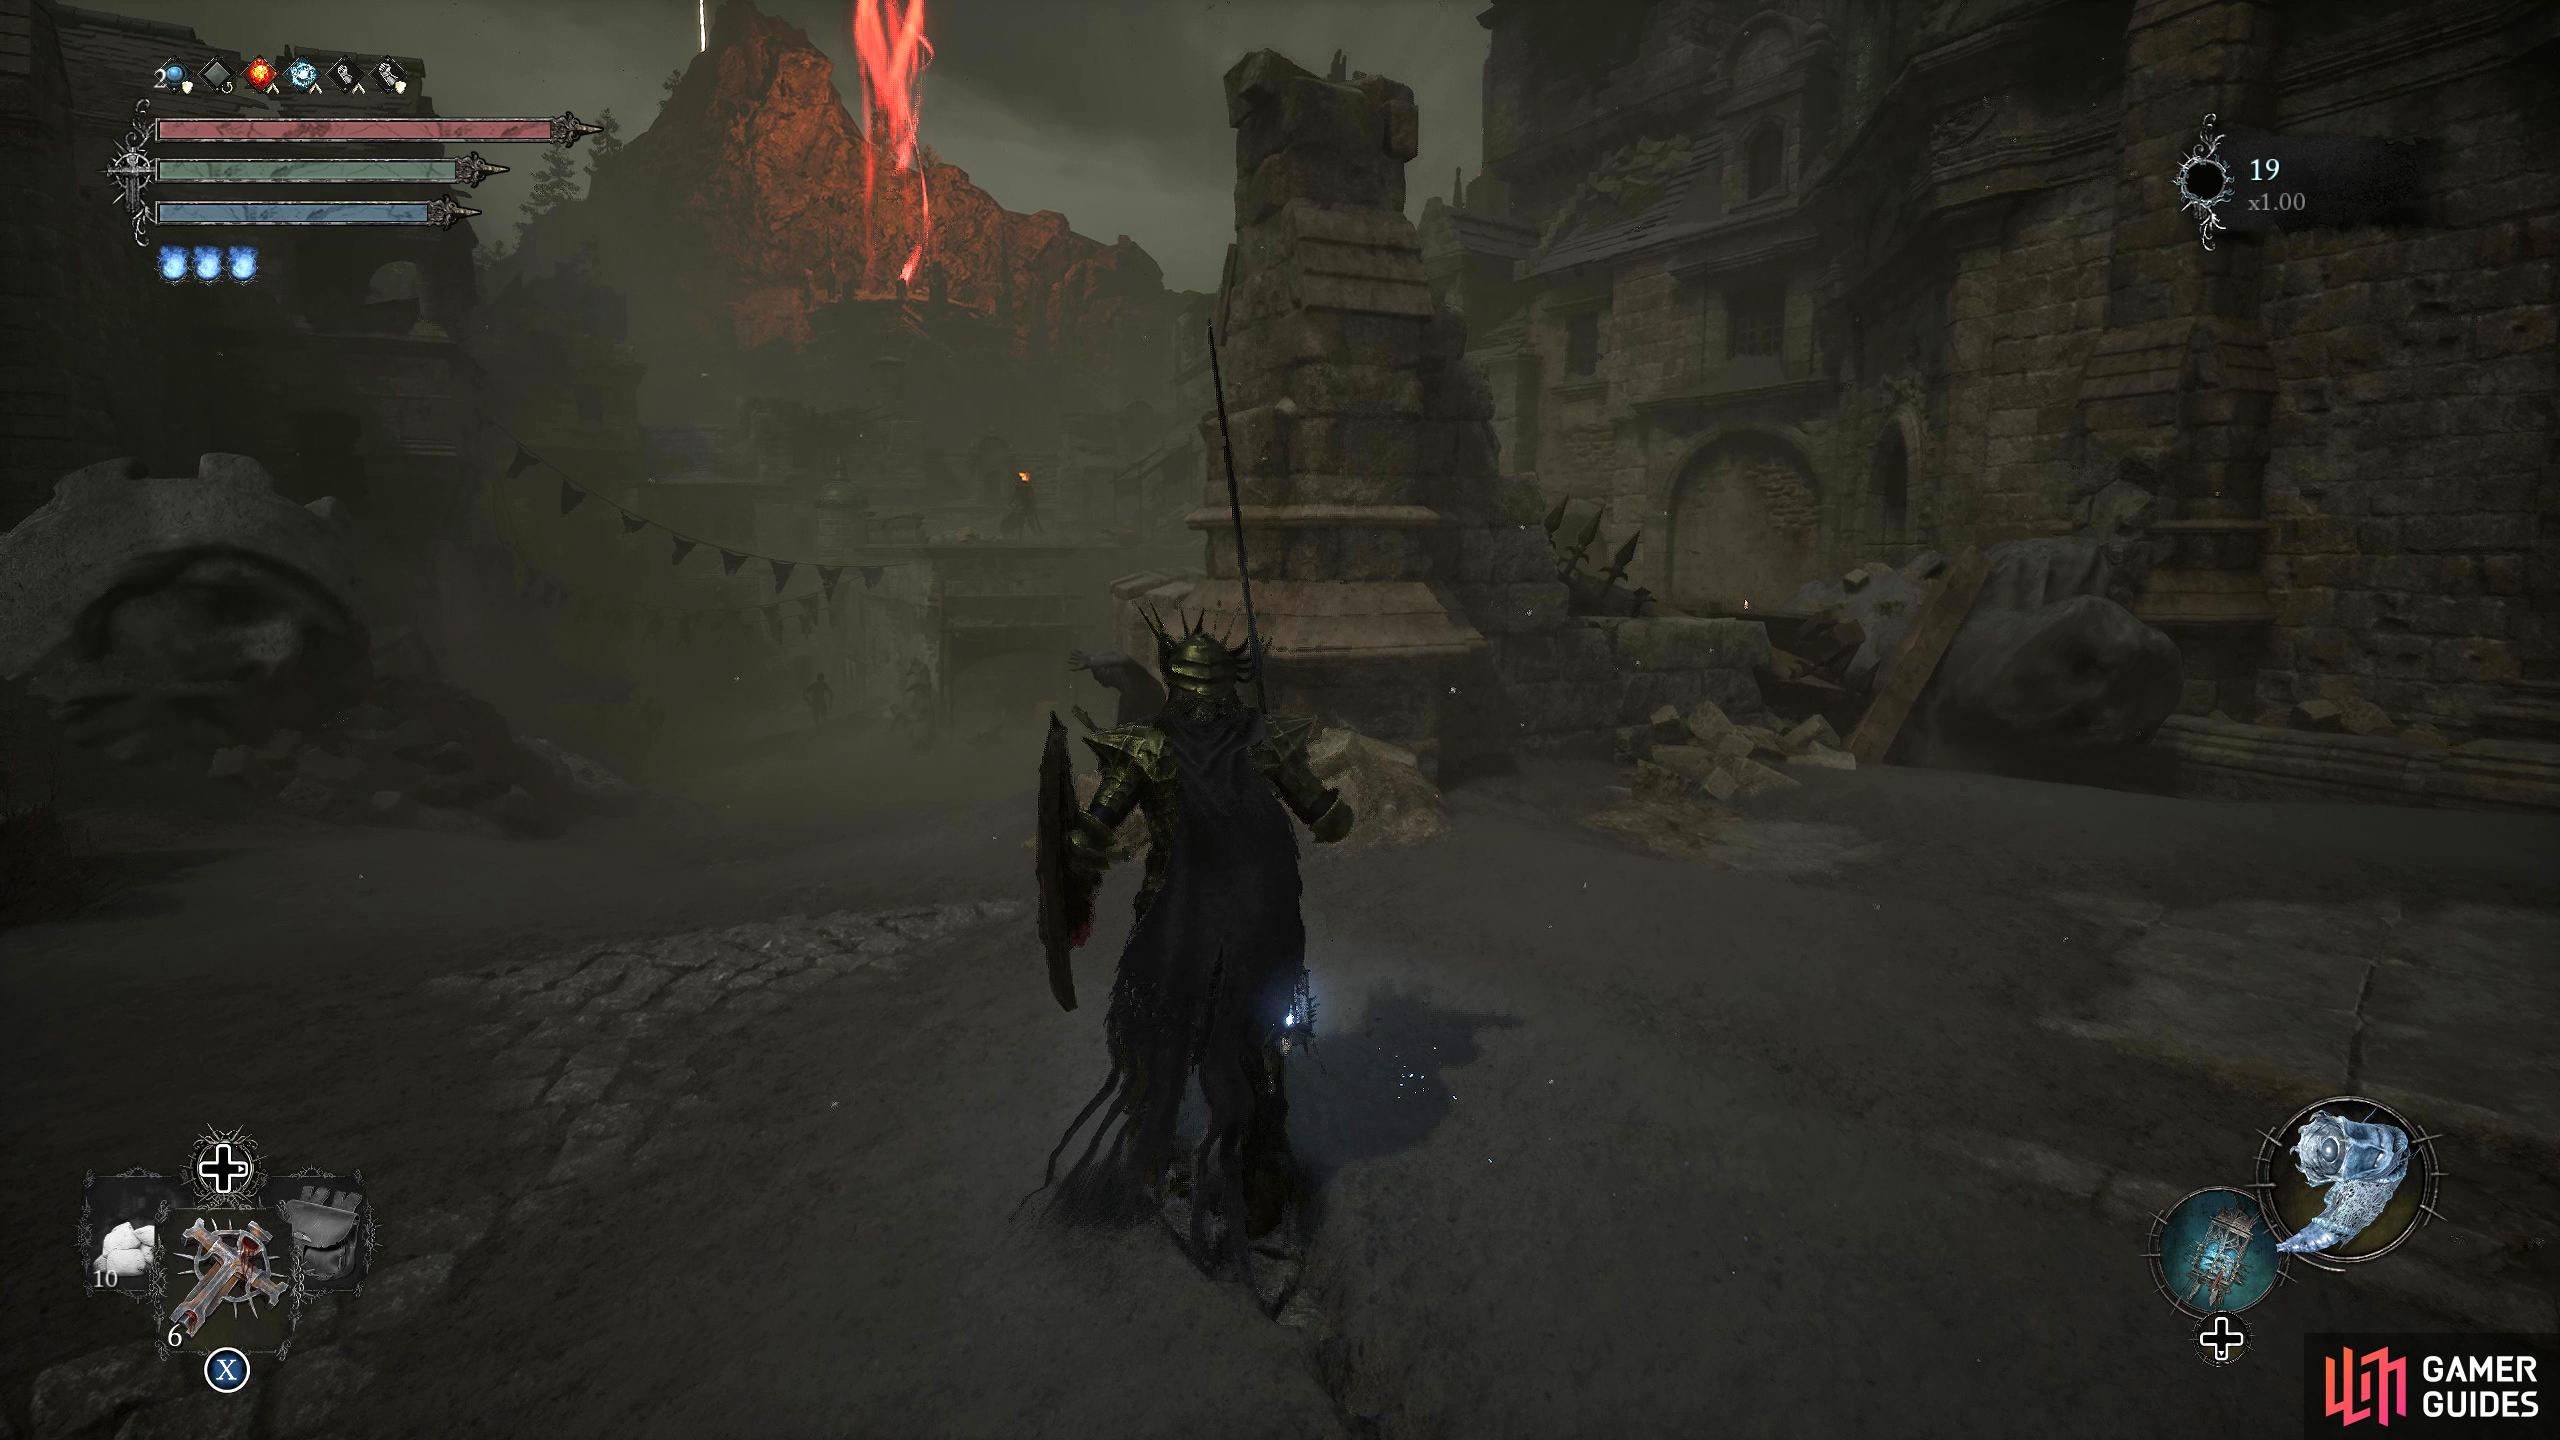
For the majority of players, you will find the final location of the Iron Wayfarer in Lords of the Fallen to be at the gates of Bramis Castle’s grounds. Players may access this location by going to the Calrath Vestige, located at the top of the elevator that takes you down to the Cistern. Simply go forward from the vestige towards the large gate, and the Iron Wayfarer will guard the location. You will be forced to fight the boss if you have got to this stage of the questline.
However, if you opened the door and did not follow the Iron Wayfarer quest in order, you can completely skip this boss battle. If you start backtracking, he will spawn there, despite the gate already being open.
Ninth Location - Fief of Winter’s Curse - Gate
Peer into the Umbral after the gate with the ladder in the Fief to see the final location of the Iron Wayfarer in Lords of the Fallen.
After defeating the Iron Wayfarer, you will get his goodies. Yet, this is not the end of our Wayfarer’s tale. Players will need to go to the vestige located at the start of the Fief of Winter’s Curse, and then move along the path as they did at the start of their journey through the area. Climb the ladder and run around the outskirts of the castle’s upper level to leave and walk along the upper cliffside pathway. Follow the road down to the checkpoint, near the Stigma of the king of the area following a track about him being a father. Go over the ladder where the gate is, enter the Umbral, and slightly further down the road on the right you’ll find him standing over another vista, which overlooks the Beacon of the Fief.
If you’re doing a Radiance or Lord playthrough, he won’t have much else to say, but if you’re doing the Umbral playthrough, and have the Withered Mark of Adyr, then you can use it on his spirit. This will terminate the Iron Wayfarer, and you will get be one step closer to your Umbral ending goal.
Successfully defeating the Iron Wayfarer and interacting with his ghost in the Umbral ending playthrough will award you with his relevant LOTF Trophy.


No Comments