
Redcopse Village is one of the first areas you’ll encounter on your adventure into the world of Mournstead and as always with souls-like games there are lots of hidden paths and useful goodies to be found along the way. If you are striving for the platinum trophy, then you won’t want to miss some items, so this page will help you navigate the area safely and will point you in the direction of the most important items.
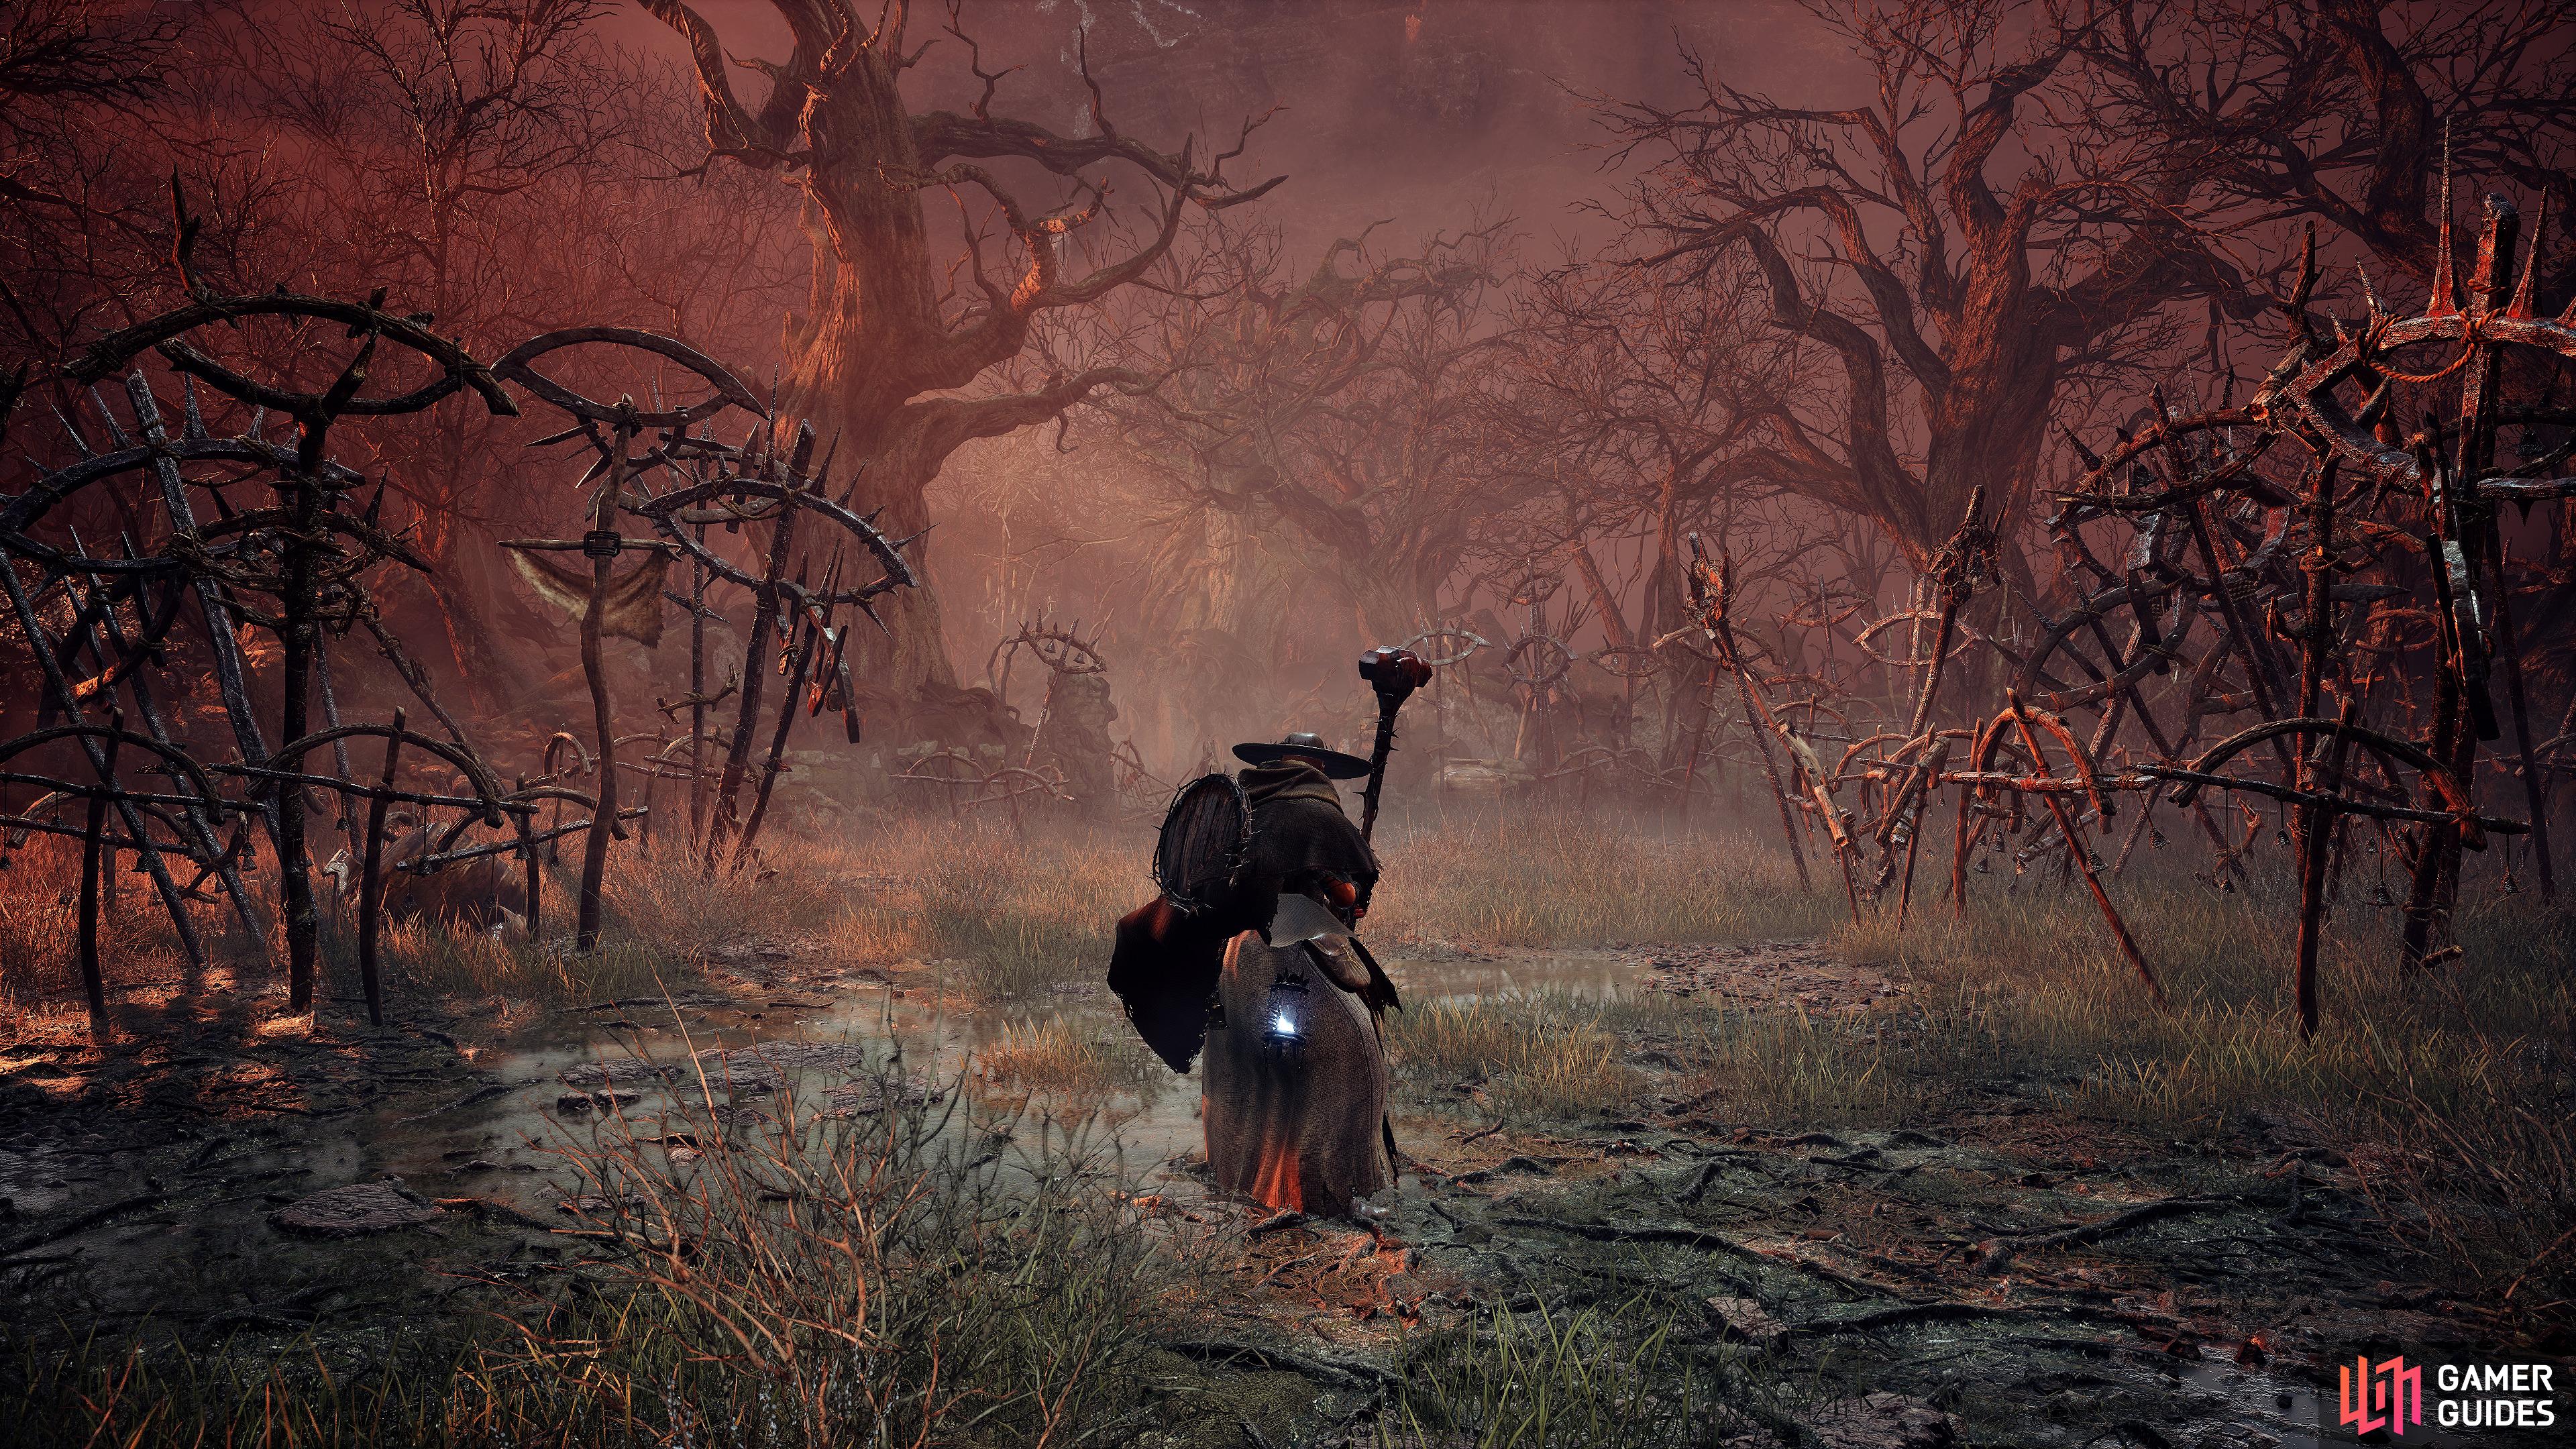
Redcopse Village is where your adventure truly begins!
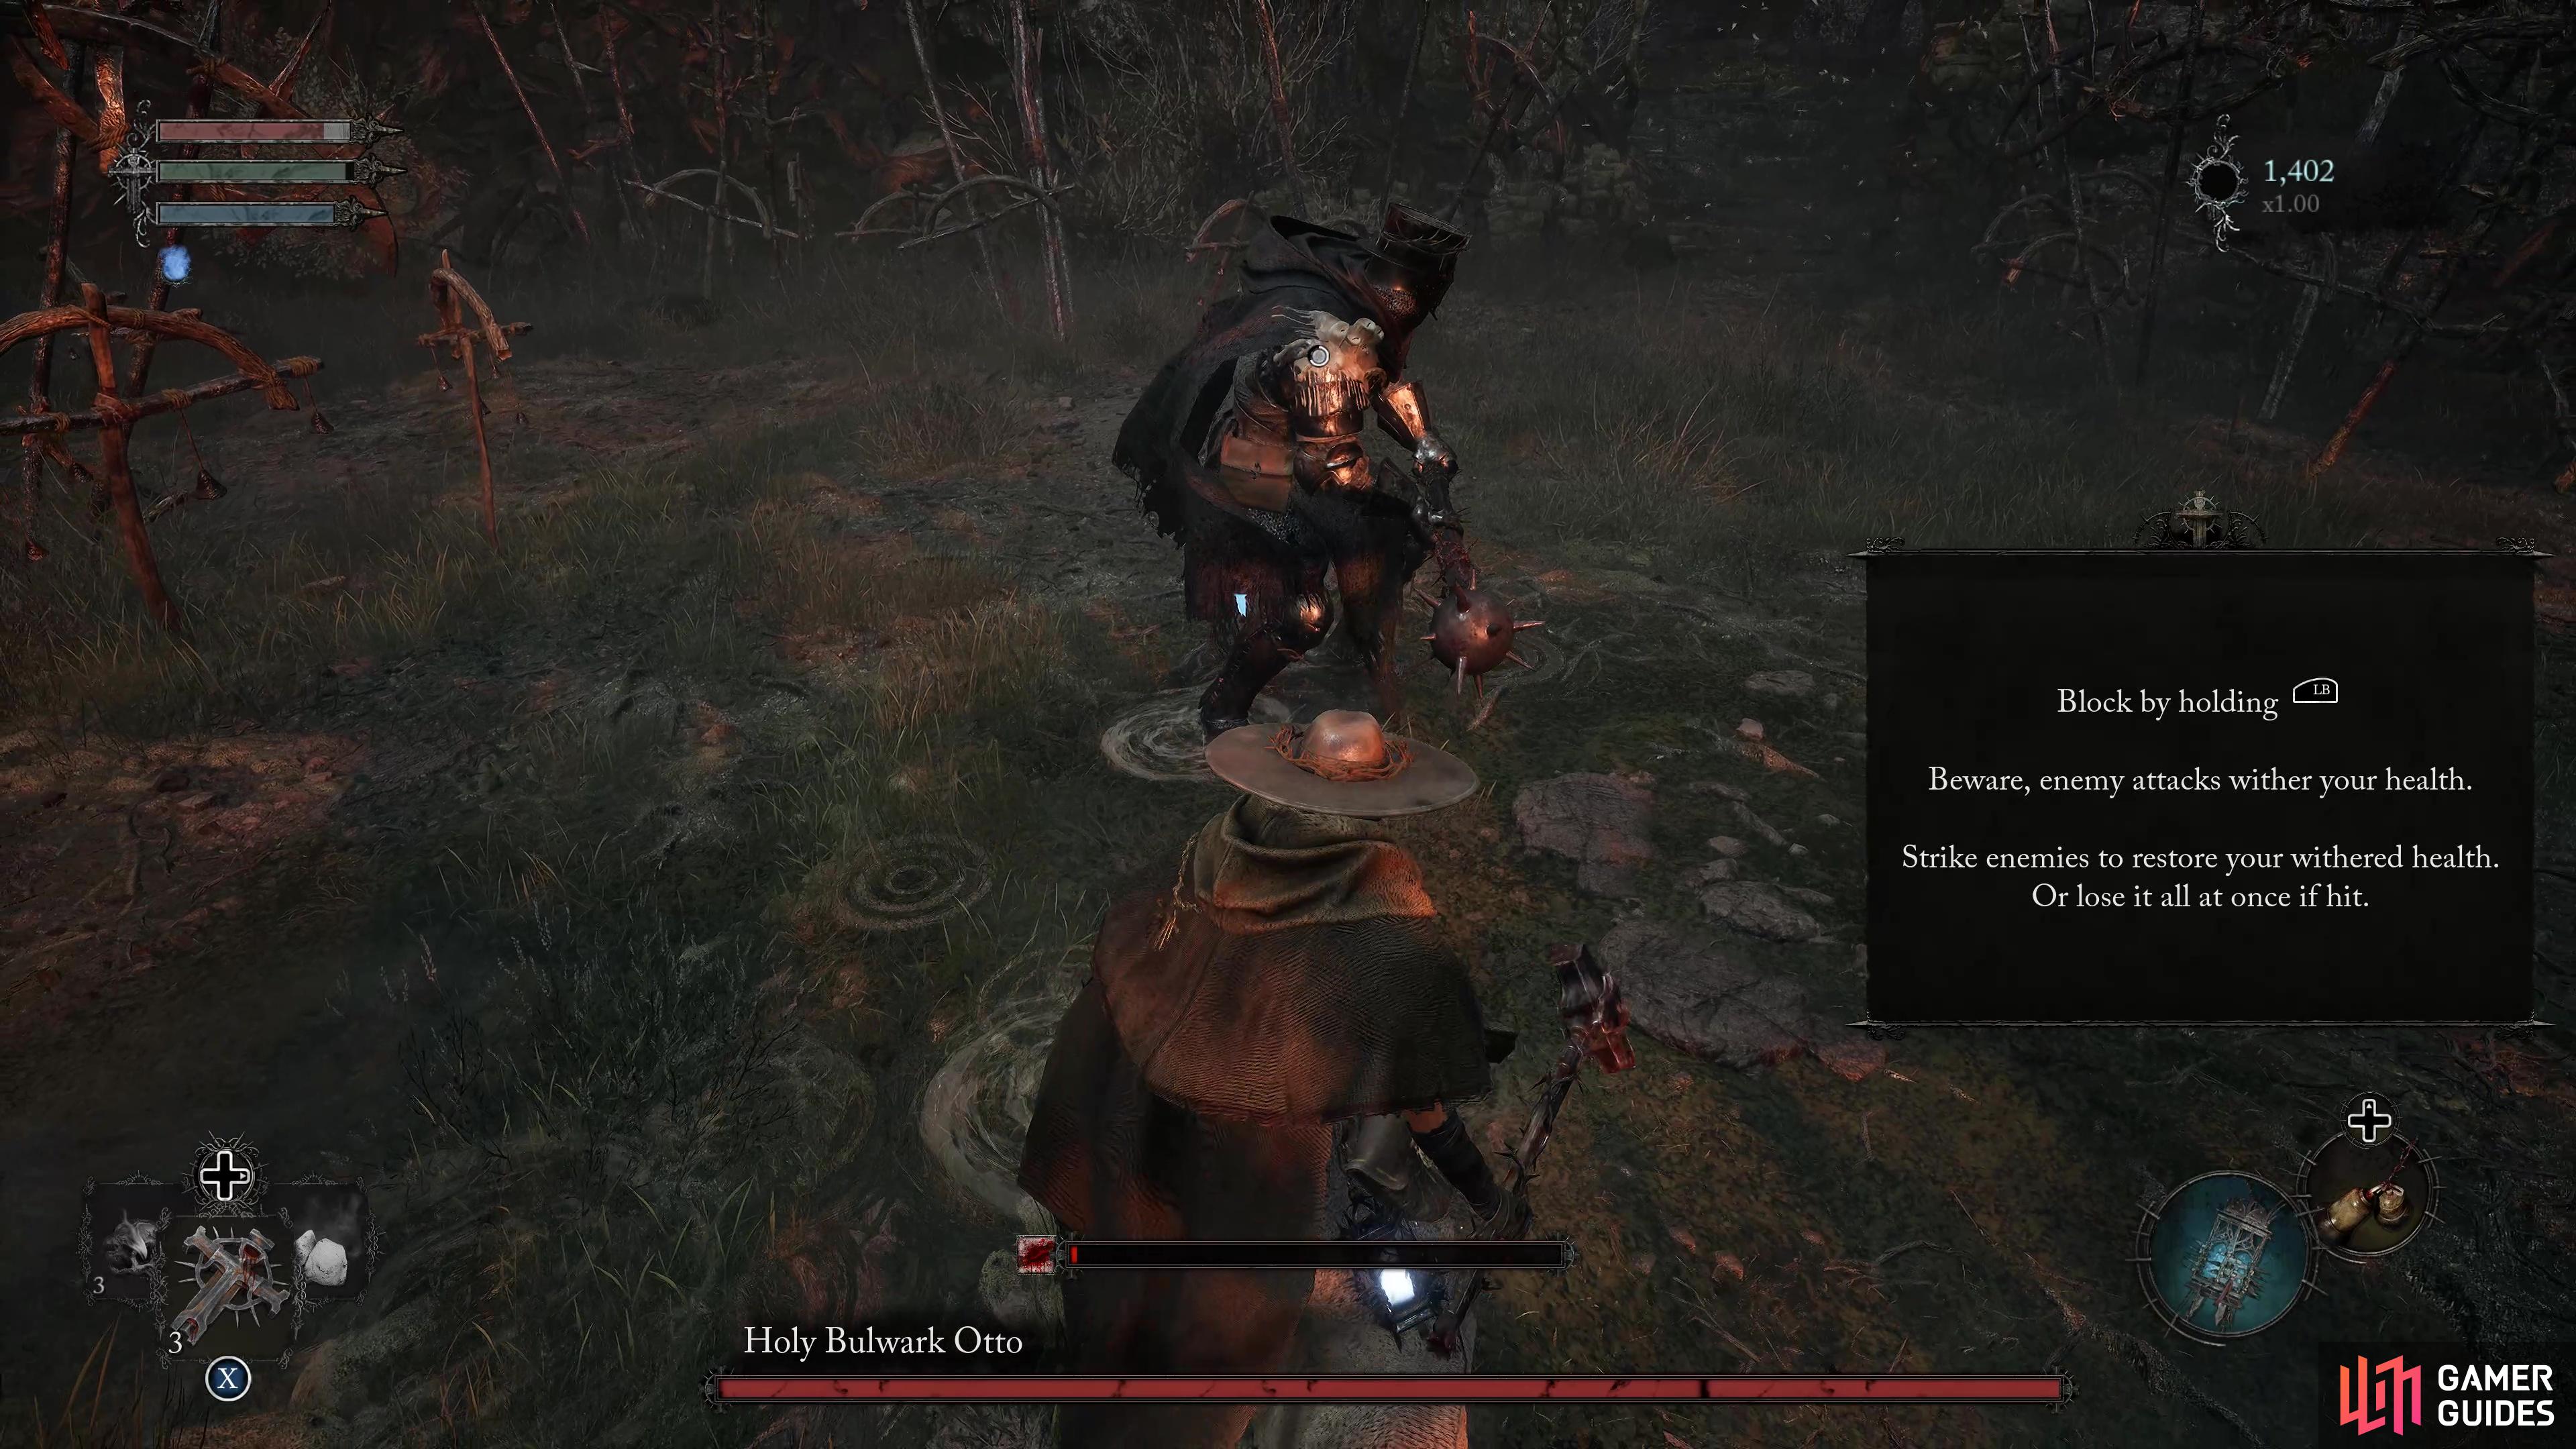
Defeat The Holy Bulwark Otto / Lightreaper
Before you reach the Vestige of Ranik you’ll need to work your way through the starting area Defiled Sepulchre. Here you’ll learn about all the basic gameplay mechanics, such as Target Locking, Healing, Evading and Attack Stances. Additionally, you’ll be taught how to enter the Umbral Realm and use Umbral Rifting which is something you’ll need to get familiar with in order to progress through a lot of the areas. Once you’ve finally reached the Vestige of Ranik you’ll want to level up and then head down the hill to encounter the tutorial boss, Holy Bulwark Otto which consists of two phases.
The first phase is designed to teach you about parrying which is done when you use your shield to block precisely when they’re just about to make contact with you. This will gradually reduce their posture, so you’ll want to try and pull it off multiple times to stagger them, then you can pull off a Grievous Strike which will deal a nice chunk of damage. Upon completing the first phase, a short scene will play out, then you’ll face The Lightreaper. Now you can beat this, but only the most experienced players will be able to pull this off, so don’t worry if you can’t. If you do manage to take him down, then you’ll get your hands on the ![]() Lightreaper Flesh and Umbral Parasite.
Lightreaper Flesh and Umbral Parasite.
Find The Iron Wayfarer
Once you’ve dealt with the Lightreaper, continue following the path along until it splits and take a right first to find some ![]() Flayed Skin at the end of the path, then turn around and take the left path to encounter your first enemy with an Umbral Parasite attached. This will enhance their powers and make them invulnerable to damage, so you’ll want to keep your distance until you remove it which is done by activating your
Flayed Skin at the end of the path, then turn around and take the left path to encounter your first enemy with an Umbral Parasite attached. This will enhance their powers and make them invulnerable to damage, so you’ll want to keep your distance until you remove it which is done by activating your ![]() Umbral Lamp by pressing Down D-Pad
Umbral Lamp by pressing Down D-Pad  and then siphoning it by holding RB
  . With the parasite removed, take out the enemy and then you’ll need to find a way to cross the large gap, so enter the Umbral Realm to reveal a platform and hold RT
  to bring it towards you.
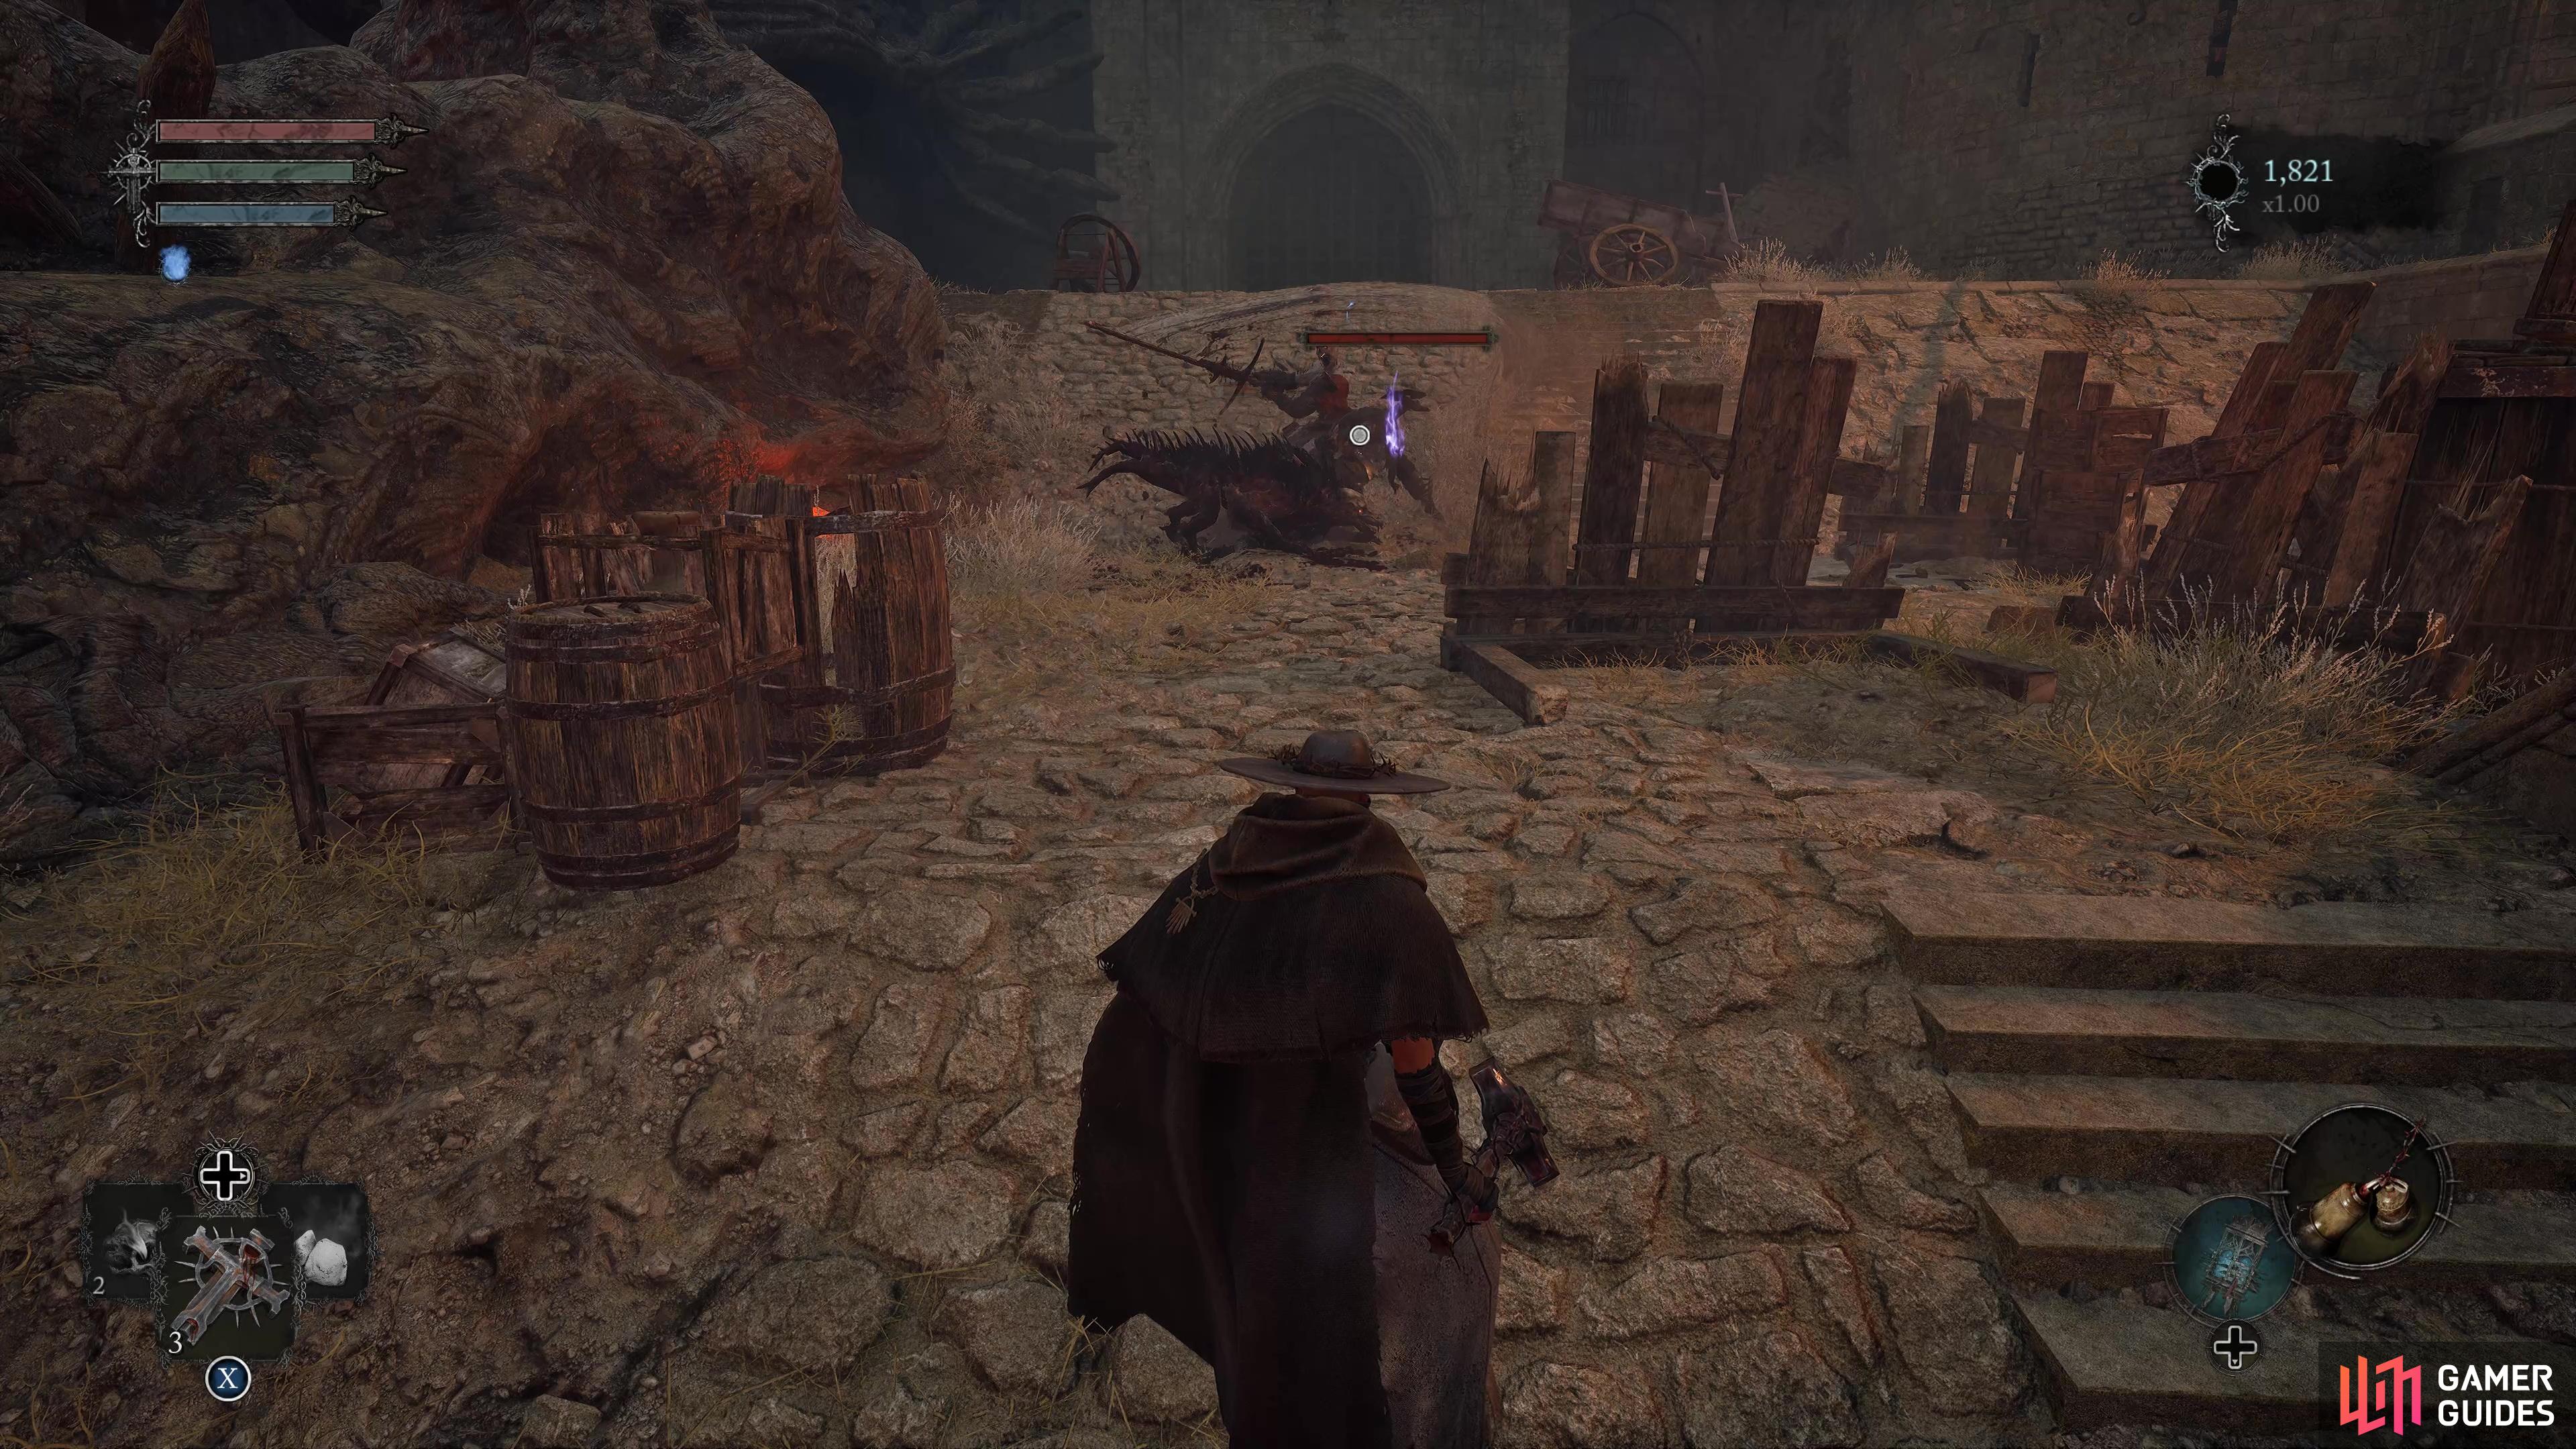
You’ll find three enemies waiting at the entrance to the village.
Take out this enemy from a distance using long ranged attacks.
Step on it and do the same again to reach the path on the opposite side, then activate the Vestige of Hannelore which can be found at the top of the hill. Speak with The Iron Wayfarer until he repeats the same sentence which will be “I’ve defied the wills of gods and kings. If you’d know any kind of freedom, you’ll do the same”, as this means you’ve exhausted all of his dialogue for now. Continue heading up the hill and enter the Umbral Realm to encounter a stigma. Enter the Umbral Realm and activate it by using Soulflay to witness a past event, then head left to find some ![]() Minor Holy Salts sitting near the cliff-edge. From here, you’ll want to head back up the path whilst hugging the left wall to find some
Minor Holy Salts sitting near the cliff-edge. From here, you’ll want to head back up the path whilst hugging the left wall to find some ![]() Fire Ward, then take out the nearby enemies before entering the Deserted Village.
Fire Ward, then take out the nearby enemies before entering the Deserted Village.
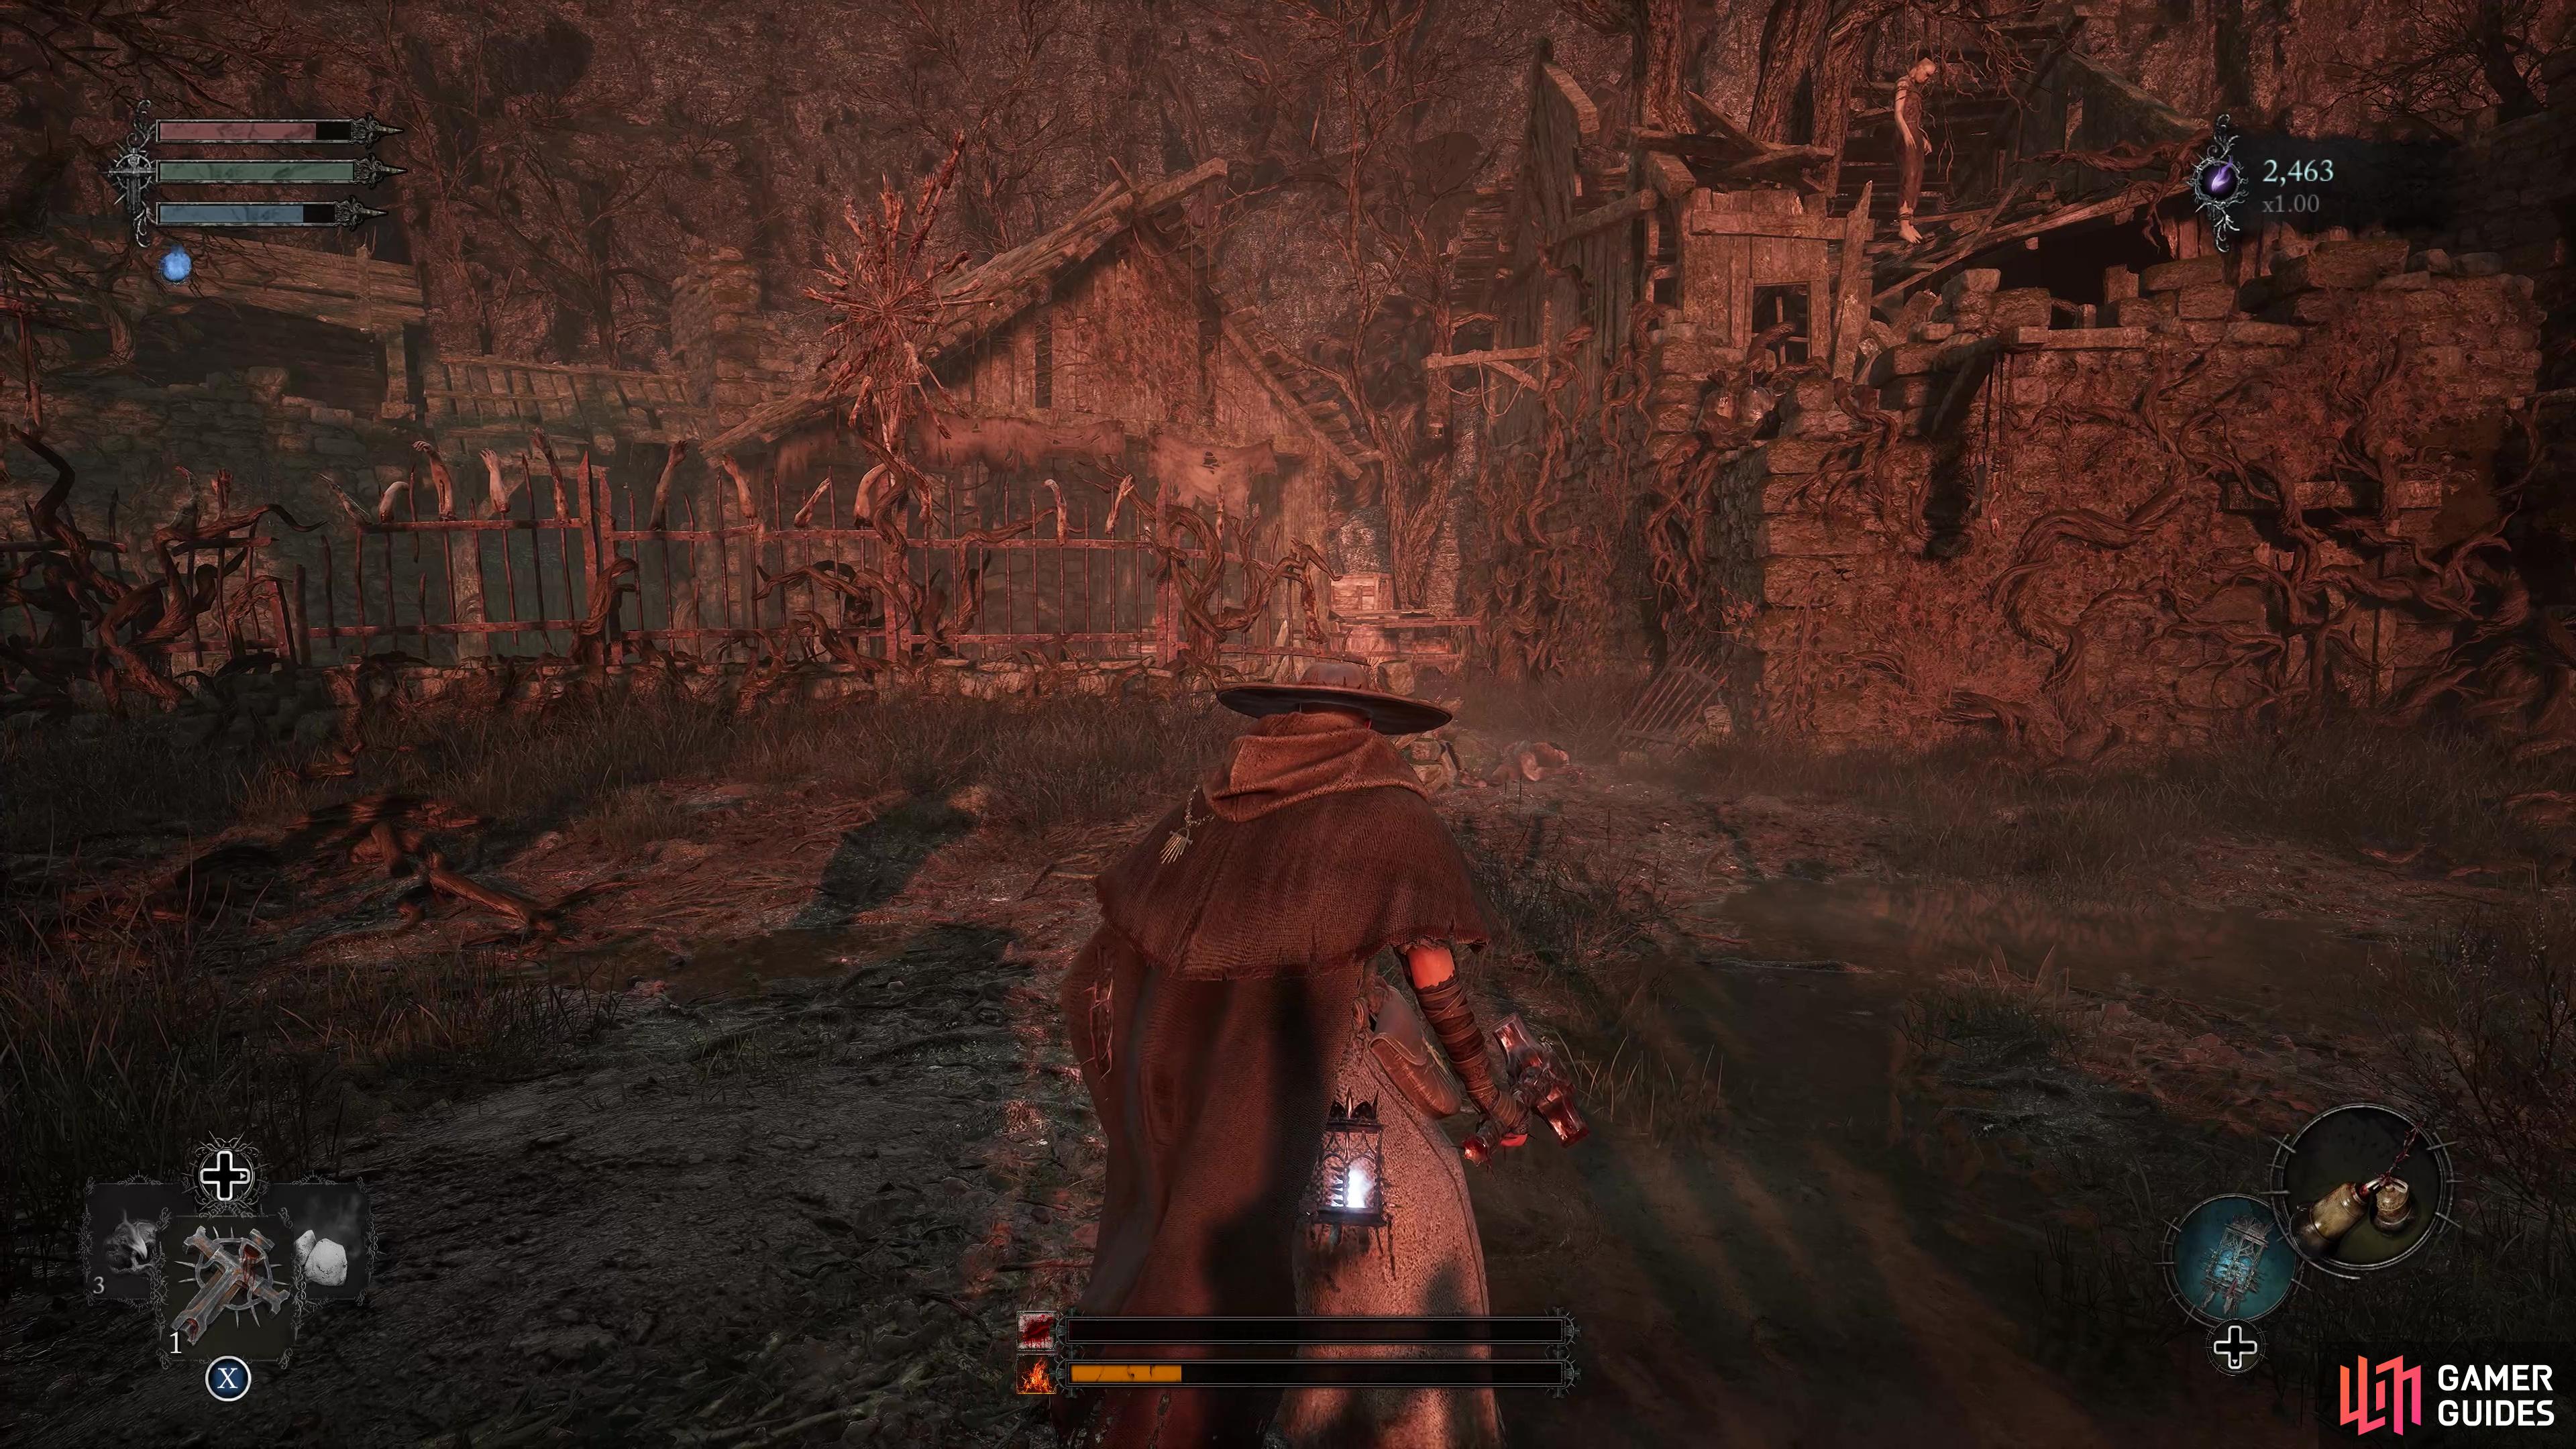
Explore The Deserted Village
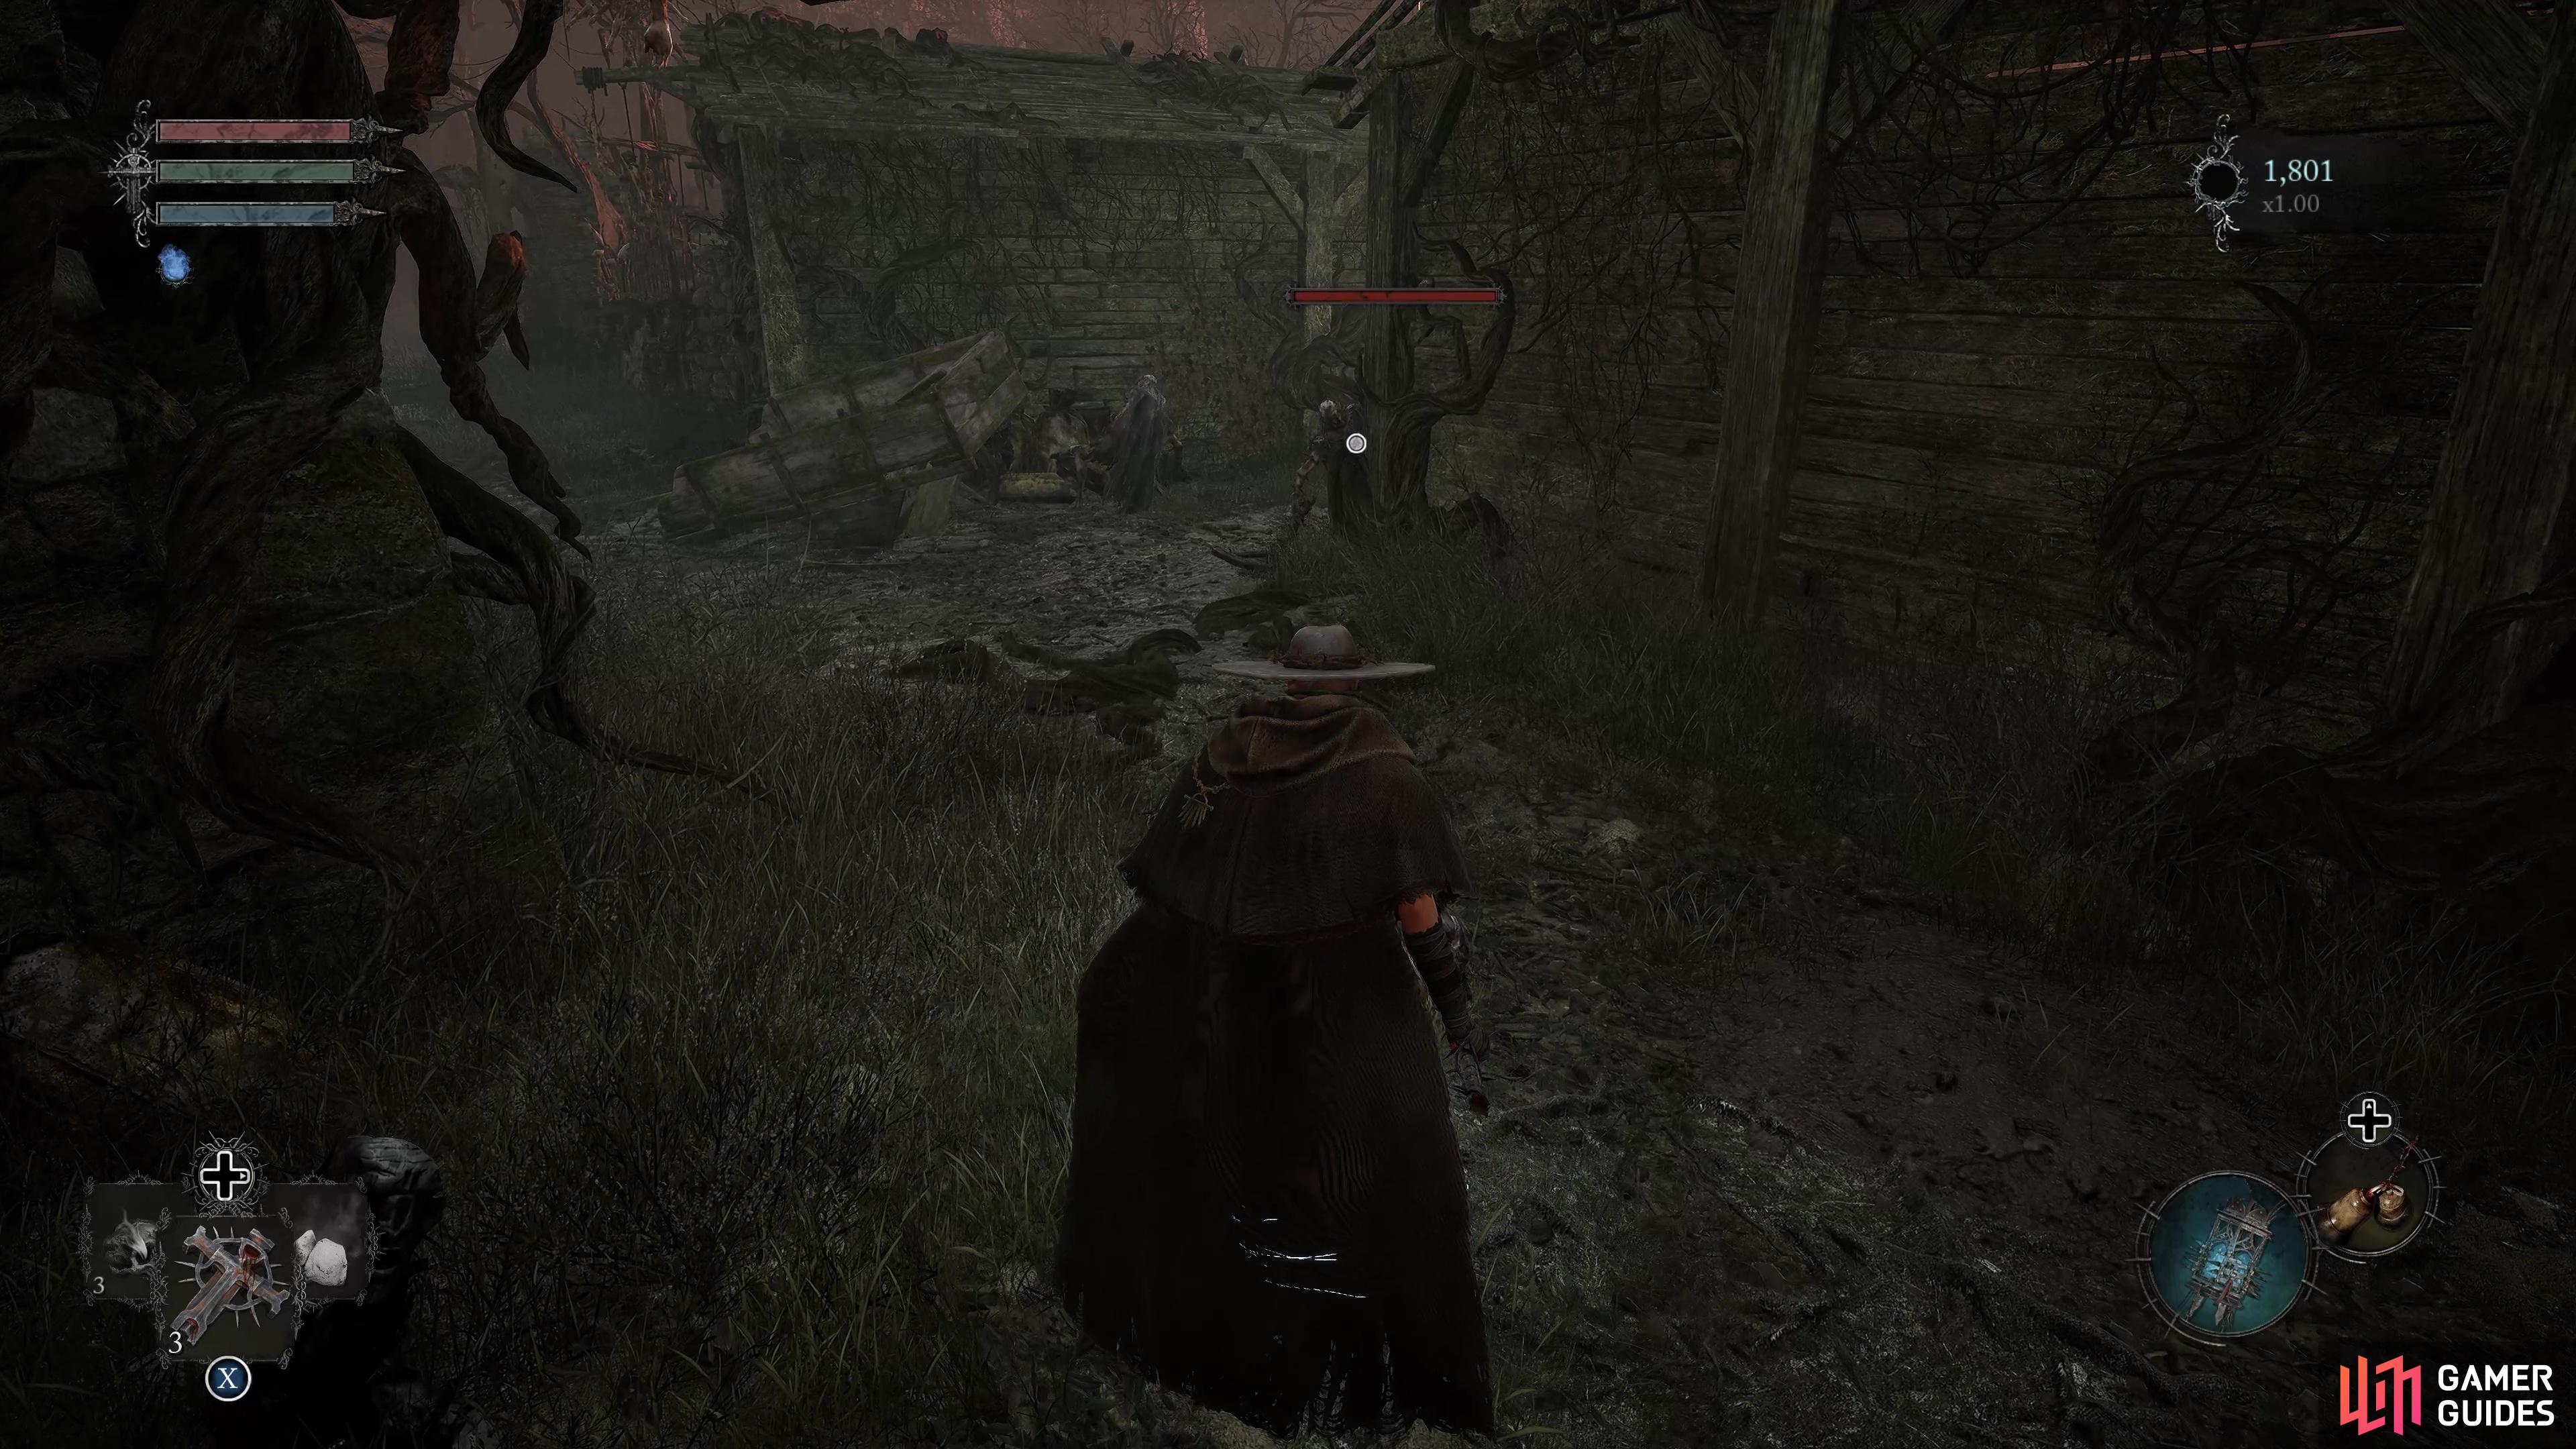
As you enter the Deserted Village you’ll have three enemies tucked away in the corner on the right, so slowly approach them to lure them out one by one and take them out. Continue delving deeper into the village whilst hugging the left wall and take out the enemy sitting near the entrance, then an enemy will come out of hiding behind you so quickly rotate around and deal with him. From here, look behind the wall that has a workbench sitting against it to find a chest that contains a ![]() Hallowed Condemnation, then three more enemies from the middle of the area may come over to see what all the fuss is about, so keep your distance and tackle them one by one.
Hallowed Condemnation, then three more enemies from the middle of the area may come over to see what all the fuss is about, so keep your distance and tackle them one by one.
Head into this corner to find a chest
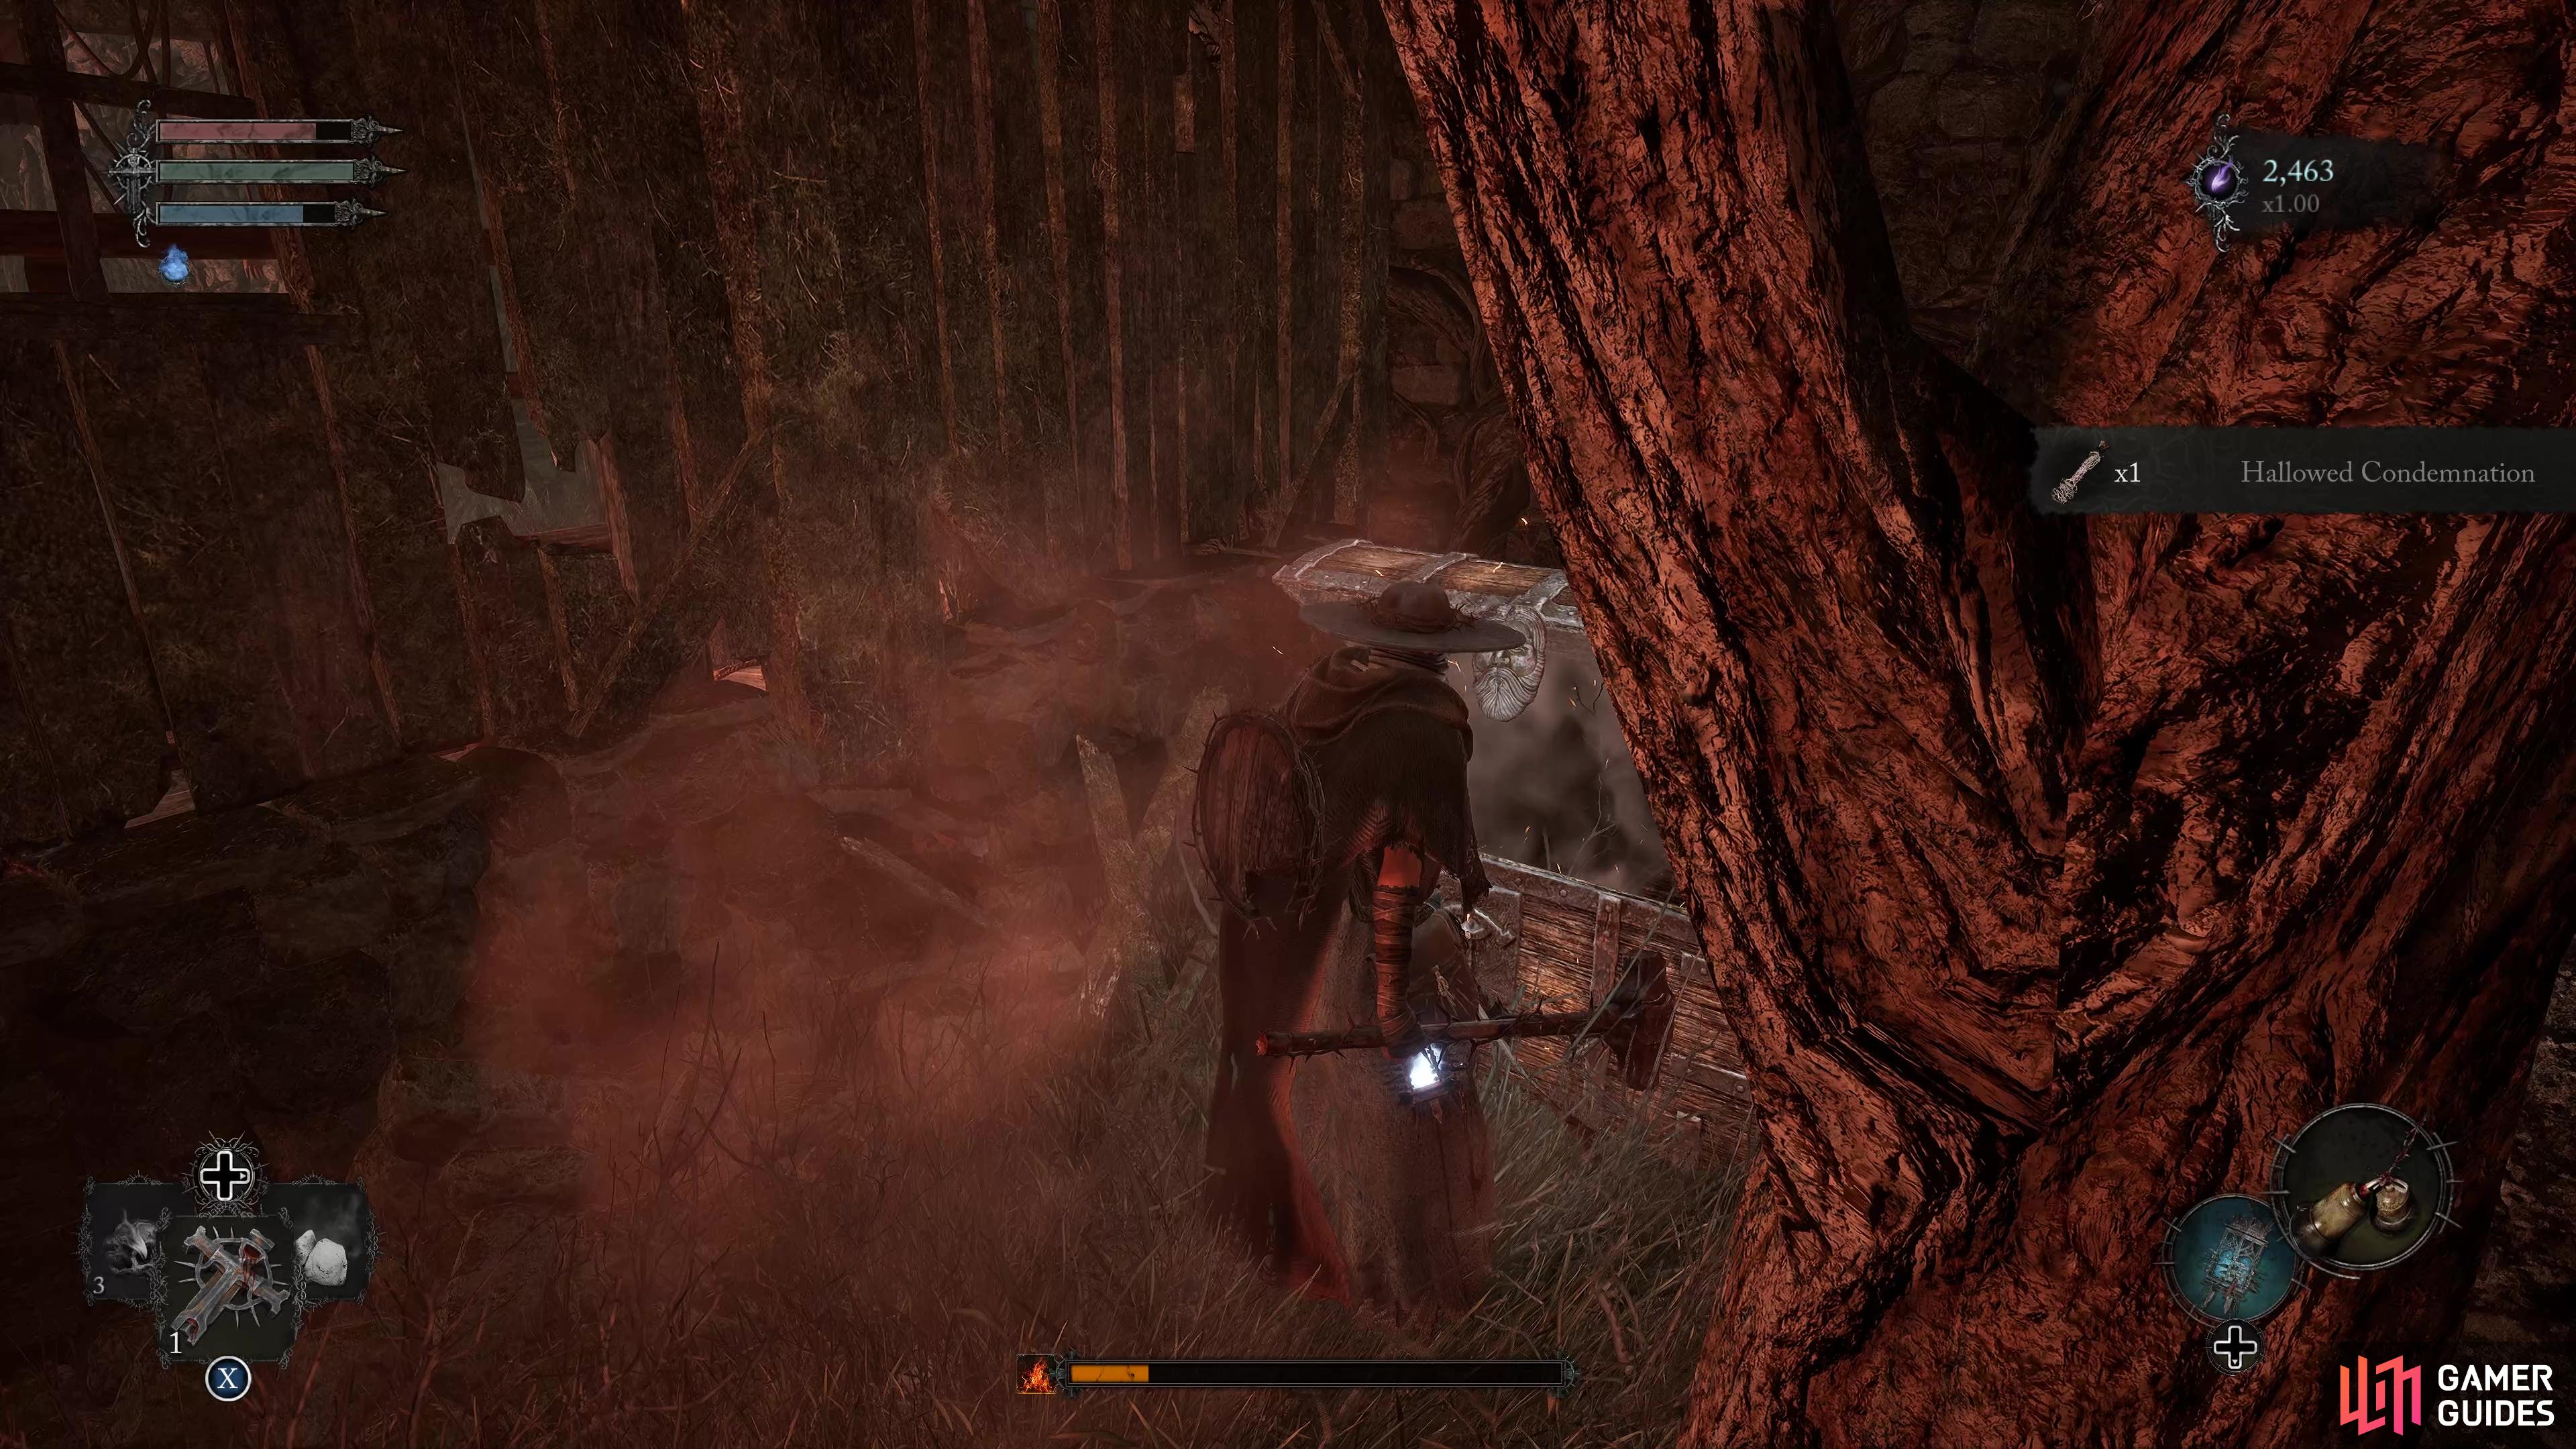
that contains the Hallowed Condemnation.
Next up, you’ll see an enemy sitting up on the roof in the distance so take him down with a ranged attack such as Bow/Spell, then throw a rock at the corpse in the tree to drop an item that contains a Pilgrim Skirt and a Pilgrim Garb. Quickly head to the area behind the tree to find a ![]() Ammunition Pouch, then you’ll now want to return to the center of the area and head towards the building which previously had the enemy on the roof. Siphon the parasite which is attached to the enemy to make it vulnerable to attacks and take it down.
Ammunition Pouch, then you’ll now want to return to the center of the area and head towards the building which previously had the enemy on the roof. Siphon the parasite which is attached to the enemy to make it vulnerable to attacks and take it down.
How to Defeat The Fire Swordsman
On your right is a Fire Swordsman which is a difficult enemy to take down at this stage of the game, as he can perform very quick combos that are difficult to parry and he has the ability to fire off multiple fire orbs like a firework display which will stun you. A way around it is to climb up onto the nearby roof and take it down with spells, then finish it off with a plunge attack. Once he has been dealt with, head into the area he was previously roaming in and use a rock at another corpse in the air to retrieve the ![]() Orian Preacher Shield, then climb up onto the roof via the ladder in the corner and activate your lamp to reveal a hidden path that’ll lead you to the roof on the opposite side.
Orian Preacher Shield, then climb up onto the roof via the ladder in the corner and activate your lamp to reveal a hidden path that’ll lead you to the roof on the opposite side.
Pick off the enemies in the distance and drop down to pick up a ![]() Enervated Vigor Skulls and
Enervated Vigor Skulls and ![]() Raw Mangler Axe, then return to where you fought the Fire Swordsman and continue heading up the hill whilst picking off all the enemies along the way. When you reach the top of the stairs, hug the left wall and you’ll find the Vestige of Marco the Axe. Enter the Umbral Realm and head towards the large gate, then look to your left to find a skull you can perform a Soulflay on which will allow you to drop down to the area below. Here you’ll want to clear out the enemies and grab the
Raw Mangler Axe, then return to where you fought the Fire Swordsman and continue heading up the hill whilst picking off all the enemies along the way. When you reach the top of the stairs, hug the left wall and you’ll find the Vestige of Marco the Axe. Enter the Umbral Realm and head towards the large gate, then look to your left to find a skull you can perform a Soulflay on which will allow you to drop down to the area below. Here you’ll want to clear out the enemies and grab the ![]() Umbral Eye of Betrayed Eliard, then climb up the ladder and drop off on the opposite side.
Umbral Eye of Betrayed Eliard, then climb up the ladder and drop off on the opposite side.
Where to Find the Mineowner’s Ring
Return to the Vestige of Marco the Axe and now head in the opposite direction from the large door and make your way up the hill. Here you’ll want to use a rock on the nearby hanging corpse to make it fall, then grab the ![]() Mineowner’s Ring from it. Take down the two enemies, then head down the hill to reach a large patch of water that will kill you if you walk too far in, so enter the Umbral Realm to reveal an alternative path. Follow it around until you reach the end of the path, then knock the hanging corpse down and pick up the Pilgrim Hood and Pilgrim Bandages.
Mineowner’s Ring from it. Take down the two enemies, then head down the hill to reach a large patch of water that will kill you if you walk too far in, so enter the Umbral Realm to reveal an alternative path. Follow it around until you reach the end of the path, then knock the hanging corpse down and pick up the Pilgrim Hood and Pilgrim Bandages.

Head up the left path
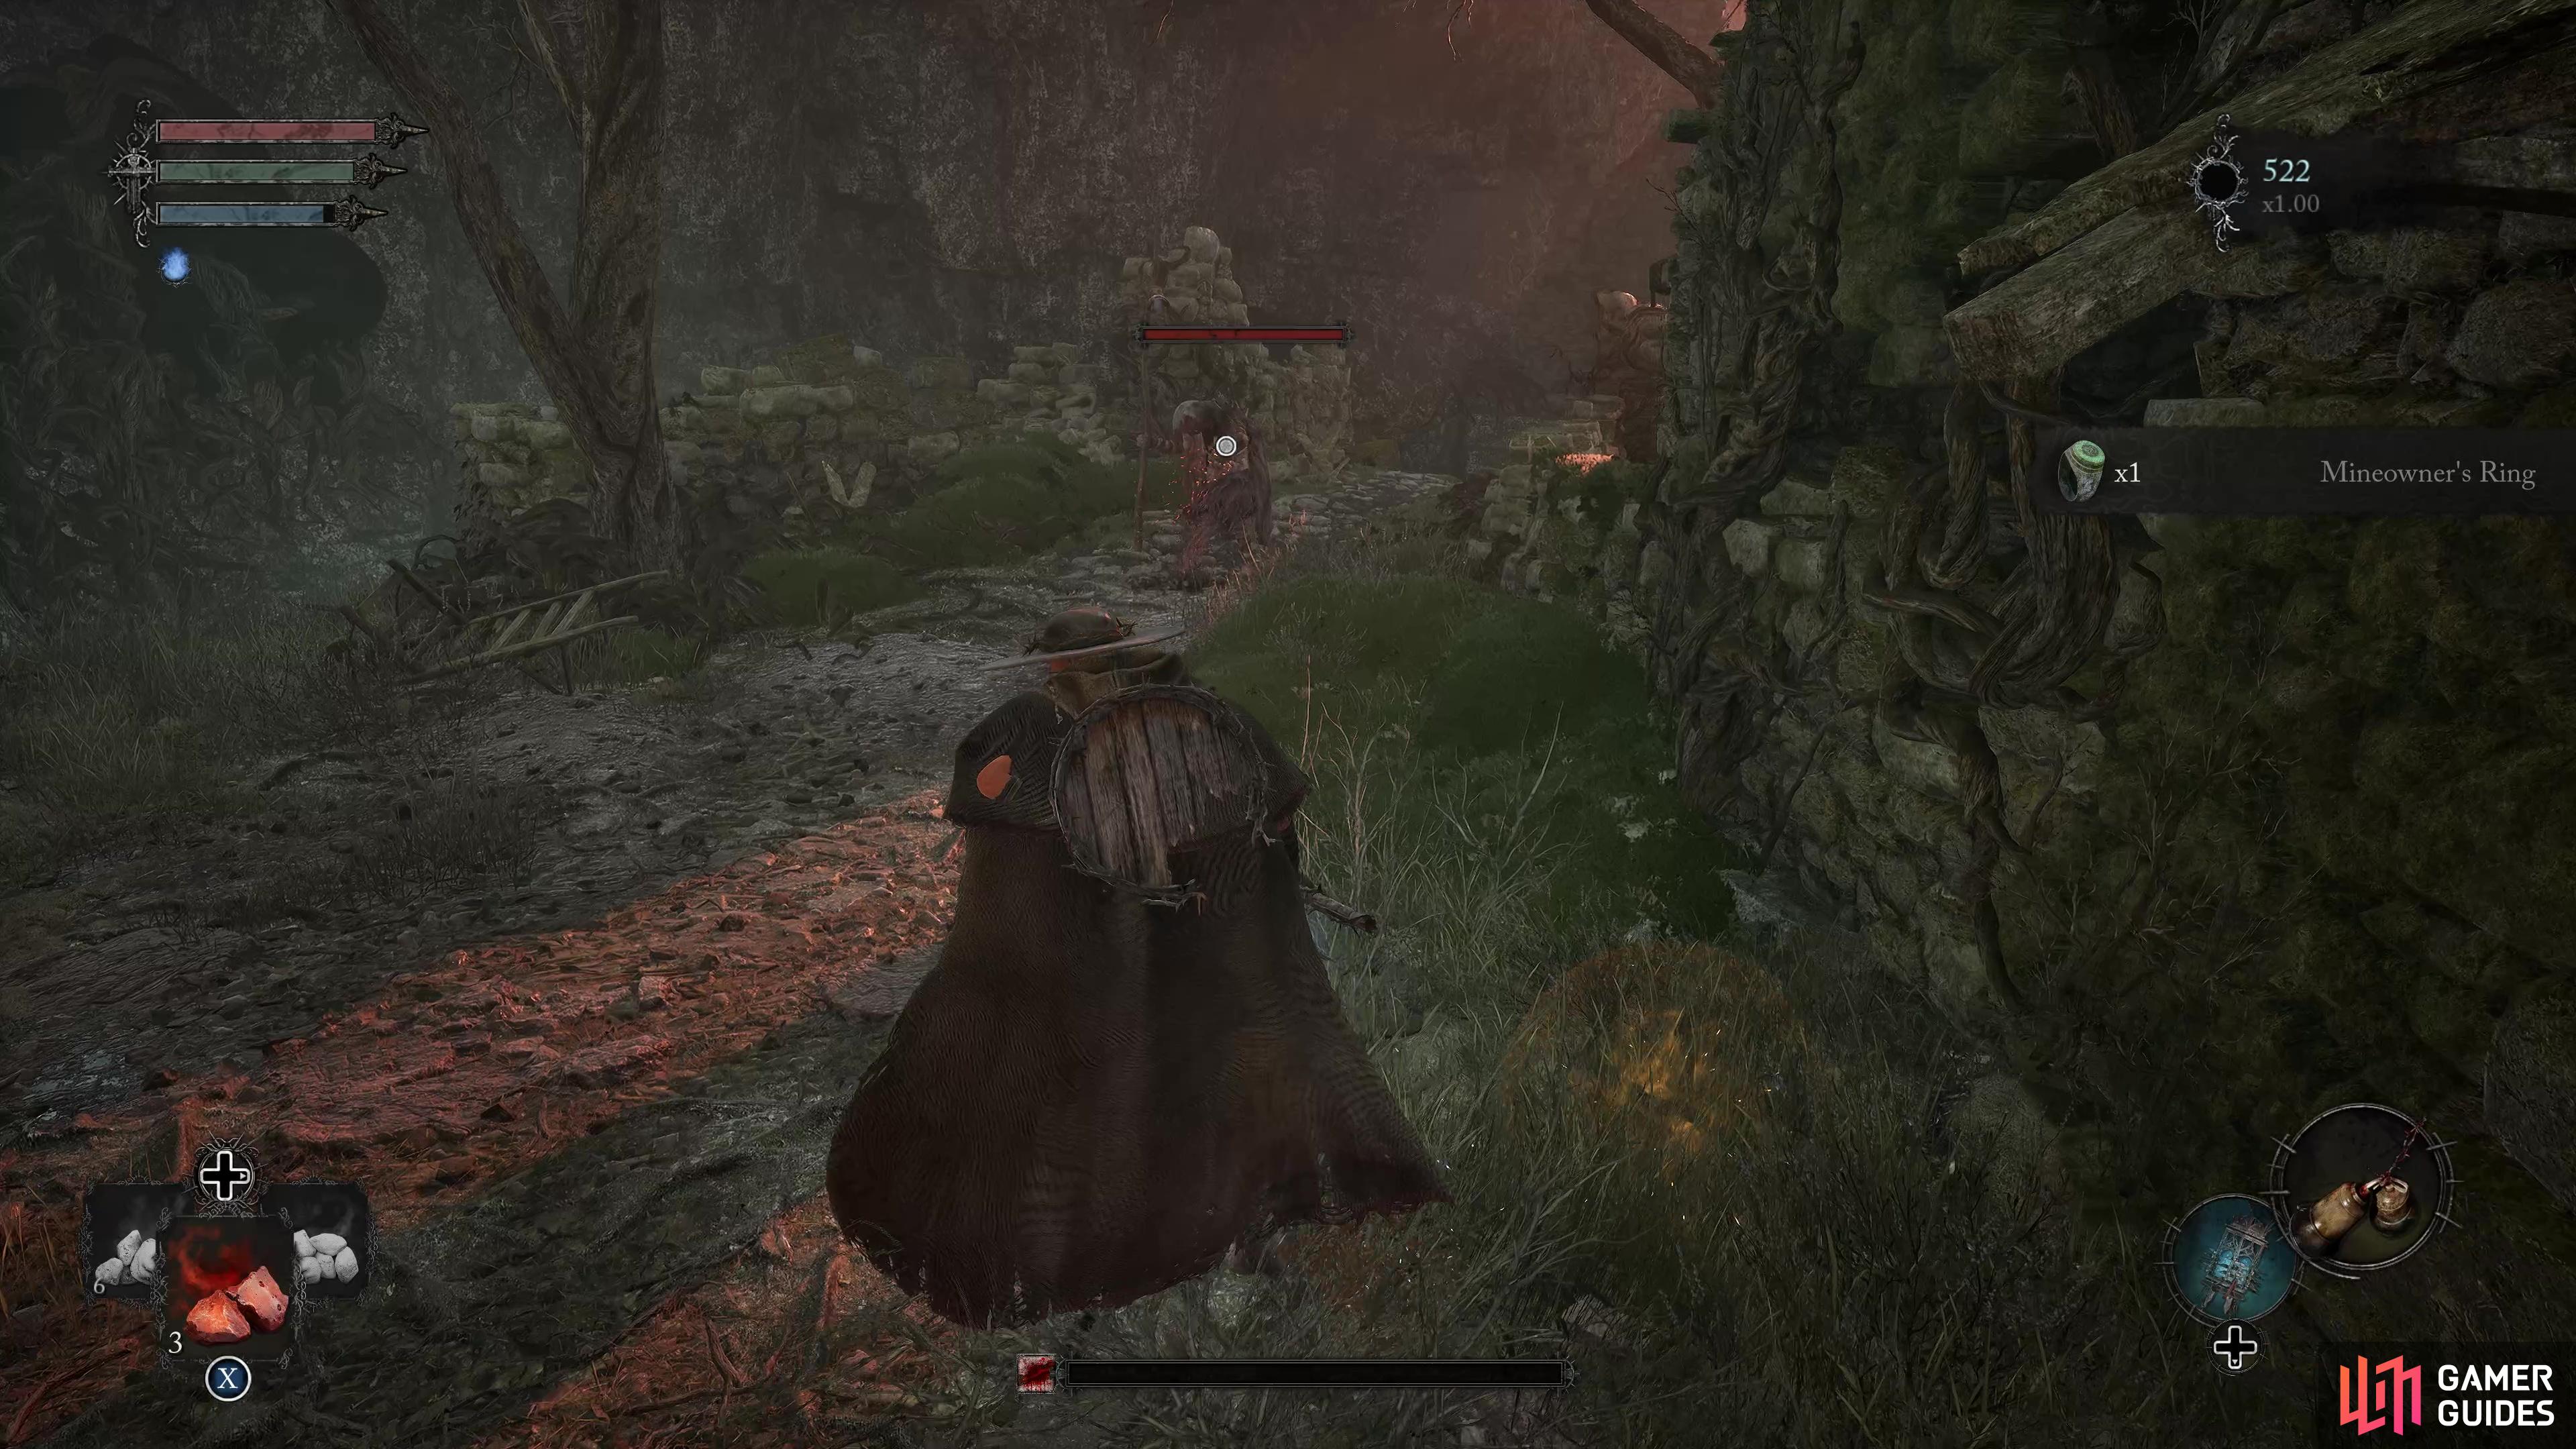
to find the Mineowner’s Ring on this corspe.
Now a large group of enemies will start coming towards you, so pick them off one by one and head back up via the ladder and head left to knock down a wooden plank which you can use as a shortcut, then emerge from Umbral. Carefully take out the two enemies then follow the path around and take a left when it splits. Climb up the ladder and grab the ![]() Holy Ward, then drop down into the room ahead to find The Iron Wayfarer for a second time. Like before, exhaust all of his dialogue and you’ll receive a
Holy Ward, then drop down into the room ahead to find The Iron Wayfarer for a second time. Like before, exhaust all of his dialogue and you’ll receive a ![]() Vestige Seed which can be used as a temporary checkpoint.
Vestige Seed which can be used as a temporary checkpoint.
Defeat Pieta
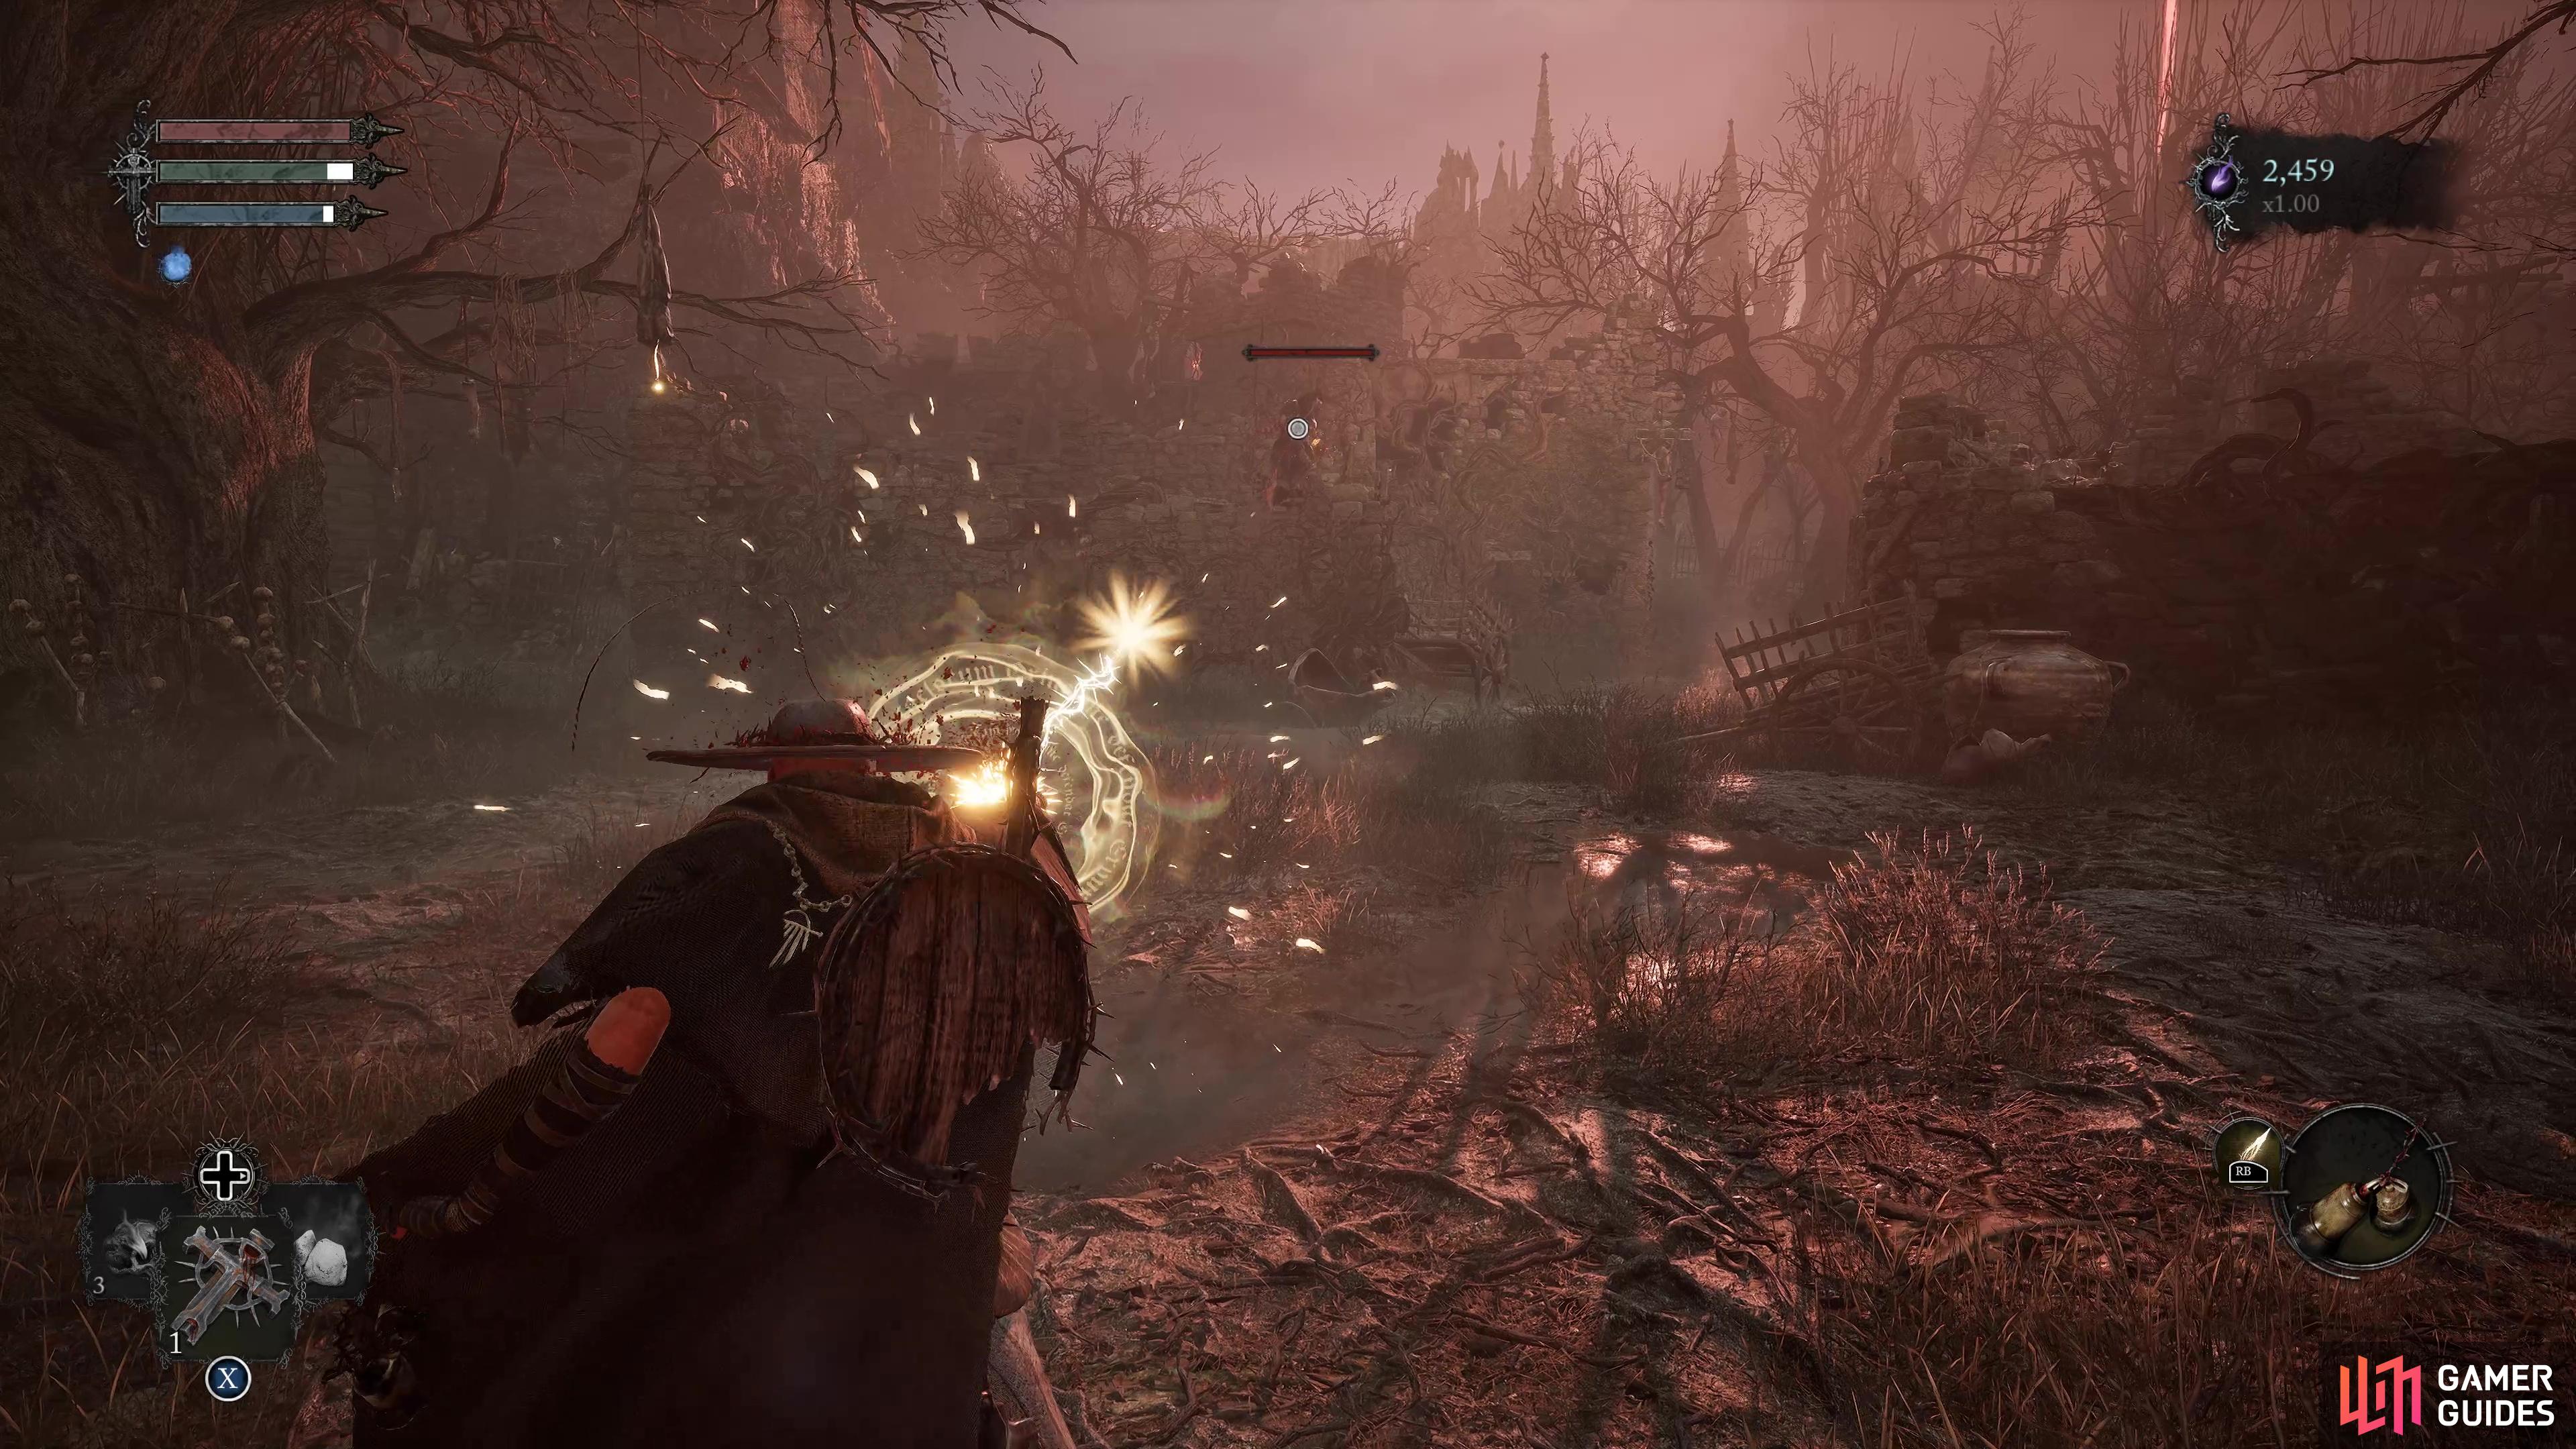
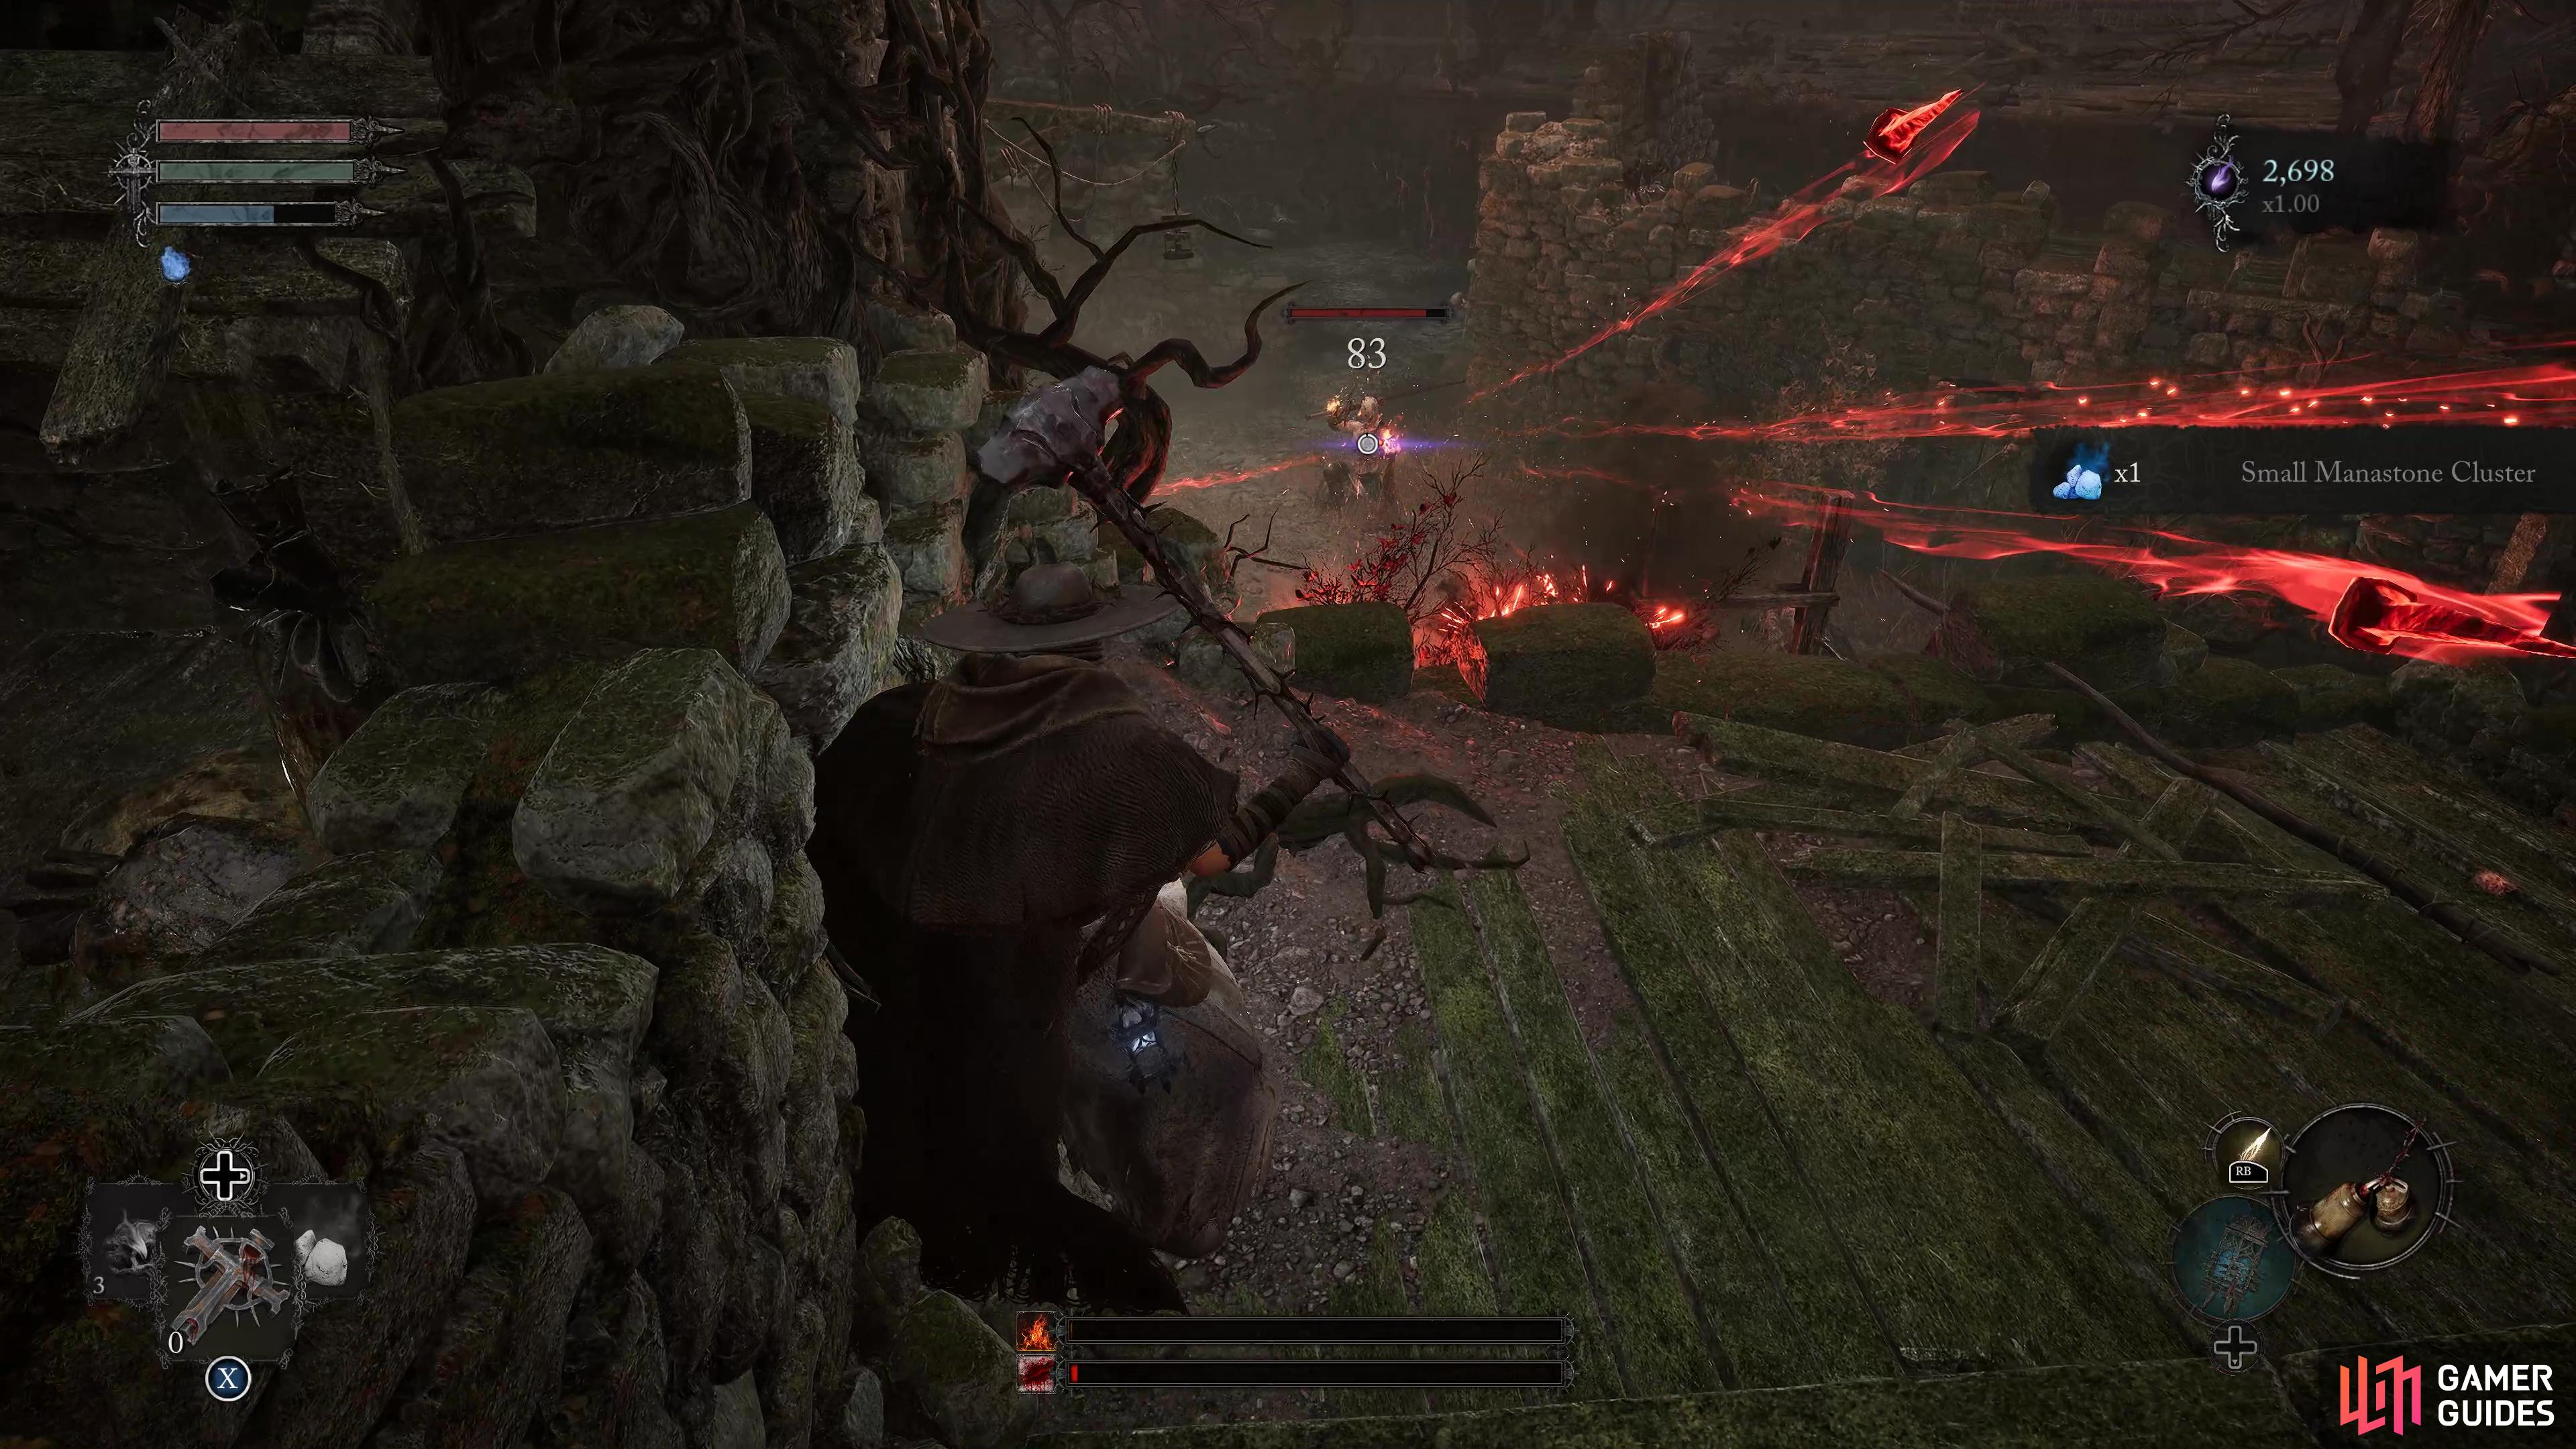
From here, you’ll want to climb up the ladder to the right of him and head all the way up the stairs, then take out the enemies from a distance whilst they’re fighting each other. Grab the Ammunition Pouch and ![]() Small Manastone Cluster from the corpse sitting beside the gate, then head towards the fire in the corner and enter the Umbral Realm to obtain a Rusty Cutter. Head back down the hill and you’ll encounter the first proper boss of the game Pieta. Use our Pieta Boss Guide as this will provide you with a list of all of her Melee/Magic Attacks and tips on how to avoid them. After you’ve defeated Pieta you’ll move on to the next area, Skyrest.
Small Manastone Cluster from the corpse sitting beside the gate, then head towards the fire in the corner and enter the Umbral Realm to obtain a Rusty Cutter. Head back down the hill and you’ll encounter the first proper boss of the game Pieta. Use our Pieta Boss Guide as this will provide you with a list of all of her Melee/Magic Attacks and tips on how to avoid them. After you’ve defeated Pieta you’ll move on to the next area, Skyrest.
Wait for the enemies to kill each other
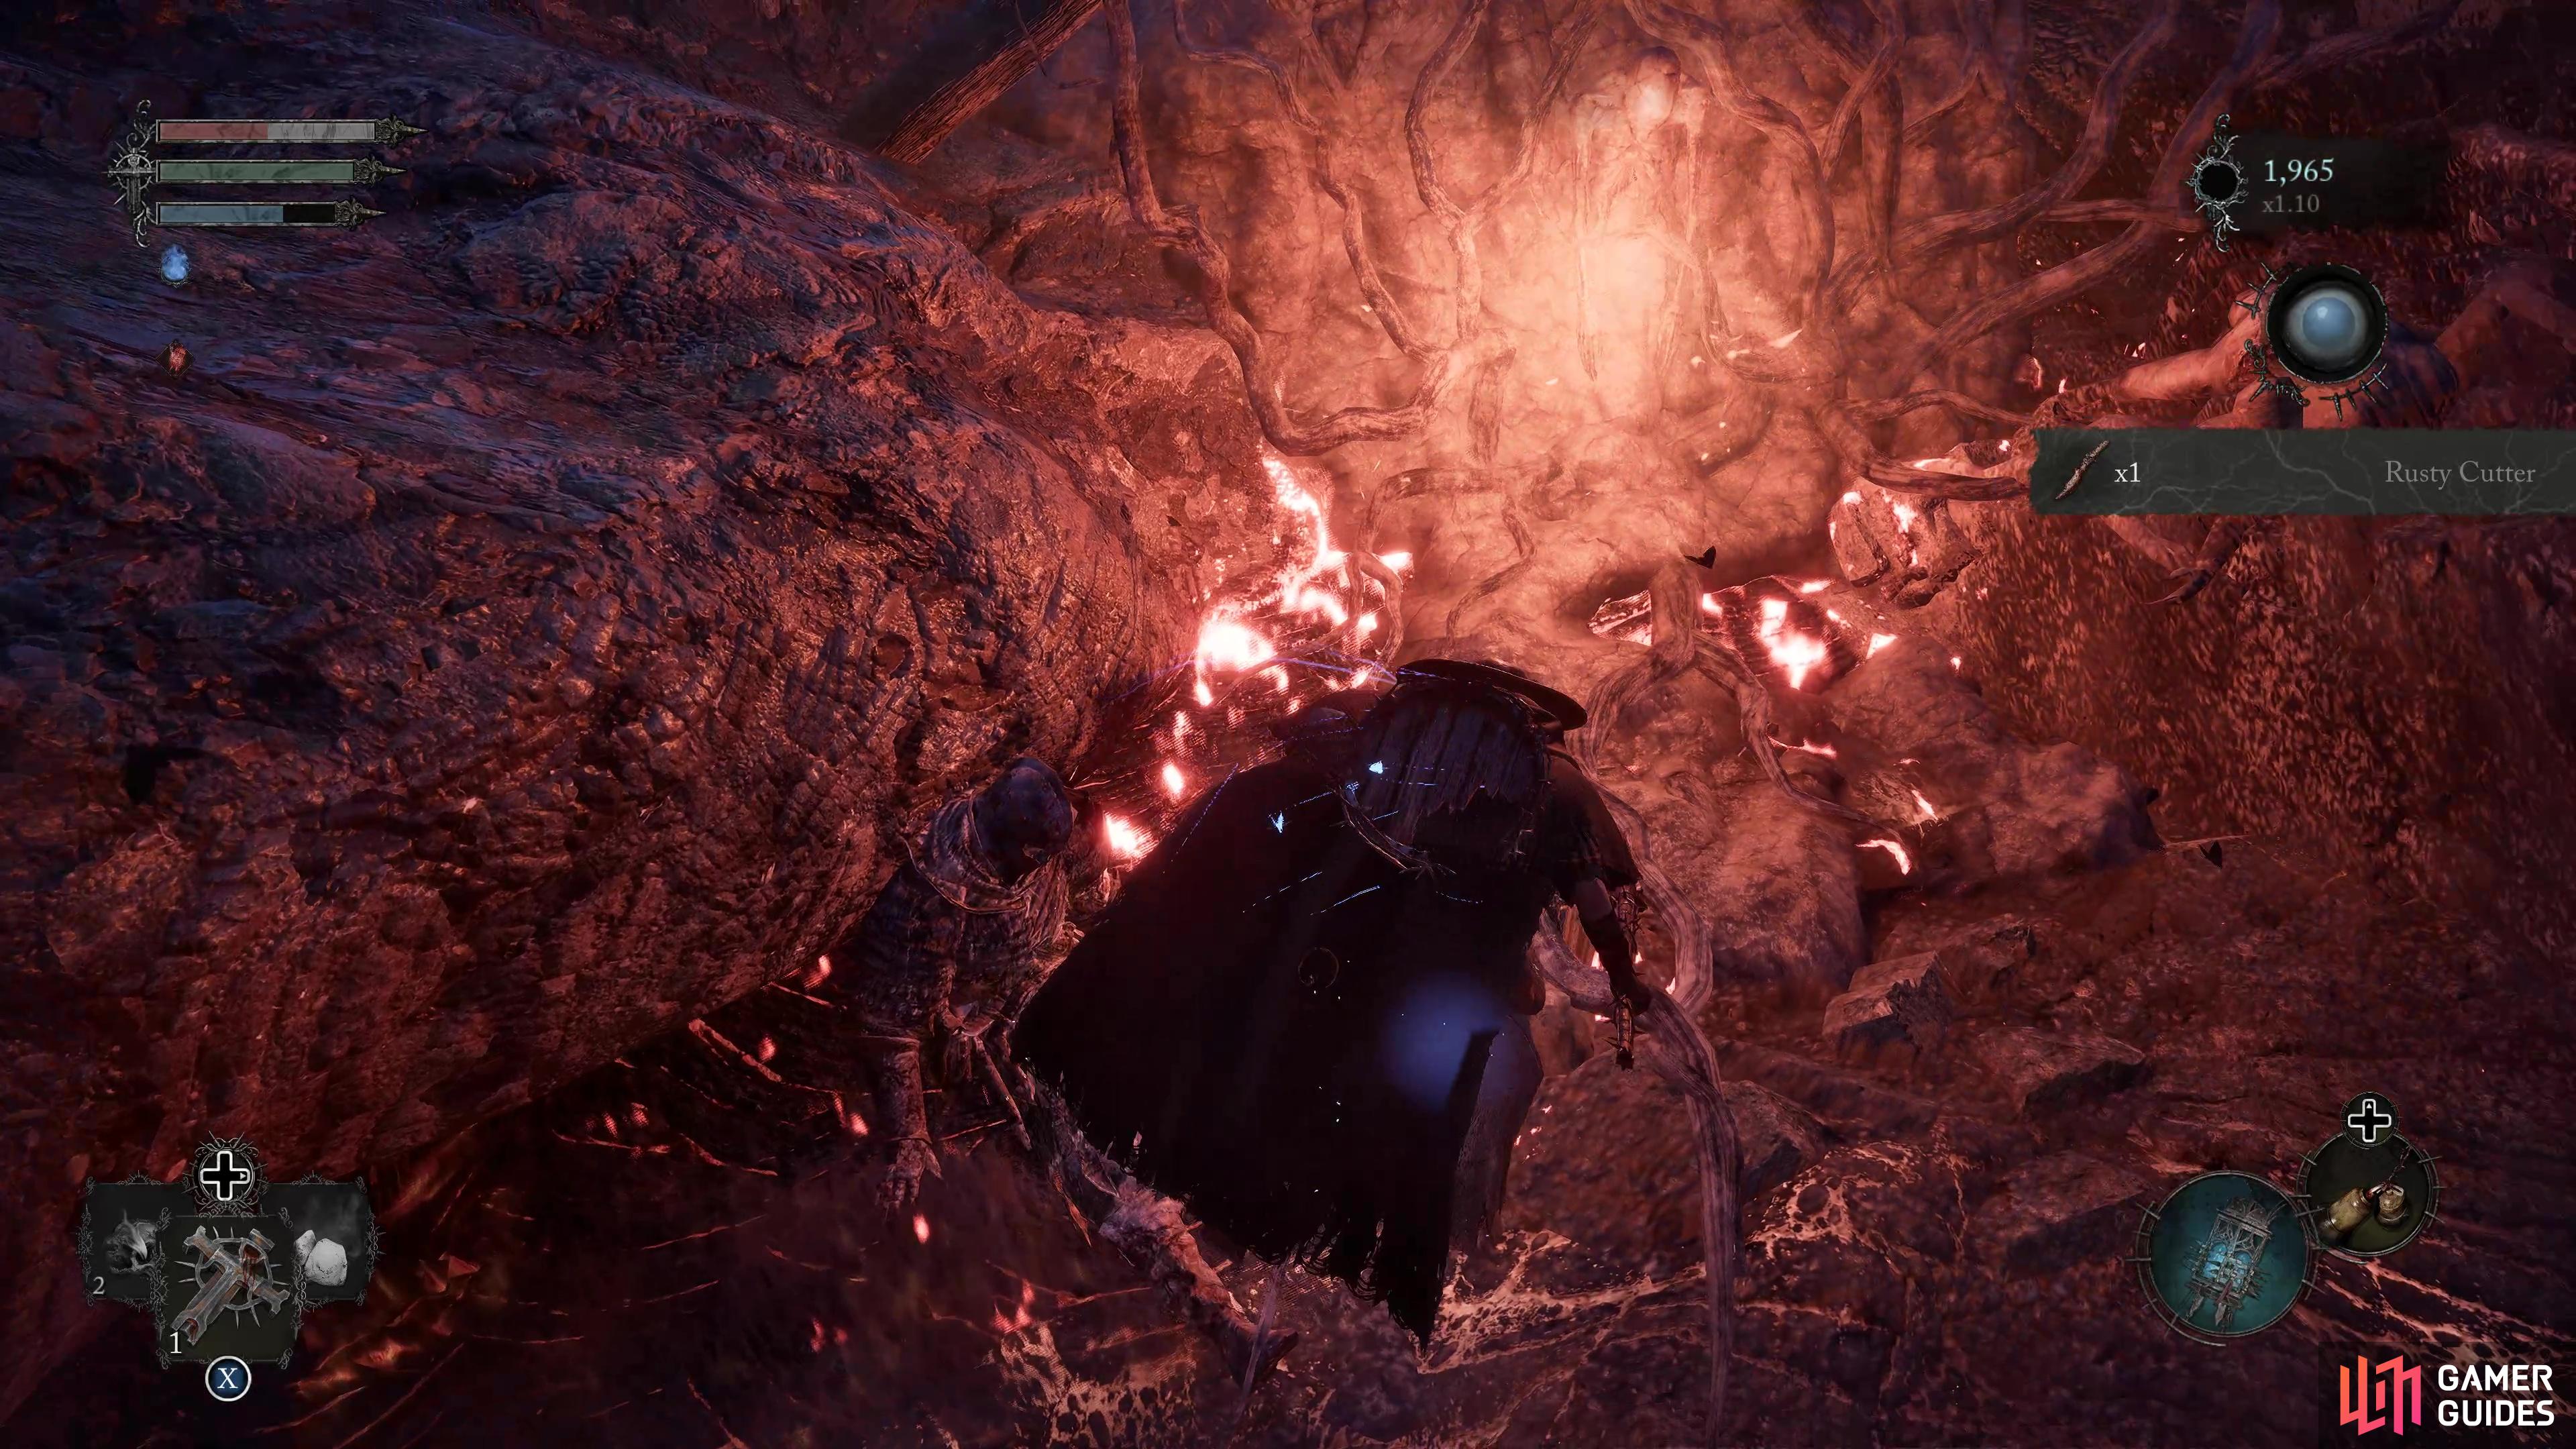
then enter the Umbral Realm and pick up the Rusty Cutter.
More Lords of the Fallen Guides
If you want any more help with Lords of the Fallen, check out our pages below. You never know, some of them may help you defeat Pieta.
No Comments