
This phase of the mission on Noveria will begin after you escape from Port Hanshan. Once outside of Port Hanshan you’ll find that the exterior of Noveria is no more welcoming than the suits inside were. At least the cold is honest, however.
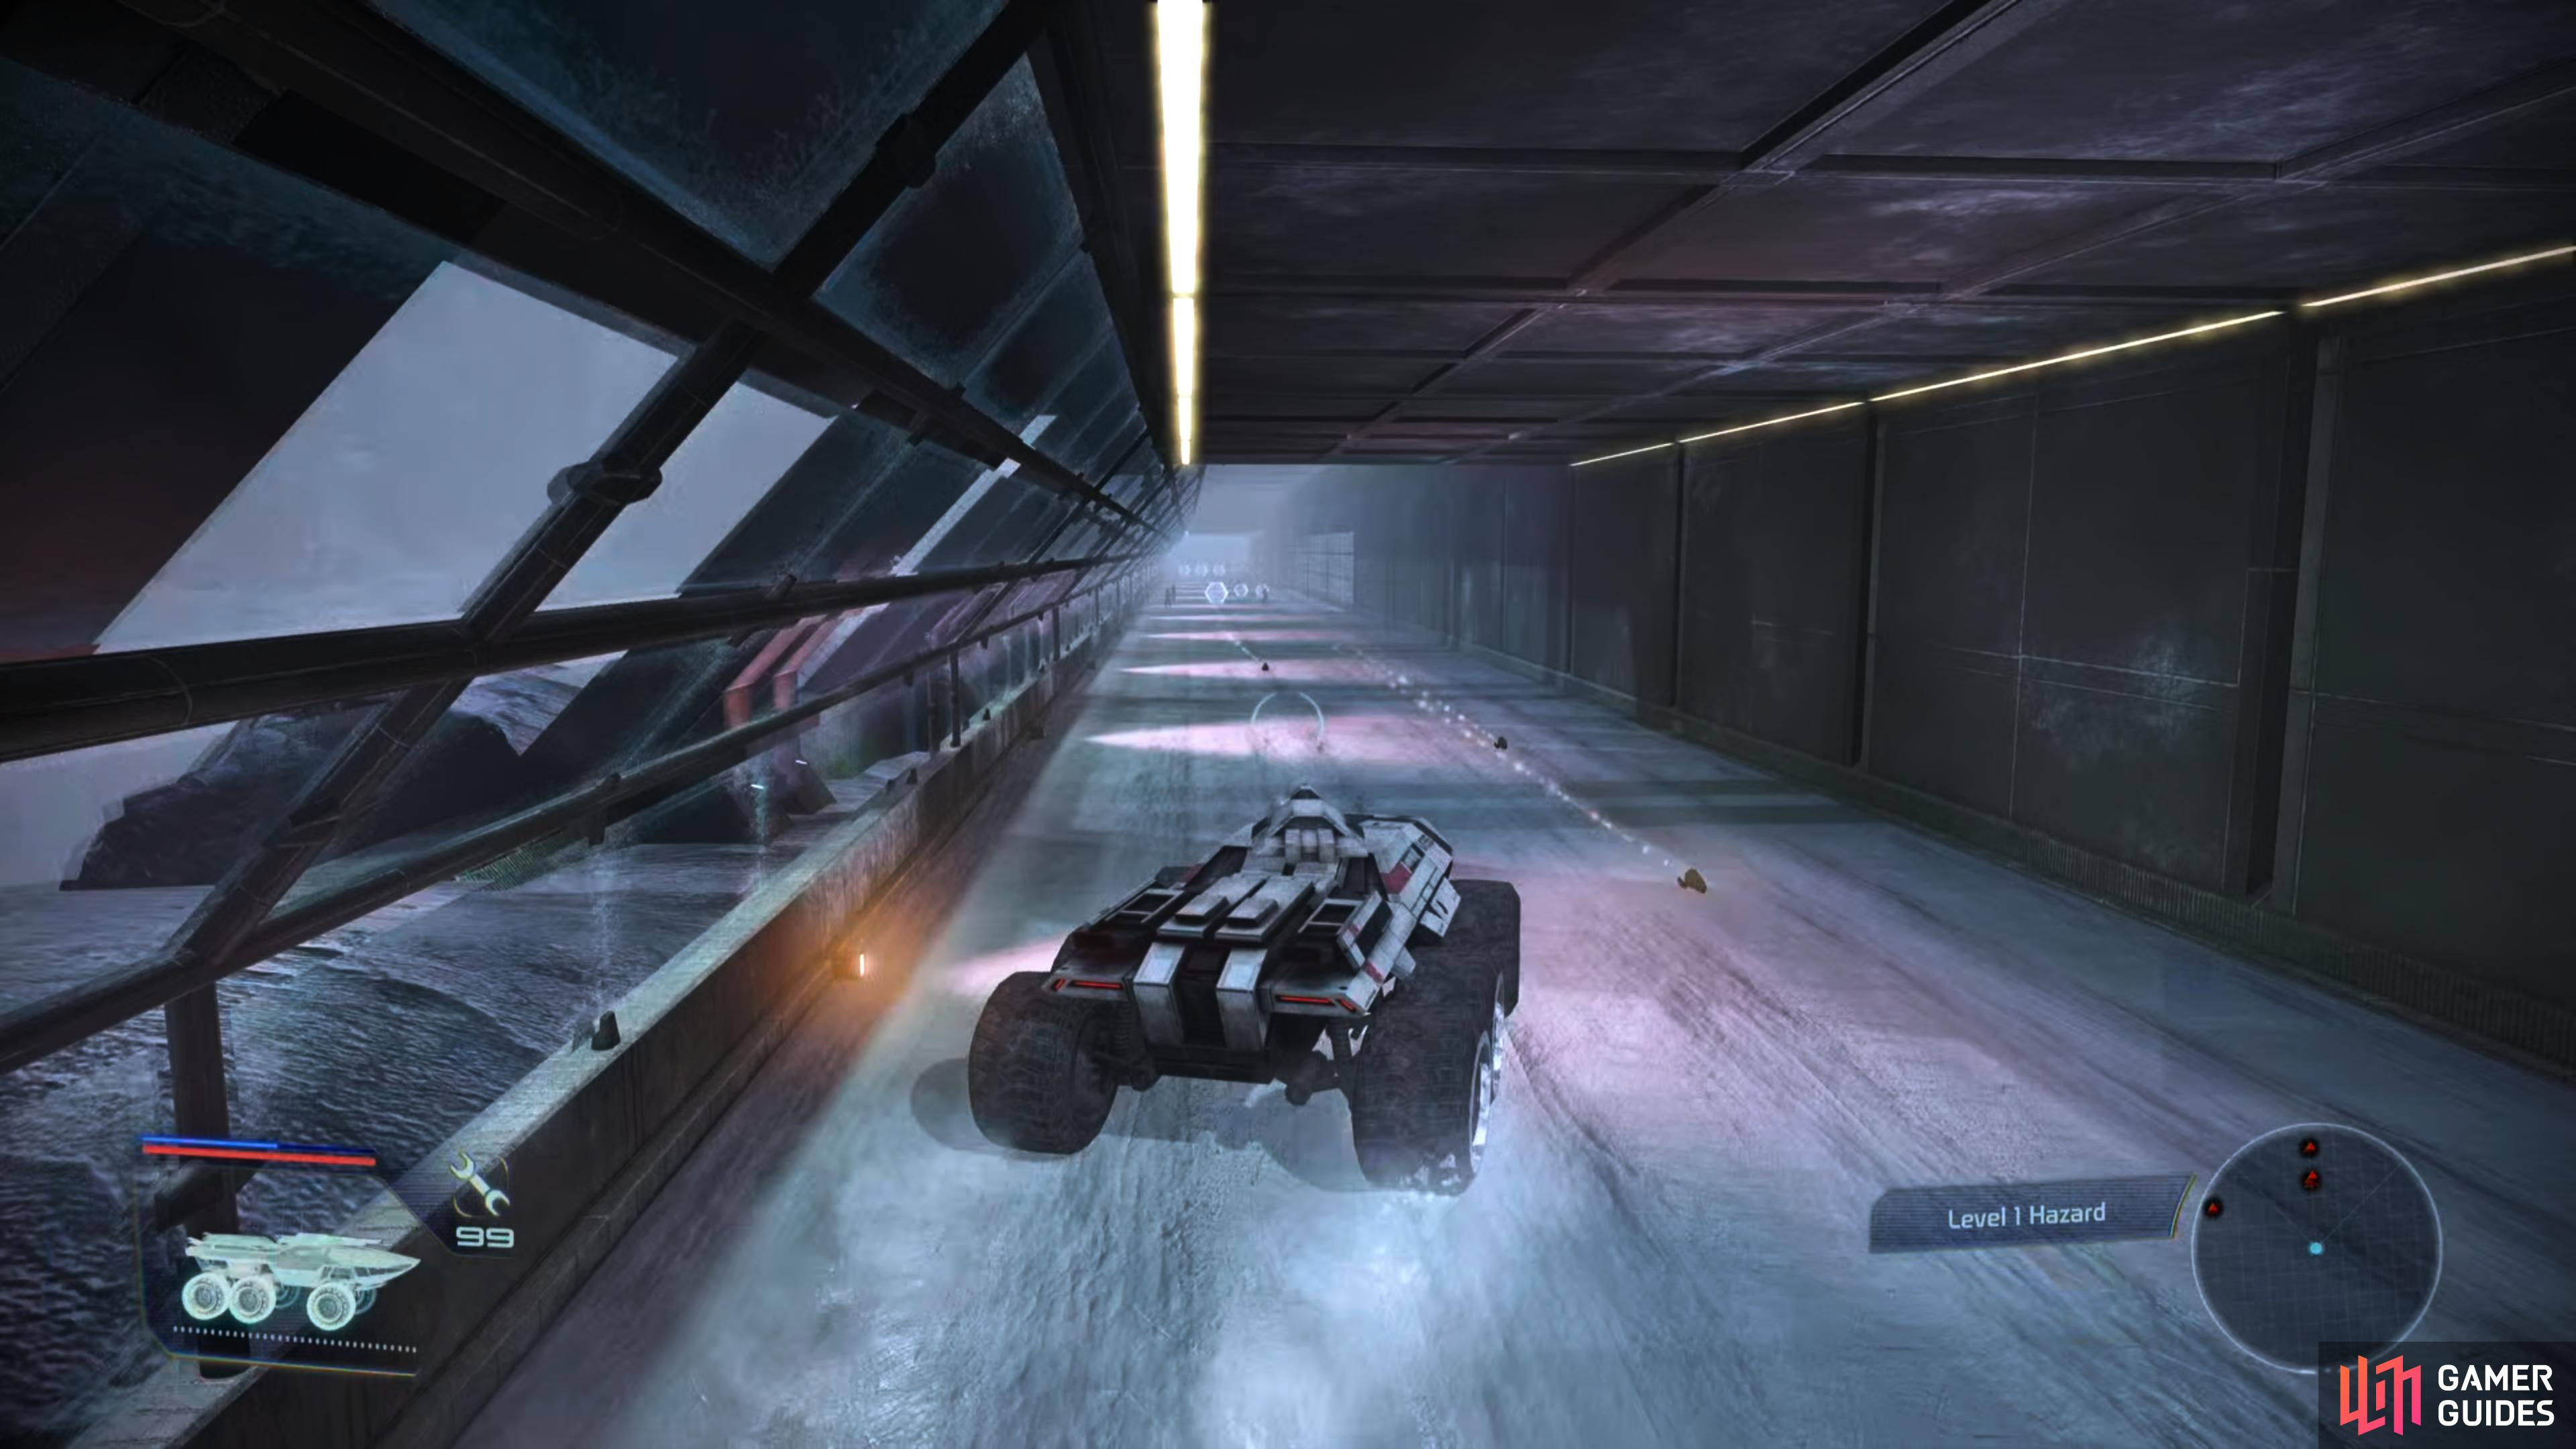
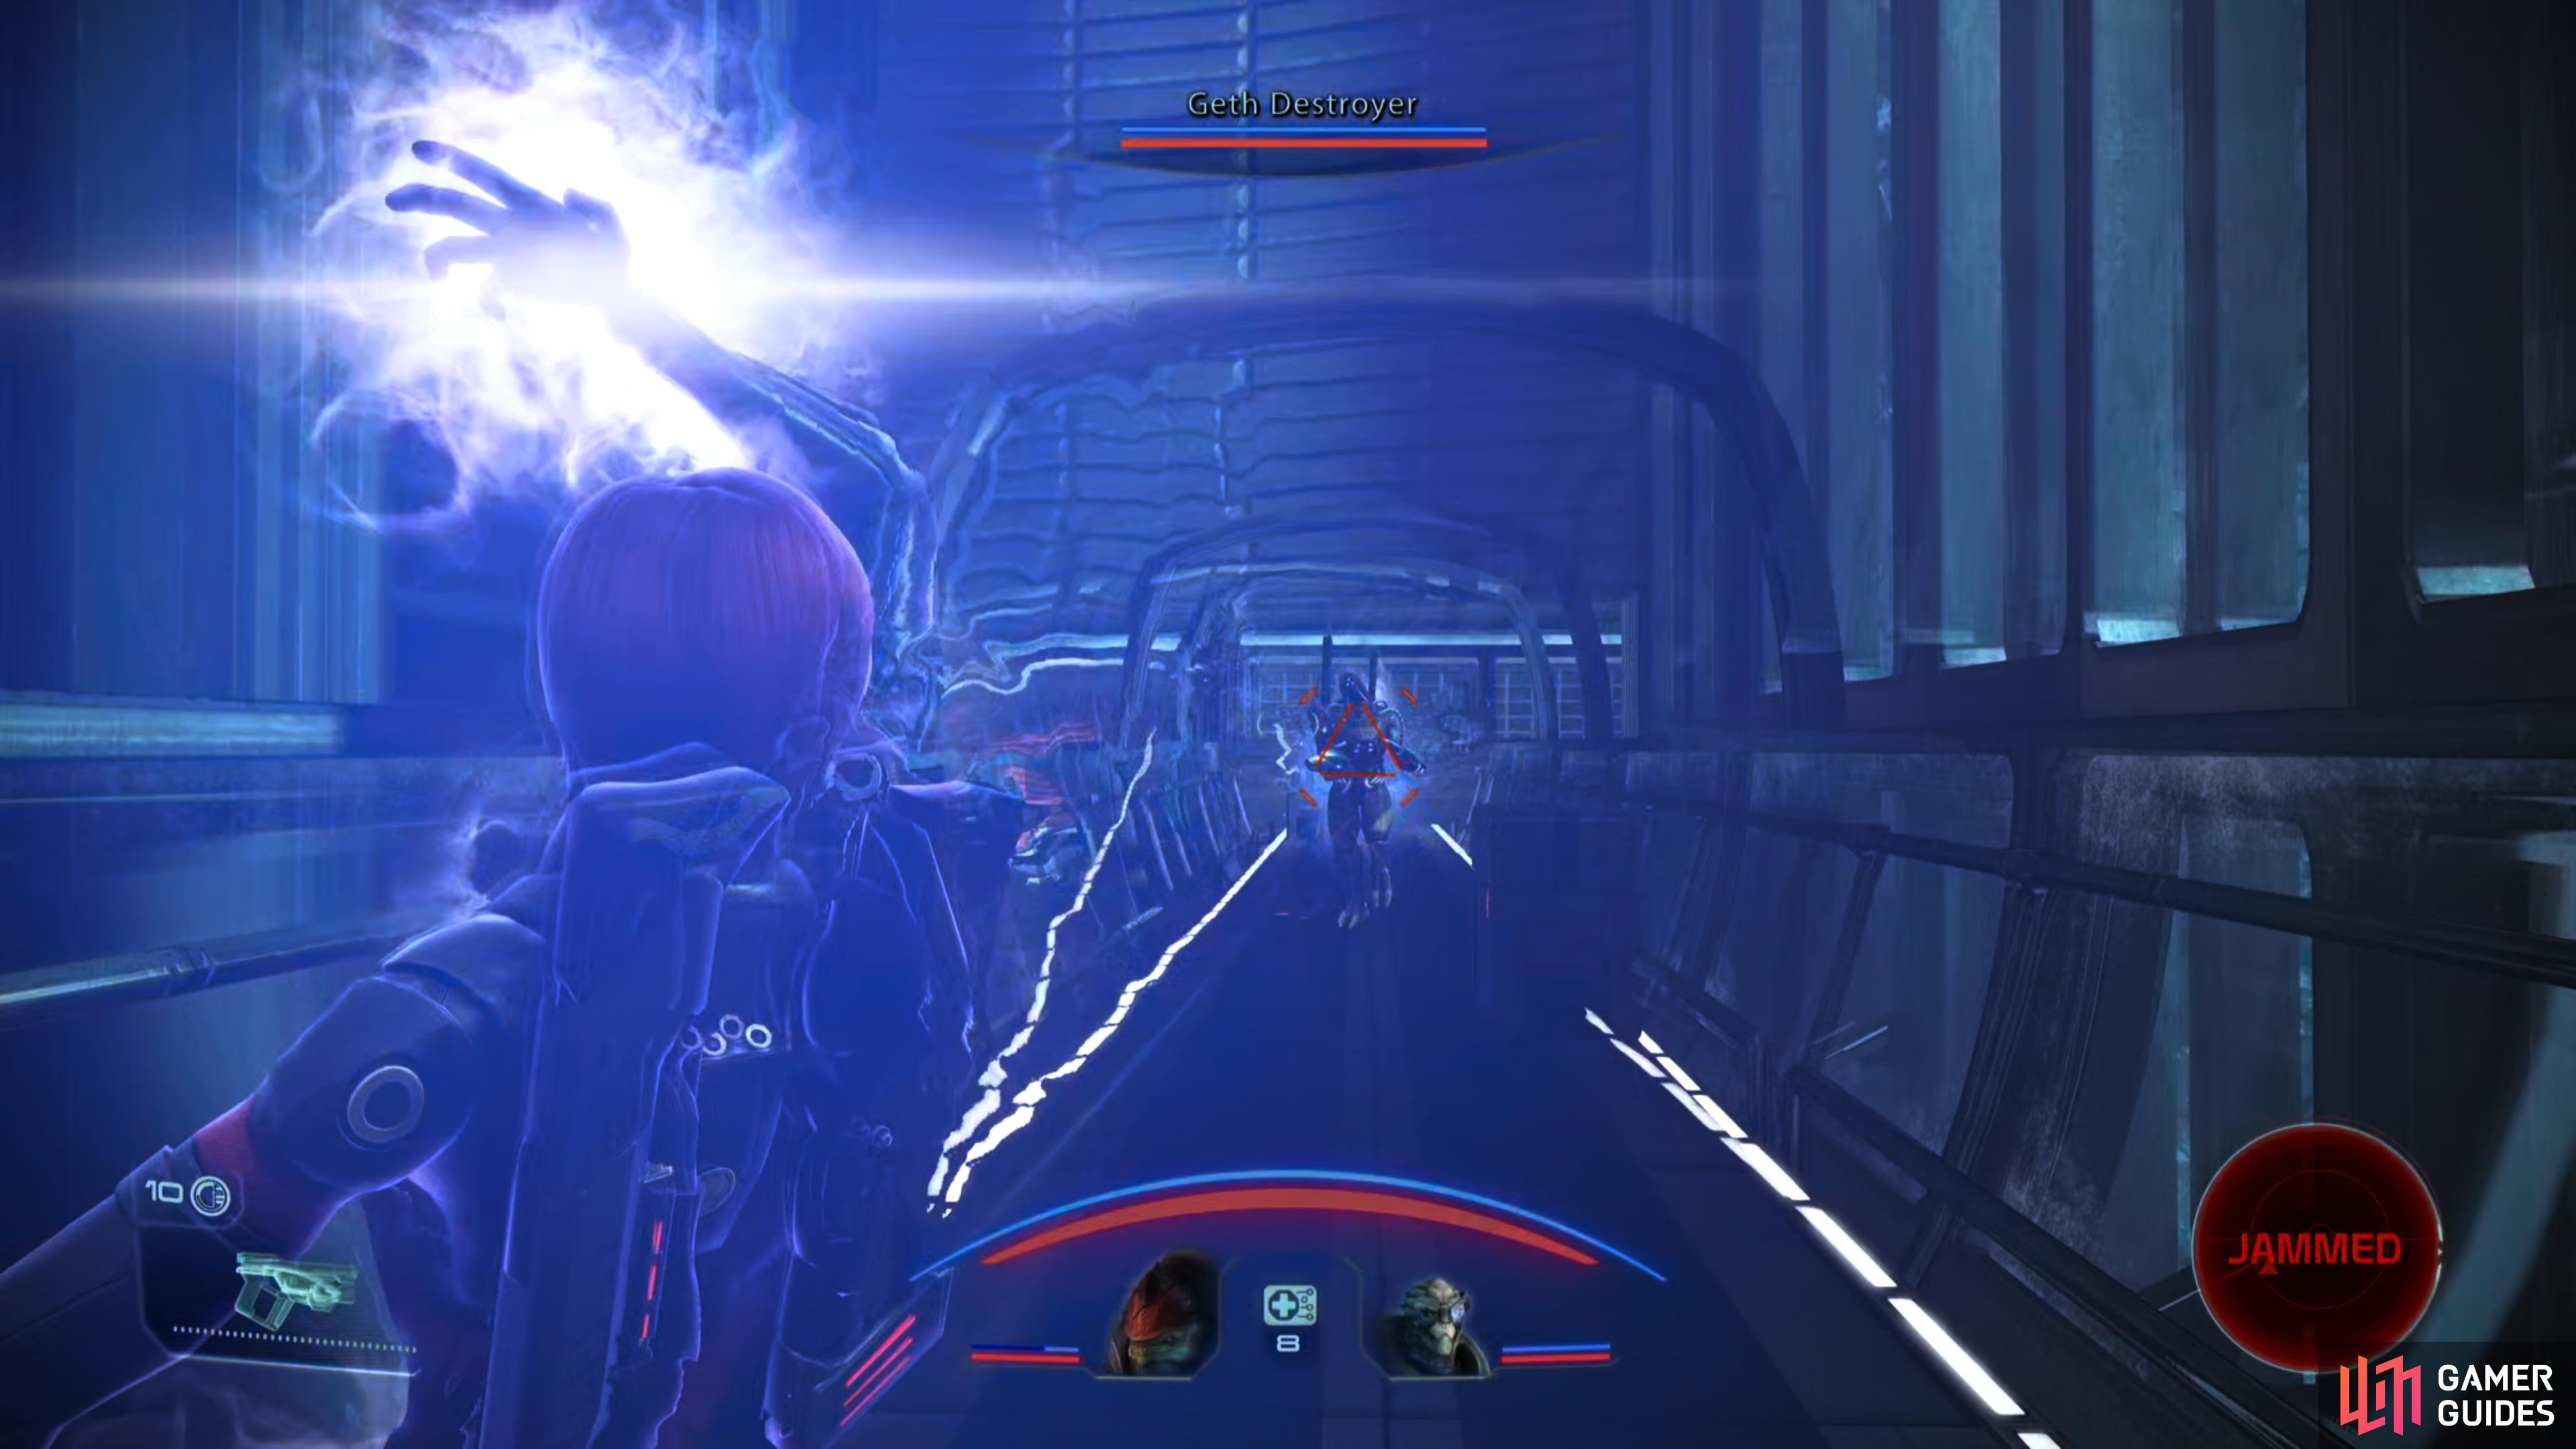
(1 of 3) The first bridge you cross can be somewhat dangerous, as there will be lots of rockets coming at you with little room to dodge.
Noveria: Aleutsk Valley
Drive north, then south, following the linear path until you reach a bridge, where your passage will be contested by a Geth Heavy Turret (how’d they smuggle that onto Noveria?) and numerous Shock Troopers and Rocket Troopers. Crossing the bridge is actually marginally dangerous on higher difficulties, as you’ll be facing a lot of rockets without a lot of room to maneuver. Fortunately, you’re not timed, so you can retreat and wait for your shields to recharge, as necessary.
Once you cross the bridge you’ll get a scene announcing the arrival of the heavies: in this case, a Geth Armature. Destroy it and the Rocket Troopers nearby, then search the wreckage it was guarding to find two Locked Crates [Easy].
Press on until you reach a second bridge. This one is less dangerous, as there are less troopers blocking your path. Destroy whatever opposition presents itself as you cross the bridge, then shoot down another Geth Heavy Turret before stopping long enough to loot a Medical Kit near a crate.
You only have the final stretch left, which is an uneventful drive terminating at the “Peak 15 Garage” building. Blast three more Geth Heavy Turrets along the way and leave the Mako when you reach your destination.
If the enemies in the garage are reluctant to close the distance, encourage them to do so with a few taps from your sniper rifle.

After defeating the enemies in the garage, loot your way to an elevator.
Noveria: Peak 15 Garage
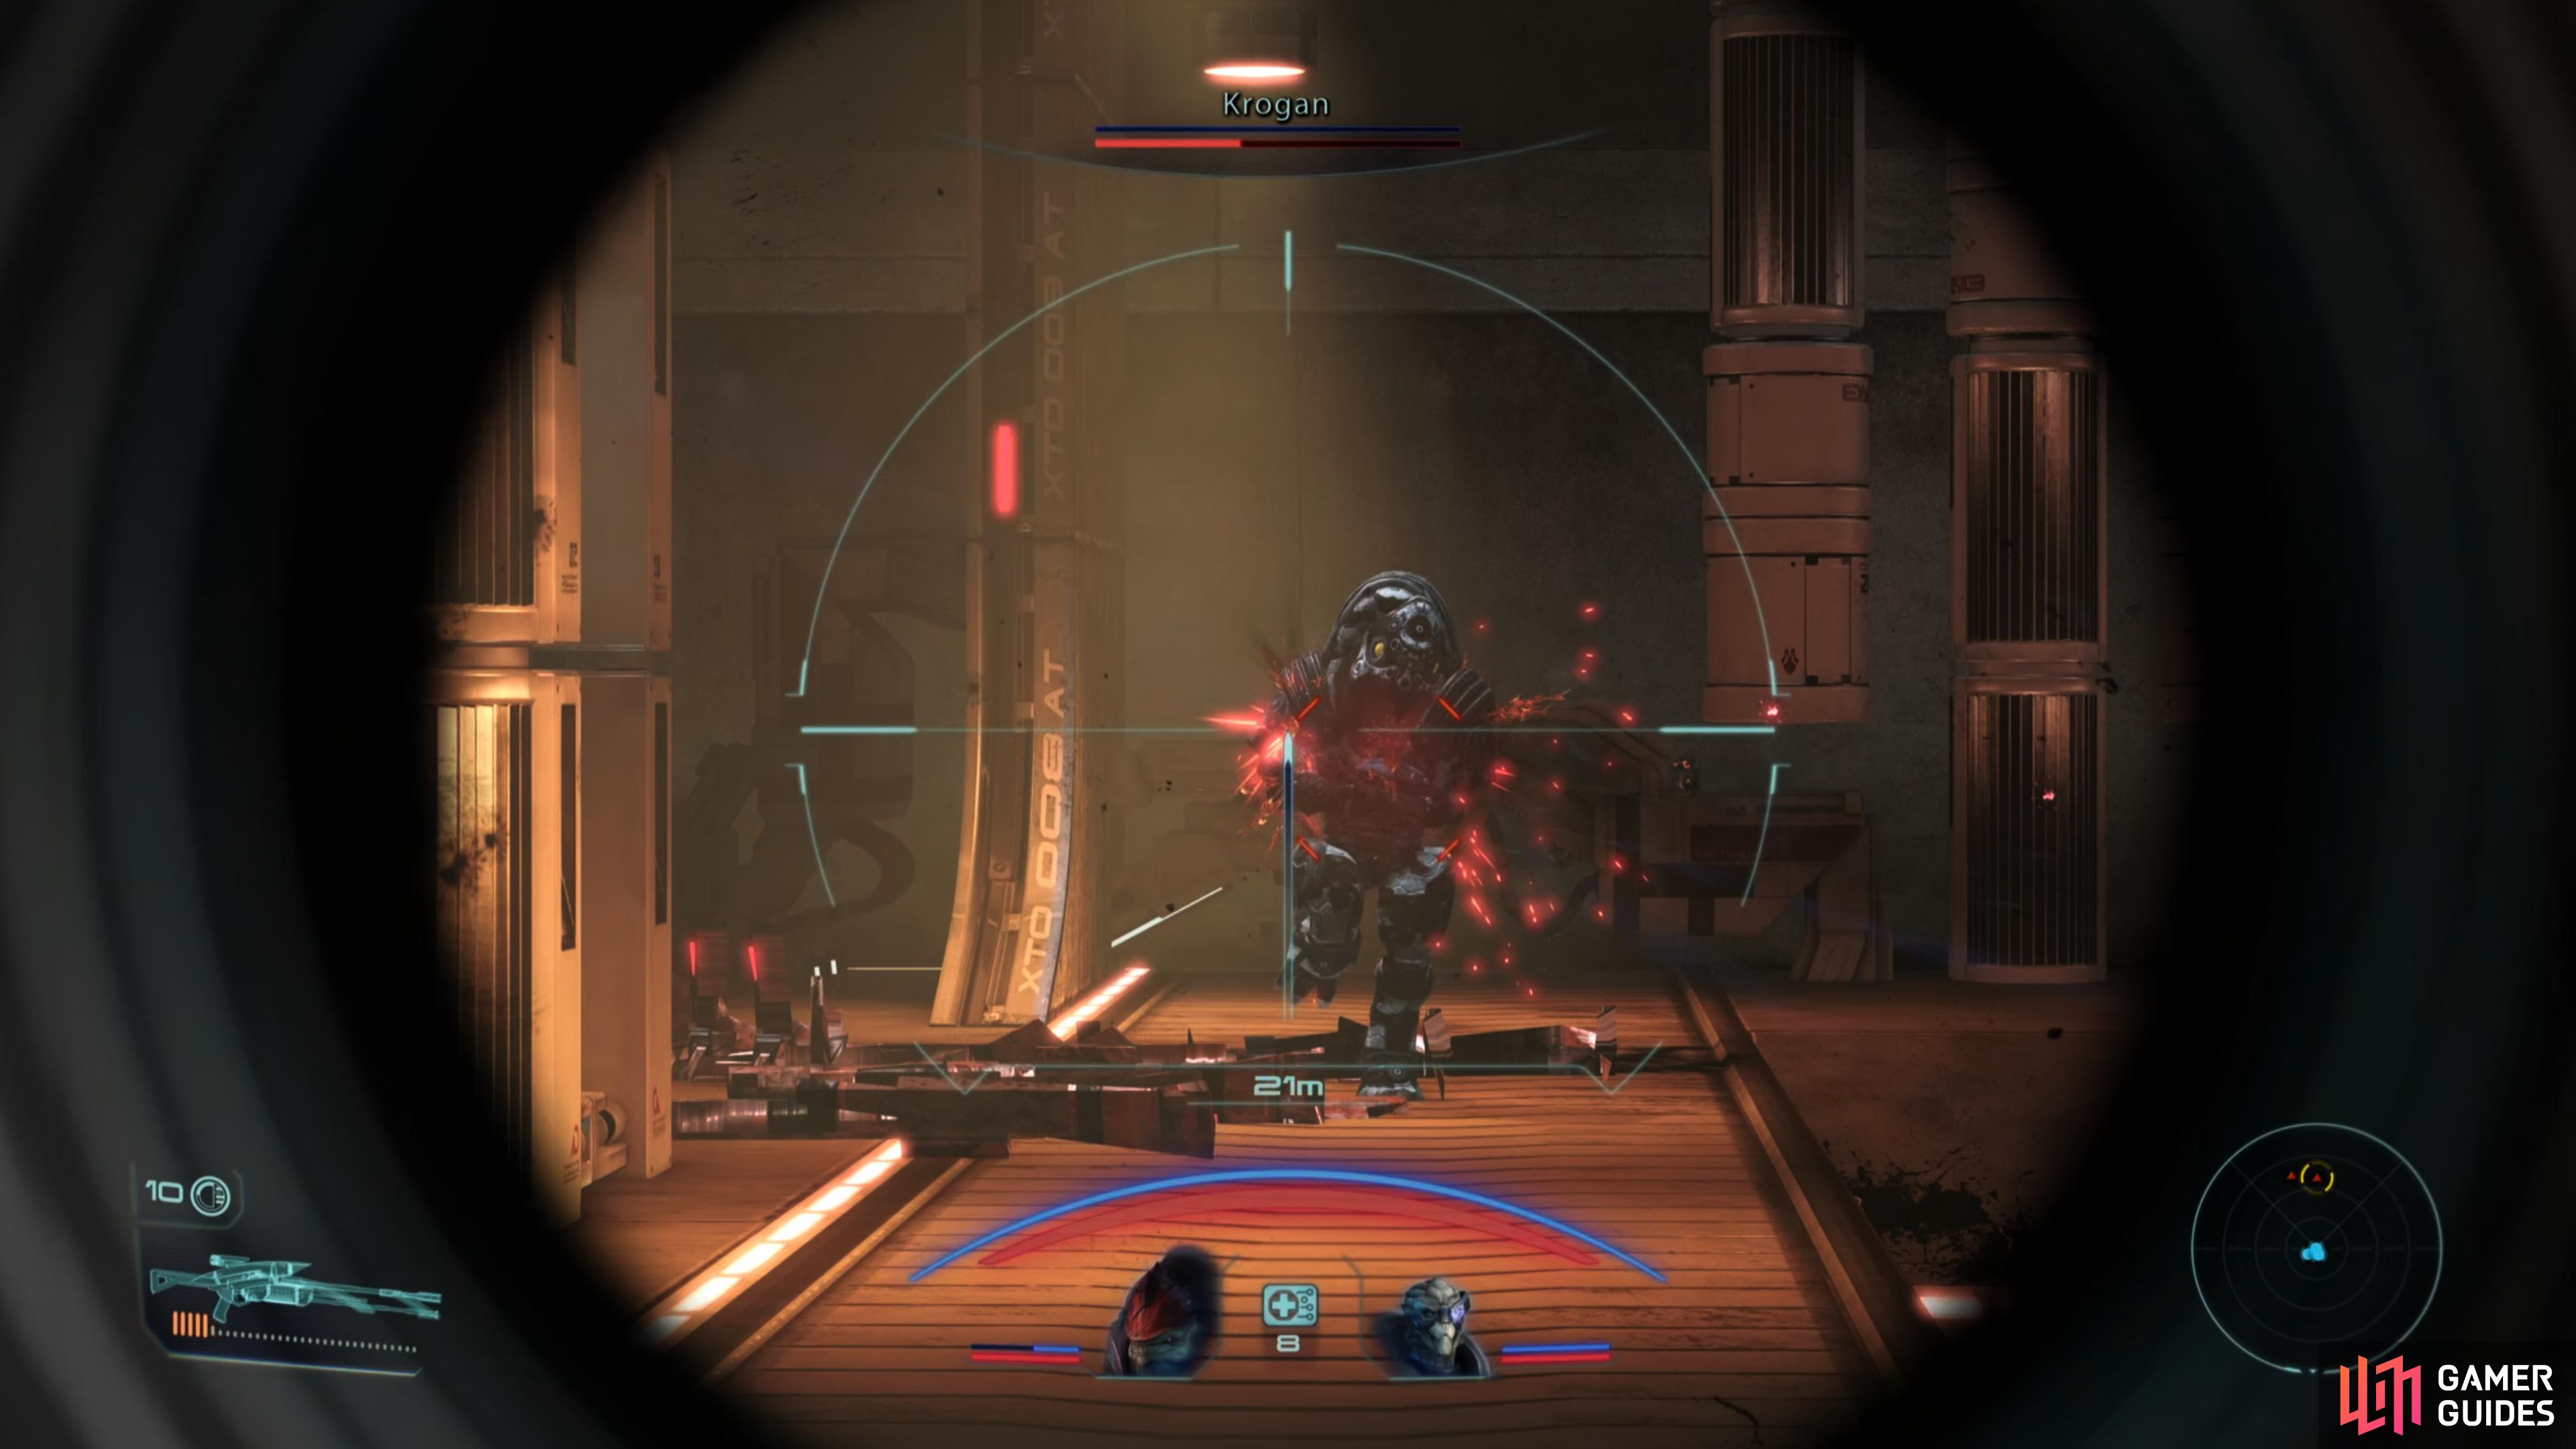
Pass through two doors - one smaller, one larger - and when you reach the interior of the garage you’ll be beset by numerous foes, including a Geth Trooper, a Geth Assault Drone, a Geth Juggernaut and two Krogan. The latter three are prone to charging when their shields are depleted, but are otherwise content to hang back and fight at range.
Chastise them with abilities and gunfire, and if they’re playing hard to get, encourage them into action with your sniper rifle. Focus on one at a time (and command your squad to participate), and if one of your foes starts charging, keep biotics ready to punish them. Once the garage is clear you’ll hear an intercom announce your next subobjective: getting the research facility’s reactor back online.
Head up a ramp to the east to find a walkway leading deeper into the facility. Be sure to loot a Secure Crate [Average] and an Upgrade Kit as you go, then pass through a door to the east. Here you’ll find some turrets facing the interior of the facility - an odd choice your companions are sure to comment on - after which you’ll find a fork. Go south, first, to reach a security room, in which you’ll find an Upgrade Kit and a Secure Storage Locker [Average].
Once that loot is yours, ride an elevator up to the interior of the facility.
Defeat some Geth Troopers,
after which you’ll have to put down some rachni.
Noveria: Peak 15 Administration
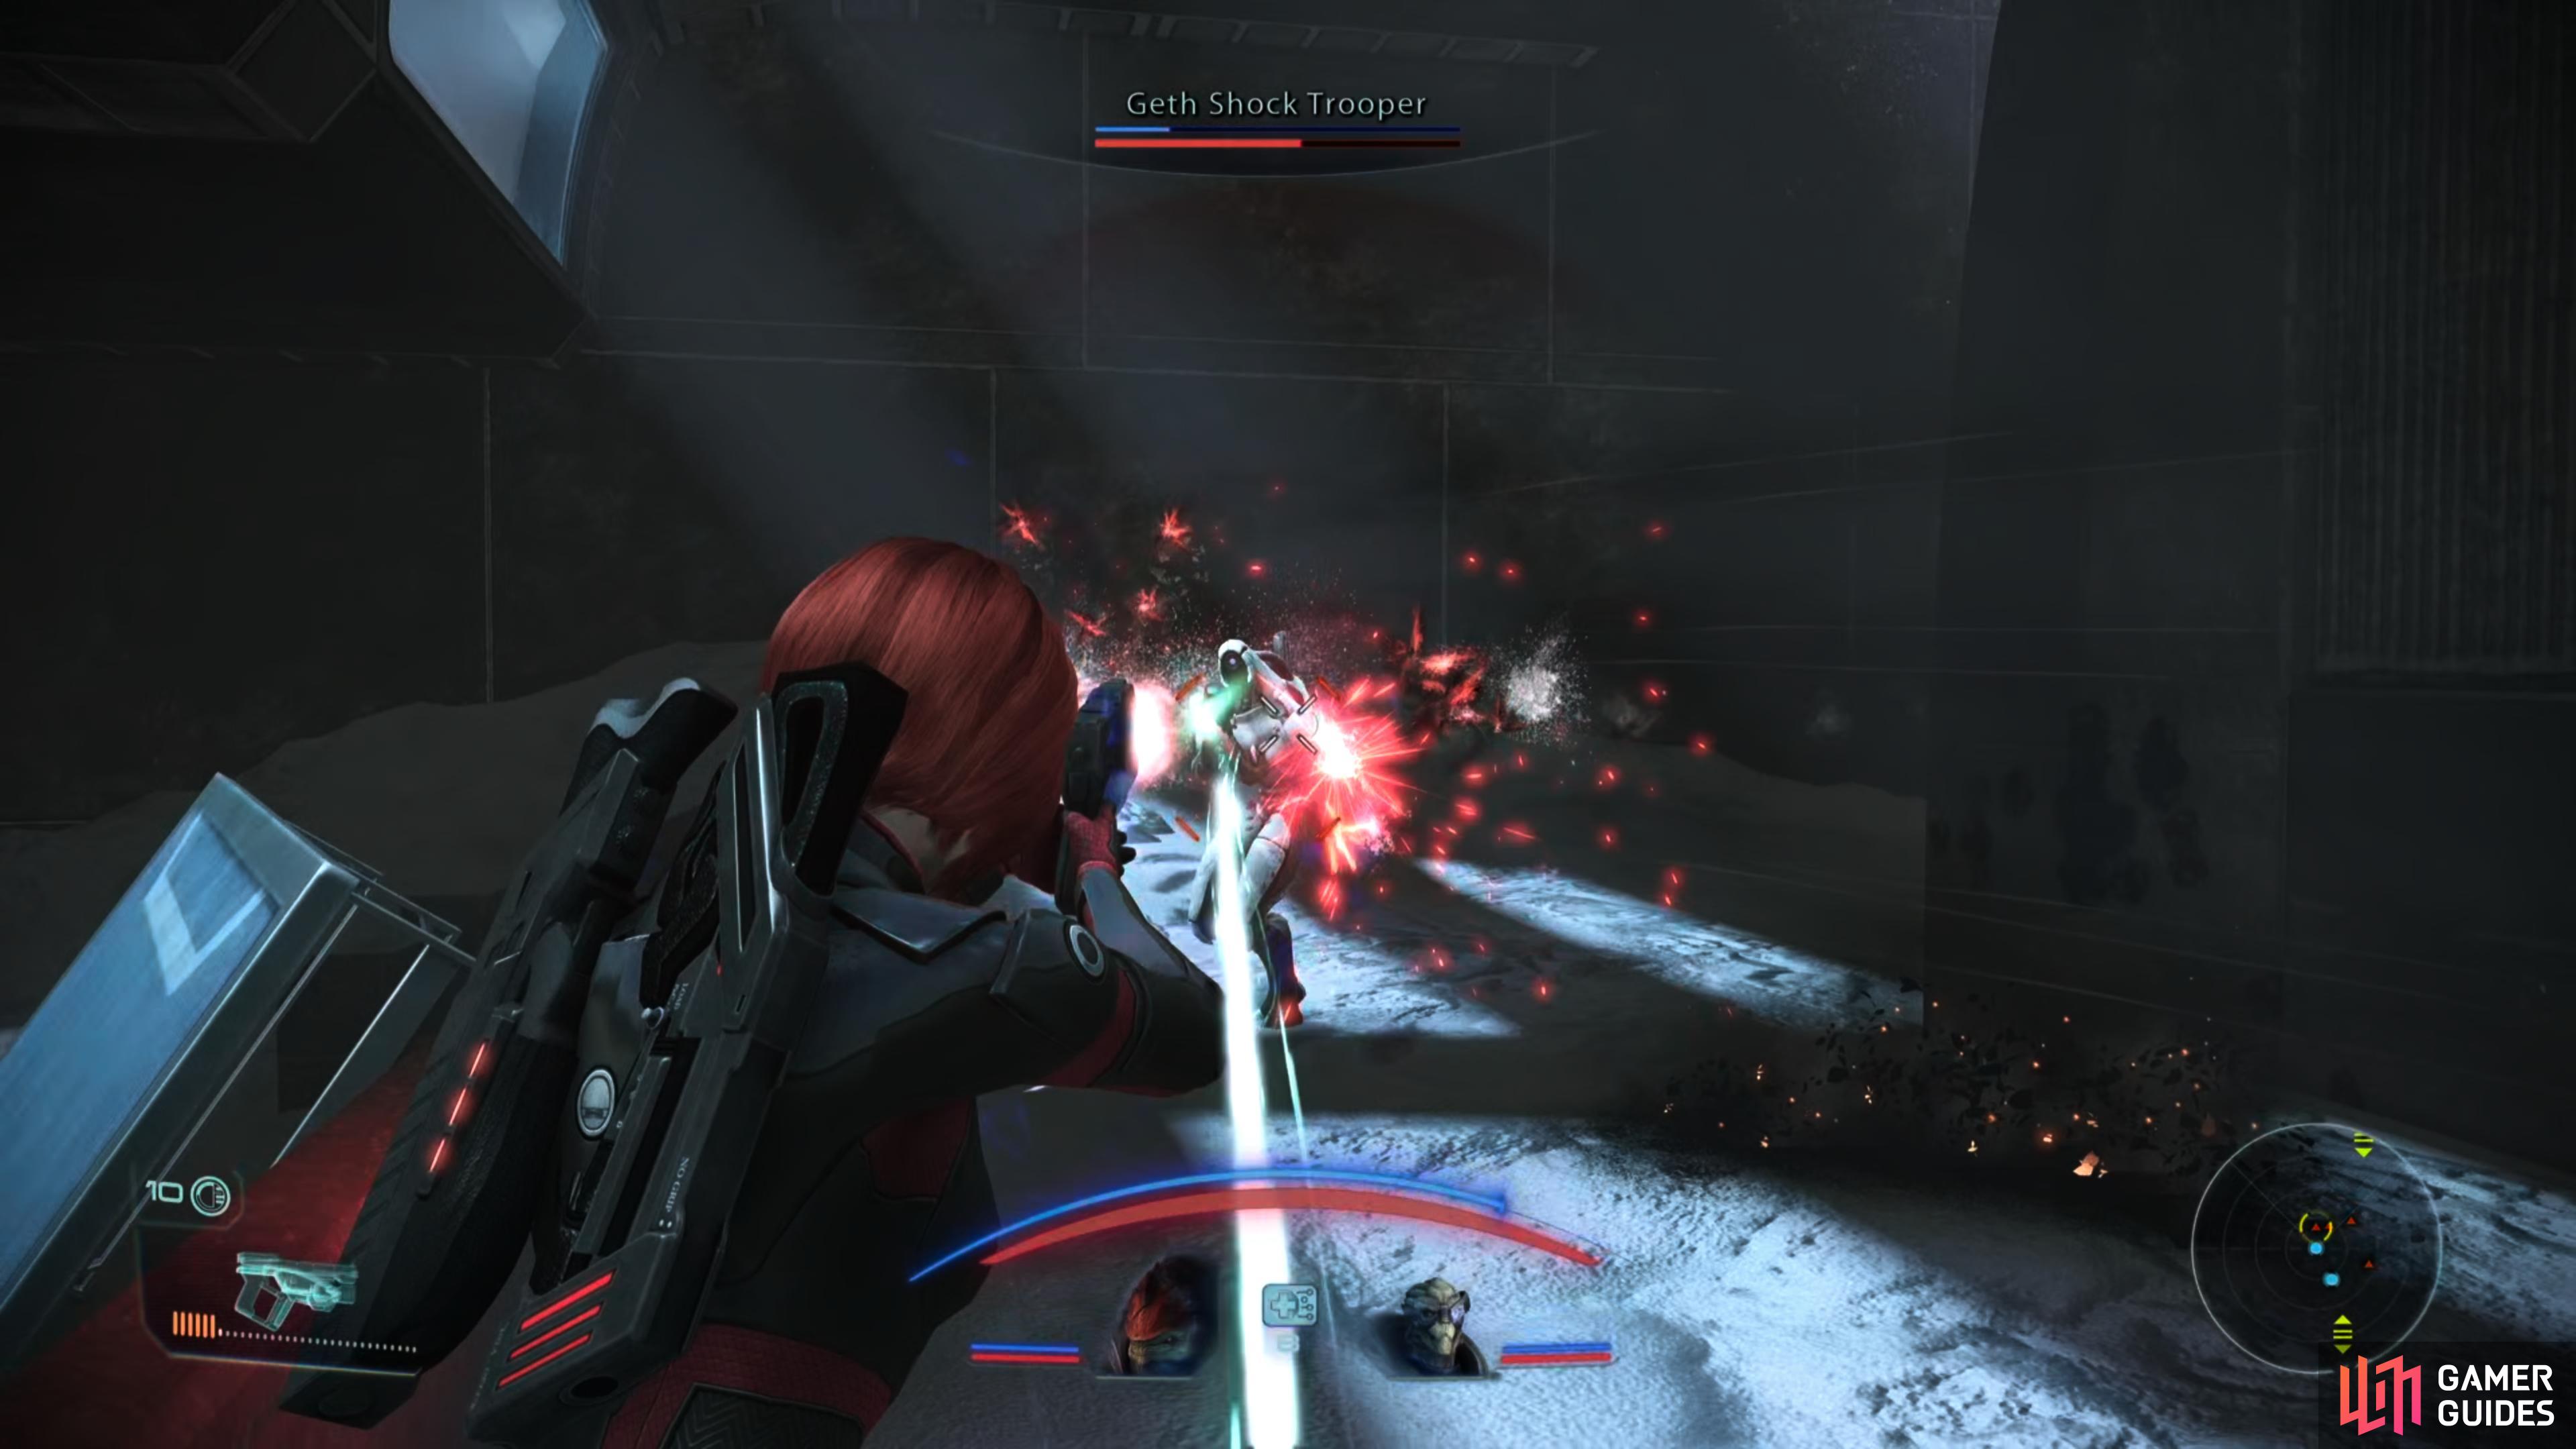
Leave the elevator and press on through a doorway to find a chamber full of Geth Troopers and Shock Troopers. Mow them down and when the last geth falls you’ll get a scene introducing a new type of foe: rachni.
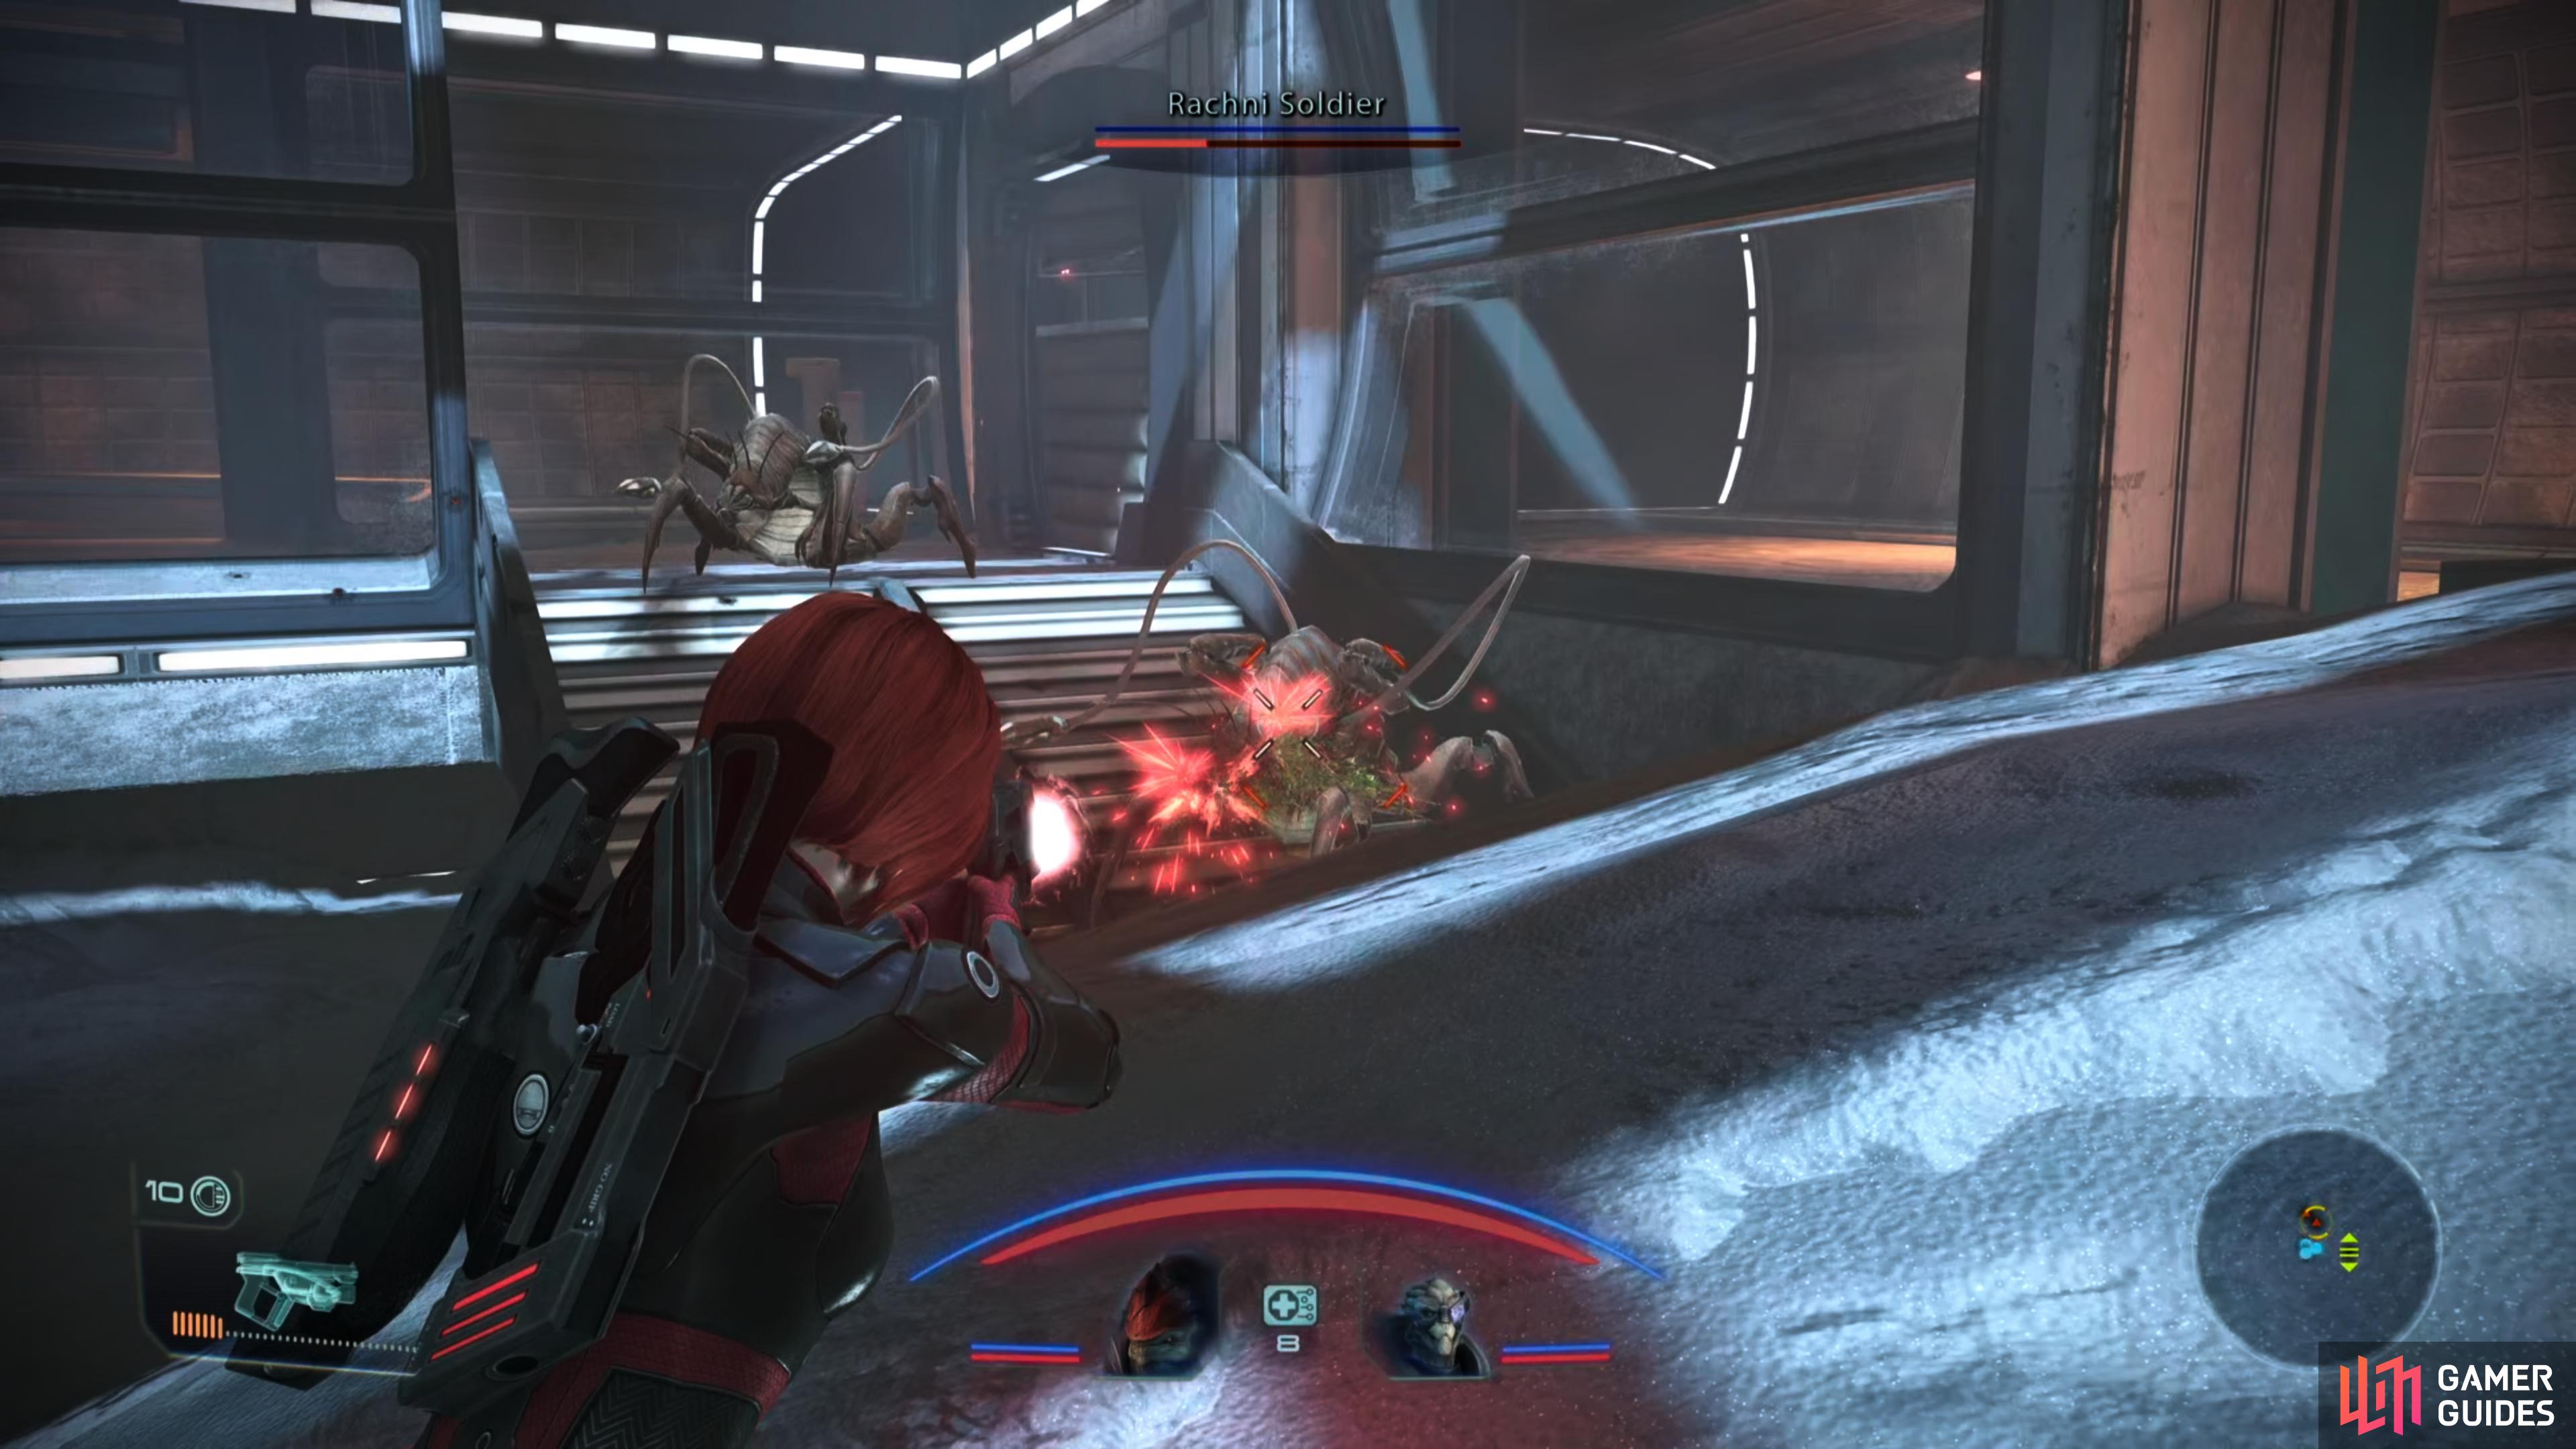
You’ll find yourself surrounded by some Rachni Workers, who are tiny green bugs with one goal: to run near you and explode, dealing toxic damage. Medical Exoskeletons will be very helpful going forward, especially for characters without native health regeneration. After those are gone, head upstairs to find two Rachni Soldiers. Rachni Soldiers have two attacks: they can spit toxin from a distance, or attack you with their whip-like appendages. Both will bypass shields, and the latter is by far more dangerous, dealing heavy damage if you let them get close. These attacks are all the more dangerous should you let your health get whittle down by toxin damage, first.
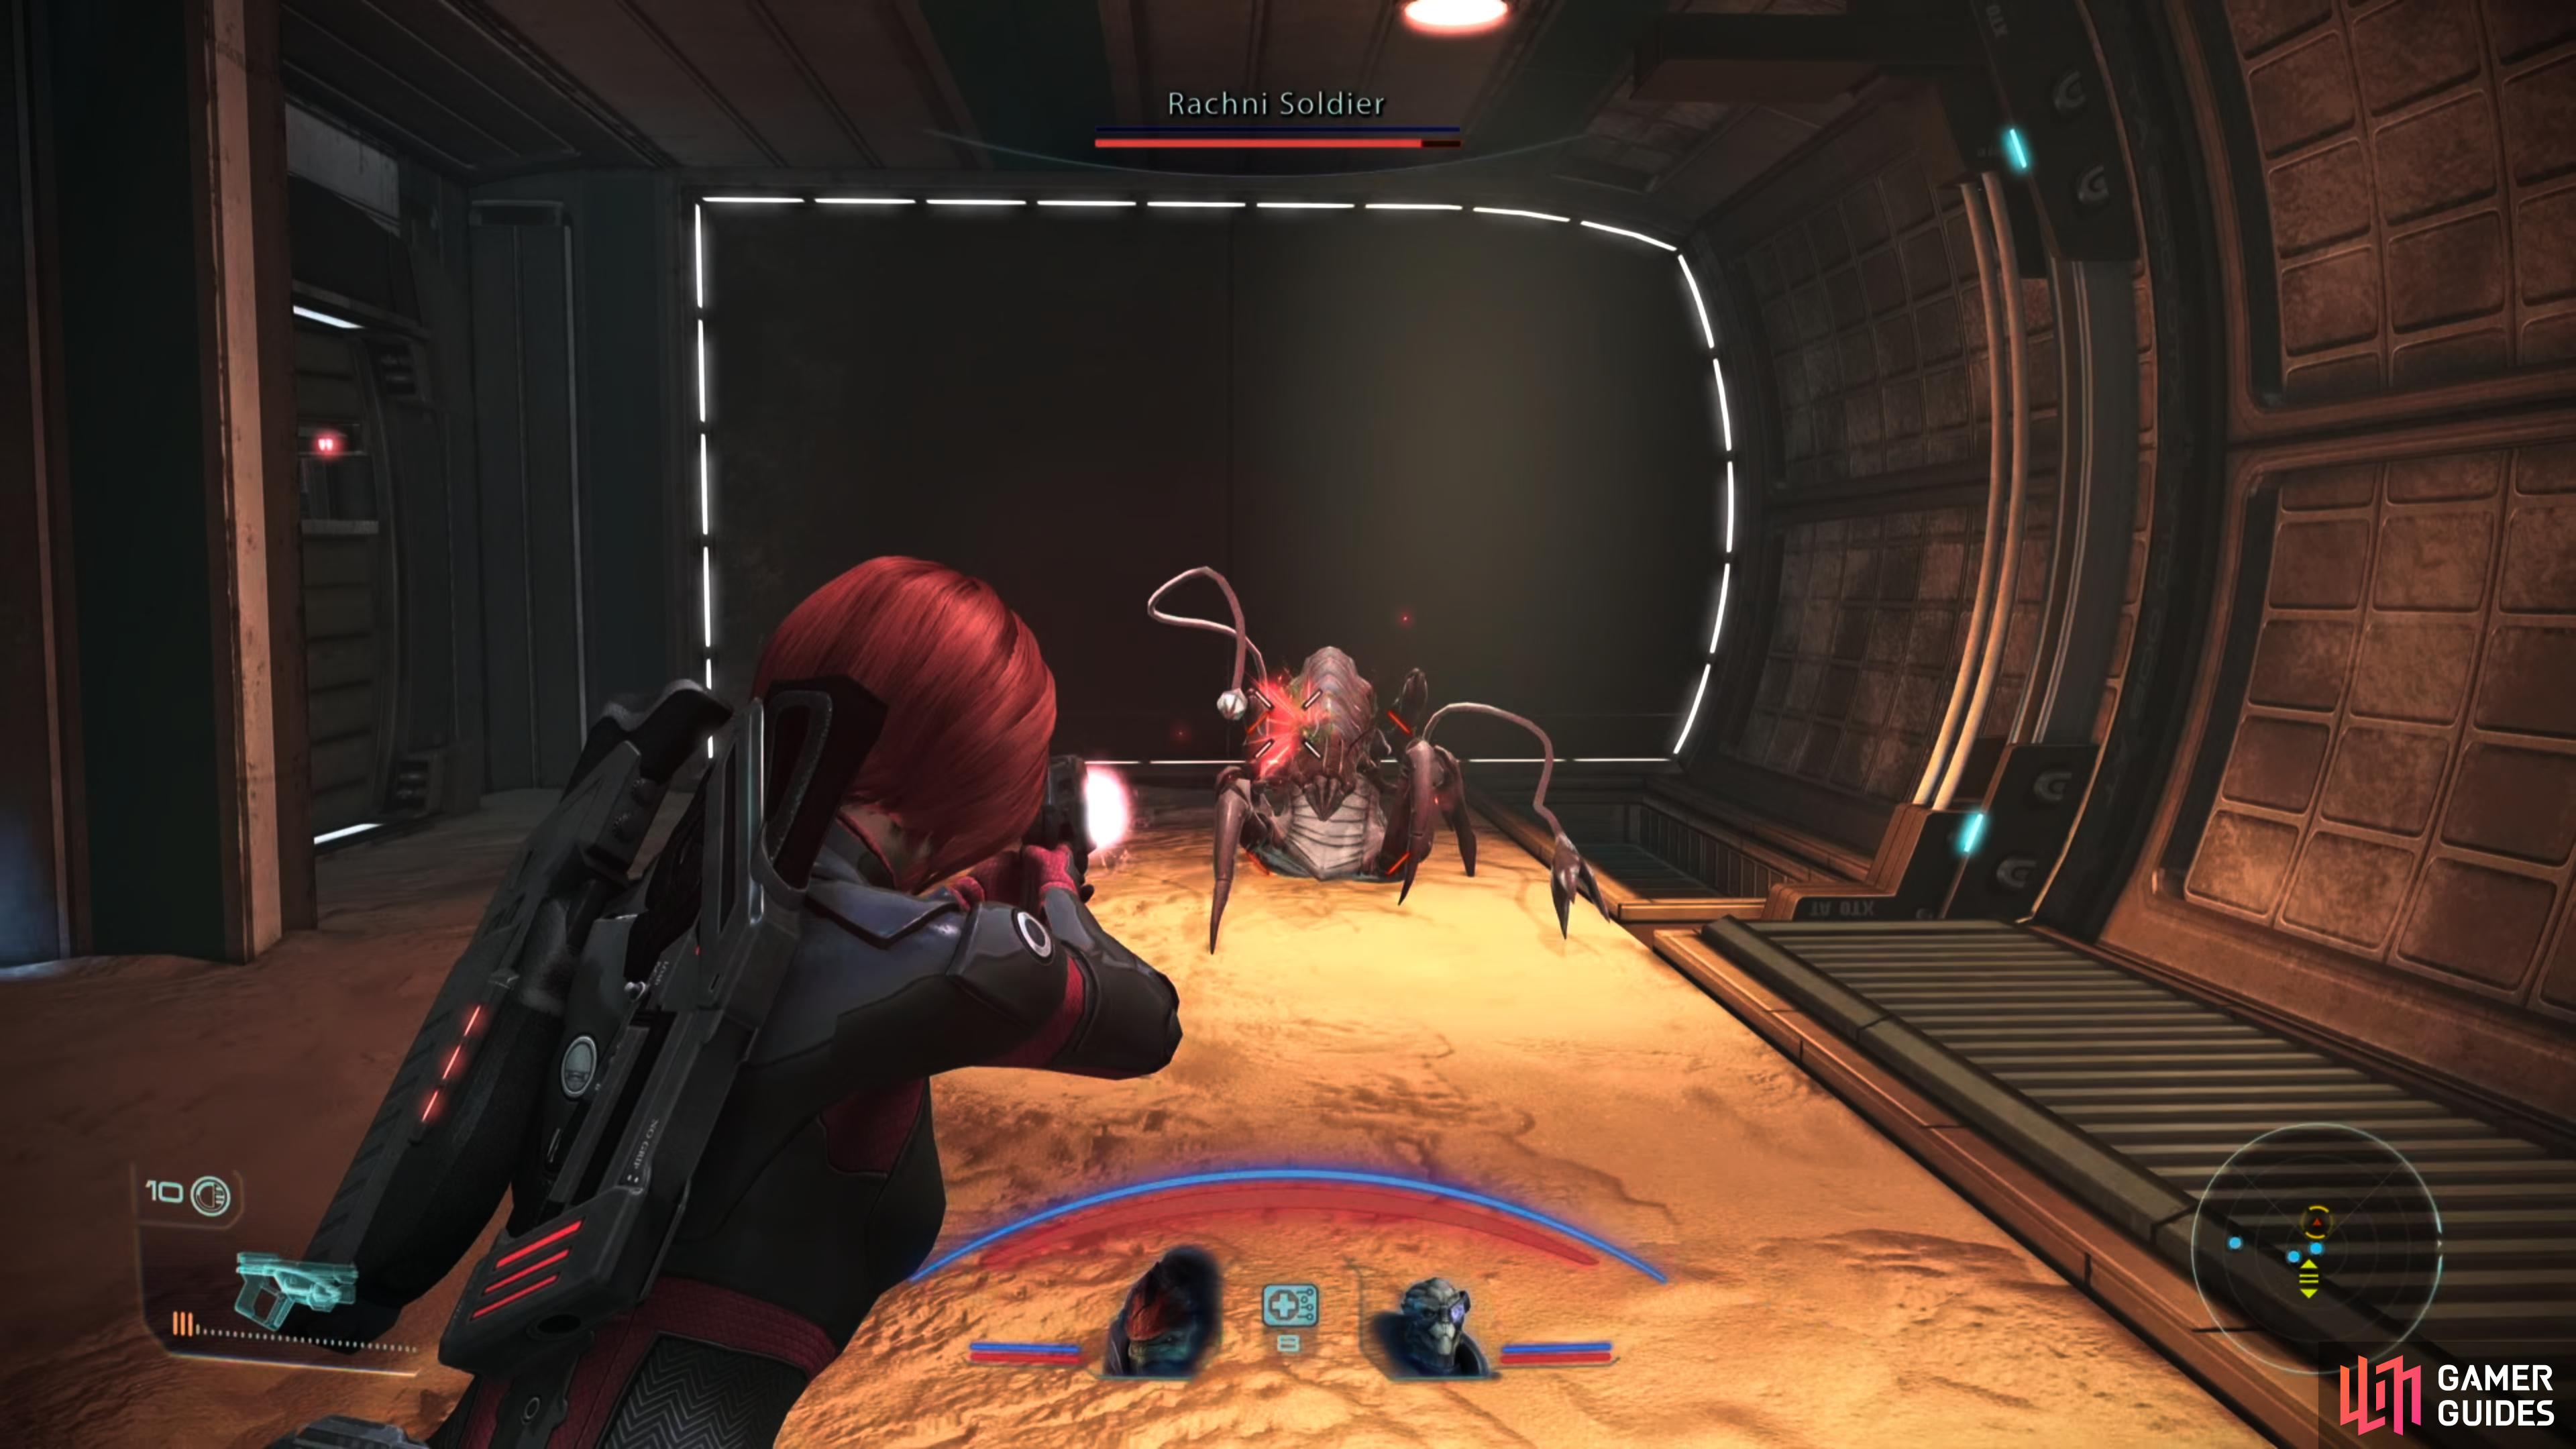
That said, two Rachni Soldiers shouldn’t prove to be much of a threat, just keep your distance and use biotics to keep them under control. If melee seems unavoidable, use Immunity if you have it. Dispatch the insects, then note some rooms to the north and west. Specifically, keep an eye out for vents along the edges of these rooms, as Rachni Soldiers are not above hiding in them.
Sweep the rooms for lurking rachni and loot, and in the northern of the two western rooms you’ll find a Storage Locker [Easy] and a Gravitic Research Terminal, which will give you a Codex Entry. In the southern of these two western rooms you’ll find a Medical Kit.
| Codex Entries |
|---|
| Secondary - Ships and Vehicles / Weapons: Disruptor Torpedoes |
Continue south to reach an elevator, which will take you to the next area.
Noveria: Peak 15 Mira Core
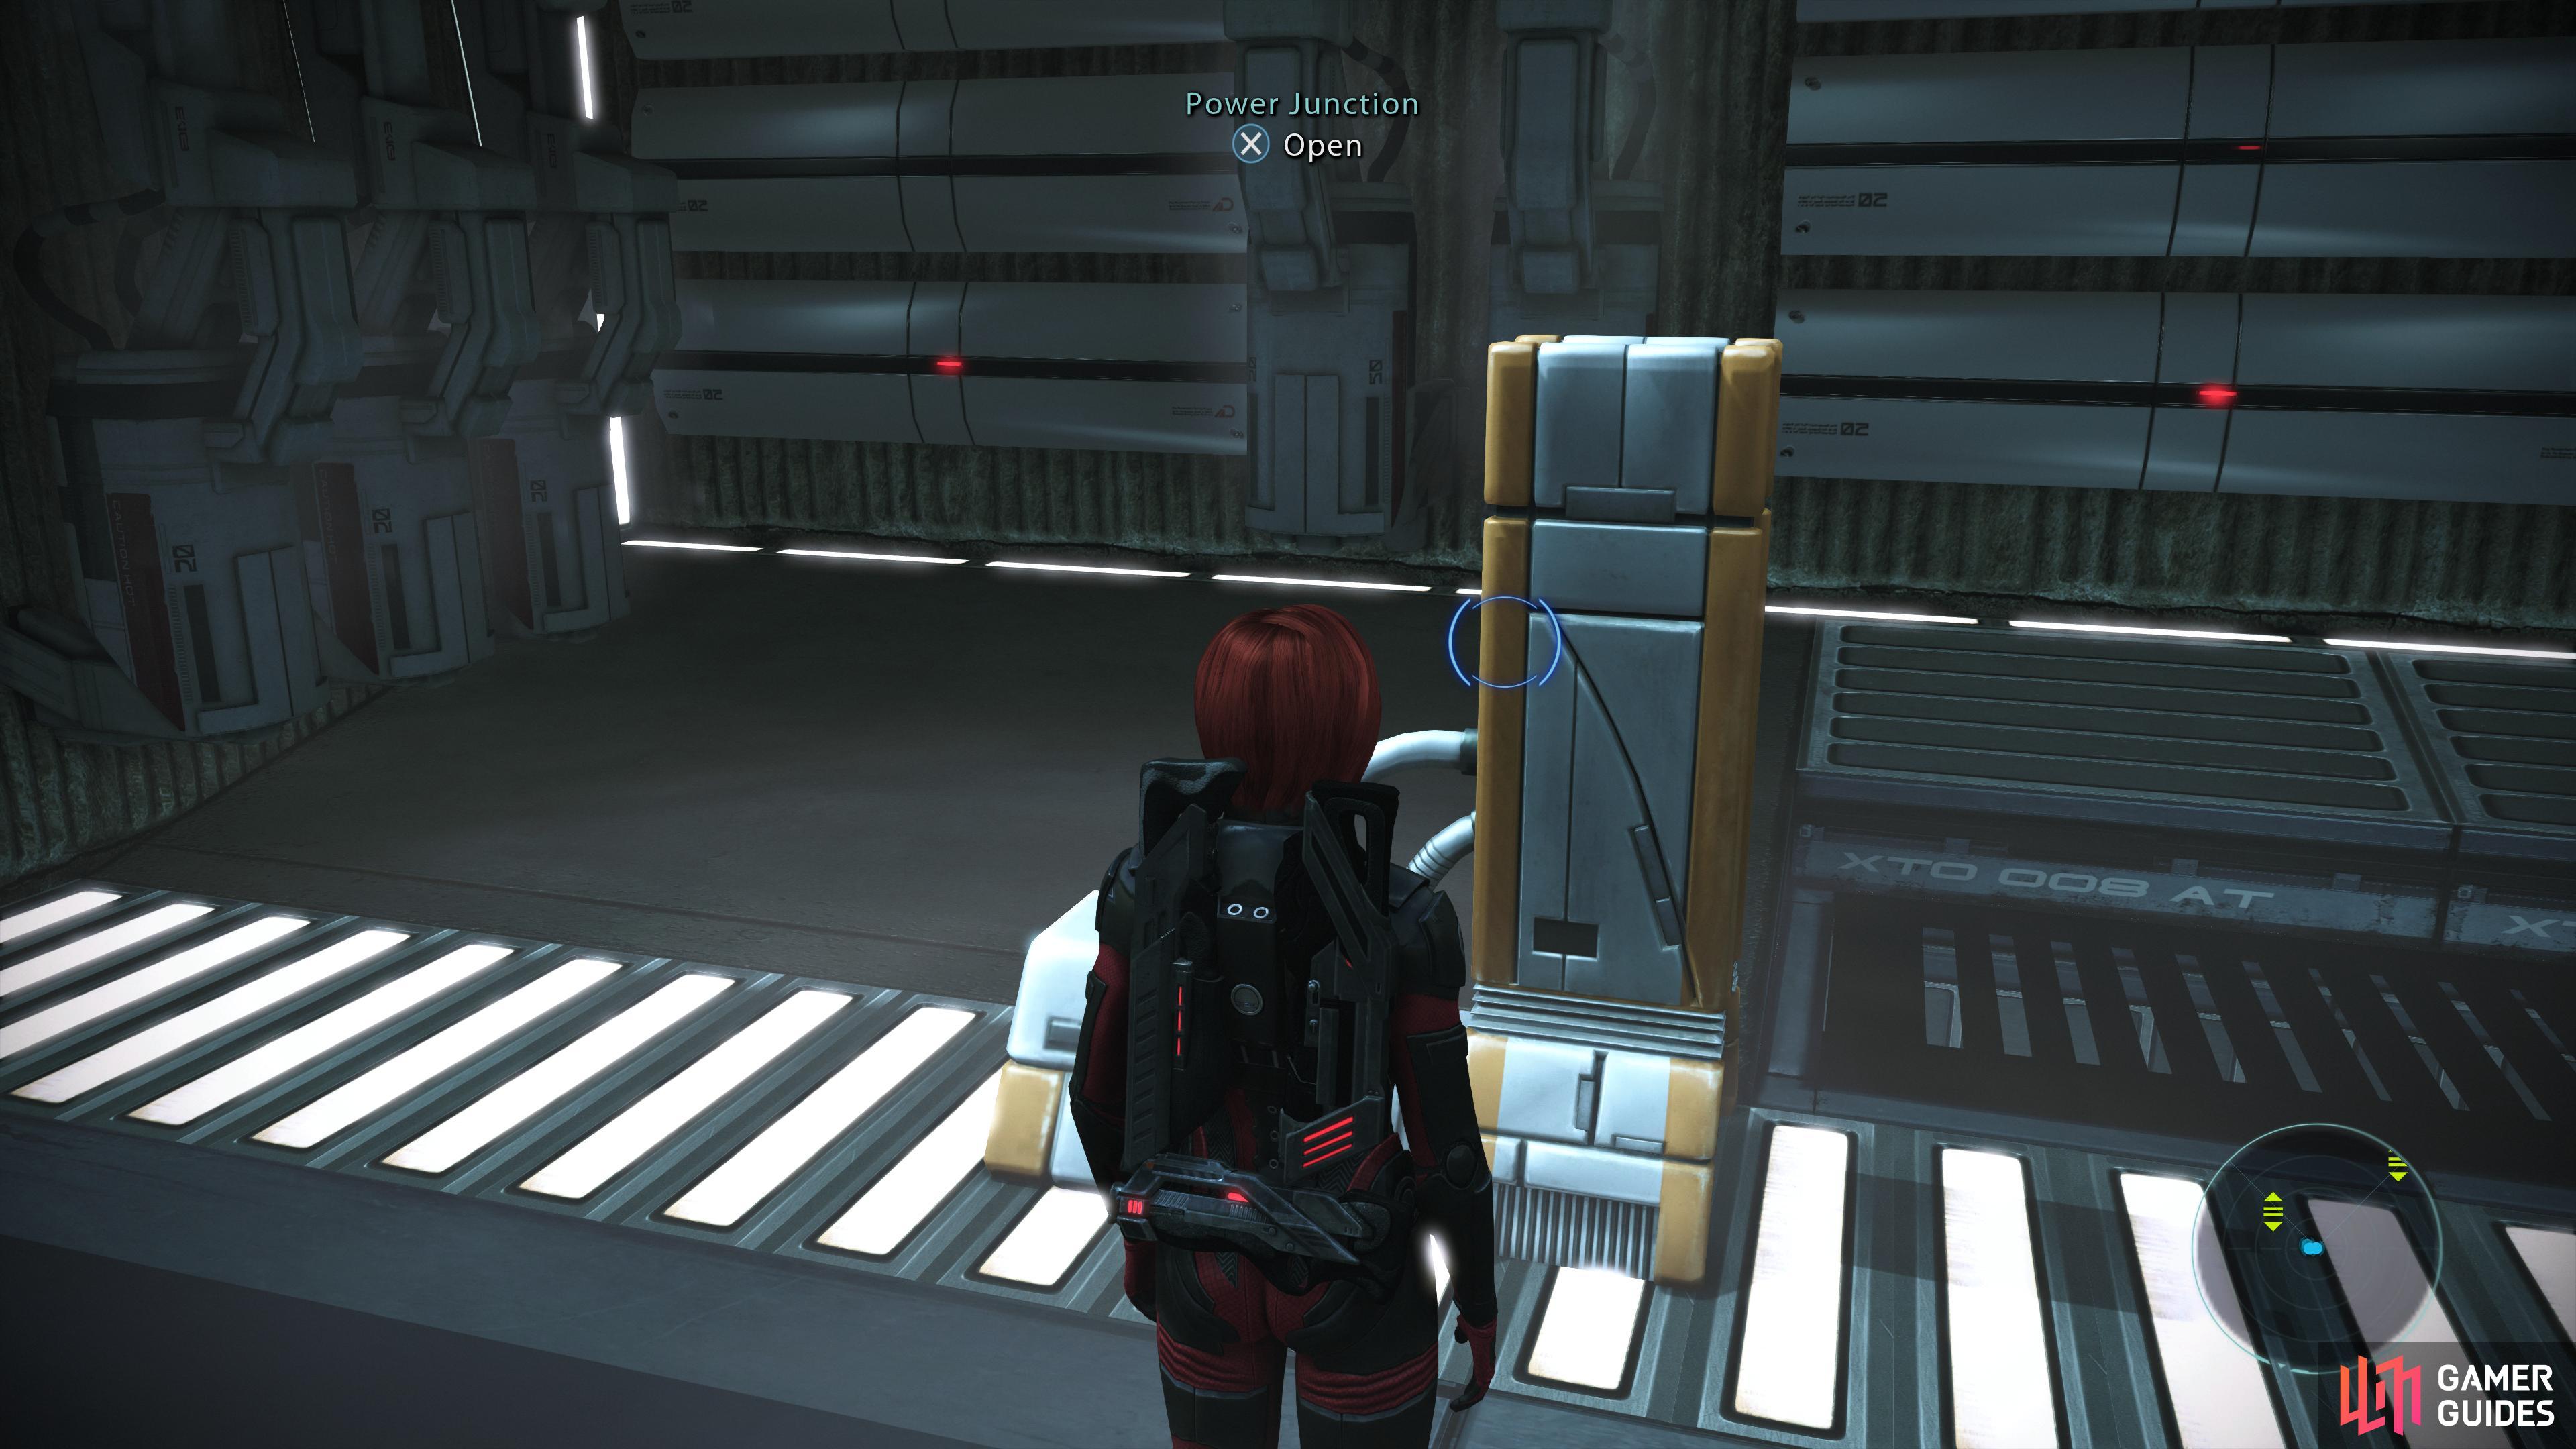
When you arrive, continue west through a door to reach a larger room where some Rachni Workers await disposal. Indulge them, then have a glance around to notice that pretty much every way out of this area is sealed off. Activate a Power Junction to be informed that you have to manually reboot the VI. Lovely. Make your way west to the “Mira Core”, looting a Technician Kit along the way, then enter the Mira Core.
Once in the Mira Core, access the Memory Core. You’ll have to complete a minigame where you’ll need to transfer the module stacks (the glowing blue blocks) from the [Square] (PlayStation) / [X] (Xbox) column to either the [Triangle] / [Y] column or the [Circle] / [B] column. Or you can just pay 100 Omni-Gel to bypass the minigame entirely. Not like Omni-Gel is really useful for anything else, anyways.
The only “rule” to this game - besides the goal of getting all the modules in either the [Triangle] / [Y] column or the [Circle] / [B] column - is that you must stack the modules by size. You can put a smaller block on top of a larger block, but you cannot put a larger one under a smaller one. Or if that’s too much work, solutions follow:
| Xbox | Xbox | PlayStation | PlayStation |
|---|---|---|---|
| From Column | To Column | From Column | To Column |
| X | Y | Square | Triangle |
| X | B | Square | Circle |
| Y | B | Triangle | Circle |
| X | Y | Square | Triangle |
| B | X | Circle | Square |
| B | Y | Circle | Triangle |
| X | Y | Square | Triangle |
| X | B | Square | Circle |
| Y | B | Triangle | Circle |
| Y | X | Triangle | Square |
| B | X | Circle | Square |
| Y | B | Triangle | Circle |
| X | Y | Square | Triangle |
| X | B | Square | Circle |
| Y | B | Triangle | Circle |
However you go about it, get the Mira core operational and you’ll find yourself talking to a VI, who informs you that the tramway - the means of conveyance you need to reach Benezia - is inoperable. To get things running again, you’ll have to restart the reactor and the landlines, the doors to which should now be functioning. Exhaust Mira’s dialog options, then note your options: to the west you’ll find an elevator leading to the roof, where you can reconnect the landlines, while an elevator to the north will lead to the reactor.
Kill the rachni on the roof,
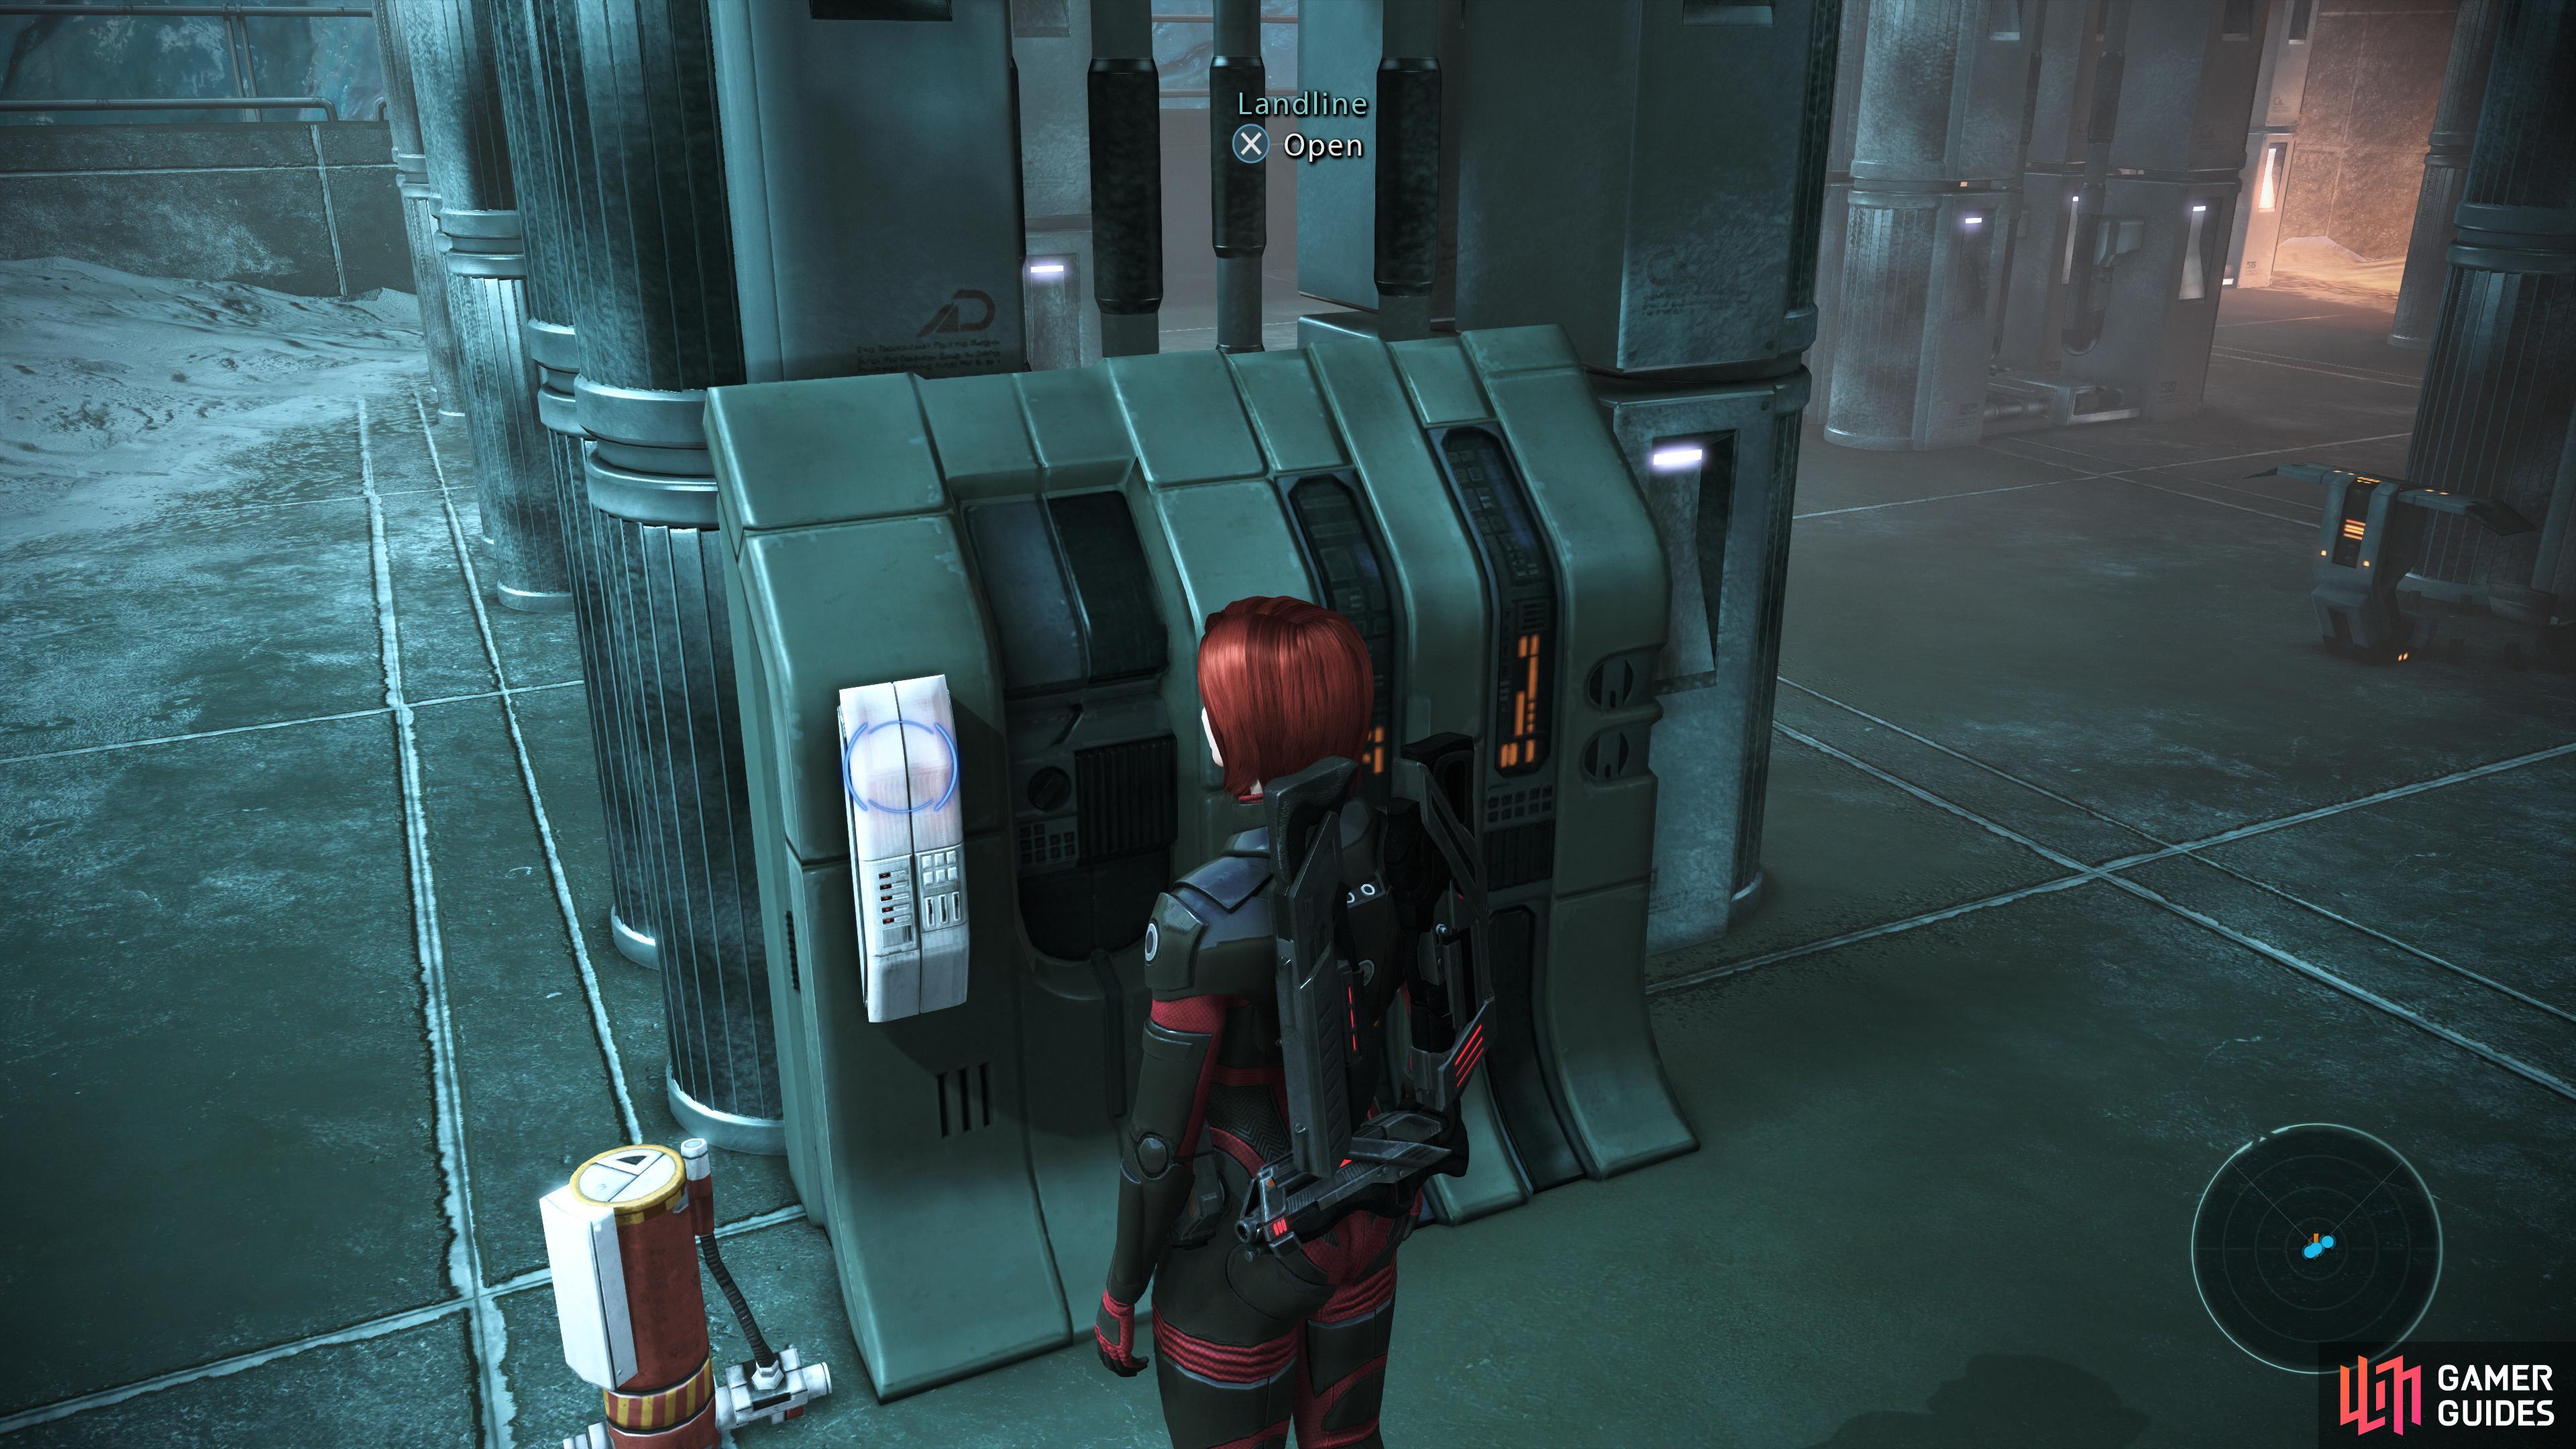
then reactivate the landlines.
Noveria: Peak 15 Roof
Go through a doorway to the west of the Mira Core and continue down the hallway beyond to reach an elevator, which will take you to the roof. When you reach the roof, pass through a door to exit to the exterior, where you’ll find several Rachni Soldiers and a clutch of Rachni Workers. Put them down, loot a Locked Crate [Easy], then flip a switch to reactivate the landlines. Easy-peasy.
Exit back to the Mira Core area and return to the large room to the east of the Mira Core, where you’ll be ambushed by a Rachni Soldier emerging from a vent.
Noveria: Peak 15 Reactor Core
From the large central room in the Mira Core area, head north down a hallway to reach an elevator leading to the Reactor Core. When you arrive, leave the elevator and make your way down a hallway to the west. When your minimap gets jammed, you can be assured that you’re not fighting any rachni for the time being.
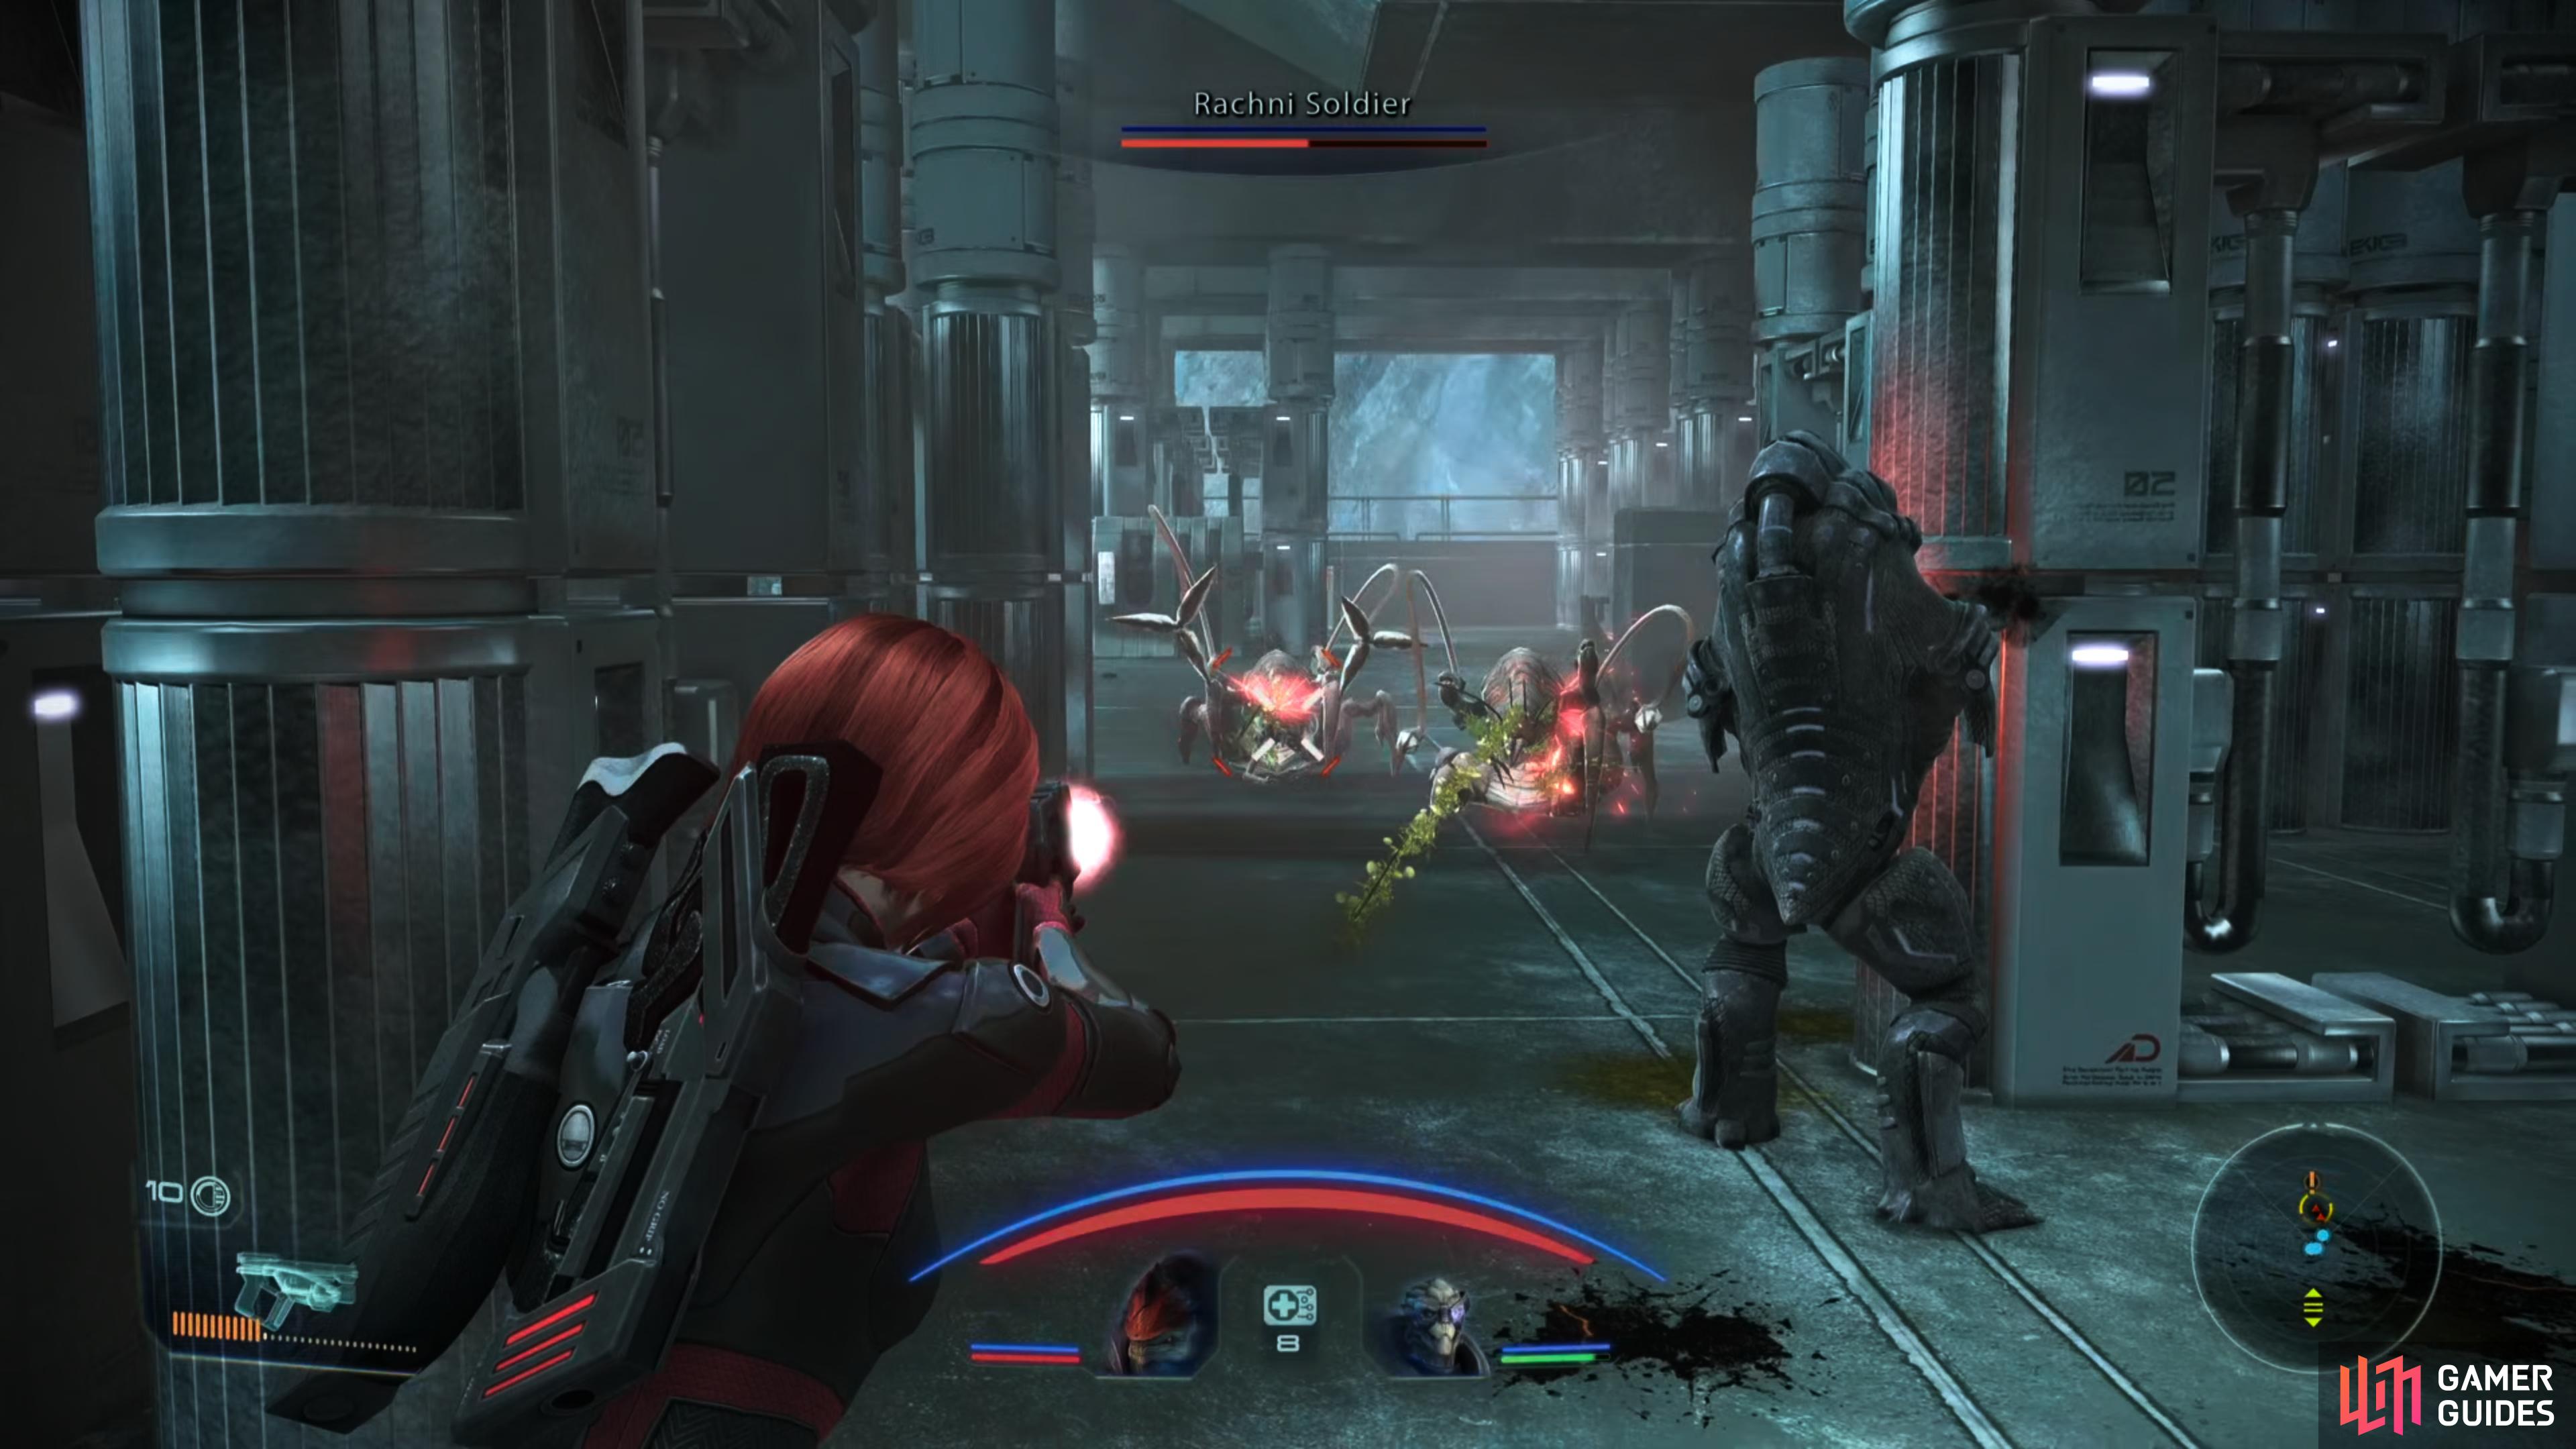
When you reach the Reactor Core room, loot a Technician Kit and a Disposal Canister before heading through the door to the north. Turn west and you’ll find your opposition: three Geth Destroyers, several Geth Stalkers and one Geth Juggernaut. Fortunately most of your foes will take a while to arrive, allowing you to dispose of them piecemeal; focus on the Destroyers when they’re around (use biotics to halt their charges) and shoot down the Stalkers when you’re free of other distractions. The Juggernaut occupies high ground and won’t be able to participate if you refrain from advancing too far, so the only real threat here should be the Stalkers overheating your weapons.
Scrap the geth, then advance until the path splits, at which point turn east to reach the controls to the fuel lines. Reactivate them, then finish looping around the area to the south, taking a detour up a ramp to the right (south) and following the linear path ahead to reach a small control room. In here you’ll find a Storage Locker [Easy], and through a door to the north you’ll find a Weapon Locker [Easy].
Backtrack to the elevator and return to the Mira Core area. In the central room you’ll be ambushed by another Rachni Soldier, but on the plus side, the door to the trams (south) will now be open. Go through the aforementioned door and ride the elevator at the end.
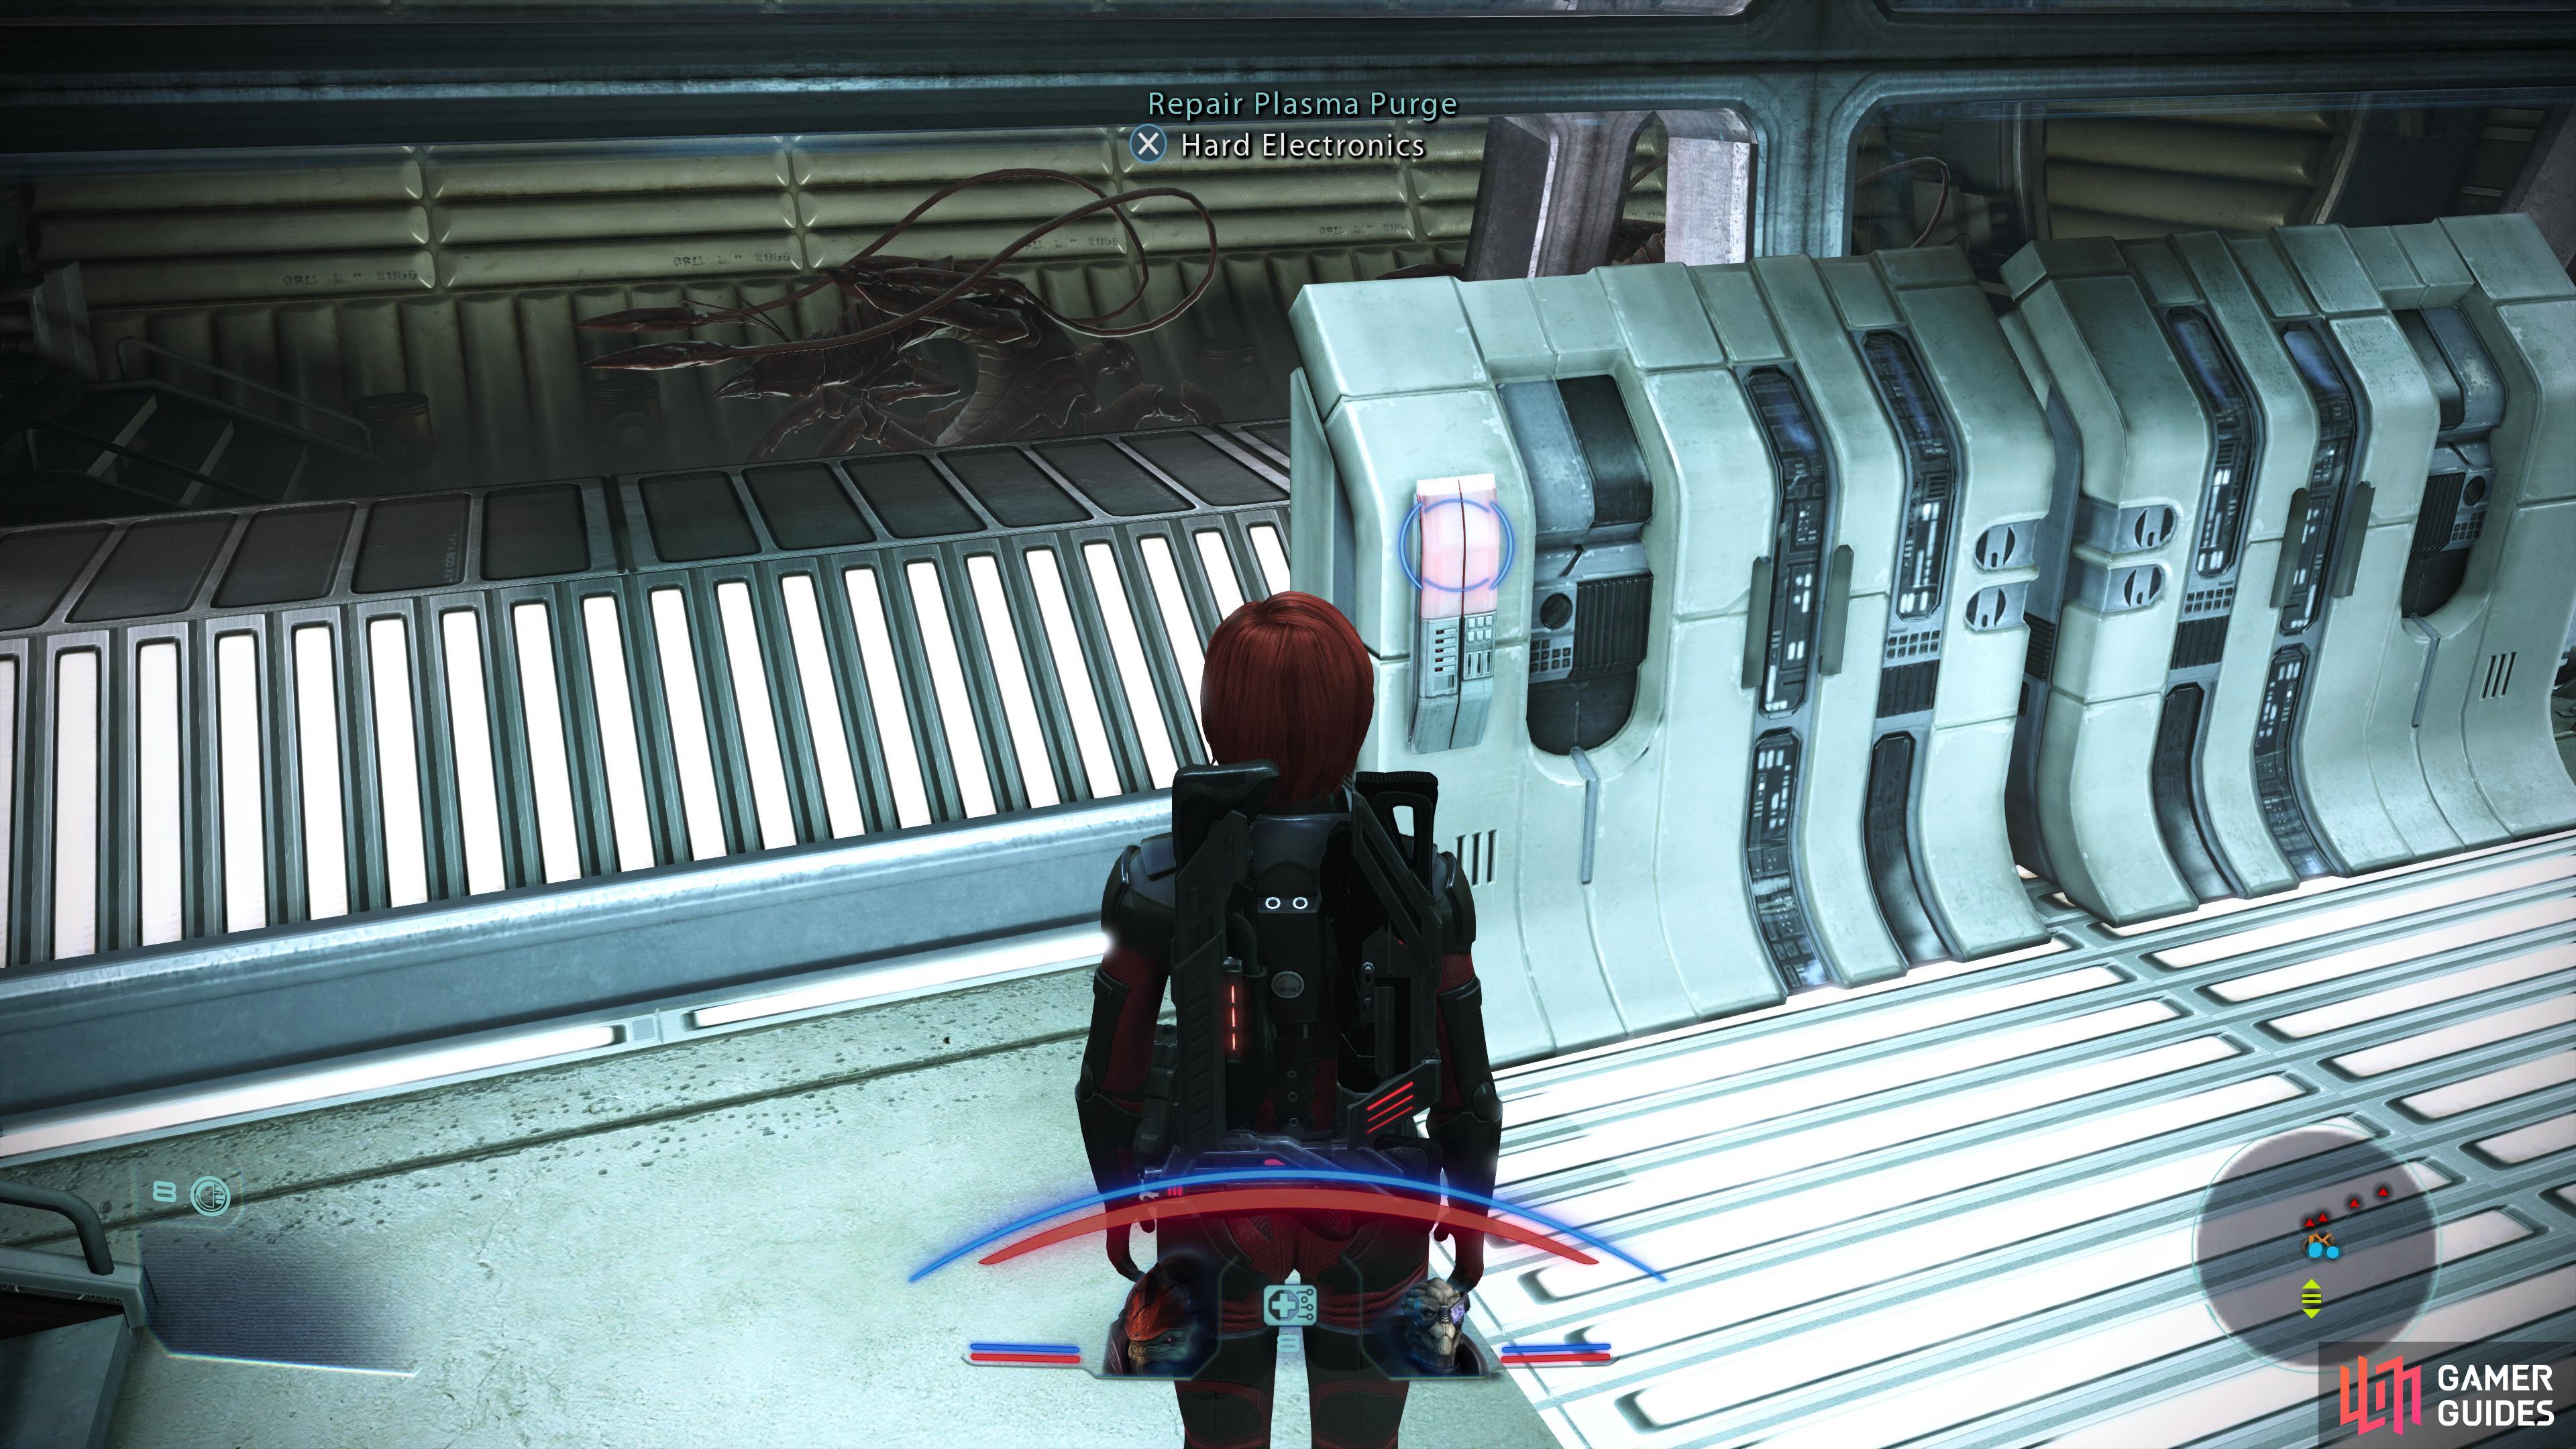
Succeed at a hard Electronics check,

to activate the plasma purge and eradicate some rachni from the tunnel ahead.
Noveria: Peak 15 Tram
When you arrive in the Tram area, make your way east until you find a door to your right (south), inside which you’ll find a Decontamination Chamber. Through the glass you’ll spot some rachni, and nearby is a Plasma Purge control panel [Hard]. You can see where this is going. If you can hack the console, you’ll dispose of the rachni without a fight. Either way, loot a Junk Bin, a Crate, then check out a Computer Console for some lore. You can also consult a new Mira Terminal to gain some intel on what lies ahead.
Leave the Decontamination Chamber, but be ready to put down a Rachni Soldier that emerges from a vent. Once done, make your way down the long hallway to the south, killing whatever rachni await - you’ll obviously have far less to deal with if you were able to use the plasma purge console.
Eventually you’ll reach the tram that’ll take you to the Rift Station.
No Comments