
The second part of the prologue mission, the name of this mission changes from Prologue: On the Normandy to Prologue: Find the Beacon when it begins. You’ll start this mission automatically after talking to Nihlus and Captain Anderson in the Comms Room, whereupon you’ll find yourself deployed to Eden Prime.
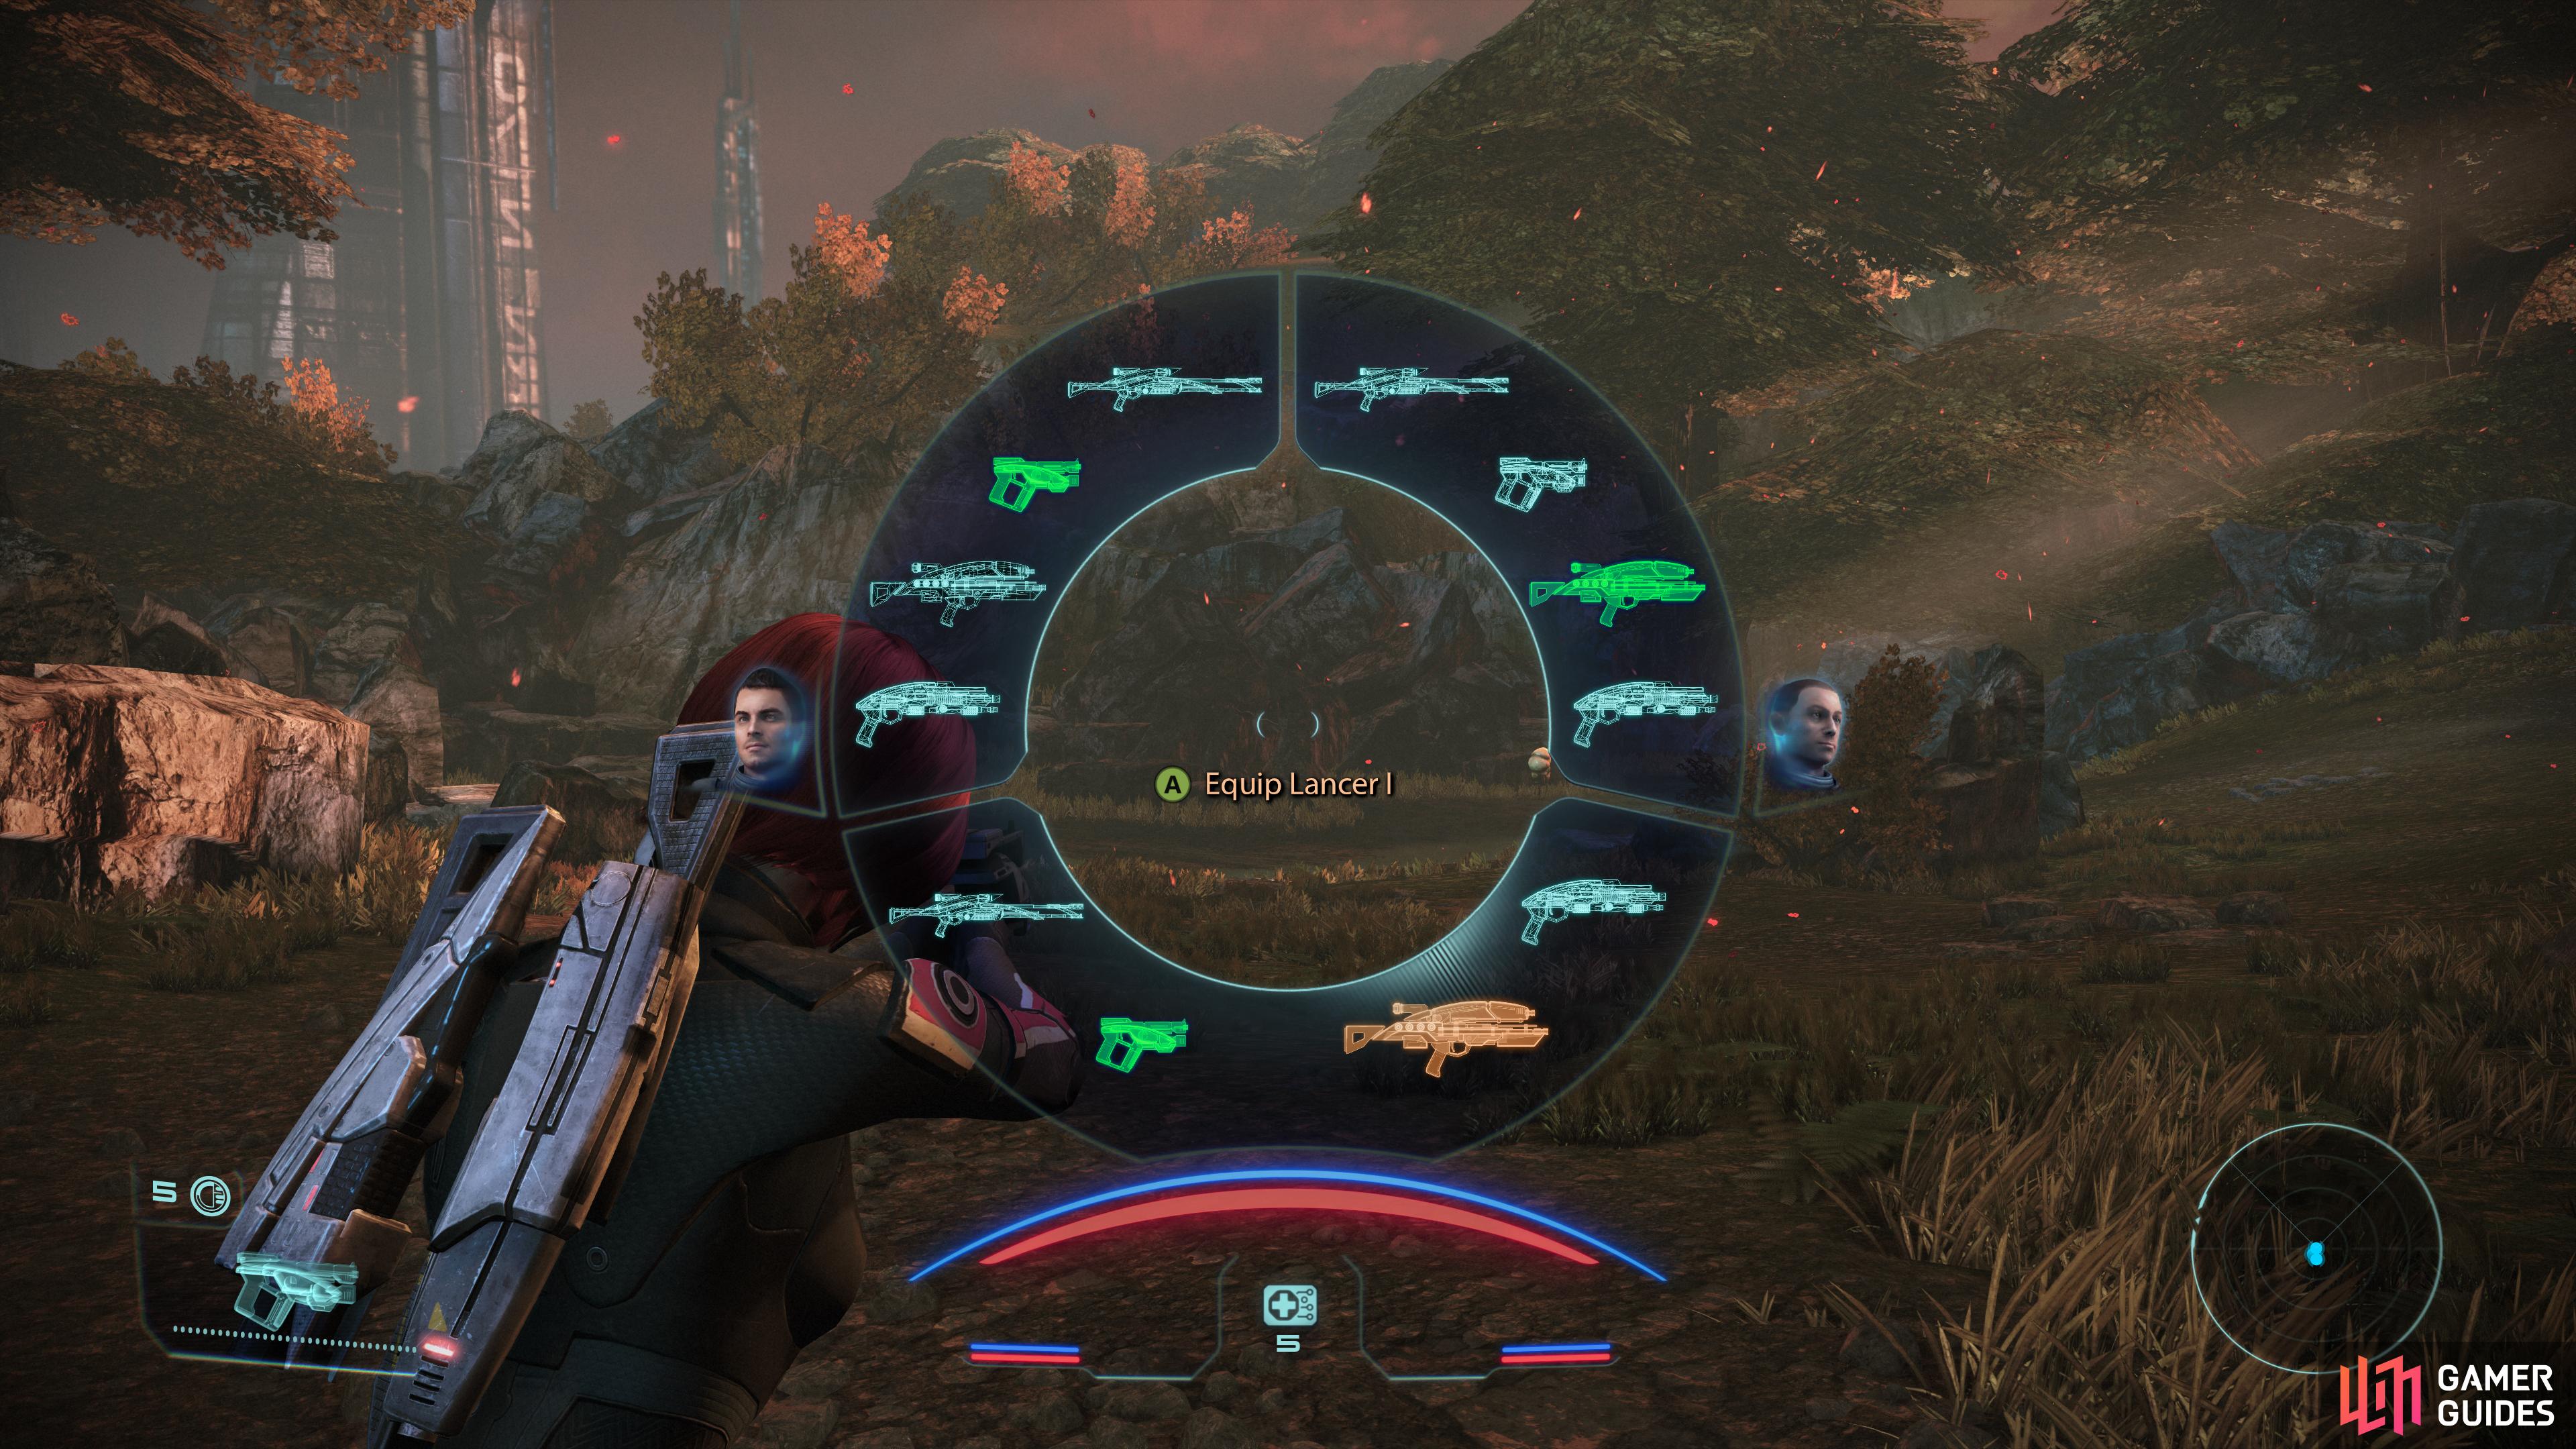
You can swap out weapons,
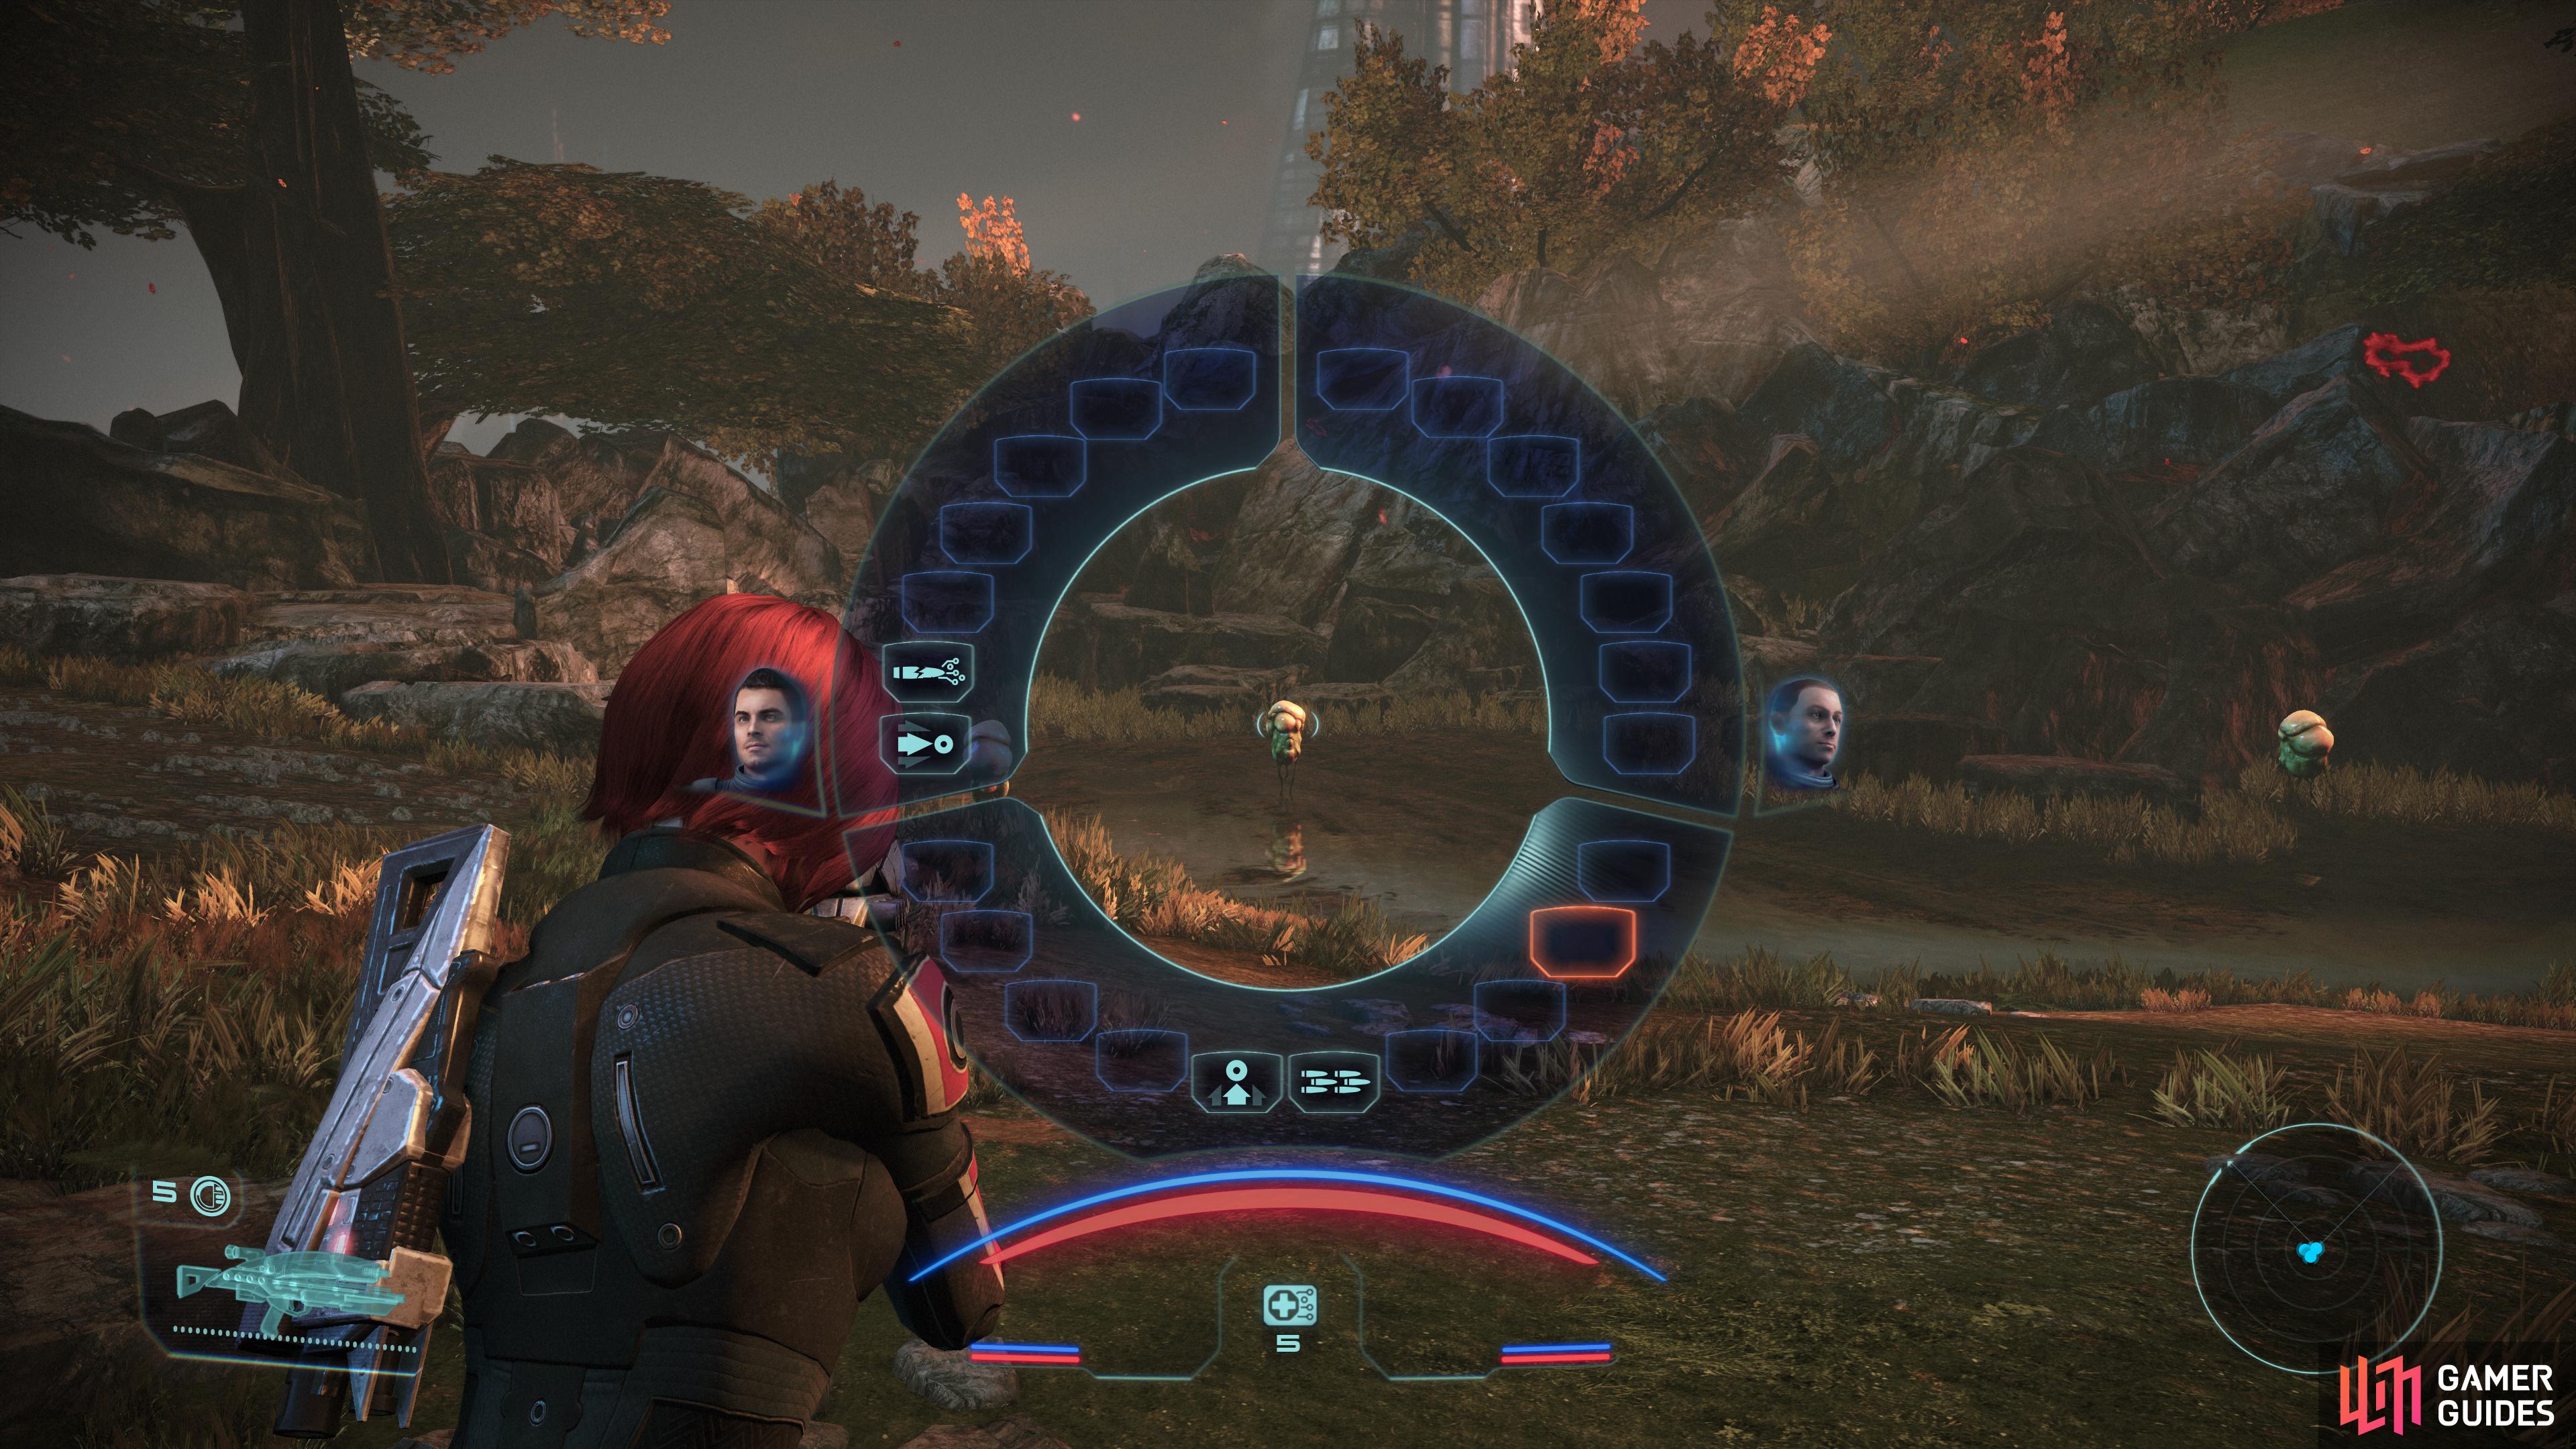
and use abilities on the fly - use the gas bags floating over the swamp as target practice.
Eden Prime - Gas Bags
Once you’re in control, head forward (north on the map) and you’ll find a swamp over which some critters - affectionately known as “gas bags” according to Jenkins - float. They’re harmless, and it’s not a bad idea to use them as target practice should you need to get a hang of using your abilities and weapons.
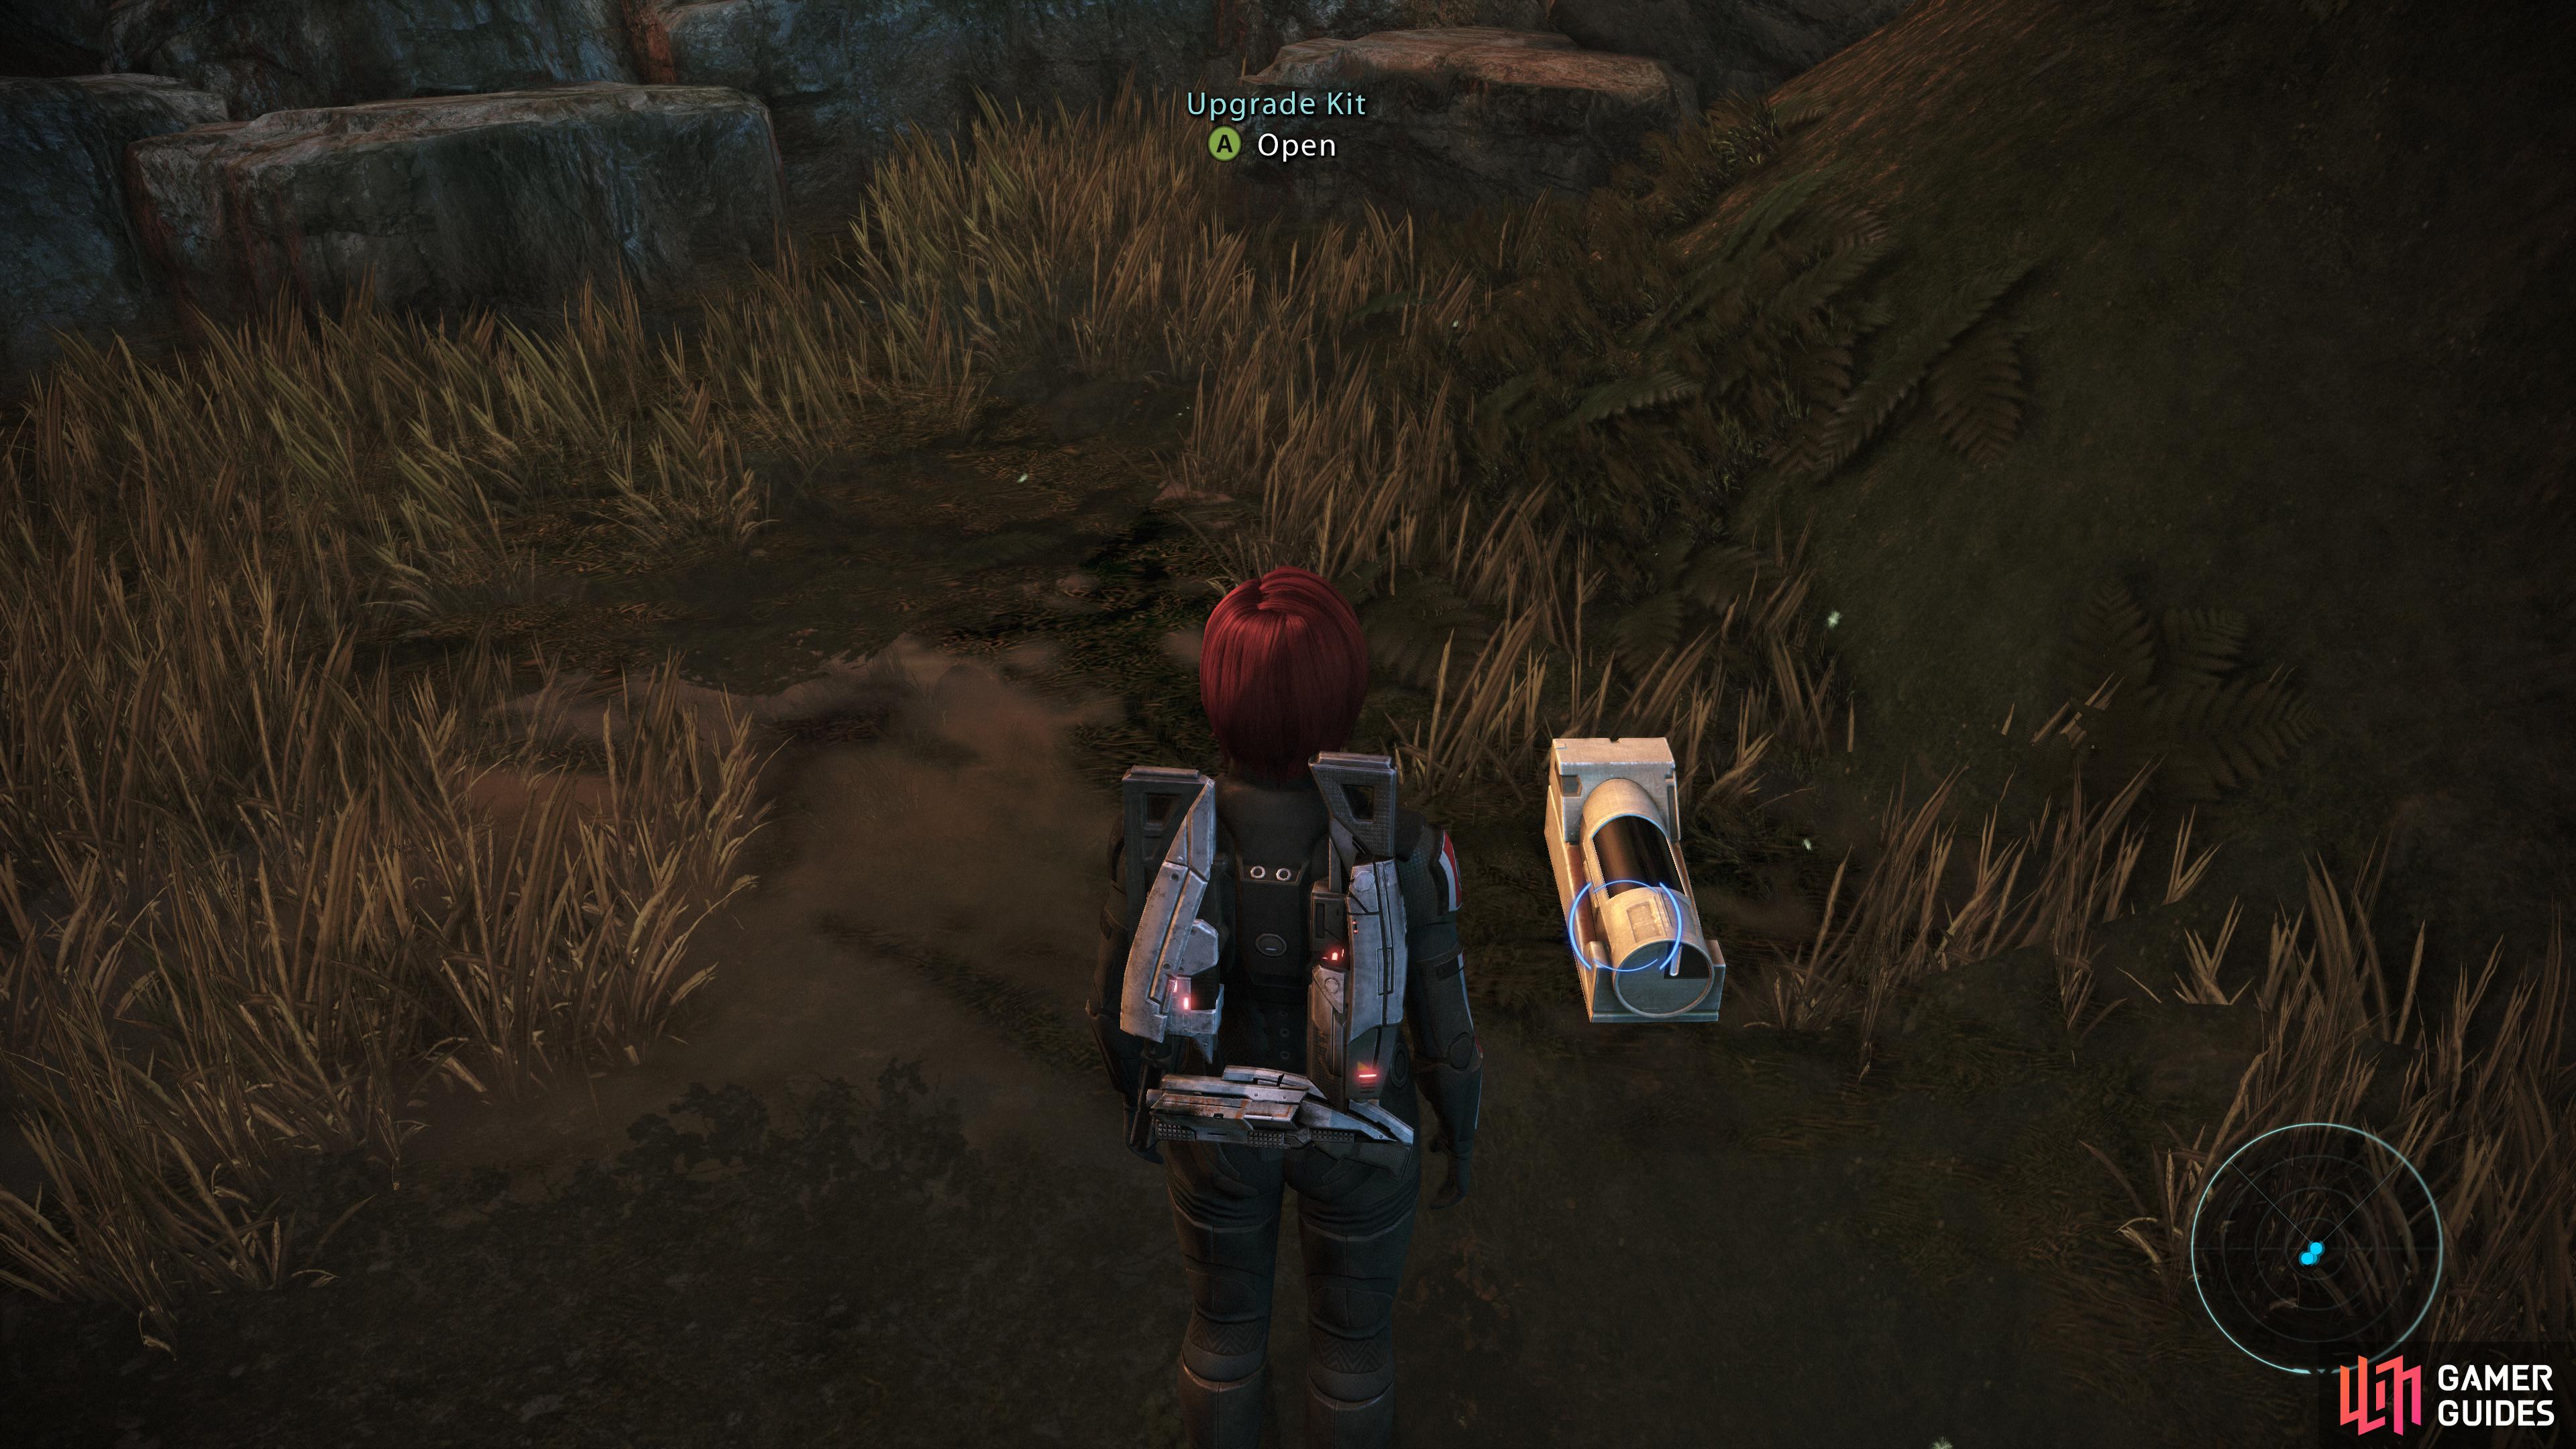
Search the swamp to find an Upgrade Kit.
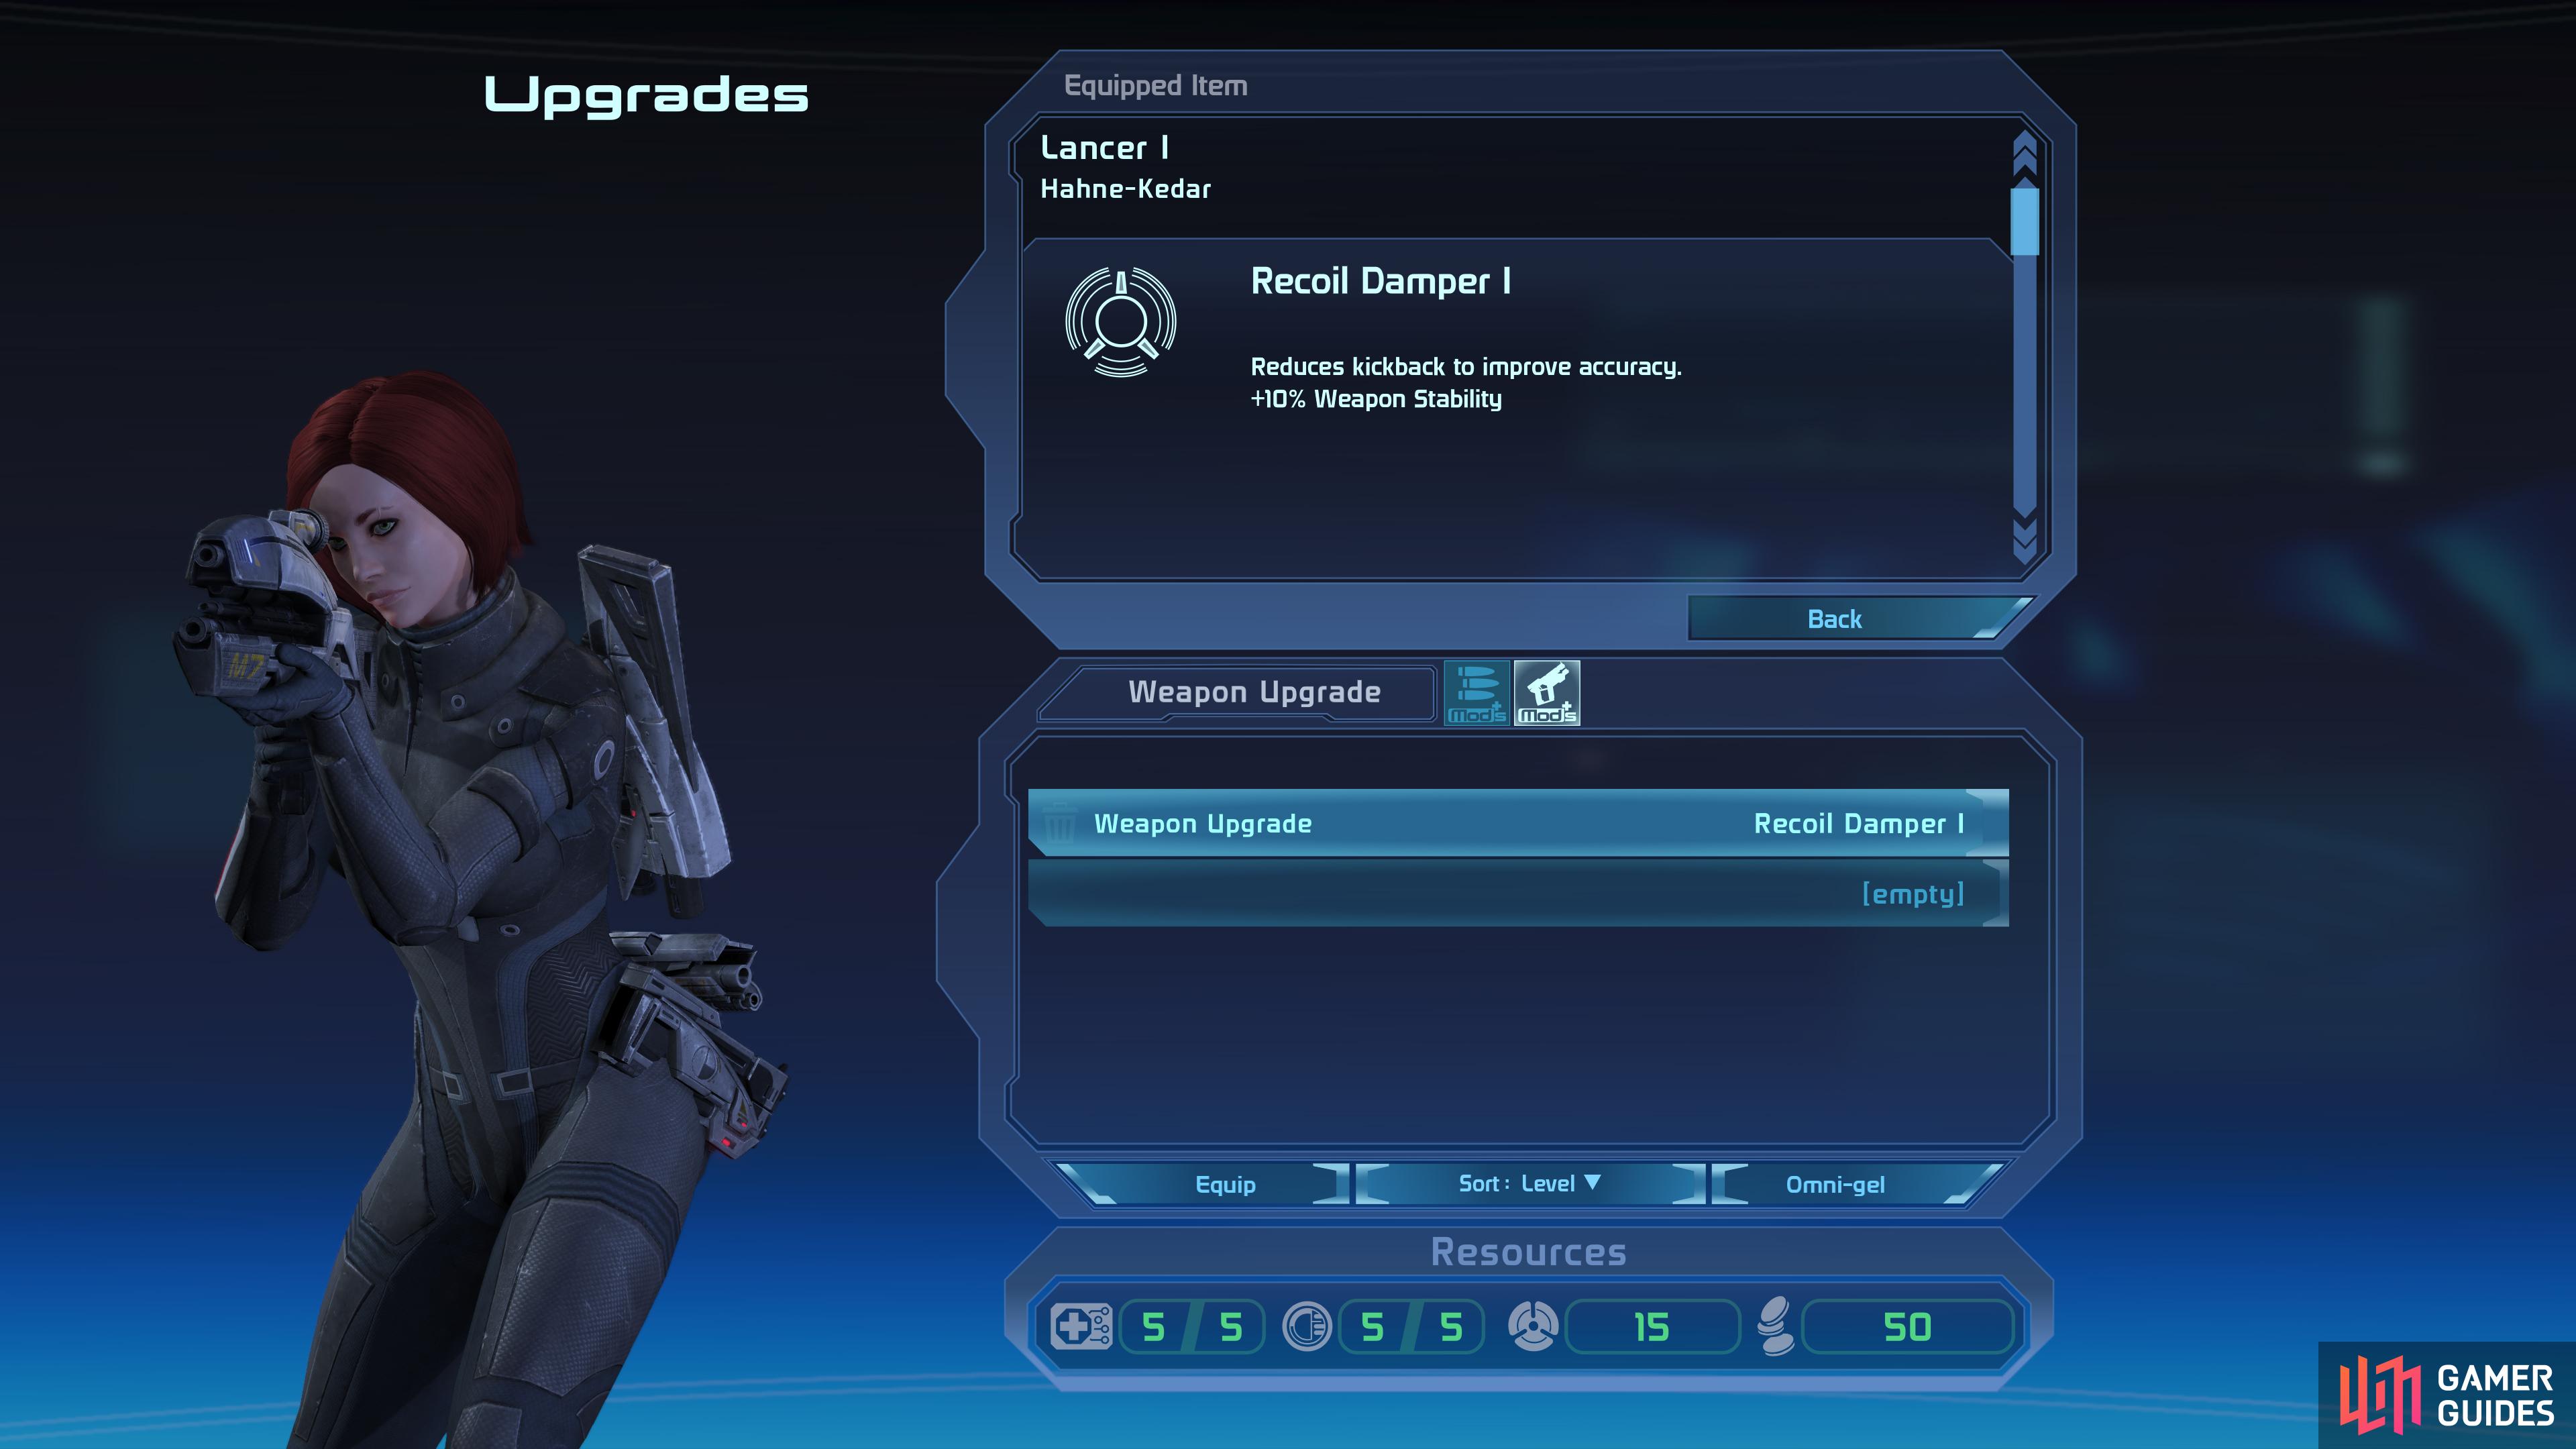
You can put your newfound mods to good use by installing them on your gear.
Eden Prime - Loot and Mods
Pick on the gas bags if you wish, then head into the swamp and turn left to reach a dead end. Here you’ll find an Upgrade Kit which contains a variety of loot. Loot acquired in Mass Effect is usually random and scaled in quality based on your level, but we should all be roughly equal right about now, so you can probably expect to score a variety of low-end mods.
Weak though they may be, they’re still worth applying. Check out your equipment menu and note the light blue boxes under the names of your weapons, armor and miscellaneous equipment. These indicate mod slots, and for now, you can expect weapons to have one mod slot and one ammo slot, while everything else will have at best one mod slot for the foreseeable future.
Select the weapon/armor/gear you want to install mods on and click on the mod slot (PC) or press [X] (Xbox) or [Square] (PlayStation) to bring up your inventory of mods for that time type.
| Codex Entries |
|---|
| Secondary - Weapons, Armor, and Equipment / Upgrades |
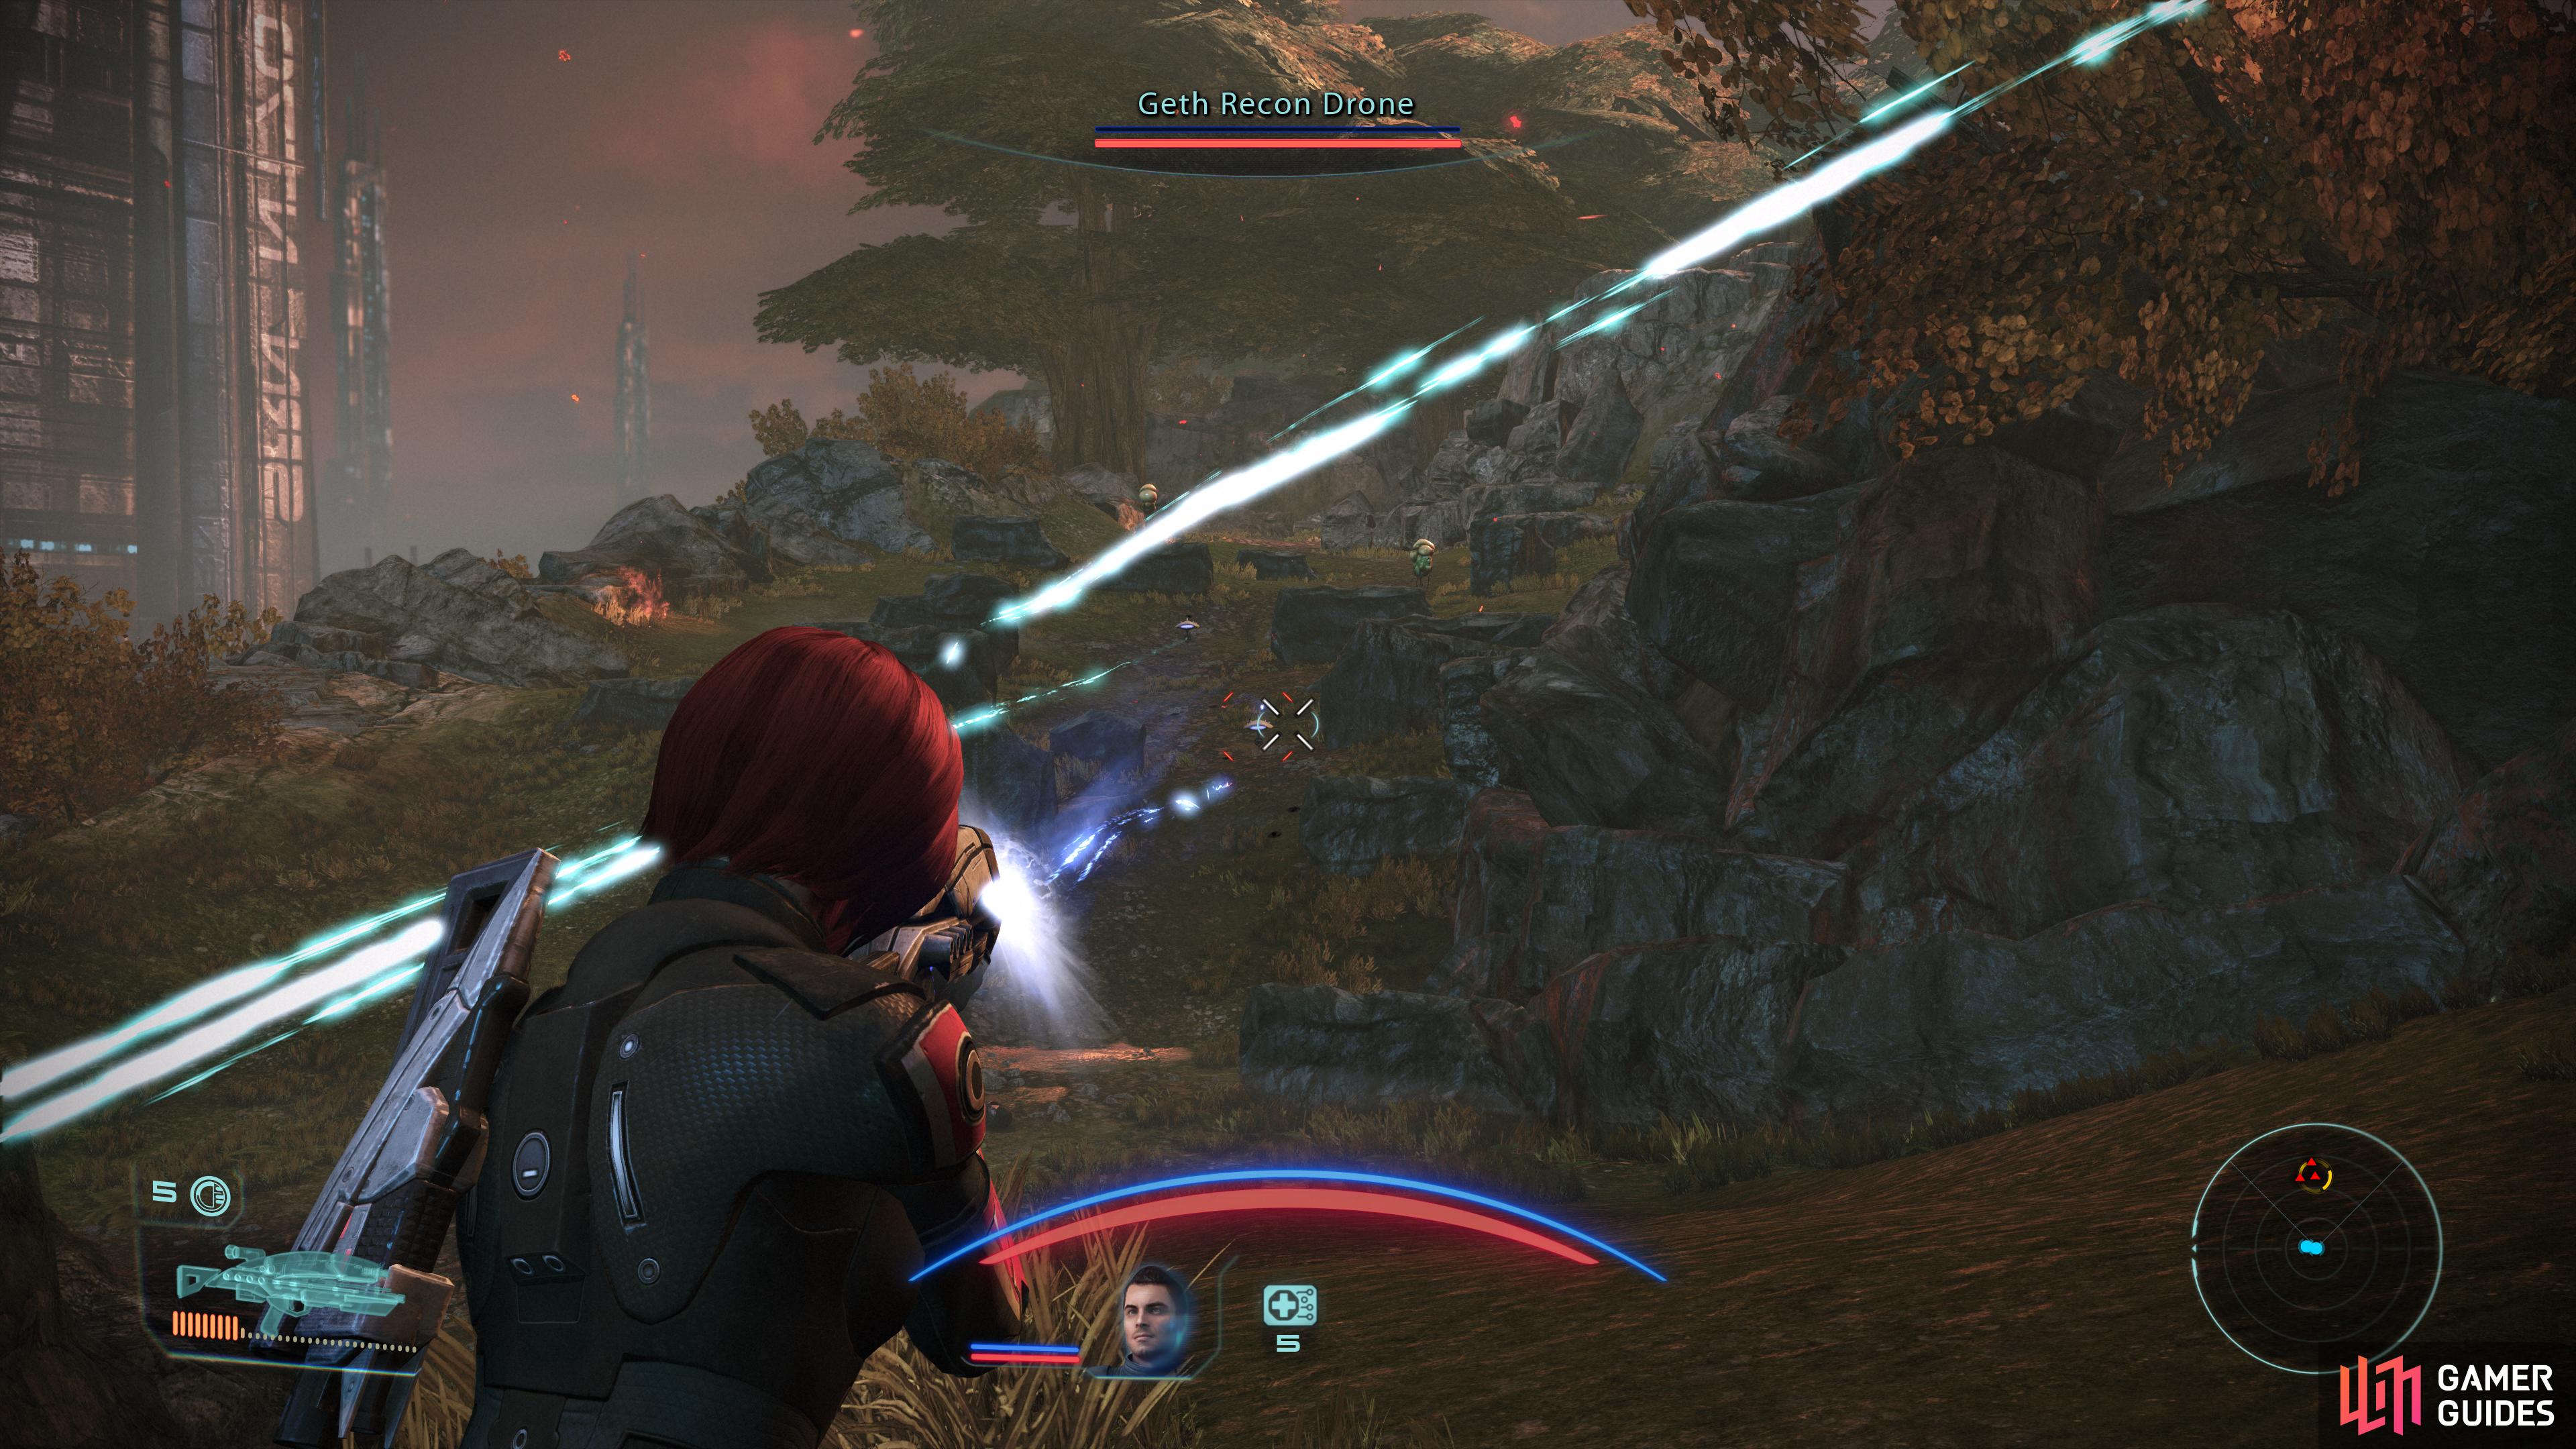
Dispatch some Geth Recon Drones,
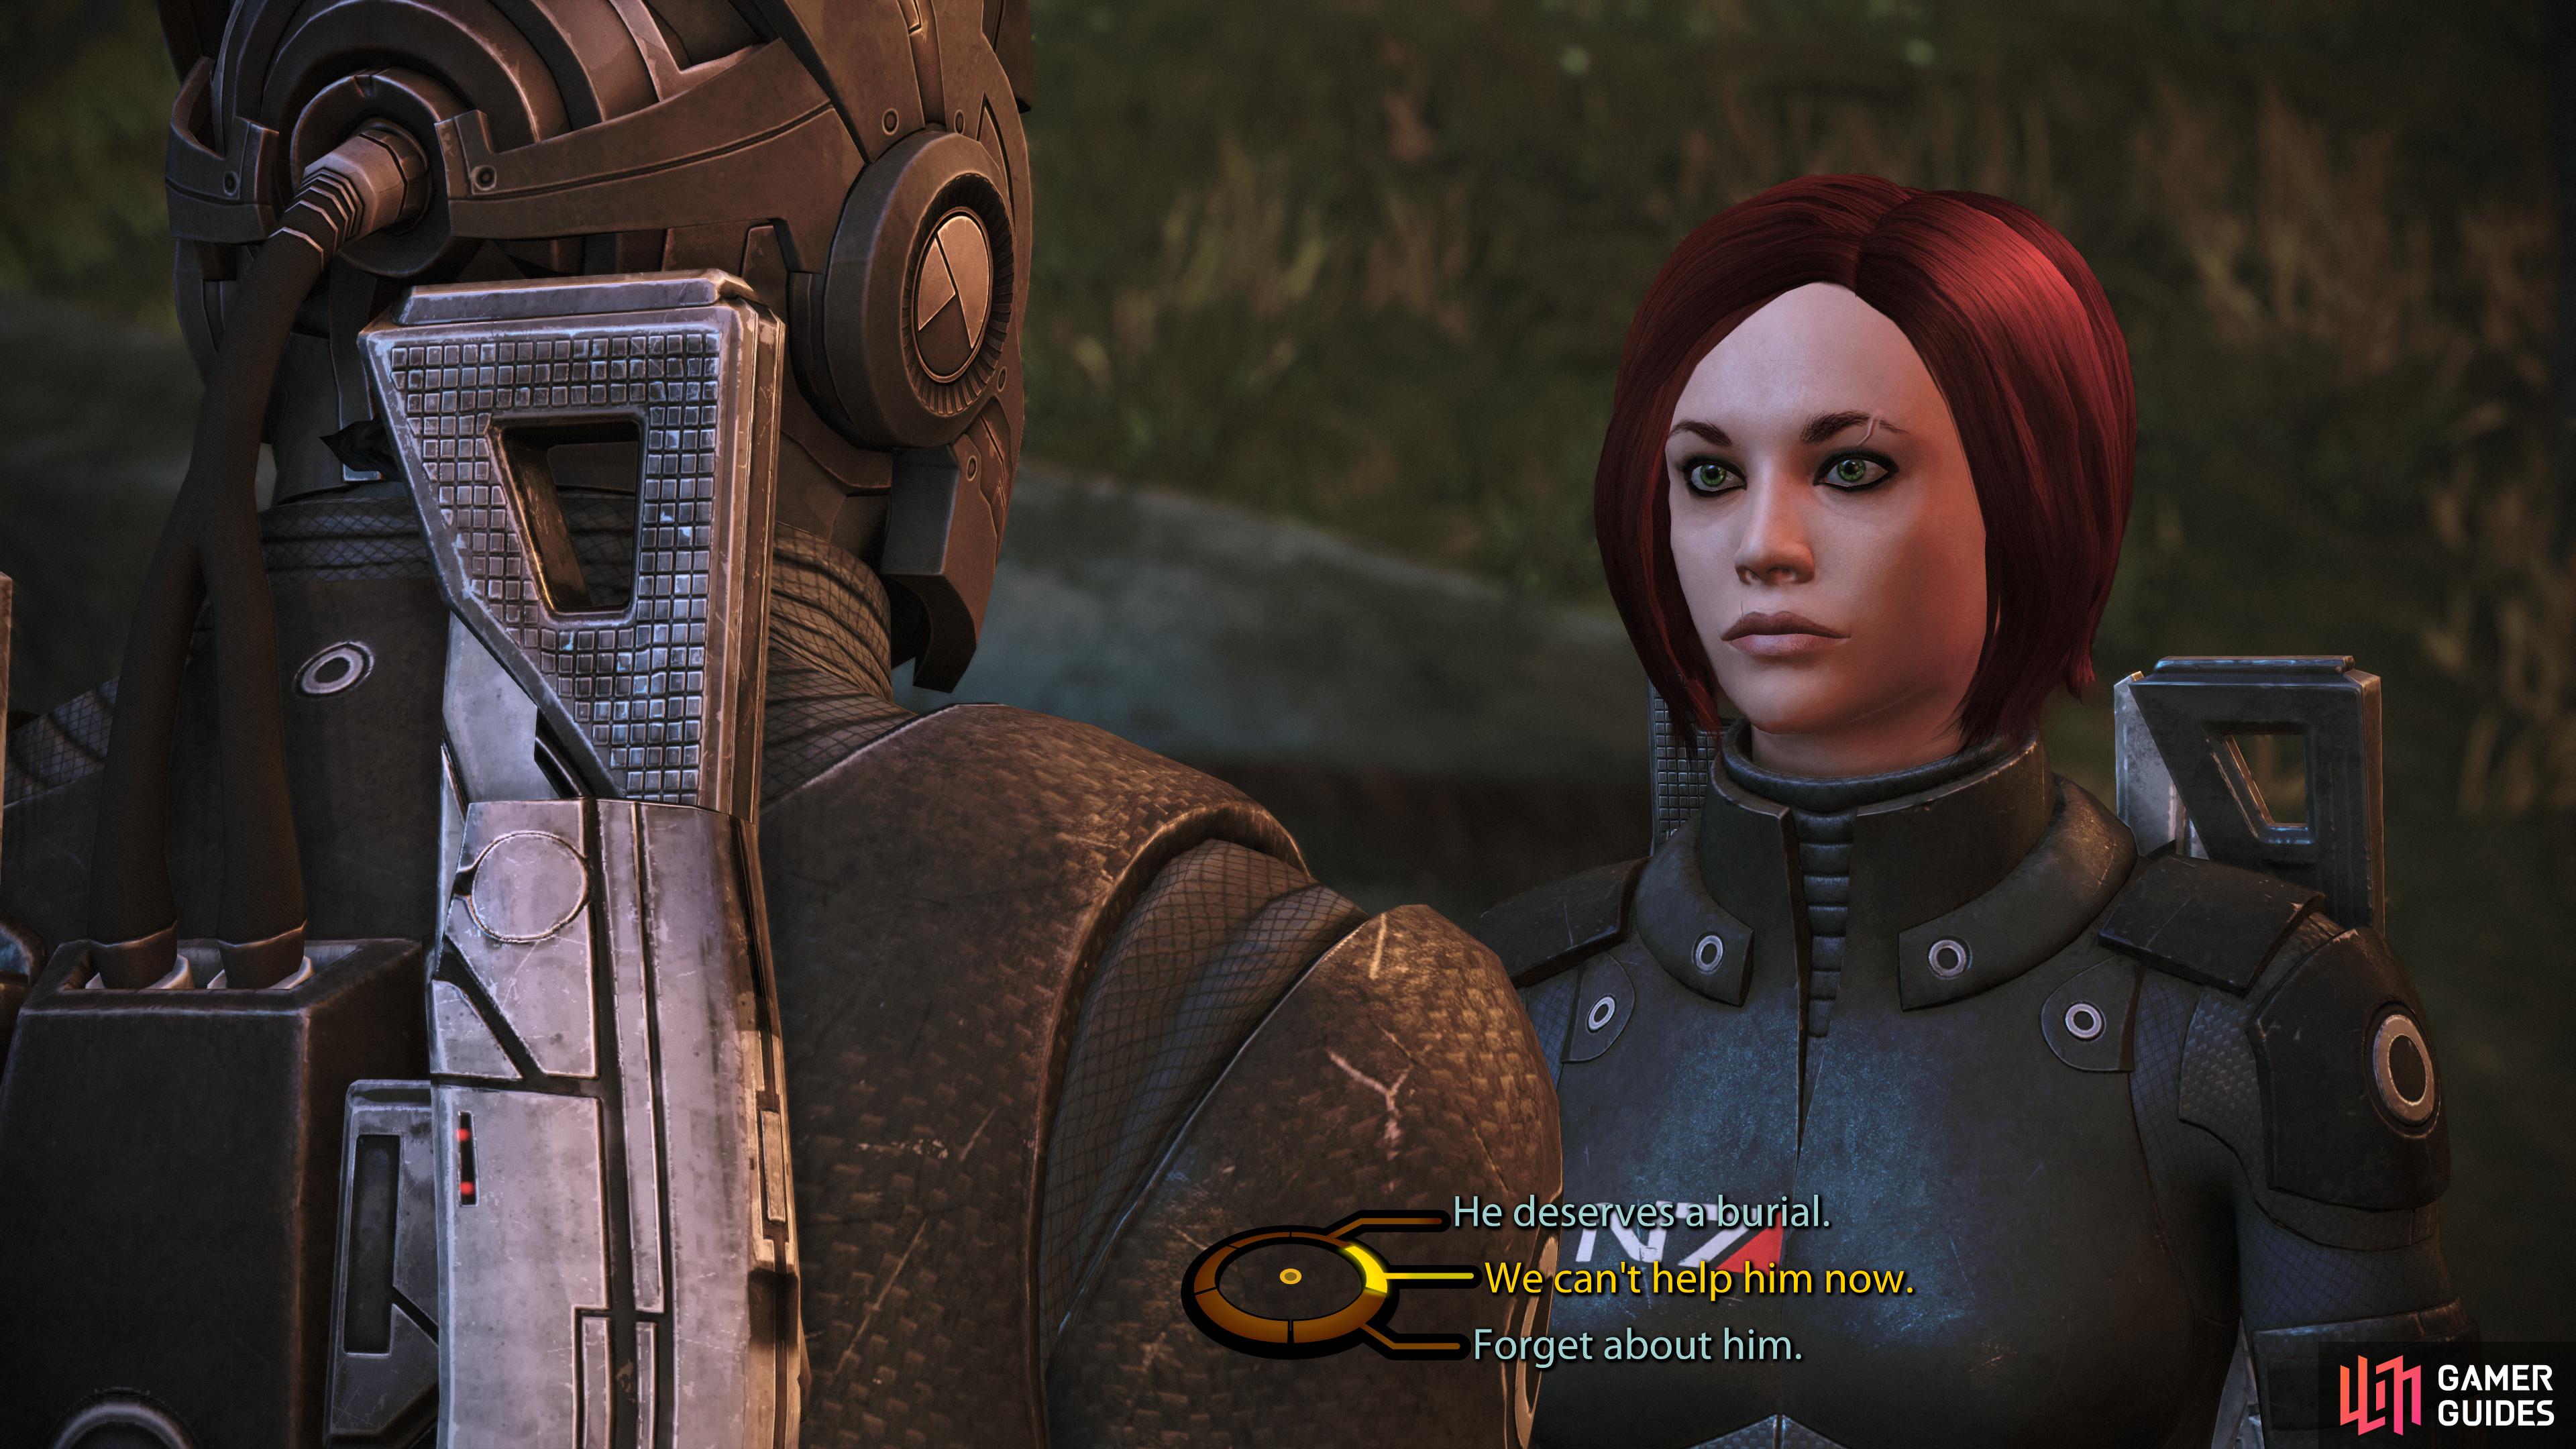
then make a Paragon or Renegade choice in reaction to Jenkins’ demise.
Meeting Ashley Williams
Trudge back through the swamp, past where you found the “gas bags”, then head up through a pass to the west and take a right (north) to trigger a scene. Jenkins fulfills his role as a redshirt, after which you’ll have to shoot down some Geth Recon Drones. These things are made of paper, but unlike the gas bags, they can and will shoot back, so get into cover behind some rocks nearby (just walking into something suitable for cover should suffice) and pick them off.
After the drones are down, investigate Jenkins’ body and either say ”He deserves a burial.” for Paragon +2 or ”Forget about him.” for Renegade +2. After that, continue north and shoot down another trio of Geth Drones, and the game will pester you about Omni-Gel, Medi-Gel and leveling up via the Squad screen.
| Paragon/Renegade |
|---|
| Paragon +2 or Renegade +2 |
| Codex Entries |
|---|
| Primary - Weapons, Armor, and Equipment / Kinetic Barriers (“Shields”) |
Continue uphill to the north and turn right (east) when you must to find yourself in a forest. Ahead are three more Geth Drones along with some more harmless gas bags. As you approach you’ll get another tutorial about squad commands: by pressing [Left] or [Right] on the D-Pad you can command allies to head to wherever your reticle is currently pointing… ideally some place with cover if you want them to actually fight effectively for any duration once they’re there. Pressing [Up] will instruct your squad mates to target any hostiles that your reticle happens to be over, and pressing [Down] will void all current orders and recall your squad mates.
Make use of these commands as you head northeast through the forest, putting down the Geth Drones before searching the cliffs to the northwest to find a Medical Kit, which will replenish your Medi-Gel. After you grab this, continue northeast through the forest until you trigger another scene.
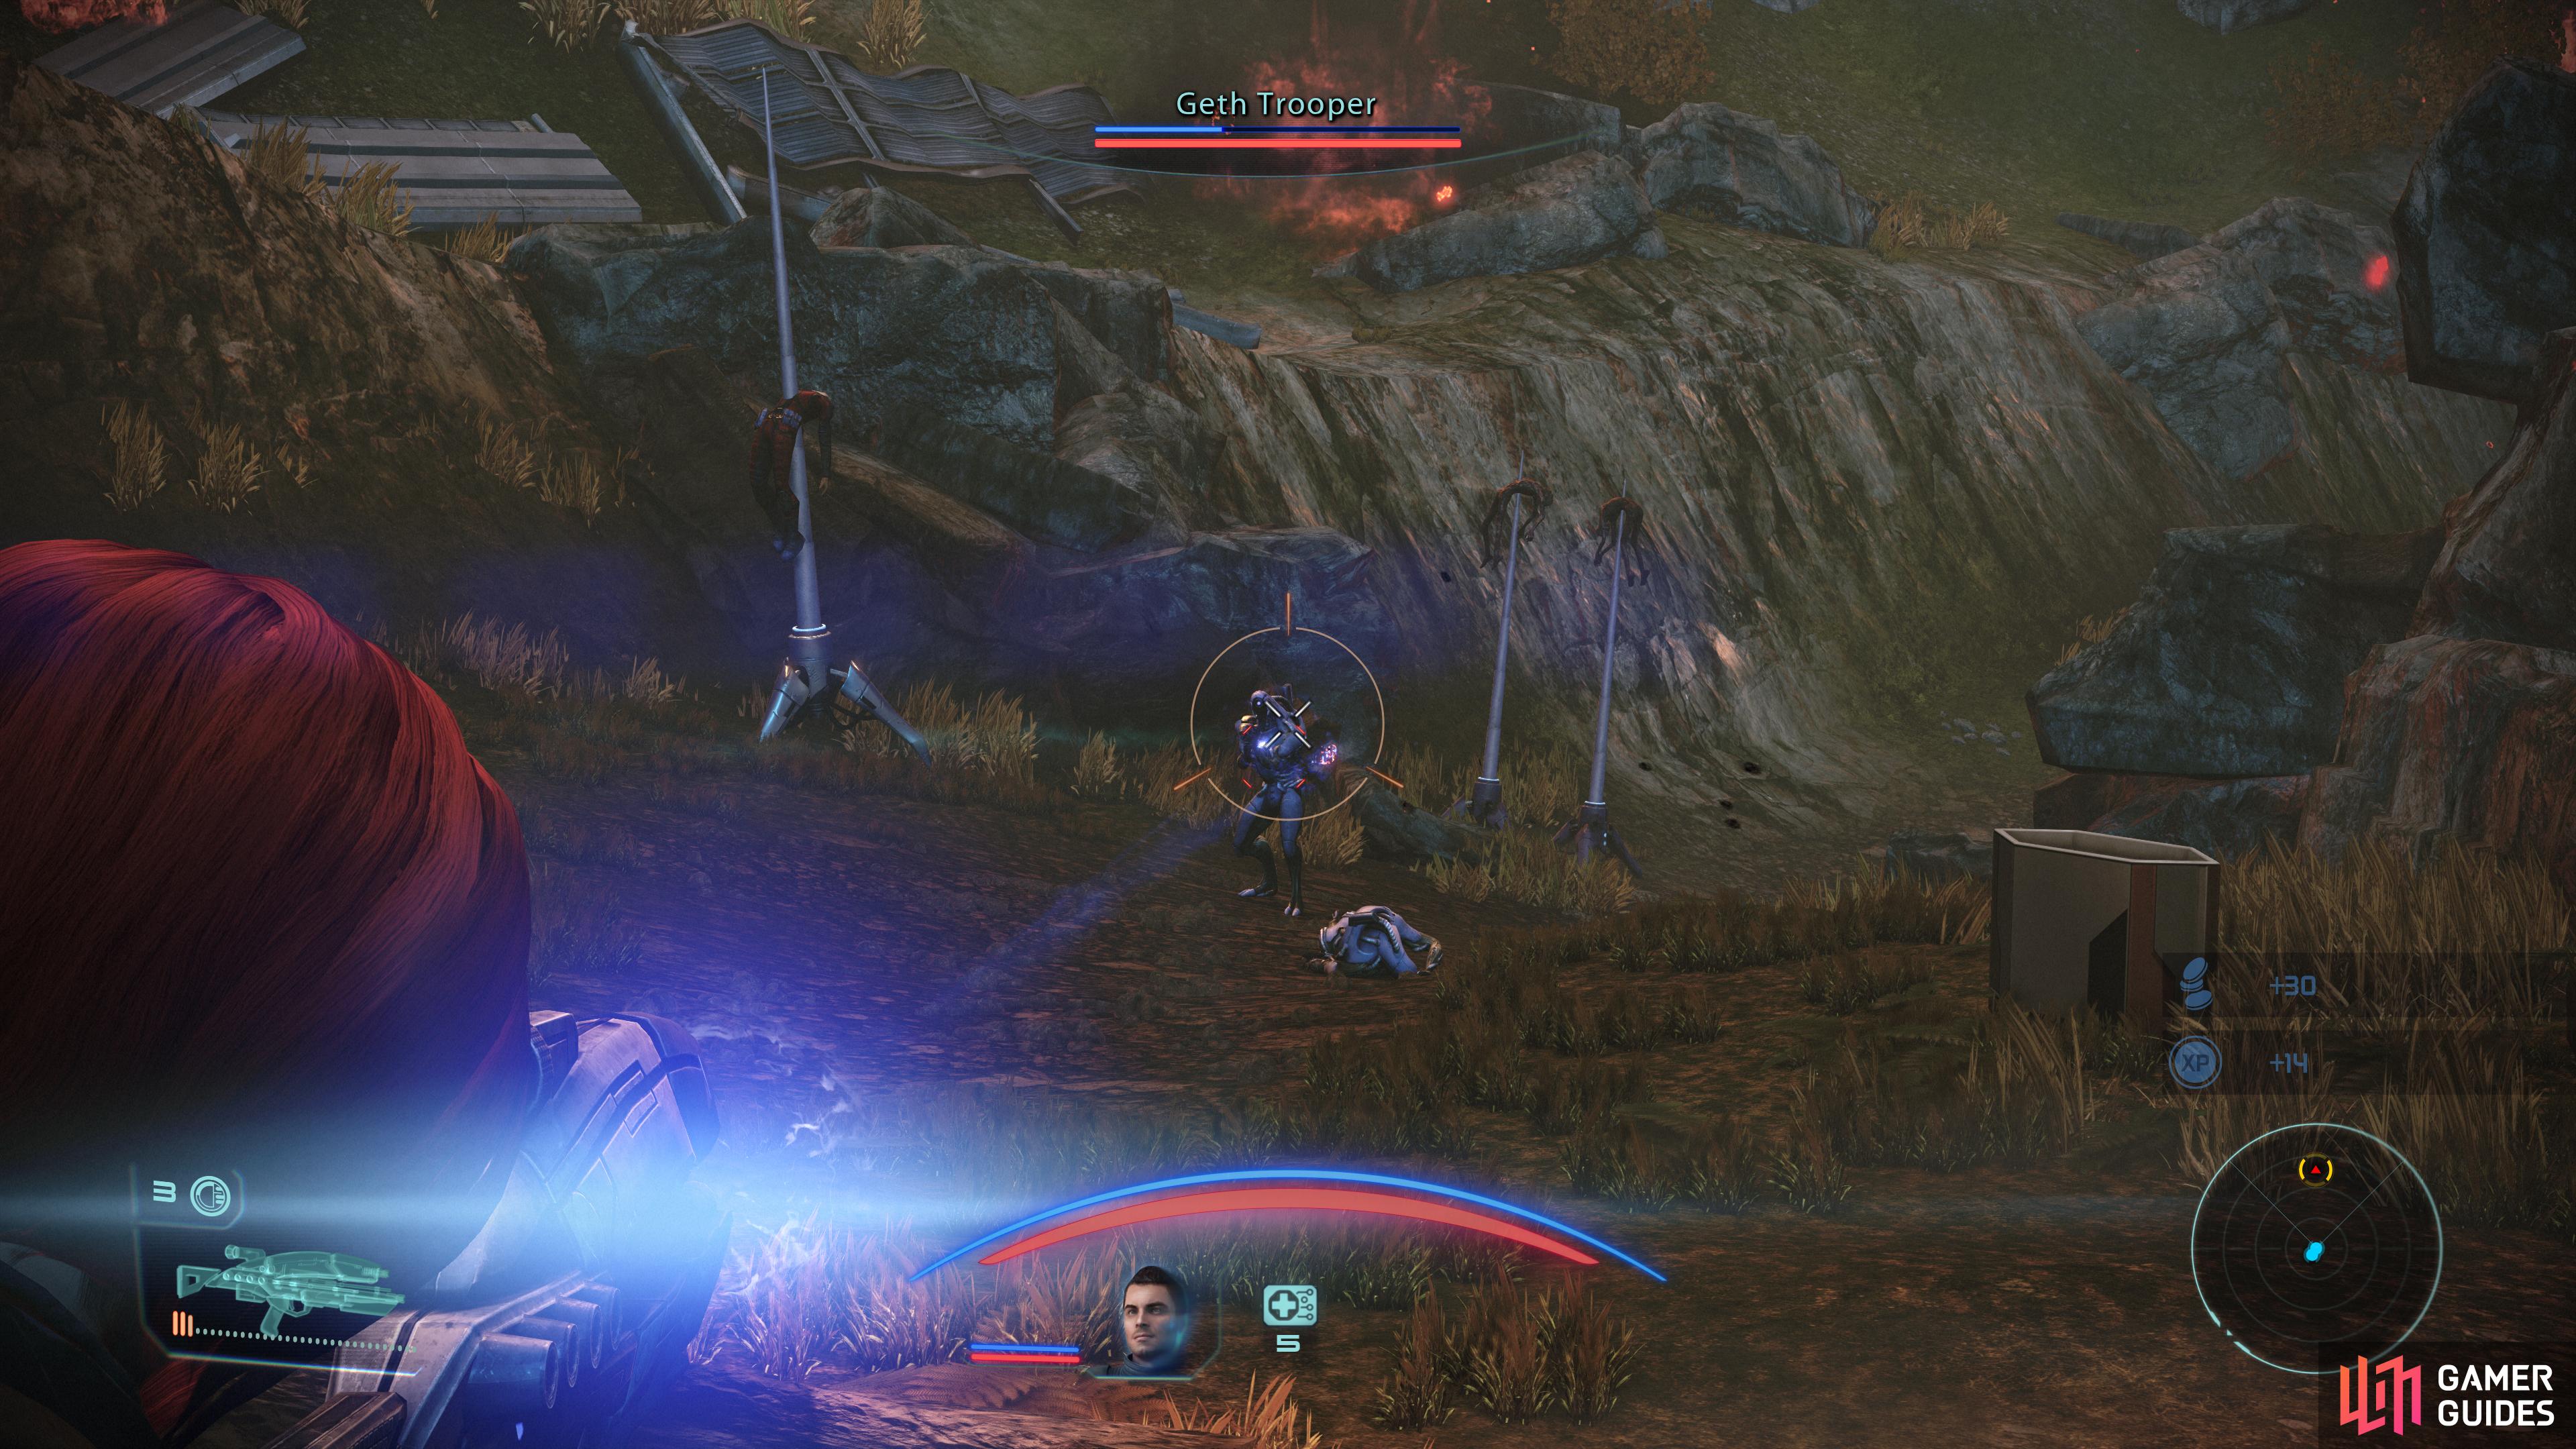
Help Ashley fend off the Geth Troopers,
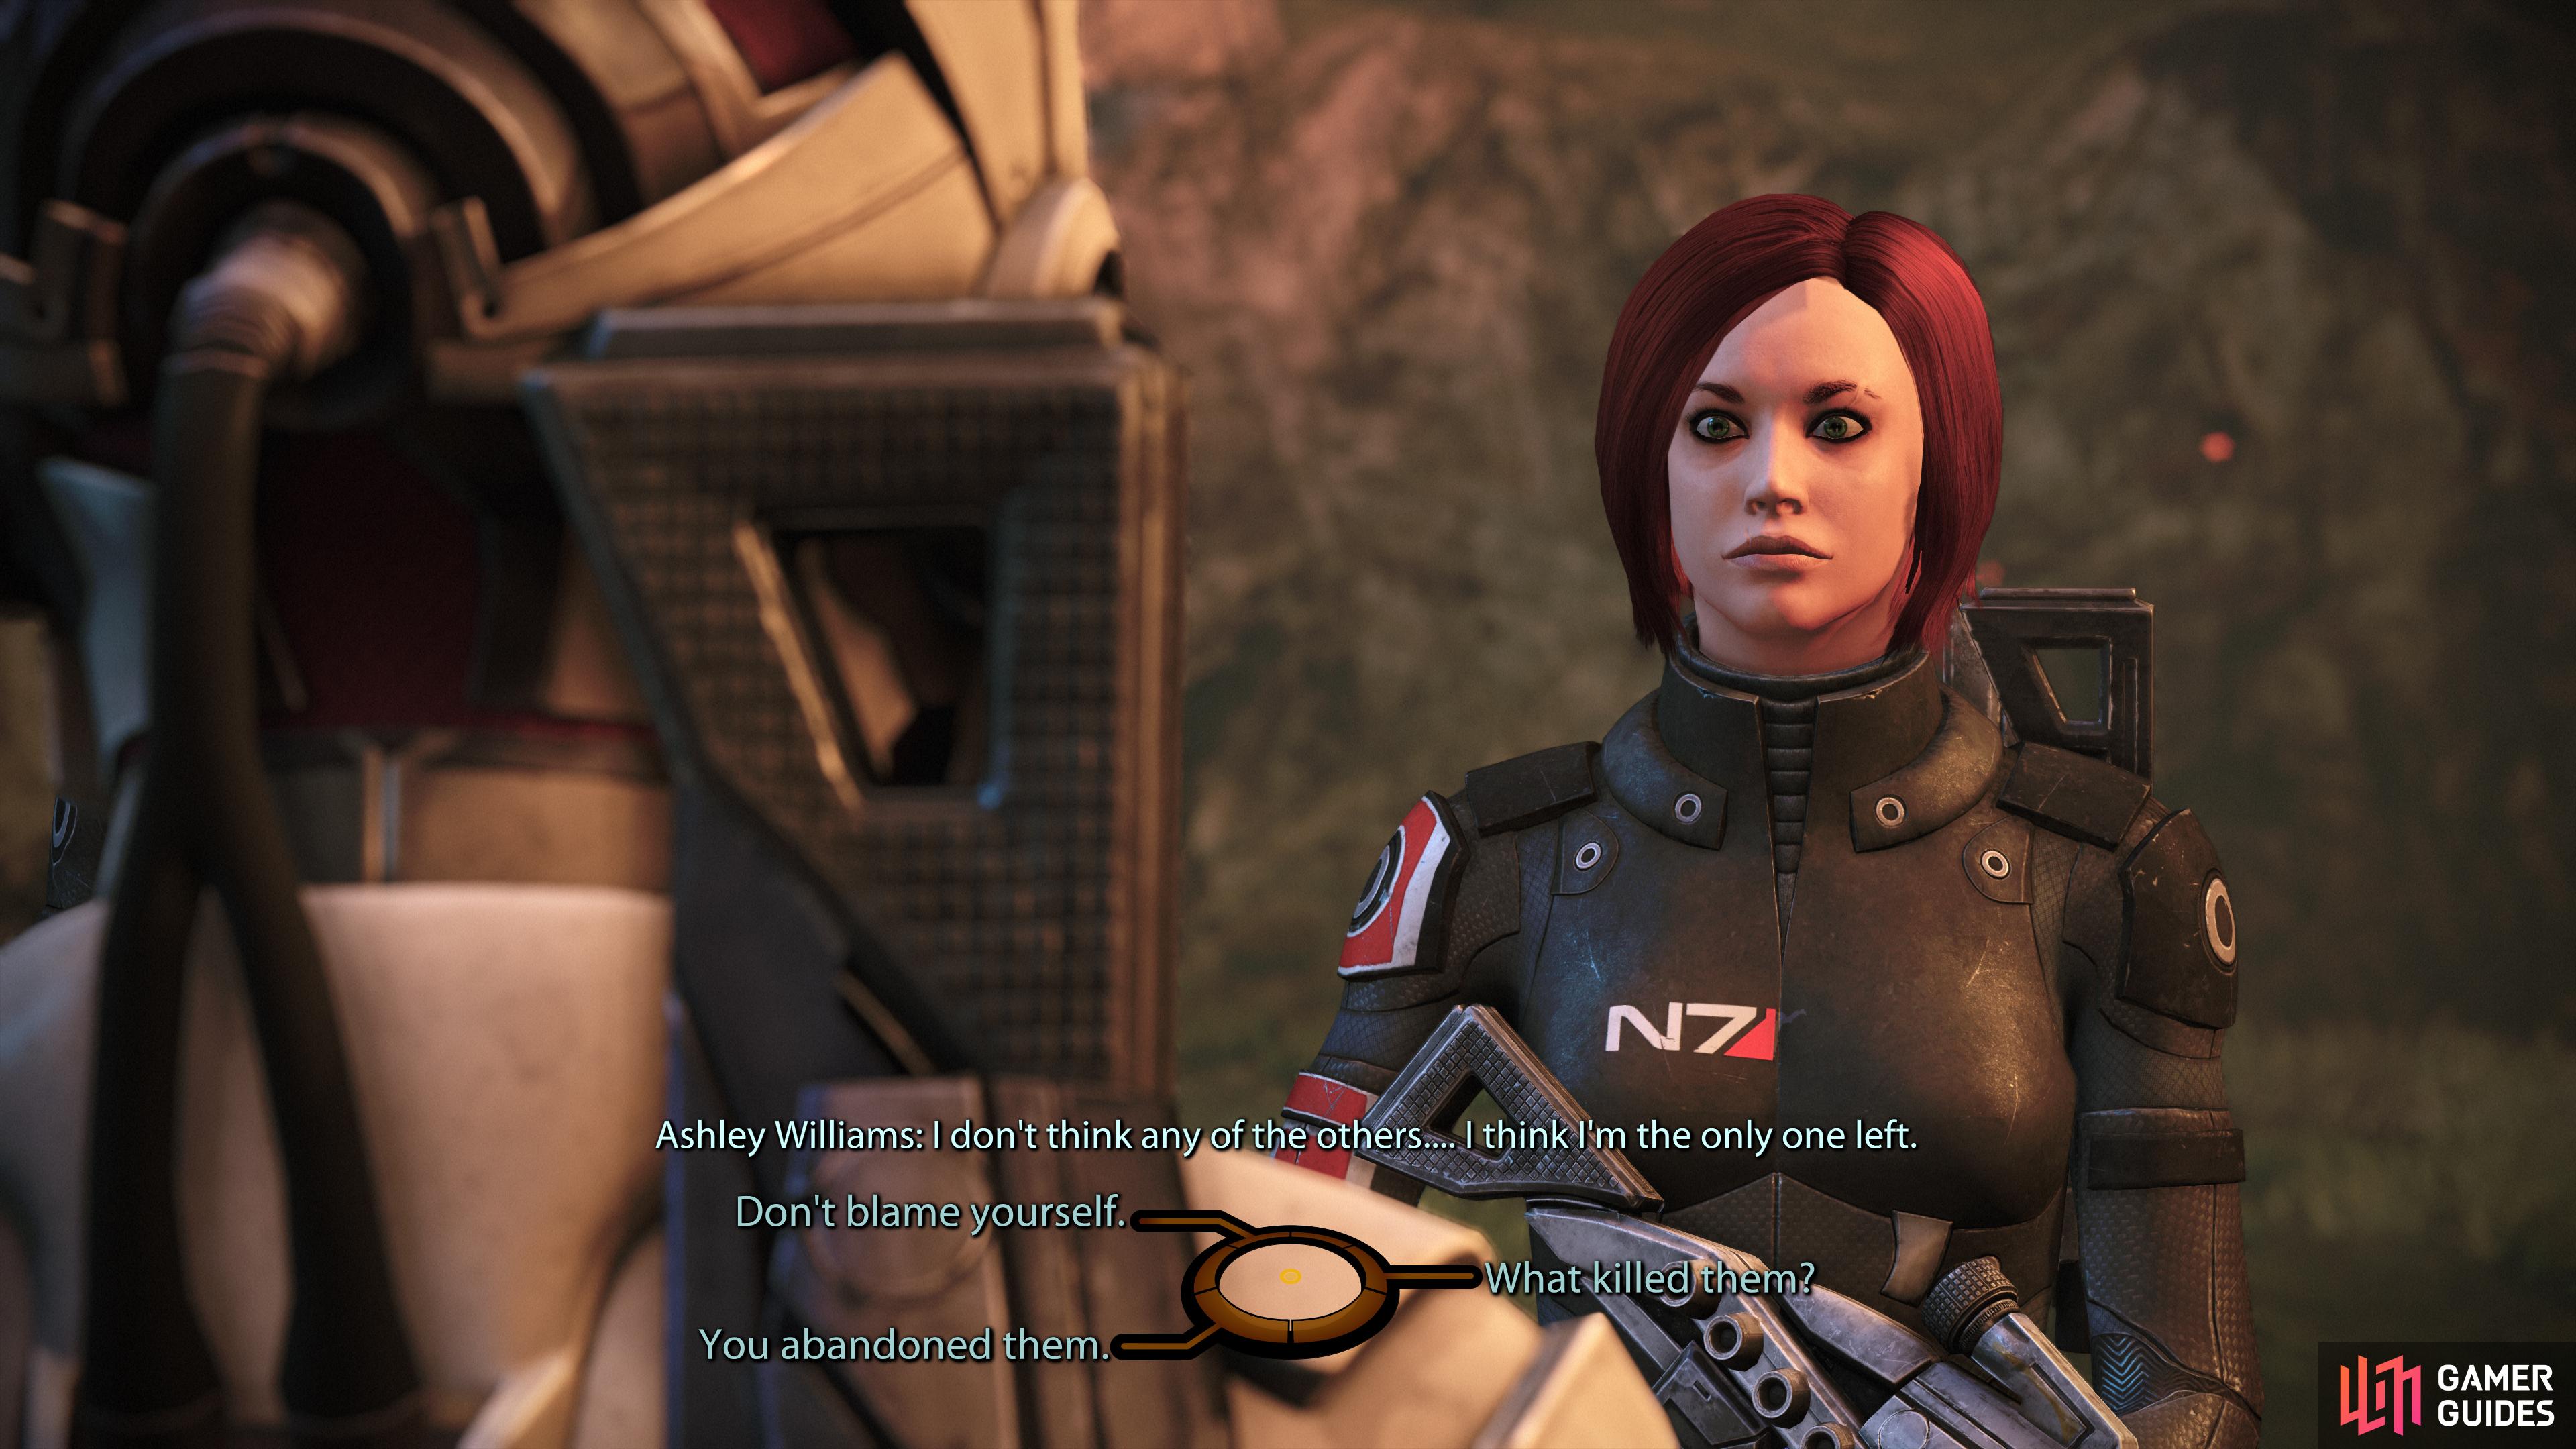
then mine her dialog options for Paragon and Renegade points.
After the grisly scene you’ll need to advance and support Ashley, who is under fire from two Geth Troopers. She’s got the right idea - seek cover behind the rock she’s behind (you can sprint in and out of combat by holding down [A] / [X] (Xbox / PlayStation)) and pick off the Geth Troopers. When they’re dead, talk to Ashley. You’re free to advance this conversation however you wish, but if you want to score as much Paragon and Renegade as possible, pick the following options
- ”Are you okay?” (Paragon +2)
- ”What happened to your unit?”
- ”Don’t blame yourself.” (Paragon +2) or ”You abandoned them.” (Renegade +2)
- ”Stay here.”
- ”Fine, come with us.” (Renegade +2)
No good reason why you shouldn’t walk away from this conversation without Paragon +4 / Renegade +2 or Paragon +2 / Renegade +4.
| Paragon/Renegade |
|---|
| Paragon +2 |
| Paragon +2 or Renegade +2 |
| Renegade +2 |
| Codex Entries |
|---|
| Primary - Aliens: Non-Council Races / Geth |
Once the chatter is over, Ashley will join your squad, putting the considerable firepower of a Soldier at your disposal. Buying a talent in Assault Rifles to unlock Overkill and Soldier to score some passive health regeneration aren’t bad ideas.
Eden Prime: The Dig Site
Now that you’re back up to a full squad again, you’ll need to continue downhill to the northeast, then turn east and southeast to reach the Dig Site. Before that, however, search near the rocks to the east to find a Crate and an Upgrade Kit to score some loot. Equip anything worthwhile you find, then press on.
As you head downhill towards the Dig Site you’ll finally be given a proper tutorial on sprinting and taking cover, which you’ve probably already been doing by now. Follow the on-screen prompts to move between the indicated cover or not. In either case, once you’re past this tutorial area and approaching the Dig Site you’ll find yourself in a fight with several Geth Troopers. Most of them are smart enough to use cover, but they may not all be clever enough to engage you at once.
Exterminate the Geth, then search the dais at the center of the Dig Site. Looks like the Prothean Beacon has been moved, although to where and by whom remain mysteries. As you leave the ruins, Nihlus will chime in and tell you about a spaceport. Loot a Crate then circle around uphill to reach the Camp.
| Codex Entries |
|---|
| Primary - Weapons, Armor, and Equipment / Body Armor |
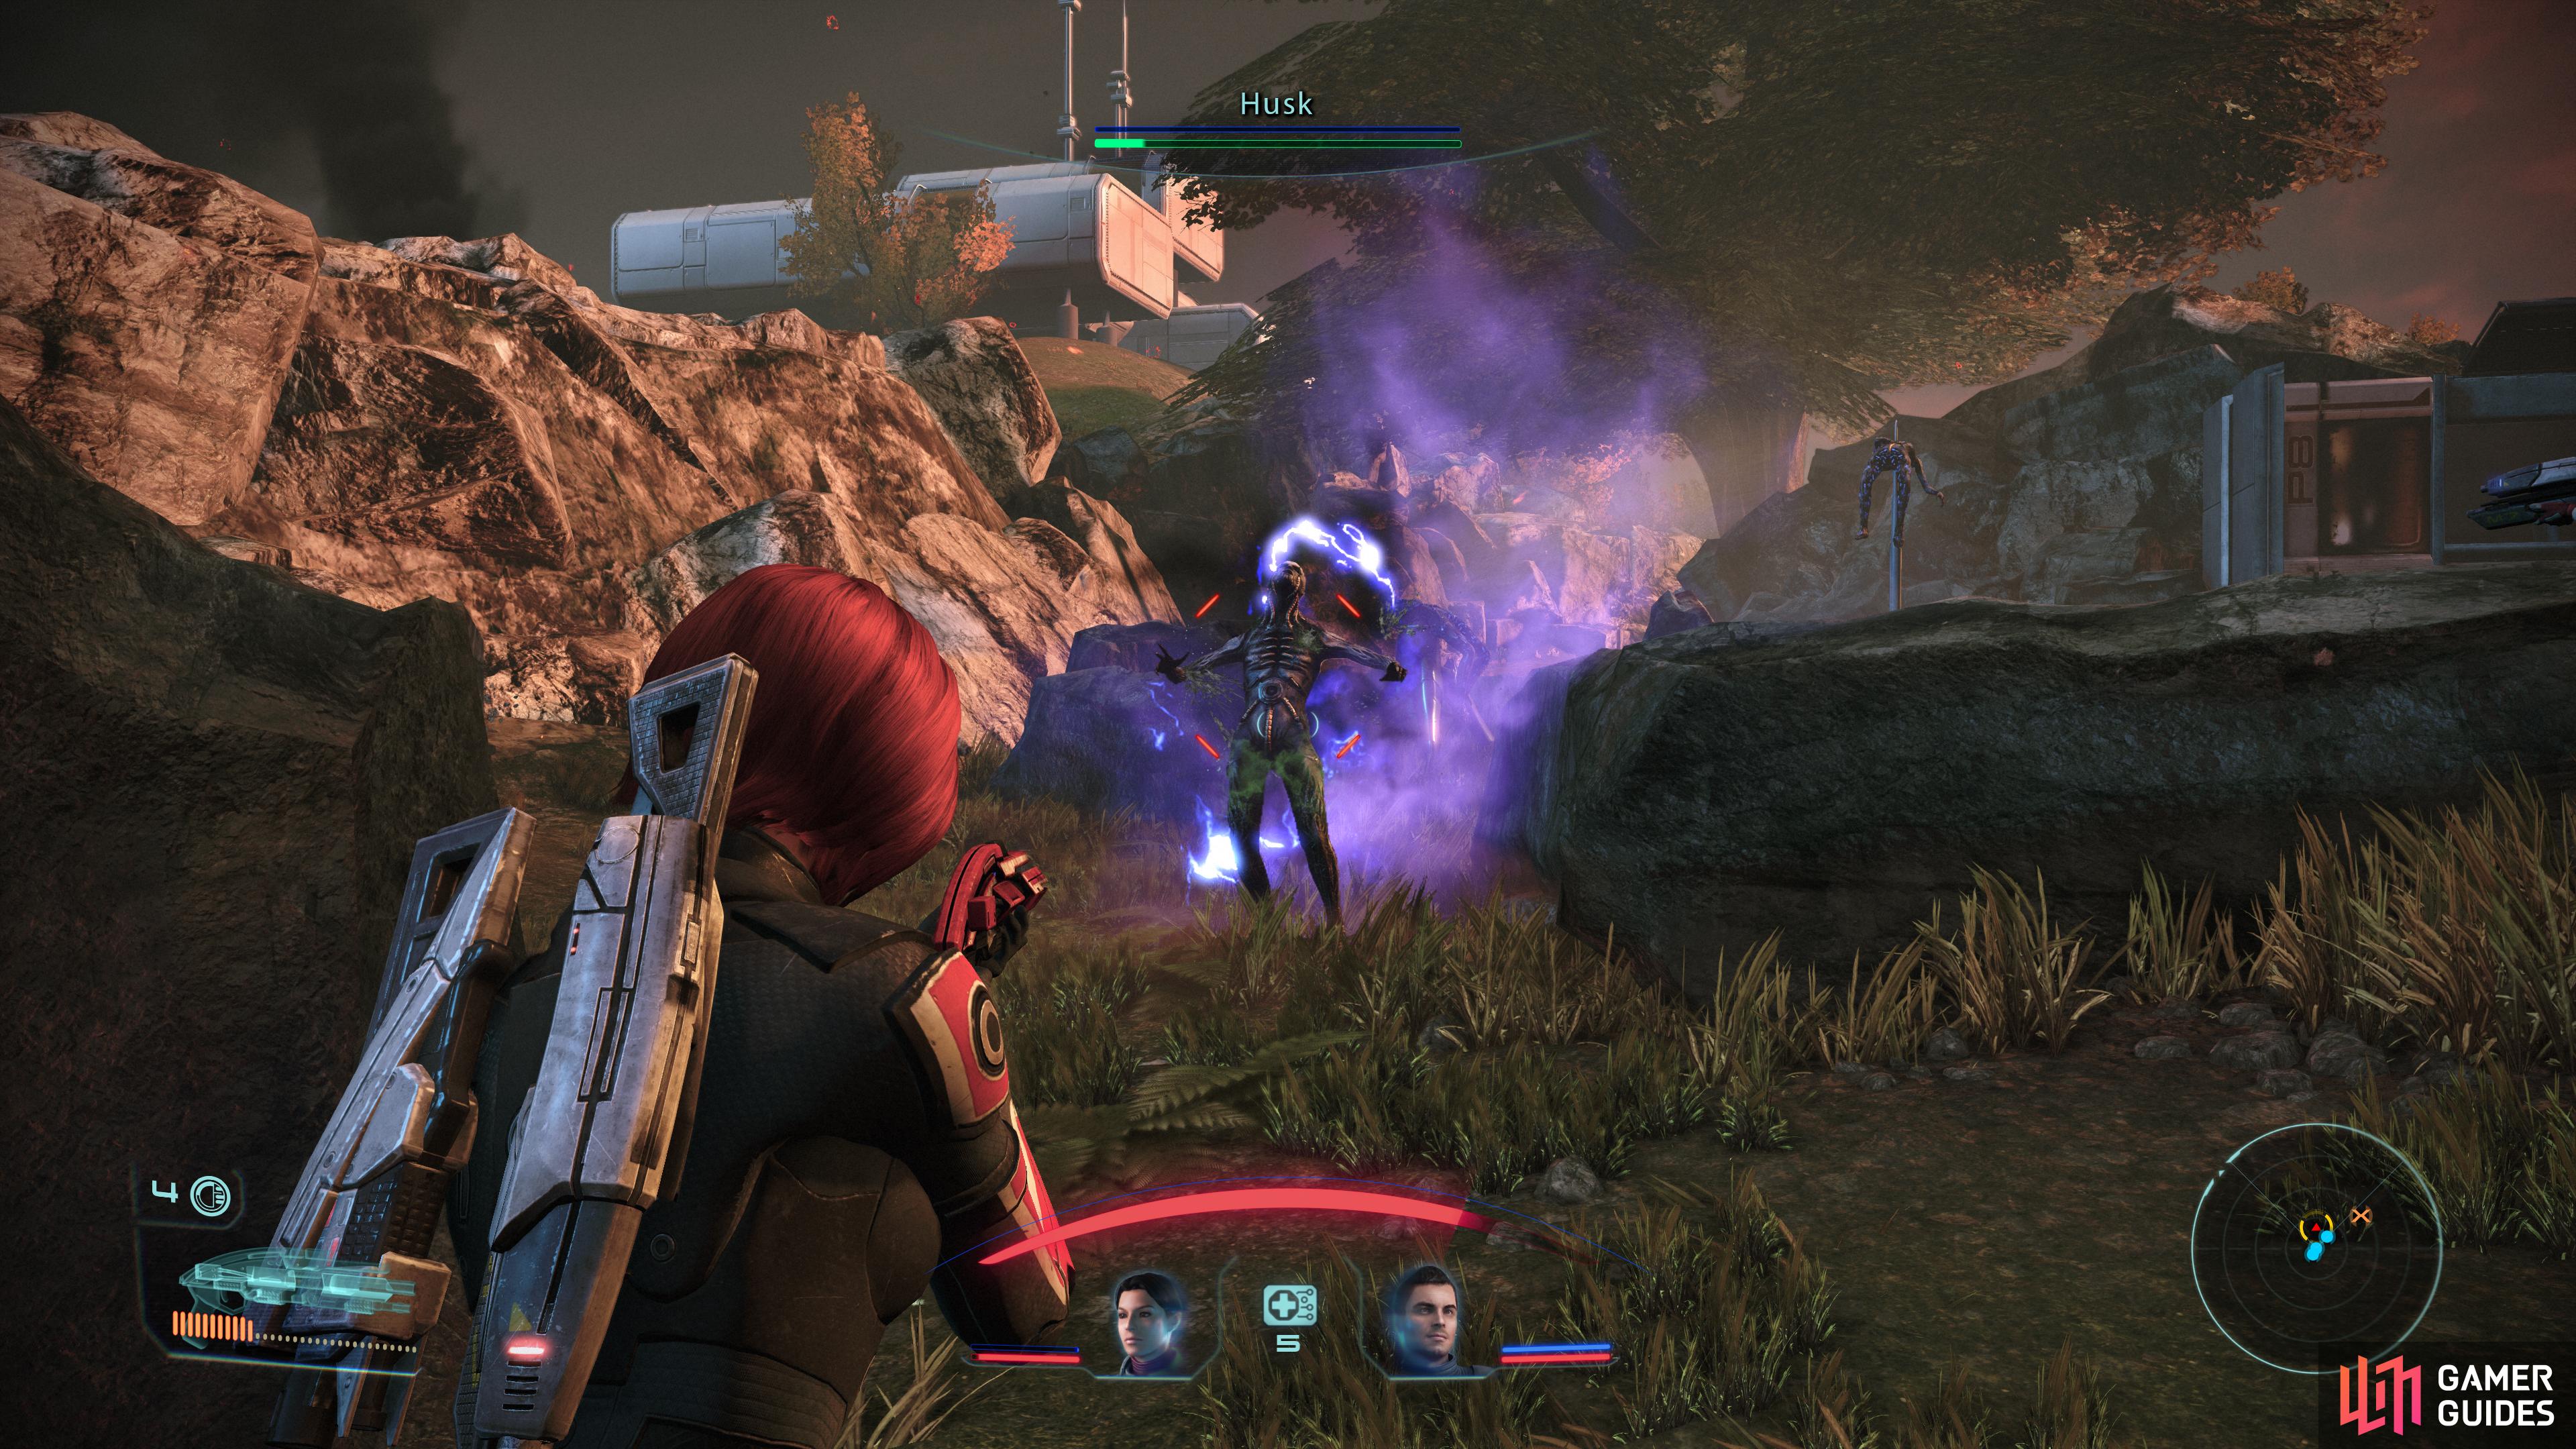
(1 of 4) Be wary of Geth Husks - their lack of a ranged attack is more than made up for by the potency of their pulse attack.
Eden Prime: Camp
Once you reach the top of the hill you’ll find the Camp has seen better days. So have the corpses the Geth have been impaling, which will finally reveal their awful secret, lowering and reanimating as Geth Husks. They don’t have ranged attacks, but they’re fairly durable and if they get close to you they’ll release an electrical pulse that’ll deal heavy damage to your shields. Take them down before they can get close and don’t be shy about using your abilities. It’s actually fairly easy to provoke them into discharging their pulse attack by getting close, then backing up before it hits you, and there are only three of them up here, so you shouldn’t have much trouble.
| Codex Entries |
|---|
| Primary - Aliens: Non-Sapient Creatures / Husks |
After the Husks have been put down, search for an Upgrade Kit behind the Geth spikes, then turn your attention to two structures to the east. The right-most one is locked, so ignore it for now and search the right-most one to find two Crates.
Now turn your attention to the locked structure. To open the door you’ll need to be able to pass a [Easy] Decryption check. This won’t get you inside on its own, however - it merely allows you to attempt the minigame that opens the door should you succeed. The minigame you’ll have to play varies depending on whether you’re playing on PC or console.
On PC, you’ll need to guide a blue arrow icon through several concentric rings littered with hazards: orange blocks are impassible, and red moving blocks will reset your progress if you touch them. It’s… Frogger. It’s Frogger. Just guide your little arrow of justice to the center of the rings before time expires and you’re good to go. At this point in the game, it’s usually merely a matter of moving your arrow to a vantage where you have an unobstructed run to the center and waiting for the red blocks to be clear. On console, you’ll be playing Simon instead of Frogger - hit the button prompts in the time limit and you’ll pass. The harder the hack, the more buttons you’ll have to press.
Once you’re past the lock, enter the shelter to find Dr. Warren and the somewhat disturbed Dr. Manuel. Start out with ”You’re safe.” for Paragon +2, after which there’s only one noteworthy development during this conversation, and that has to do with your response to Dr. Manuel’s… condition. Pick the following dialog options:
- Investigate
- Assistant
- ”I can shut him up!”
This will cause you to administer Dr. Manuel some sedatives via your knuckles, putting the nutter out. Needless to say, Dr. Warren and Kaiden are shocked, but nobody gets too ruffled by it and there are no long term consequences… save for the Renegade +9 you’ll get.
| Paragon/Renegade |
|---|
| Paragon +2 |
| Renegade +9 |
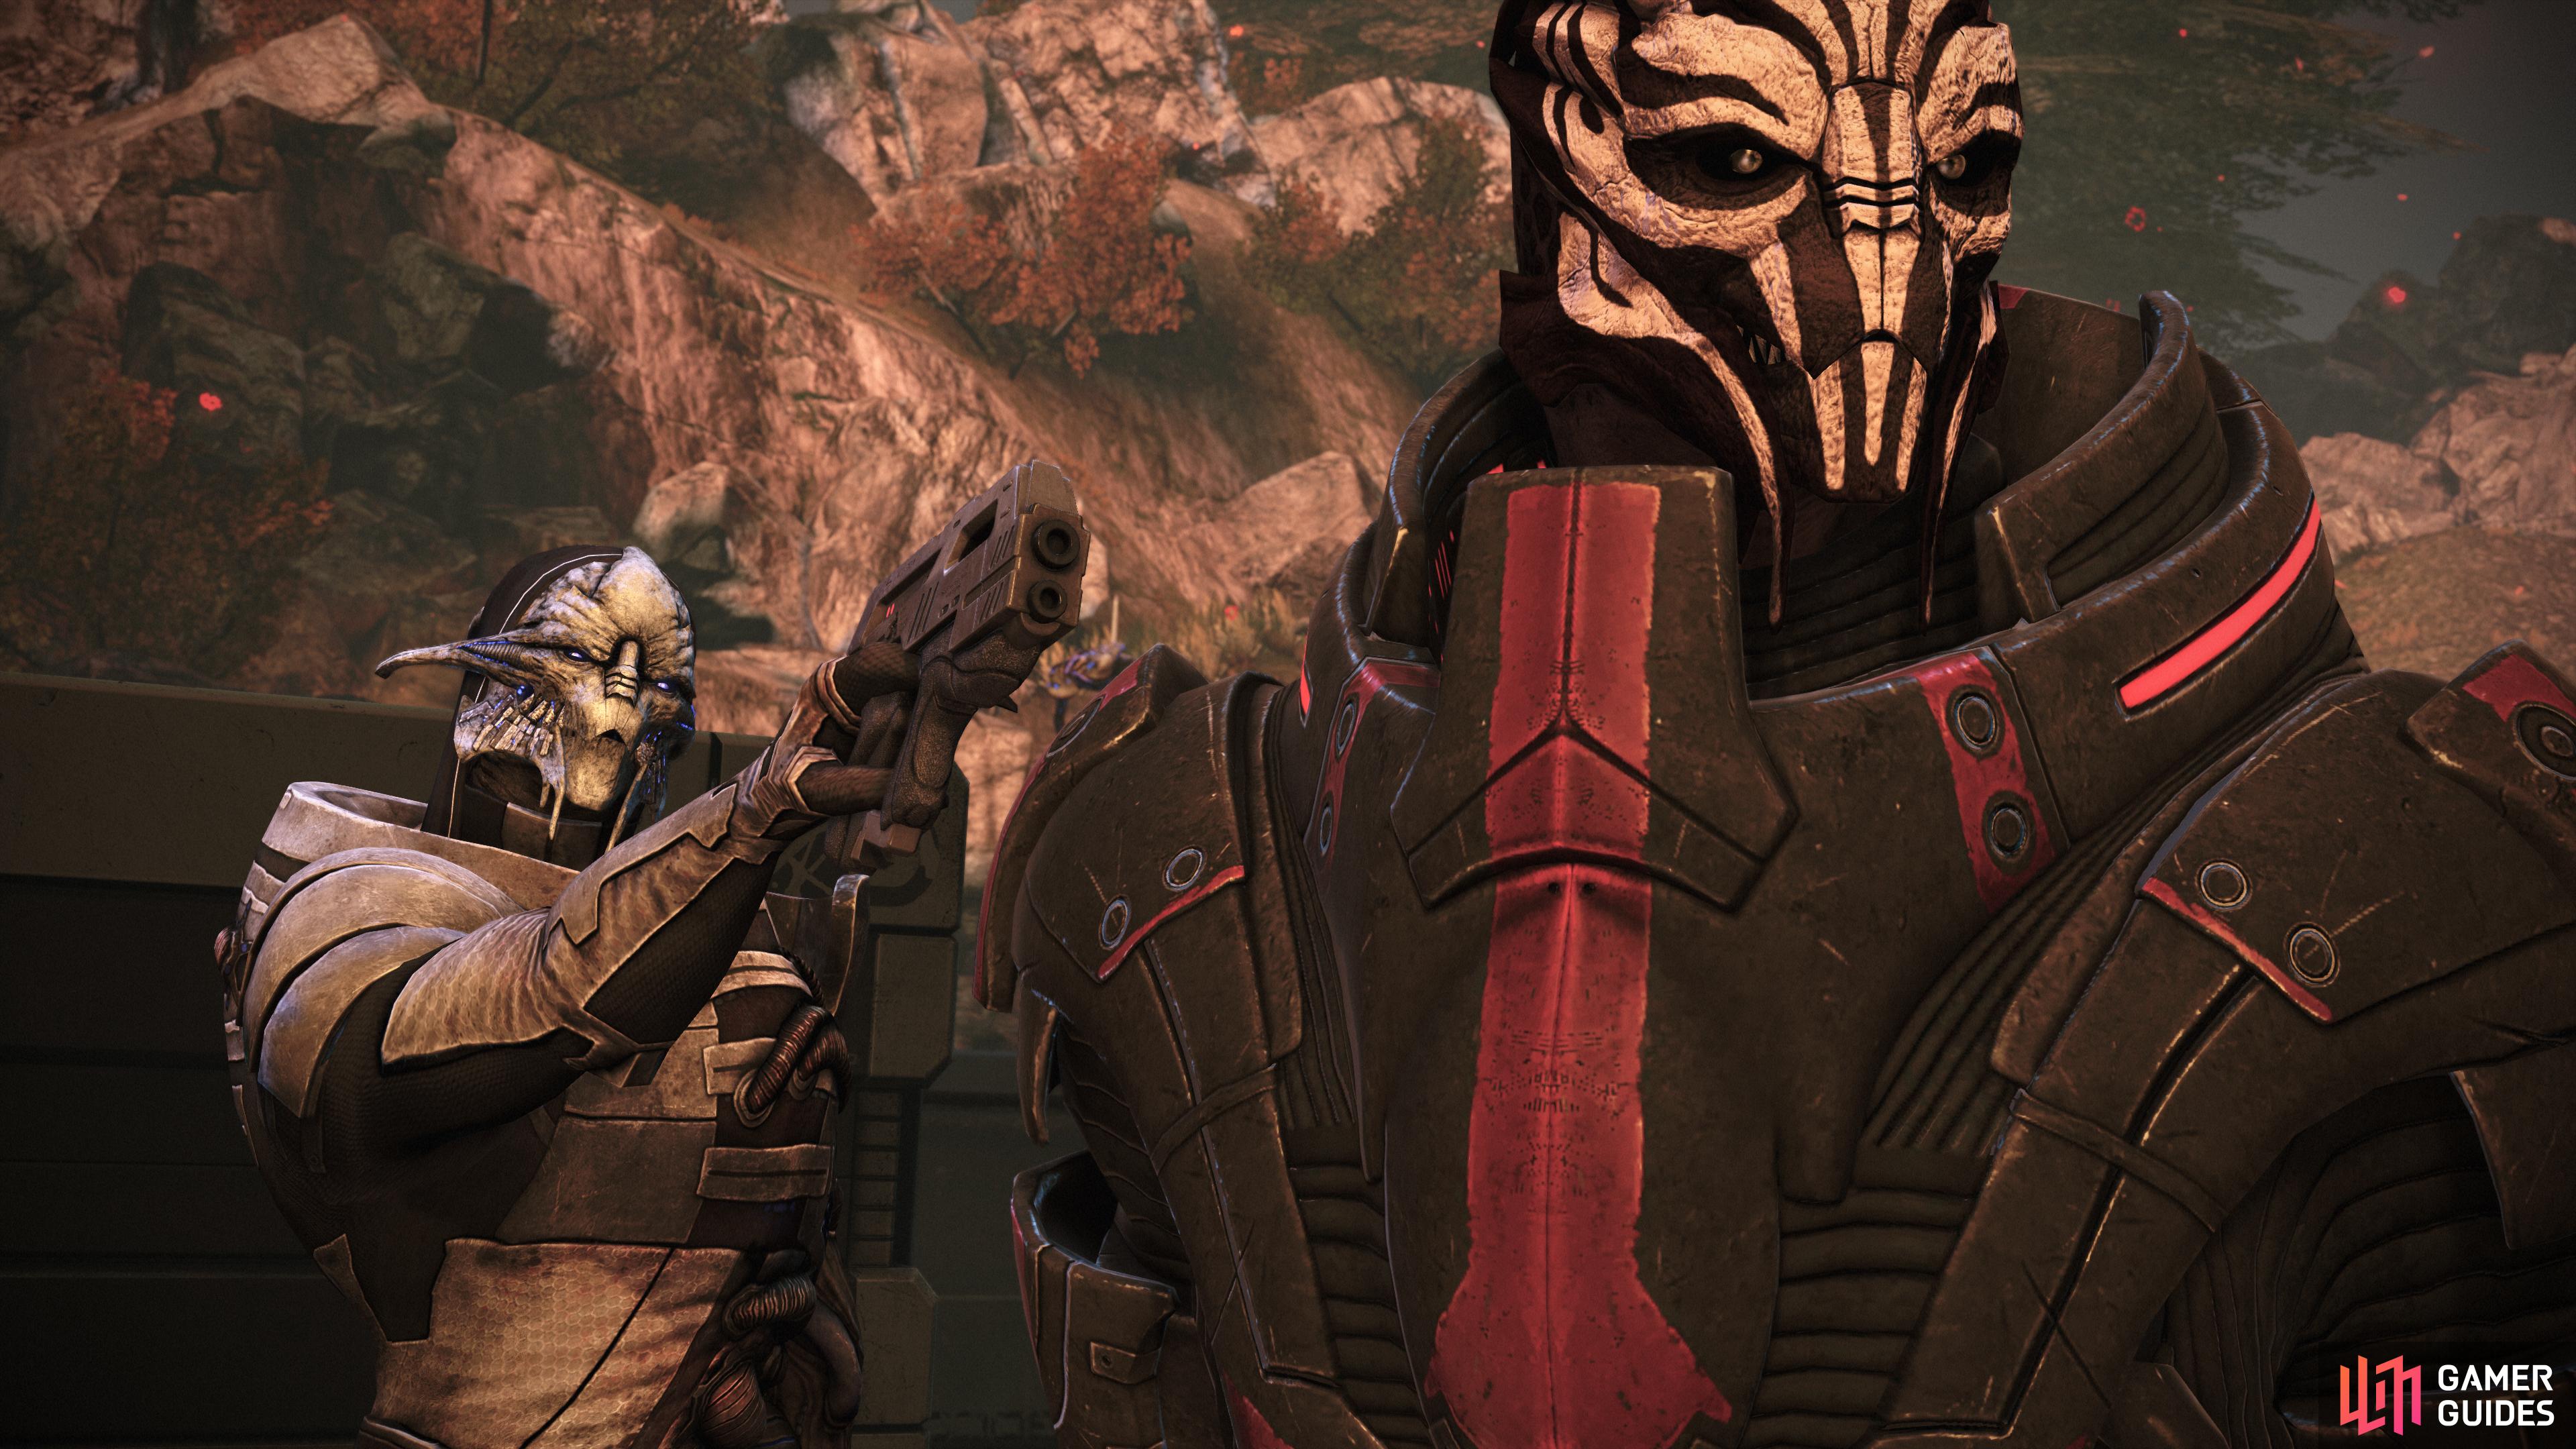
Nihlus finds more than he bargained for at the Train Station.
Train Station
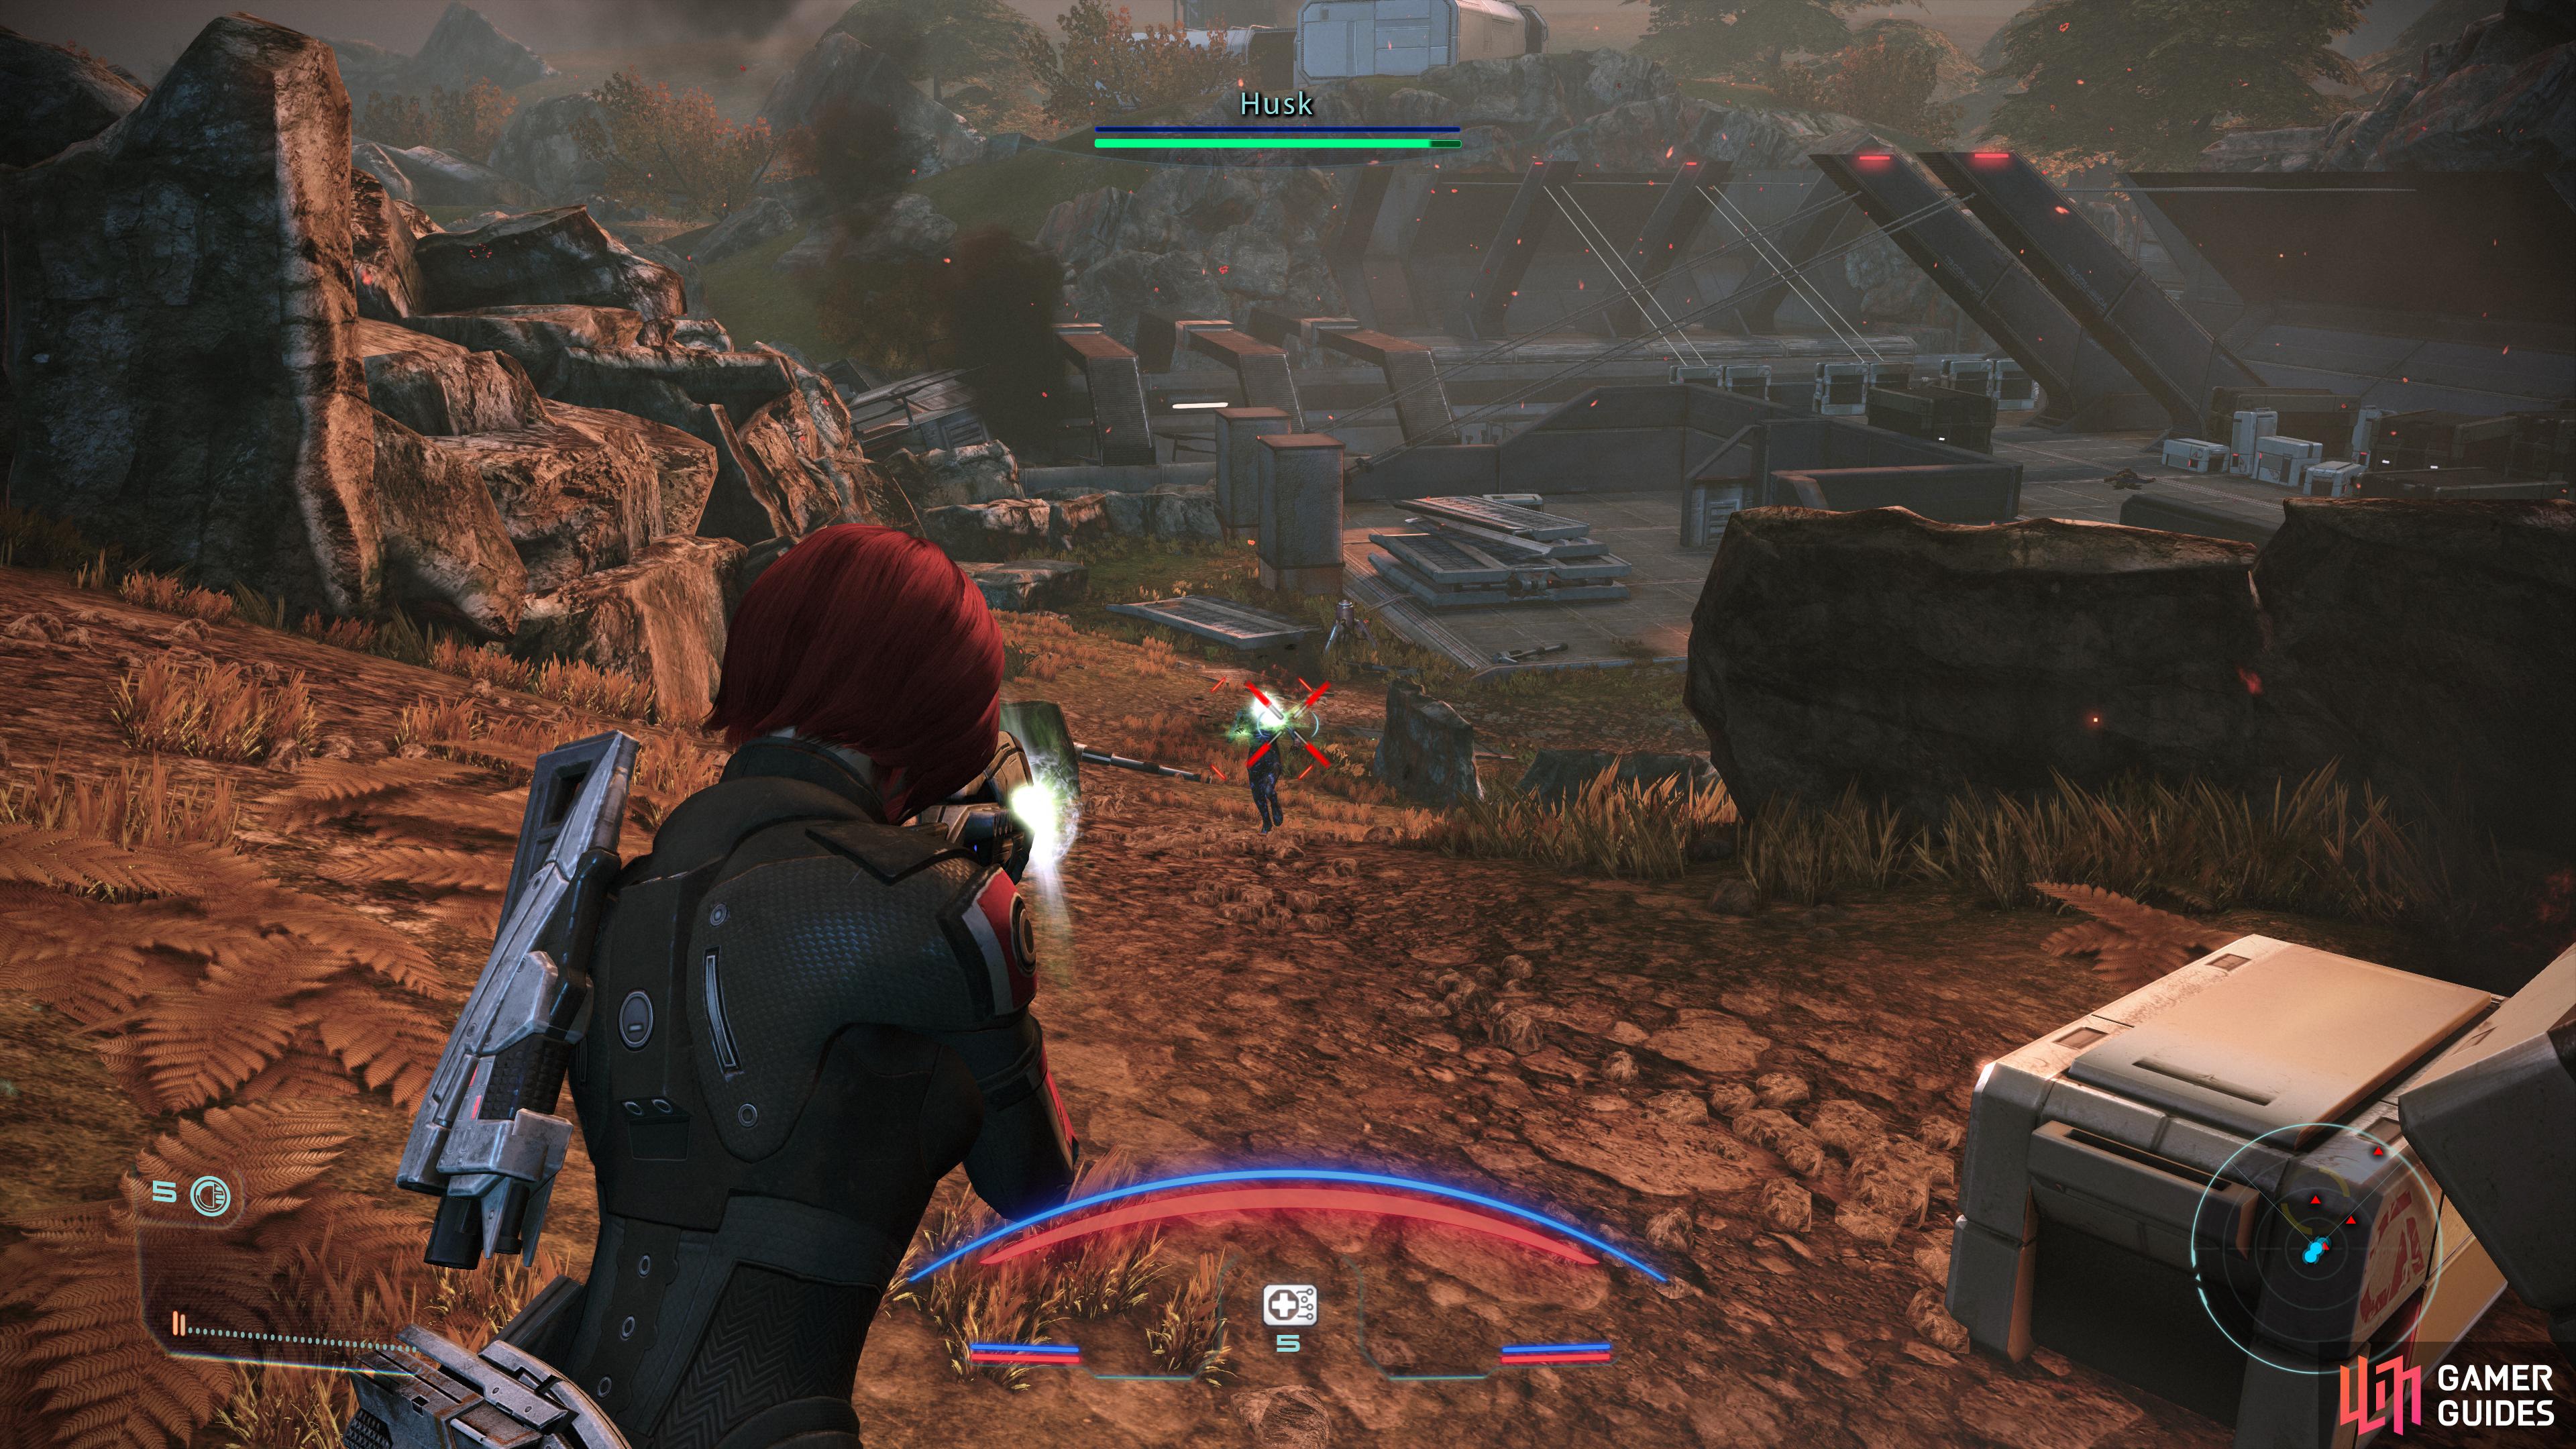
After looting the Camp and terrorizing the doctors, head northwest past the shelters and you’ll get a scene with everybody’s favorite Turian Spectre, Nihlus. That probably won’t look good on our evaluation. When you’re back in control turn northeast and head downhill, where you should spot the Train Station in the distance. There’s moderate Geth resistance ahead, including three Geth Husks and two Geth Troopers, the former of which will chase you uphill while the latter are content to remain on the station platform.
Keep your distance, let the Husks come to you, pick them off, then indulge the Geth Troopers in the firefight they want. When your enemies are dead, cross the bridge at the top of the hill and loot a Malfunctioning Object, then turn right (east) to find a locked shelter. Loot a Crate outside, then save your game and unlock the shelter (Easy Decryption).
Once the door is open a “farmer” named Cole and his friends will surrender to you. Start things out by saying ”It’s safe.” for Paragon +2, then respond however you wish and exhaust their dialog options - none of the other choices are really consequential until you go to end the conversation. When you go to leave, one of the “farmers” will mention some contraband, which will allow you to investigate further.
Pressure Cole however you wish and eventually you’ll stumble across your first Charm and Intimidate checks of the game. If you haven’t assigned ranks into either of these talents, Cole will give you a Stinger II pistol and that’ll be that. If you have one rank in either and you pick the corresponding Charm or Intimidate option (blue text or red text, respectively) you’ll also be given a Combat Sensor I mod (you’ll also gain Renegade +2 for the Intimidate option, but oddly enough, nothing for the Charm option). After that you’ll get to make another Charm/Intimidate check to learn the name of Cole’s smuggler contact; if you have two ranks in Charm or Intimidate, you’ll be able to get this information out of Cole, too, which will come in handy shortly. The second Charm/Intimidate option will give you Paragon +2 or Renegade +2, respectively.
| Paragon/Renegade |
|---|
| Paragon +2 |
| Renegade +2 |
| Paragon +2 or Renegade +2 |
| Charm/Intimidate |
|---|
| If you have 1 rank in either Charm or Intimidate, you can convince Cole to give you a Combat Sensor I. |
| If you have 2 ranks in either Charm or Intimidate, you can get Cole to give up Powell as his smuggling contact. |
Enter the shelter Cole and his fellows were hiding in to find a locked Storage Locker, which requires you to be able to attempt an [Easy] Electronics check to bypass. This in turn requires Decryption rank 4, which Kaiden can manage if you’ve been frugal.
Loot the Storage Locker if you can, then head down to the train platform and investigate Nihlus’s body, only to be interrupted by something stirring behind some crates. Powell will pop up from behind some crates and nearly get shot before initiating dialogue, filling you in on what transpired with Nihlus. If you found out from Cole that Powell is his contact at the Spaceport, you can pick the option ”Cole mentioned you.” followed by ”Smuggle any weapons?” and he’ll hand over some grenades. After that if you have two ranks in Charm/Intimidate you can pick the corresponding Charm/Intimidate option to strongarm a High Explosive I mod from Powell.
| Paragon/Renegade |
|---|
| Paragon +2 or Renegade +2 |
| Charm/Intimidate |
|---|
| If you have 2 ranks in either Charm or Intimidate, you can get Powell to give you the experimental High Explosives I he was stealing. |
Deal with Powell however you wish, then loot a Medical Kit and an Upgrade Kit on the station platform (the latter is in fire) before turning north towards the cargo lifts.
Guarding the lifts you’ll find numerous Geth Troopers and a Geth Destroyer, the latter of which is a massive, unsubtle enemy who will likely charge down the lifts at you. Board the lifts, keep an eye out for this brute, lay down some fire on him to bait him into charging (be wary of the powerful missile it can fire!), then retreat so you can dispatch the Destroyer without remaining under fire from the Geth Troopers. Biotics like Lift are invaluable debuffs that can all but neutralize troublesome foes like this Destroyer with a single use.
Once the Destroyer is neutralized, you’ll just need to engage in a slow, fighting advance up the lifts. There’s plenty of cover and your foes aren’t dynamic, so patience and persistence will see you through to the end of the lifts, where you’ll find some “Train Controls” that’ll take you on to the next area. Pick up the Medical Kit on the lifts, then use the Train Controls to press forward.
Eden Prime: Spaceport
After you depart you’ll get a scene with Saren, which will set the tone for the area ahead. Sure enough, Saren and his Geth are planning to blow up the Spaceport, giving you 5:00 to seek out the four bombs and disarm them. Not so difficult, although the Geth lurking around complicate matters somewhat.
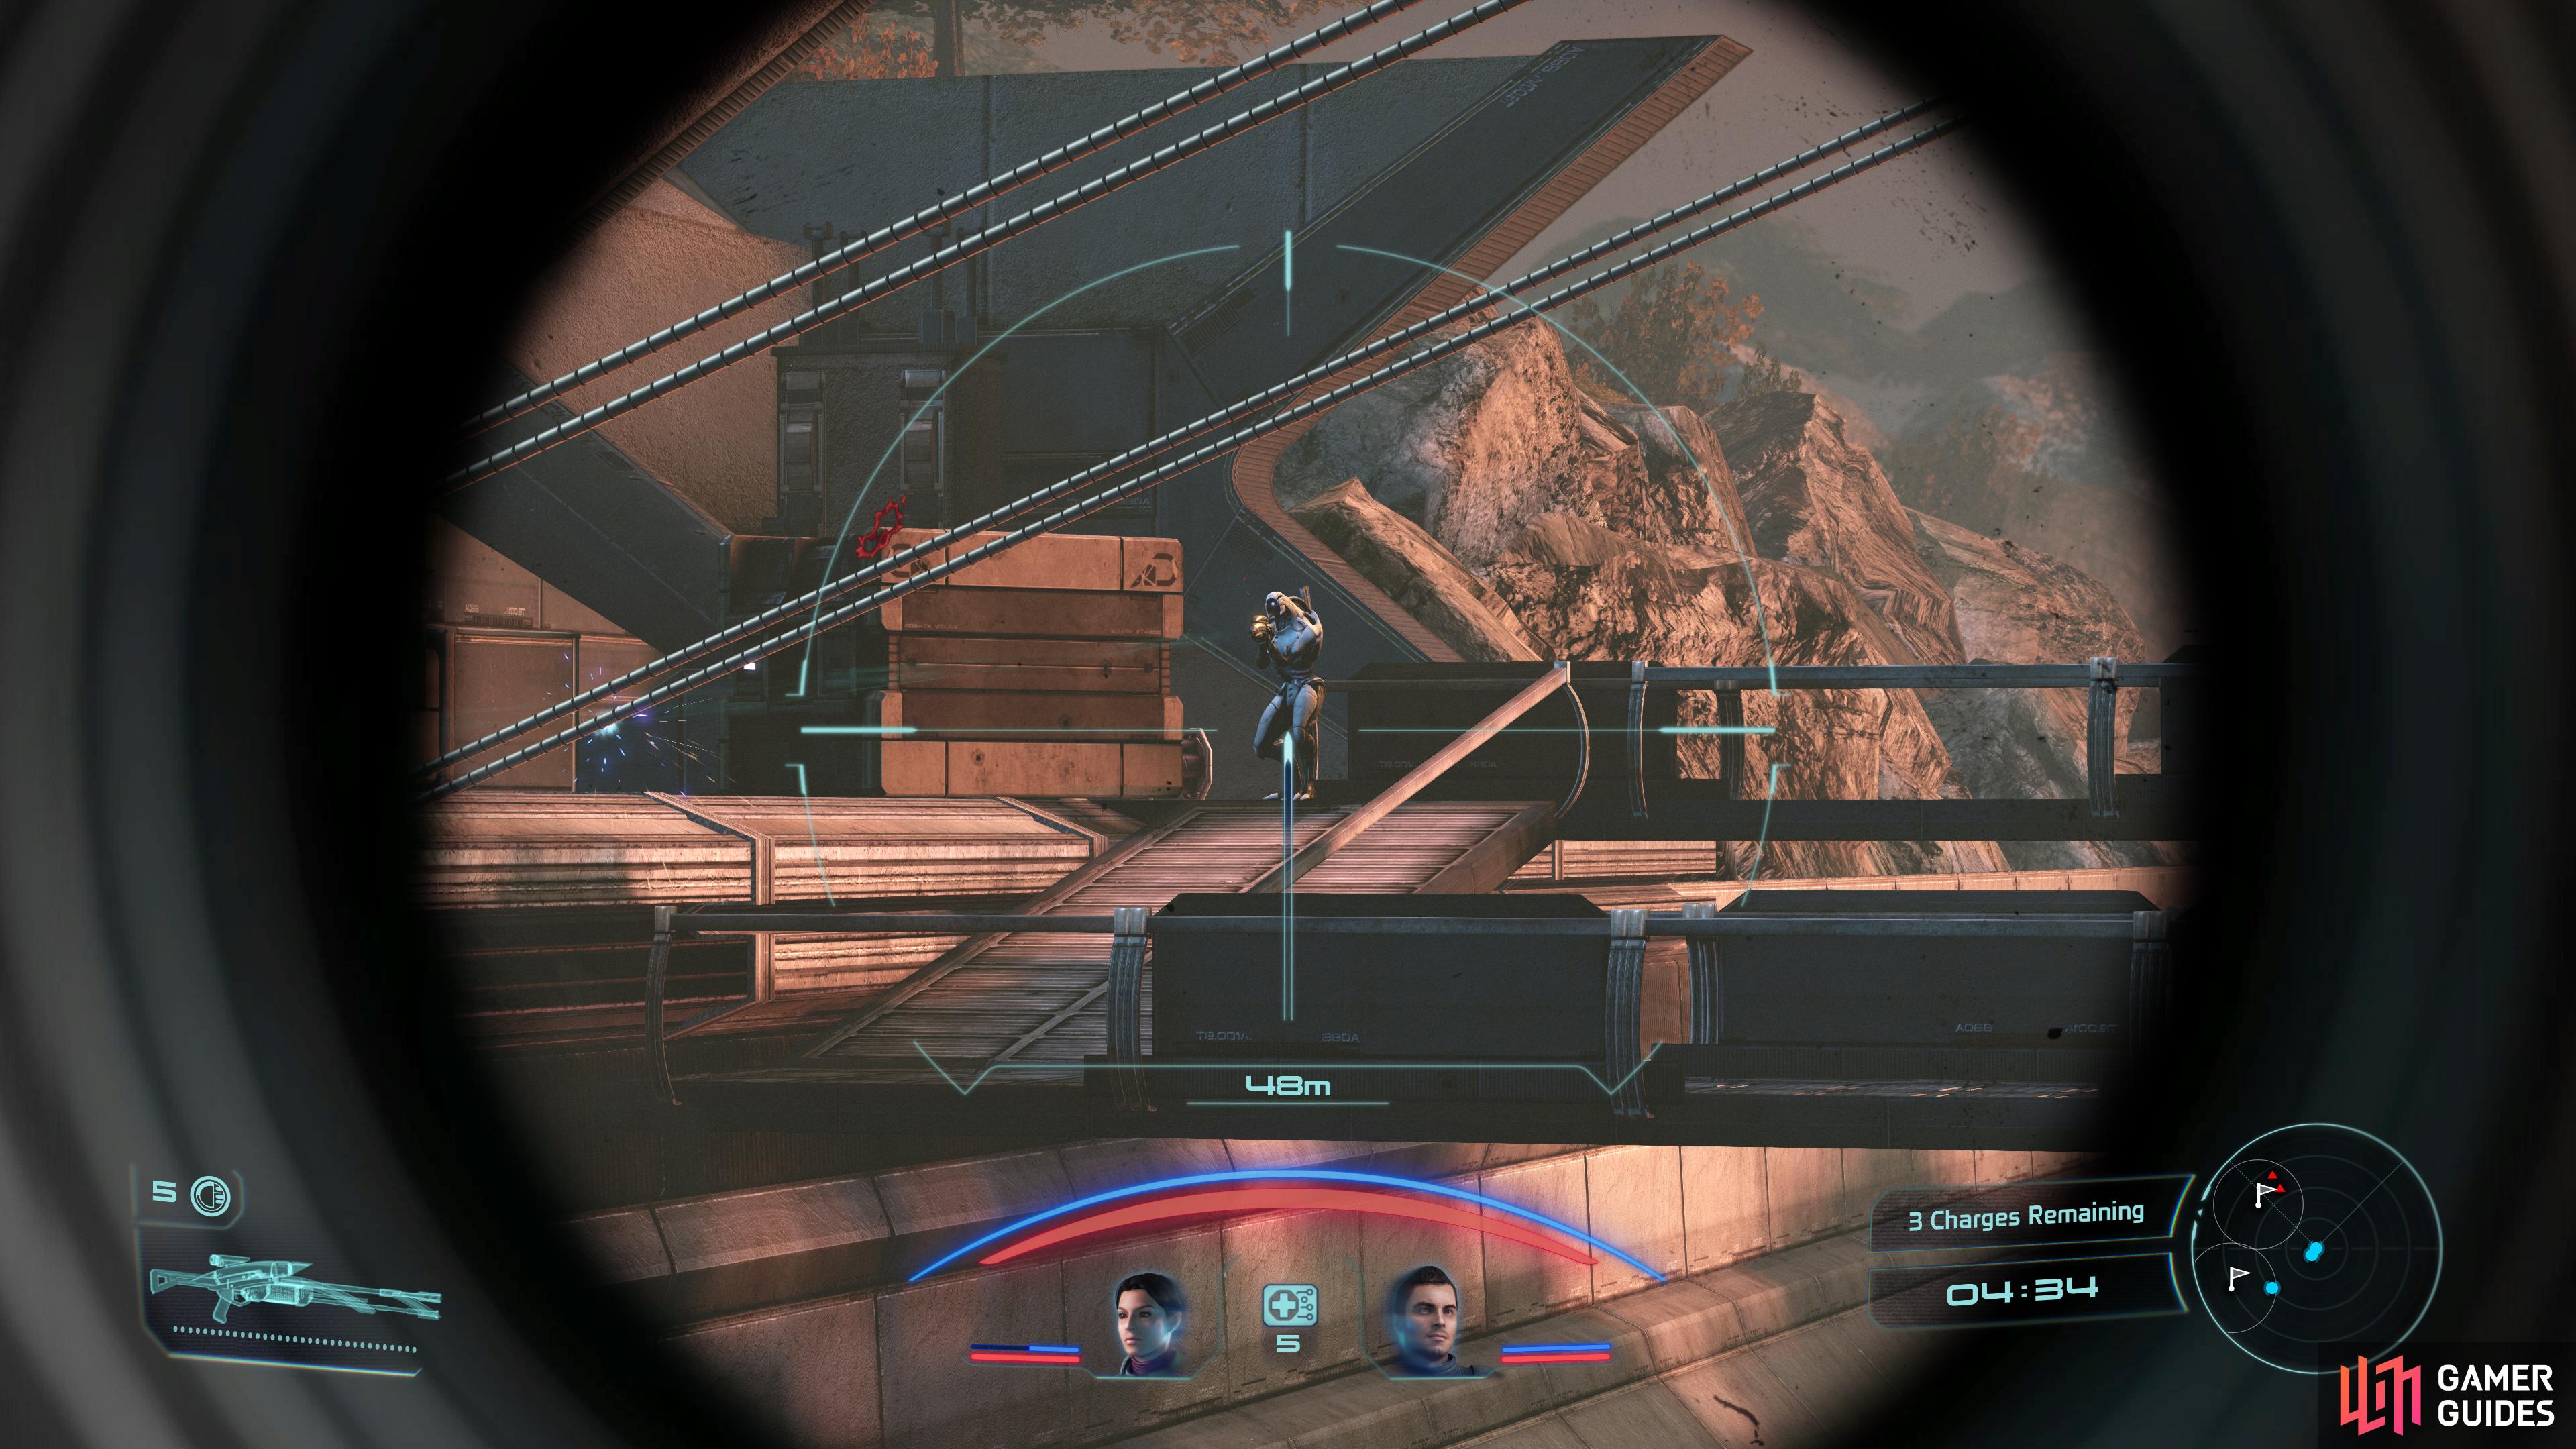
From the lift, exit onto the nearby platform where you’ll find a bomb. Disarm it after your companions stop stating the obvious, then head up some ramps, whereupon the path will split. You can either head across a bridge to the west to reach the opposite side of the Spaceport, where the final three bombs remain, or you can continue north to reach a far (northern) bridge. Either way is viable, and in either case the sniper rifle will prove invaluable here - especially now that its accuracy is much improved.
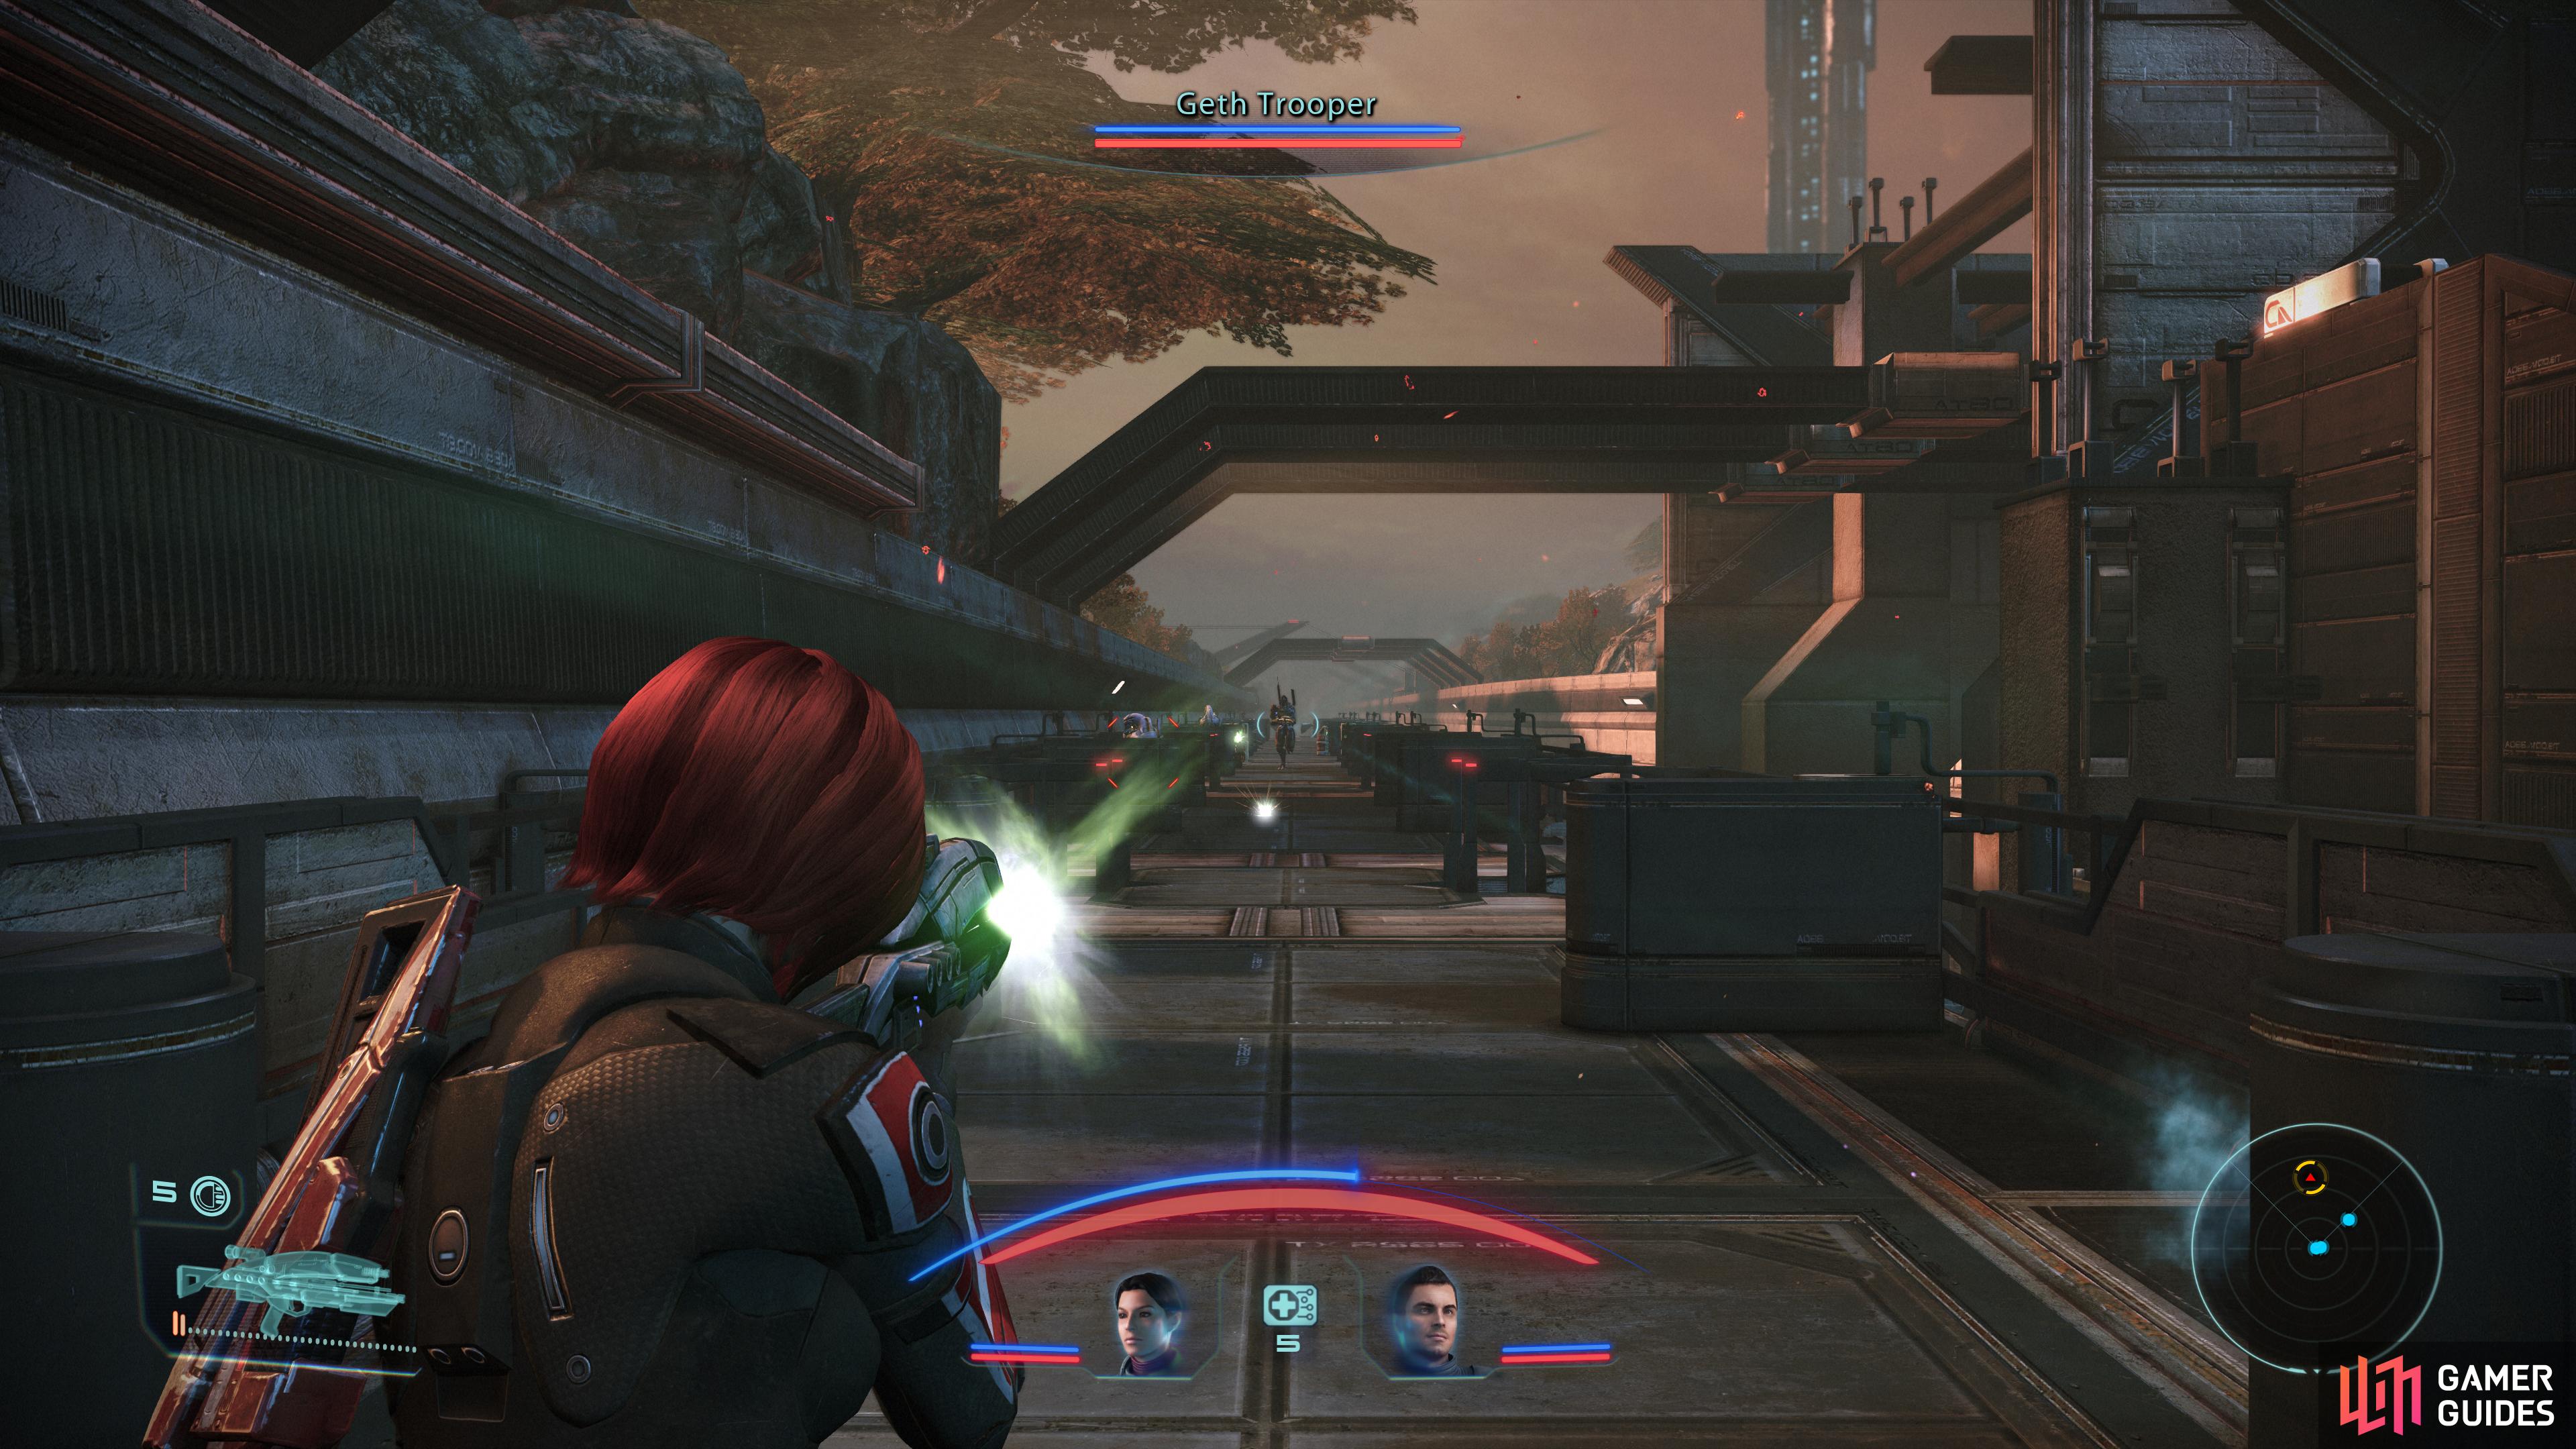
There are three Geth Troopers and a Geth Sniper across the northern bridge and two Geth Troopers across the southern one. Thin their numbers out before you cross, then advance and waste the survivors, sparing none of your abilities.
When the Geth are destroyed, disarm the remaining three bombs - there are two more or less across each bridge and one in between those two. After the last bomb is defused, loot a Crate across the northern bridge, then continue west and down a ramp to reach the platform where the Prothean Beacon has been moved.
More foes await you here in the form of several Husks and two more Geth Troopers. Pick off the Troopers while waiting for the Husks, or just wait for the Husks to advance to your position and shoot them down when they arrive.
Dispatch your enemies, then note - but stay away from - the Prothean Beacon. The mission will end when you approach it, and there’s some looting to be done. To the south of the ramp you descended to reach this platform you’ll find a Storage Locker [Easy] and across a bridge further south you’ll find another Storage Locker [Easy]. Just south of the Prothean Beacon you’ll find a Crate, and finally across a bridge to the north you’ll find a Technician Kit.
When you’ve grabbed all the loot lying around, approach the Prothean Beacon to trigger some scenes and end the mission. You’ll wake up some time later on the Normandy. For botching the mission on Eden Prime you’ll earn the Distinguished Service Medal achievement.


No Comments