
The Sabotage mission is one of the last missions in the Ryujin Faction storyline in Starfield. Masako will have you commit some corporate espionage for your last assignment which involves breaking into Ryujin’s competitors, Infinity LTD to obtain some evidence of their crimes as well as wipe their data on Project Dominion. Read below to find out the best way to complete your assignment.
One of the last Ryujin Faction mission requires you to infiltrate Infinity LTD.
Speak to Dalton
After turning in the last mission, ![]() The Key Ingredient, Masako will immediately give you a new mission, Sabotage. She will tell you to speak to Dalton who will confirm to you that Ularu is the mole. Even though Ularu is the mole, he wants everyone to believe it’s still Imogen for the time being, so it can be used against Ularu later on. It’s not particularly fair to Imogen, but she would understand it’s for the greater good. Your choices for this don’t matter, so share your feelings about the situation with Dalton if you want, and he’ll explain the reason for it shortly after.
The Key Ingredient, Masako will immediately give you a new mission, Sabotage. She will tell you to speak to Dalton who will confirm to you that Ularu is the mole. Even though Ularu is the mole, he wants everyone to believe it’s still Imogen for the time being, so it can be used against Ularu later on. It’s not particularly fair to Imogen, but she would understand it’s for the greater good. Your choices for this don’t matter, so share your feelings about the situation with Dalton if you want, and he’ll explain the reason for it shortly after.
Apparently, he wants you to upload a program in Infinity and Ularu is the one working on it, and he is sure that she will use this opportunity to incriminate Masako. For this reason, he asks you to bring the program to him before heading out on your mission, so he can tamper with it, and get the evidence against Ularu.
Dalton will agree with you that Ularu is the mole after spending time going through the Slate Imogen gave you.
Attend the Meeting
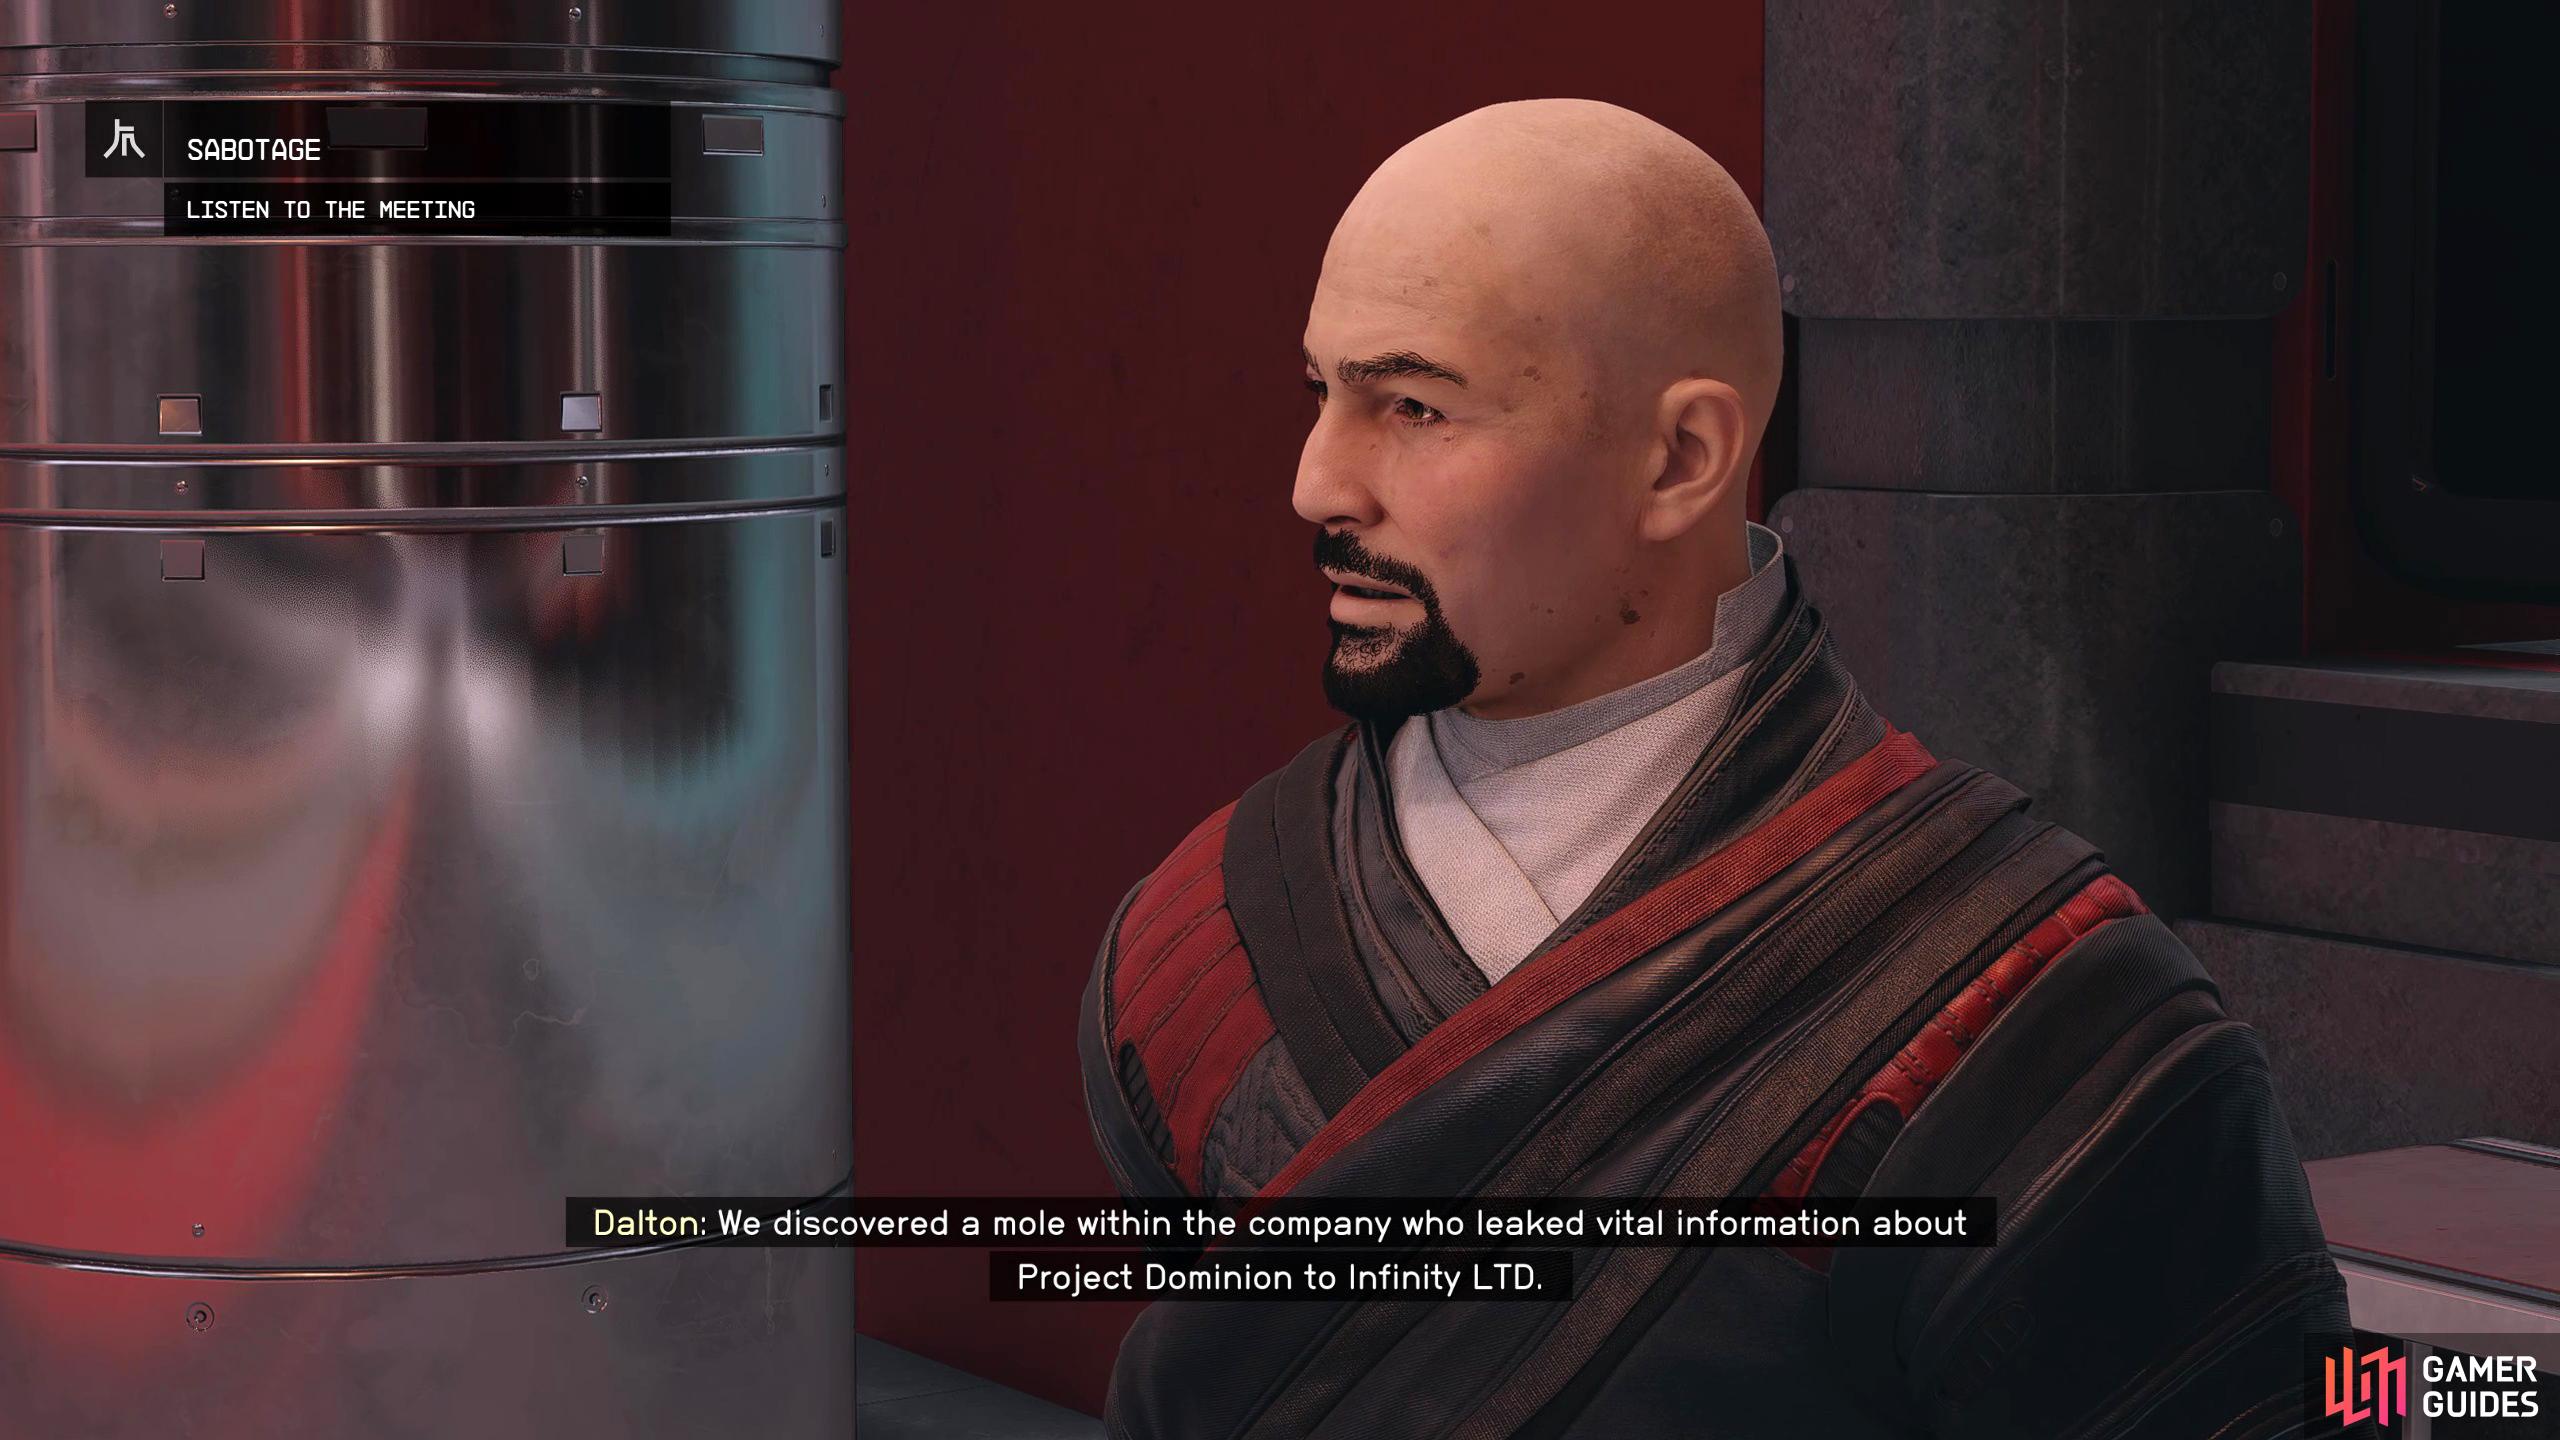
Exit the office, walk across the hall to the conference room, and take a seat. Dalton will tell the board members that they discovered the mole, and have dealt with them accordingly. You’ll get the chance to confirm that what Dalton said was true, so select any choice, and Ularu will throw the blame at Dalton in typical Ularu fashion; stick up for Dalton because why not? Linden will brush the matter aside, and ask how it’s hitting them financially, and Masako will tell them that Veena is completing the Internal Neuroamp Prototype as they speak and that you will receive the implant, and obtain the research from Infinity LTD.
Tell Alexis what you’ve found out about Infinity, that they committed botched human trials and murder for hire. Genevieve will suggest that you give the evidence to David at the SSNN (news network) as he’ll expose them to the public which keeps Ryujin’s hands clean. Shortly after that conversation, Veena will alert Masako and the team that the Neuroamp is ready. Once again, select any choice you want as it won’t have any repercussions, and head to the R&D floor to receive the implant.

Linden doesn’t appear to be too bothered with the office politics as long as it doesn’t impact the bottom line.
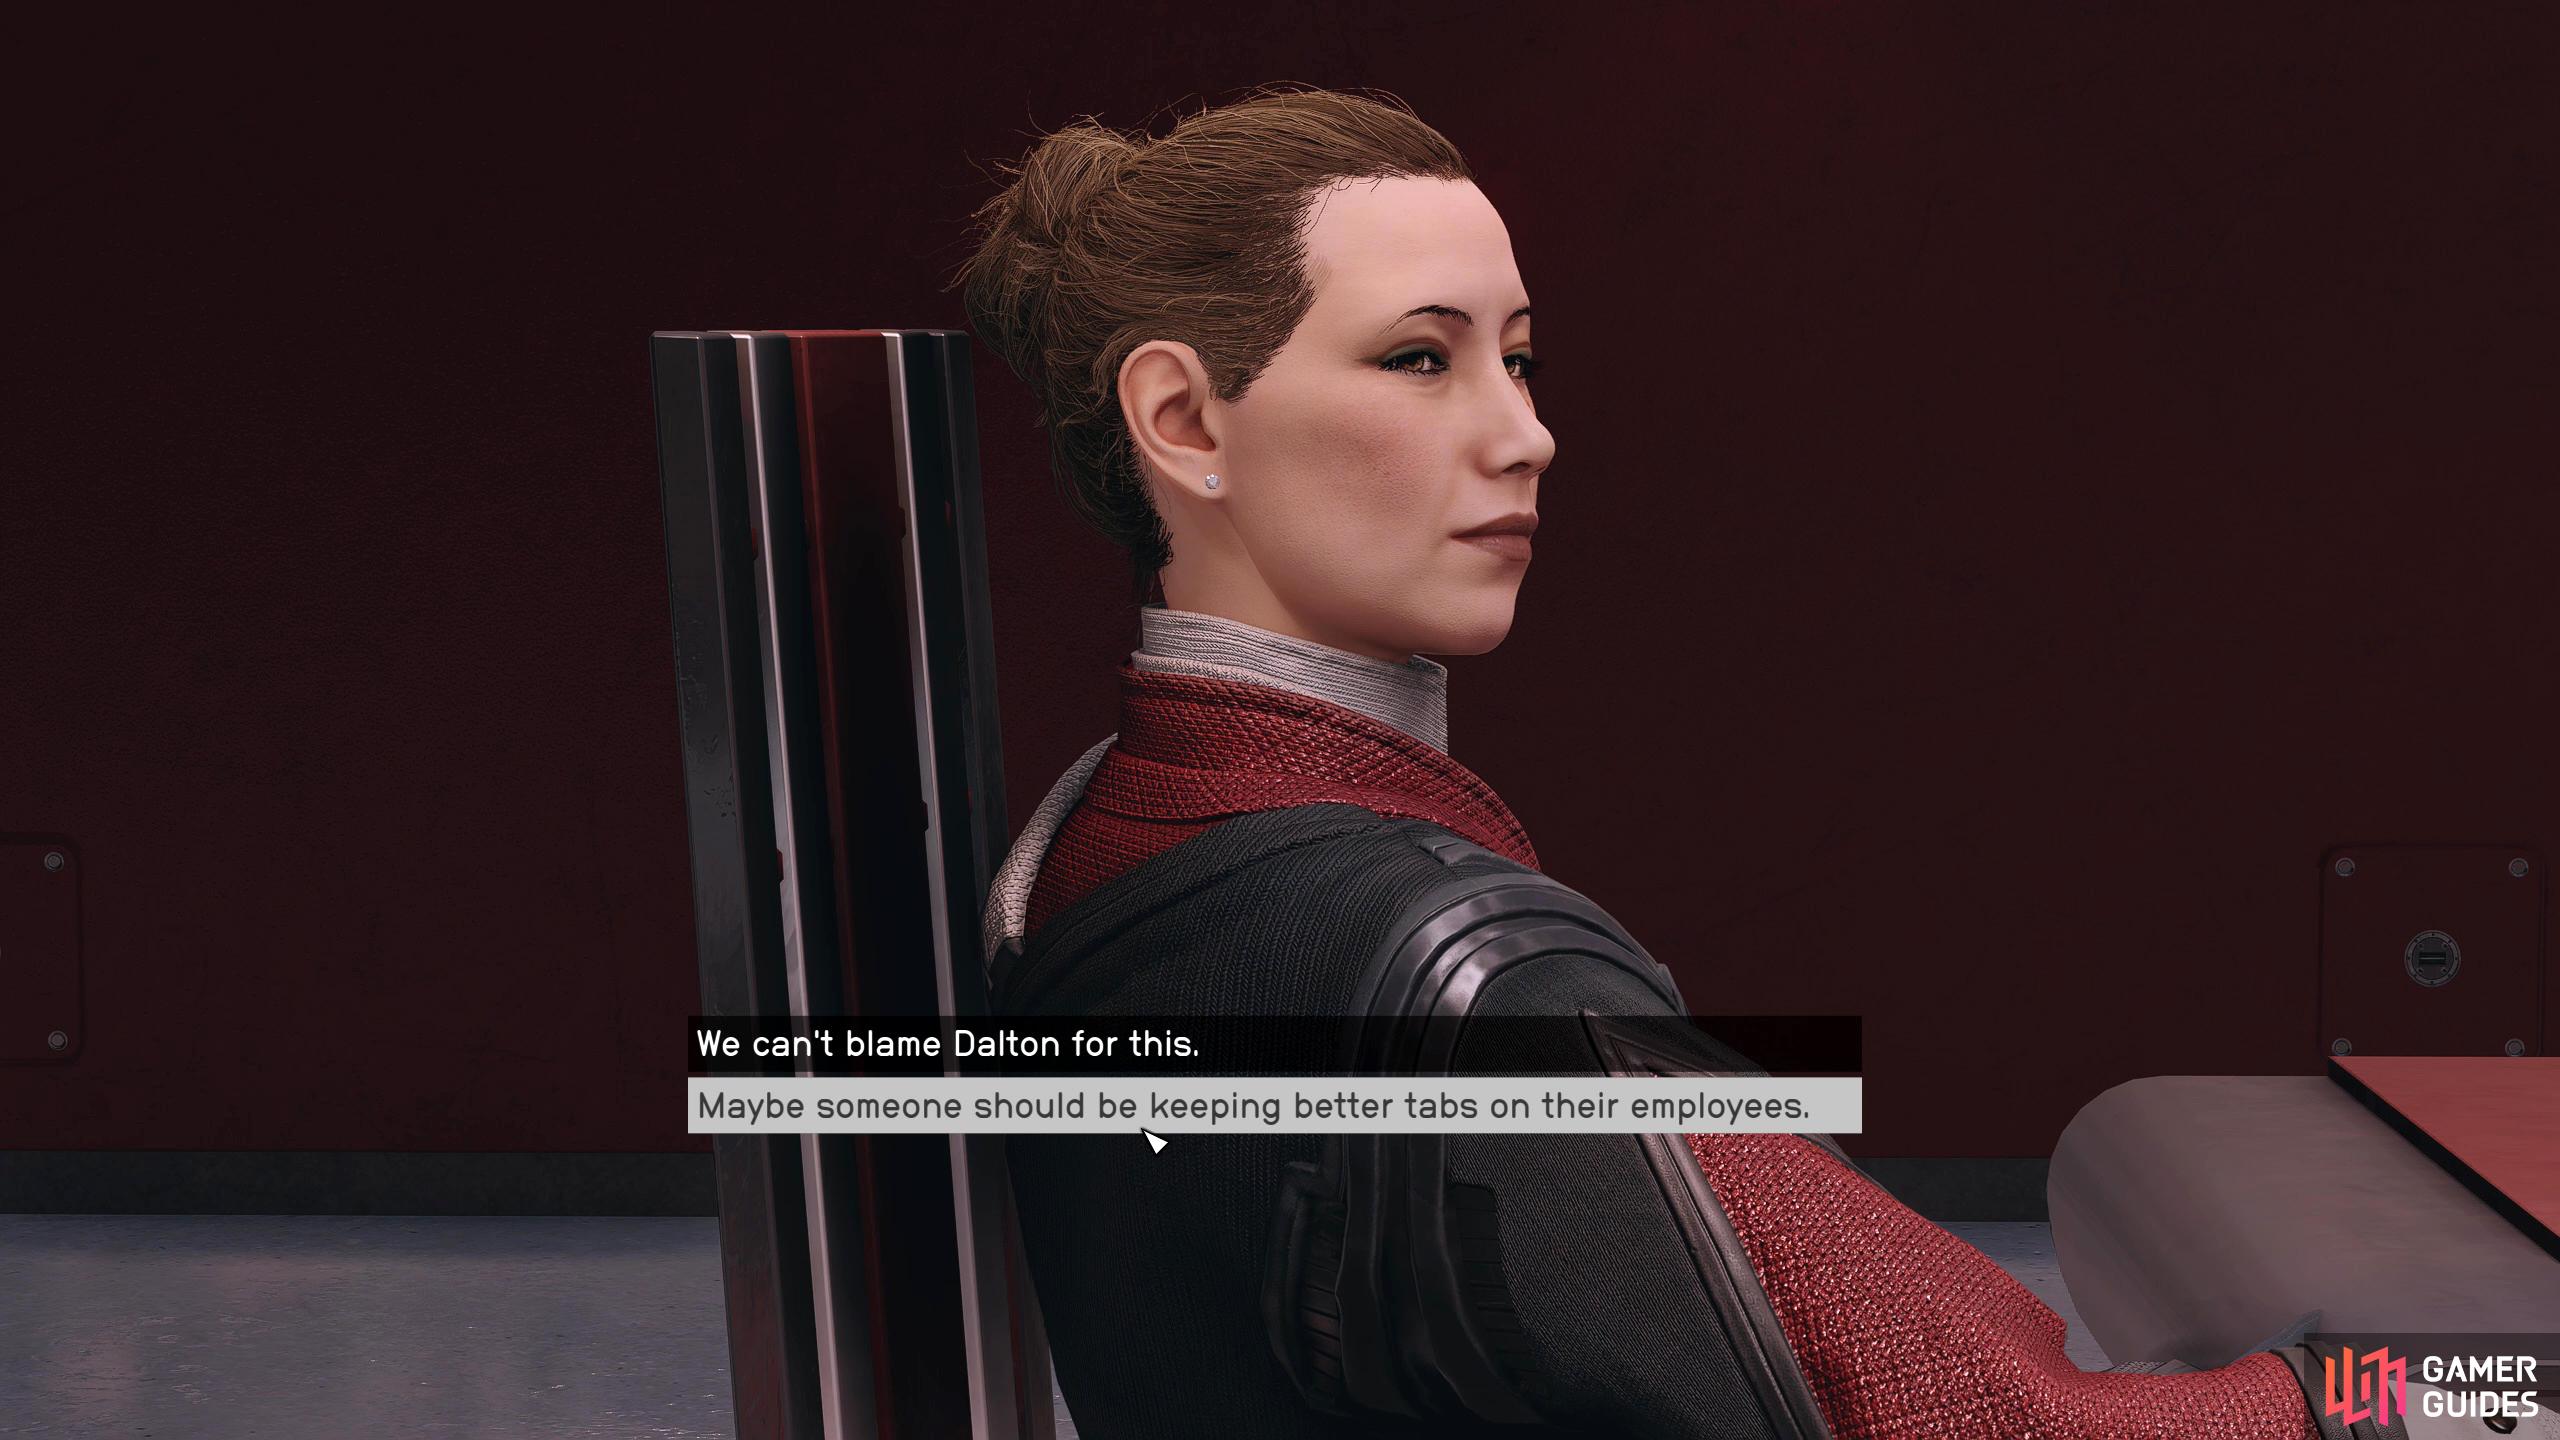
Ularu on the other hand is smug as ever as she tries to pin the blame on Dalton.
Use Manipulation on DeMarcus
Make your way to Veena, and lie down on the table to get your implant. This will permanently unlock the ![]() Manipulation skill which is a master rank Social skill. Using this skill on a person at, or below your level allows you to control them briefly which makes it super handy for your upcoming mission. When you come to, talk to Veena, and she’ll tell you that the surgery was successful, and it needs to be tested. Fortunately, her assistant DeMarcus has volunteered to be the guinea pig.
Manipulation skill which is a master rank Social skill. Using this skill on a person at, or below your level allows you to control them briefly which makes it super handy for your upcoming mission. When you come to, talk to Veena, and she’ll tell you that the surgery was successful, and it needs to be tested. Fortunately, her assistant DeMarcus has volunteered to be the guinea pig.
DeMarcus will be waiting on the observation deck, head out of the office, turn right, and go up the stairs. This will give you a quick tutorial on how to use the skill. Access your scanner with  , hover over the person you want to manipulate, and press
  to bring up your social skills then select them with . Now, select an object, in this case, the Keycard on the bench, and DeMarcus will pick it up. Manipulate him again, and have him interact with the door to open it.
Once Veena and DeMarcus are done talking, speak to Veena again, and answer any way you like as it won’t result in any change to the mission. You can talk to both of them about their thoughts on the Neuroamp if you like, but when you’re ready, head back to Masako in her office on the Executive’s floor.
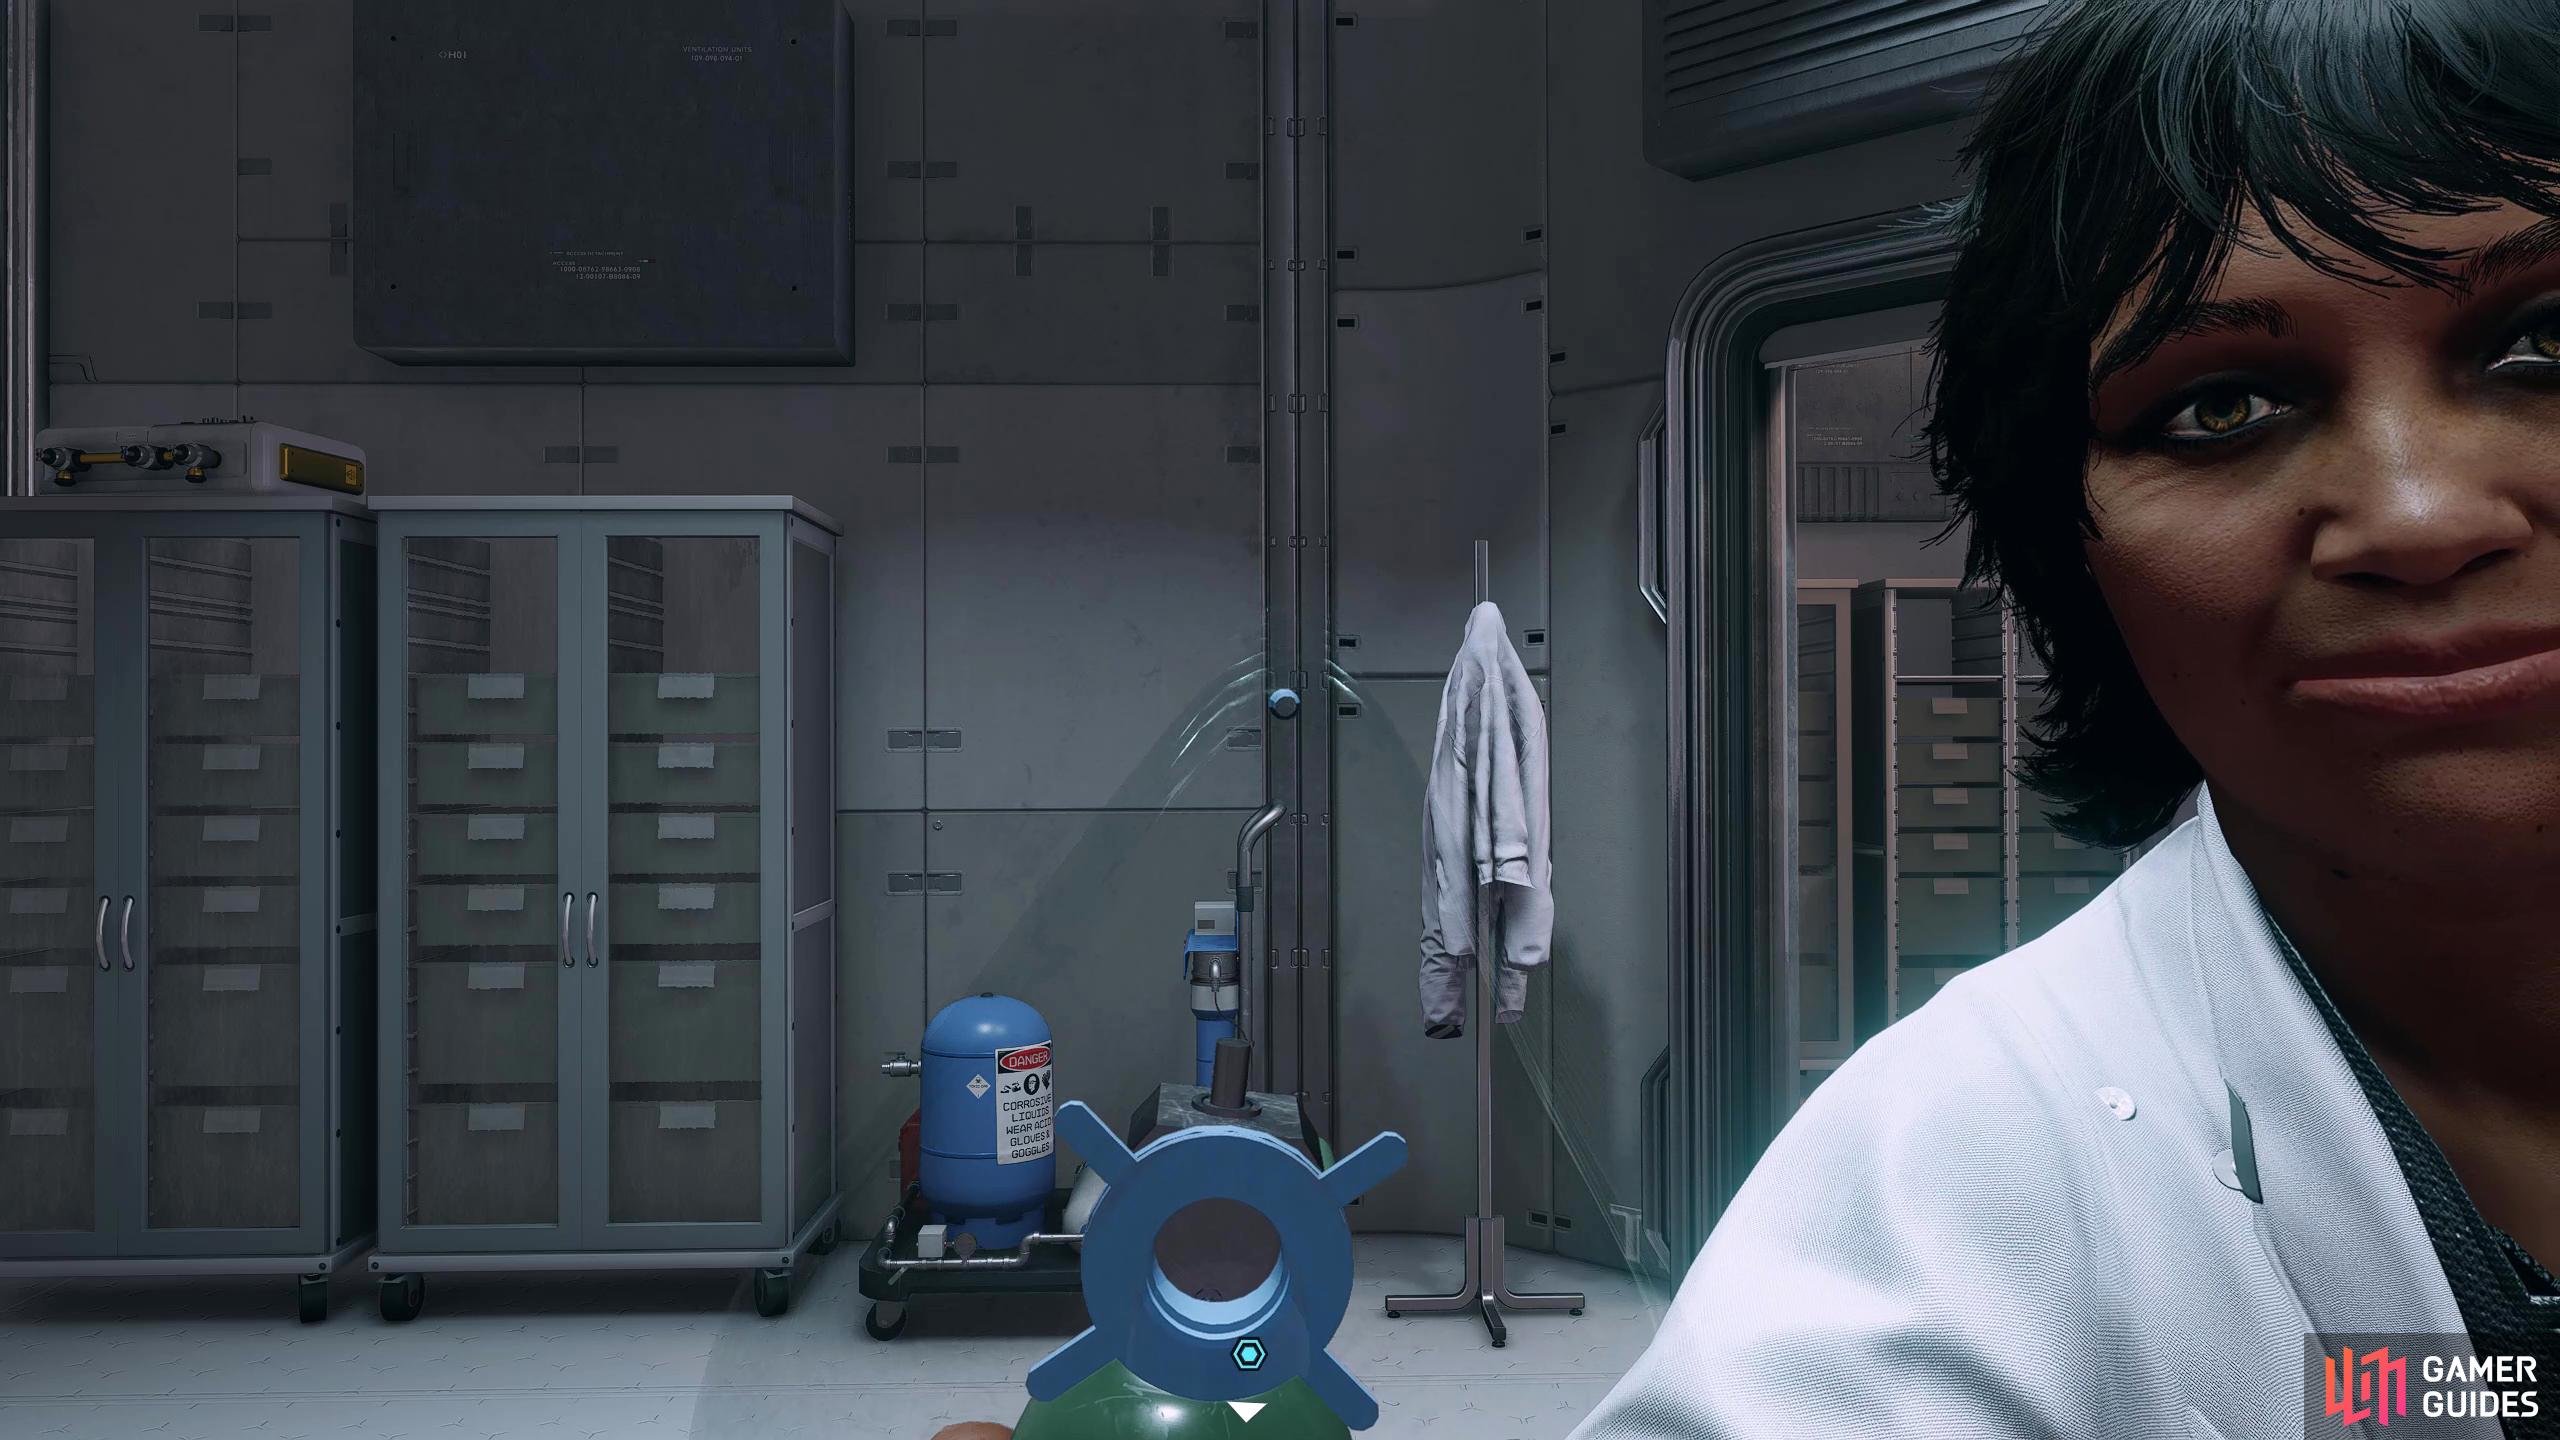
(1 of 3) Veena will put you to sleep, so she can perform the surgery for your Neuropump.
Talk to Masako
Masako will run through the mission with you, and you’ll have two options. Option A: Gain access through the maintenance access on the roof. Option B: Use a fake identity and go to the arranged meeting. We recommend the stealthy approach as it is more in your hands, but the AI can make this frustrating, so pick what you feel you’re best at. Note: Regardless of the option you choose, you can still run and gun through the entire place, and you’ll still complete the mission. It will make Ryujin disappointed with you, but it’s the last mission, who cares? You will still get the full rewards, so it doesn’t matter.
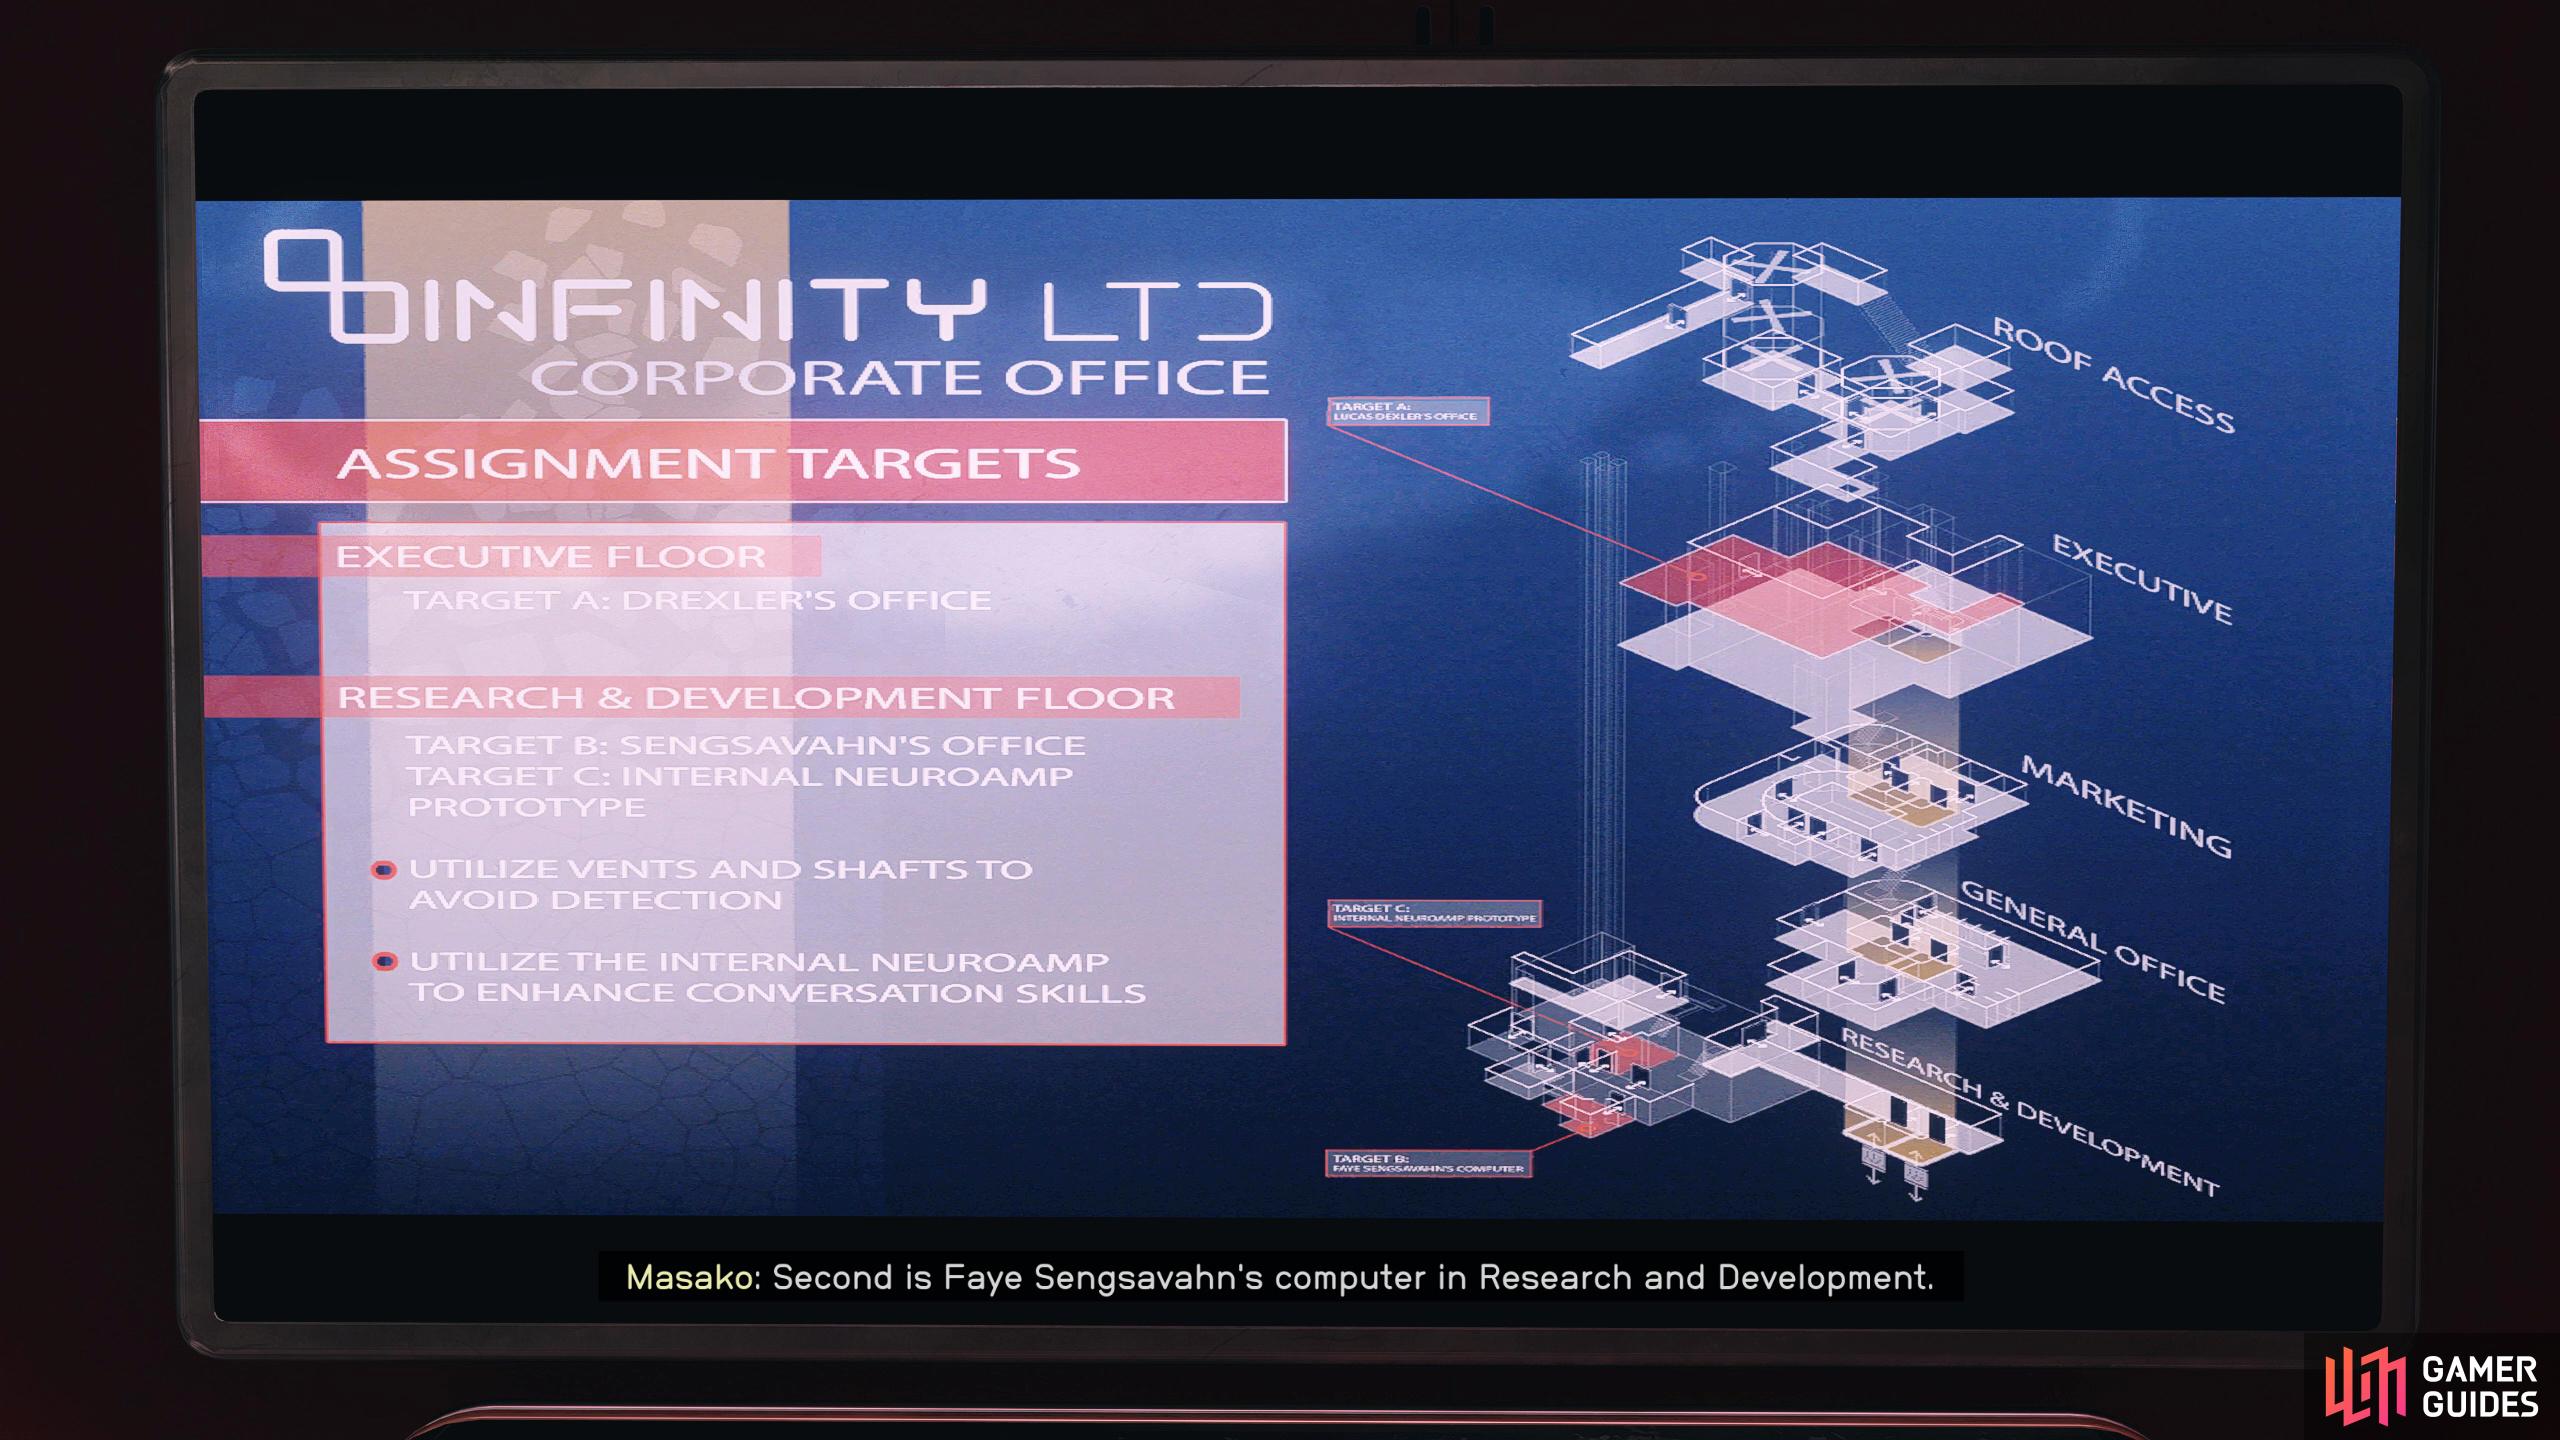
Once you’ve decided on your preferred method, Masako will explain that you have three targets for your mission. Target 1: Lucas Drexler’s computer is located on the Executive floor. Target 2: Faye Sengsavahn’s computer is located on the Research and Development floor. Target 3: Internal Neuroamp Prototype also located in Research and Development. Once the briefing is over, she will tell you that Ularu has a program that you’ll need to run on Lucas and Faye’s computers.
Apparently, this program will wipe the Project Dominion data, and extract the human trials, and murder for hire. In short, delete everything relating to Ryujin and the Neuroamp, and gather evidence against Infinity for David, at SSNN. As long as Ryujin controls the narrative, things should go smoothly, providing you do your job correctly.
Masako will give you the details for your assignment which involves infiltrating Infinity LTD.
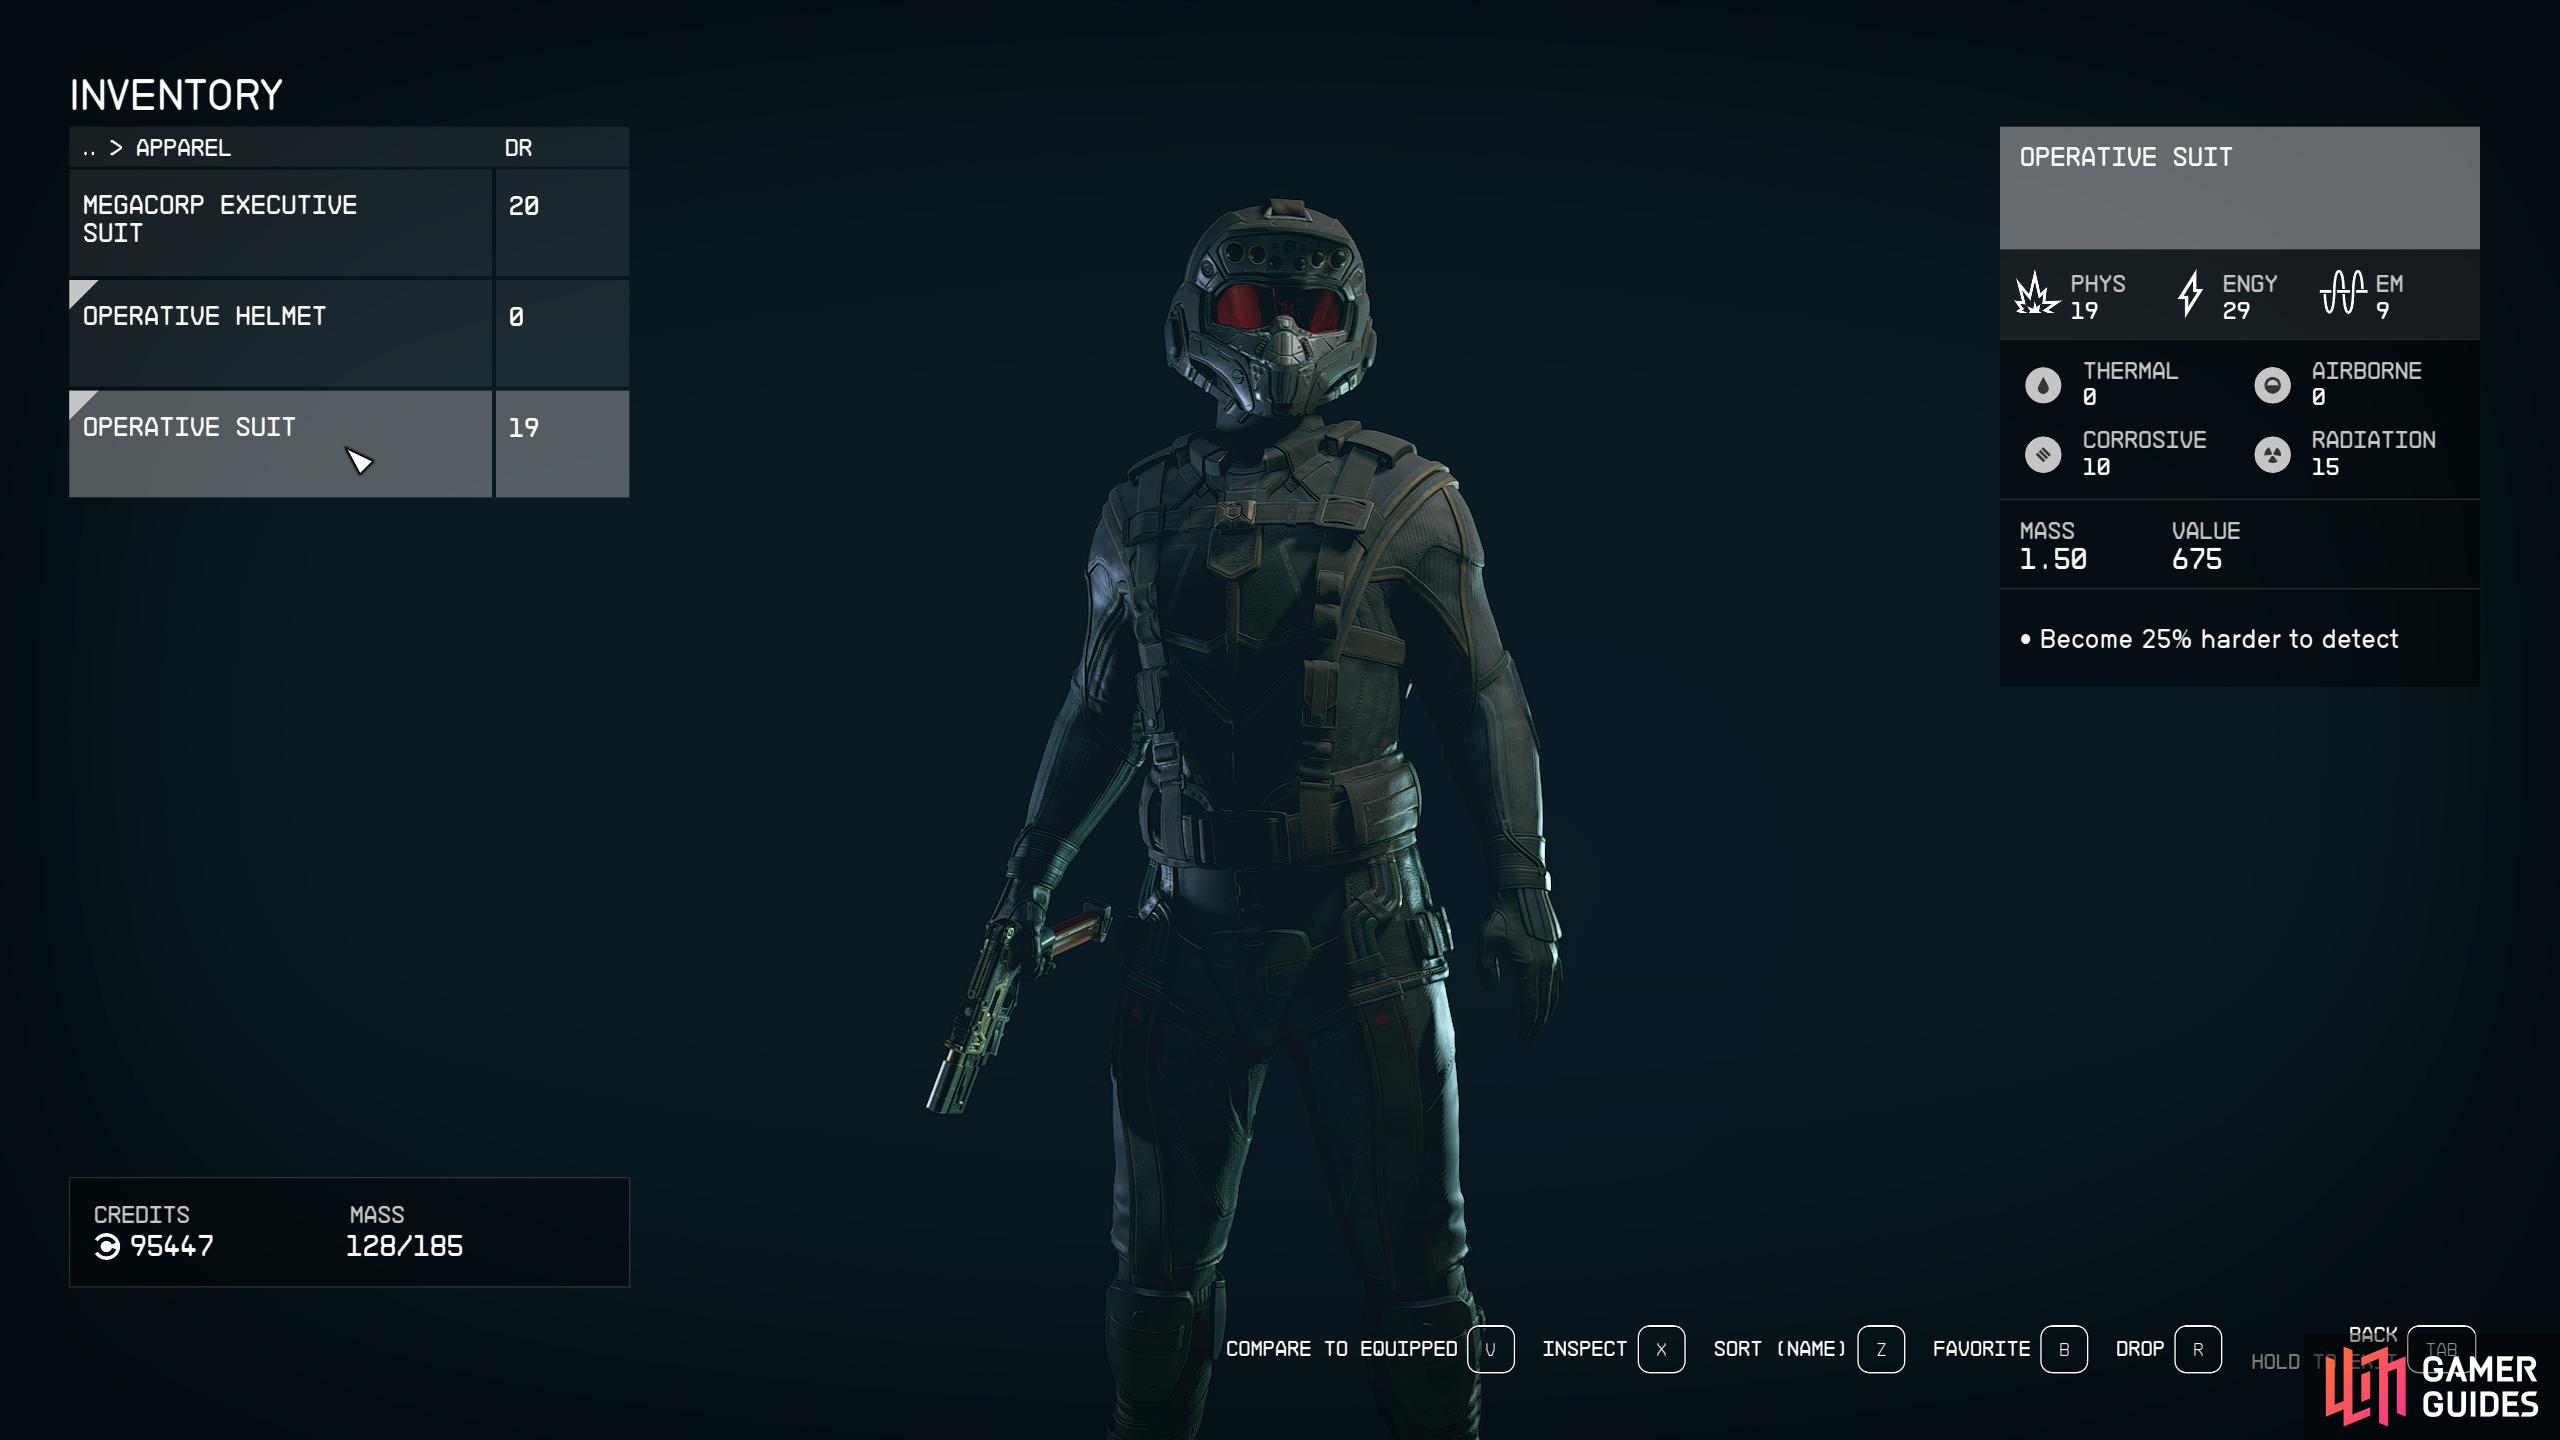
To help with this, Ularu will give you the Operative Suit which helps with sneaking around.
Ularu has a couple of suggestions on how you can make this easier, thus giving you a new objective. First is to leave your companion behind, as infiltration is best-done solo, and she’s not wrong, the companion AI sucks, so leave them behind. The second suggestion is to tamper with the heating system, thanks to Simon. This will evacuate all personnel aside from security which makes your life easier while you hide in the shadows.
Finally, they are giving you an Operation Suit which you can equip under the Apparel section. This is actually pretty good and will give you a 25% bonus for not being seen which is invaluable to this mission, and you get to keep it afterward. Your last part of the assignment is to meet David at SSNN in ![]() New Atlantis (Jemison) to hand over the data. When you’re ready, tell Masako you’re ready to go.
New Atlantis (Jemison) to hand over the data. When you’re ready, tell Masako you’re ready to go.
Talk to Dalton… Again
If you remember what Dalton said earlier about Ularu using this opportunity to frame Masako, let’s see if his theory is correct. Head back to Dalton, and hand over the slate. Although there is a choice here, they’re all the same with different flavors, so pick what you think is best. After a quick test, it appears he was right, there is some code that connects Masako and Lucas working together, sneaky. Dalton will do what he has to give you a tamper-free code and keep the rest to deal with Ularu later.
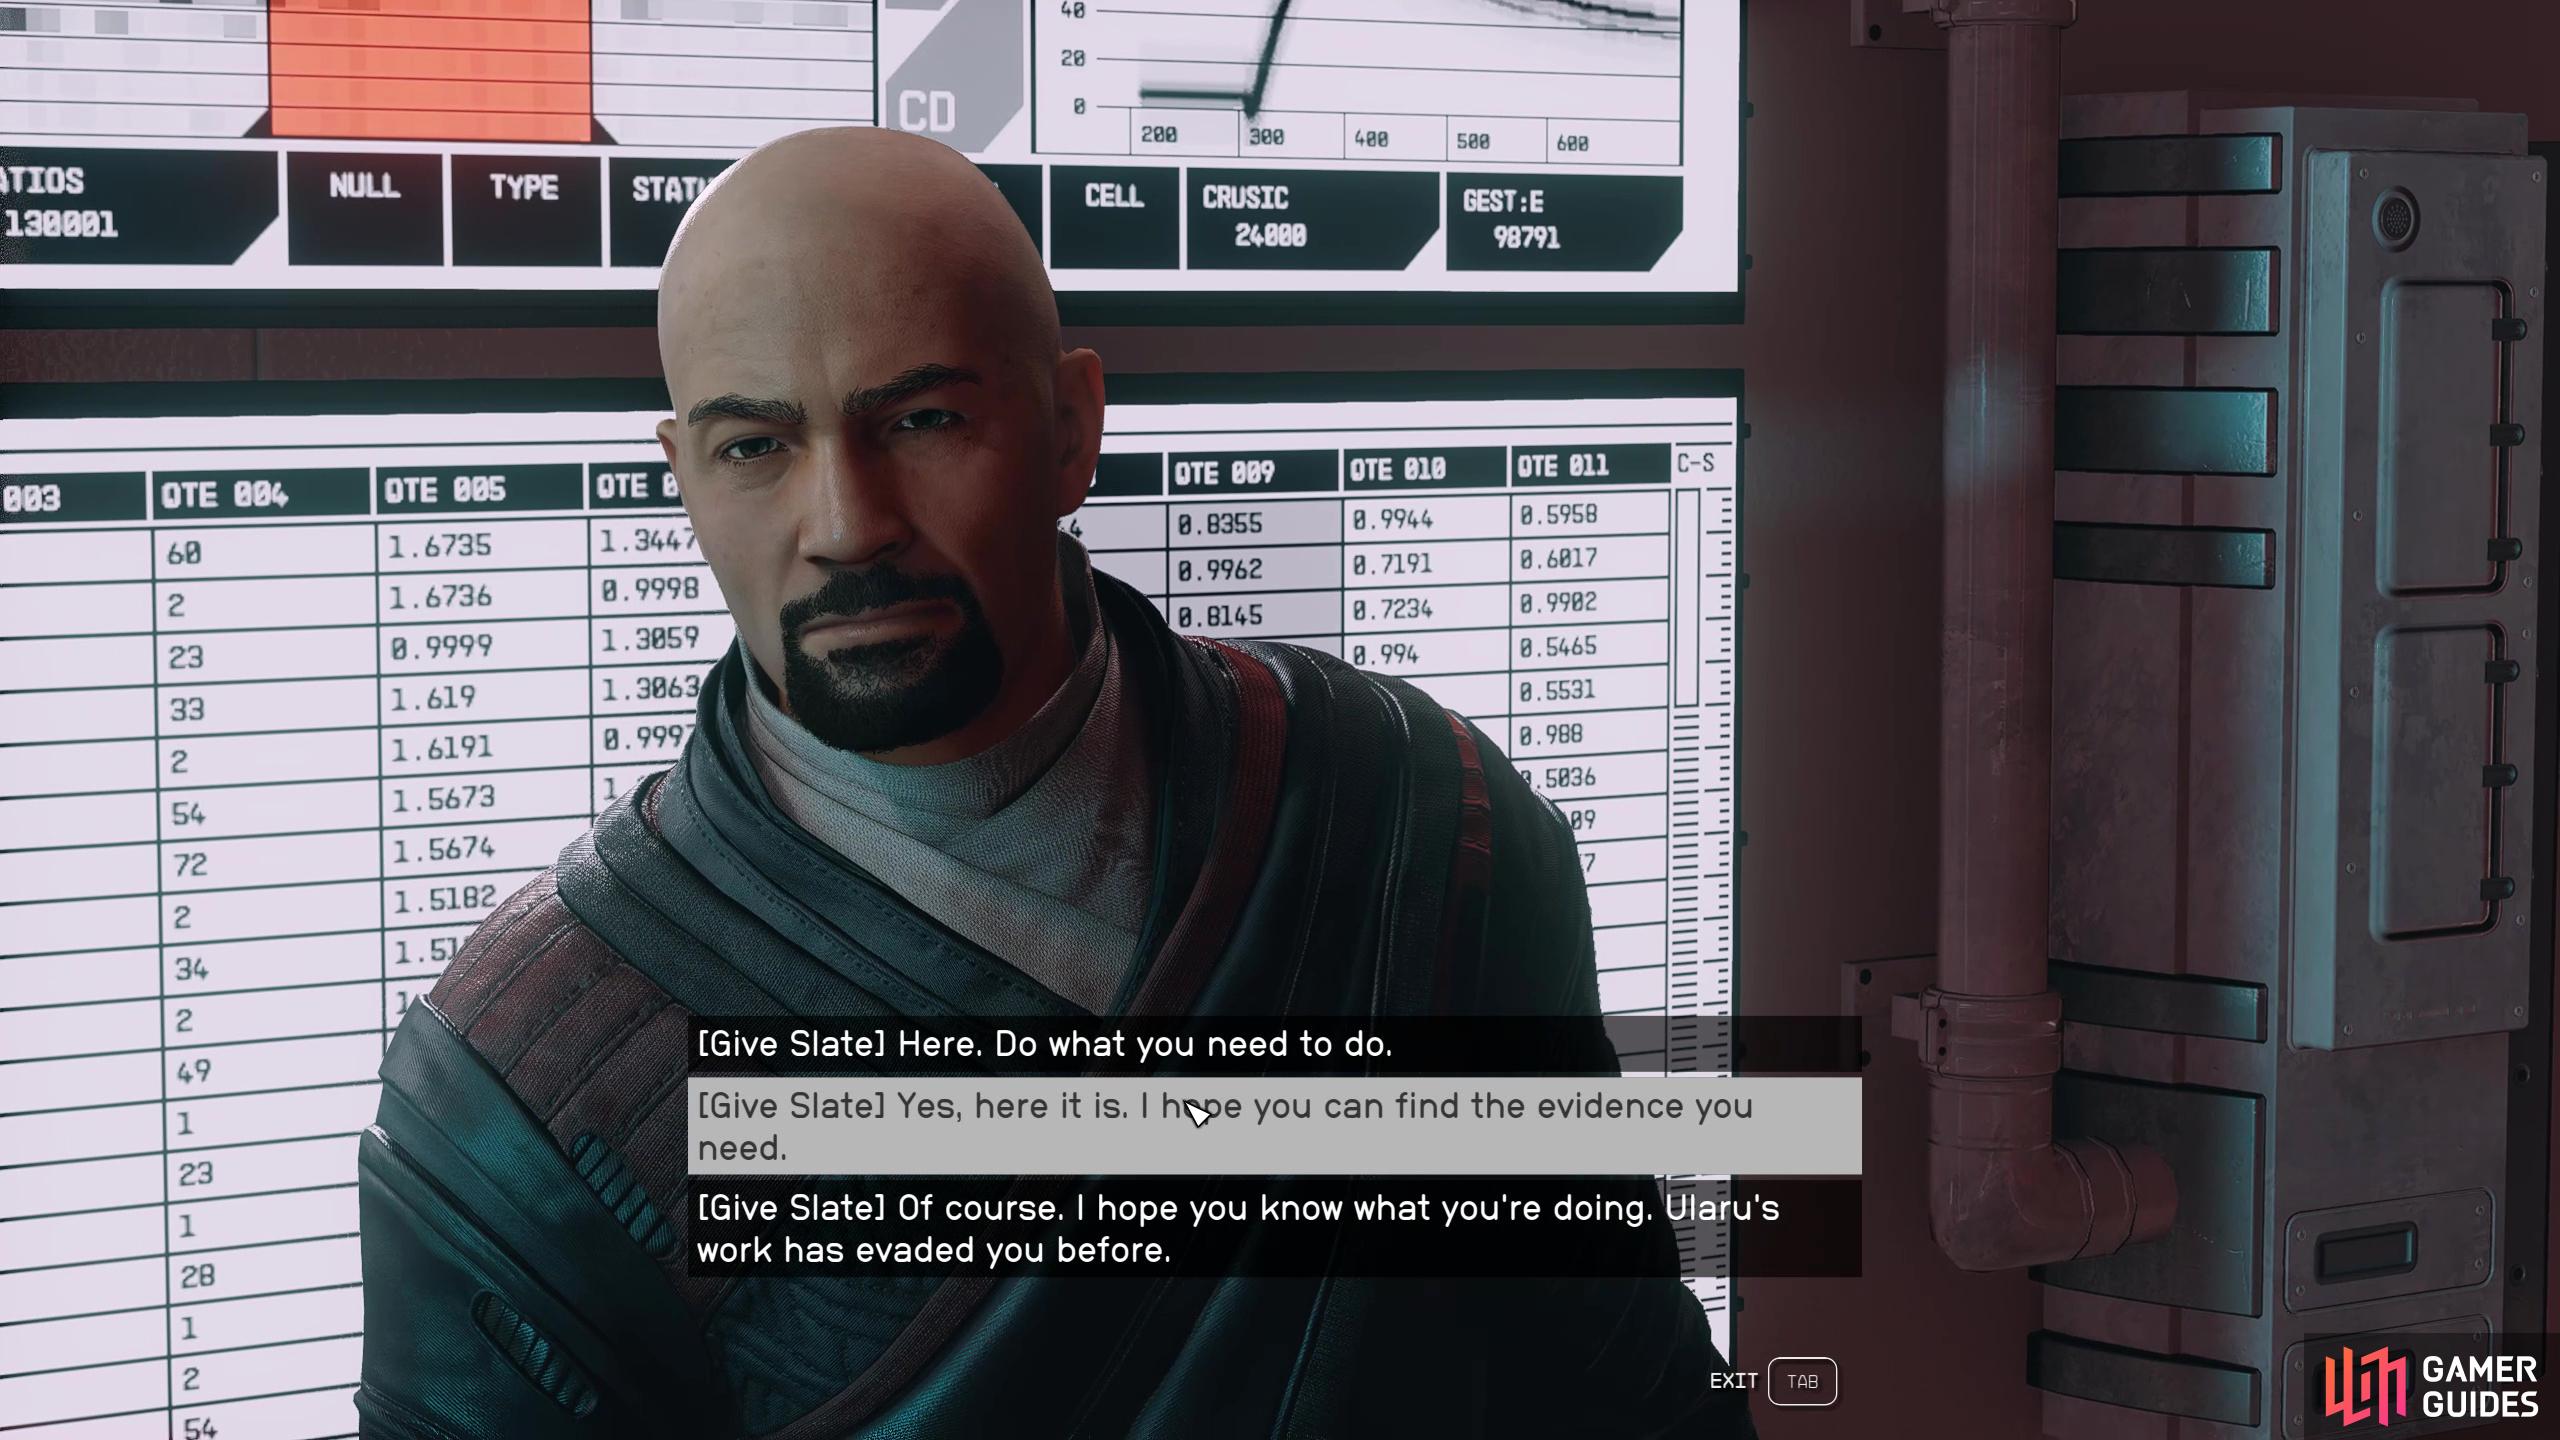
Dalton will find out that the program Ulara gave you has incriminating code against Masako.
Enter Infinity LTD
As we touched upon earlier, we recommend choosing the stealth route with Option A and going in via the roof access. This is because this feels like how the mission is intended to be completed. Although this feels like the best method, here are some other ways to complete it.
-
Run and Gun: Simply enter the building, pull out your shotgun, and go to town. You may be a psycho, but it is effective. Ryujin obviously won’t like this, but it is the last mission (excluding the board meeting), and you will still get the same rewards. Due to all the violence, this method will end up with more loot, and more XP from killing all the enemies and looting the offices.
-
Words speak louder than Actions: You could use Option B which is to use your fake identity. Talk to Desi at the reception, take the elevator up to the Marketing floor, and speak to Aelys Ortiz about your arranged meeting. When Aelys leaves, you can run around and do your job, but you’ll still have to be careful not to get caught on the other floors when completing your assignment, and with all the extra NPCs due to the heating system not being tampered with, it can be difficult, unless you run around the area ignoring security while you complete your tasks which is a valid tactic.
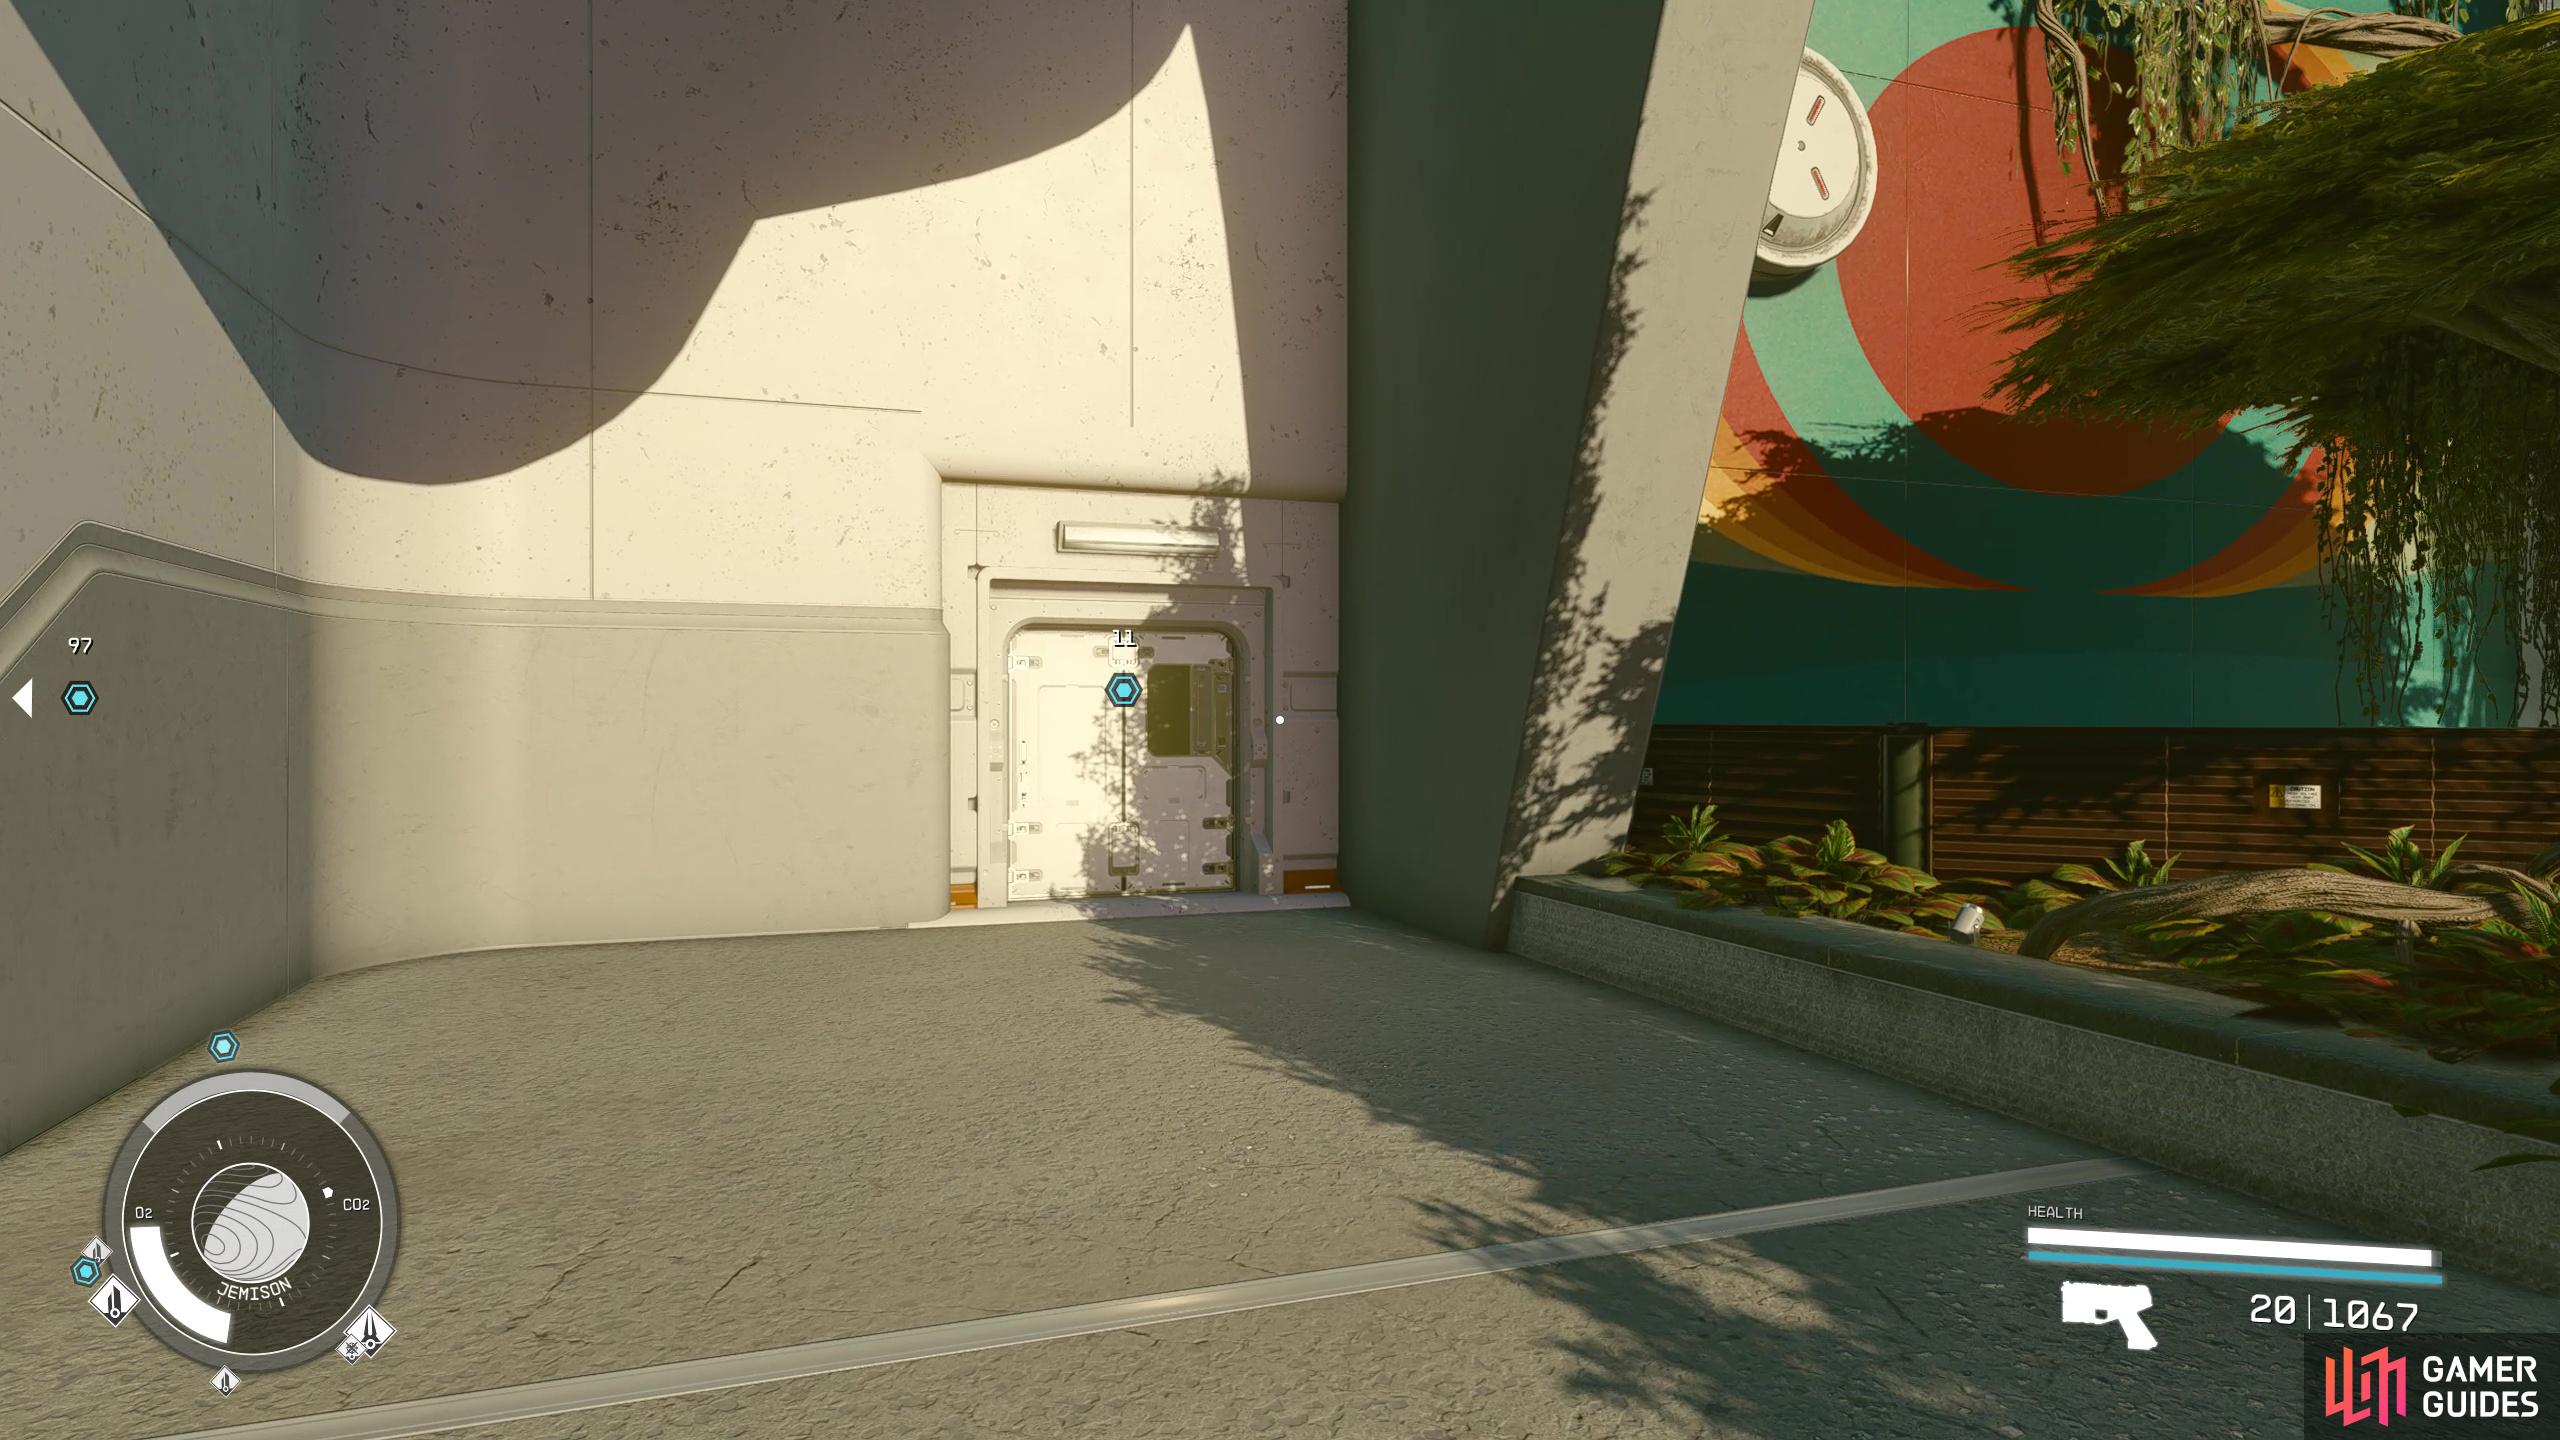
You can find the door to Infinity LTD’s roof to the right of the building.
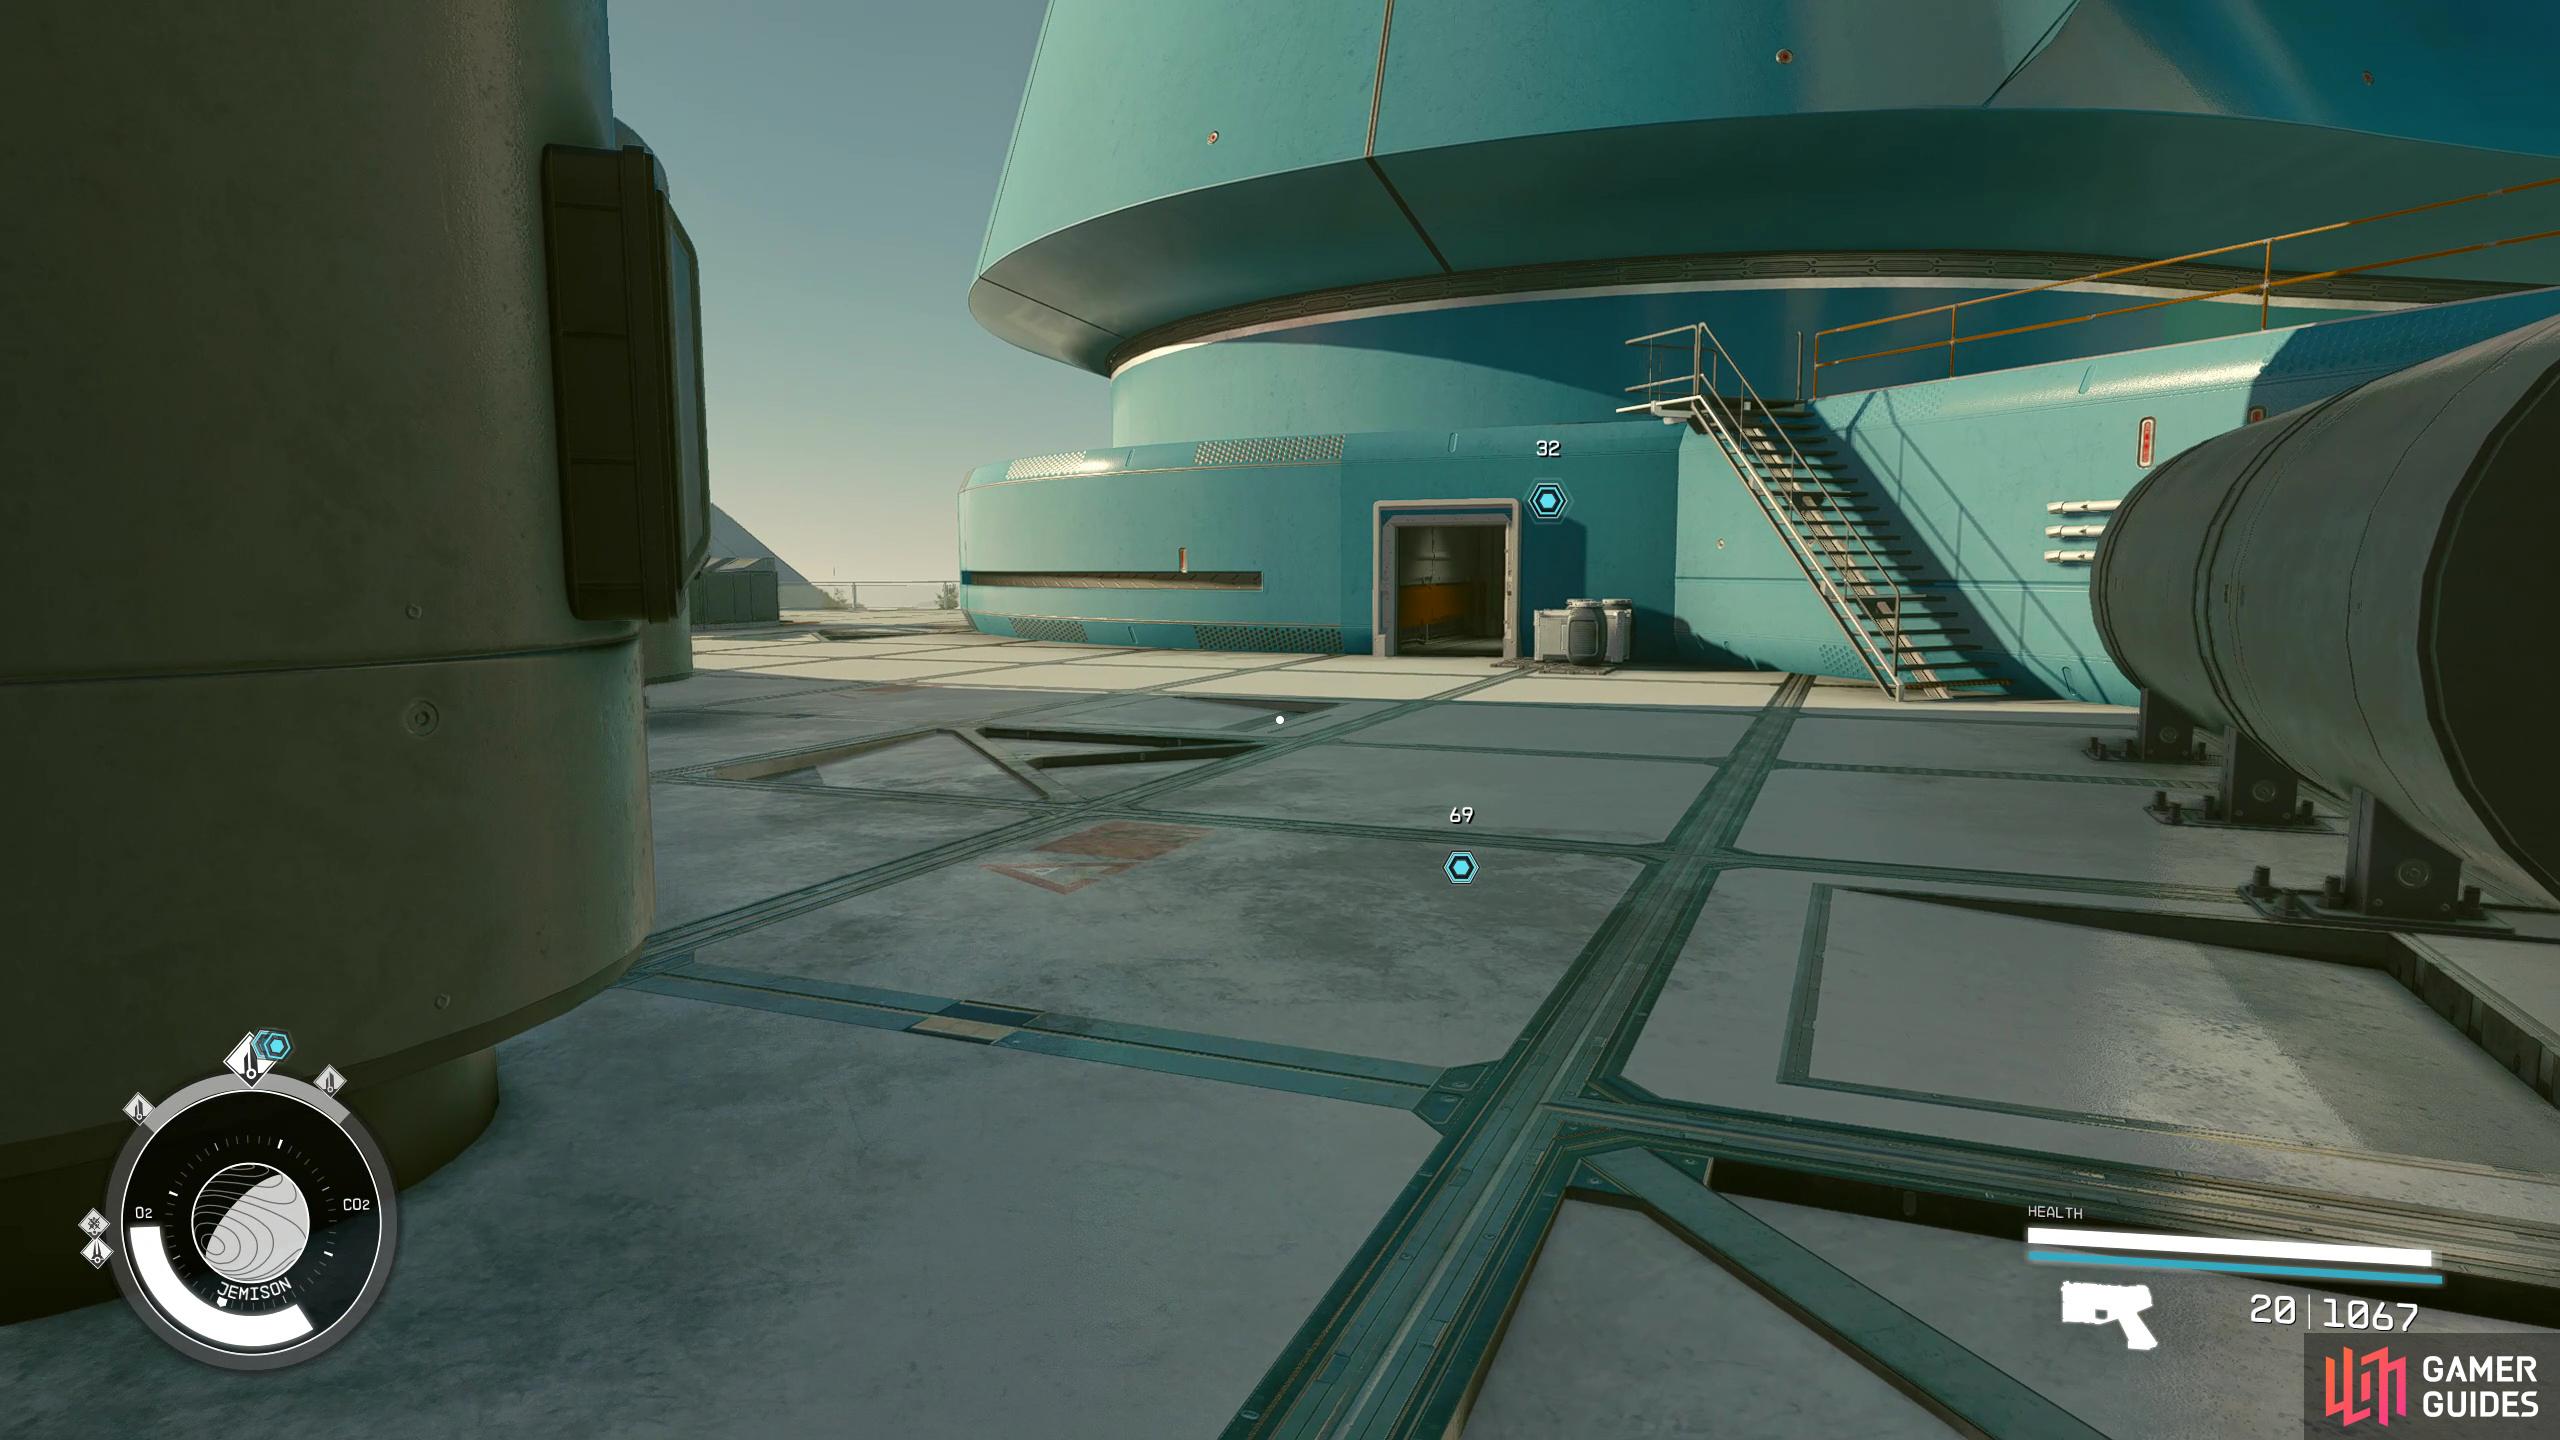
When you reach the roof, walk to the opposite side to enter the building.
Best Way to Infiltrate Infinity LTD
As we said earlier, we suggest you take Option A: The stealth route through the roof access as we believe the mission was intended to be completed this way, and it’s arguably more fun. I mean, who doesn’t like crawling through vents, and walking across ceiling beams in a gas-filled building? Before you do this though, here are a few tips to make it easier:
-
Make multiple quick saves throughout the mission. The AI can be buggy at times when they will stop following their intended paths causing you not to be able to get past them. Quick loading a few times appears to fix it. Sometimes they can even see through walls, or see deceptively far which leads to the tip below.
-
Equip the Operative Suit and level up
 Stealth as high as you can. The higher, the better. This will make it a lot easier to get through unnoticed.
 -
Use Aid items: Up until this point you have most likely ignored stuff like Amp or
 Squall. These can help dramatically by increasing your movement speed (Amp/Squall), and reducing the amount of noise you create (
 Reconstim).
 -
If a guard is in your way, and won’t move, use Manipulation on them to get them to move. You don’t have to get them to do anything as long as they’re being controlled, you can get past them. Note: They will follow you if you don’t select them to do anything, so be careful of that.
-
Remember that Manipulation can only be used on enemies at the same, or lower level than you (unless you level it up), and there are a few guards in the building who’ll be at a higher level.
-
Manipulation can only be used on a person once, even if you fail the check.
-
Even though the guards can’t see you, they can still hear you. You’ll notice this a lot when climbing across the ceiling beams.
-
Bring plenty of Digipicks, you’ll need them.
-
Personal tip: When crouched, tap forward, and wait for the “Hidden Bar” to drop before moving again. It’s slow, but it can get you through difficult parts.
That’s it for the tips, now to carry on with the mission. When you reach New Atlantis, head to the ![]() Commercial District via tram. Now head straight forward towards the blue objective marker for Roof Access (the other marker is for Option B). Enter the door, and tell your companion to wait there then continue up to the roof by following the tight corridors. Head across the roof and enter the door on the other side. This is where the mission really begins, so make a hard save just in case then enter Infinity LTD.
Commercial District via tram. Now head straight forward towards the blue objective marker for Roof Access (the other marker is for Option B). Enter the door, and tell your companion to wait there then continue up to the roof by following the tight corridors. Head across the roof and enter the door on the other side. This is where the mission really begins, so make a hard save just in case then enter Infinity LTD.
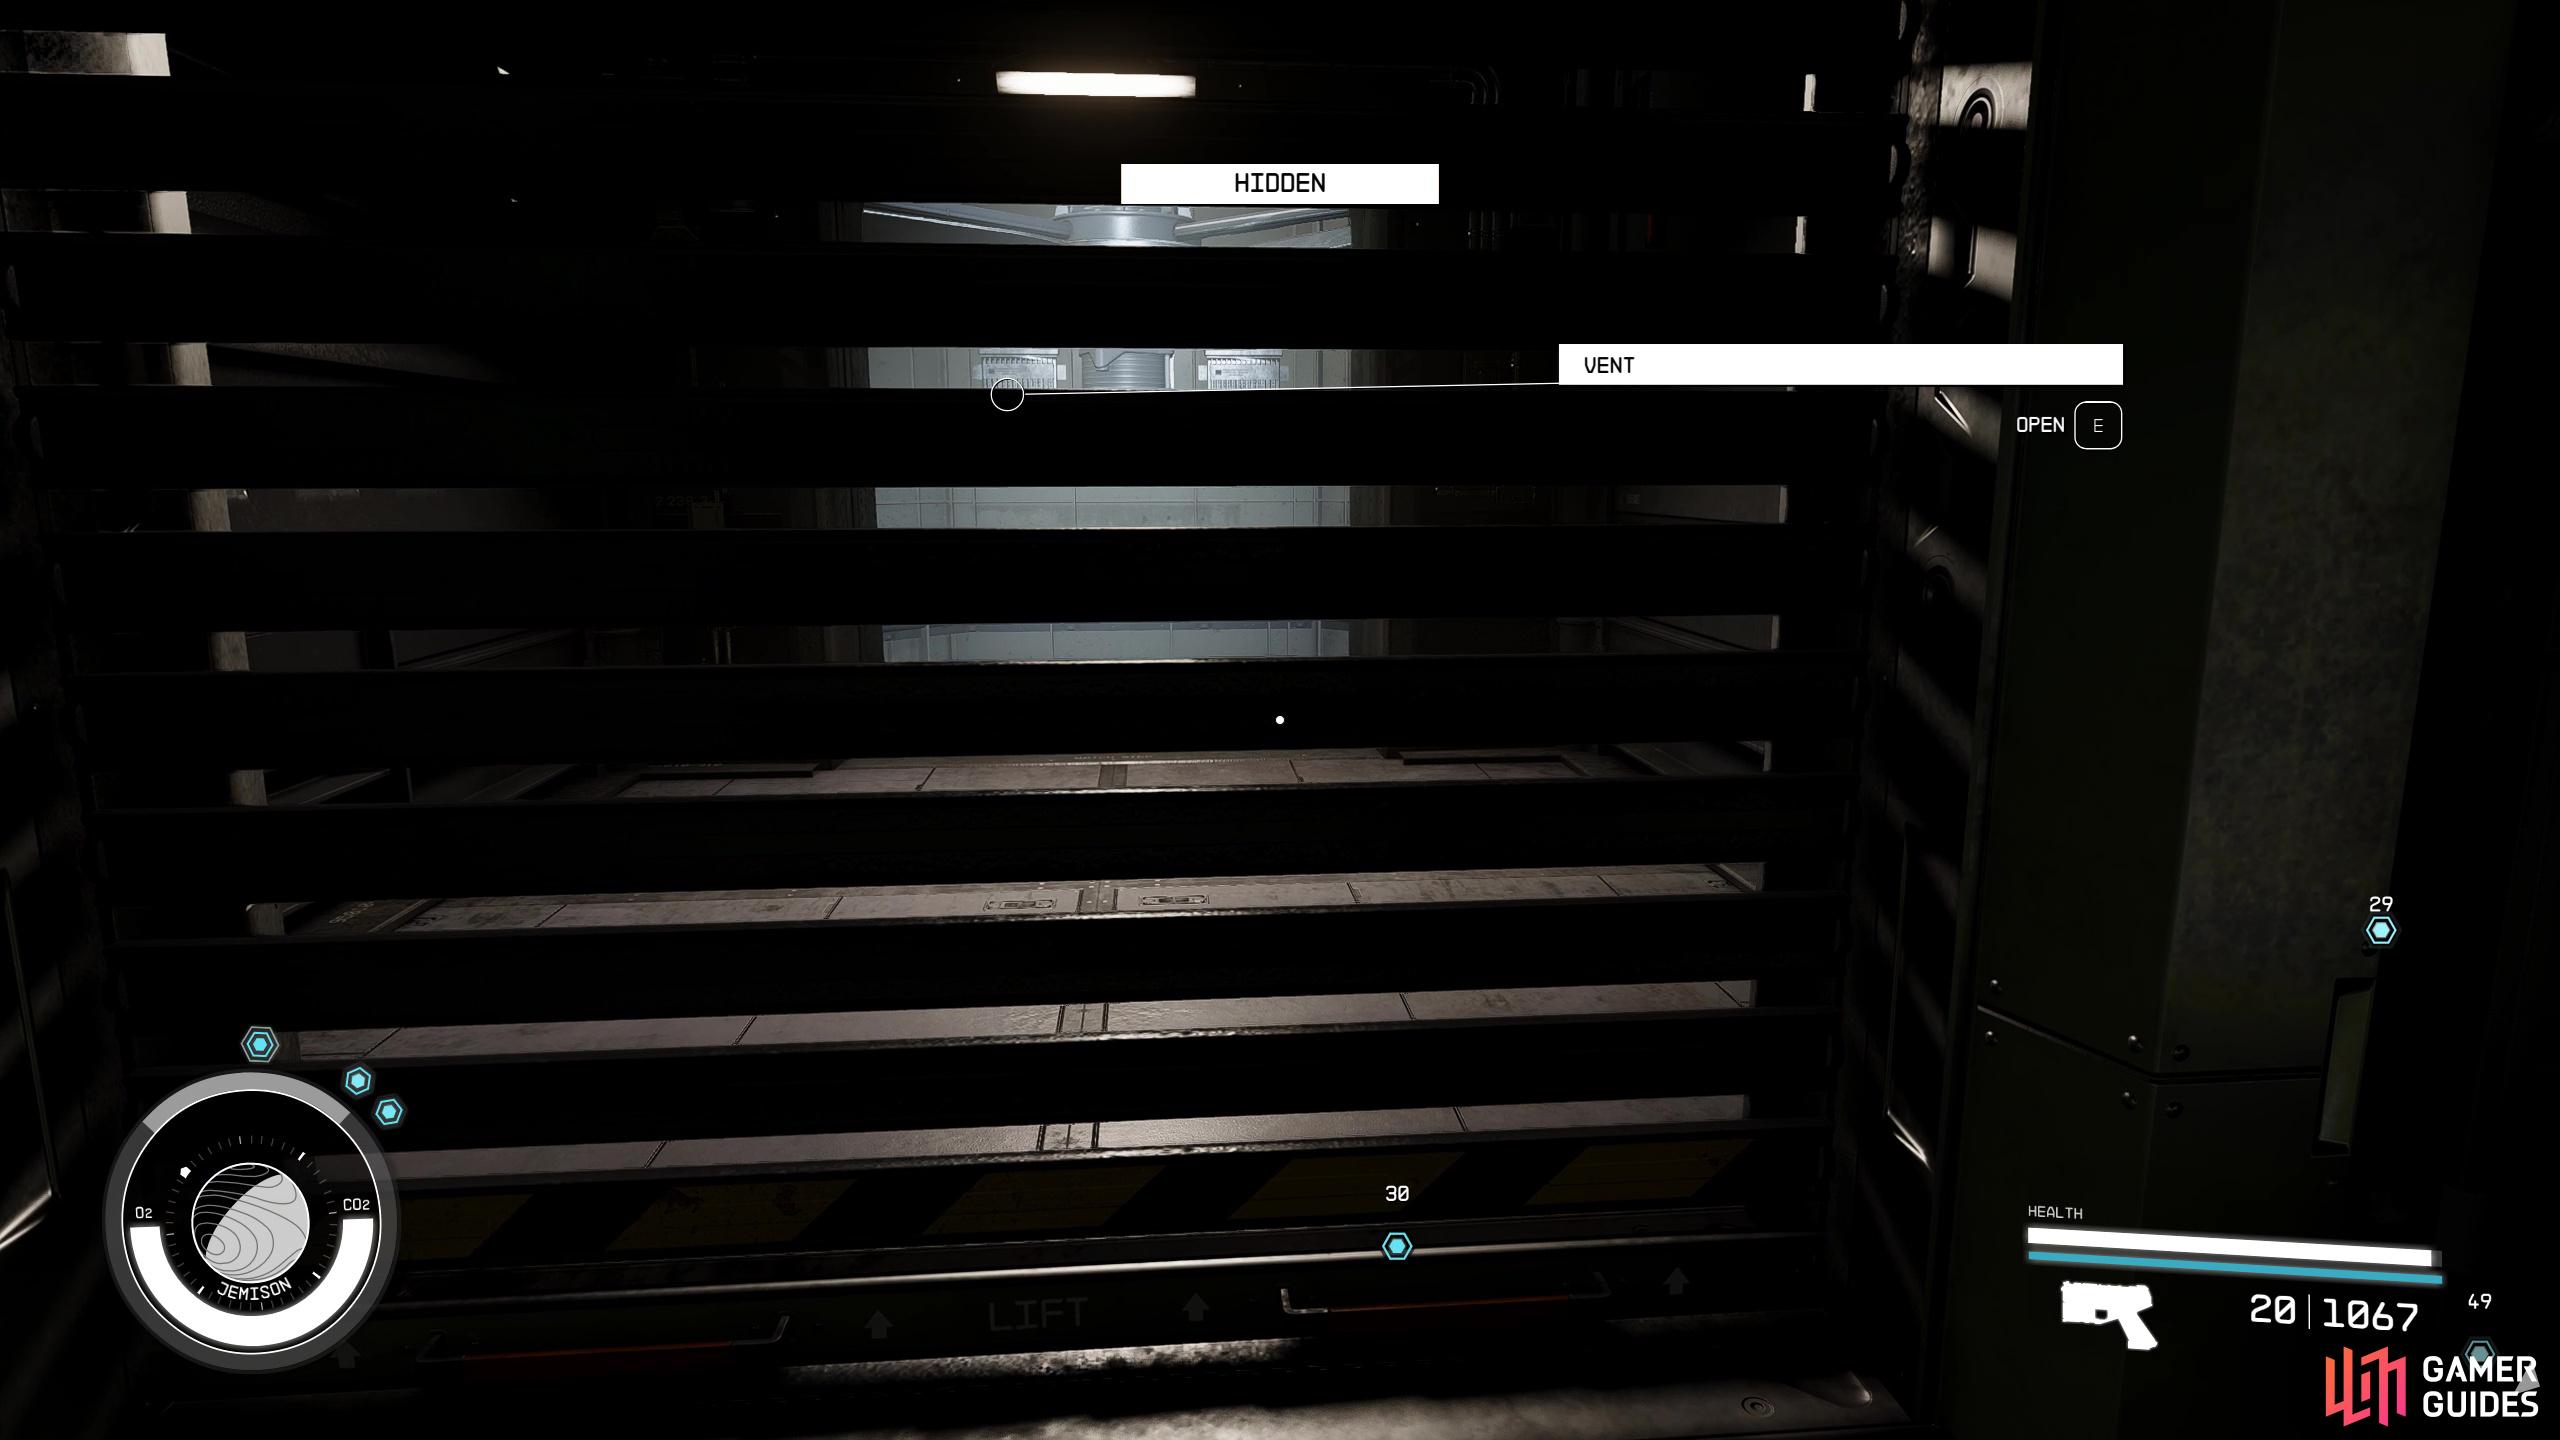
The first thing you want to do here is to sabotage the heating system. Believe me, this will make your life a lot easier. Head straight forward, ignore the elevator, open the vent and slowly move forward toward the open room with fans. There is a guard across the room, and you’ll need to manipulate them to turn off the fans. Hover over them, use Manipulation then select the switch next to them which will turn off the fans. Quickly drop to the floor below, past the fans while they’re still manipulated, and hover just before you land to save your poor legs from injury.
Go through the only hallway you can into the next room, and you’ll have a vent to your right which is your way out of this area, and another hallway to your left where the heating system is. Go left, interact with the Maintenance Systems computer, and select Critical Systems > Heating > Activate. This will disperse gas around the entire building which can affect you too, but it will remove all non-essential personnel.
Now that you’ve done that, head back the way you came, and enter the vent on the opposite side of the door to this room. You can walk through the gas yourself, and you will be fine for the most part unless you contract a cough which will give your position away, but this can be remedied with a ![]() Snake Oil. Follow the vent the only way you can, and you’ll eventually come across another vent leading to the room below.
Snake Oil. Follow the vent the only way you can, and you’ll eventually come across another vent leading to the room below.
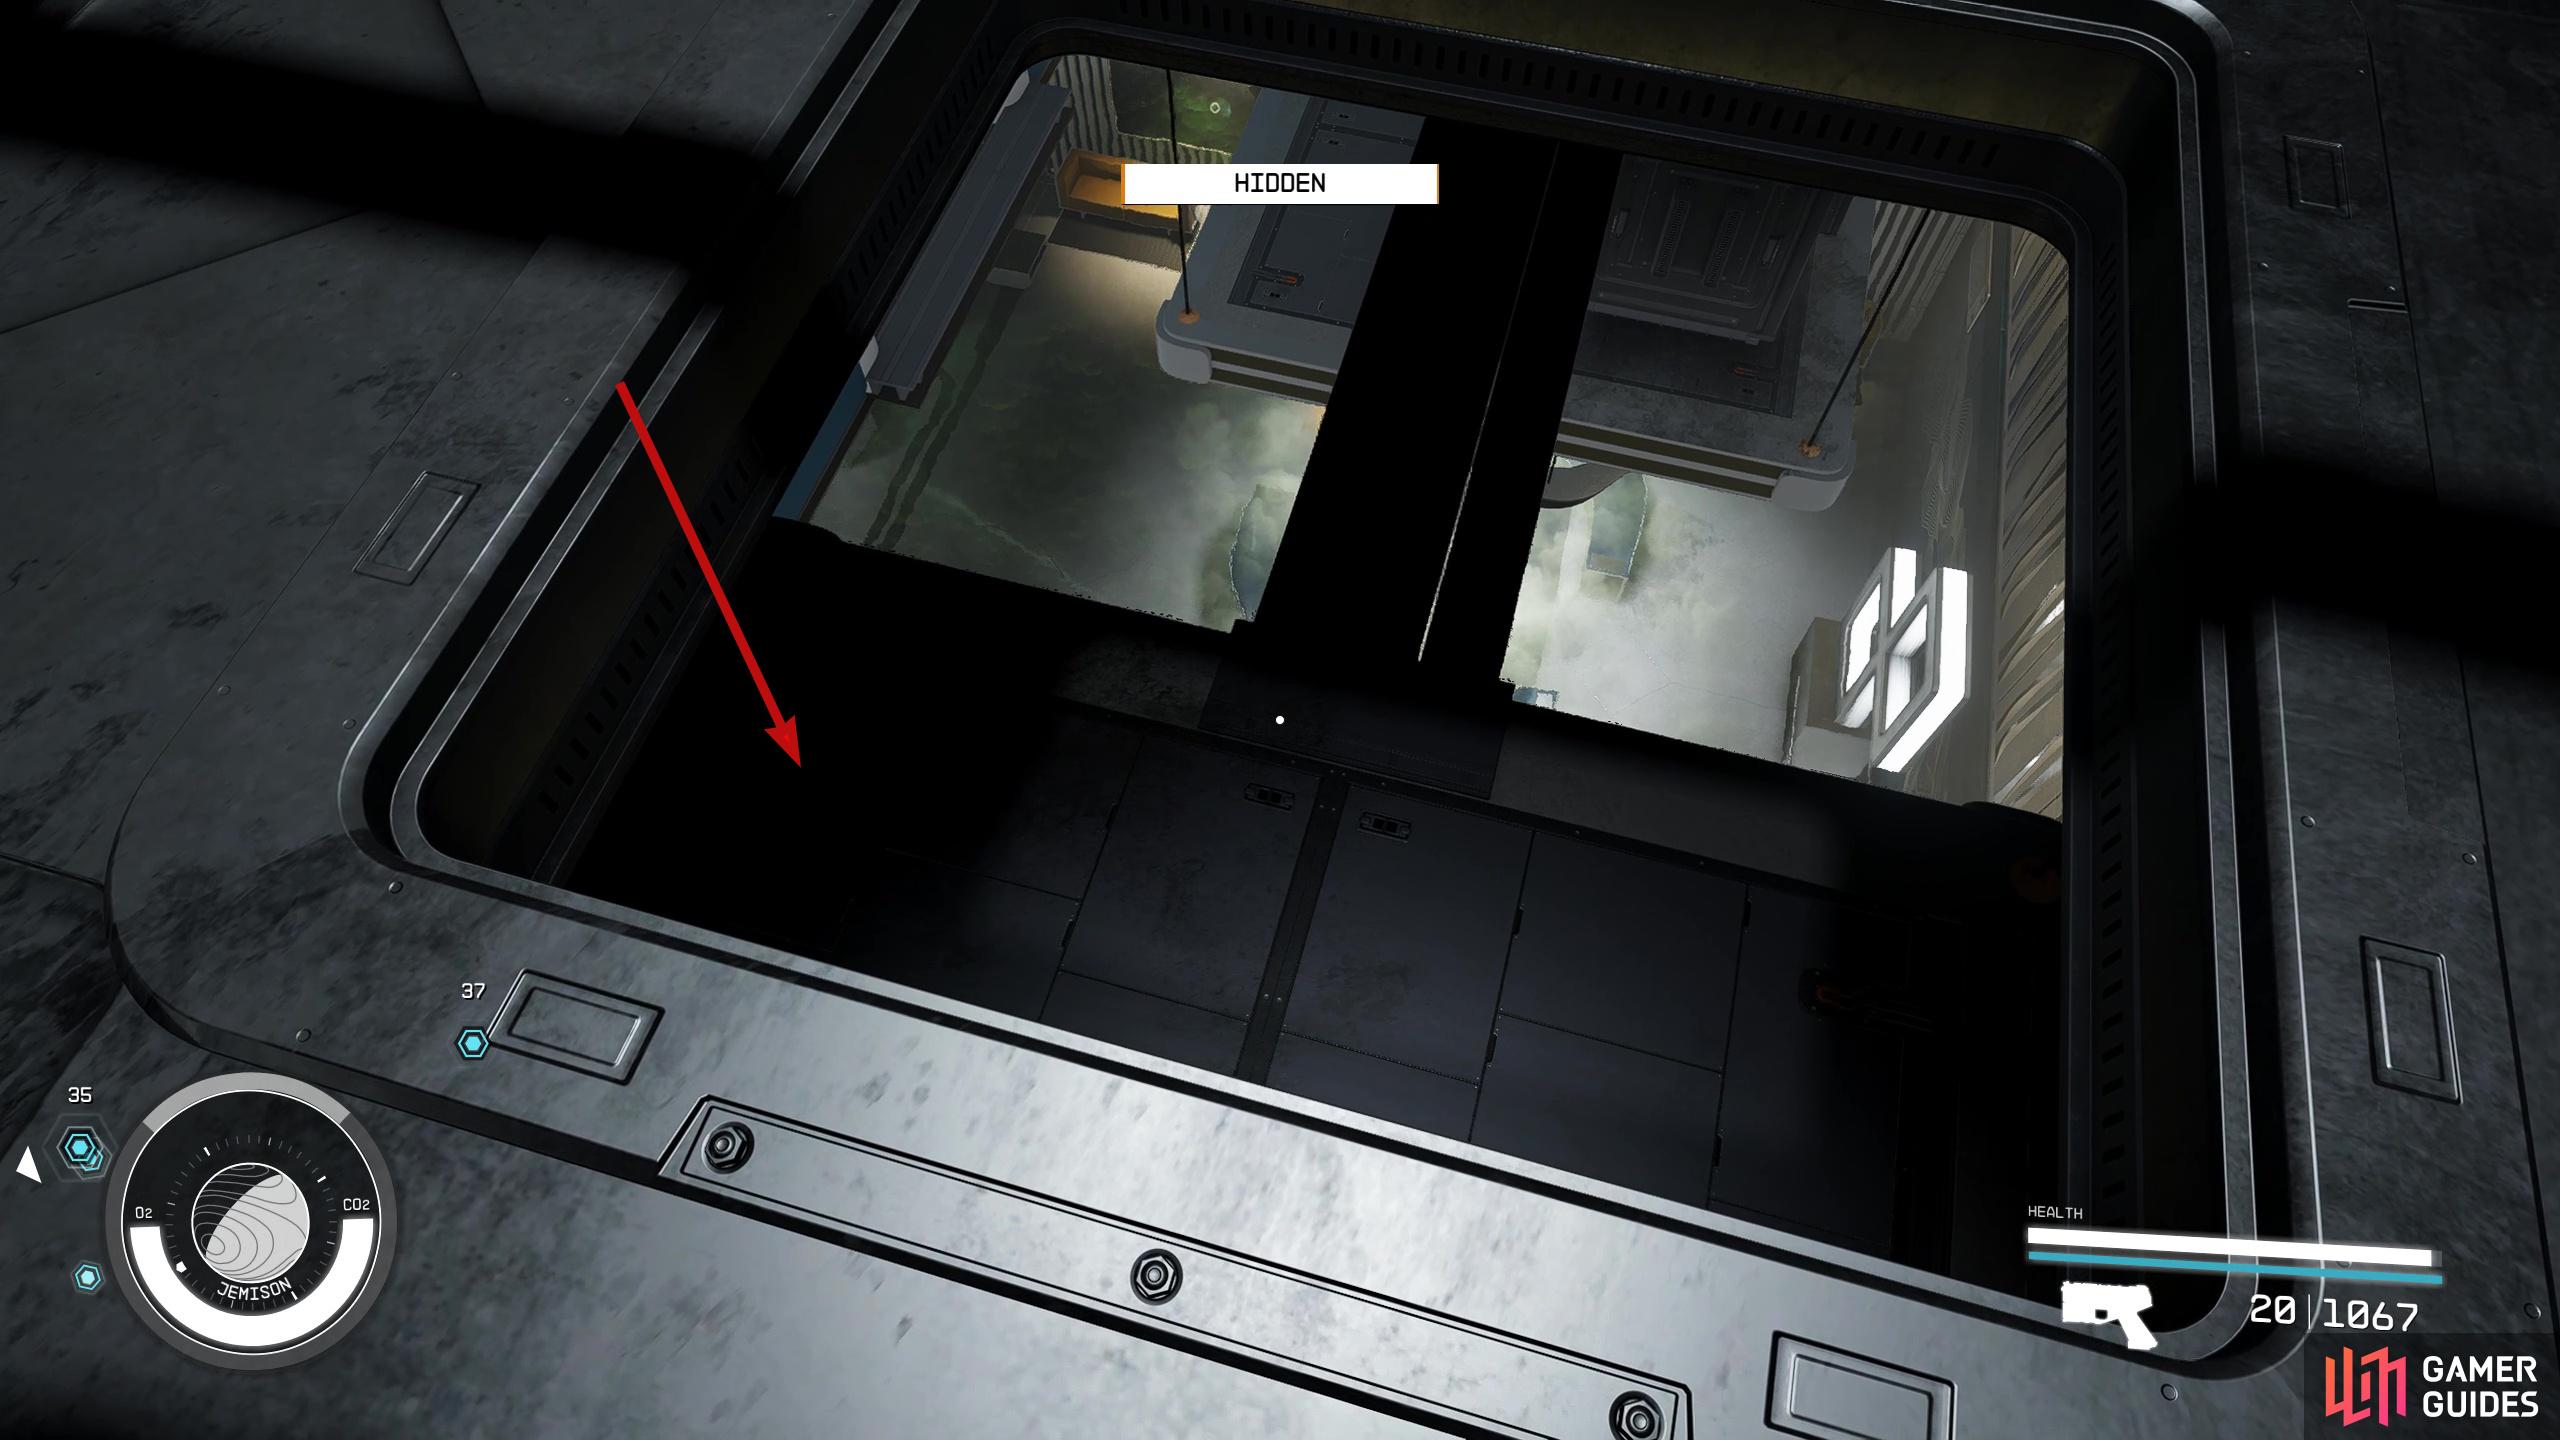
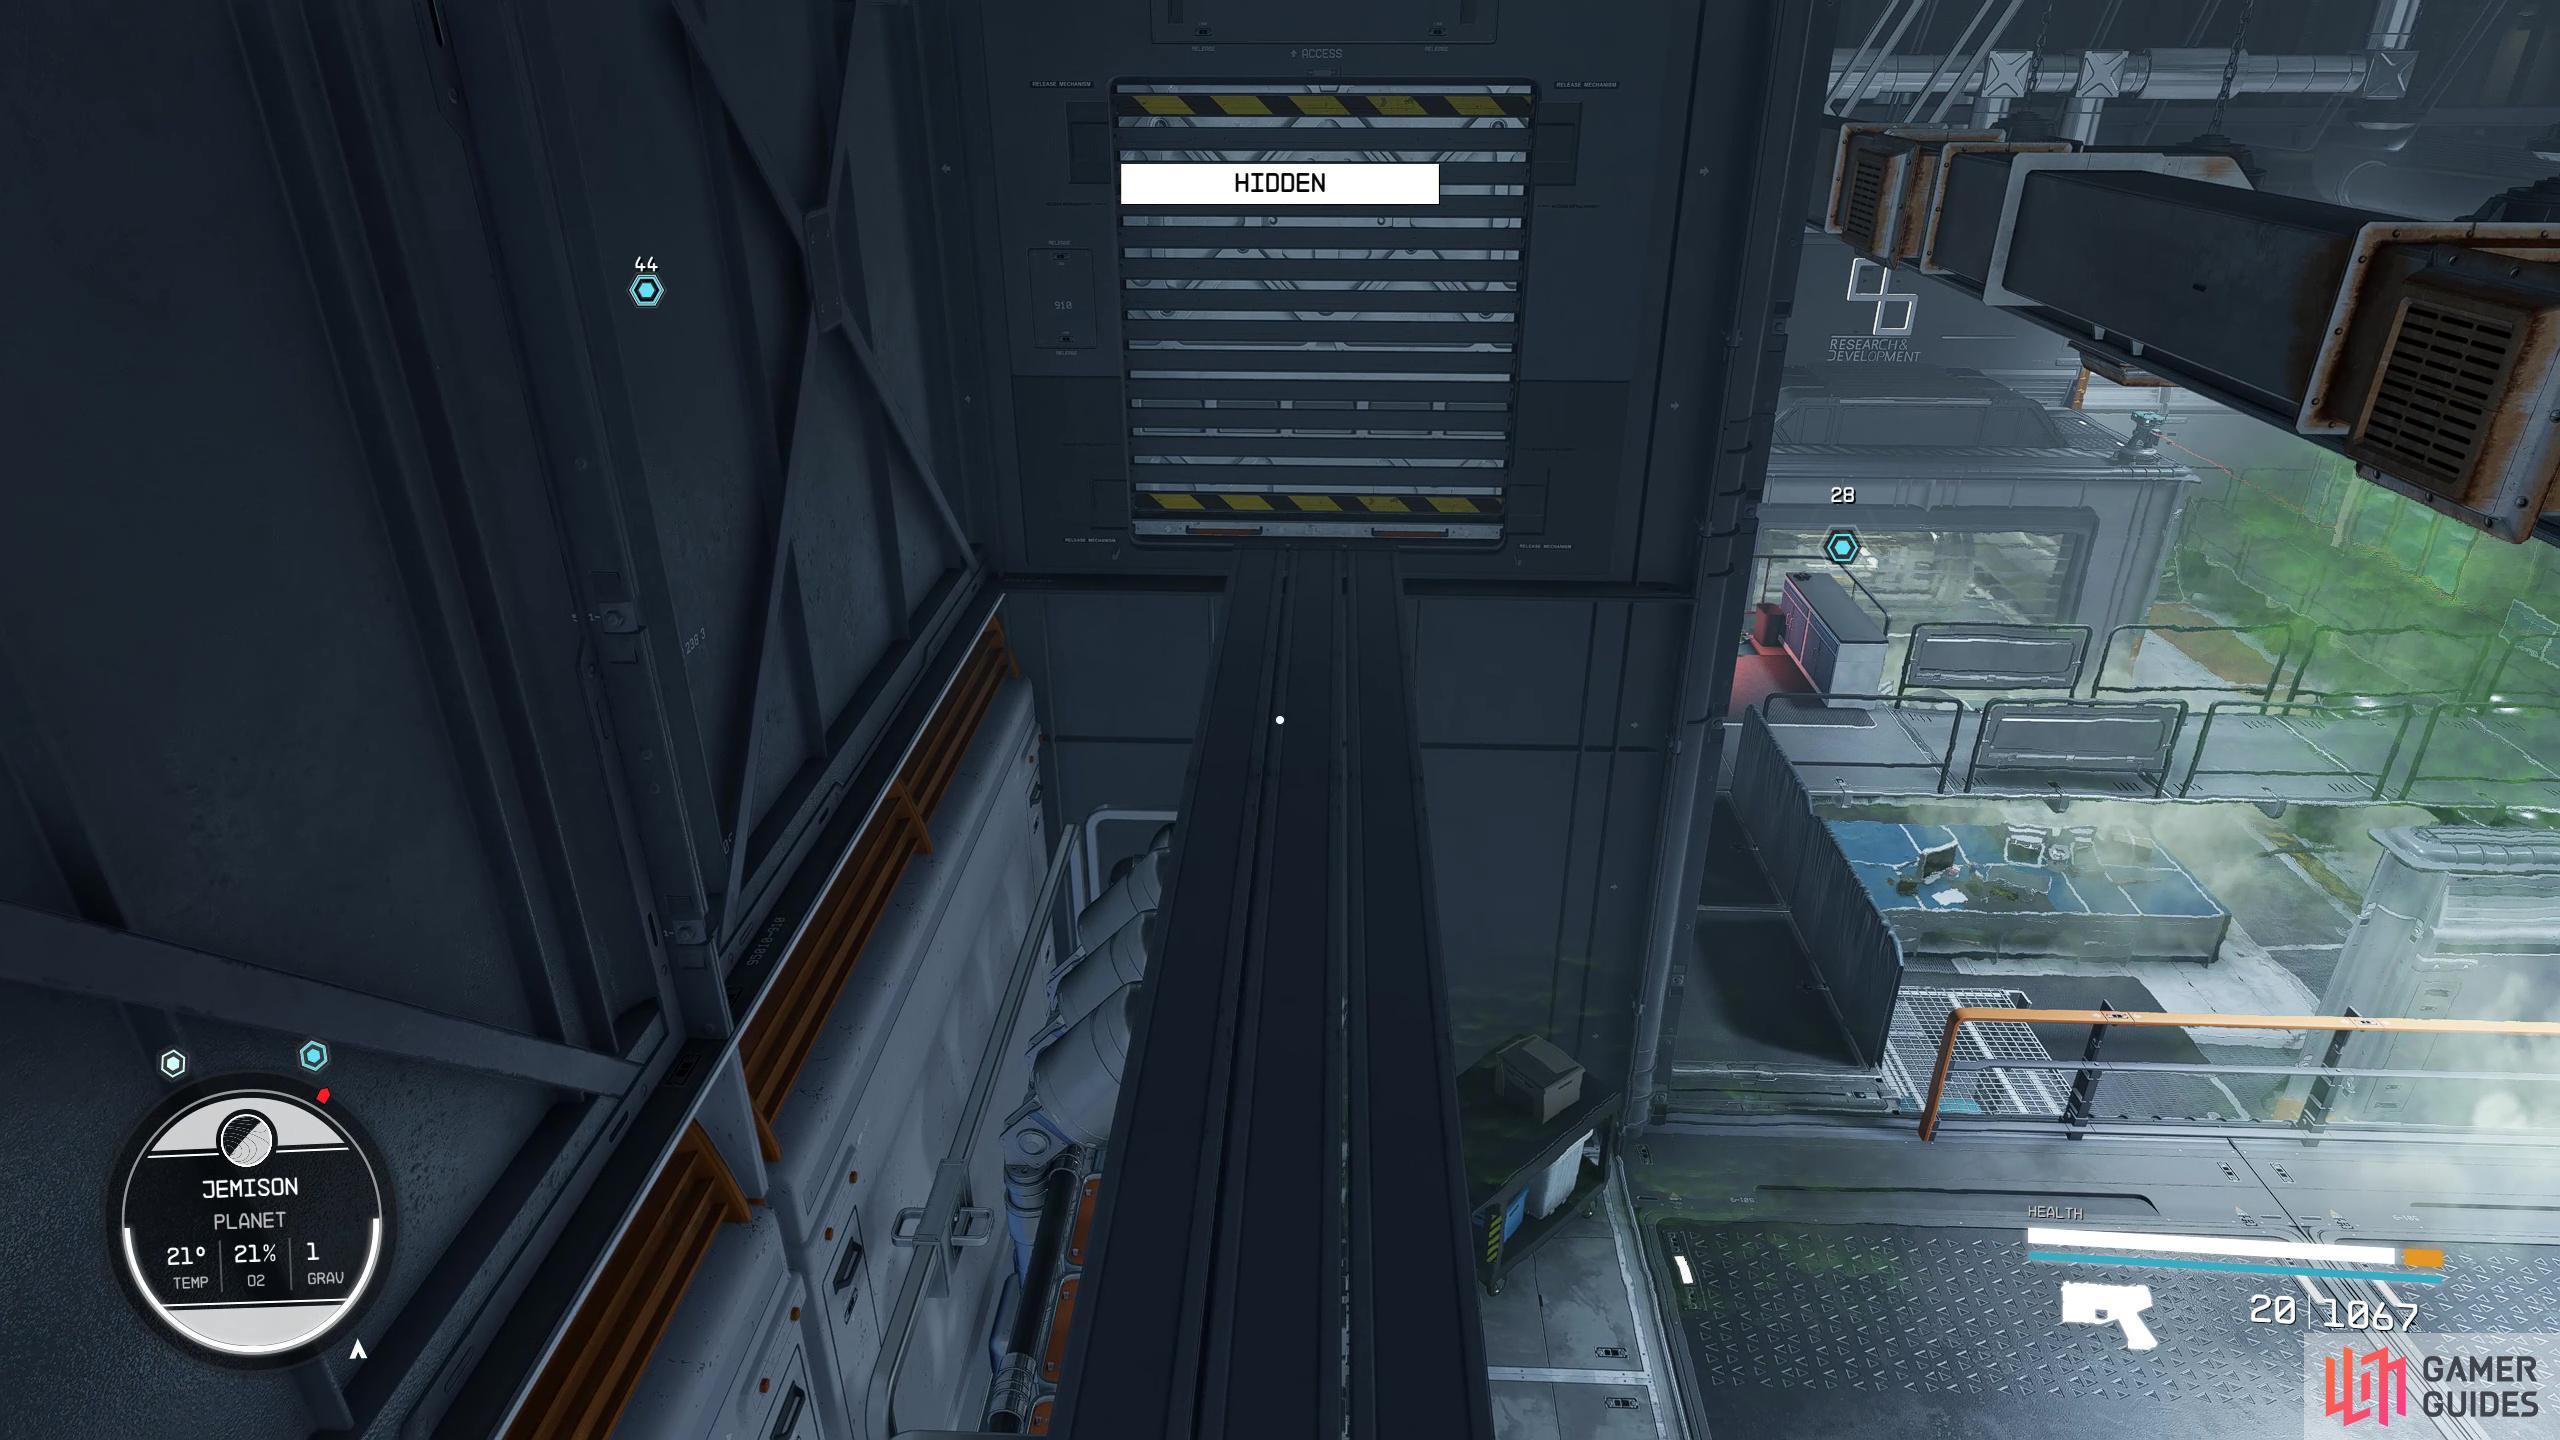
This room has a few guards that roam the floors below, so you’ll need to stay as quiet as you can by walking slowly, or even using a Reconstim. Drop to the roof below while staying in stealth, and keep a close eye on the hidden bar. Whenever the bar rises, stop, and wait for it to reset before moving again. From here, slowly walk across the beam and drop onto the platform below then head through the nearby vent. Follow the vent to drop onto the next platform, then go through that nearby vent as well, and exit through the opposite side. If you look below, a guard will be sitting at the desk, so be extra careful here.
Once you exit the vent, turn right and climb the beam onto the next platform. Above you is another vent, and you want to climb up it, but be careful! There will be a guard on the floor above looking right at it. Wait for the guard to move then climb onto the small pillar in the center, and slowly jump onto the pipe near the blue wall. Finally, climb over the white railing while looking towards the door (opposite the guard), and unlock the door (novice) to Lucas’ office. You should be able to do this without the guard noticing, although it may take a few tries.
Inside the office, hack Lucas’ computer (novice), and click on the Overseer Program icon on the desktop. There is a safe on the floor to the right of the desk (expert), but it doesn’t have much stuff other than a couple of ![]() Trauma Packs, ammo, and an
Trauma Packs, ammo, and an ![]() Arc Welder. When you’re done with Lucas’ room, head out of the door you came from while staying to the left side of the door, and either sneak past or manipulate the guard before dropping the vent that you came from.
Arc Welder. When you’re done with Lucas’ room, head out of the door you came from while staying to the left side of the door, and either sneak past or manipulate the guard before dropping the vent that you came from.
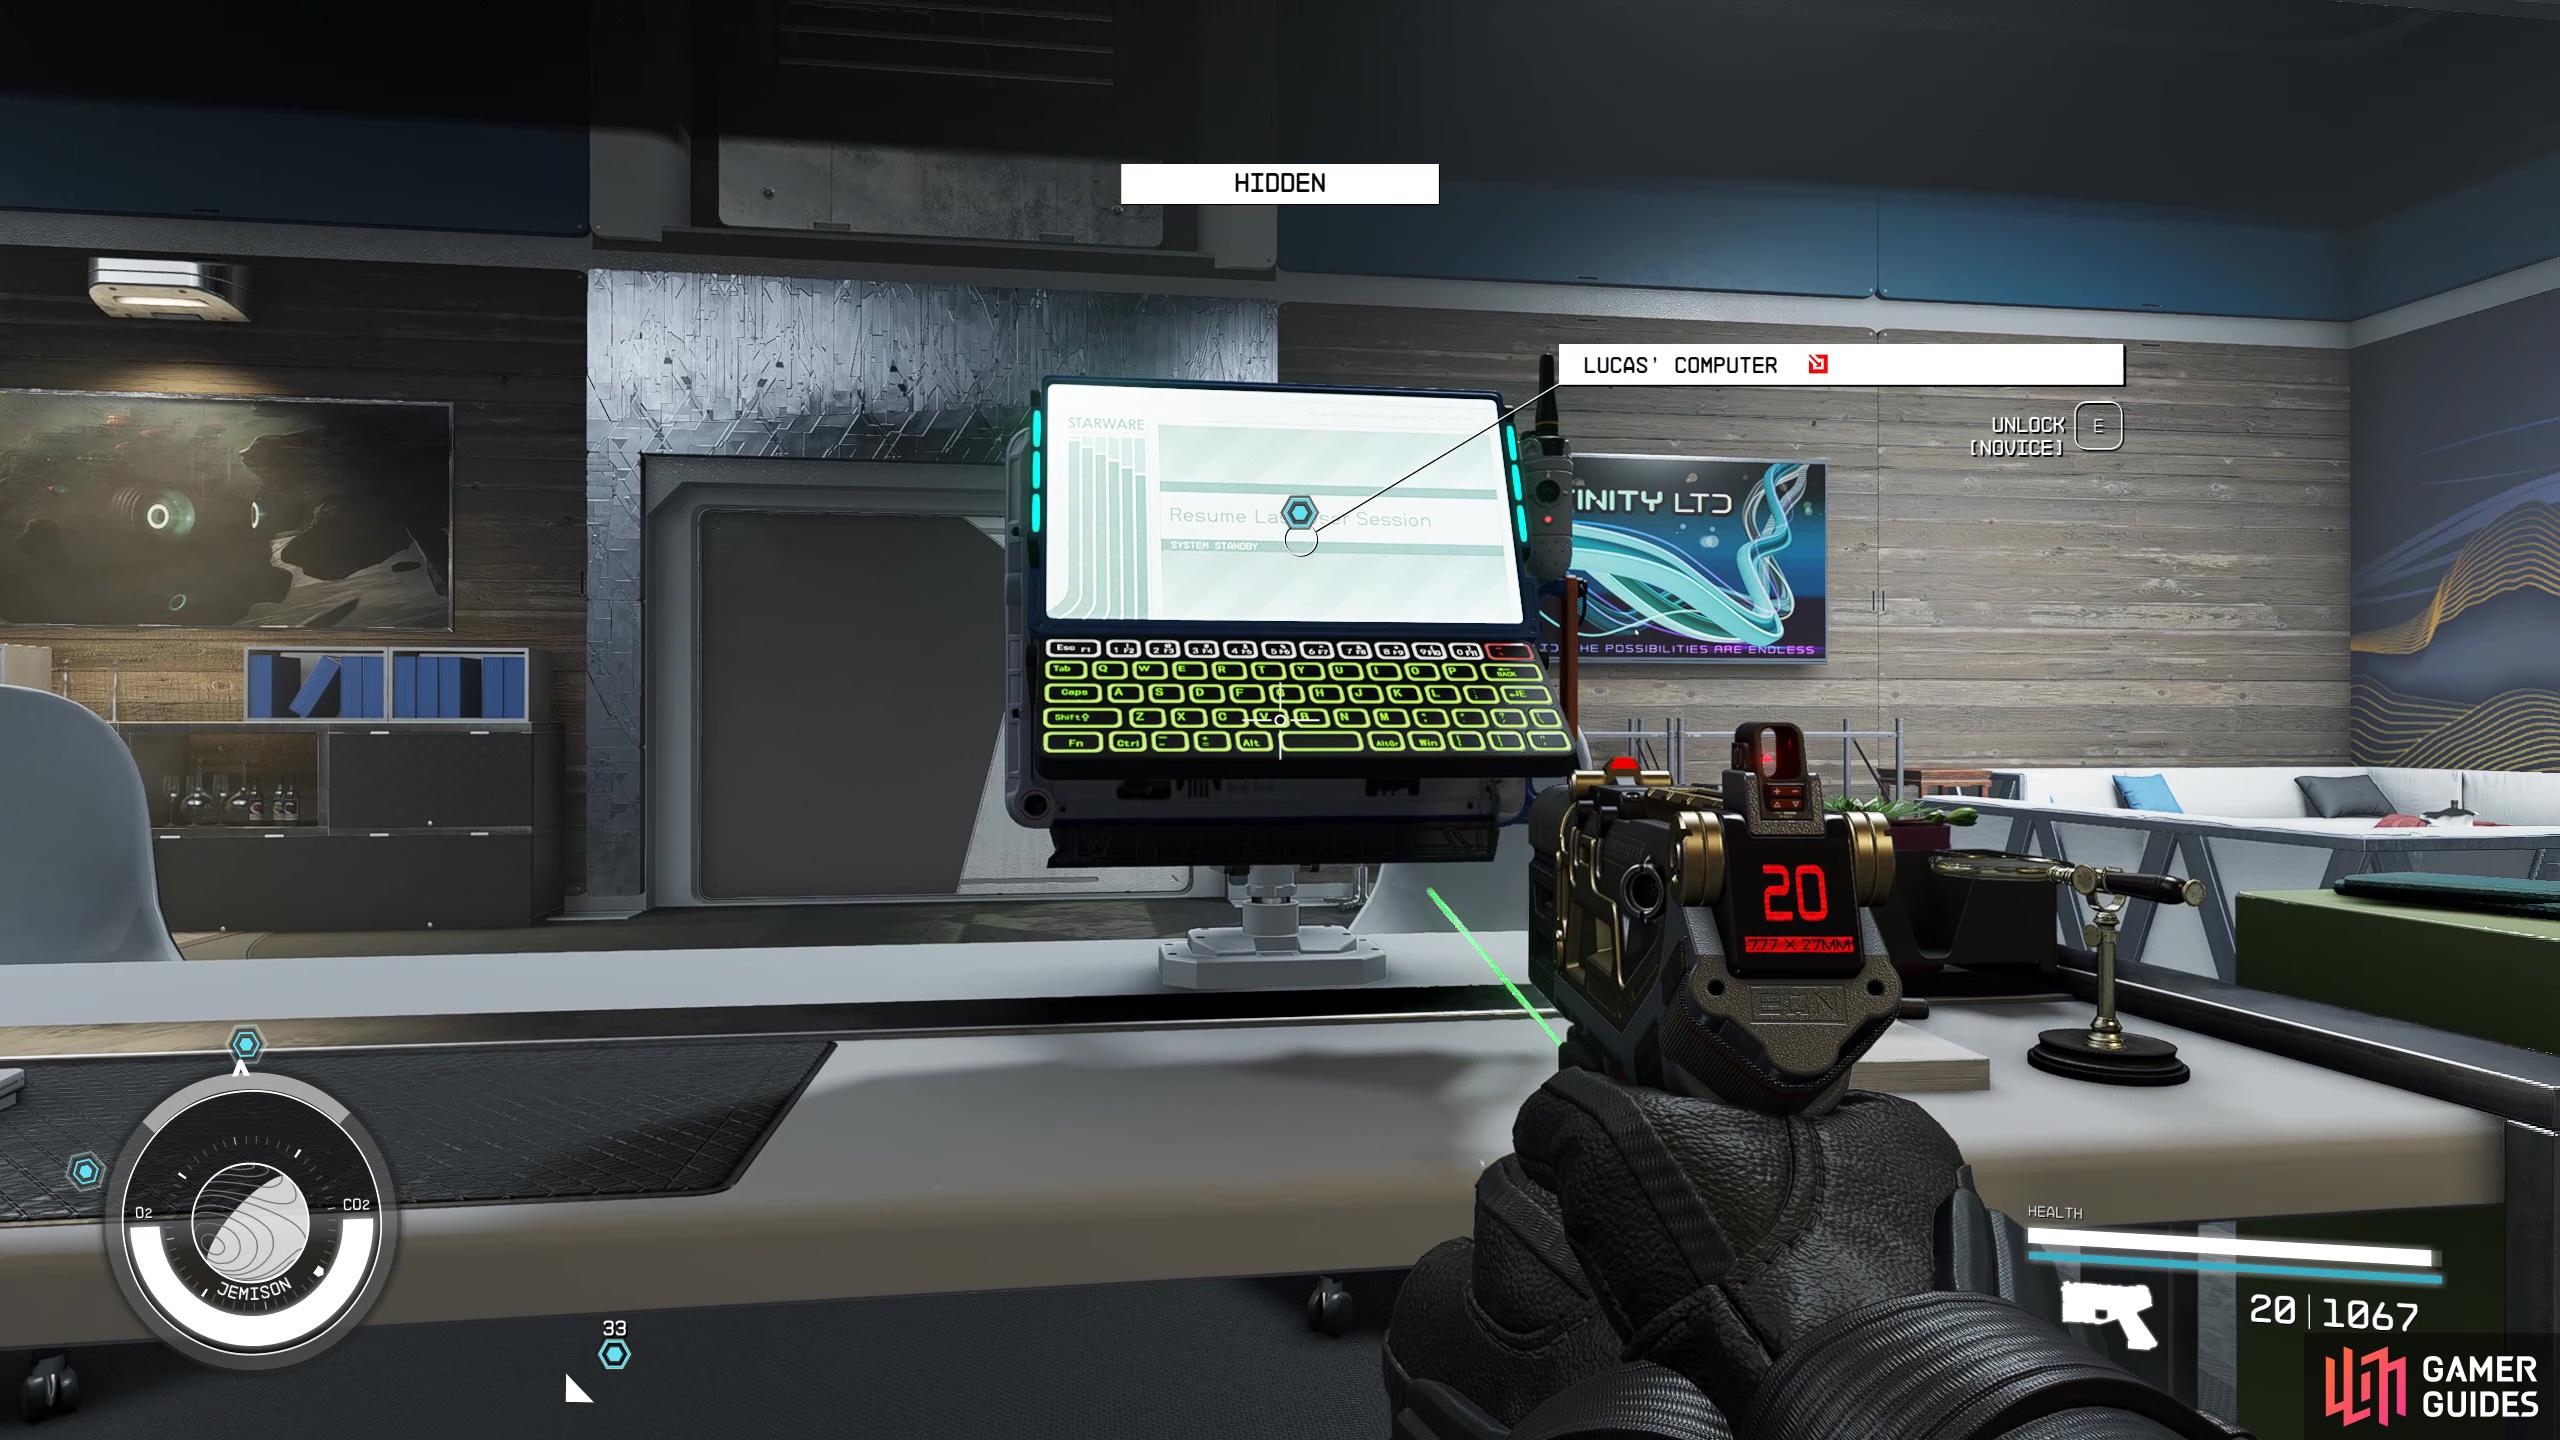
Hack Lucas’ computer.
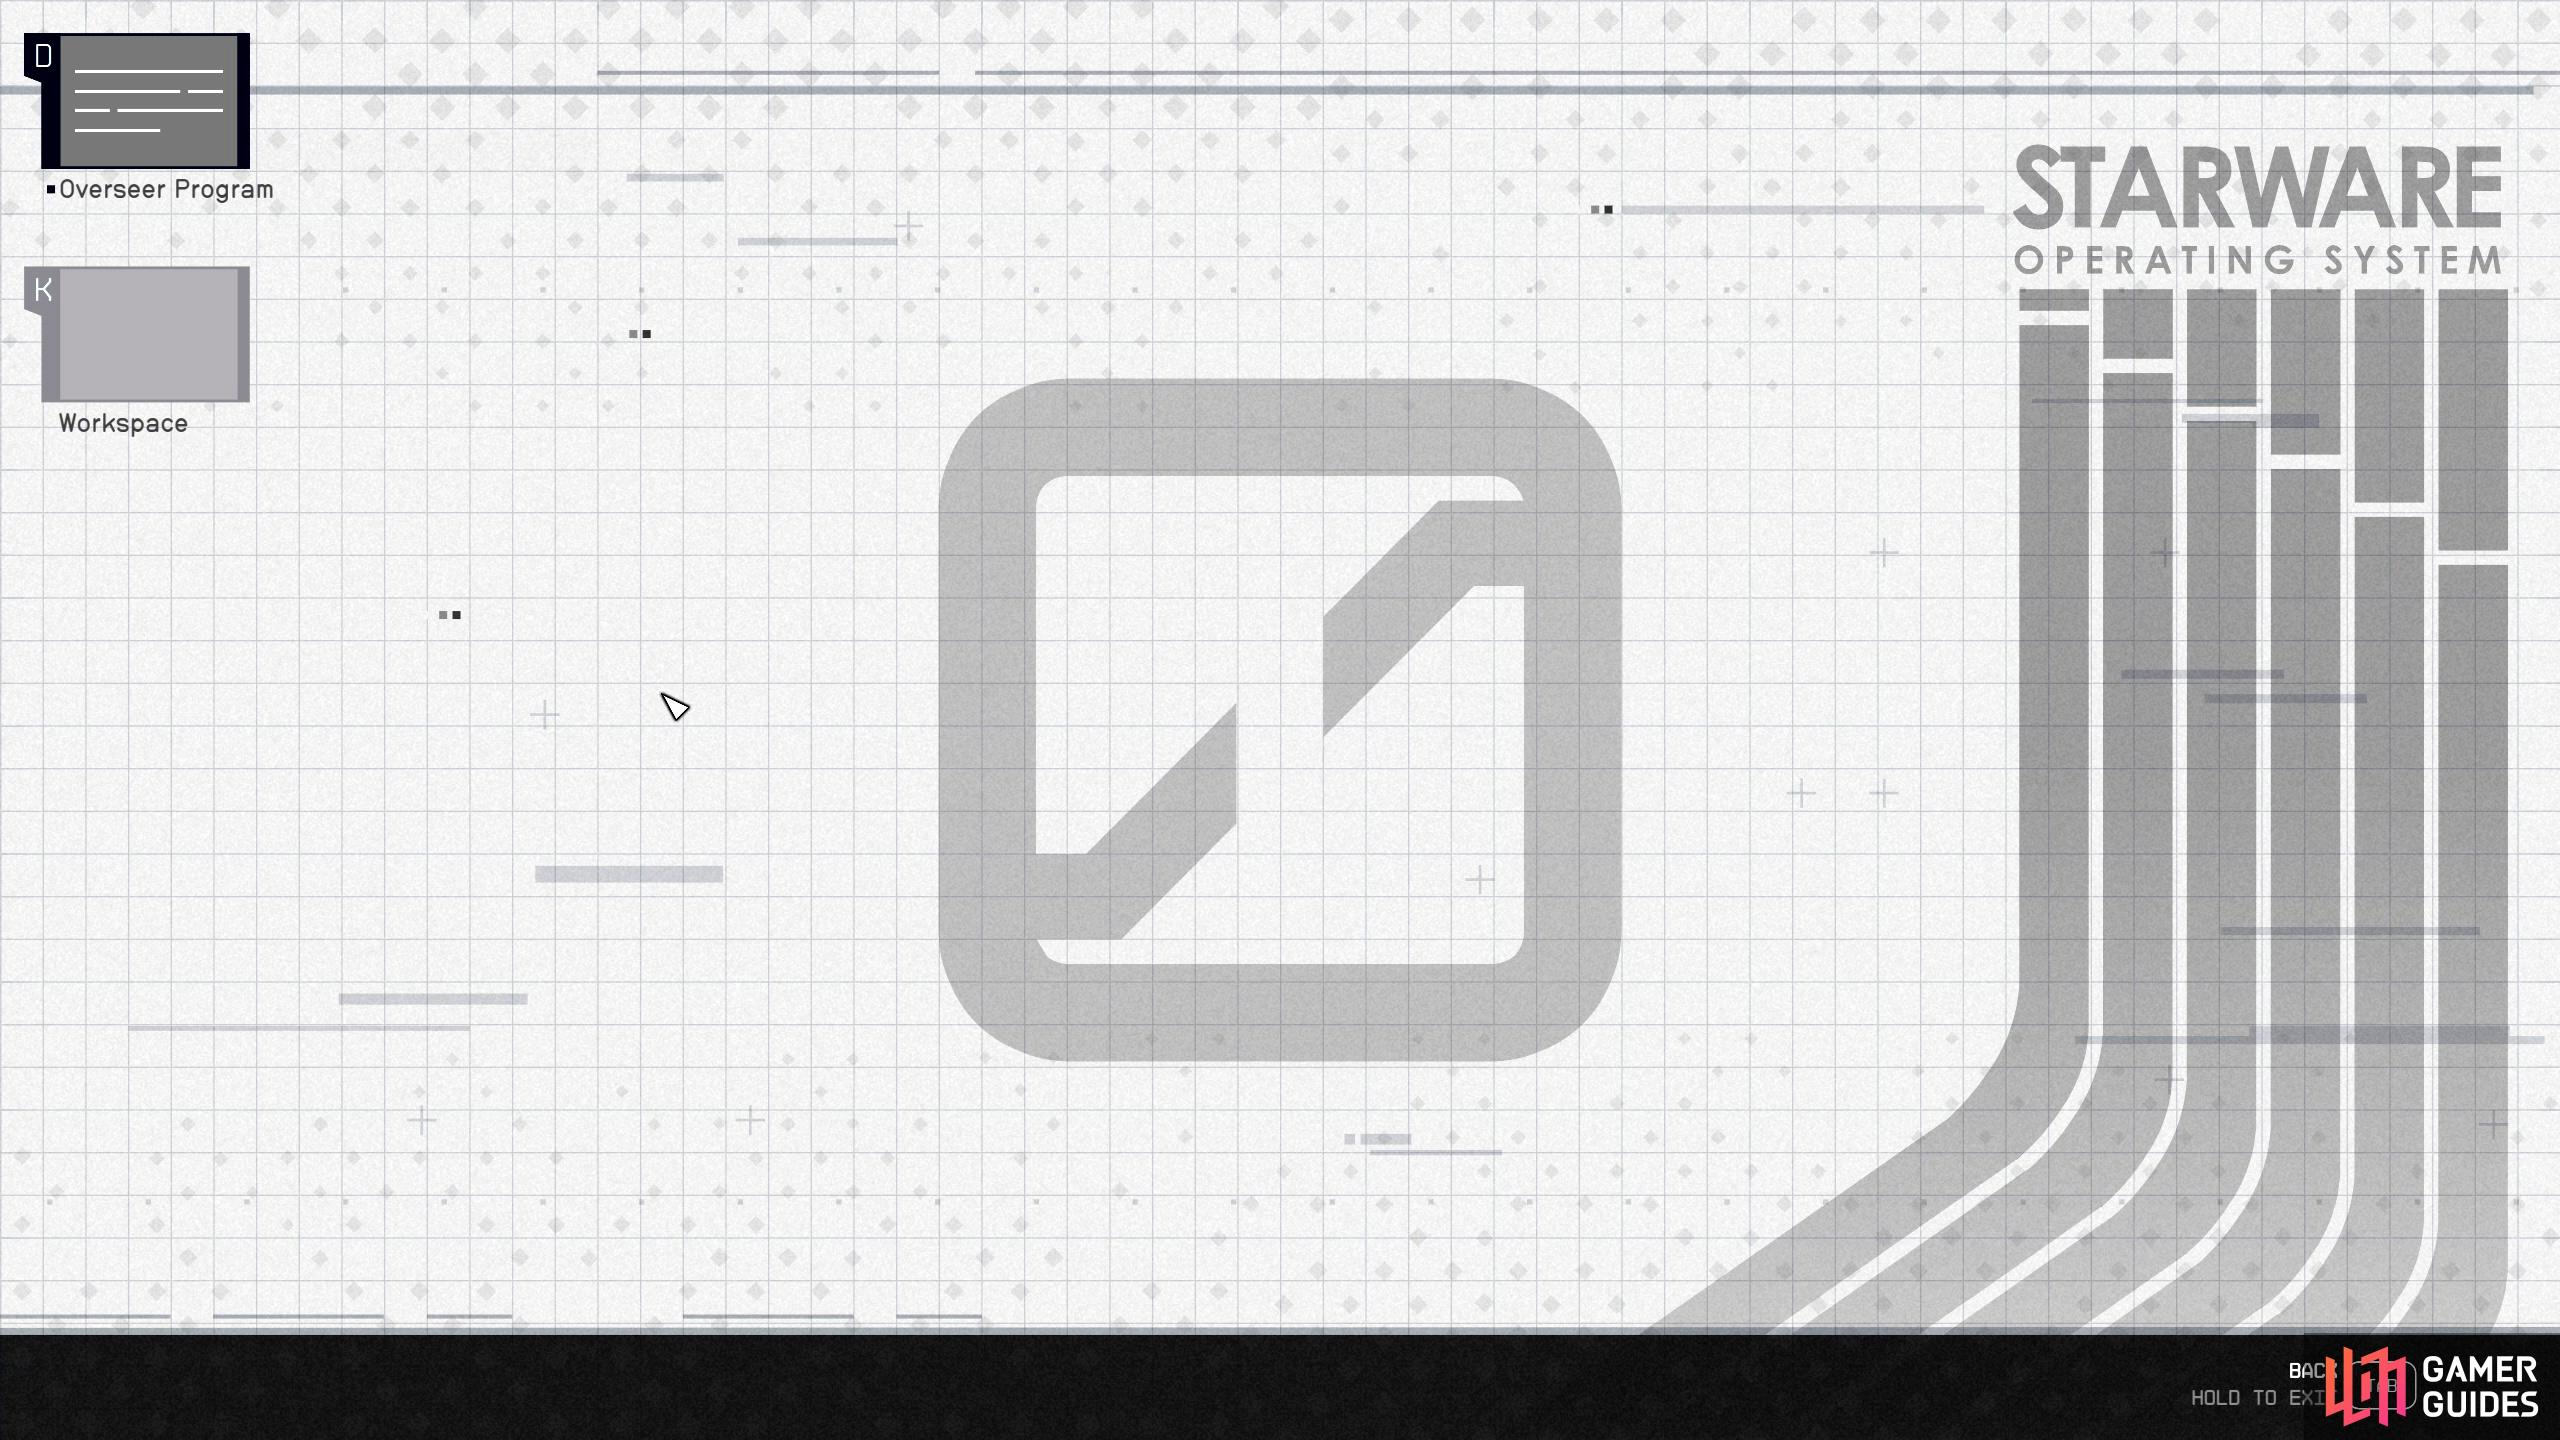
And use the Overseer Program.
Now you need to make your way down to the R&D floor, and as you can imagine, it’ll be tricky. Turn around to see a vent with an orange hue. It’ll be above the glass office with the guard standing outside of it. If the guard gives you any trouble, manipulate them, but it should be okay to sneak across. In the vent, drop onto the pipes and go through the vent into the toilets.
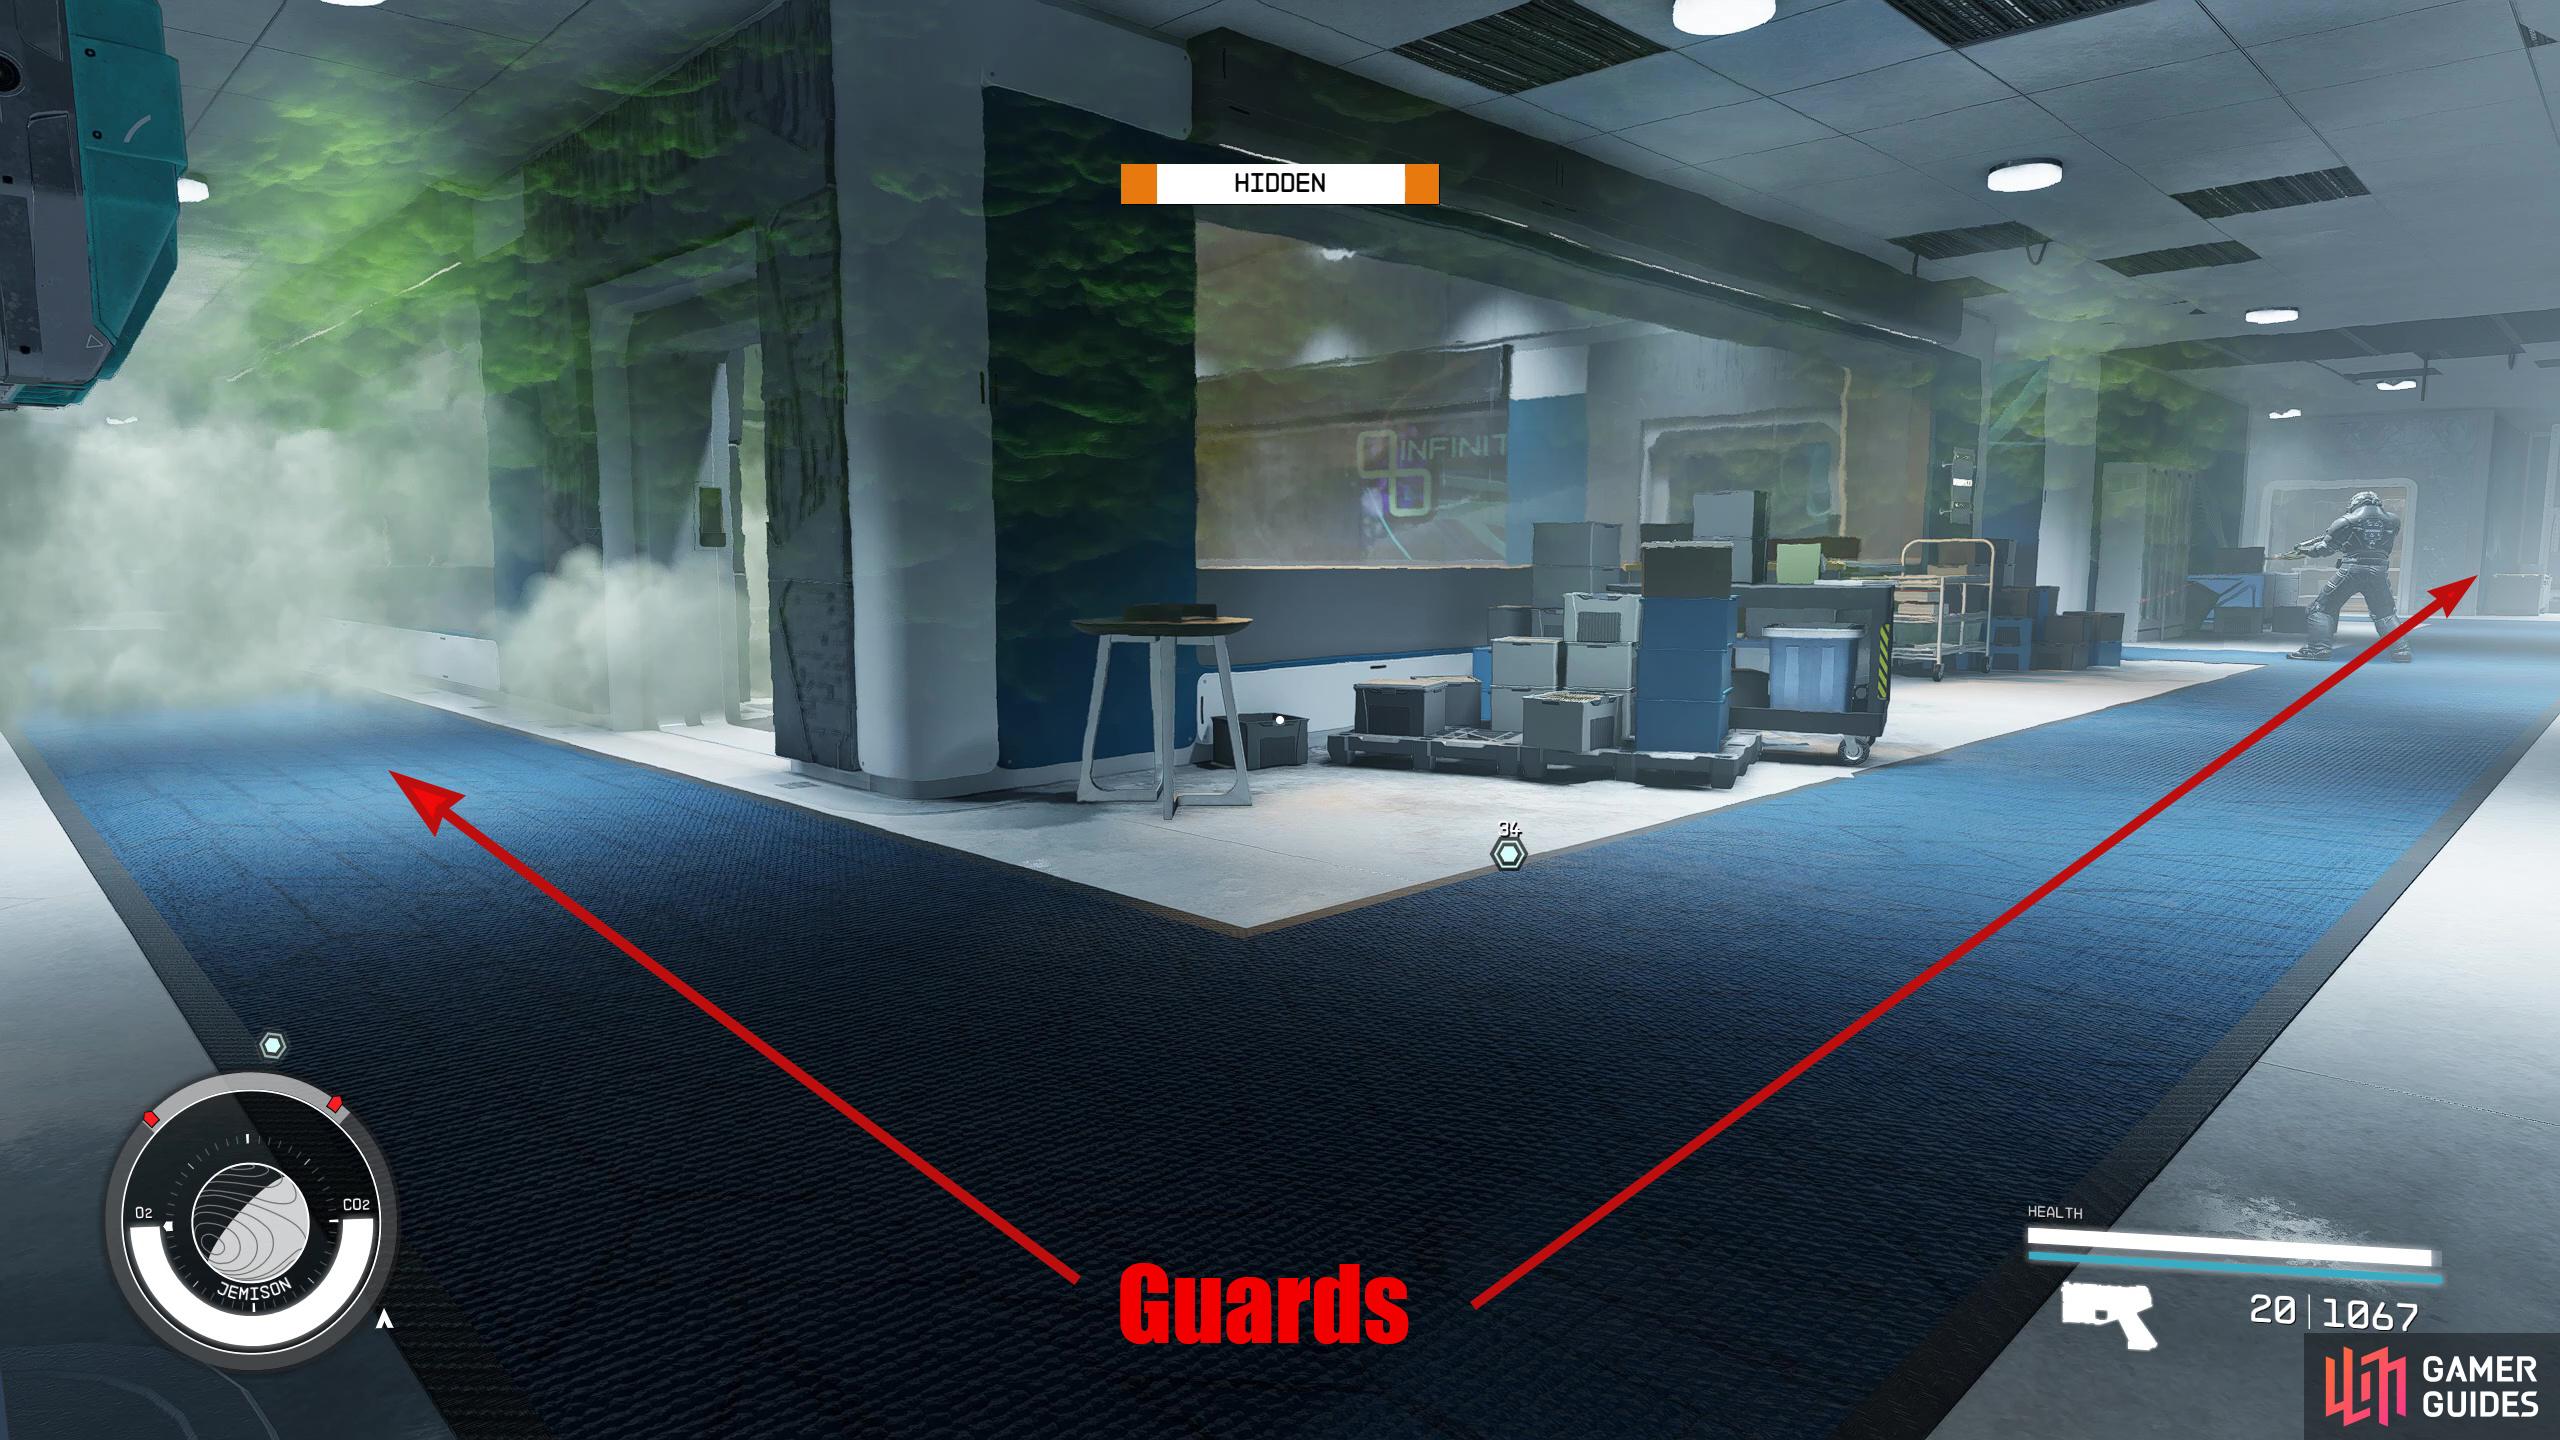
This area is one of the most difficult areas to get through unnoticed due to the buggy AI. You’ll have one guard who walks up and down the office and another who walks around the office anti-clockwise. At least that’s what they’re supposed to do. Sometimes, the guard straight ahead will stand there for eternity which makes it impossible to get through unnoticed. Make a quick save in the toilet doors, and keep reloading the game if the guard is standing there for more than 10 seconds.
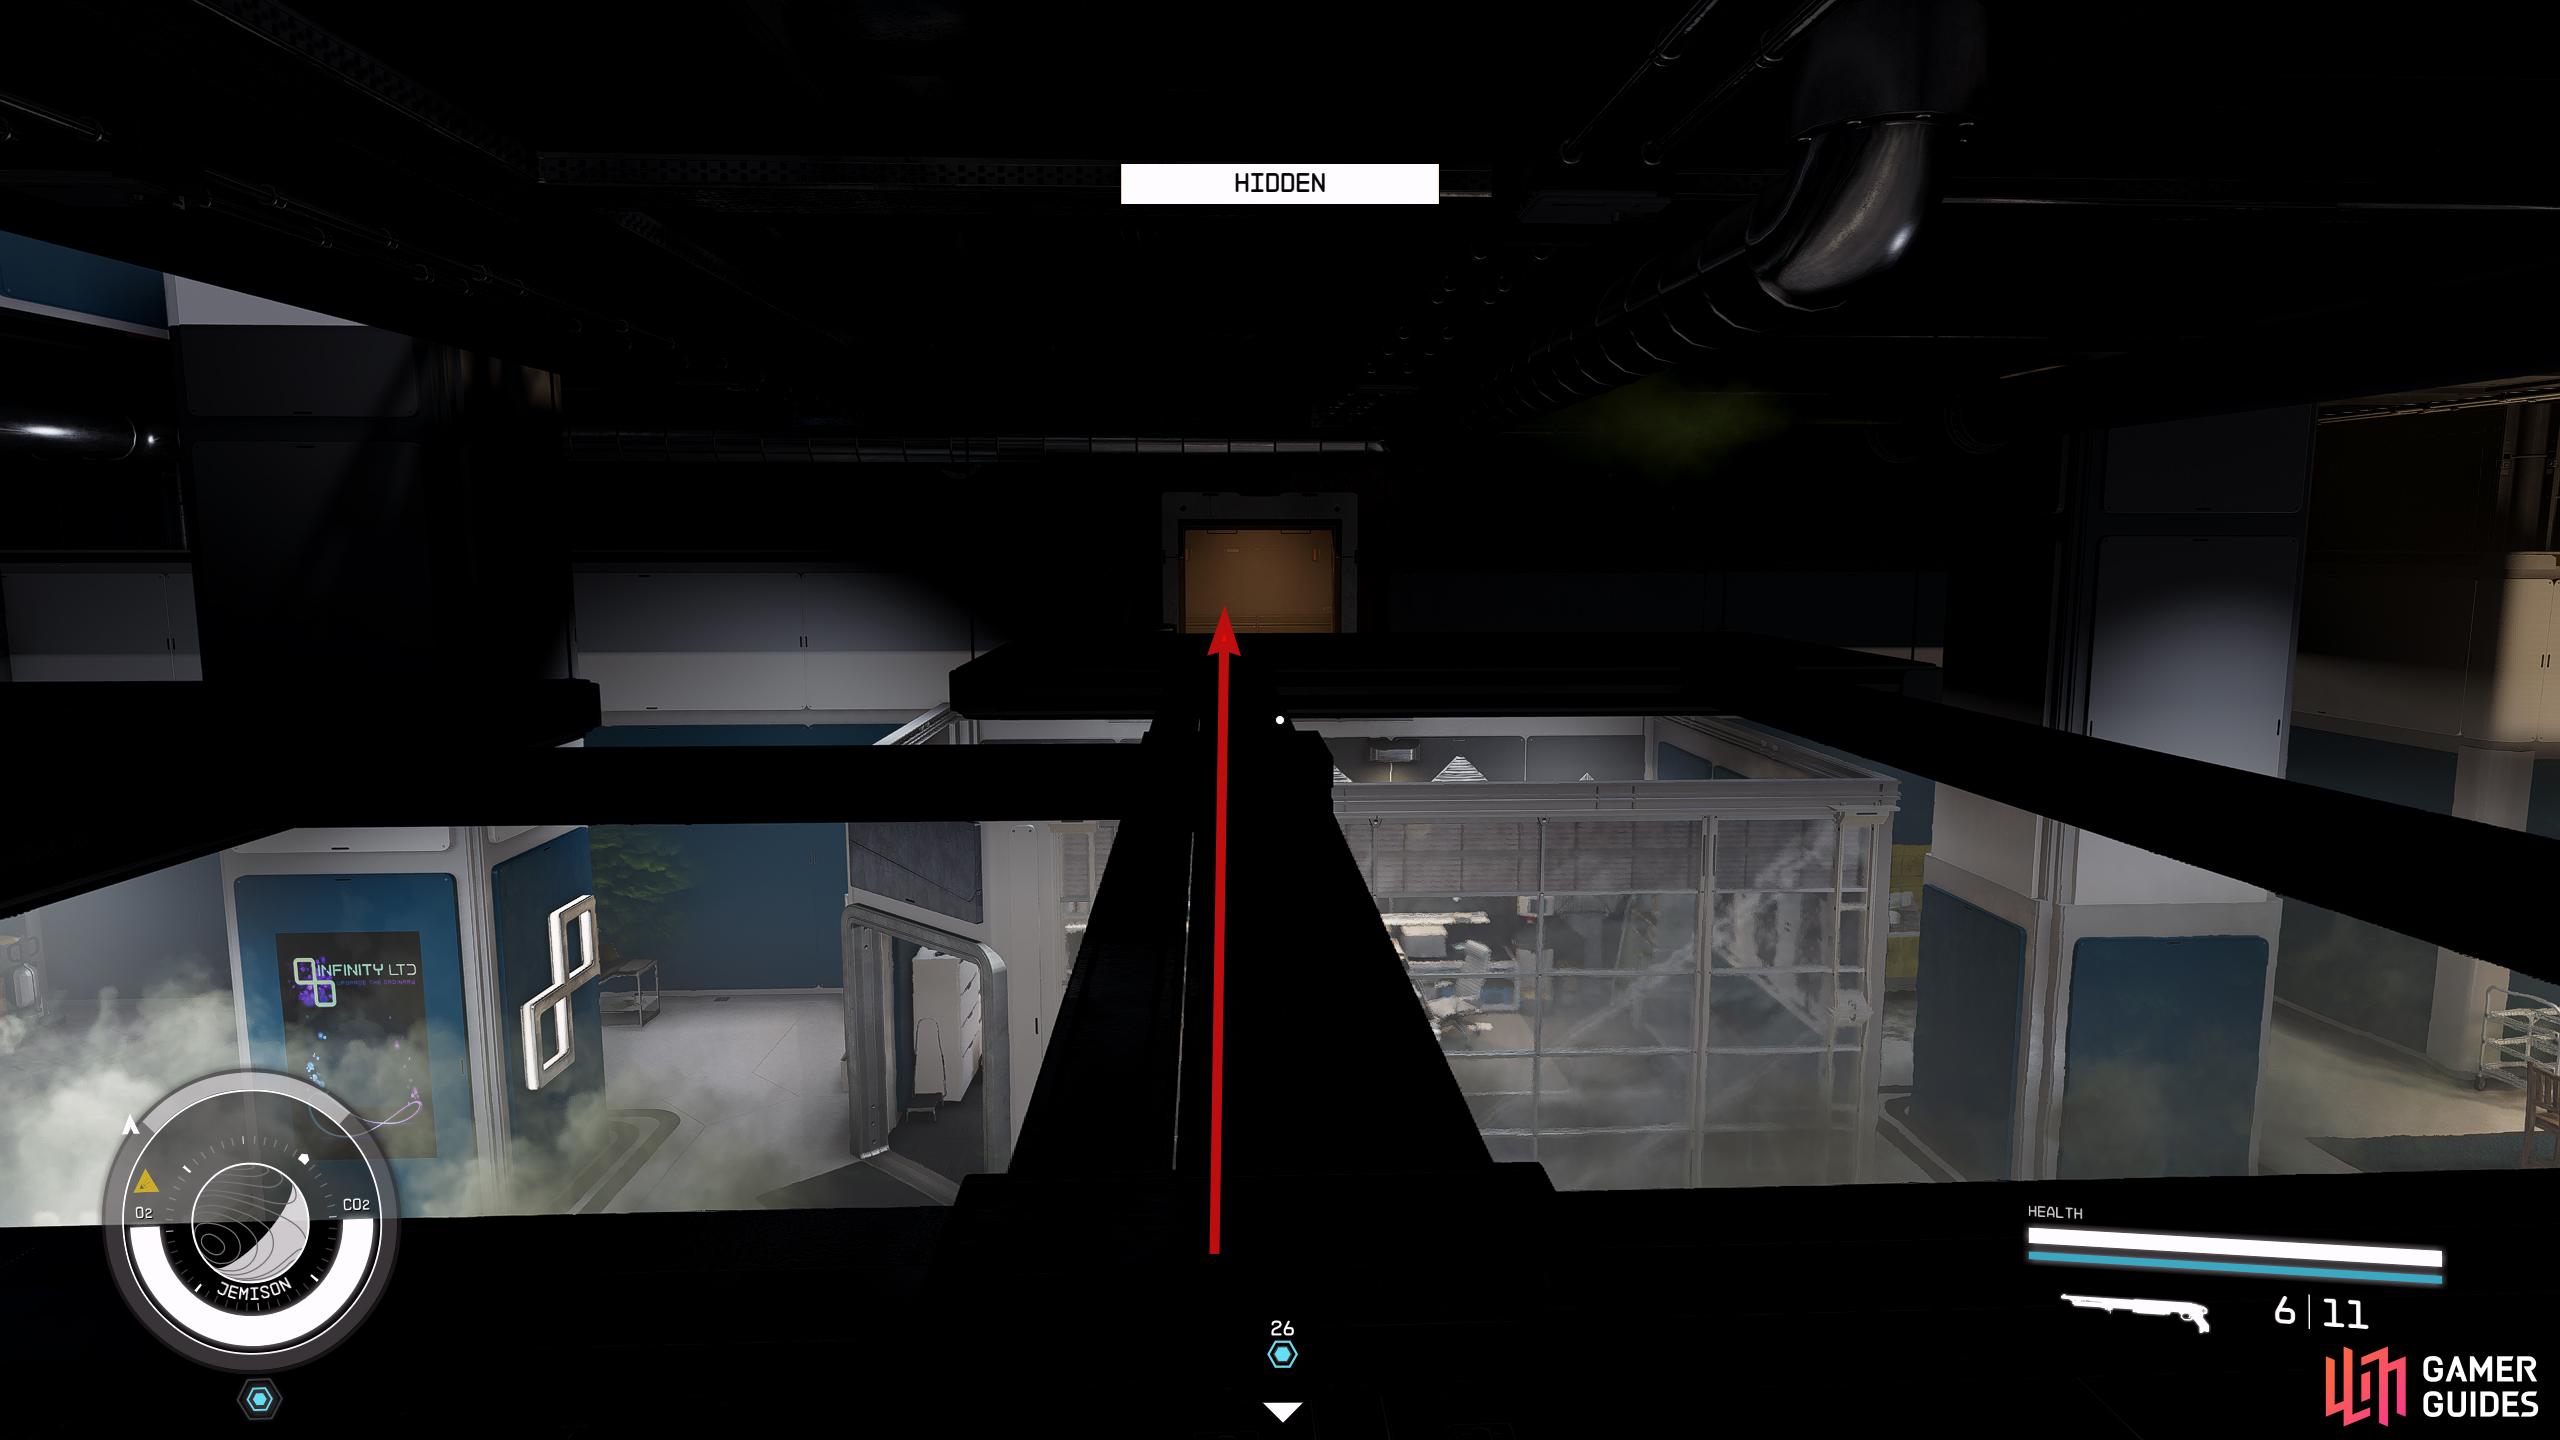
Go back the way you come, and head across the beams to a vent in the wall with an orange hue.
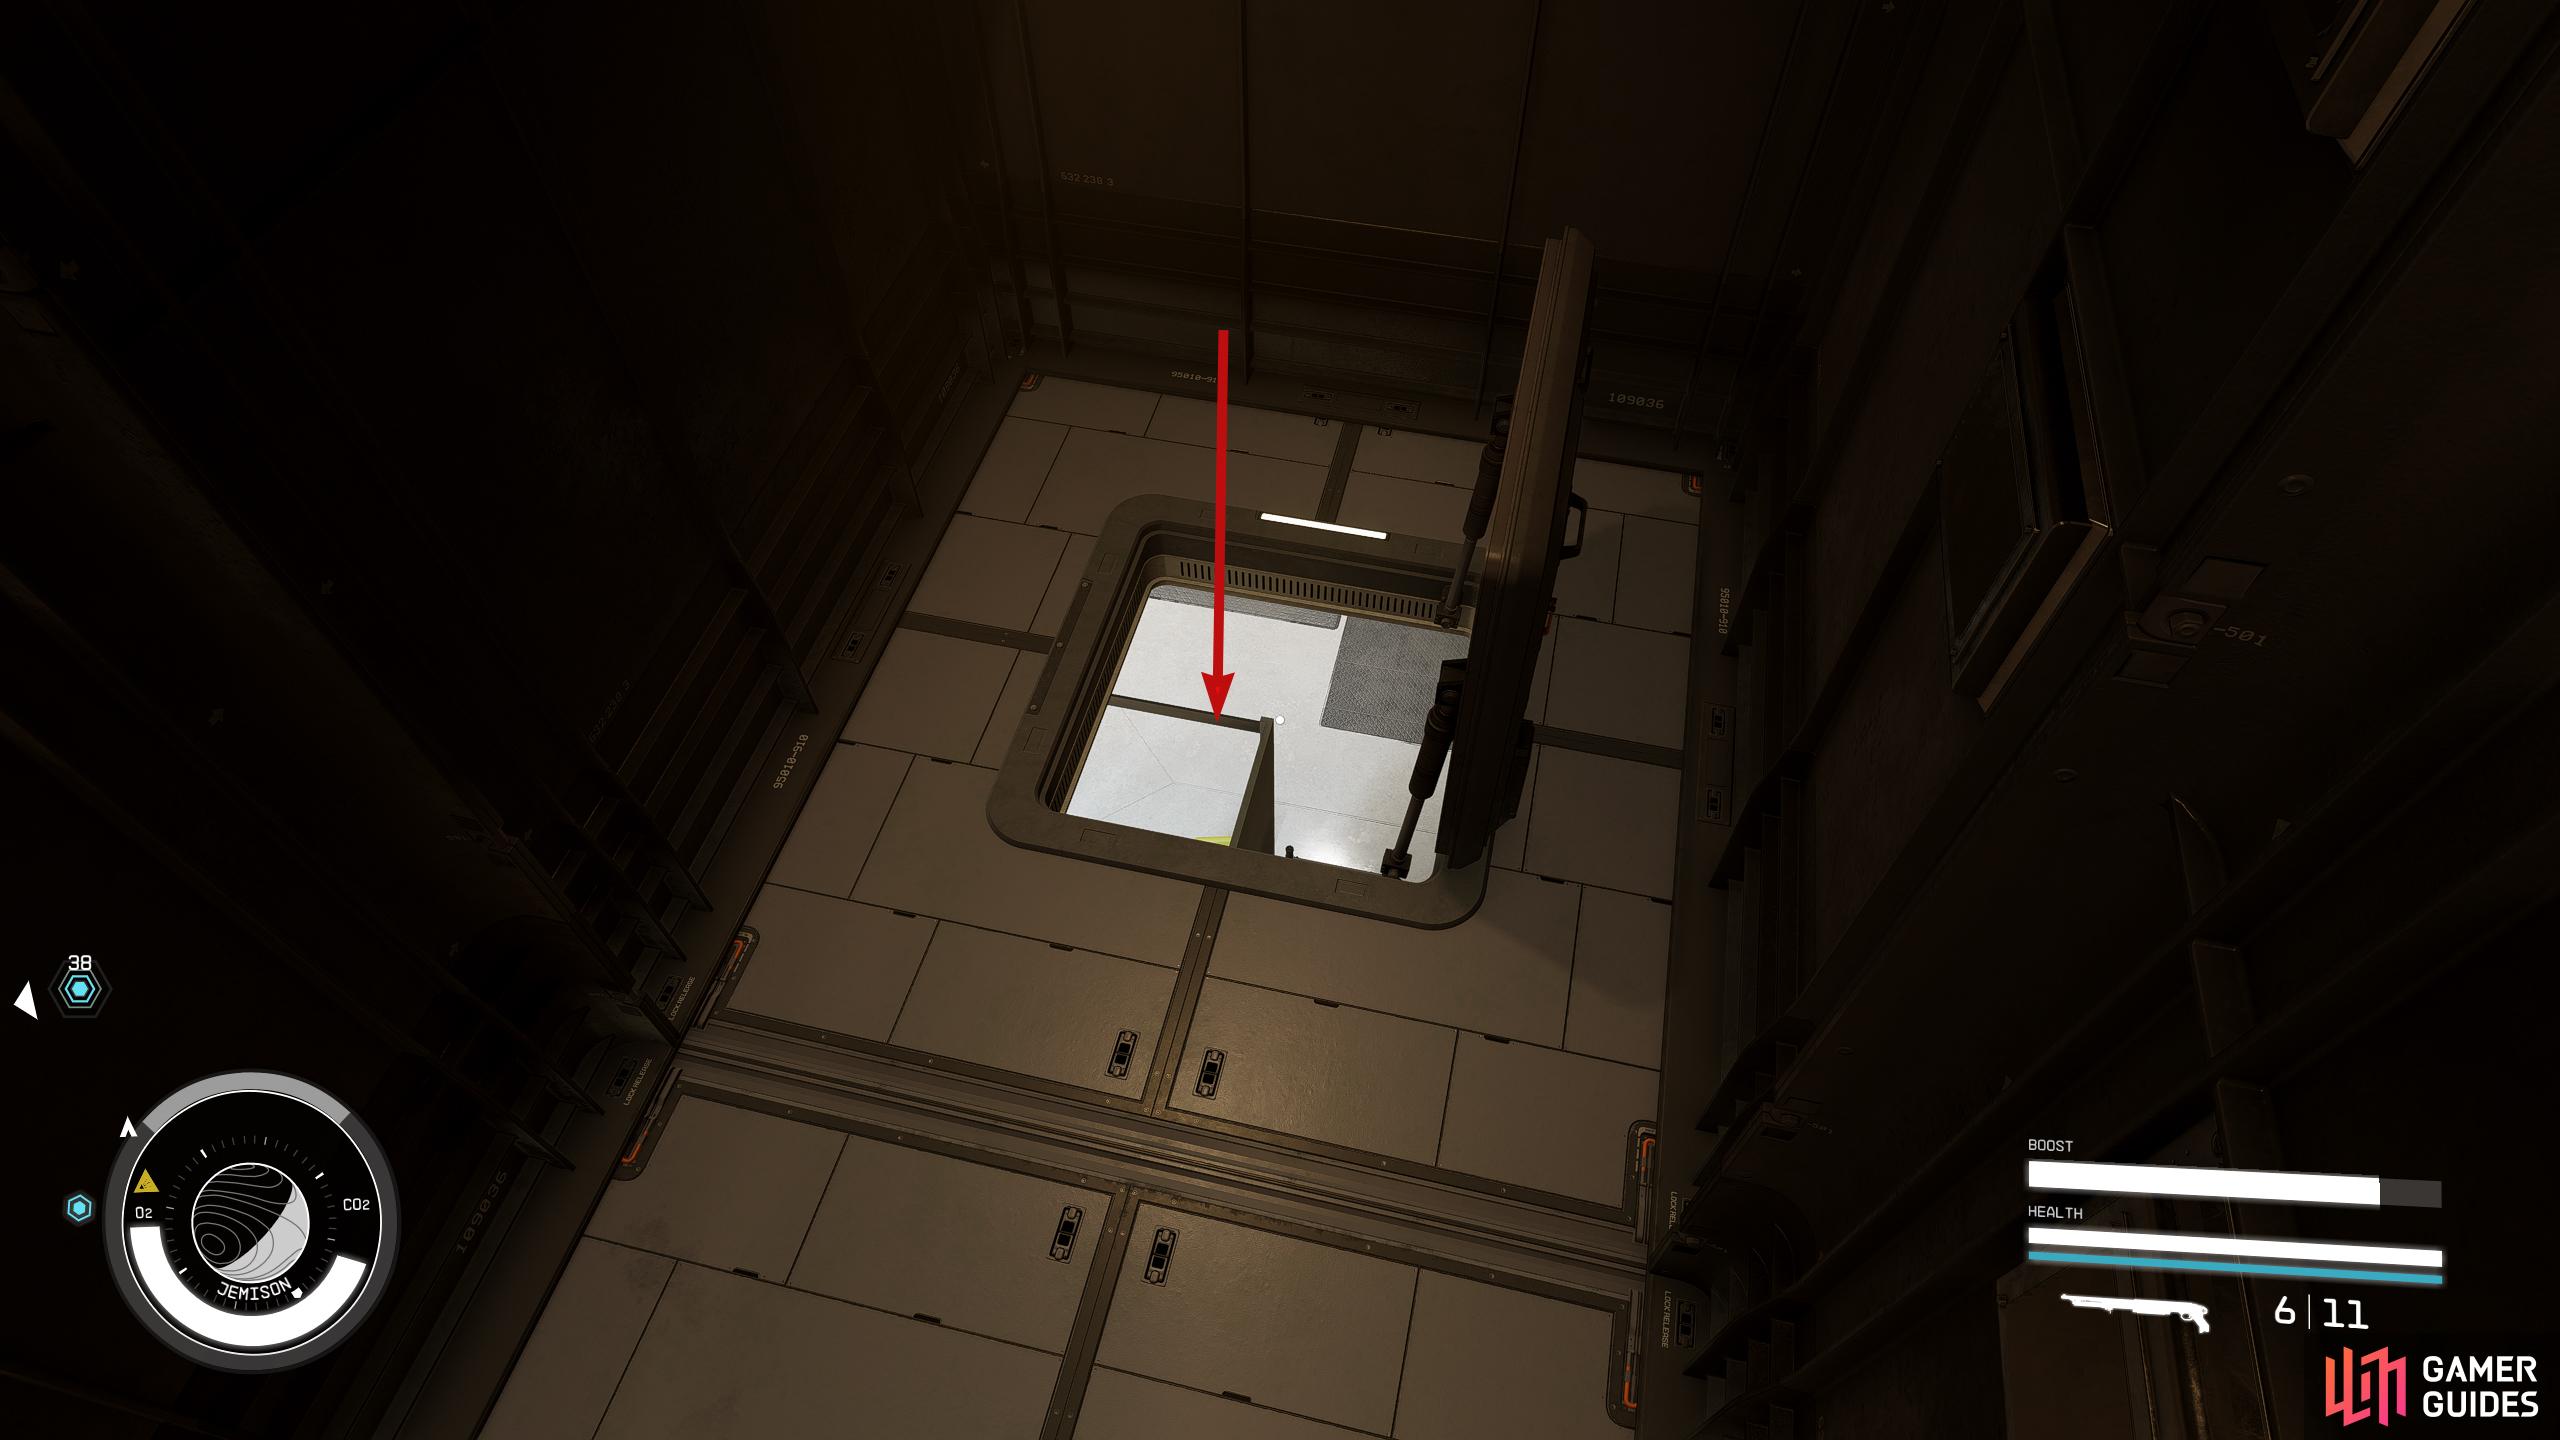
Drop onto the pipes, and through the vent hole into the toilets.
The way to get through this room is to sneak to the right side of the office cubicles (watch out for the guard to the left) and as the guard in front passes you, slowly walk to the end of the office and turn left. Sometimes, you’ll get spotted still even though it’s impossible for them to see you down there, so we recommend using a movement speed aid, and a Reconstim to get past this area, although it may take a few tries.
Proceed past the elevator, and you’ll encounter a guard on the stairs. Quickly use manipulate on them, but don’t tell them to do anything; let them follow you for now. Now head down the glass stairs, and hope that no one else spots you. As you get near to the first floor, jump on top of the platform just before you go around the curve, and head through the nearby vent.
Drop onto the elevator, and then all the way to the bottom of the shaft (make sure you hover before landing). Exit the vent, and you’ll see a guard on the path below. You most likely won’t be able to manipulate them as the level will be too high. I think they’re meant to follow a patrol route, but my guard just stood there in front of the vent. Fortunately, jumping onto the pipe to the left of the vent only put them in caution.
Either way, jump onto the pipe and follow it into the large open room. There is gas spraying from the pipes here, so make sure you use Snake Oil if you get lung damage. Before heading into the large room, make note of the turret at the back of the room, then follow the pipes left into a vent. If you want to turn the turret off now, you can turn right, and jump onto the other set of pipes instead, but we’ll get to that later.
Inside the vents, follow them to the end and head down the vent into the shower room. When you drop, be careful of the guards in the next room in front of the window; they can see you if they’re looking your way. Creep past the window, and go up the nearby stairs into Faye’s room. Use her computer and upload the Overseer’s Program, and only the Neuroamp will remain.
(1 of 3) Follow the pipes and go through the vent, and you’ll end up in the shower room.
How to Get the Neuroamp
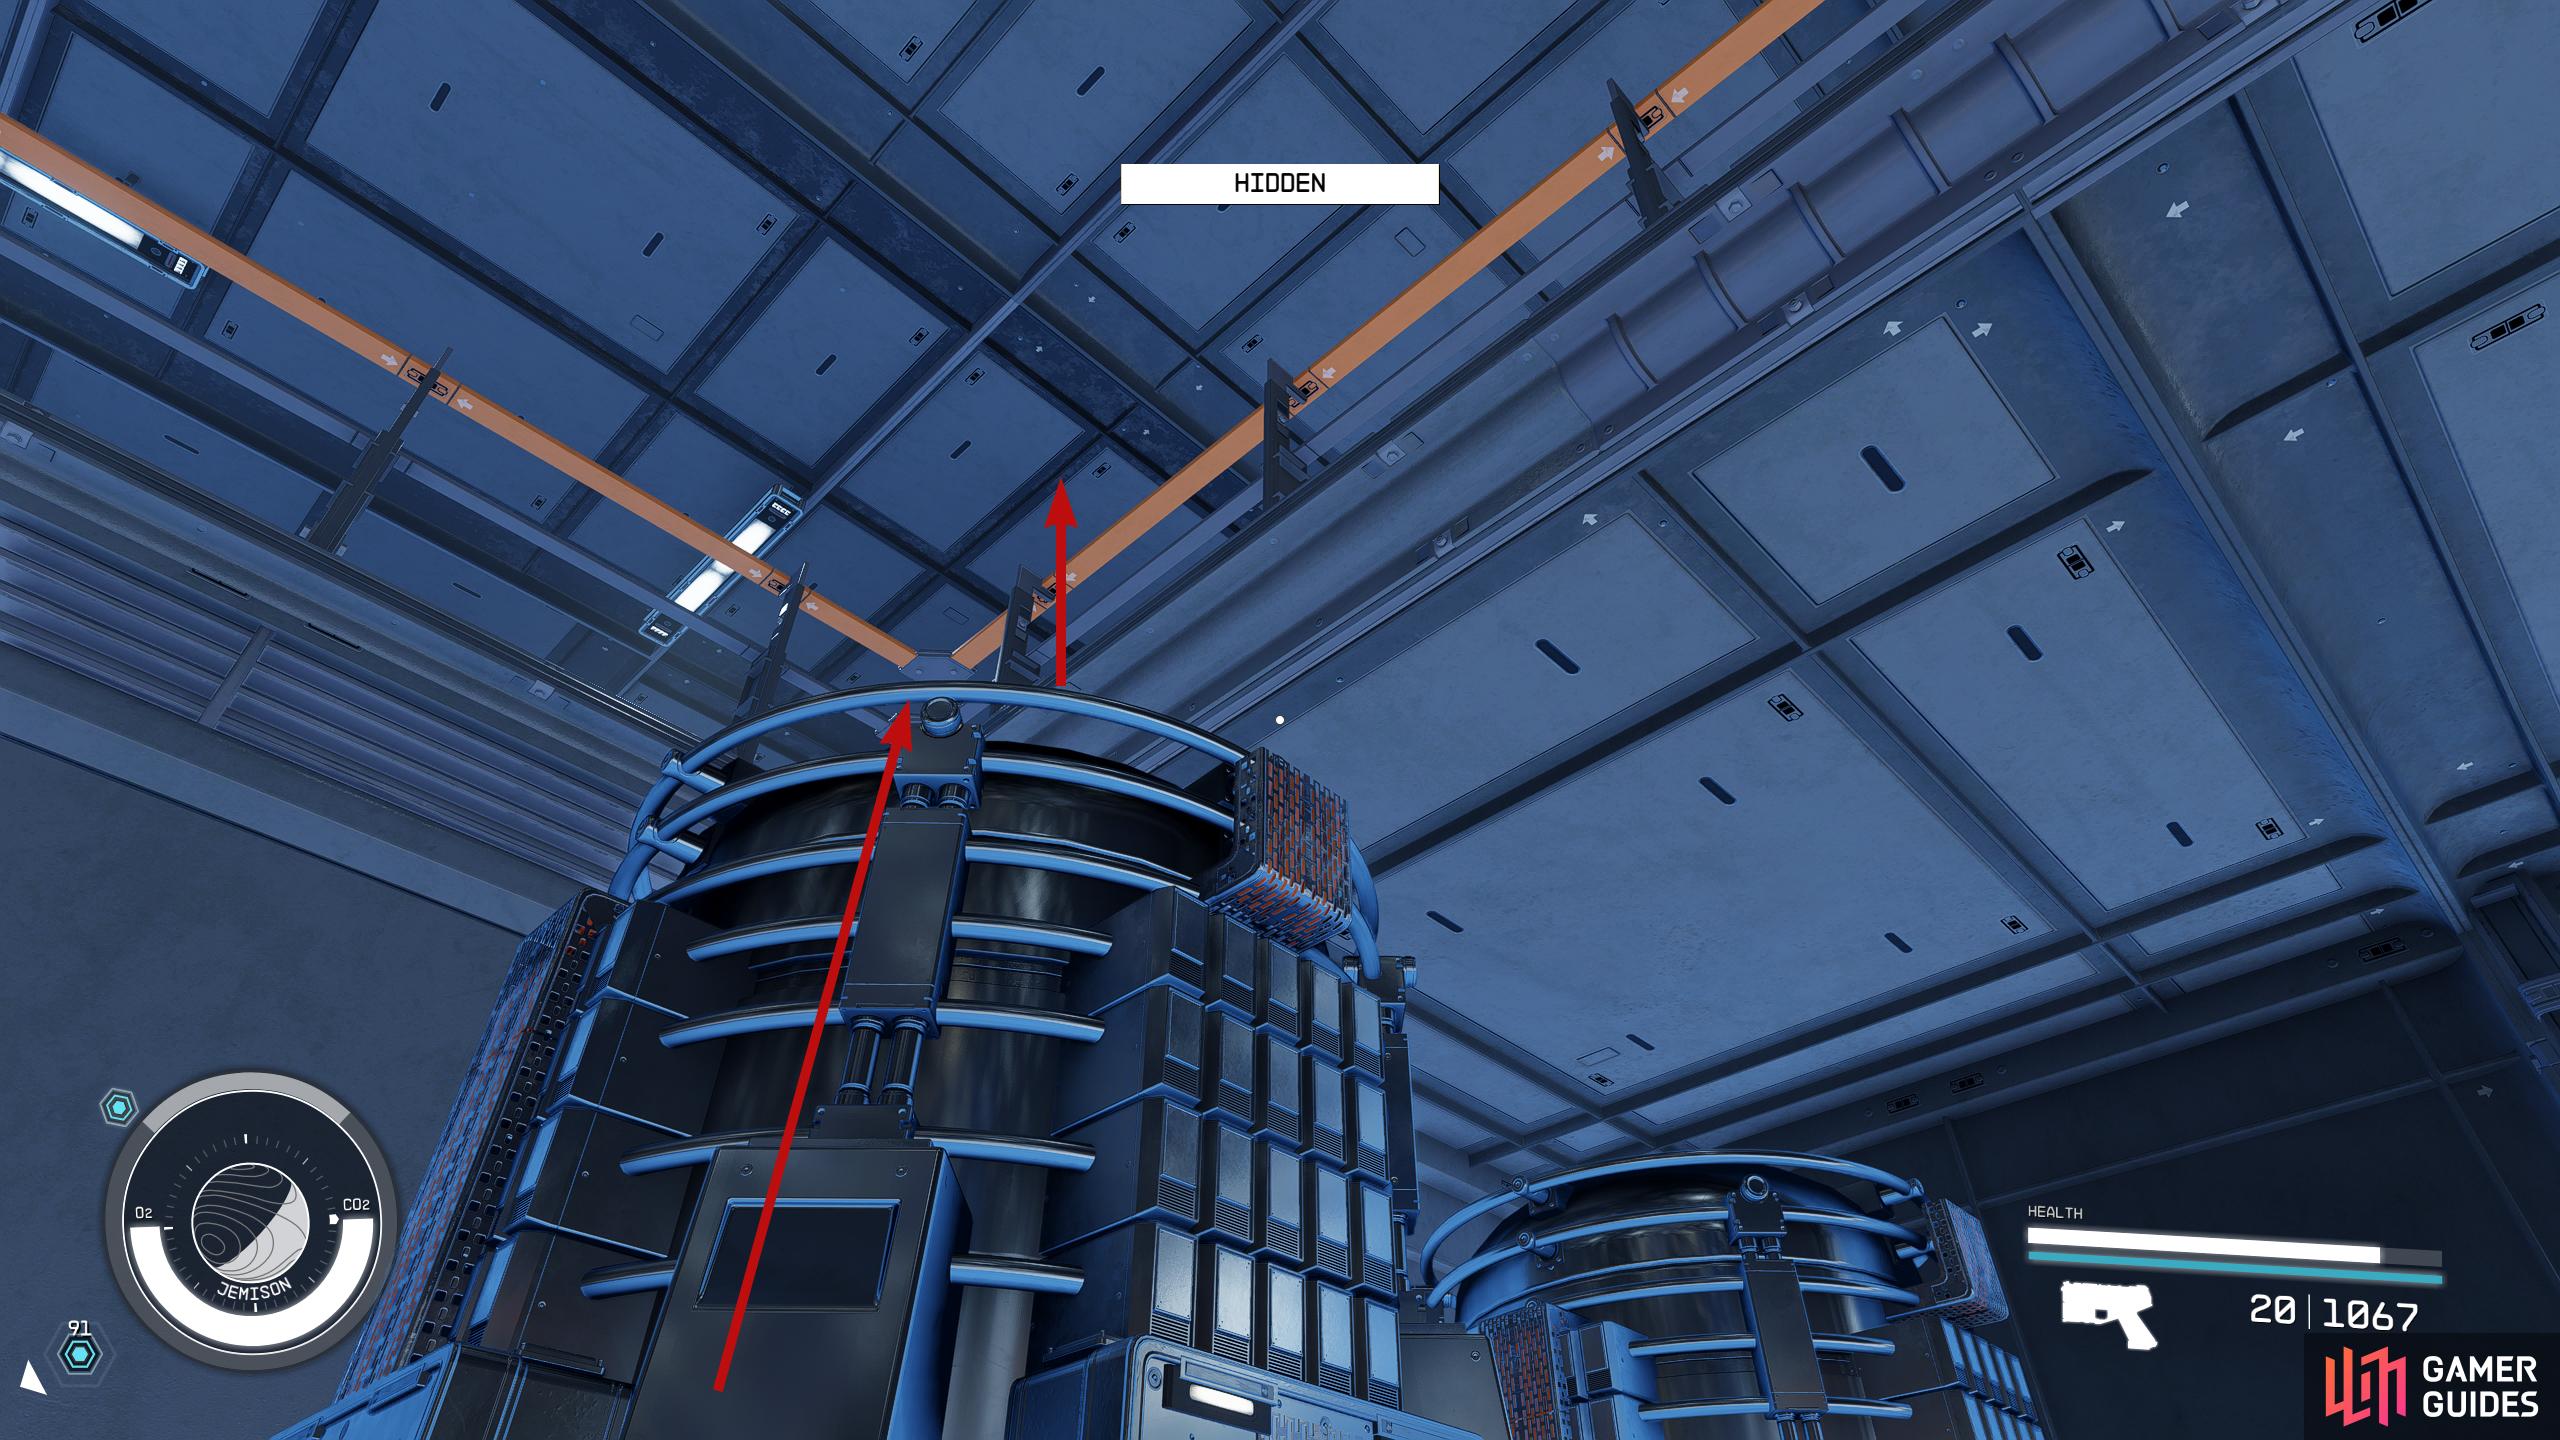
This is probably the hardest thing to do in the mission while sneaking. Anyway, head back near the shower room, but go through the yellow doors. Follow the hallway through the door, and turn right, and jump on top of the machine to reach the next floor. Be careful as there is a guard up here, but you should be able to sneak to the computer to your left where you can deactivate the turret. Head back down the way you came, and hit the switch on the door to open it.
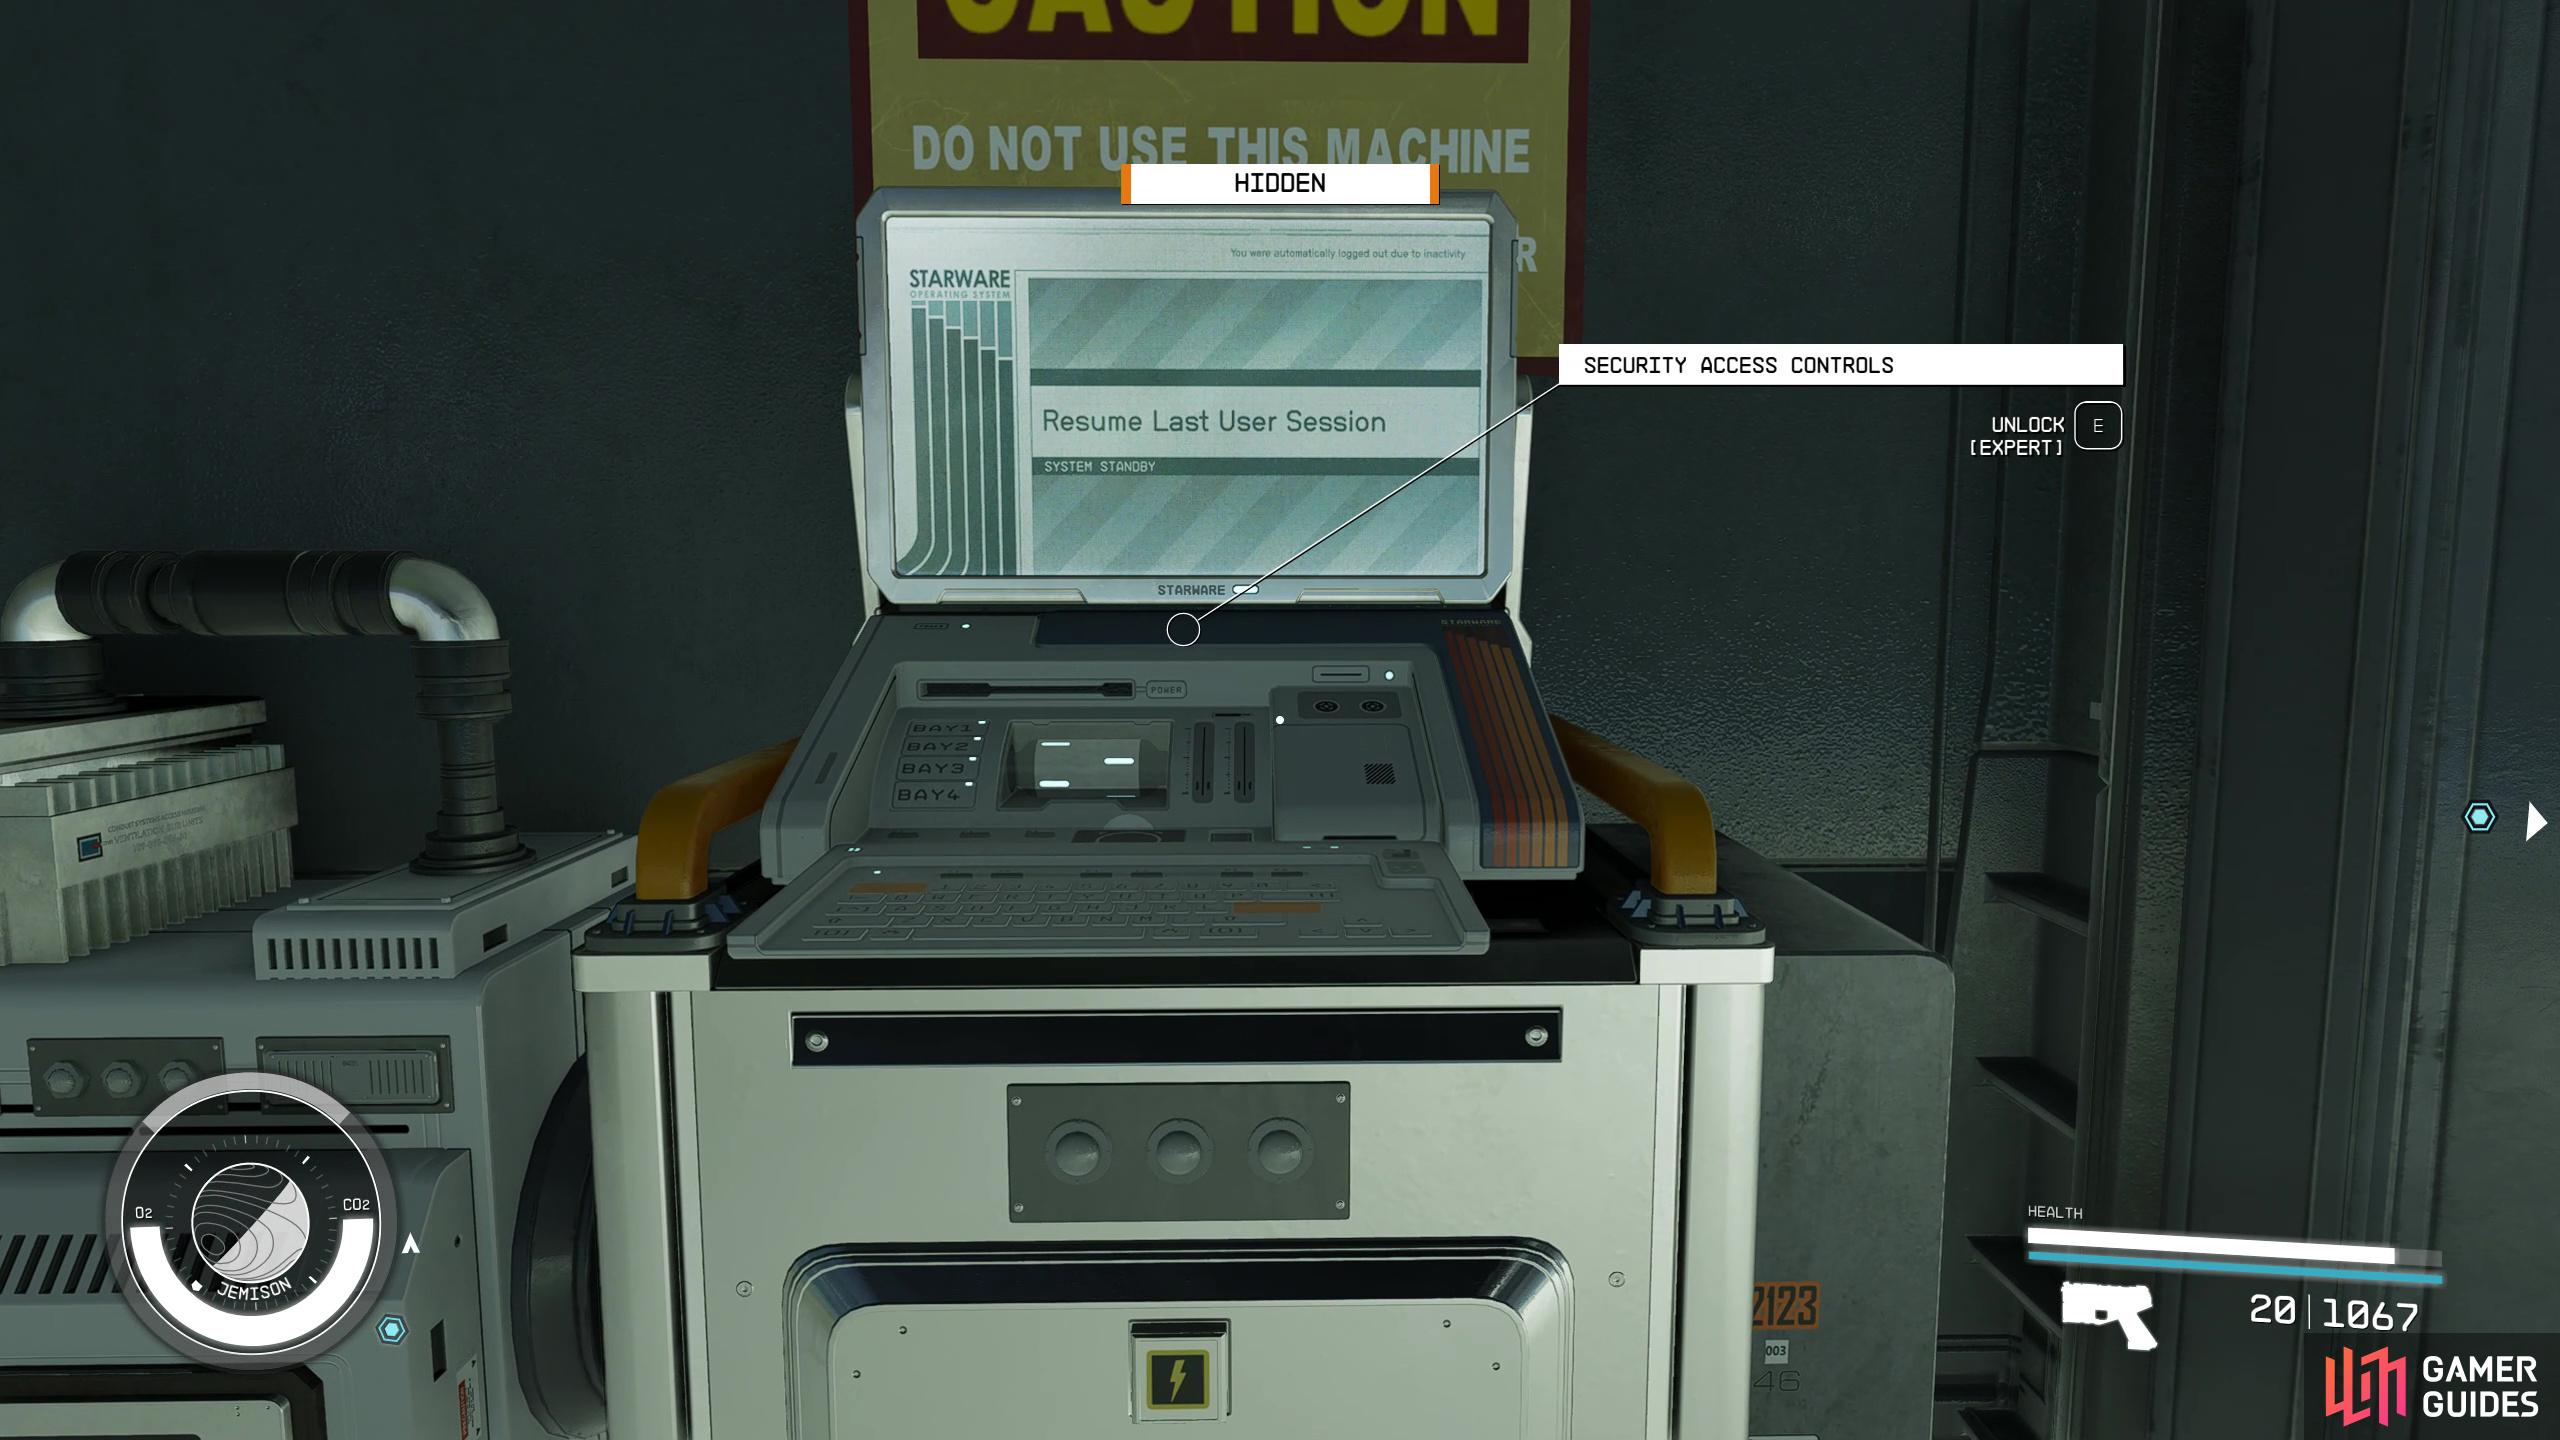
Make a quick save, enter the room, and access the security console to your left to deactivate the alarm on the machine holding the Neuropump then save it again. There’s some loot you may want to get such as the Science Crate, and the magazine on the nearby table. When you’re ready, head slowly towards the Neuropump. Now, this part is either bugged or ridiculously hard due to the guards to your right. We had 2 in Stealth, used the Operative Suite, and a Reconstim, and still alerted the guards outside. So, either you need max Stealth, or you’re meant to alert them as you can run the rest of the way. Here are some things we tried that somewhat worked:
-
Head towards the guards by following the hallway near the shower room/Faye’s room and head to the open door where the guards are. The one in front will have their back turned, but there is a level 12 guard who walks past. If you’re quick enough, you can manipulate them, and get them to attack the other guards.
-
In the same room as the guards, there is a computer on the upper level where you can overload a generator that’ll explode, and take out two guards at best.
-
Another thing you could try is to shoot your gun inside the room which will cause the guards outside to become cautious and they’ll run around. If you’re quick enough, you may be able to steal the Neuropump during the commotion, but we always got caught.
-
The method which worked for us, but needed to be save scummed multiple times was to approach the Neuropump from the left side of the room, pop a Reconstim, stand near the trolley, and jump/glide over to the Neuropump. Most of the time we got caught, but a couple of times we were able to pick the Neuropump up, and jump/glide back over to the trolley without getting caught.
In all honesty, you may as well run up to the Neuropump, and head toward the exit, then when you’re relatively free, wait for the “search” to end; it’s easier, and less of a pain. Whatever way you choose to get the pump, it’s time to escape. Head back out the door you came through to get here, climb back up the machine (where you turned off the turret), and head along the walkway opposite the turret computer. Follow the walkway around the corner until you reach a white container, jump on it, and climb onto the pipes above. Now follow the pipes (staying in stealth) to the exit. There is one guard near the elevator, but you can just run inside, and select “Entrance” which will put you back outside.
Bring the Evidence to David of SSNN
All you need to do is run to David who can be found in the SSNN building across the street, and go up the slope to your right (or jump up there) and head into the building. Speak with David, and he’ll ask how he can help you. Answer with any of the choices, and he’ll ask what the story is about. Once again, answer with anything you want, and finally give him the Slate. He will ask for your source, but you can’t tell him anything even if you want to. All that’s left to do now is to report back to Masako in Ryujin Tower. As you tell her how the assignment went, someone will buzz through the news report on Masako’s phone. Man, David works fast!
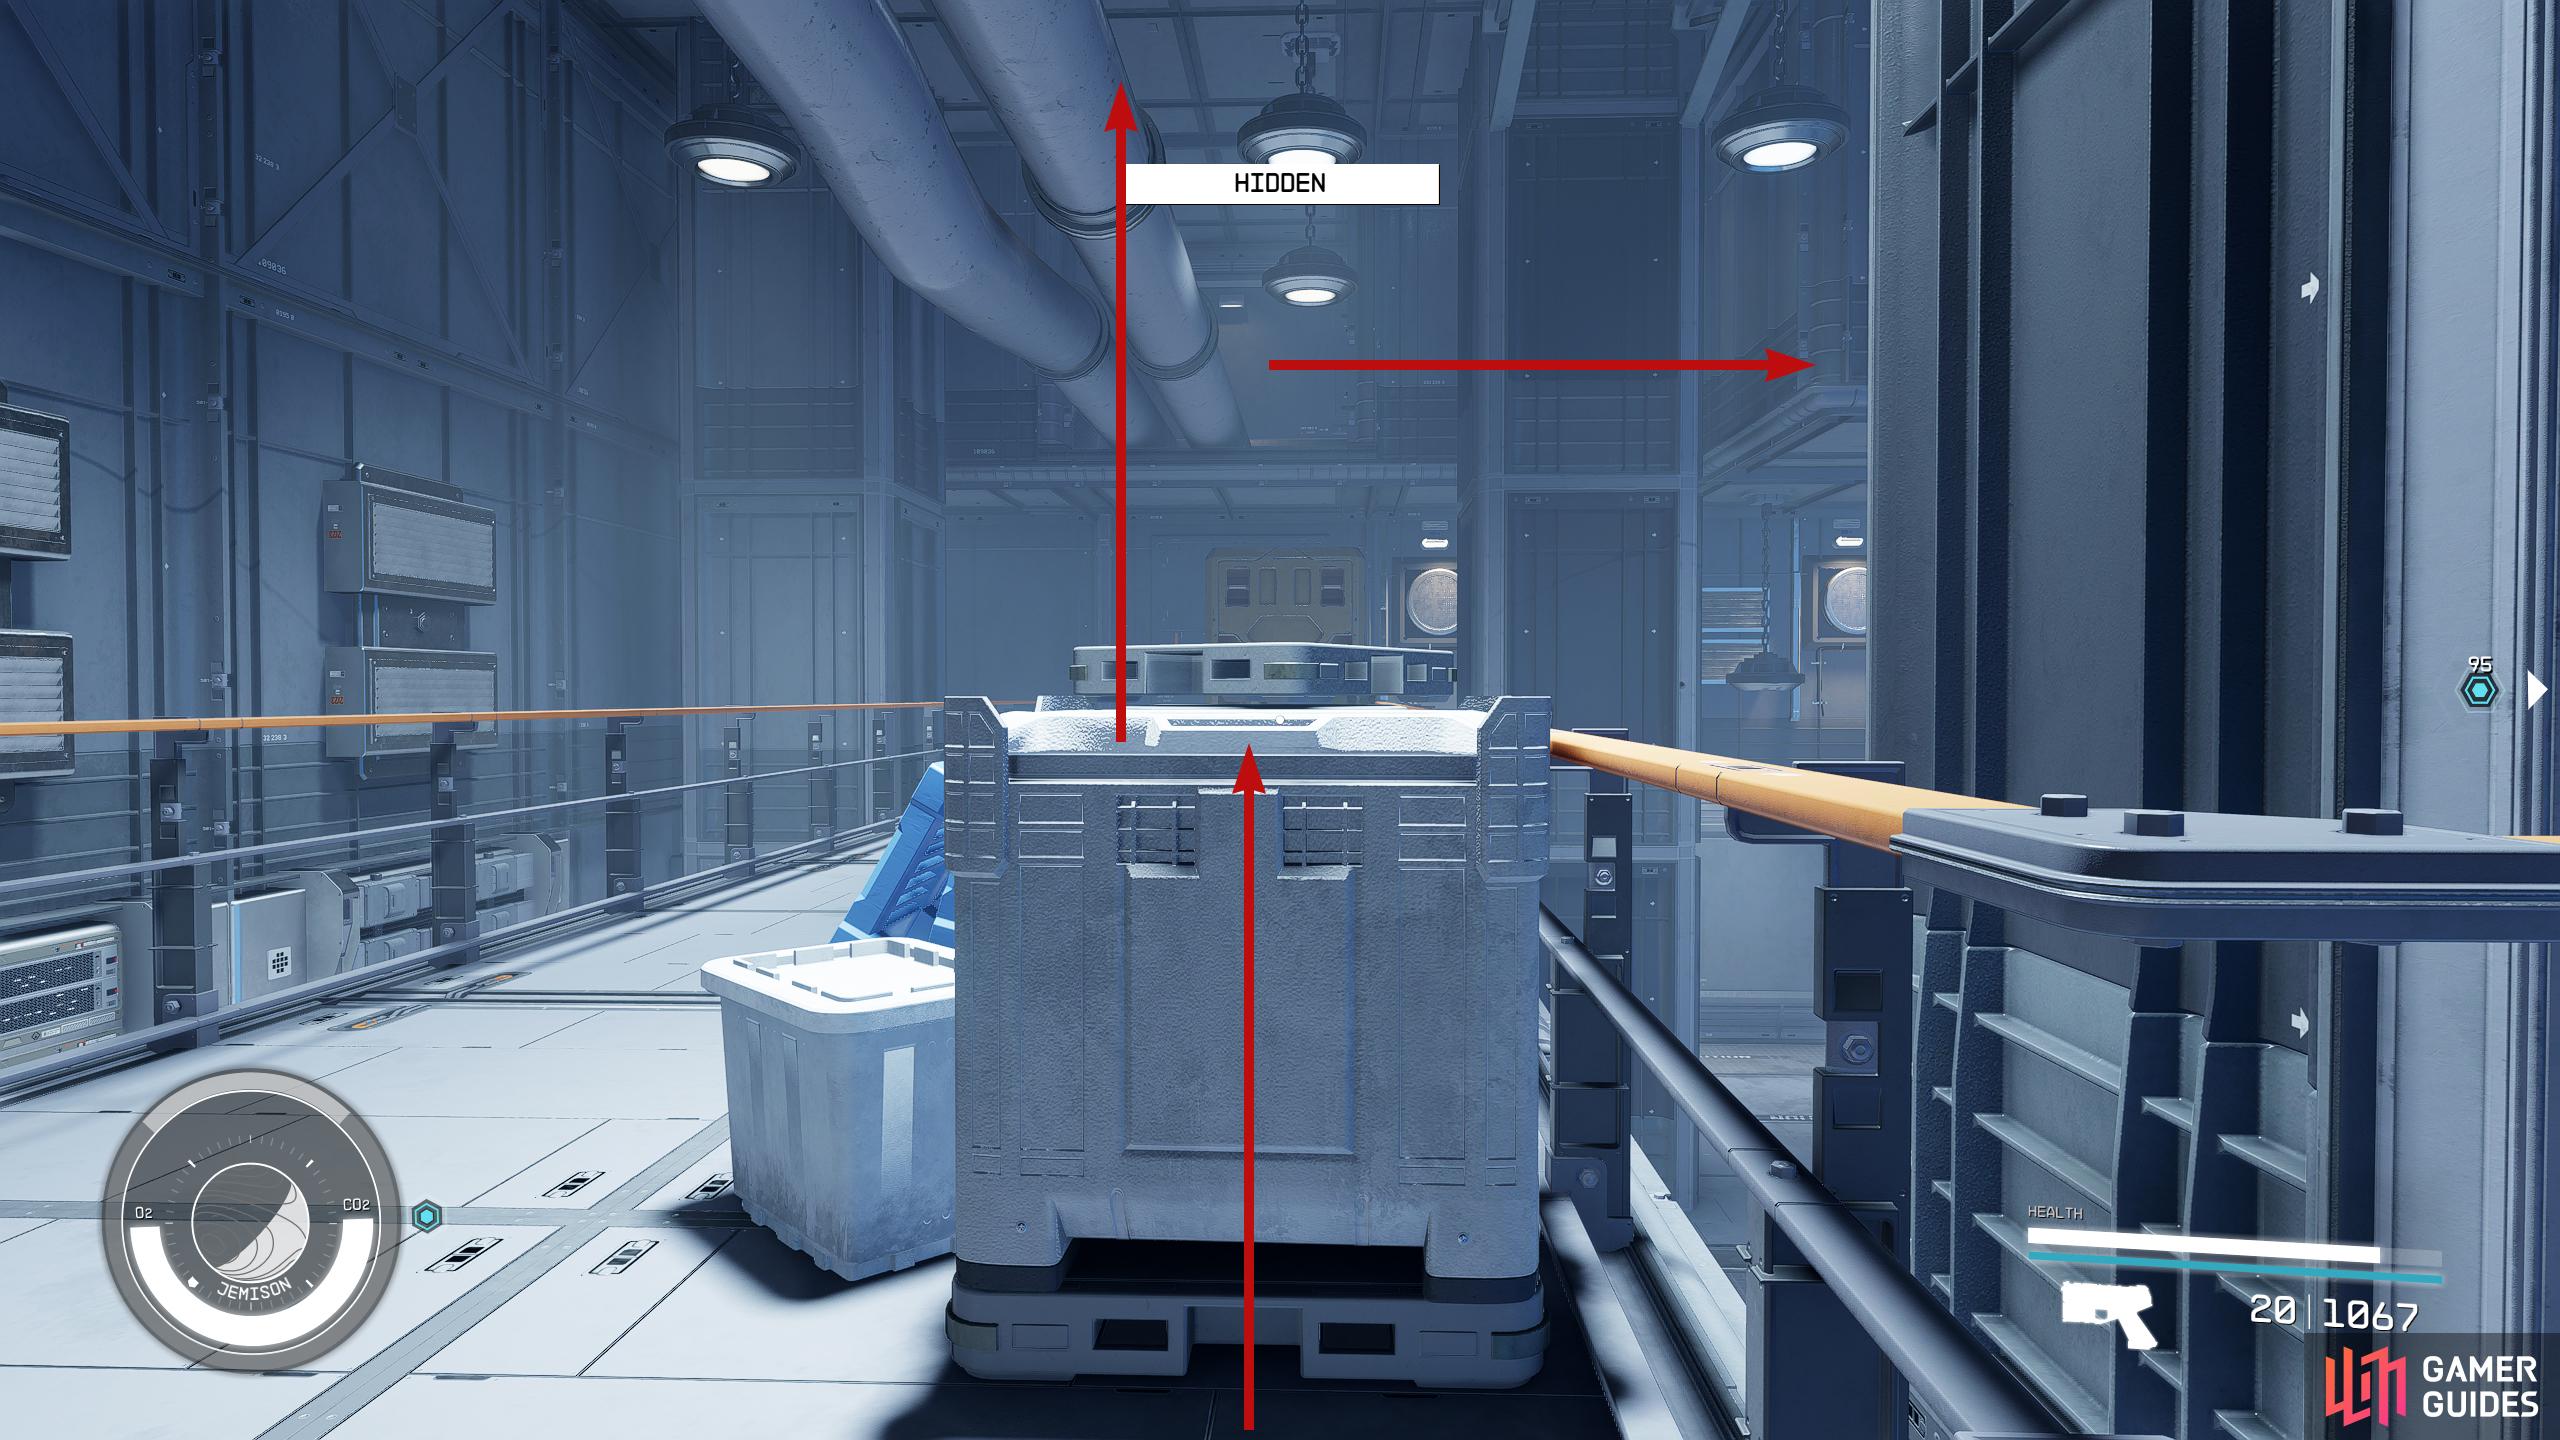
(1 of 4) Head back up to the walkway where the turret computer was and go the opposite direction until you reach a crate. Jump on the crate onto the pipes above.
Talk to Masako
The news report will leave Masako very happy, and she’ll tell you her plans to absorb Infinity LTD, and she’ll ask you to get the board’s approval, Neuropump or no Neuropump, but that’s another mission. The mission will end, and you’ll receive 12,000 Credits, 3 ![]() Med Packs, and a Reconstim. Just one more mission to go!
Med Packs, and a Reconstim. Just one more mission to go!
For the ending section, this is what I did, got away scot free. Stealth 4, Concealment 3. Operative suit. No chems...
1. Remember to grab the key off Faye's desk when hacking her computer.
Go through yellow door, follow to end, jump up on machine then ledge to interact with turret computer. Instead of just deactivating the turret, one can "update IFF settings" to have them "protect current user". This pits the turrets against the guards.
Use that to get off ledge and get to a "safe" spot. Eventually the guard goes back to station by the turret computer. Use ID to open security door. Push switch on inside to close it. Guards do not have key...
After hacking the computer to deactivate the alarm, turn around (have computer immediately behind you), you should see a yellow switch on the edge of the wall creating the neuroamp "alcove". That switch shuts the alcove's blinds, so the guards outside cannot see what you're doing. Grab Neuroamp & loot room.
Exit the door you came in. Leave it open, and hide behind the office cubicle pillar nearby. Guard will come down stairs and walk into neuroamp room. Use ID Card to lock guard into neuroamp room, then follow exit procedure...