
Starships in Starfield wear a lot of hats - they’re your mobile base, a space taxi for you and your companions, the war chariot you’ll ride as you cut a bloody path through the galaxy, and most of all, a symbol of status you can decorate to awe and impress friend and foe alike. While customizing your ship to get it to look aesthetically pleasing is a worthwhile enough endeavor, the various gameplay functions of your ship also need to be considered, lest you end up with a pretty paperweight. In service of that goal, this page will provide information on the various stats (hull, mass, etc.) you’ll see on ships and individual ship components when buying or upgrading ships.
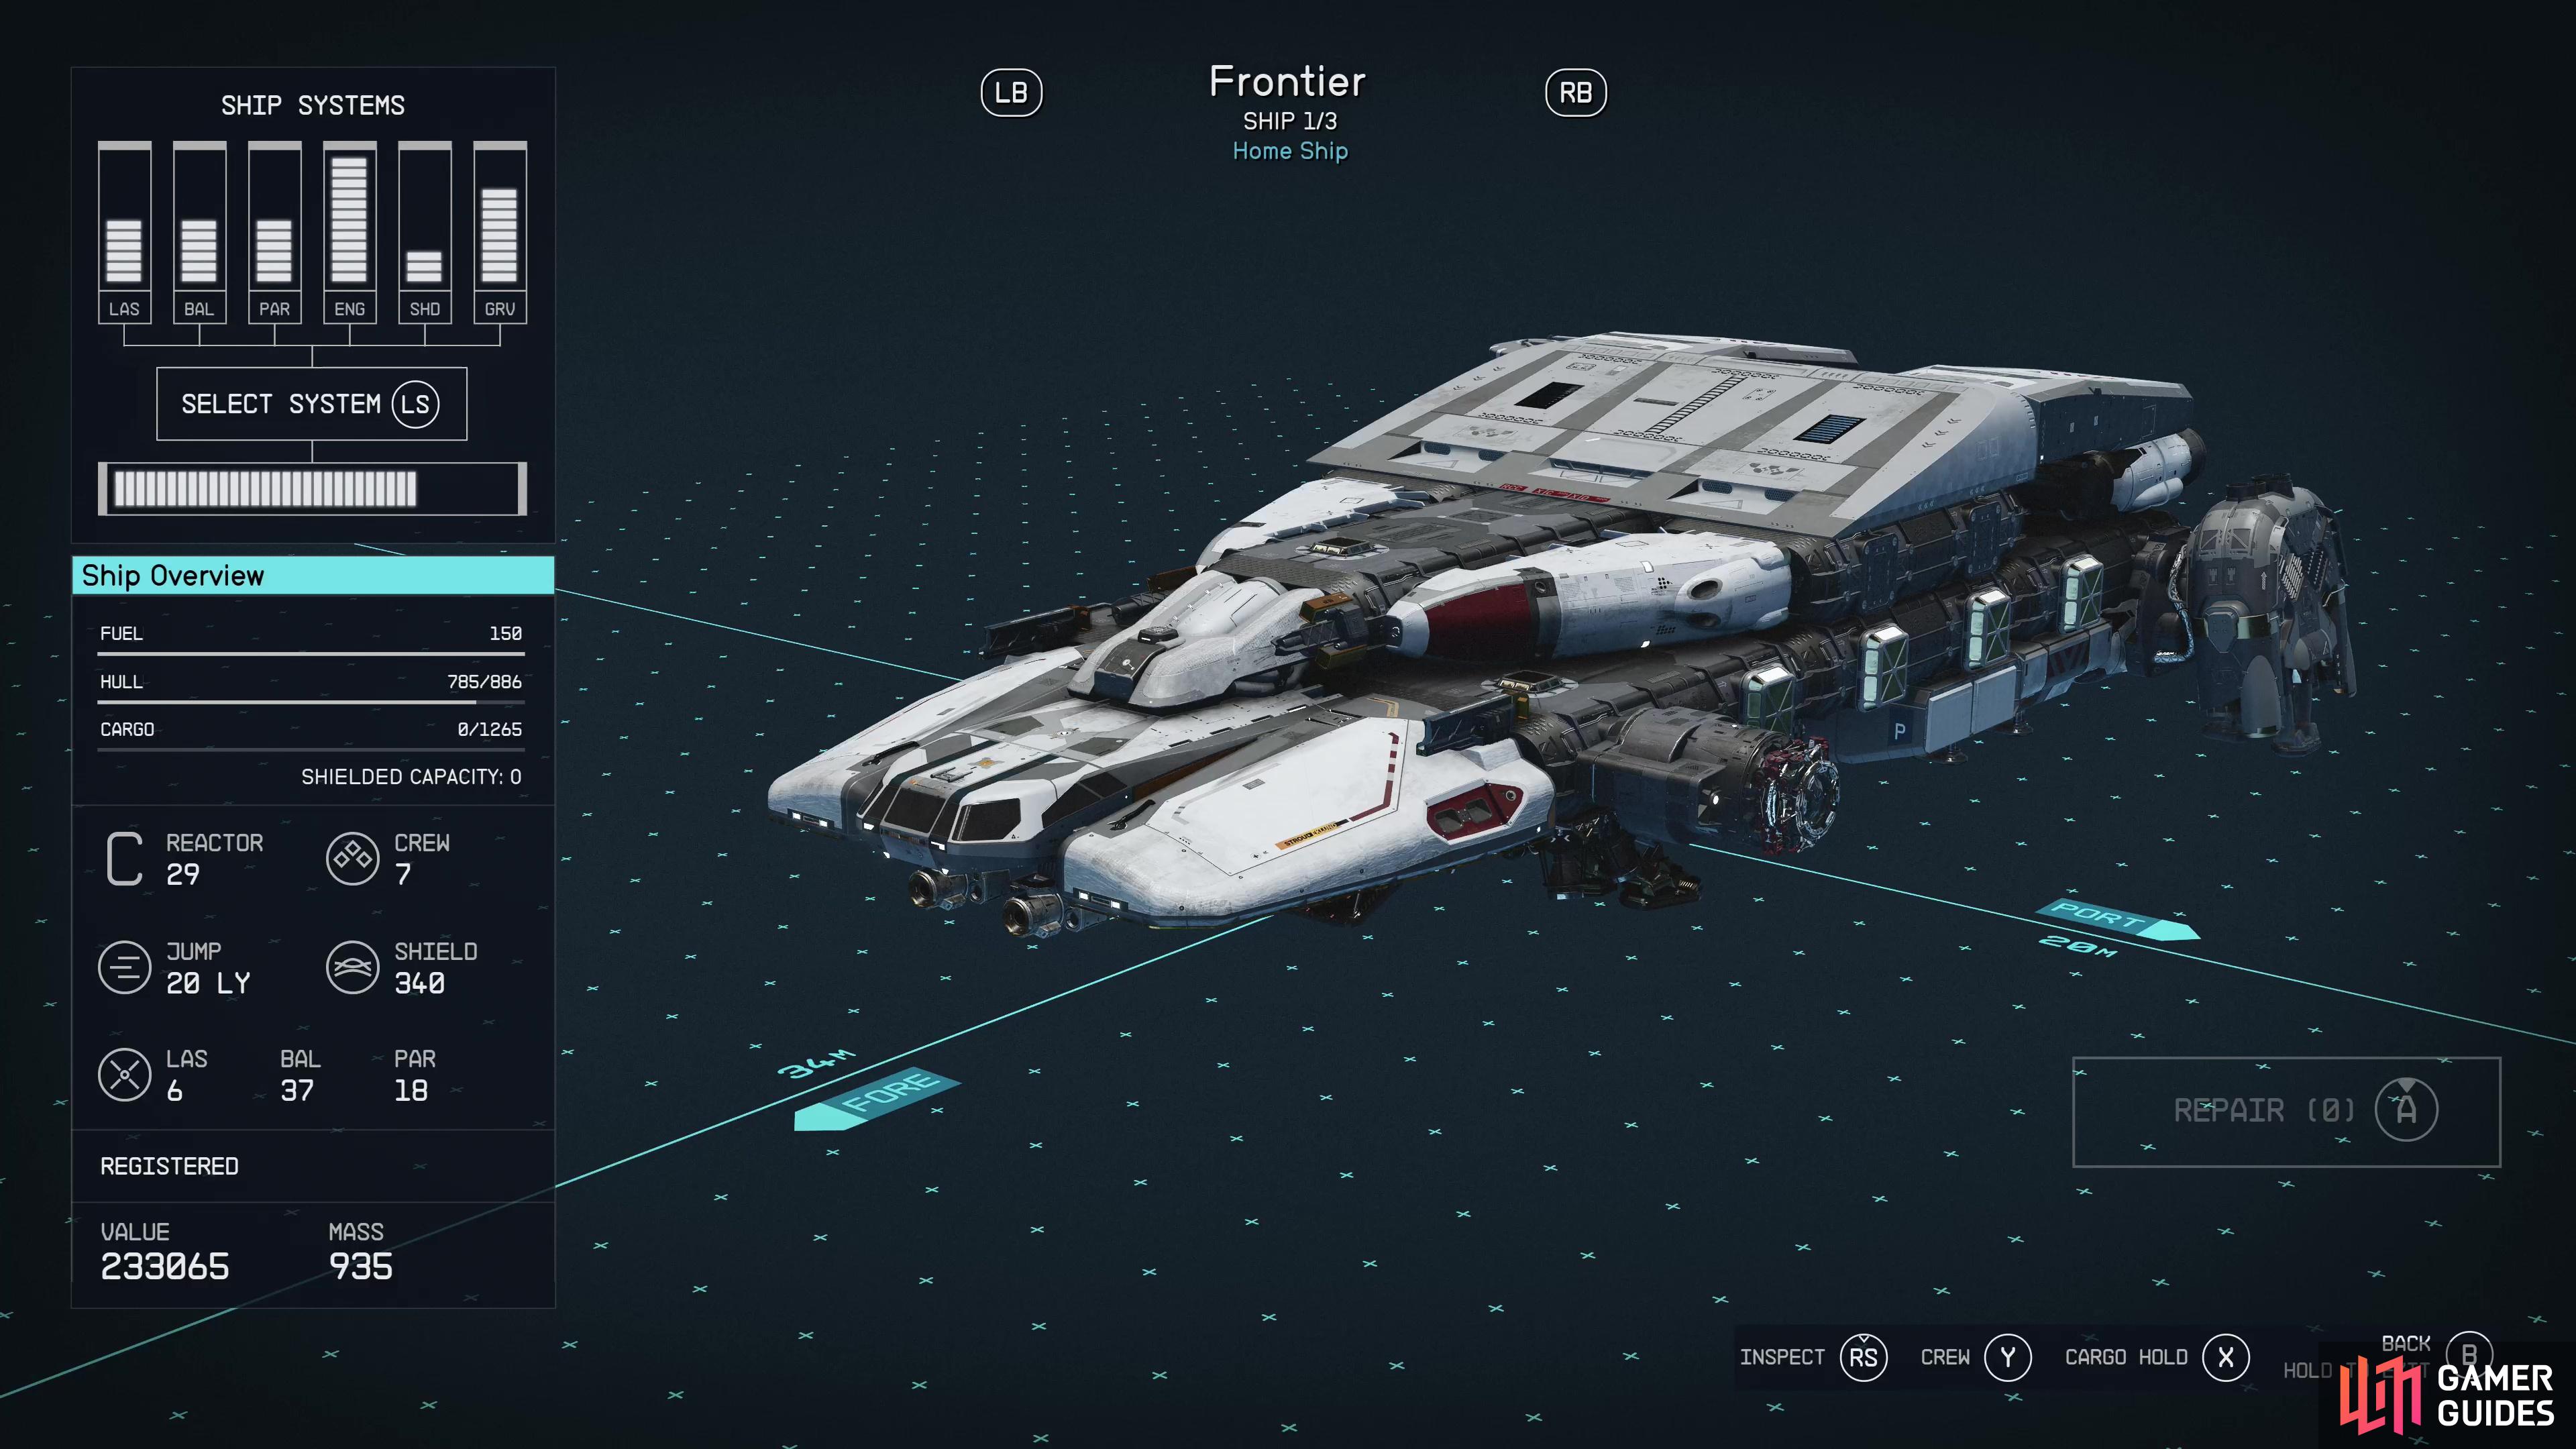
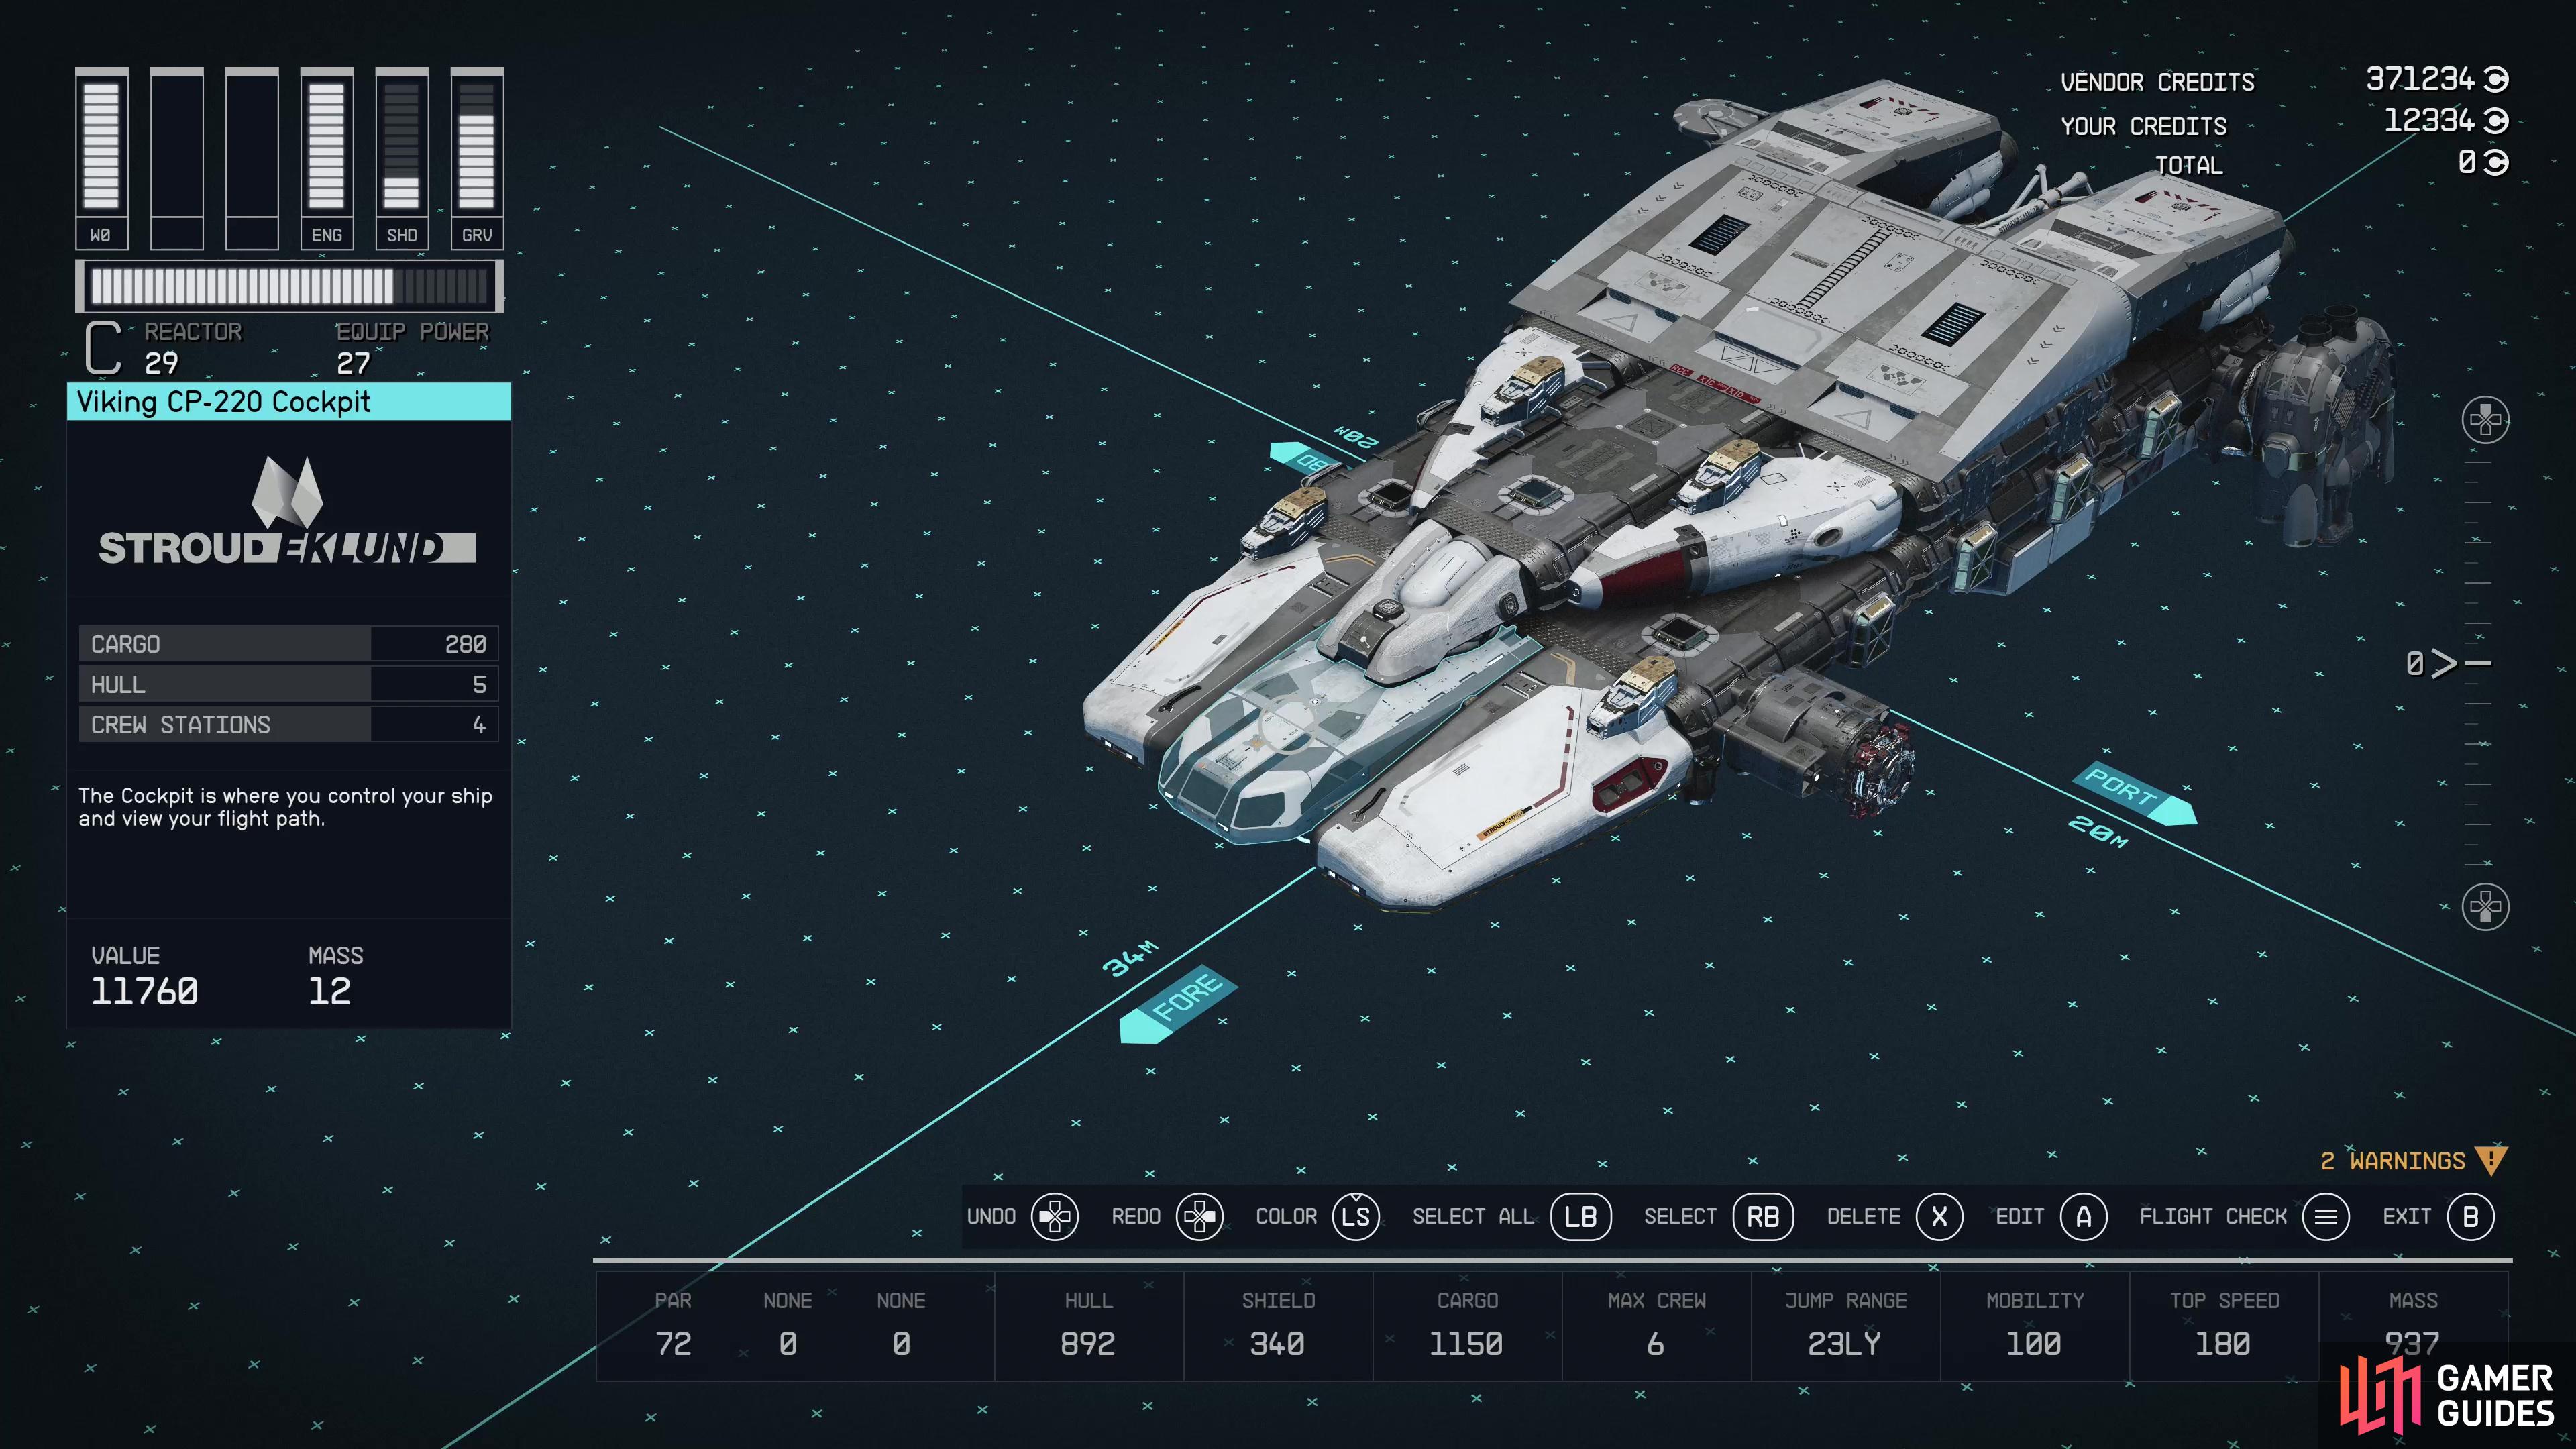
(1 of 4) Your Ship Systems are prominently displayed on the top left of the screen, showing the max power draw of each subsytem.
Ship Systems and Power Generated
Perhaps the most prominently displayed ship stats are the various Ship Systems, represented by bars of white tabs on the top left of the screen. Various components - weapons, engines, shields and the grav drive - require significant power from your reactor to function. That said, there’s some nuance and variability to how they actually perform with varying degrees of power allotted to them, it’s not a one-size-fits all gameplay mechanic, and you never need all your systems fully powered at a single time.
Your reactor generates power. How much is reflected by the Power Generated stat all reactors bear, and this generally ranges from 14-30. The more power your reactor generates, the more you can allocate to various ship systems. If your reactor generates 20 power, you can freely allocate 20 power between all your ship systems, say, 6 to a pair of laser weapons, 3 to a ballistic weapon, 3 to a missile weapon, 4 to your engines and 4 to your shields - sufficient for space combat. Or if you want to get around faster, drop some out of a weapon system and add it to the engines. If you need to get to a different system, dip your engine power and add to the grav drive. Your reactor power can be allocated on the fly, on a whim, using the  .
.
Generally you only need weapons powered if you’re expecting a fight, the engines only need power if you’re traveling locally (usually the case even after fast traveling to an orbital point of interest), shields are generally useful for both combat and keeping meteors and debris from damaging your hull, and you only need the grav drive powered if you’re traveling between systems on the starmap. During the course of normal gameplay you’ll be expected to swap these levels regularly, at least until you get a higher-end reactor that allows you to be a bit lazier.
Importantly, it’s worth noting that a ship system having more max power isn’t necessarily a good thing, the max power stat just means it takes that much power allocated for the system in question to perform to its full specification. For example, a ![]() 40S Protector Shield Generator can generate 520 shields and has a max power rating of 6. This means it will only generate that potential 520 shields if you allocate all 6 units of power to the shield, which may limit how much power you can allocate to other systems. Compared to the
40S Protector Shield Generator can generate 520 shields and has a max power rating of 6. This means it will only generate that potential 520 shields if you allocate all 6 units of power to the shield, which may limit how much power you can allocate to other systems. Compared to the ![]() 10S Protector Shield Generator’s 310 shields and 3 max power, if you only have three ticks of power to spare on a shield, the latter will actually perform better at full power than the former will at half power.
10S Protector Shield Generator’s 310 shields and 3 max power, if you only have three ticks of power to spare on a shield, the latter will actually perform better at full power than the former will at half power.
Not all ship systems have such a clear correlation between power allocated and performance, and there’s a good bit of variability. Some weapons fire slower when used at less than full power, others charge slower, the more power you have allocated to your engines the faster you can go (as a proportion of your max speed) and the grav drive… well, it’ll take longer for you to grav jump the less power you have to your grav drive, but there’s never a compelling reason to keep your grav drive charged nor to provide it with too much power.
Mass
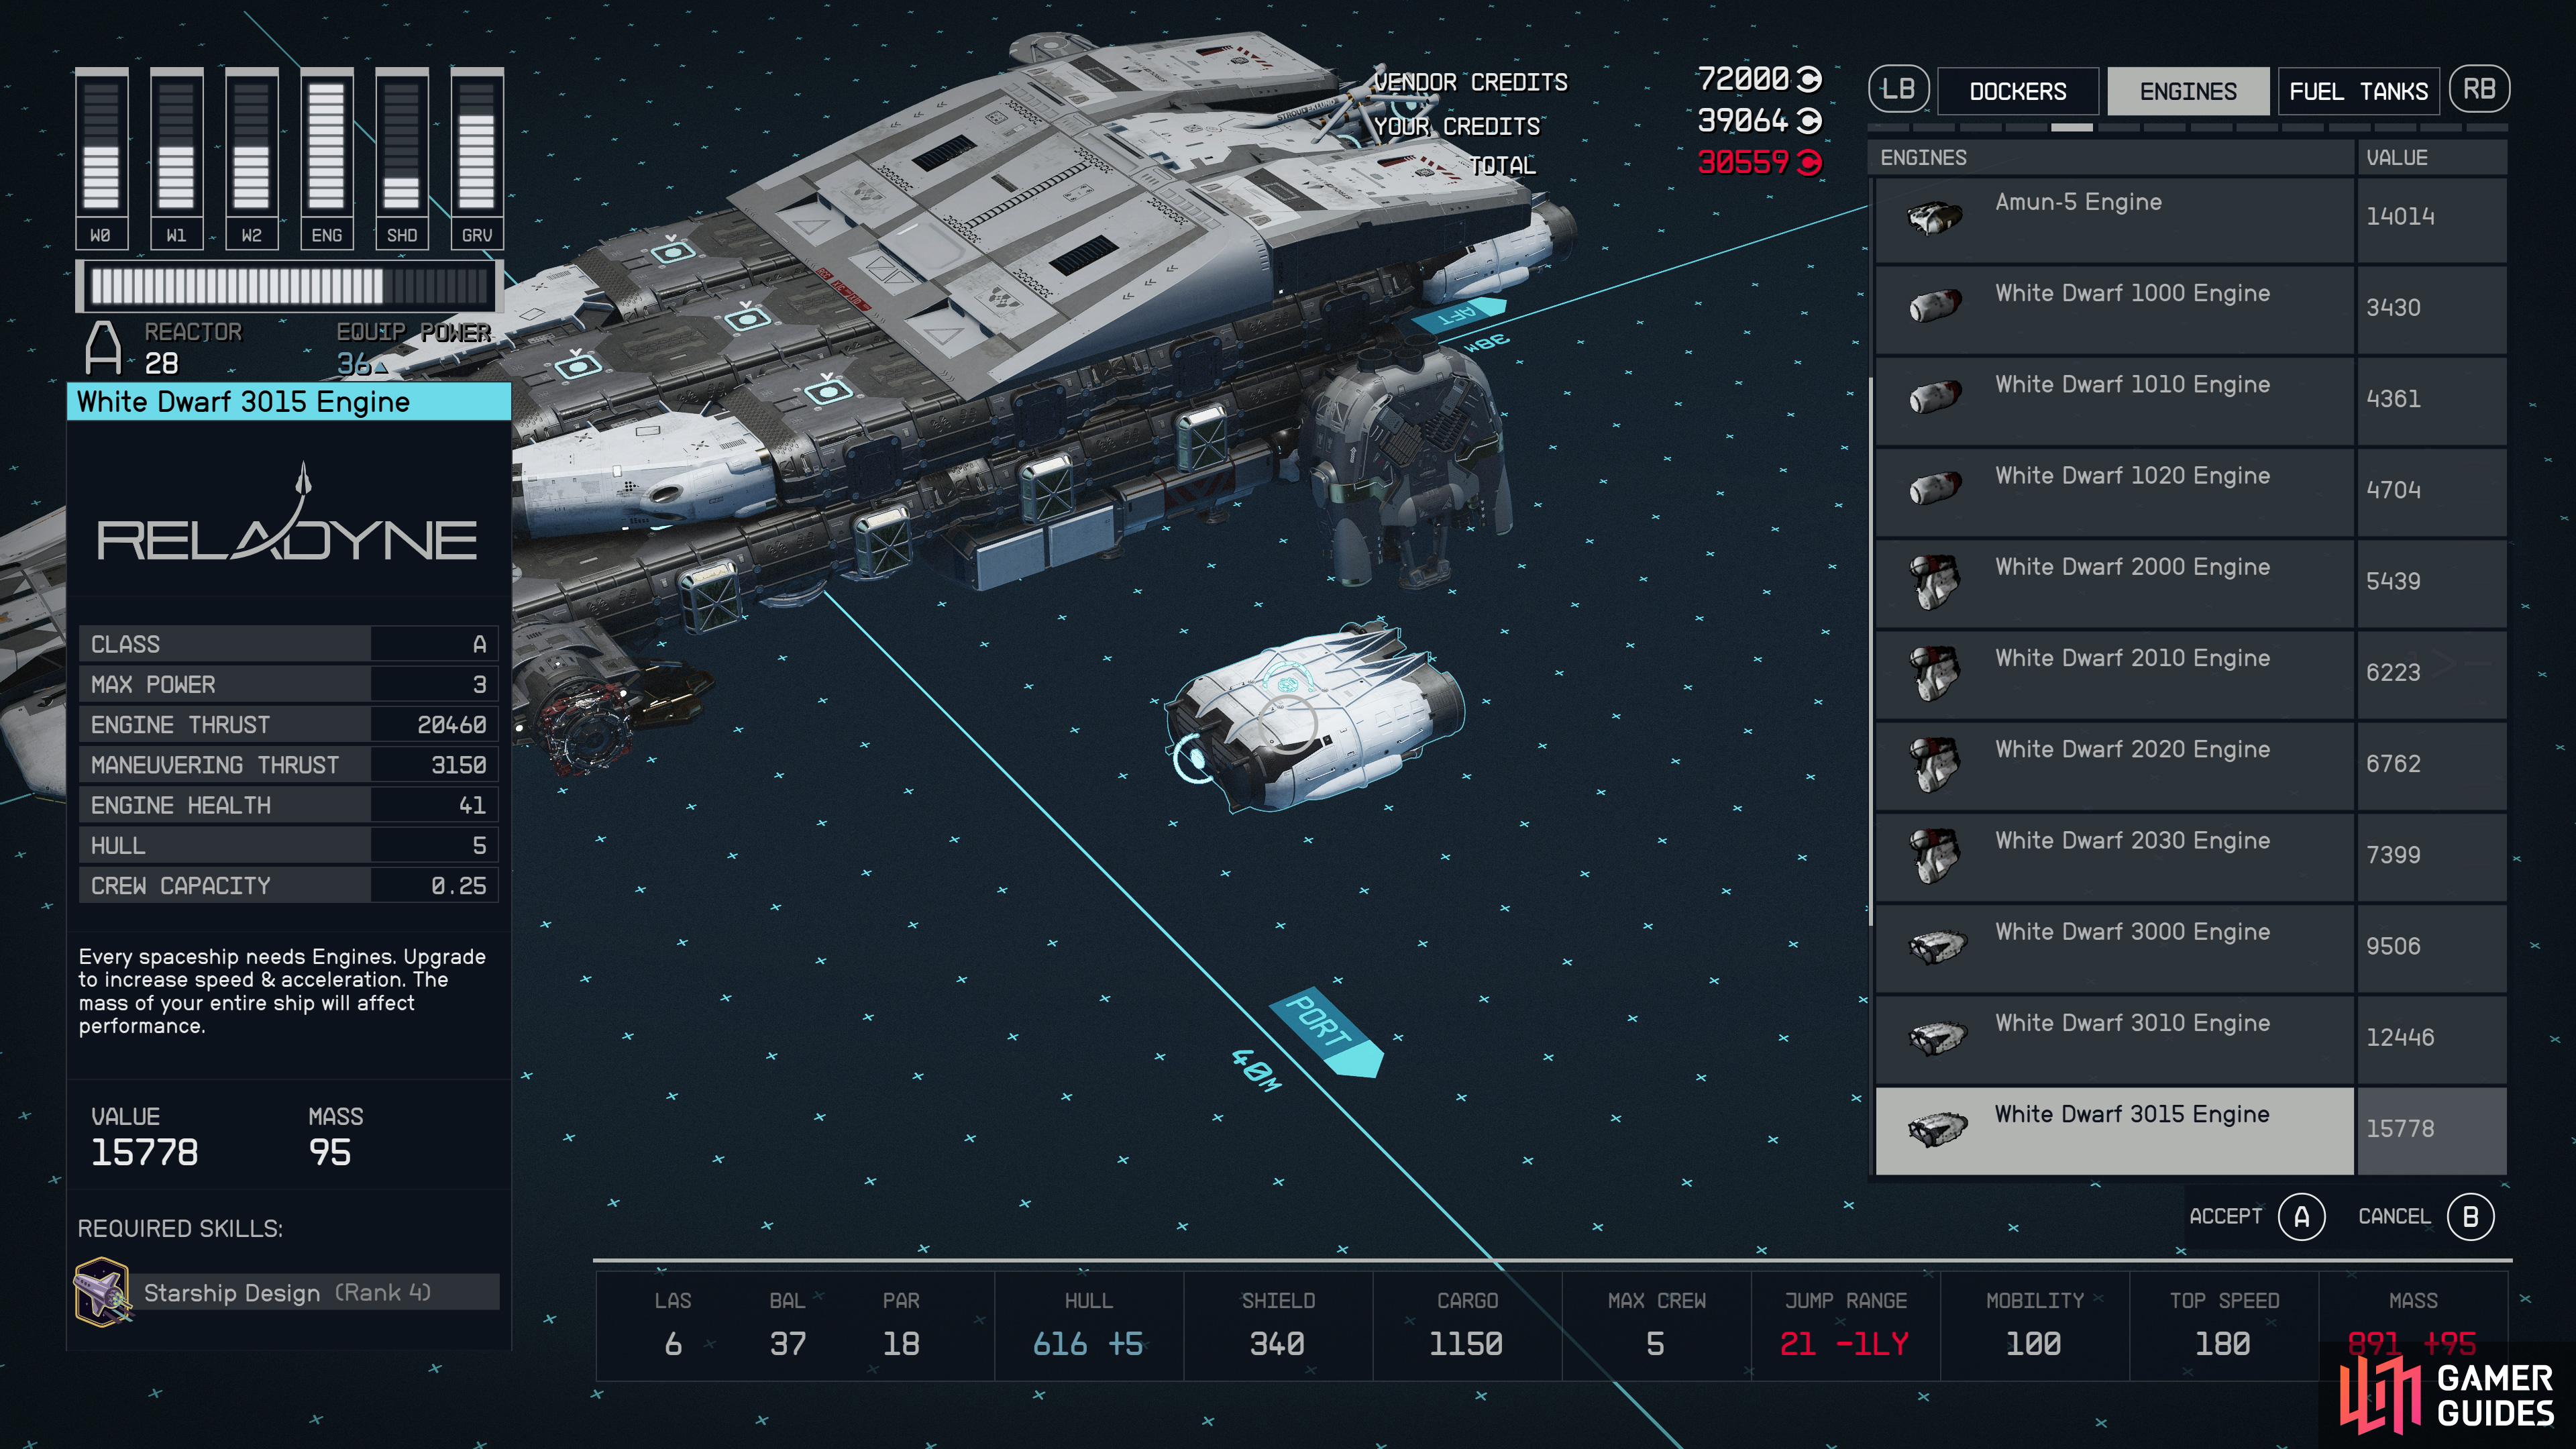
Finally, we have mass, which is sort of self-explanatory. The bigger your ship, the more mass it likely has. Keep adding more/heavier components and your mass will increase. For many components, there’s a correlation between mass and some other key stat they provide (more massive cargo holds typically have more cargo capacity), but this is not a hard and fast rule, and it’s worth doing some mass/benefit calculations to find the most efficient components. Engines are notoriously suspect about their mass-to-thrust ratios, with some engines like the White Dwarf 3015 Engine (20,460 engine thrust, 95 mass = 215 thrust-per-mass) wildly outperforming others, like the ![]() Supernova 2000 Engine (17,670 engine thrust, 334 mass = 52 thrust-per-mass). At least on paper.
Supernova 2000 Engine (17,670 engine thrust, 334 mass = 52 thrust-per-mass). At least on paper.

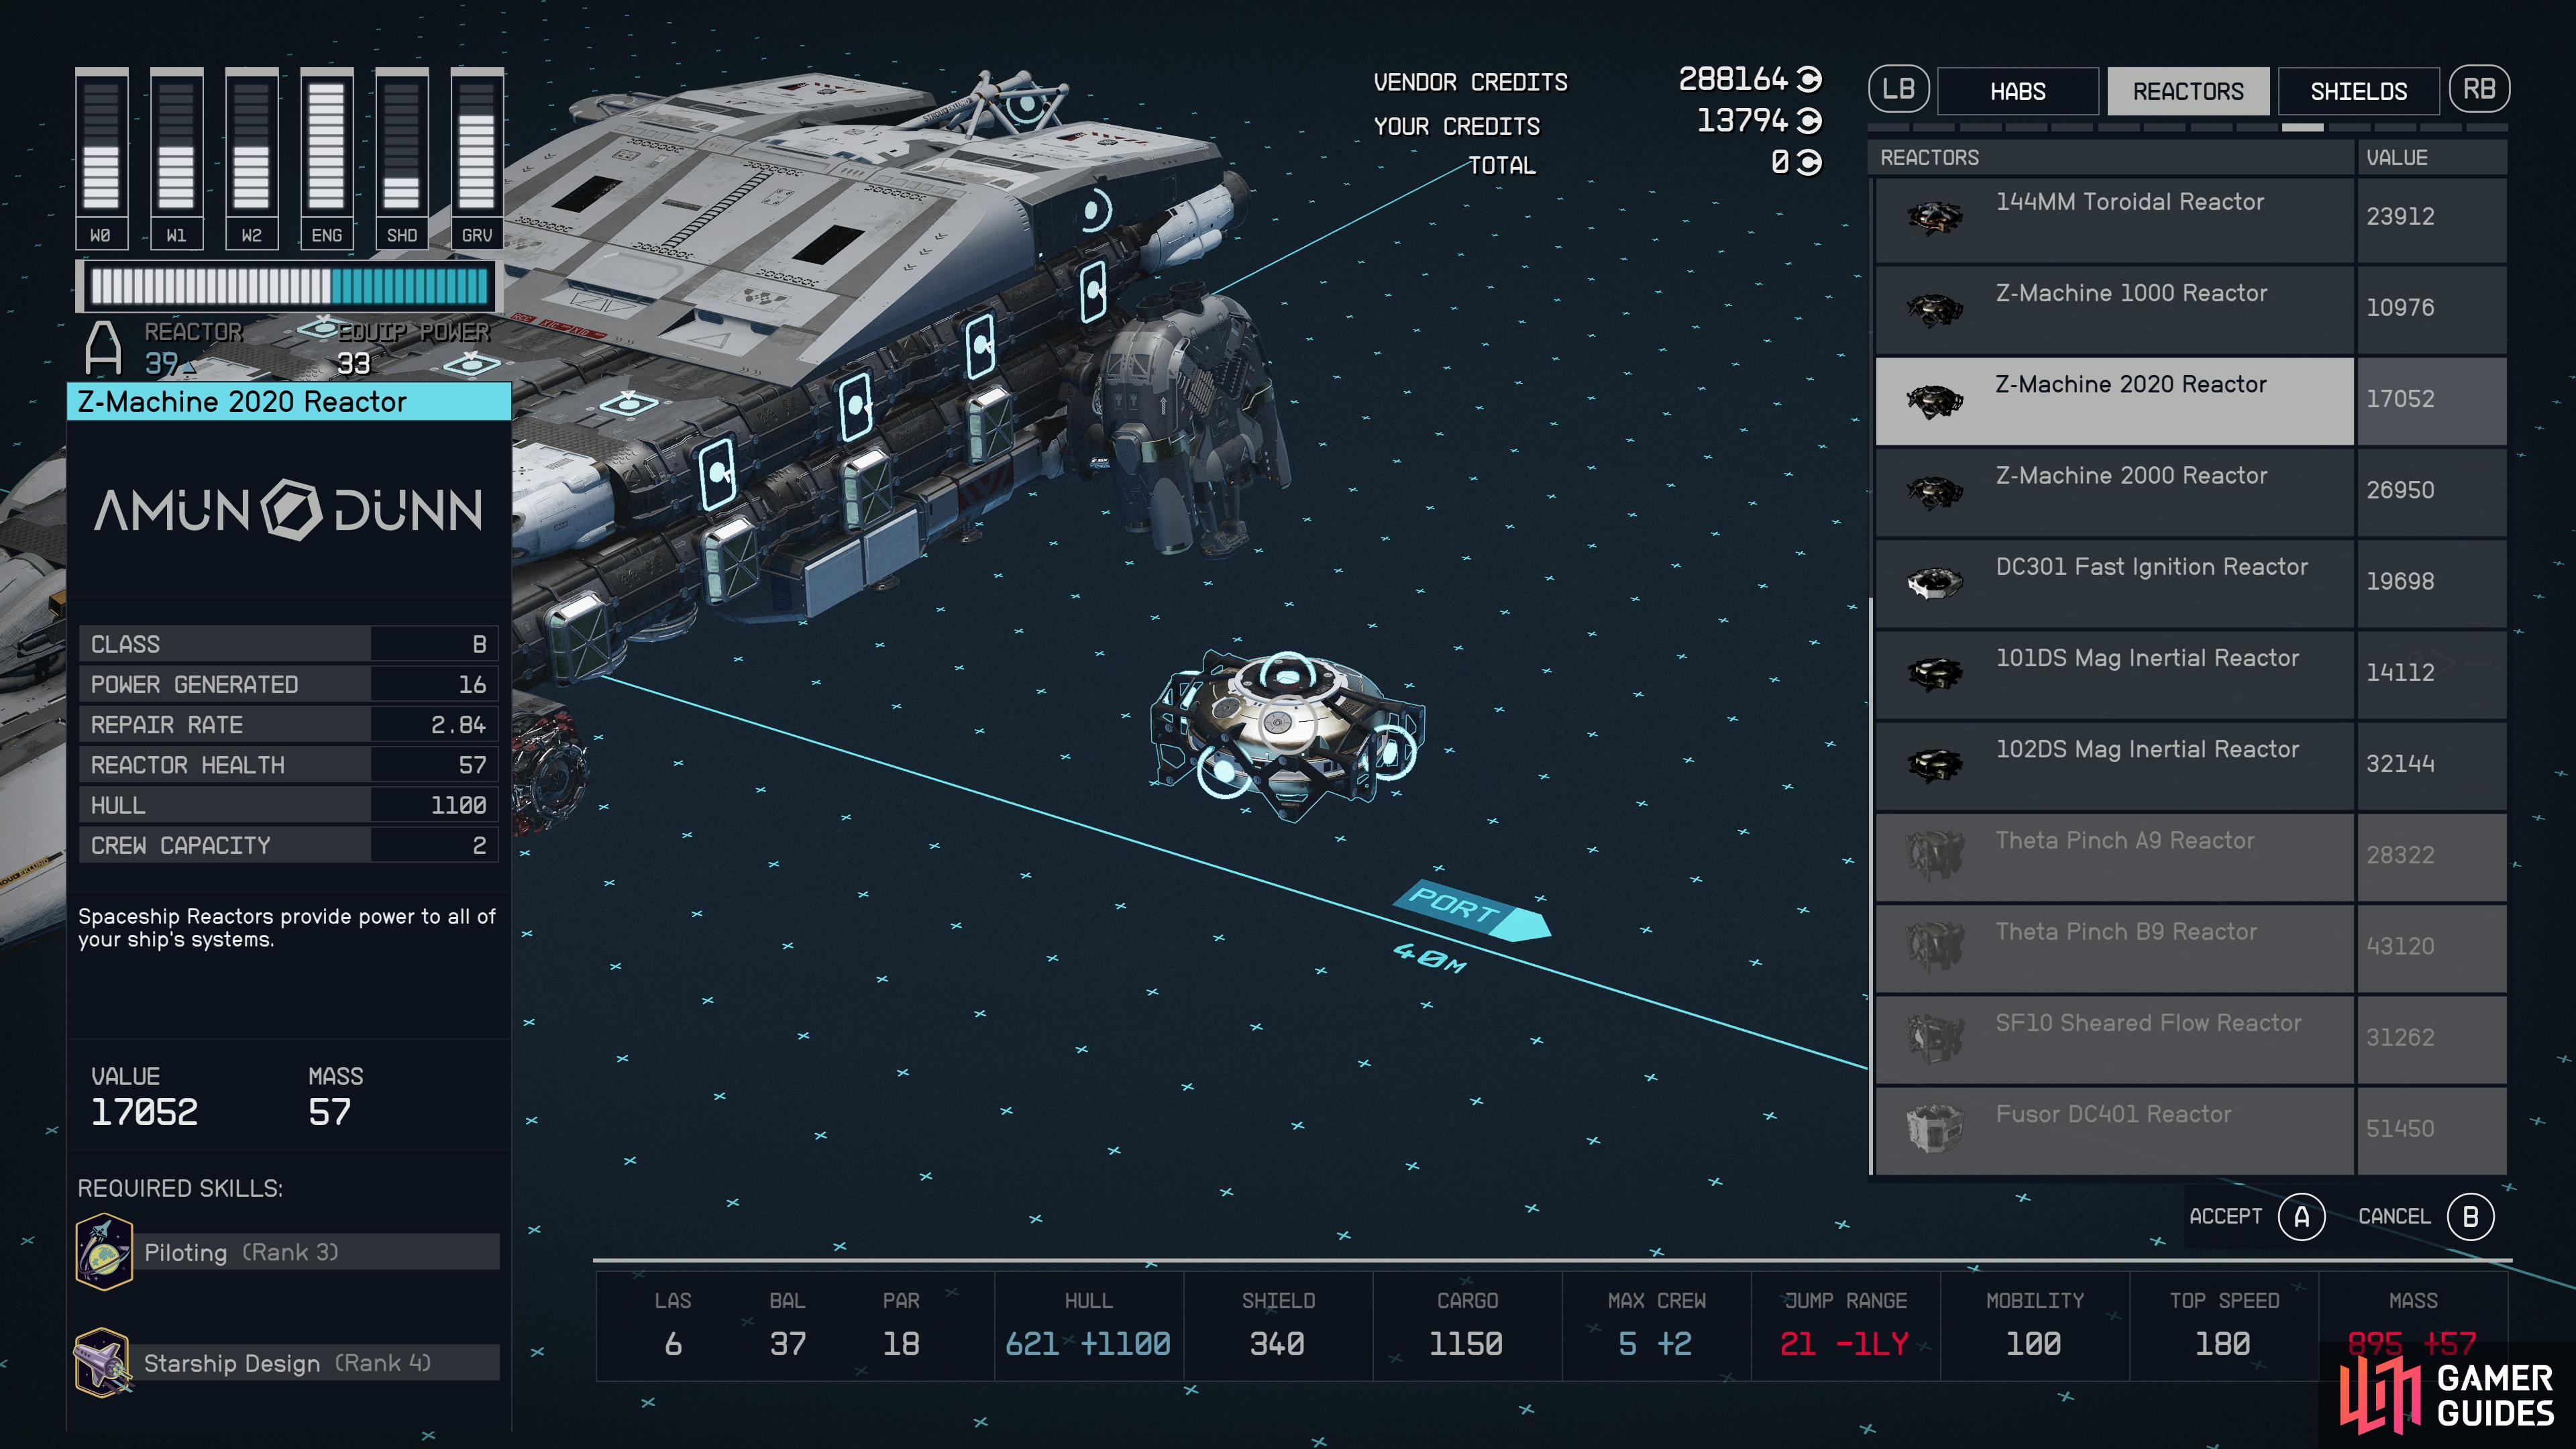
Reactors are the greatest contributor to your ship’s hull, but it’s worth noting that the reactor’s power generation and its hull contribution aren’t correlated. Here’s an example of a high power and low hull reactor,
and a low power and high hull reactor.
Hull
Your hull is your ship’s durability, or health. Once your shields are down, further damage will reduce your hull and if your hull is depleted, your ship will be destroyed. Gameover. Reloads. Sad faces. Hull isn’t something you can easily build for; most components add to your hull, with your reactor contributing the greatest amount by far (sadly, there’s no strict correlation between power generation and hull contribution), with only structural components not contributing to your overall hull.
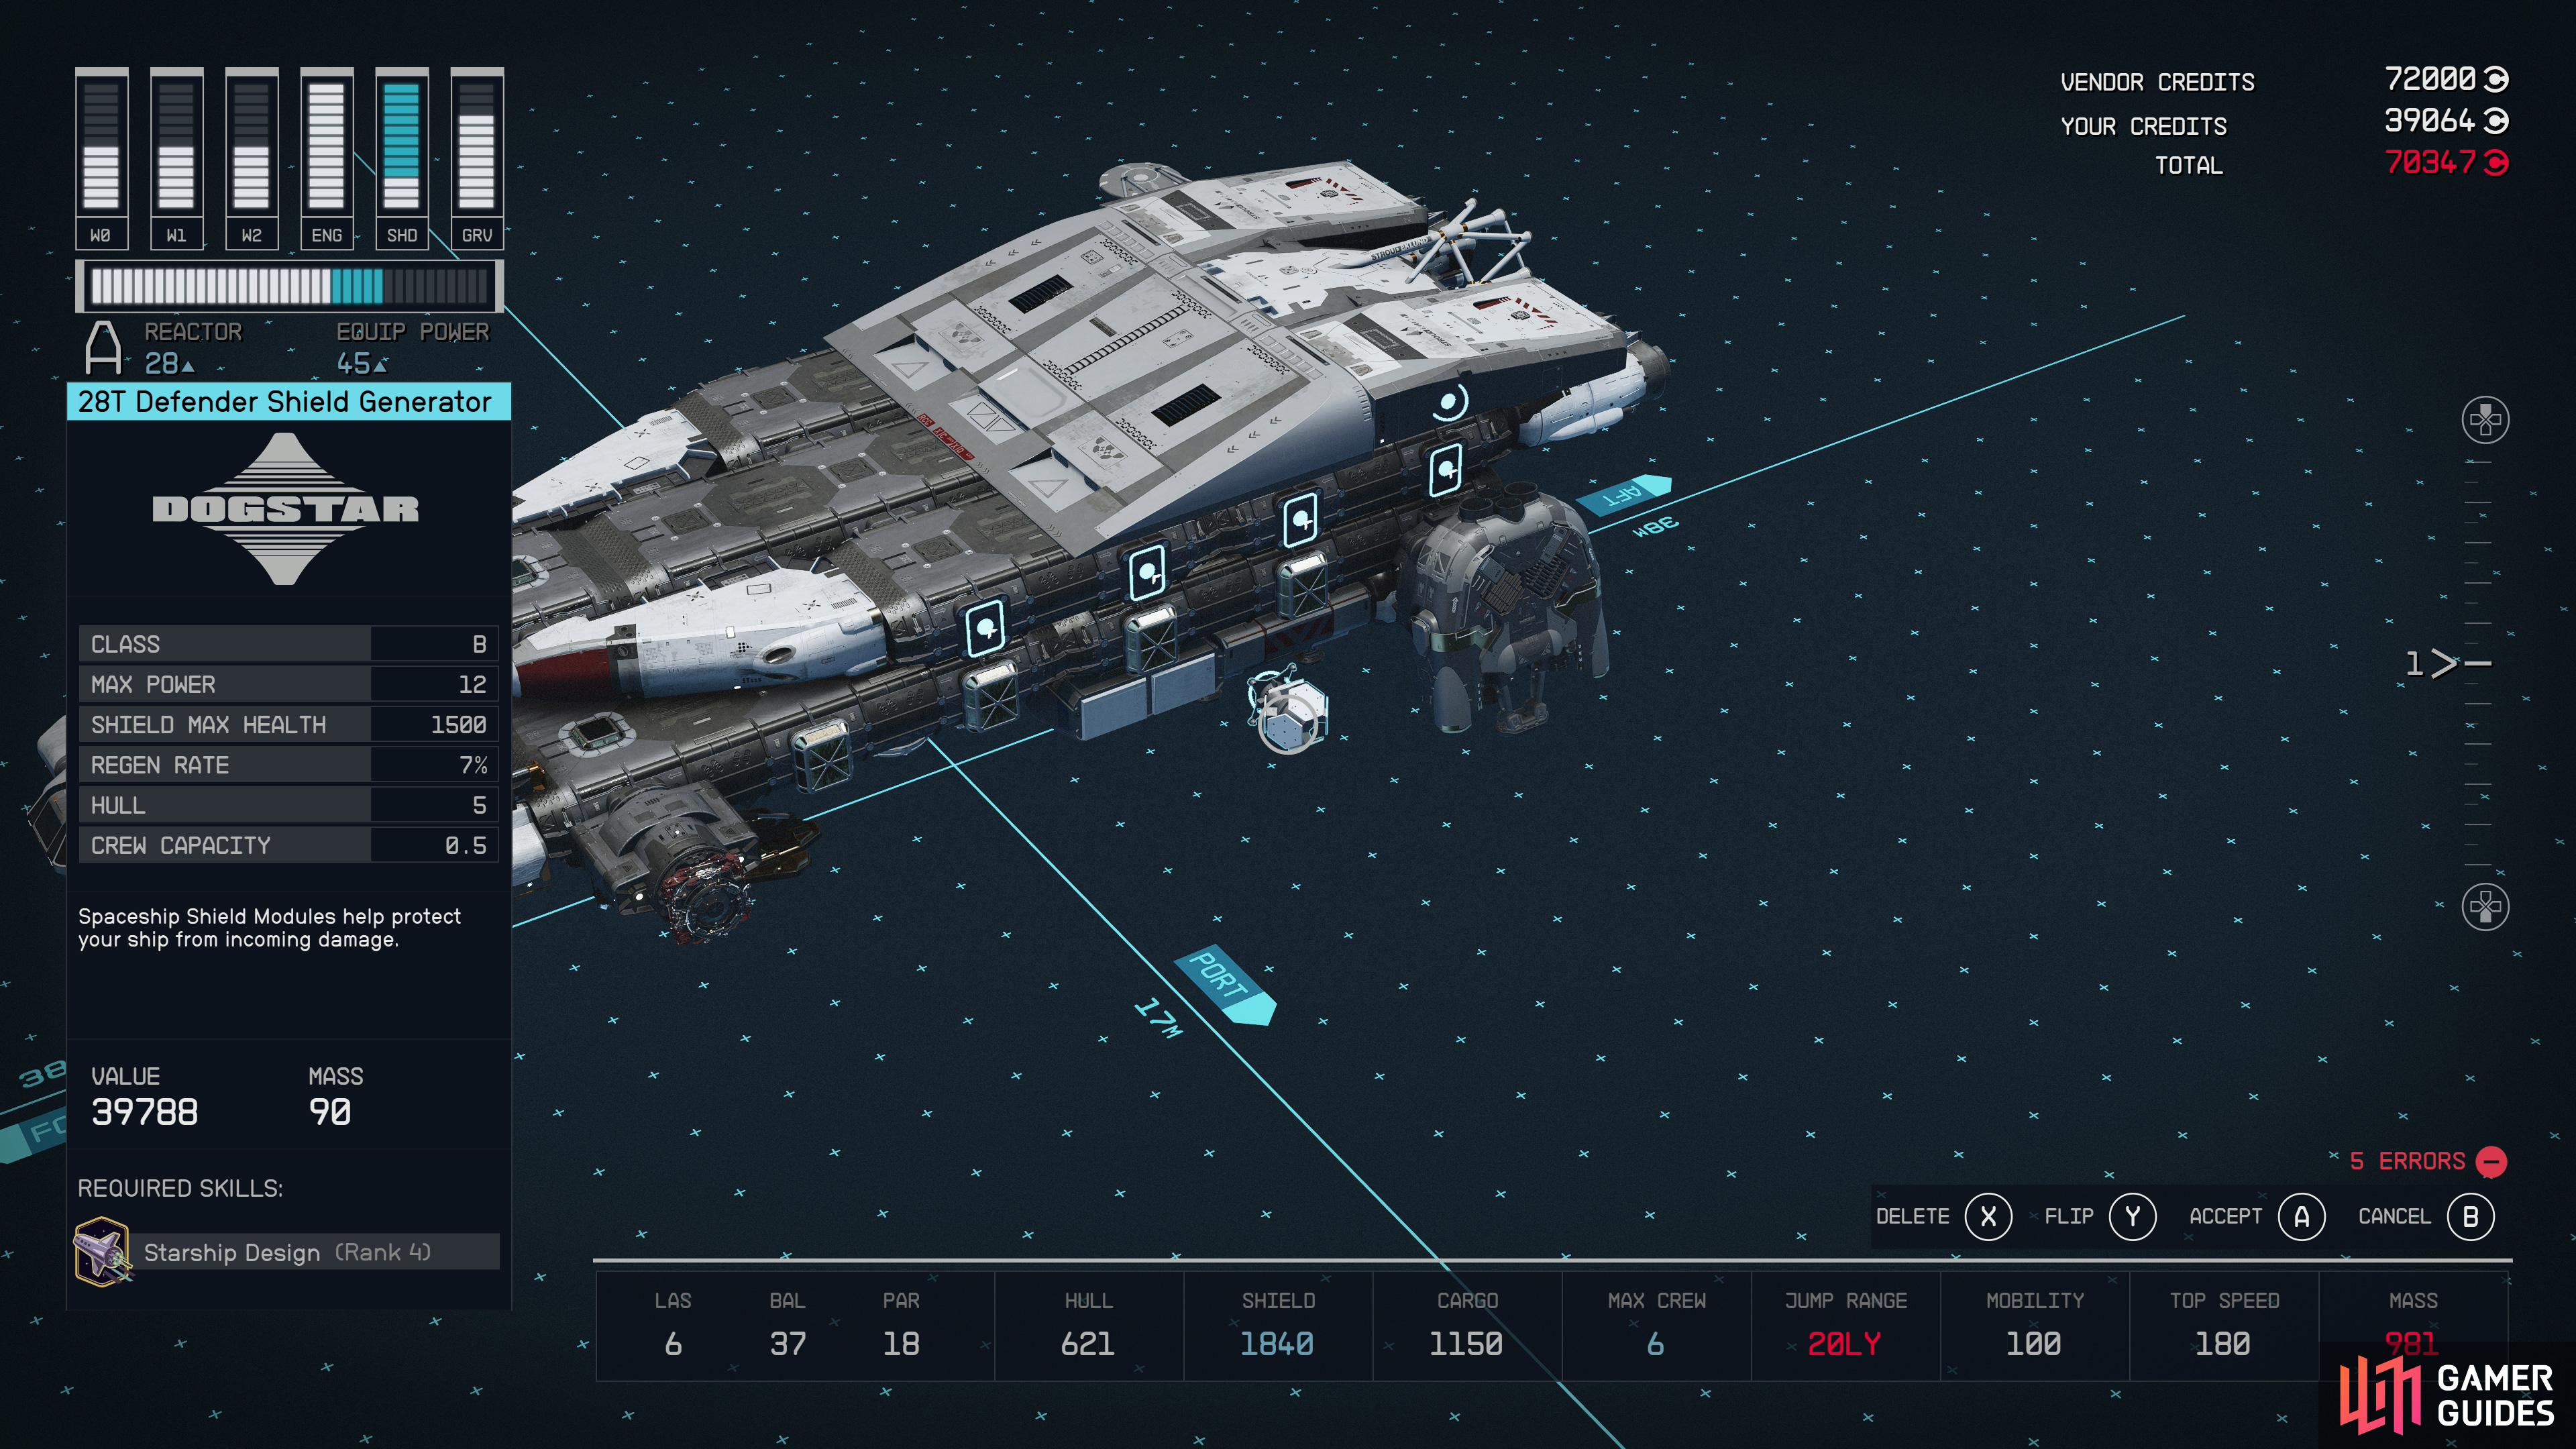
Your max shields are determined entirely by your shield generator. Shields soak damage that would otherwise damage your hull.
Shield
Your shields soak damage so your hull doesn’t have to. Shield generators add all stats relevant to shields, including your shield max health (the amount of damage shields will absorb) and the self explanatory regen rate, but the ![]() Shield Systems skill can further boost your shield capacity - a very useful boon for prospective space aces out there. Keep in mind to balance a shield’s capacity with its max power draw - it will only reach its full shield strength when fully powered, and if your reactor isn’t up to snuff, this can lead to some shields with higher potential shield capacity underperforming cheaper models when not fully powered.
Shield Systems skill can further boost your shield capacity - a very useful boon for prospective space aces out there. Keep in mind to balance a shield’s capacity with its max power draw - it will only reach its full shield strength when fully powered, and if your reactor isn’t up to snuff, this can lead to some shields with higher potential shield capacity underperforming cheaper models when not fully powered.
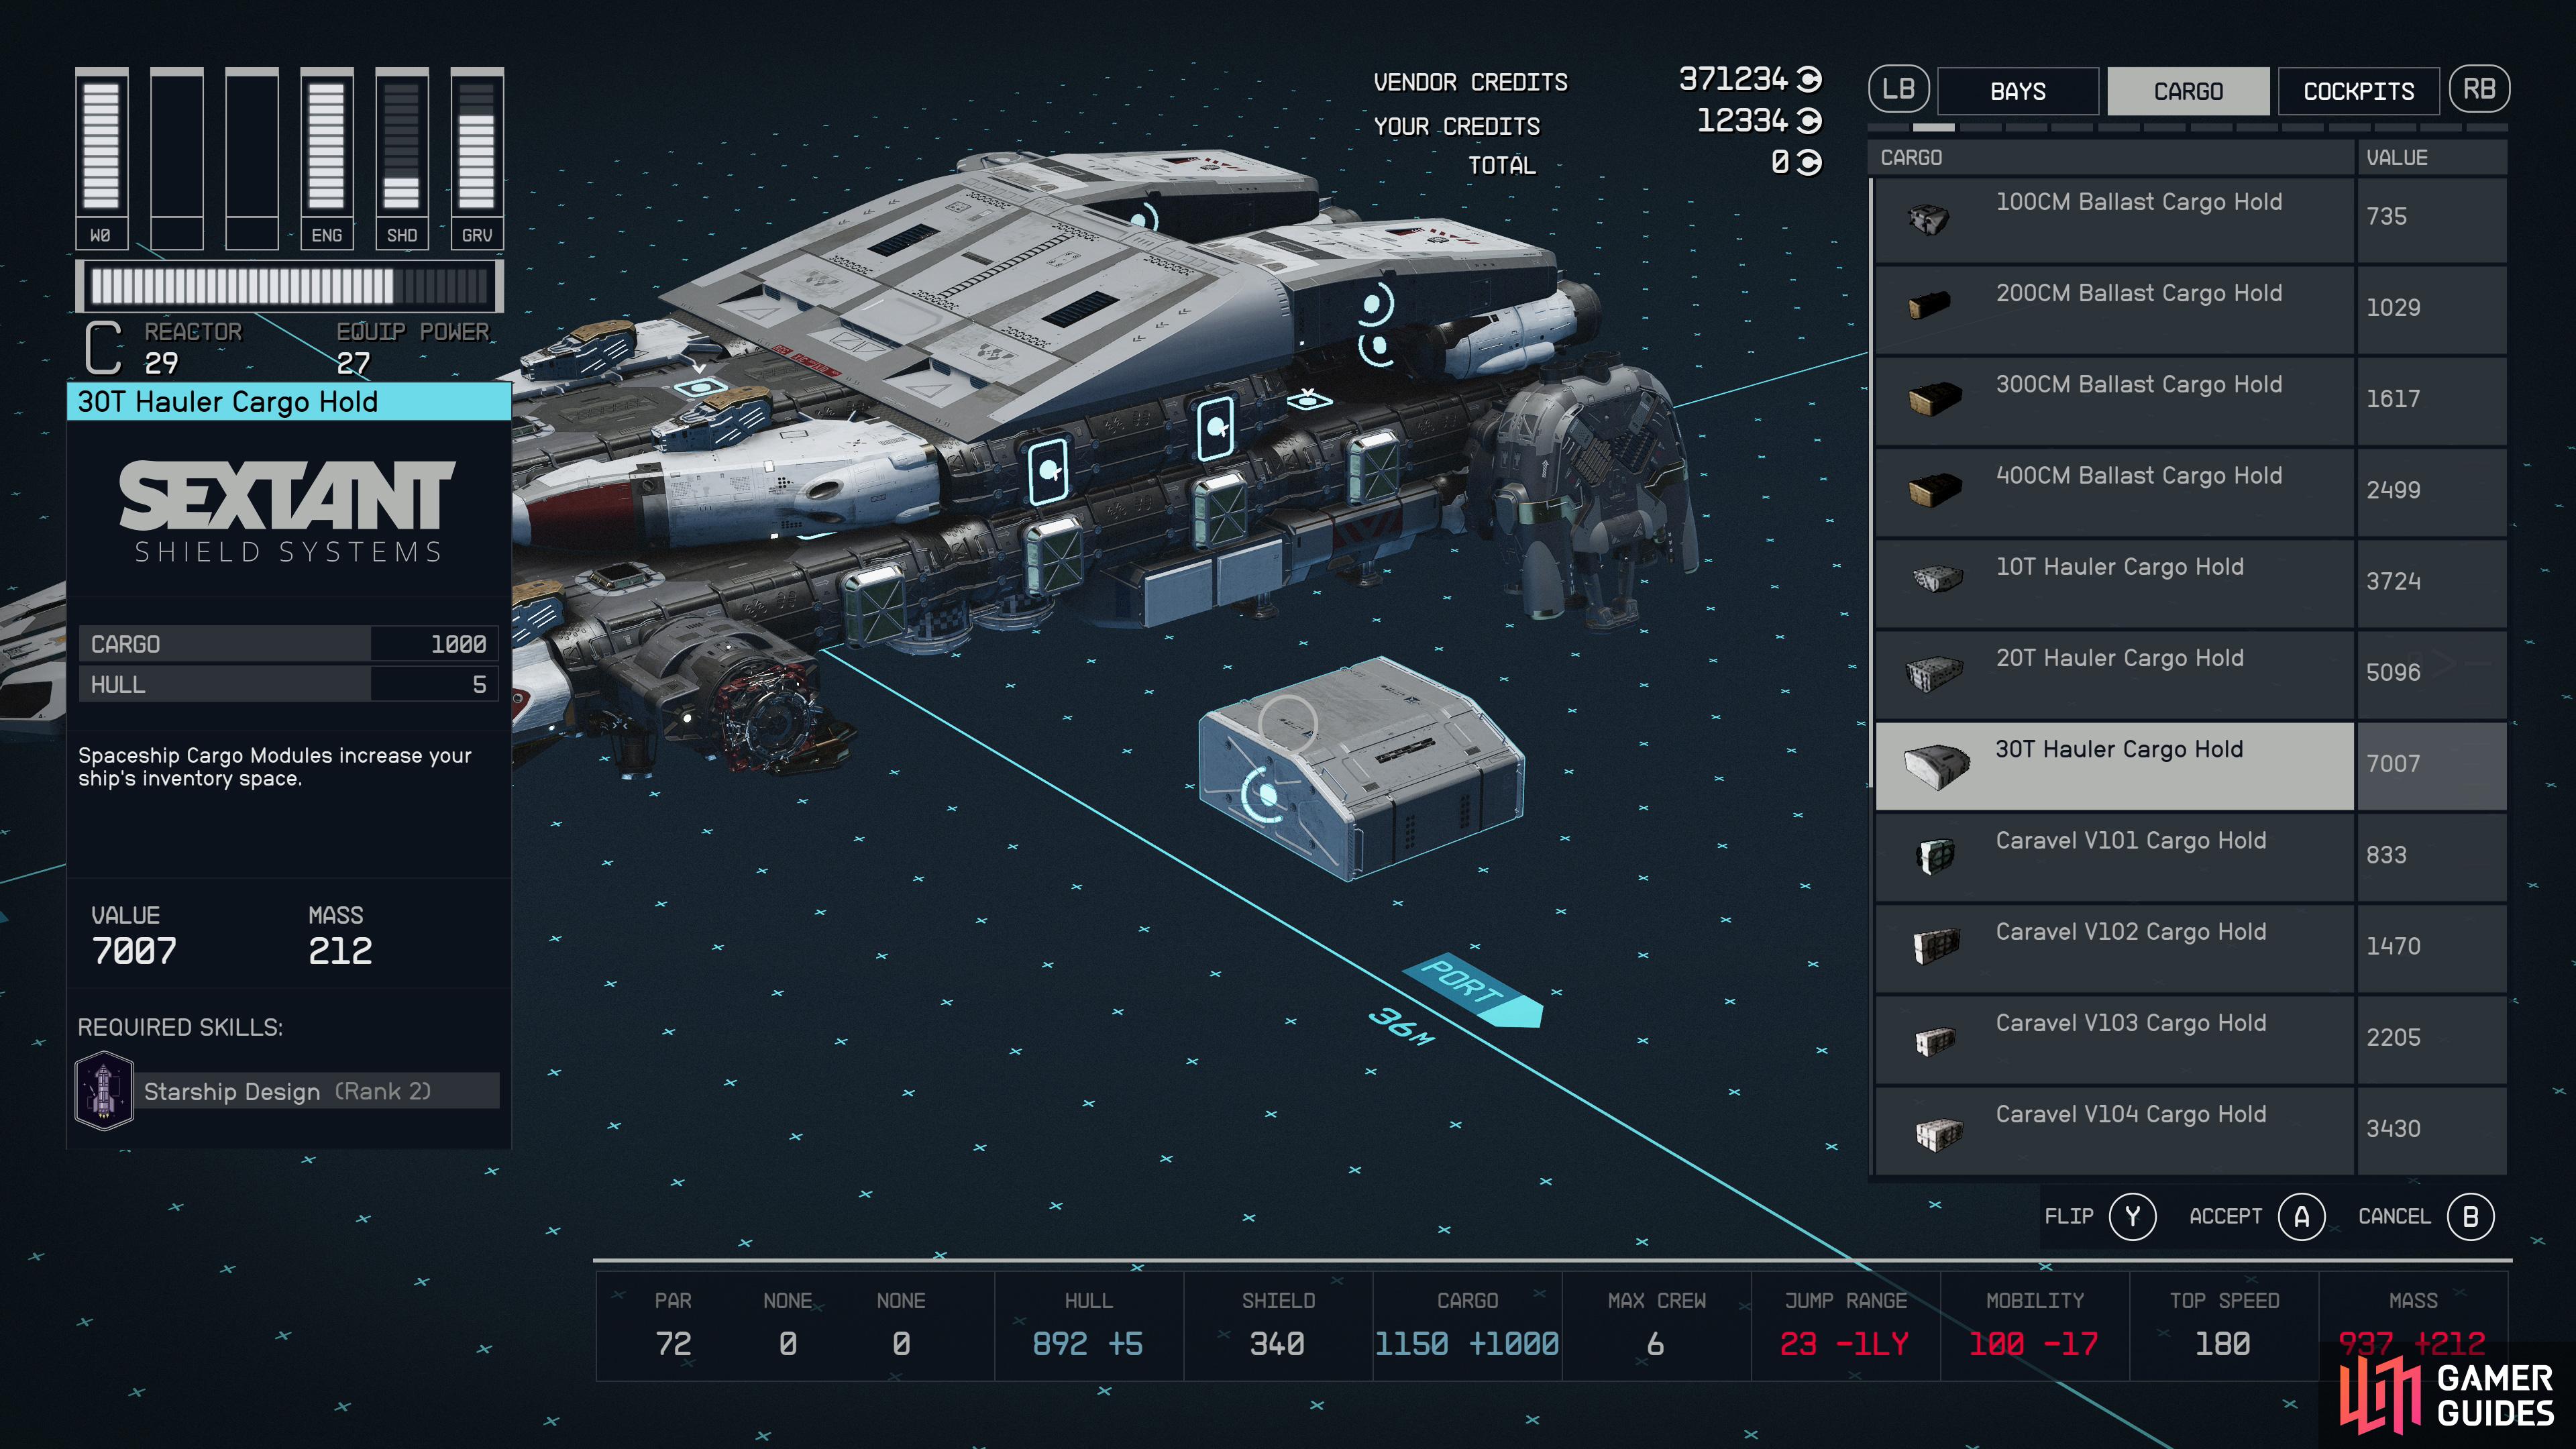
While not as glamorous as your reactor, engines, weapons and grav drive, your cargo holds determine how much plunder you can store - a pack rat’s obsession.
Cargo
The amount of loot, in kilograms, you can store on your ship at a given time. This is almost exclusively determined by equipped cargo holds and your ship’s cockpit. Cargo holds are weighty, so keep in mind that you’ll be adding significant mass to your ship if you want sufficient cargo capacity. You can equip as many cargo holds as your engines can carry, and their storage capacity is cumulative (in addition to whatever your cockpit gives you).
Max Crew, Crew Capacity, and Crew Stations
Quite possibly the most obtuse collection of ship stats in the game, Max Crew, Crew Capacity and Crew Stations are all interconnected and collectively serve to express how many crew members can be assigned to work on a single ship at a time, albeit with many caveats and contributing factors making this number’s value dubious, at best.
Max Crew
Max Crew shows how many crew members you can assign to work on your ship at any one time. Note that this is a stat pertaining to your ship, not to your protagonist - whatever your ship can actually accommodate, the actual number of crew you can assign is further gated by the ![]() Ship Command skill. Without investing in this skill you can only assign three crew, whatever your Max Crew stat. In addition, Max Crew is a derived stat that reflects the highest shared value of both your Crew Capacity and Crew Stations, meaning it’s effectively just showing you whichever value of the two you’re currently bottlenecked at. That being the case, Max Crew is both generally not very helpful in actually showing how many crew you can assign or what you need to change/add to facilitate more crew assignments.
Ship Command skill. Without investing in this skill you can only assign three crew, whatever your Max Crew stat. In addition, Max Crew is a derived stat that reflects the highest shared value of both your Crew Capacity and Crew Stations, meaning it’s effectively just showing you whichever value of the two you’re currently bottlenecked at. That being the case, Max Crew is both generally not very helpful in actually showing how many crew you can assign or what you need to change/add to facilitate more crew assignments.
Crew Capacity
Crew Capacity determines how much work there is to be done actually operating your ship, and is exclusively determined by several ship components: your weapons, shield, reactor and engines. Presumably these are systems that require crew to man or maintain them, hence allowing you to assign crew to take care of these tasks and improve your ship’s overall efficiency. The more of these components you have, and the higher-end they are, the more crew capacity they will have. High-end (grade C) reactors are especially useful at keeping otherwise idle hands busy, with some specimens providing up to 3 crew capacity.
This number is often expressed in fractions and the result is always rounded down. Weapons and shields tend to yield 0.5 crew capacity, reactors 1-3 crew capacity and engines 0.25 crew capacity. Therefore a ship with a pair or lasers, ballistic weapons and particle weapons (0.5 each weapon, 6 weapons = 3 crew capacity), a grade C reactor (3 crew capacity), a shield (0.5 crew capacity) and four engines (0.25 each engine, 4 engines = 1 crew capacity) would have 7.5 crew capacity. Rounded down, the most Max Crew you could have based on Crew Capacity is 7 with this ship design.
Crew Stations
While Crew Capacity is work for your crew to do, Crew Stations determines the number of places from which crew work can be done. This is far less complicated and painless than crew capacity - cockpits tend to have 2 to 4 crew stations, and various habs can yield more, as follows:
| Hab | Crew Stations |
|---|---|
| Computer Core 2x1 | 1 |
| Control Station 2x1 | 4 |
| Engineering Bay 3x1 | 1 |
| Battle Stations 2x2 | 6 |
| Computer Core 2x2 | 2 |
Habs are otherwise cosmetic, mostly determining how the interior of your ship looks and what companions and other NPCs do and where they dwell while on your ship… that and adding a marginal amount of hull to your ship and providing attachment nodes for other components, of course. Slap in a high capacity cockpit and a 2x2 Battle Stations hab and you’ve got more crew stations than you can probably make use of.
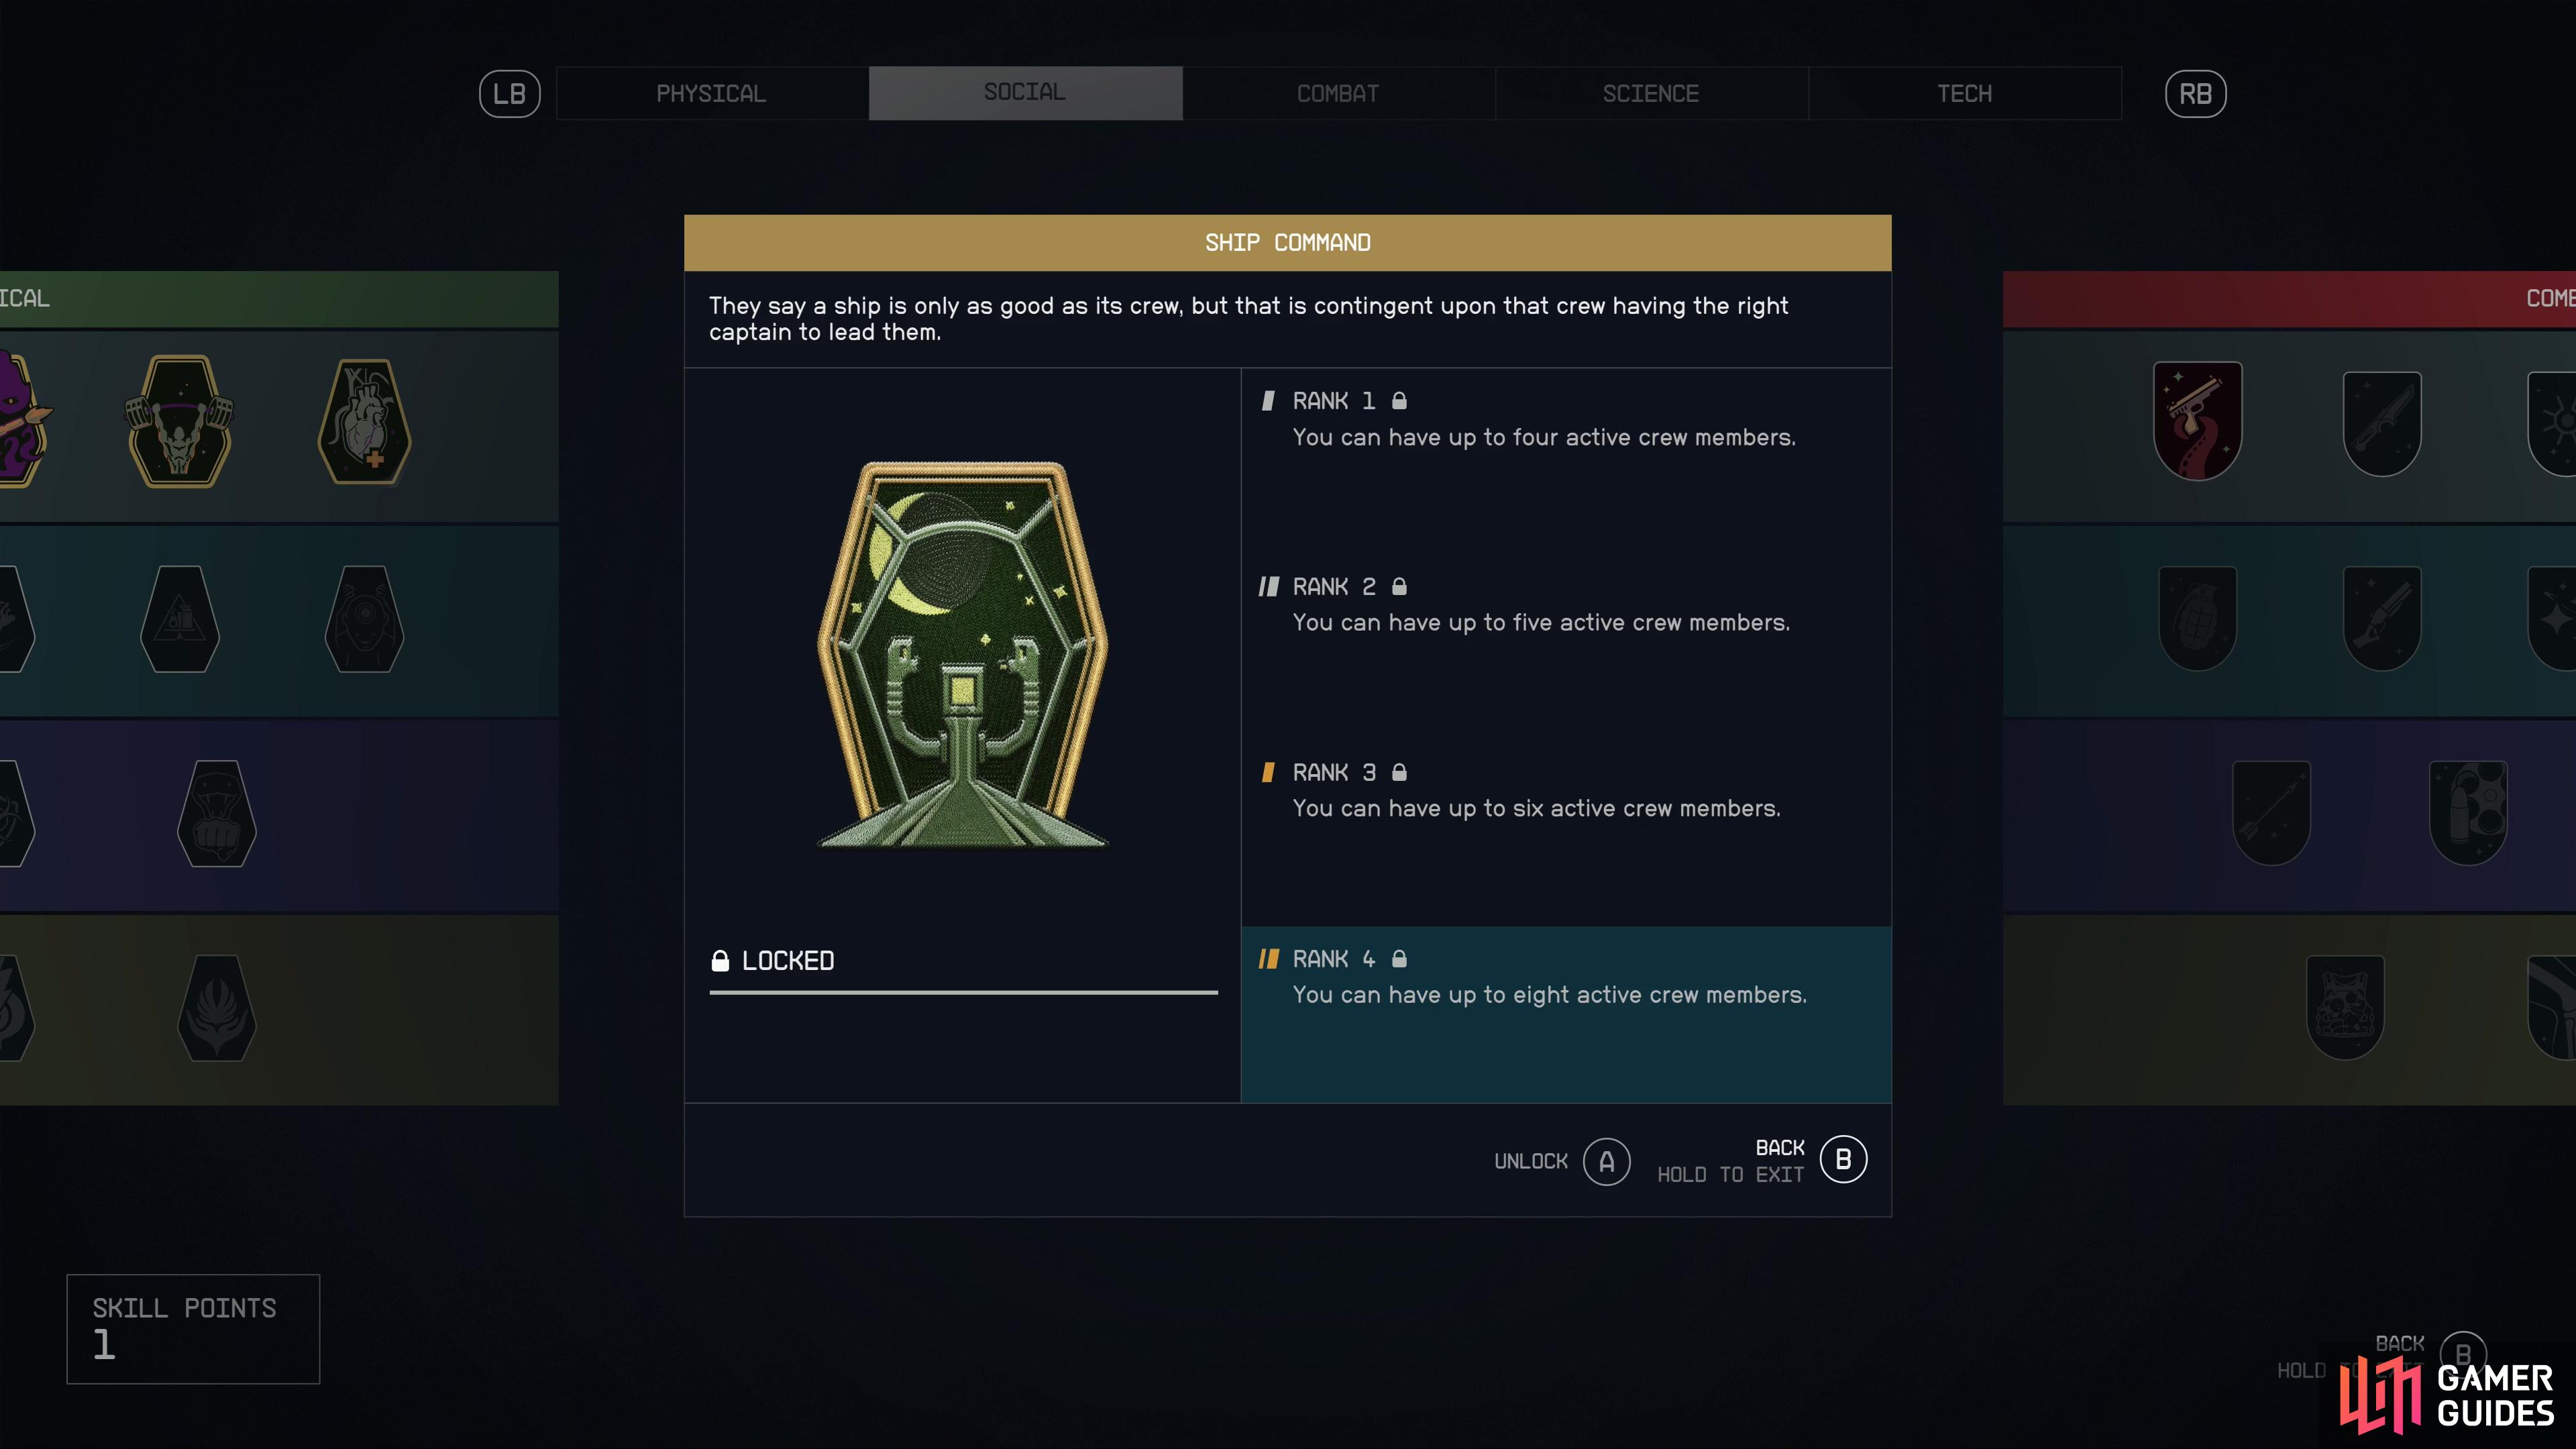
Whatever your ship’s Max Crew count is, the number of crew you can assign are still limited by your investment in the Ship Command skill, or lack thereof.
Ship Command
Not a ship stat, but the Ship Command skill should be pointed out just because of how much it influences your ability to assign crew. Regardless of all the stats above, your ability to assign crew is limited by your Ship Command skill (or lack thereof). If you take great pains to slap on weapons, a shield, engines and a grade C reactor to your ship and provide plenty of crew stations, it won’t matter if you haven’t invested in the Ship Command skill. Without any investment you can only assign three crew, whatever your ship’s Max Crew stat.
| Max Crew Assignable | |
|---|---|
| 0 | 3 |
| 1 | 4 |
| 2 | 5 |
| 3 | 6 |
| 4 | 8 |
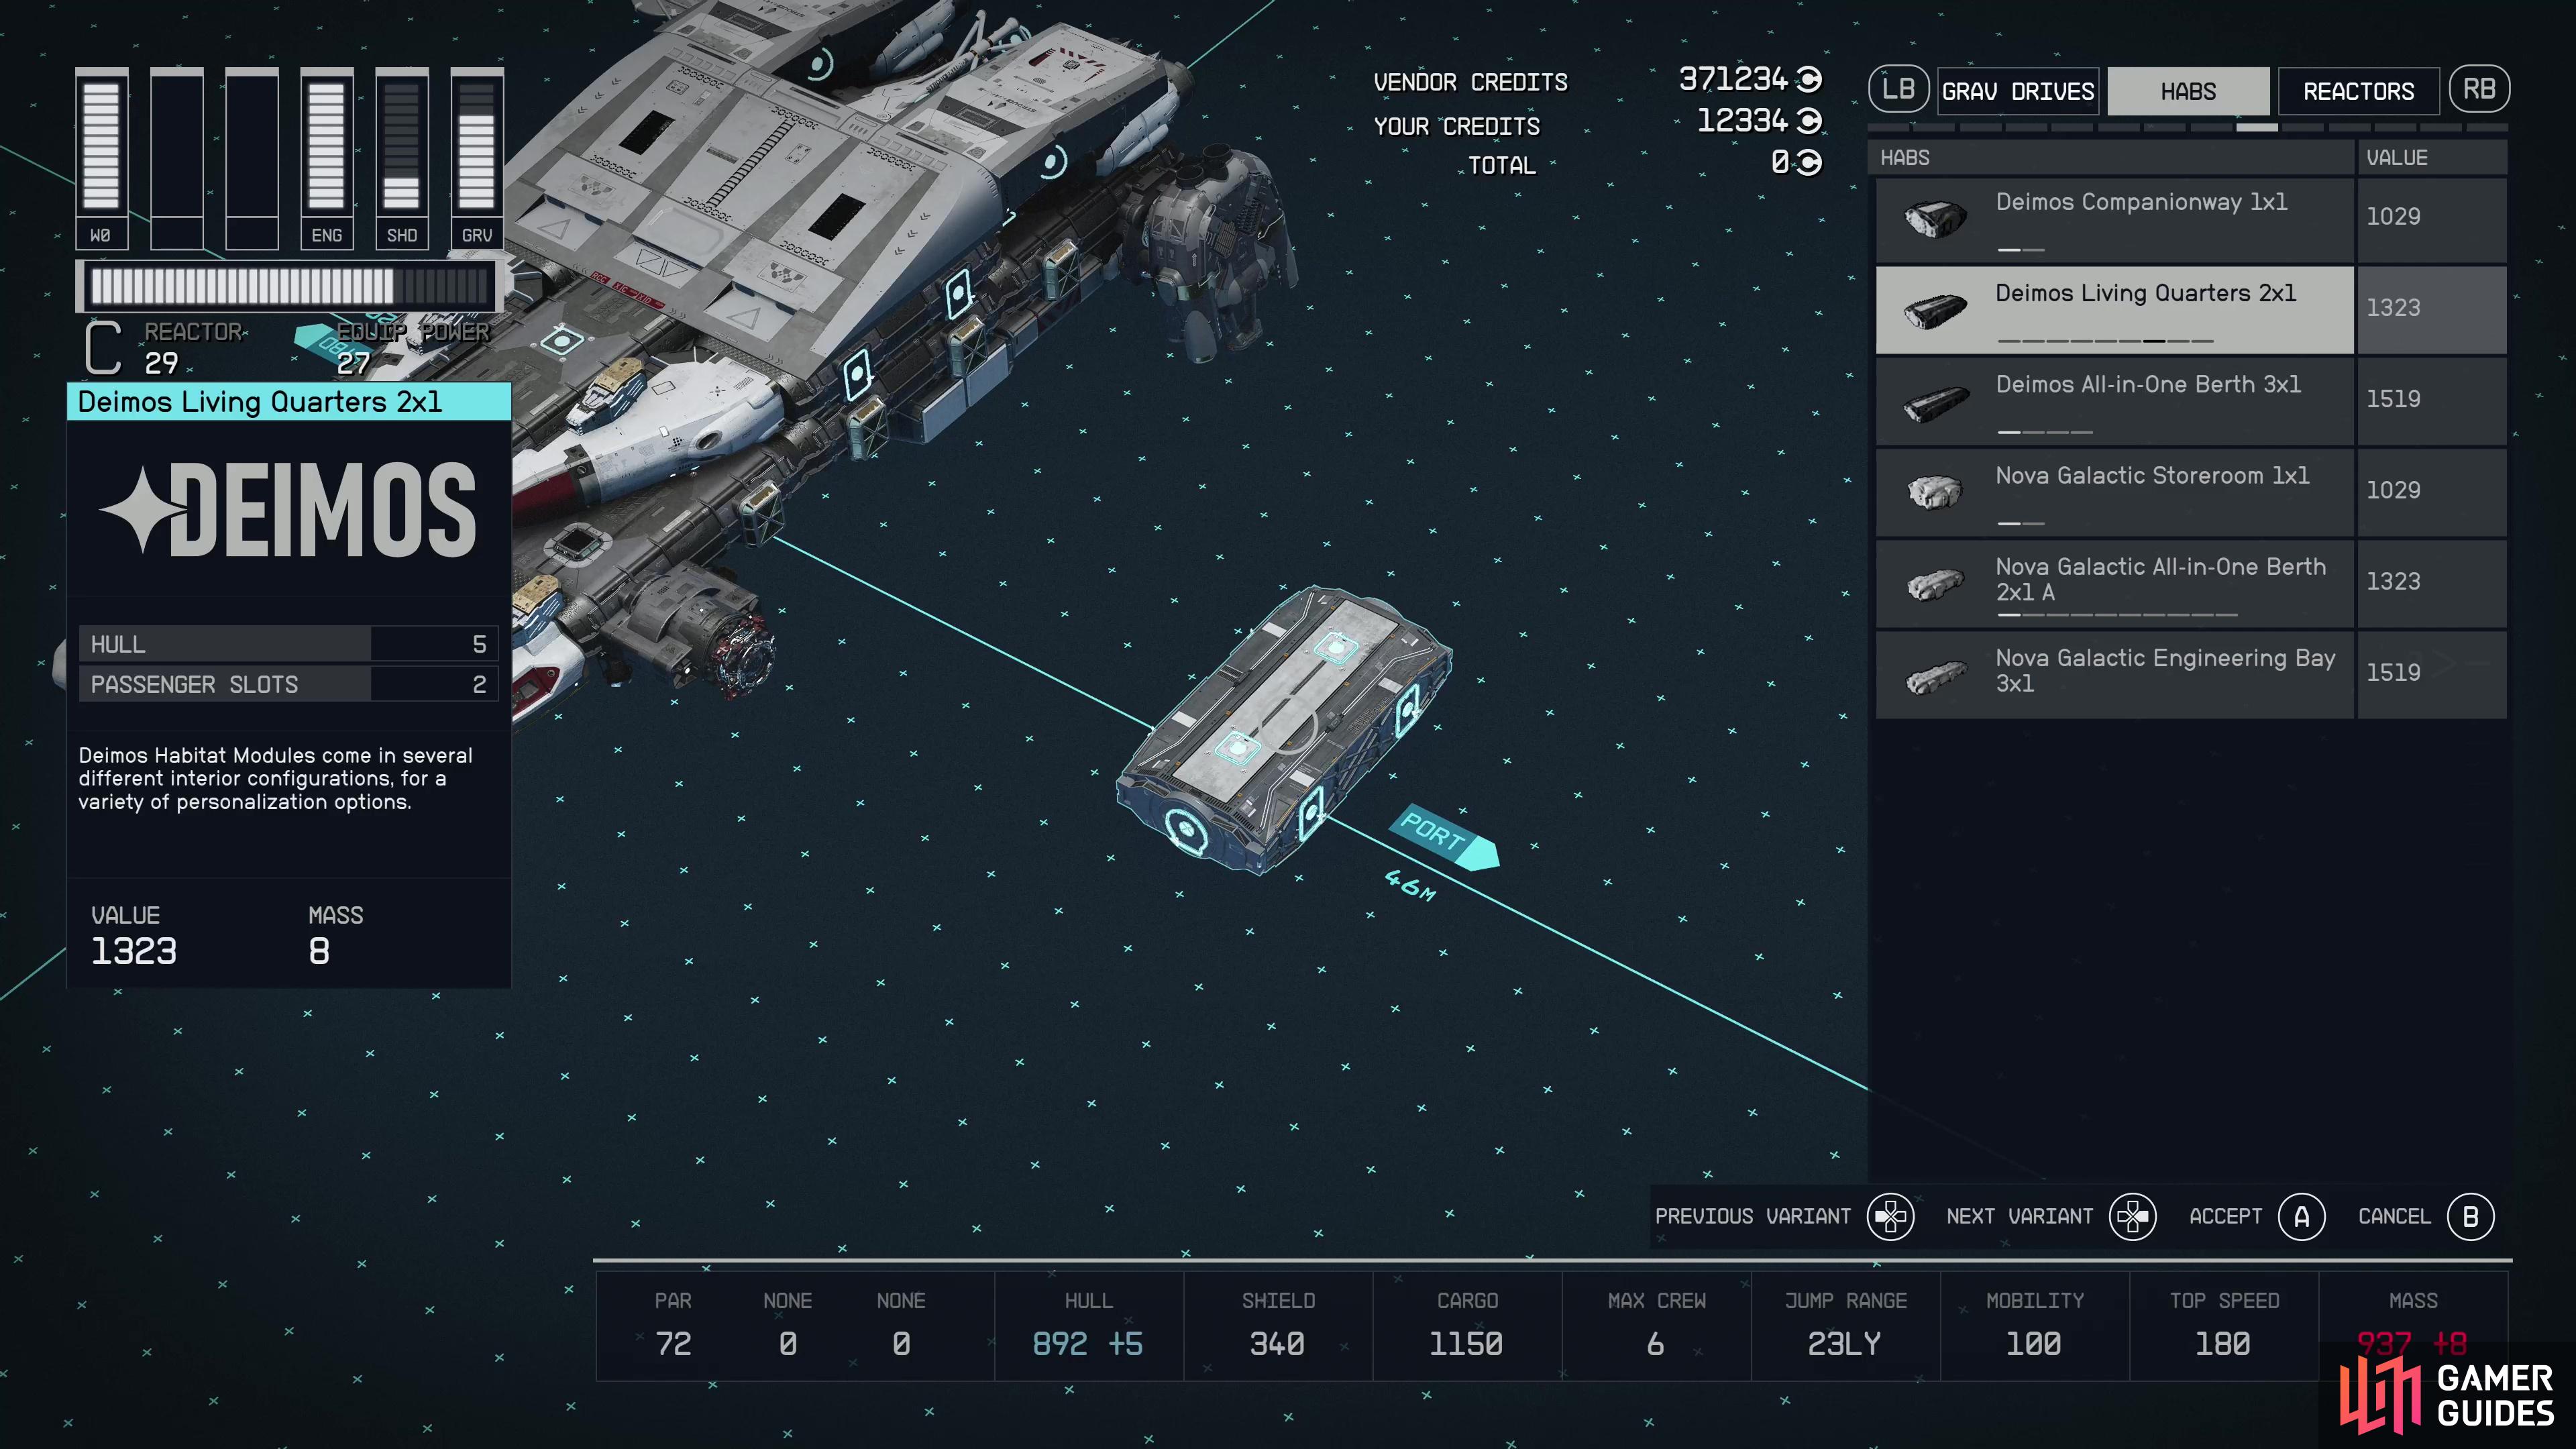
While not as important as Max Crew, some habs can also add Passenger Slots.
Passenger Slots
Another category that sometimes appears on habs, Passenger Slots is nowhere near as important. Sometimes NPCs tag along for the ride with you, and presumably you need passenger slots on your ship to accommodate them. This doesn’t contribute in any way to being able to assign crew, or really to any core ship function, and may just be a convenience when traveling with NPCs or unassigned and reassigned crew. As with Crew Stations, Passenger Slots are determined by installed habs:
| Hab | Crew Stations |
|---|---|
| All-in-One Berth 2x1 | 2 |
| Living Quarters 2x1 | 2 |
| Living Quarters 2x2 | 3 |
| Mess Hall 2x3 | 3 |
| All-in-One Berth 3x1 | 2 |
| Mess Hall 3x2 | 3 |
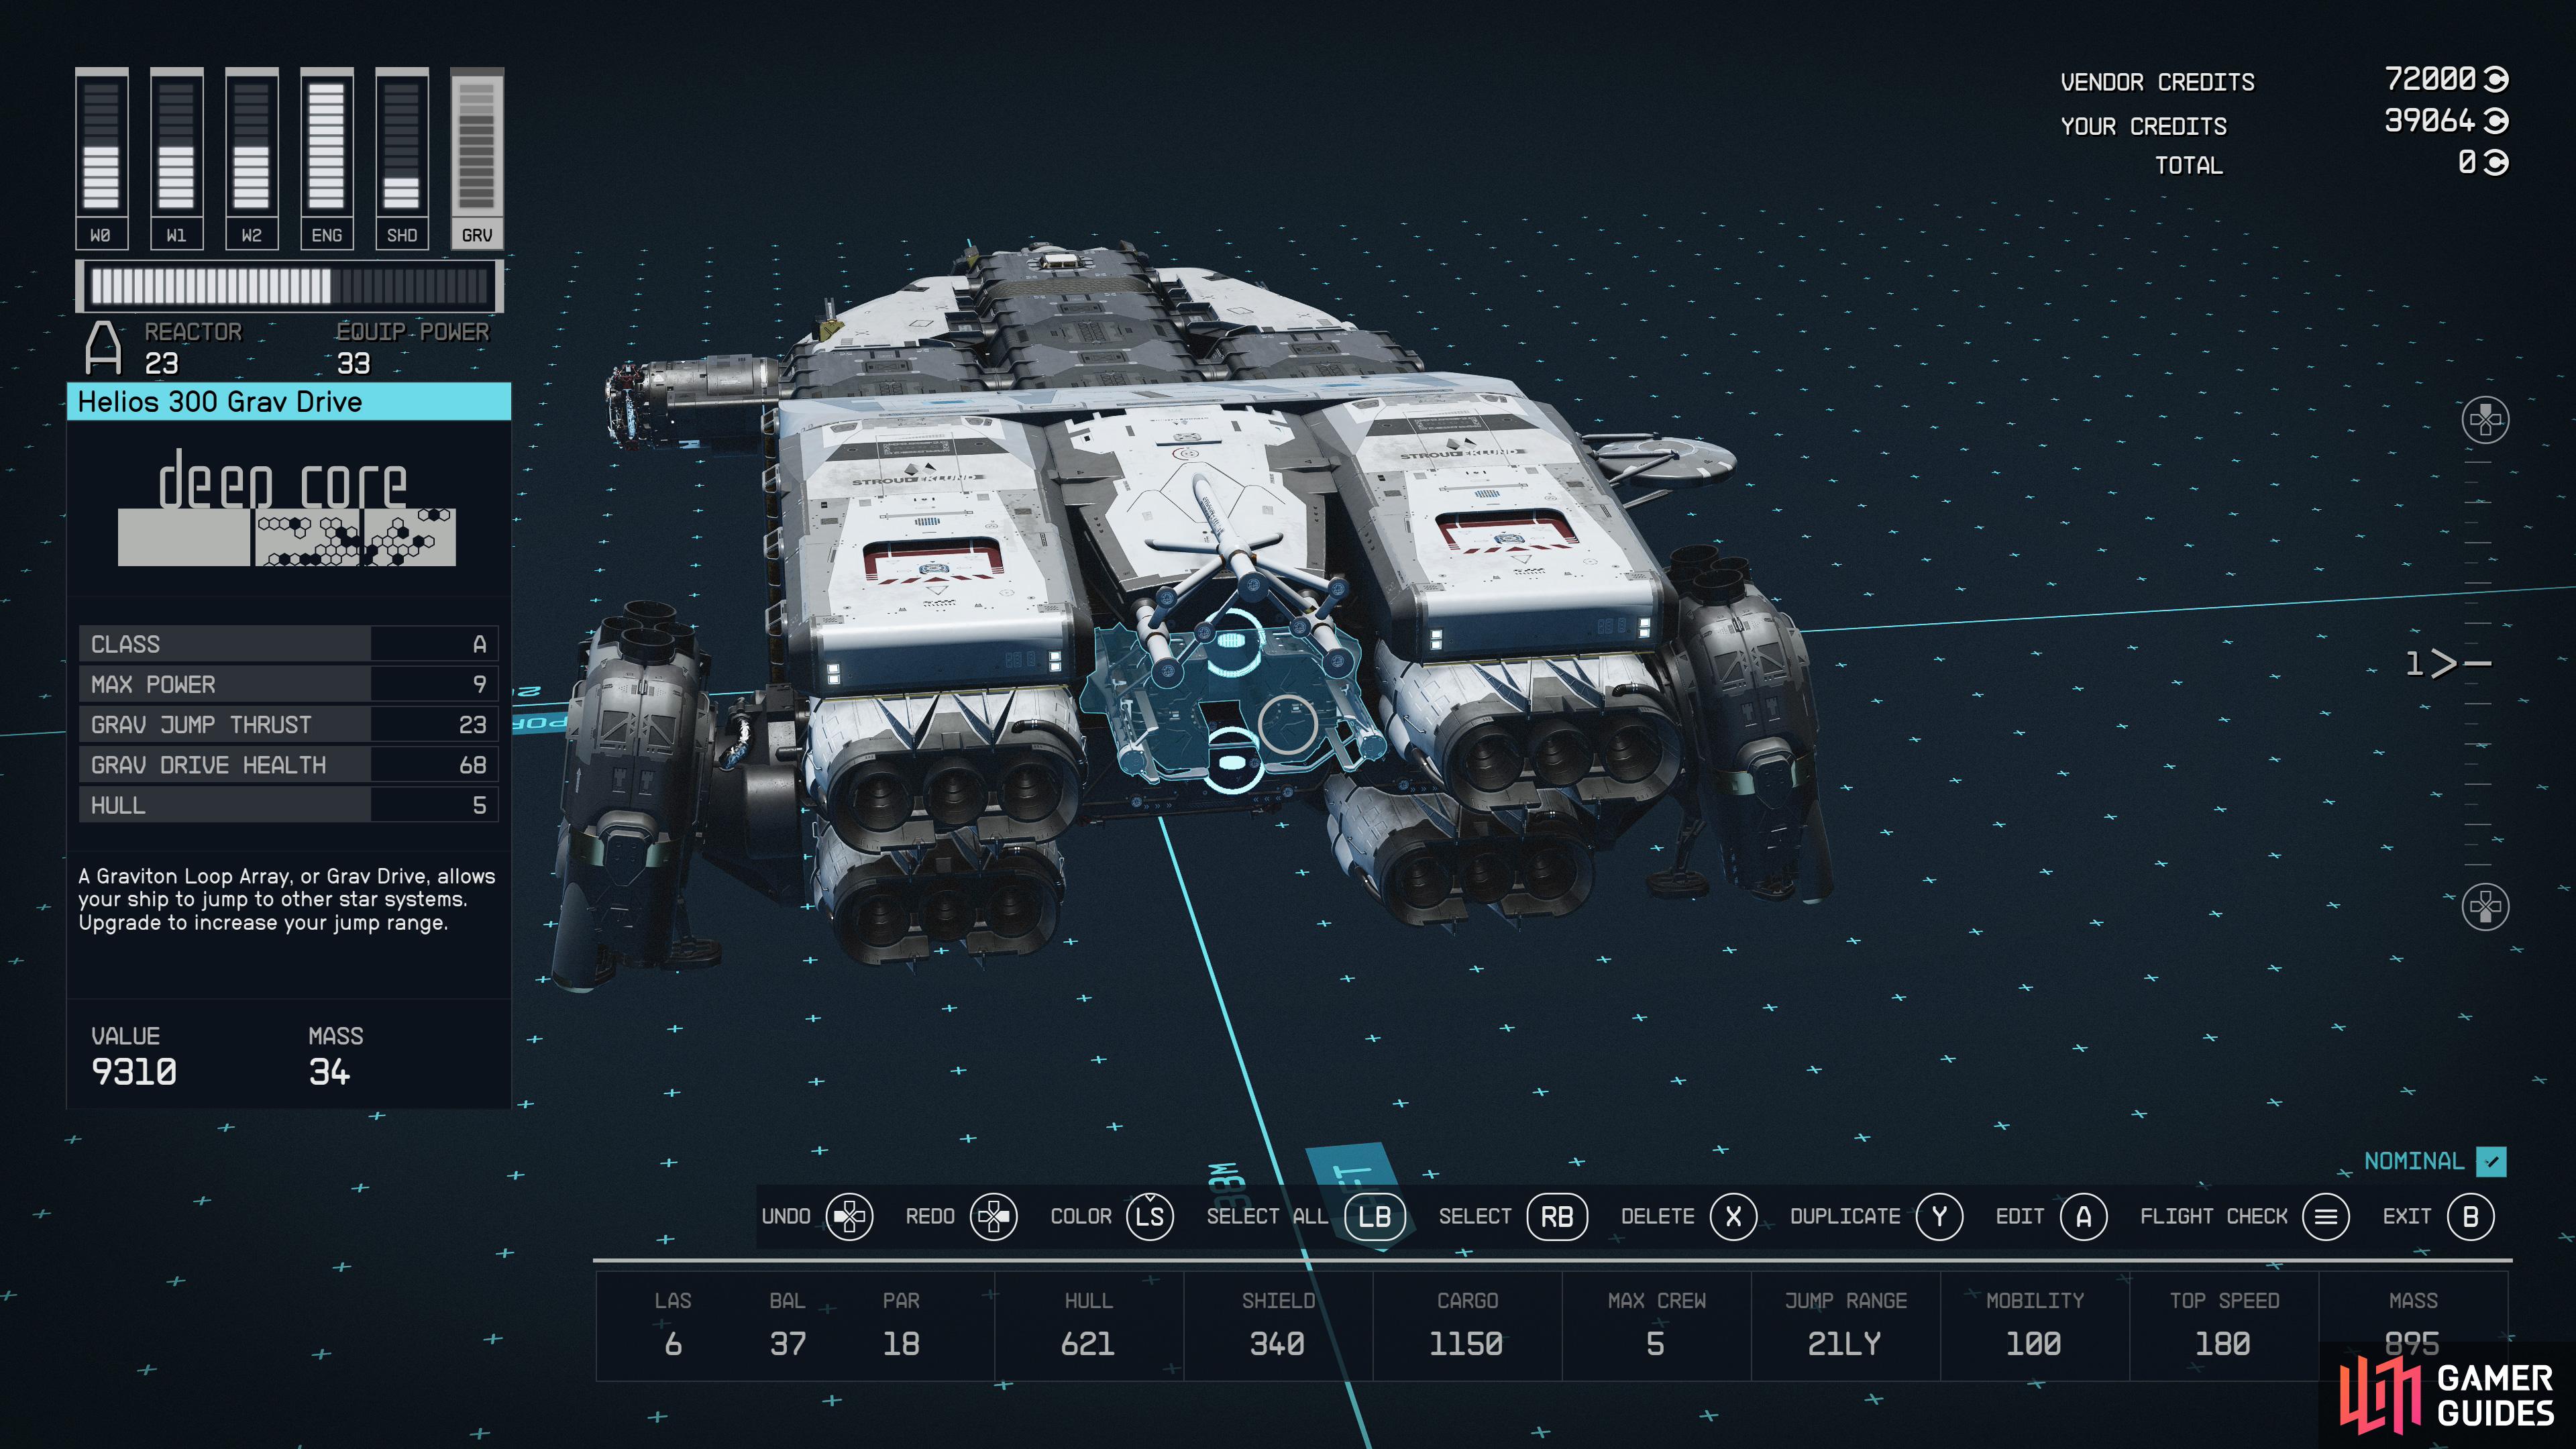
(1 of 3) Grav drives allow you to jump light years away instantaneously, but their range is mitigated by your ship’s mass.
Fuel and Jump Range
Another pair of related stat, your grav drive’s primary function is to allow you to perform FTL jumps - interstellar travel between different systems - and the distance your grav drive can travel between jumps is measured in light years (LY). This generally ranges between 12-30 LY, but on its own is kind of a moot stat, since many systems will be further away than even the highest-end grav drives can manage, especially when you consider that your jump range is reduced the greater your ship’s mass. That 27 LY grav drive you bought will only take you that full 27 LY if you skimp on every other aspect of starship design, including cargo capacity, crew capacity weaponry, etc. What’s the point of traveling to far-flung systems if you’re helpless, understaffed and incapable of hauling anything back with you?
This is where fuel comes into play. Fuel allows your grav drive to jump repeatedly in succession without stopping, extending your FTL travel range. You can’t run out of fuel and get stranded, you’ll automatically replenish your fuel when you arrive at your destination, and fuel doesn’t cost you anything, so essentially the combination of jump range and your fuel supply determines how far you can travel (between systems on the star map) at a time.
This sounds more complicated than it is, and honestly, hasn’t proven to be a major consideration in our starship design. Get a decent grav drive (20+ LY jump range) and keep your total LY range in the high teens to low 20s after your ship’s mass has been factored in, then add fuel tanks to ensure you can travel far enough in a single go to get between any two adjacent systems. 20 LY with 150 fuel was quite sufficient for relatively painless early-game exploration, but you could easily end up with many times more fuel capacity if you ever saw the need.
Engines generate engine thrust and maneuvering thrust, which increase your top speed and mobility, respectively. Both are negatively impacted by your ship’s mass.
Mobility
A function of the Maneuvering Thrust stat provided by all engines, it is checked by your ship’s mass. The lower your mobility, the worse your ship’s handling, meaning slower turns and other undesirable effects. If this number starts to drop and you find that inhibits your combat readiness to a concerning degree, add more engines, add more powerful engines, or shed mass.
Top Speed
Like Mobility, Top Speed is a function of your engines, this time the Engine Thrust stat. Also like mobility, the more mass your ship has, the lower its top speed. Your top speed is also a function of the power provided to your engines - if you have four engines, each with a Max Power rating of 3, you’ll have the potential to assign 12 units of power generated by your reactor to your engine. If your top speed with these four engines is 150, but you can only assign 6 power to them, your effective speed will be, well, around half of your top speed. That said, you rarely need to be traveling at whatever your top speed is. It’ll make local travel in your ship somewhat slower, but if you need to cover great distances you have fast travel via your grav drive, and in our experience space combat is already hectic enough at lower speeds, besides, if you need a speed boost, that is what your boosters are for. Unlike shields and weapons, then, slapping on some extra engines to improve your mobility and counter your mass is generally not a bad idea, even if you don’t actually end up feeding your engines all the power they could otherwise consume.
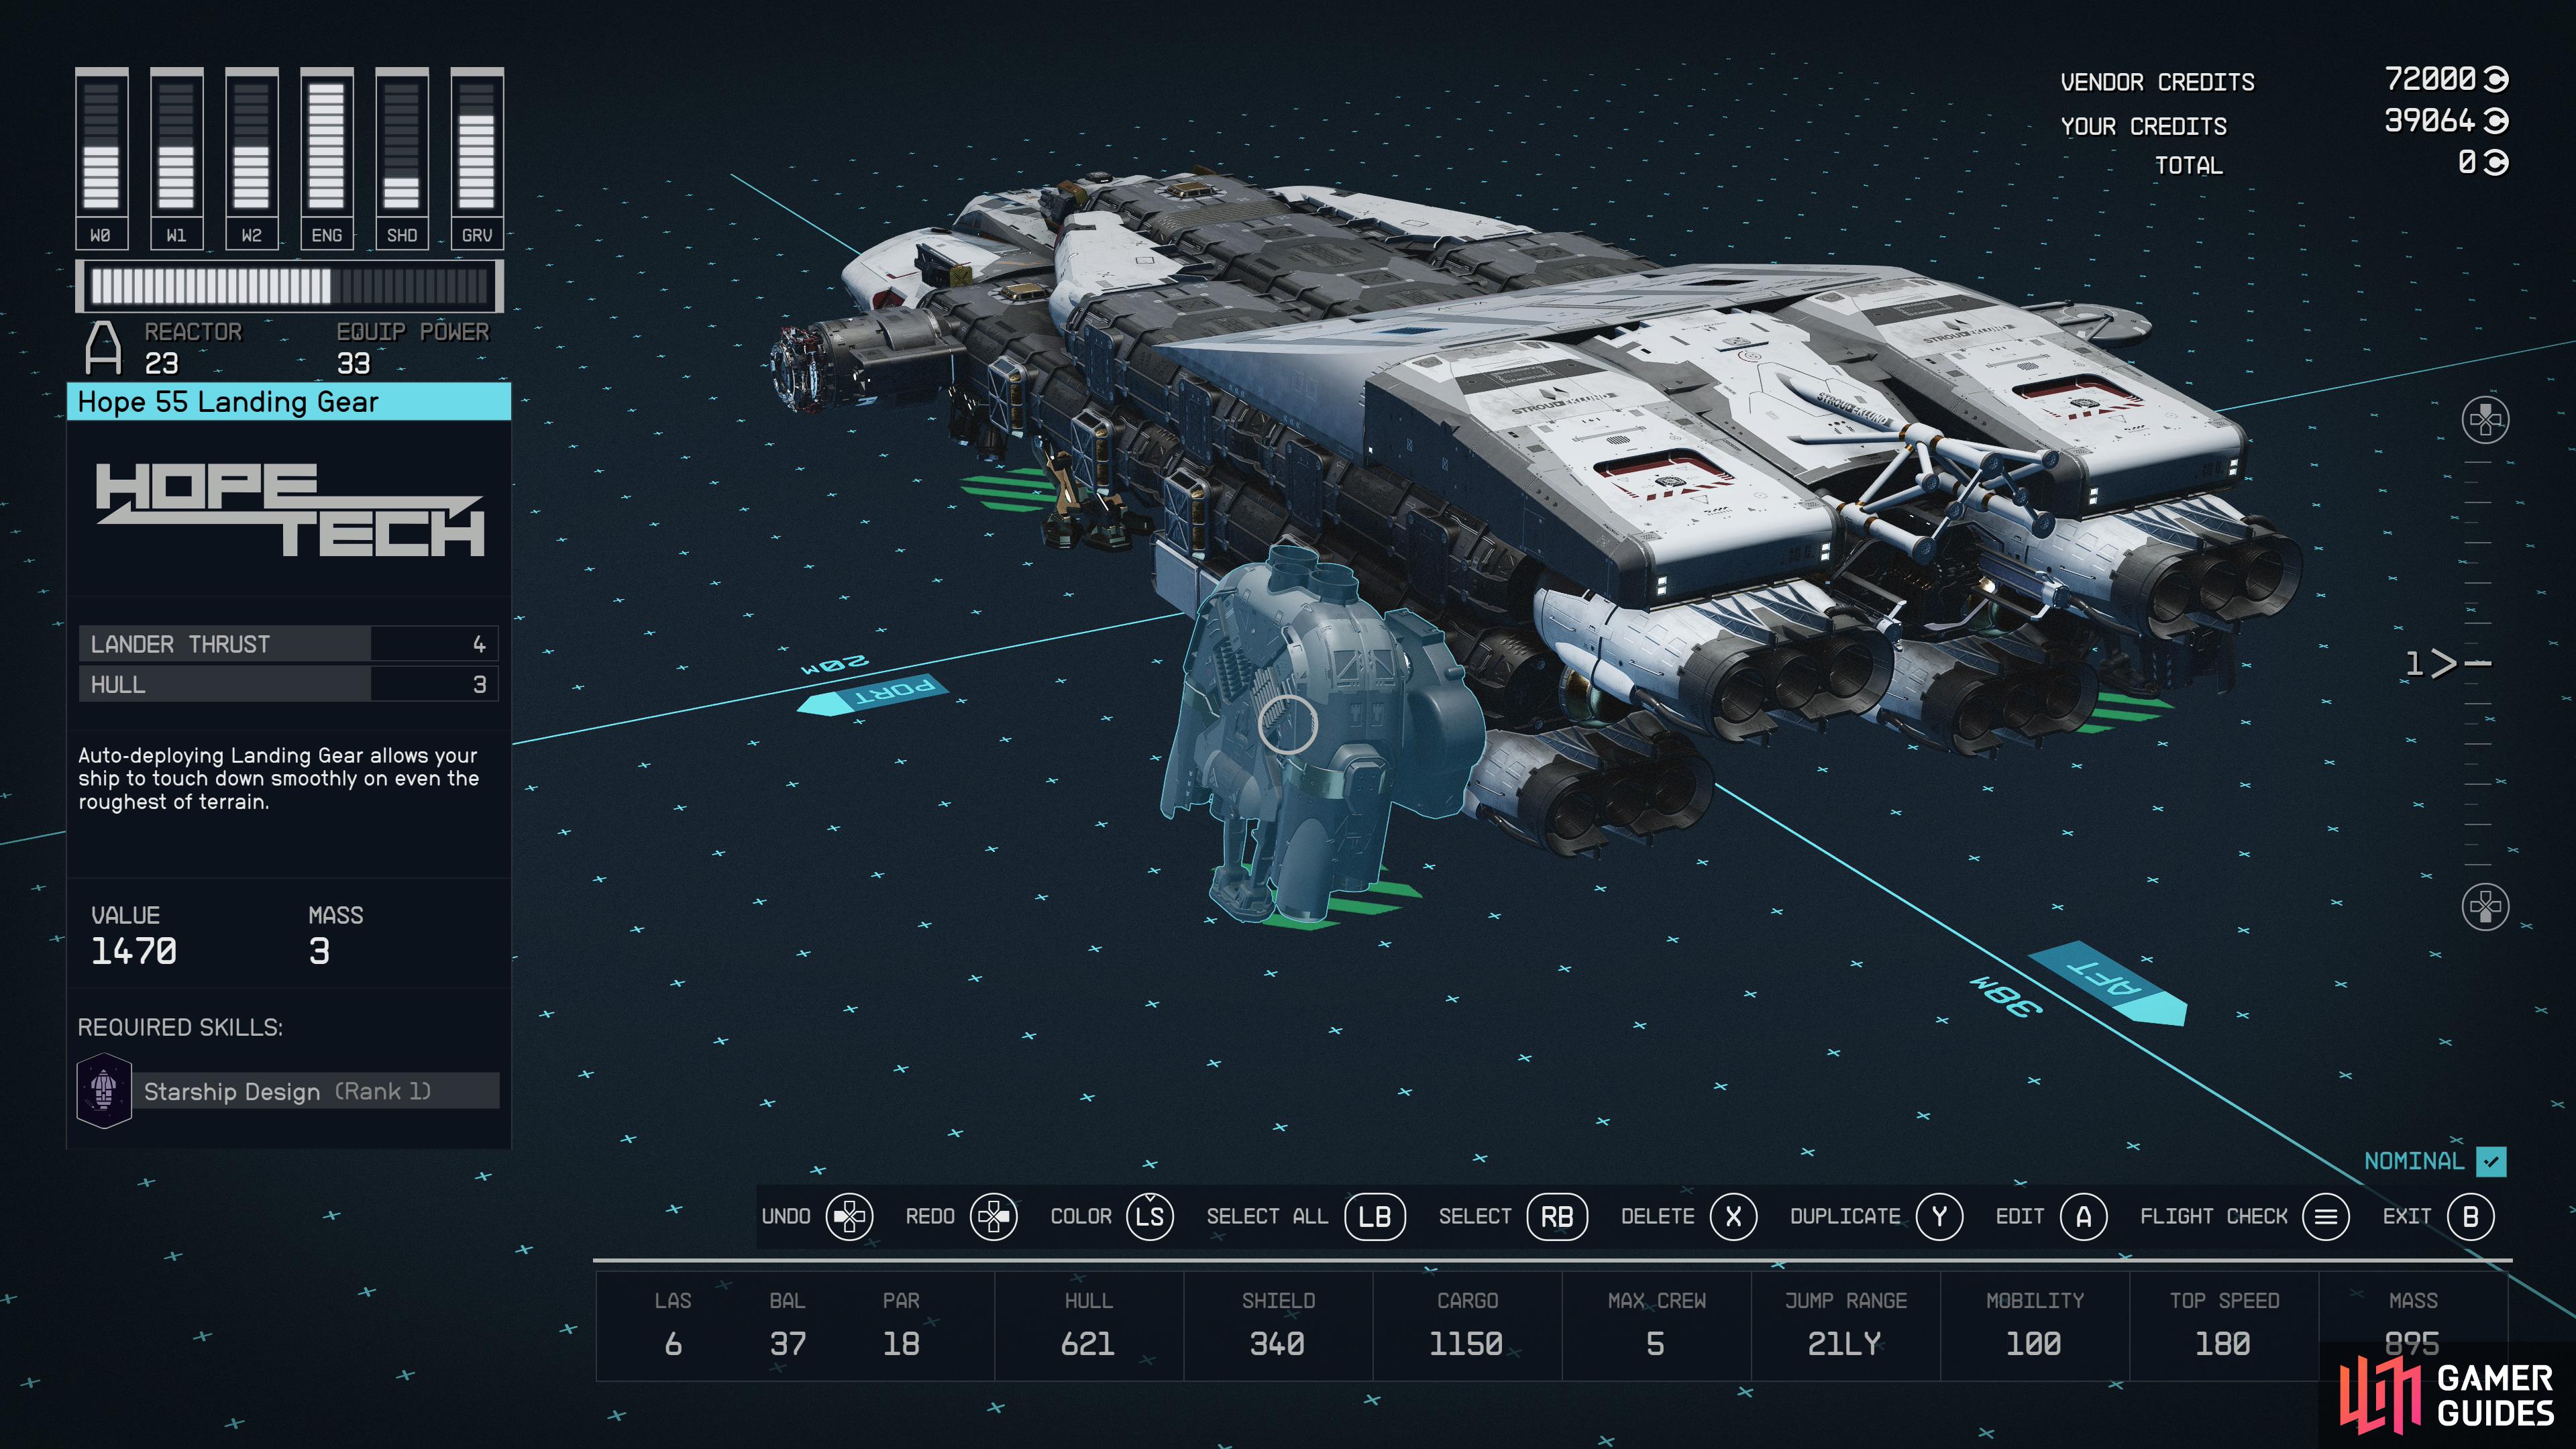
Landing gear is a bit of a niche consideration, but you need one point of lander thrust for every 200 of ship mass.
Lander Thrust
A somewhat hidden stat, it only appears on landing gear, and it only matters when you’re taking off. This is another niggling little mass penalty you sometimes have to compensate for, as the more massive your ship gets, the more lander thrust you’ll need from your landing gear. This is usually small potatoes, in the grand scheme of ship design, as the placement or your landing gear and their numbers rarely matters. So long as you can attach them to your ship and they actually touch the ground and provide enough landing thrust to counter your ship’s mass to allow for takeoff and landing, you’re fine. The landing thrust to mass ratios on landing gear vary considerably, but we’re talking 1-3 mass per landing gear, which is peanuts compared to most other components. A good landing thrust to mass ratio is roughly 1:1, but it’s probably not going to make or break your ship design if you choose aesthetics over functionality here.
Since this stat isn’t actually recorded anywhere, it’s not super clear what the requirements are. If your mass is too high in relation to your landing thrust, you’ll get an error message requiring you to shed weight or add landing thrust. With a bit of testing, you seem to require 1 point of landing thrust for every 200 mass of your ship. Since you can just buy landing gear with 4 landing thrust, these requirements aren’t too steep - you should have no trouble slapping four such gear on your ship’s exterior, which would allow for a whopping 3200 mass and only costing a few thousand credits and adding a total of 12 mass to do.
No Comments