
![]() The Empty Nest main mission in Starfield can be started at
The Empty Nest main mission in Starfield can be started at ![]() The Lodge in
The Lodge in ![]() New Atlantis, the headquarters of Constellation. The mission will take you to
New Atlantis, the headquarters of Constellation. The mission will take you to ![]() Akila City in the Cheyenne star system. You’ll be traveling with fellow Constellation member
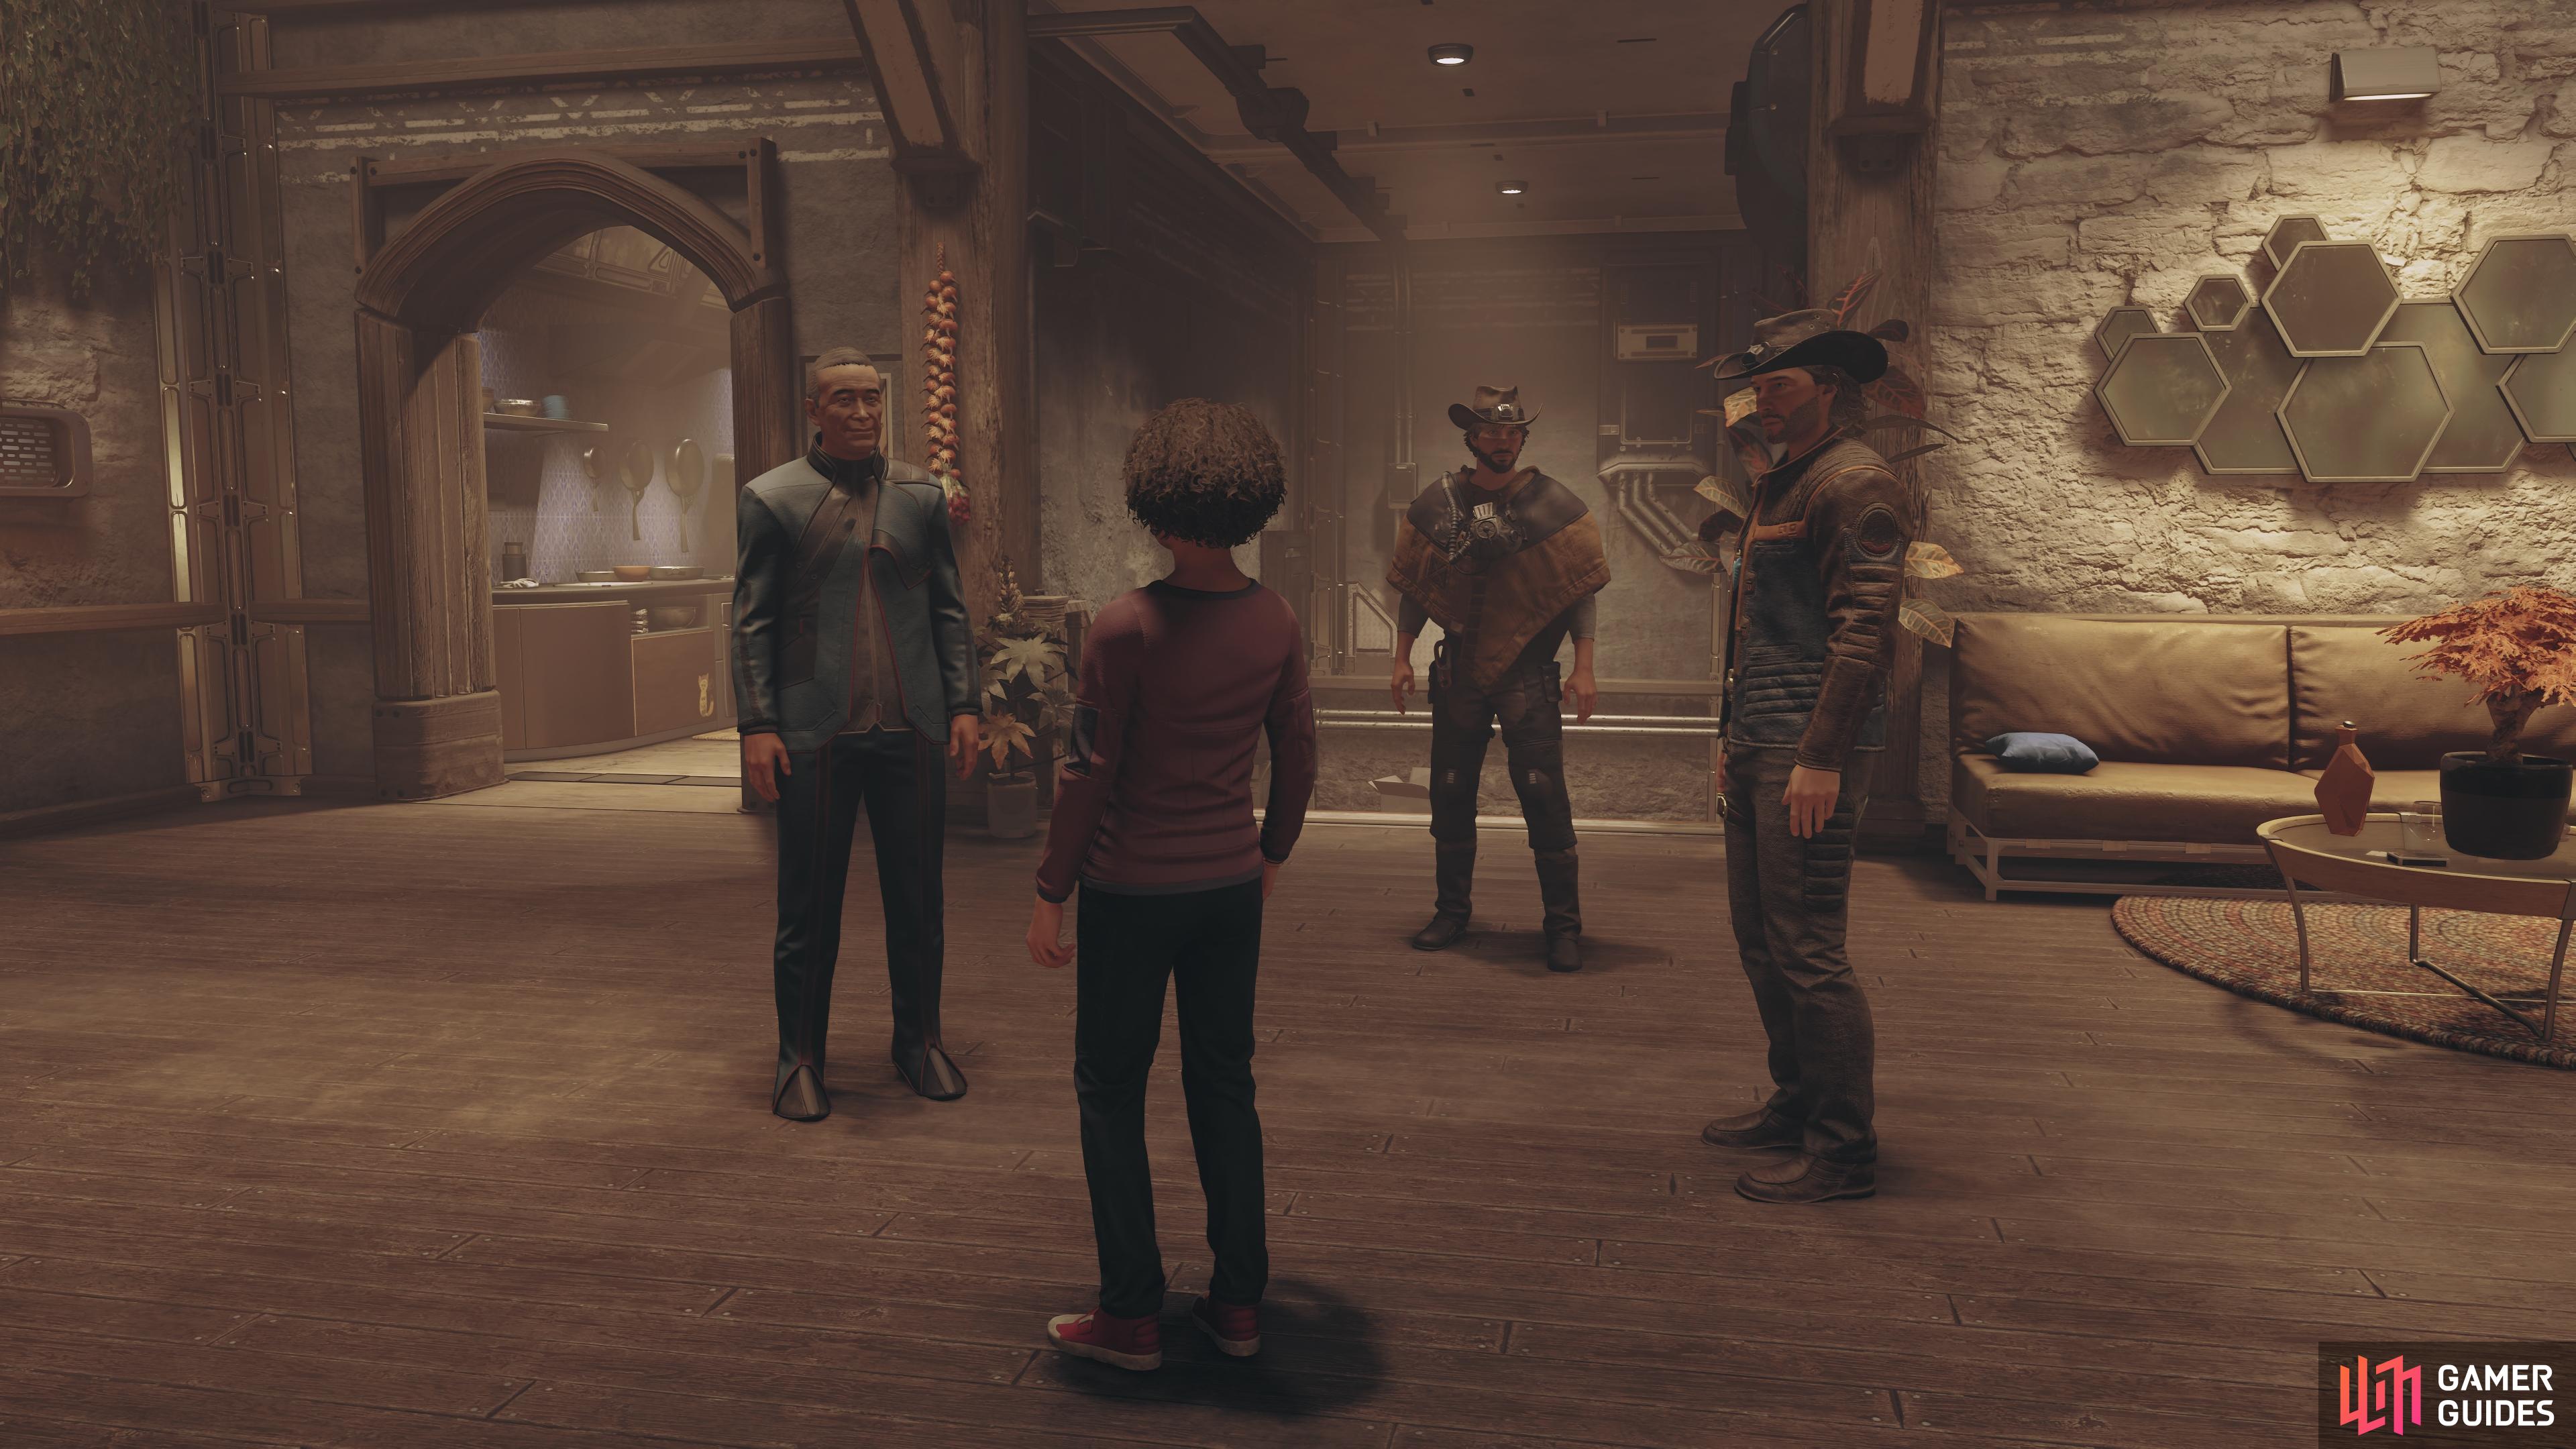
Akila City in the Cheyenne star system. You’ll be traveling with fellow Constellation member ![]() Sam Coe, and his daughter Cora. Sam has a history in Akila, being a descendant of the family which first explored it, and there’s clearly something of a wild west vibe about it. Home of the Freestar
Sam Coe, and his daughter Cora. Sam has a history in Akila, being a descendant of the family which first explored it, and there’s clearly something of a wild west vibe about it. Home of the Freestar ![]() Rangers, you’ll have an opportunity to join this faction while you’re there. On this page, we’ll take you through how to resolve the hostage situation when you first arrive, including the outcomes of various choices that you’ll have along the way.
Rangers, you’ll have an opportunity to join this faction while you’re there. On this page, we’ll take you through how to resolve the hostage situation when you first arrive, including the outcomes of various choices that you’ll have along the way.
The Empty Nest Main Mission, Starfield.
Travel to Akila City with Sam Coe
The first thing you need to do is get to the planet Akila in the Cheyenne star system. You can fast travel there from your mission journal, and once you’re in orbit just fast travel to Akila City. Sam Coe is the only companion that you can have along for the duration of this quest, and he’ll let you know once you land. As you enter Akila, the guards will let you know that there’s a dangerous hostage situation at the GalBank, which just so happens to be where you need to go. You have no choice but to help with resolving it.
Speak with Marshal Daniel Blake
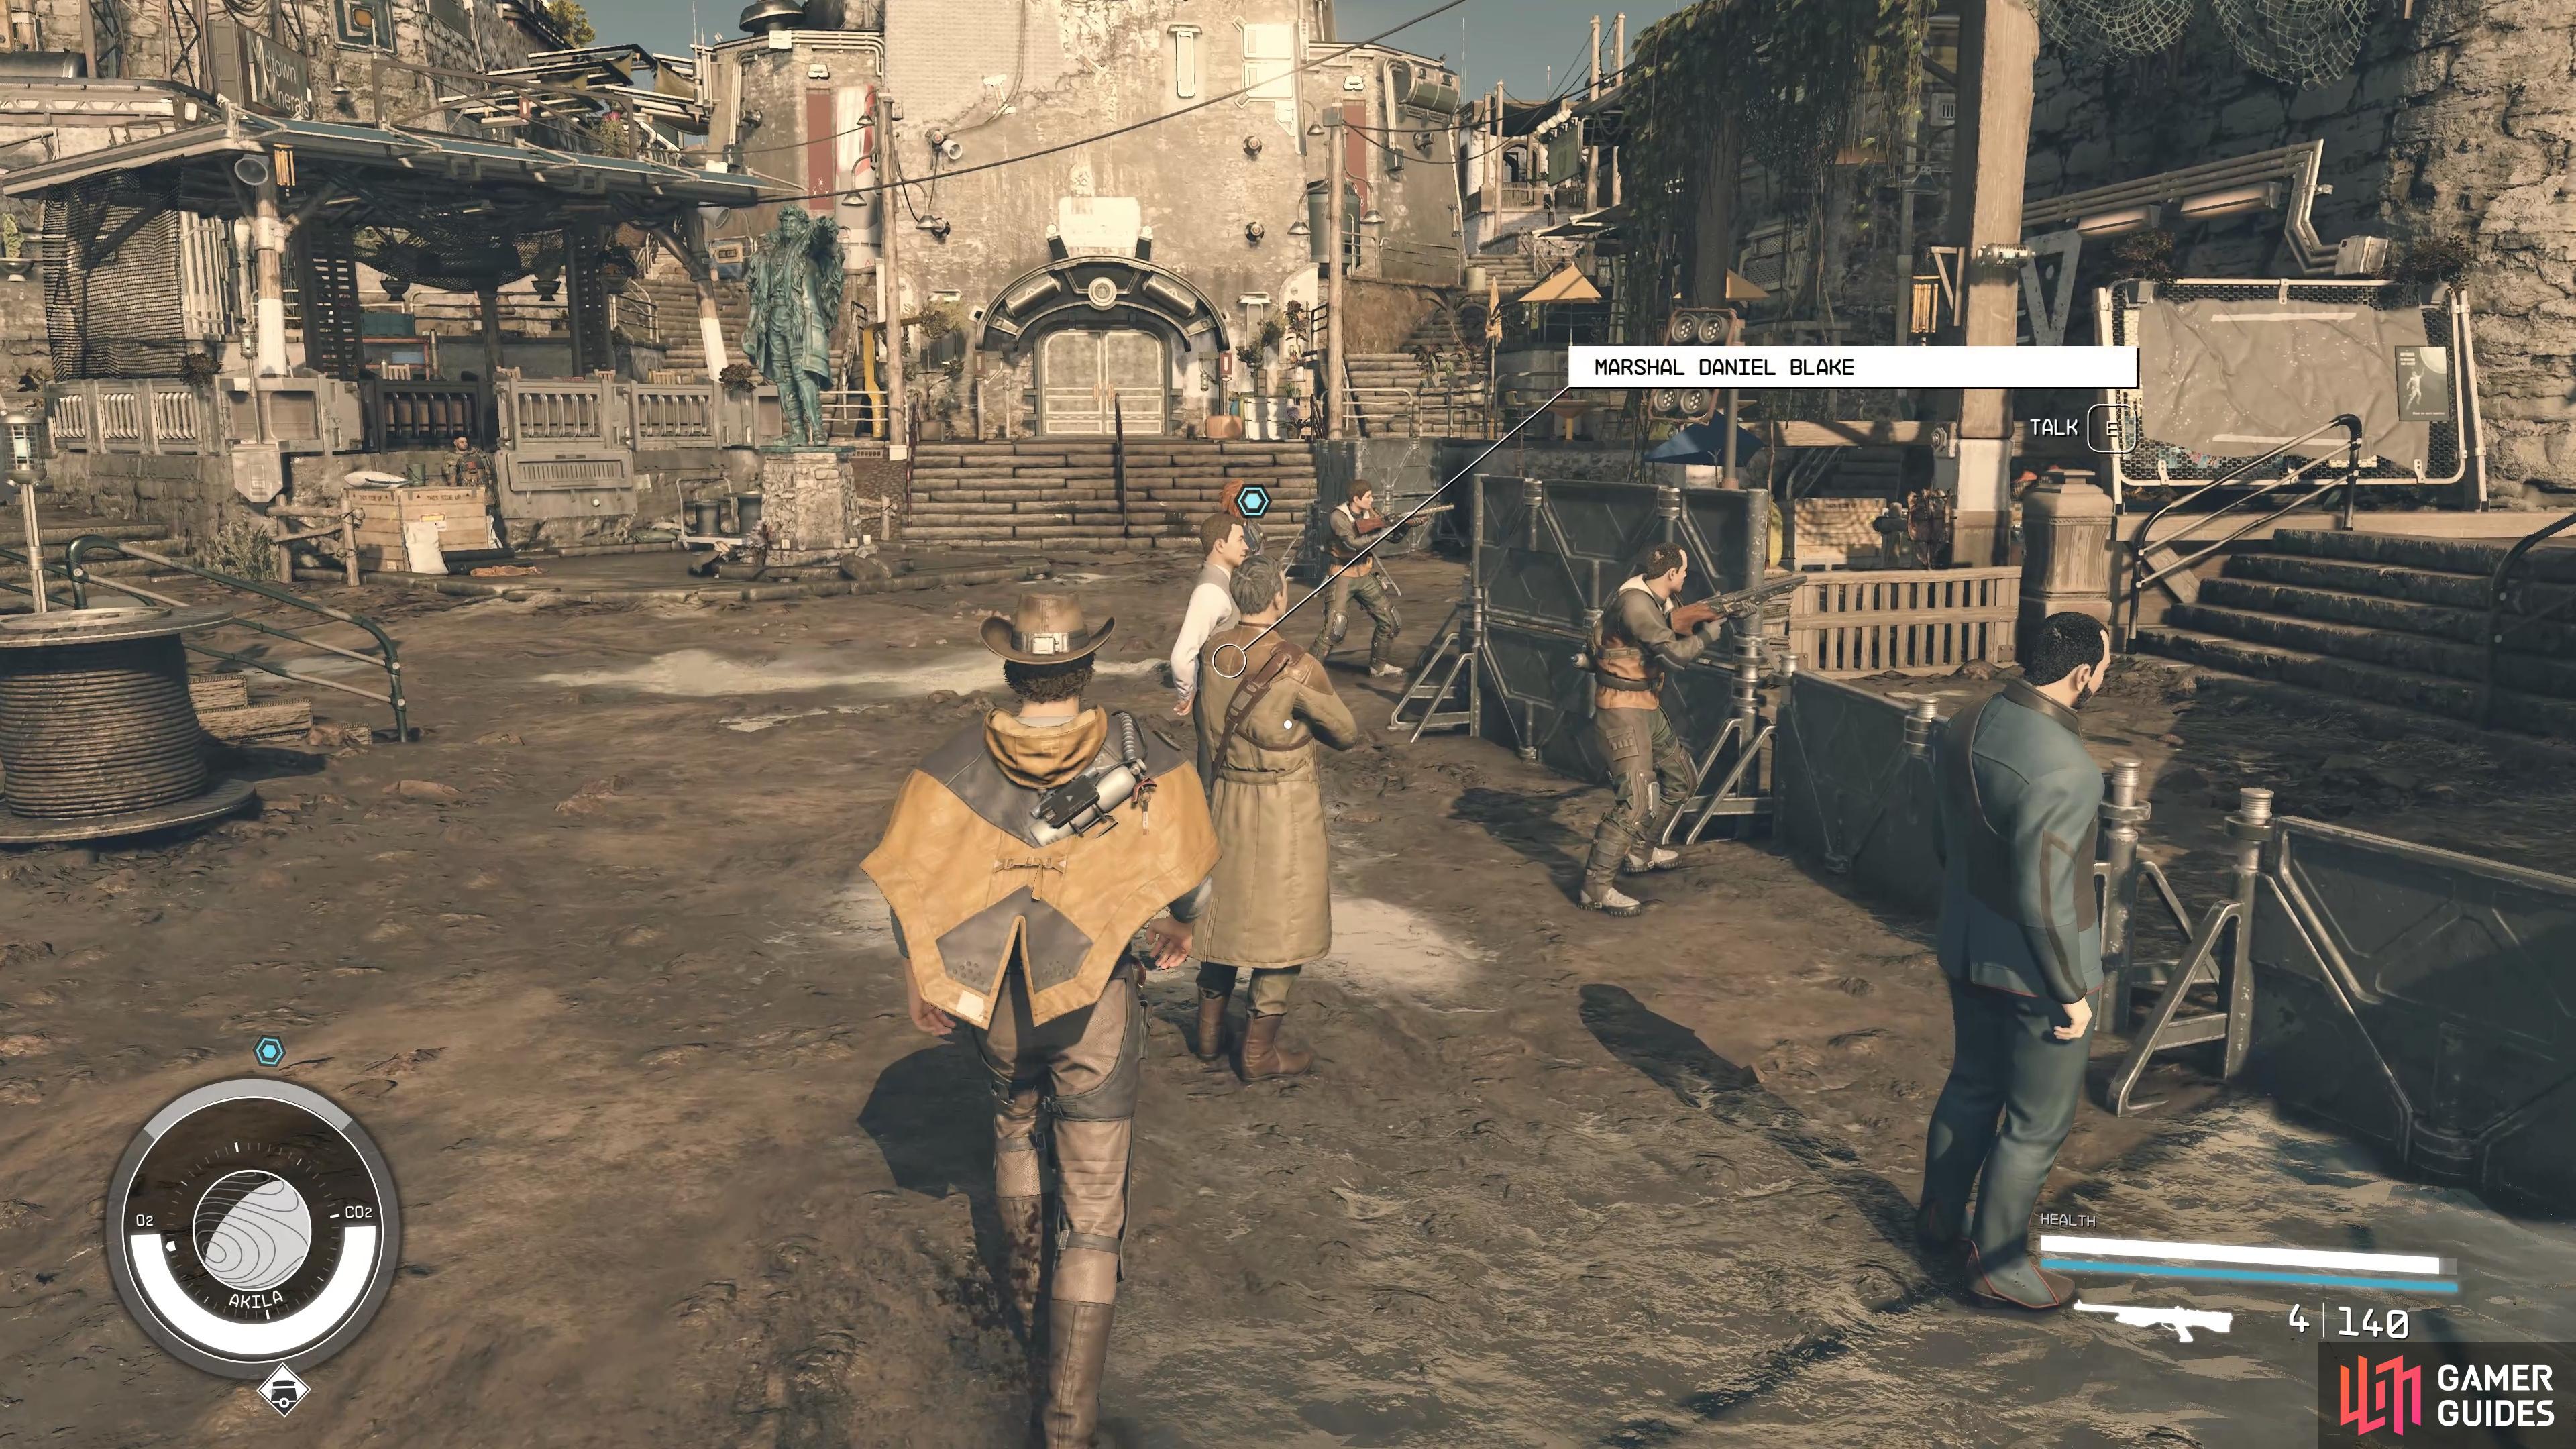
Once you’ve spoken with the guard, all you need to do is walk further into the center of the Akila streets. You’ll see a bunch of people stood outside the GalBank, including ![]() Marshal Daniel Blake, who you need to speak with to get started. He’ll recognize Sam, who he trusts, and you’ll gain his trust as a result. You’ll soon learn that there are different ways to resolve the hostage situation, which can be broken down into two main choices: you can try to negotiate with the Shaw Gang members, or you can try to infiltrate the GalBank and take them out from the inside. We’ll cover what happens in both scenarios below.
Marshal Daniel Blake, who you need to speak with to get started. He’ll recognize Sam, who he trusts, and you’ll gain his trust as a result. You’ll soon learn that there are different ways to resolve the hostage situation, which can be broken down into two main choices: you can try to negotiate with the Shaw Gang members, or you can try to infiltrate the GalBank and take them out from the inside. We’ll cover what happens in both scenarios below.
How to Deal With the Shaw Gang at GalBank
It should be noted that even if you choose to negotiate with the Shaw Gang members early on, you’ll still have the option to take them out if you wish, without having to submit to any of their demands.
Speak with Marshal Daniel Blake outside the GalBank.
You’ll need to persuade the Shaw Gang to give up, or use another skill that you’re proficient with such as Intimidation or Diplomacy.
What Happens If you Negotiate With the Bank Robber Leader?
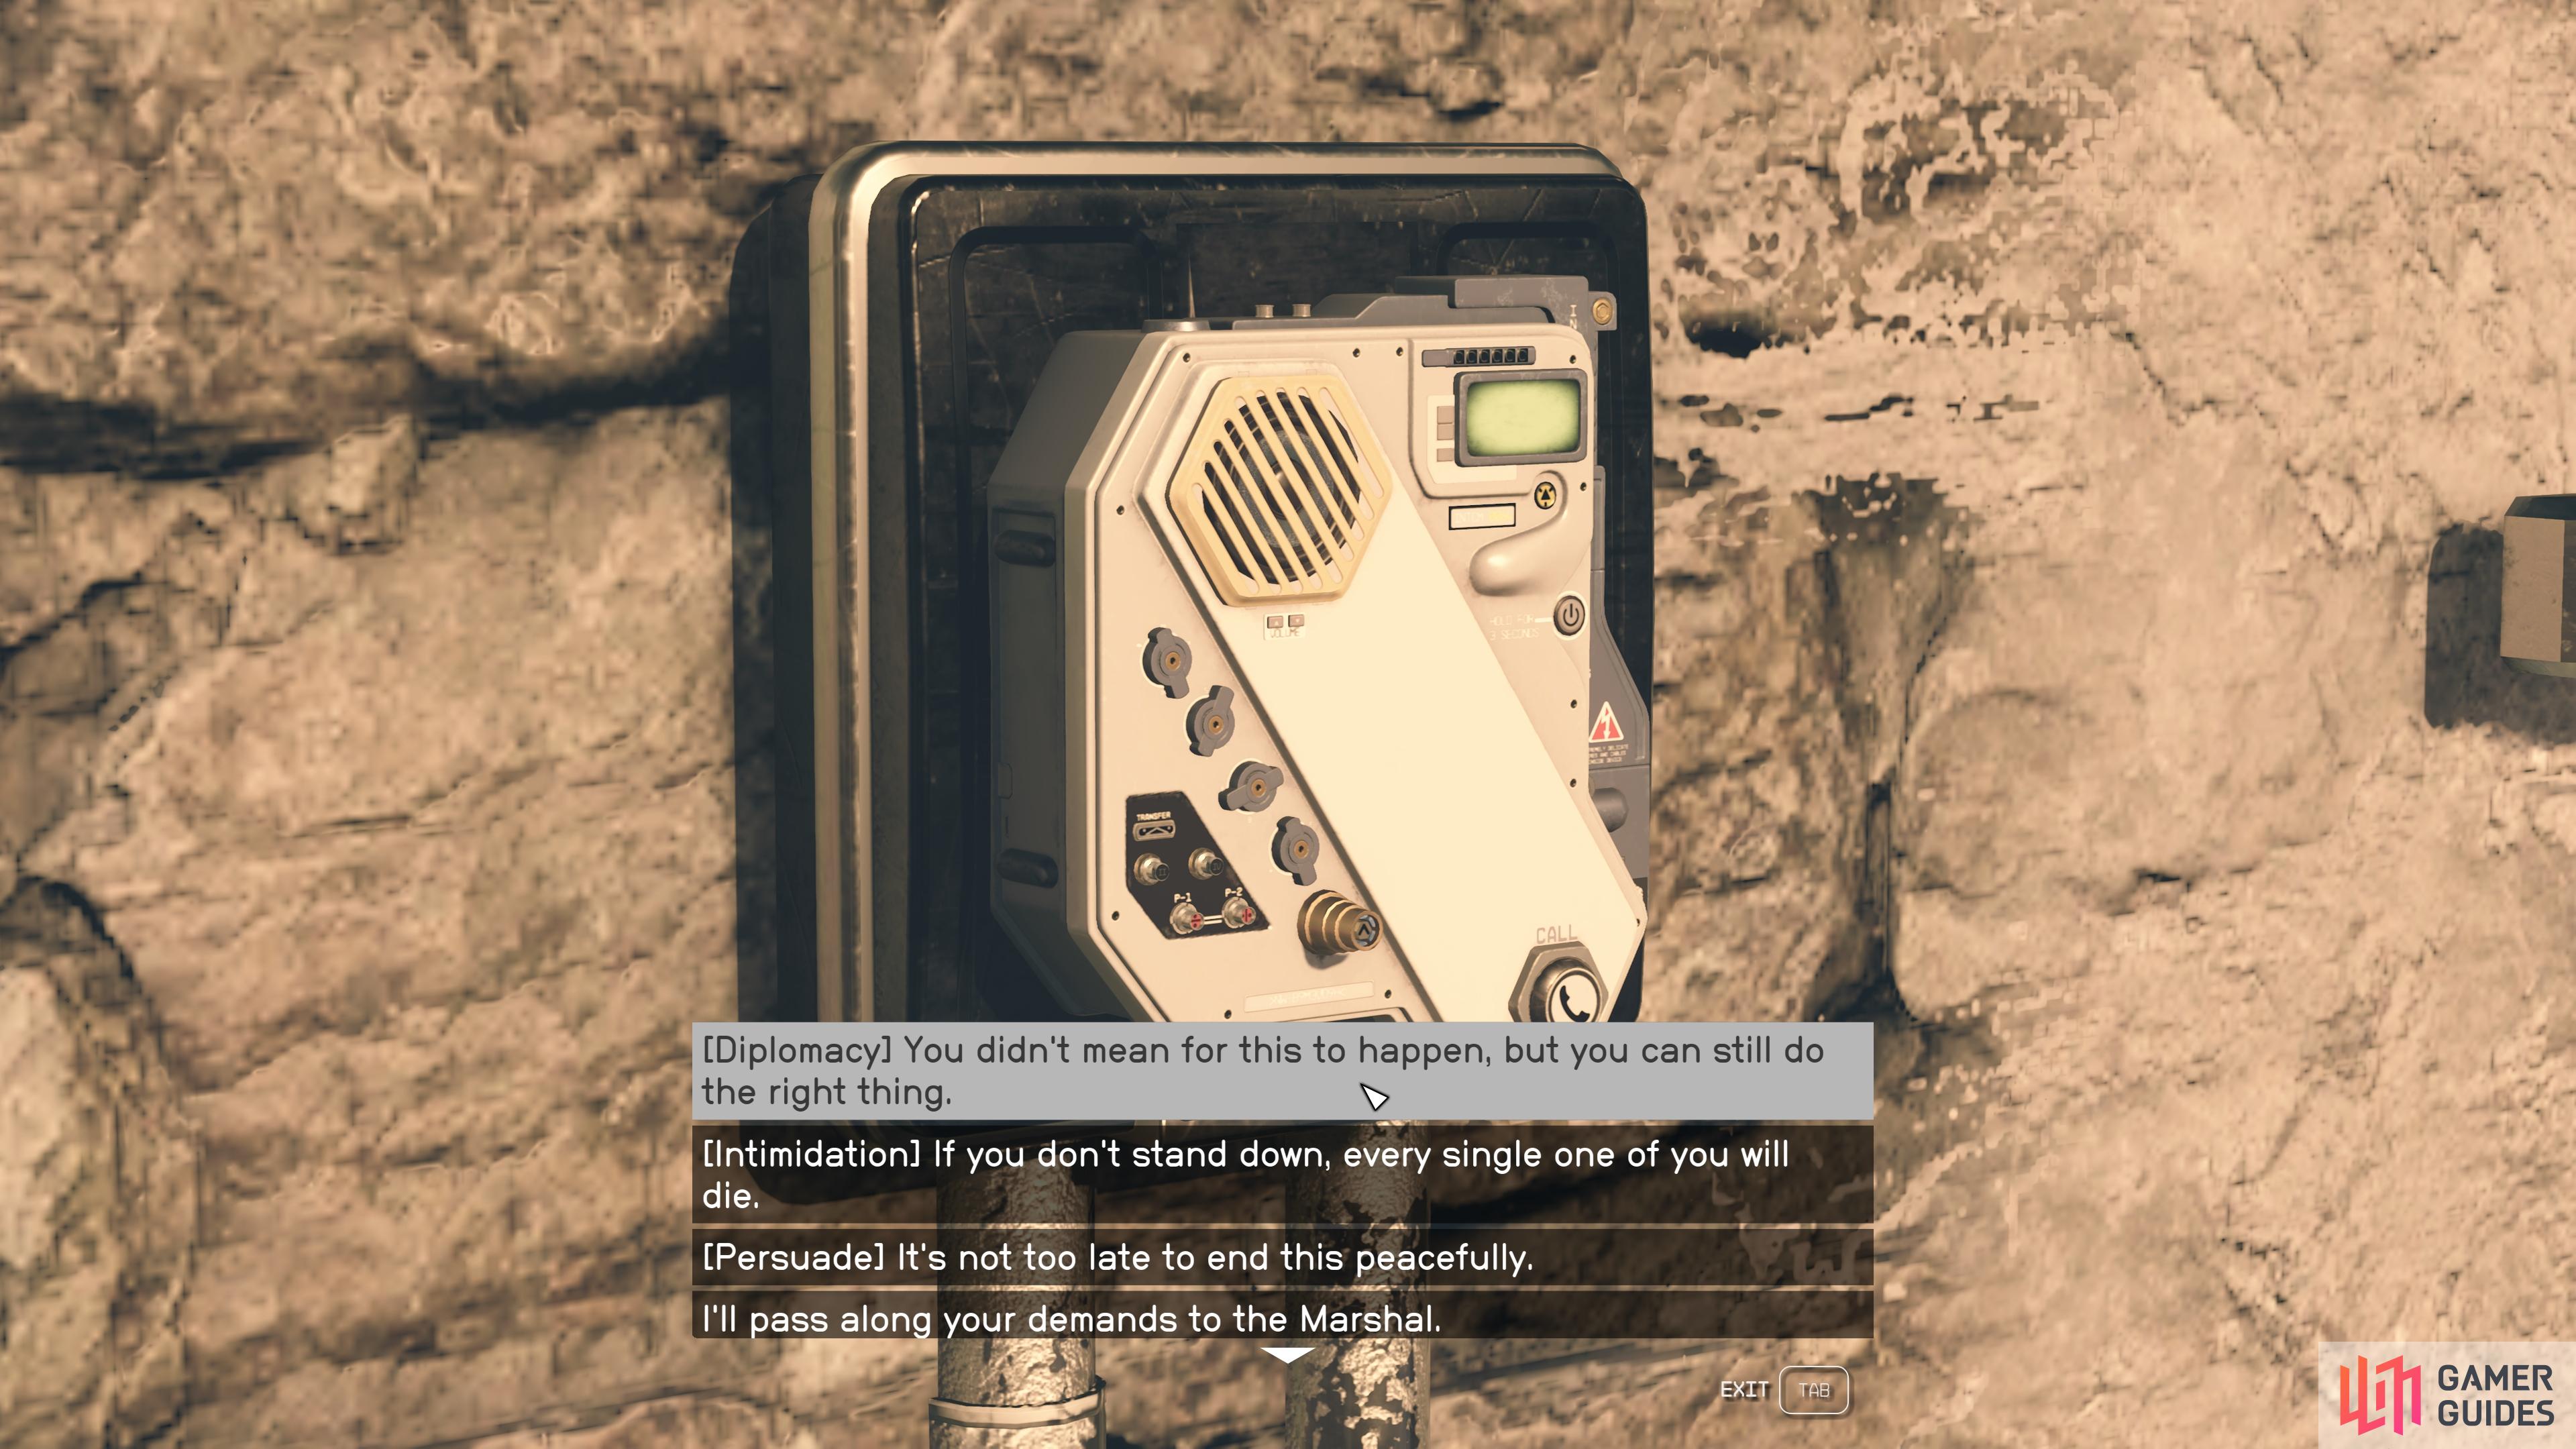
To begin with, we’d recommend speaking with the Bank Robber Leader inside the GalBank. You can do this using the intercom at the front door. You’ll have a number of dialogue options when you first speak with them, but the only ones that have the potential to work are listed under the [Persuade] options. This is a good opportunity to increase the level of your ![]() Persuasion skill, which you can learn more about on our Increasing Your Persuasion Success page.
Persuasion skill, which you can learn more about on our Increasing Your Persuasion Success page.
You’ve probably encountered a few examples of the persuasion option already, so you should know that in general, it’s best to stick with the green or amber options to begin with. Any option in red is going to be difficult for the leader to swallow, and it’s likely to fail at first. There are exceptions to this, such as if you have experience in the ![]() Diplomacy skill, which will give you more options to persuade others, so if you have a choice for that you should take it to play to your strengths.
Diplomacy skill, which will give you more options to persuade others, so if you have a choice for that you should take it to play to your strengths.
If you want to ensure that you succeed with negotiation, you may want to save the game here so that you can reload and try again. If you do succeed the persuasion checks, you should be able to convince the Bank Robber Leader to release the hostages and come outside, but it’ll take two rounds of persuasion checks in total for you to dismiss their demands as well. In the event that this works, you can speak with the marshal and complete this part of the quest immediately. If it fails, you’ll need to infiltrate the bank and kill the gang members.
What Happens If You Sneak Into the GalBank?
In the event that you succeed the first set of persuasion checks but fail the second, which results in the Shaw Gang leader making absurd demands that the marshal is unwilling to fulfill, the only way to resolve the situation at this point is to sneak into the bank and kill all of the gang members. The marshal will give you a key to a back door on the other side of the bank, which you can use to get inside. You may want to make a hard save here and prepare yourself for the fight to come. You can always reload if any of the hostages die.
When you’re ready, enter the bank from the back door and prepare to find some gang members immediately on the other side. There’s no way to sneak around here unless you’re extremely careful, and ideally spent a few points in stealth combat already. Otherwise, you’re likely to be seen straight away and you need to be quick to kill the gang members, while keeping the hostages alive. The best way to do this is to avoid using any weapons or throwables which inflict AoE (Area of Effect) damage, since this could easily hit the hostages and kill them inadvertently. Use precision weapons to take out the gang members, and go to the basement to find the hostages.
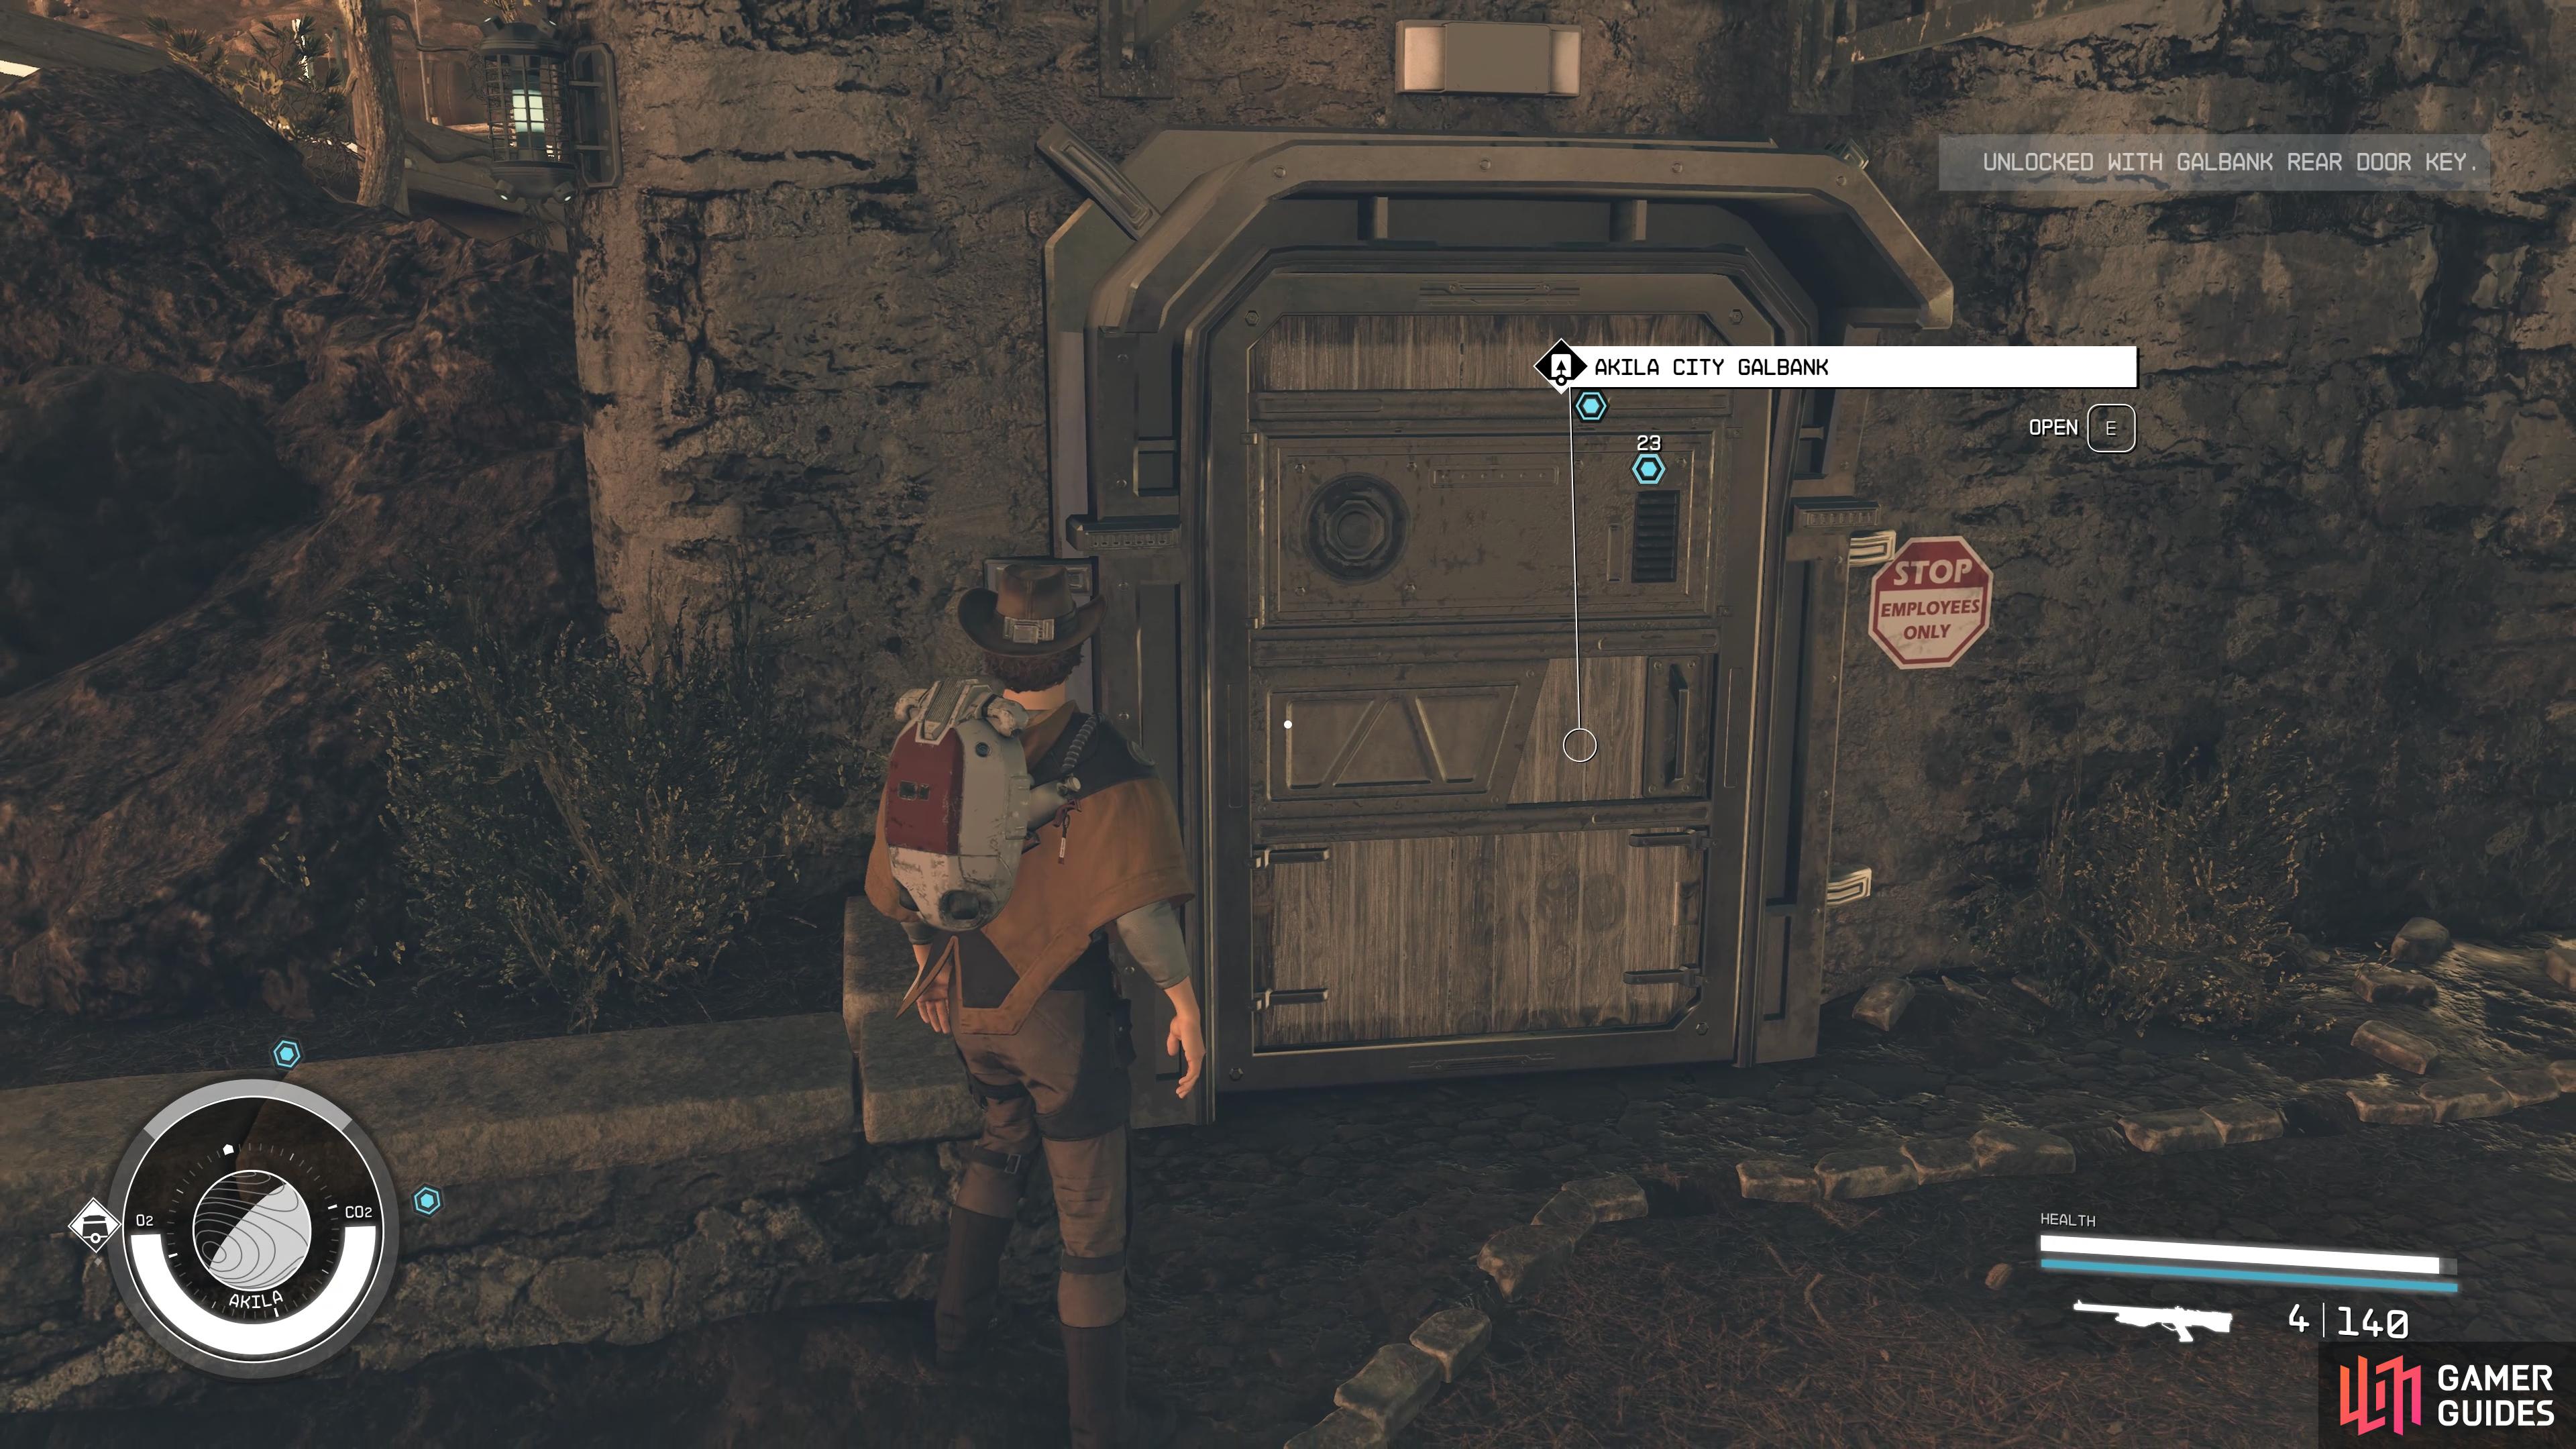
You can enter the GalBank using the back door with the key given to you by the marshal.
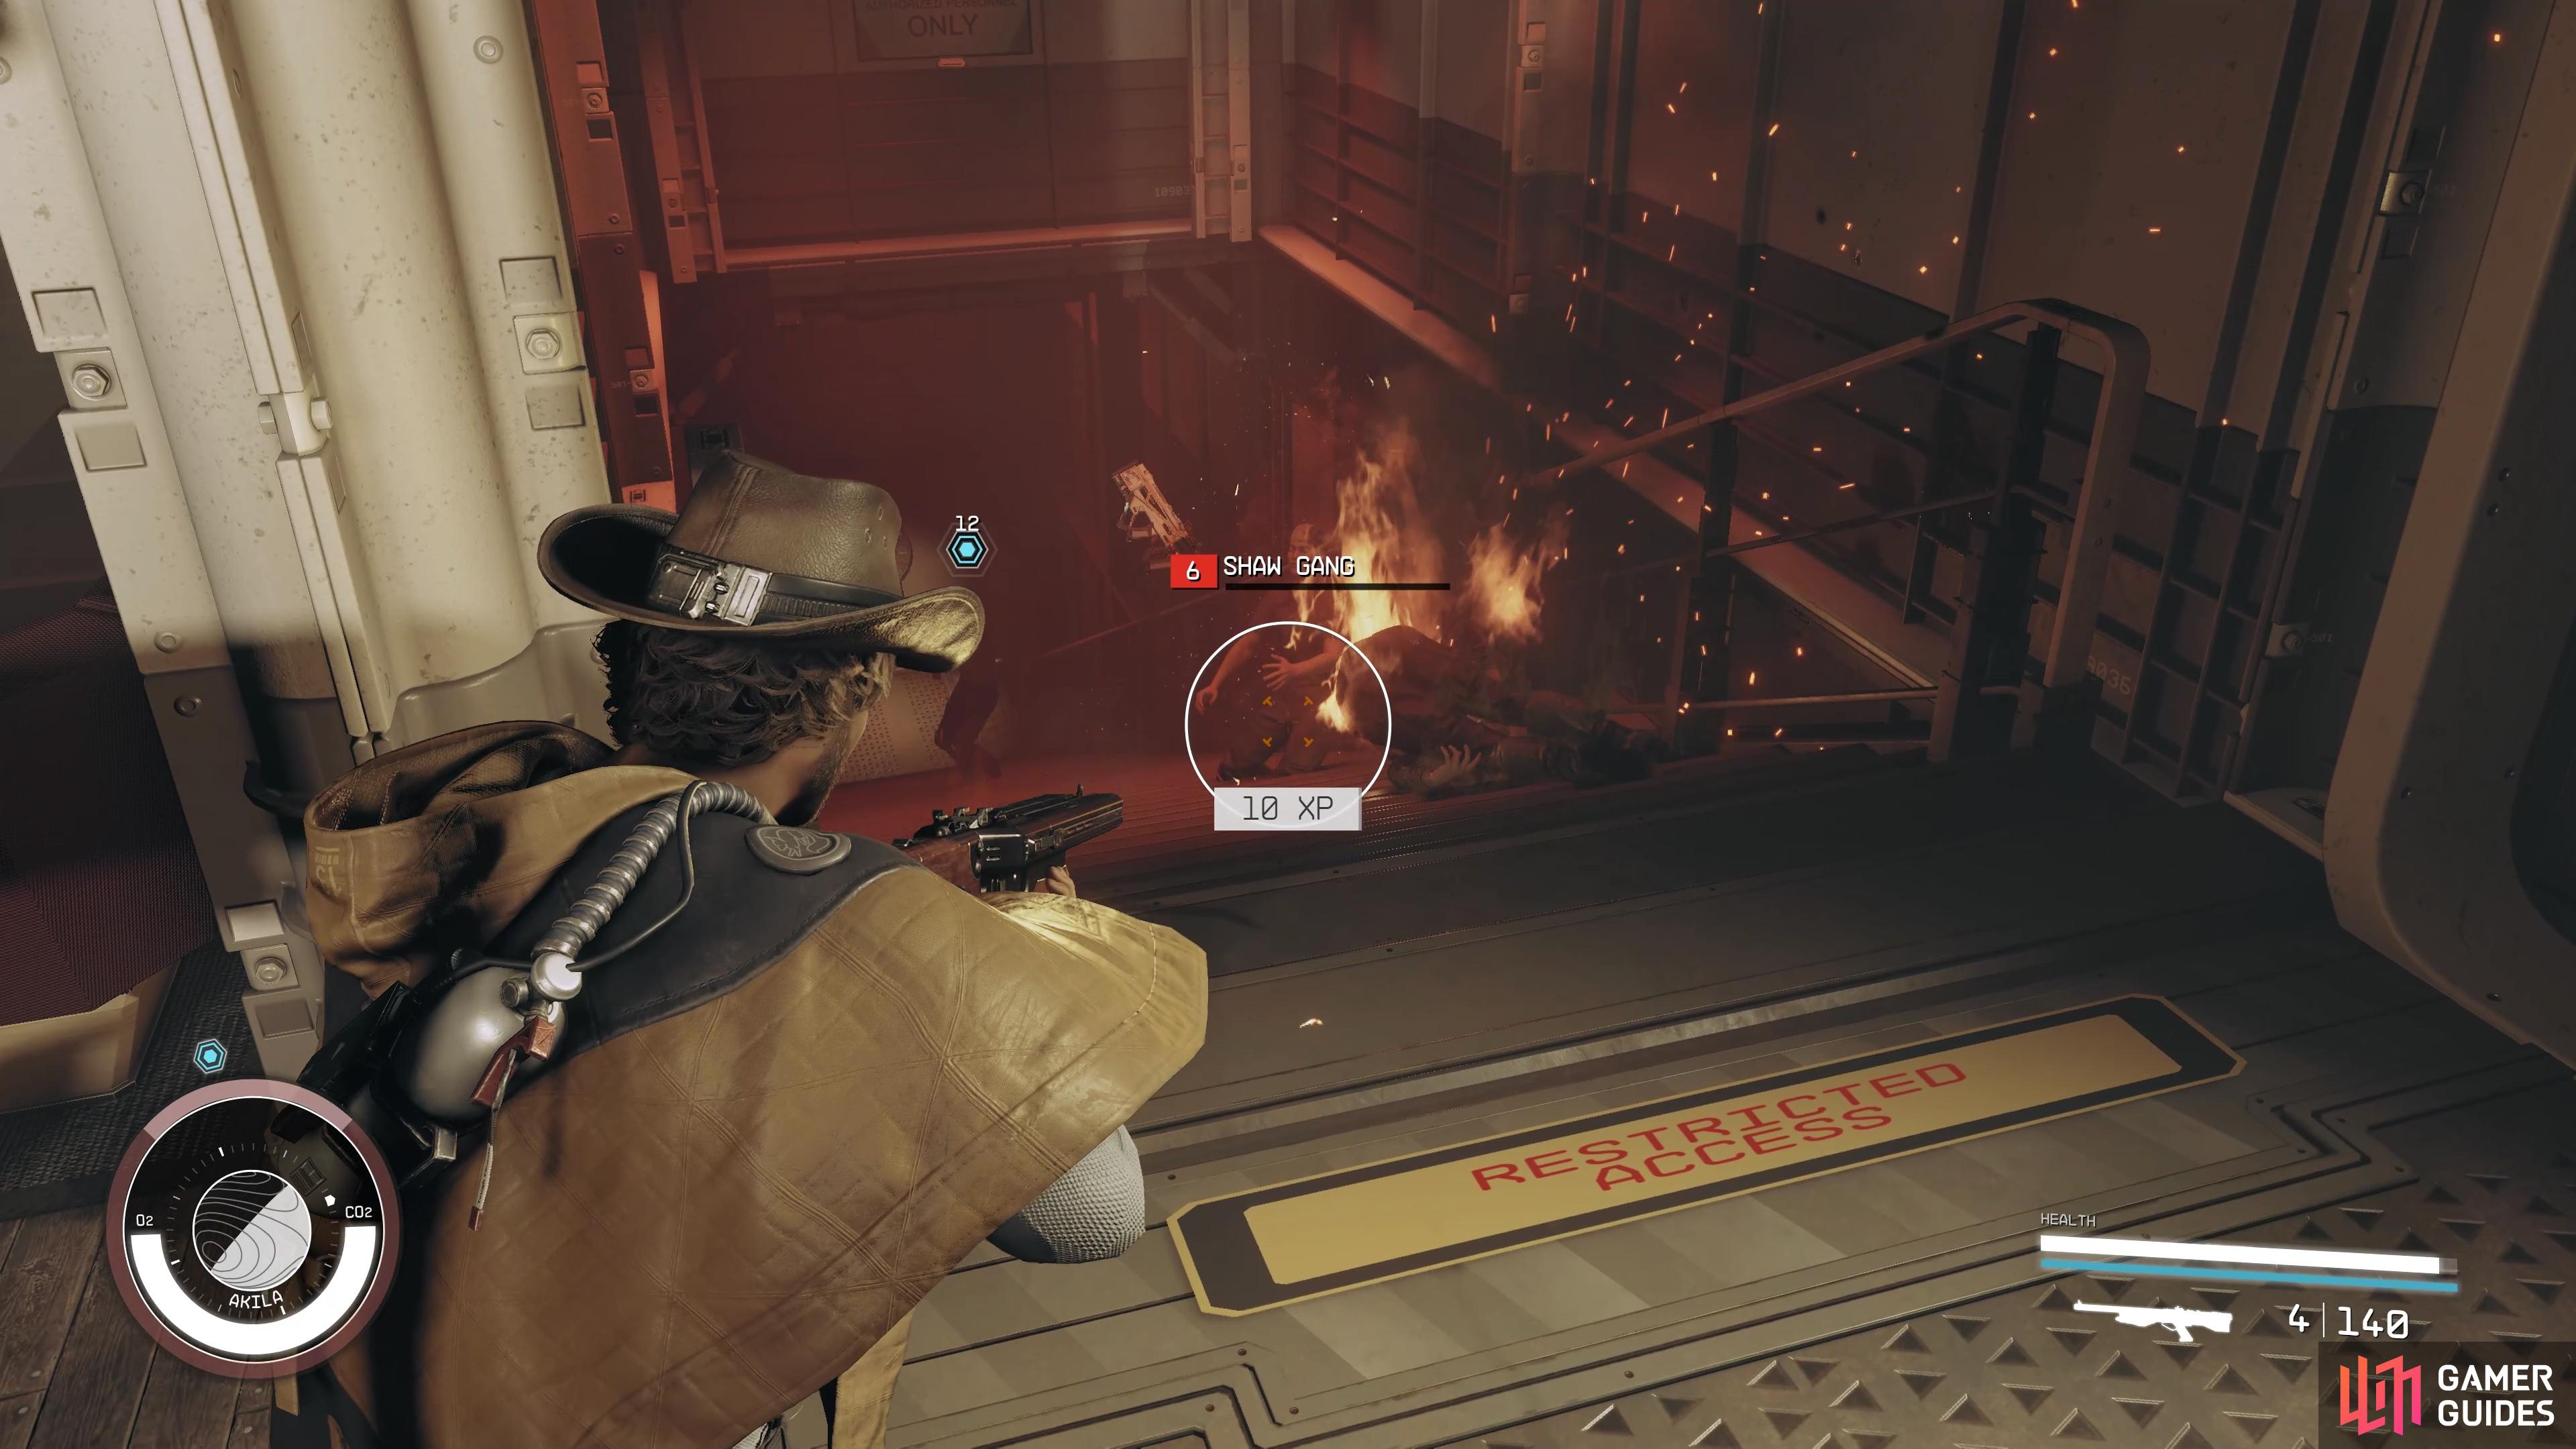
You’ll need to kill the gang members inside if you want to rescue the hostages.
There’s only a handful of gang members in the bank, so this shouldn’t be a difficult fight, especially with Sam at your side. You don’t need to speak with any of the hostages once you’ve rescued them, just go back outside and speak with the marshal to finish this part of the quest. He’ll tell you that you’re welcome to become a recruit of the Freestar Rangers if you’re interested, but you don’t need to do this just yet if you’d prefer to press on with the main mission.
Go to the GalBank Vault in Akila & Speak to Jacob
Now that you’ve dealt with the hostage situation, you’re free to enter the GalBank Vault to find the maps detailing the artifact location that Sam is interested in. You’ll already have the correct codes for the relevant lockers, so it’s just a matter of checking each. However, you’ll soon realize that someone has already moved the maps, someone that Sam knows. You can pry the information out of him if you wish, but you’ll find out soon enough either way. Just do as he says and talk to Jacob in Sam’s family home, further up the hill in Akila.
As you reach Sam’s old family home, you’ll soon realize that Jacob is actually his dad. They have a strained relationship so this isn’t a pleasant moment for them to reunite, and Jacob sniffs that his son has only come to see him because of Constellation business. It doesn’t really matter what you choose to say here, Jacob will quickly dismiss Sam and tell him to get out. Still, you have options…
The Empty Nest Choice: Speak to or Distract Jacob Coe?
There are three main options that you have to get the maps from here, but speaking with Jacob directly once Sam is done with him is the easiest method. You can try to persuade Jacob to see reason with regular dialogue choices, but the most reliable way to ensure that he gives you the maps is to bribe him with 2000 or 1000 credits. He’s almost guaranteed to take the bribe of 2000 credits, but you should be able to succeed if you ask for 1000 too.
What Happens If You Distract Jacob?
To distract Jacob, all you need to do is speak with him and tell him that Sam has something to say. He’ll walk around the other side of the room, and you’ll have an opportunity to open the door to the left of where he was standing, where the maps are being kept. You’ll need to use a digipick to open the door, but this is a fairly easy novice lock, so you should be fine. If you need help with the digipicking mini game, be sure to check our How to Pick Locks with the Digipick in Starfield page. Once you have the maps, just speak with Sam and you can be on your way.
What Happens If You Ask Cora for Help?
This option should only be taken if you want to see what happens when Cora meets her grandfather. In truth, it’s not much. She’ll ask to stay with him while you and Sam go after the artifact, and you can pick her up again once you’re done. If you choose to do it this way, you’ll get the maps for free, but Sam won’t be happy with the option, so it’s best avoided if you’re trying to romance him. If you do want to try this option, you’ll find Cora back at your ship.

(1 of 3) You can ask Jacob to speak with Sam to distract him, giving you time to digipick the lock to the room.
Find the Chi Artifact at The Empty Nest
Now that you have the map for the artifact, you can speak with Sam to get going. You’ll find The Empty Nest just southeast of Akila, and you’ll need to go there on foot. The area just so happens to be a hideout for the Shaw Gang, so you’ll need to kill any gang members that you come across while you try to get inside. There are also a few robot turrets stationed in the surrounding hills, so it’s a good idea to take those out first if you can.
After dealing with the enemies outside, you can enter the nest freely. There will be more gang members waiting, so be ready to take them out as well. The path to the artifact is fairly linear, so there isn’t much exploration involved here. The only obstacle will be a gate that you can digipick to open, but you can also just fly over it with your boost pack if you prefer. Keep going down into the hideout until you find the Chi Artifact, and destroy the deposit which it’s embedded in to take it.
How to Deal With Shaw
You won’t be able to fast travel out of the hideout once you have the artifact, so you’ll need to go back the way you came. Once outside, you’ll find a woman named Shaw there to greet you, the leader of the Shaw Gang. She’s not happy about what you’ve done to her hideout, so you’ll need to resolve the situation. You can try to persuade her to let you go, pay her off (4000 credits), or just fight her. Choose your preferred method, then be on your way back to The Lodge in New Atlantis to deliver the latest artifact.

More Starfield Guides
If you’re looking for more Starfield guides, be sure to check the links below.
No Comments