
This is the sixth quest in the Crimson Fleet faction and it involves heading to ![]() Neon and stealing the Conduction Grid technology so you can safely reach the Legacy Ship. To get the Conduction Grid, you’re going to need to sneak into Generdyne and steal it. This page will detail all you need to know about how to stealth through Generdyne, and whether you should blame someone for your actions at the end!
Neon and stealing the Conduction Grid technology so you can safely reach the Legacy Ship. To get the Conduction Grid, you’re going to need to sneak into Generdyne and steal it. This page will detail all you need to know about how to stealth through Generdyne, and whether you should blame someone for your actions at the end!
How to Start Absolute Power
To start this quest, you’ll need to first complete The Best There Is, where you obtained the ComSpike from a UC Military ship. After speaking with the crew at ![]() The Key, you will of course need to relay the information back to Commander Ikande on Vigilance. And after all that, you’ll be required to head over to Neon on Alpha Volii and find the Crimson Fleet contact Estelle Vincent.
The Key, you will of course need to relay the information back to Commander Ikande on Vigilance. And after all that, you’ll be required to head over to Neon on Alpha Volii and find the Crimson Fleet contact Estelle Vincent.
She can be found in Madame Sauvage’s Bar, which is located in Ebbside away from the main high street of Neon. Once in the bar, head up the stairs and speak with Estelle about the mission. Like the other contacts throughout previous missions, Estelle will also want something doing for her. She asks that whilst you’re downloading the Conduction Grid data in Generdyne that you also install a virus onto their systems.

To get into Generdyne, you’re gonna need to obtain Komiko’s security pass
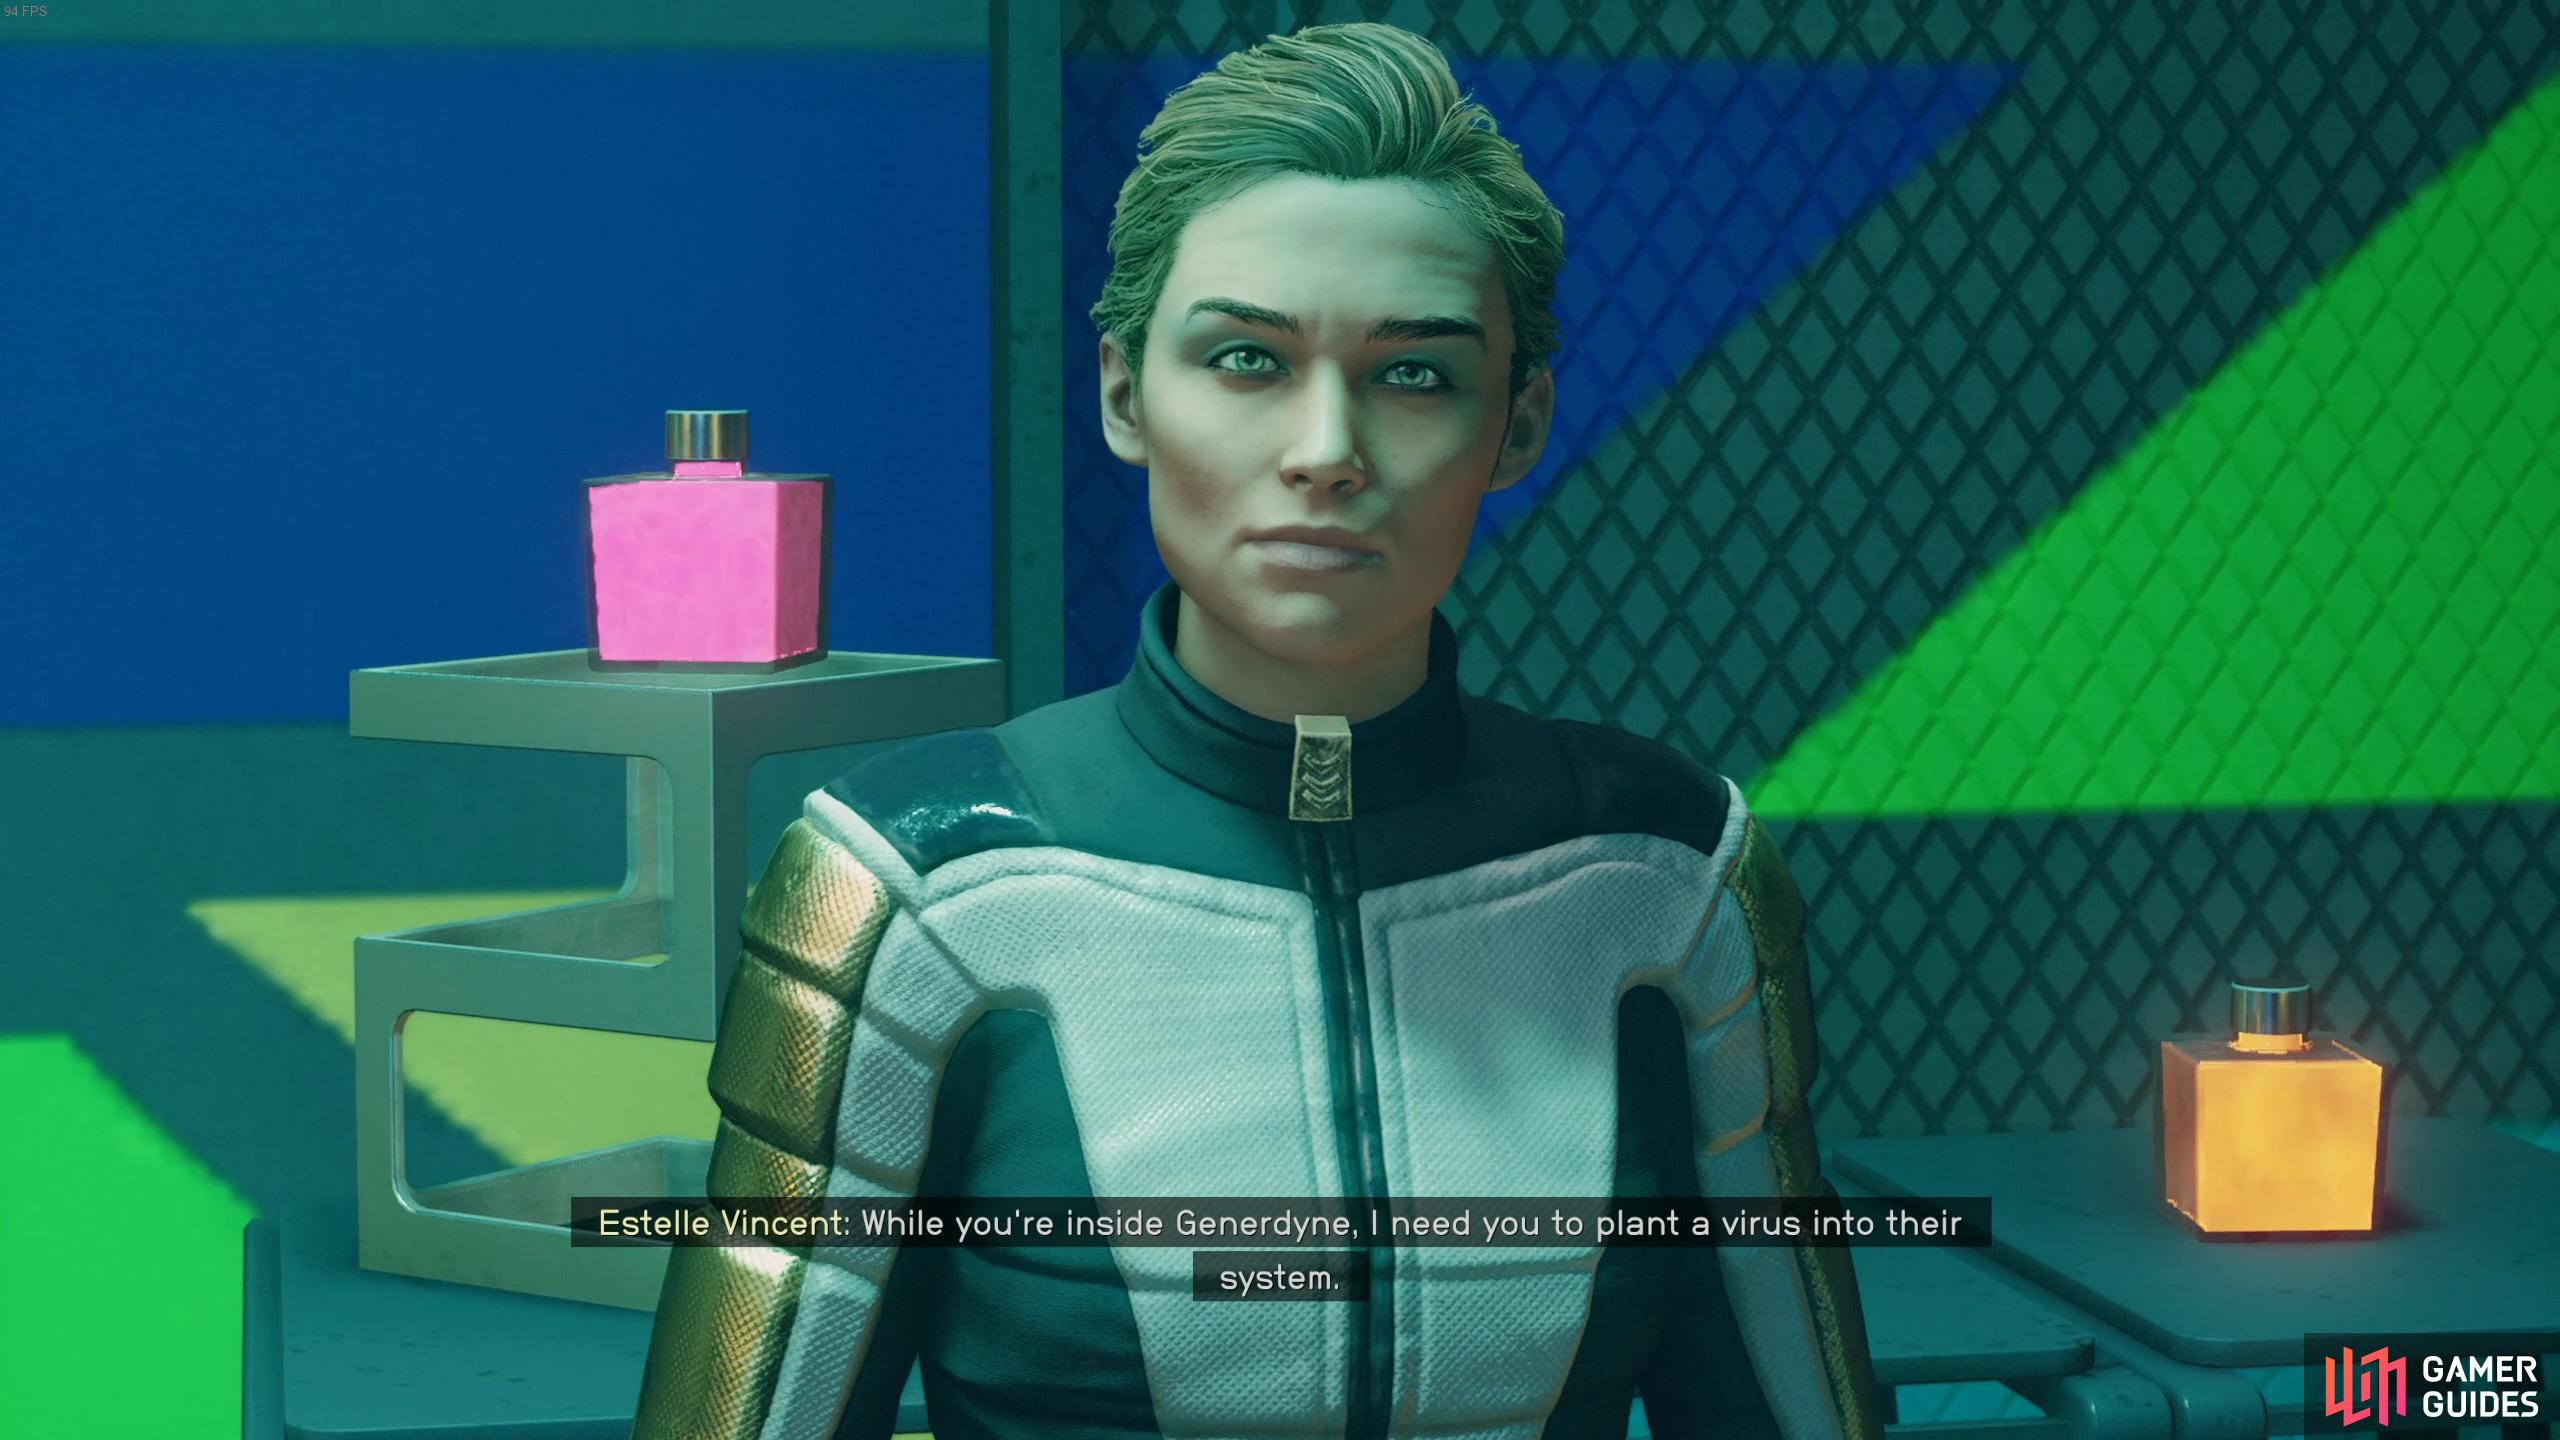
and whilst you’re in the facilities, Estelle wants you to plant a virus so she can infiltrate their databases!
Should You Kill or Blackmail Ayumi Komiko?
Before you can do all that though, you’re gonna need to obtain a security pass from an upper-level exec called Ayumi Komiko. There are two ways to do this: either you kill her and obtain the pass from her corpse, pay her for the pass or you can take the optional route and grab some incriminating evidence to blackmail her into giving you her pass! If you kill her, any companions you have with you will dislike this move and you’ll also win the disproval of the UC SysDef who will comment on your strategic choice later on.
The latter requires a bit of extra work, but given that this is a stealth mission, we opted for blackmail! If you do want to skip the blackmail, you can just head to Euphorika now. To get into the Member’s Lounge where you’ll find Komiko, you’re gonna need to pay the bartender 5,000 Credits for a membership. You can try to pickpocket her for the pass but there’s tons of people around so you’ll probably find it near impossible to do so. So once you’ve coughed up the 5,000 Credits head into the lounge. If you try to kill her you’re gonna have to fend off some bodyguards but they’re not too intimidating. You can then loot her corpse for the pass and continue with the mission. You can just pay her a large sum of credits for the pass instead, but for us this cost 4,000 credits but it seems to scale with the player’s level.
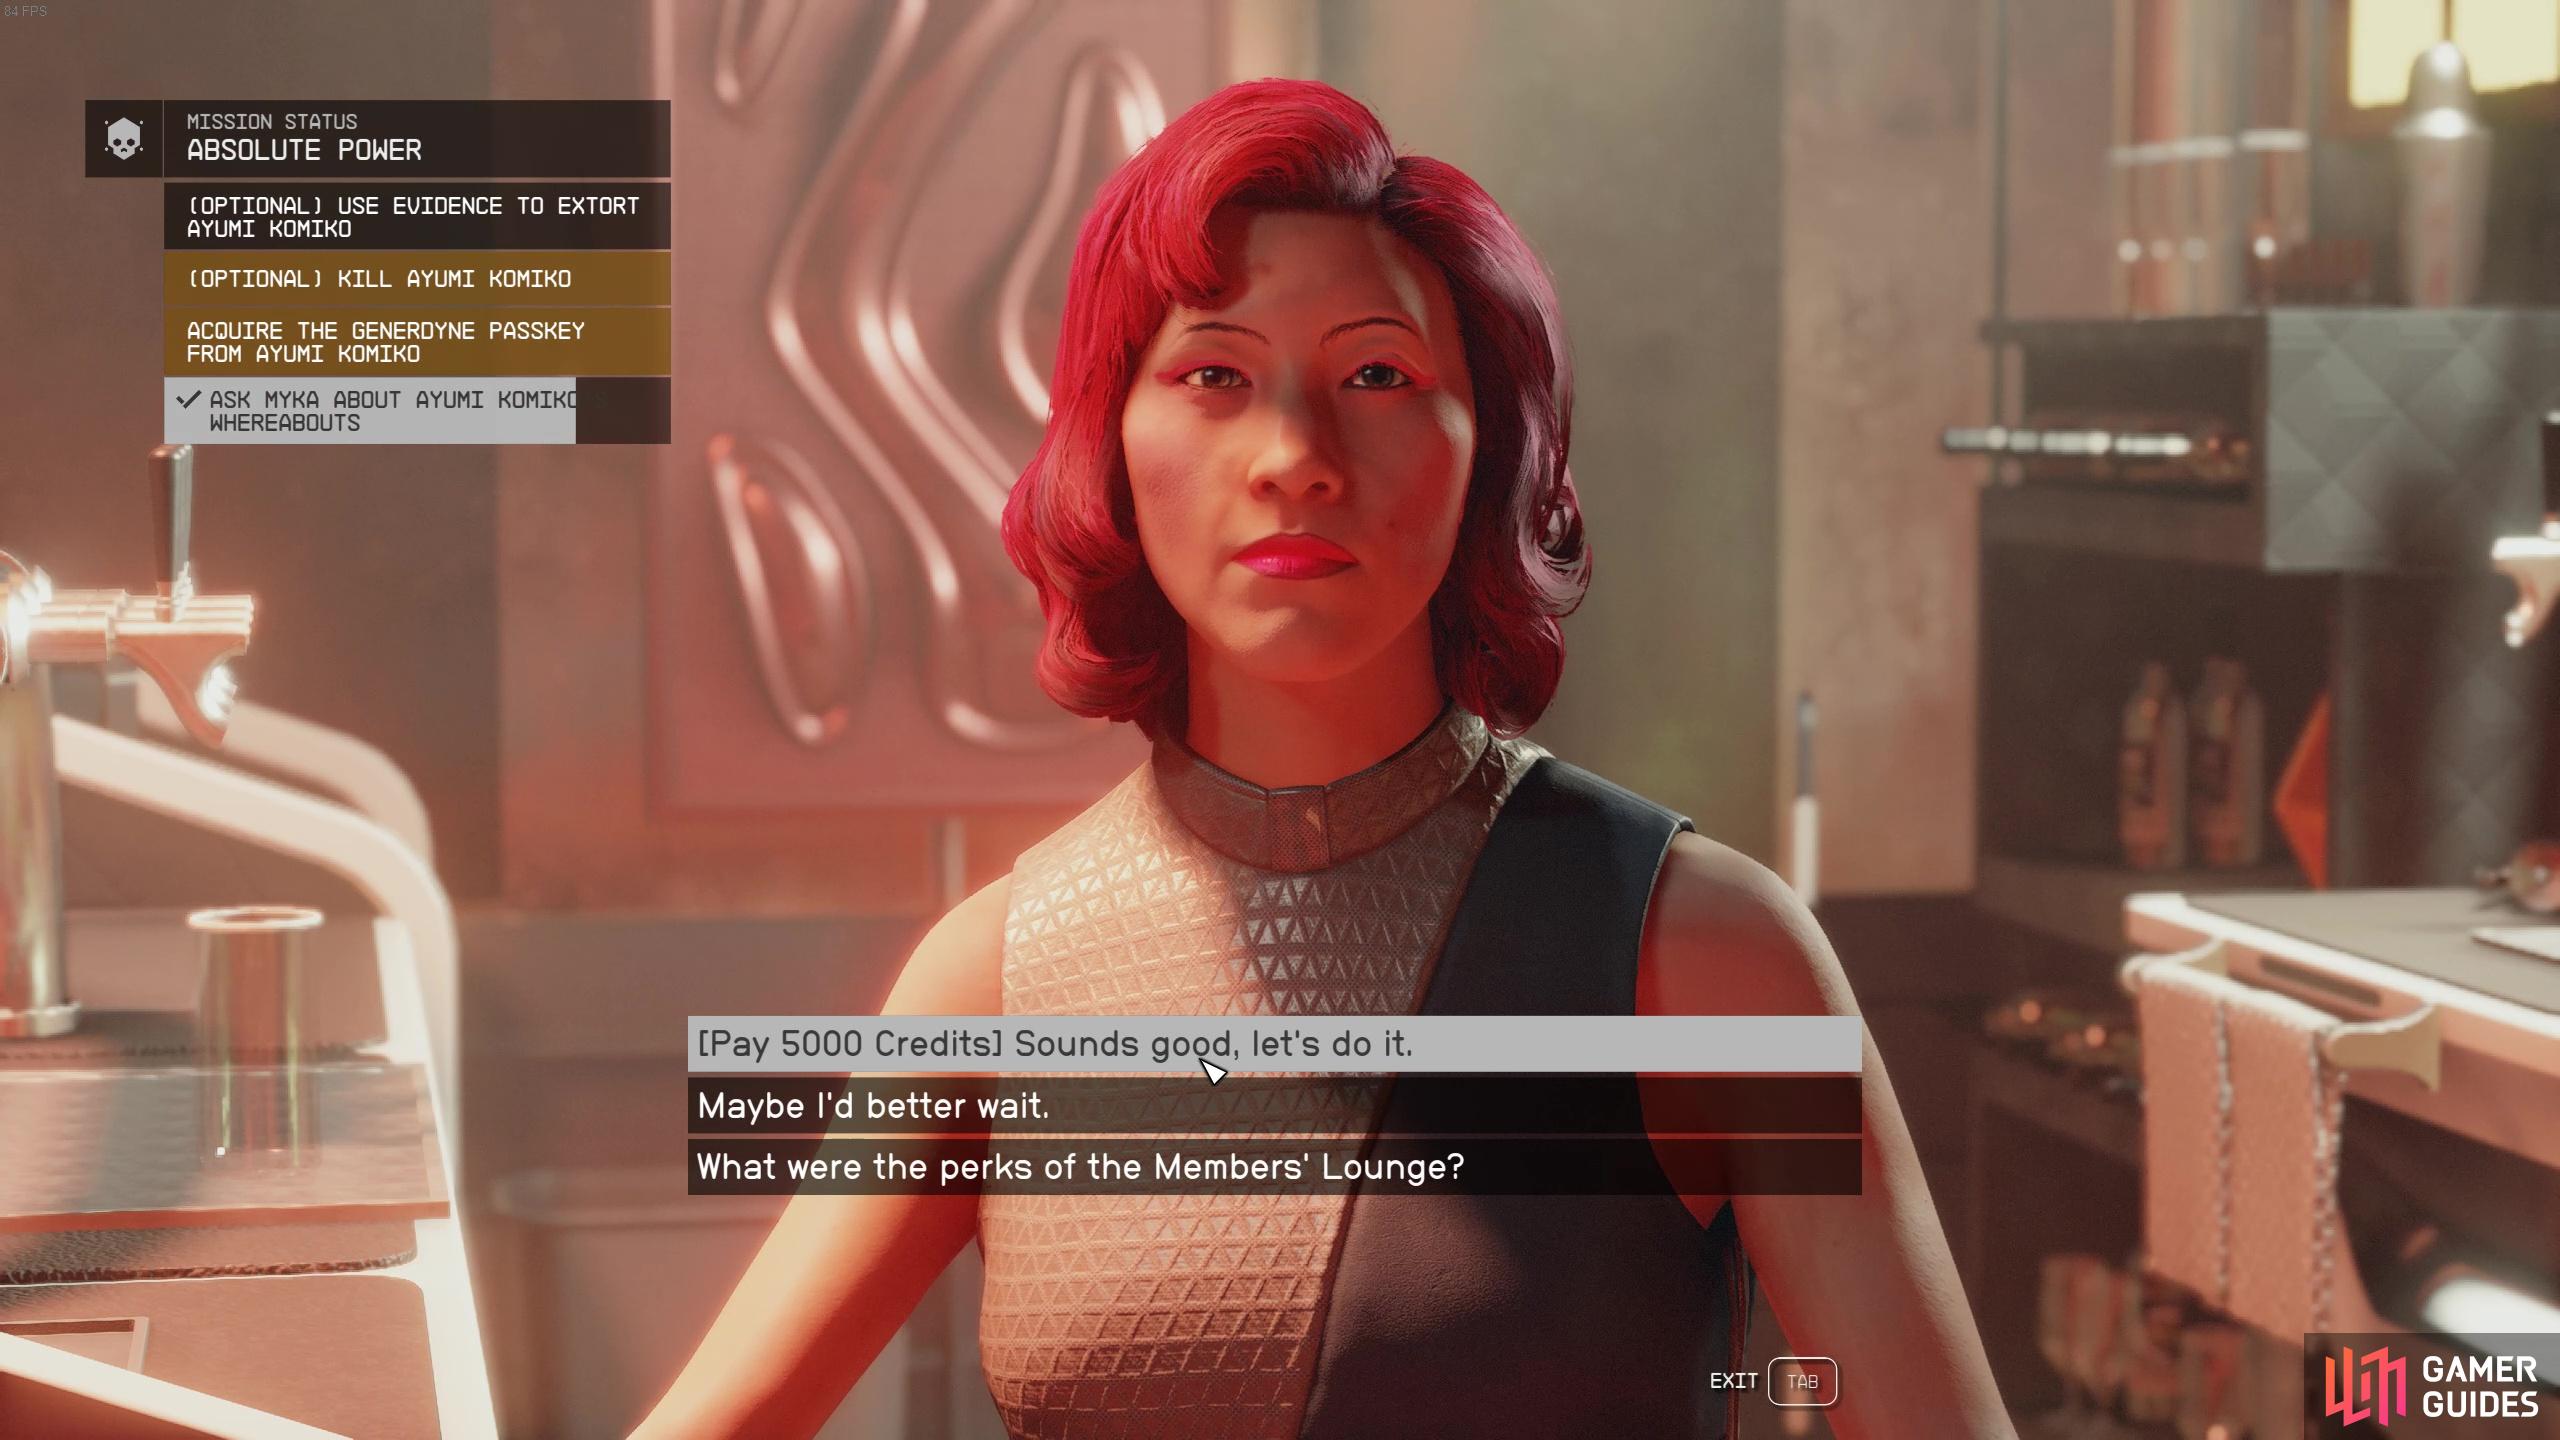
You’re gonna need to pay big bucks to get into the Members Only lounge
if you don’t have the evidence you can either kill her or pay her a big sum of money.
How to Get Evidence to Blackmail Komiko
To blackmail, however, you’re gonna first need to head to the Trade Tower to find her office. To get to the Trade Towers, head back out of Ebbside and west towards ![]() Astral Lounge. Then, before taking the stairs to Astral Lounge turn right and take the elevator up to Generdyne Industries. Speak with the receptionist Ji Nashida and talk to him about his problems regarding Generdyne. Whatever option you choose regarding the report is inconsequential so do what you feel is right! Afterwards, you’ll be able to ask Ji about his boss, Komiko. Before you ask about this, make sure to save as you’ve got a
Astral Lounge. Then, before taking the stairs to Astral Lounge turn right and take the elevator up to Generdyne Industries. Speak with the receptionist Ji Nashida and talk to him about his problems regarding Generdyne. Whatever option you choose regarding the report is inconsequential so do what you feel is right! Afterwards, you’ll be able to ask Ji about his boss, Komiko. Before you ask about this, make sure to save as you’ve got a ![]() Persuasion check coming up! Its a six-bar persuasion check so pretty standard but given there’s an element of chance to whether you succeed a check, you might fail and want to reload. If you fail and don’t wanna reload, you can still enter Komiko’s office but you’ll need to lockpick the safe, and this can be tricky because there are a ton of people, including security guards around.
Persuasion check coming up! Its a six-bar persuasion check so pretty standard but given there’s an element of chance to whether you succeed a check, you might fail and want to reload. If you fail and don’t wanna reload, you can still enter Komiko’s office but you’ll need to lockpick the safe, and this can be tricky because there are a ton of people, including security guards around.
If you do succeed on the persuasion check, however, Ji will unlock the safe and you can head on through to find the incriminating evidence labeled Meeting with Bayu. This bit of evidence also counts towards the ![]() Burden of Proof quest, and there are two more bits of evidence to find in Neon! Check out our guide on Where to Find all 20 Burden of Proof Evidence! Make sure you’re hidden when you take the evidence as you’ll be reprimanded if you’re caught. We had to wait for a lady who was sat right next to the window to move as she was just staring straight at us for like 10 minutes, making it impossible to steal the evidence!
Burden of Proof quest, and there are two more bits of evidence to find in Neon! Check out our guide on Where to Find all 20 Burden of Proof Evidence! Make sure you’re hidden when you take the evidence as you’ll be reprimanded if you’re caught. We had to wait for a lady who was sat right next to the window to move as she was just staring straight at us for like 10 minutes, making it impossible to steal the evidence!
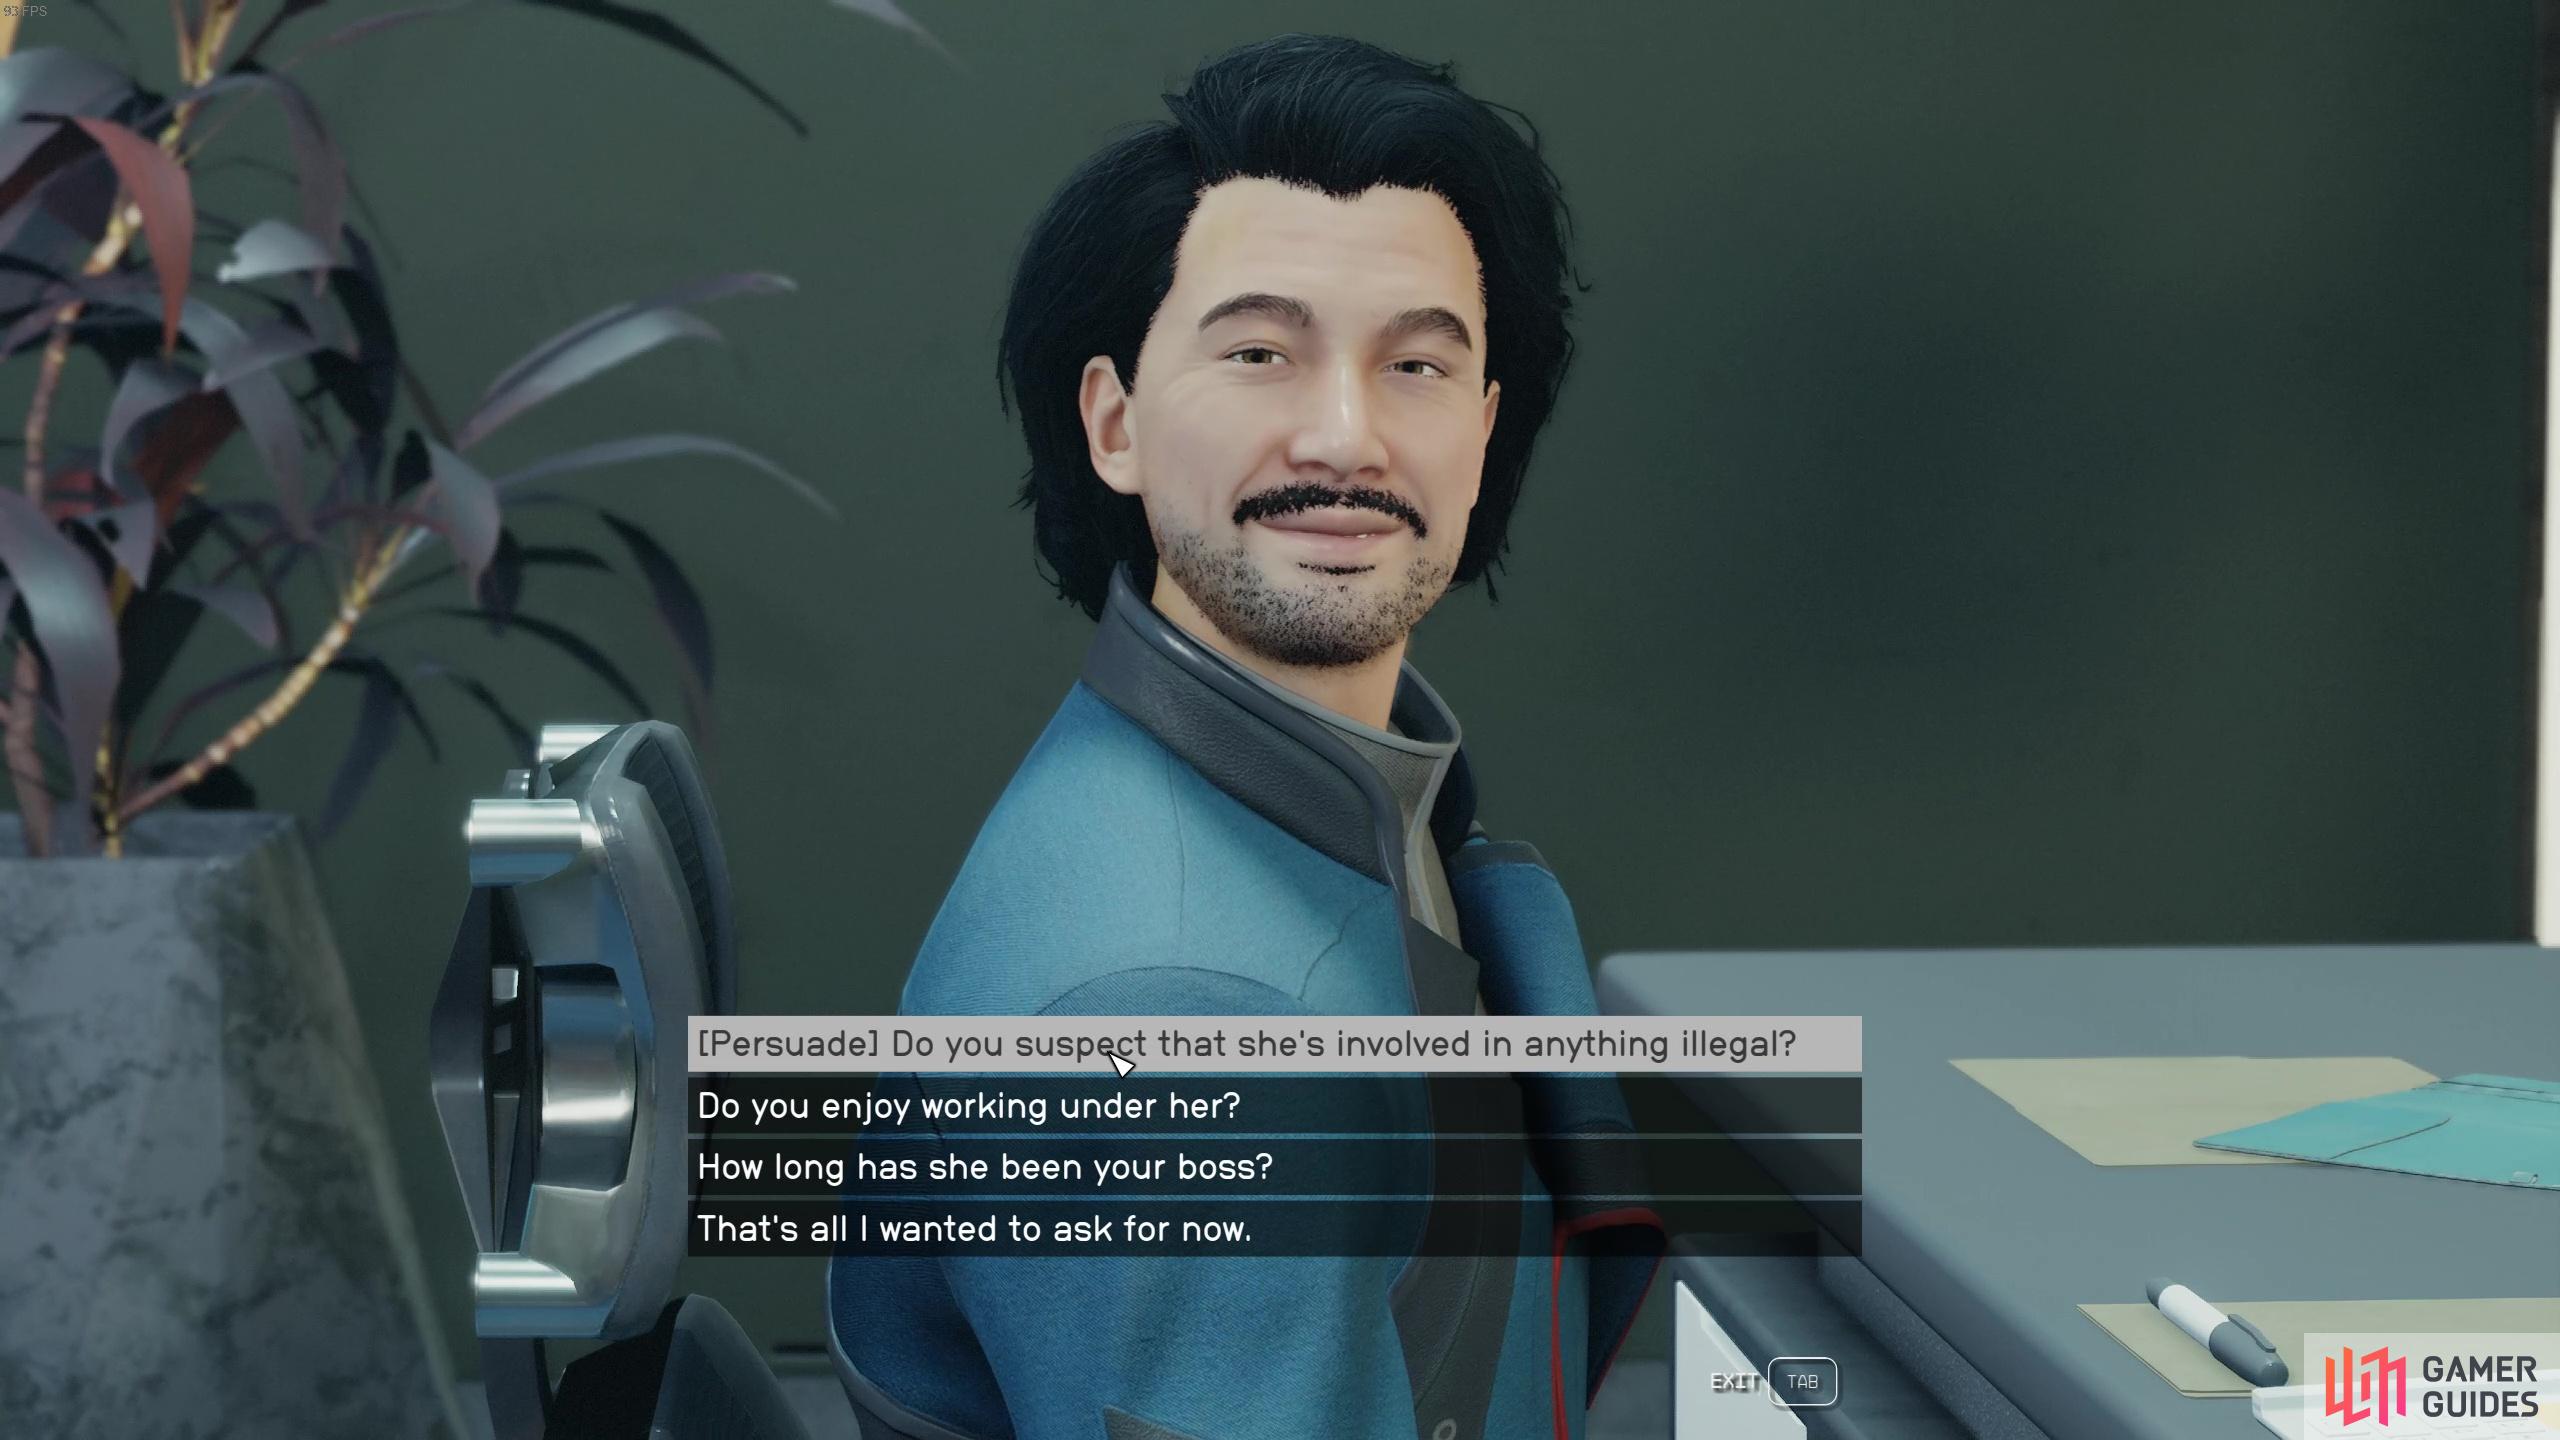
Speak with the receptionist and convince them to let you in Komiko’s office
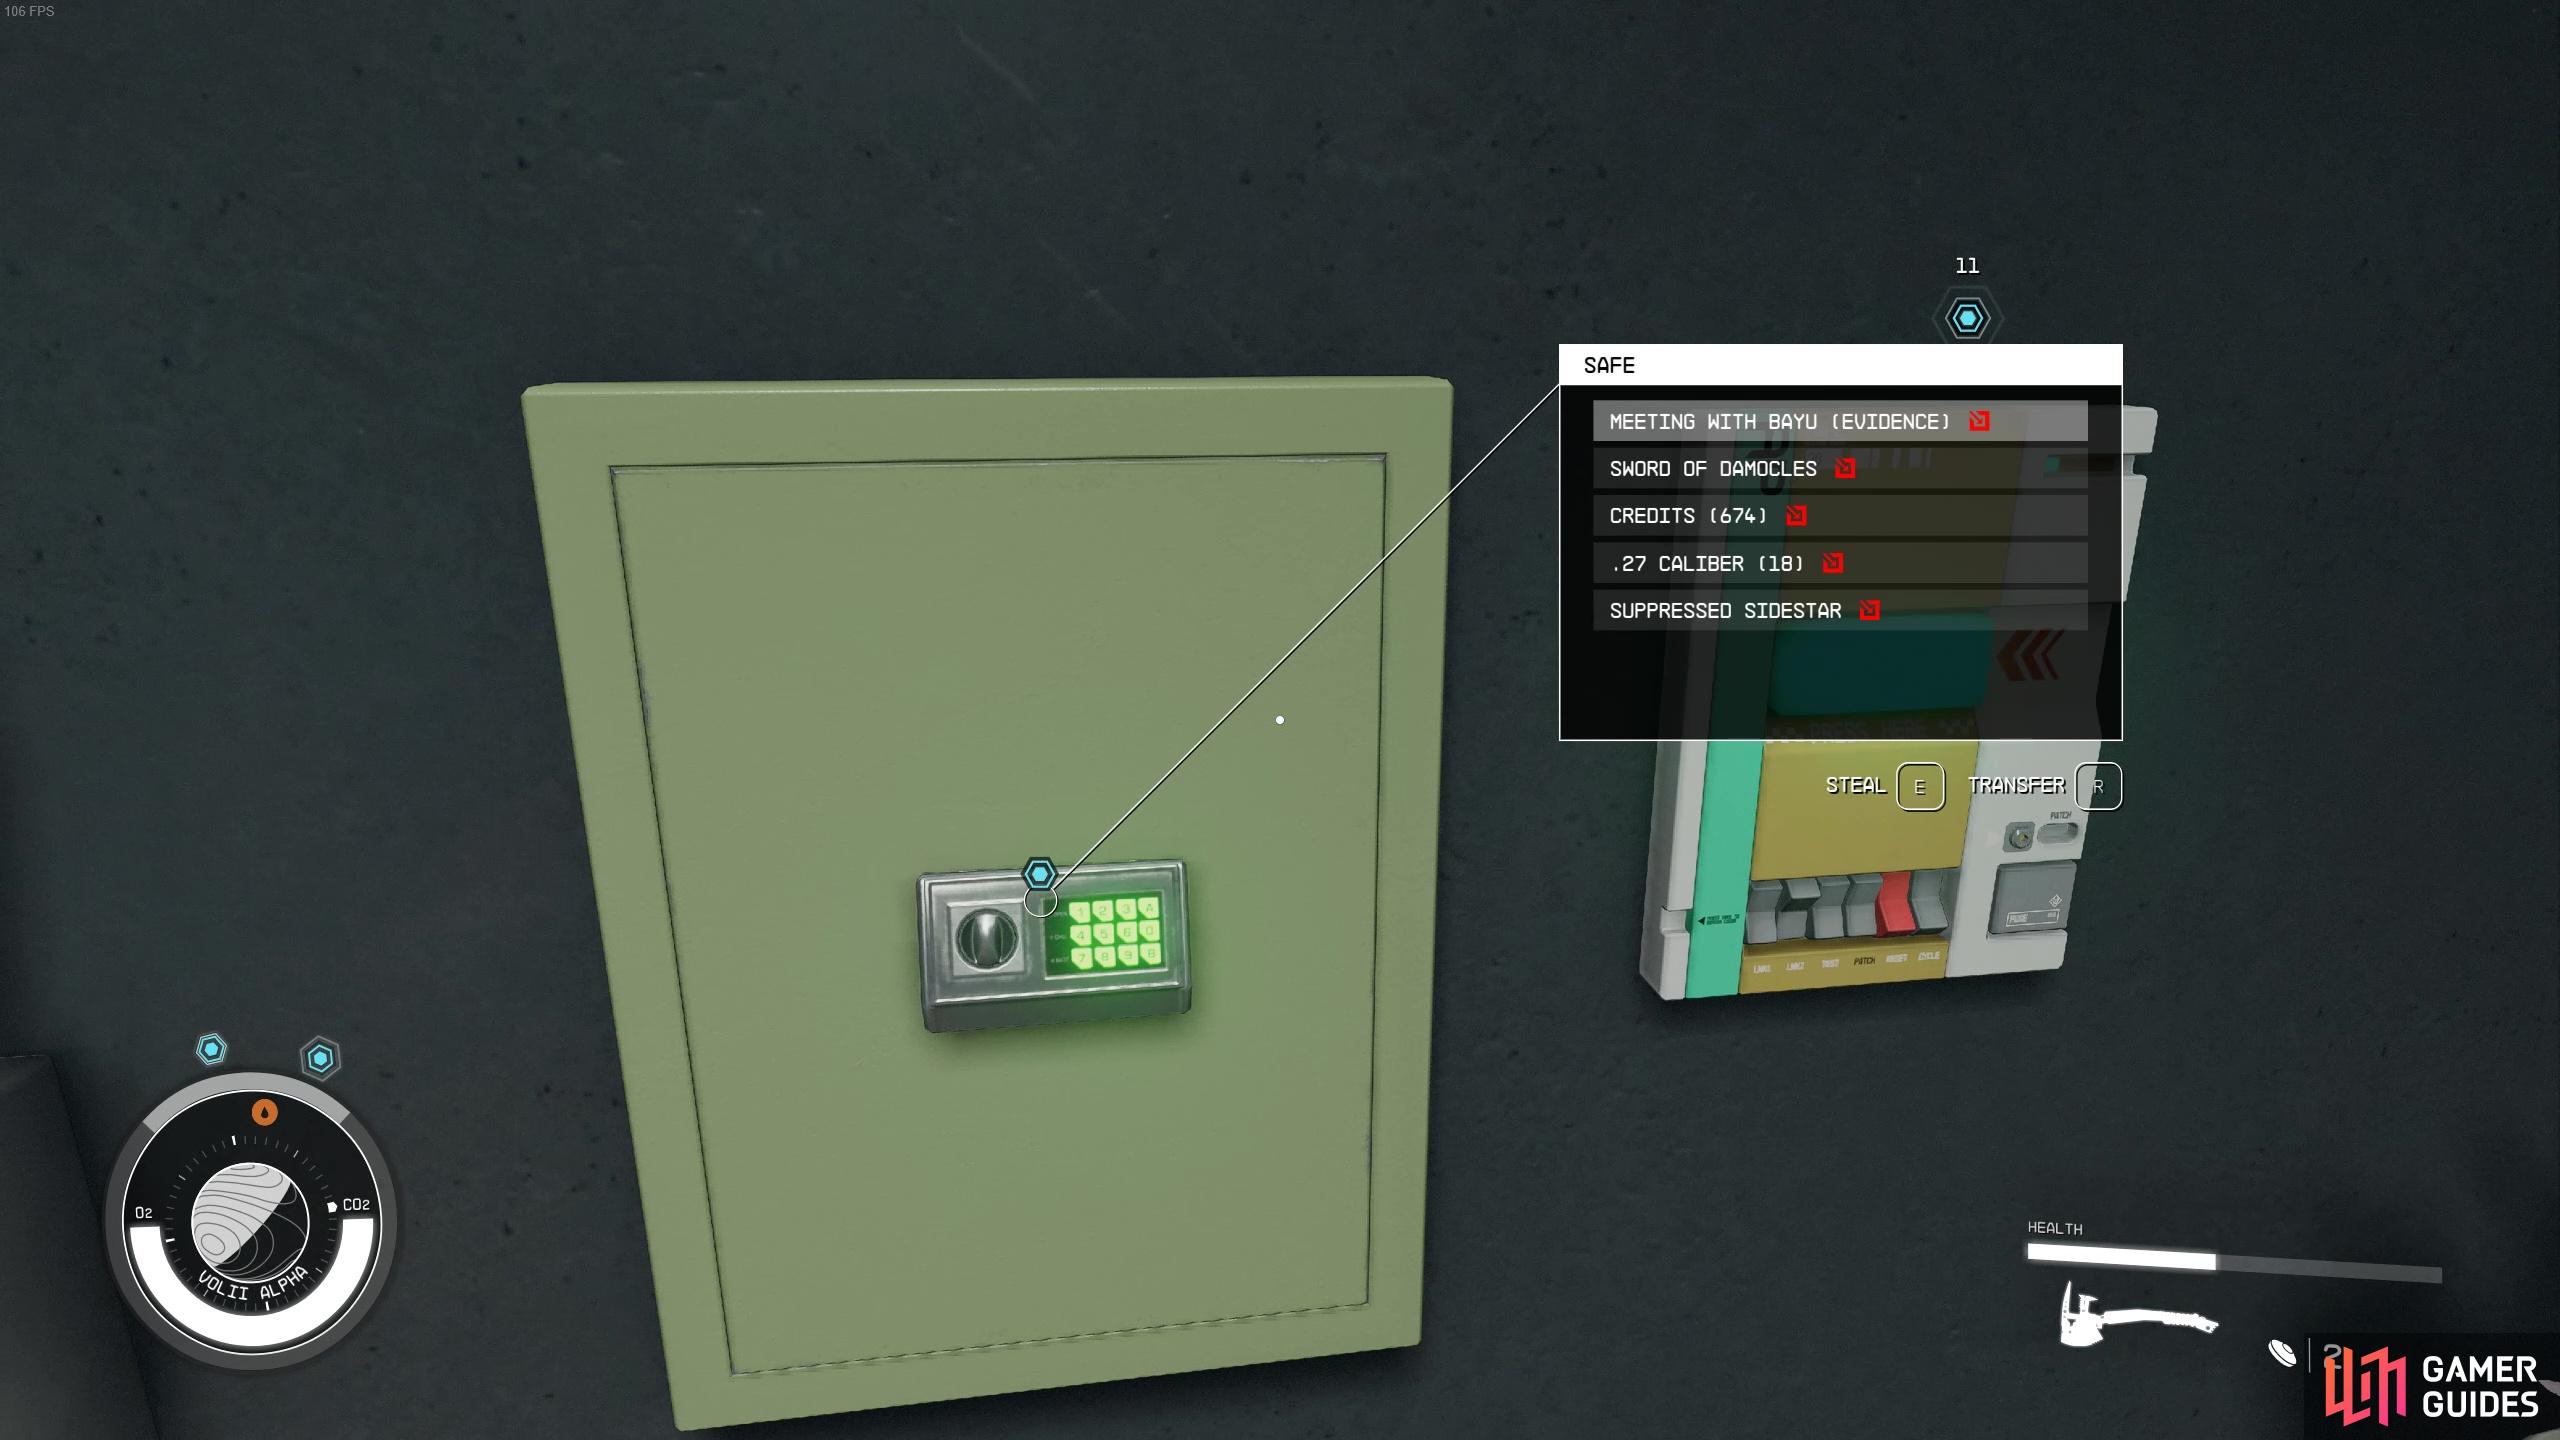
then loot the safe for the evidence!
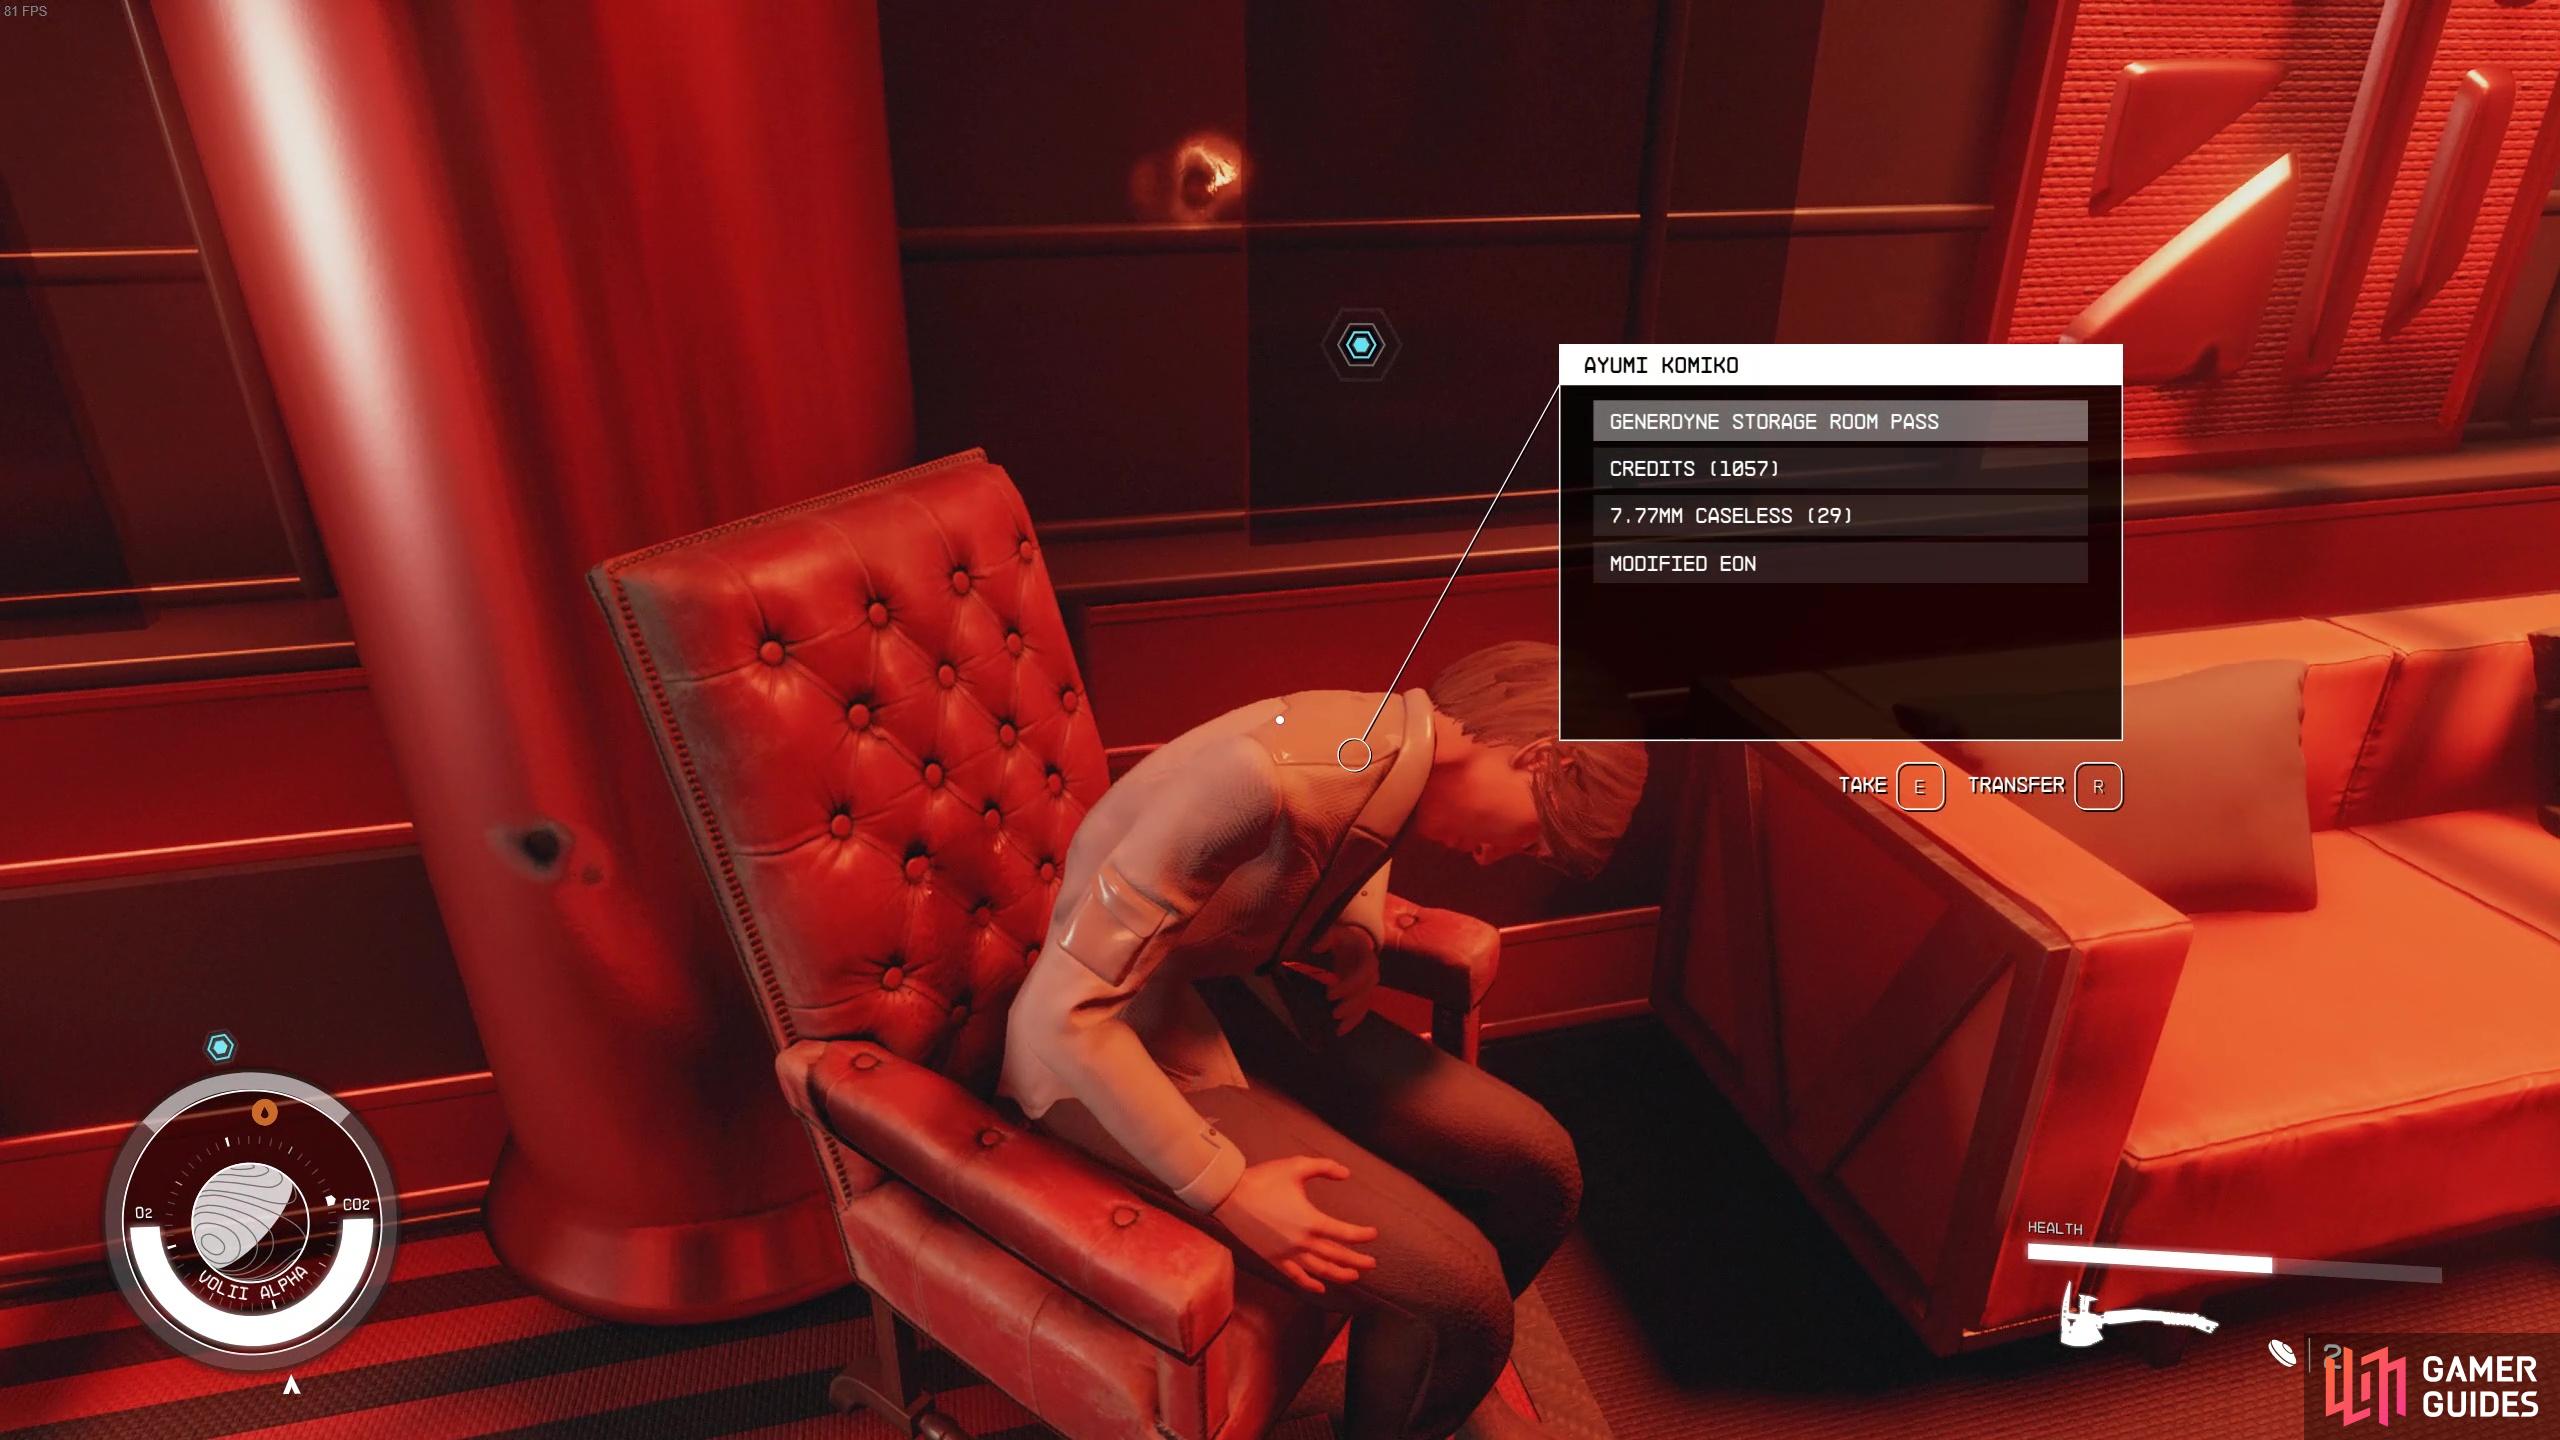
Now you have the evidence, you can head to Euphorika. As we mentioned before, you’re gonna have to pay 5000 credits to get into the Members Only lounge. In here you’ll find Komiko, and you can blackmail her into giving you the security pass using the evidence you just found in her office.
Stealth Walkthrough: How to Sneak Through Generdyne
Once you have the security pass, you’ll need to make your way back to Ebbside to enter into Generdyne Industries via the Storage Room, which you can only do with the pass you just obtained. It is recommended by the game that you stealth this mission, and thankfully they make it pretty easy to do so. Throughout the Generdyne facilities, you’ll find vents and backrooms that you can take to completely avoid being seen. You’ll need to still take it slow and keep your wits about you, especially if you’ve not added a point or two into the ![]() Stealth skill, but don’t worry it’s still totally doable without!
Stealth skill, but don’t worry it’s still totally doable without!
Once inside, head through the vent on the right and follow it around until it drops down. This will open up into a room filled with enemies, but if you keep crouched and take it slow you can follow the lower path area around to the right to bypass the Generdyne workers which are found mostly to the left. Once around the corner take the steps up and make sure to go slowly towards the door, keeping an eye on the guards nearby (they should all be looking the opposite direction). Once in this next room, you’ll come across your first cleaning bot, these guys are really annoying because they do make your hidden bar go haywire but they don’t actually alert the guards or anything. We think the purpose of them is to throw you off a bit. You can one tap them with a suppressed weapon if you want, but make sure it has the suppressor modification so it doesn’t alert the enemies. We’d just recommend leaving them alone though and taking it a bit slower around them so you don’t get caught out by the guards.

Proceed through the door behind the cleaning bot and wait at the top of the stairs until the robot below has walked out of view. Then leg it (still in sneak mode!) down to the hole that drops down into the vent below. Proceed through the vent and wait a moment near the end before you open up the vent latch above. Have a quick peek and make sure the robot is walking the opposite direction and then jump out. There’s some decent things to loot around here but do so with caution as you don’t wanna get caught.
Once you’ve popped out the vent and done your looting, proceed slowly through the door and follow the left path around, making sure to keep an eye on the workers sat at the desks on the opposite side of the room. They won’t move around so long as you don’t make any noise they won’t get up. Follow the left-hand wall until you reach another doorway and then proceed through to follow the path around into a fenced off area with another of those cleaning bots. Follow the path down the steps. You can follow the hallway all the way to the next door, or you can stop here, take a right and use the computer (lockpick: novice) to open up the door to the custodial supplies room on the right. In here you’ll find some decent loot as well as some contraband.
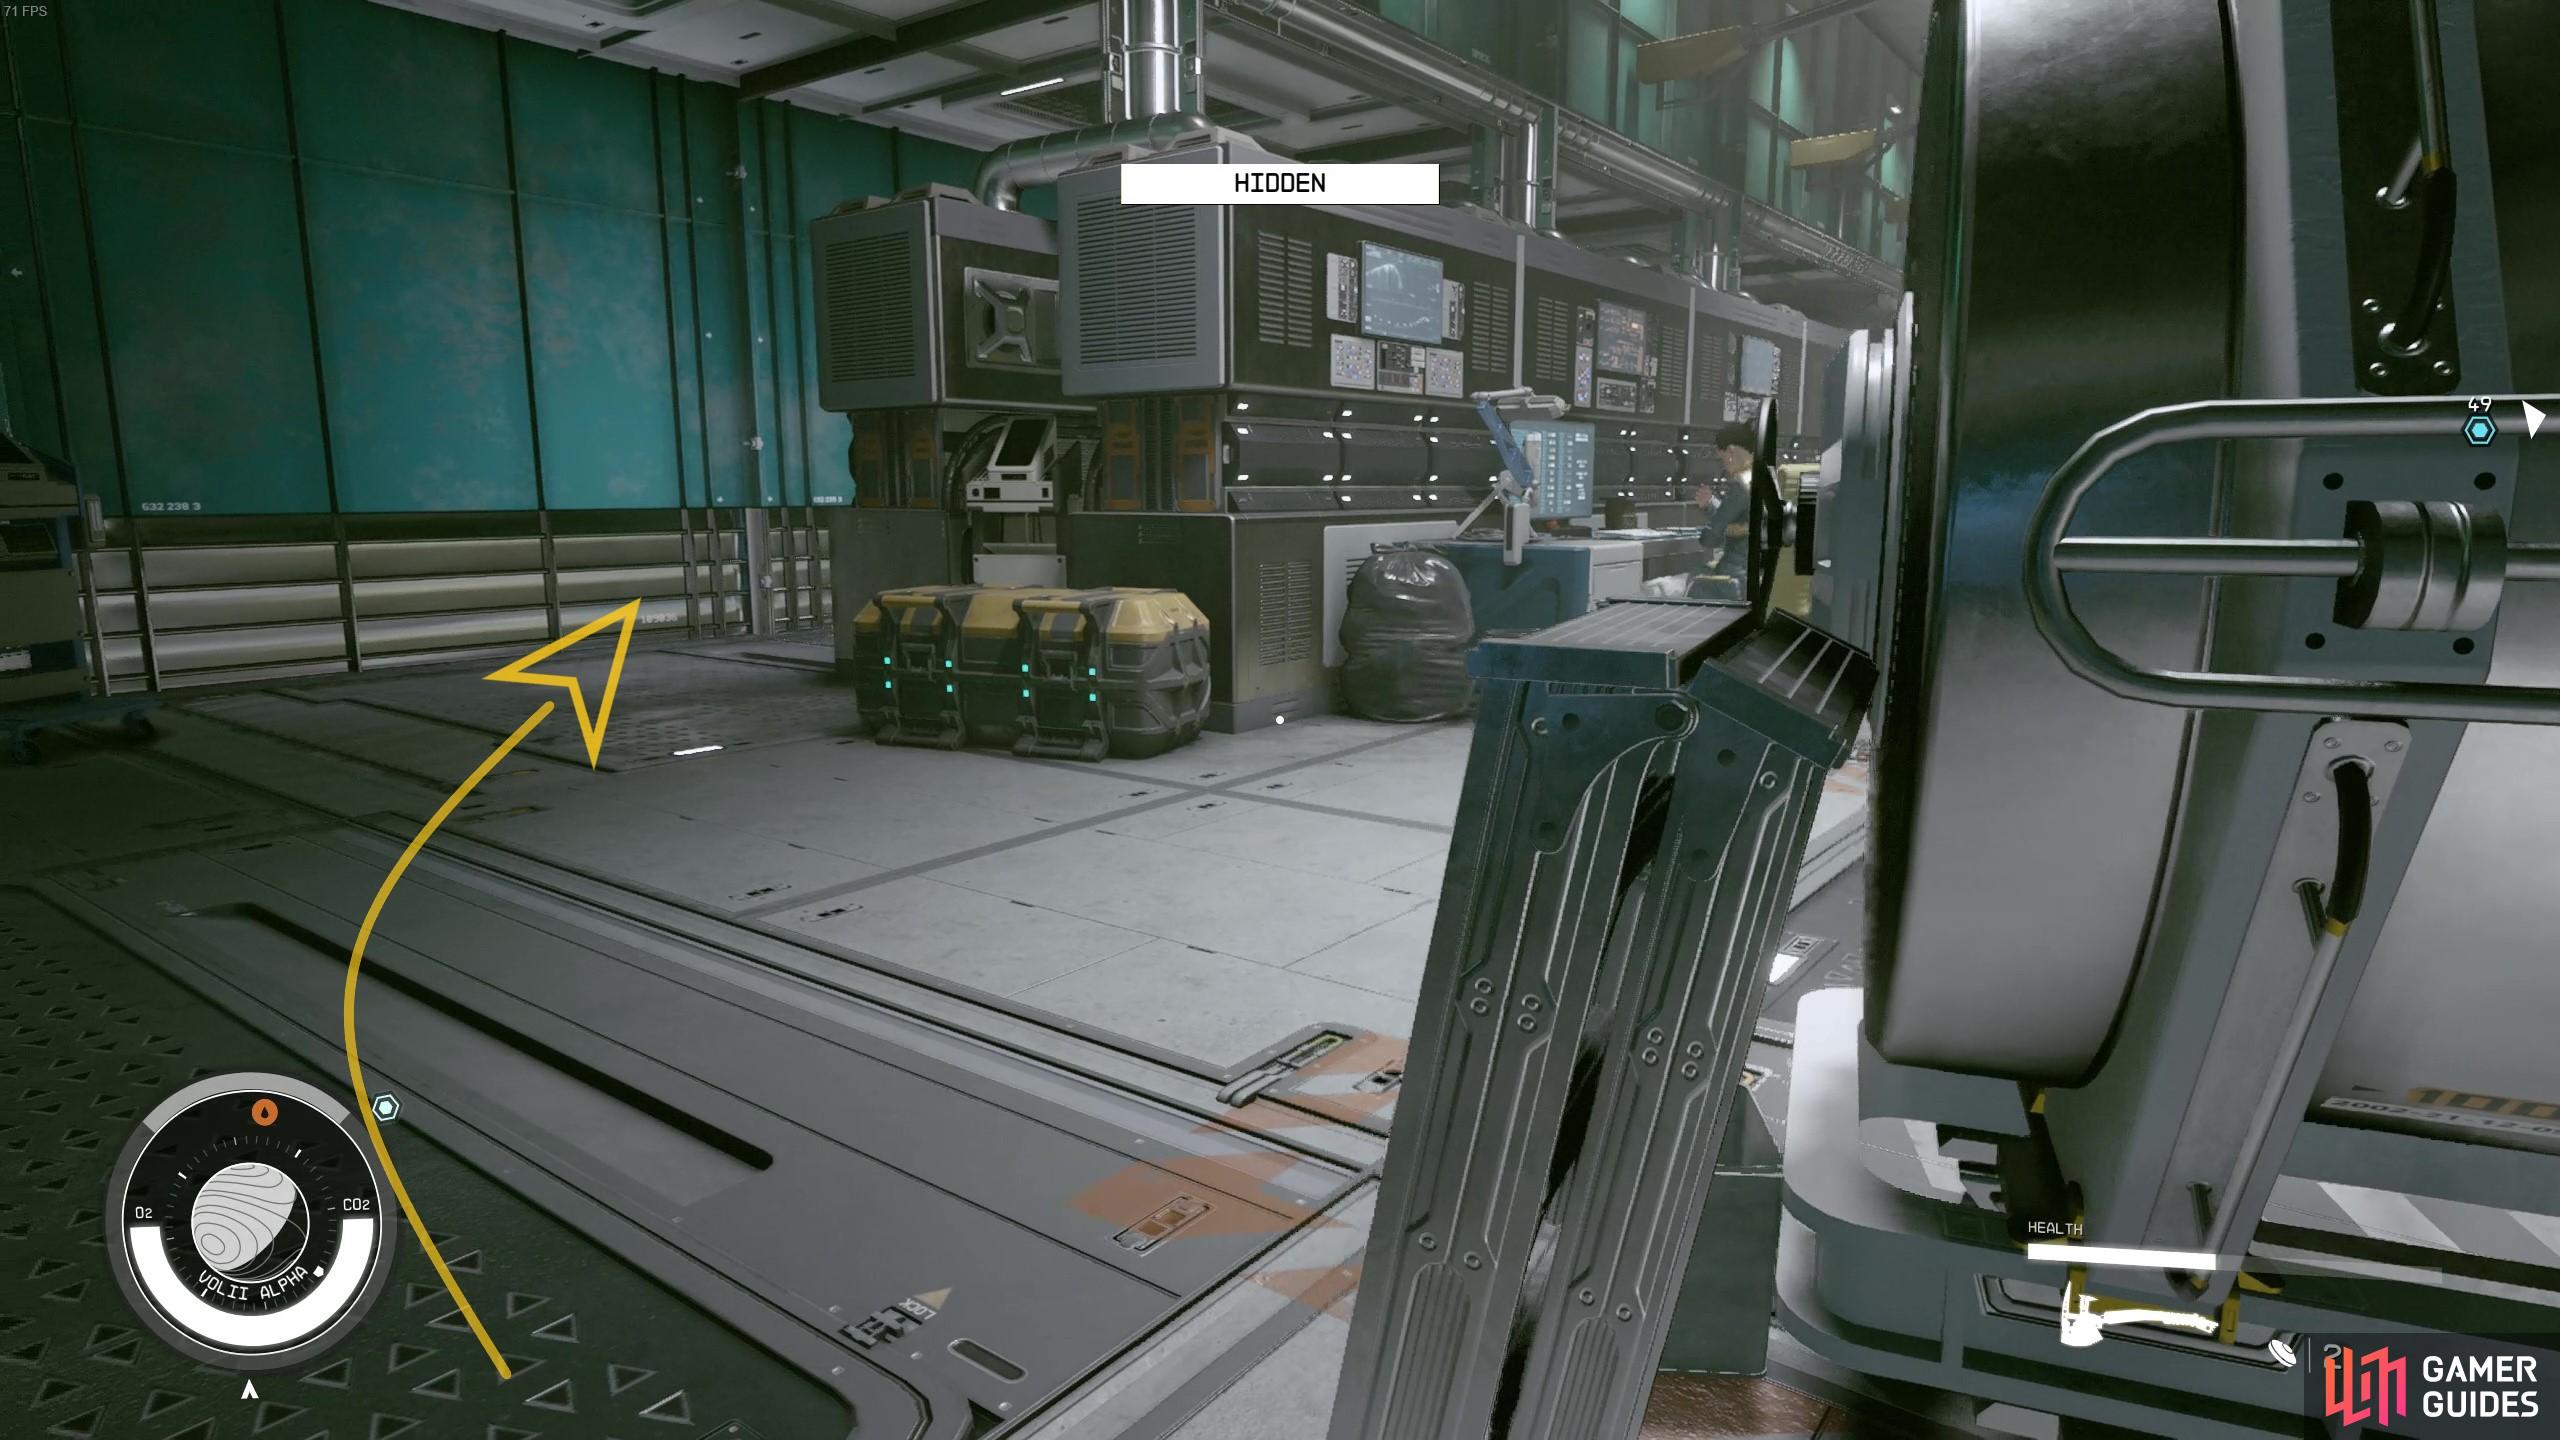
When you’re ready, follow the hall down and to the left, and pay no attention to the pesky cleaning bots. Open up the door and proceed with caution in this room as it’s filled with more workers. To get around them, sneak all the way to end of the room to go behind the machinery, and here you’ll find another vent you can take. Follow the vent around and do not immediately open the vent door, as there’s a guard leaning against it. Wait for him to move (around 10-20 secs) and then you can head out safely. Make your way across the room to the Master Control door. But rather than going through that door, turn to your left and find another vent system. Follow the vent up and around and then drop down into the control room and proceed through the door on the left.
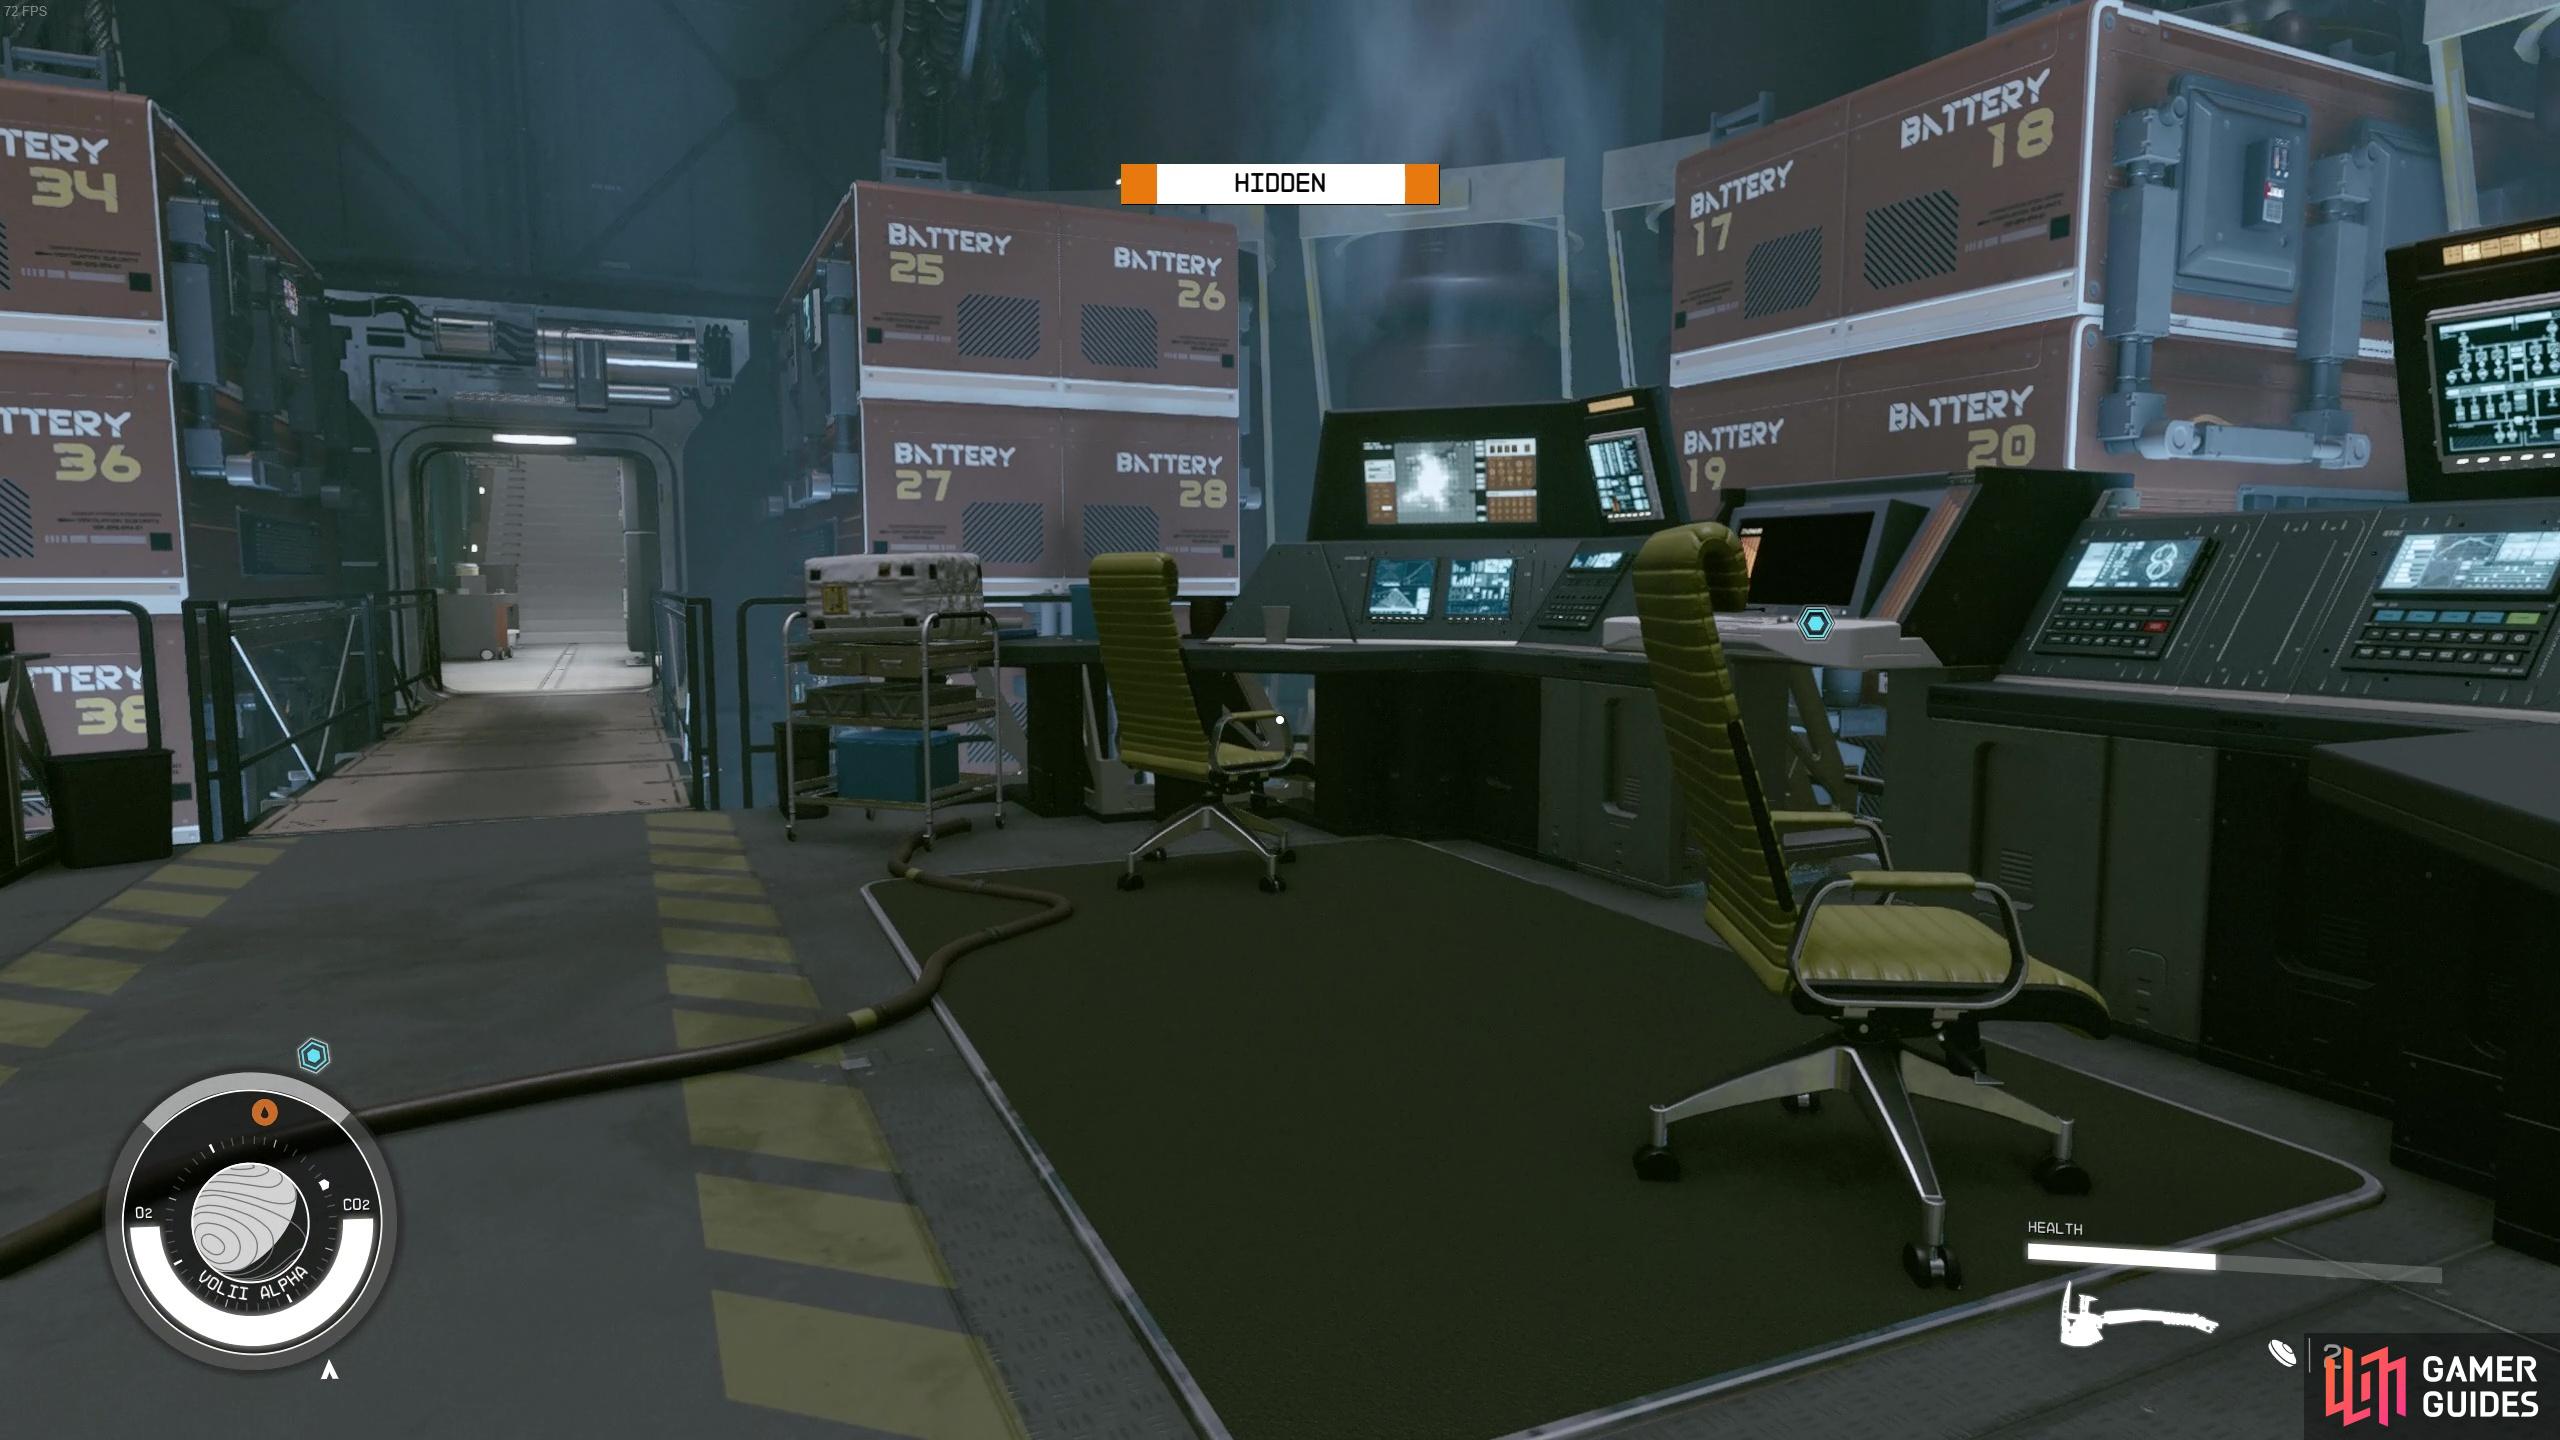
Follow the path down through the plastic curtains and head onto the walking platforms - again, be wary of the silly cleaning bots. There are some decent weapon chests to loot on this walkway and we even got a legendary pistol out of them (though loot is randomized). Continue along the walkway until you reach the door on the left. In this hallway, you’ll find an elevator that’ll take you down to the Conduction Grid - Lower Level.
In this next area, follow the path and interact with the computer on the right. Initially, you were meant to be able to use this computer to download the Conduction Grid Plans, but Breyson Bayu has encoded it, so you’re gonna have to find him to decrypt the Conduction Grid.
You’ve got the Conduction Grid data but it’s all encrypted.
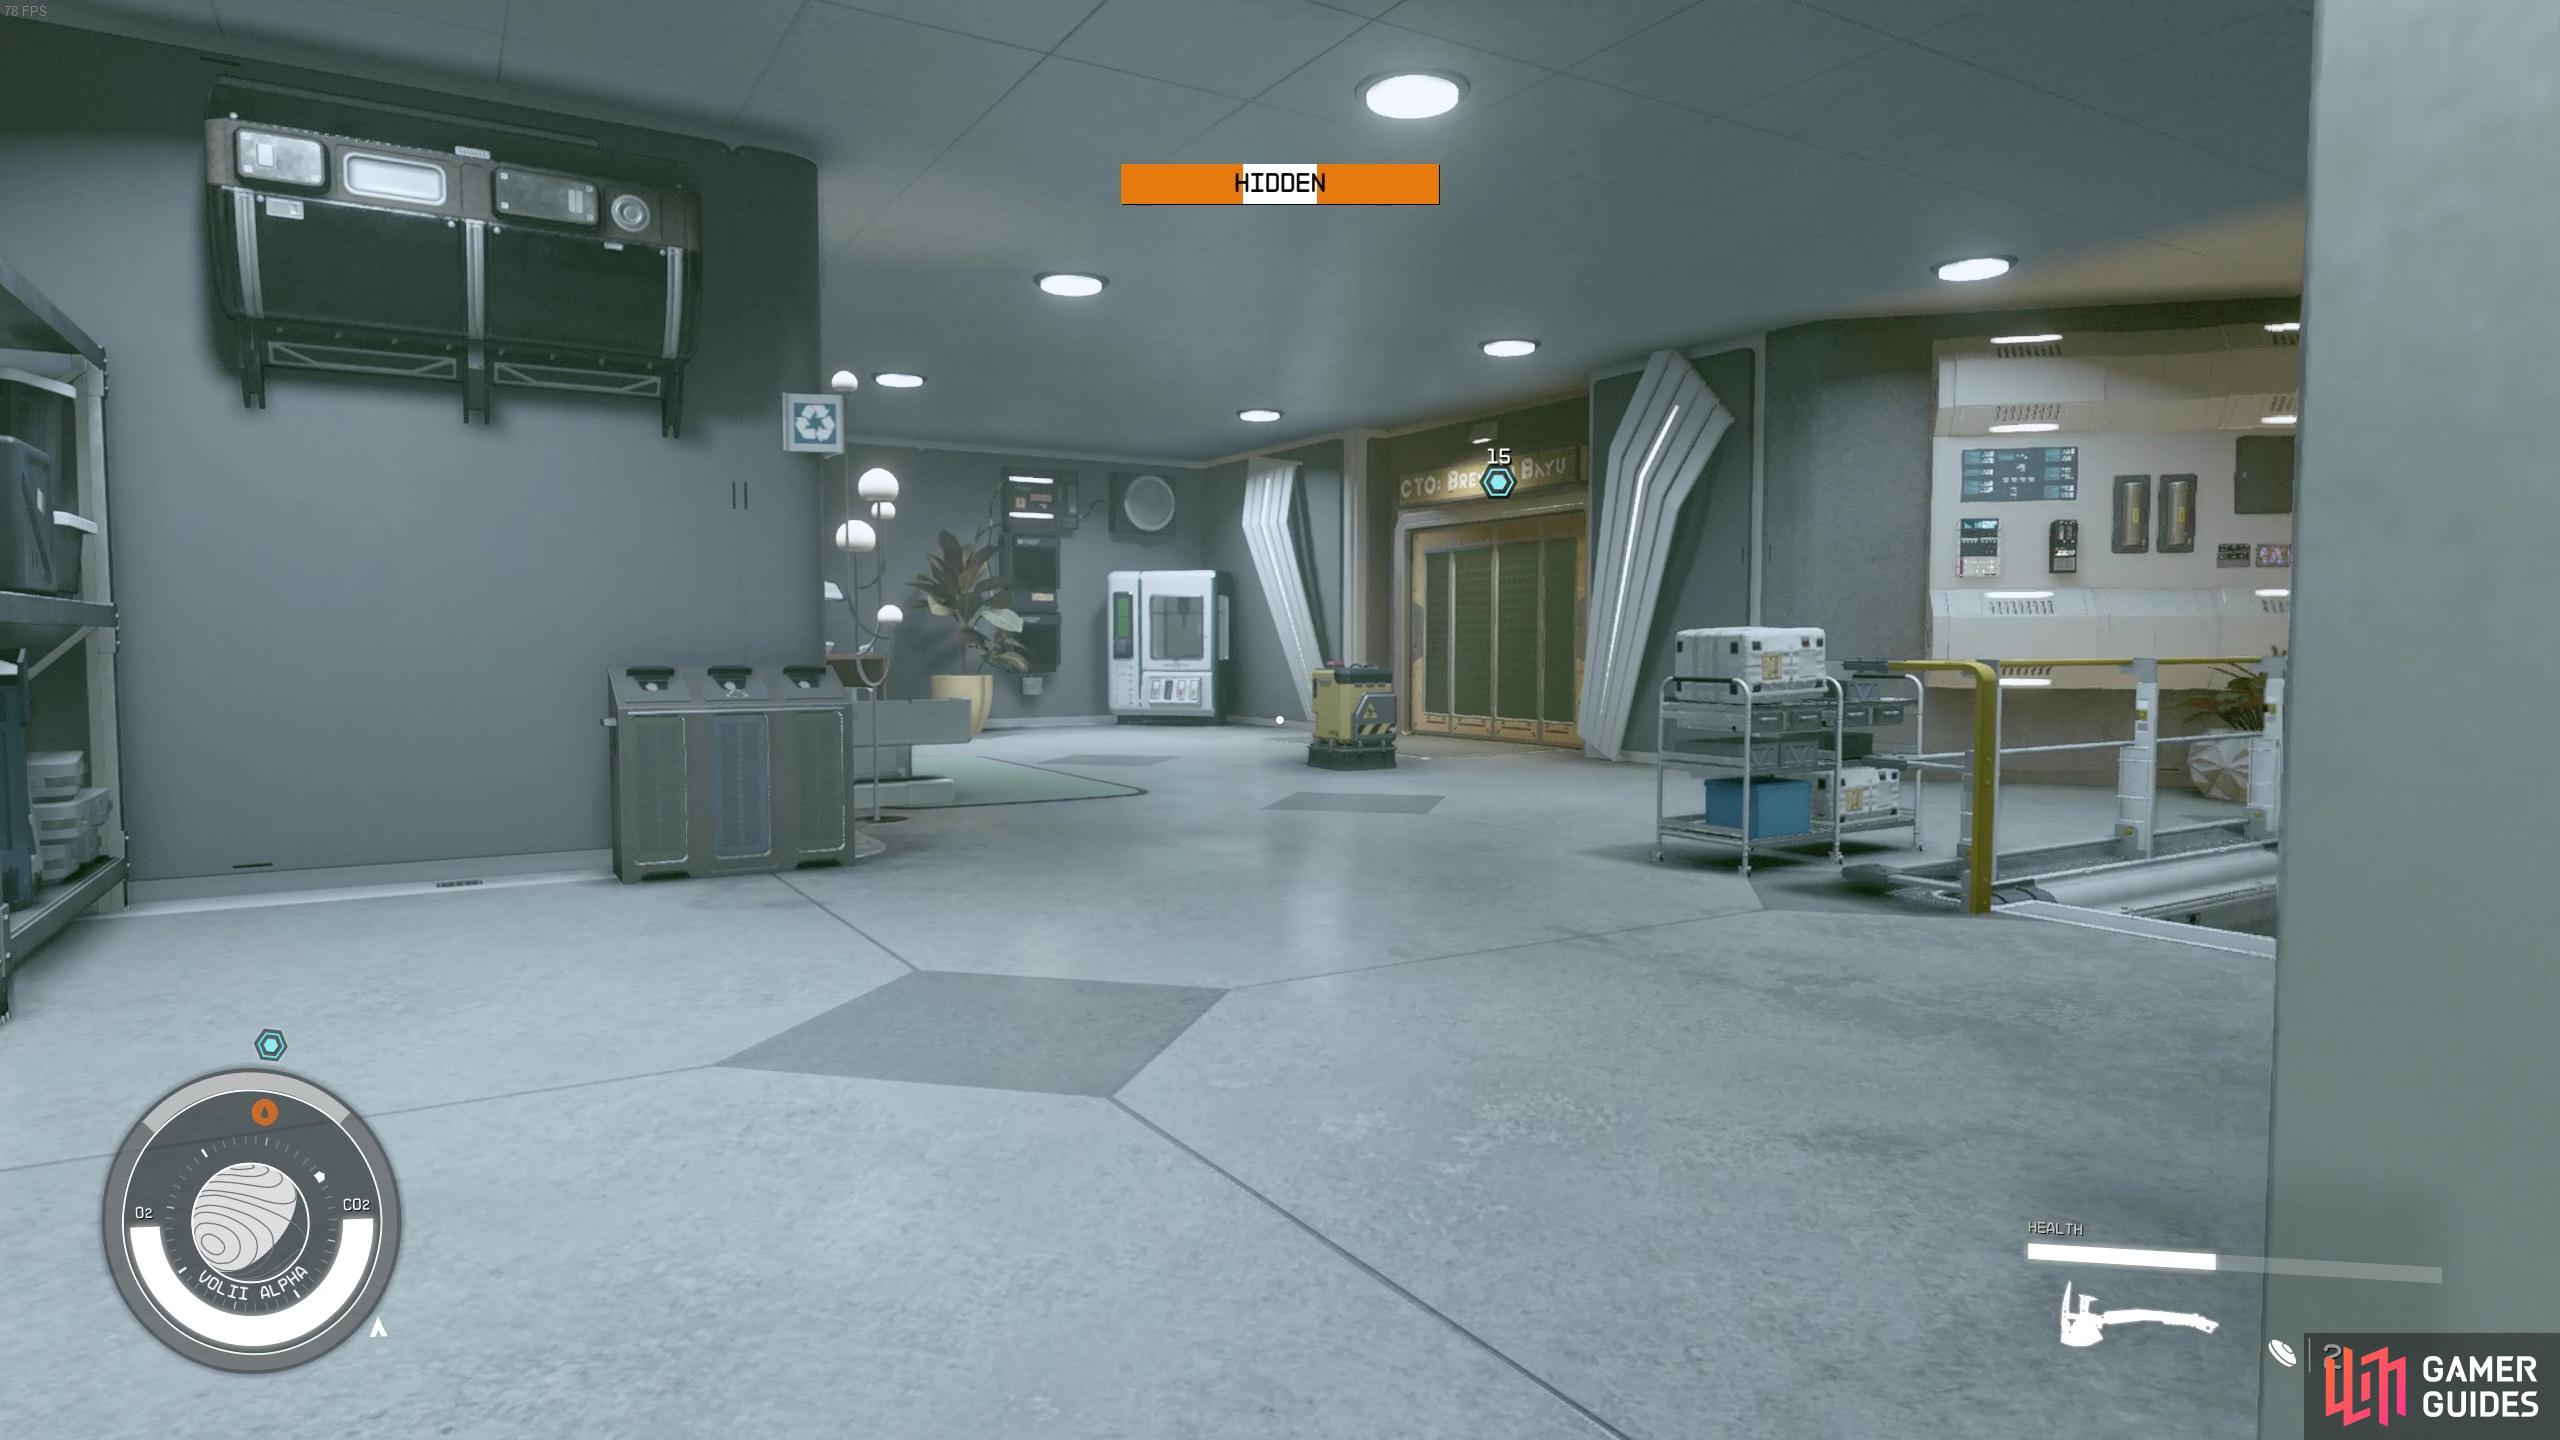
Exit the computer and proceed further down the hall and up the stairs. In the next room, head through the door and take a right to go down towards another vent. There are a bunch of workers in the room on the left so walk slowly and carefully. We recommend saving at the end of the vent before you open up as we experienced a couple of detection bugs here with the technicians seeing us even though we were still classed as “hidden”. If you have a companion here, you may also want to get them to leave now as this is the trickiest of the stealth mission.
Walk slowly down to the Research Director’s Office, making sure to keep a close eye on the enemies to the left of you and ensuring you’re not in their line of vision. Use the vent in the office to head up to the upper area. Here, you’ll want to go towards the room labeled “CTO: Breyson Bayu”.
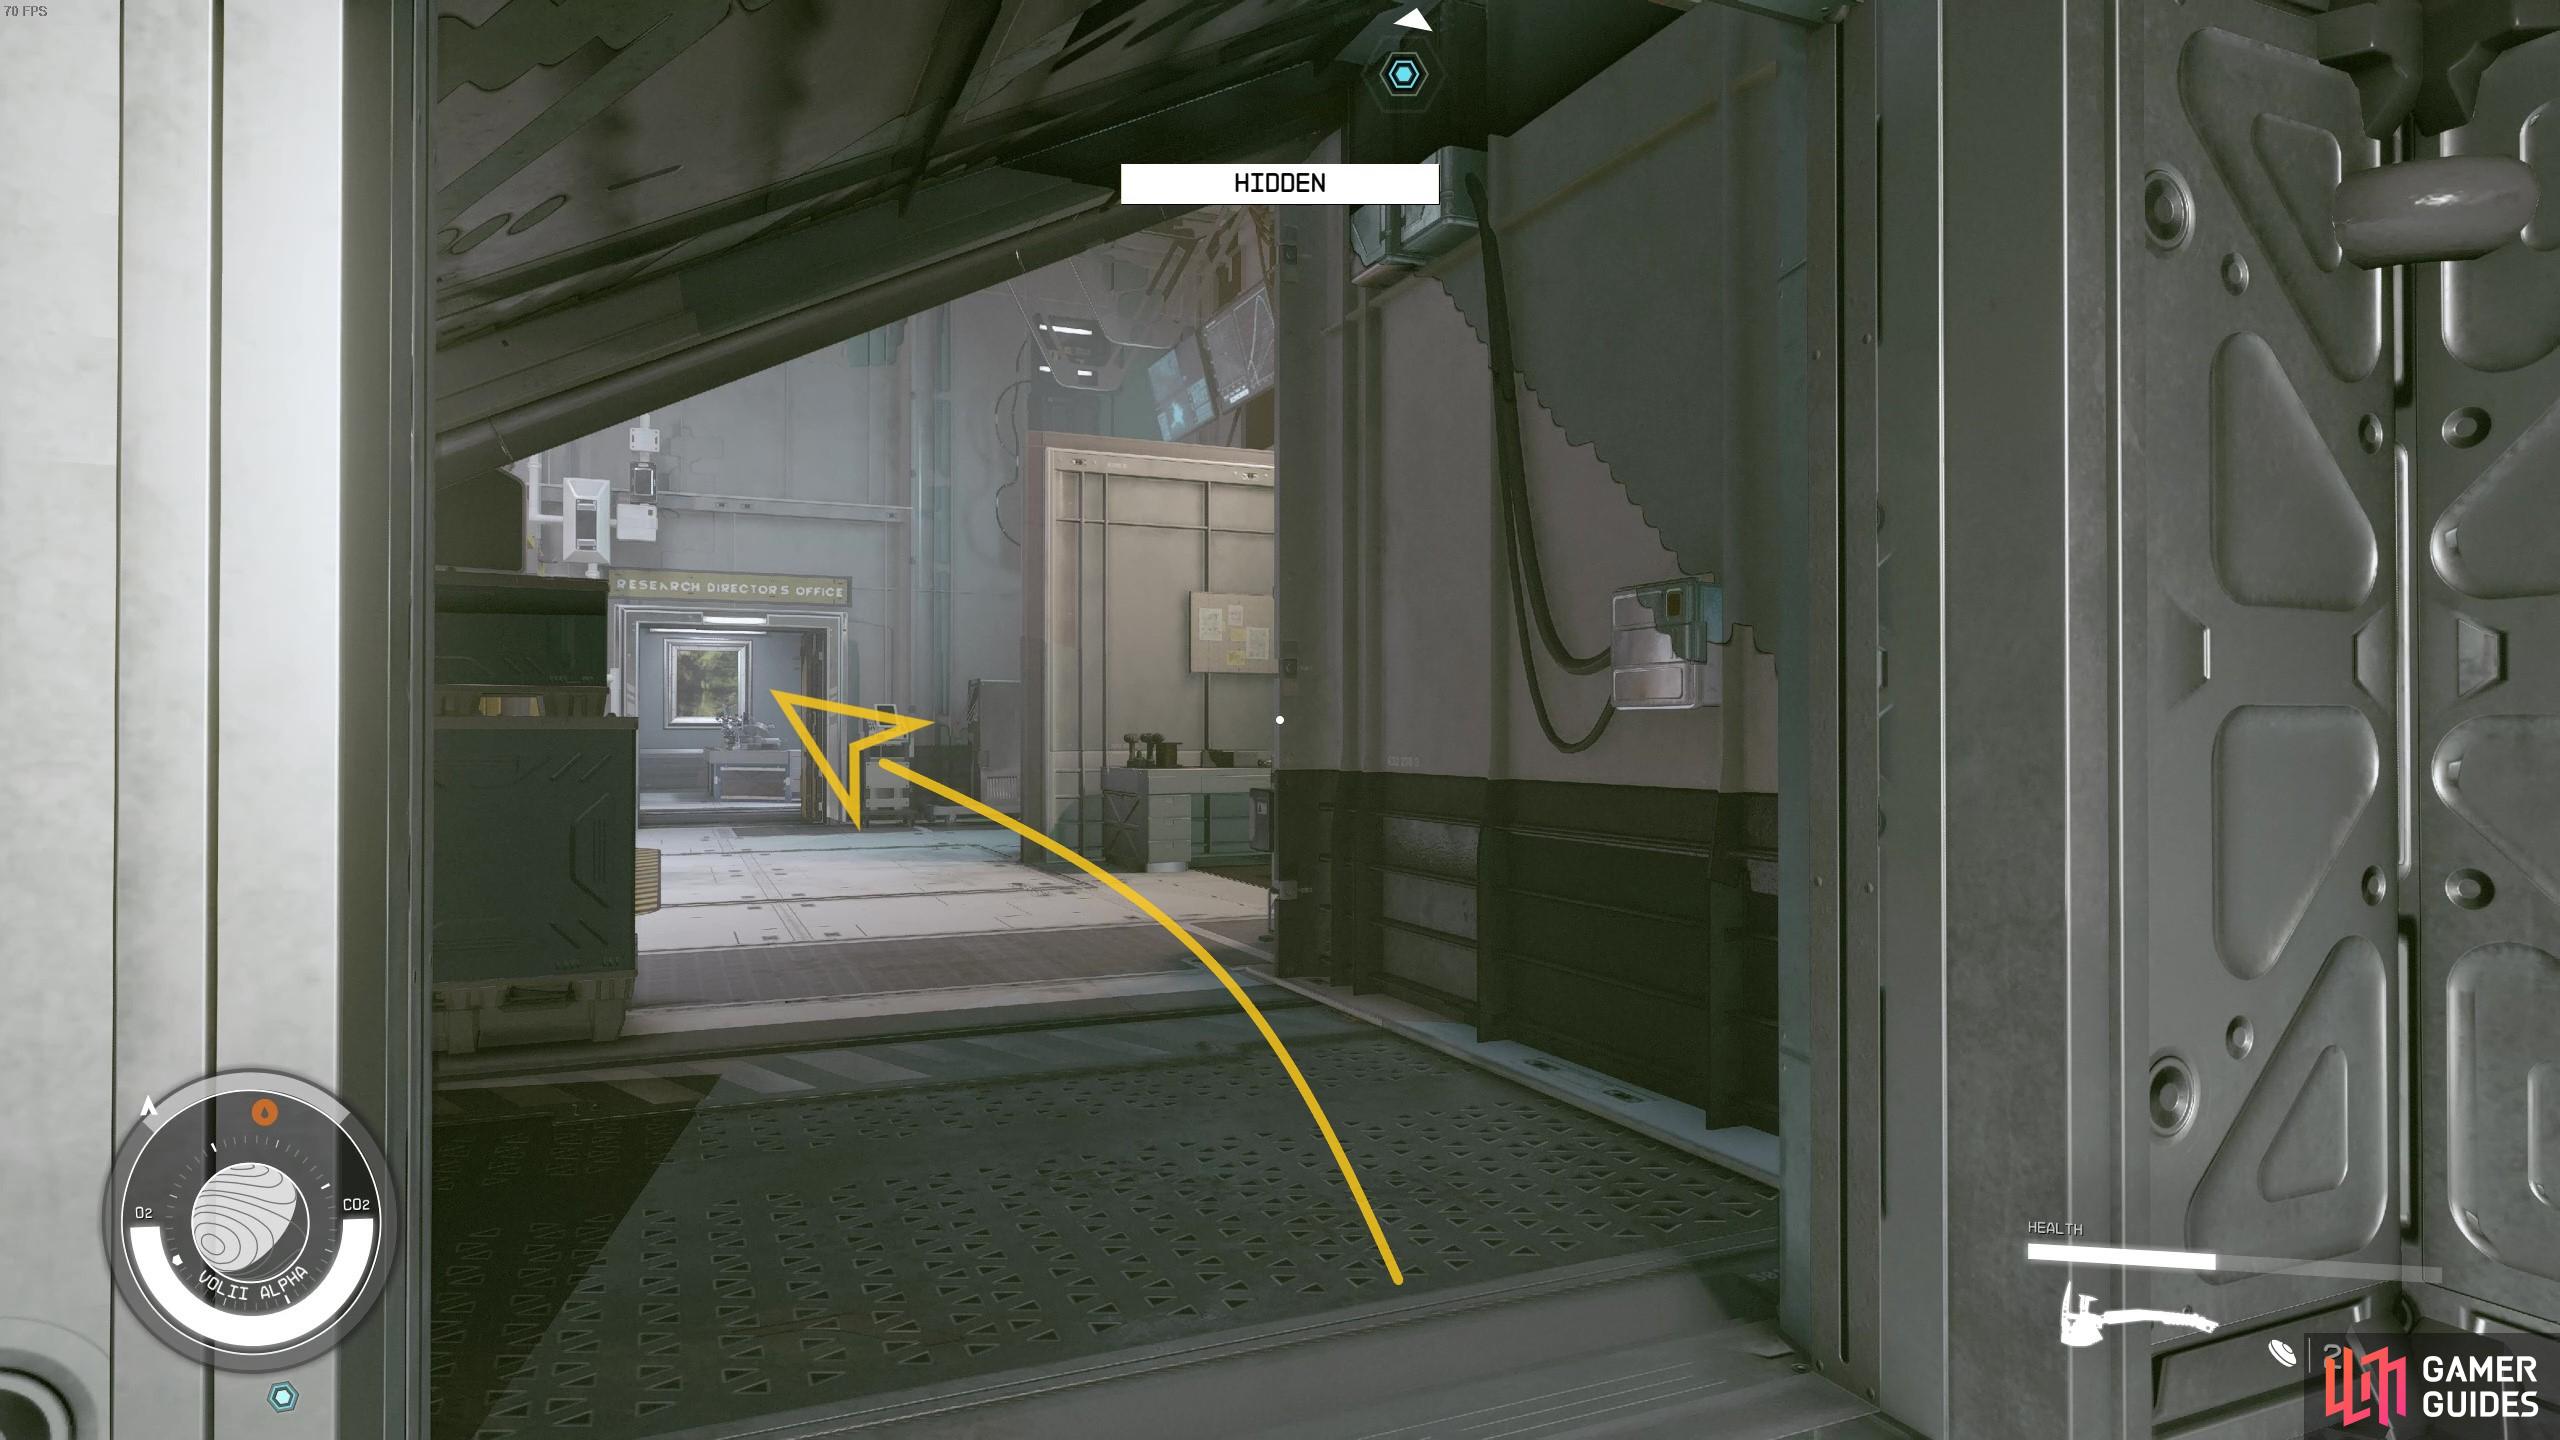
Cross the enemy-filled room slowly to head towards the Research Director’s Office
then take the vent up to find the COO’s office.
Once inside, you’ll be able to find Breyson Bayu. He hates his brother ![]() Benjamin Bayu and wants to get back at him by giving you the passcode to his terminal. Once you’ve finished talking with him, interact with the Chief Technician’s Computer and you’ll be able to decrypt the Conduction Grid Data. Before exiting the terminal, make sure to click on the second file “[Upload Subsystem] Data Input” to upload Estelle’s virus. After doing all that, proceed into the back room and loot the big beige Science Crate for some more great loot - we got another legendary pistol!
Benjamin Bayu and wants to get back at him by giving you the passcode to his terminal. Once you’ve finished talking with him, interact with the Chief Technician’s Computer and you’ll be able to decrypt the Conduction Grid Data. Before exiting the terminal, make sure to click on the second file “[Upload Subsystem] Data Input” to upload Estelle’s virus. After doing all that, proceed into the back room and loot the big beige Science Crate for some more great loot - we got another legendary pistol!
Now that you’re done looting, take the elevator down to the Trade Tower lobby, and then head right to meet Estelle in the Astral Lounge.

Benjamin Bayu: Who Should You Blame?
When you arrive at the club, you’ll find that Benjamin Bayu has infiltrated your secret meeting with Estelle. After talking with him for a bit, you’ll get the opportunity to blame someone for planting the virus. You can either lie and choose yourself or Breyson Bayu (his brother), or you can tell the truth and say it was Estelle Vincent.
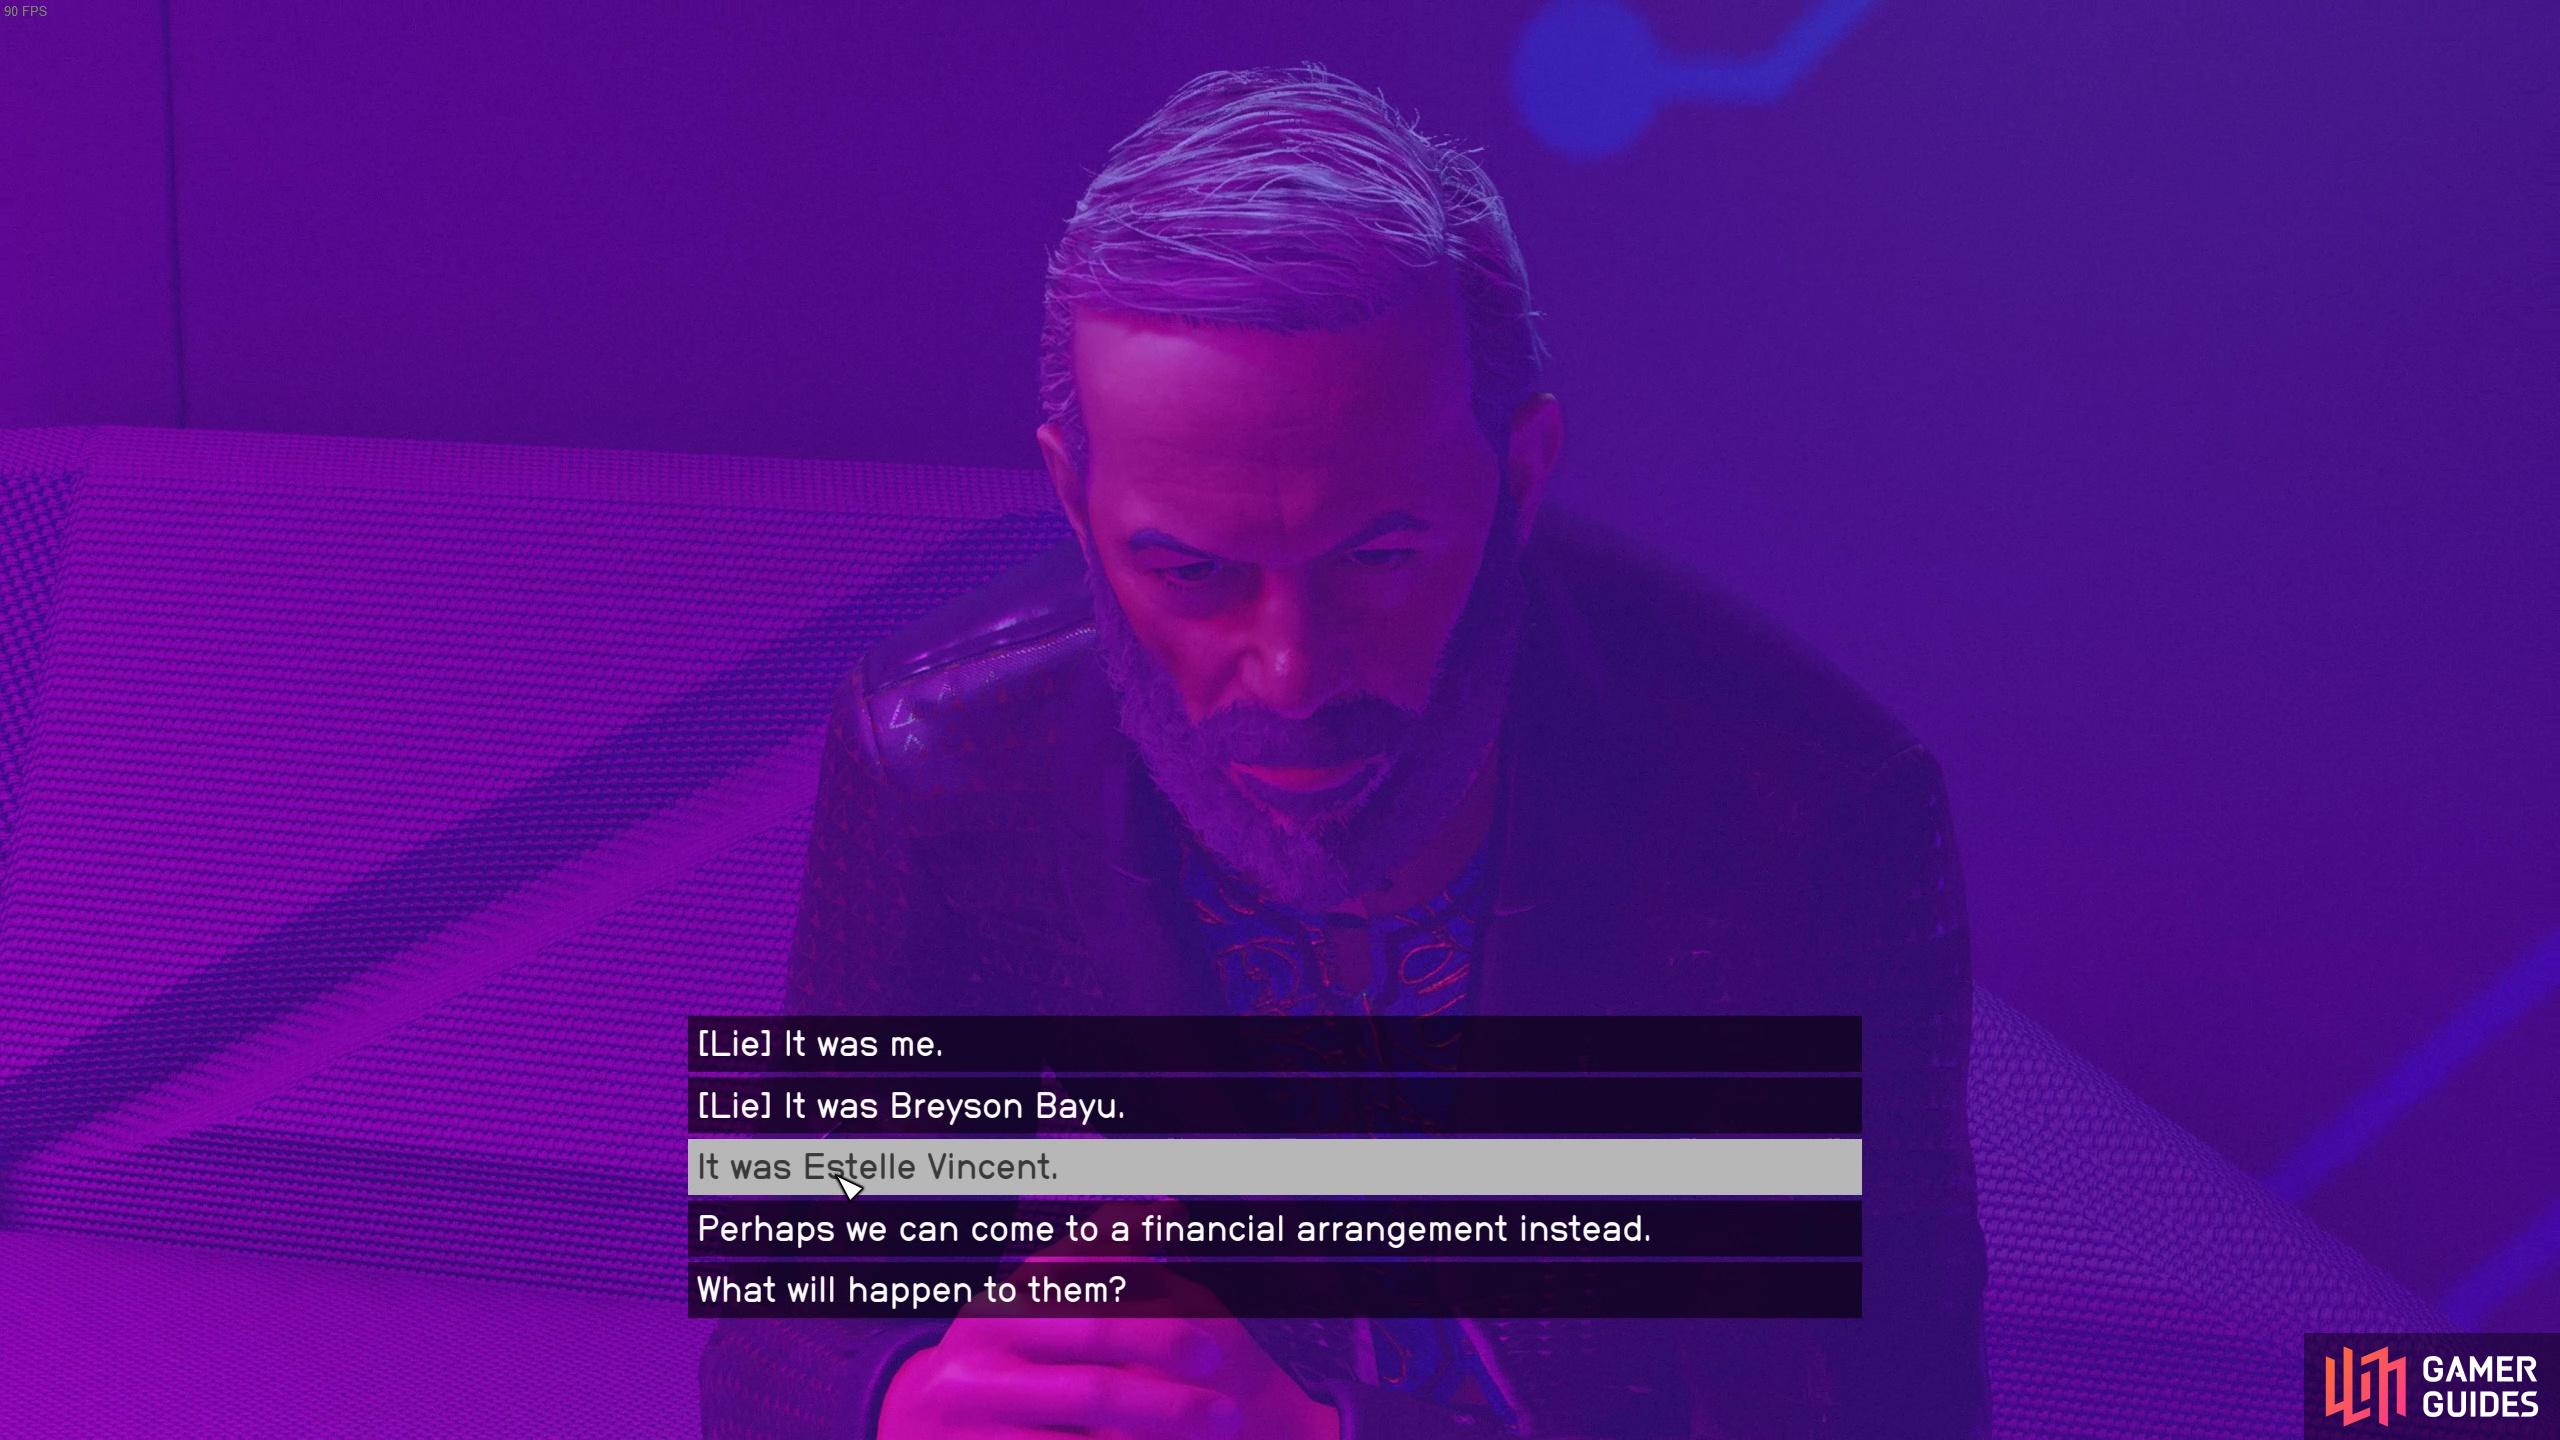
Will you tell Bayu the truth or lie about who wanted to plant the virus?
If you lie and say yourself or Breyson, your companions won’t like that too much, but Estelle will still be around. Blaming Estelle is definitely the “UC SysDef” choice as it’ll get rid of Estelle and weaken the Crimson Fleet further.
If you choose to blame yourself, the next time you come to Neon, you’re gonna have a big ol’ bounty on your head and will need to clear that before you can move around freely. If you’ve not yet had to clear a bounty and you’re not sure how to, head over to our guide!
From a Crimson Fleet perspective, the best option is to blame his brother as you won’t get a bounty and Estelle won’t be taken out by Bayu’s agents.
But there is a slight negative to keeping Estelle around. After speaking with Benjamin, head to Madam Sauvage’s and go to the room behind the bar to speak with Estelle. She’s angry that the virus got caught so early and she wants some payment for not only helping you out but also losing out on her virus plan. If you don’t give her money she’ll leave the fleet and Delgado won’t be best pleased about this. If you do give her some money, you’ll get the option to give 2,000, 4,00 or 9,000 credits. If you give her 2,000 she won’t be that pleased but she won’t quit the fleet or anything. Giving her 4,000 or 9,000 (sheesh!) will make her quite happy though if you do care about the NPC’s feelings!
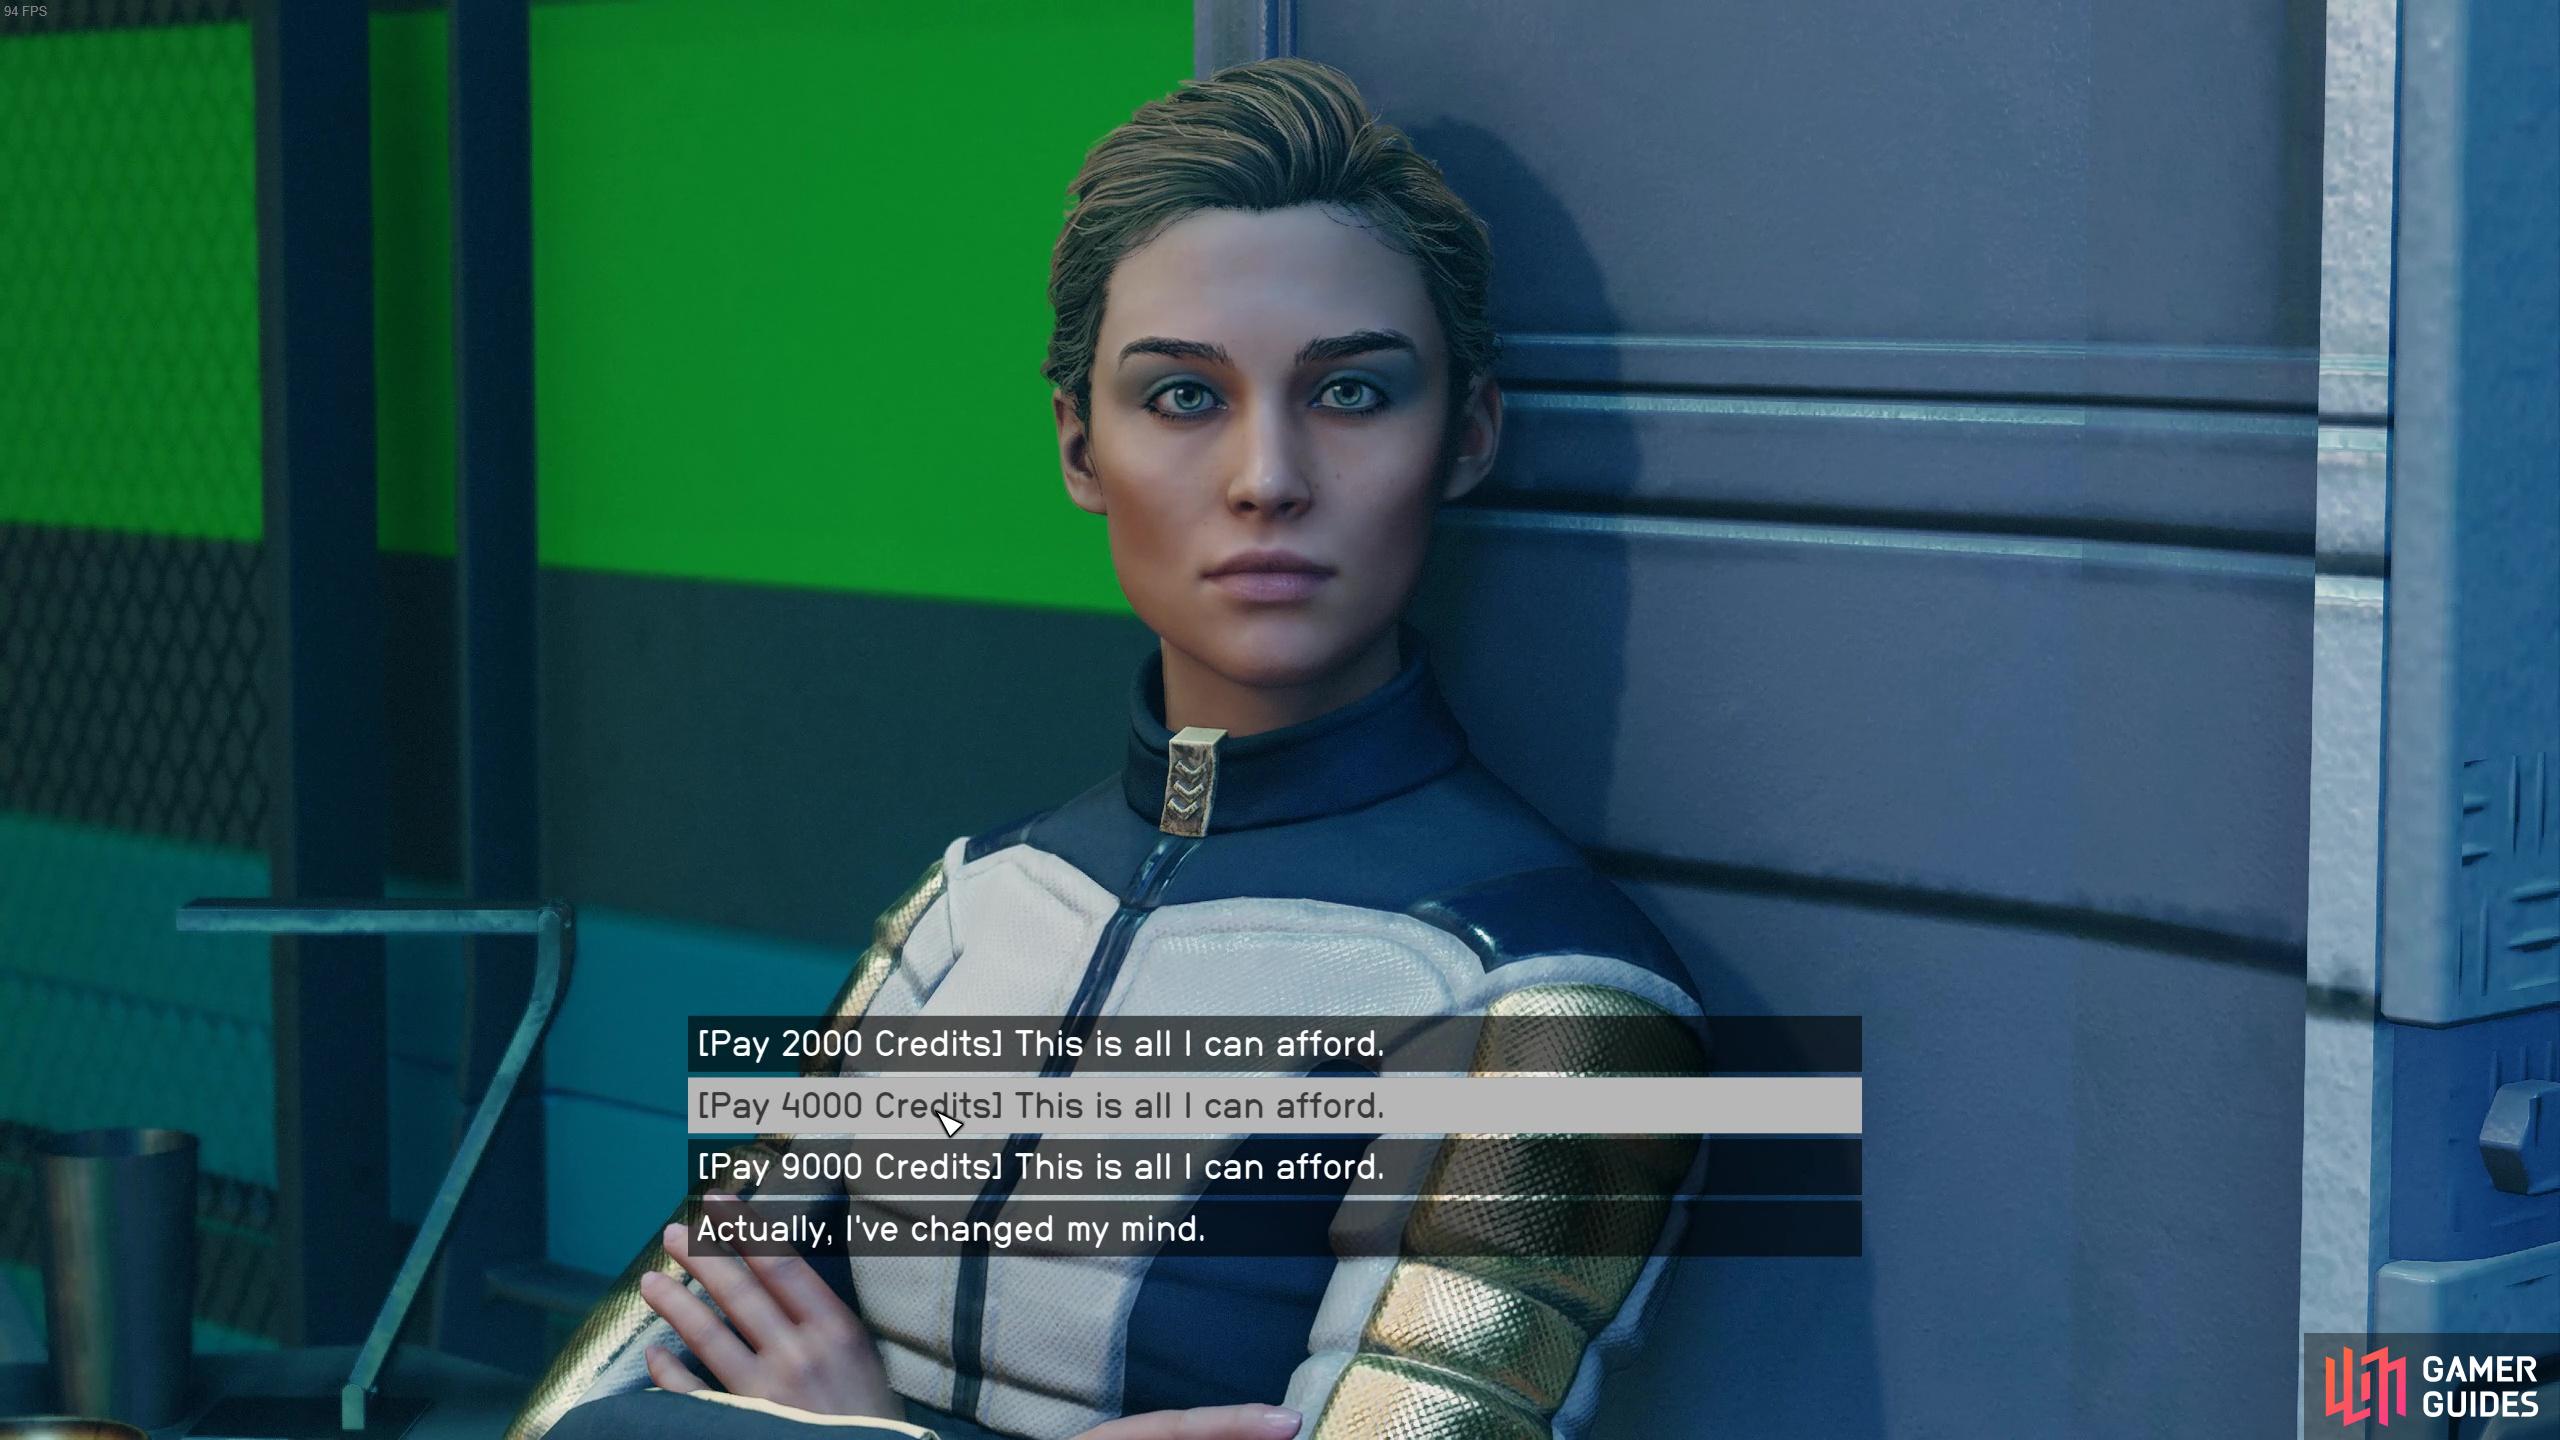
Estelle is looking for a cut of the money to cover what she’s lost.
When you’re all done, return to The Key and speak with Naeva at the entrance. She will reward you 12,400 credits and tell you to head over to speak with Delgado in Jazz’s Ship Services store. After speaking with them, you’ll begin the Eye of the Storm quest, which is the penultimate mission in the Crimson Fleet questline!
No Comments