
This page details how to complete the ![]() Echoes of the Past quest during the Crimson Fleet faction questline in Starfield. During this quest, you’ll be tasked with heading into the abandoned prison, The Lock, to uncover information about Krux’s Legacy. You can also find a hidden weapon cache in one of the cell blocks and we’ll detail how to find it!
Echoes of the Past quest during the Crimson Fleet faction questline in Starfield. During this quest, you’ll be tasked with heading into the abandoned prison, The Lock, to uncover information about Krux’s Legacy. You can also find a hidden weapon cache in one of the cell blocks and we’ll detail how to find it!
How to Start Echoes of the Past
You’ll get this quest as soon as you’ve spoken to Delgado, the leader of the Crimson Fleet. You’ll get to speak to him at the end of Rook Meets King, which is a sort of initiation mission into the faction. After completing ![]() Rook Meets King, you’ll immediately begin the Echoes of the Past quest.
Rook Meets King, you’ll immediately begin the Echoes of the Past quest.
Delgado has big plans that include breaking into the abandoned prison and finding out Kryx’s Legacy.
Exploring The Lock: Where to Find Krux’s Plans
When you’re ready, hop into your spaceship and travel to the Lock on the surface of Suvorov (the planet that the Key is orbiting). Once there, speak with Delgado to get going. You and a few other Crimson Fleet members, including an annoying guy called Mathis, will head west down an icy path towards the abandoned prison, The Lock.

Speak with Delgado outside the Lock once you’re on the planet.
As you walk through the icy landscape, you may also get a warning about extreme cold. When in extreme cold temperatures without proper gear you have a chance to develop Hypothermia, which is a condition that reduces your spaceship combat damage unless cured using something like ![]() Snake Oil. You may also develop some other negative affliction too, such as joint pain or torn muscles. If you want to minimize the chances of developing an affliction, consider wearing some gear with higher thermal properties. Though, we won’t be in the cold for too long so you could just risk it.
Snake Oil. You may also develop some other negative affliction too, such as joint pain or torn muscles. If you want to minimize the chances of developing an affliction, consider wearing some gear with higher thermal properties. Though, we won’t be in the cold for too long so you could just risk it.
On the path to the Lock, you’ll encounter an absolute ton of Grylloba enemies - bug-like creatures that will throw rocks and bite at you. If you’ve got a decent shotgun like a modified ![]() Lawgiver, then you could one-shot a lot of the weaker ones and two-shot the others. This quest is a great way to level up as you’re gonna be encountering a load of these guys and they all give 5-20 XP each. When you’re with the rest of the fleet, watch out for when they throw frag grenades at the enemies - you don’t wanna get caught in the explosion!
Lawgiver, then you could one-shot a lot of the weaker ones and two-shot the others. This quest is a great way to level up as you’re gonna be encountering a load of these guys and they all give 5-20 XP each. When you’re with the rest of the fleet, watch out for when they throw frag grenades at the enemies - you don’t wanna get caught in the explosion!
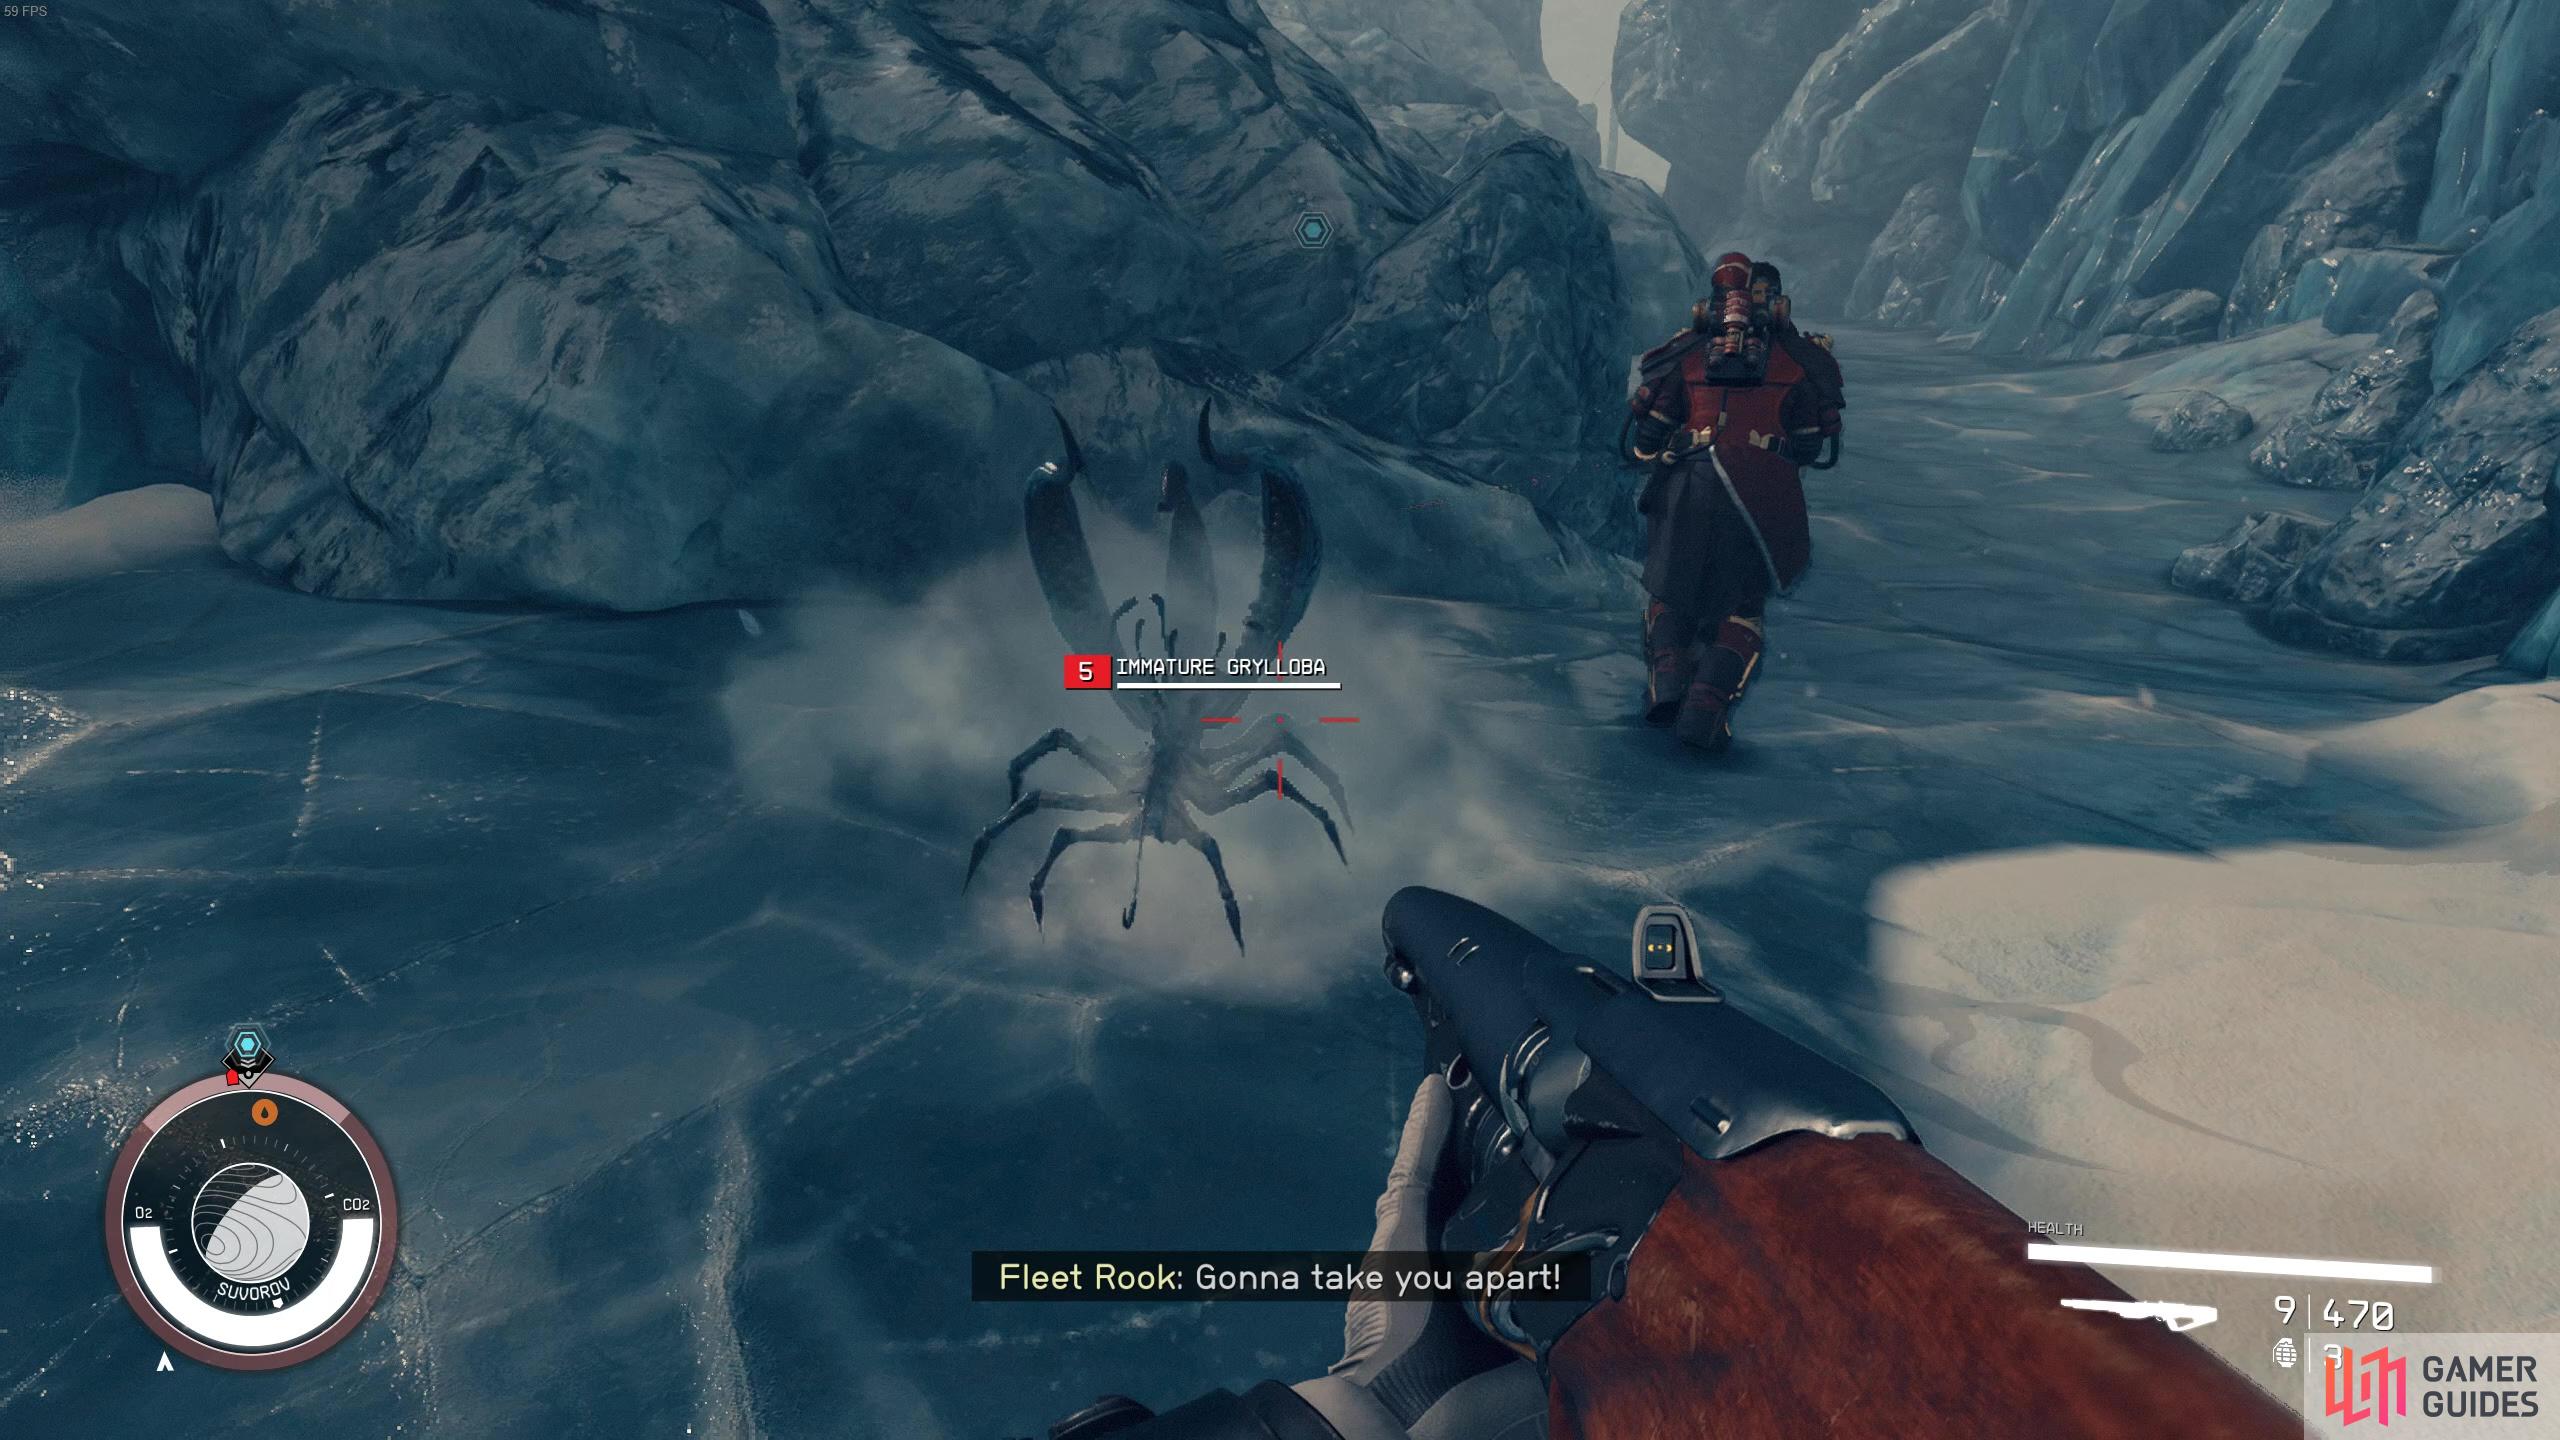
Get used to seeing these things around as the prison is absolutely infested with them.
Once you’ve fought your way to the Lock entrance, wait for Delgado to arrive then speak with him. After a bit more dialogue, he’ll open up the door and you can proceed into the abandoned prison. You’ll be grateful to discover that the cold weather doesn’t persist inside the Lock.
Head down the stairs all the way to the ground floor of the Lock complex and wait for Delgado and the others. There’s a small office room nearby that you can loot for some high priced gear and weapons - probably not as good as what you have on but they’ll fetch a pretty penny! You will need some skill points in Lockpicking to deal with the advanced locks, however.
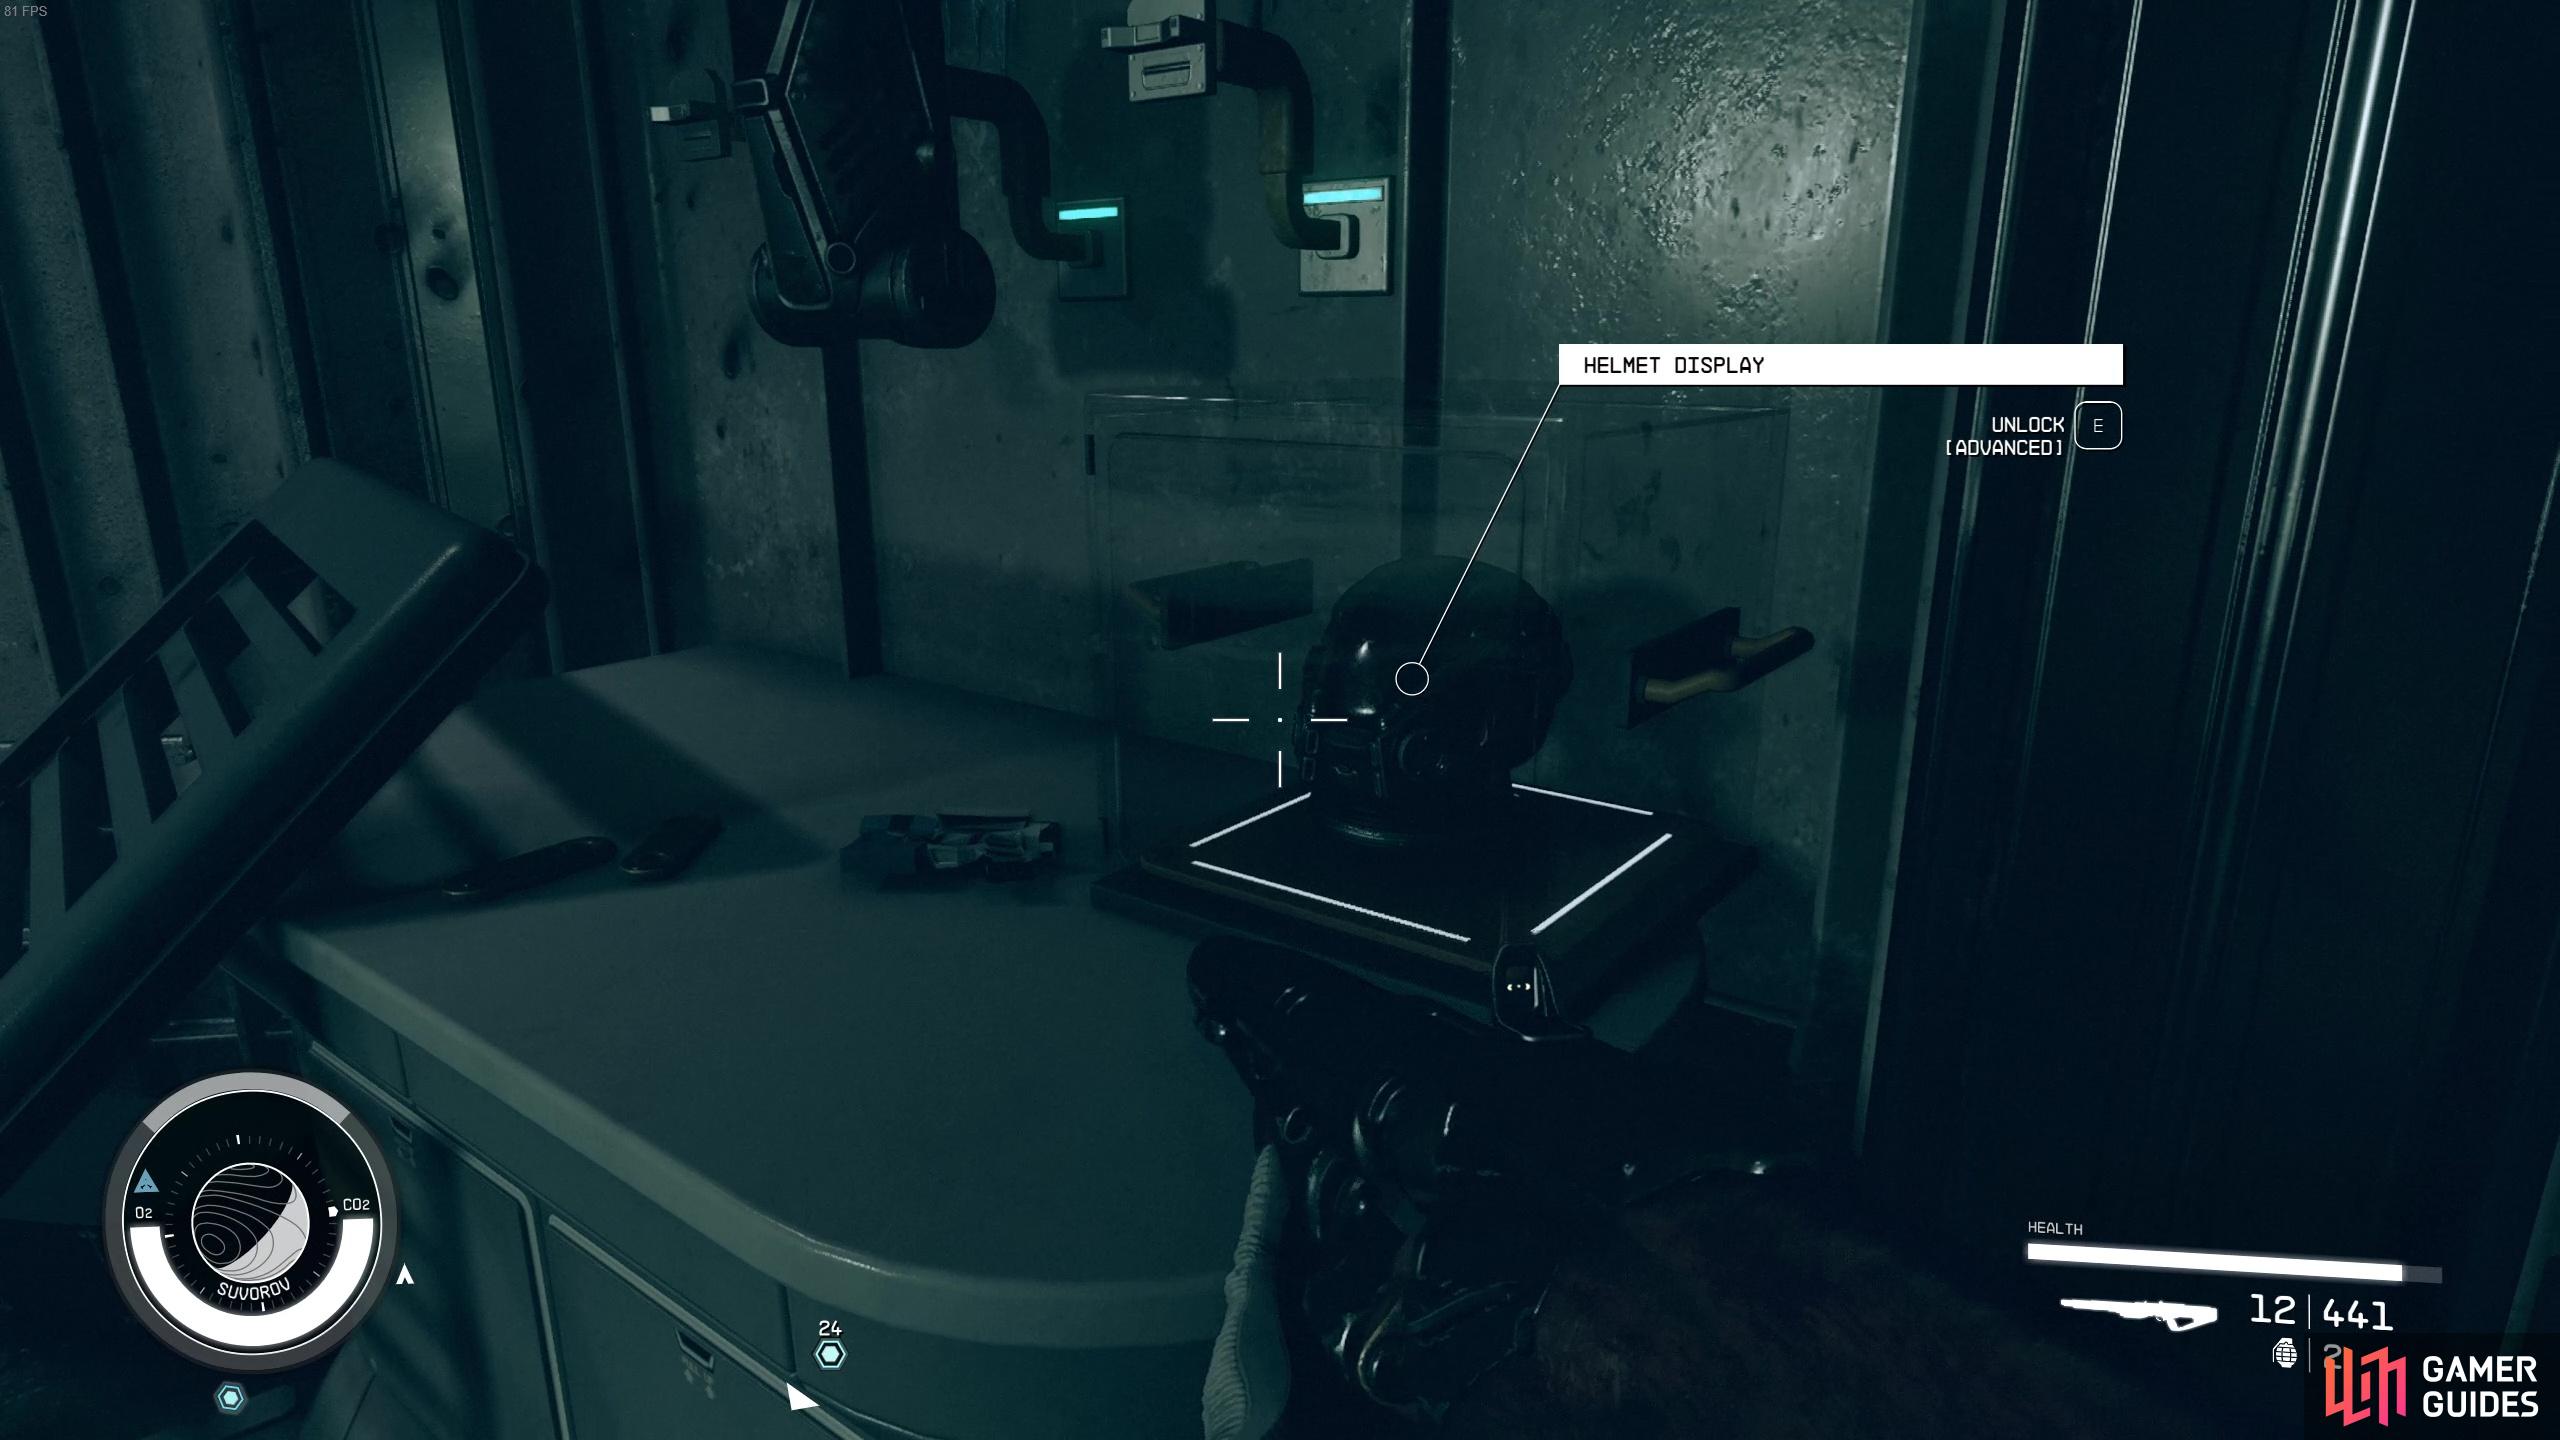
There are tons of things to lockpick in the Lock but you’ll need the Advanced lockpicking skill for most of them.
Once Delgado and the others have arrived at the ground floor, some more Grylloba enemies will spawn and you’ll have to deal with all of those before you can proceed further into the Lock. If you’re having a tough time with these enemies, consider corralling them into a smaller room and throwing in a grenade. This will one-shot the weaker enemies and thin out the herd a bit.
After you’ve defeat the enemies and done a bit of exploring, speak with Delgado again and he’ll order you and Mathis to head over to the control room to power up the doors. You better get used to having Mathis around as he will act as a temporary companion during the entirety of this mission.
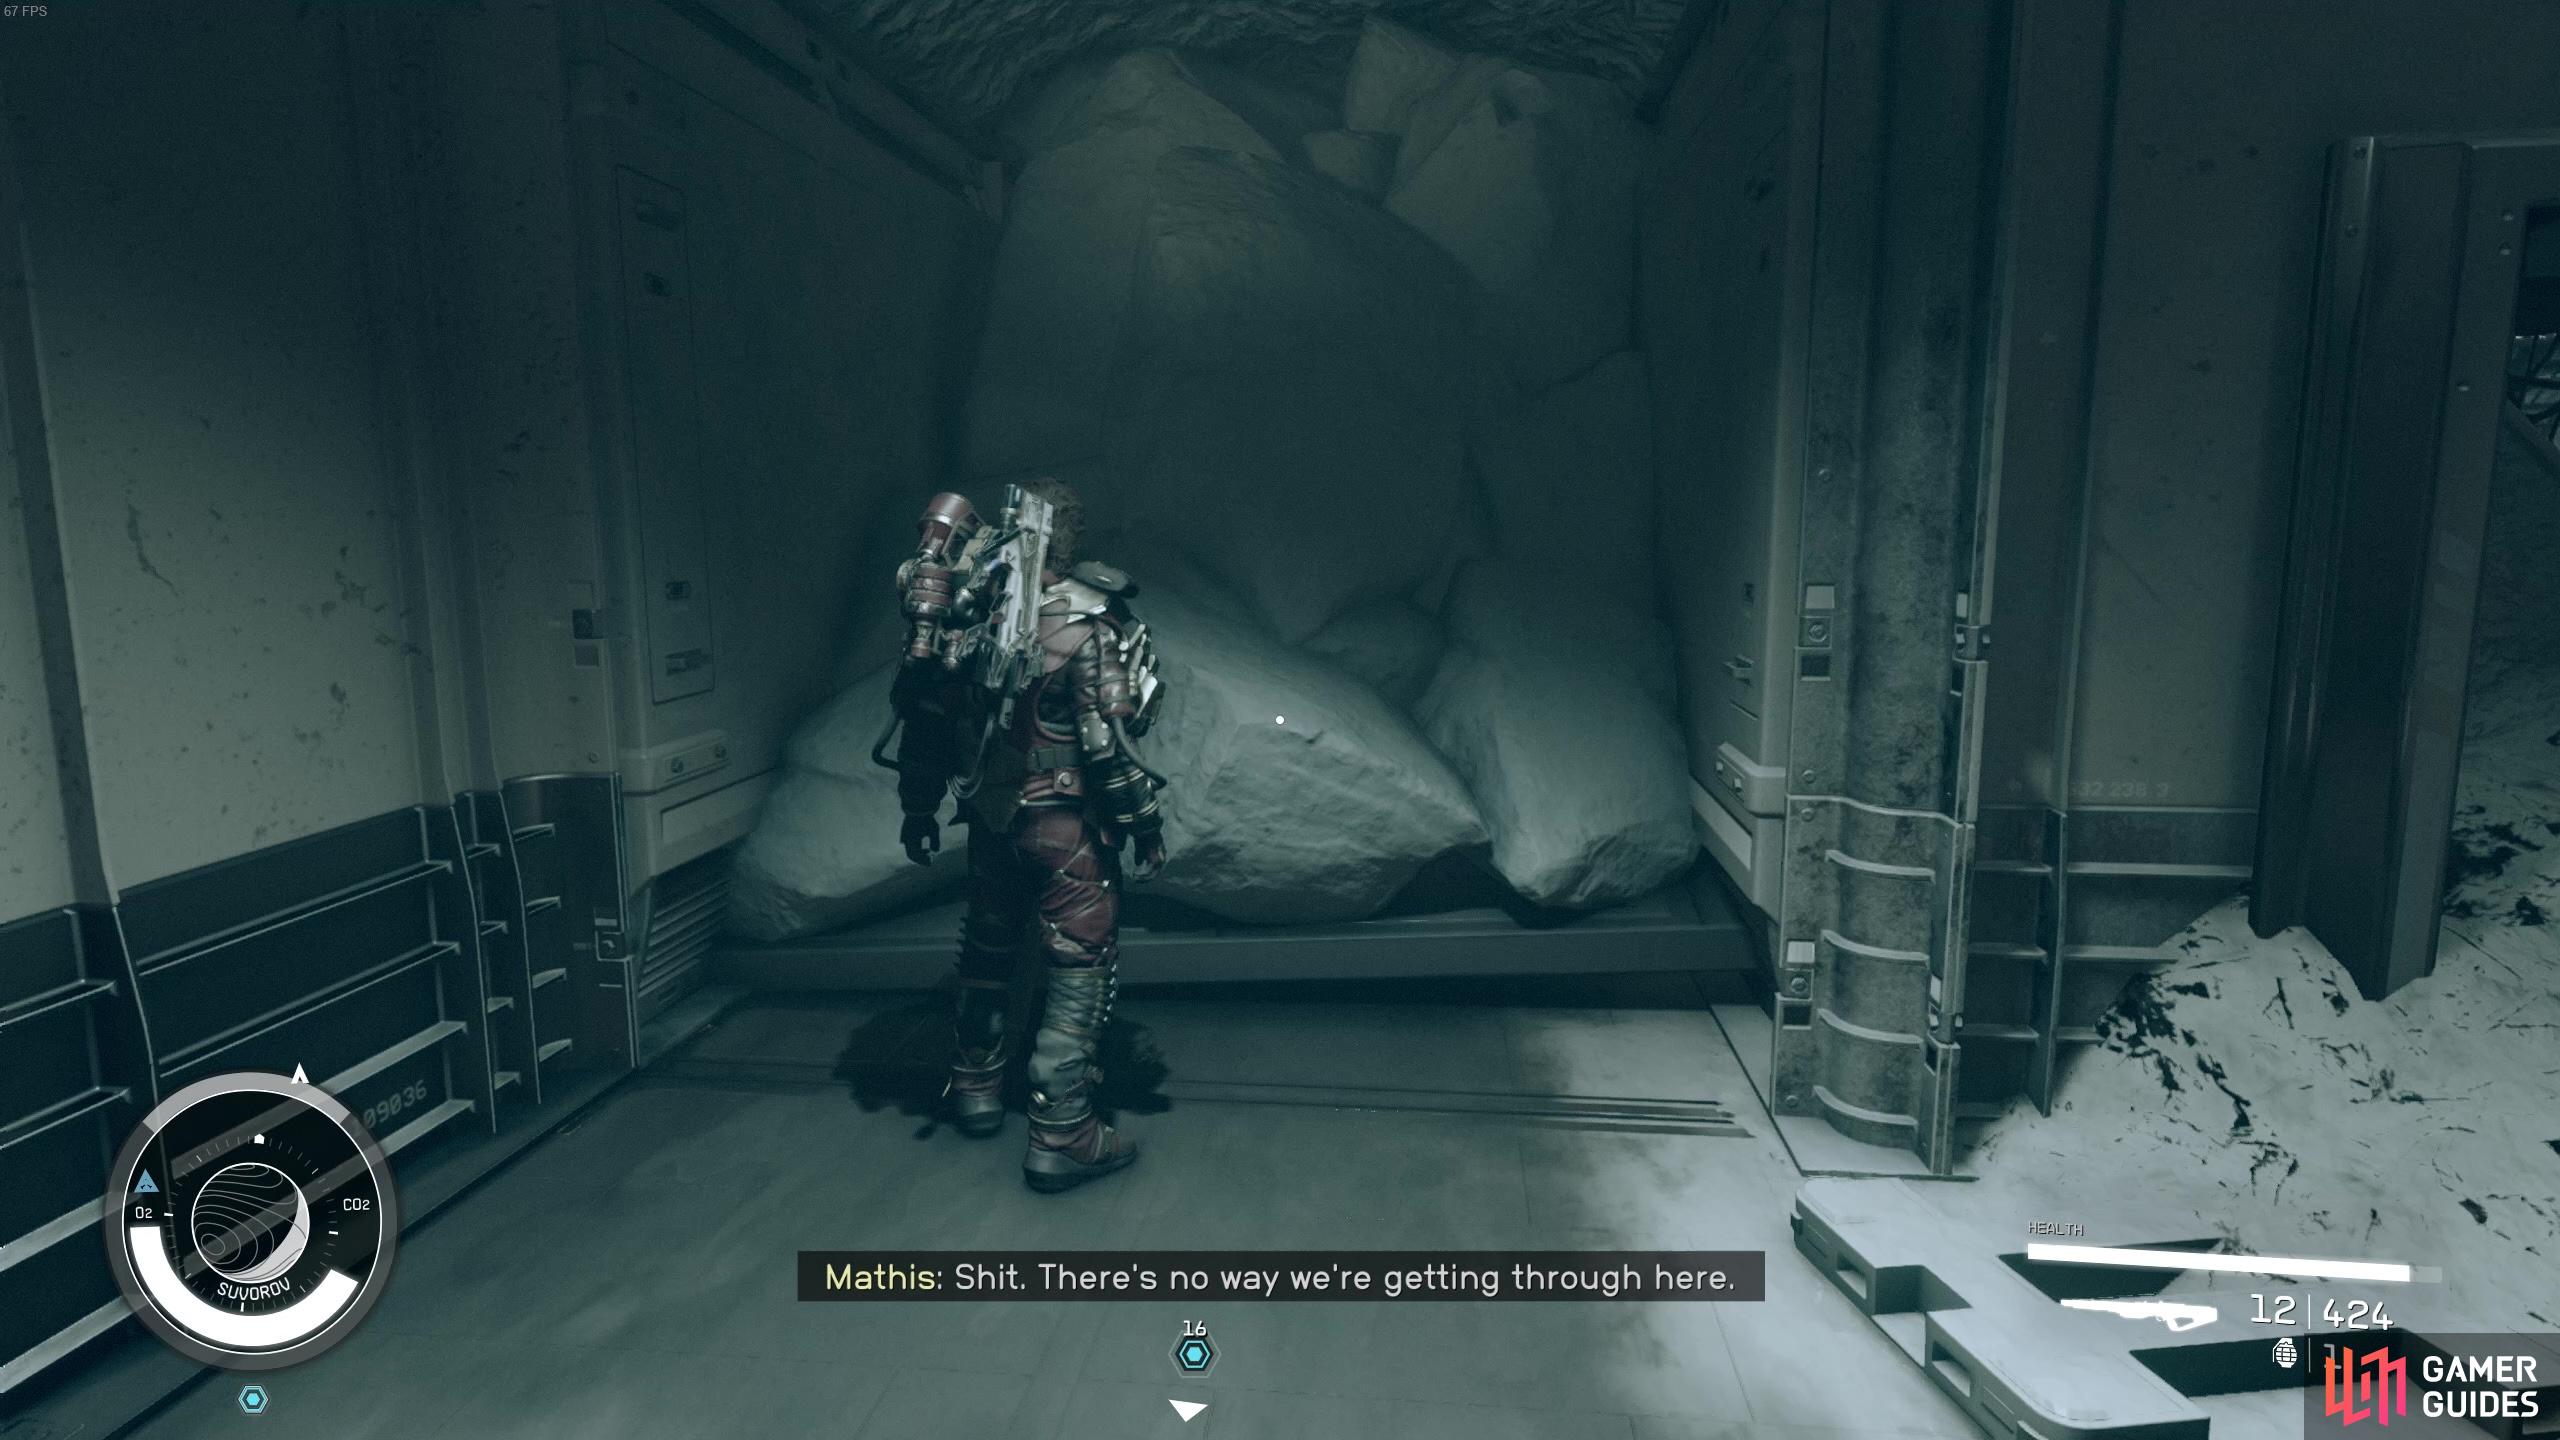
Proceed to the marked area through the door in the southwest and head down the corridor a bit. You and Mathis will soon be locked into this area by a crumbling wall and you’ll be forced to hang out with him from now on.
Should You Side with Mathis?
Speak with Mathis and he’ll almost immediately concoct a plan to take out Delgado. It doesn’t have any impact on the story whether you agree with him or not, but you’ll find that he brings it up a few more times throughout your mission with him even if you disagree. Regardless of if you agree with him now or later, it won’t have any consequences to the Crimson Fleet faction storyline.
You and Mathis get trapped together
and he immediately plots to kill Delgado!
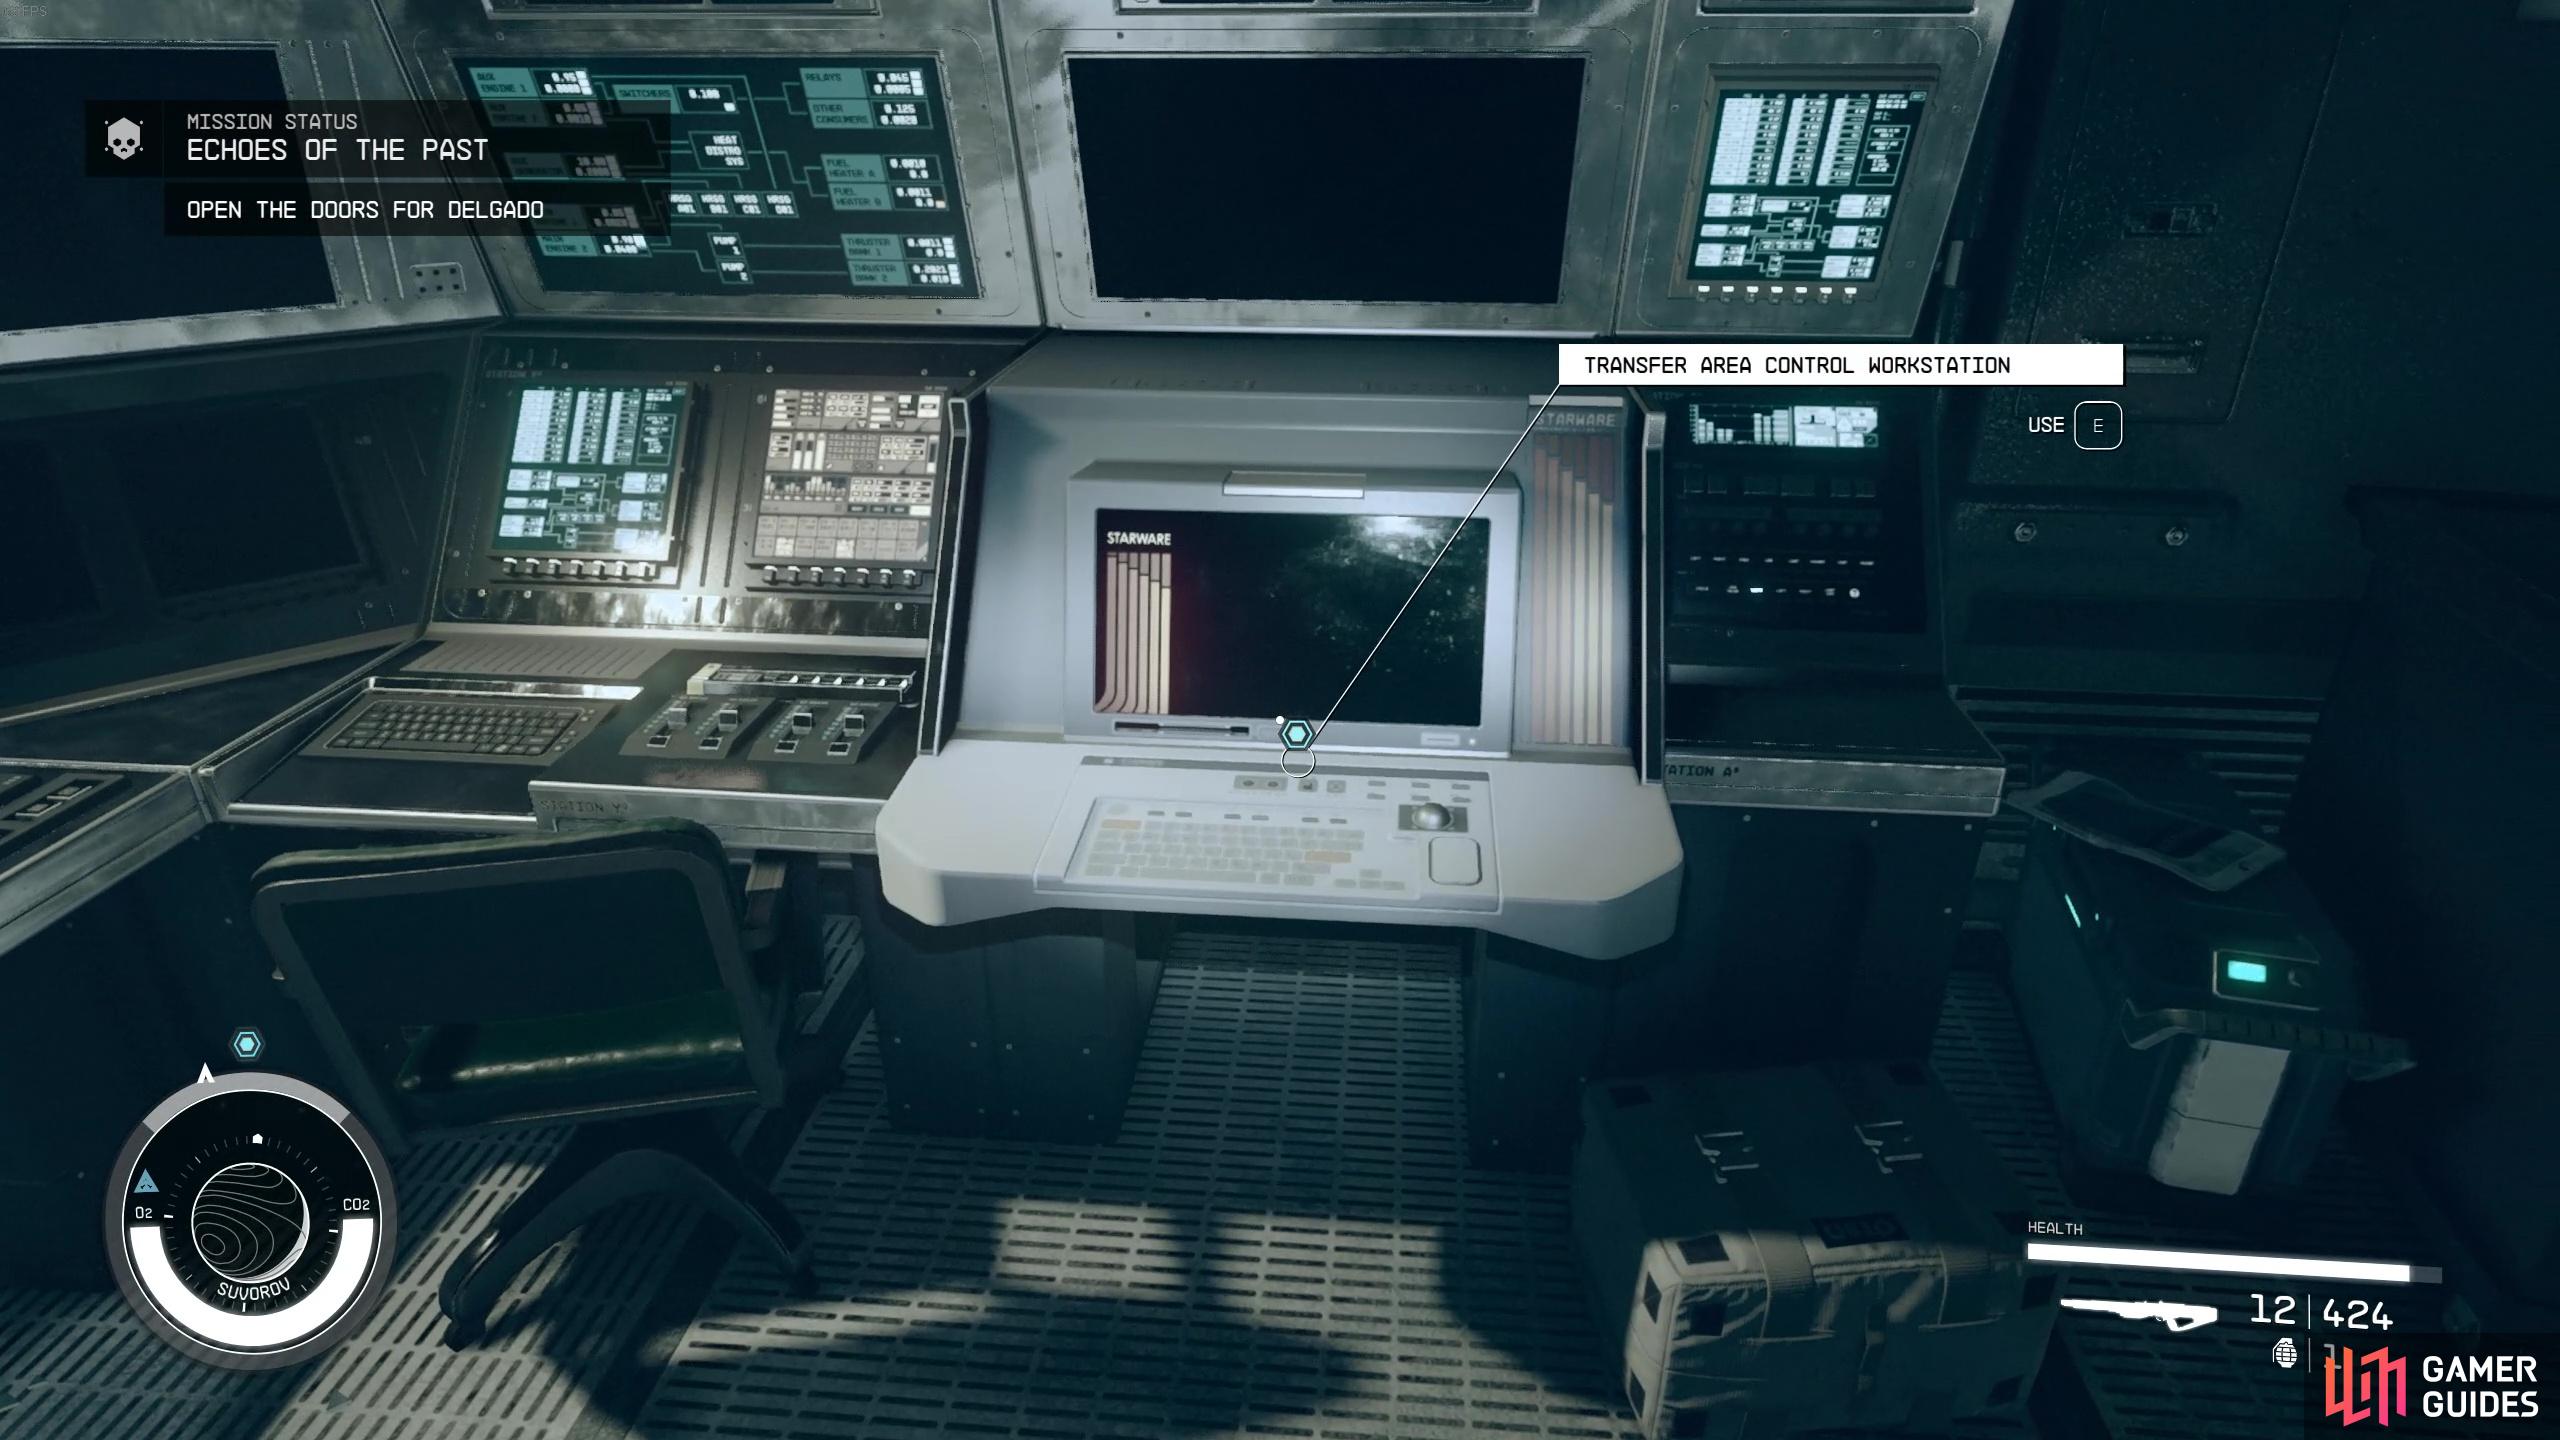
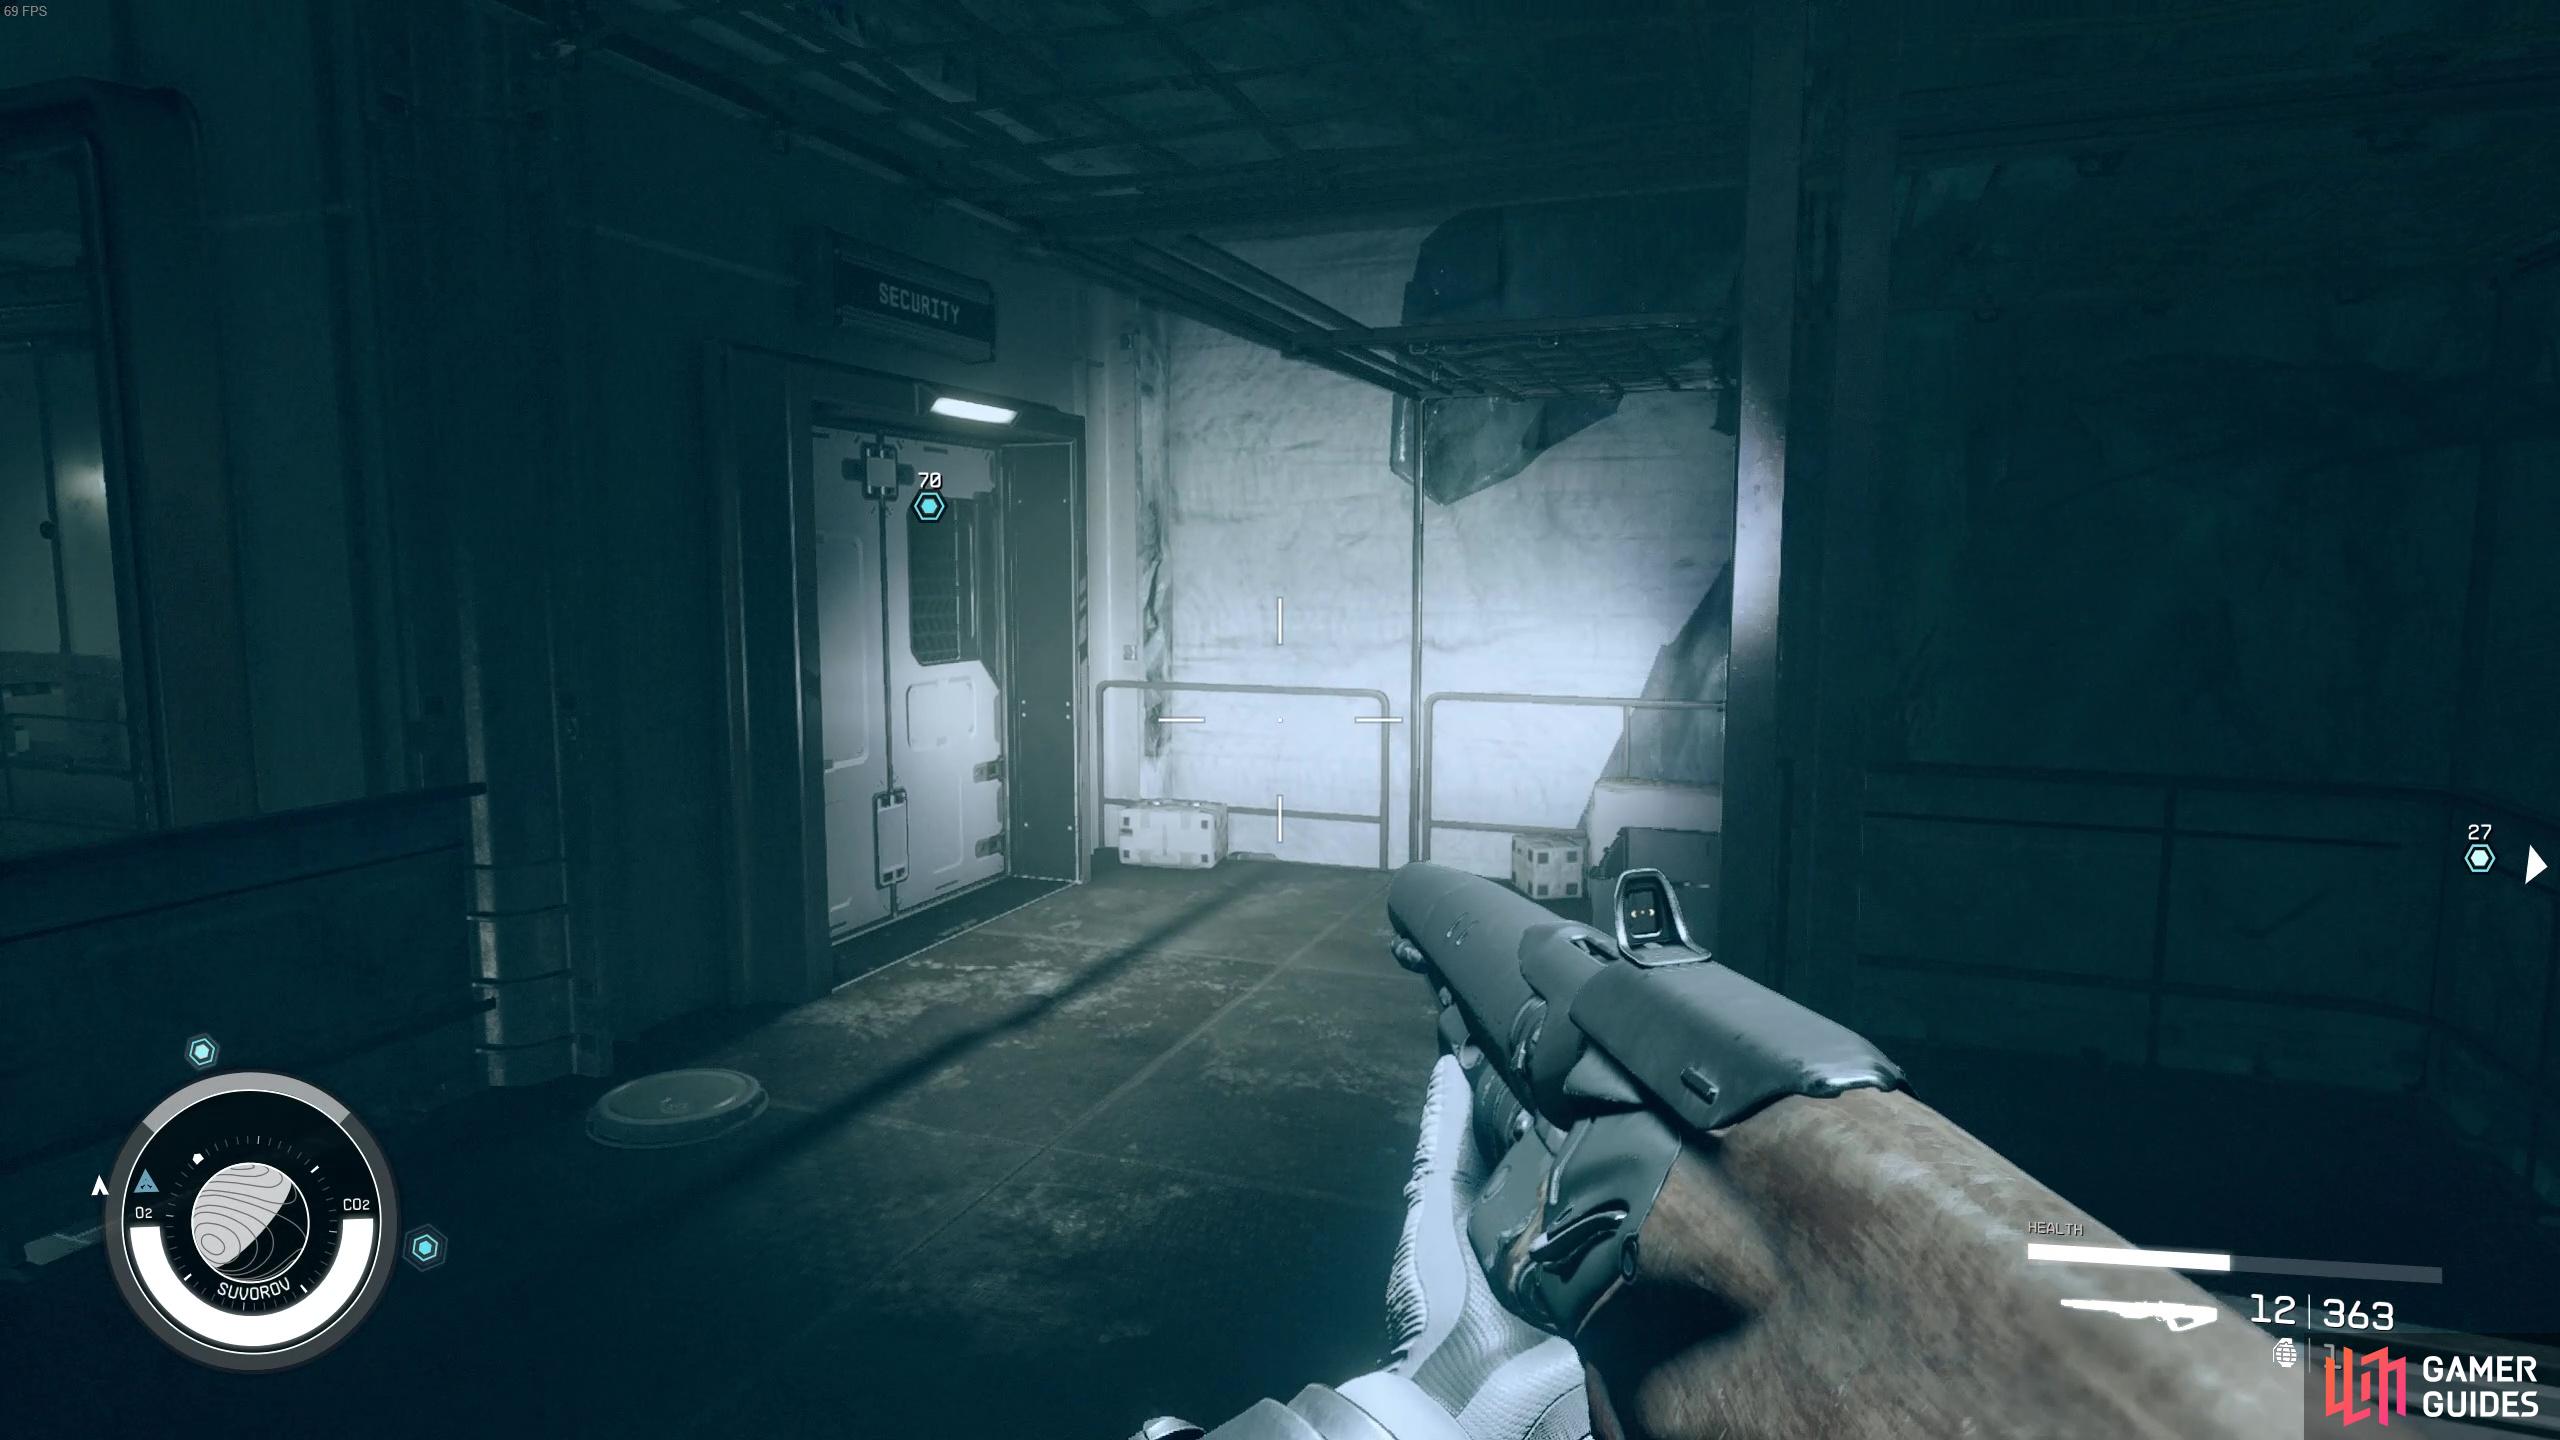
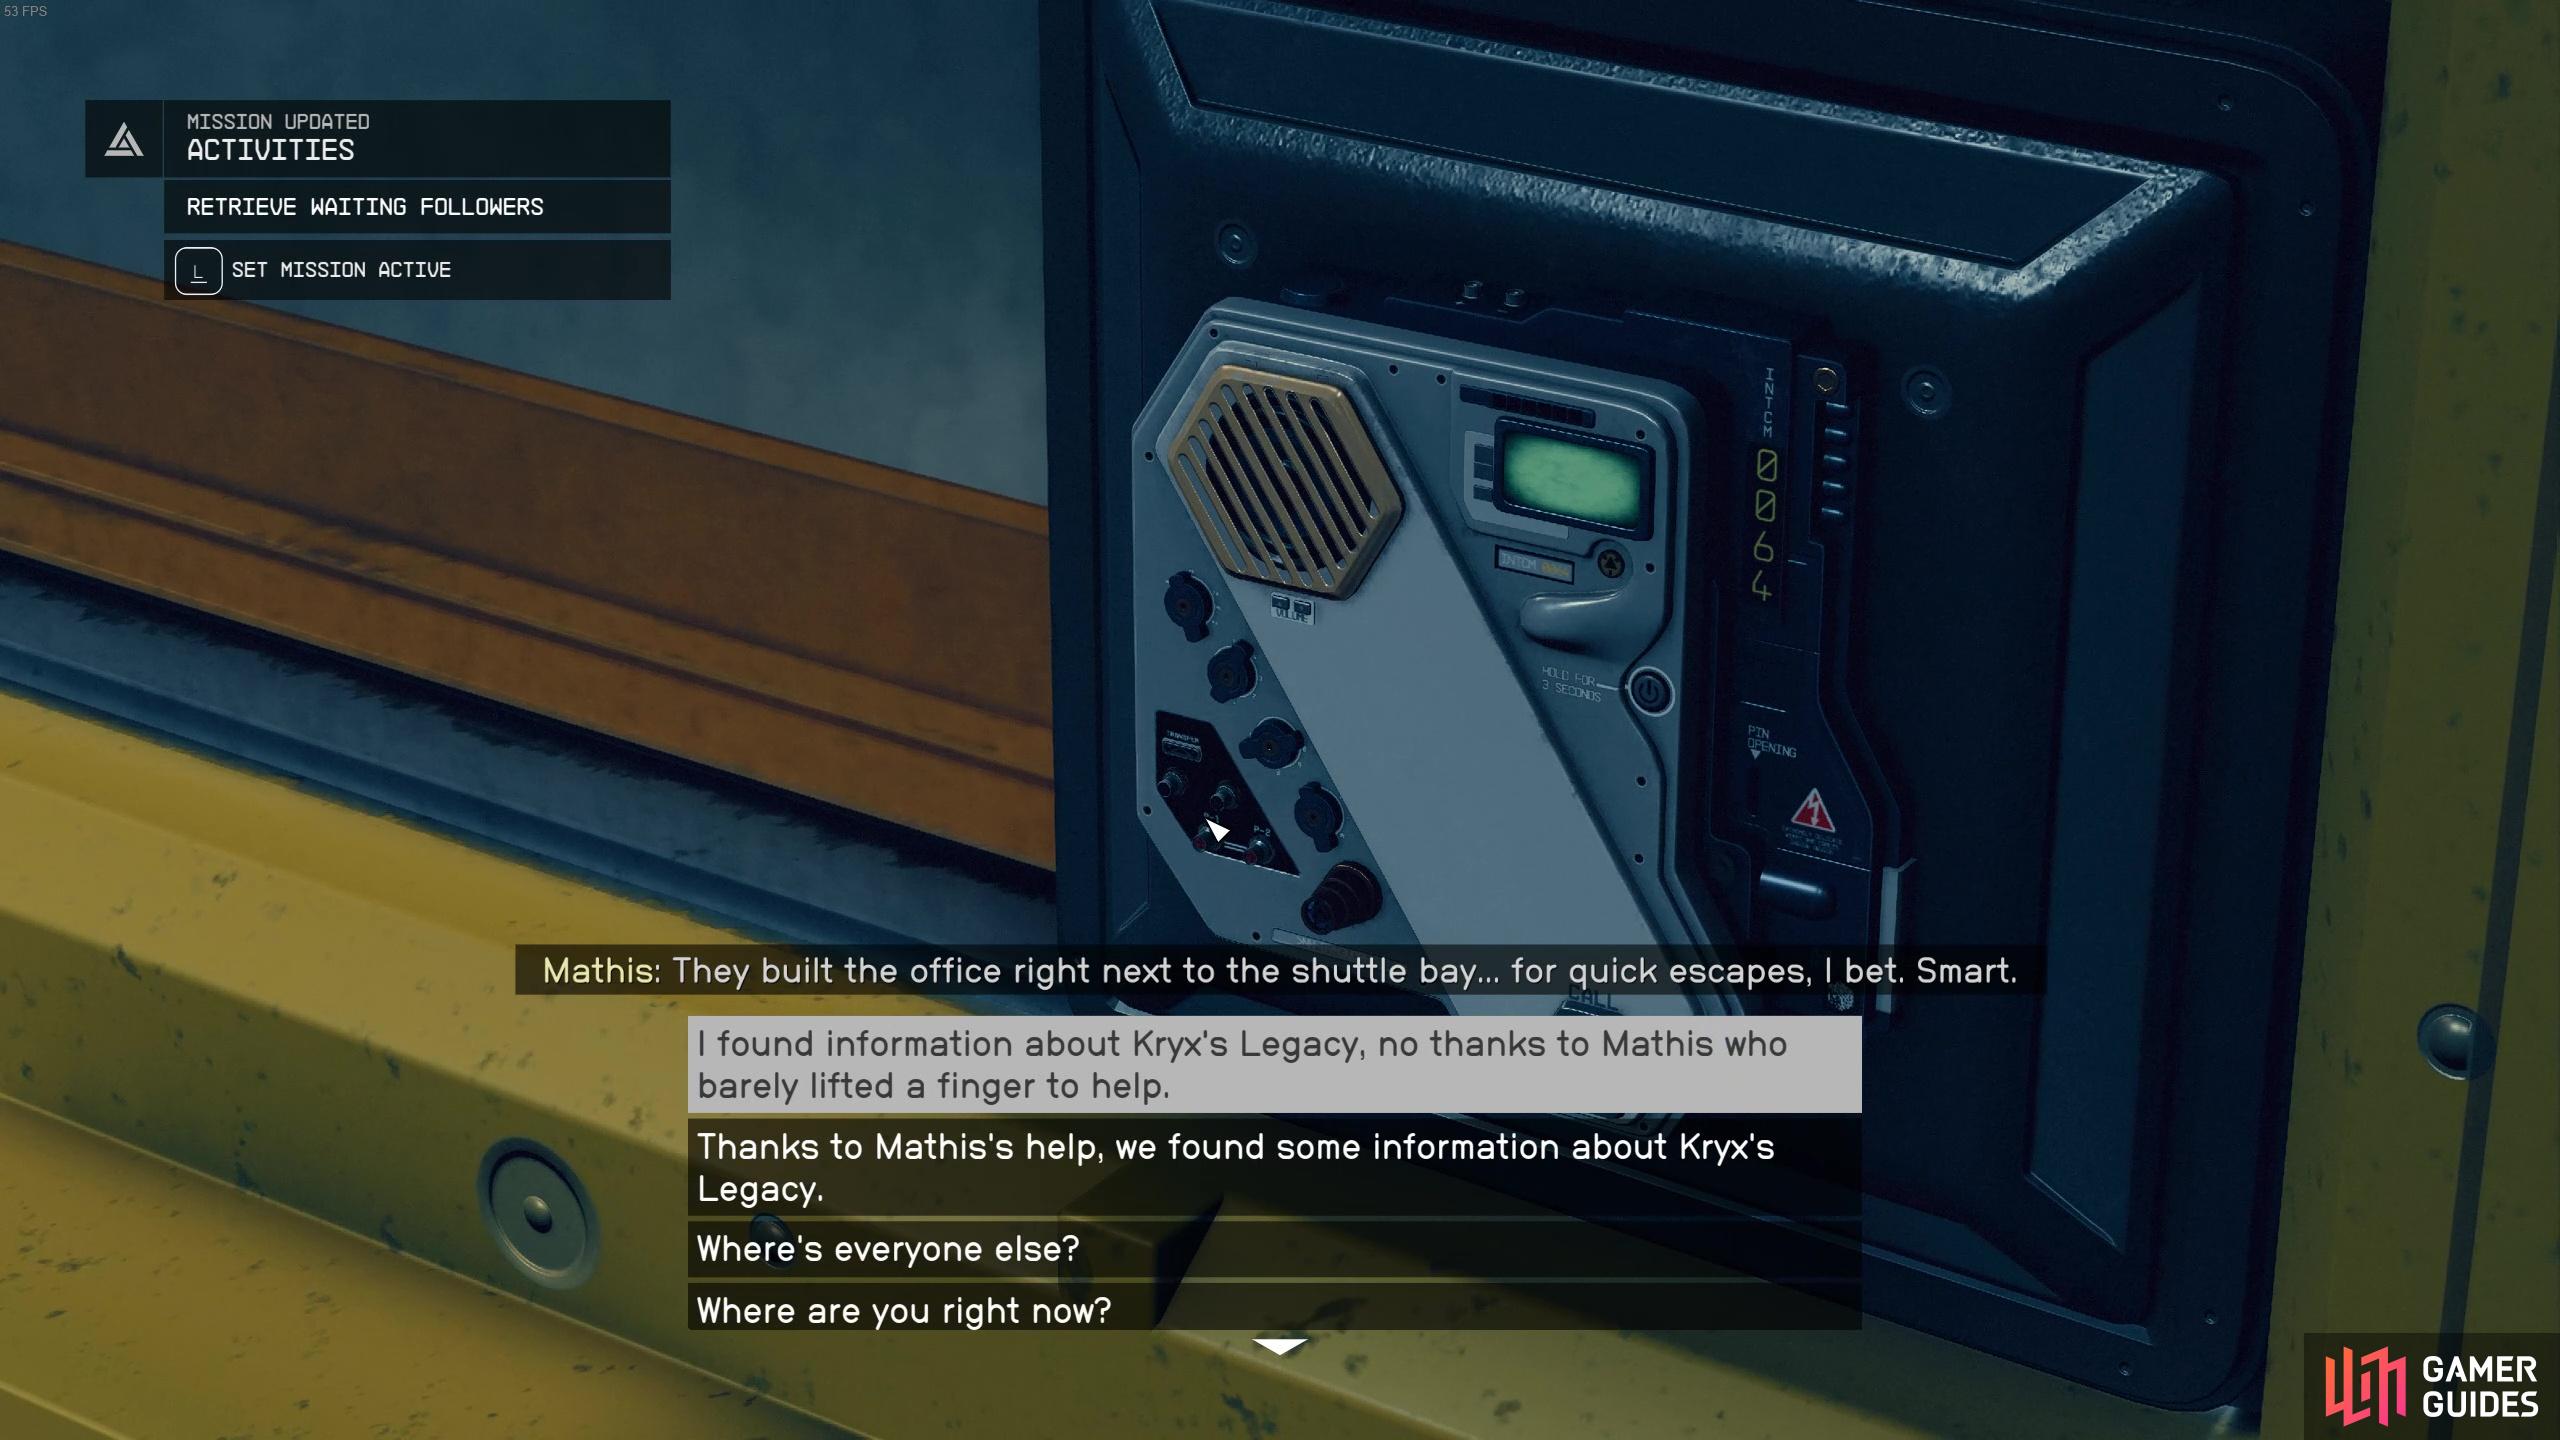
Regardless of your dialogue choices, you’ll need to proceed through the building and up into a security room. Here, you’ll have to check in with Delgado through the intercom. He’ll tell you to use the computer nearby to open up the doors so the fleet can proceed through the prison. Head to the Transfer Area Control Workstation and override the lockdown to turn on power again. Then, read the second file on the computer to learn that Kryx’s cell was in the D-Block.
Once the power’s back on, you’ll be prompted to head to the D-Block. To get there, proceed down through the door to the east and head down the steps. Don’t forget to loot the corpses as you go, as many of them have useful stuff like Med packs, ammo and credits. In this next office looking room, you’ll need to interact with another computer to run on the D-Block Auxiliary Power. This will open up a door to actually allow you into the D-Block.
Mathis will peer through the window and mention heading over to the Guard’s Tower. Proceed through the door and make your way through the D-01 cell blocks to head towards the tower. Some more Grylloba will appear and luckily you have Mathis to help you deal with them. He’s not a great shot but he has a decent weapon that can chunk them down.
Once at the tower, Mathis will once again ask you to help him take down Delgado, and you can answer according to your preferences as there won’t be any consequences to who you side with at this stage.
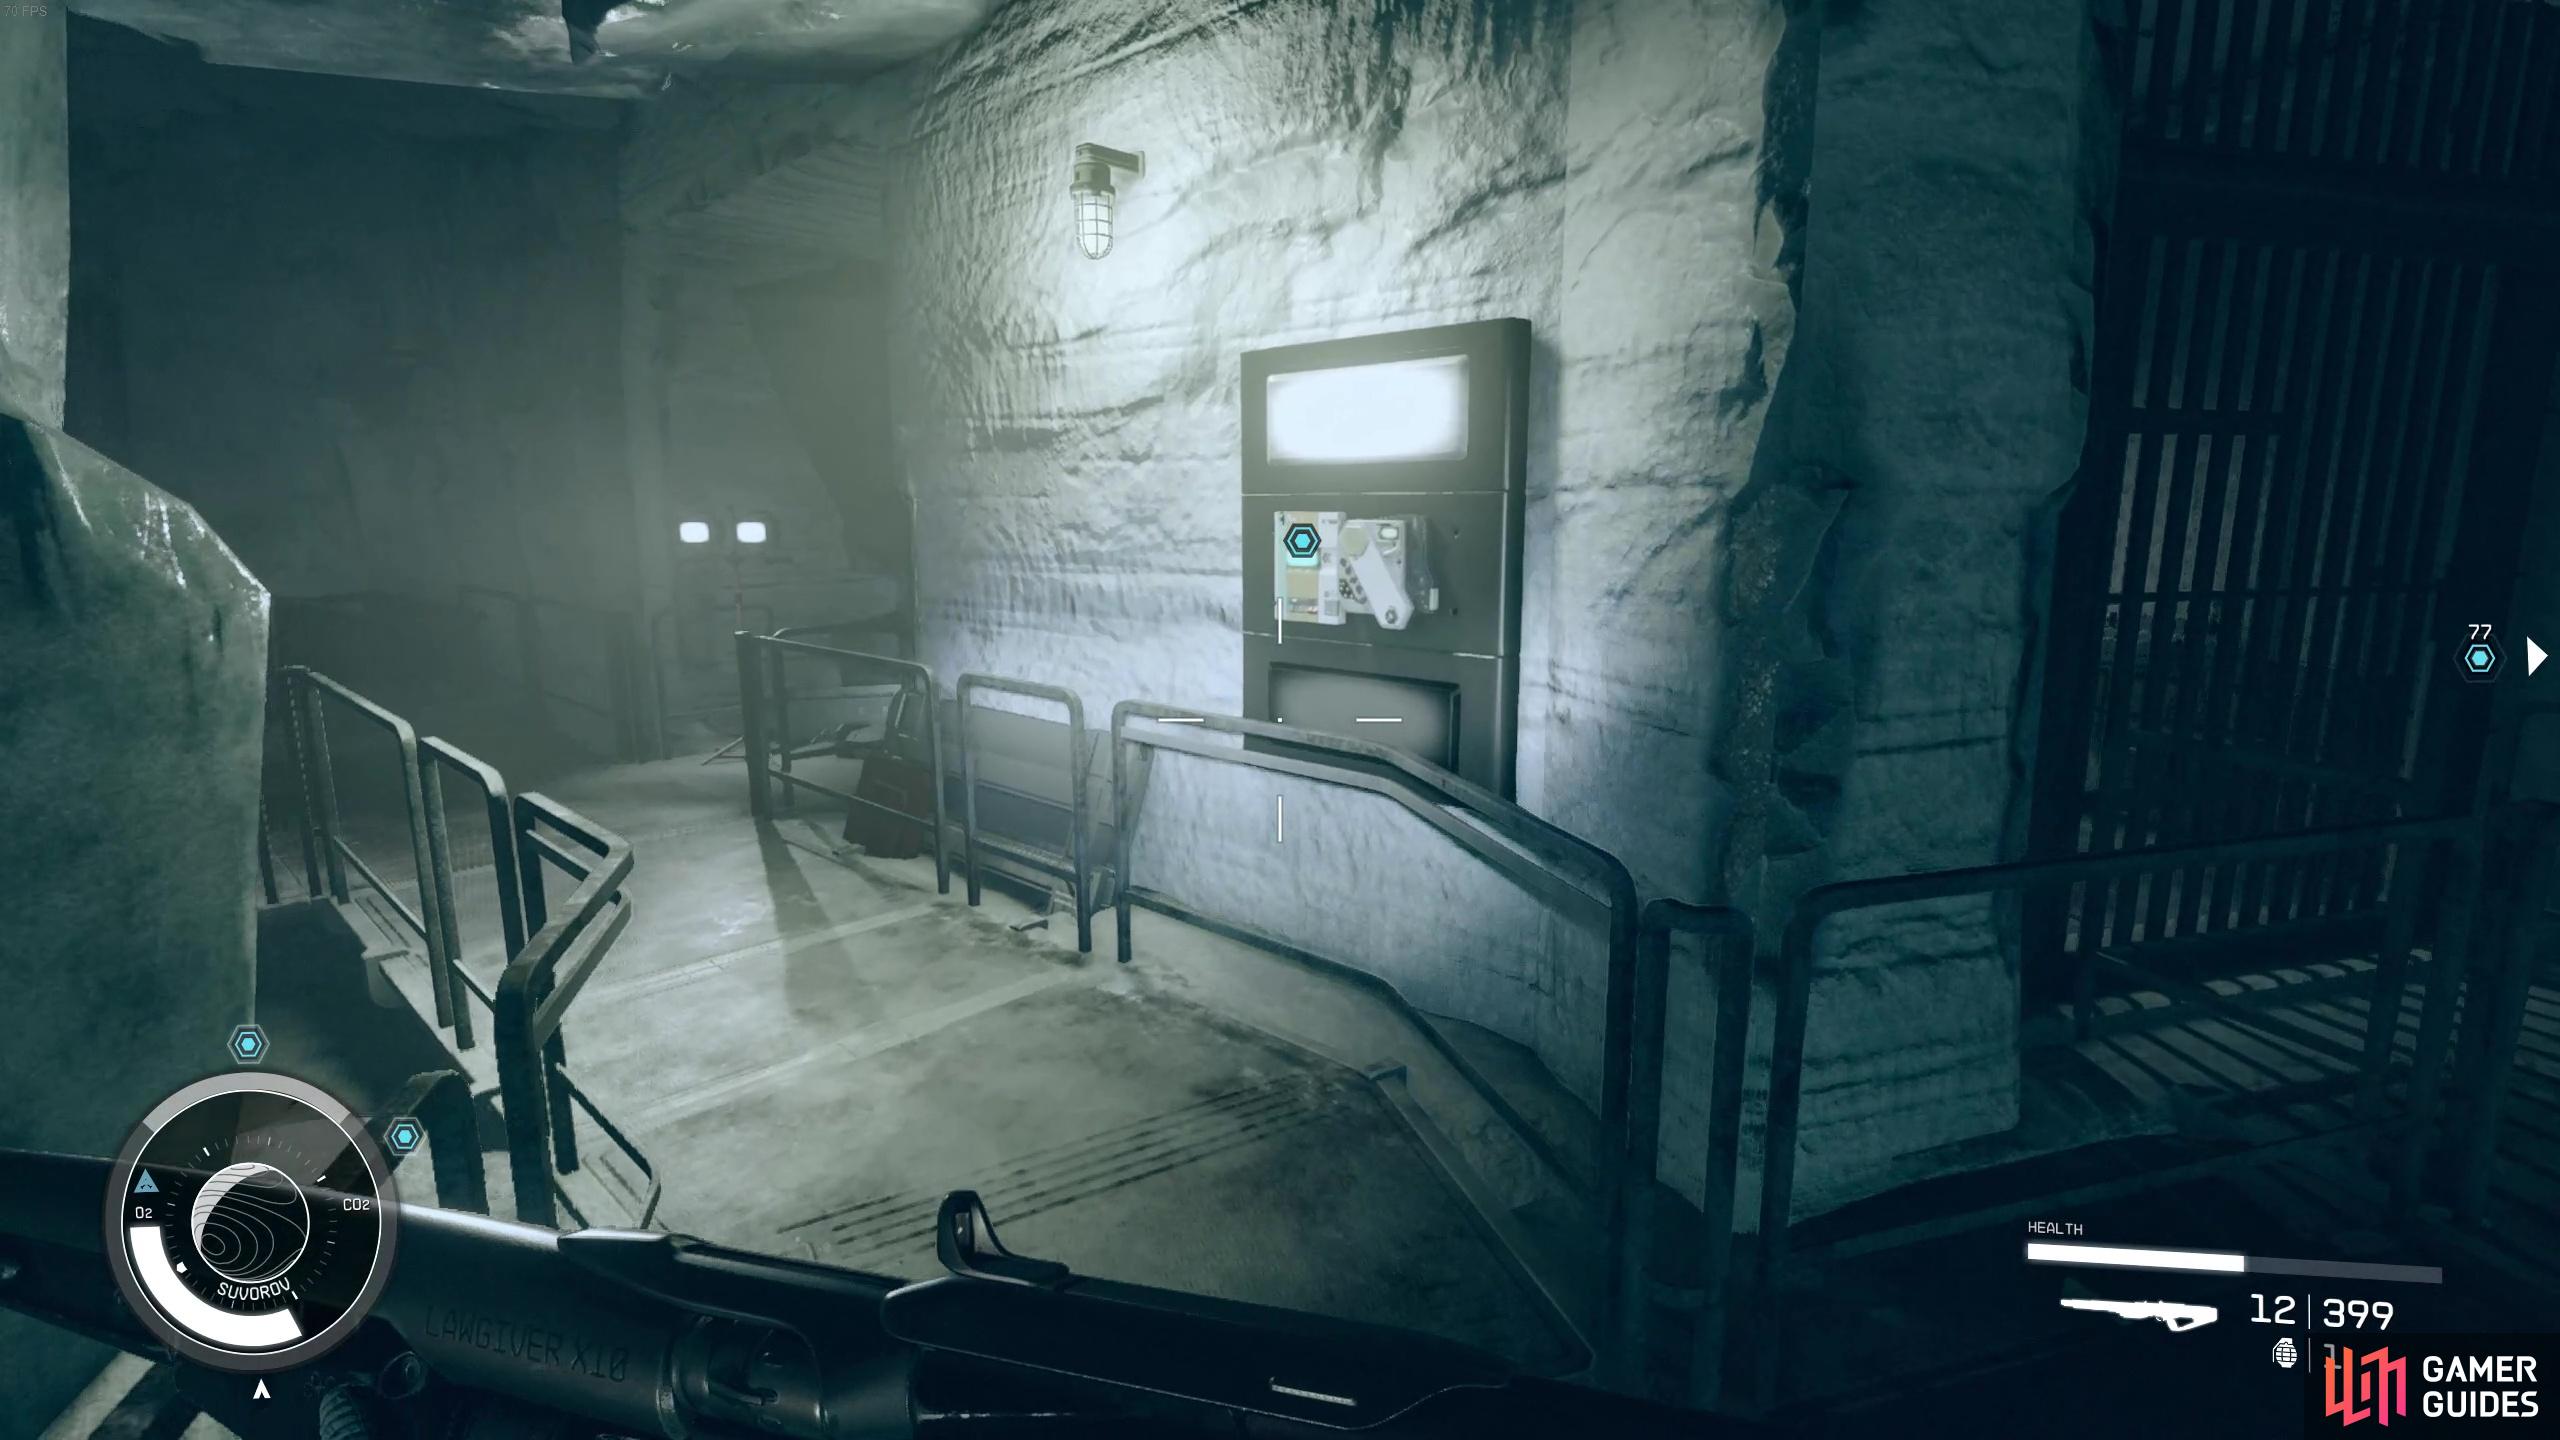
After talking with Mathis, open up the computer in the Guard’s Tower and turn on the D-Block Switch Control to activate the power - make sure to unlock all section switches. Then, read the Prisoner records (there are three files) to find out where Kryx is. According to the files, Kryx’s cell is in the 03 section.
You’ll need to use a variety of computers throughout the prison to find out information relating to Kryx’s whereabouts.
If you’ve got the time and want some extra loot, read the folder labelled LIMS-2111A/UC Message (the bottom file) and you’ll get some info about a secret Weapons Cache in Cell D-02-106. This is an optional quest objective but you could get some decent weapons to use or to sell (the loot is randomized).
The weapons cache is in a section of the D-Block that we’ll need to go to later, so first we’ll head on over to Kryx’s cell in the 03 section. If you’ve got the boost pack skill (or jetpack) you can just hop over into the section from the path heading down from the guard’s tower. If you don’t, you’ll have to follow the path down and around to reach the cells.
The door to Kryx’s cell will be locked, so you first need to find the D-Block Section 03 Release Switch, which can be found just round the corner from his cell. Once that’s activated, locate Kryx’s cell (D-03-118) and then look for the lamp on the shelf. Activate the Lamp and you’ll find a hidden slate under the base. You’ll be required to listen to the slate, which contains information from Kryx himself detailing the big master plan to escape prison and get tons of credits.
Kryx will mention some security codes that you can obtain from Carter’s locker in the shower room located in Section 02. Head over to Section 02 and before we proceed with the quest, let’s get the optional weapon cache!
Optional: How to Get the D-02-106 Weapon Cache
When you locate the cell at the back of 02 section, you’ll find that it’s locked and cannot be opened without finding the release switch. There are also a bunch of Grylloba around here so make sure to deal with those before they overwhelm you.
Where to find the D-Block 02 Section Release Switch
To find the 02 section’s release switch, head down the stairs to find the “kitchen”. Above the kitchen, you’ll find the security office, so just head up the steps and into the office and activate the release switch. You can now return to the cell with the cache to claim your prize. Again, it’ll be entirely random what you get but we got a decent rare weapon with ample ammo.
After grabbing the loot, you’ll want to head back down the steps to where you found the kitchen, and turn left to find the showers. Here you’ll find Carter’s locker on the right hand wall. Again, more Grylloba will spawn and you’ll have to deal with those before you can unlock Carter’s locker and grab his data slate.
Once you do have the data slate though, you can head through the canteen area and back over to the Ventilation room on the other side of the cavern. In this room, you’ll be able to pick up some med backs from some medical supply boxes and then use the Maintenance Access Computer (which you now have the code for!) to unlock the door. In the newly unlocked room, you’ll find a fake wall panel that you can hit down to reveal a secret tunnel that you can take all the way to the shuttle bay to escape. Along the way more enemies will spawn but you can also loot some chests for goodies provided you have the digipicks.
It’s kind of a long journey to the shuttle bay area but the path is quite linear so just keep making your way through the different areas of the prison until you reach the Warden’s Office up some steps.
Should You Get Mathis Fired?
In this office, you’ll be able to speak with Delgado again through the intercom. You’ll get the option to tell him that Mathis did all the work or that you did all the heavy lifting (which you absolutely did!). This choice will have some consequences as choosing to diss Mathis will result in him getting fired (you can change Delgado’s mind if you want later on), but if you say he did all the work he’ll be pretty thankful.
To our surprise, there’s also a long-term consequence to your choice regarding Mathis. If you get him fired, he’ll come back at a much later and random date (we were on the 9th quest for Crimson Fleet for reference) and try to kill you with his fancy new ship and his fancy new crew! And if do the opposite and put in a good word, he can be hired as a crew member at the end of the Fleet questline!
Mathis has been a right nuisance the entire time…why should you give him all the glory?
When you speak to Mathis after, regardless of what you said to Delgado, he’ll ask you to not say a word about his plans to “dispose” of the big boss. You won’t ever get the opportunity to snitch on him so your choice here isn’t a big deal.
Boss Fight: How to Defeat the Juvenile Grylloba Queen
After speaking with Delgado, proceed outside to the shuttle bay. As you’re exiting the Lock and approaching the spaceship, you’ll be confronted by even more Grylloba as well as a huge Juvenile Grylloba Queen. Despite her terrifying size, we actually didn’t have that much of an issue with her as she just targeted Mathis. She will also occasionally disappear beneath the ground and pop up again, so watch out you don’t get caught unawares.
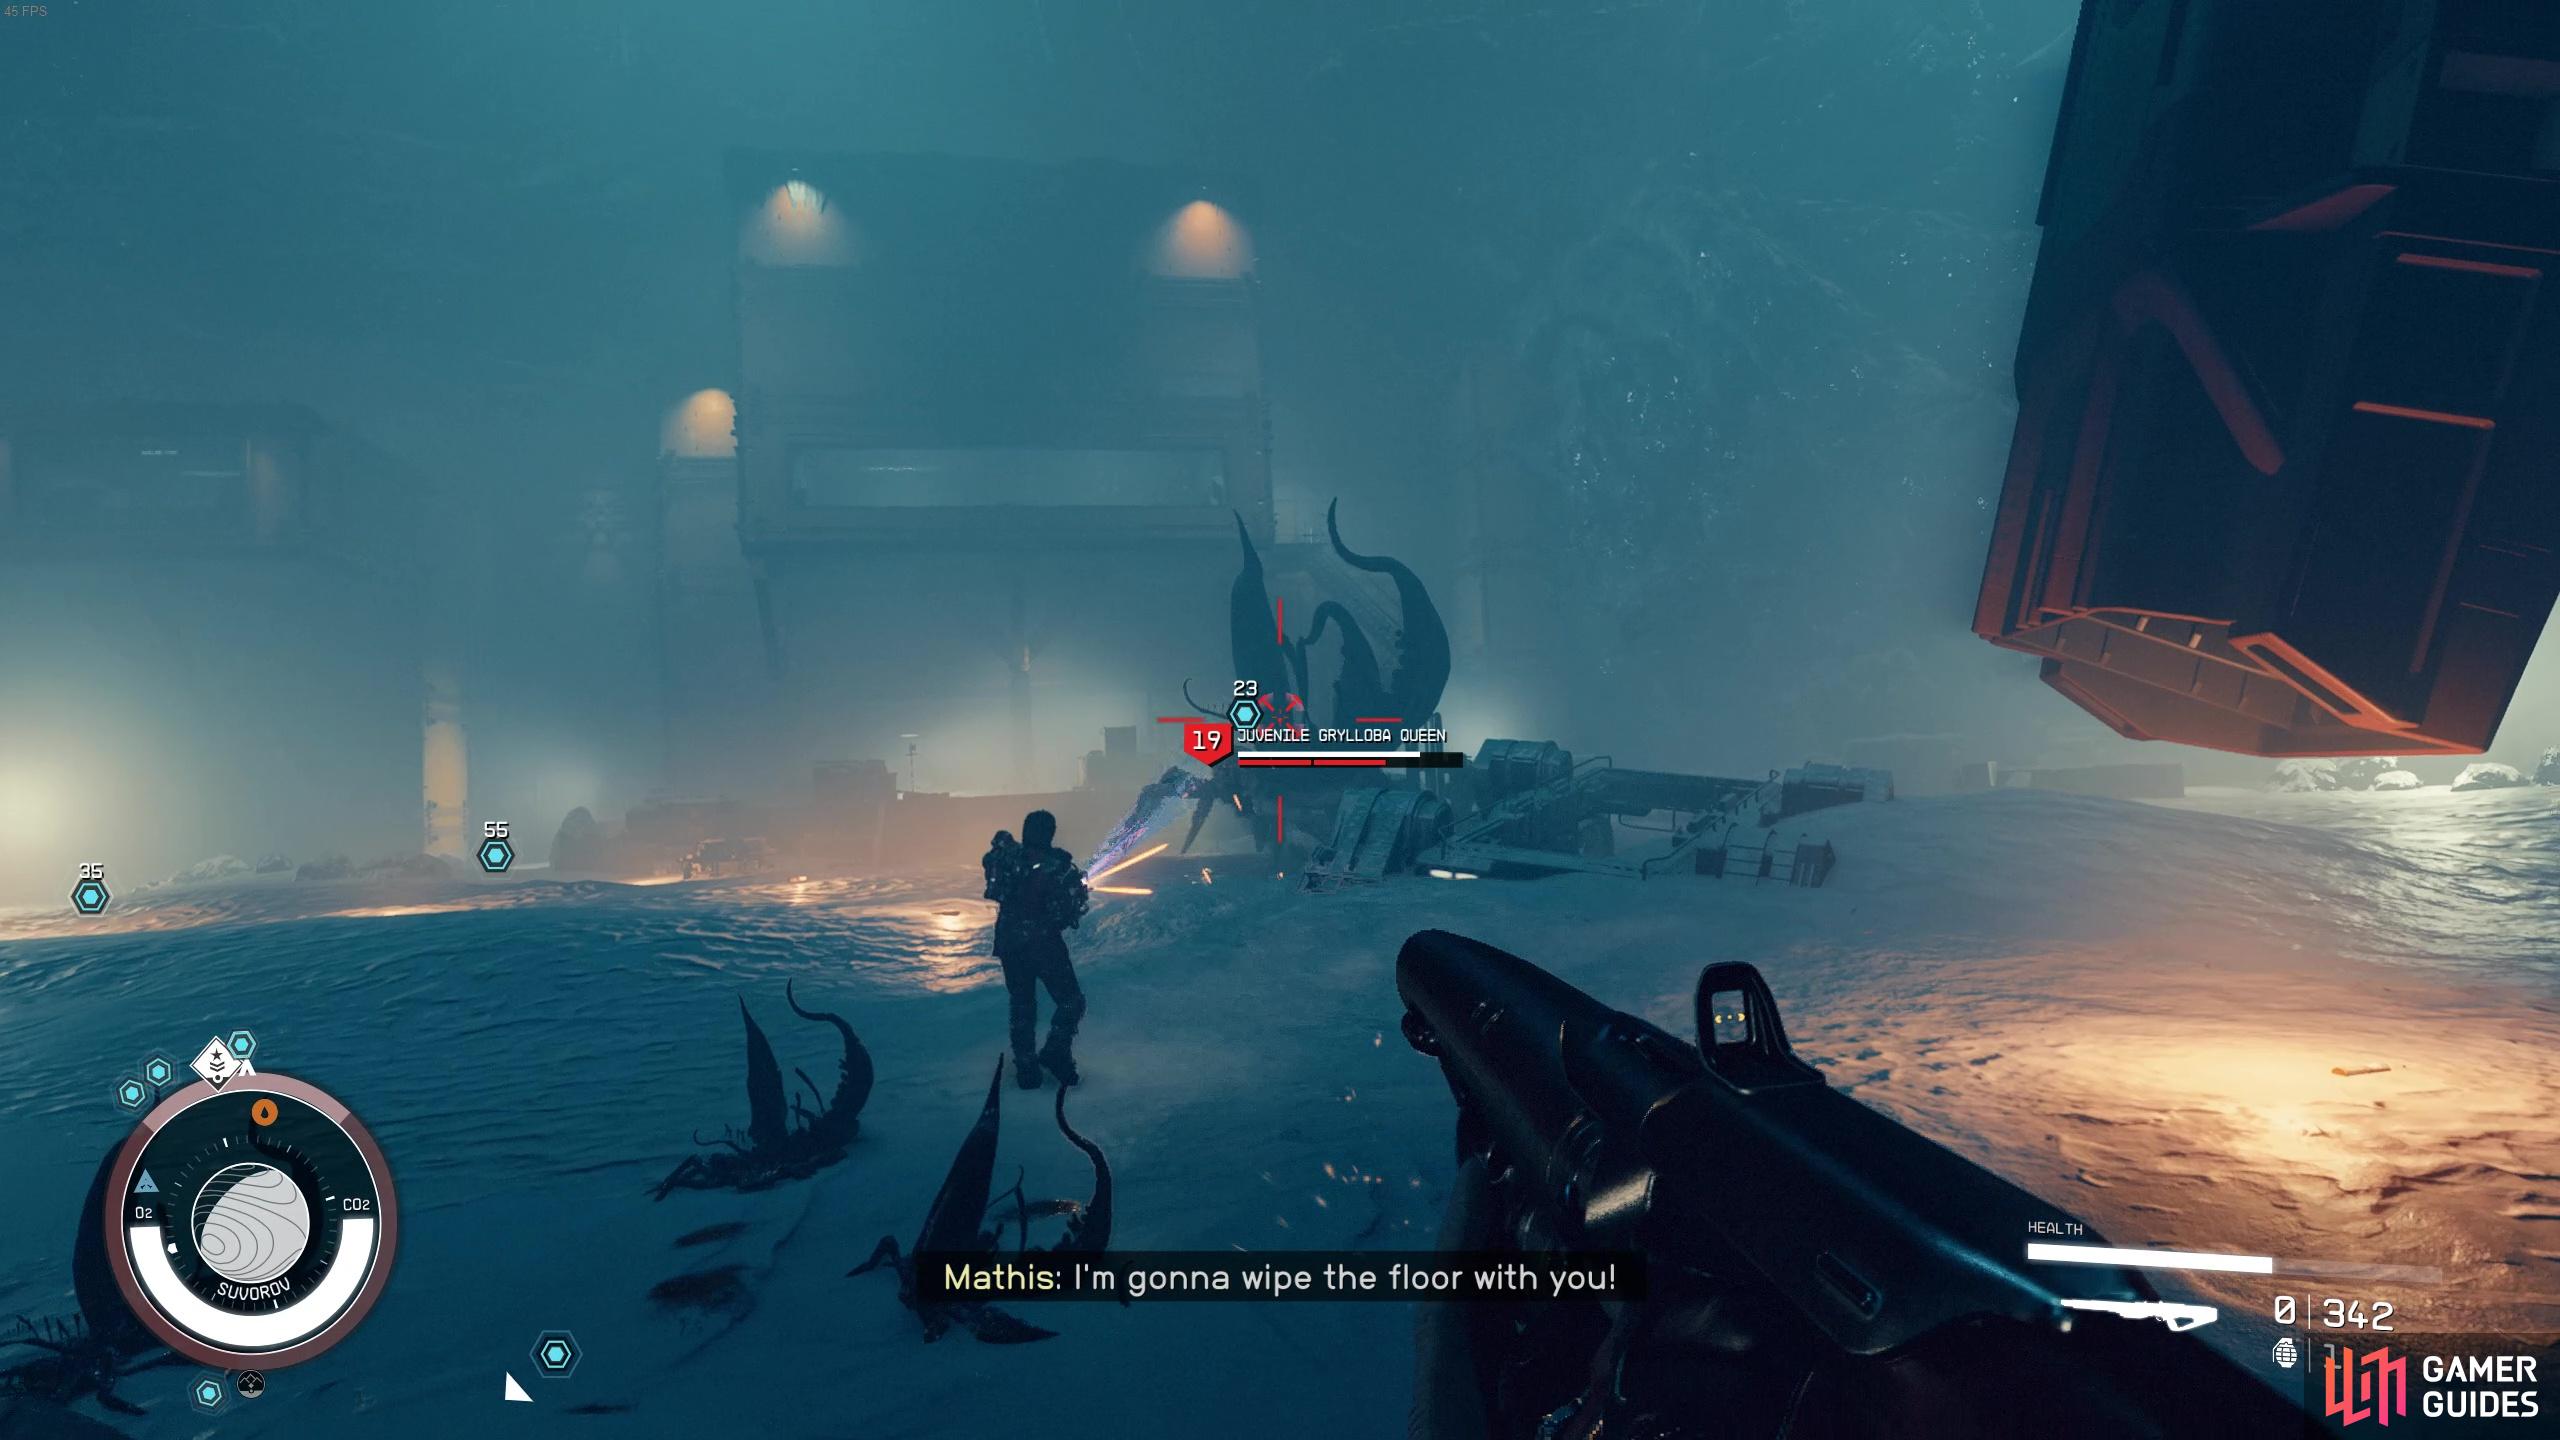
Defeat the Grylloba Queen and the other Grylloba to secure the area before you depart for The Key.
We found that jumping onto one of the boxes and keeping off the ground helped with avoiding taking damage from the little guys too as they can do a surprising amount of damage with their bite/claw attacks.
Once you’ve secured the area, proceed into the ![]() UC Prison Shuttle and make your way back to the Key. Head up to the main office and speak with Delgado. You’ll want to hand over the slate and then he’ll reward you with the
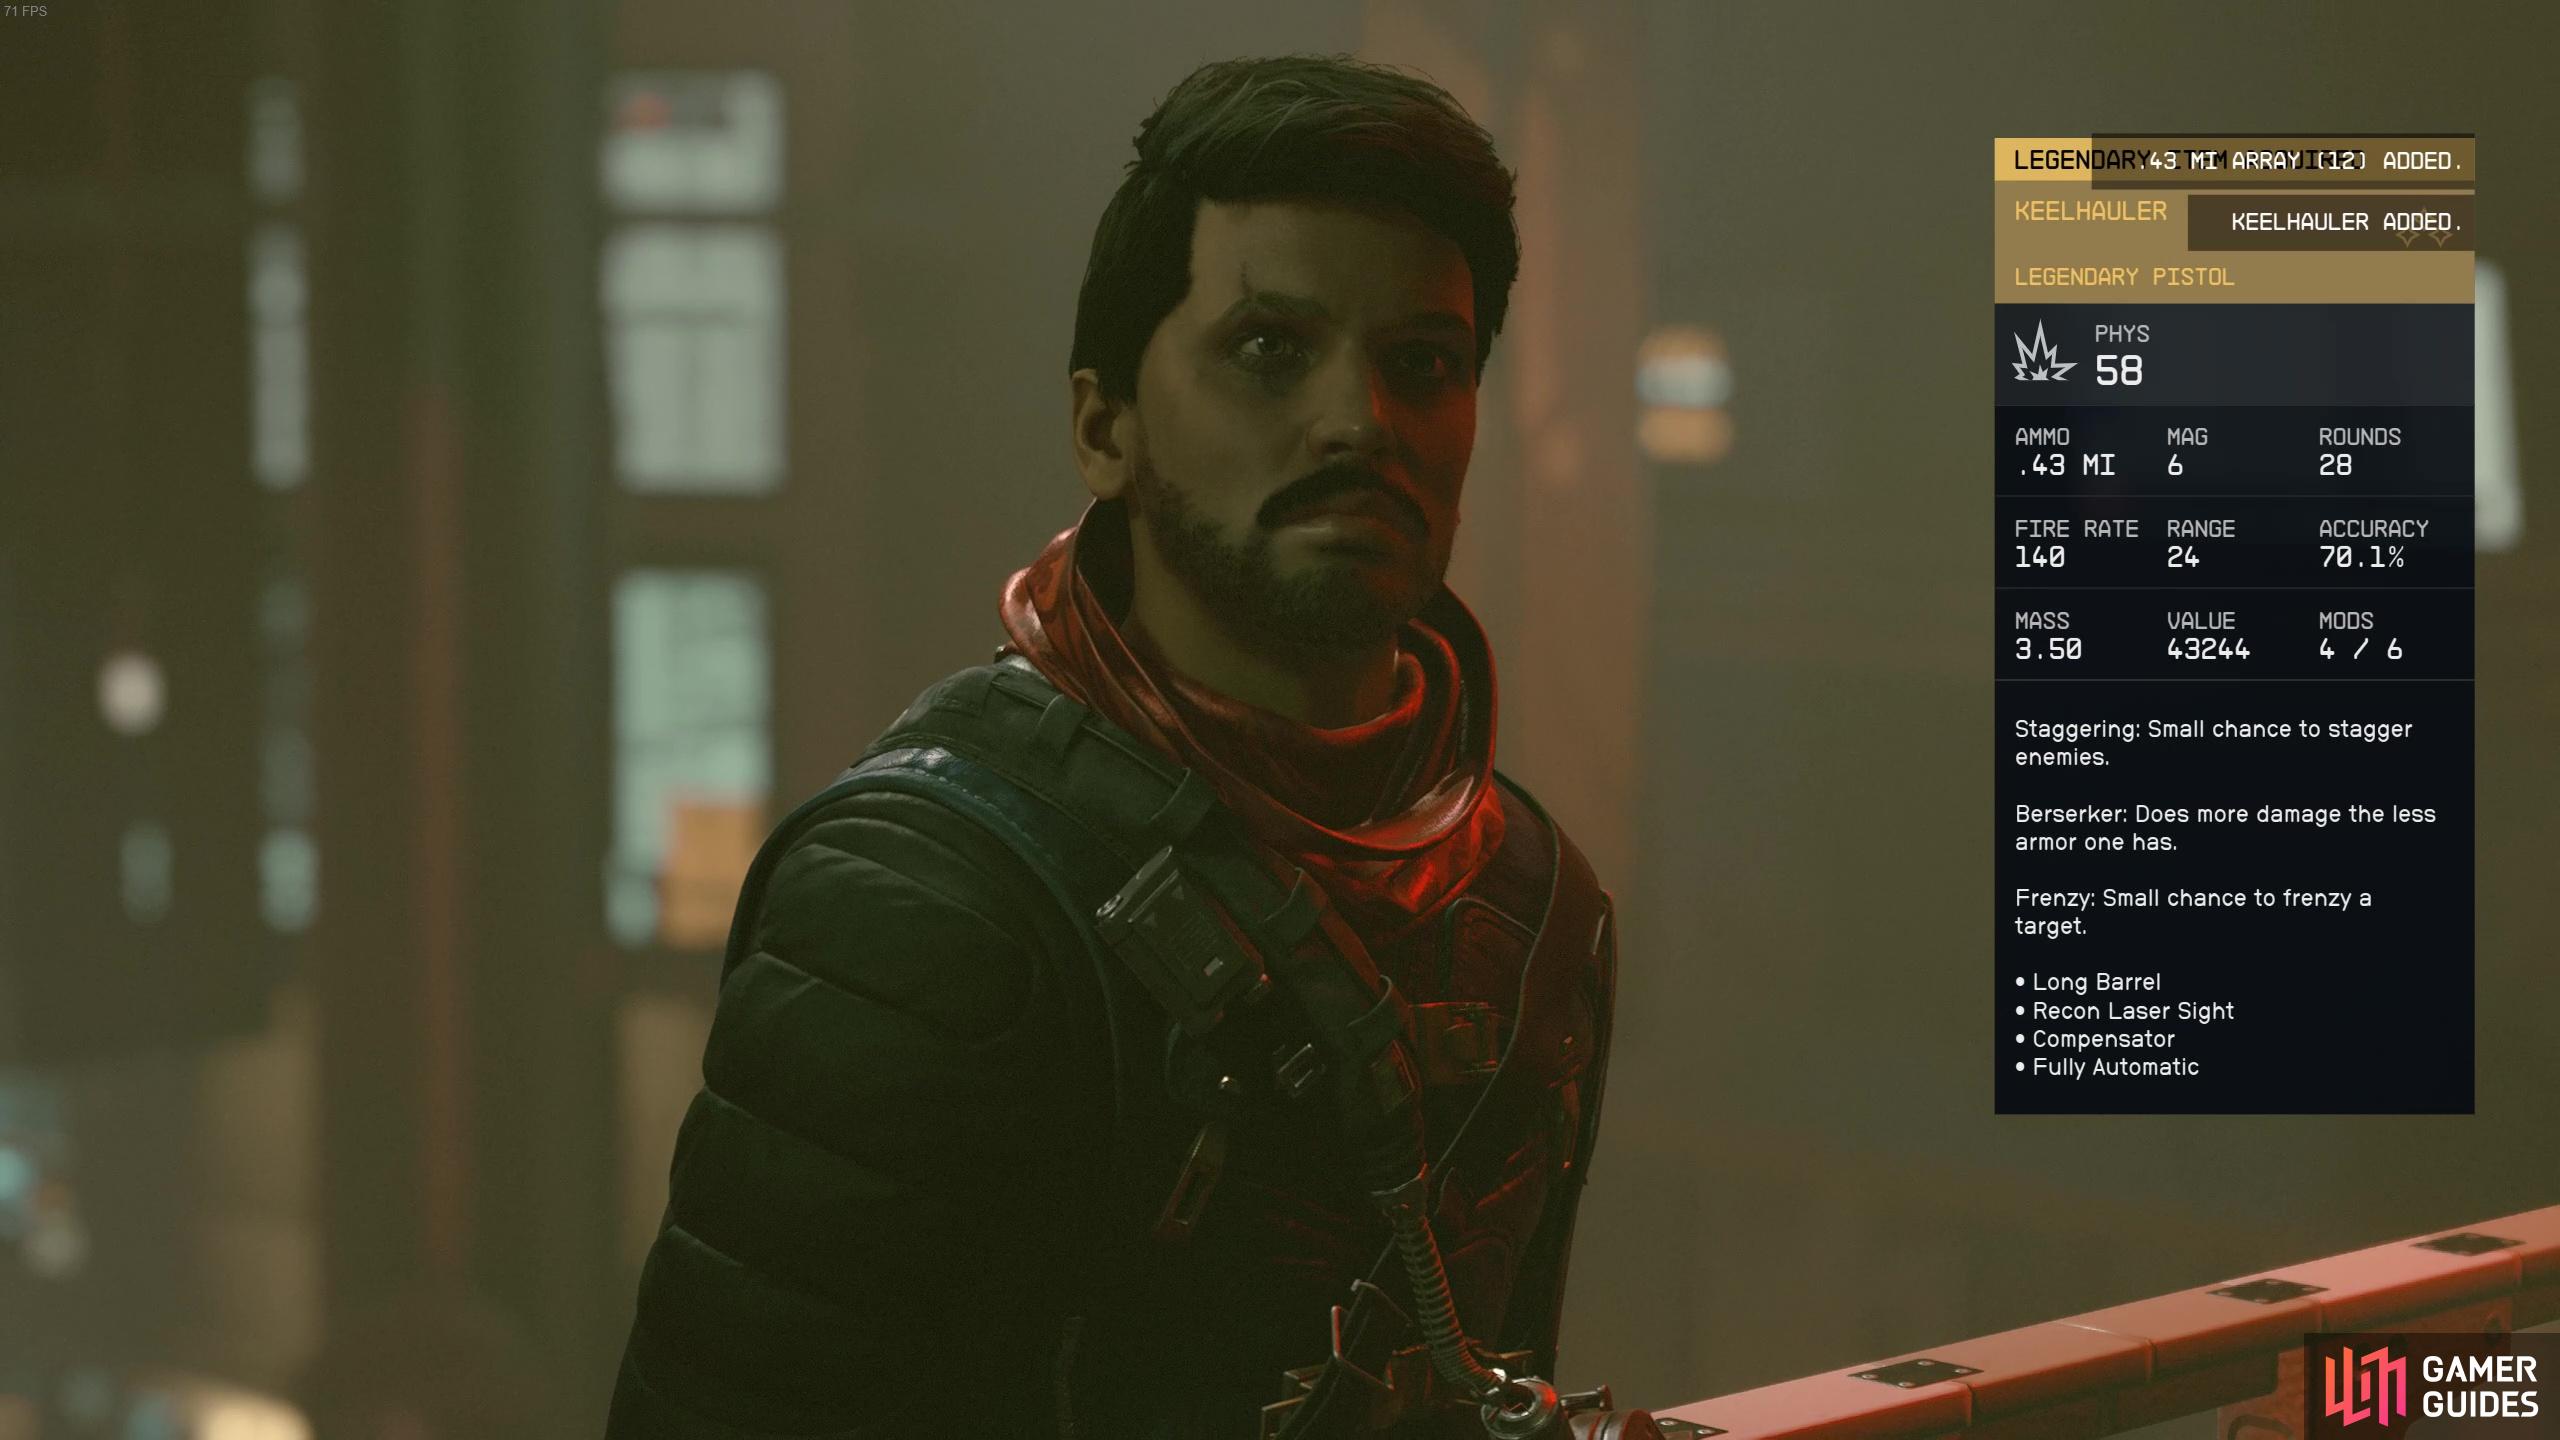
UC Prison Shuttle and make your way back to the Key. Head up to the main office and speak with Delgado. You’ll want to hand over the slate and then he’ll reward you with the ![]() Keelhauler legendary pistol weapon. It’s worth 43,244 credits and has three modifications on it: staggering, beserker and freny. It also has a long barrel, recon laser sight, compensator and its fully automatic. He’ll also give you a few bullets for it too. It’s also worth mentioning that you can also keep the UC Prison Shuttle so it also kinda acts as a quest reward. It has no guns, but does have a decent engine and grav so could be upgraded to become a pretty decent ship if you bought some artillery components.
Keelhauler legendary pistol weapon. It’s worth 43,244 credits and has three modifications on it: staggering, beserker and freny. It also has a long barrel, recon laser sight, compensator and its fully automatic. He’ll also give you a few bullets for it too. It’s also worth mentioning that you can also keep the UC Prison Shuttle so it also kinda acts as a quest reward. It has no guns, but does have a decent engine and grav so could be upgraded to become a pretty decent ship if you bought some artillery components.
A mighty reward for a job well done!
Delgado will reveal that the next mission will entail infiltrating the GalBank’s archives to learn the location of the missing Legacy ship. Before you can finish up this quest and start the next mission though, you’ll need to speak with Mathis at the Last Nova bar. Depending on what you told Delgado about Mathis, he might be fired or still have a job - you can also change his mind here! When you speak to Mathis, he’ll either be angry at you and swear vengeance or thank you for not telling Delgado about his assassination plans.
After talking with Mathis, find Naeva nearby in the bar and speak with her. She’ll ask you (rather forcibly) to grab a pricey award trophy from the Siren of the Stars ship whilst you’re getting the GalBank info so she can flog it for a ton of credits.
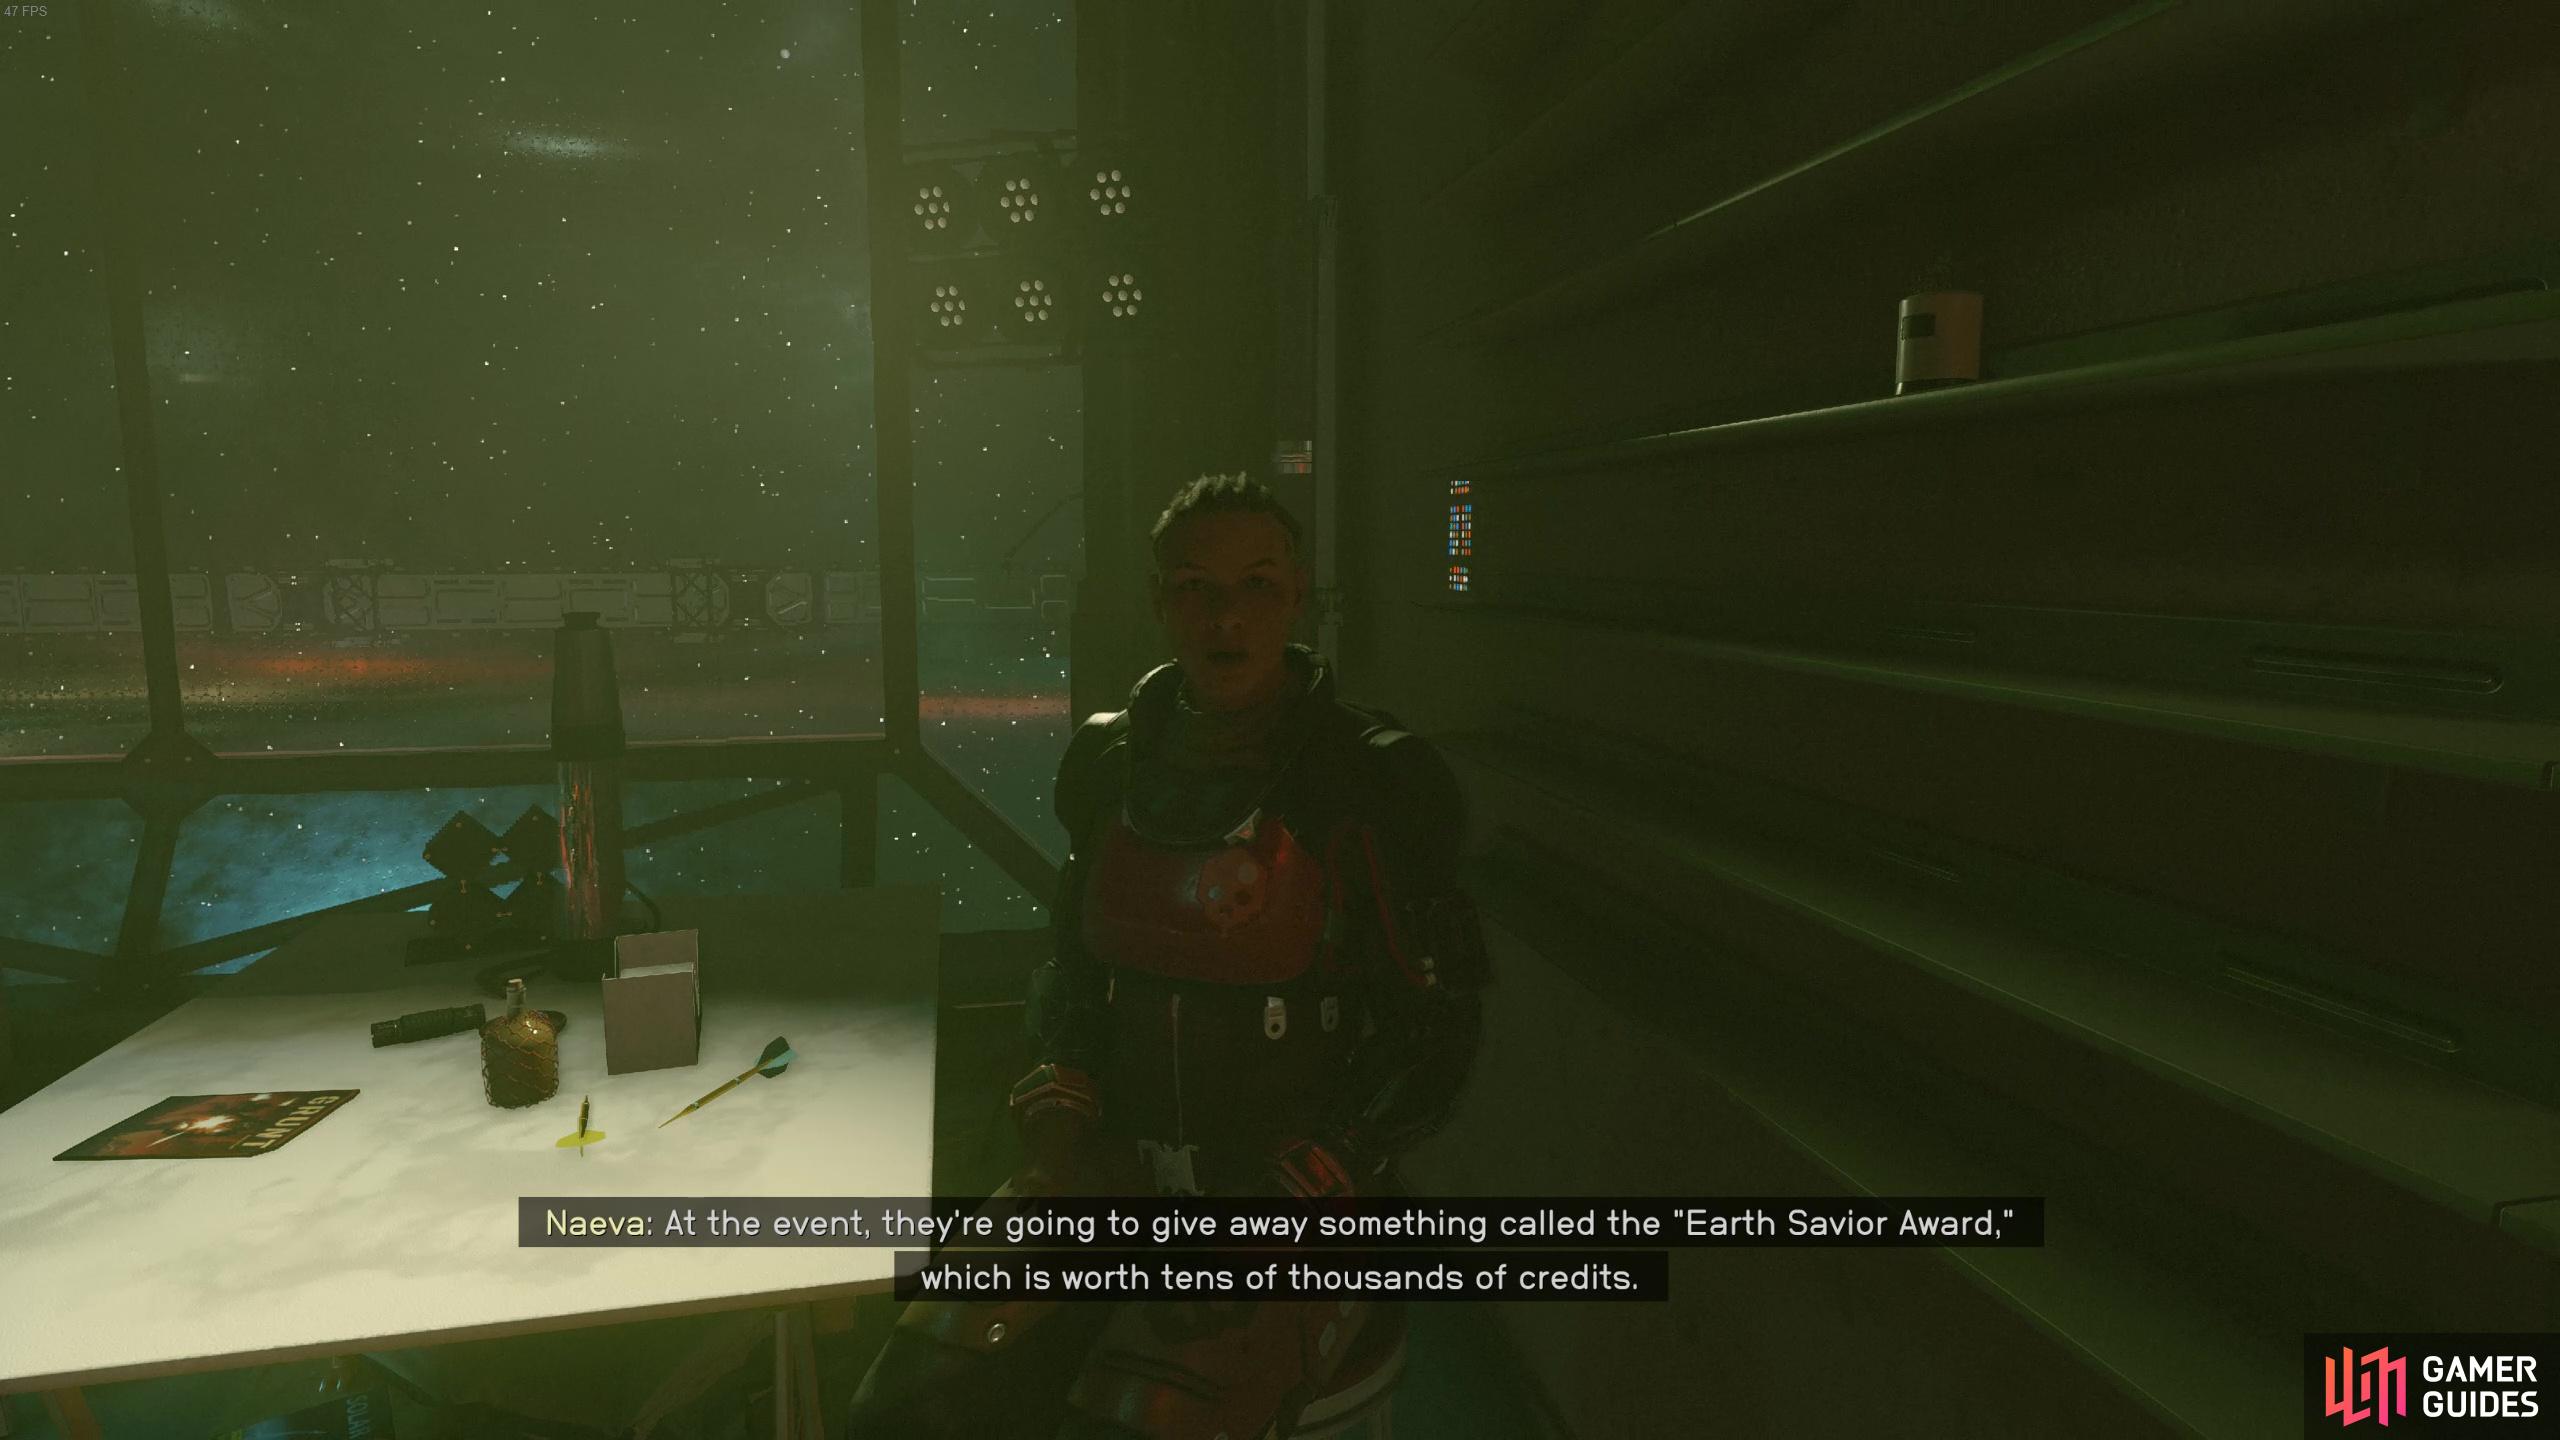
You’ve got another task on your to do list from Naeva.
Report Back to Commander Ikande
After speaking with Mathis and Naeva Mora, you’ll need to report back to Commander Ikande to officially finish up the quest. Your new Prison Ship has loads of Grav power so you should be able to travel all the way there in one jump!
When you speak to Ikande, you’ll be required to report all the information about the GalBank Legacy ship and he’ll also want to ensure you continue with the undercover stuff. If you’re wondering when you get to side with the Crimson Fleet, don’t worry it’s coming in a few quests time! For now you’ll just have to be their undercover spy.

At the end of your big mission to the Lock, you’ll need to report back to Ikande and the rest of UC SysDef.
For your efforts, and in addition to Delgado’s generous reward, you’ll also get another 7,800 Credits. This double agent business really pays, huh!
No Comments