
Ships are cobbled together out of various components in Starfield, including iconic sci-fi staples like physics-defying FTL grav drives, energy shields, and weapons like electron beams. Even the more plausible components, like engines and reactors, are interesting given how they affect your ability to explore the galaxy. Then you have “Habitant Modules”, aka habs, which may not be as glamorous as a new weapon or grav drive, but are still incredibly important components, as they make up the core of most ship designs. This page will cover habs in detail, providing info on what habs do and how to use them in the Ship Builder, how to select different variants, what the different brands of habs do and where to find them.
(1 of 2) Habs might not be the most interesting ship component, being 1x1, 2x1, 2x2, 2x3, 3x1, 3x2 or 3x3 tiles you can stick together to form the structure of your ship,
Habs might not be the most interesting ship component, being 1x1, 2x1, 2x2, 2x3, 3x1, 3x2 or 3x3 tiles you can stick together to form the structure of your ship, (left), but that structure is necessary, at least to a minimal extent, to create a functional ship, as you can connect most other components to habs - the cockpit, landing bay, engines, reactor… even other habs! (right)
What Do Habs Do in Starfield?
Habs are the skeleton of your ship, being squares or rectangles of various sizes (1x1, 2x1, 2x2, 2x3, 3x1, 3x2 and 3x3) with connection nodes on the top, bottom and sides that you can attach just about any other component to - cockpits, dockers, engines, fuel tanks, landing gear, grav drives, reactors, shields, structural components, weapons, even other habs. They’re not unique in this regard, but they’re cheap, they don’t weigh much, and are generally just the safe albeit generic choice when it comes to bulking up your ship.
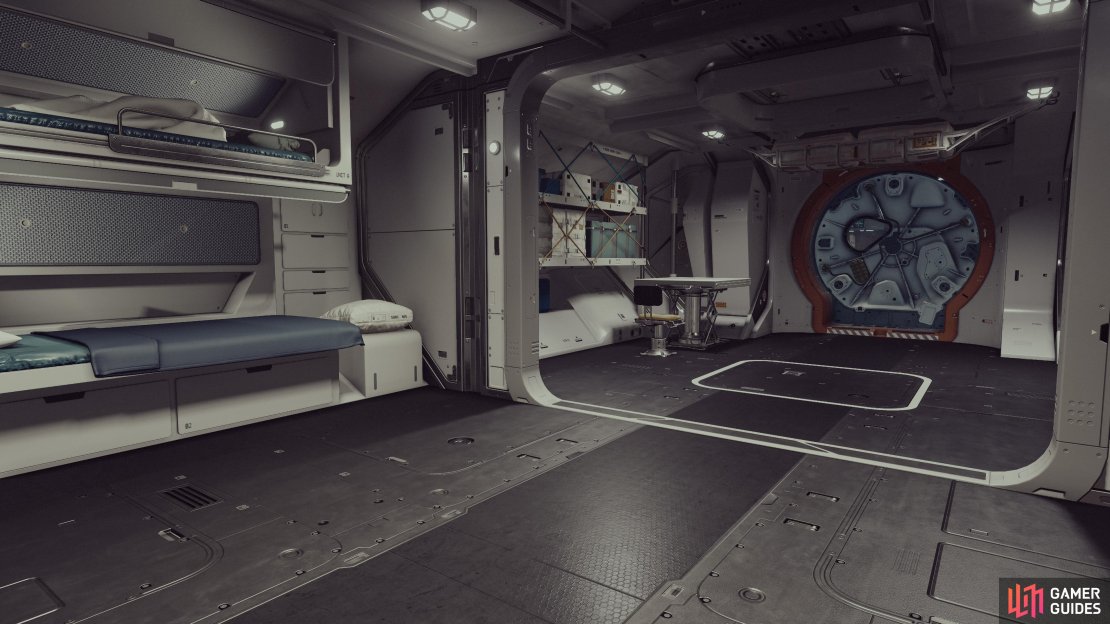
All that said, habs also have some unique and under-appreciated features that are worth considering, namely they’re one of only two ship components you can actually explore on foot, and most habs have several variants which determine the interior contents of that specific hab. Since habs are explorable interior spaces as well as bulk and connection points for other ship components, they have to be contiguous with each other, otherwise the interiors of some habs may not be accessible (if you mount a hab on top of an engine, for example, you won’t be able to reach it, as engines don’t have explorable interiors).
Habs also serve a core function in ship design, as you use a landing bay to connect the ship to various terrestrial bodies you land on, and a docker to dock with various vessels out in space. Both of these components must be present on your ship and must be accessible via an interior ship component, meaning you have to have at least one 1x1 hab connecting your cockpit, landing bay and docker.
Other than that, habs do not add any cargo capacity (although some may feature containers you can use to store stuff in), they contribute a small amount of hull per hab (usually 5 per hab, regardless of size) and some mass (5, 8, 10, 12 or 14, depending on the size of the hab). There are plenty of other reasons to attach habs of different types and sizes to your ship, however, as different variants can feature crafting stations, beds, and secondary ship stats like Passenger Slots and Crew Stations.
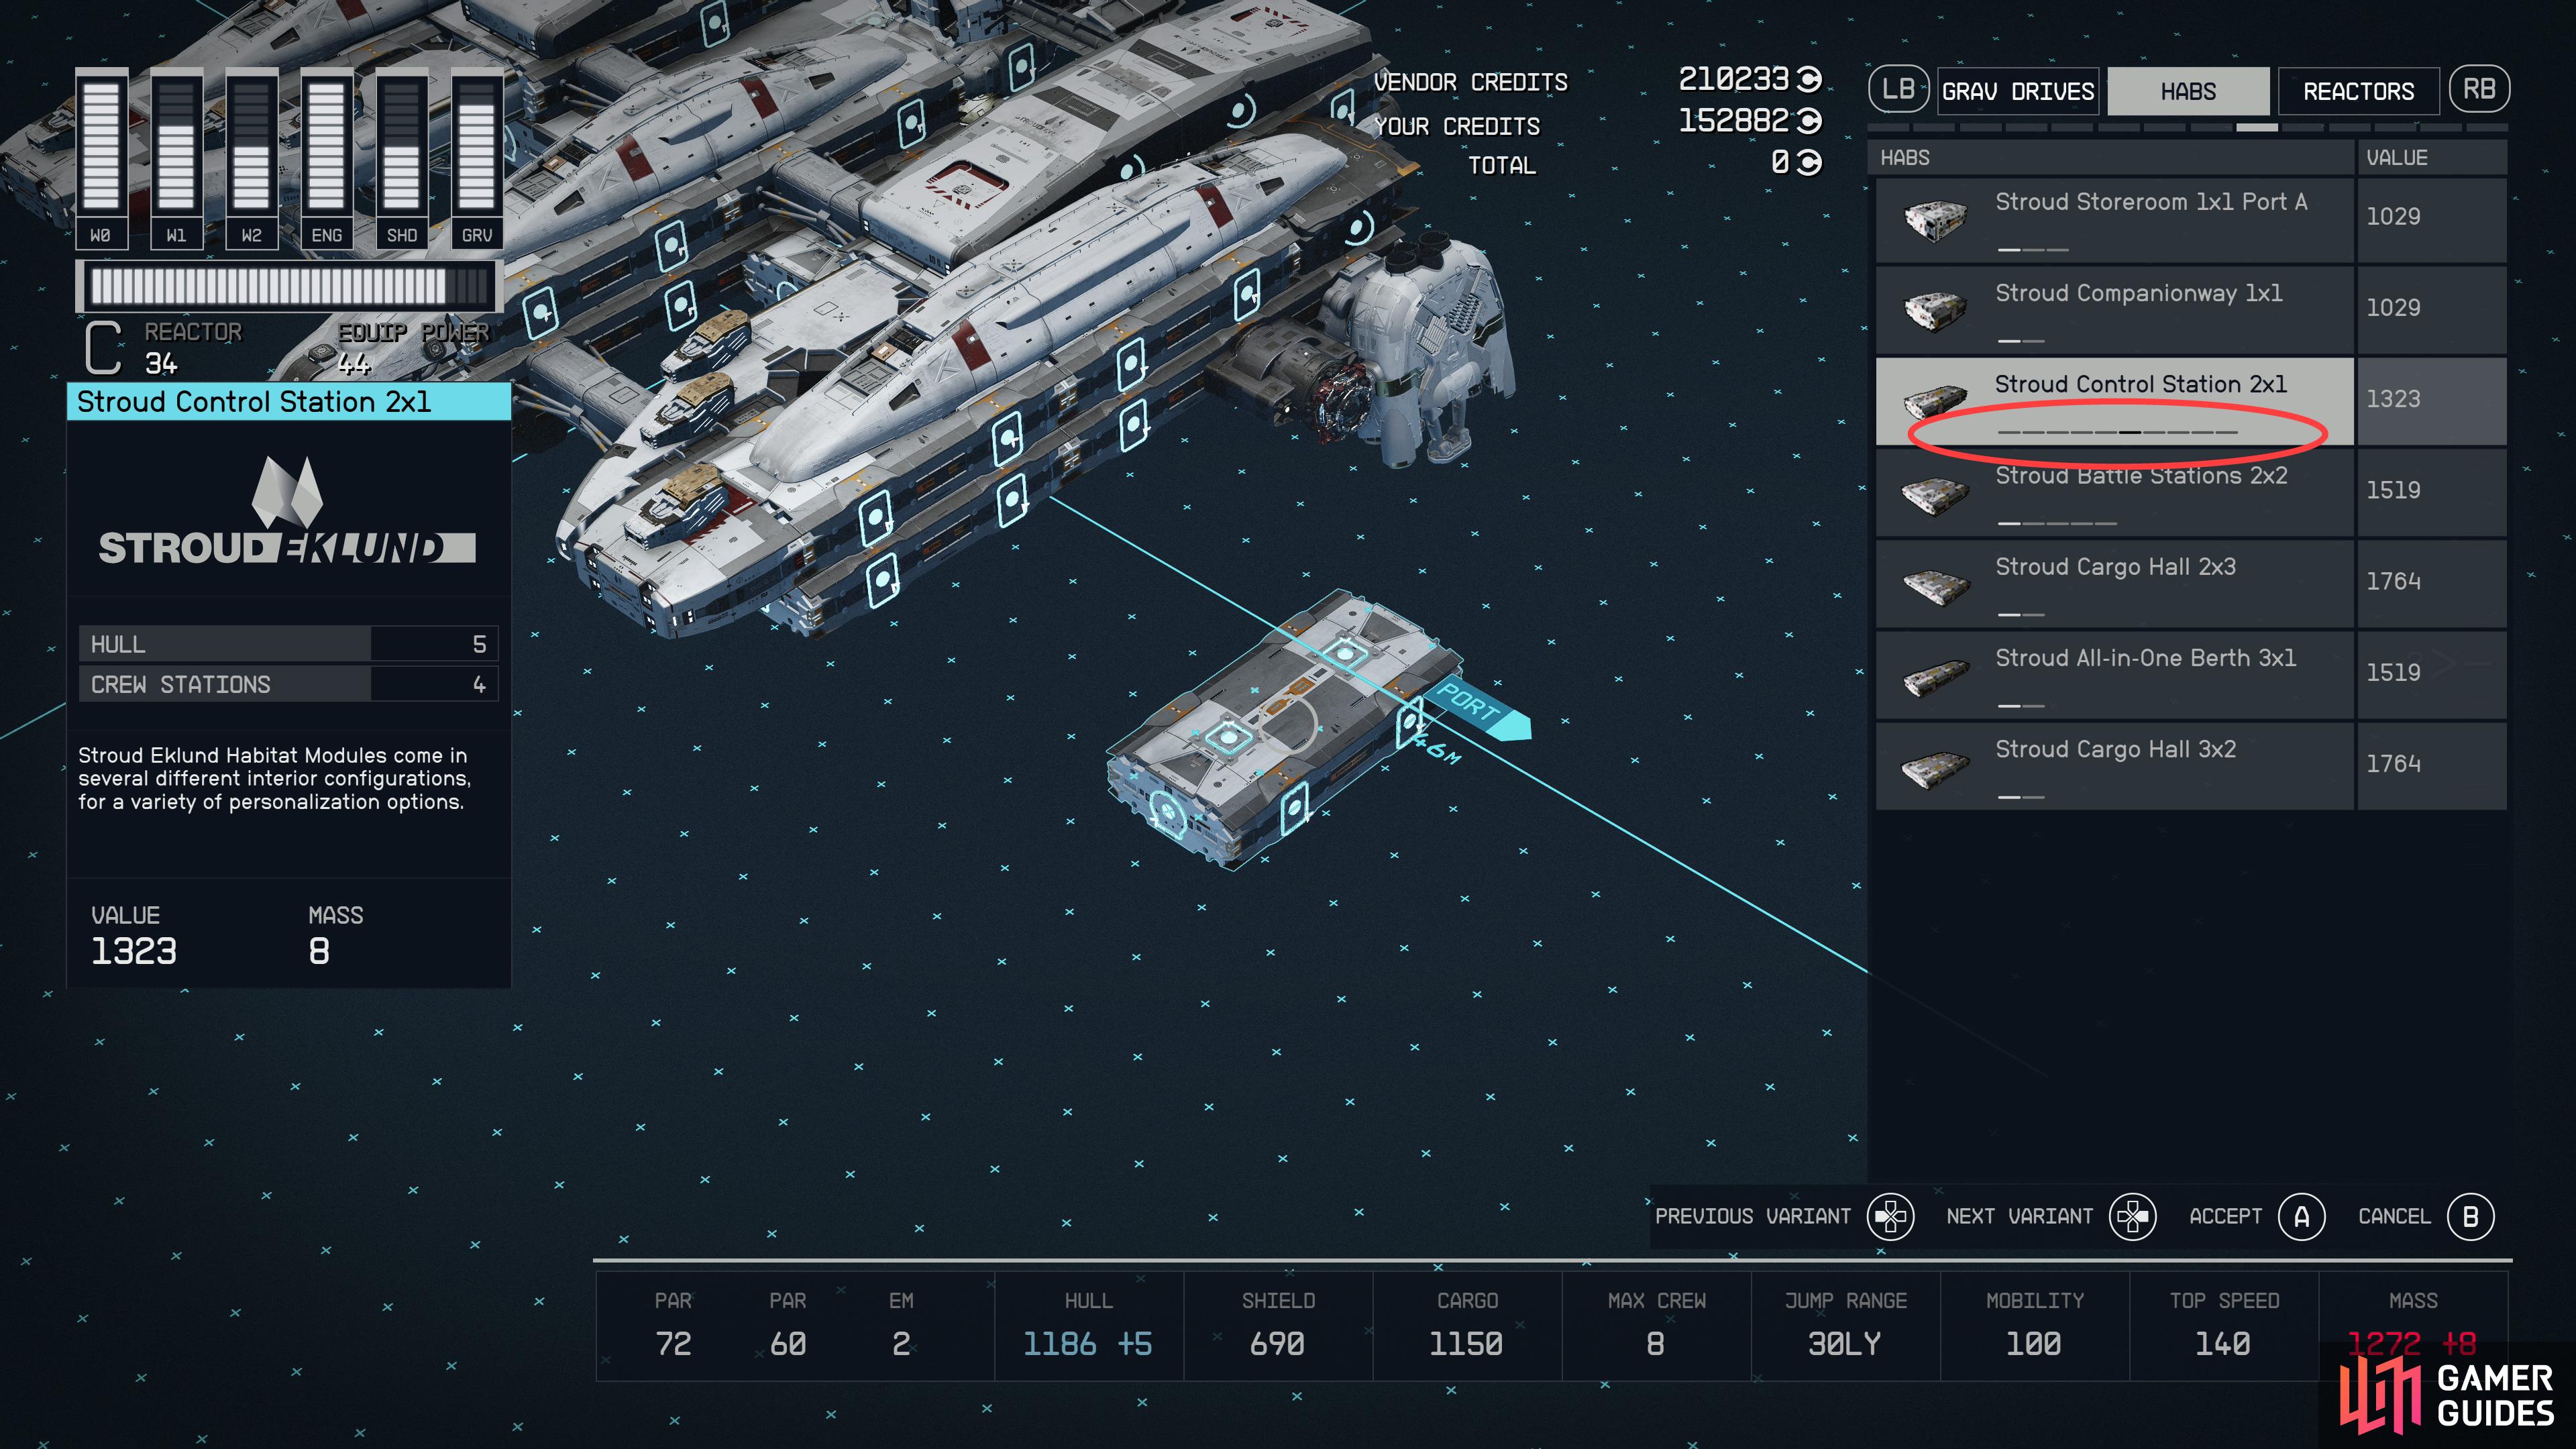
Press right or left on the dpad to toggle between hab variants - the availability of these variants is noted by tabs under the hab’s name.
How to Select Different Hab Types and What They Do in Starfield
All the habs an individual ship vendor will have available can be found under the “Habs” tab in Ship Builder - convenient. There’s actually a lot more variety in the habs being sold than is initially apparent, however, as most variants aren’t directly listed in the vendor menu. For example, vendors may list a “Companionway 1x1” and an “All-in-One Berth 2x1”, but there are different 1x1 and 2x1 hab variants as indicated by the white dashes under the name of the hab. You can cycle between these variants by pressing  , and while they all cost the same amount and have the same core functionality as habs, there are also some differences.
Most habs have some form of furniture, and while the variability of the interior design is nice and all, most of it isn’t very practical. The only terribly useful interior features of habs are: beds (you can use these to restore health), crafting stations (should be obvious - you can use these to craft items) and to a much lesser degree, storage. Containers come in various shapes and sizes, depending on the hab, and have different amounts of storage capacity - the storage crate in a 3x3 Cargo Hold will store more stuff than the first aid box in the Infirmary. Storage containers are, for some reason, separate from a ship’s total cargo capacity, and while an extra storage container here or there sounds like a fine perk, these shouldn’t be relied upon; they have a nasty habit of moving or deleting their contents when editing ships or changing your home ship. For that reason, storage containers will generally be discounted when covering a hab’s interior perks.
In addition, some habs may offer Crew Stations or Passenger Slots. Crew Stations are actually somewhat useful, as they’re one of several factors that actually determines how many crew members can be assigned to work on any individual ship (check out our page on Starfield Ship Stats for more info on your ship’s max crew), while Passenger Slots are… not very useful.
Best Habs in Starfield
While all habs add hull and structure to your ship, allowing you to attach other components via their generous attach nodes on each face and tile of the hab, some add more stats, features and furnishings, like beds, crafting stations, Crew Stations, Passenger Slots, or, in the case of the 1x1 habs, are interesting for the ways they can be used to force ladders and doors to spawn. With that in mind, let’s get on with discussing the best habs to construct your ship out of in Starfield:
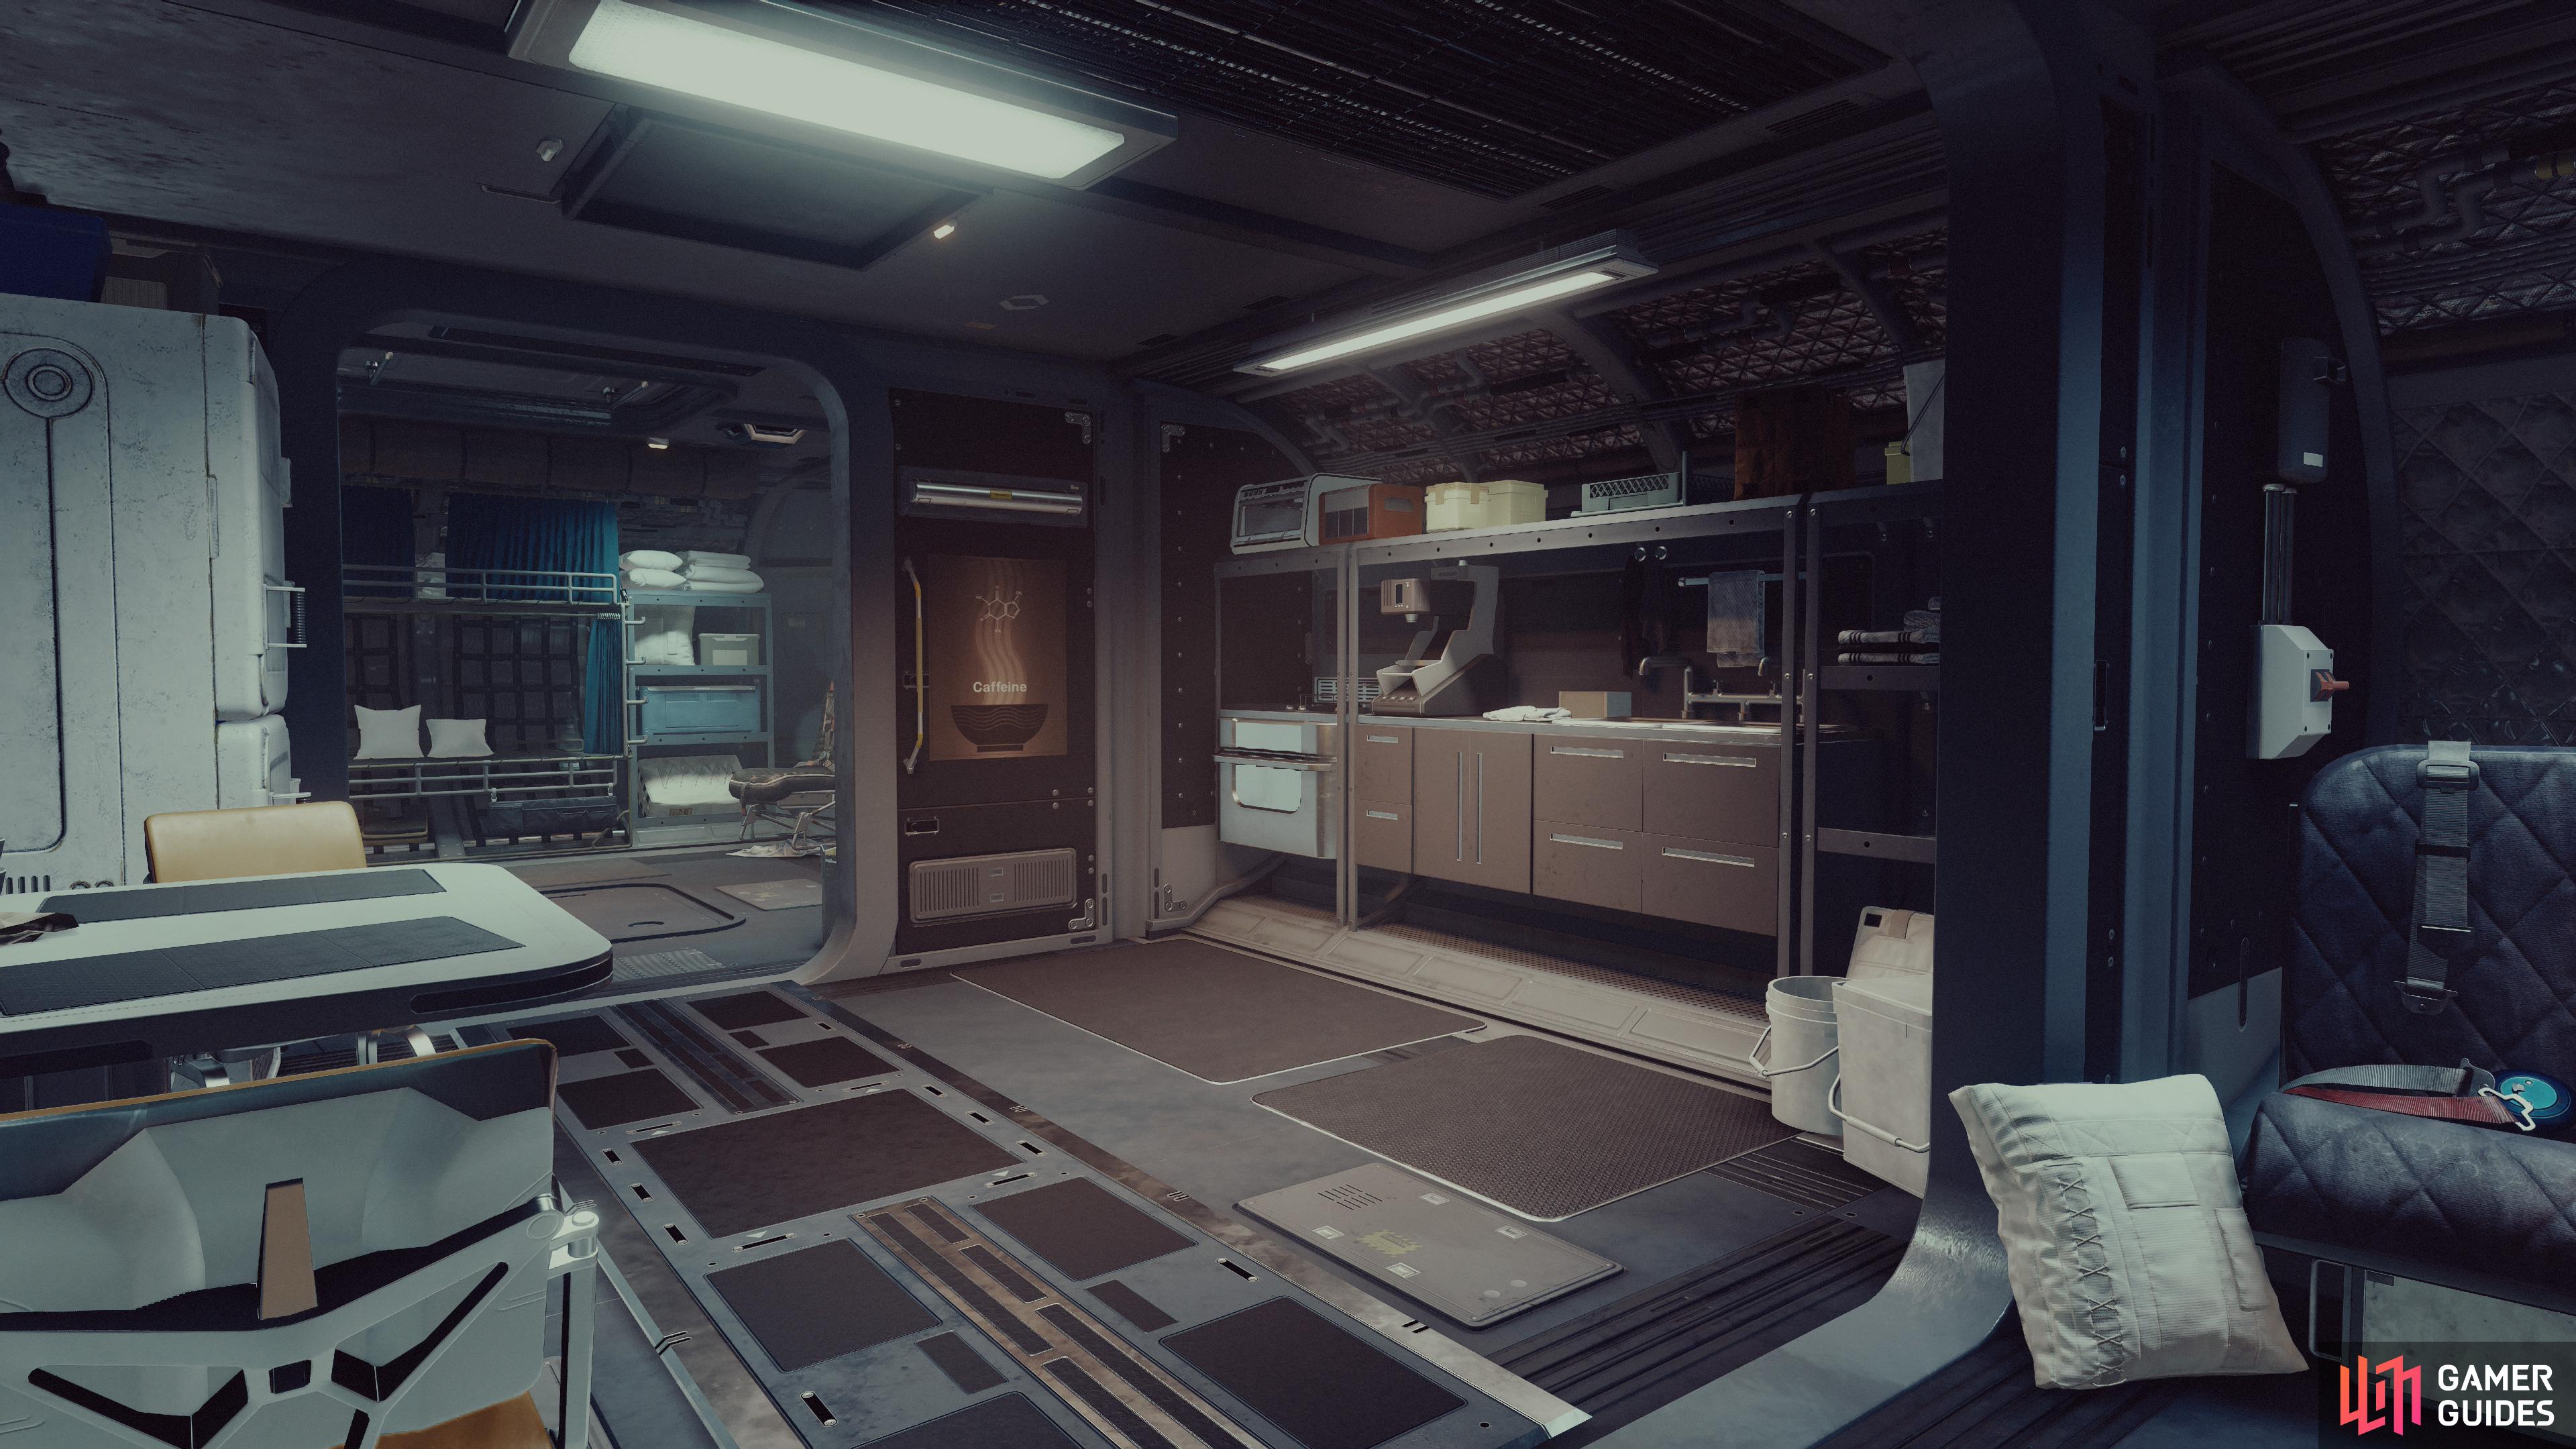
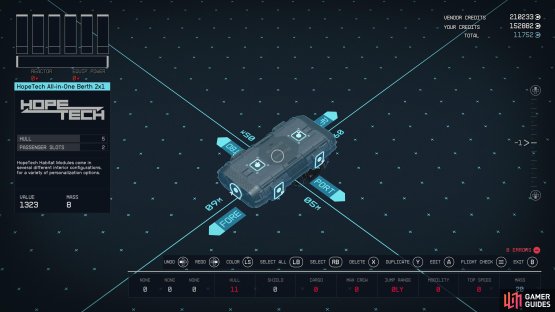
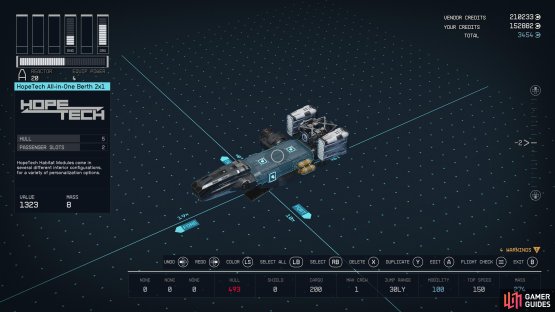
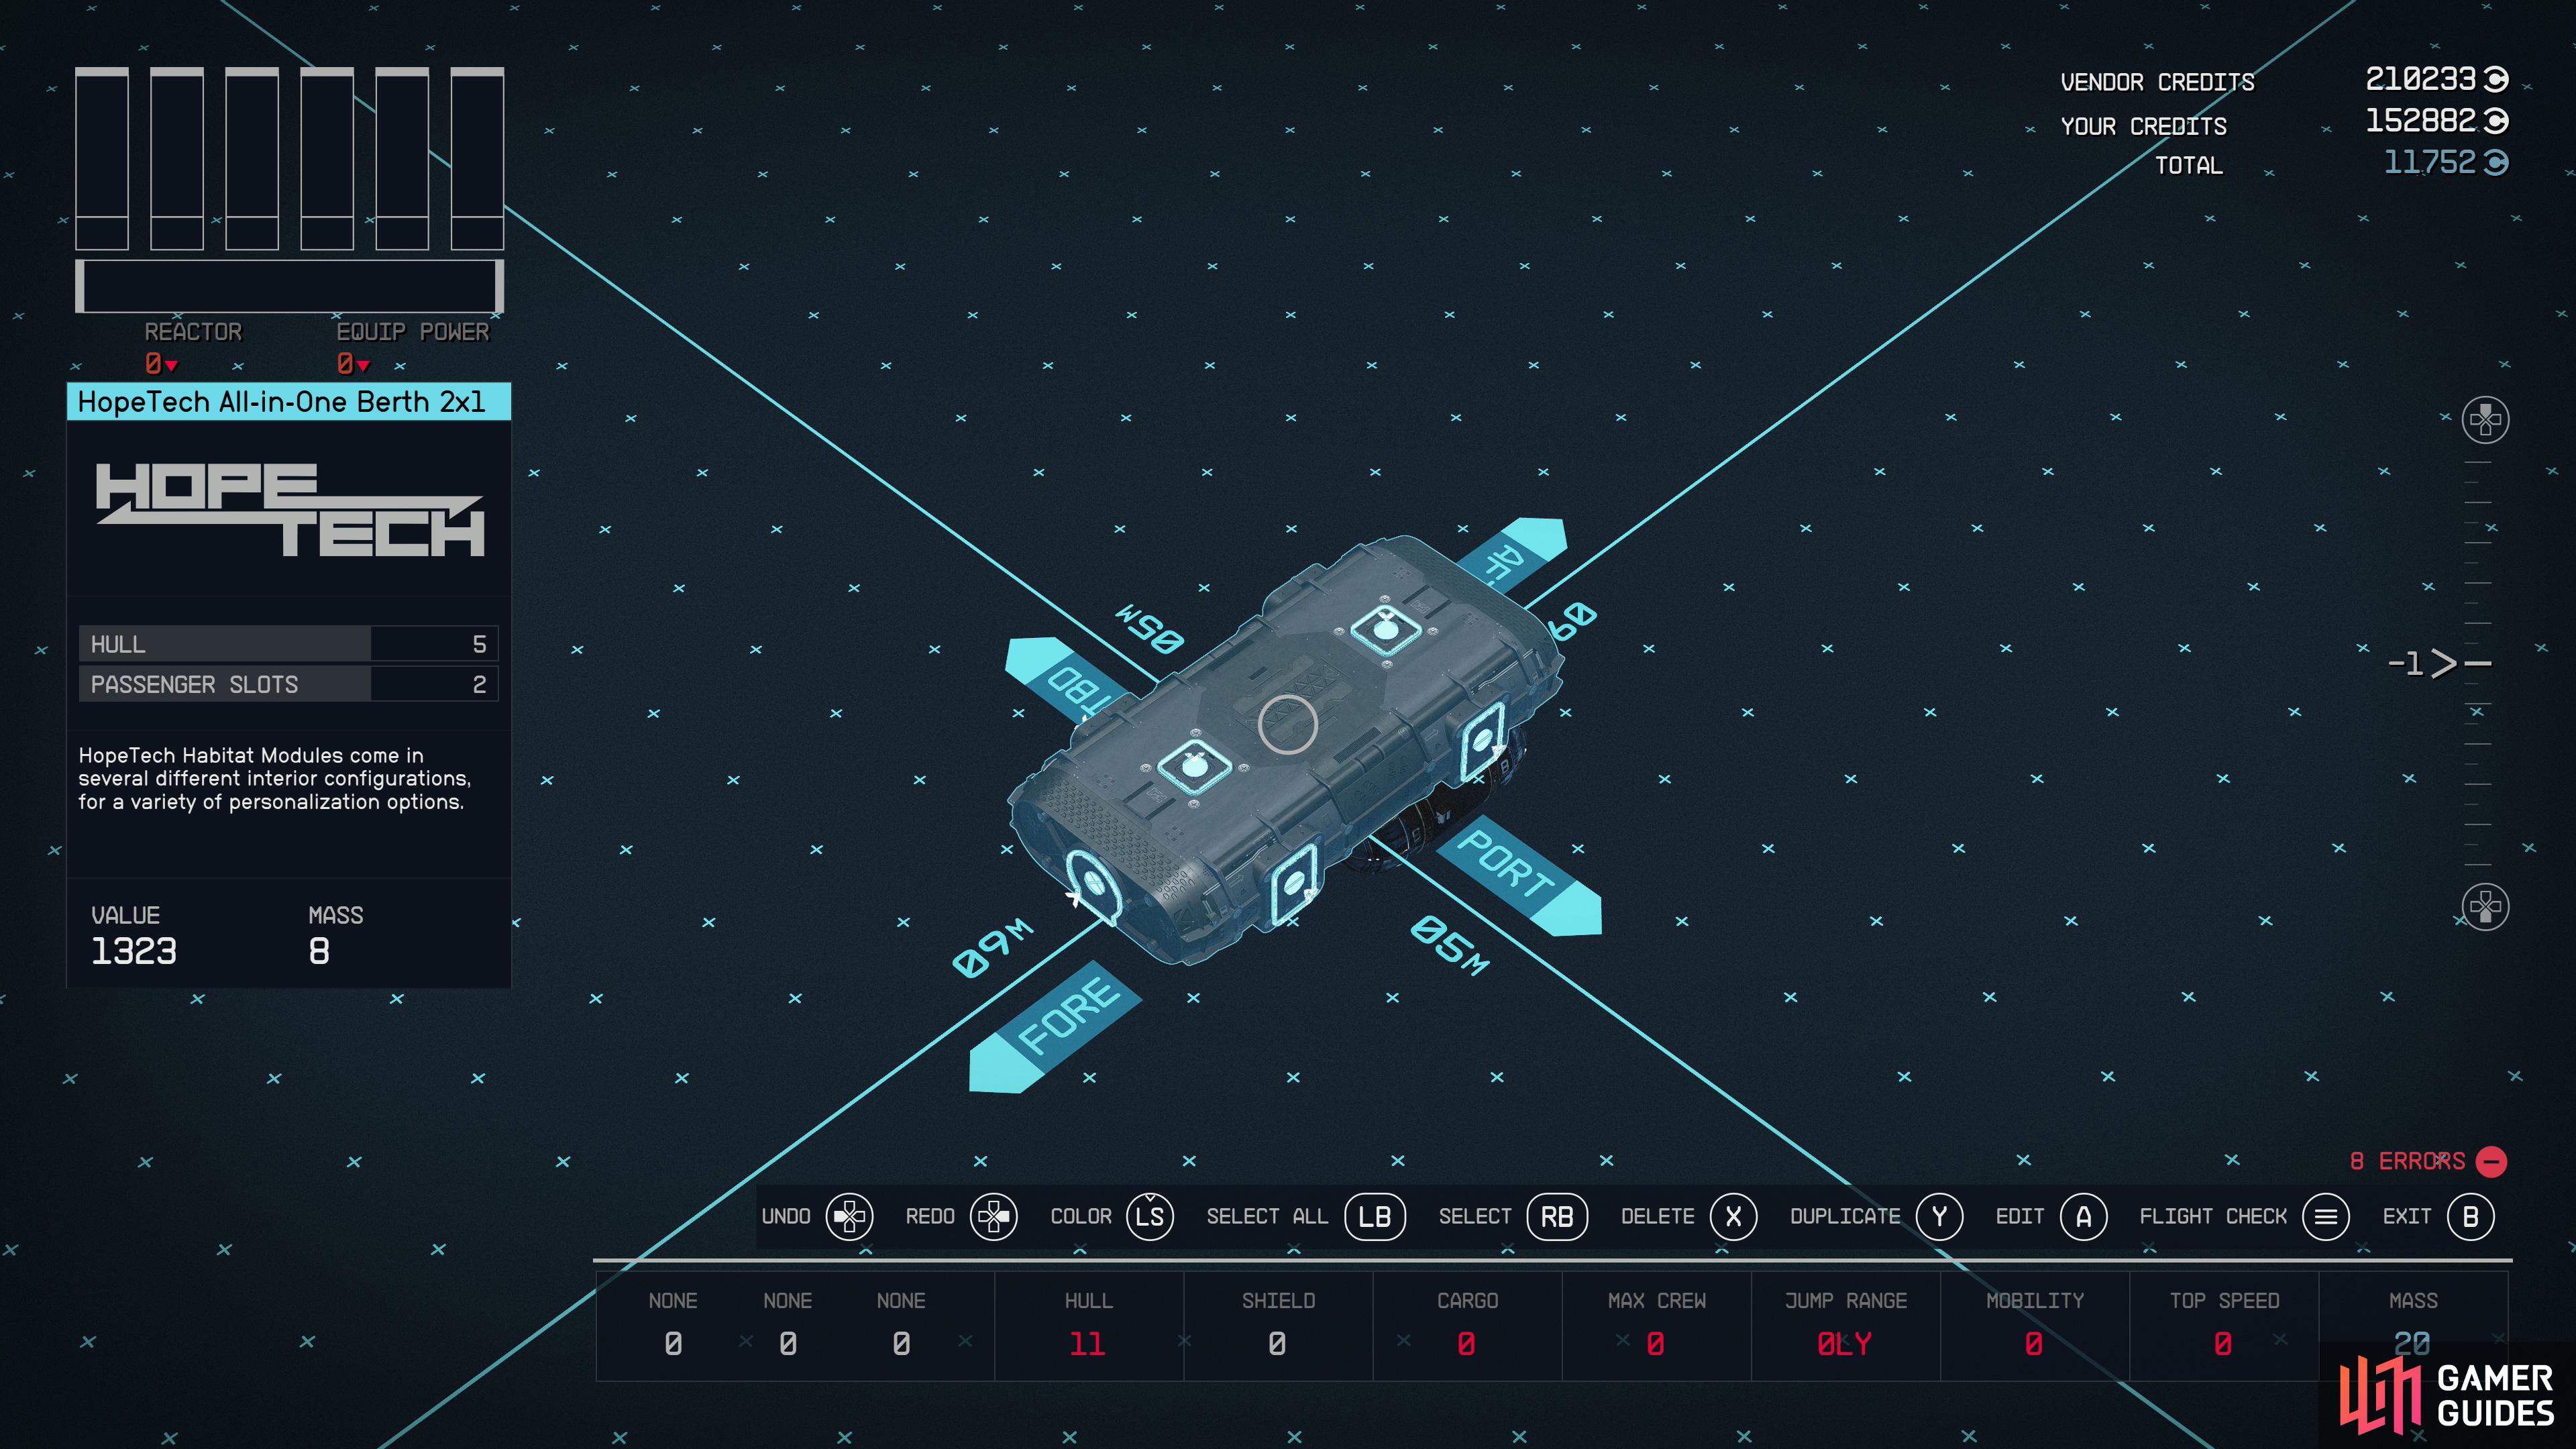
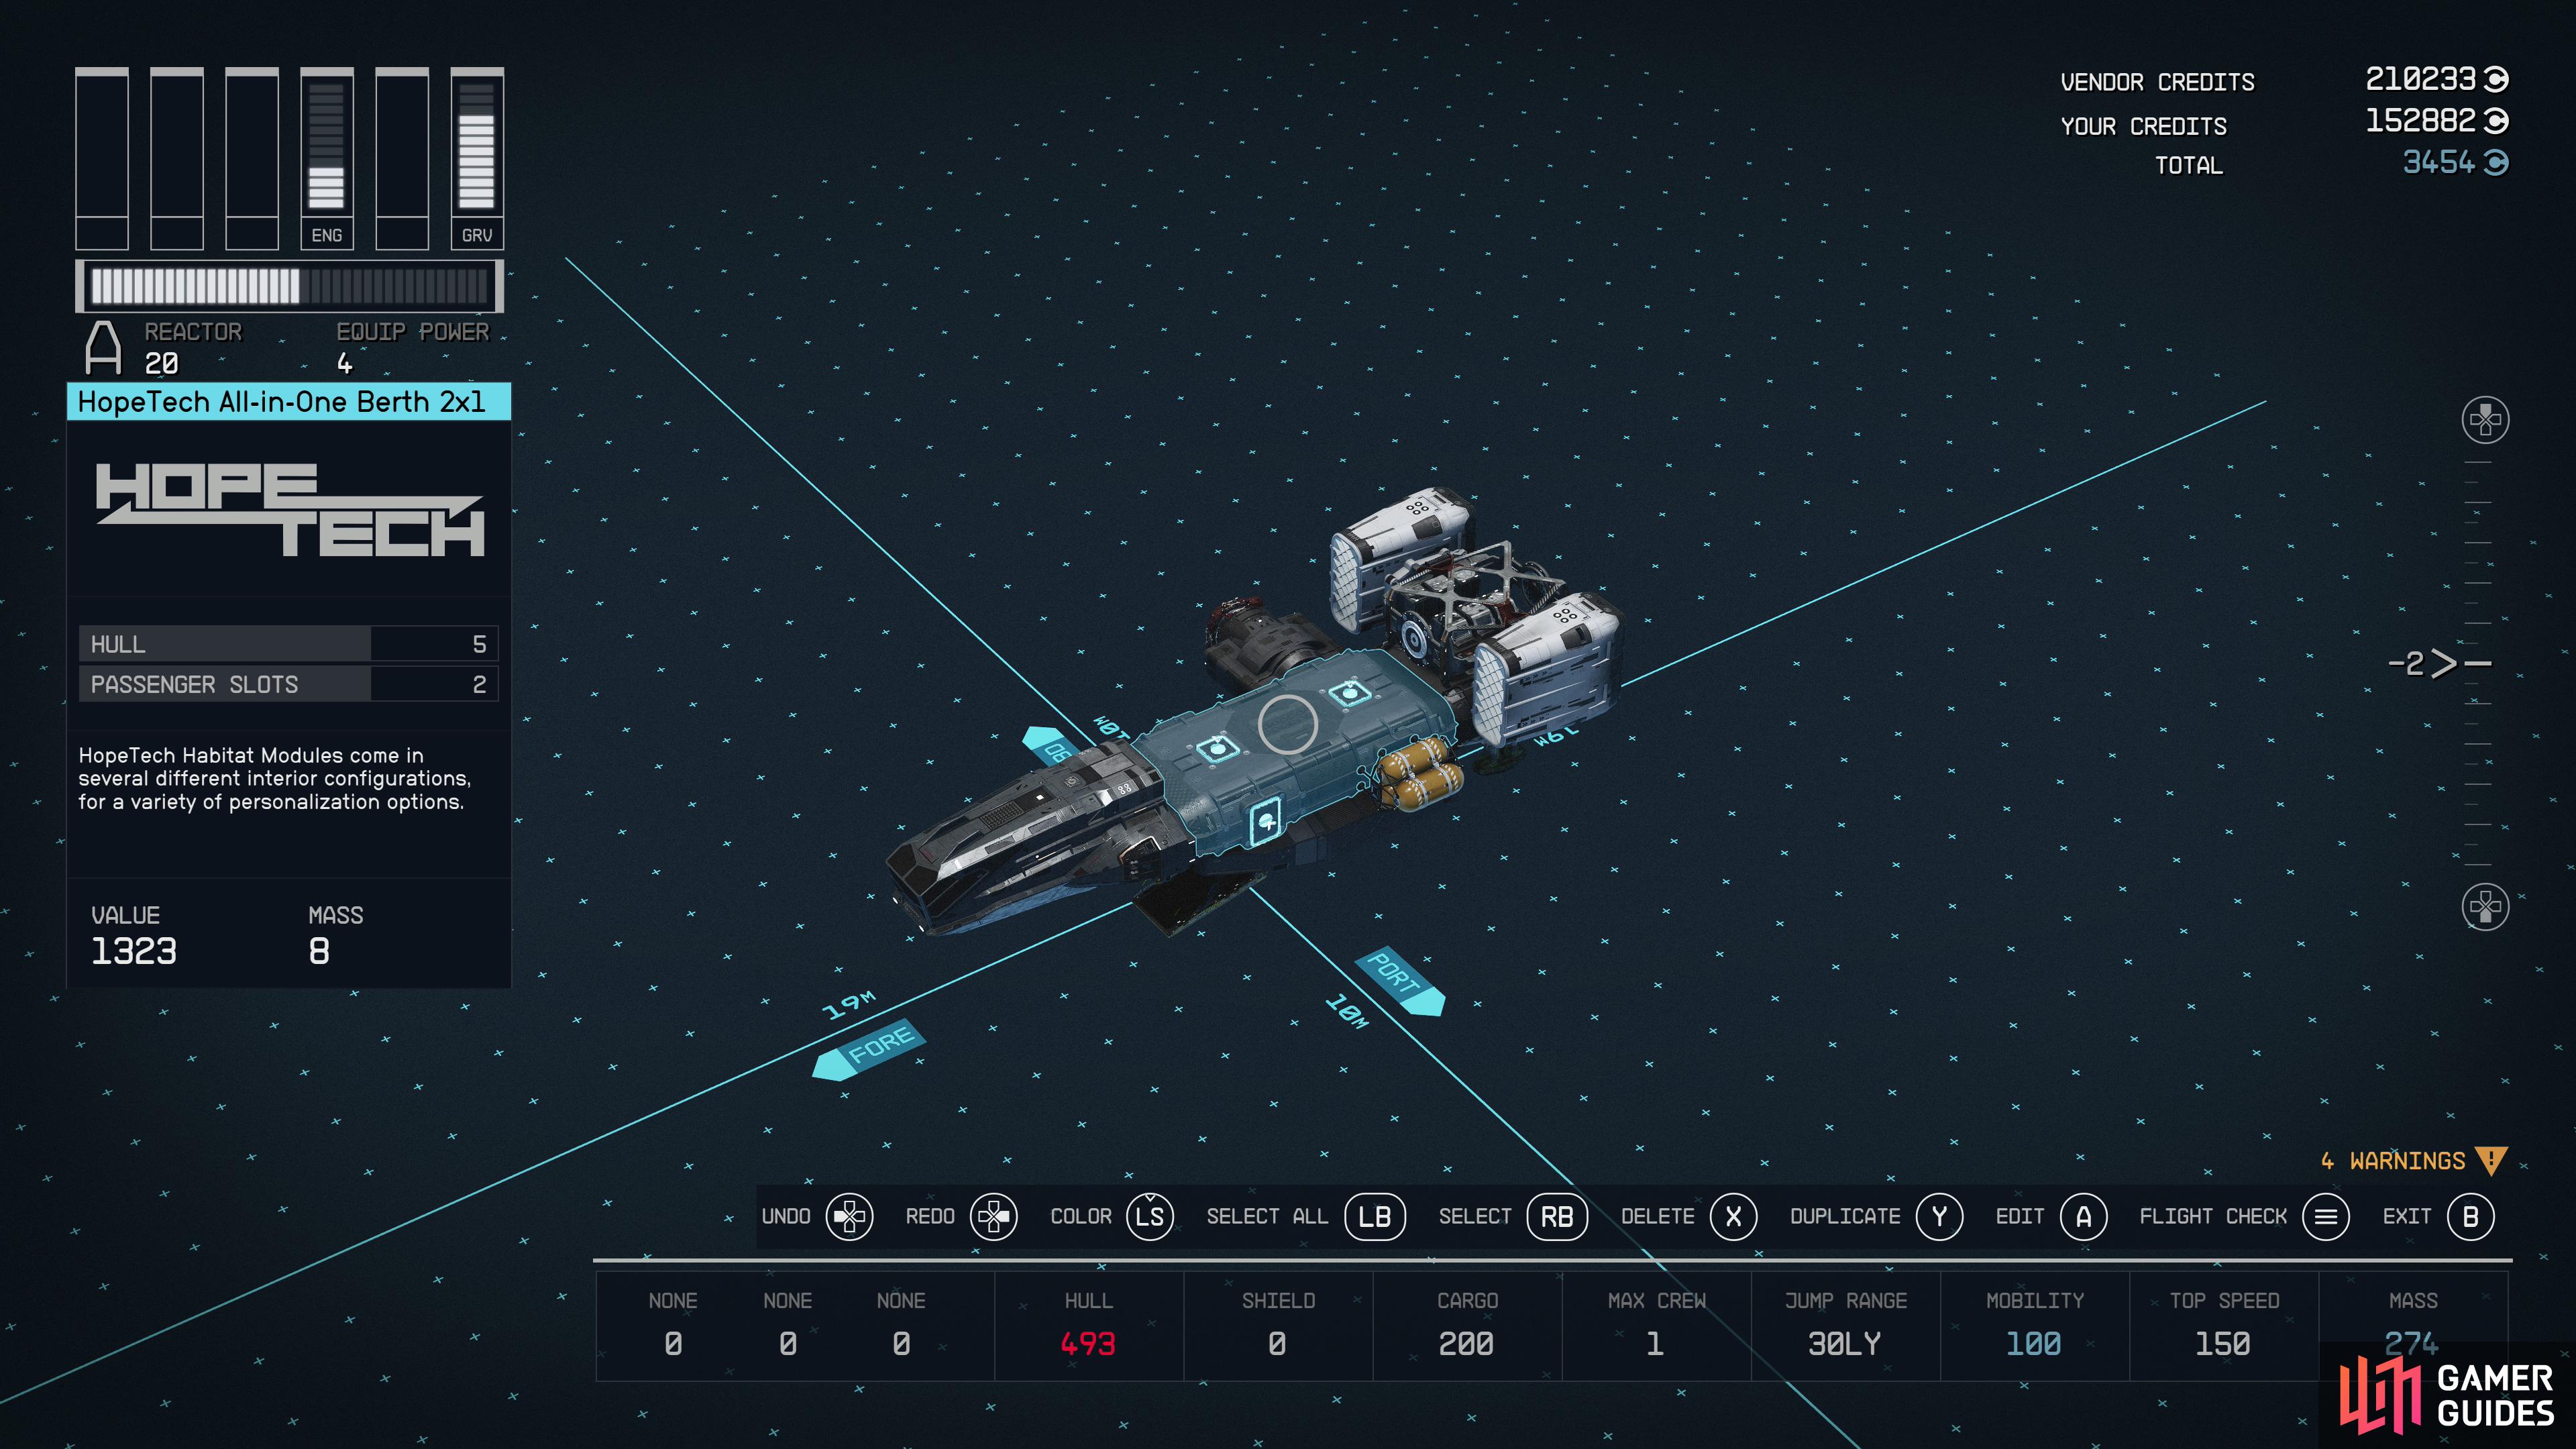
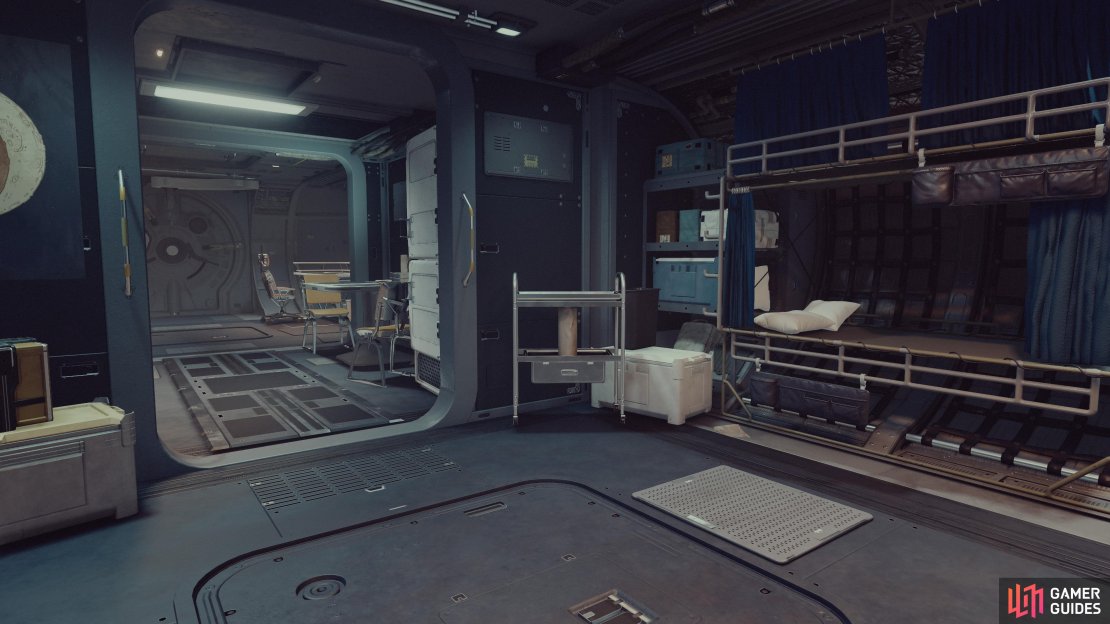
The All-in-One Berth is quite economical, featuring beds and a cooking station in a compact 2x1 module.
All-in-One Berth and Living Quarters
| Hab | Features | Crew Stations | Passenger Slots |
|---|---|---|---|
| All-in-One Berth/Living Quarters | Beds, Galley, Research Station | – | 2 |
Despite the generic name, the All-in-One-Berth is actually a comfy little hab that provides chairs, a couch, a fridge, beds and a galley, the latter of which is a crafting station where you can prepare meals. Nothing it offers is unique, but if you want to keep your ship lean while maximizing its features, the All-in-One Berth does have impressive feature density. If that’s not enough, the All-in-One Berth also provides two Passenger Slots, in case you need to ferry folk around. The Living Quarters is very similar, a homey little place full of creature comforts, often featuring weight lifting equipment, tables, chairs, a fridge, beds and a galley, only the last two of which offer any utility. It’s not bad, but you really don’t need a lot of Passenger Slots, and the All-in-One Berth does everything the Living Quarters does and potentially more.
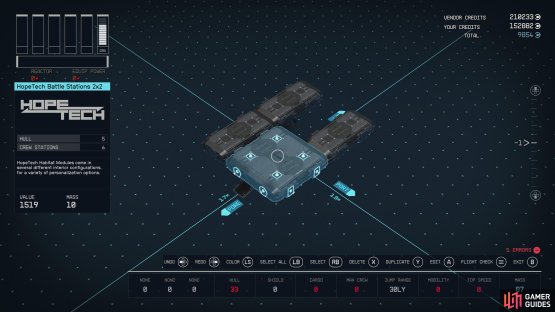
Battle Stations
| Hab | Features | Crew Stations | Passenger Slots |
|---|---|---|---|
| Battle Stations | – | – | 6 |
Essentially a larger Control Station room, for double the size you get a whopping six Crew Stations, which, along with whatever your cockpit offers, should be all the Crew Stations you really need. It’s the best mass-to-Crew Stations ratio in the game, if you can find a spot to slot a 2x2 hab in somewhere.

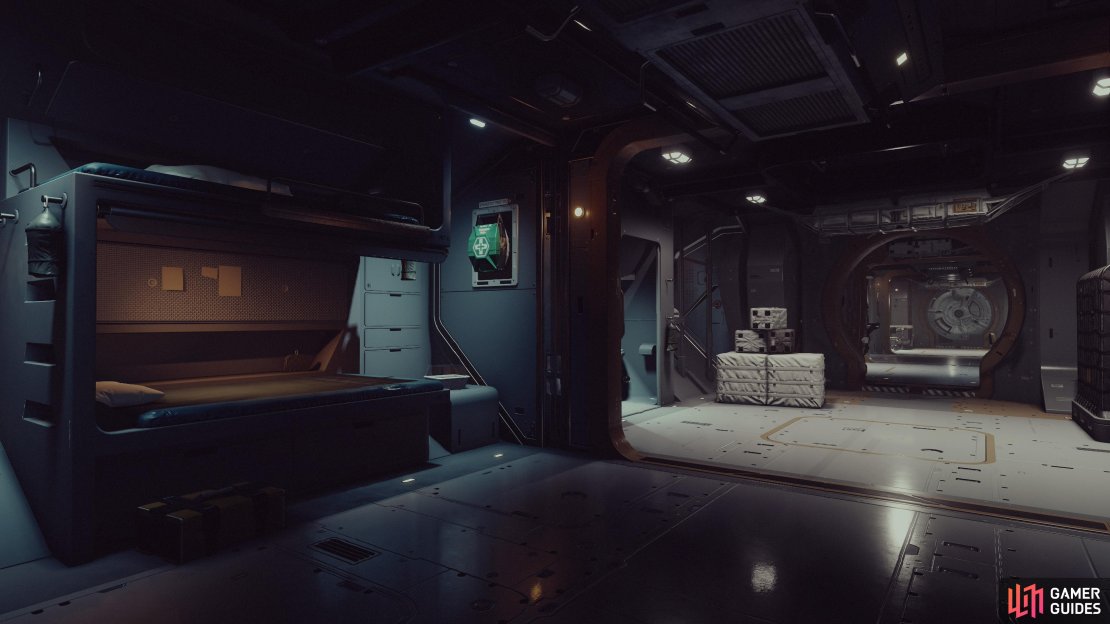
1x1 habs - the Companionway and Storeroom - offer little in the way of furnishings, and are best used to impose structure on your ship’s internal layout.
Companionway and Storeroom
| Hab | Features | Crew Stations | Passenger Slots |
|---|---|---|---|
| Companionway/Storeroom | – | – | – |
Both of these are small, generic, simple habs that only really differ with what sorts of goods are secured to the walls. They can serve an interesting function when it comes to interior ship design, however. As long as habs are contiguous you’ll be able to walk between them all, but the actual structure of the ship’s interior in as far as the location of doors and ladders is random… or if it’s not random the internal layout of ship habs can at least be obtuse, not directly customizable, and under no obligation to be convenient or refrain from being labyrinthine. Tossing in one of these 1x1 habs can force the game to place doors and ladders at specific locations, and it can be a good idea to break up clusters of other habs with these. Other than for improving the internal layout of your ship, however, there’s not much reason to use these.
Control Station
| Hab | Features | Crew Stations | Passenger Slots |
|---|---|---|---|
| Control Station | – | – | 4 |
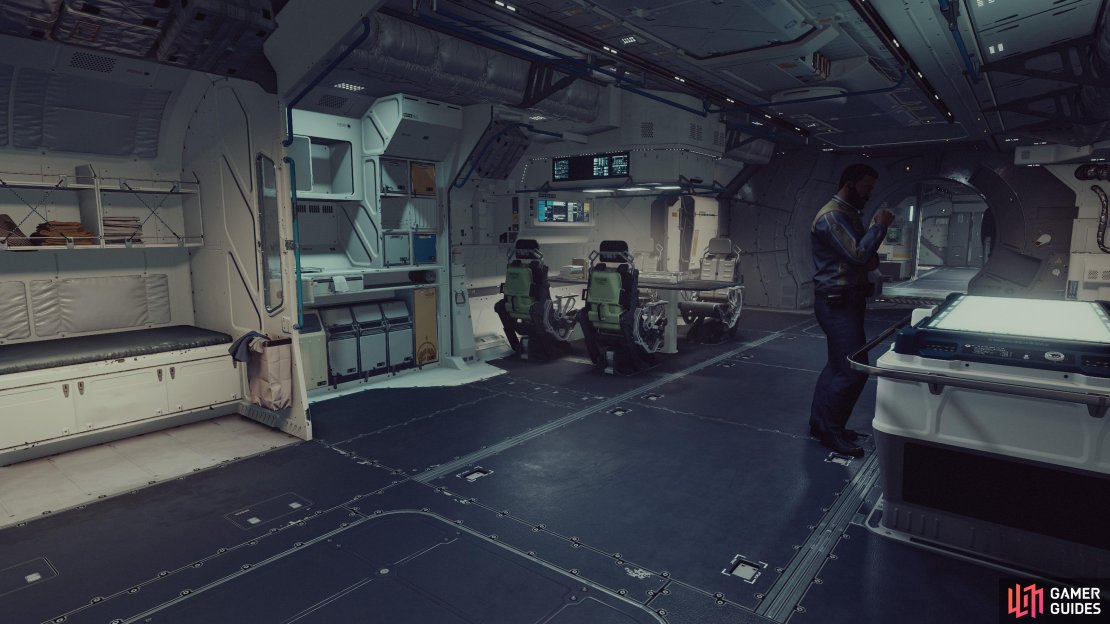
Desks, terminals, screens - it’s all very important-looking, but the interior of most variants serve little practical purpose. That said, you want a techy-looking room on your ship that’s actually worth the extra mass, this is a strong choice, as it gives you up to four additional Crew Stations. Granted, for most players this will be a late-game consideration, but it’s arguably the easiest, cheapest, most space efficient way to boost your Max Crew stat should you have the need.
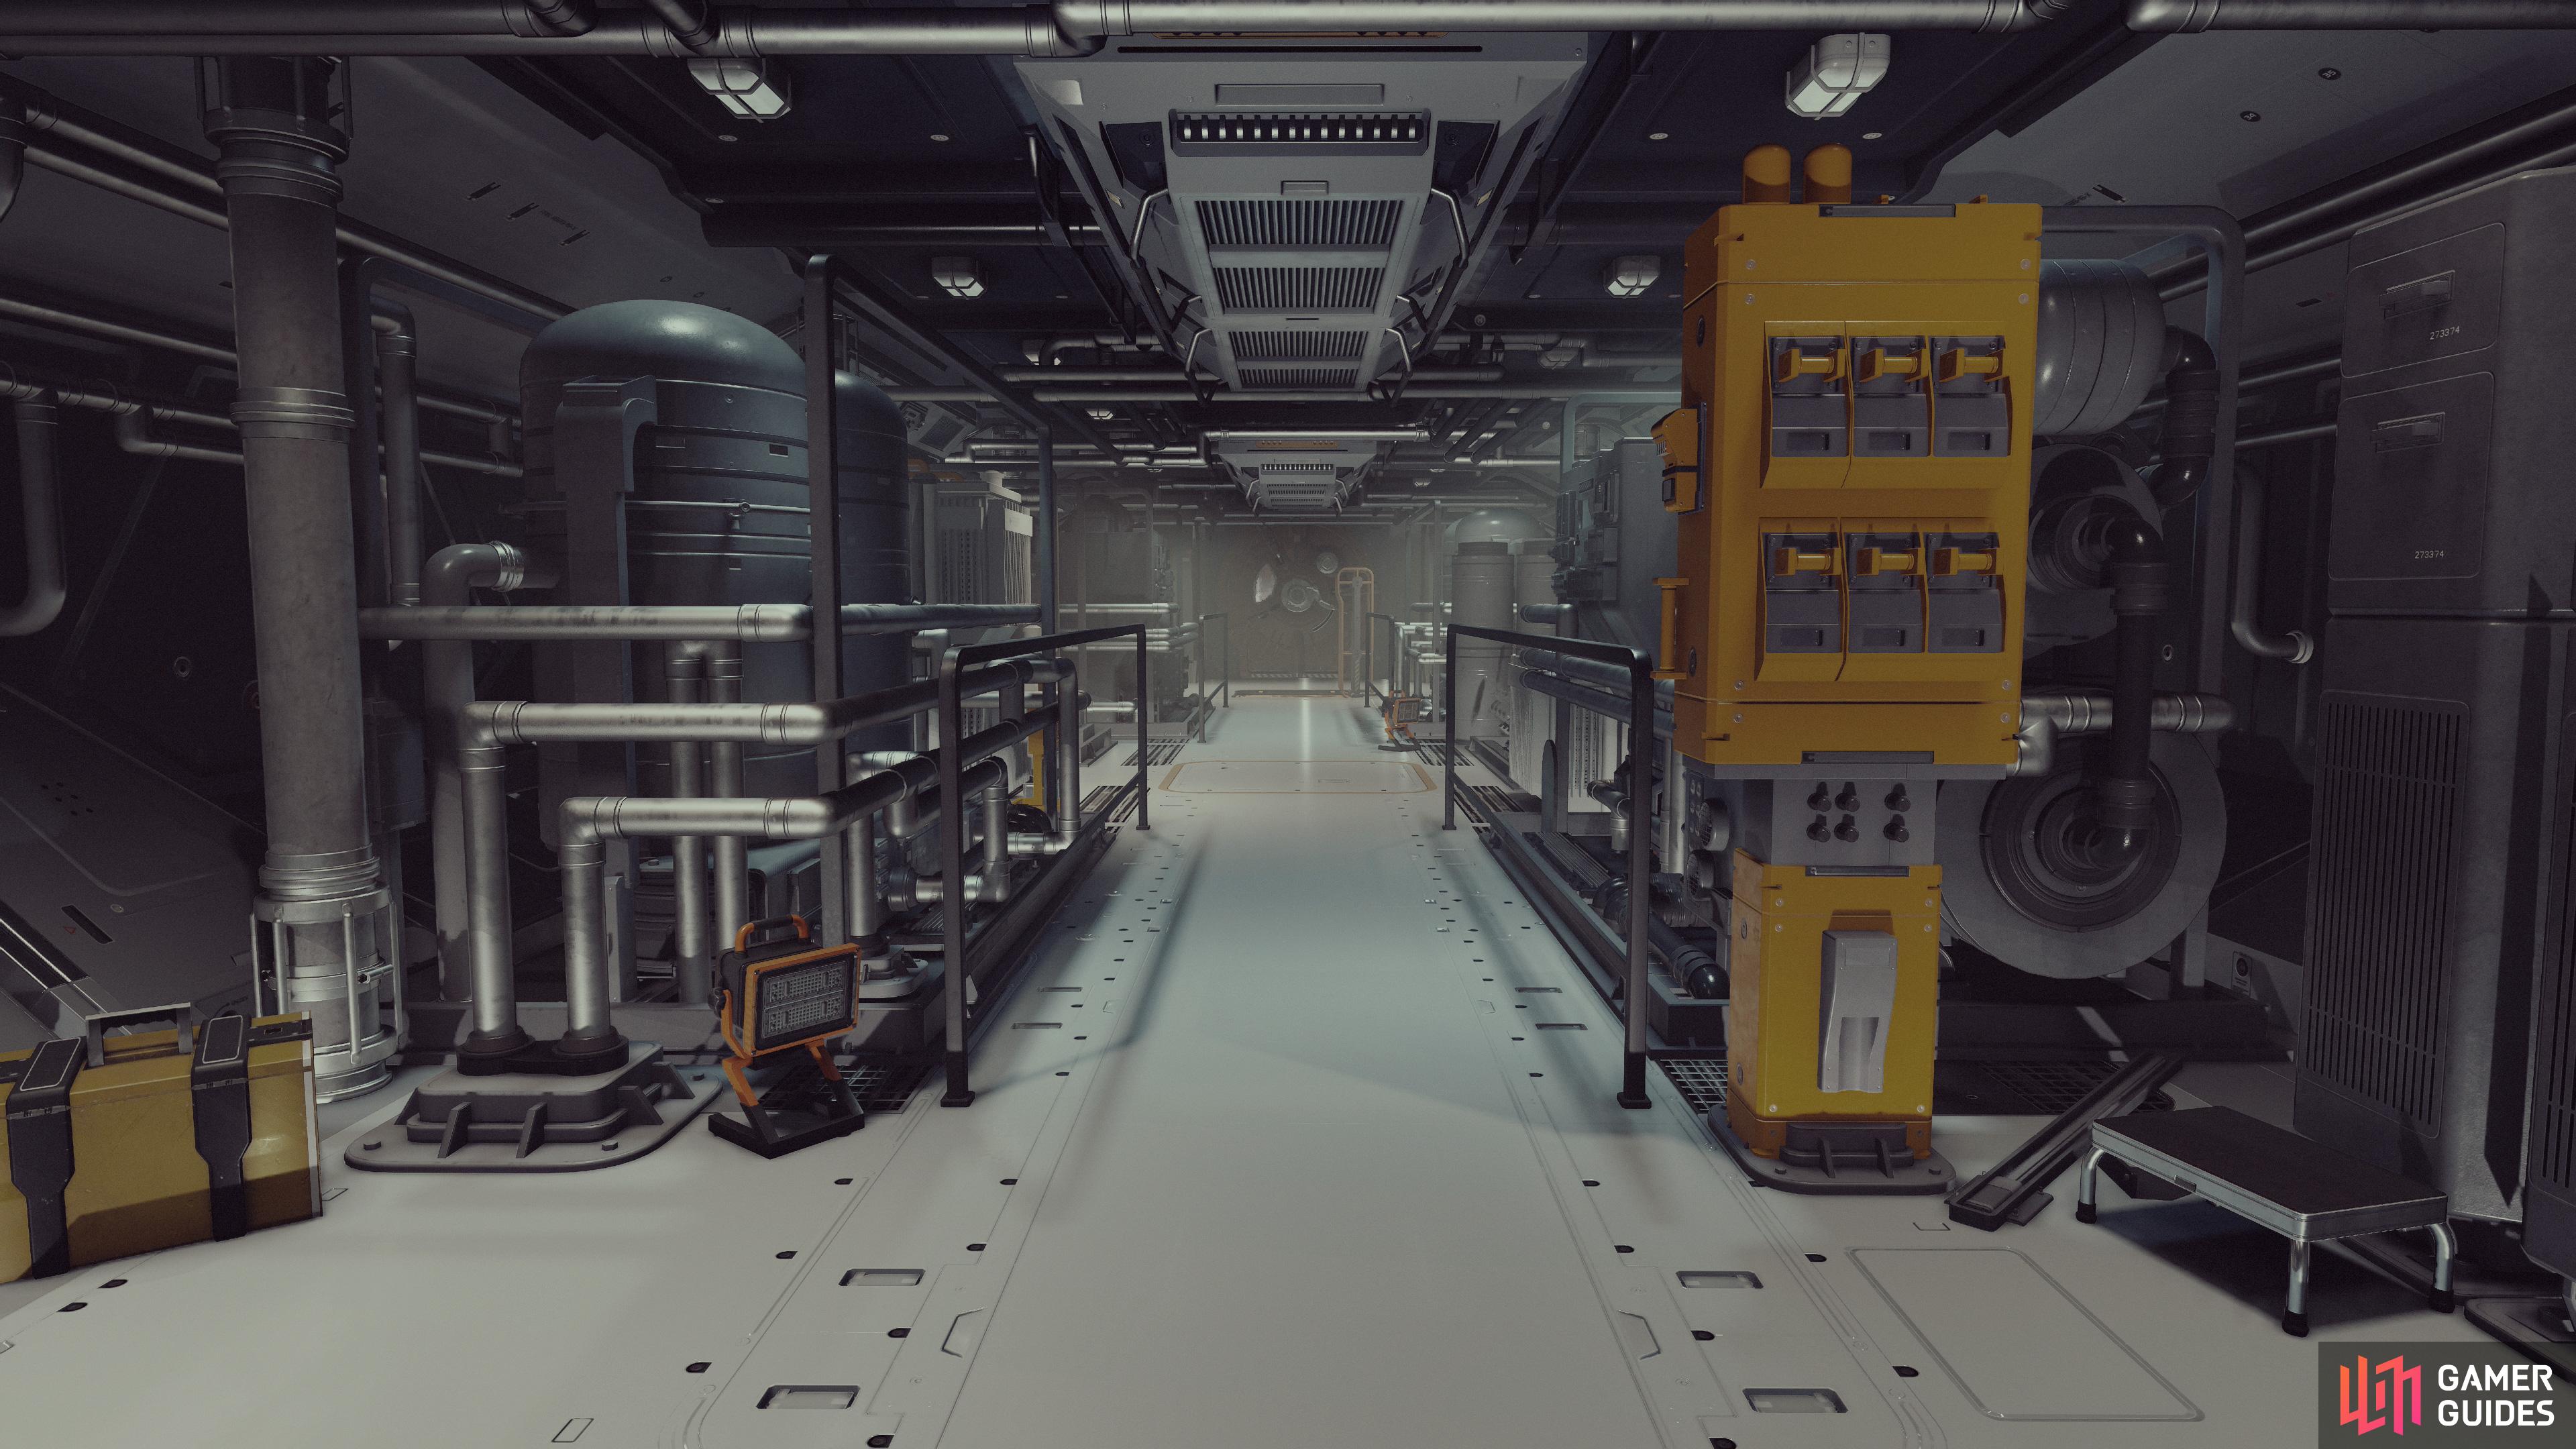
The 3x1 Engineering Bay offers little functionality and only one Crew Station, but it can be useful for forcing connections between distant parts of your ship.
Engineering Bay
| Hab | Features | Crew Stations | Passenger Slots |
|---|---|---|---|
| Engineering Bay | – | – | 1 |
One of the few habs with no variants, the Engineering Bay also serves little function in the ship. It’s furnished with all sorts of technical-looking bits and bobs, terminals, pipes machinery, but it’s all cosmetic aside from perhaps a lonely storage crate. It does, however, offer a whopping 1 Crew Station, which isn’t very economical compared to other options out there. Aesthetically it’s a nice “spine” structure to use to connect to other technical areas of the ship, like the cockpit, Battle Stations, Computer Core, Control Station, etc. You could use smaller habs to fill space, but if you need to connect two rooms to create an easy foot route through your ship (say from the cockpit to a side docker), the Engineering Bay - or any 3x1 hab, for that matter - is a useful structure.
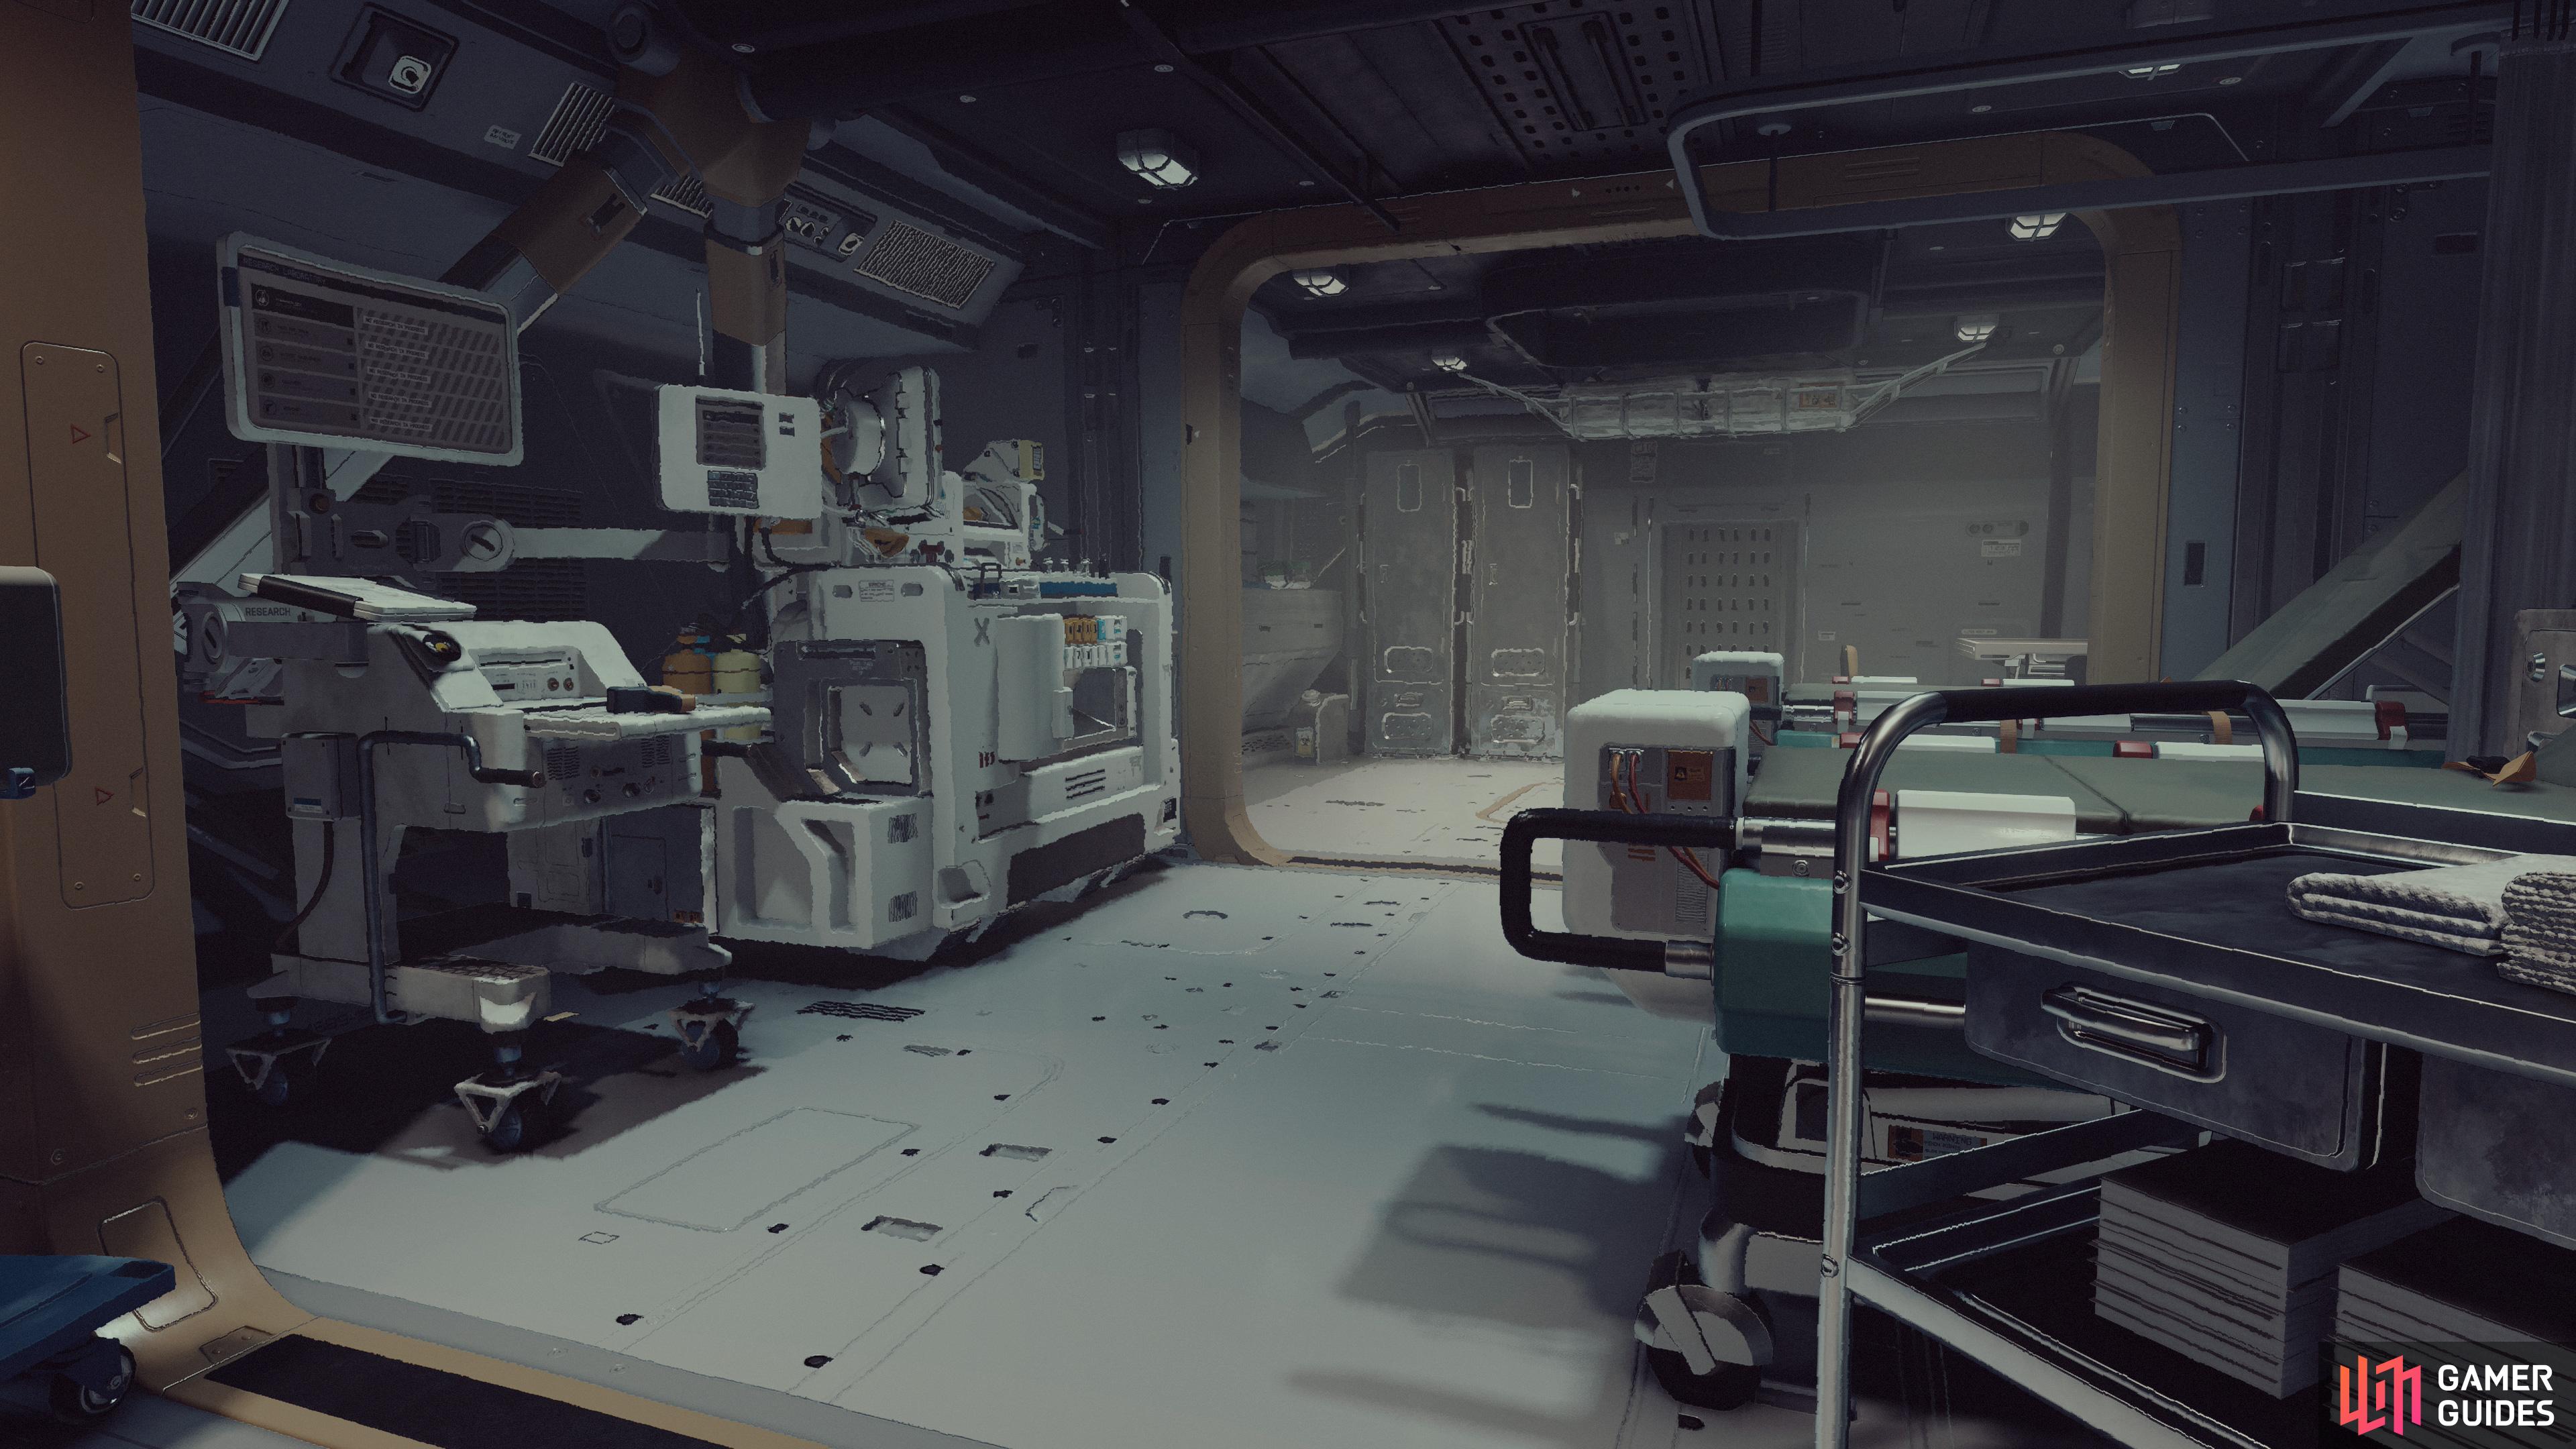
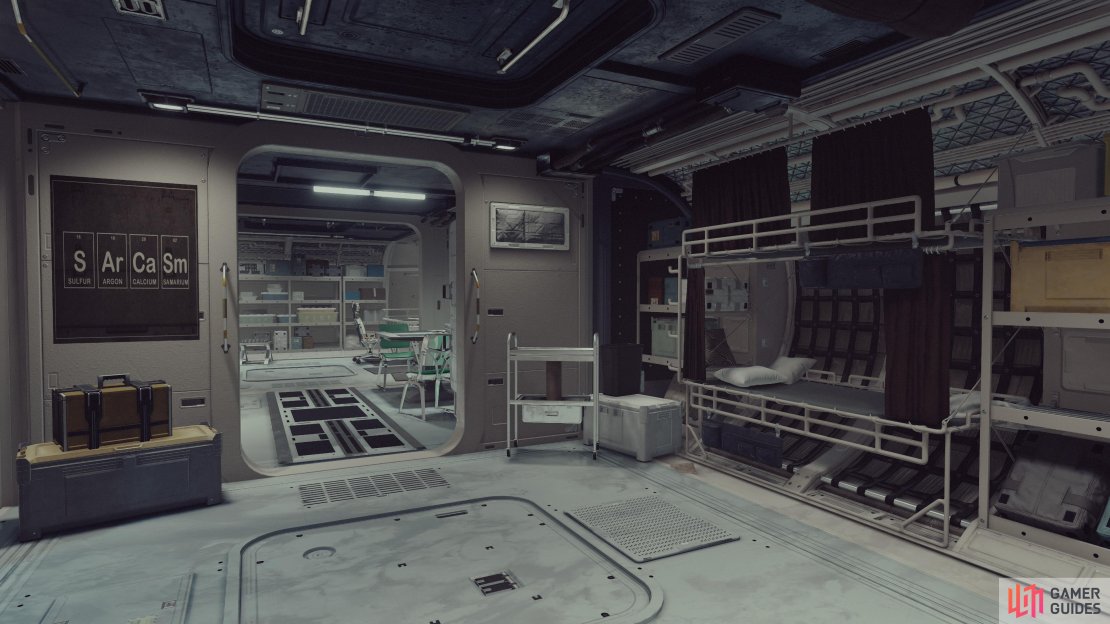
The Infirmary and Science Lab will both contain a Pharmaceutical Lab and a Research Lab.
Infirmary and Science Lab
| Hab | Features | Crew Stations | Passenger Slots |
|---|---|---|---|
| Infirmary and Science Lab | – | – |
If you want crafting stations, both the Infirmary and Science Lab offers a ![]() Pharmaceutical Lab and a
Pharmaceutical Lab and a ![]() Research Lab. You might not need the latter, as it can pop up in other structures (certain All-in-One habs, doors and ladders permitting), but these are the only habs that’ll give you a Pharmaceutical Lab on your ship. Between these and a Workshop you should end up with five crafting stations. Not bad.
Research Lab. You might not need the latter, as it can pop up in other structures (certain All-in-One habs, doors and ladders permitting), but these are the only habs that’ll give you a Pharmaceutical Lab on your ship. Between these and a Workshop you should end up with five crafting stations. Not bad.
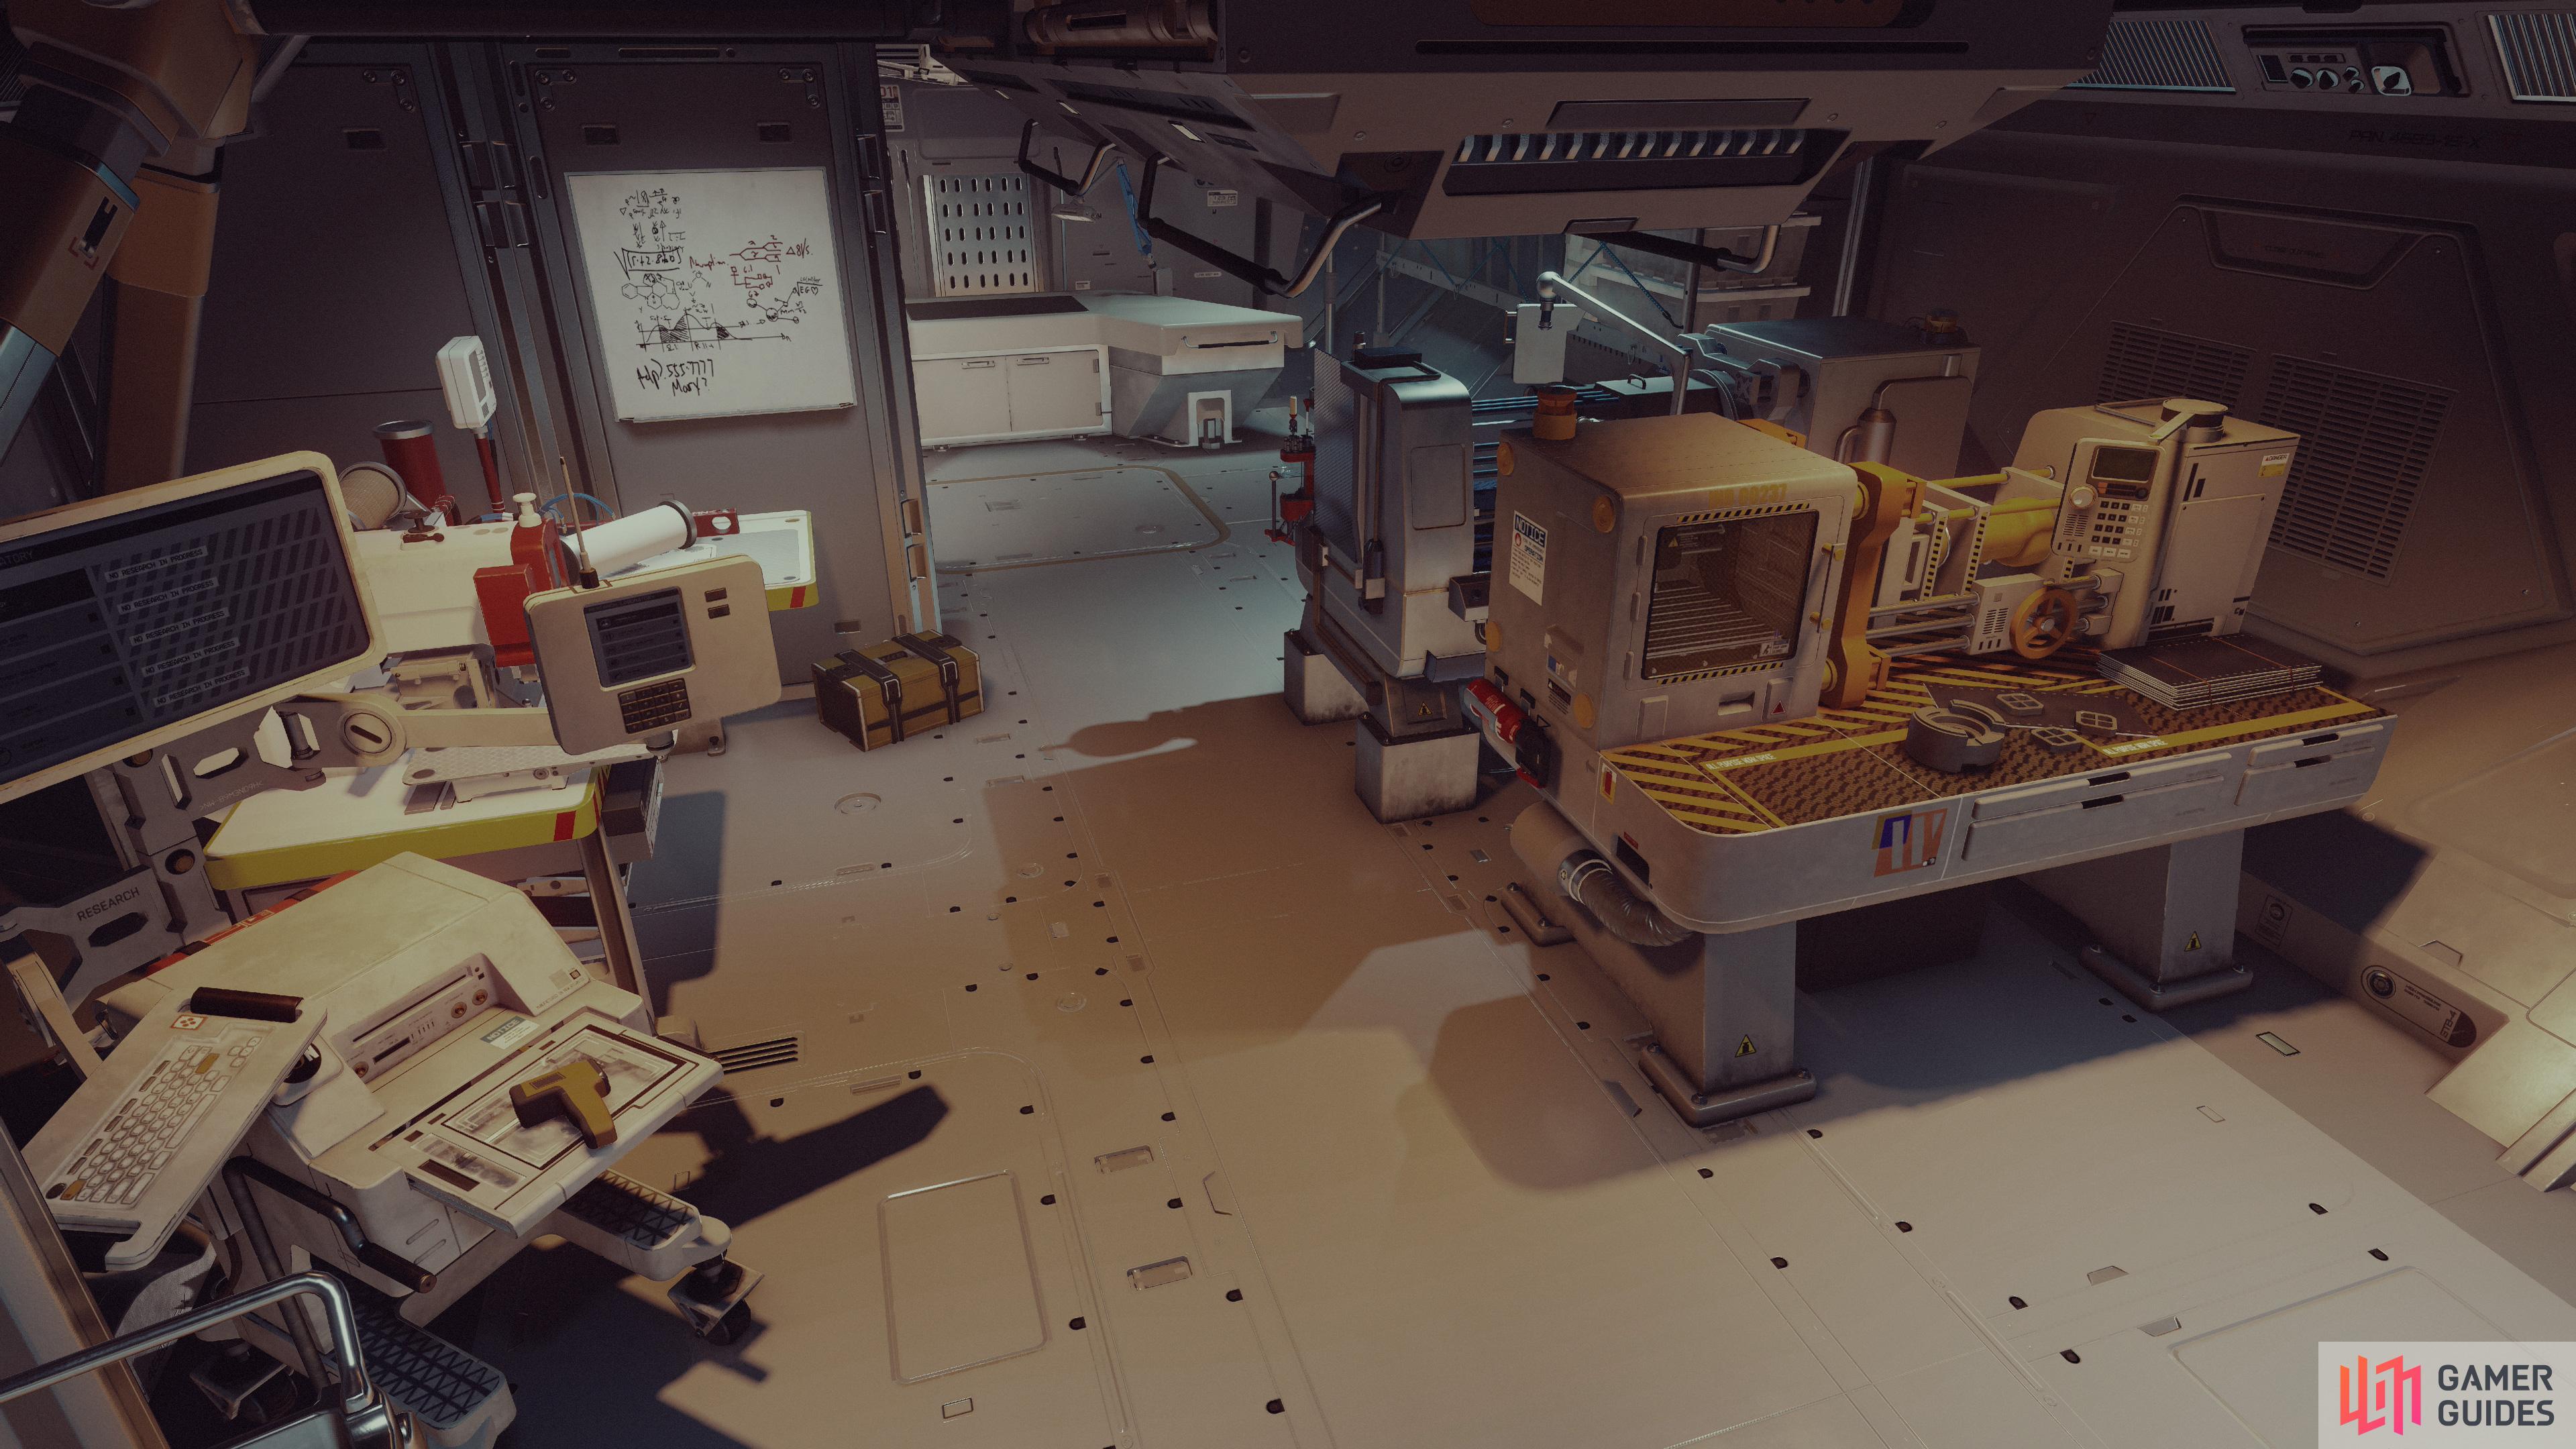
Boasting three crafting stations not offered by any other hab (weapon workbench, spacesuit workbench and industrial workbench) and with a research lab thrown in for good measure, the Workshop is a must-have in all ships.
Workshop
| Hab | Features | Crew Stations | Passenger Slots |
|---|---|---|---|
| Workshop | – | – |
One of the most useful habs out there, the Workshop, as its name implies, comes furnished with at least three crafting stations: the ![]() Weapon Workbench,
Weapon Workbench, ![]() Spacesuit Workbench,
Spacesuit Workbench, ![]() Industrial Workbench, and, depending on the brand and how many doors/ladders spawn, potentially a Research Lab. Every ship needs one.
Industrial Workbench, and, depending on the brand and how many doors/ladders spawn, potentially a Research Lab. Every ship needs one.

(1 of 2) To gain every bit of functionality you could ever need out of a ship, you only need four habs - all-in-one berth, battle stations, infirmary and workshop.

To gain every bit of functionality you could ever need out of a ship, you only need four habs - all-in-one berth, battle stations, infirmary and workshop. (left), It may not be aesthetically pleasing, but once you’ve attached the required components, it’s a very functional ship. (right)
Which Habs You Should Use
Now that we’ve covered which habs are best and why, let’s put it all together and build ourselves a ship that can do everything with as little excess as possible. Below we’ll list which habs you should include on your ship, assuming you don’t want any excess mass or space (not that these are all that deleterious, if you care more about cosmetics than pure stats and functionality), but you also want a ship that has the maximum furnishings, commodities, crafting stations and sufficient Crew Stations and Passenger Slots:
-
All-in-One Berth (2x1): This will get you some beds, and, if you’re lucky, a Research Station, Galley and perhaps a Navigation Console. The brand and the locations of doors and ladders can cut into these features, but the galley and beds should be staples. This also gets you two Passenger Slots, which should be sufficient for any taxi-work you have to do.
-
Battle Stations (2x2): Perhaps a tad controversial, as this hab is a 2x2 model, and less efficient per tile than the Control Station (2x1, 4 Crew Stations). The Battle Station does have less mass per Crew Station than the Control Station (6 Crew Stations for 10 Mass, as compared to 4 Crew Stations for 8 Mass), however, for what that’s worth. While Max Crew is a somewhat complicated state (see link for more details on how Max Crew, Crew Stations and Crew Capacity all work) it’s worth noting that unless you max the
 Ship Command skill, the most crew you can assign is 3, regardless of what your ship (via the Max Crew stat) is capable of. Also worth noting is the fact that your cockpit will give between 2 and 6 Crew Stations (seek out Stroud-Eklund cockpits for more Crew Stations). Since most people will only be able to assign 3 crew unless they go out their way to max Ship Command (which requires 12 ranks in the Social tree) and the cockpit provides at least two, you might not even need this hab. If you want to future proof things, however, get the 2x2 Battle Stations hab and with whatever cockpit you use you’ll have at least 8 Crew Stations, which is the maximum number of crew you can assign anyways. Simple.
 -
Infirmary/Science Lab (2x1): These are the only two habs that will give you a Pharmaceutical Lab, and it will also give you a Research Lab (which you may also get from an All-in-One Berth or a Workshop, depending on the hab’s brand and layout), so it’s an auto-include.
-
Workshop (2x1): Boasting three exclusive workbenches - the Weapon Workbench, Spacesuit Workbench and Industrial Workbench. You can’t get these crafting stations from any other hab, so you need a Workbench 2x1 installed if you want to maximize your crafting options. With any luck you’ll also get a Research Lab in this hab, but it’s not necessary if you also have an Infirmary or a Science Lab.
(1 of 5) Different brands offer different aesthetics and furnishings - the Deimos All-in-One Berth,
Where to Buy Different Hab Brands in Starfield
Now that you know what habs to get and why to get them, we can focus on the aspects of shipbuilding that really matter - cosmetics! Habs, along with your cockpit, are the internal areas of the ship you can actually explore and make use of, and there are three brands out there: Deimos, Hopetech, Nova Galactic, Stroud-Eklud and Taiyo. Each of these brands has a different design/aesthetic style, Deimos is clean and militaristic, Nova Galactic is NASApunk, Stroud-Eklund is professional/business class, etc., and while there may be some differences between the interior furnishings, the core stats and functions of each hab should remain more or less the same between brands (at least inasmuch as door and ladders will make more of a difference than the brand will). Since you have to have habs, you might as well experiment and pick the design you like better. Remember, you can cover the exterior with structure components and change the paint job, but the interior is more static.
Below are the locations of each hab brand by size - generally only one vendor in the game sells the full range of hab parts, so while you may be able to find the odd 1x1 and 2x1 at numerous places, if you want specialty pieces (anything 2x2 or larger) you’ll need to visit specific merchants.
| Brand | Size | Locations |
|---|---|---|
| Deimos | 1x1 | |
| Deimos | 2x1 | |
| Deimos | 2x2 | |
| Deimos | 3x1 | |
| Deimos | 3x2 | |
| Deimos | 3x3 | |
| Hopetech | 1x1 | |
| Hopetech | 2x1 | |
| Hopetech | 2x2 | |
| Hopetech | 2x3 | |
| Hopetech | 3x1 | |
| Hopetech | 3x3 | |
| Hopetech | 3x3 | |
| Hopetech Fuselage | – | |
| Hopetech Cross Brace | – | |
| Hopetech Spine | – | |
| Nova Galactic | 1x1 | |
| Nova Galactic | 2x1 | |
| Nova Galactic | 2x2 | |
| Nova Galactic | 2x3 | |
| Nova Galactic | 3x1 | |
| Nova Galactic | 3x2 | |
| Nova Galactic | 3x3 | |
| Nova Galactic Cross Passage | – | |
| Stroud-Eklund | 1x1 | |
| Stroud-Eklund | 2x1 | |
| Stroud-Eklund | 2x2 | |
| Stroud-Eklund | 2x3 | |
| Stroud-Eklund | 3x1 | |
| Stroud-Eklund | 3x2 | |
| Taiyo | 1x1 | |
| Taiyo | 2x1 | |
| Taiyo | 2x2 | |
| Taiyo | 3x1 | |
| Taiyo | 3x2 |
Now that you’ve designed the starship of your dreams (or your budget, as it goes…) check out the following pages for more information about ships in Starfield:
No Comments