
This page details how to start and complete the misc quest Operation Starseed in Starfield. This is one of the game’s lengthier misc quests and players will need to be reasonably high level to both access it and complete it as there are some challenging fights ahead. In addition, you’ll also need to make a series of big choices that’ll determine the outcome of the quest. Read on for information on all choices and endings so you can make the most optimal choices based on your playstyle!
How to Start Operation Starseed
In order to start this quest, you’ll need to make your way to the ![]() Charybdis System to receive a transmission from a distressed caller. The caller will ask you to head to Charybdis III and this will commence the quest.
Charybdis System to receive a transmission from a distressed caller. The caller will ask you to head to Charybdis III and this will commence the quest.
It isn’t quite that easy, however, as you’re gonna need to upgrade your grav jump to get to it. You’re gonna need a grav jump of at least 26 LY (you can check your light year jump power in your ship menu), but later on you’ll also need at least 28 LY, so if you need to upgrade your ship, we recommend doing it now and finding a grav drive with a jump of 28 LY. To jump to Charybdis, you’ll need to make your way to the Zozma System which is northeast of Cheyenne. Both Zozma and Charybdis are on the upper “plain” of star systems so even if they seem close by to other systems they’re actually not, hence why you’re gonna need to upgrade your grav.
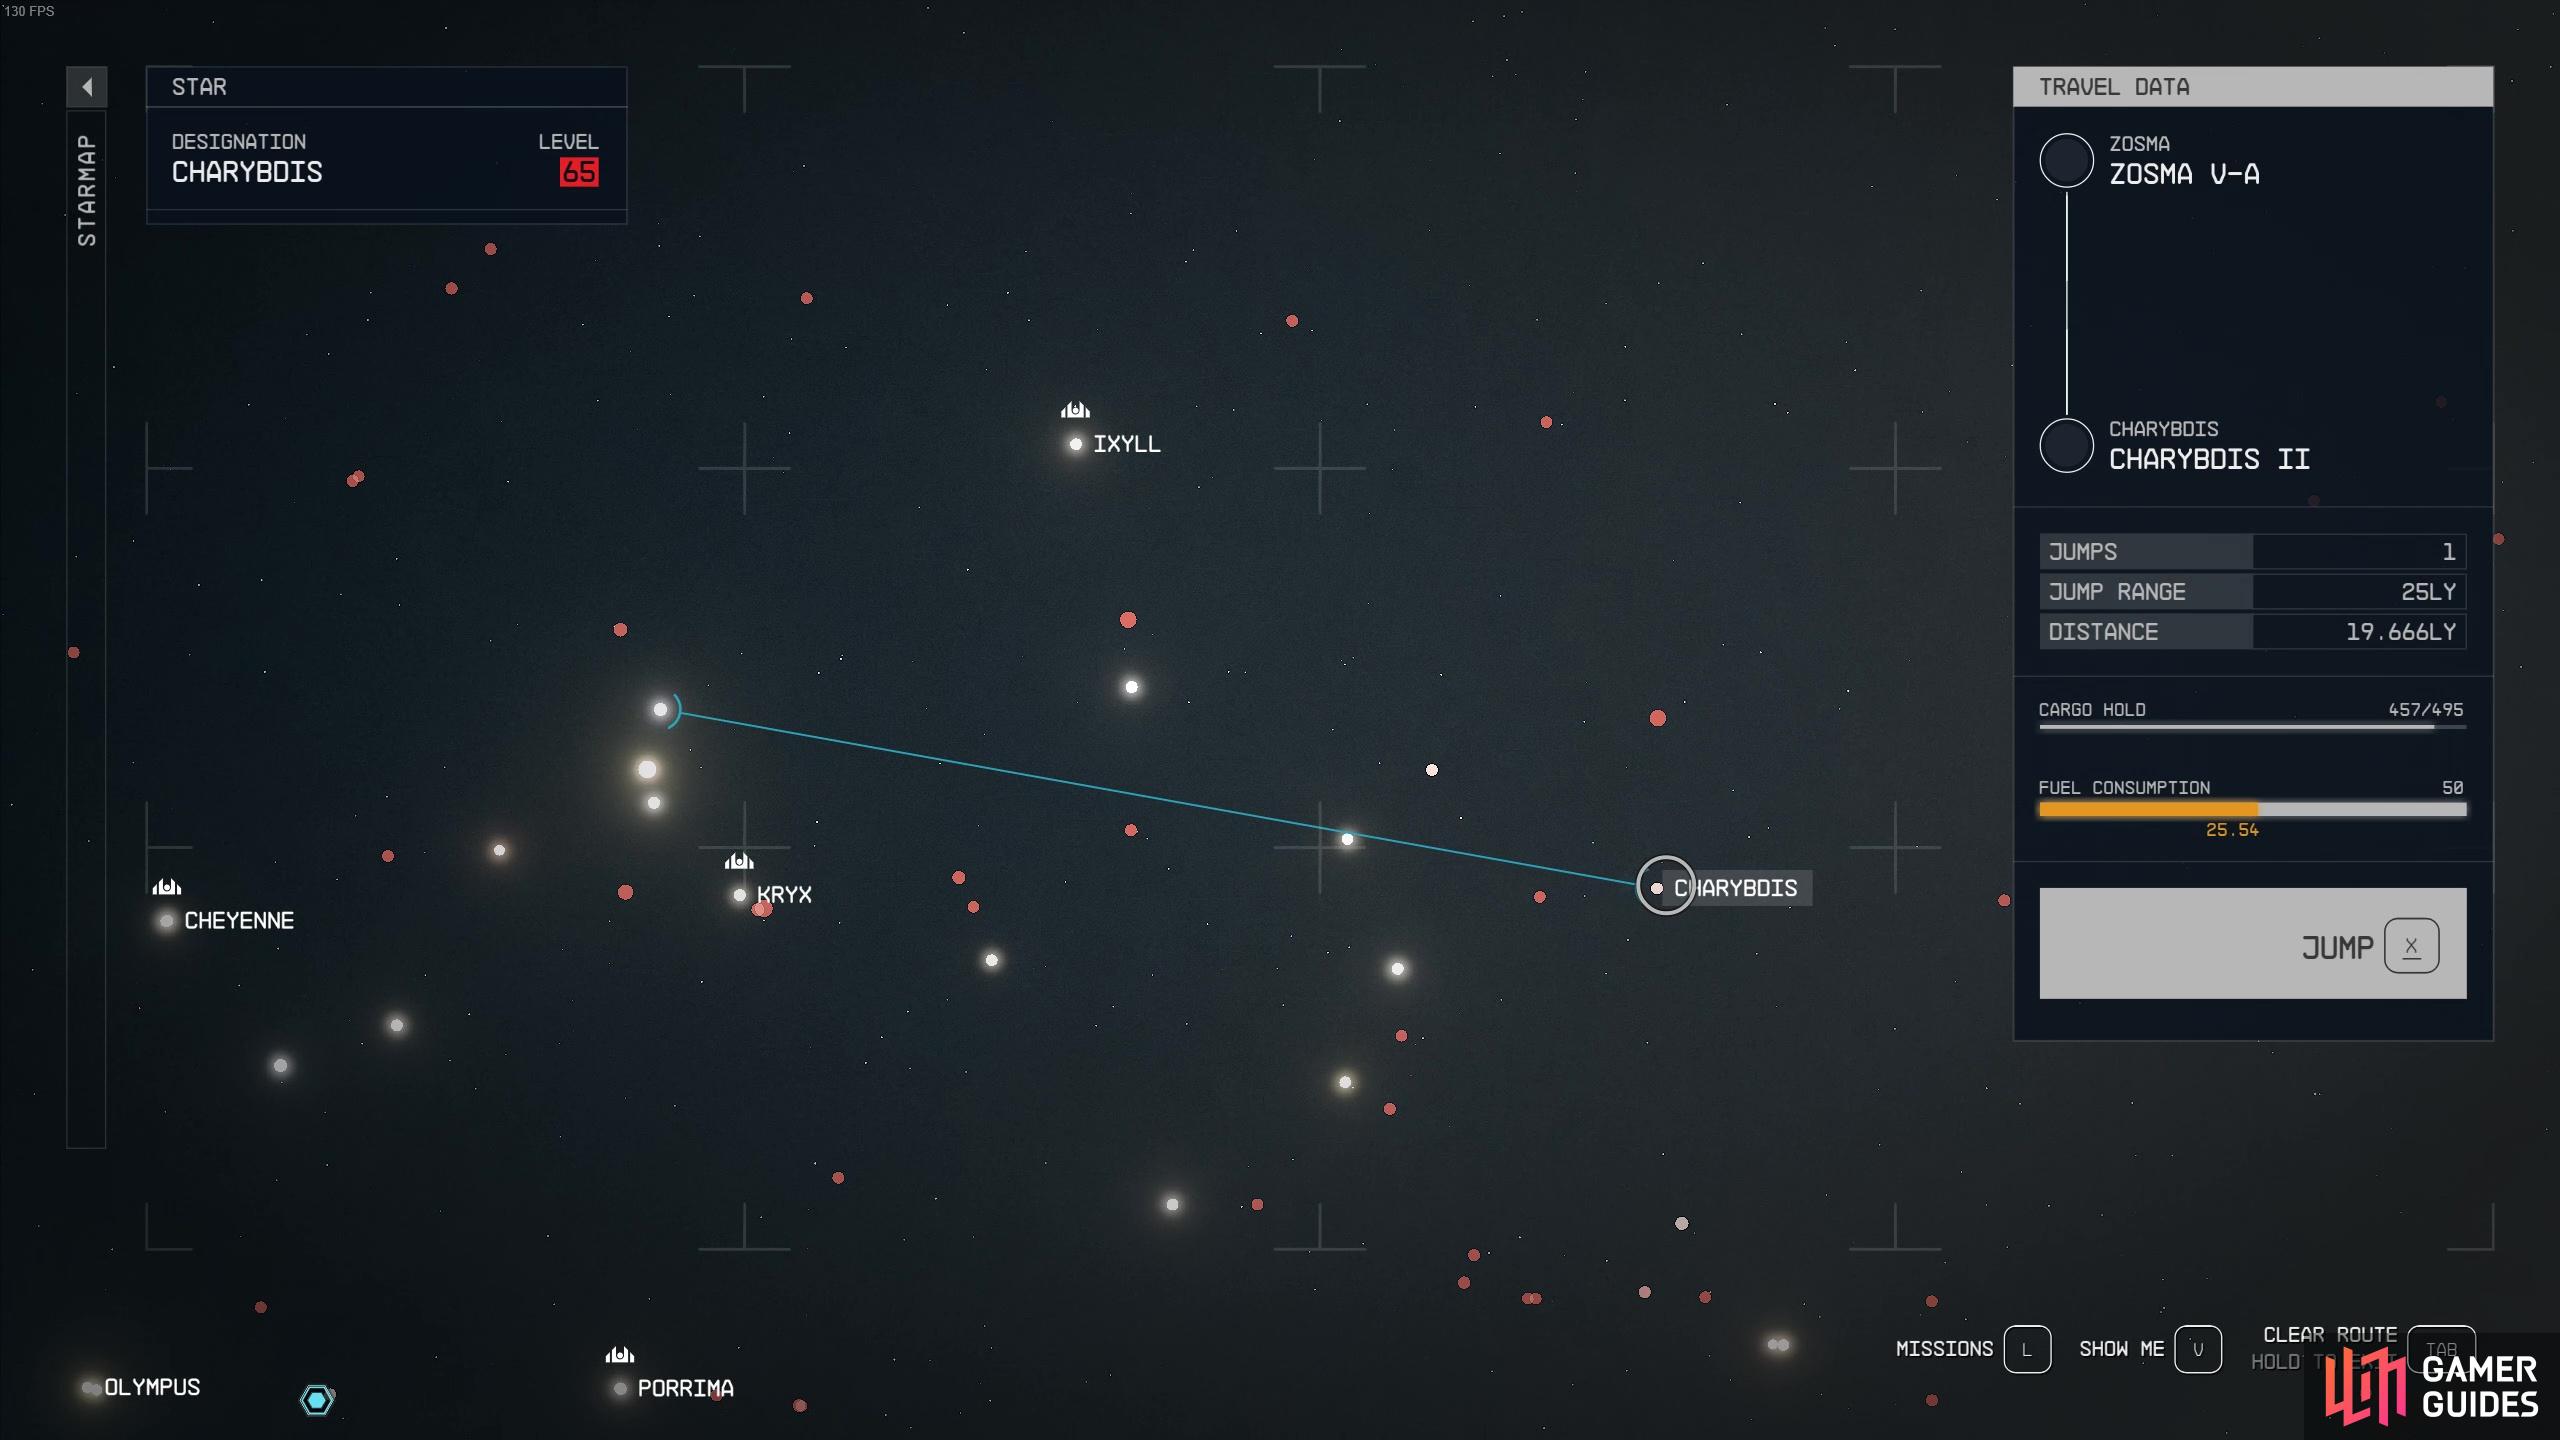
Getting to the Charybdis system is no easy feat.
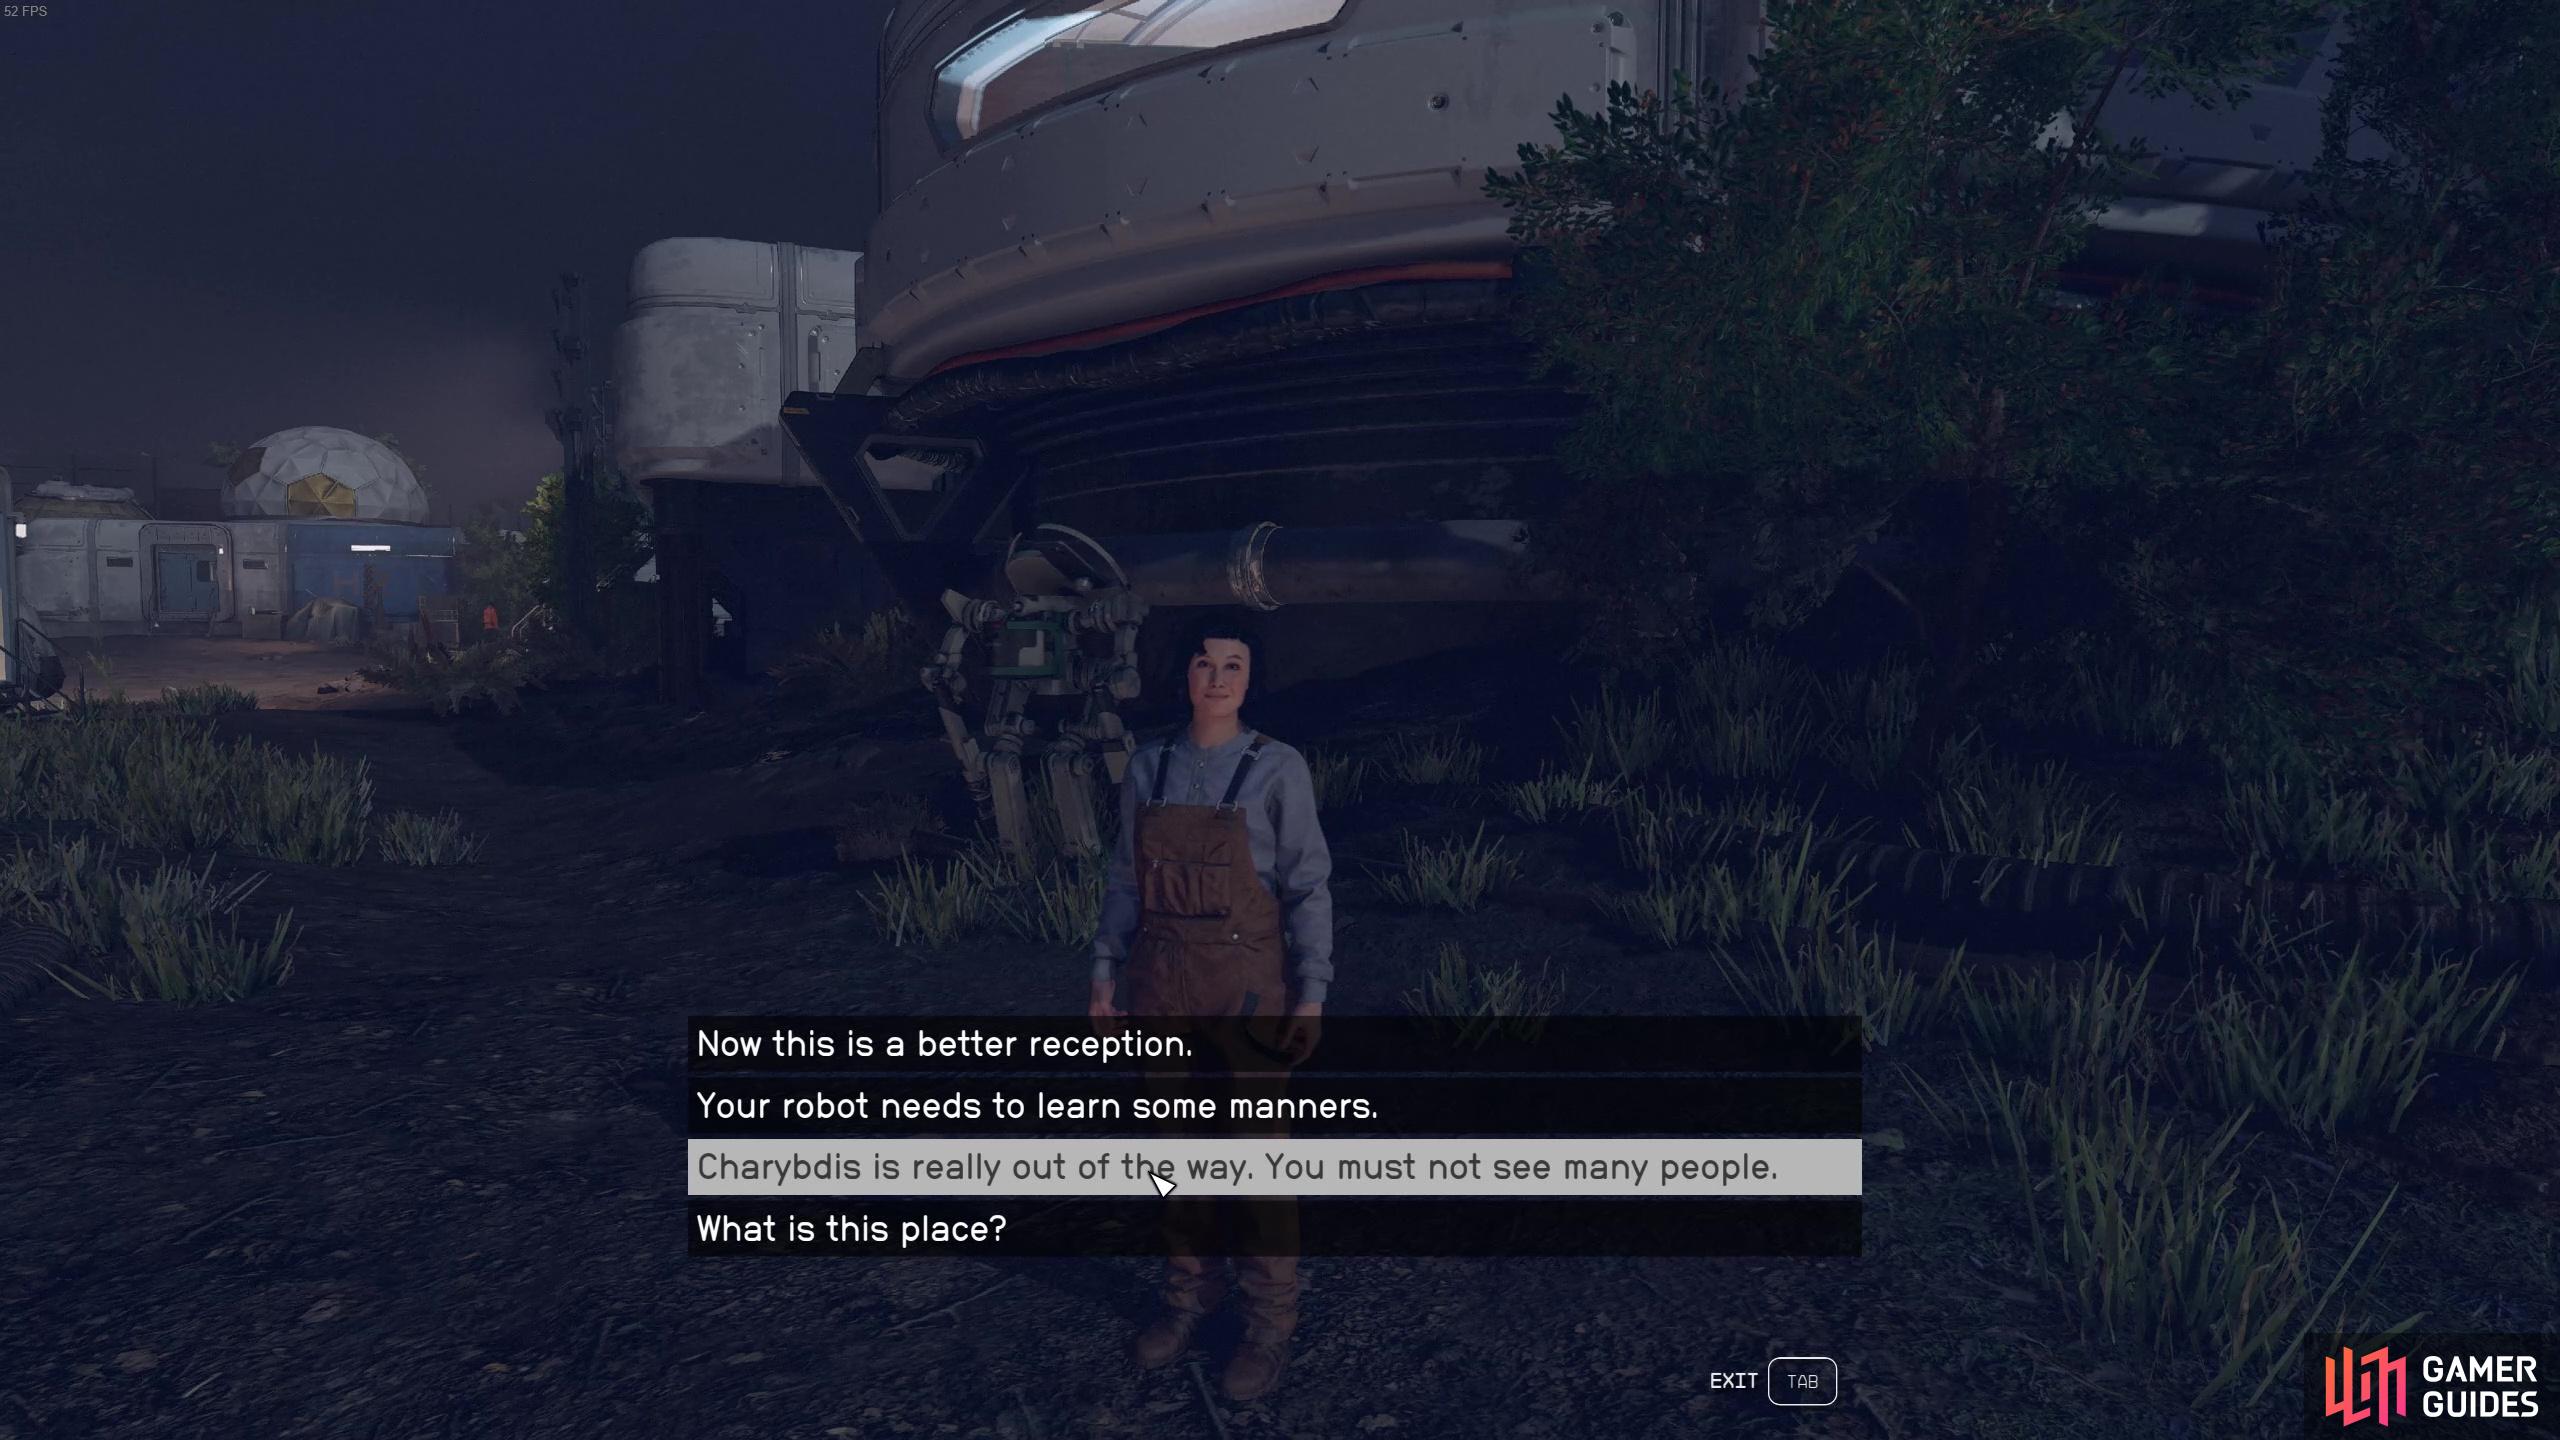
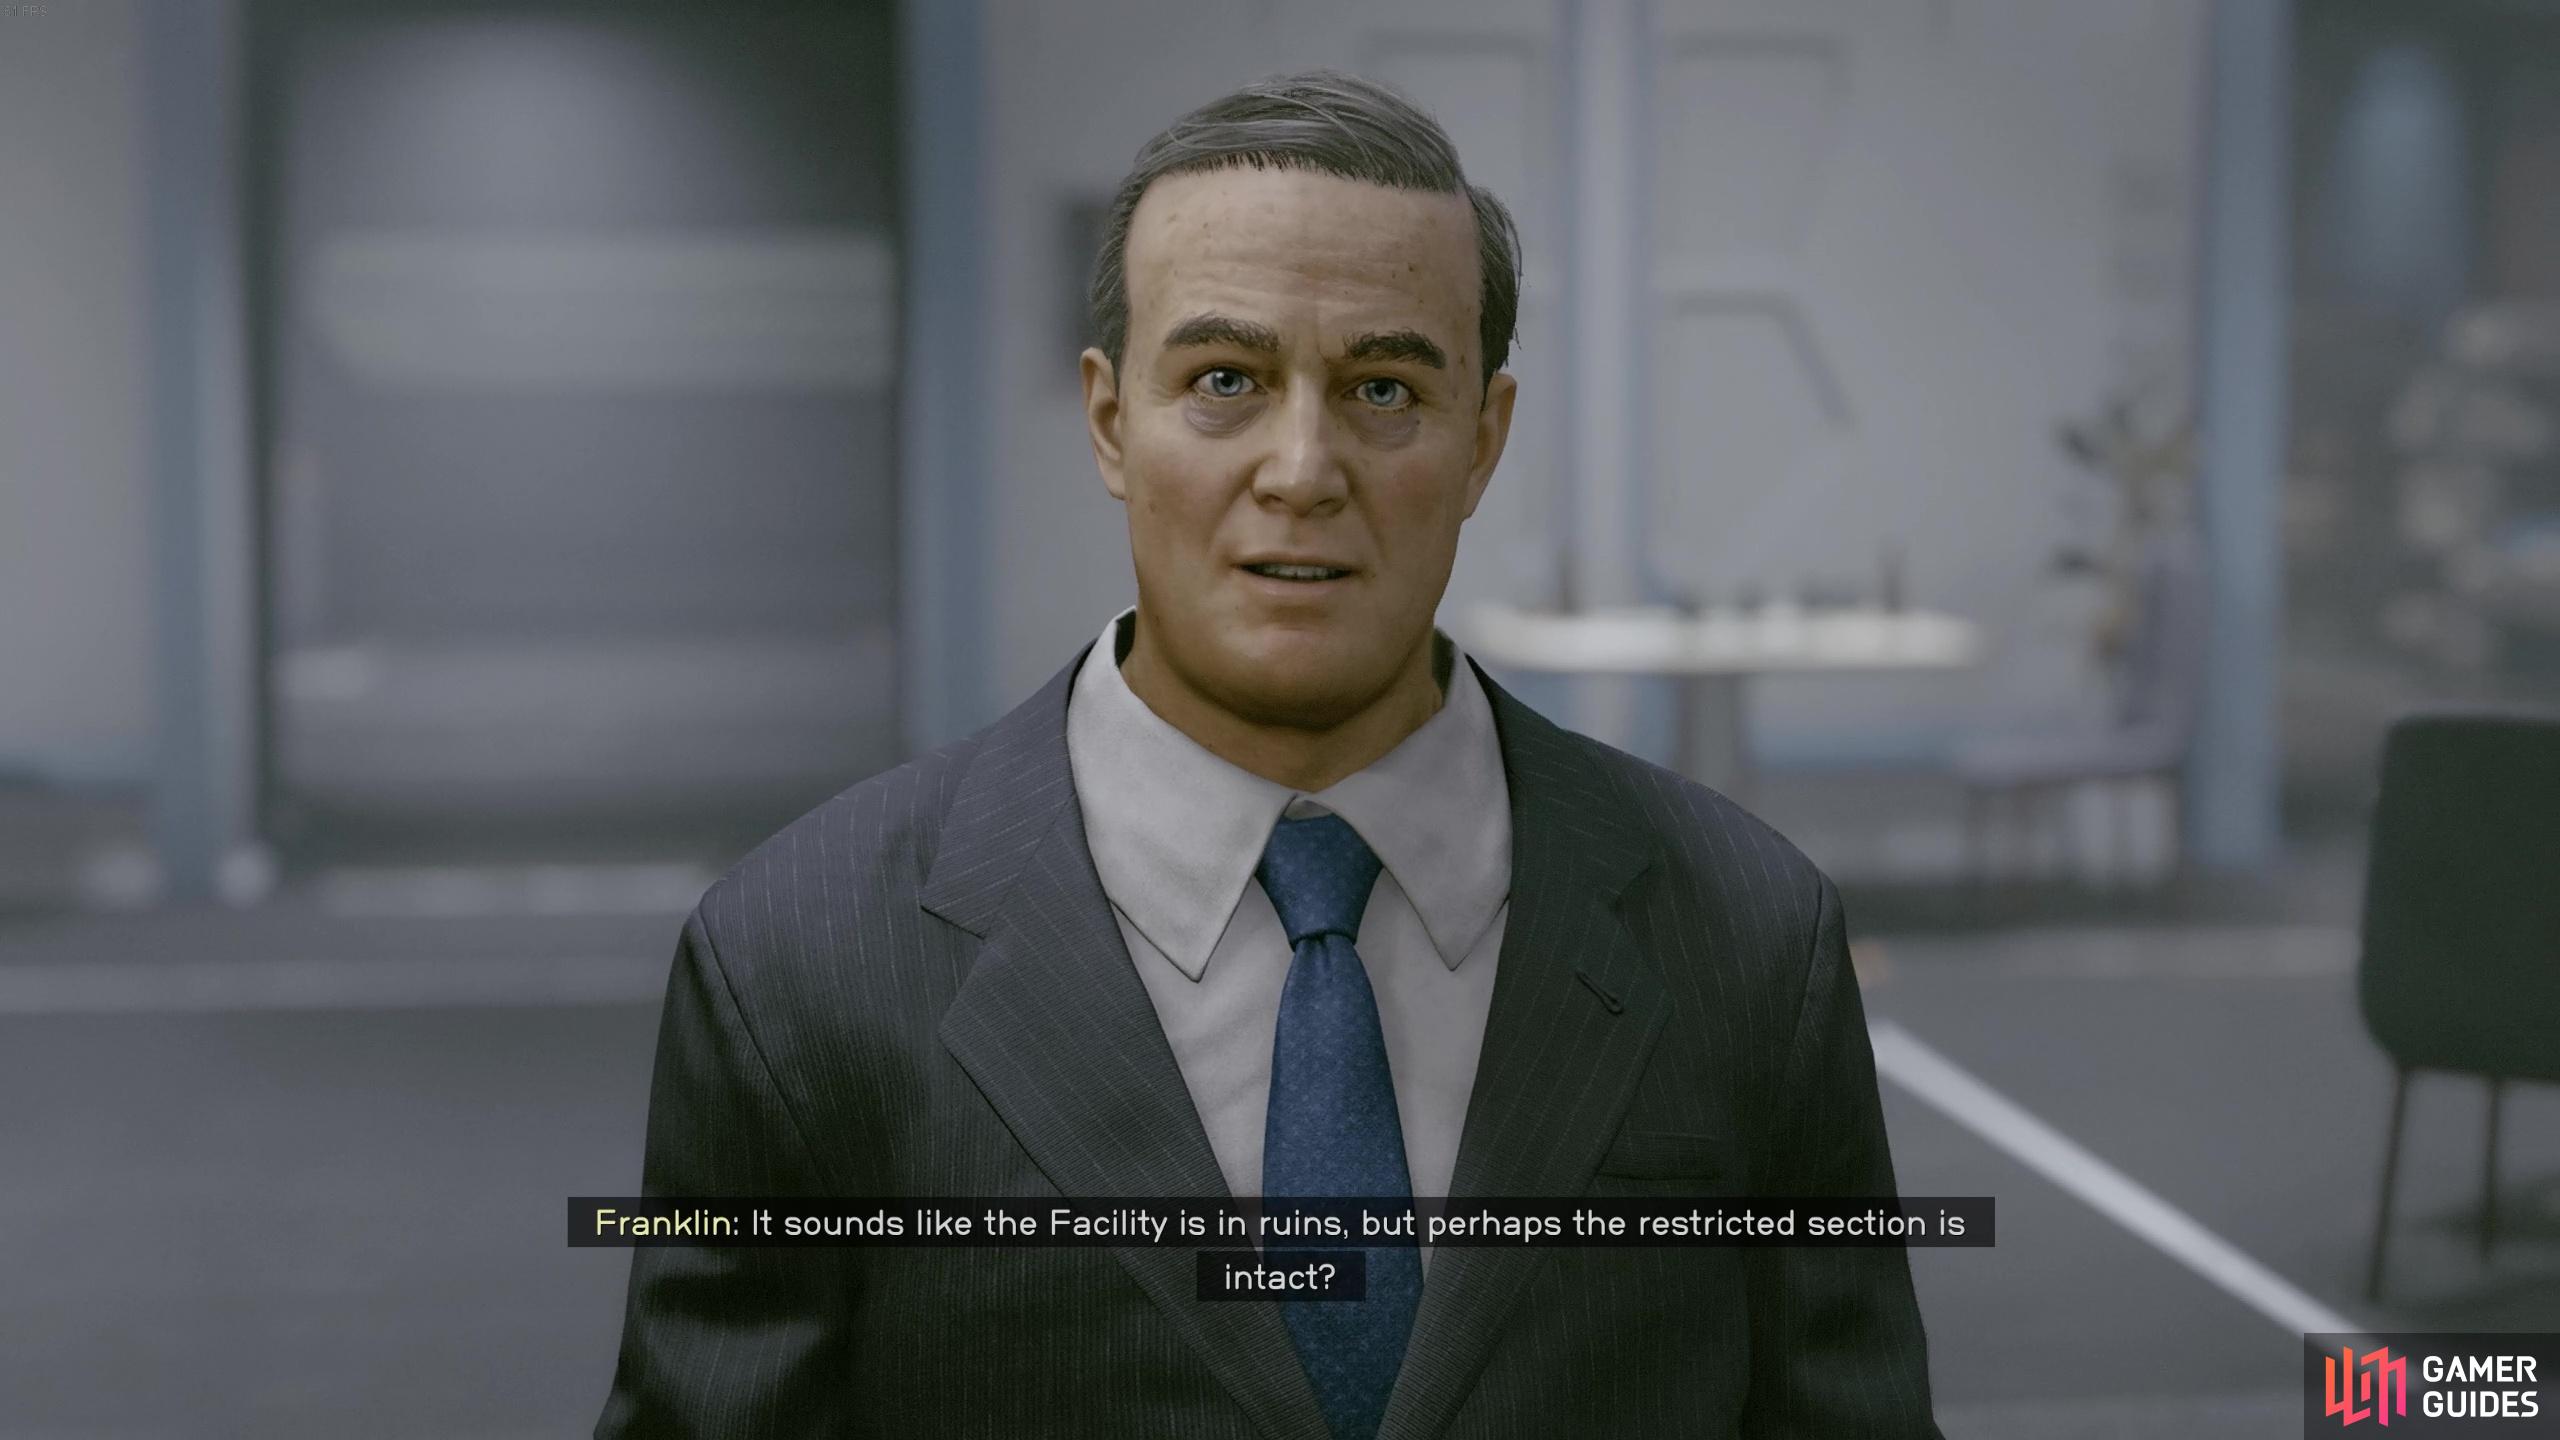
When you arrive in Crucible on Charybdis III, you’ll be greeted by a robot called Tobias. The robot seems initially confused by your presence but you can just tell him that you’re answering the distressed call and he’ll let you pass. You’ll then be greeted by a woman named Ada. After talking with her about how difficult it is to reach Charybdis, you’ll be prompted to go and speak with a man named Franklin. Head further into the settlement to find Franklin inside the cabin on the other side. He’s got an old timey accent and has the outfit to match and you’ll soon get to question this. When you do he’ll reveal his name is Franklin D. Roosevelt…you know, like the 32nd president of the United States. When you raise this with him he’ll also reveal that he is a clone, and there are a bunch of other clones at Crucible that were created by robots.
After receiving such mind-boggling information, Franklin will tell you to head out and speak with Genghis Khan and Amanirenas (yep, the historical figures!). But once you head out, you’ll get stopped by a man called Wyatt, as in Wyatt Earp the infamous Sheriff from Cowboy America. Right now he’s only introducing himself but he’ll become a more prominent figure later on!
To find Genghis, you’ll need to head out the facility and around to help defend him against some Cephalopod aliens. After dealing with the enemies, speak with Genghis and he’ll reveal that he wants to leave the facility and be free in the Settled Systems. If you know anything about history you know that Genghis was a pretty brutal warrior and leader of the Mongol Empire who also established the largest contiguous land empire in history. Would allowing Genghis out into the Settled Systems be a good idea…well you’ll get to decide later on!
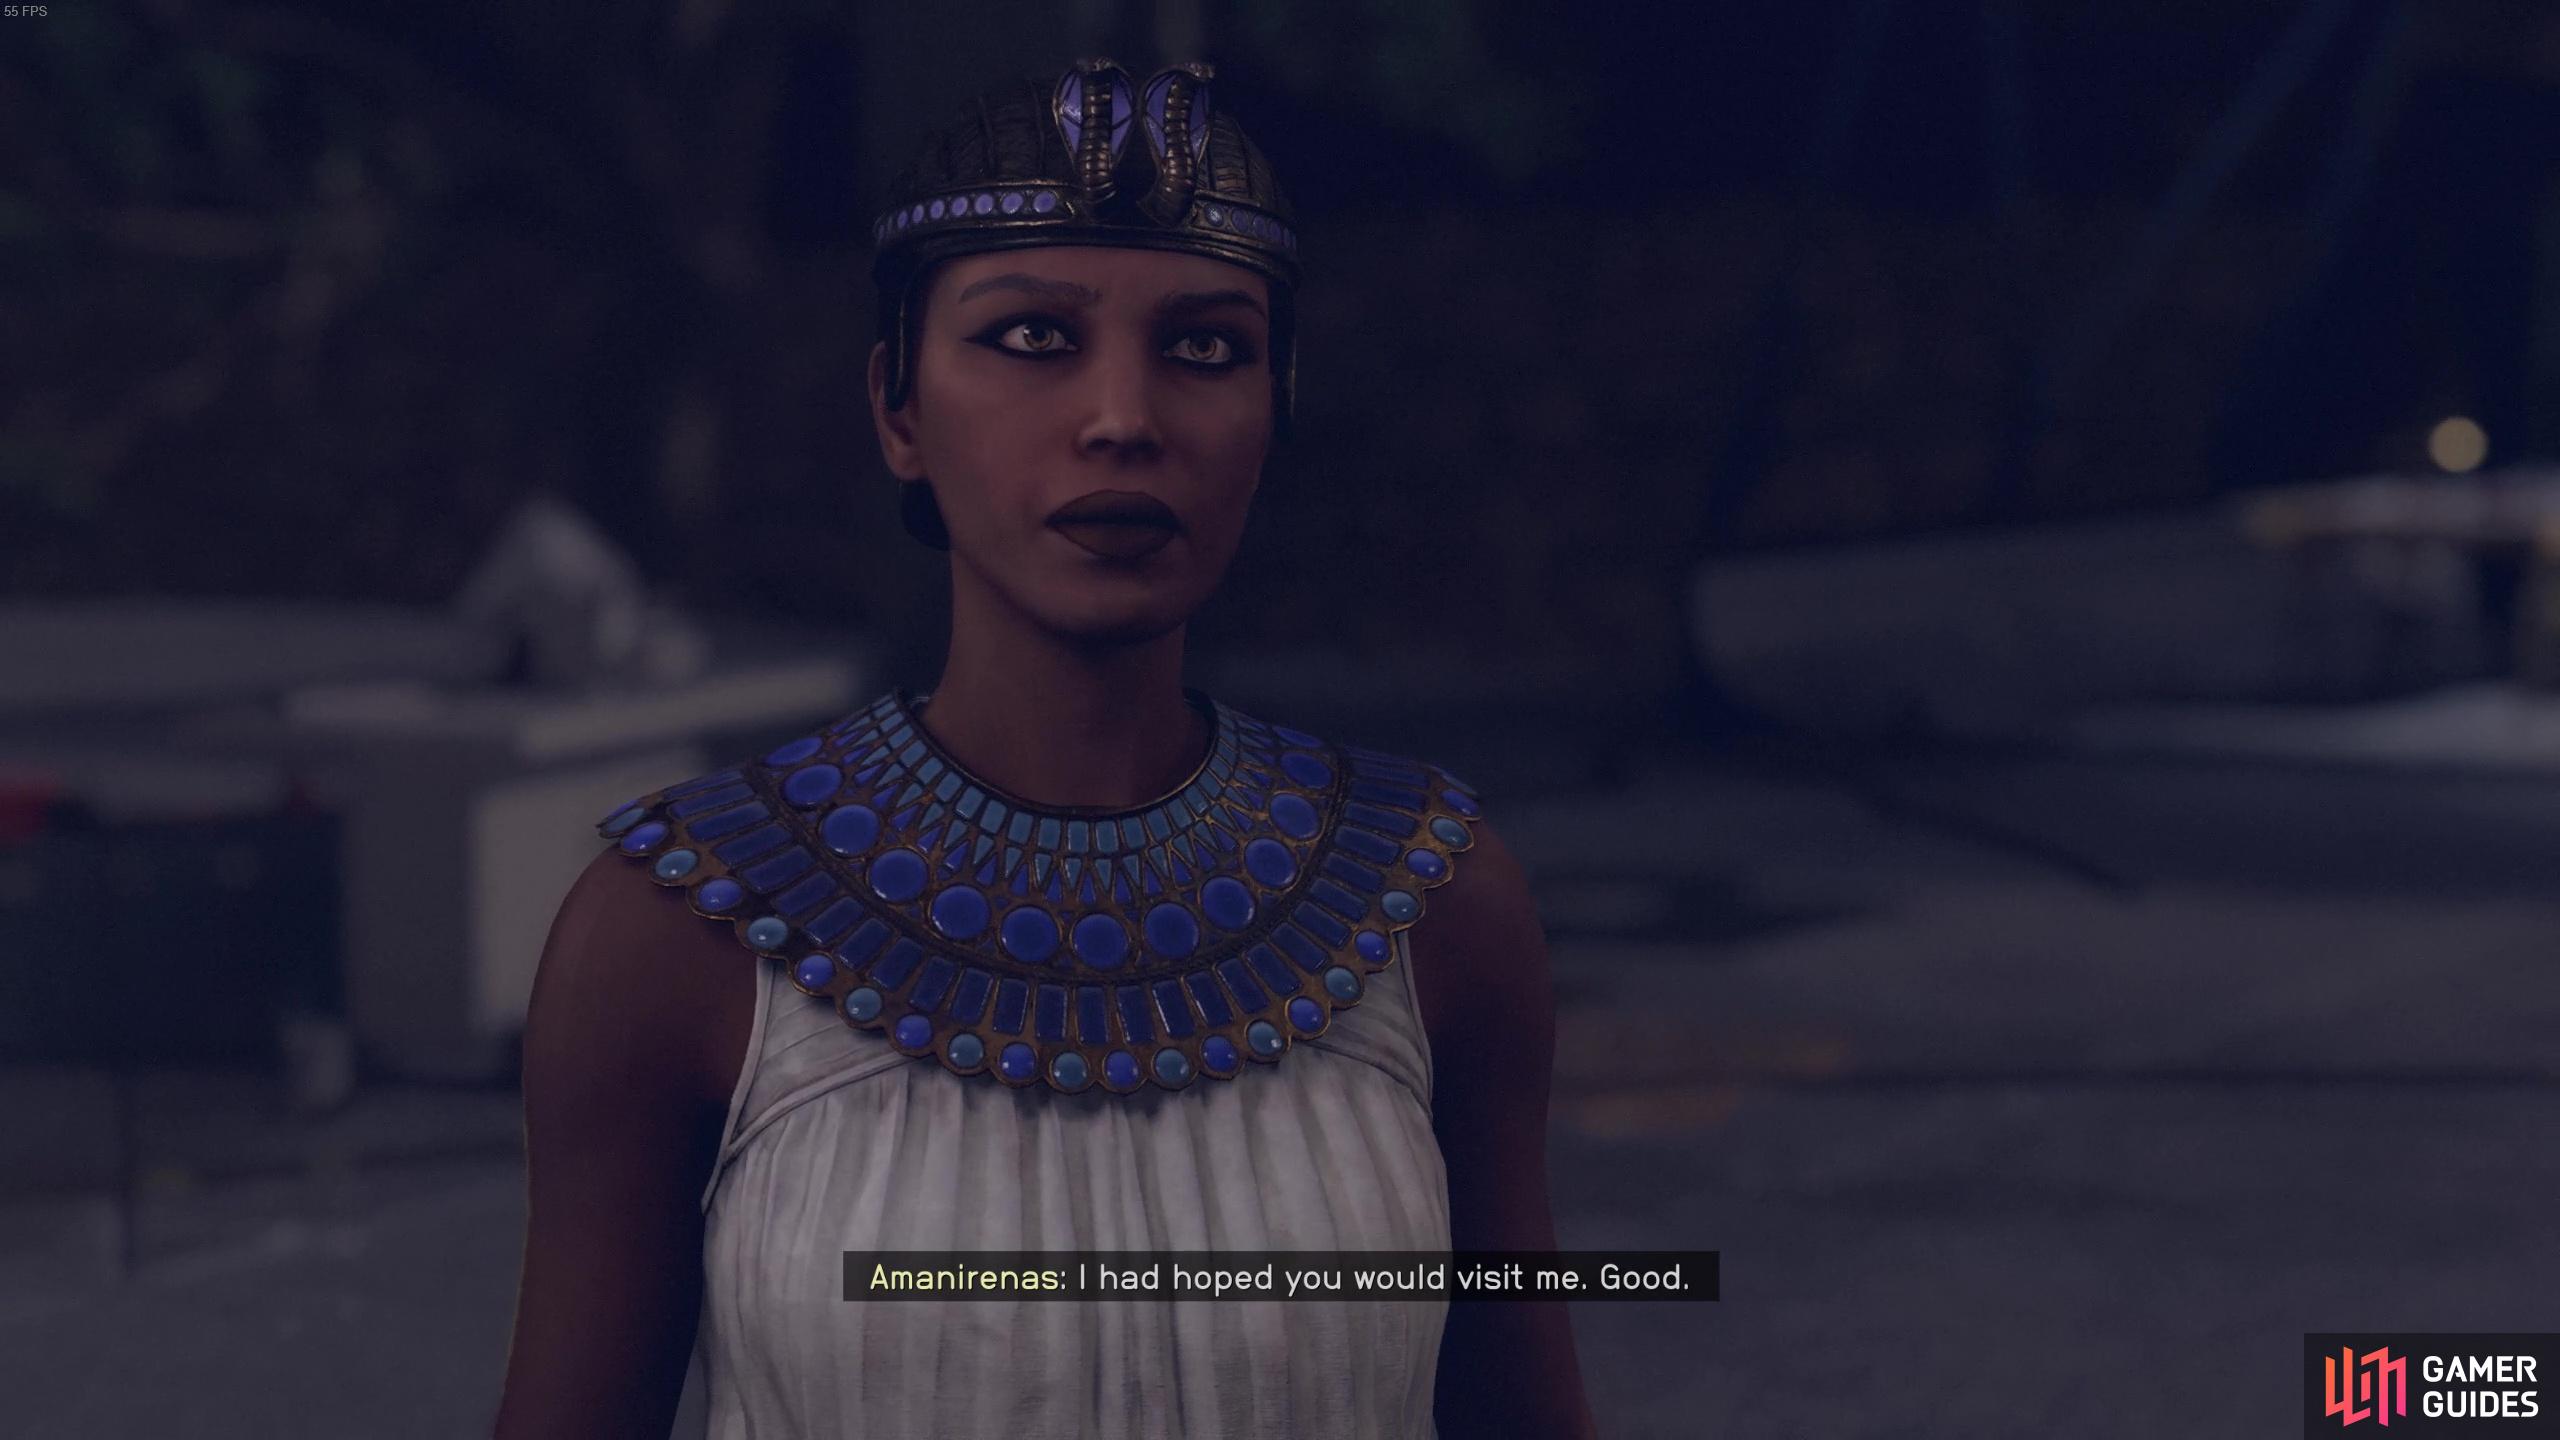
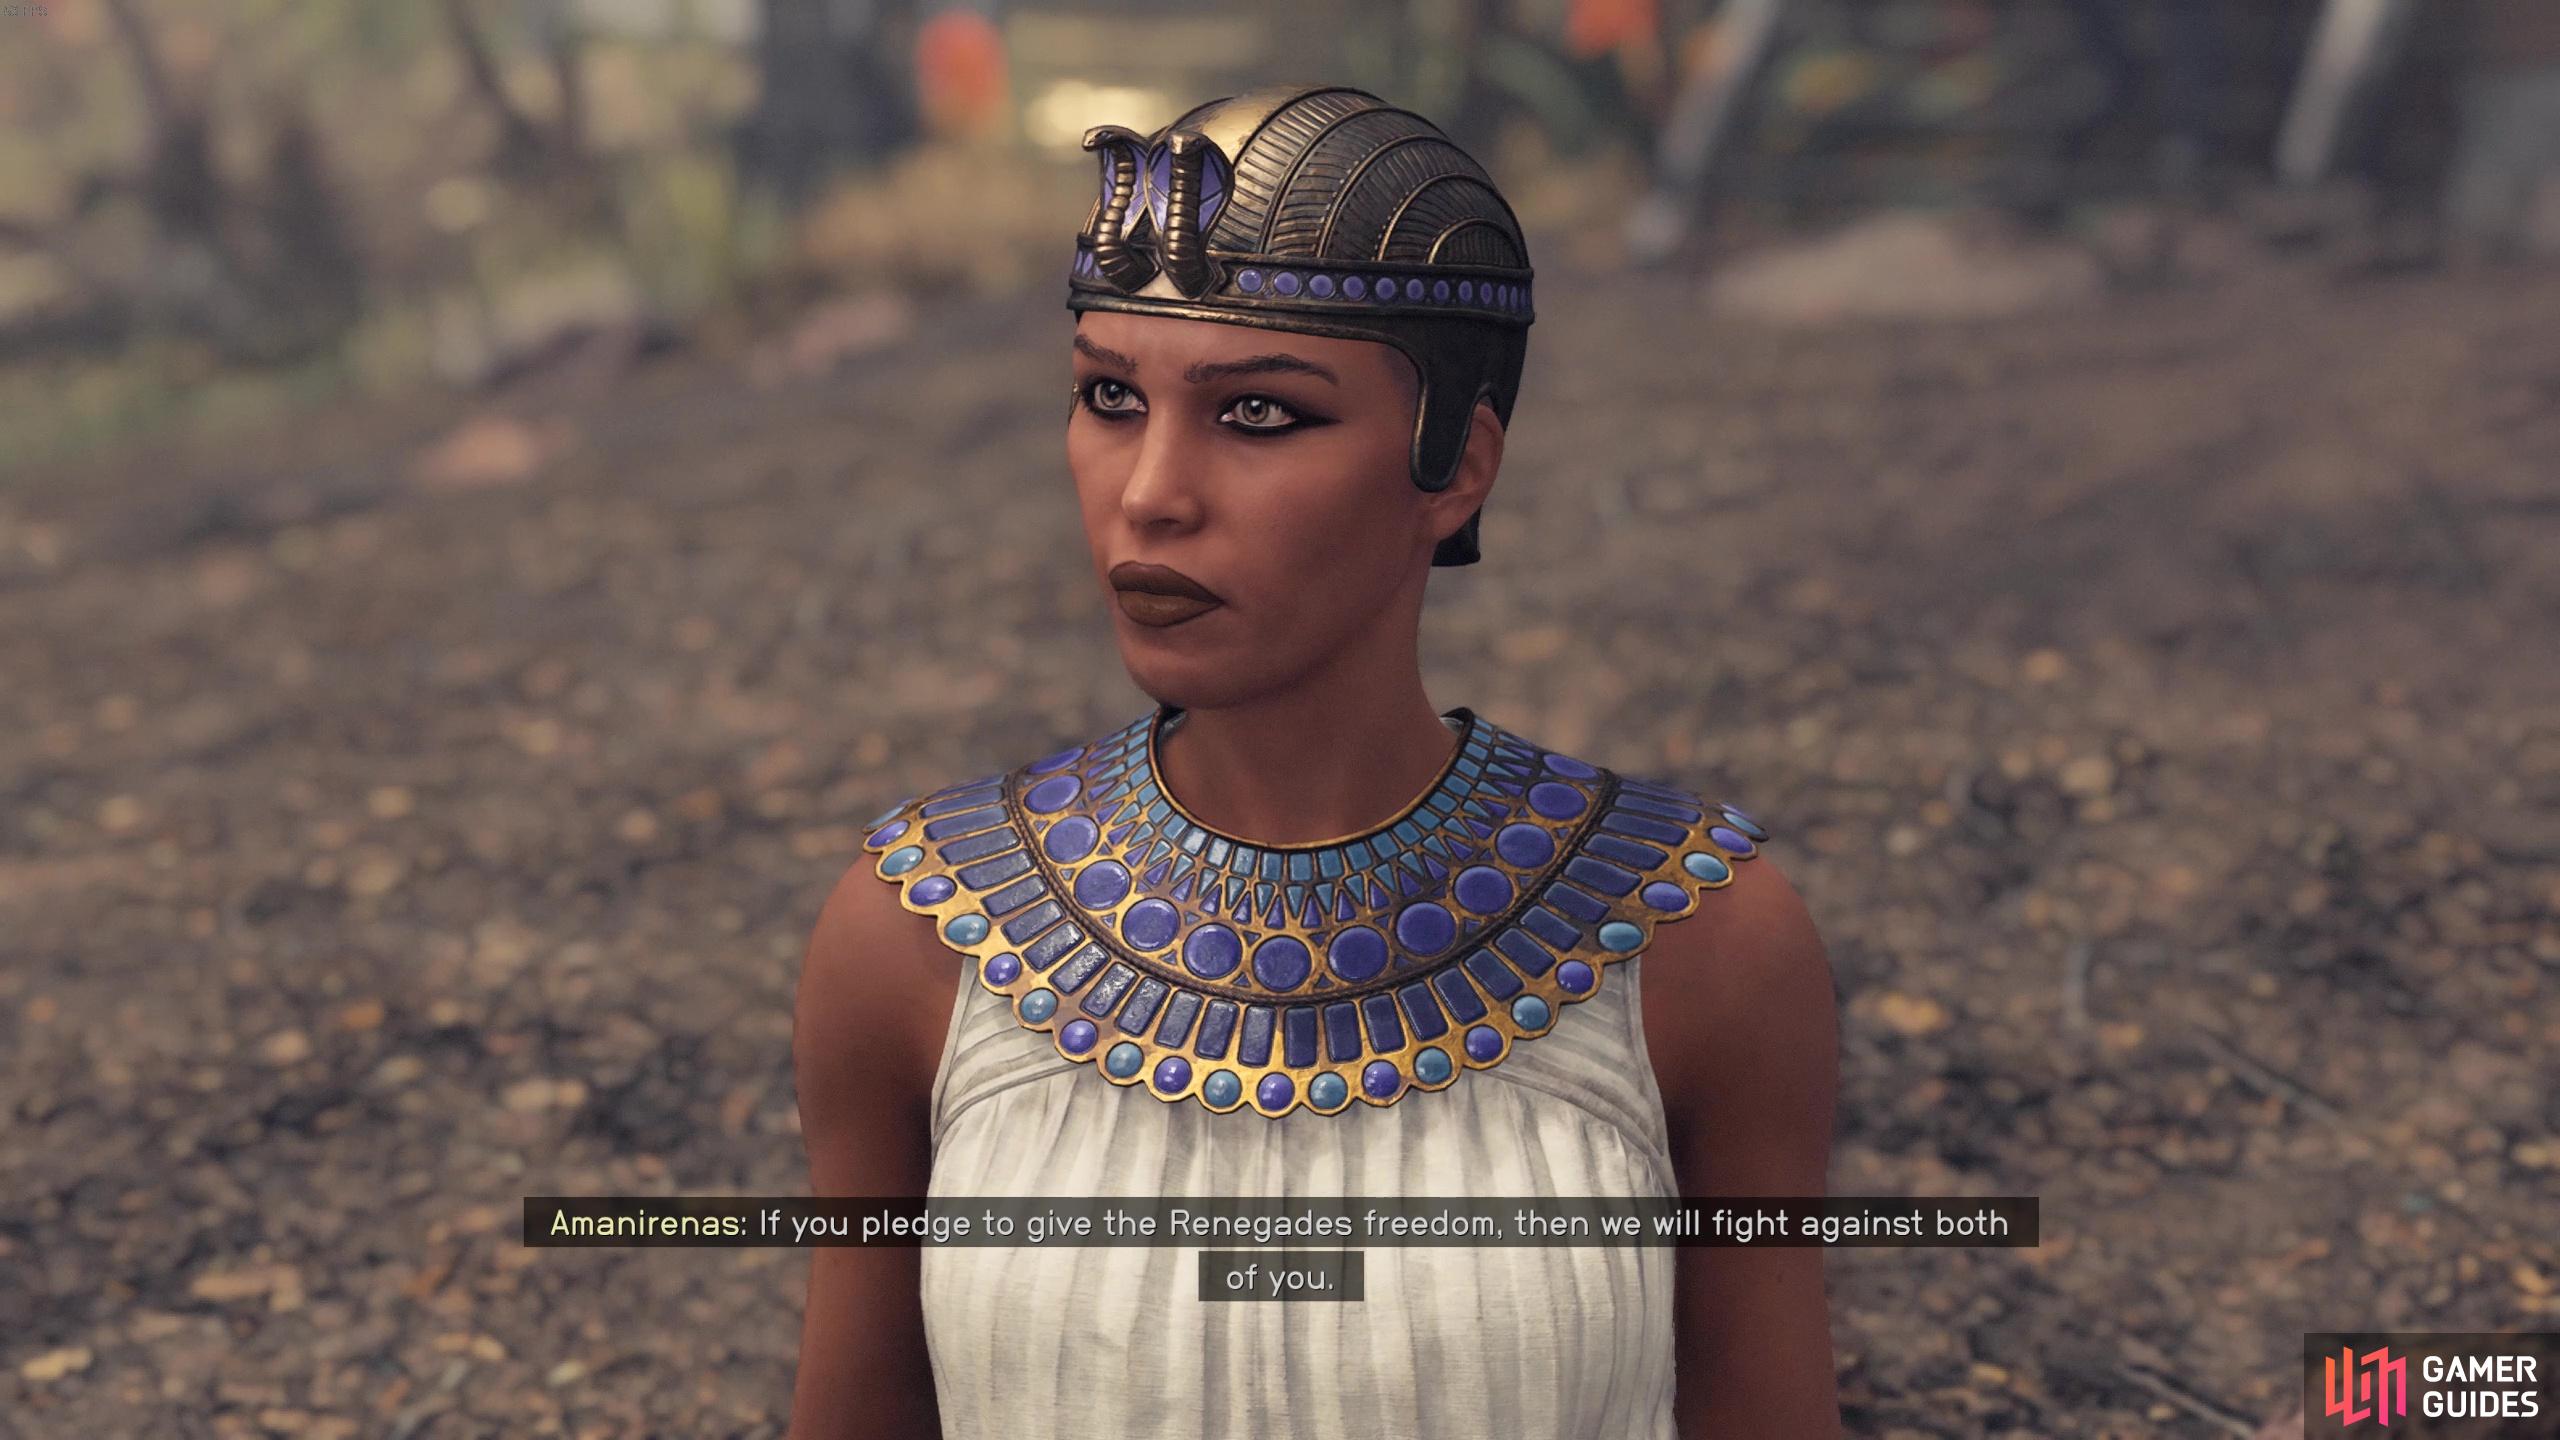
After speaking with Genghis (none of your dialogue choices matter at this point), return to Crucible to find Amanirenas. Amanirenas was the Queen of Kush and is known for being able to stop the invasion of her country against the Roman Empire. She will also say that she’d like to leave the Facility and at this point you’ll start getting the vibe that you’re gonna need to choose one of these people during the quest.
Once you’ve talked to Genghis and Amanirenas, return to Franklin and he’ll also mention that he wants you to find information at the Facility. He seems a lot more subdued and “logical” compared to Genghis and Amanirenas but that’s for players to decide on who they’ll side with later on.
Secret Lives: Should You Persuade or Kill Wyatt/H.H. Holmes?
When you leave the building after talking with Roosevelt, Wyatt will call to you from outside. When you speak with him it’ll start the short misc mission “Secret Lives”. He’ll tell you to meet him in a cave nearby so he can give you information about Roosevelt. You can follow Wyatt outside the facility to find a small cave just up the hill from where you initially met Genghis. When you speak with Wyatt, he’ll reveal that he is actually a clone of the serial killer H.H. Holmes! He then says that no one can find out so he threatens to kill you. You can either attack him outright, or you can try to persuade him to back down. To succeed on the persuasion check, you’ll need to fill the six bars in three turns. If you fail, you’ll have to kill him.
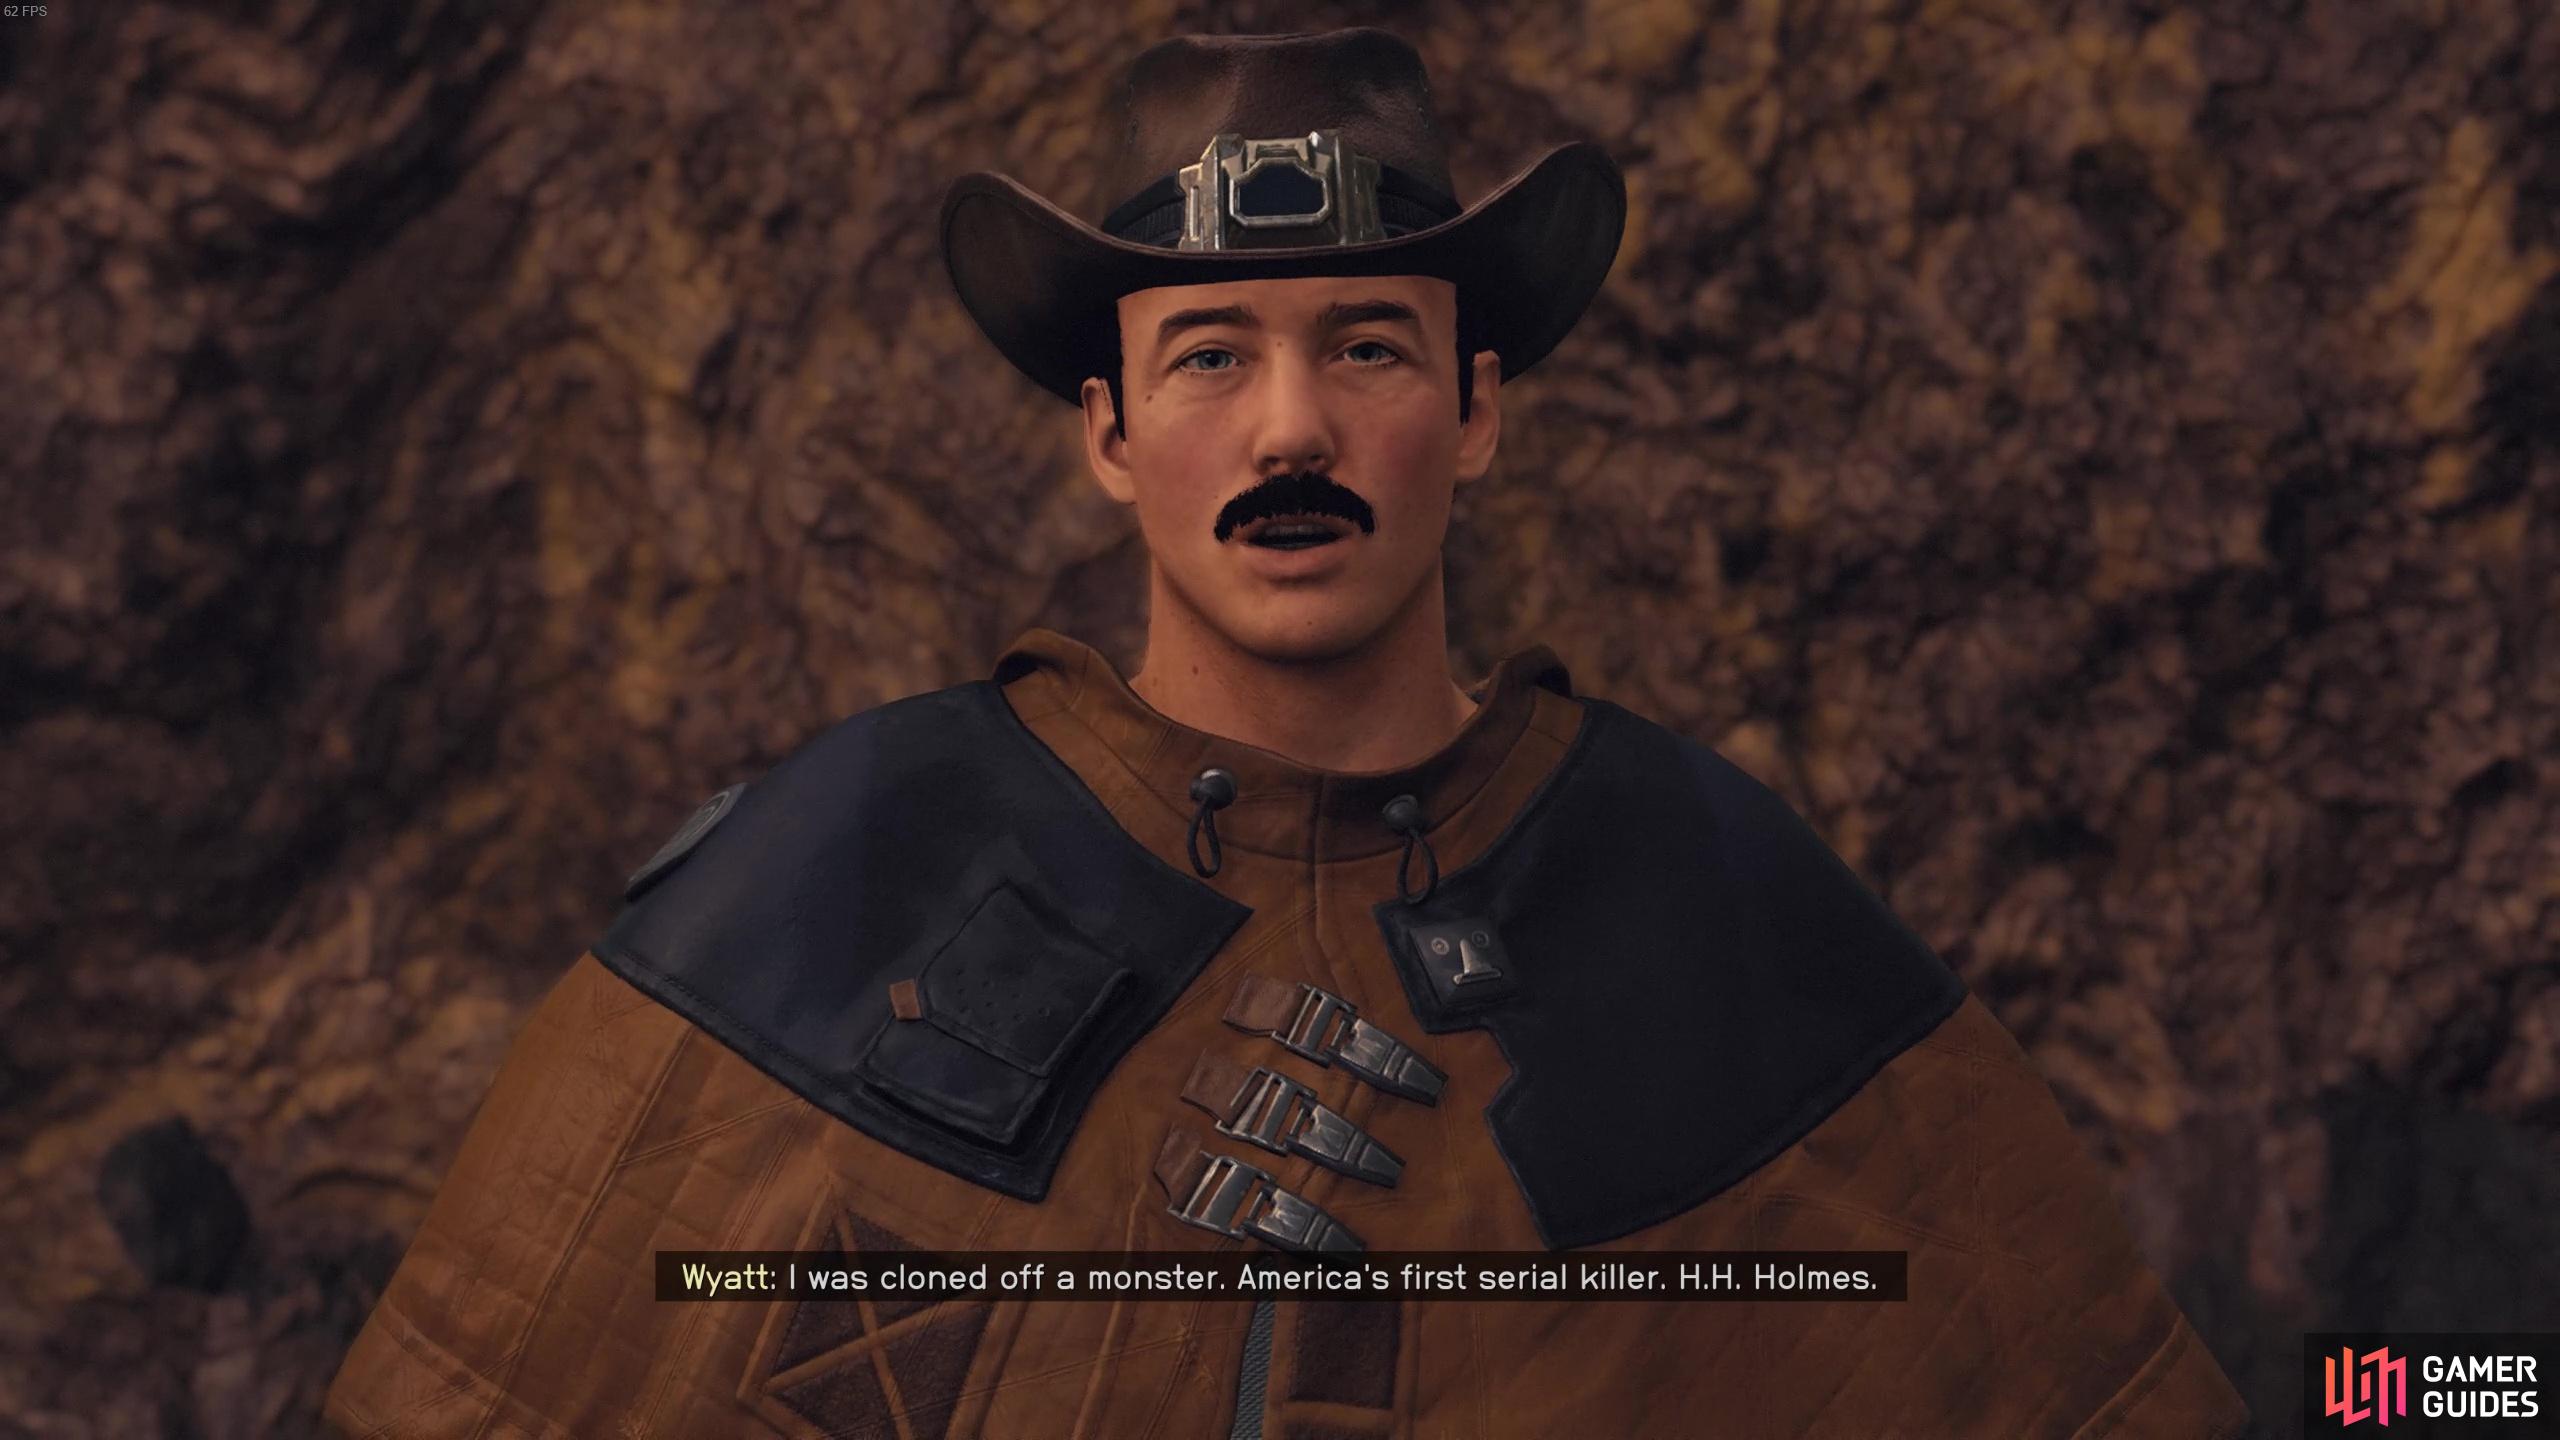
Wyatt isn’t actually a clone of Wyatt Eap, and is actually cloned from the serial killer H.H. Holmes
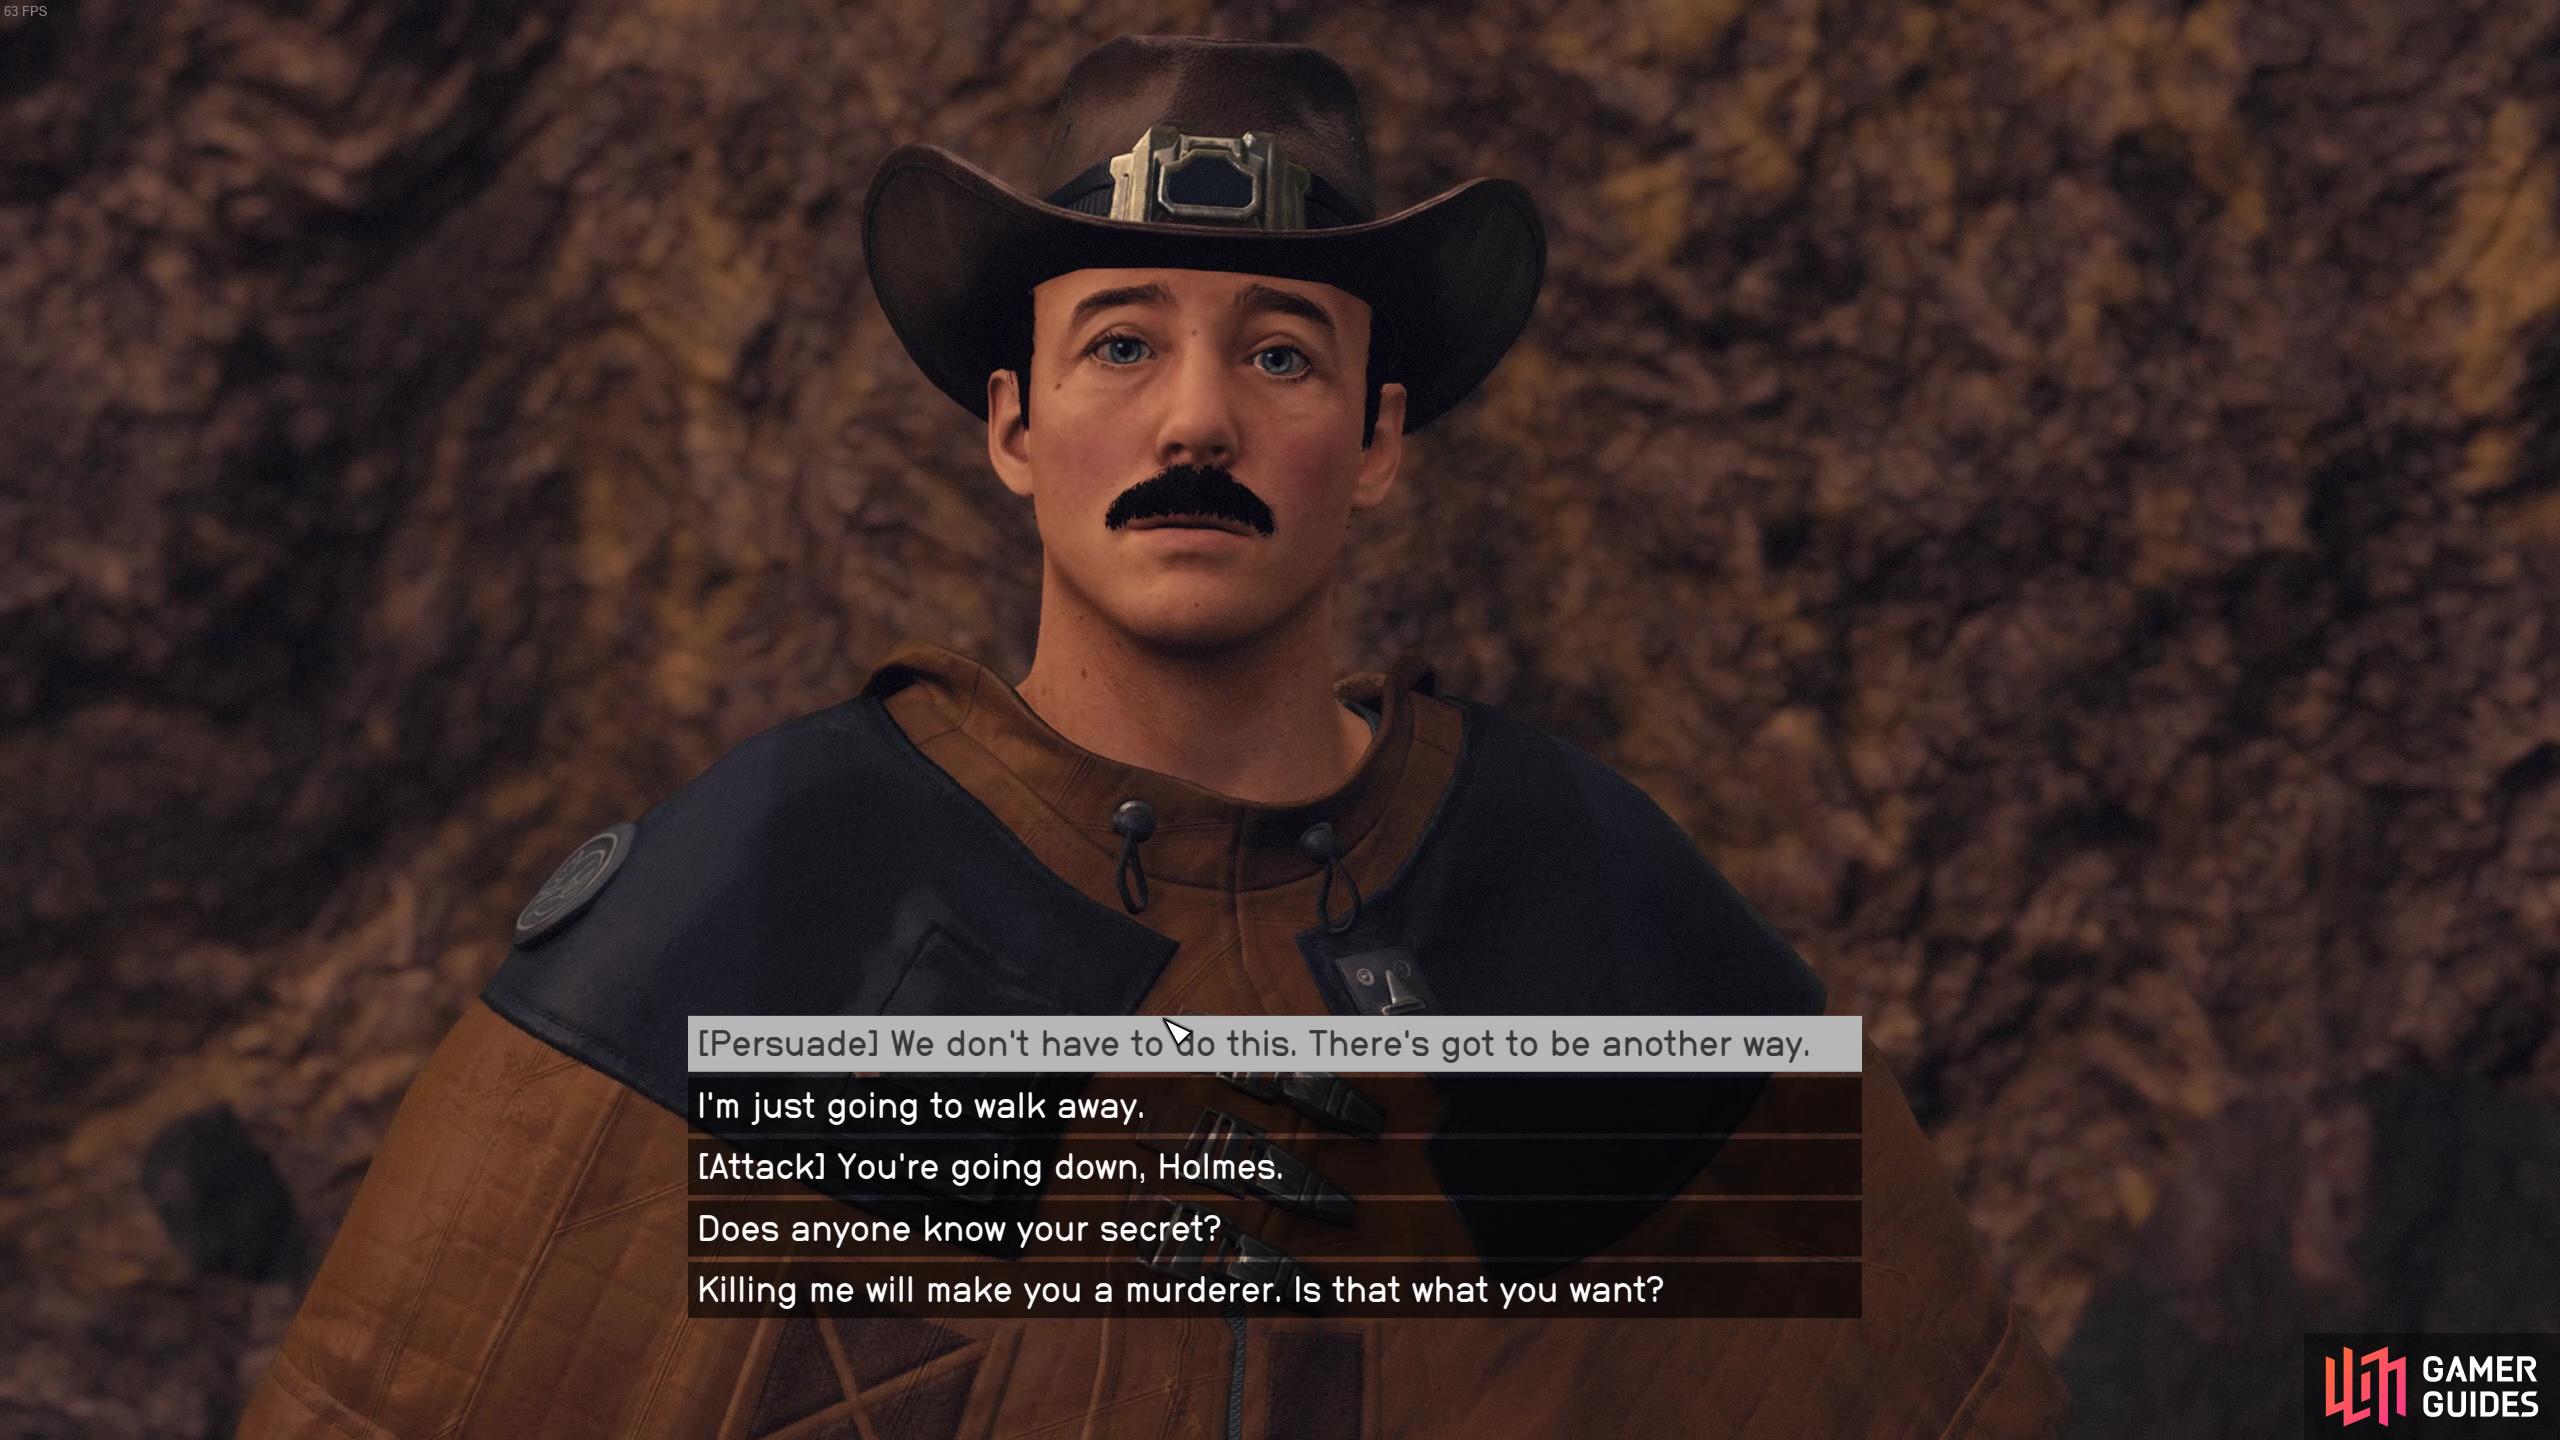
if you want to avoid bloodshed try to persuade him to back down.
But if you pass, he’ll ask you to keep his secret and you can either never mention it or tell one of the three Society leaders. Persuading or killing him concludes this extra quest and you’ll get 2,500 for killing him or 3,300 for persuading him. If you do persuade him to back down, you can also mention his real identity to the leaders:
- Telling Franklin: He tells you not to tell anyone because he thinks people should not be judged for their histories.
- Telling Genghis: Like Franklin, Genghis doesn’t care that Wyatt is actually a clone of a serial killer.
- Telling Amanirenas: She hates Wyatt’s true identity and tells you she’s gonna deal with him.
After speaking with Wyatt and completing his mini quest, it’s time to head over to the Facility.
The Facility: Where to Find all 7 Clues
Before you can side with anyone, you’re gonna need to head to the Facility to find out more information about the clones! The Facility is found on the other side of the planet so you’ll need to fast travel there using your ship. Once there, take out the initial alien enemies outside the facility, then proceed through the green door.
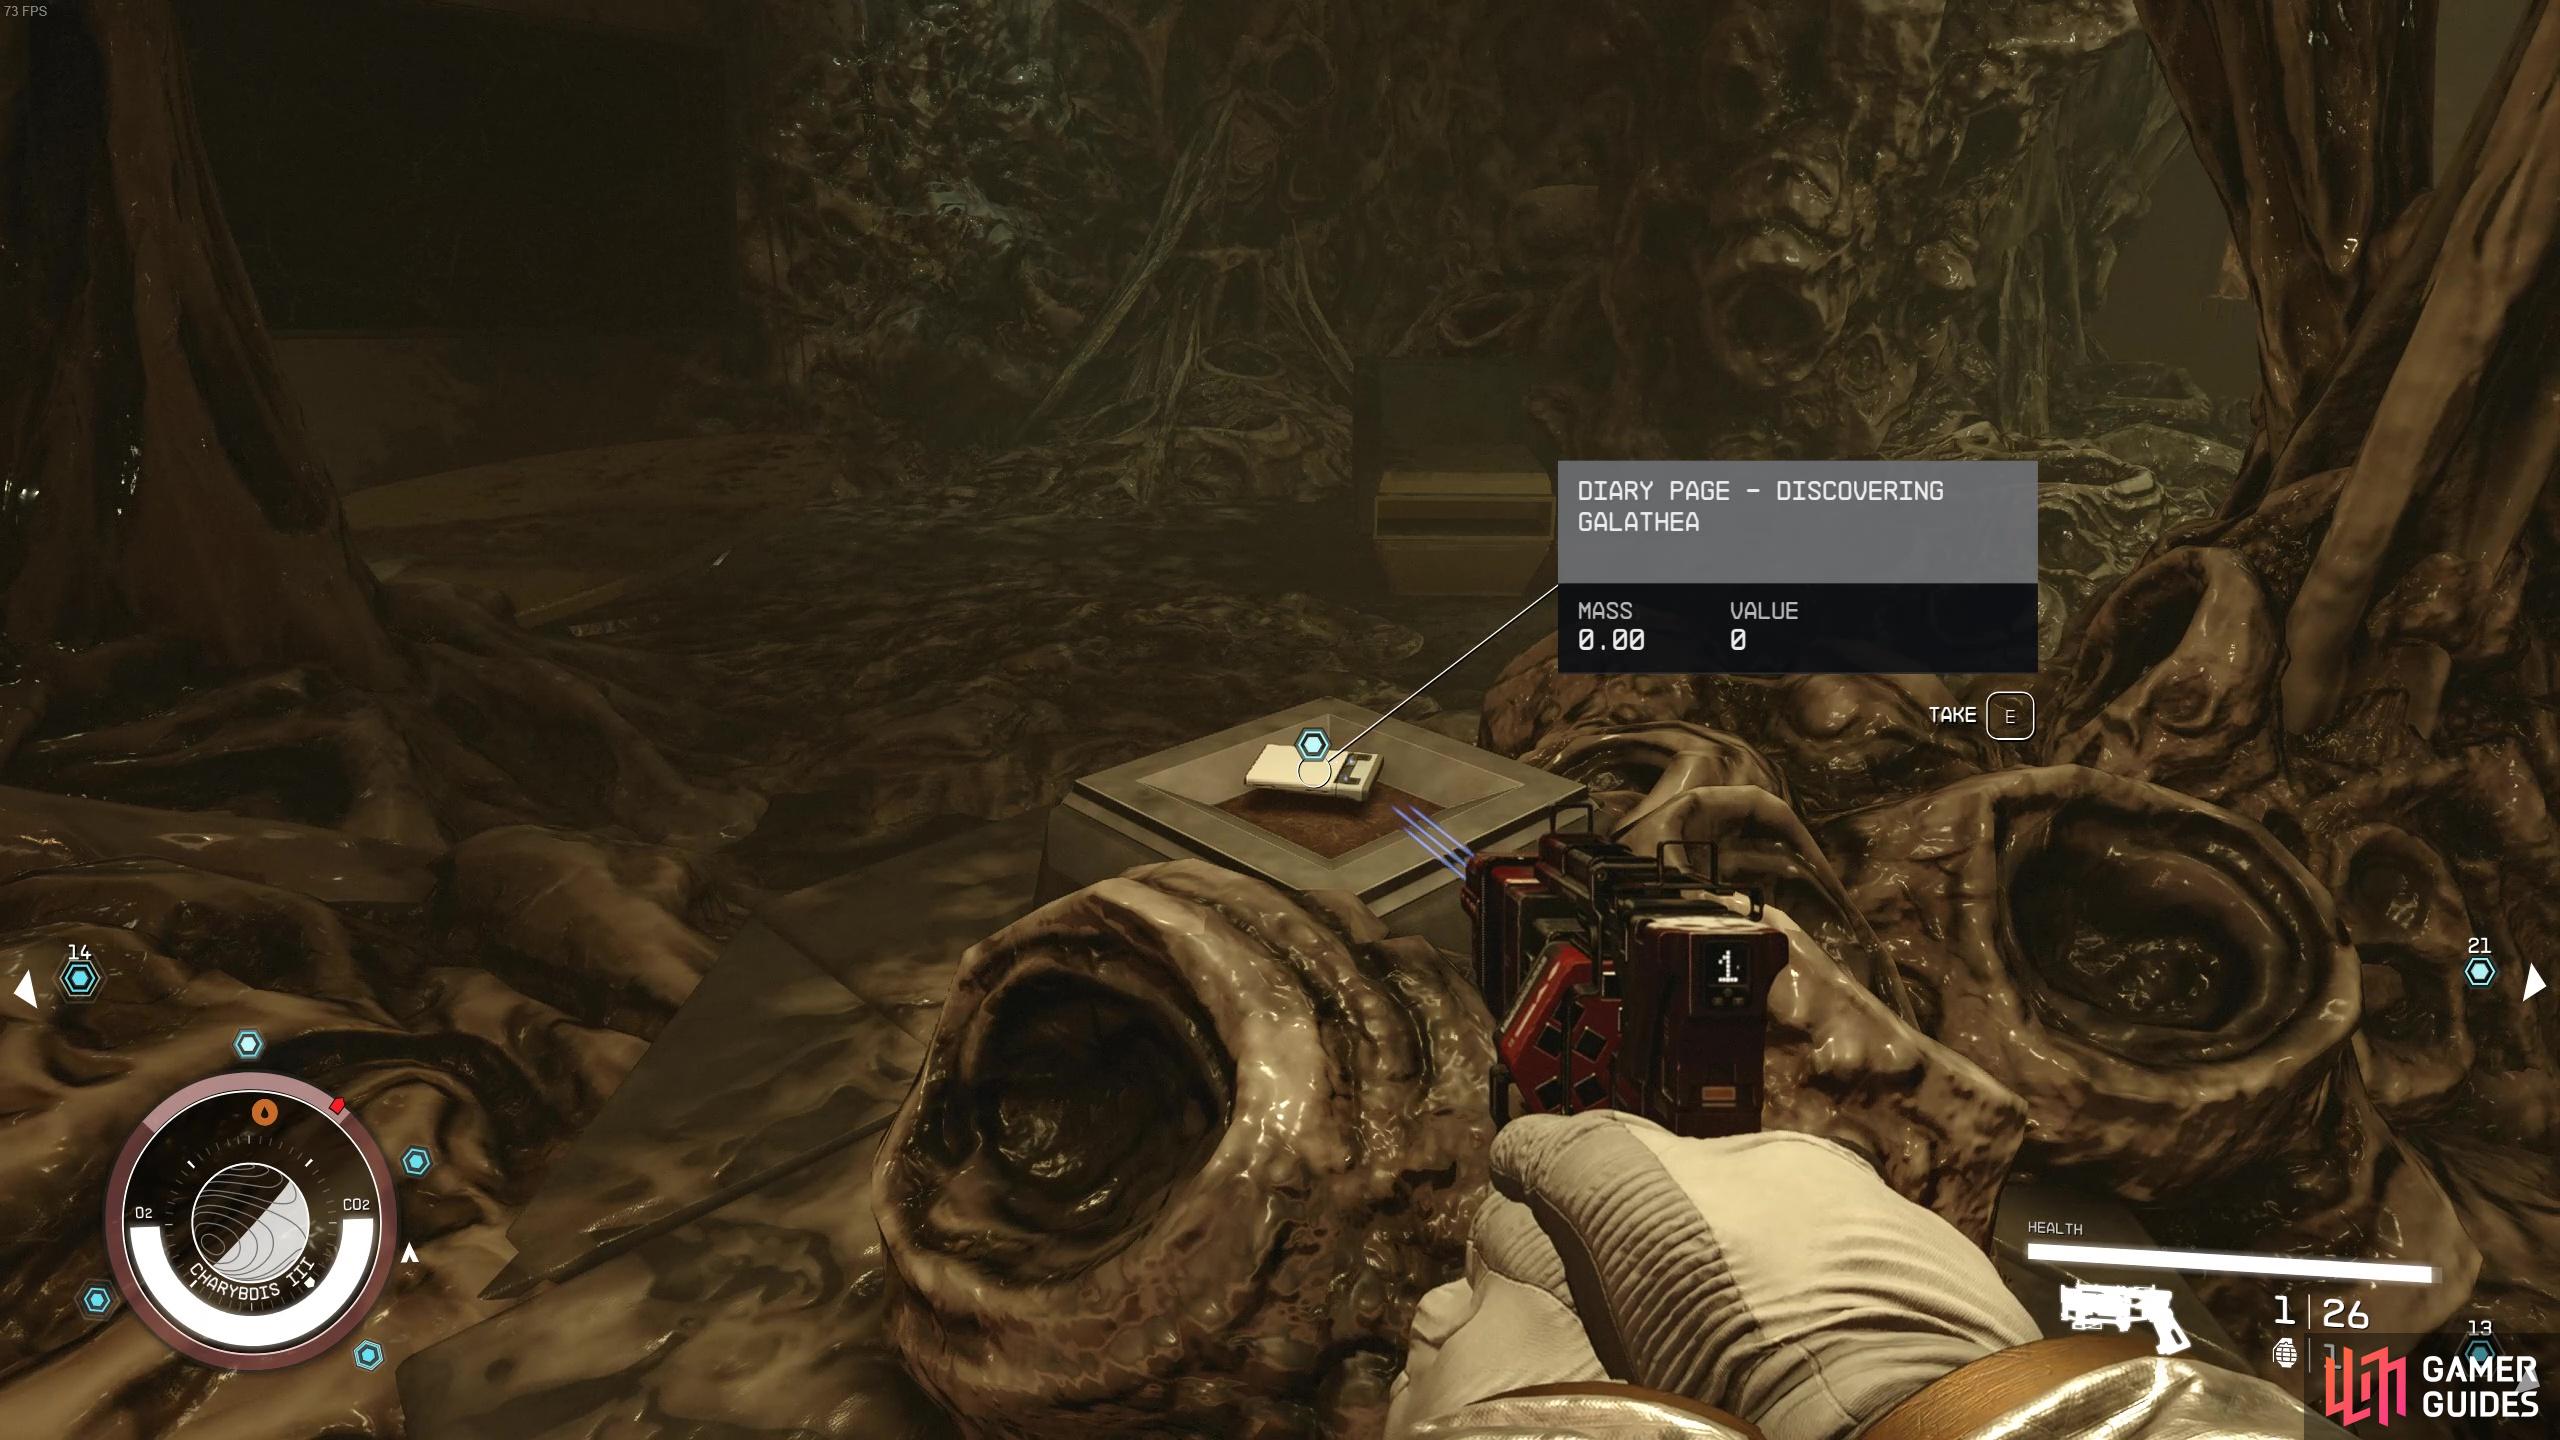
Make your way over to the back door then follow the path down into the facility. In this next room, you’ll find a door that takes you into a weird tunnel filled with gunk. Here, you can find the first clue, Diary Page - Discovering Galathea. You’ll also be greeted by some spaceroaches and a Maggotmaw. When the enemies have been cleared out, head into the kitchen room on the right and pick up the second clue, Diary Page - Escape from the table.
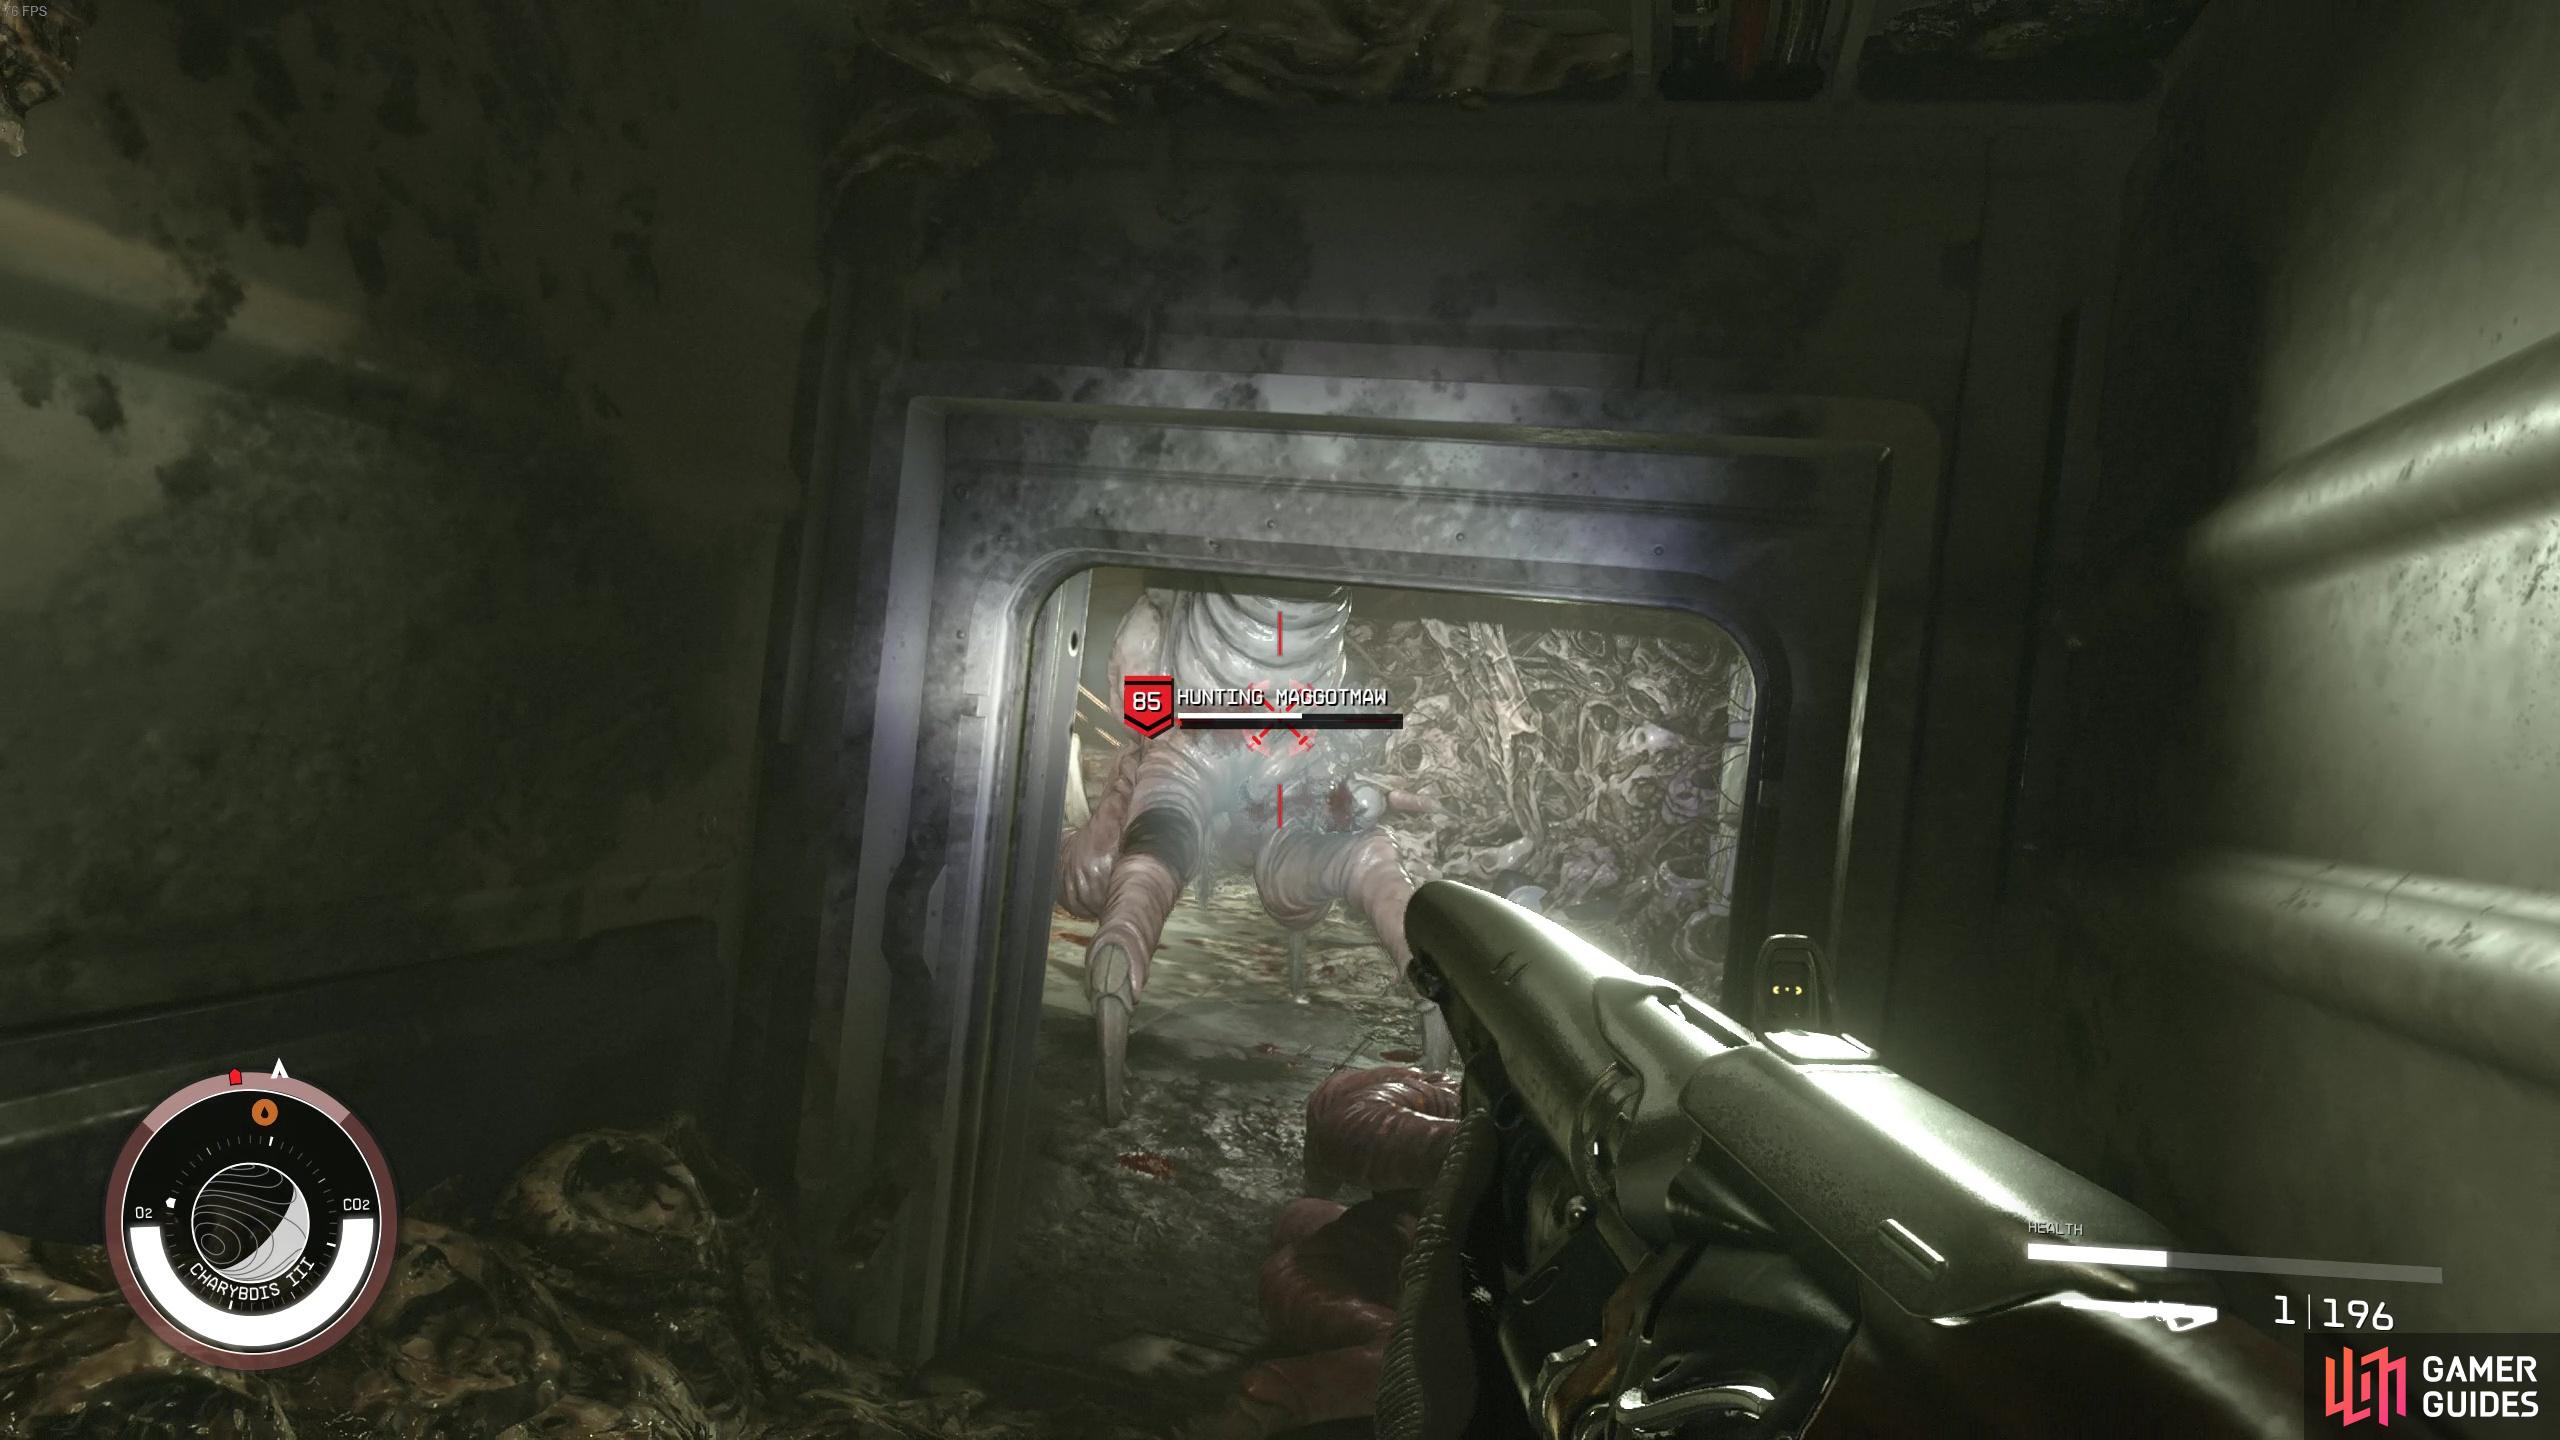
Head out of the kitchen and towards the left side of this area, and a Hunting Maggotmaw will emerge from a side room. You’ll have to deal with it before you can reach the next clue. These guys only have melee attacks so the easiest way to avoid damage is to use your ranged weapons rather than melee weapons. You could also use mines pretty effectively.
After defeating the Maggotmaw, proceed into the room it came from to pick up the third clue: Diary Page - Reborn. We’d recommend reading these as they give you some useful information about the history behind the facility and the clones, and this history could be very instrumental in helping you decide which society to side with!
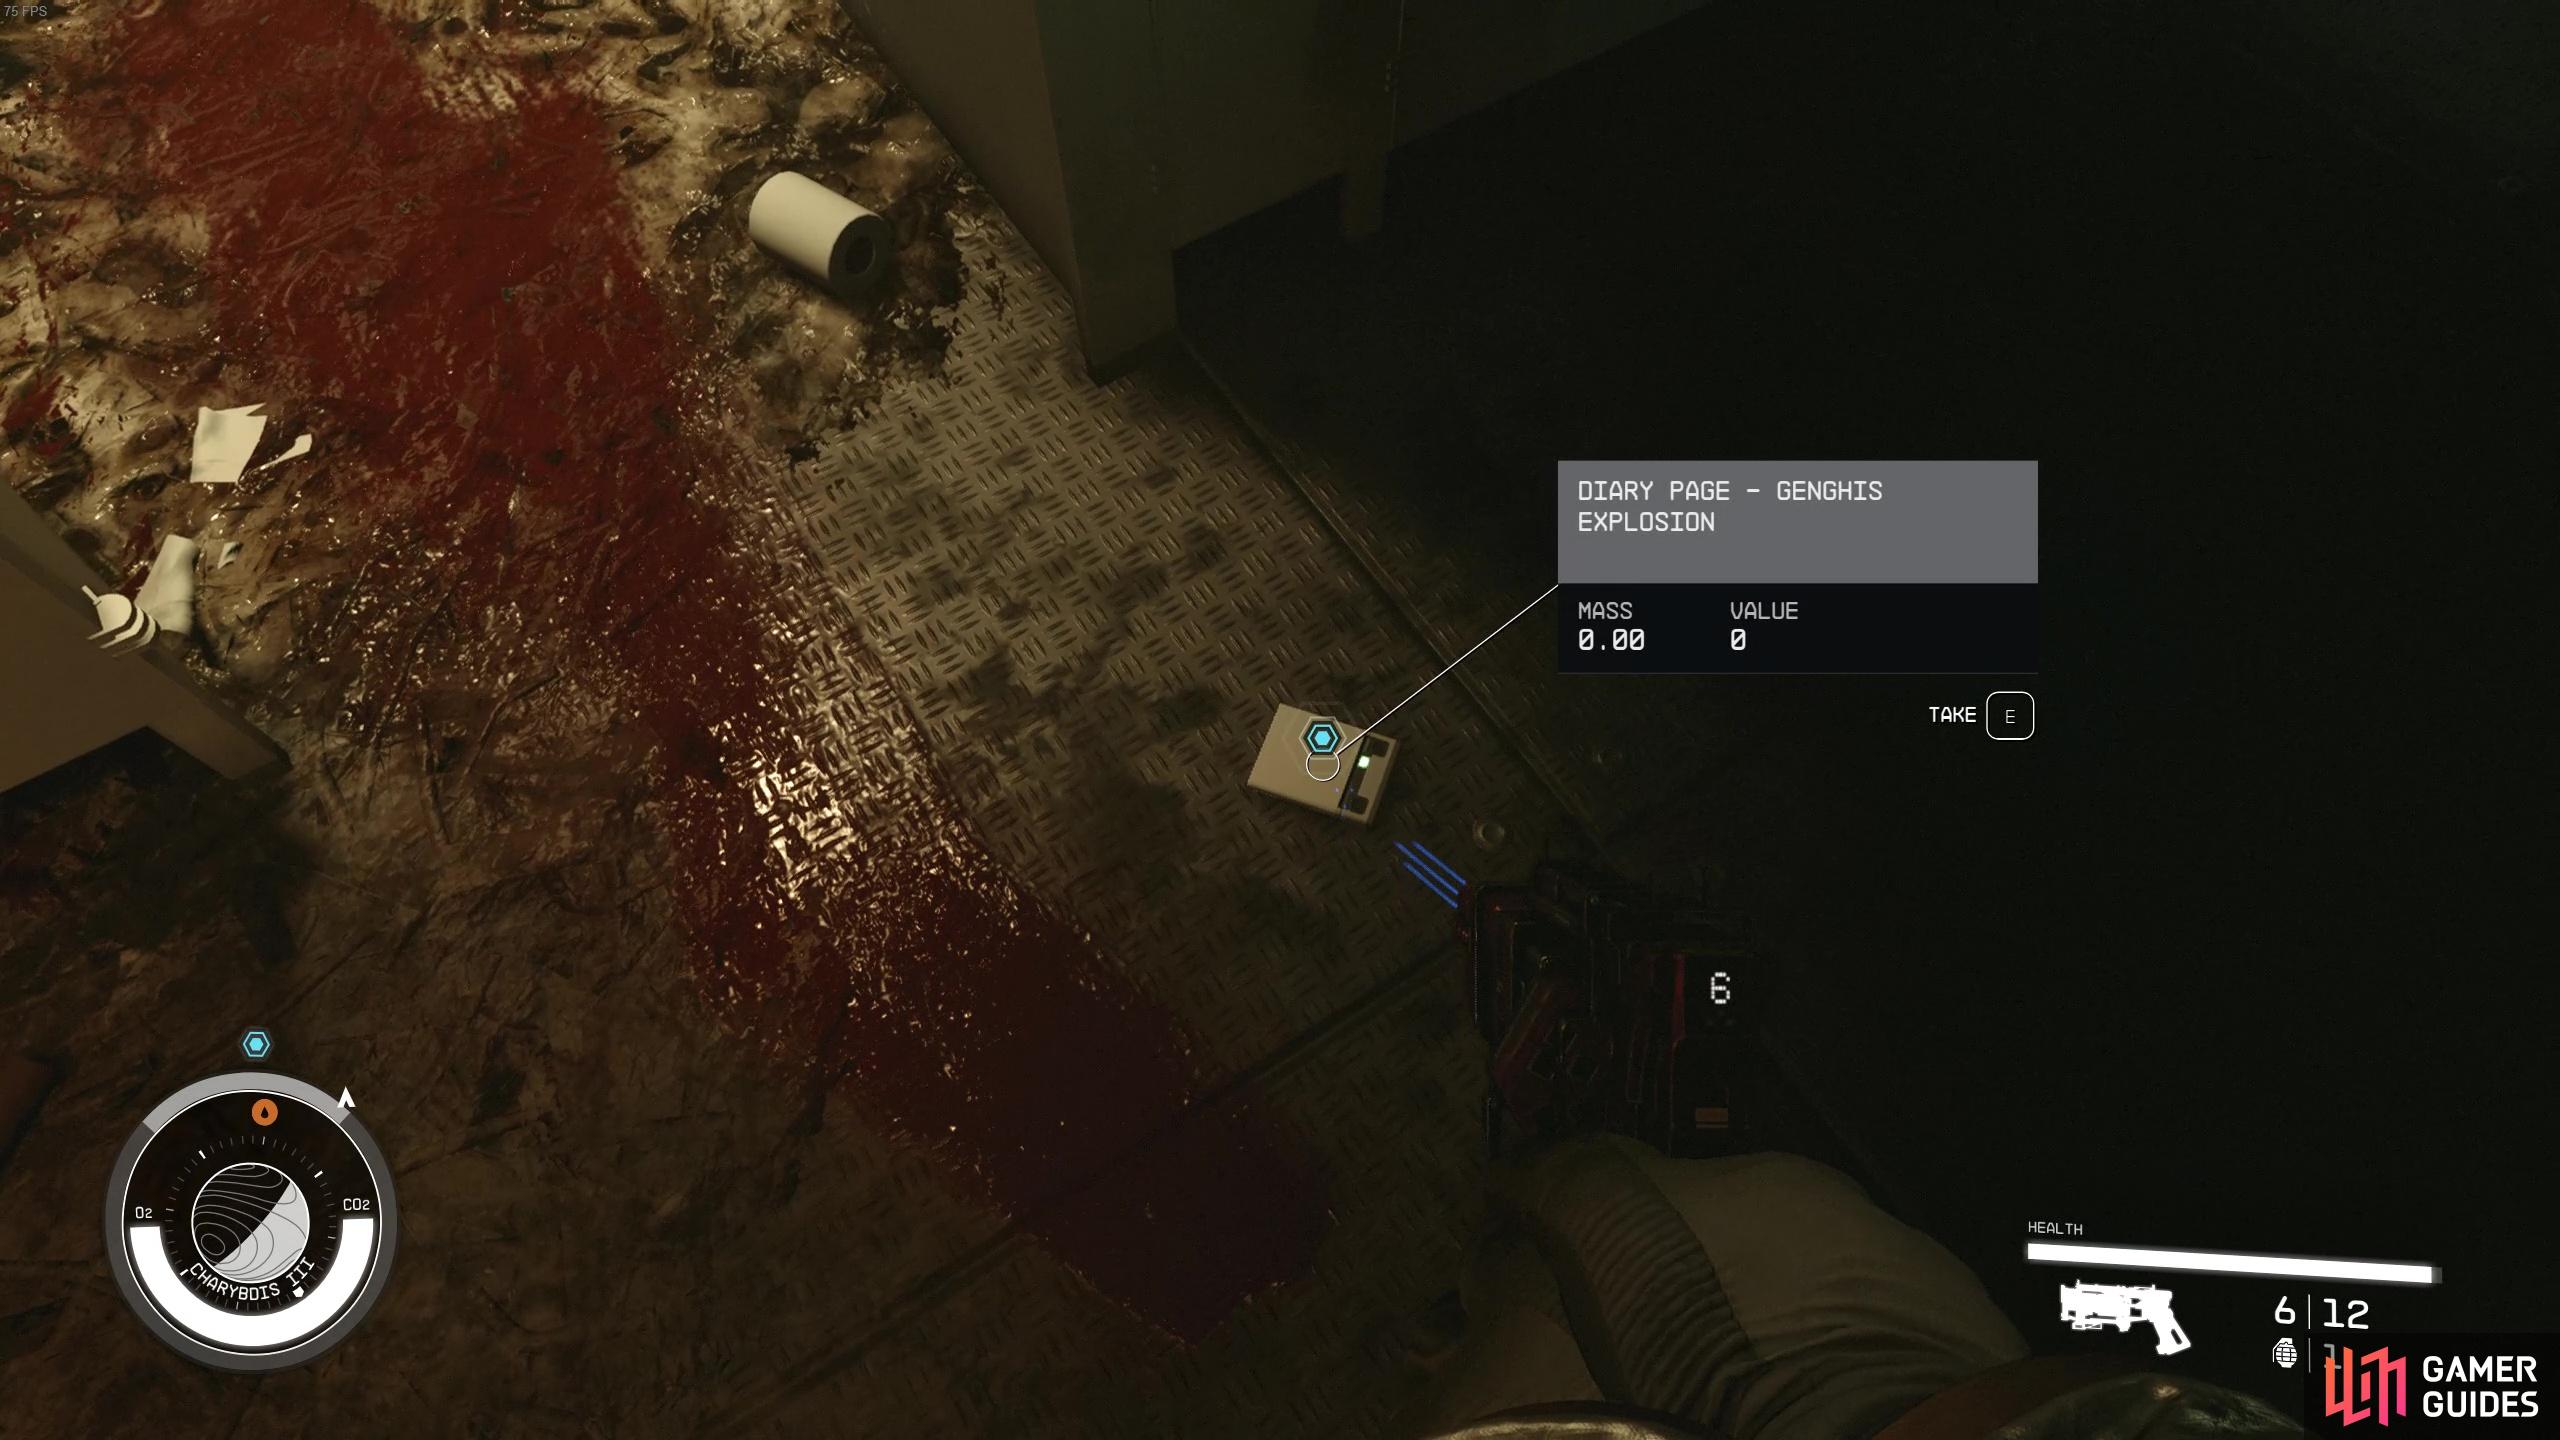
When you’re done with grabbing the third clue, head further into the facility via the extra gunky looking tunnel out of the room you just found the third clue. The tunnel is littered with spaceroaches but they can be dealt with in one shot with a decent gun. When you emerge out the tunnel, you’ll find the fourth clue, Diary Page - Genghis Explosion, on the ground near some toilet cubicles. Follow the path down deeper into the facility and you’ll come into a room with a ton of spaceroaches and a few Maggotmaws. Clear out the enemies then find the fifth clue, Anonymous Last Words on a chair to the left of where you first entered the room.
Once you’ve grabbed that clue, head around the hole in the floor to the corridor on the other side. Then proceed into the right room to pick up the sixth clue Diary Page - Ada’s Questions from the desk. You can loot the other nearby room for some medical supplies, which you’ll need later on when you encounter some pretty nasty enemies! Return to the room with the pit then drop down into it to follow the tunnel down. There are more Maggotmaw enemies inside, so make sure to deal with those as you go.
How to Beat the Level 85 Hunting Maggotmaw
When you’ve popped out the other end of the tunnel, make sure to do a save here as there’s a boss fight just up ahead. Just through the door, you’ll encounter several level 15-20 Maggotmaws, a level 45 Hunting Maggotmaw and a colossal level 85 Hunting Maggotmaw with four health bars to get through! Now if you’re a lower than level 50, chances are you’re gonna get one-shot by this thing if you get caught out.
Luckily, we have the perfect cheese strategy for dealing with this big guy so the lower leveled players don’t get gated from completing this quest! Firstly, if you have them, you’ll want to create a line of mines from the tunnel to the entryway before you attract their attention. Then, grab their attention and run back to the tunnel. The little Maggotmaws will be able to come through and you can blast them down one by one and they’ll have been weakened by the mines if you had any to place down.
Stay in the tunnel and shoot the Level 85 Maggotmaw from a safe distance!
Now the great thing about this tunnel is that the huge Level 85 monster won’t be able to get in as he’s too big. So if you stand in the entrance of the tunnel, you can slowly blast down all of his HP whilst he scurries about unsure of what to do because it can’t reach you. Our weapons barely tickled him, and we relied on crit hits and grenades to help whittle his four HP bars down, but eventually we were able to take down this monster that had four times the levels we had! Honestly, even if you are a much higher level, we’d still recommend this strategy as it’ll minimize the amount of medical packs and resources you’ll have to use to survive.
After dealing with all the Maggotmaw enemies, head out of the tunnel and through the doorway to find the final clue, Ada’s Diary - Heart of the Facility, down the stairs and on the desk in front. The final clue mentions a Security Override Code that’ll allow you to enter into the restricted section of the facility. For now though, you can’t go any further and you’ll need to head back to Crucible. To exit the facility, head up the stairwell on the other side and keep going all the way up until you find another green door. This will take you out into a room with a locked door and to open it you’ll just need to interact with the computer on the left. Once you’ve exited the facility building, you’ll be able to fast travel back to Crucible.
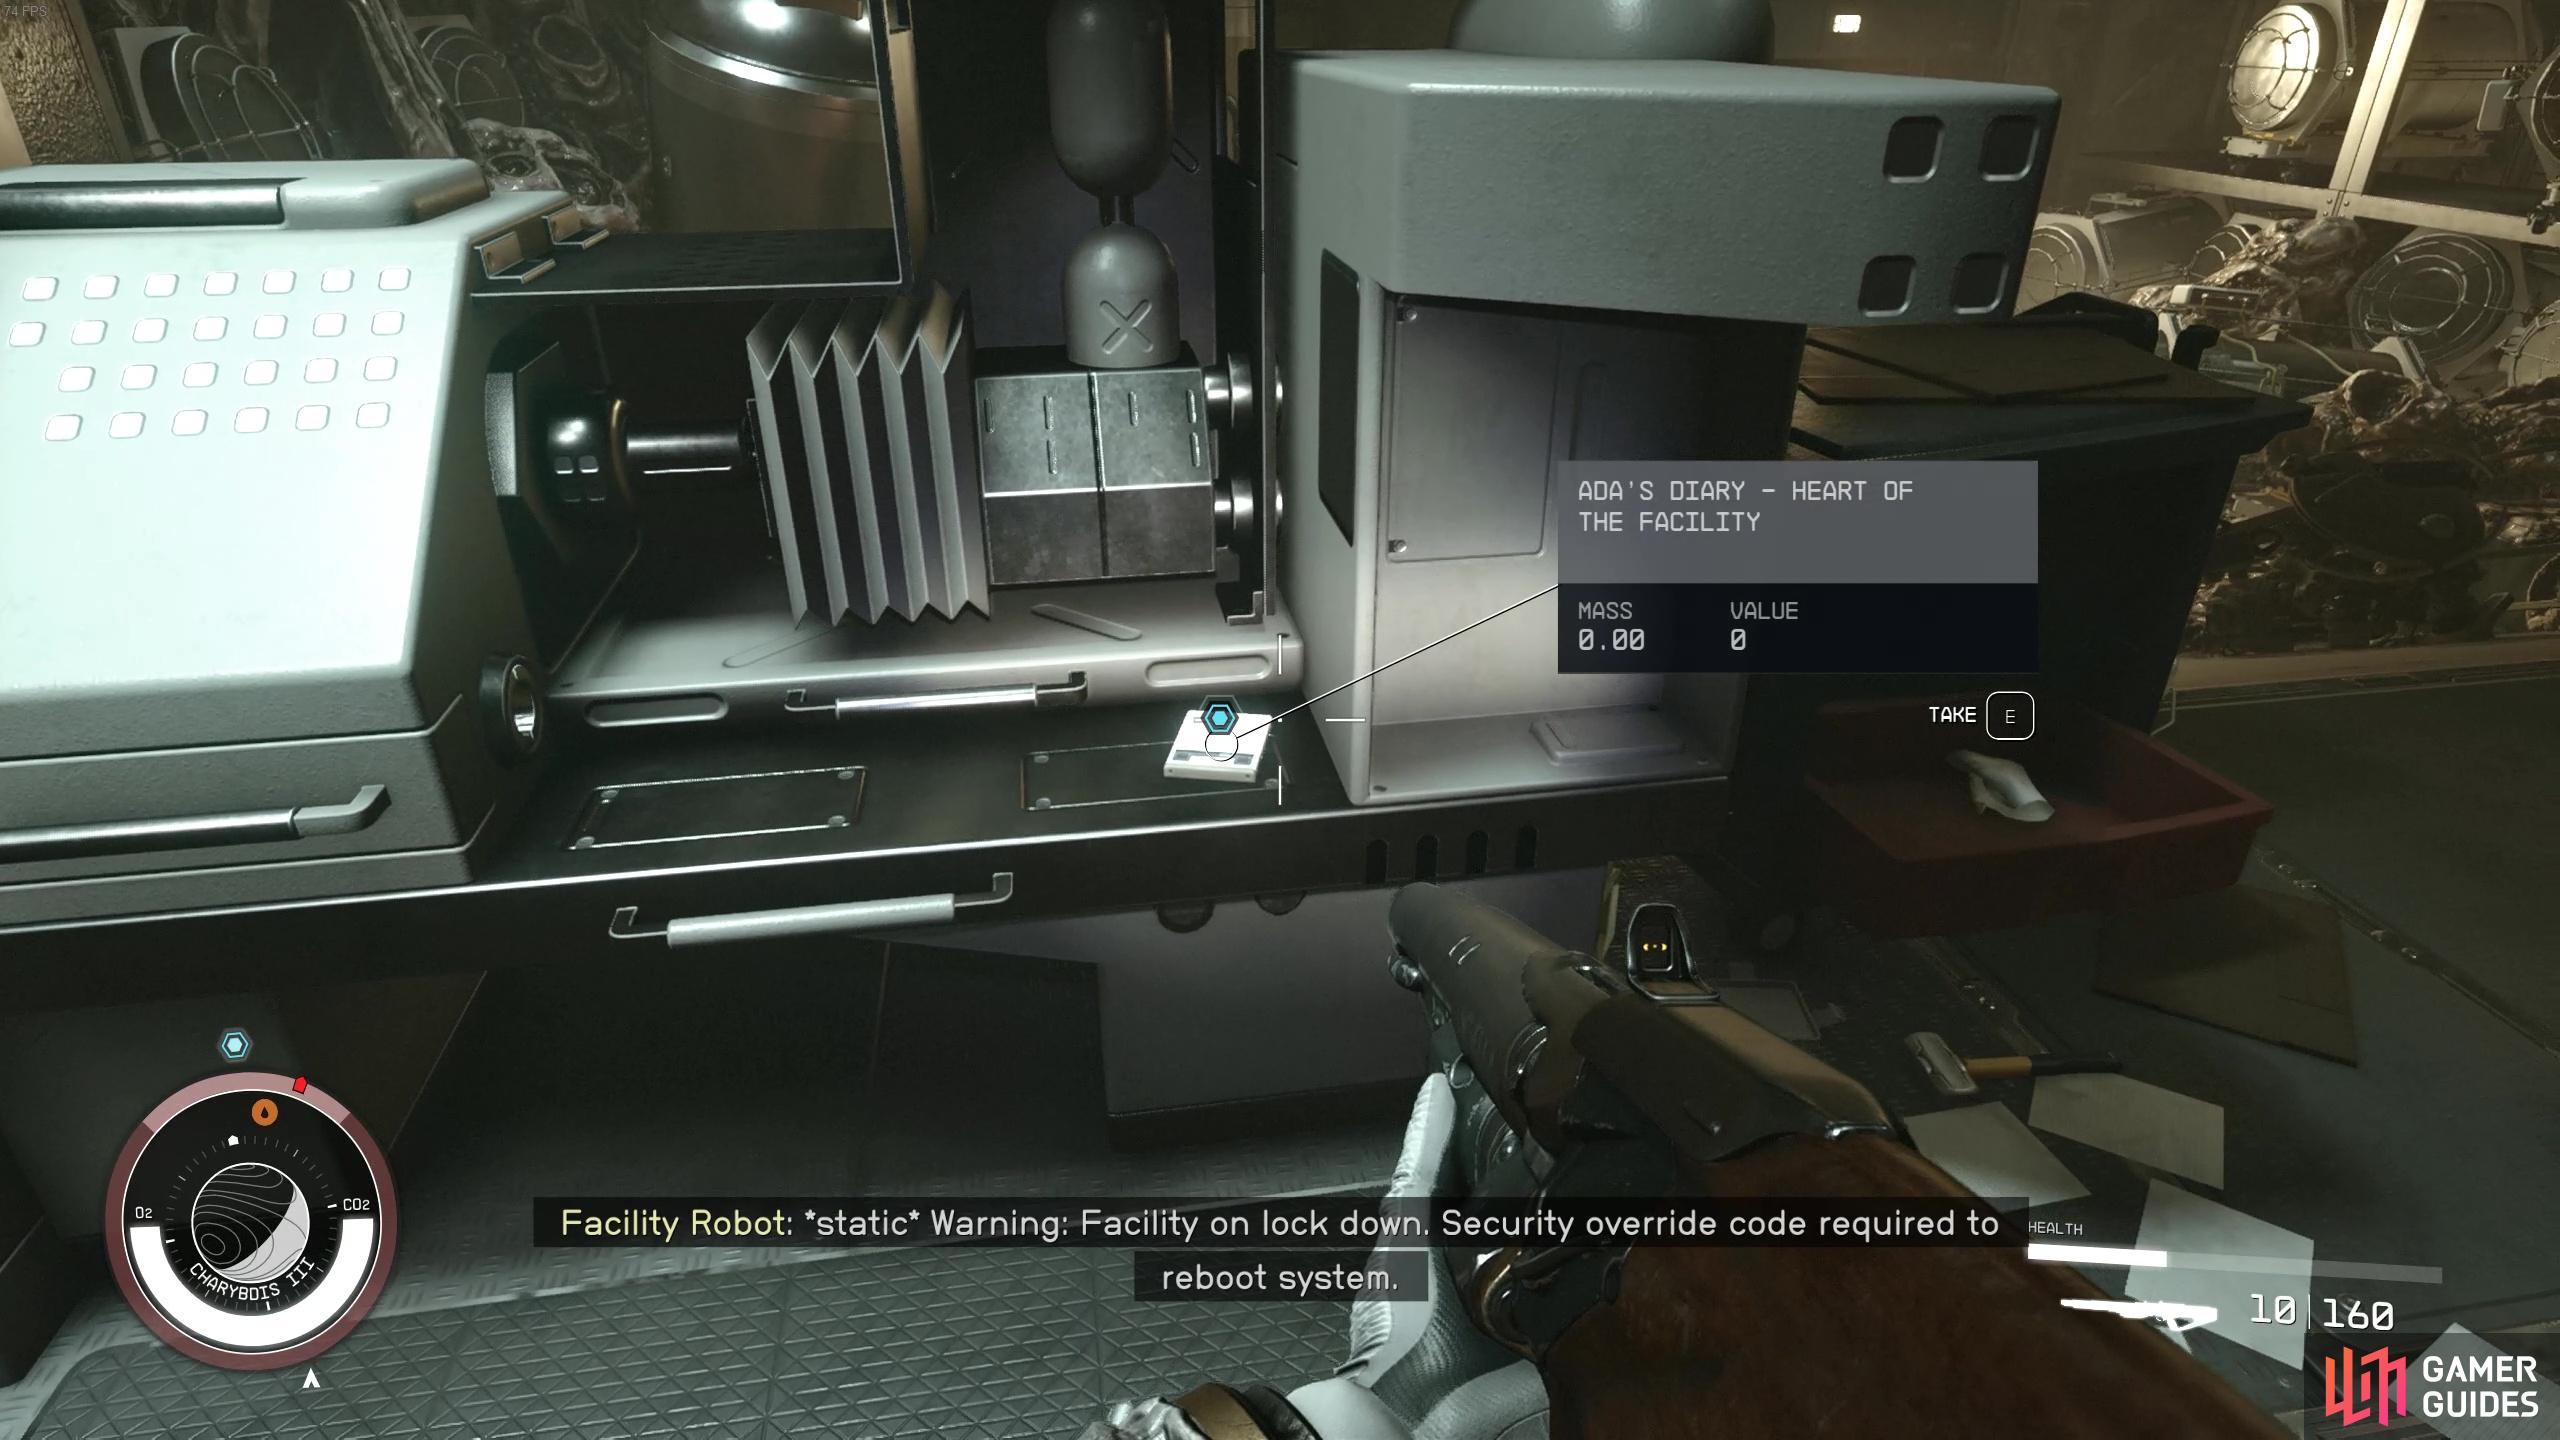
The final clue is found on a desk outside the restricted section.
Should you Side with Genghis, Roosevelt or Amanirenas?
Once back at Crucible, you’ll be forced to make a choice on who to give the information to: Genghis, Amanirenas or Franklin. This choice will have consequences later but it’s important to outline them briefly now so you can make an informed decision. It is worth mentioning though that the overall outcome/ending of the quest won’t be changed and this choice is more about who you believe is “right” in this story.
Give the Information to Genghis and the Renegades: If you give the information to Genghis, Franklin and Amanirenas will join forces to take you and Genghis down. You can convince Franklin to side with you and Genghis, but you cannot convince Amanirenas and you’ll need to kill her.
Give the Information to Franklin and the Pragmatists: If you give the information to Franklin, later Genghis and Amanirenas will join together and threaten to attack you and the Pragmatists. You can convince Amanirenas to side with you and Franklin if Franklin makes the 20-year deal with her. You will still need to kill Genghis though as you cannot convince him to back down. With this option you can change your mind and side with Genghis later, but then you’ll have to kill Amanirenas and Franklin.
Who you choose to give the information too will have some consequences later.
Give the Information to Amanirenas and the Believers: This works the same as Franklin’s choice. If you give the information to Amanirenas, you’ll need to talk with Genghis and Franklin. You can convince Franklin to side with you but you can’t convince Genghis and you’ll have to kill him. With this option you can change your mind and side with Genghis later, but then you’ll have to kill Amanirenas and Franklin.
But for now, all this will come to fruition later. So, choose your favorite leader and then make your way to speak with Ada Lovelace (yep the very same Ada Lovelace, world’s first computer programmer!) and speak to her about getting the security code in the facility. She’ll tell you to head out and find The Beagle ship, which will have the code she needs.
How to Reach the Beagle
Before you can find The Beagle, you’re gonna need to locate the Beagle’s navigation beacon, which is in the Bel system just southeast of the Moloch II system. However, as mentioned before, you’re gonna need to be able to Grav jump at least 28 LY so that you can reach the Beagle so before you look for the beacon, make sure you have 28 LY worth of grav! We bought the Class A ![]() Mako ship for around 81k credits from Taiyo Astroneering in Ryujin Industries in
Mako ship for around 81k credits from Taiyo Astroneering in Ryujin Industries in ![]() Neon and that had all the grav jump we needed!
Neon and that had all the grav jump we needed!
When you find the beacon, scan it and it’ll tell you that the Beagle ship has set course to the Zelazny system which is southeast of Porrima. You’ll need to make your way to Alchiba system to then jump over to Zelazny, and this is where the newly upgraded grav jump is needed!
Find the Navigation Beacon and it’ll tell you that the Beagle is in the Zelazny system
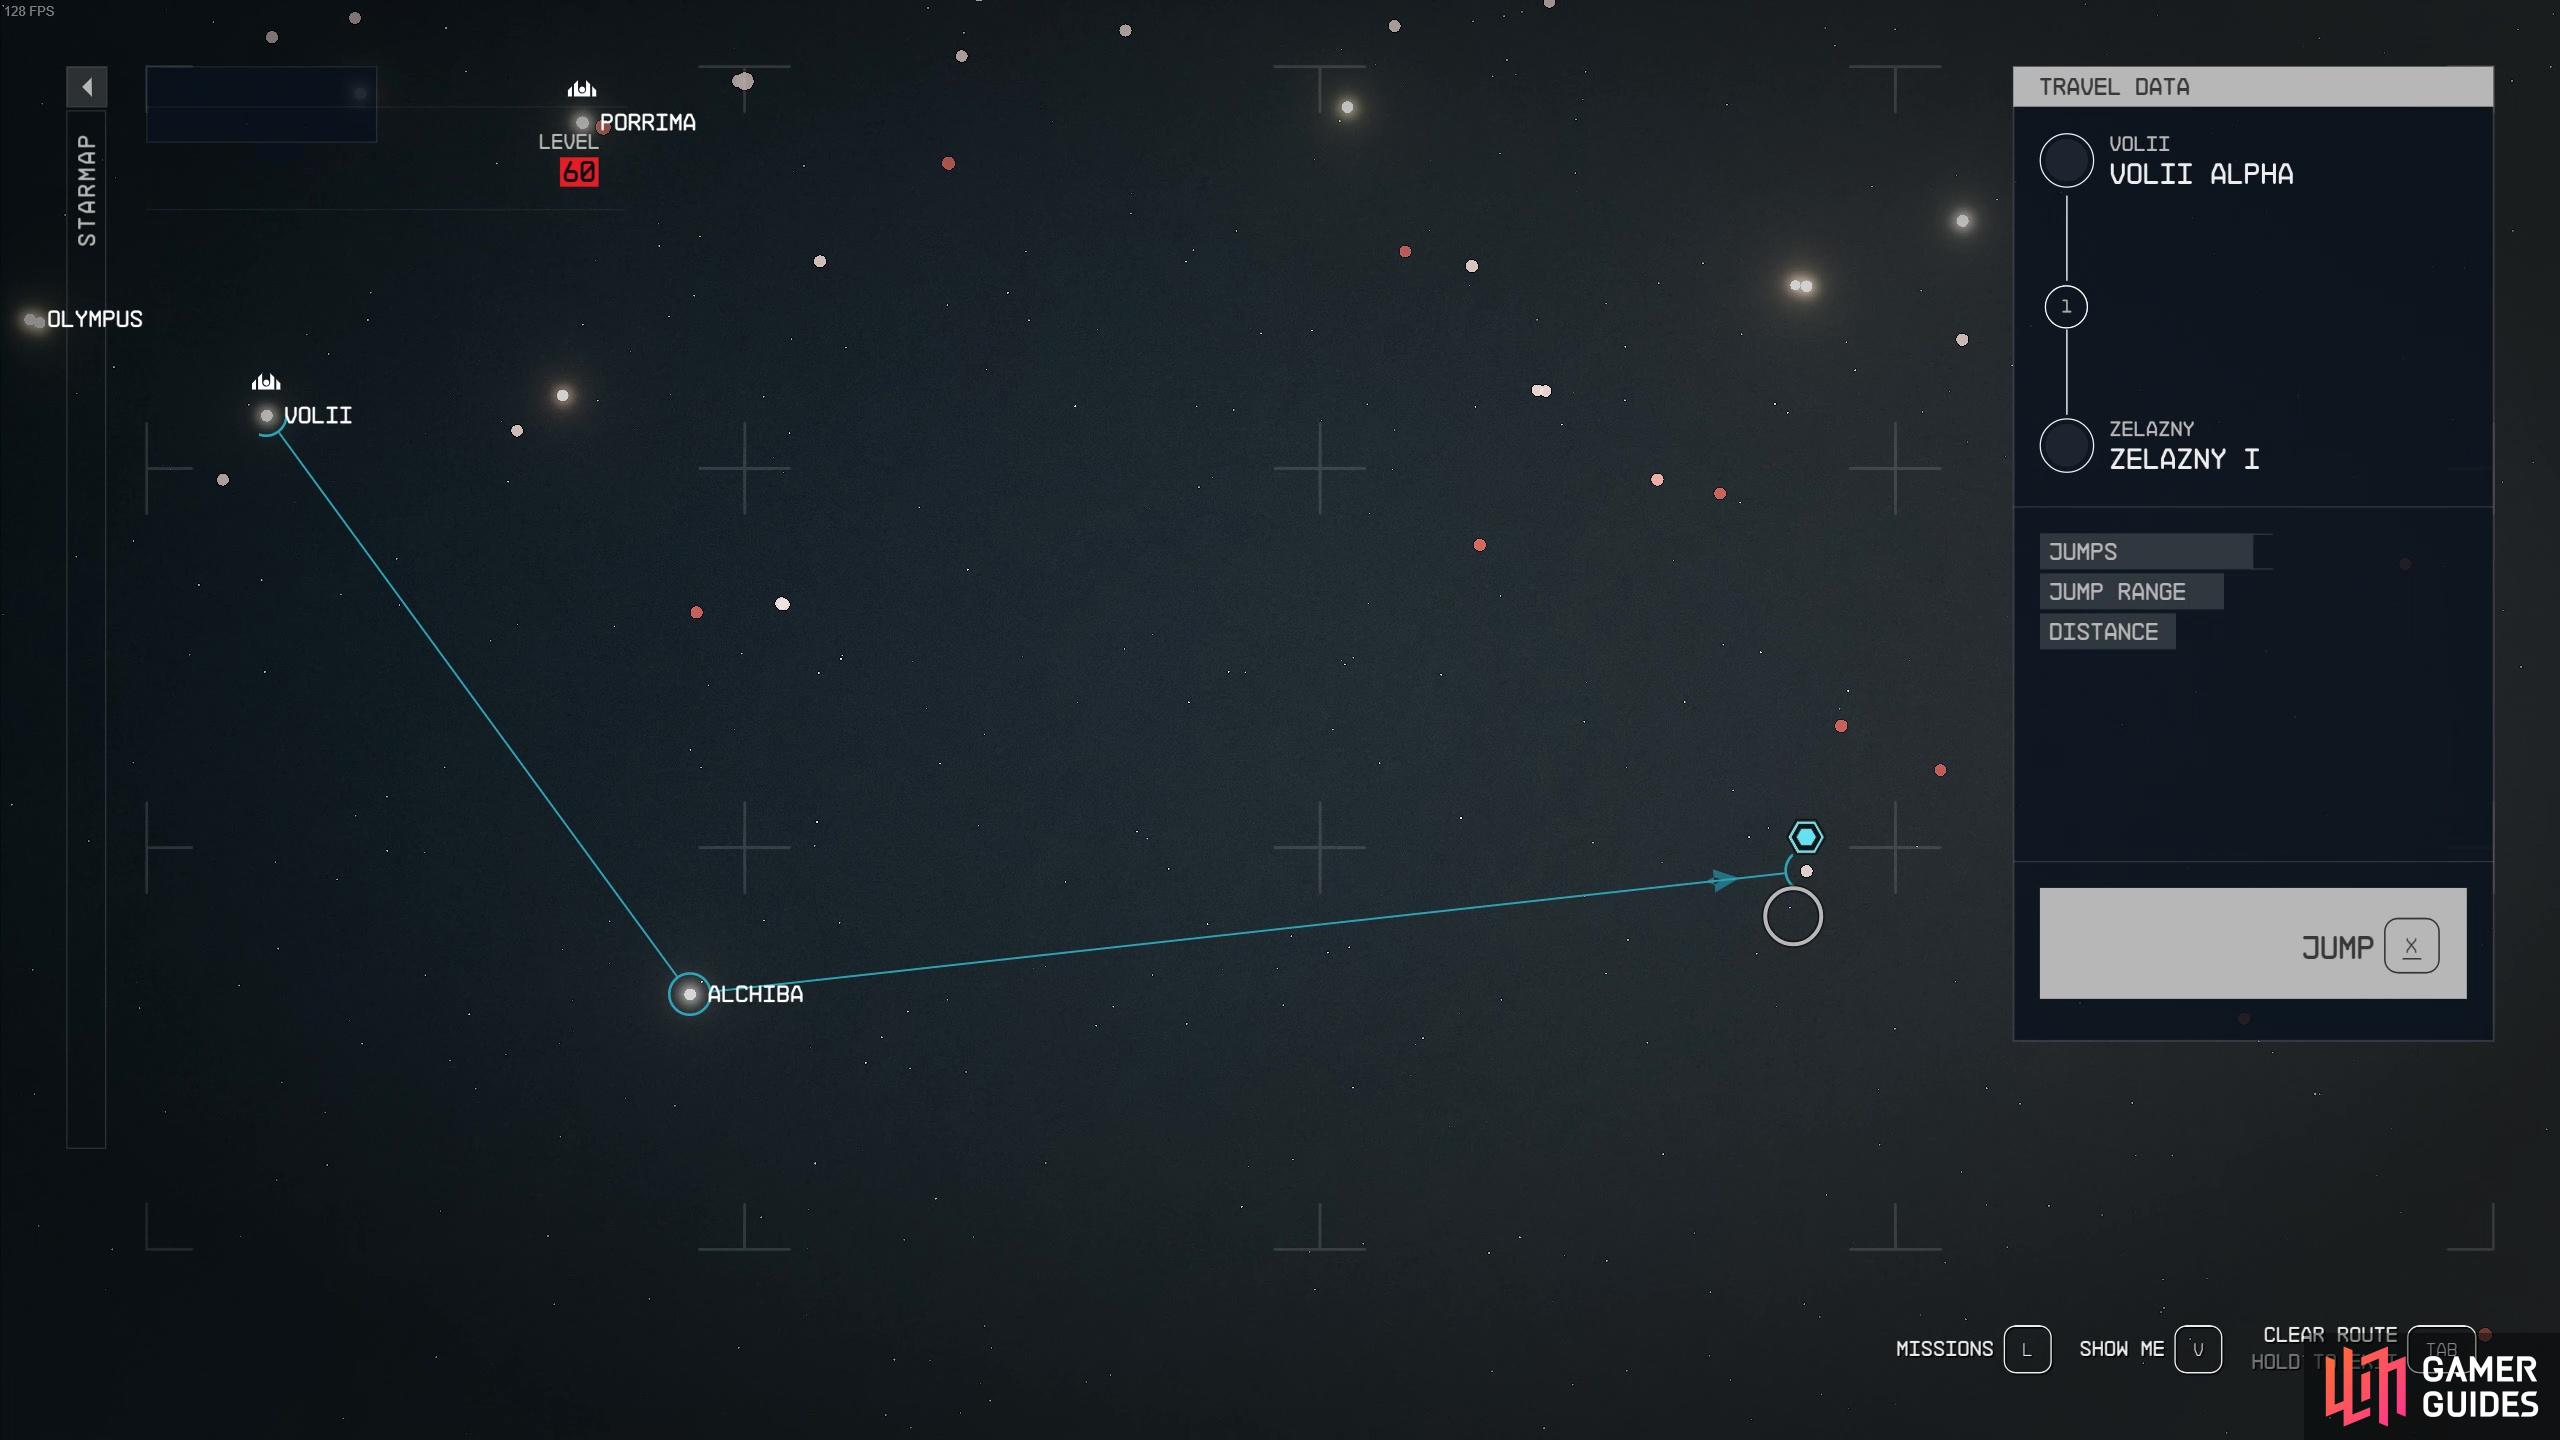
you’ll need a big grav drive to be able to make the jump!
As you get closer to the Beagle, dock onto it and make your way through the ship to find the code. The ship is quite small and the path is quite linear so you should have no problem making your way through and be wary of the handful of robot enemies and turrets manning the place. This ship has a bunch of medical supplies too so you can make sure to stock up for future fights!
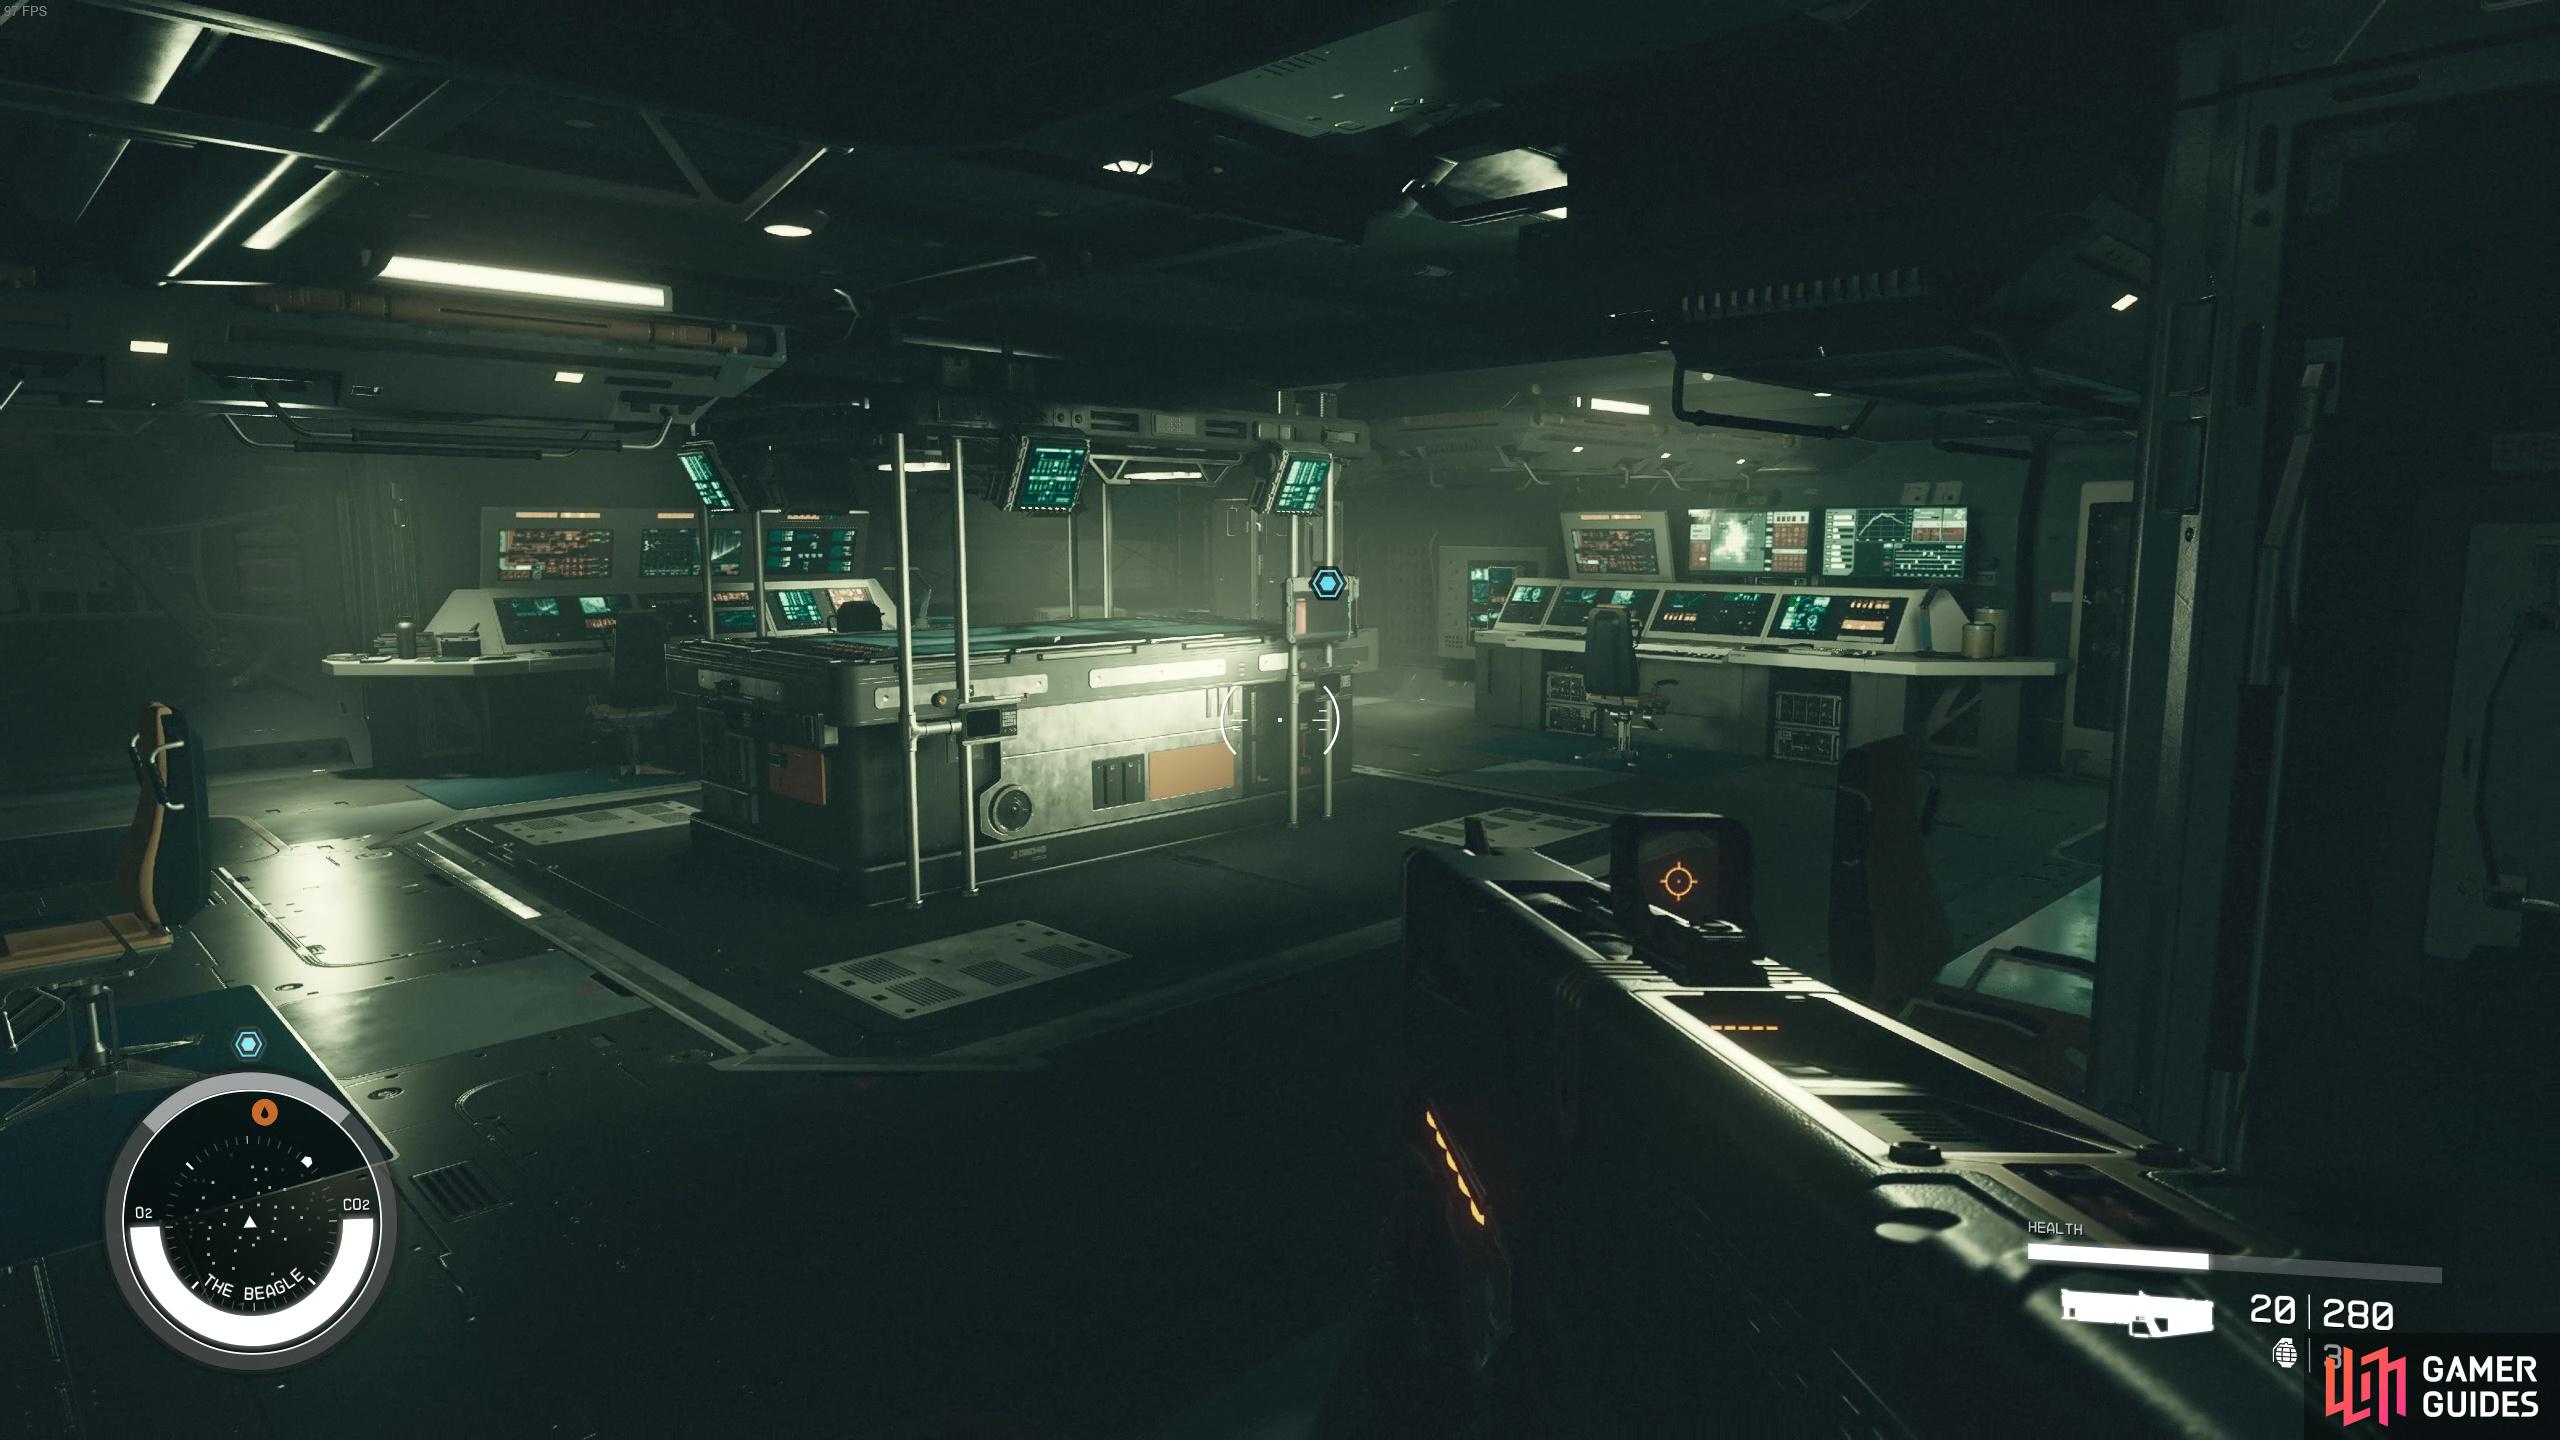
When you arrive onto the Beagle, head up the stairs and into the crew quarters. You’ll be greeted by a turret and a Beagle Medical Robot in here. Once you’ve dealt with them, proceed through the white door to the left of the big blue door and follow the path down and around.
After you open the door at the bottom of the stairs, you’ll come into another room with a higher leveled Medical Robot but it seems to get stuck in the narrow pathways quite a bit so you shouldn’t have too much of an issue dealing with it. Follow the path to the back of the room to open up another door. In this next room you’ll be greeted by a turret but you can either run past it or deal with it. Follow the path around and open up several more doors and a few more turrets. Continue down the linear path through the ship until you reach an office-like room where you’ll find the Beagle Datacore computer. Here, you can download the Security Override Code.
Locate the Beagle Datacore in the office of the ship
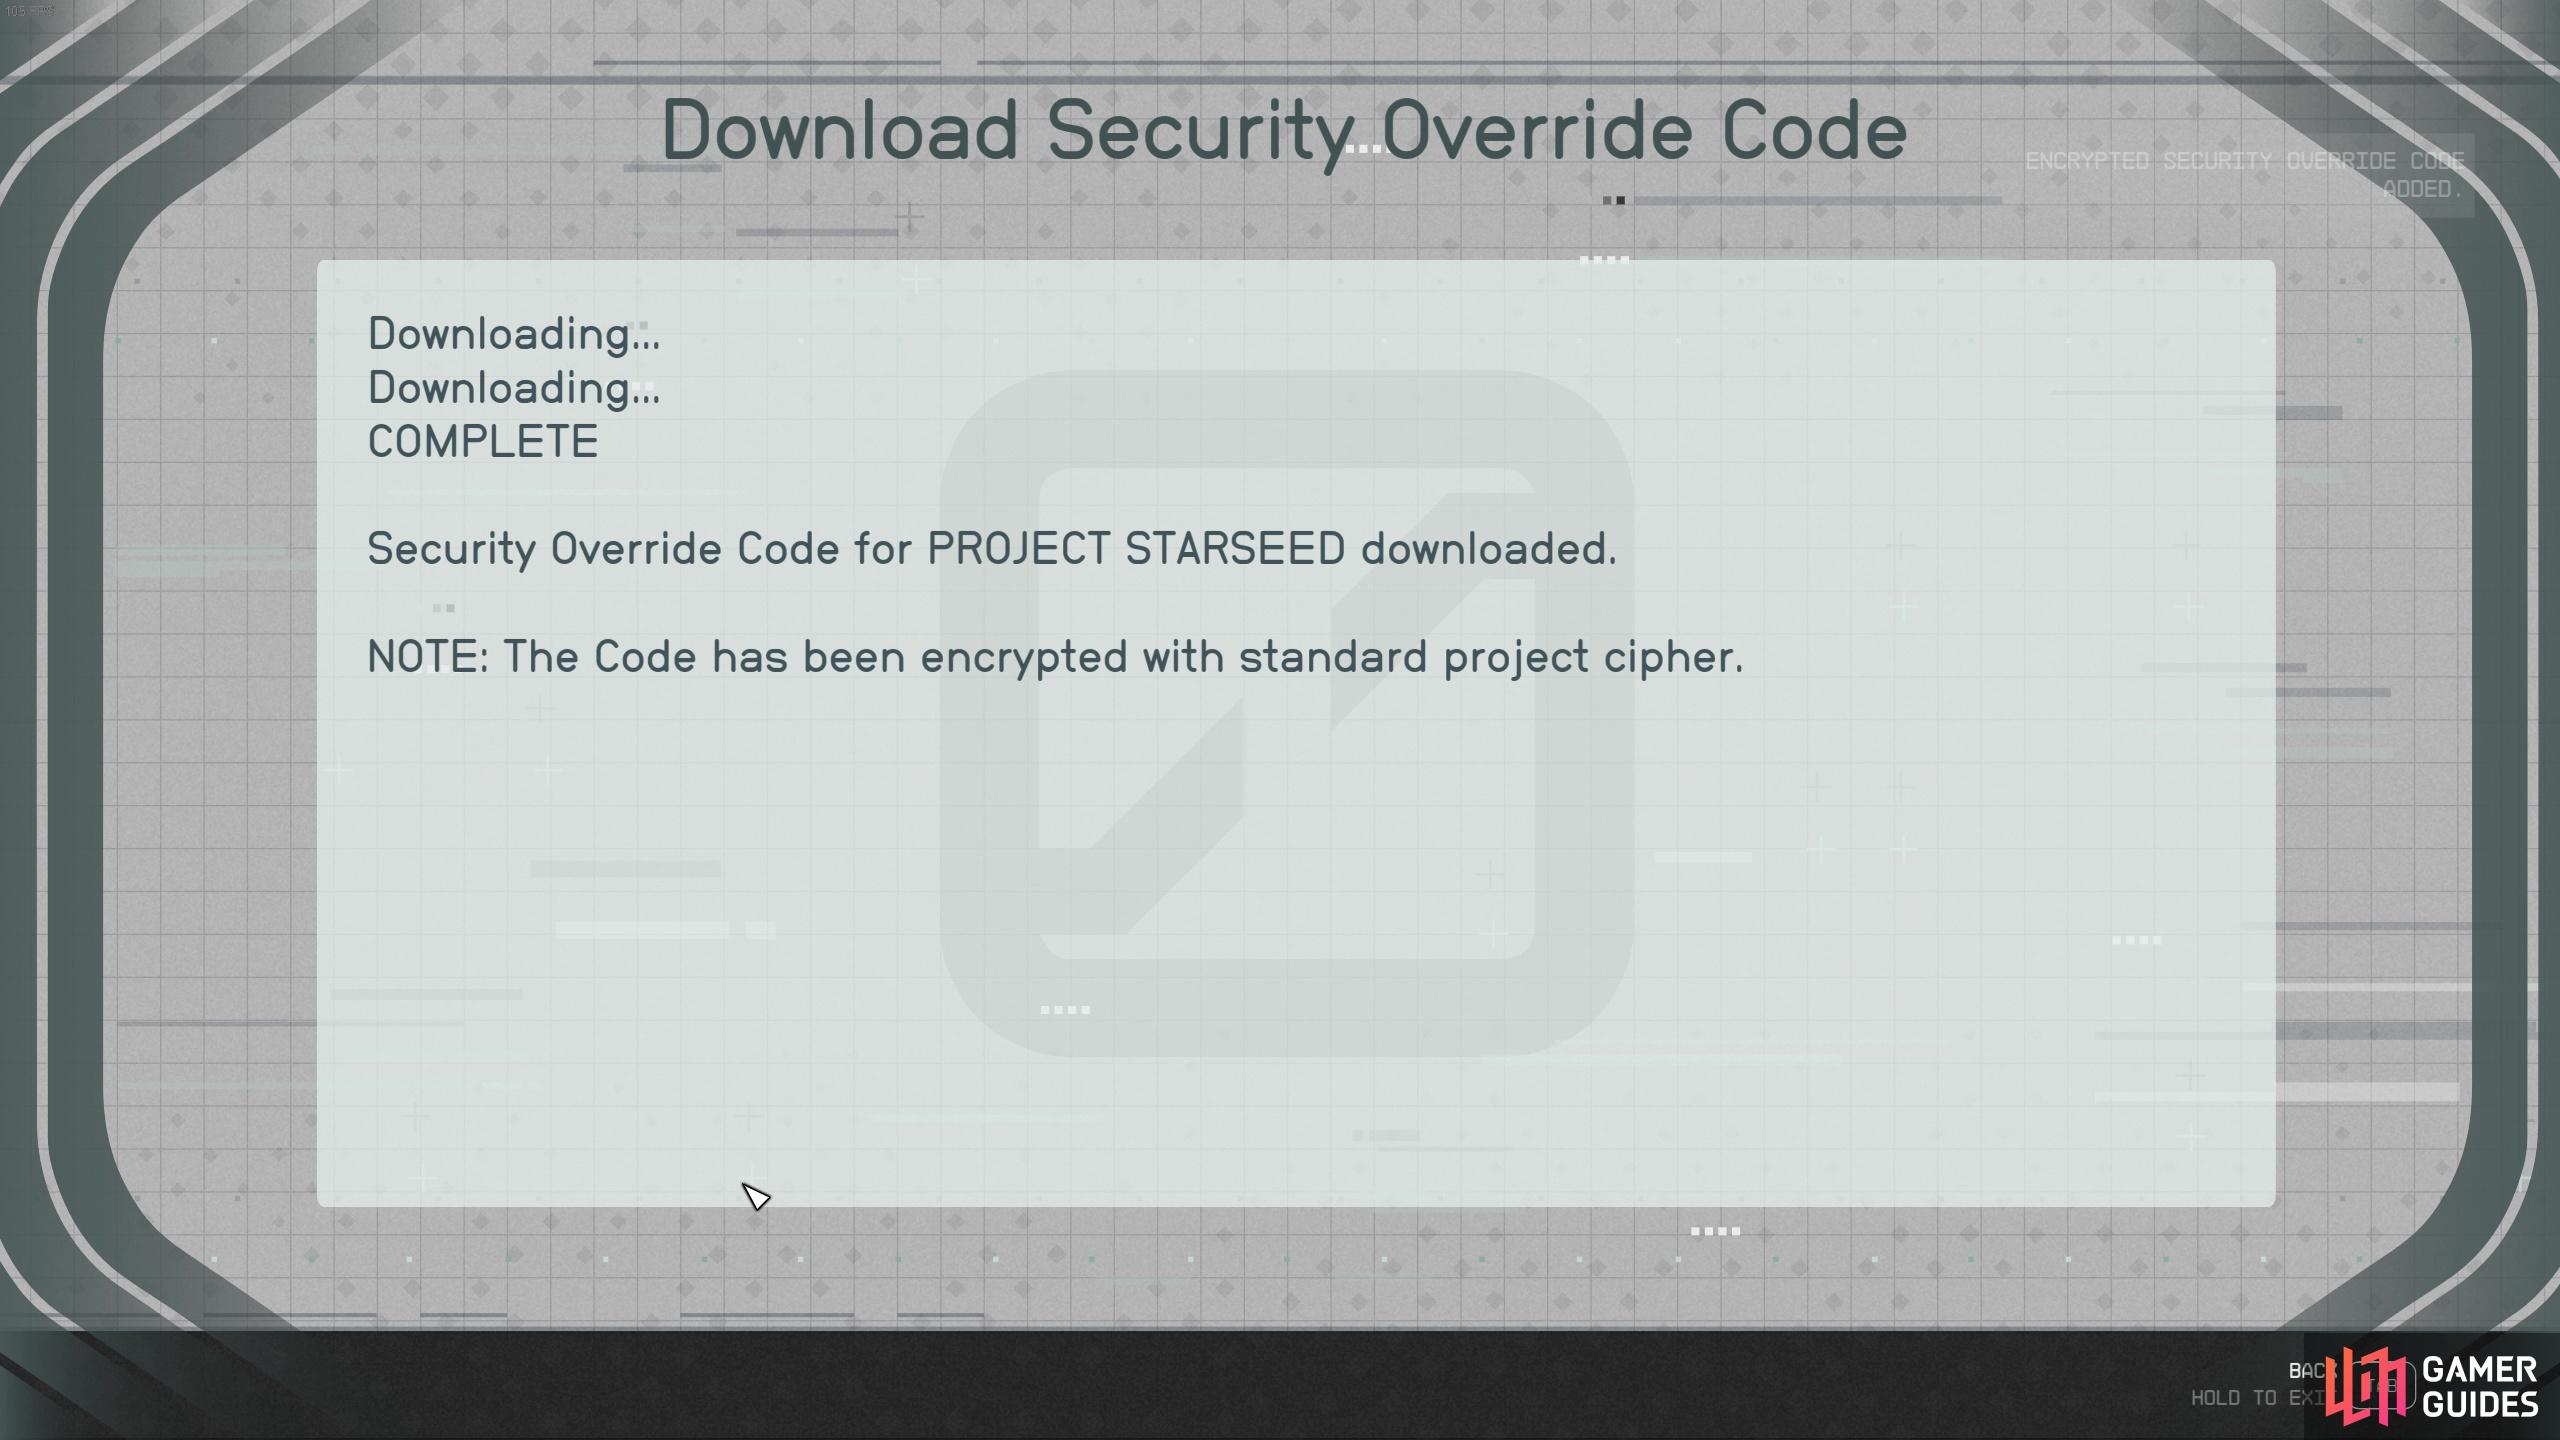
then download the Security Override Code.
You’ll now be forced to make your way back through the ship to reach your own ship so you can travel back to Crucible (you cannot fast travel from this location unfortunately). As you head back down, a bunch of robots will spawn in the corridor. You can stop to deal with them, or you can just run straight past them all the way to your ship. The only negative to doing the second option is missing out on some ammo loot from the robots.
Meeting with Franklin, Amanirenas and Genghis
When you return to Crucible, you’ll have to put Ada and the security code on the backburner and speak with your “chosen” Society Leader. The other two leaders have heard that you sided with the other and you’ll be forced to meet with them. We’ve already outlined above what happens depending on who you gave the information, but we can recap here. Essentially, if you chose Amanirenas or Franklin, you’re able to convince the other to side with you but you’ll always have to kill Genghis. If you chose Genghis, you can convince Franklin to your side but you won’t be able to convince Amarirenas and so you’ll have to kill her.
(1 of 3) If you sided with Amanirenas, you will have to kill Genghis but you can bring Roosevelt to your side.
If you did side with Amanirenas or Franklin, during this meeting you can change your mind and side with Genghis, but neither Amanirenas or Franklin will be pleased about this and you’ll have to kill them both.
Unfortunately, there is no way for all three of the leaders to survive. You can always convince one of the other leaders to your side, but not all of them. Luckily, who you choose to kill doesn’t have any actual consequences for the end of the mission, so as mentioned before, it really is just down to who the player feels is right!
After the fight has ensued, return to your chosen leader and speak with them. They’ll tell you to go over and talk to Ada about the security override code. Ada will do her magic and you can now return to the Facility to enter the restricted section!
How to Access the Restricted Wing of the Facility
If you’re a lower level or you’ve come into the restricted area a bit ill-prepared then you may want to skip fighting altogether and either stealth through the area or just leg it.
You can return to the Facility via the door you left through last time. This way, you can quickly reach the computer to open up the restricted area. As you enter you’ll be greeted by a Robot enemy. After defeating him, follow the hallway around to a tall room with three turrets and several clone enemies. You can choose to run past them into the hole on the ground floor, or you can take them out. Focus on the turrets first as they do tons of damage.
Once in the hole, proceed into the water and cross over to another area of the facility. This whole bit is overrun with clones, robots and turrets. If you’re a lower level, it is highly recommended that you just run through this area to find the computer you need. You could also try to stealth your way through but there are a lot of eyes around so you may find it tricky to go undetected.
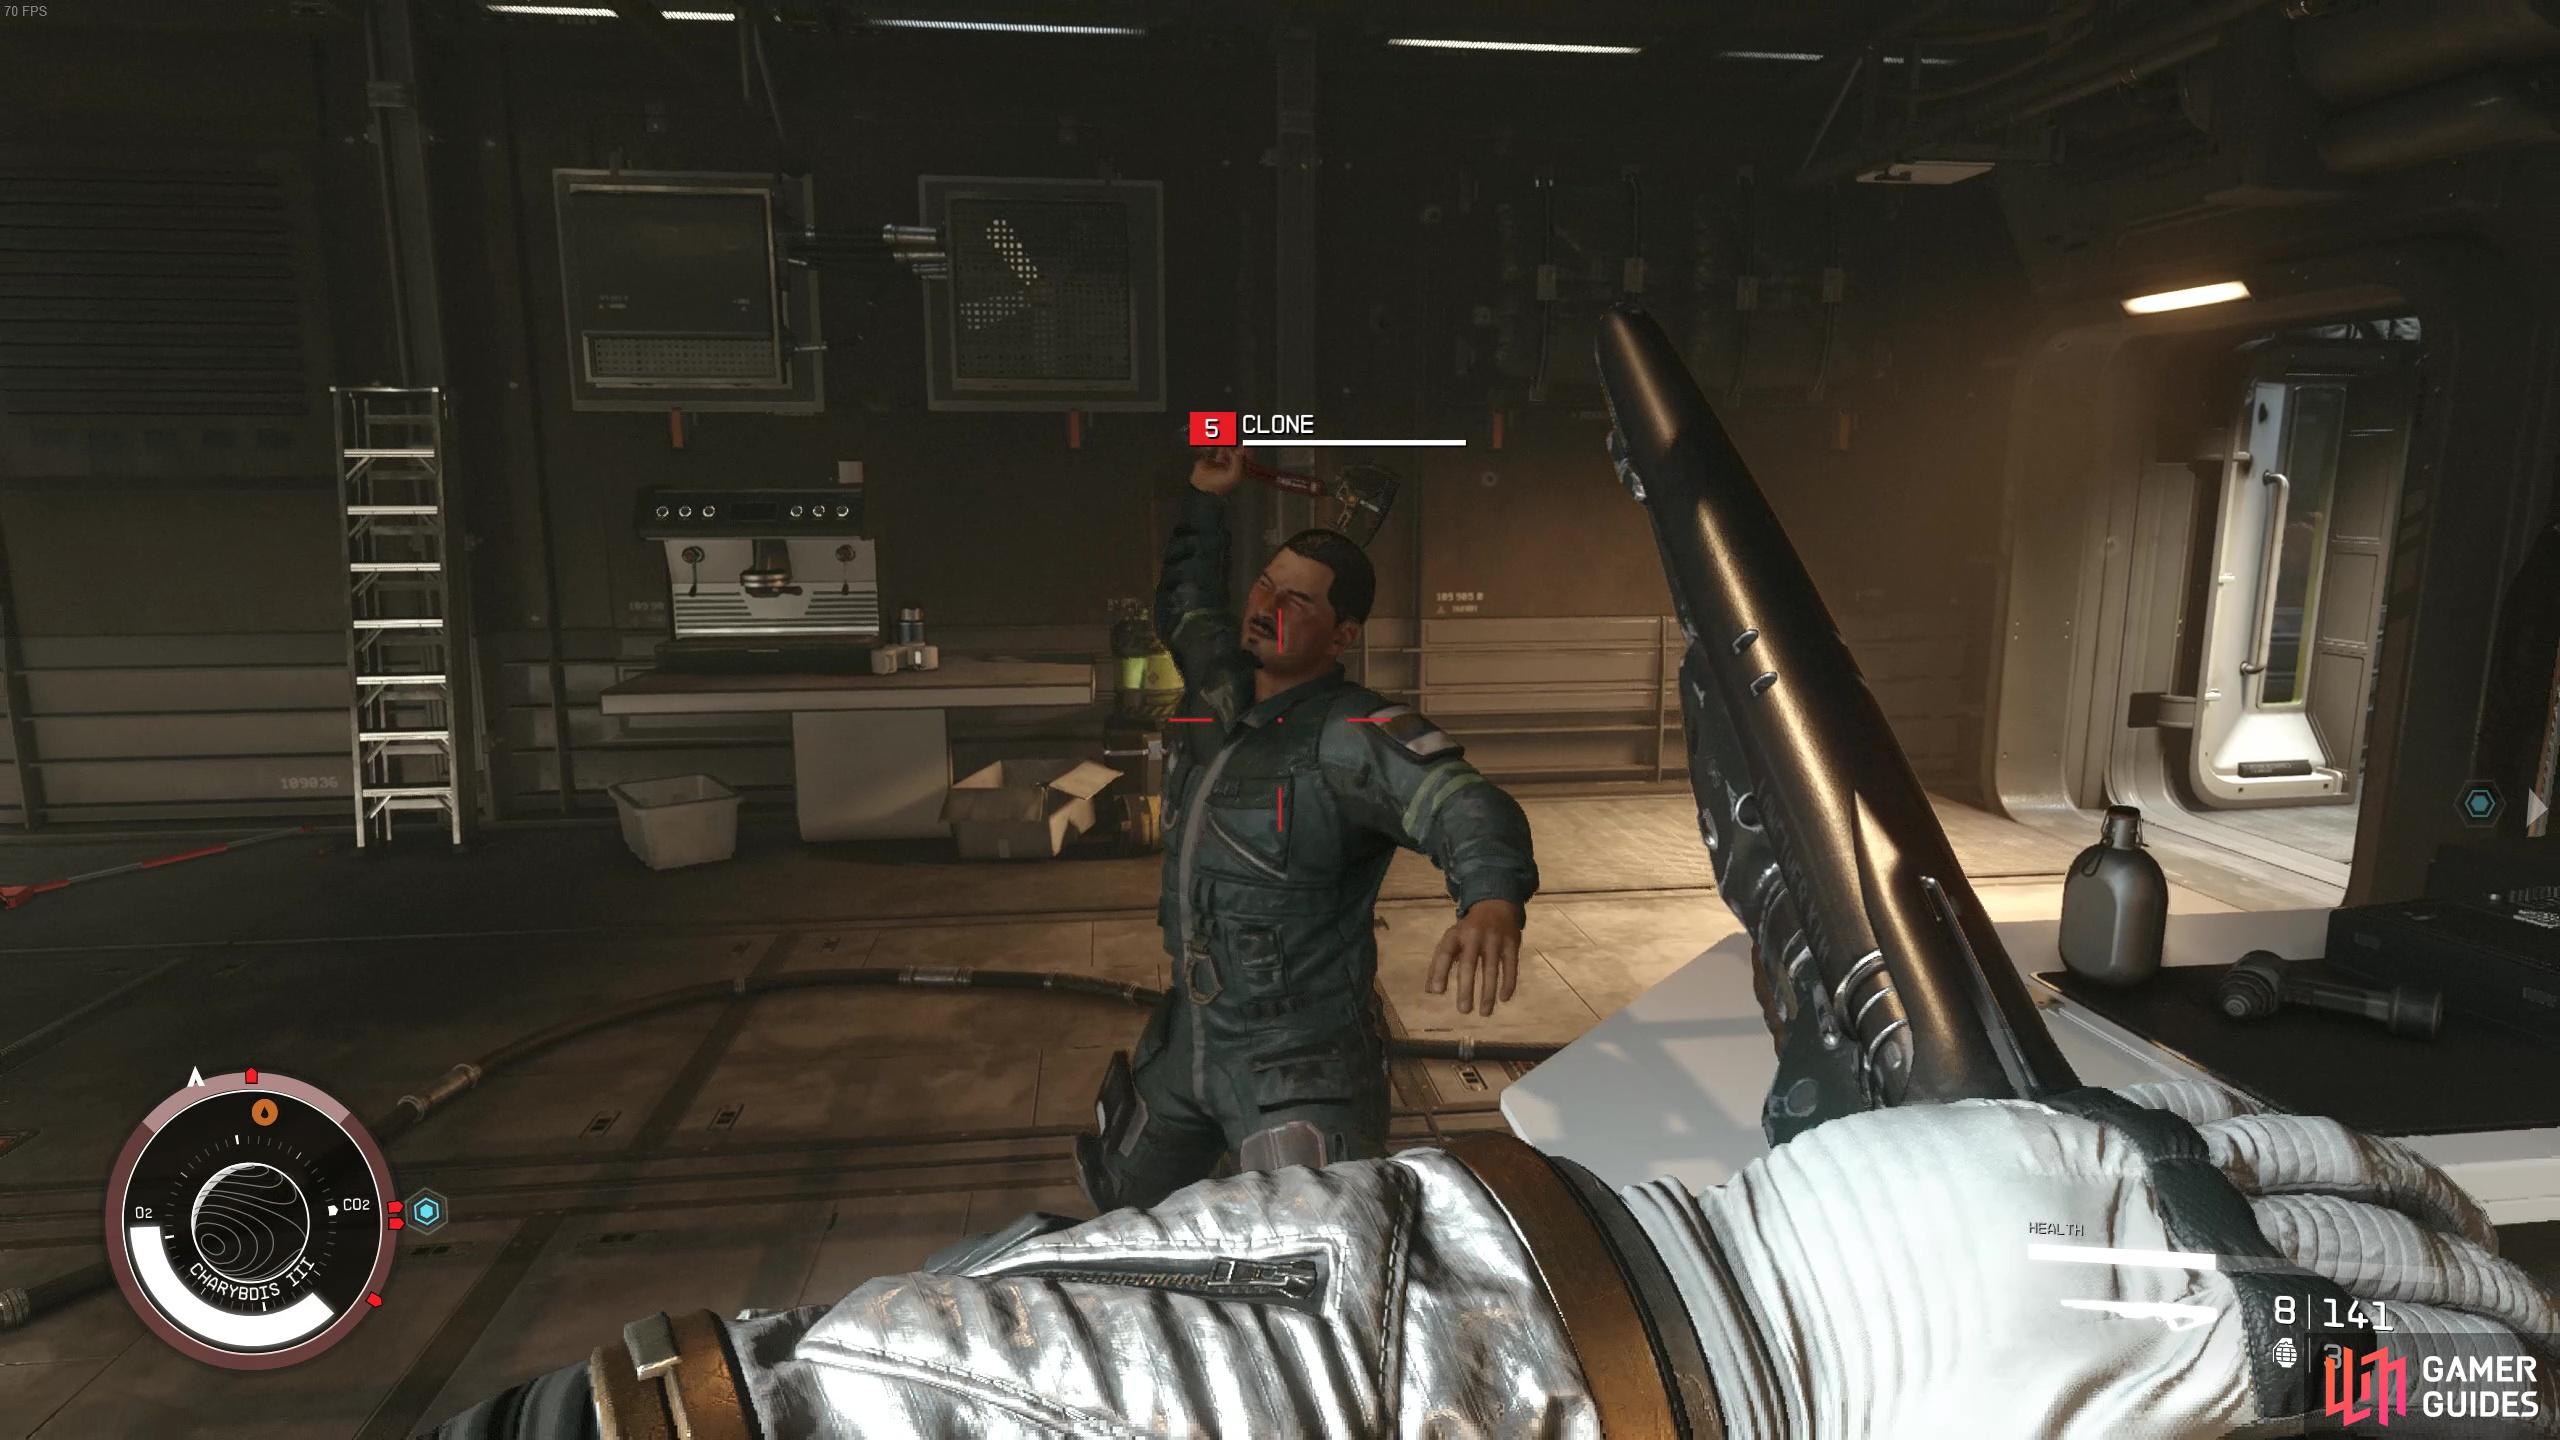
The restricted section is filled with Clone enemies and robots!
To find the computer you need, head north through the area (running or fighting) until you find a corridor that heads to the left. This will take you into an even larger room with even more clone, robot and turret enemies. In this area, you’ll also find a level 65 Clone Leader who may pose a big issue, but will have some decent-ish loot (random). To get to the computer, head through the water then onto the platforms to the left. Then take the ramp up to the next floor then run all the way down the walkway towards the marker (head north). Then, you can jump down off the balcony and proceed up the ramp to find the security office.
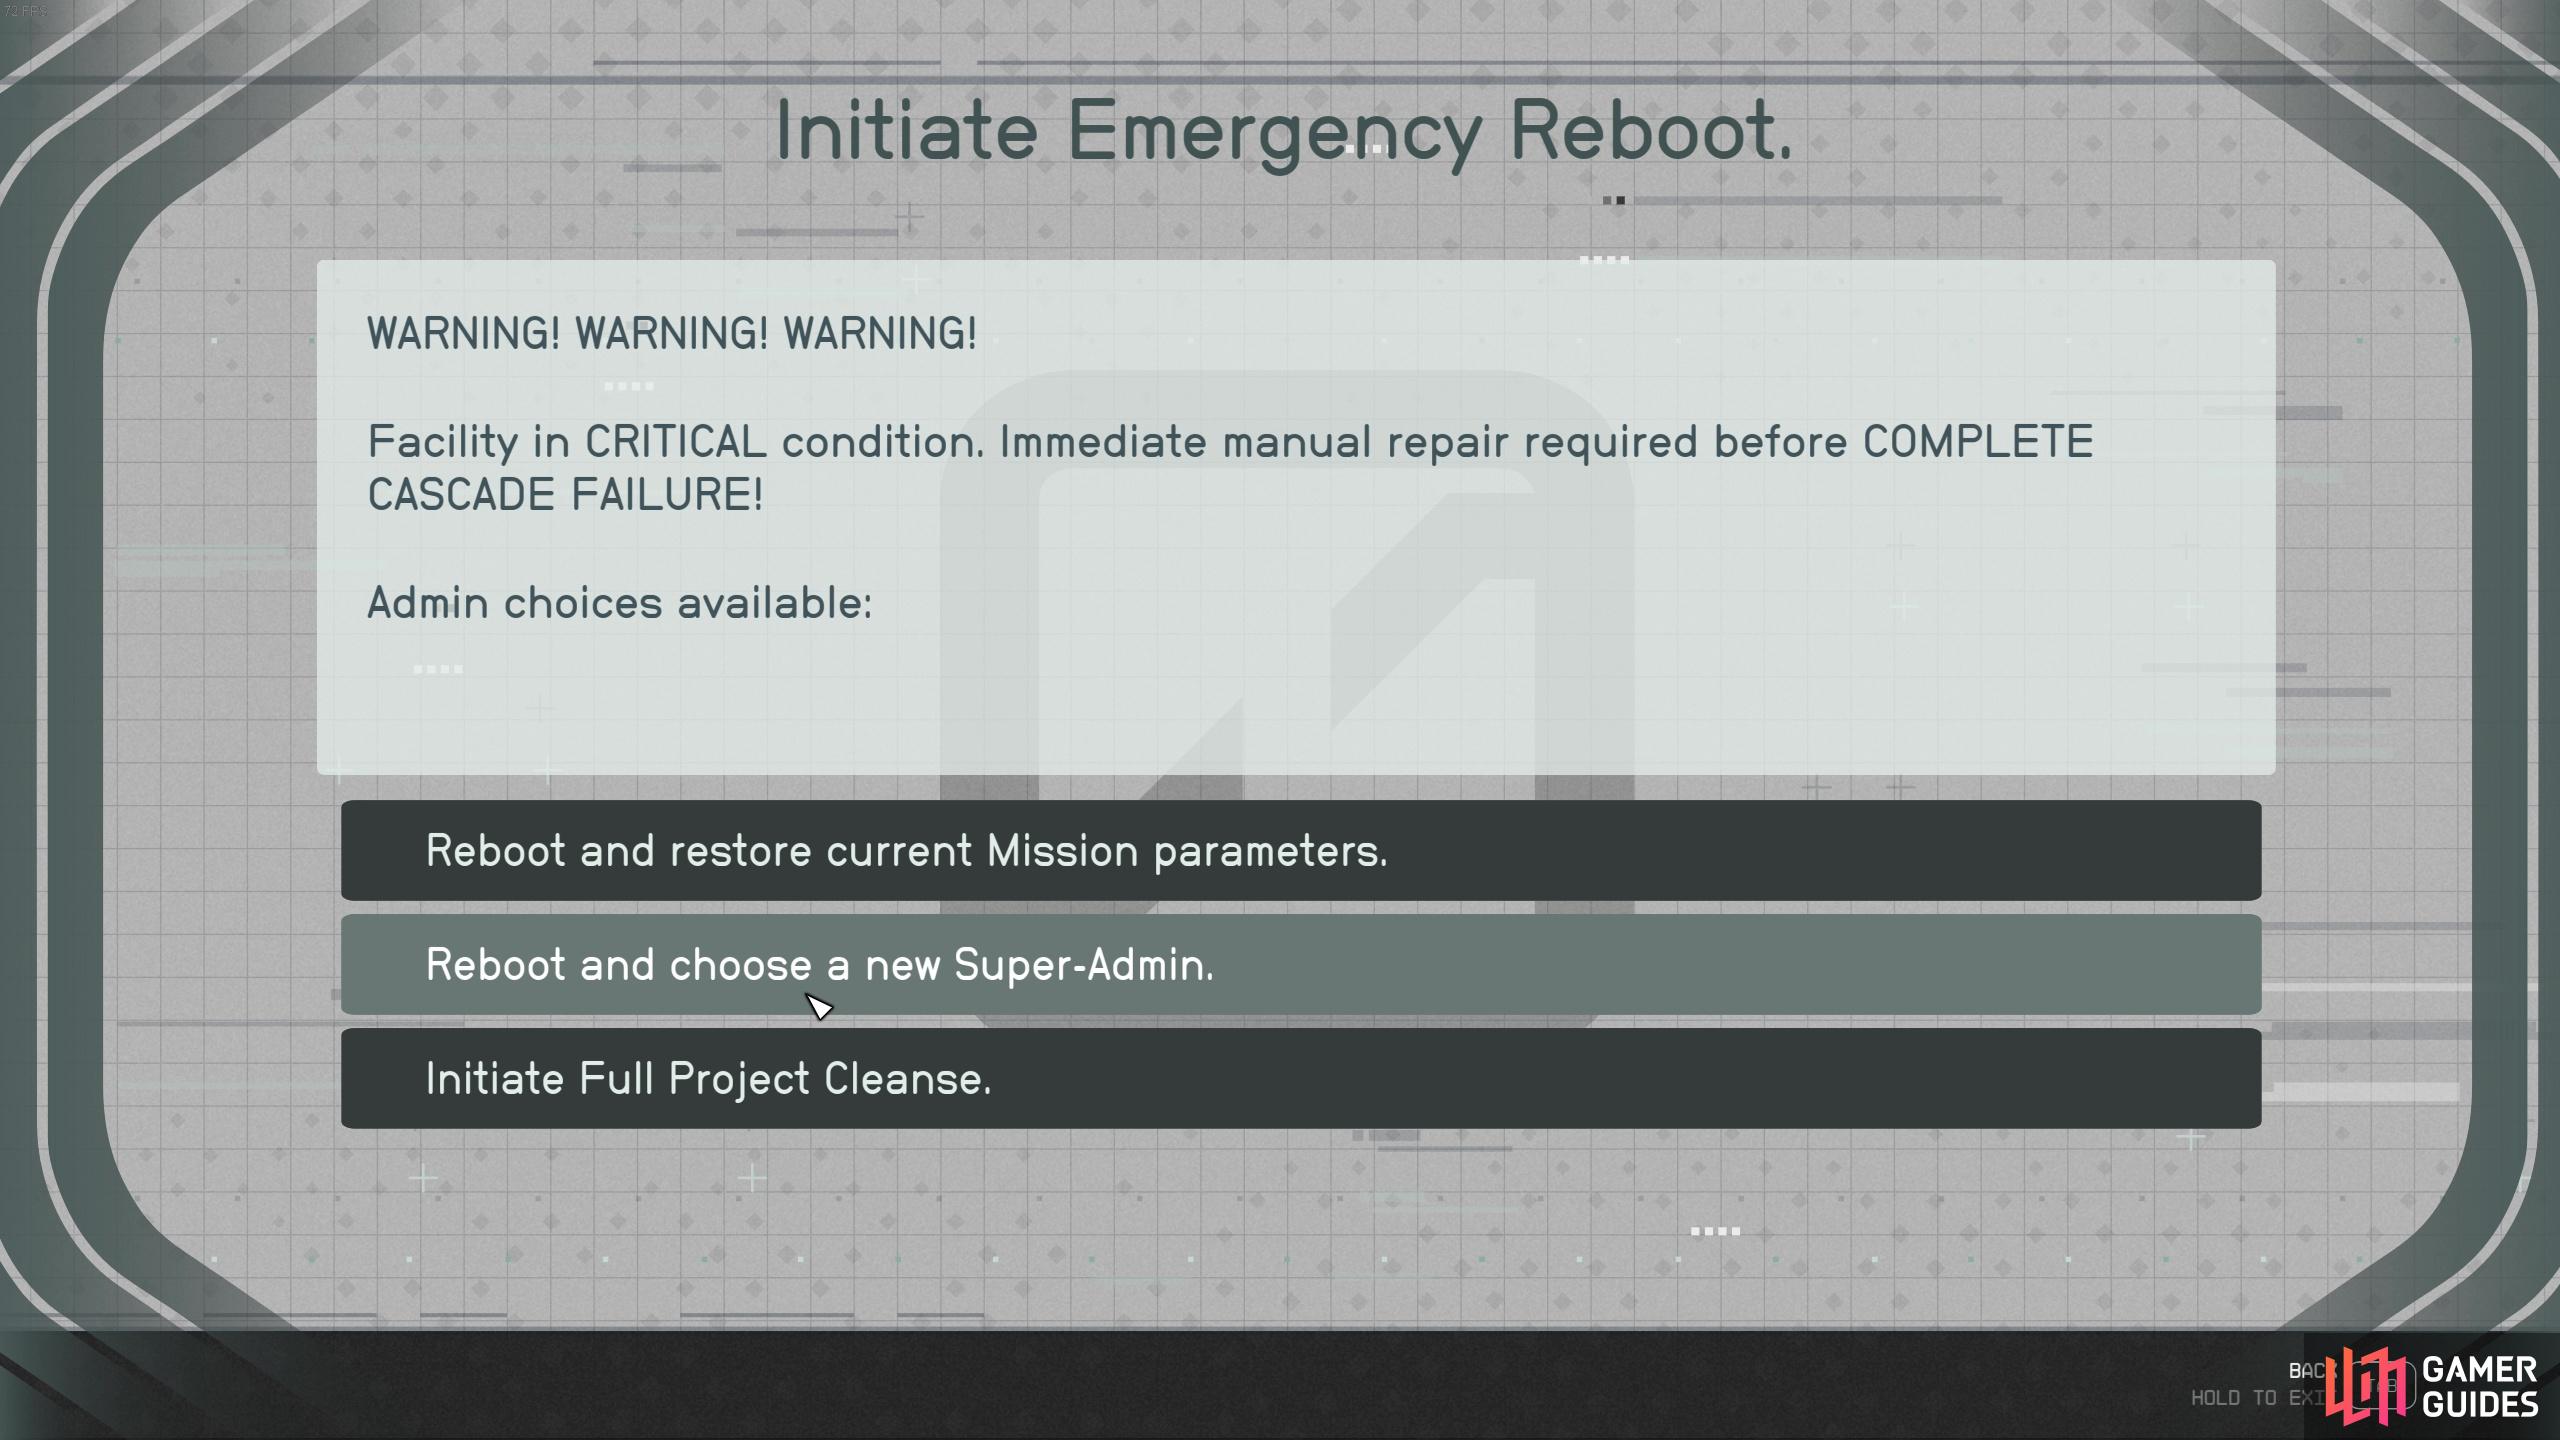
In here you’ll find the Facility Datacore and you’ll be presented with another choice and these choices will impact the endings and your reward:
- Reboot and restore current Mission parameters
- Reboot and choose new Super-Admin
- Initiate Full Project Cleanse
If you choose the first option, nothing will happen to Crucible and their lives will continue unchanged. If you choose the second option, you’ll get to pick your chosen Society Leader and they’ll get their happy ending - this is what you’d consider the “good ending”. The last option is definitely the “bad ending” as you’ll essentially wipe everyone in Crucible and none of the leaders will get what they want.
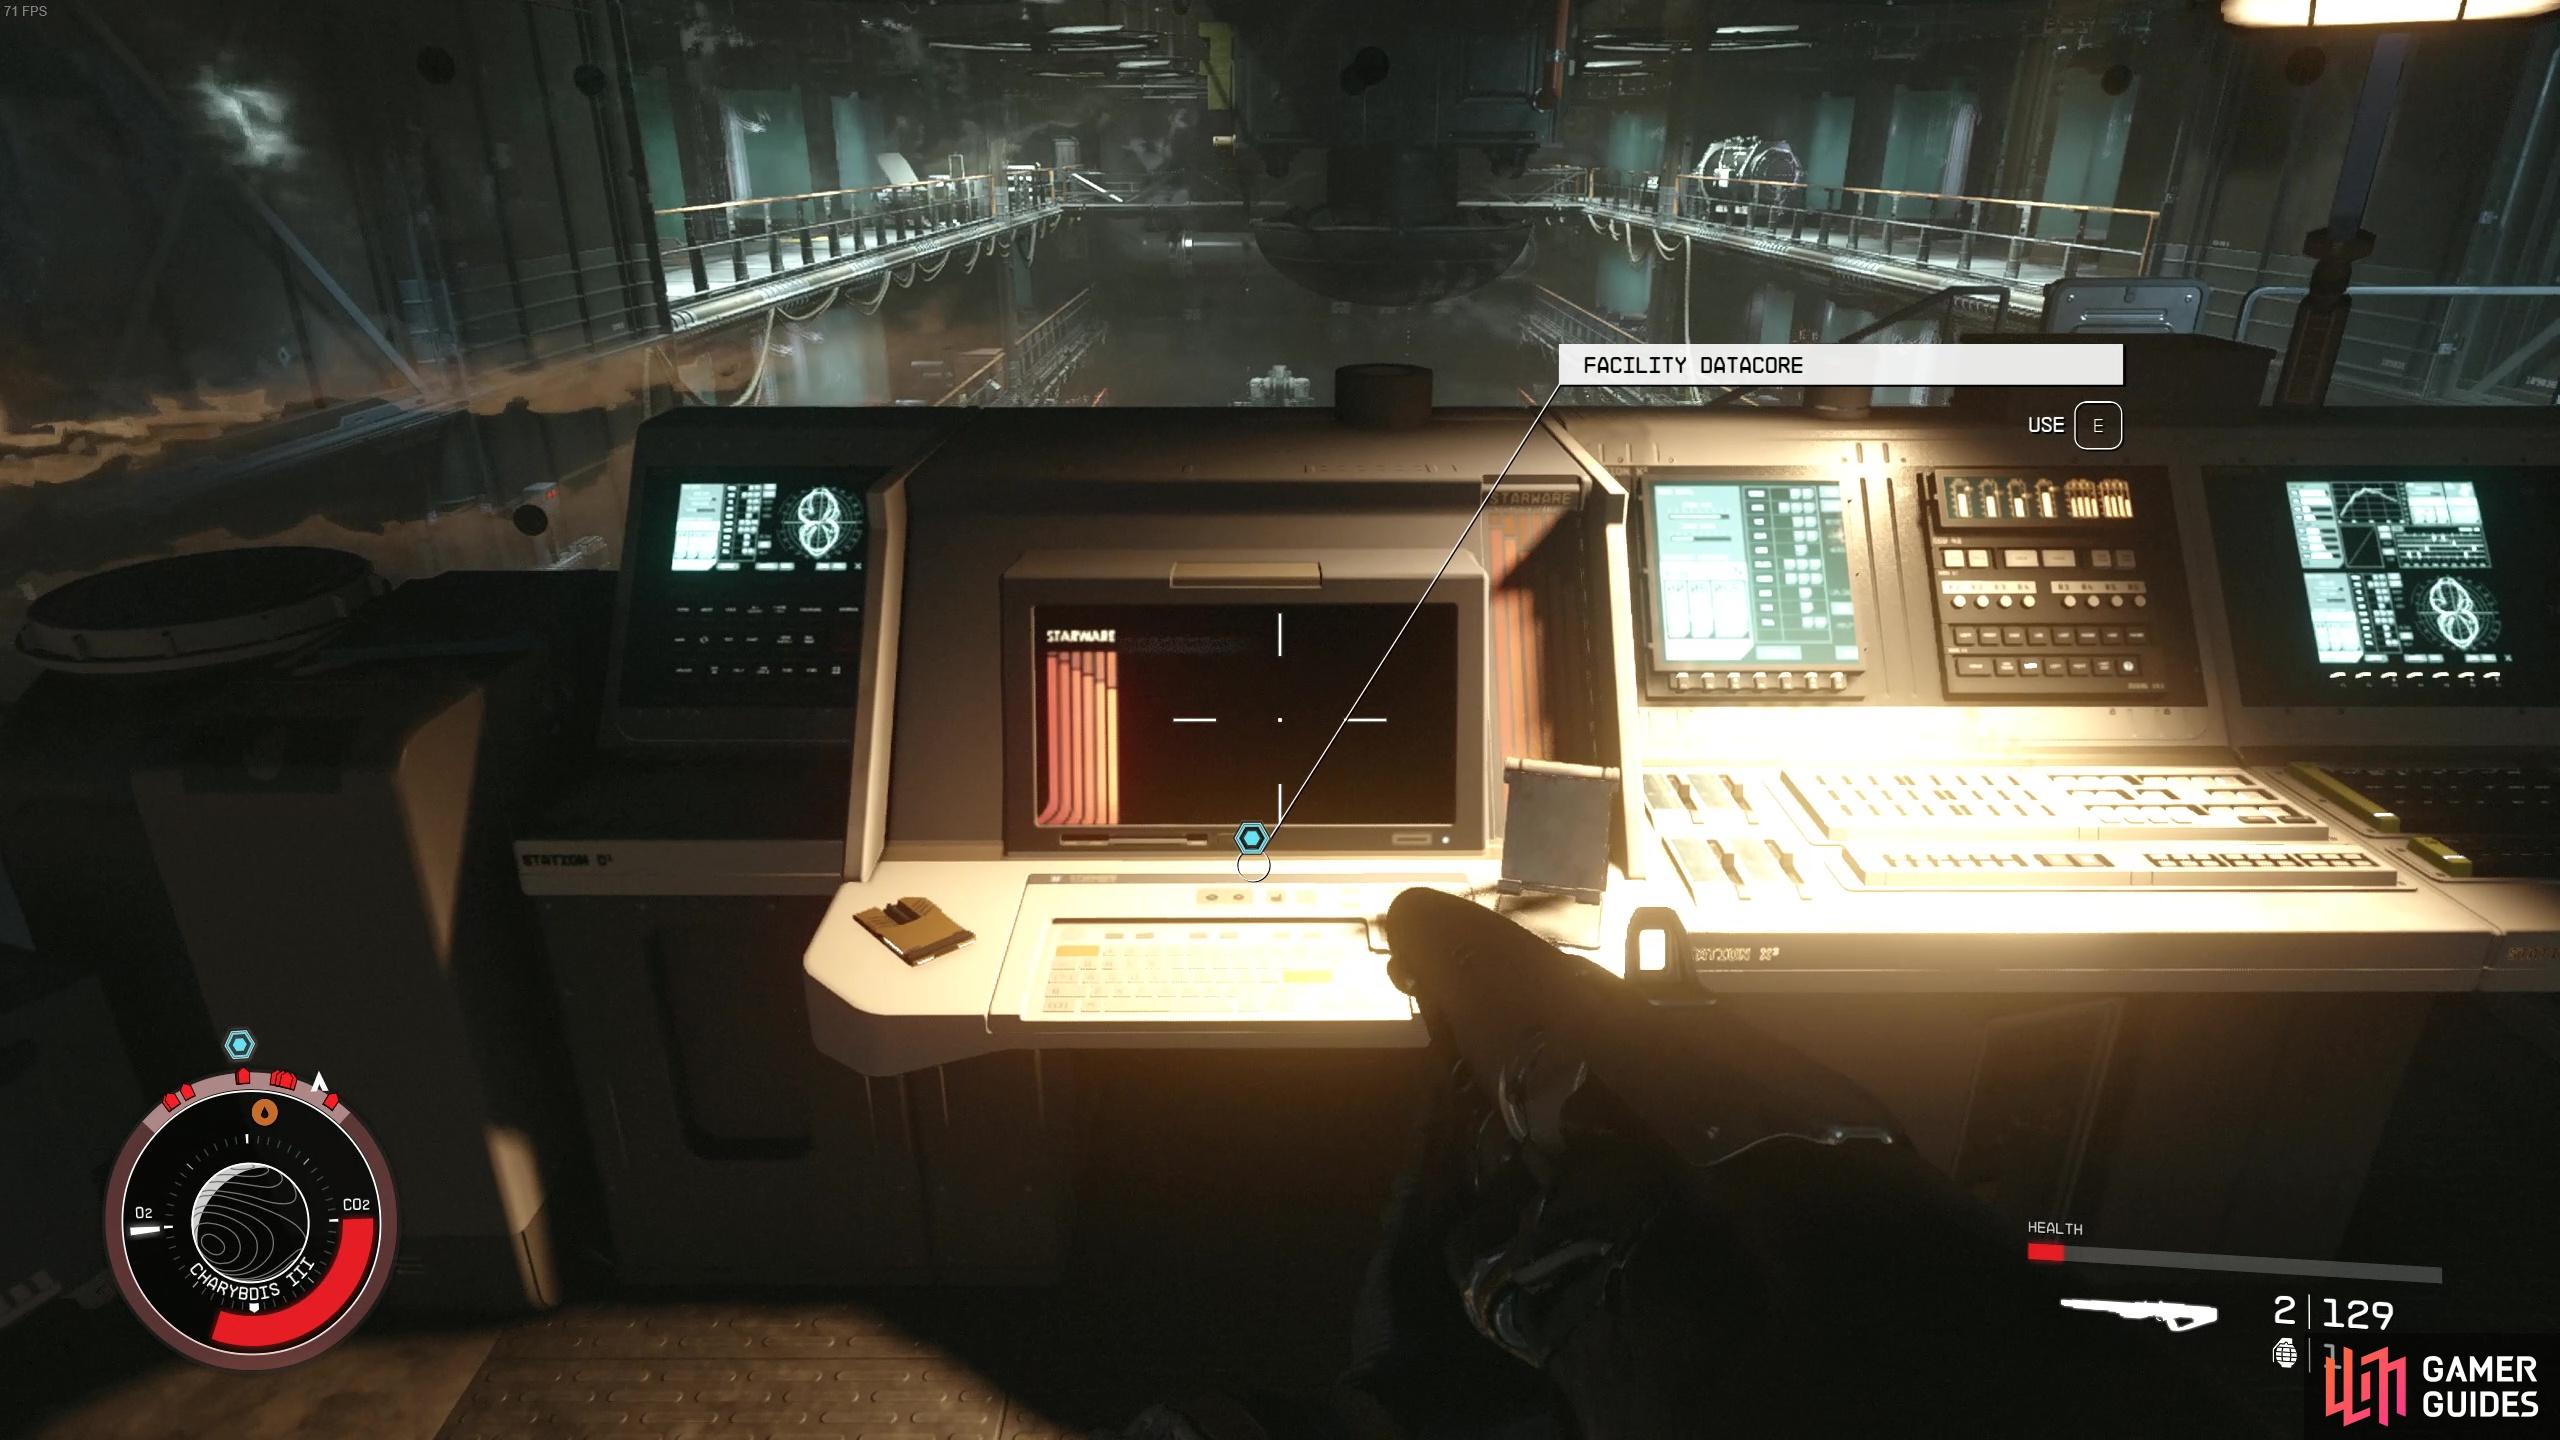
Locate the facility datacore
and choose what you want to do with Crucible.
Operation Starseed Rewards
When you return to Crucible, if you chose the first option, you’ll receive 3,000 Credits and you’ll be able to recruit ![]() Amelia Earhart. If you haven’t already spoken to her, she can be found outside Roosevelt’s building.
Amelia Earhart. If you haven’t already spoken to her, she can be found outside Roosevelt’s building.
If you choose the second option and appoint a new Super-Admin, you’ll get 6,000 Credits and likewise be able to recruit Amelia Earhart.
And if you choose to cleanse the whole place, you’ll get a mere 2,000 Credits and you won’t be able to recruit Amelia Earhart because she’s dead…now who wants that ending?!
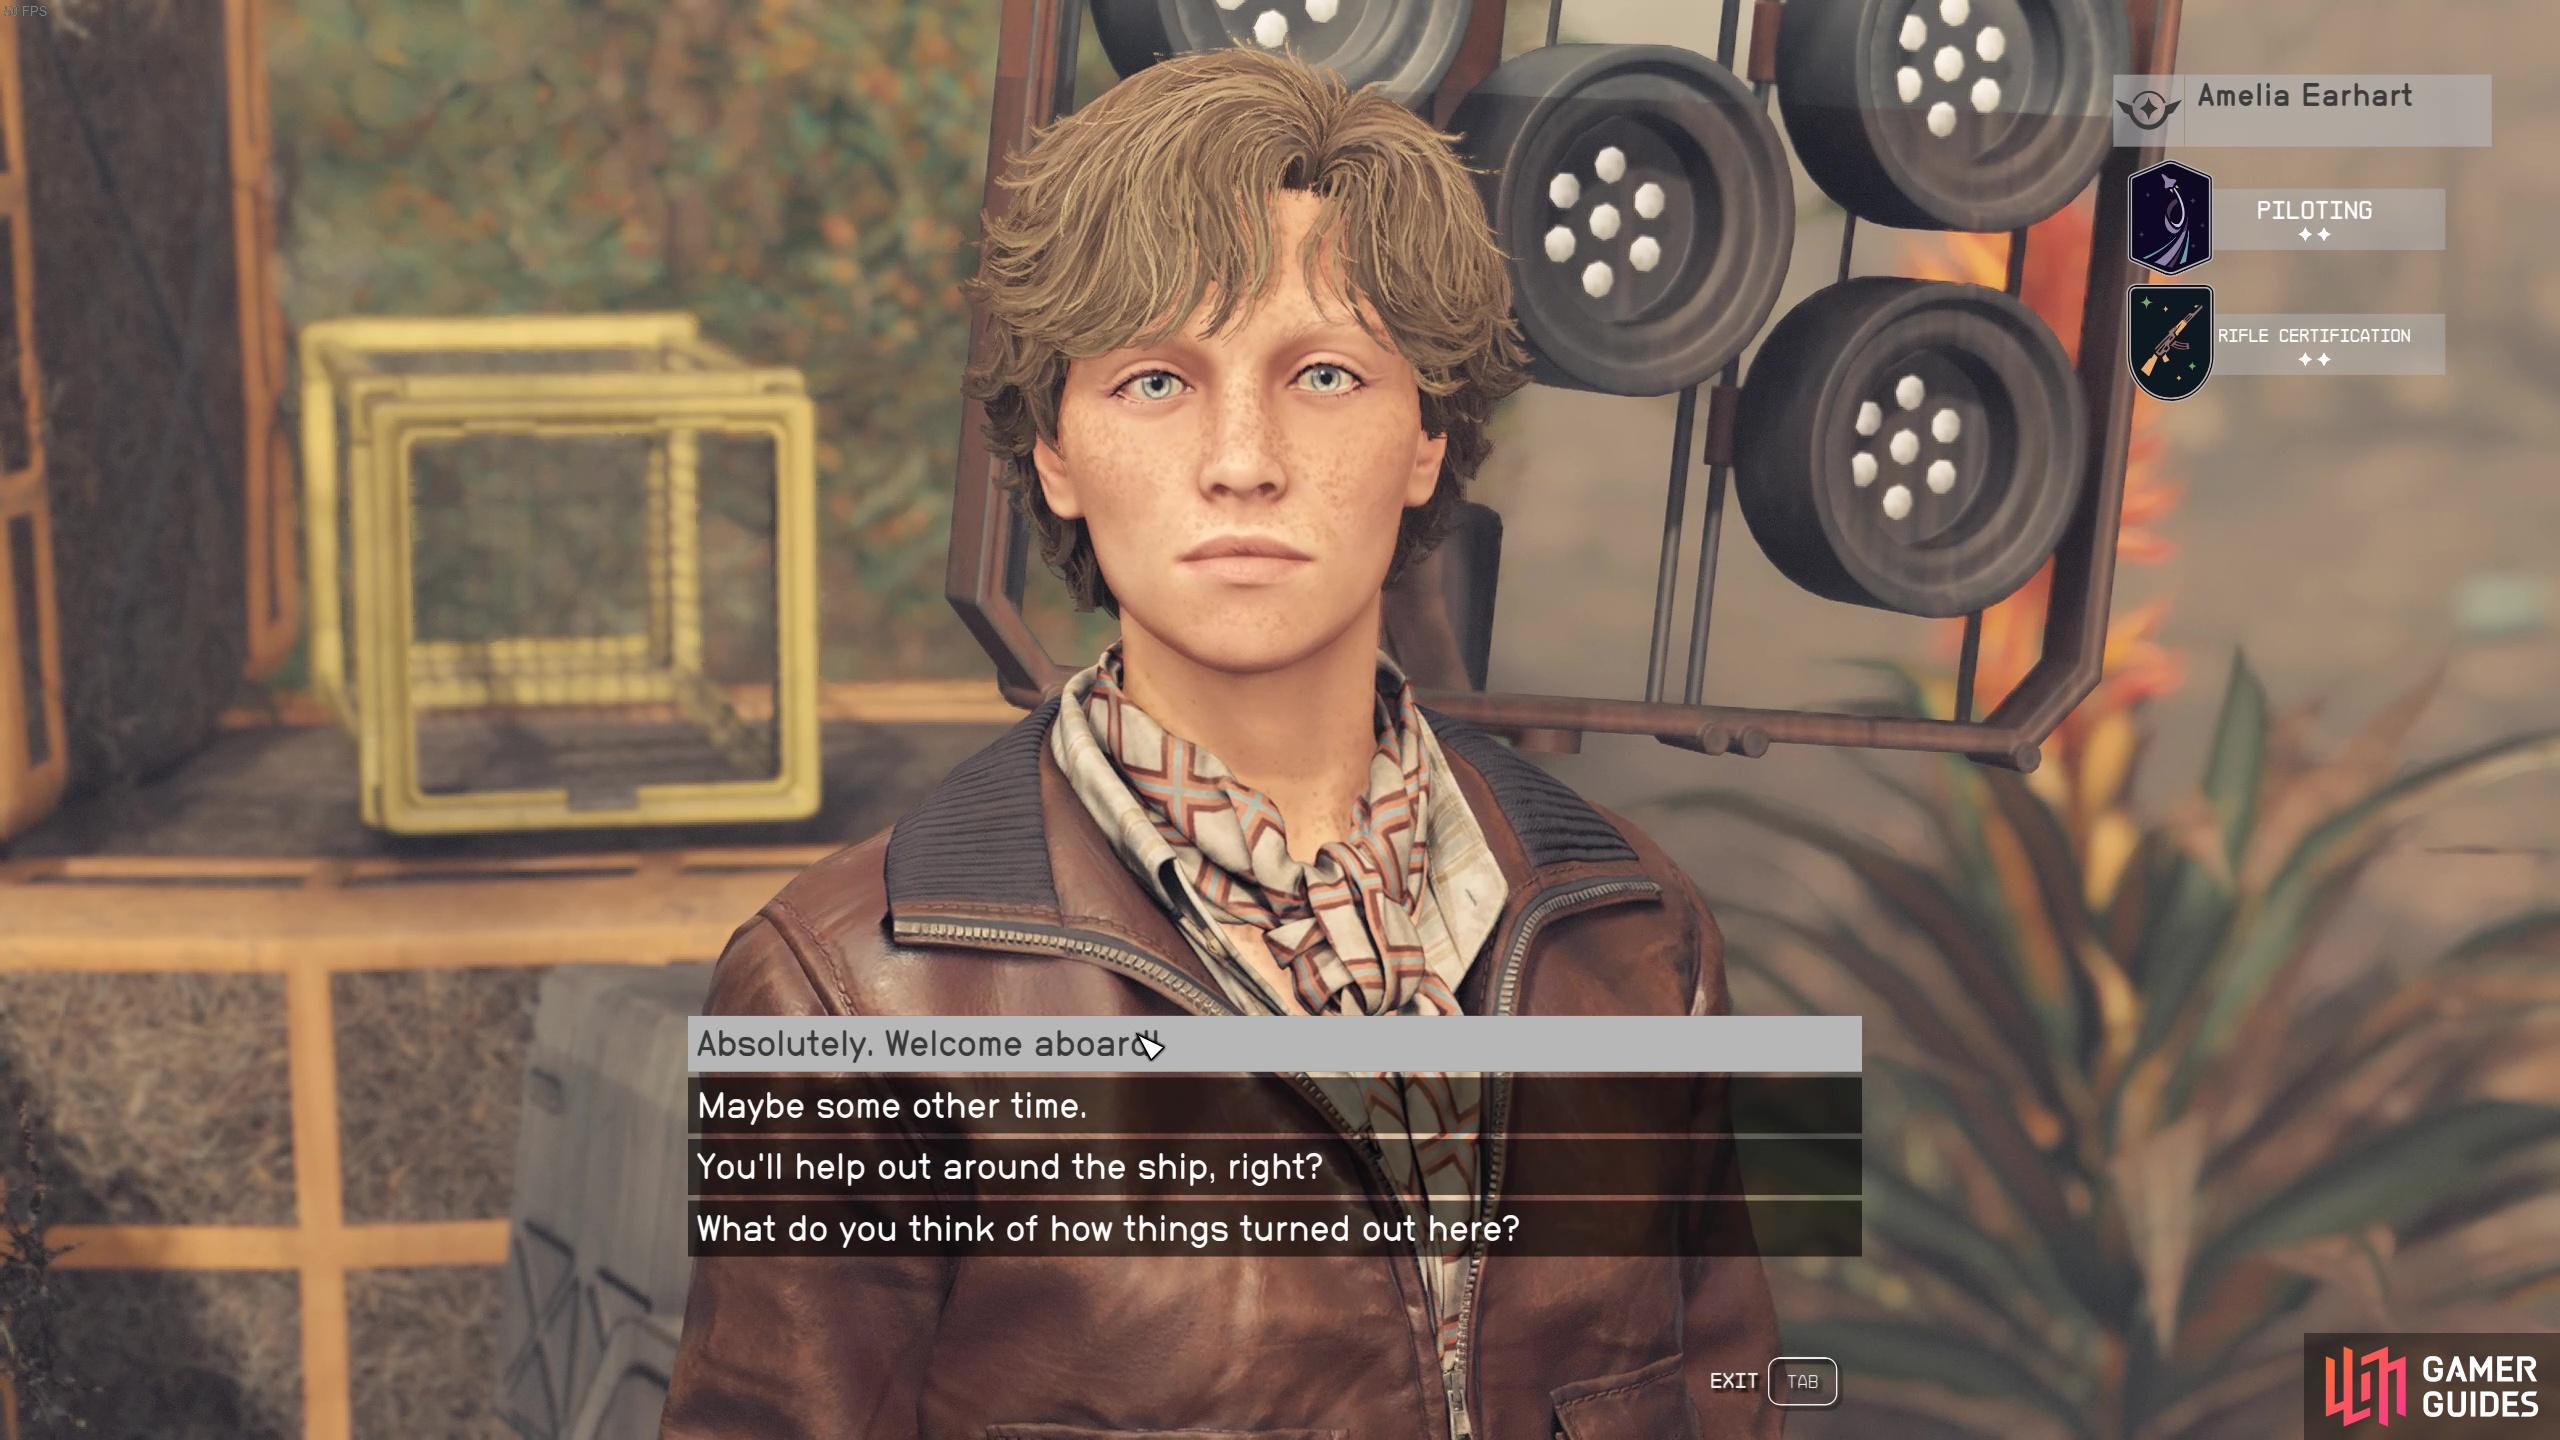
Amelia Earhart can be hired as part of your crew after completing the mission.
Amelia Earhart Crew Stats
Amelia Earhart has 2 star ![]() Piloting and
Piloting and ![]() Rifle Certification, which isn’t that great but she’s a pretty cool easter egg nonetheless! If you’ve got a spot on your crew, consider adding her, but she isn’t really better than someone like
Rifle Certification, which isn’t that great but she’s a pretty cool easter egg nonetheless! If you’ve got a spot on your crew, consider adding her, but she isn’t really better than someone like ![]() Sam Coe, who has 4 star Piloting for example.
Sam Coe, who has 4 star Piloting for example.
No Comments