
This page details how to complete Legacy’s End if you decided to side with the UC SysDef during the Eye of the Storm quest in Starfield. If you sided with the Crimson Fleet then your final quest will be different.

Siding with the SysDef? Learn how to complete Legacy’s End and wipe out the Crimson Fleet below.
How to Start Legacy’s End
In order to start Legacy’s End, you’ll need to escape the Legacy Ship during Eye of the Storm and return the Credits to either the UC Vigilance Ship or ![]() The Key. Where you go will determine who you side with. So, to side with the UC SysDef, which is what this page is covering, you’ll need to head to Vigilance. If you side with the UC SysDef with Sam and Sarah aboard your ship they’ll “love” your choice.
The Key. Where you go will determine who you side with. So, to side with the UC SysDef, which is what this page is covering, you’ll need to head to Vigilance. If you side with the UC SysDef with Sam and Sarah aboard your ship they’ll “love” your choice.
When you do head to Vigilance, you’ll be greeted by a load of Crimson Fleet enemies attacking the ship. You’ll need to take them out before you can board the ship, and luckily this is an easy task as you have back up from the UC SysDef! Some of the ships are higher leveled, so you’ll want to focus on those first as they’ll do the most damage to your ship if left unchecked.
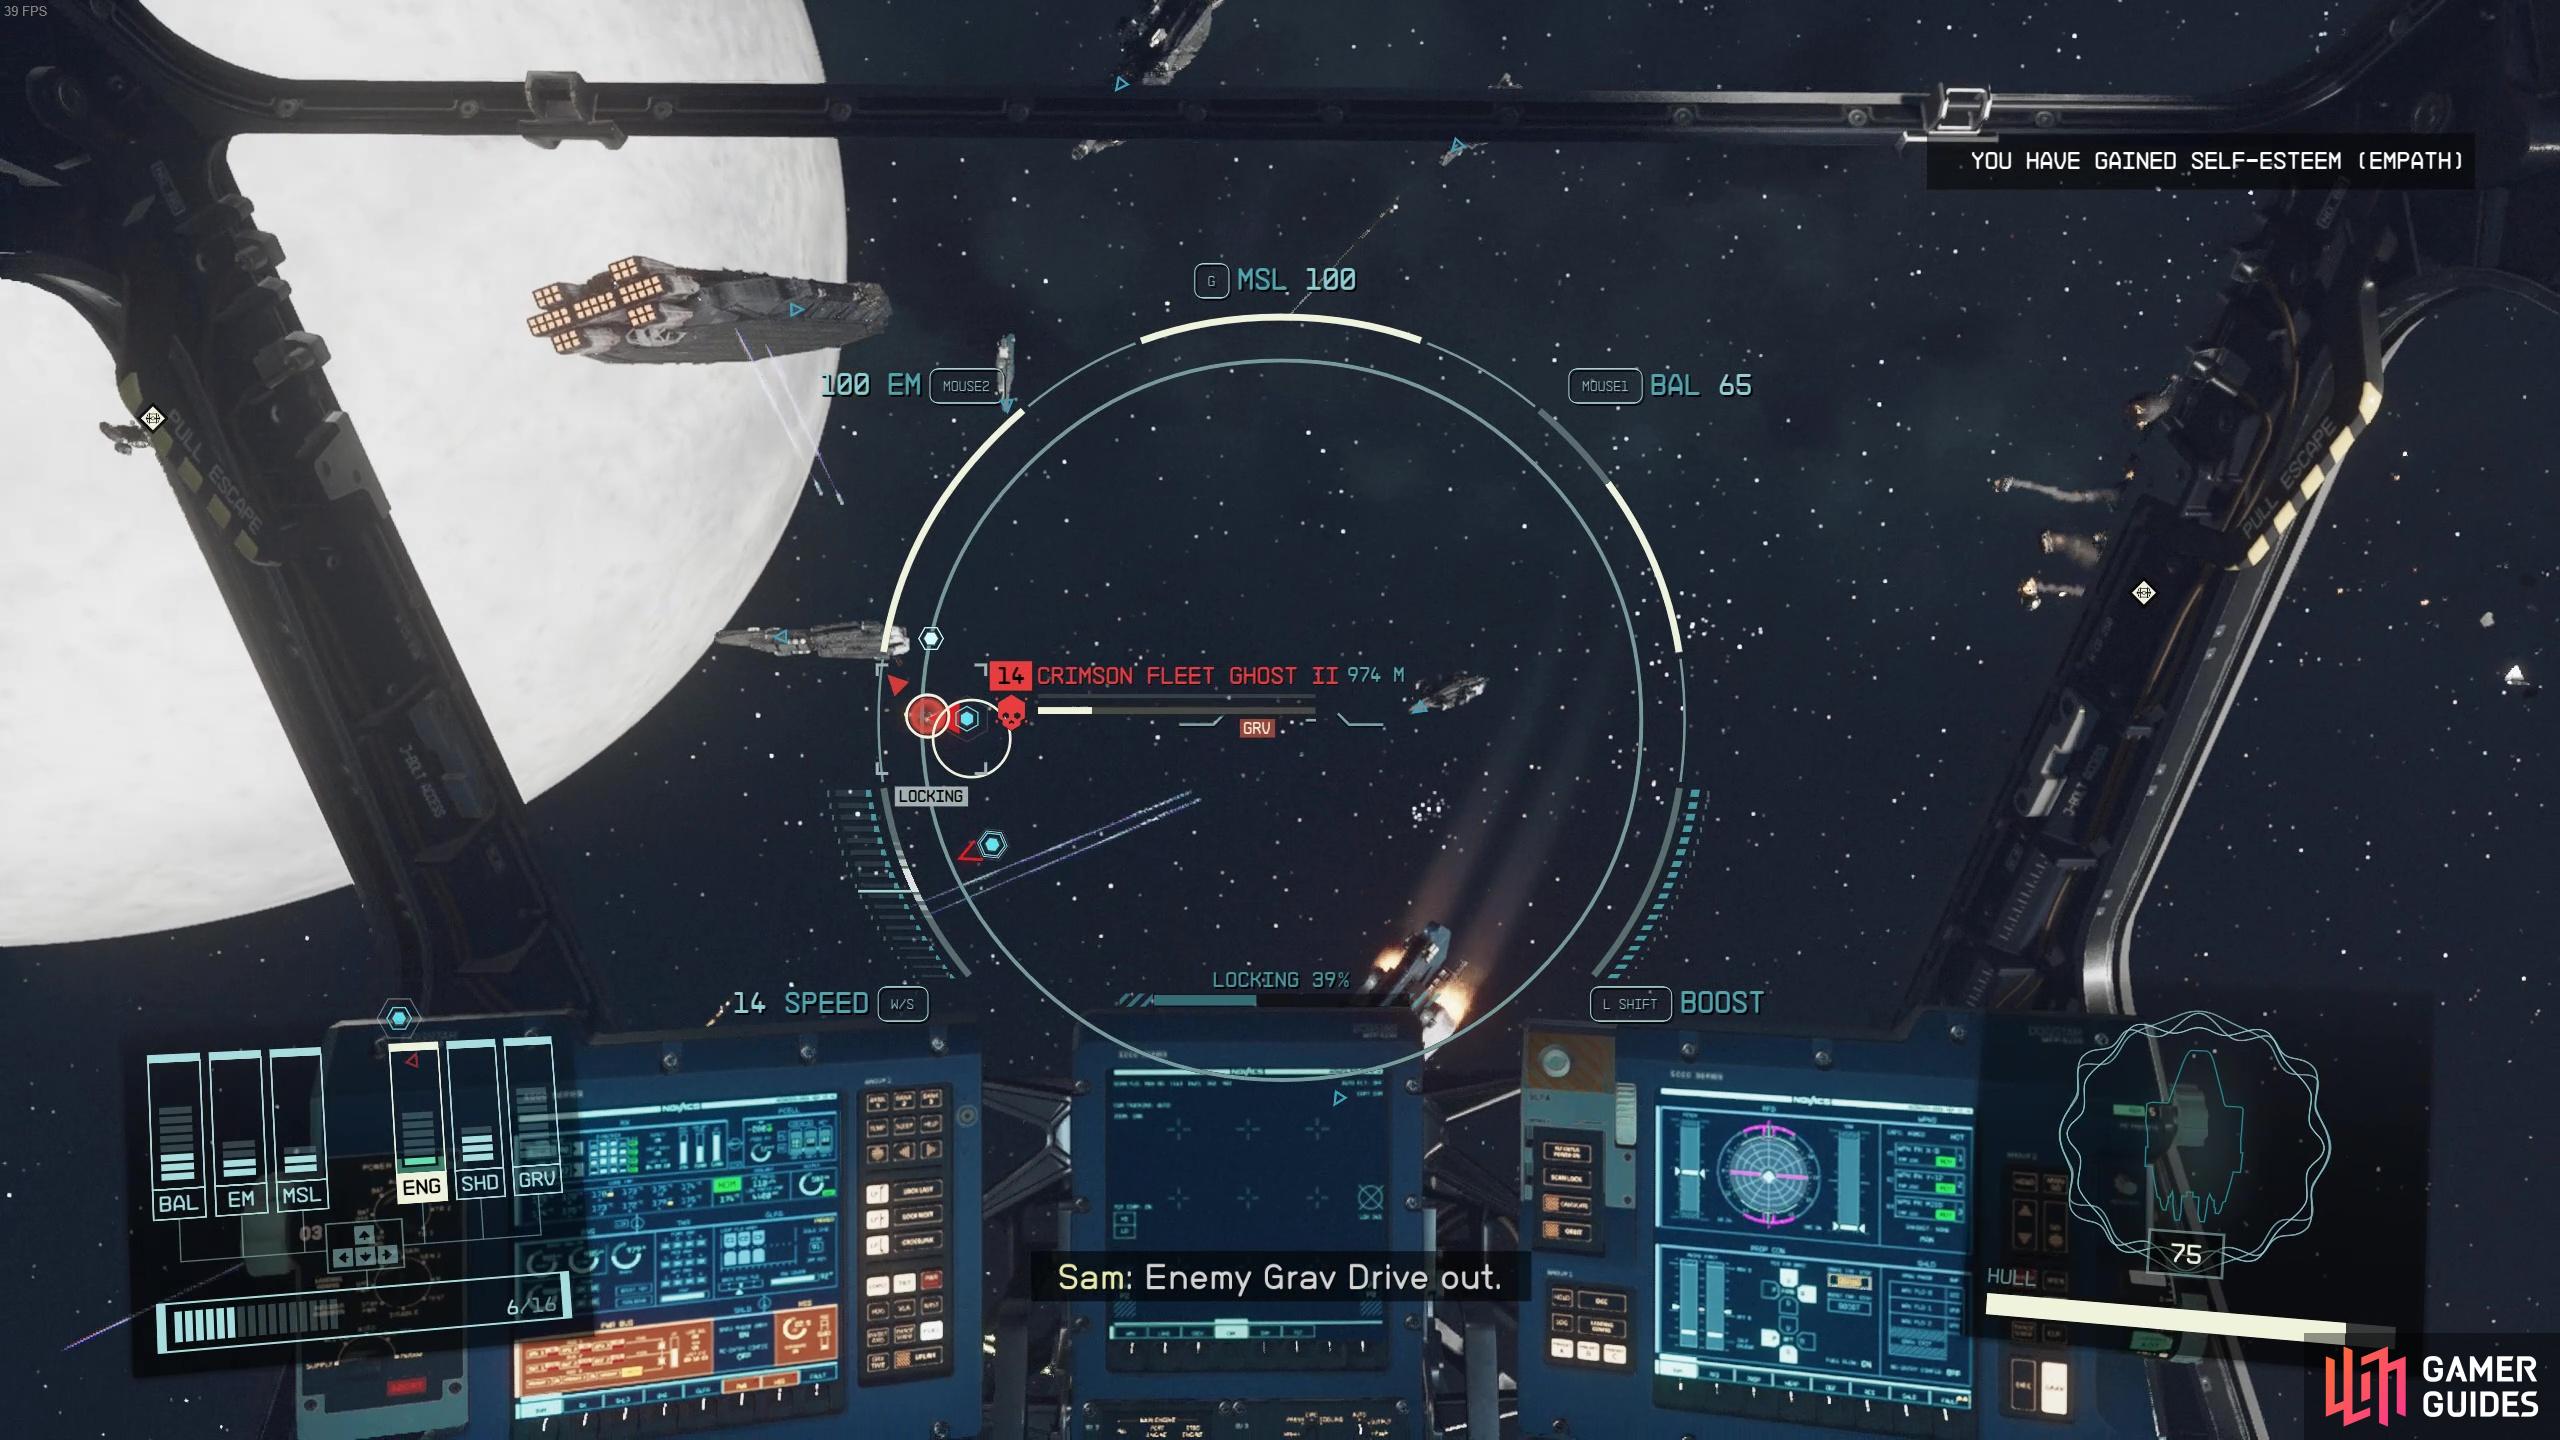
Help protect the Vigilance from the UC SysDef.
Once you’ve dealt with them, dock onto the Vigilance ship and speak with Commander Ikande. He asks you to infiltrate The Key to take out the last few standing members of the fleet. But before you can do that, you’re gonna need to take out the defensive batteries surrounding the Key.
How to Disable the Defensive Batteries: Alpha, Beta and Gamma
Once you’re ready (stocked up on ship parts and with a decently upgraded ship), head back onto your ship and travel over to the Defensive Battery Alpha. Once there, you’ll need to fend off a host of enemy ships as well as disable the huge Alpha battery. Luckily you’ll have some decent back-up from some UC SysDef ships and they’ll help you take down the ads and the Alpha Battery. This thing is level 50 and if it locks onto you it’ll likely vaporize your ship in seconds. The best way to deal with this is to ignore the extra enemy ships for now and put a few extra bars into Engine to fly full speed at it whilst hitting it with ballistics. As you fly closer to it, it’ll start to turn to target you and you have a few seconds before it starts blasting a powerful laser at you. But if you’re close enough you’ll either be able to fly out of its way or even fly behind it. Flying behind it is the best bet because it’ll take ages to turn all the way around to target you again and during this time you can really let rip with ballistics, missiles or whatever takes your fancy!
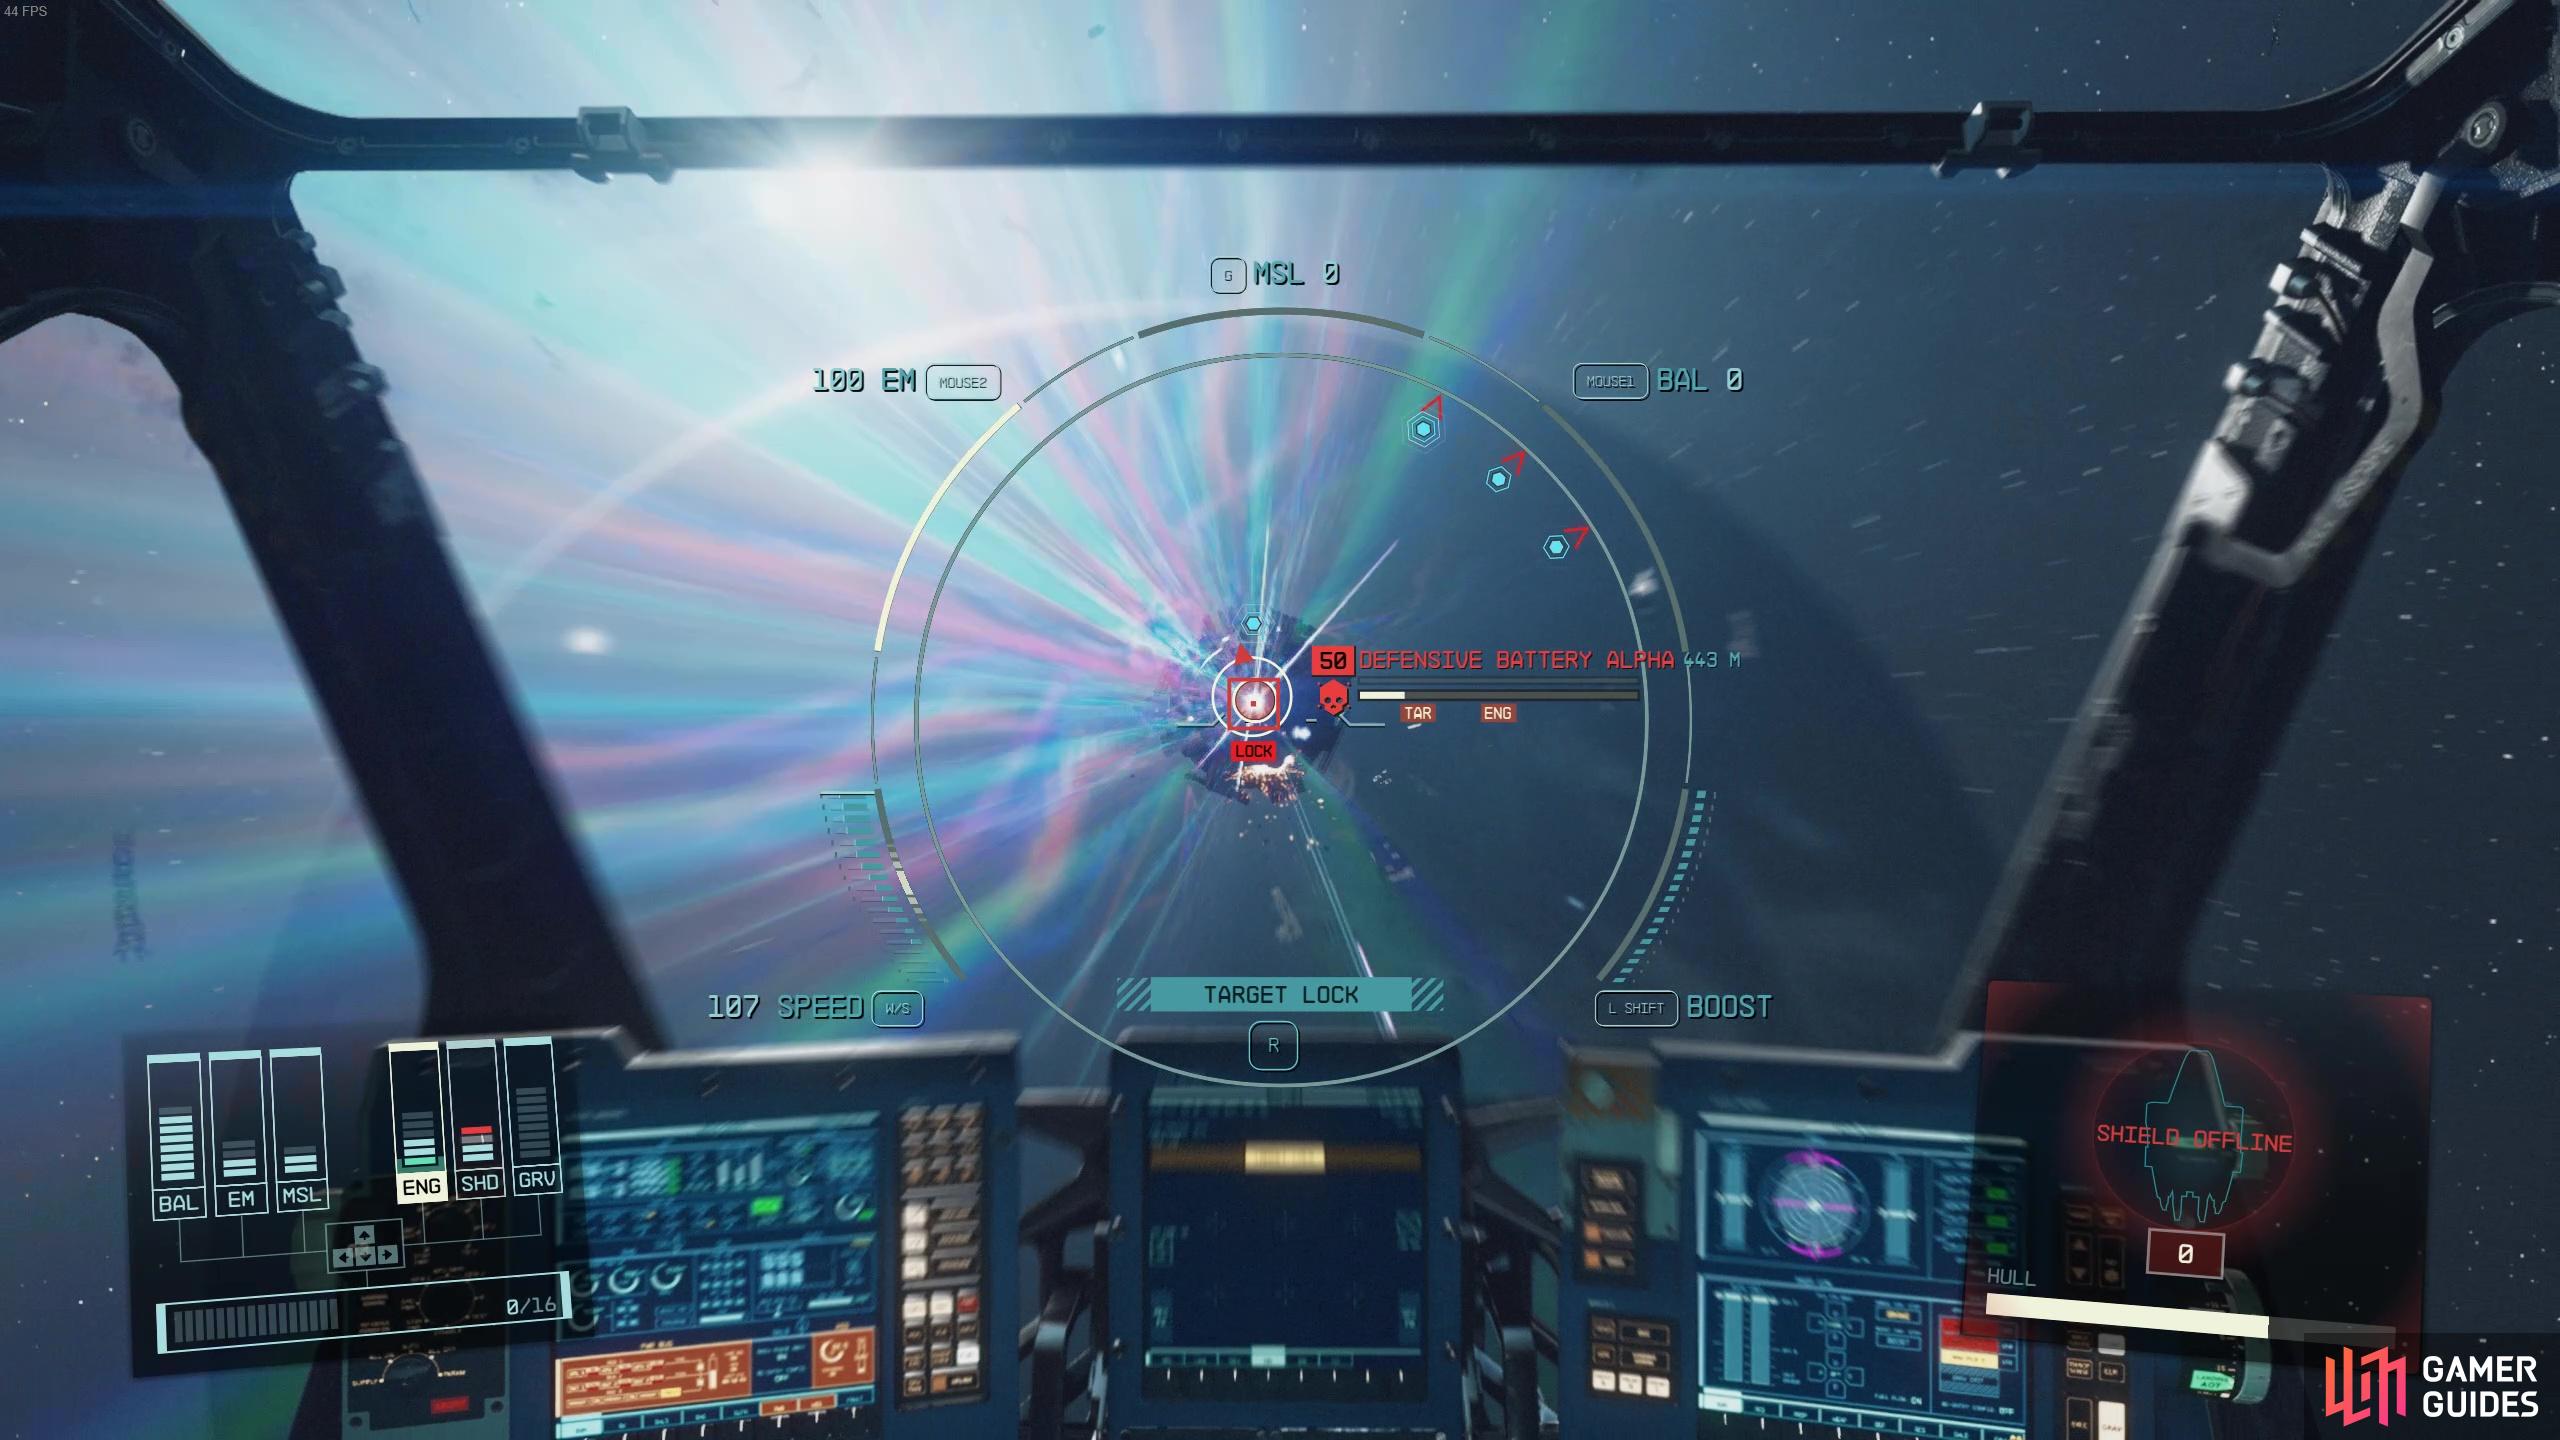
Fly full speed at the Alpha Battery
your aim is to get behind it so it can’t target you anymore and you can shoot at it freely.
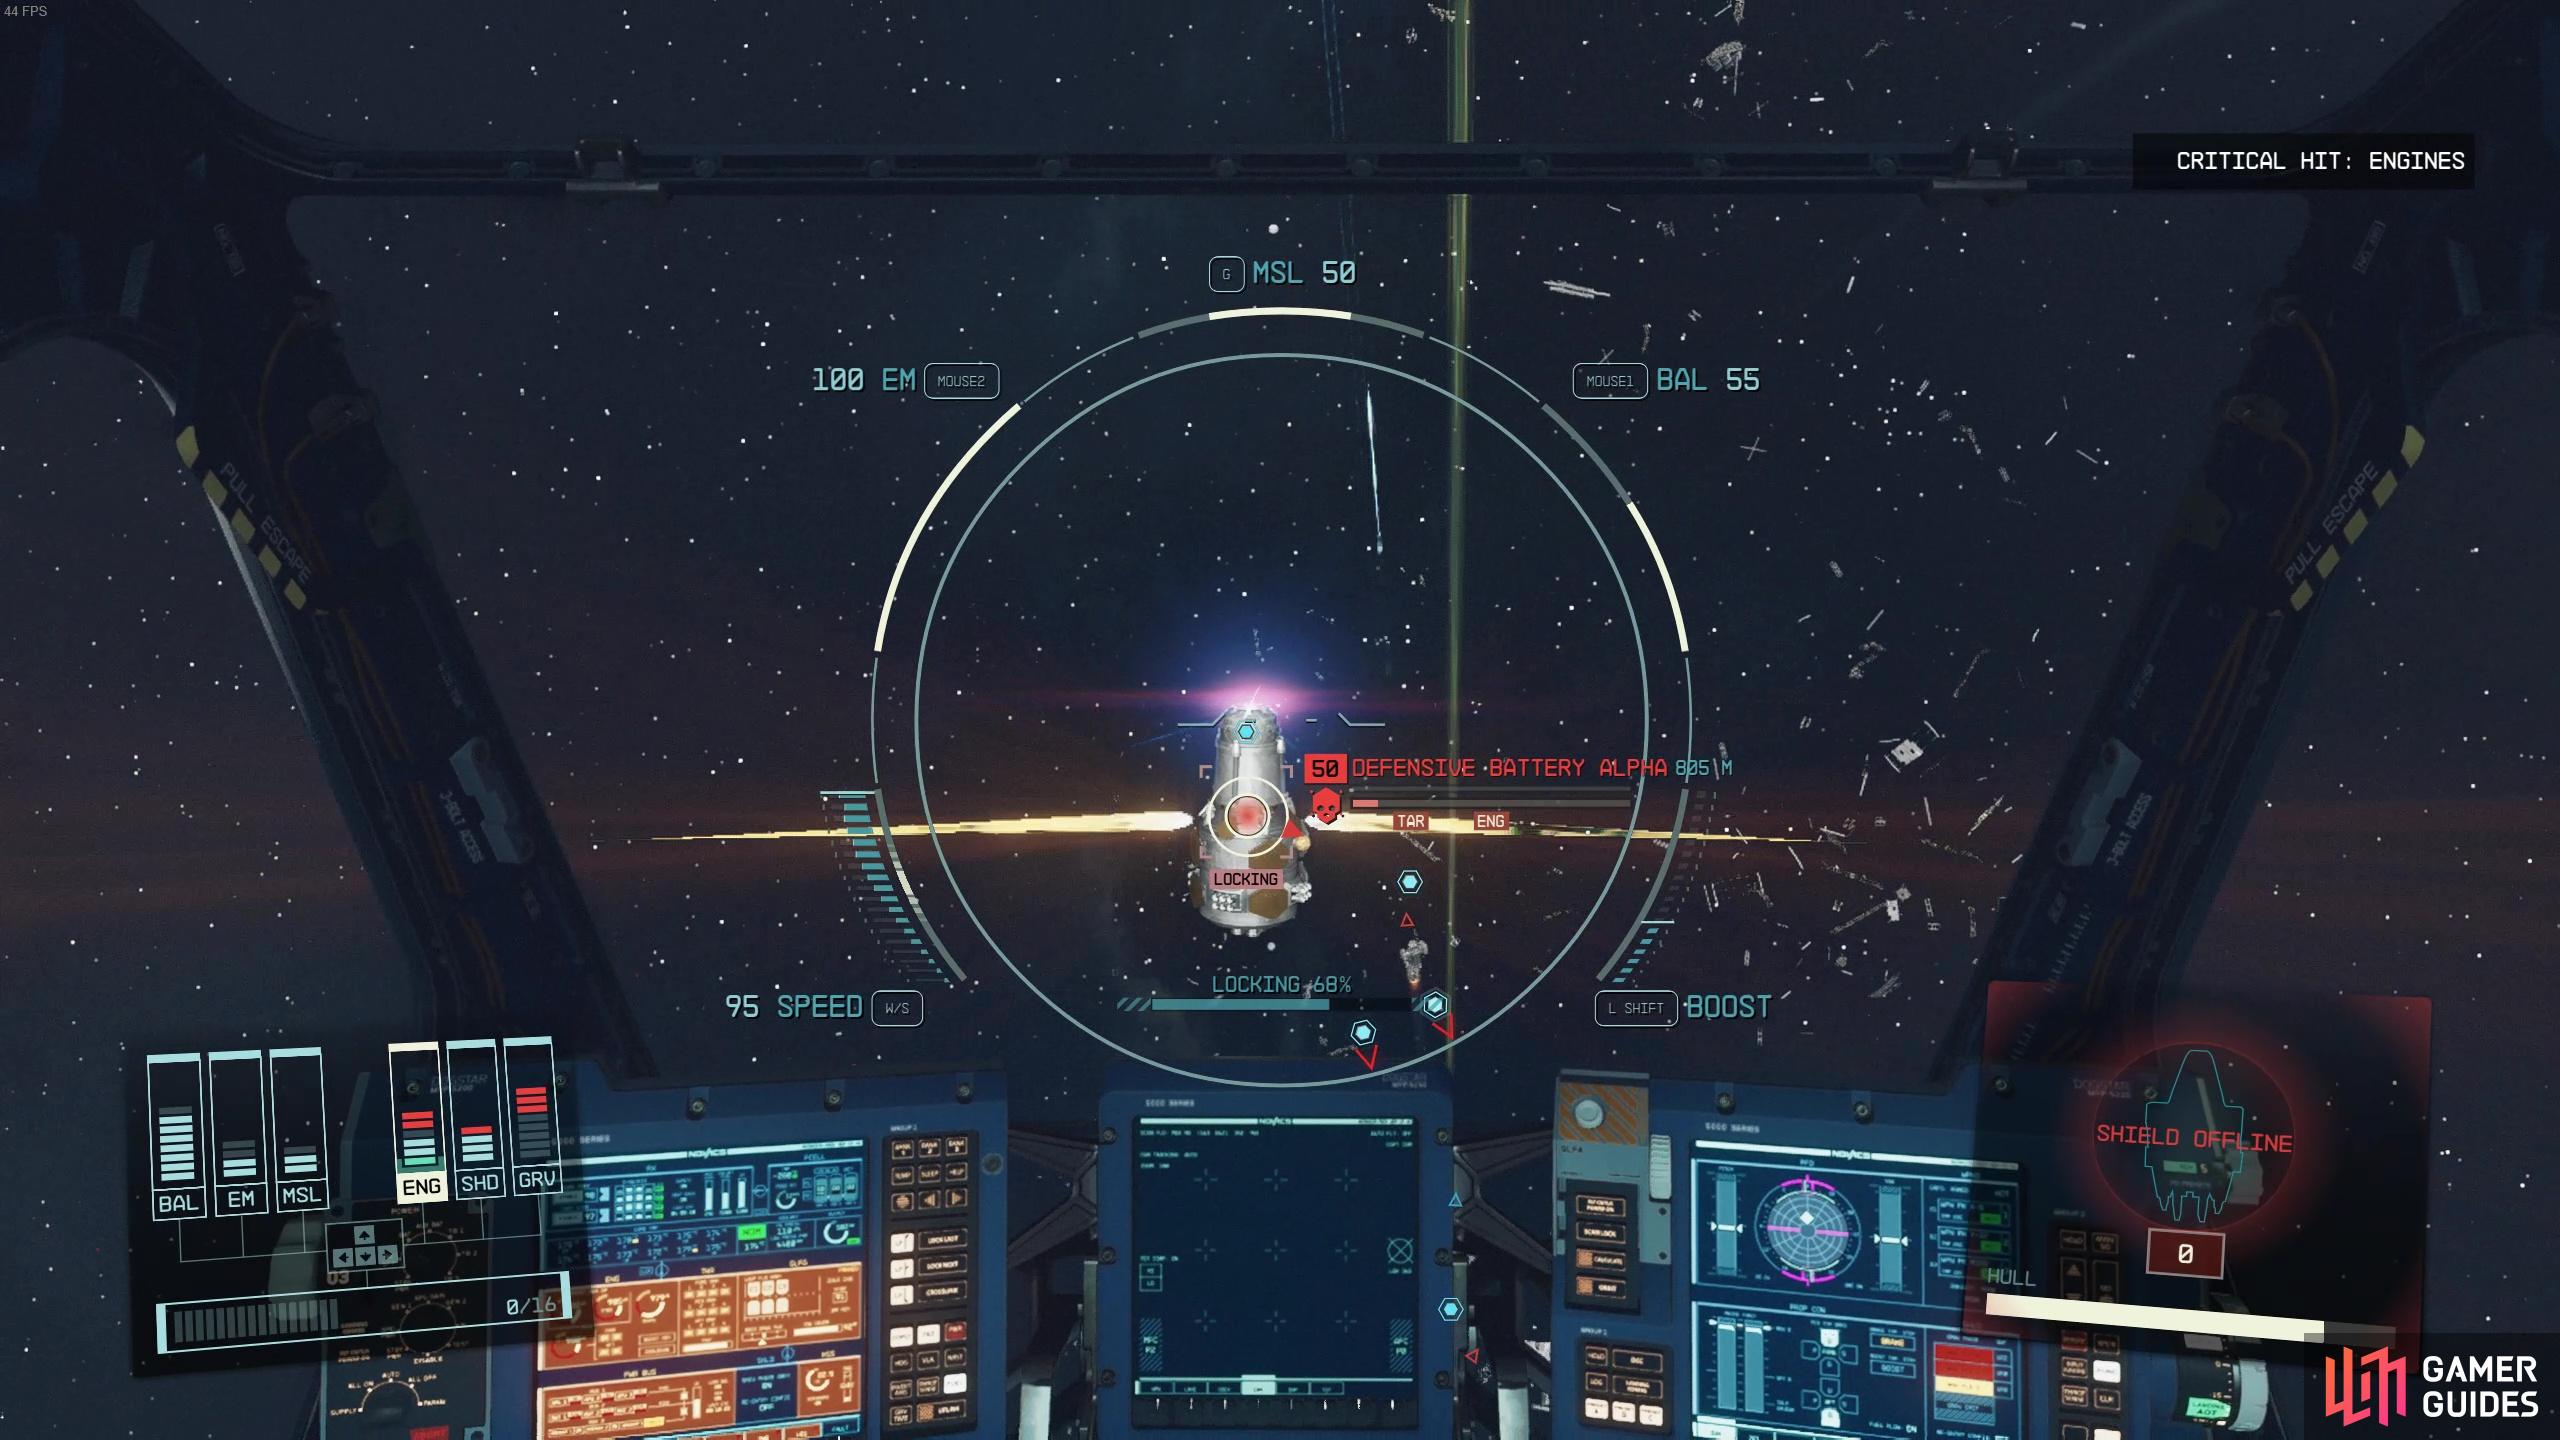
After the Defensive Battery has been dealt with, you’ll want to deal with the enemy ships. By now they’re probably looking a bit worse for wear after being in space combat with the UC SysDef ally ships. Once they’re all defeated, you’ll be prompted by the other UC ships to jump over to the Defensive Battery Beta.
You’ll want to do the same thing again, using the same tactic you used to deal with Alpha. In fact, you can just repeat it for the Beta and Gamma Defensive Batteries. The only difference is that the enemy ships that are guarding the batteries get progressively stronger. Just remember to deal with the Defensive Batteries first, and you should have no real issues with this fight.
After taking down all three batteries it’s time to head to the Key. Here, you’ll find even more enemy ships but you’ll also have to deal with Particle Turrets, which shoot powerful lasers but are only level 1 so they are pretty easy to deal with. Additionally, you’ll have to face the Lady Lyudmila ship, which is a bit stronger than the other enemy ships and higher leveled. You’ll still have some UC SysDef back up so you won’t have to fight them all alone thankfully!
Once, the enemy ships are taken care of, prepare to board the Key and take out any remaining Fleet Members!
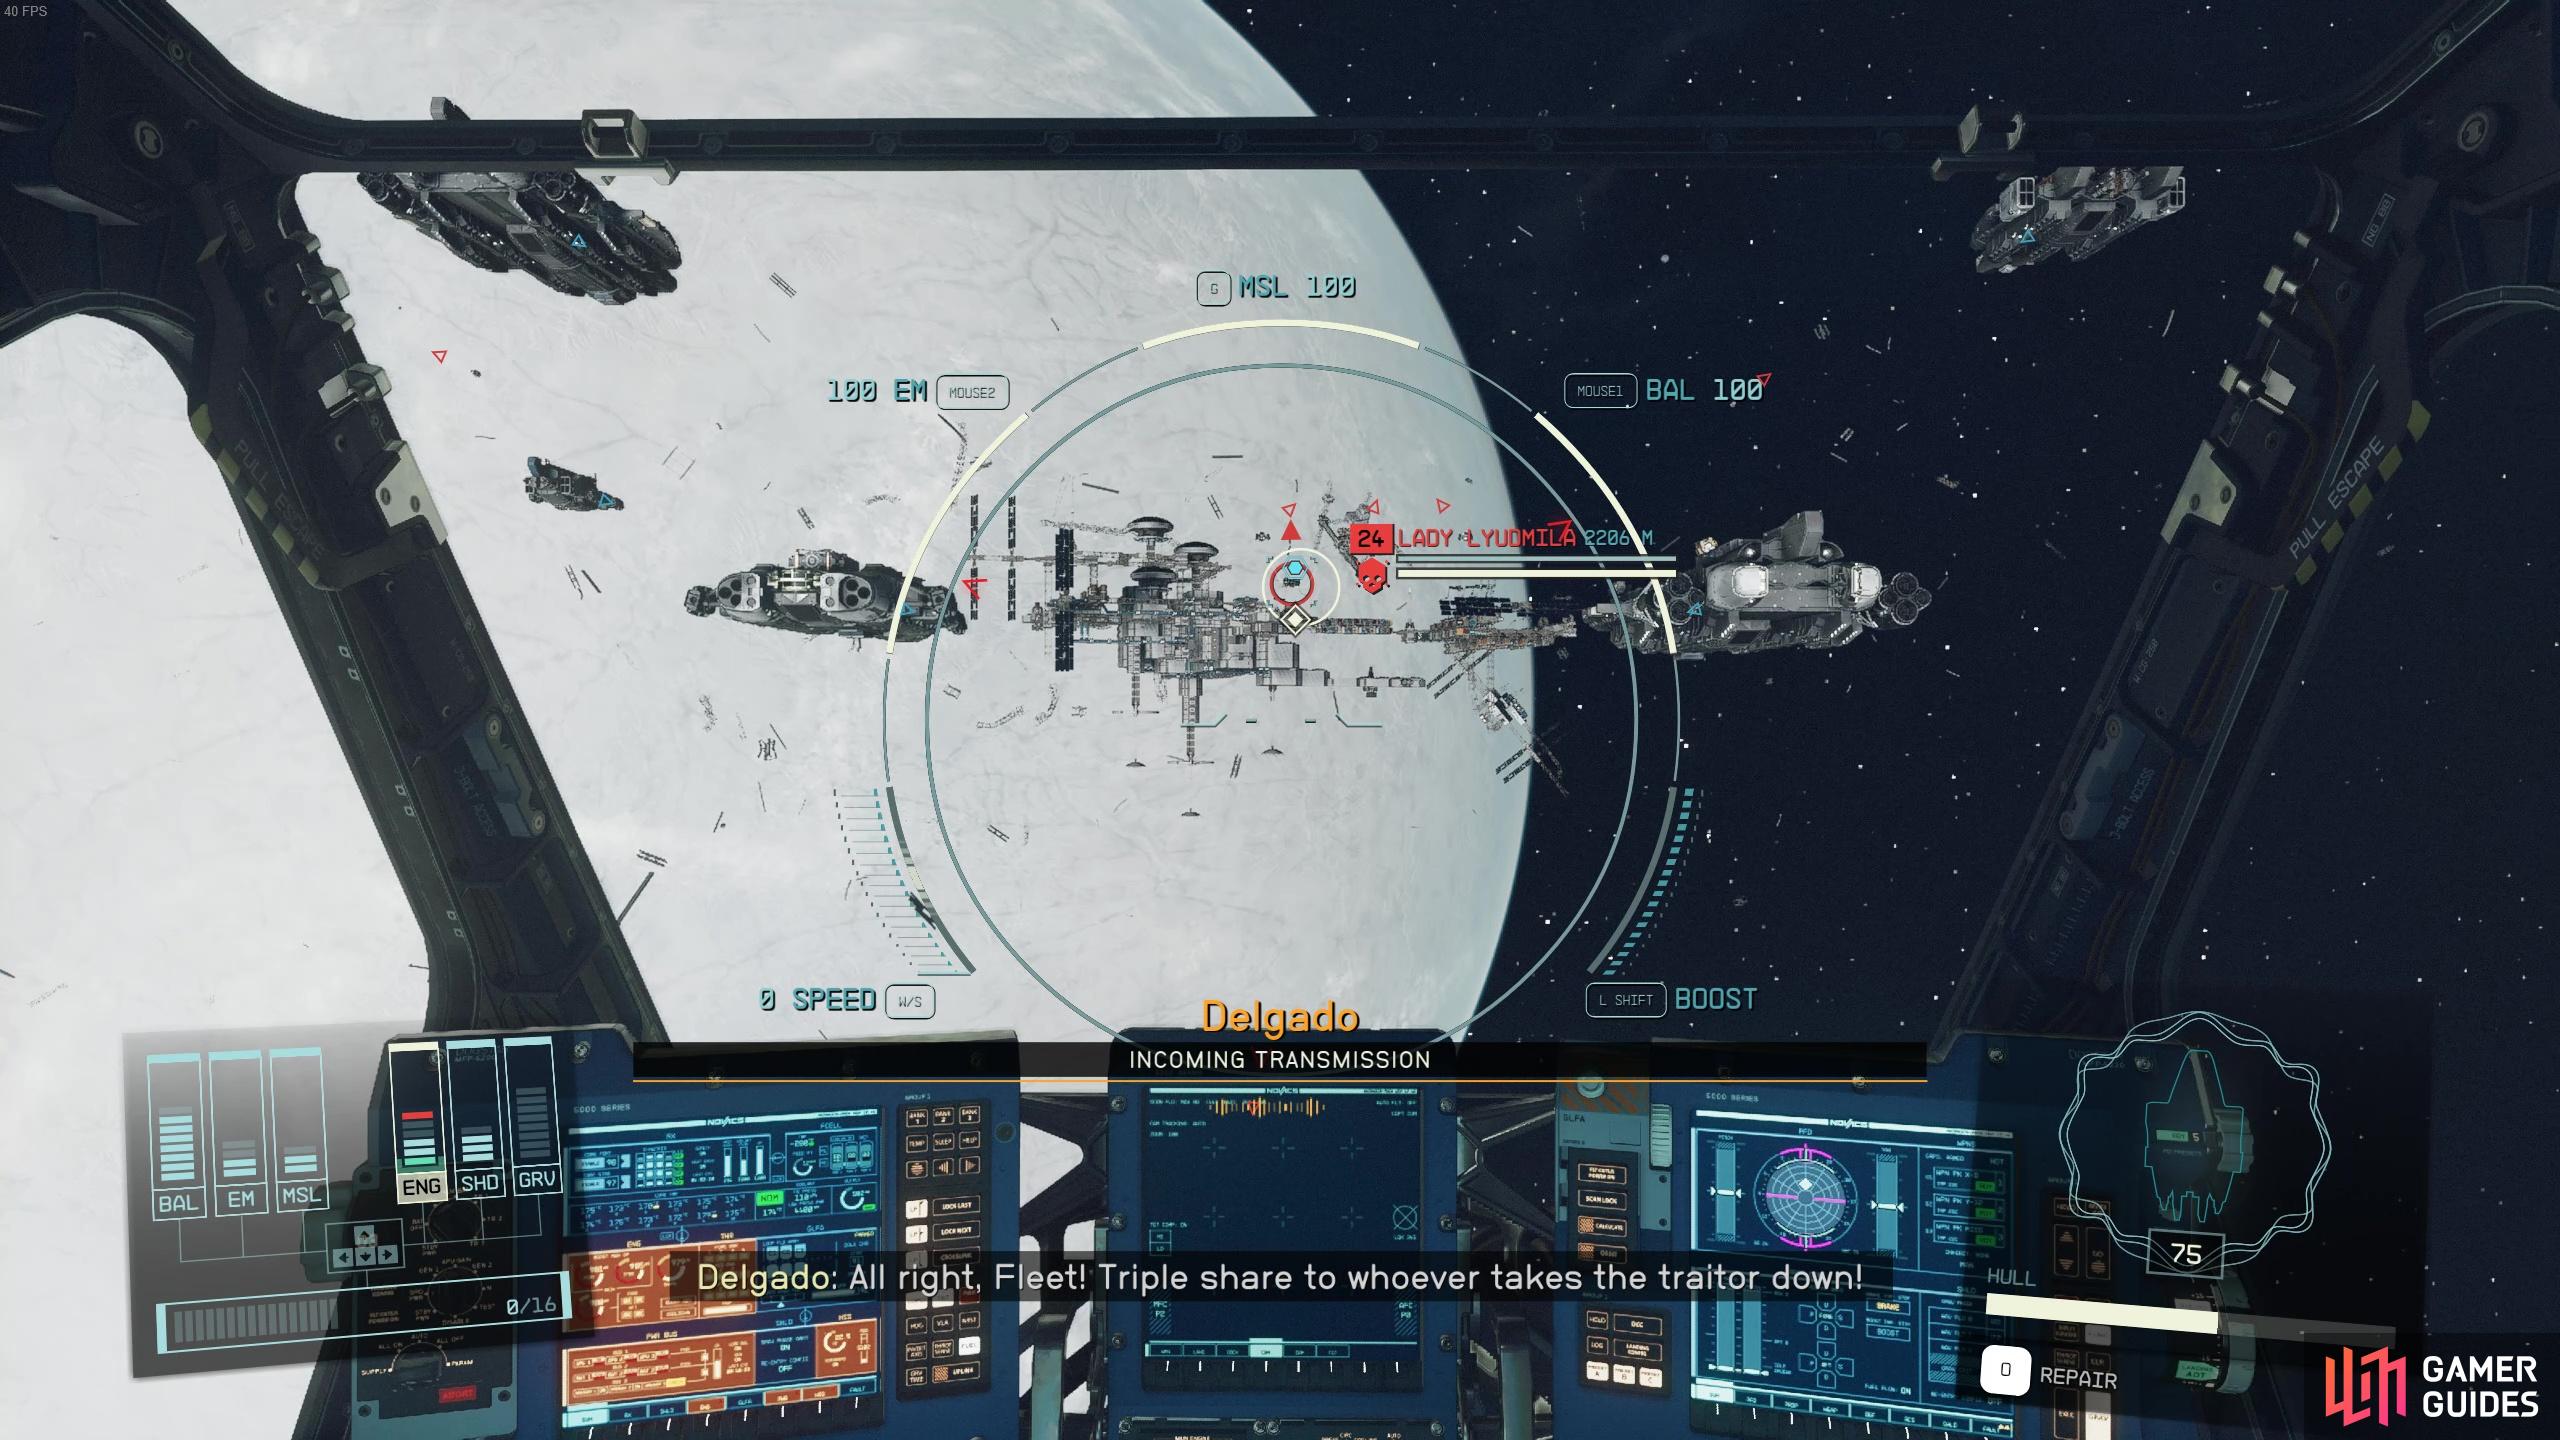
It’s time to face the Crimson Fleet’s final space force before you board The Key.
Taking Down The Key
Once aboard The Key, you’ll want to make your way towards Jazz’s Ship Repairs shop to find her computer. As soon as you head in to the hallway area, you’ll be met with a lot of hostile Pirate enemies. It’s time to equip your OP weapon and start plowing through them. Once you’re in the central Key area near Jazz’s shop, you’ll have to deal with Jazz and a bunch more Pirate enemies, including a few that’ll run straight at you to perform melee attacks.
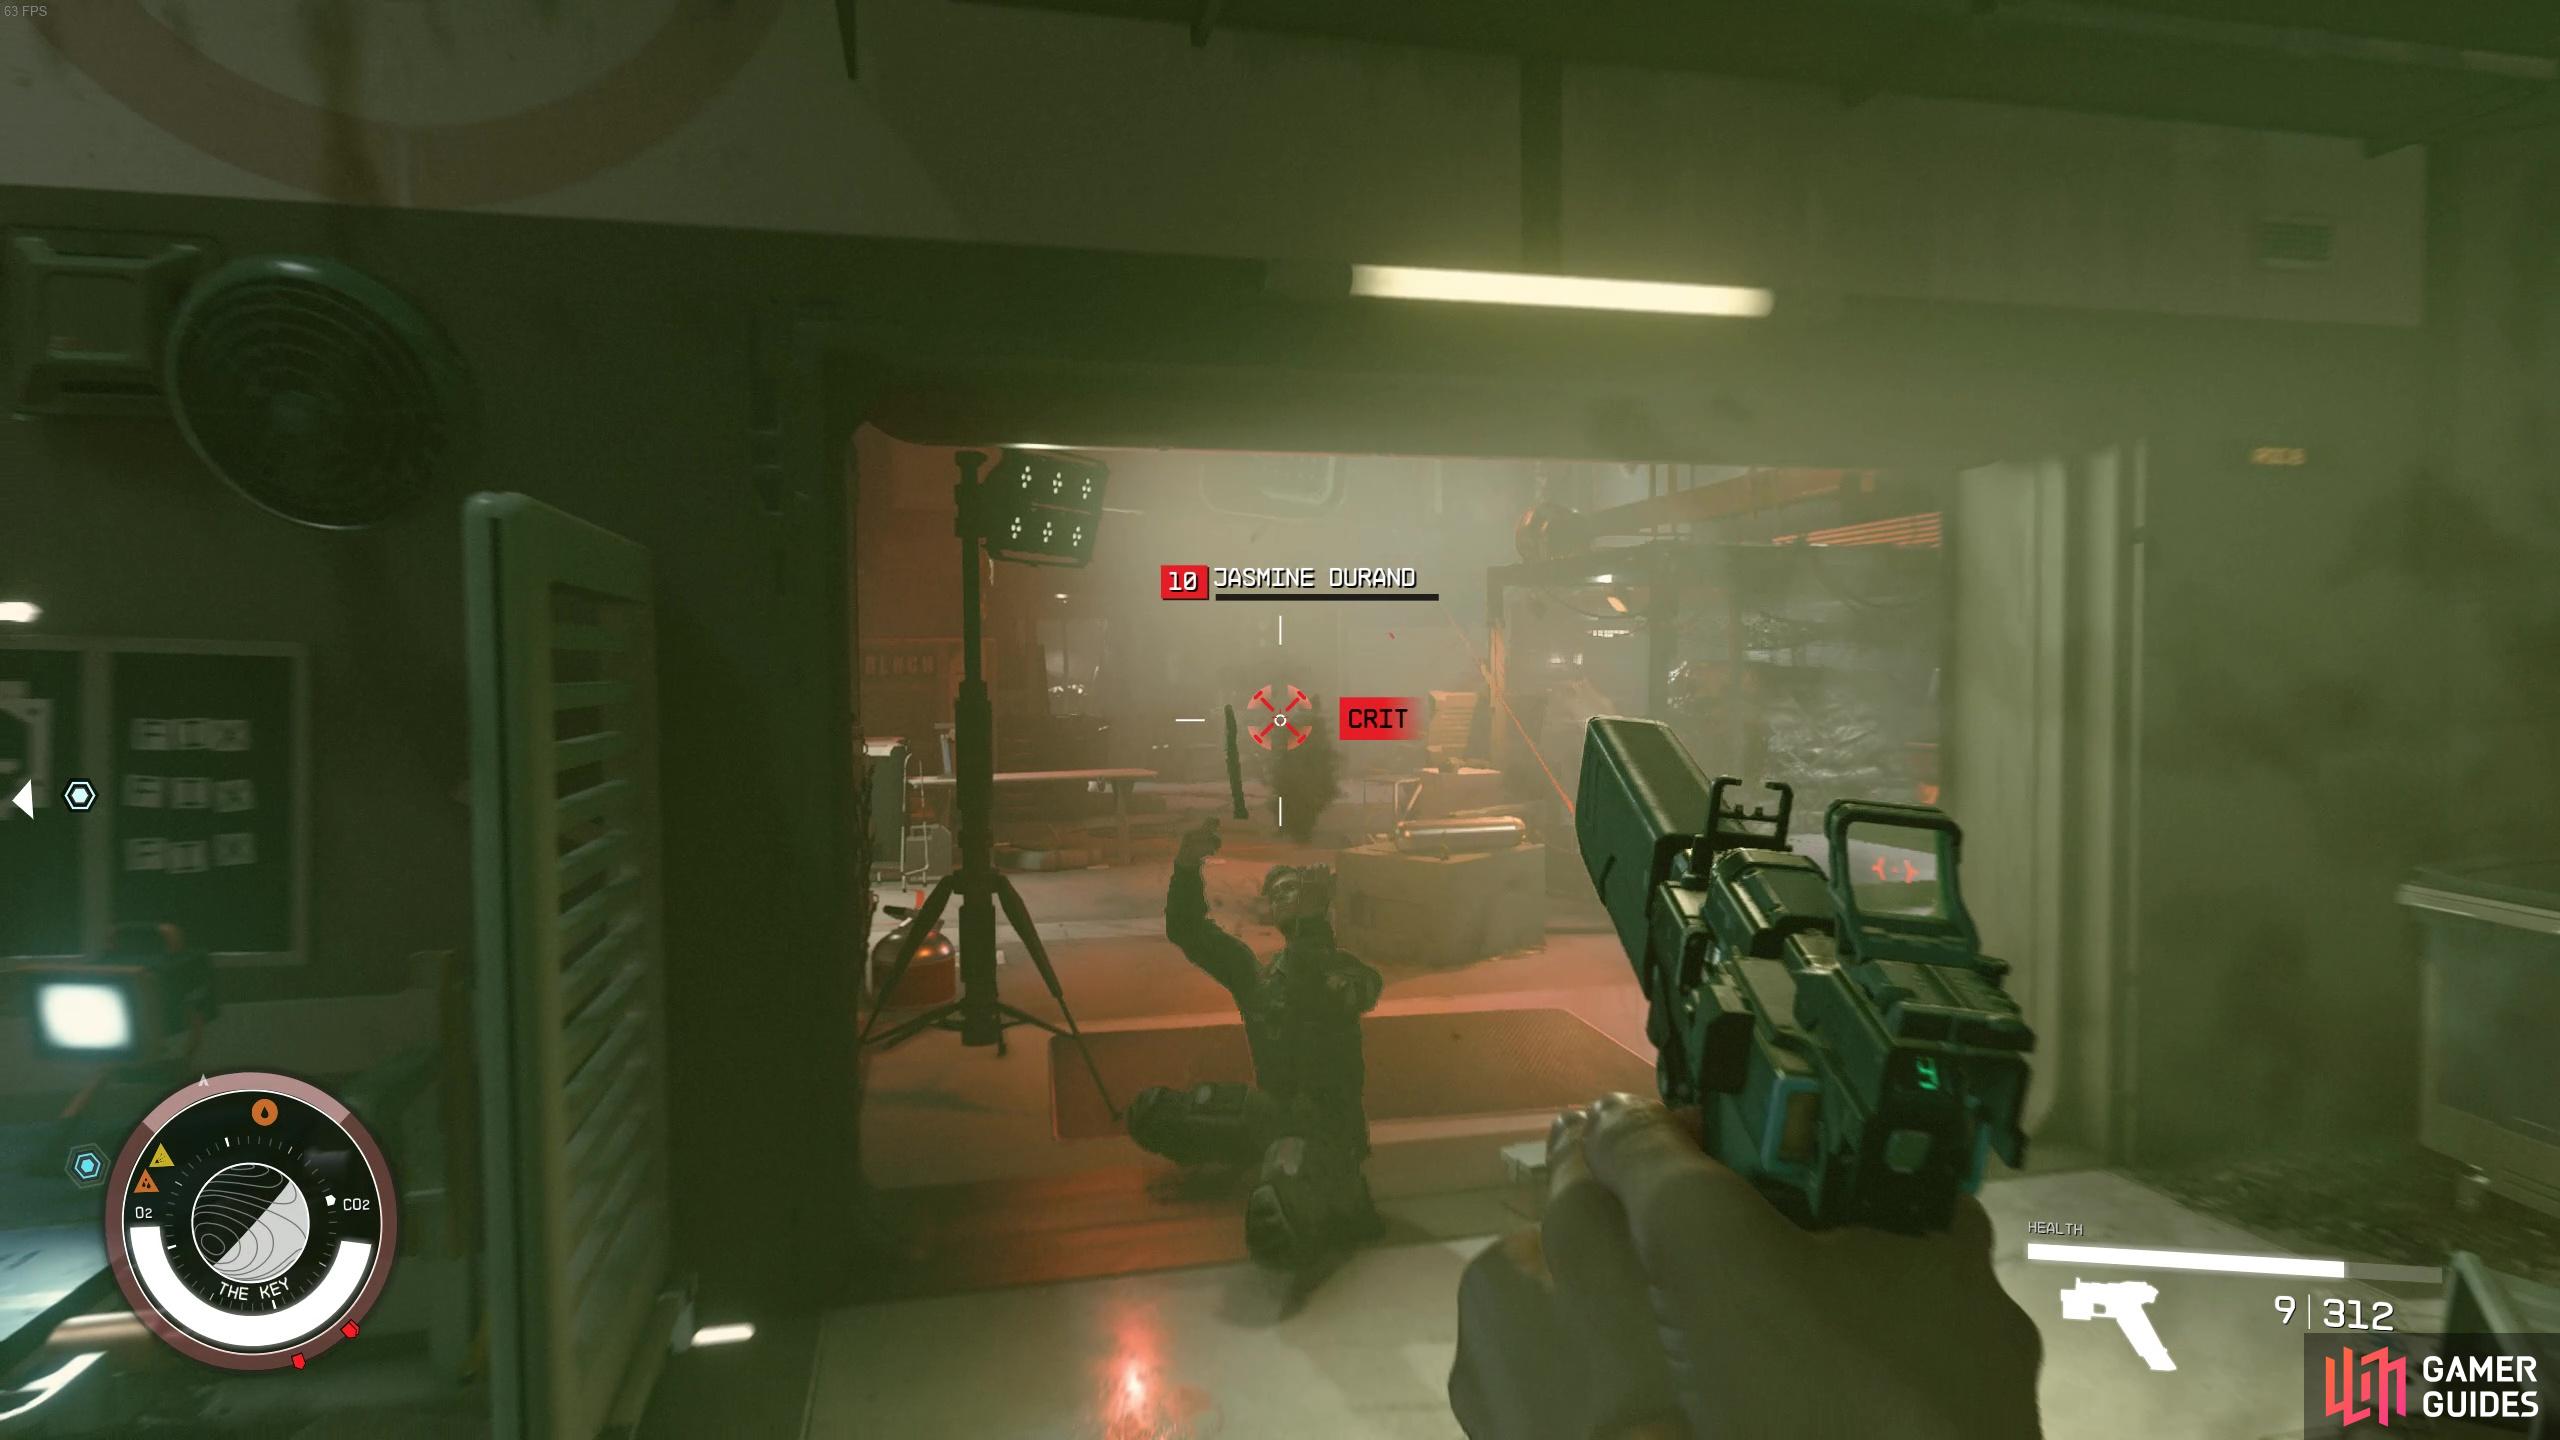
Defeat Jasmine Durand and the other Pirate enemies
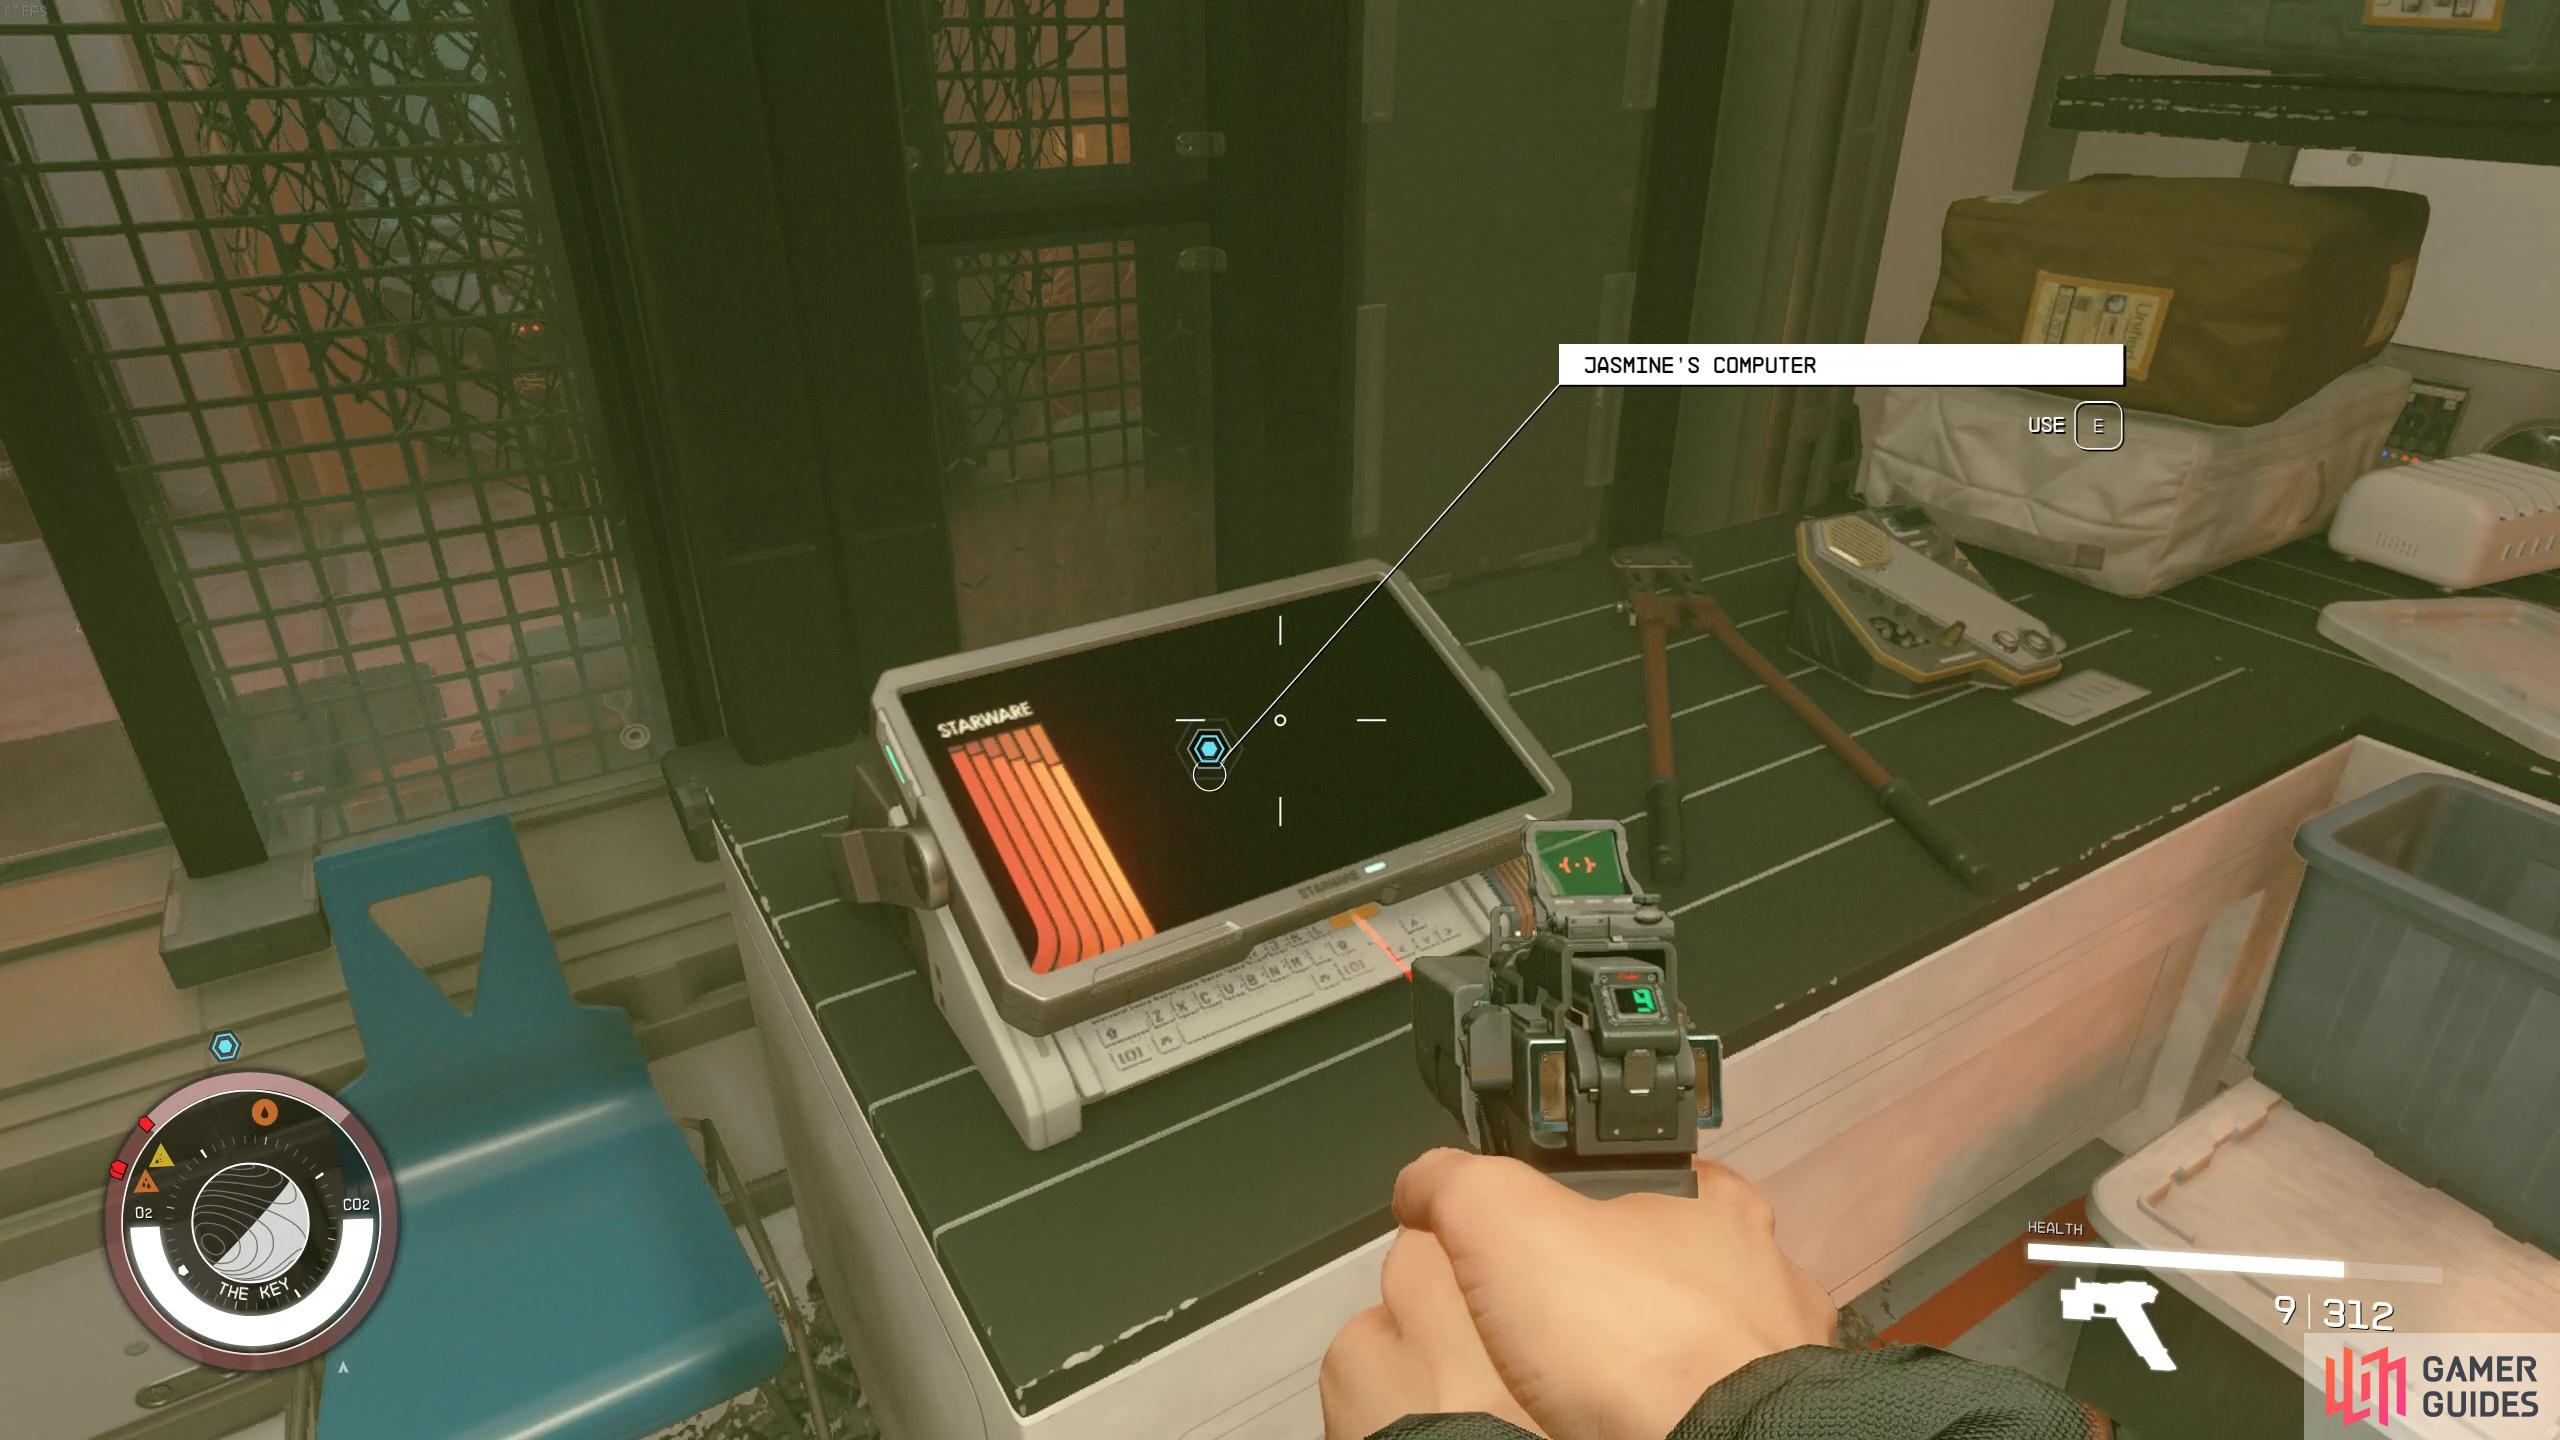
then activate the door via the computer in her shop.
Clear the area and then head into Jazz’s shop to locate her computer, and use it to open the remote security door control. You can now head down the Depot, taking out the Vendors along the way (oops!), to reach the Last Nova Bar.
After reaching the Last Nova bar, head over to Bog’s bar and deal with him and the other enemies before using the Last Nova computer to open the door to the Reckoner’s Core.
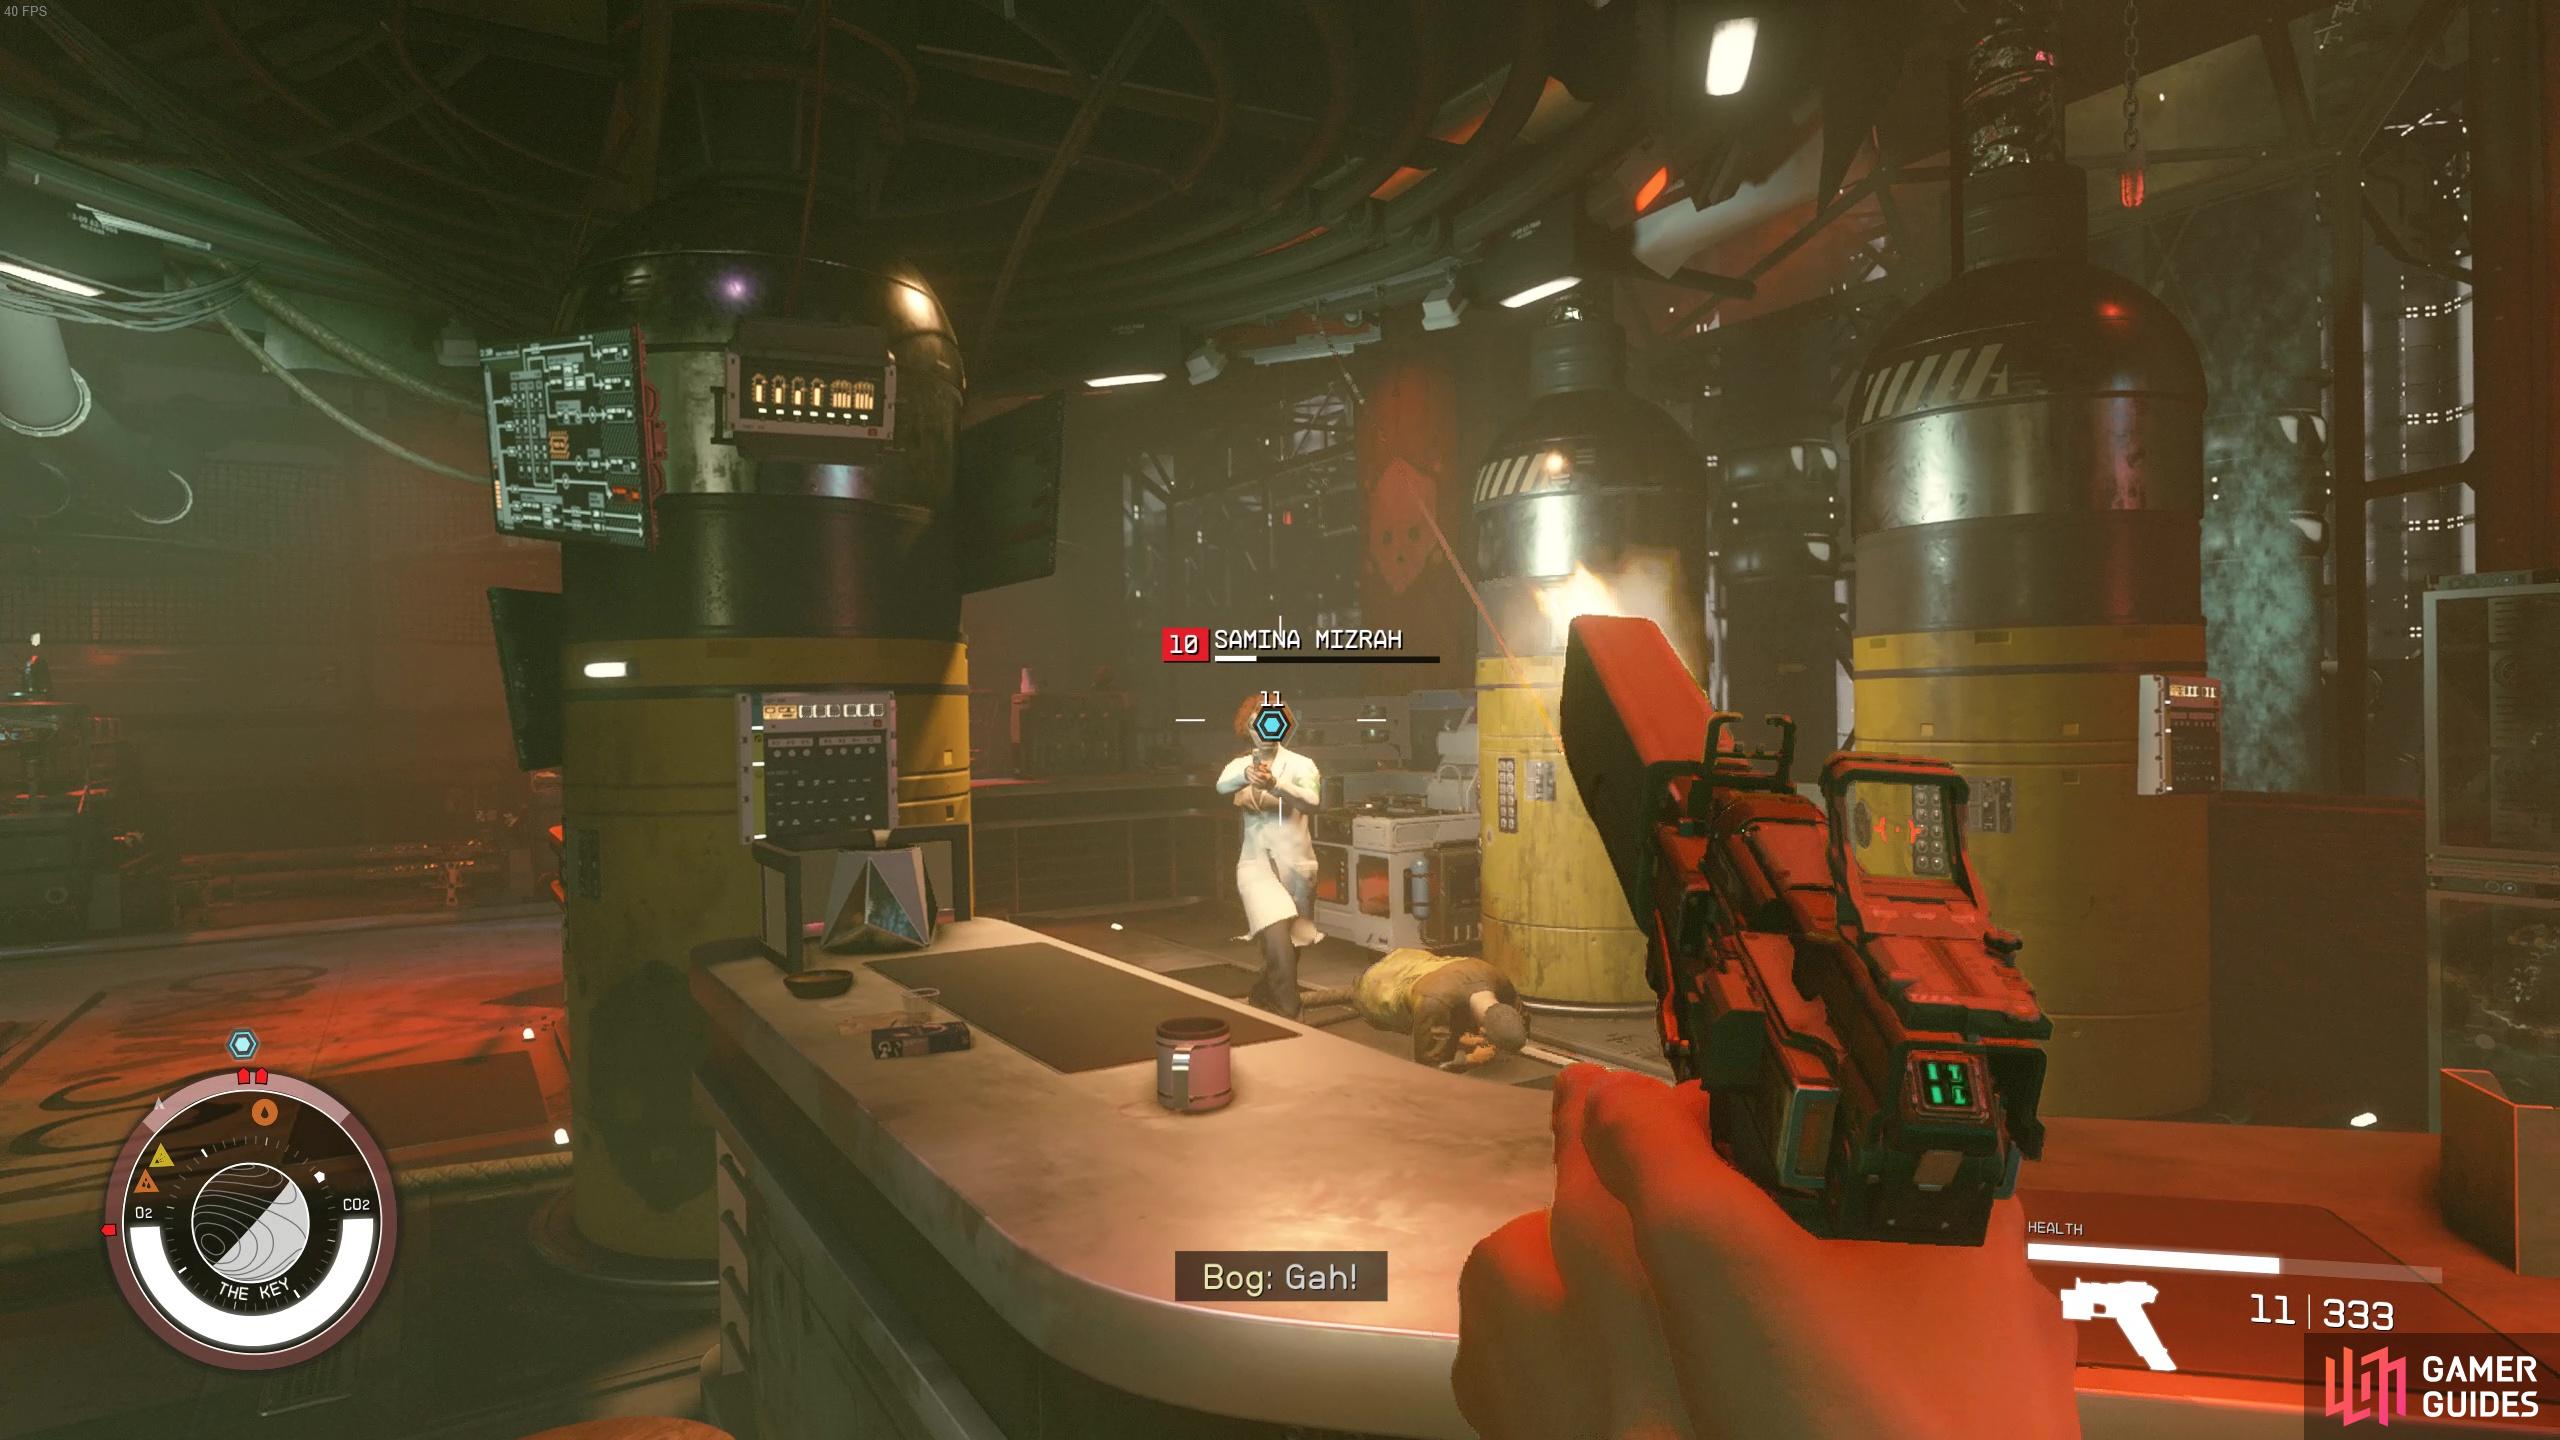
Defeat Bog and Samina behind the bar
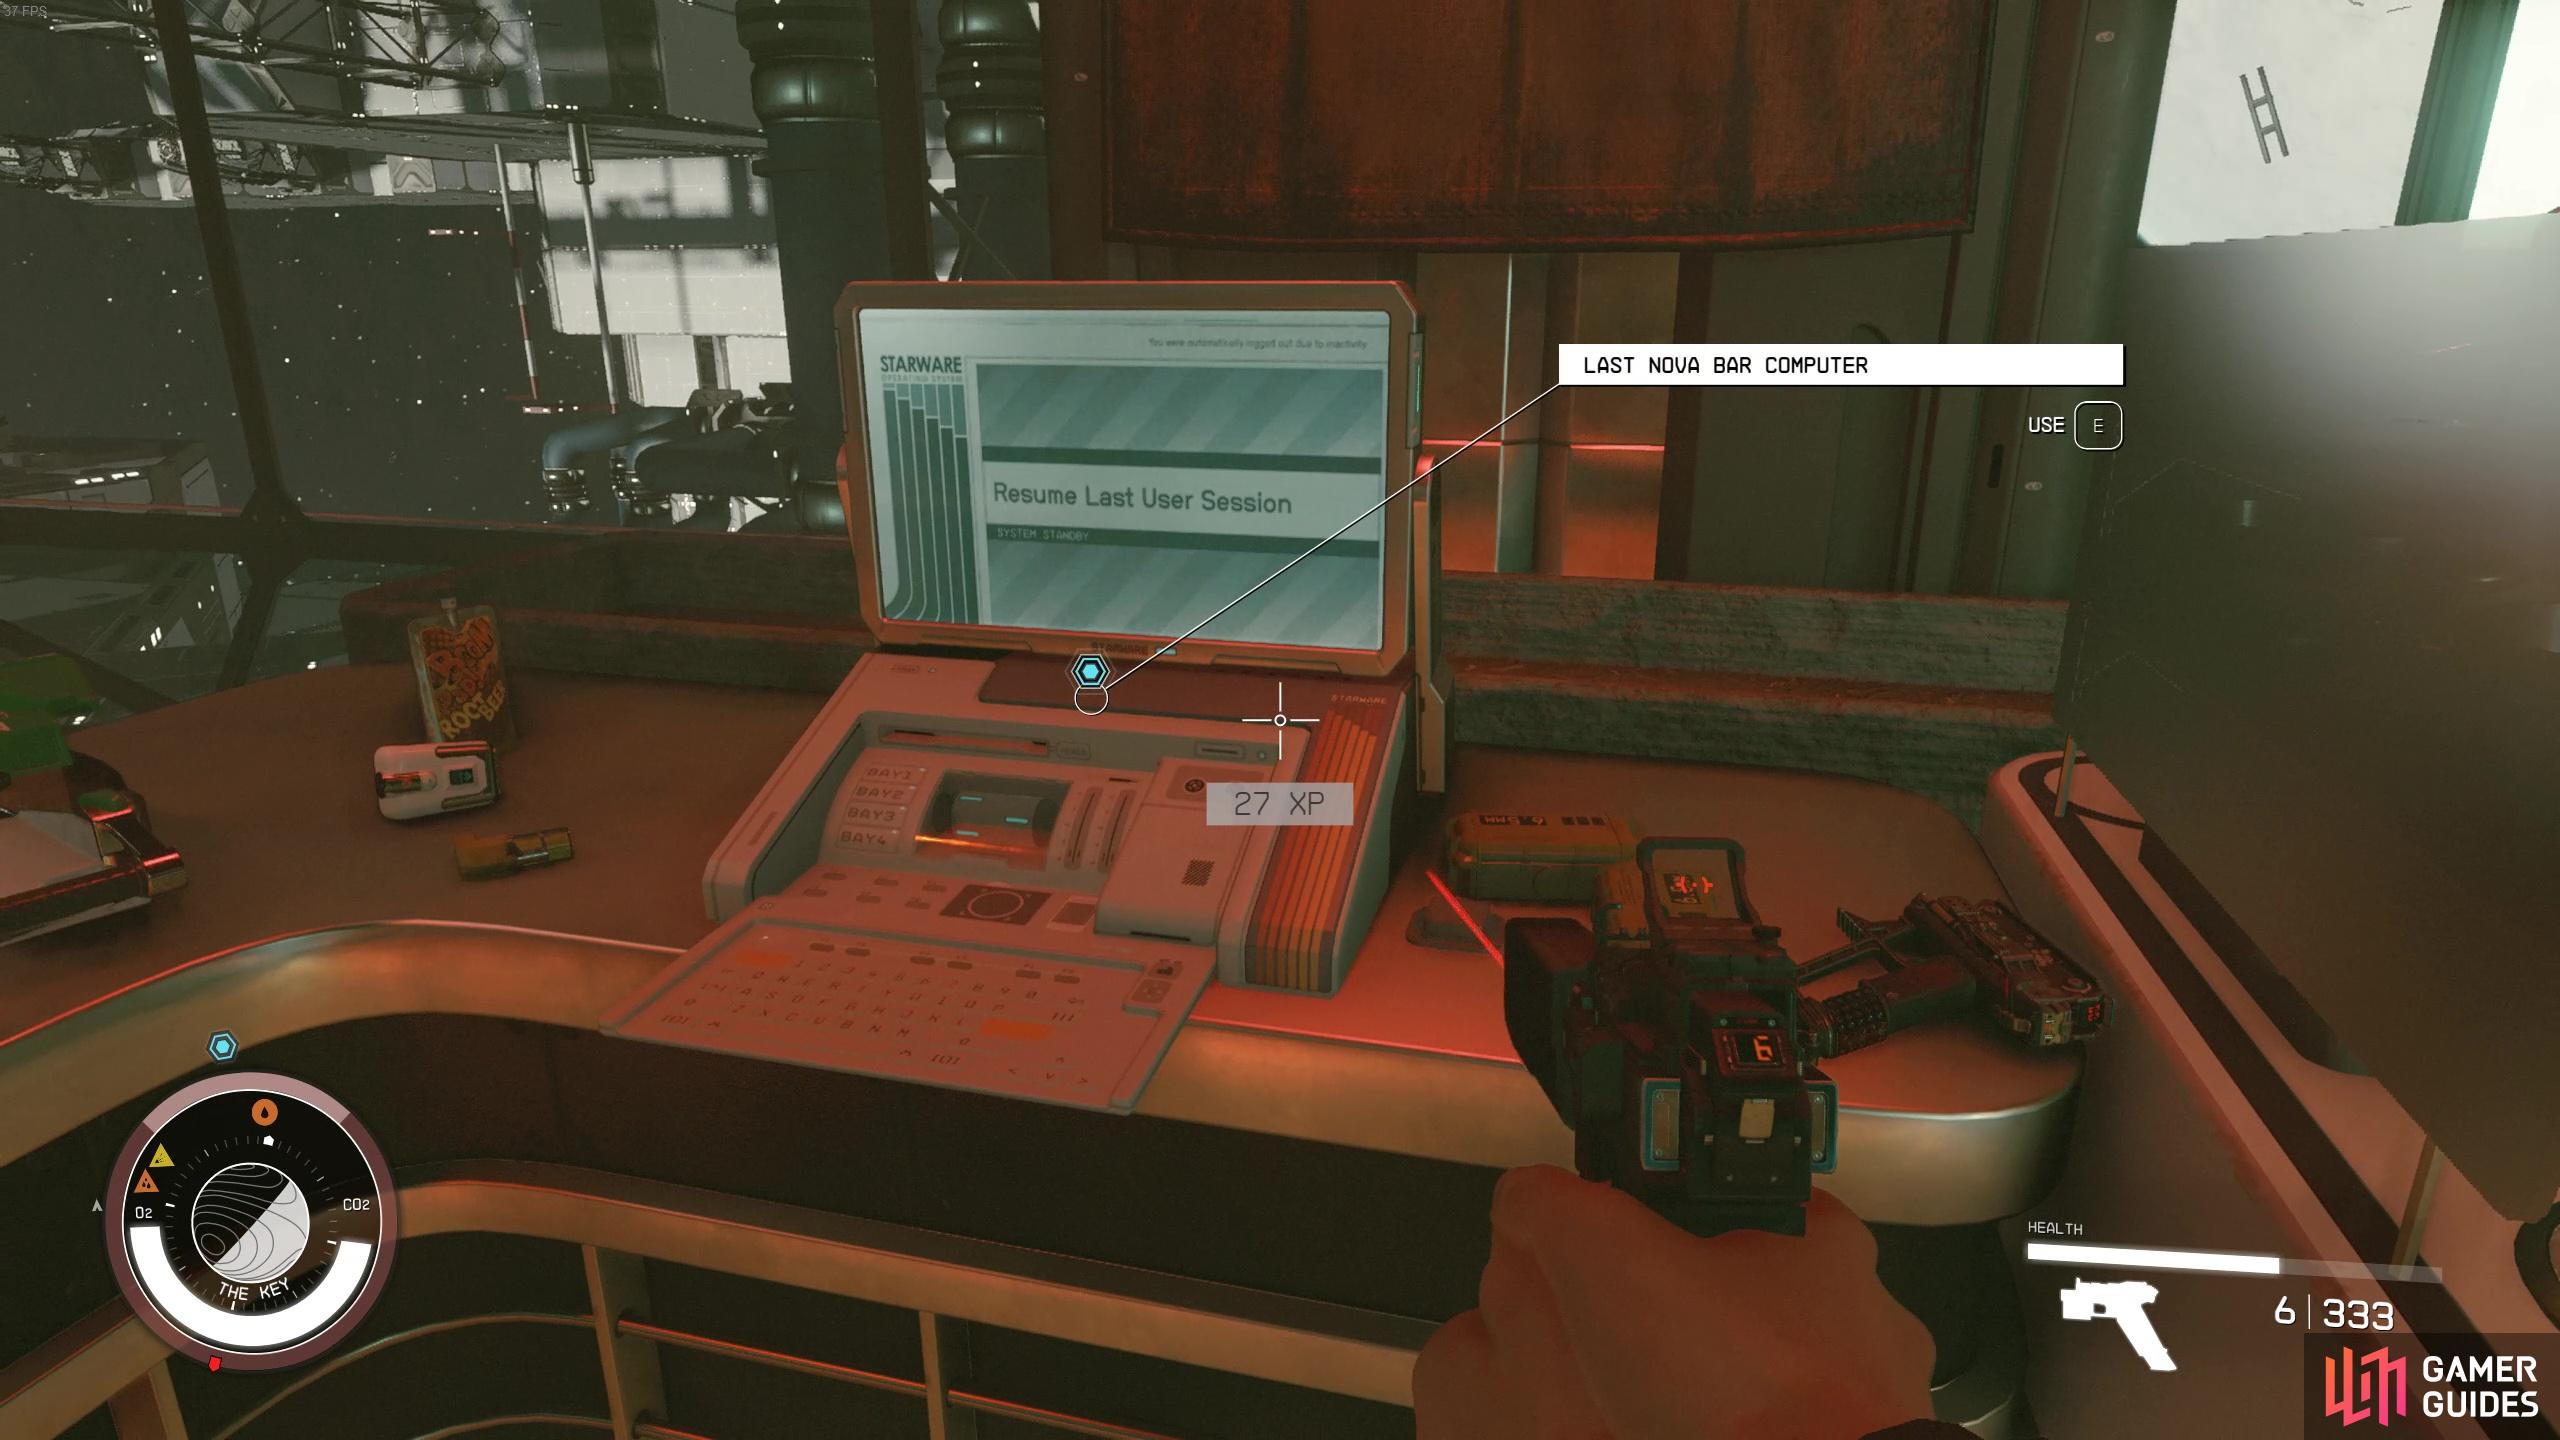
then activate the door on the Last Nova Computer.
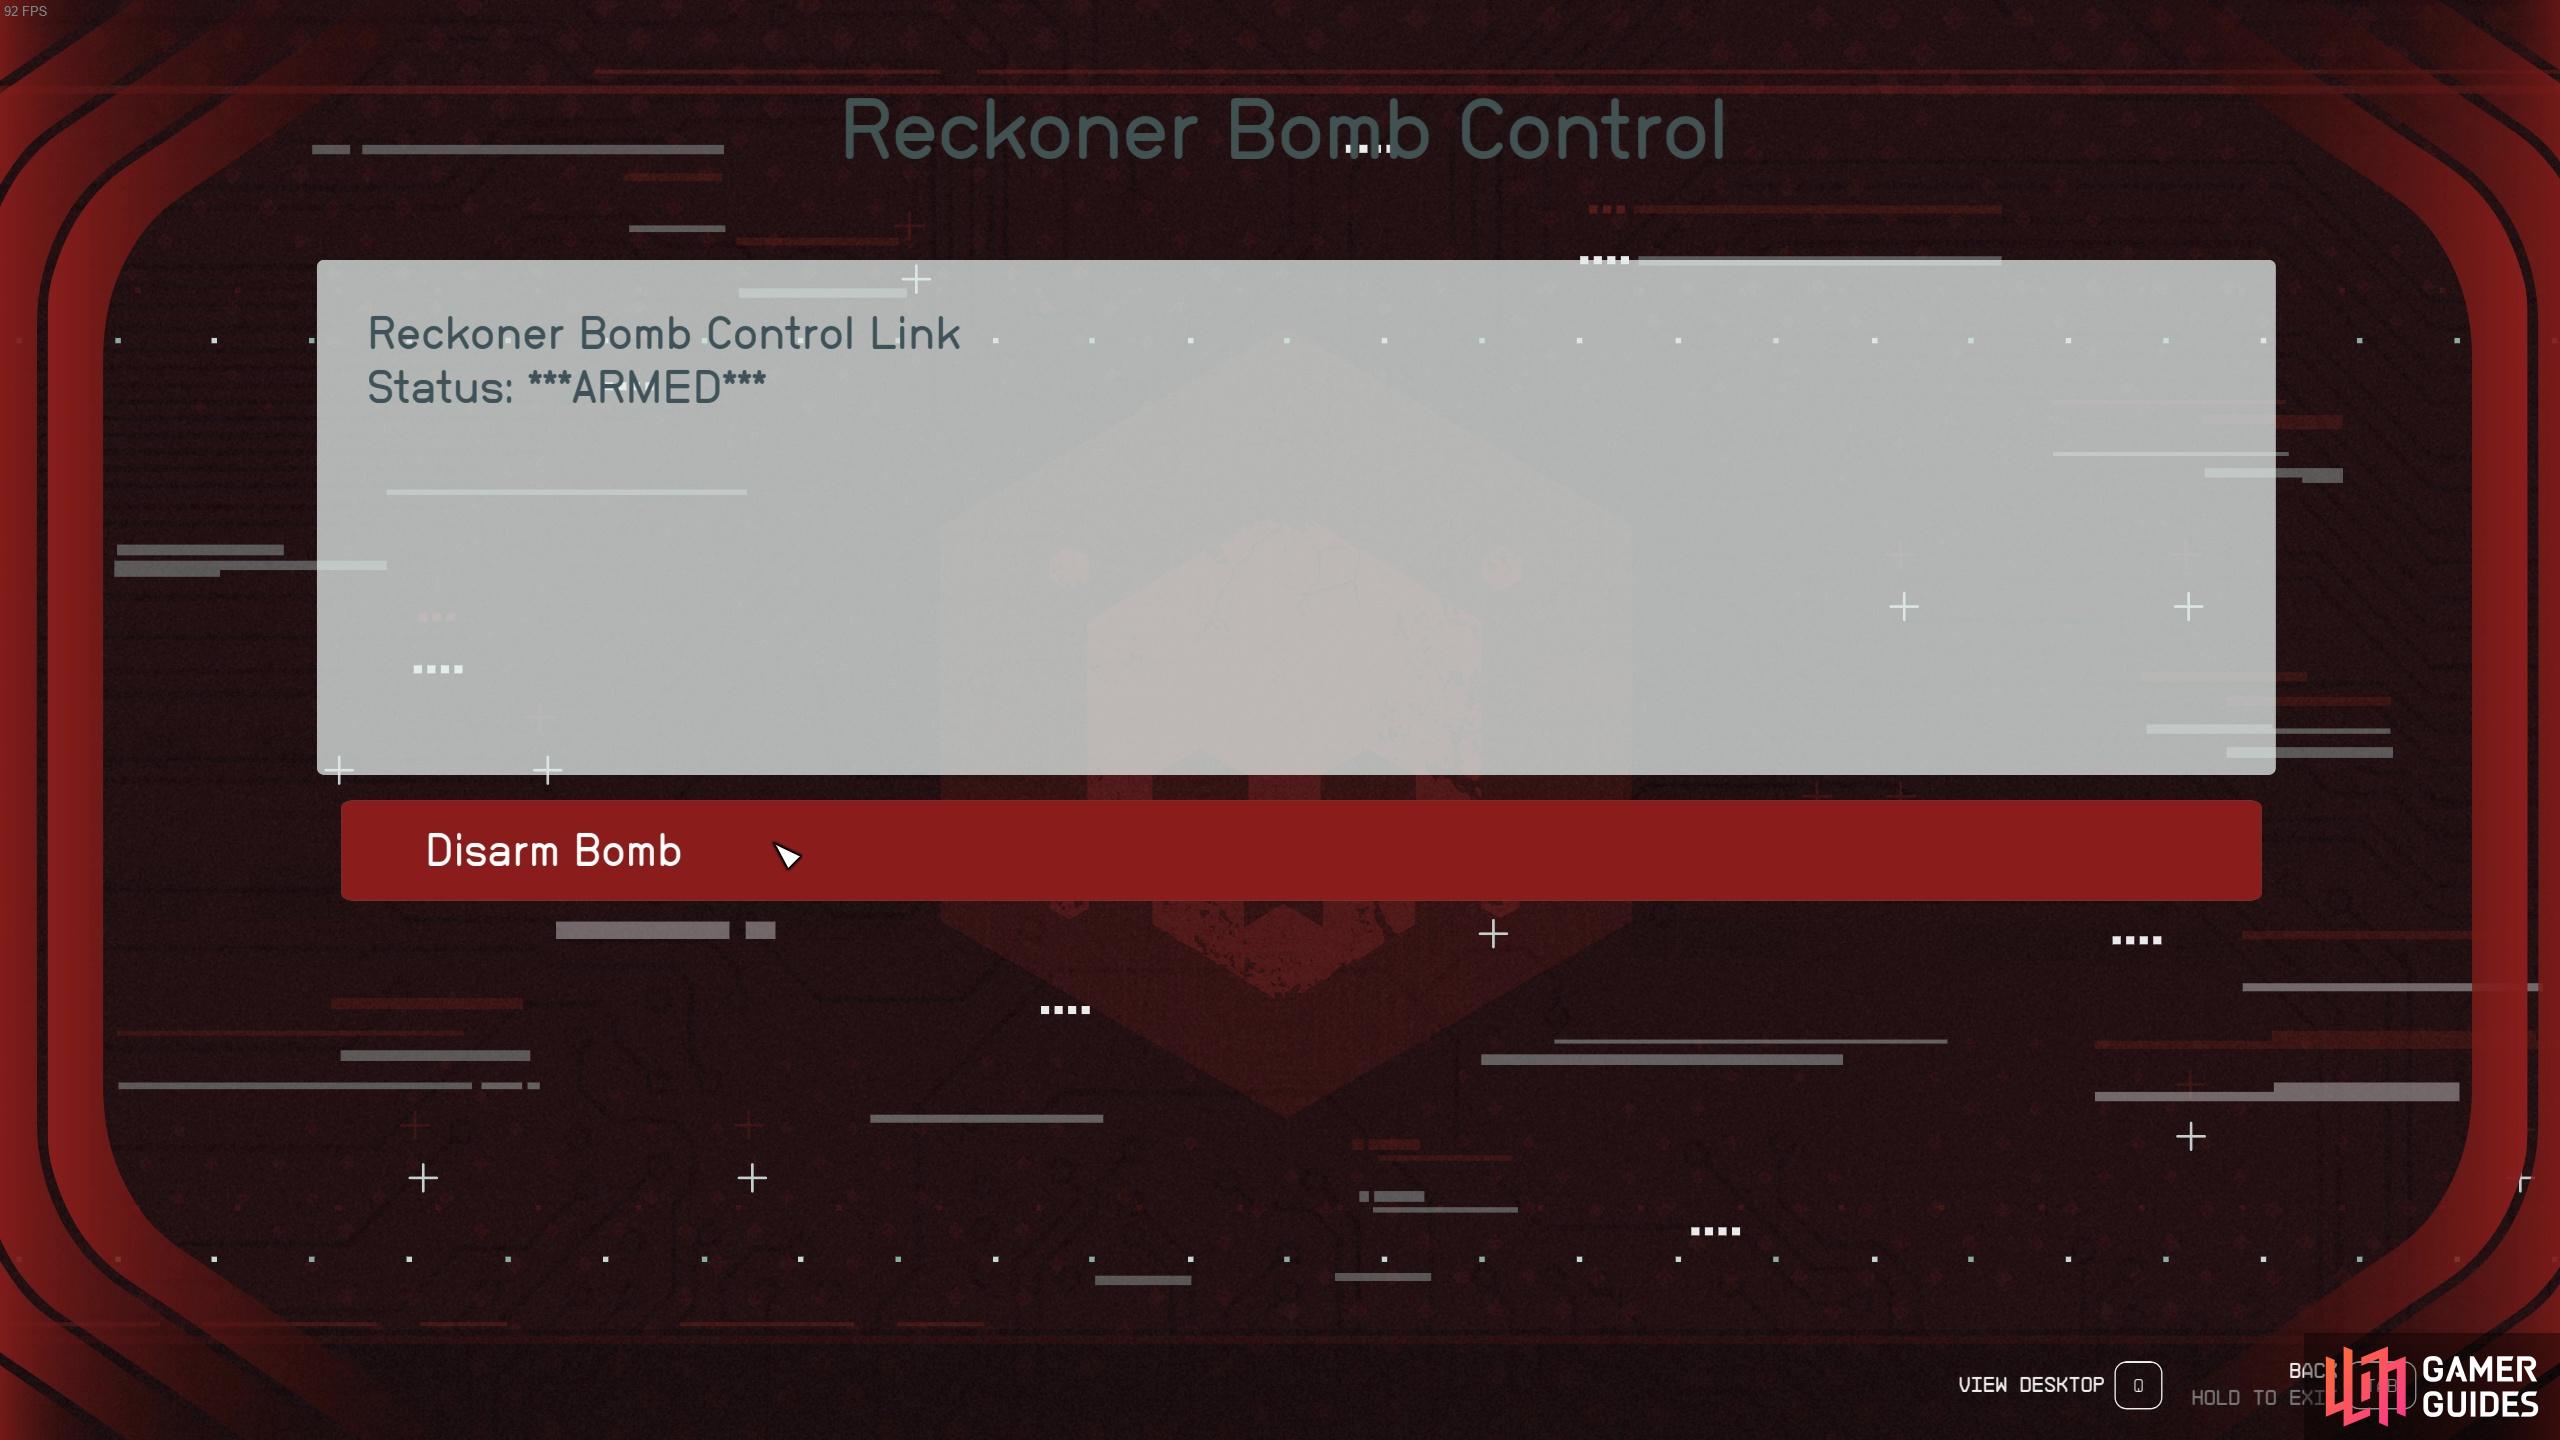
How to Deactivate Shinya Voss’ Bomb (Optional)
You’ll want to speak to Shinya Voss and after some discussion, you can offer to try to deactivate his bomb so he can freely leave. This is an entirely optional objective, but can be done pretty easily by finding Delgado’s computer and disabling Voss’ bomb. You will have to get access to his computer later on, and whilst you’re there you can disable the bomb (read below for details!).
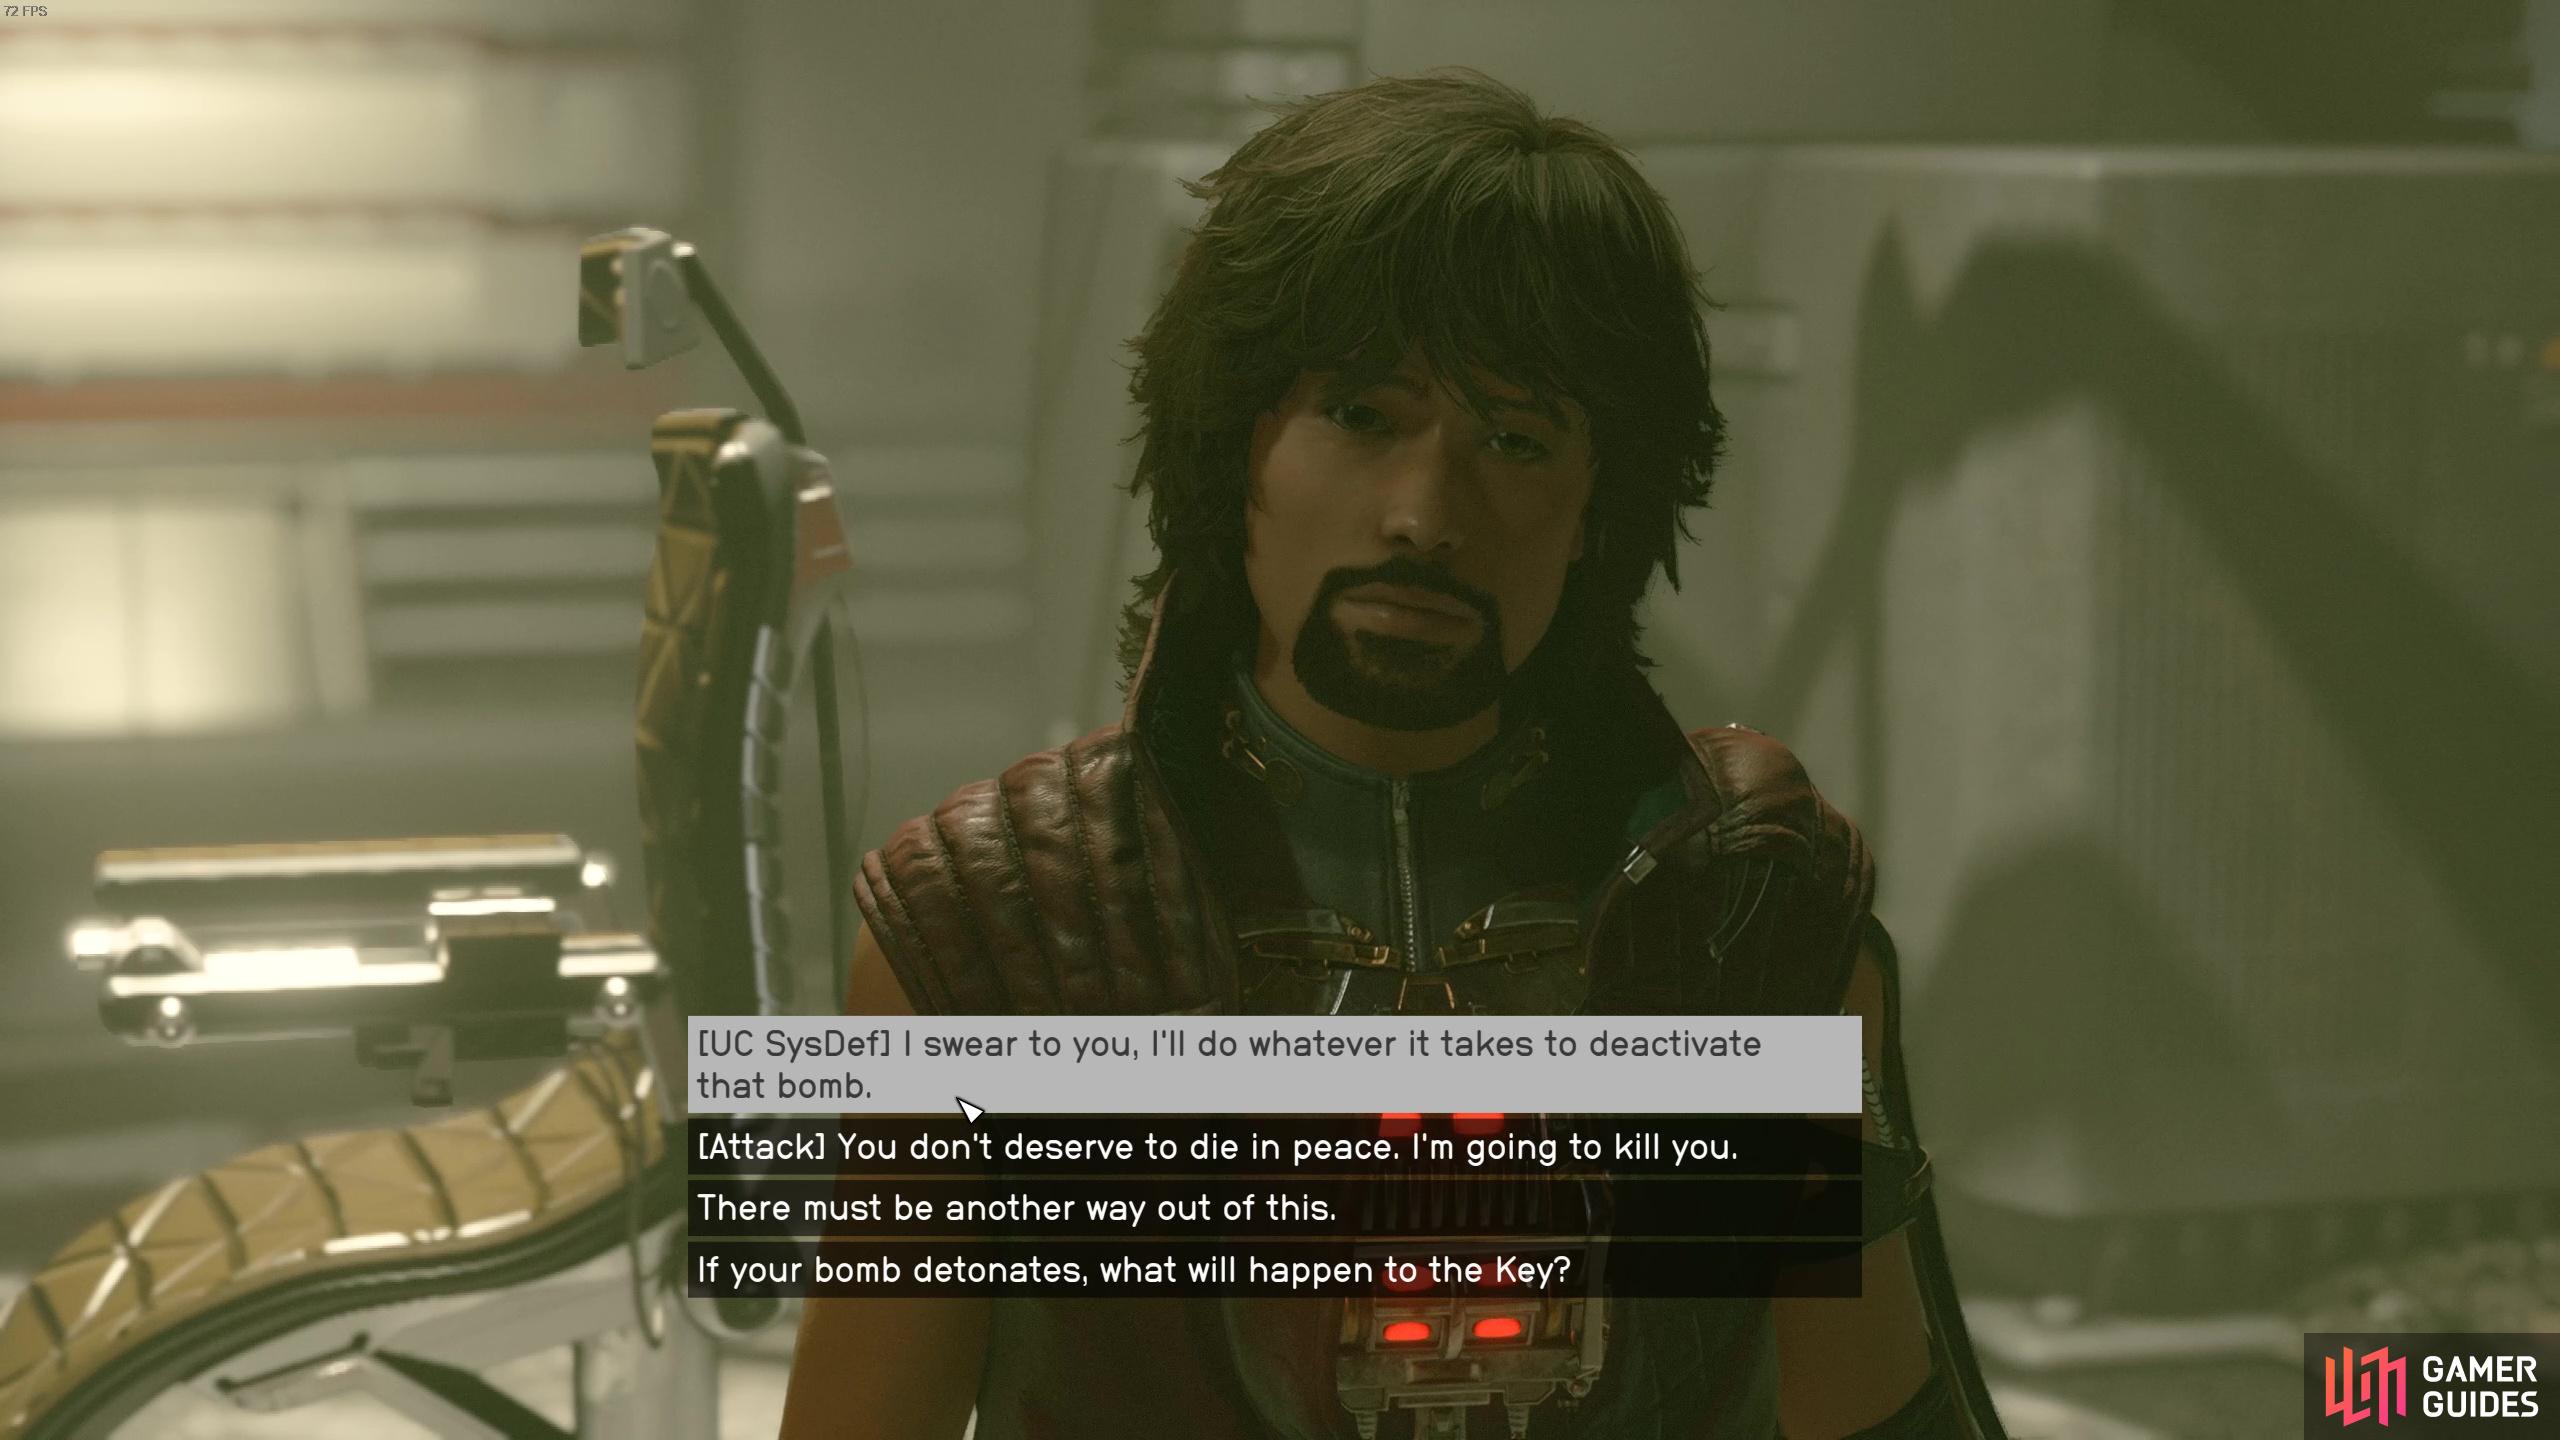
You can choose to disable Shinya Voss’ bomb to save him from exploding.
But first, we’ll have to find Delgado. To get to the Operations Center, which has had its usual route blocked off, you’ll need to make your way through the Gym and into the Bunks. Here, you’ll be met with more unnamed Pirate enemies. Just continue through and make your way to the stairs that’ll take you an entrance into the Operations Center. You’ll now be able to speak to Delgado through the window.
Should You Kill or Arrest Delgado?
There are two possible endings for Delgado: you persuade him to surrender and disable the overload sequence or you have to kill him. The first option is the most peaceful option but requires passing a high 8-bar ![]() Persuasion check. And if you choose this option, you’ll get to see him and all his Crimson Fleet crew hanging around in the brig (prison) on Vigilance. But, if you do this, you won’t be able to kill him and loot him for all of his really cool gear.
Persuasion check. And if you choose this option, you’ll get to see him and all his Crimson Fleet crew hanging around in the brig (prison) on Vigilance. But, if you do this, you won’t be able to kill him and loot him for all of his really cool gear.
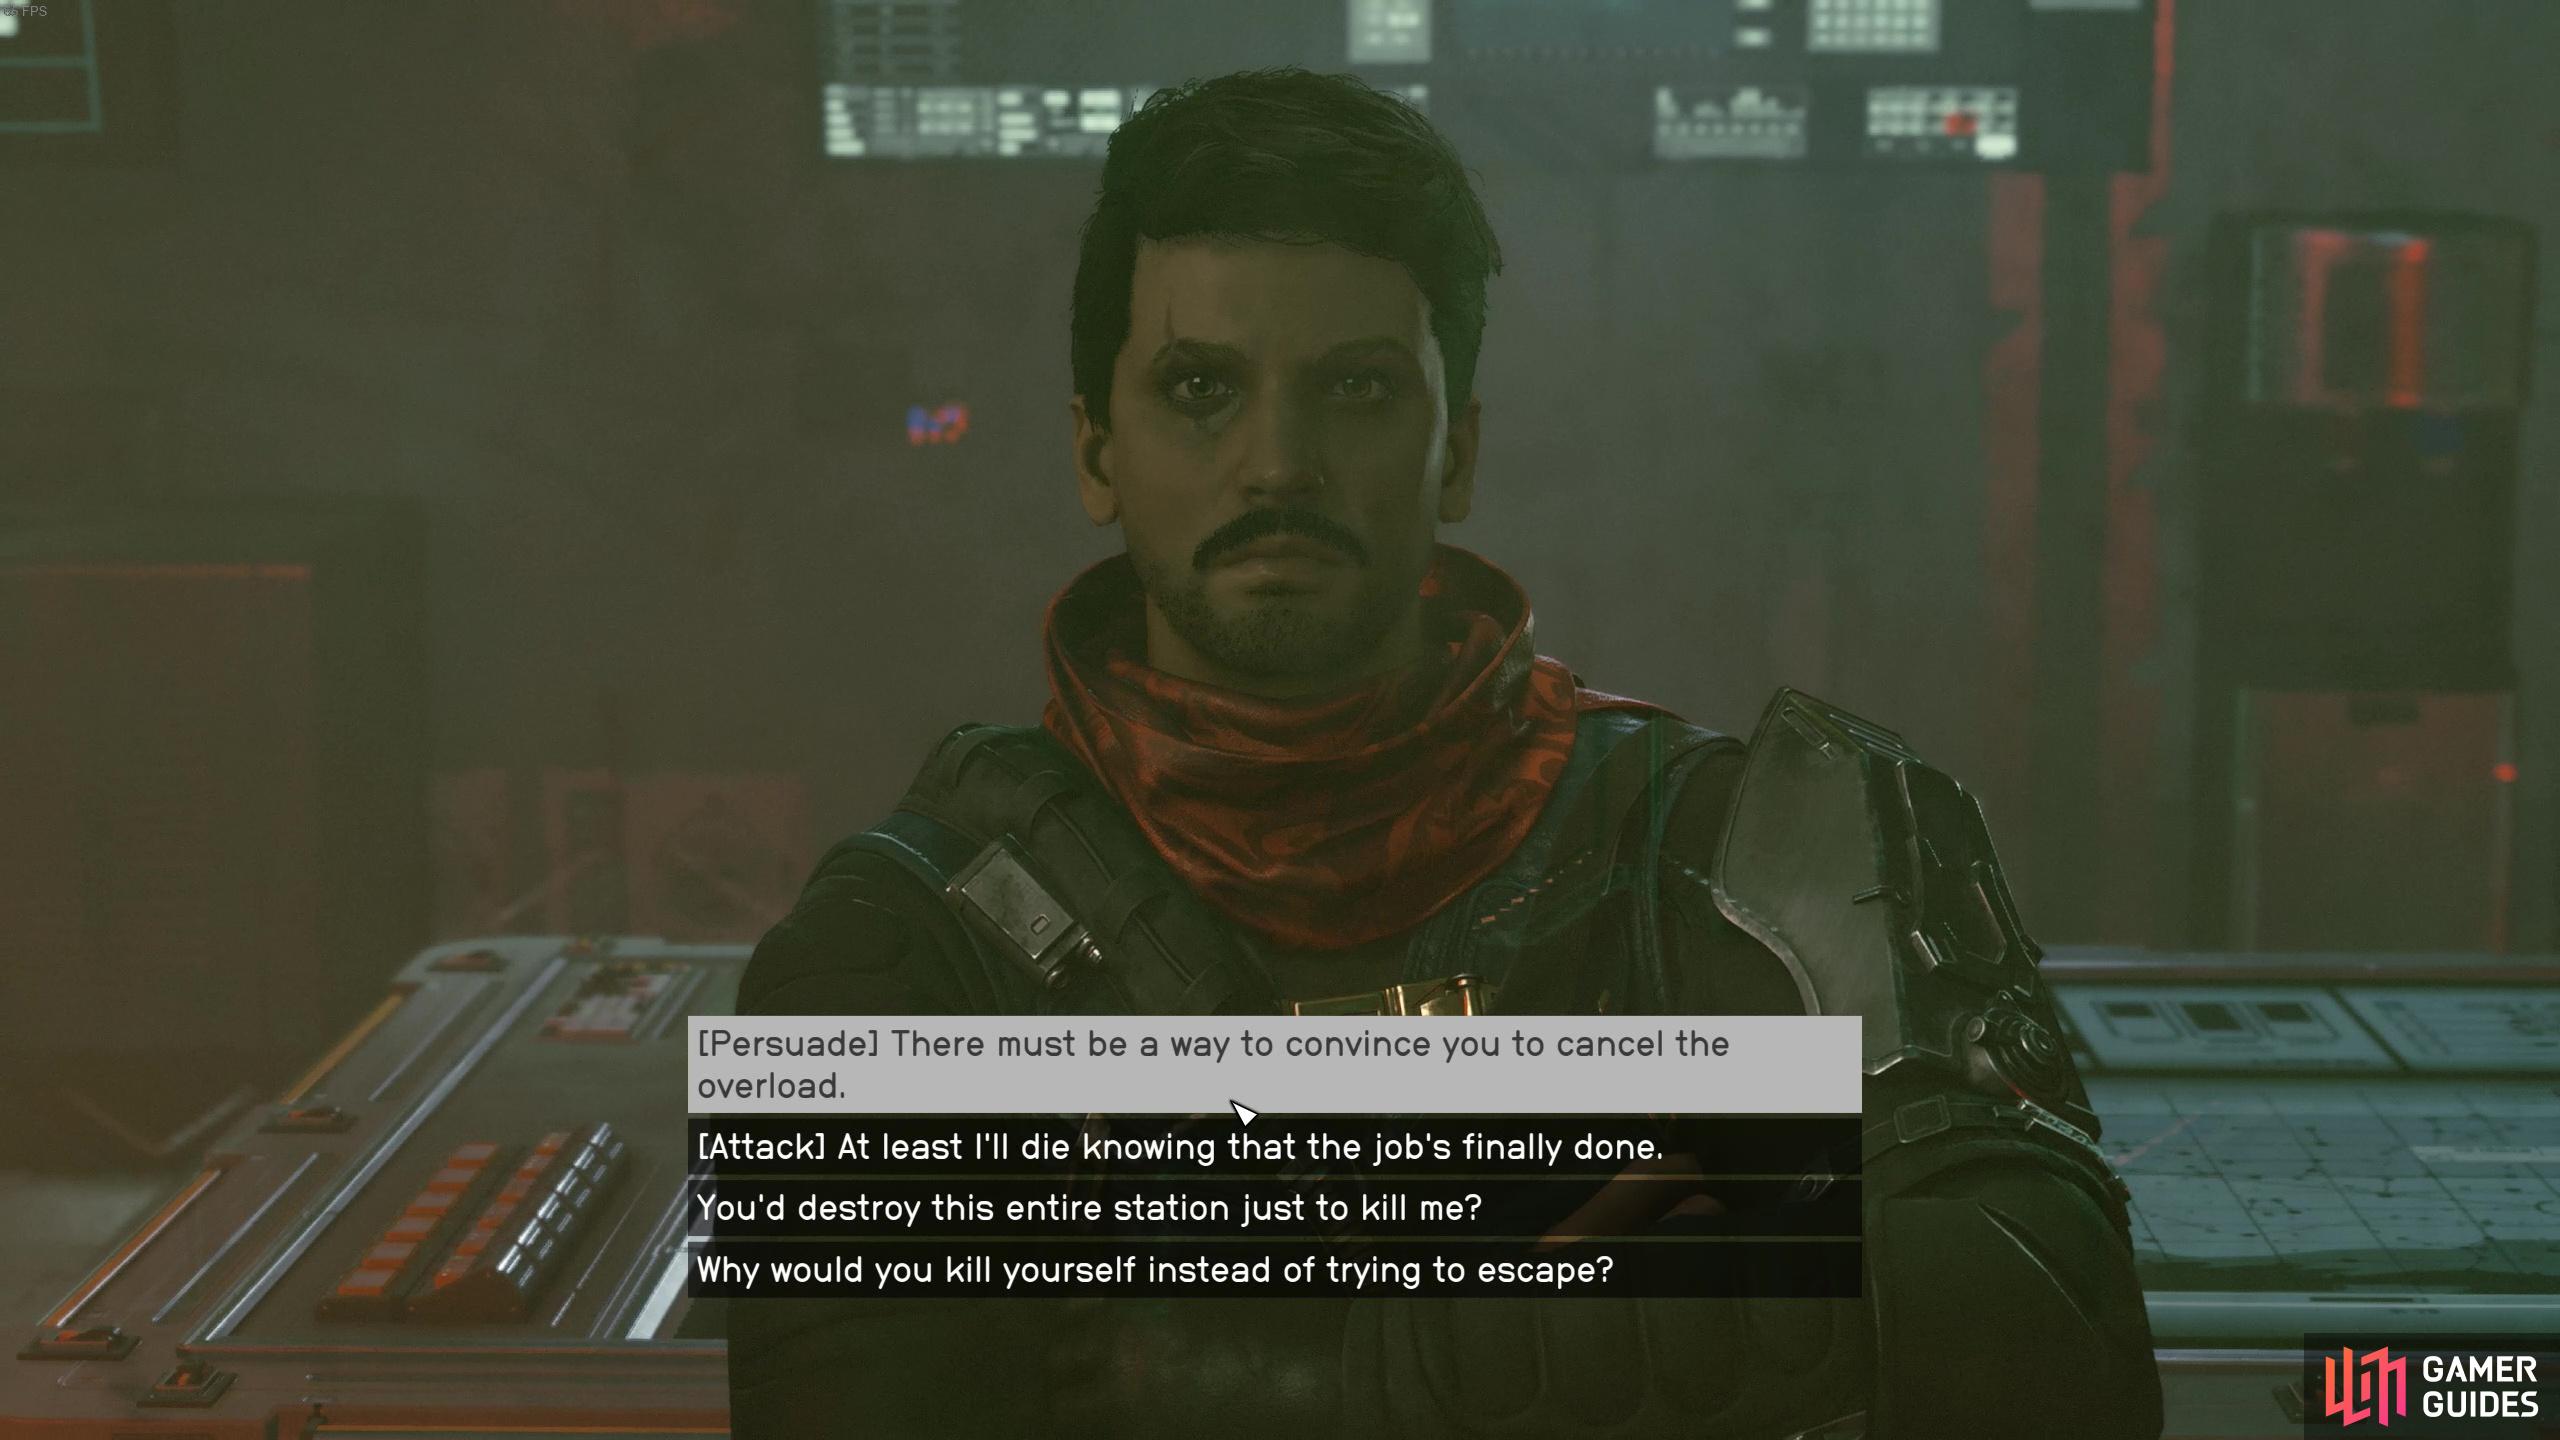
Will you convince Delgado to surrender or kill him?
If you choose to attack or you fail the Persuasion check, you’ll trigger a sequence in which you’ll be forced to head down and turn on all 3 of the Reactor Override Controls, which are found on opposite sides of the room. The difficult part of this objective is that there are tons of enemies around and the gas being expelled into the air will damage your lungs if you spend too much time in it, so try to avoid the ground floor where possible.
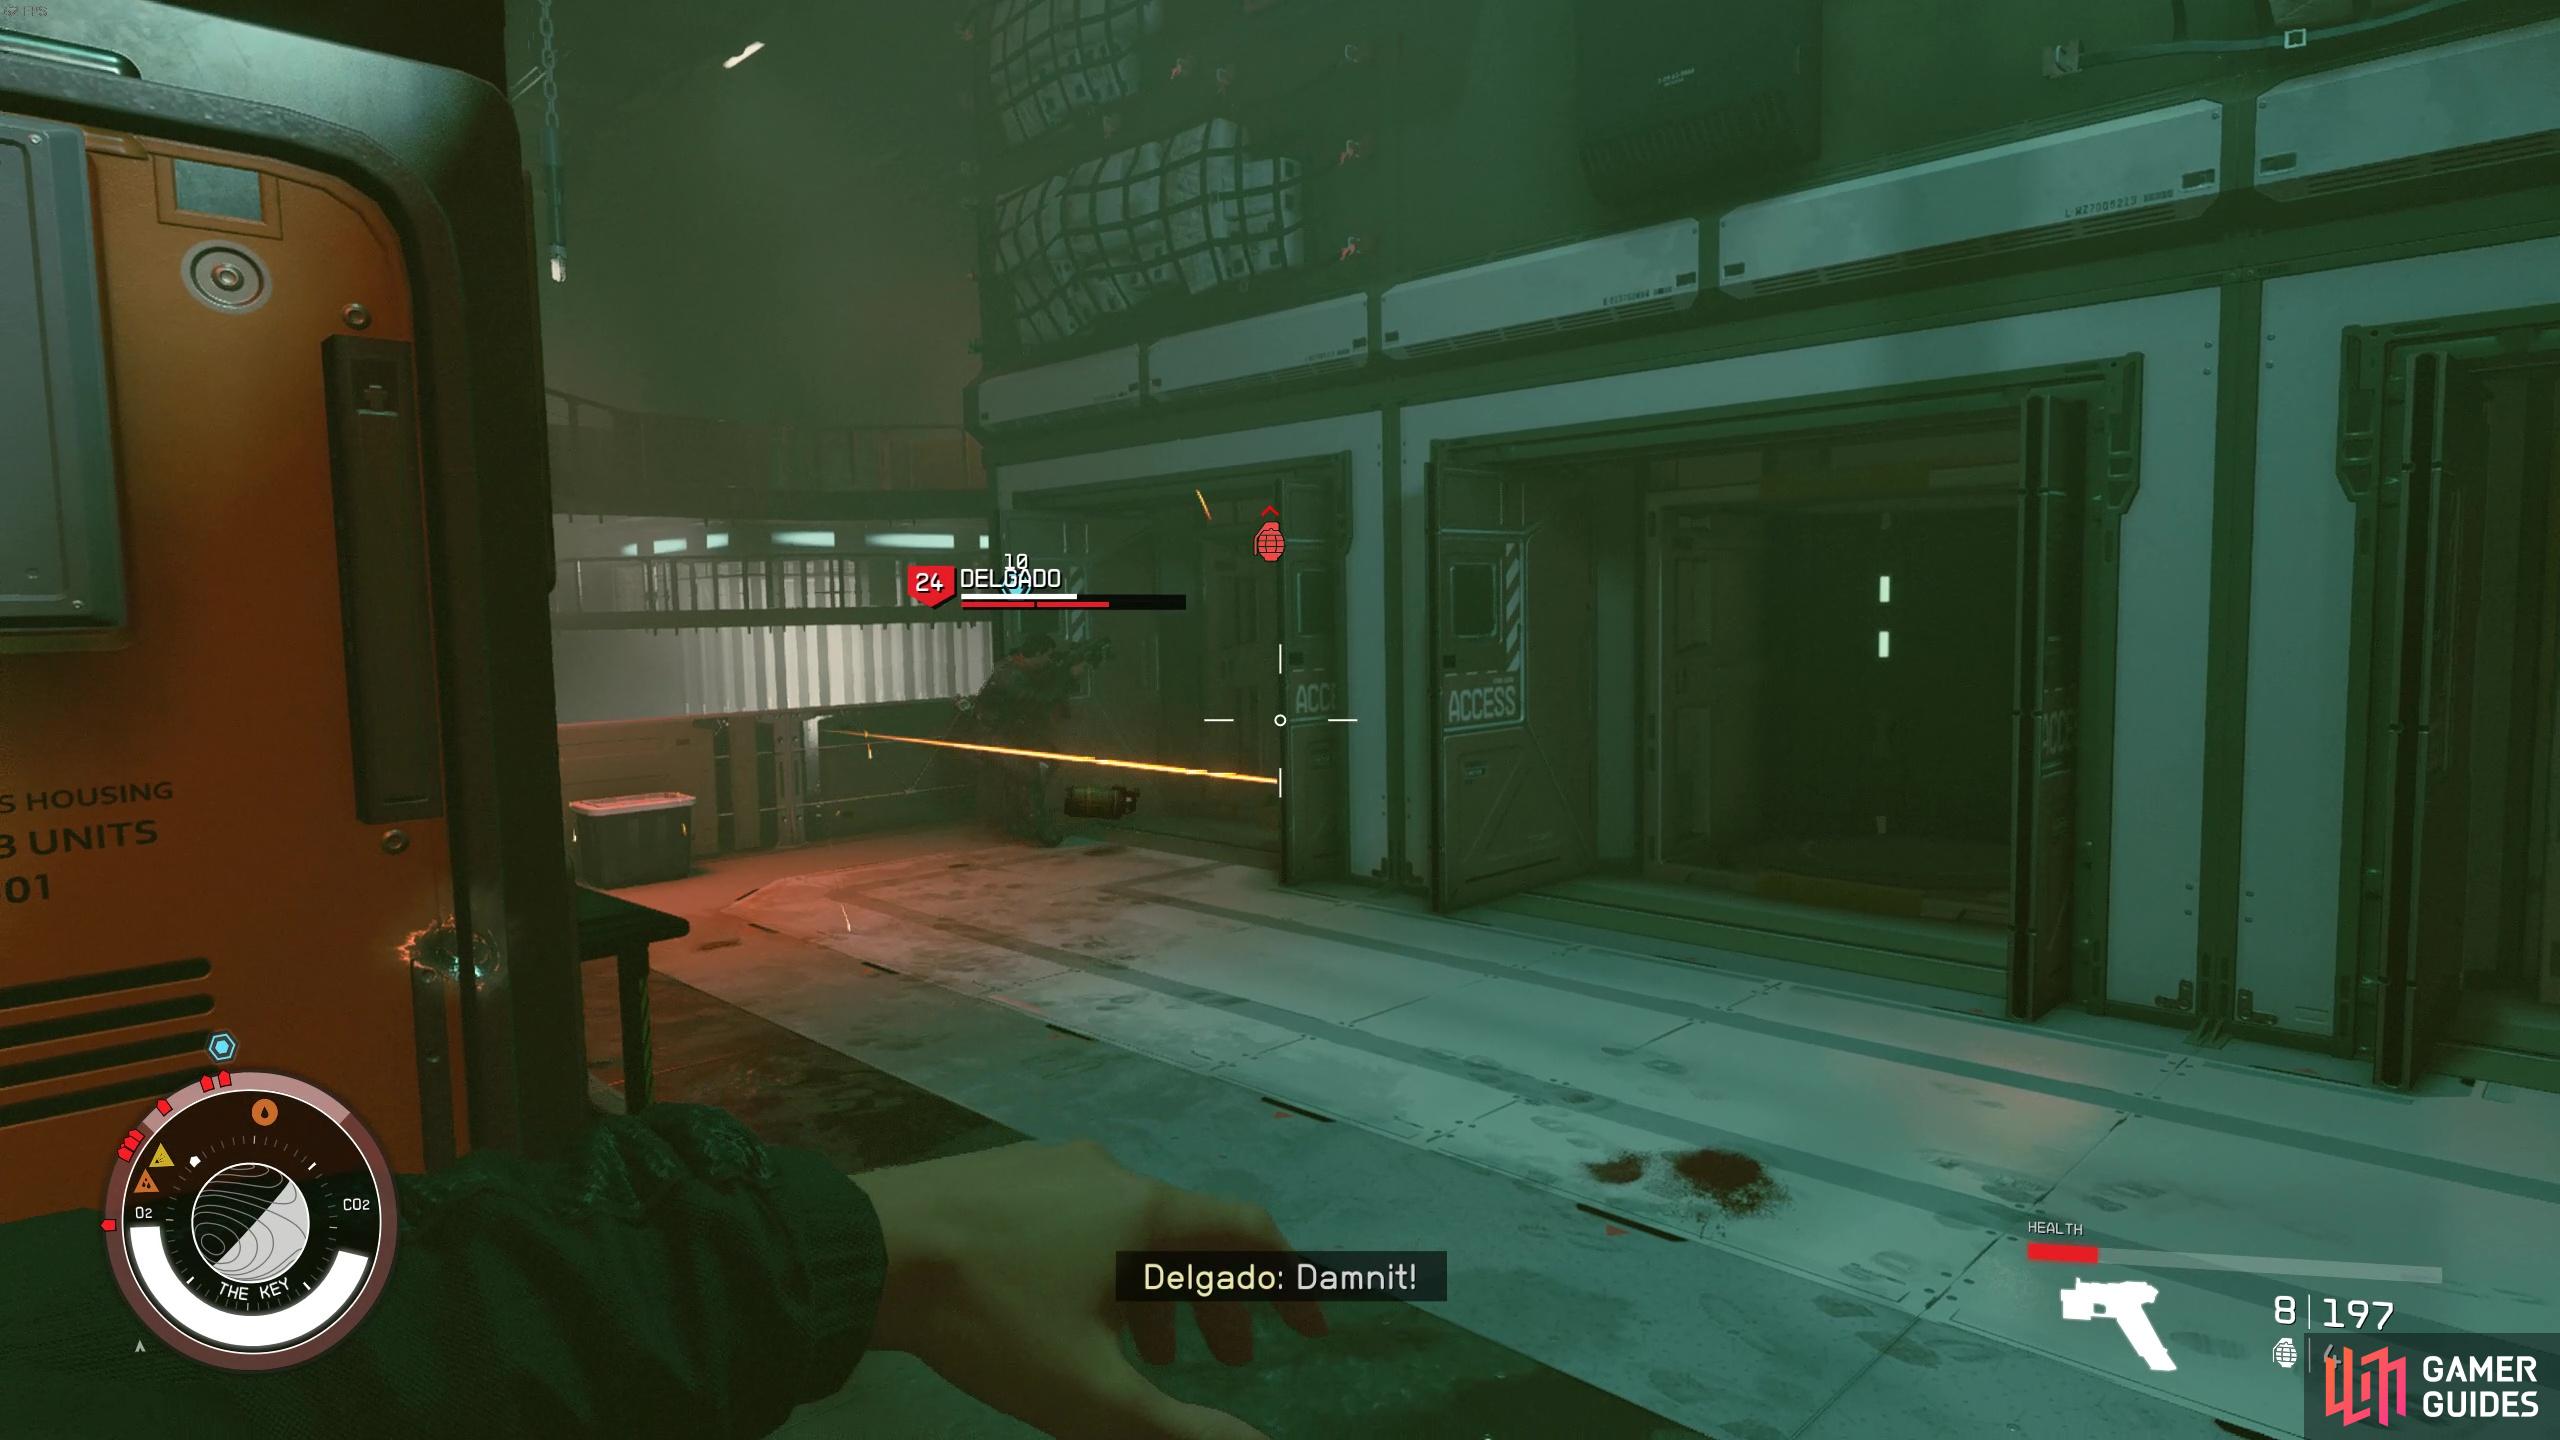
Once you’ve dealt with the three control switches, you’ll have to face Delgado and a bunch of robots. The robots are weak and Delgado isn’t that much of a threat but his weapon does pack quite a punch so make sure to utilize cover regularly. Delgado likes to hide behind cover a lot too, so we used frag grenades to deal damage to him without coming out of cover too much. Other than that, we just had a good ol’ shooting match with him and he isn’t really that strong so you shouldn’t have too much of an issue!
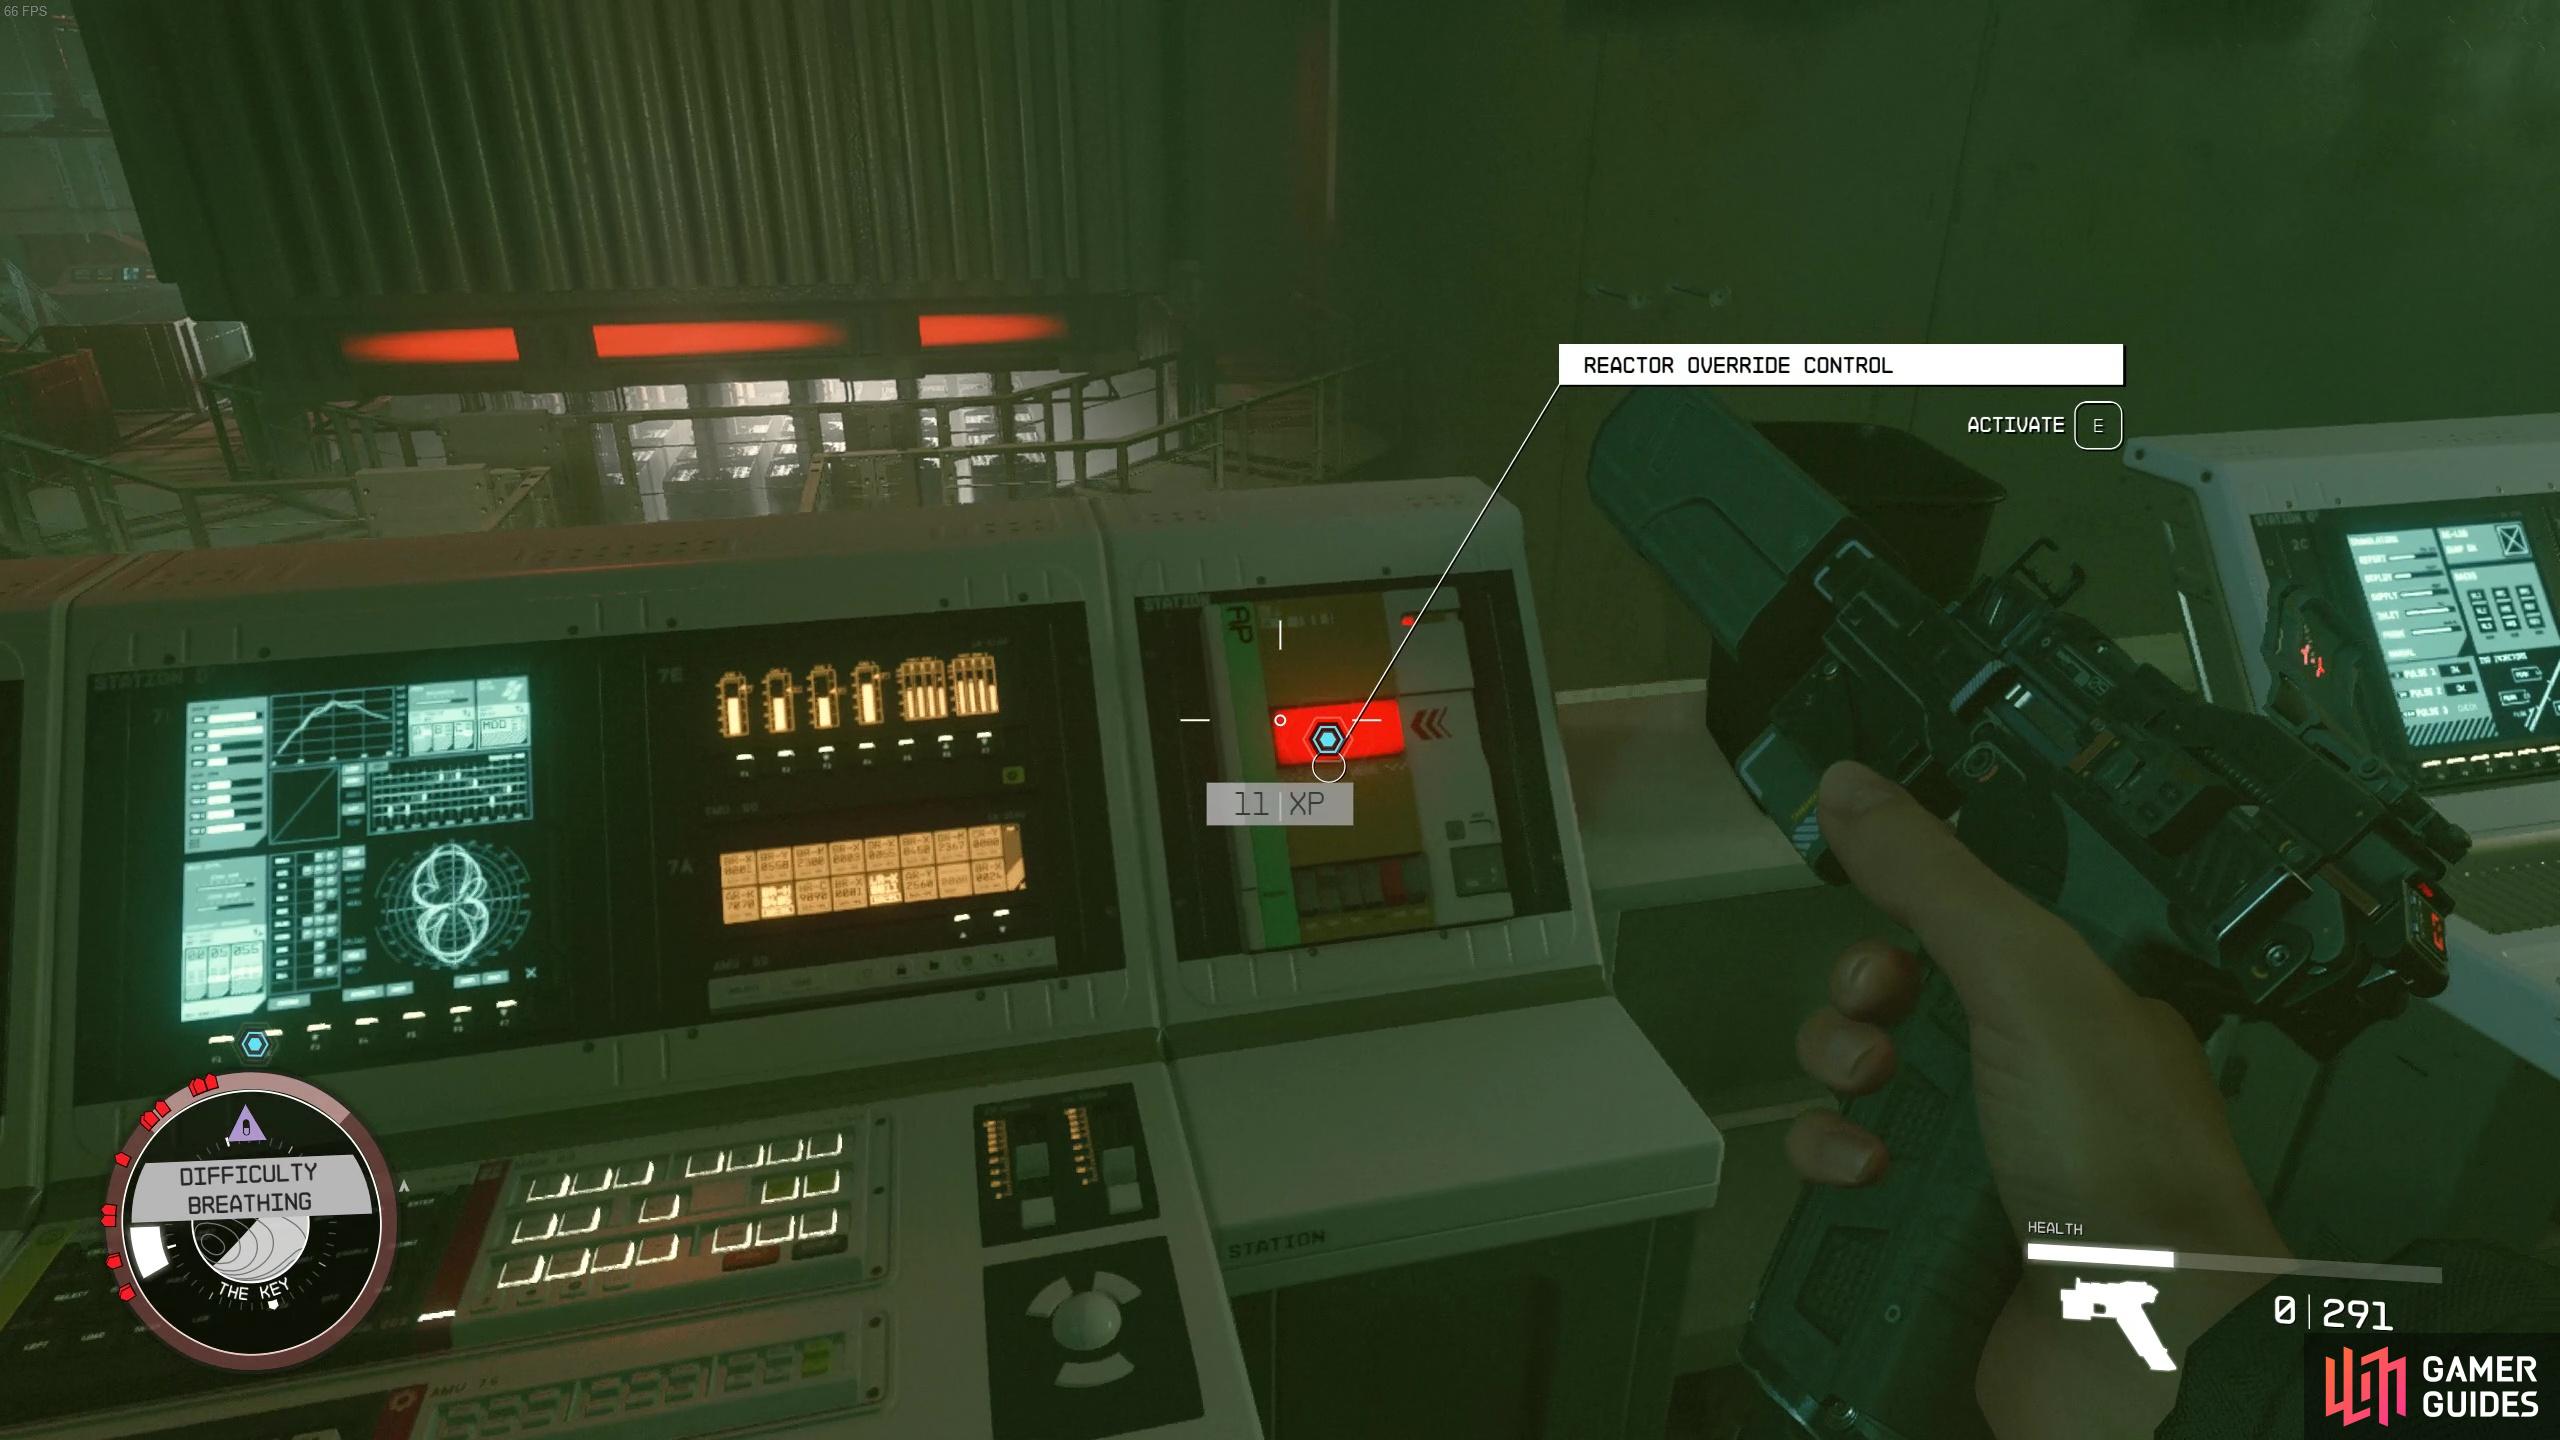
Find and active all three override control switches in the Operations Center
then deal with Delgado once and for all.
After you’ve cleared out the ads and defeated Delgado, you can loot his body for Delgado’s Password, his ![]() Tempest weapon, 1000+ credits, an Advanced Pirate Corsair Spacesuit, Pirate Raiding Balanced Pack, Delgado’s Outfit and some food. Time to rep Delgado’s whole outfit in style!
Tempest weapon, 1000+ credits, an Advanced Pirate Corsair Spacesuit, Pirate Raiding Balanced Pack, Delgado’s Outfit and some food. Time to rep Delgado’s whole outfit in style!
Once you’ve got the password, head up to the Operations Center to find Delgado’s Computer. Here you can end the lockdown on The Key and also disable Shinya Voss’ bomb on this computer. If there are any enemies left you can either run past them back to your ship, or you can deal with them.
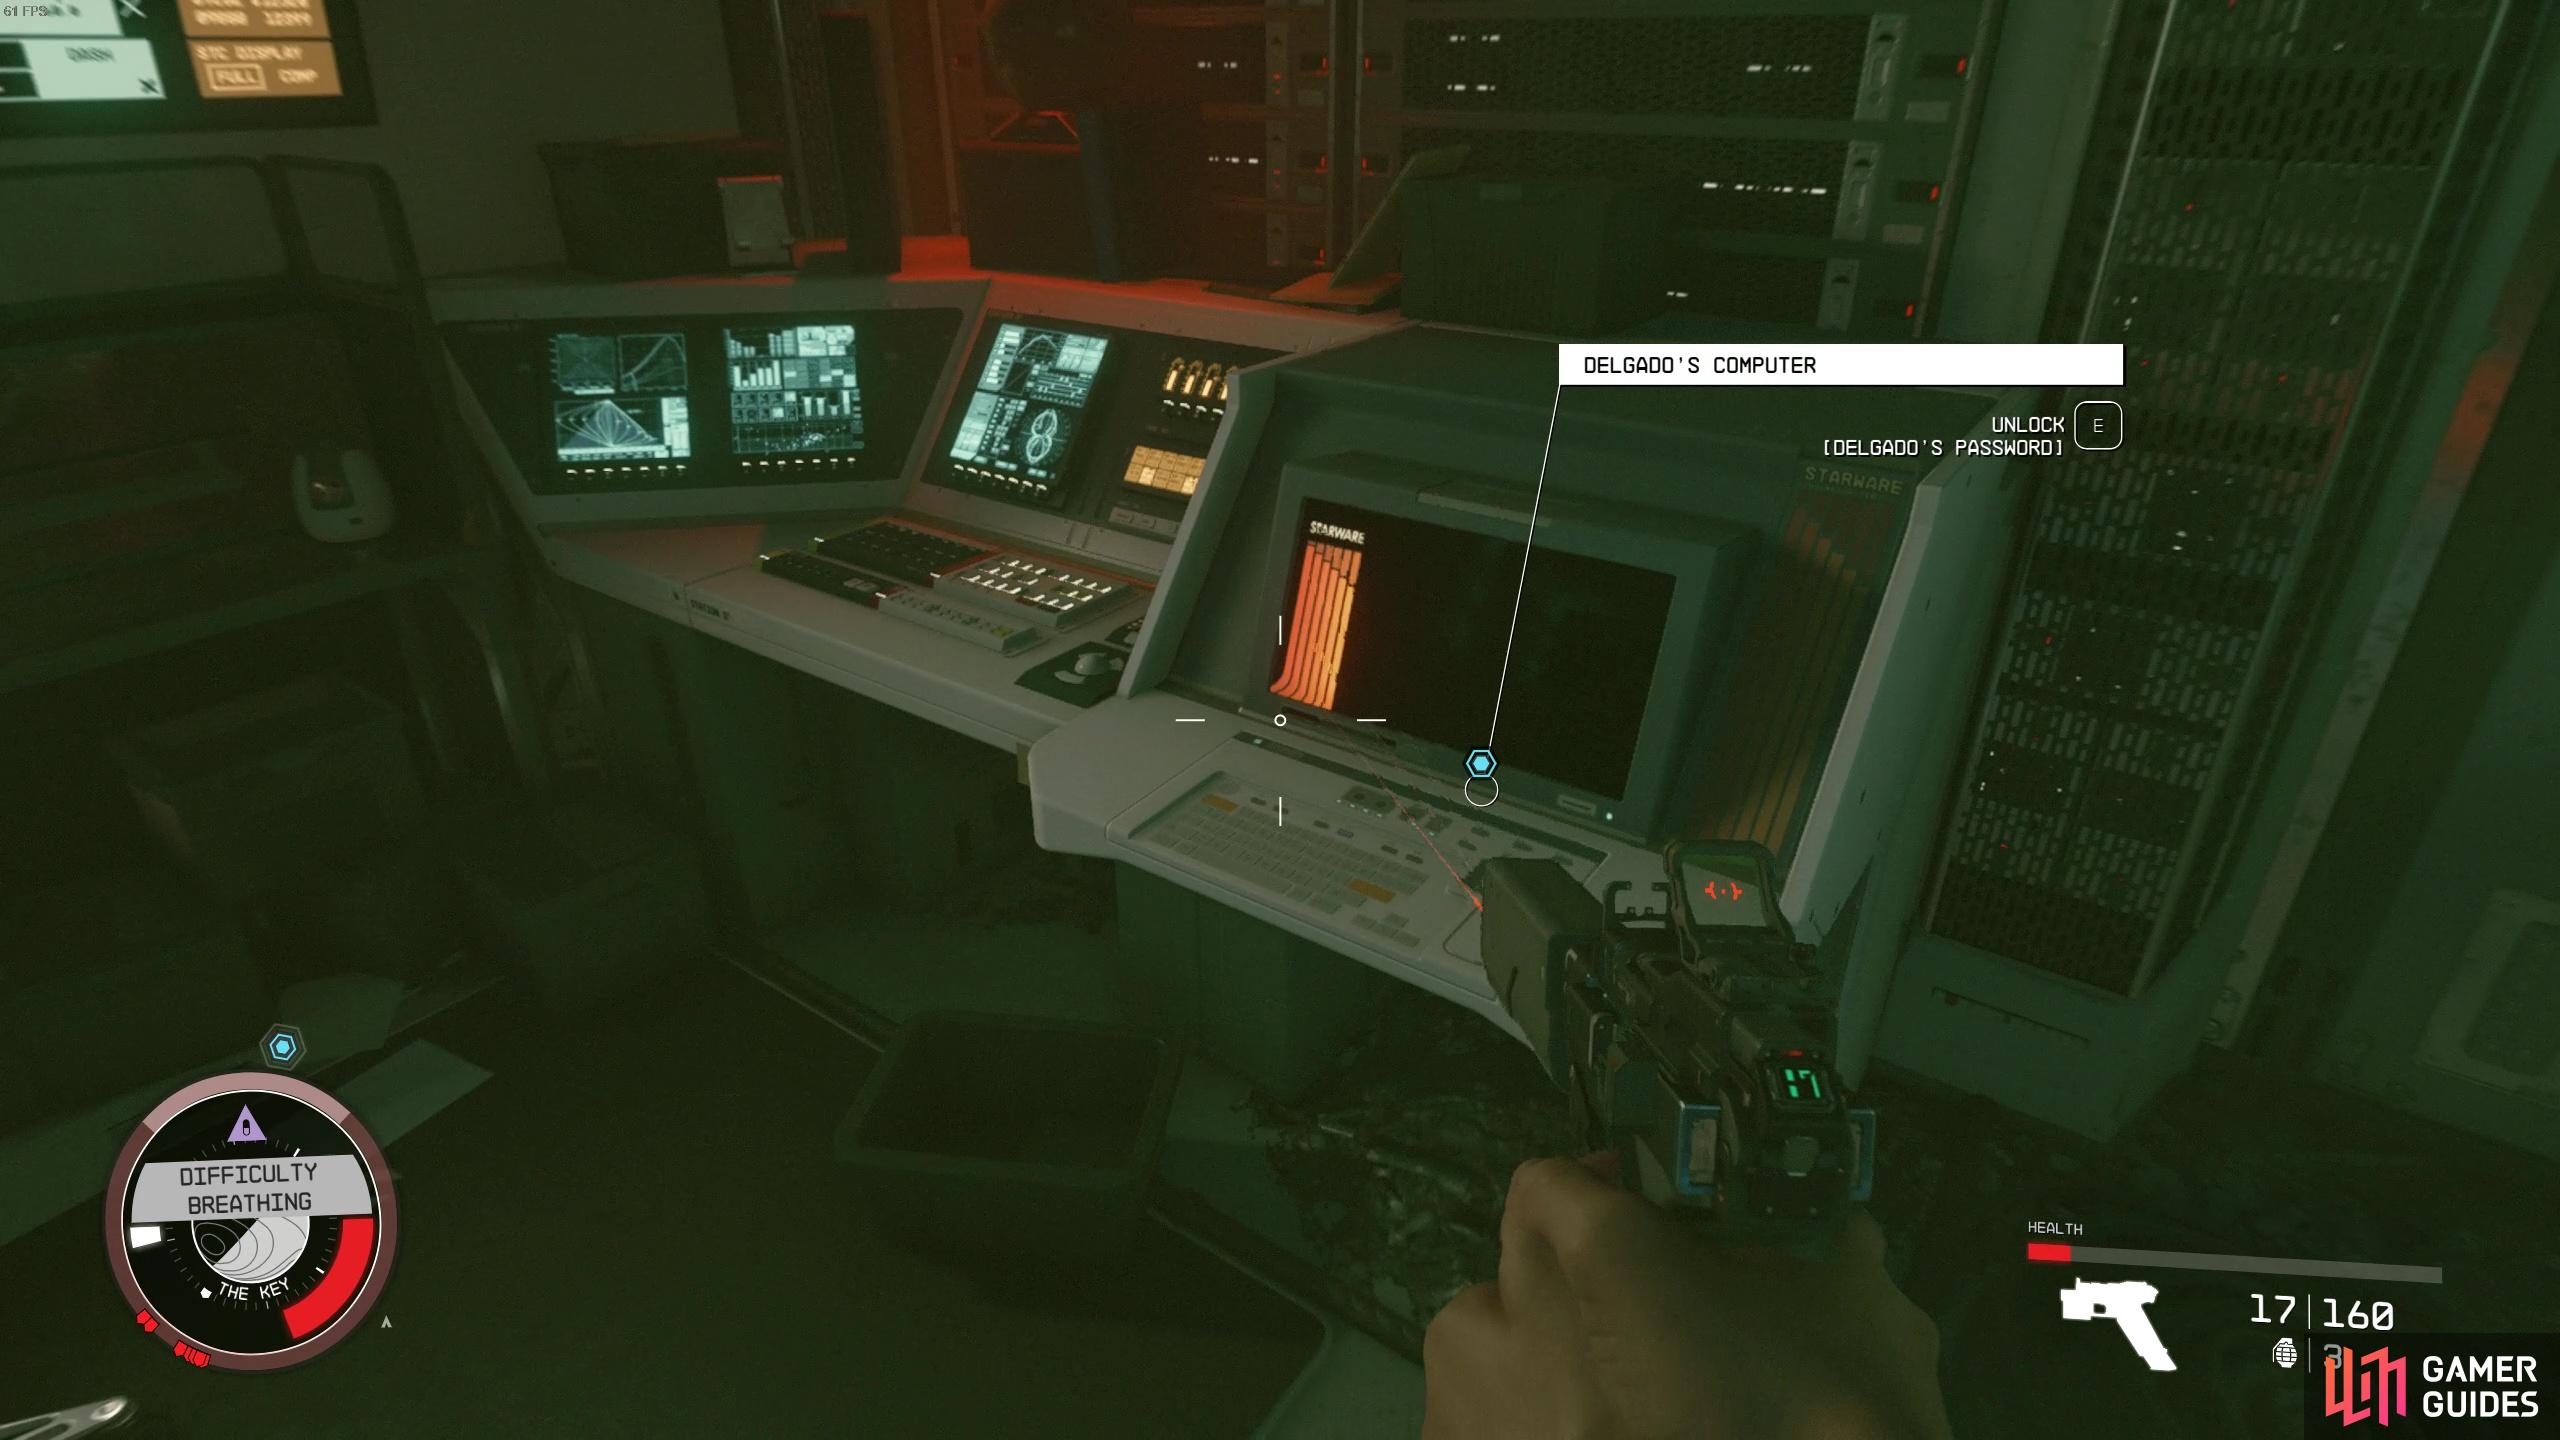
Use Delgado’s computer to disable the lockdown
and don’t forget to disarm Voss’ bomb.
Legacy’s End: UC SysDef Reward
Once you’ve dealt with Delgado and the lockdown, return to Vigilance to speak with Commander Ikande. As a reward, you’ll be given 250,000 Credits and a SysDef uniform. You’ll also now have access to the Brig, which is a prison where you’ll find Crimson Fleet prisoners (including Delgado if you arrested him).
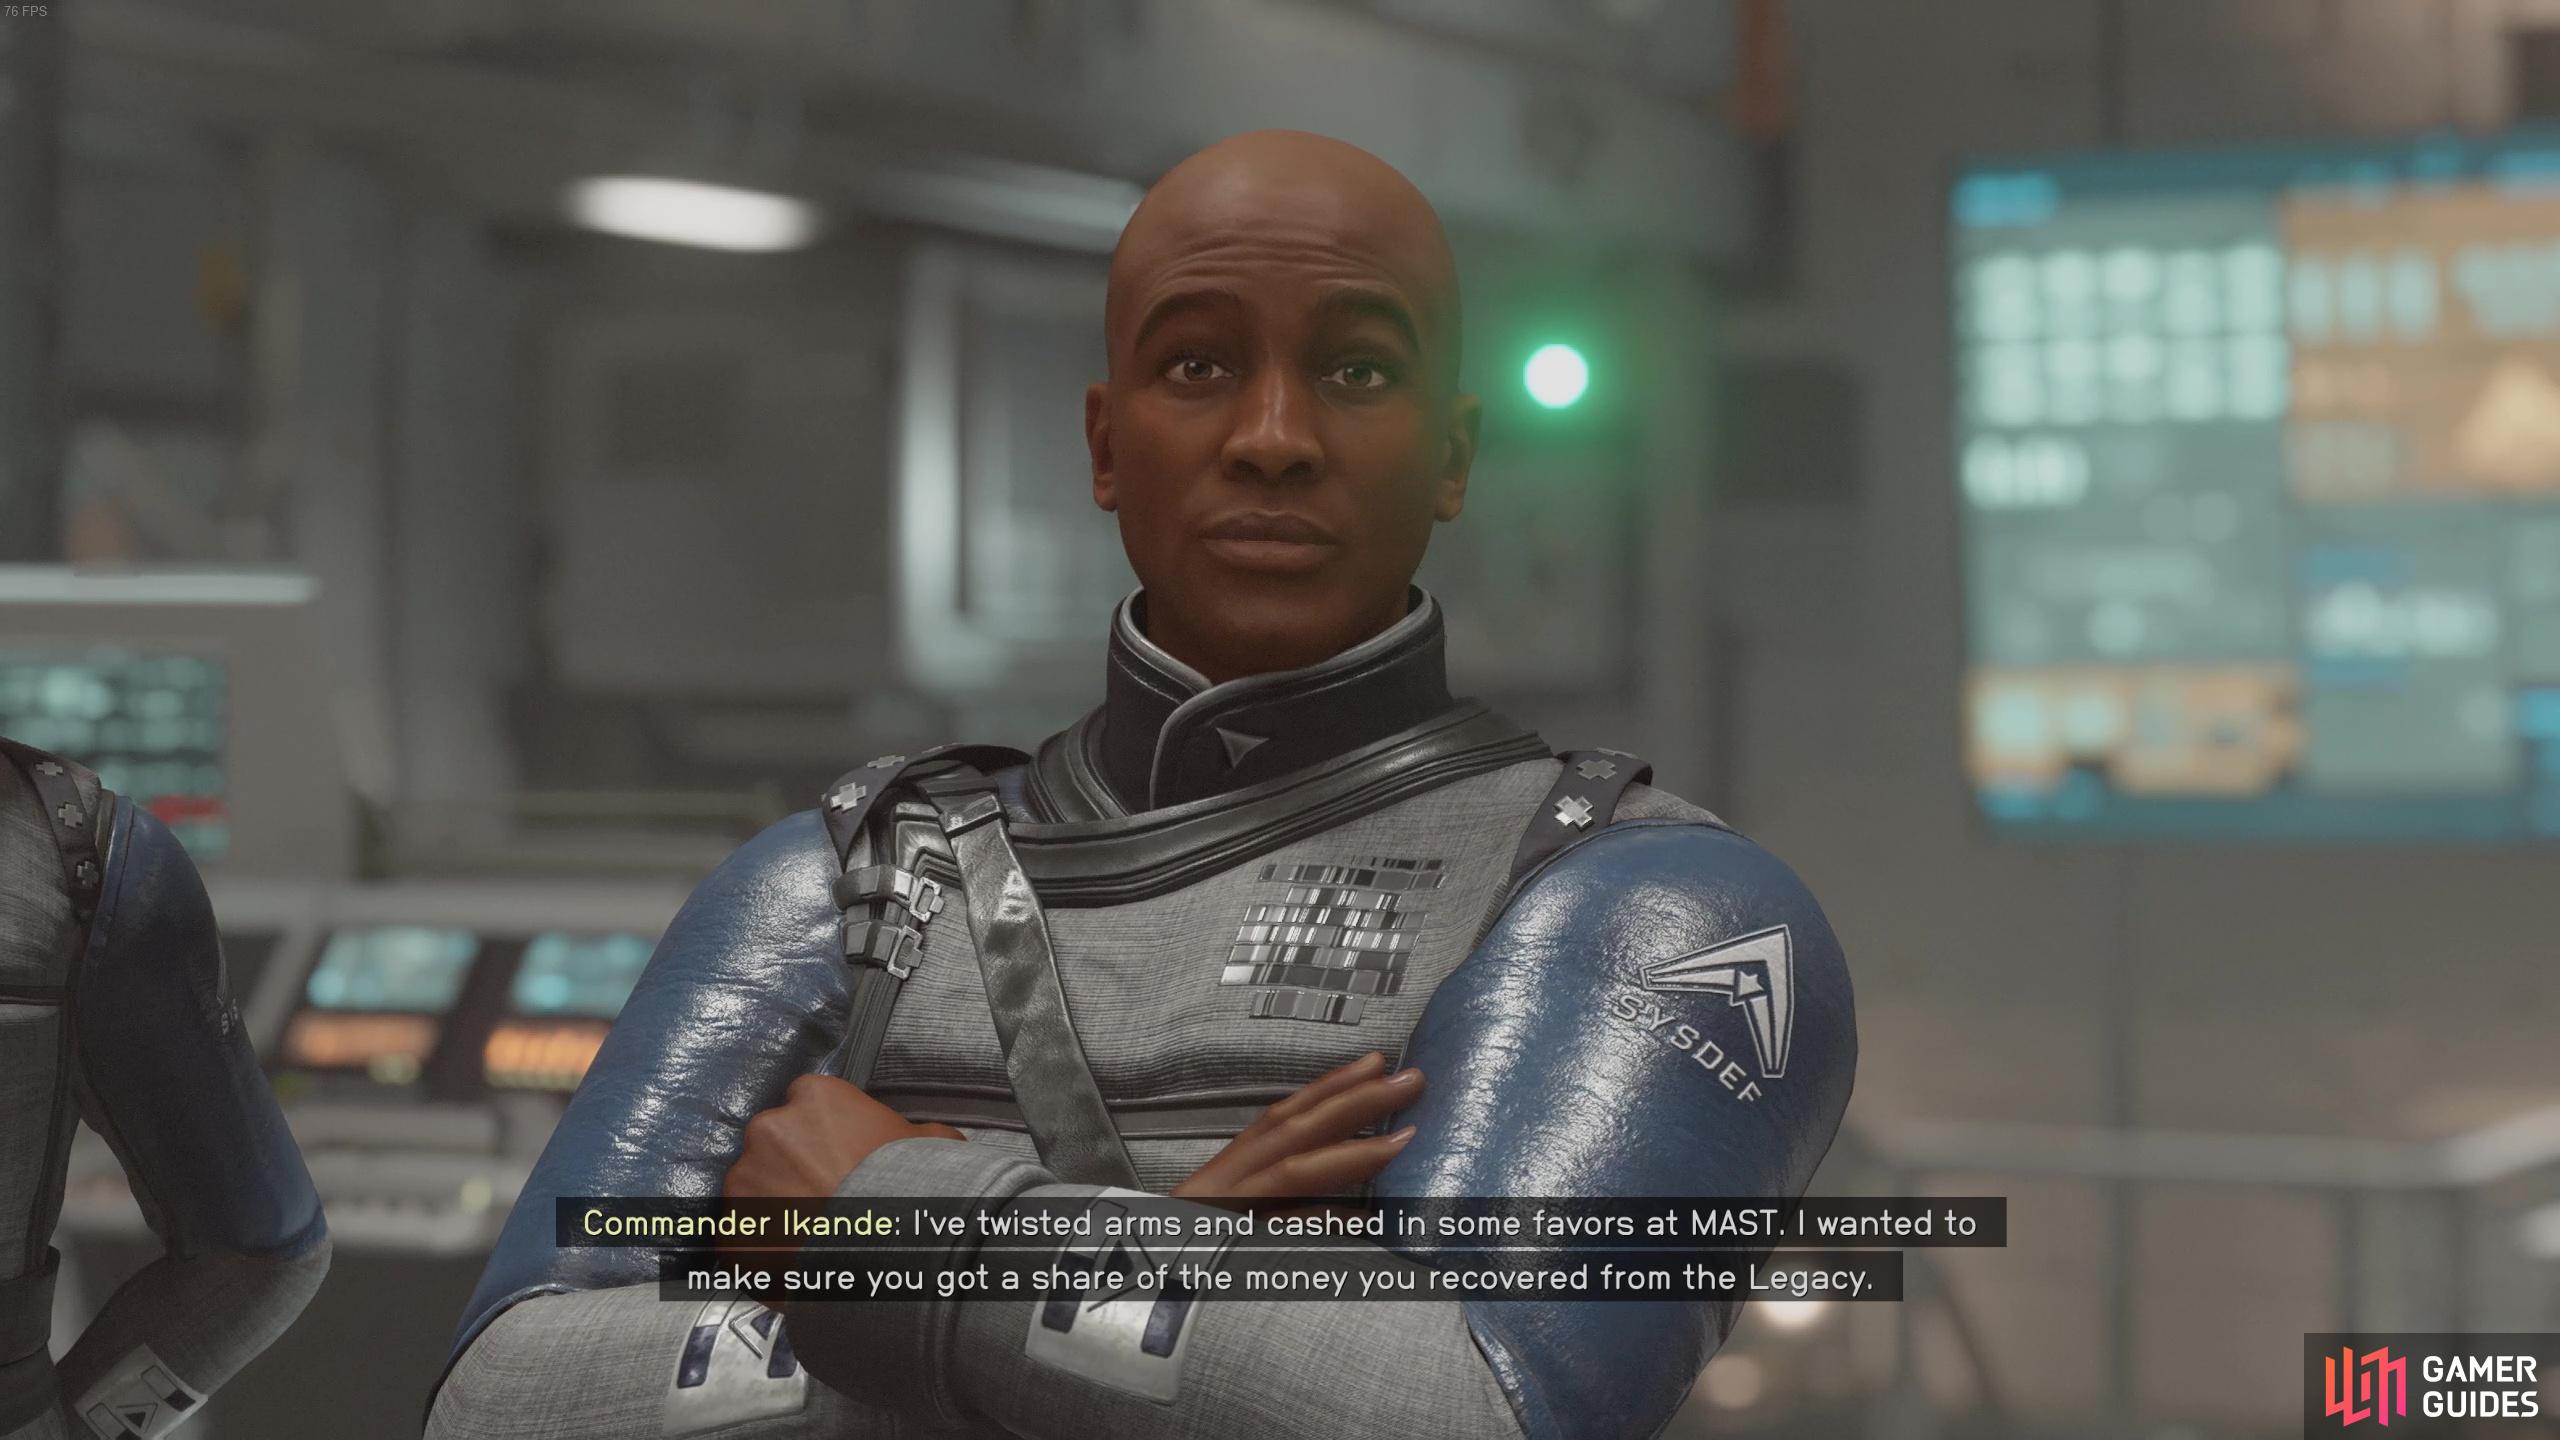
Even though it’s stolen money, Ikande still wants you to be rewarded!
You will also have access to a special UC SysDef Mission Board which will generate infinite quests for you to earn some credits. Naturally, the downside to siding with the UC SysDef is no longer having access to The Key and all the vendors in The Depot, including vendors who will take contraband off your hands.
No Comments