

The mighty Dreadnought.
After travelling to the Far Rim galaxy and activating the cutscene to begin this mission, fly to the nearby Perseus Veil galaxy and enter the designated area in the solar system to board the dreadnought.
When you gain control of Shepard, the key thing to remember when walking is that the cylinder ‘rotates’ if you walk left or right, so if you hit a barricade, just look up and you’ll see which way to turn (it’s very simple). After a couple of minutes, you’ll reach the dreadnought itself. When you’re inside drop down, climb up the ledge in front of you and if you look to your left (near the terminal), there’s a Shotgun Smart Choke Mod you can pick up.
Double back on yourself and then hang a left and get back up on the ledge, run around to the other side of the ladder and climb it to the top. Turn right, jump the gap that opens up, open the doors and climb the ladder on the far end of this walkway. Activate the control panel up here to allow your teammates into the ship and start the mission proper.
Inside the Dreadnought
Collect the Arc Pistol and give it to Tali to use for the duration of the mission. If you’ve got ammo-enhancers (such as Disruptor or Armour-Piercing), now’s the time to activate them as they’ll prove to be highly effective against the synthetic Geth.
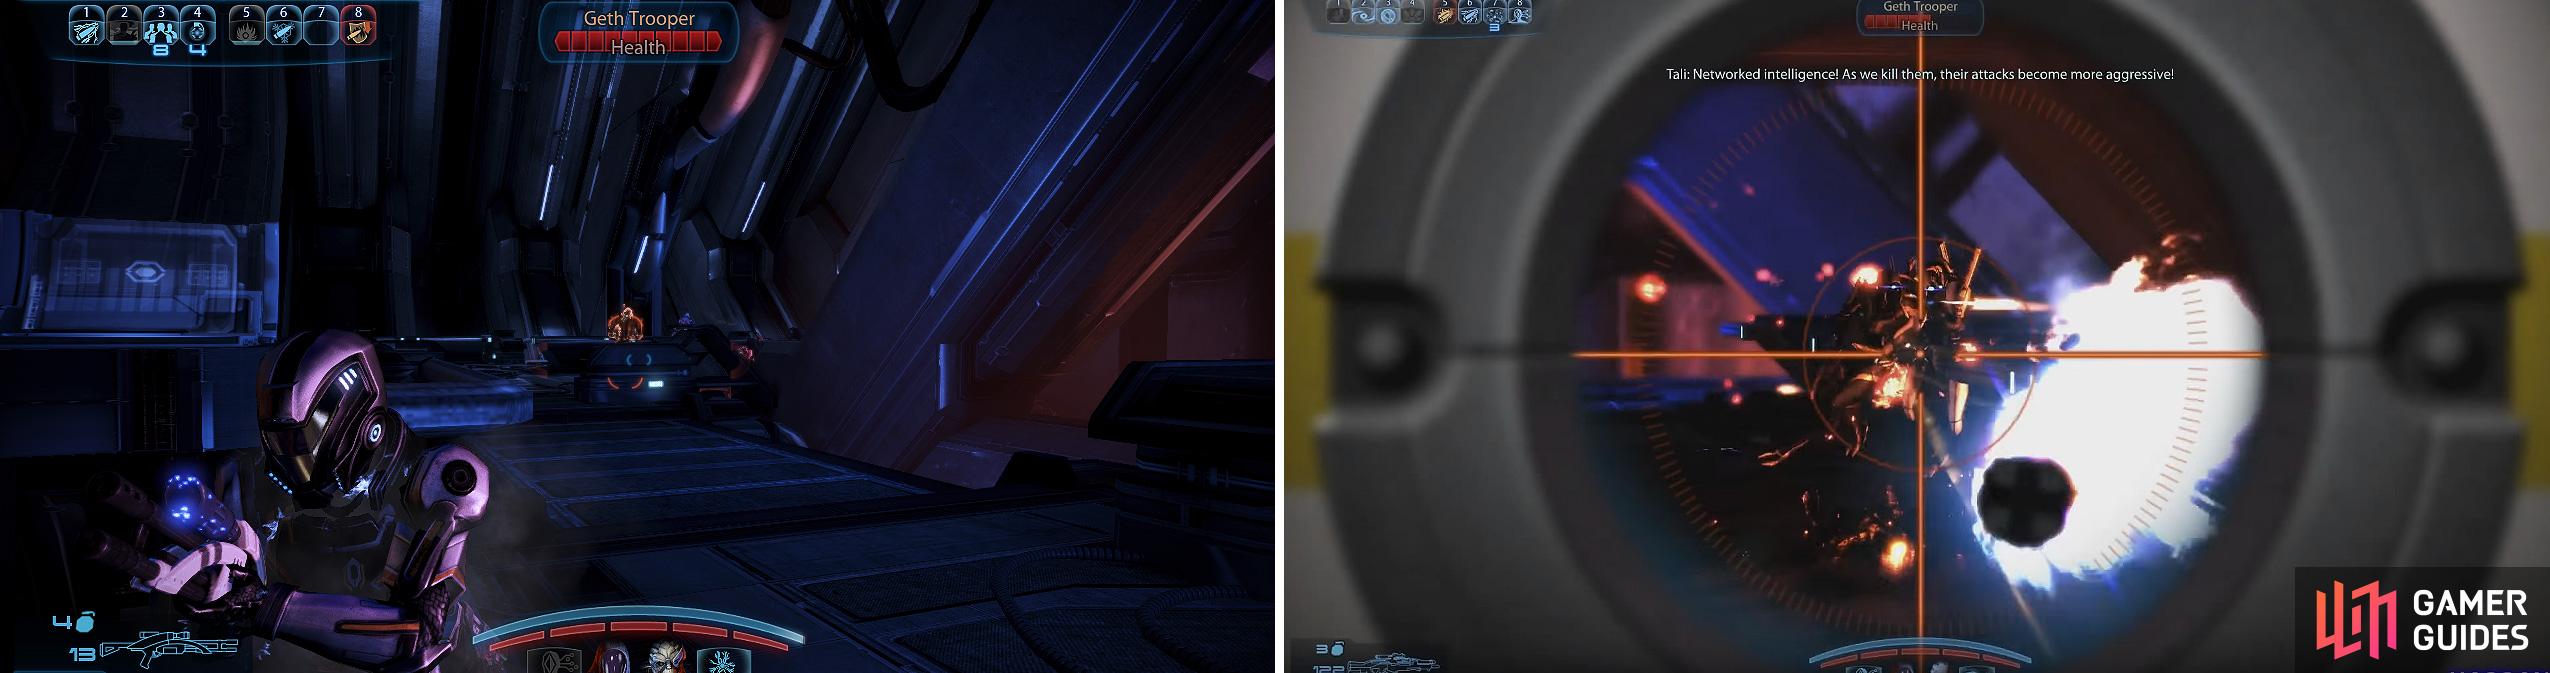
Turn around, head through the next chamber and you’ll enter a large room with a walkway snaking around it. On your left there’s a panel you can scan and just to the right of it there’s a Sniper Rifle Enhanced Scope Mod. Continue around the walkway until you reach the bridge controls; activating this will trigger a battle against your first set of Geth troops.
Stay behind cover and stick with long or mid-range weapons for this encounter as the Geth tend not to get too close if you stay near the bridge controls. If your AI team has Overload, then this will prove effective in making your time against the Geth a fair bit easier.
Watch out for the Rocket Troopers who carry rocket launchers and those can pack a serious punch if they hit you square on. When they’re all dead, climb down the ladder on your right and take up cover overlooking the hallway to your left.
Once you fire your gun at the Geth with its back to you, more reinforcements will show, so a weapon with a scope will prove to be ideal down this corridor.
When the coast is clear, you need to be very careful **** of the trip mines on the ground as they’re very easy to walk on to (giving you very little time to dodge). There’s a total of four on the walkway to look out for. Before you enter the door at the end on your right, scan the terminal nearby for salvage worth 2,500 Credits .
The Geth spring a surprise attack on you so be aware! Use Tech powers on them. Rocket Troopers (right) can really hurt you if you aren’t careful.
To the Operations Centre
Scan the terminal on your right to progress the story and on your left nearby there’s a case holding an Archon Visor armour attachment. Keep checking each terminal to drive the story forward and in the second room, just before you leave, look on the crates to your right for a new gun; the Geth Pulse Rifle . Collect this then head into the next area.
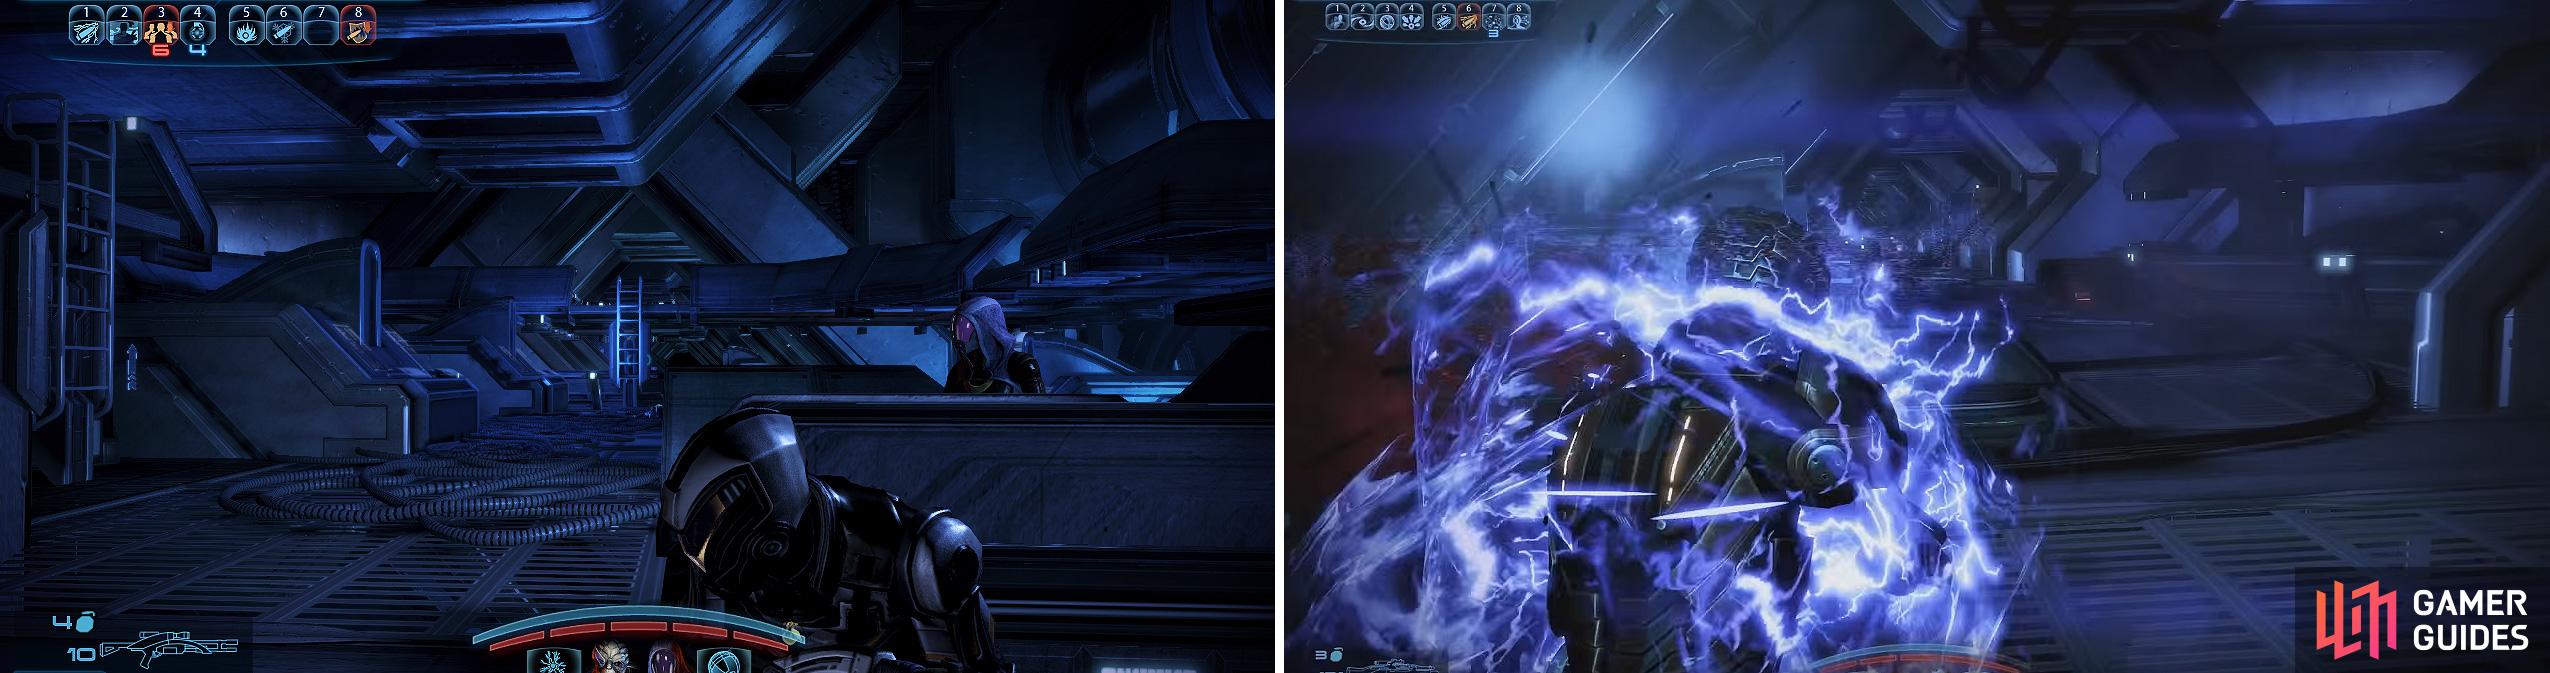
Watch out for the Hunter Geth - they can cloak themselves and they actively try and get closer to you. If they get close, switch to your SMG or shotgun (with enhanced ammo) and give them a taste of your high-velocity rounds.
Stay where you are and look out for the cloaks ‘shimmering’ in the distance; you can still damage the Geth, even when they’re cloaked. Infiltrators can also give them a taste of their own medicine, by sneaking up to them cloaked and unloading an SMG clip right into their backs.
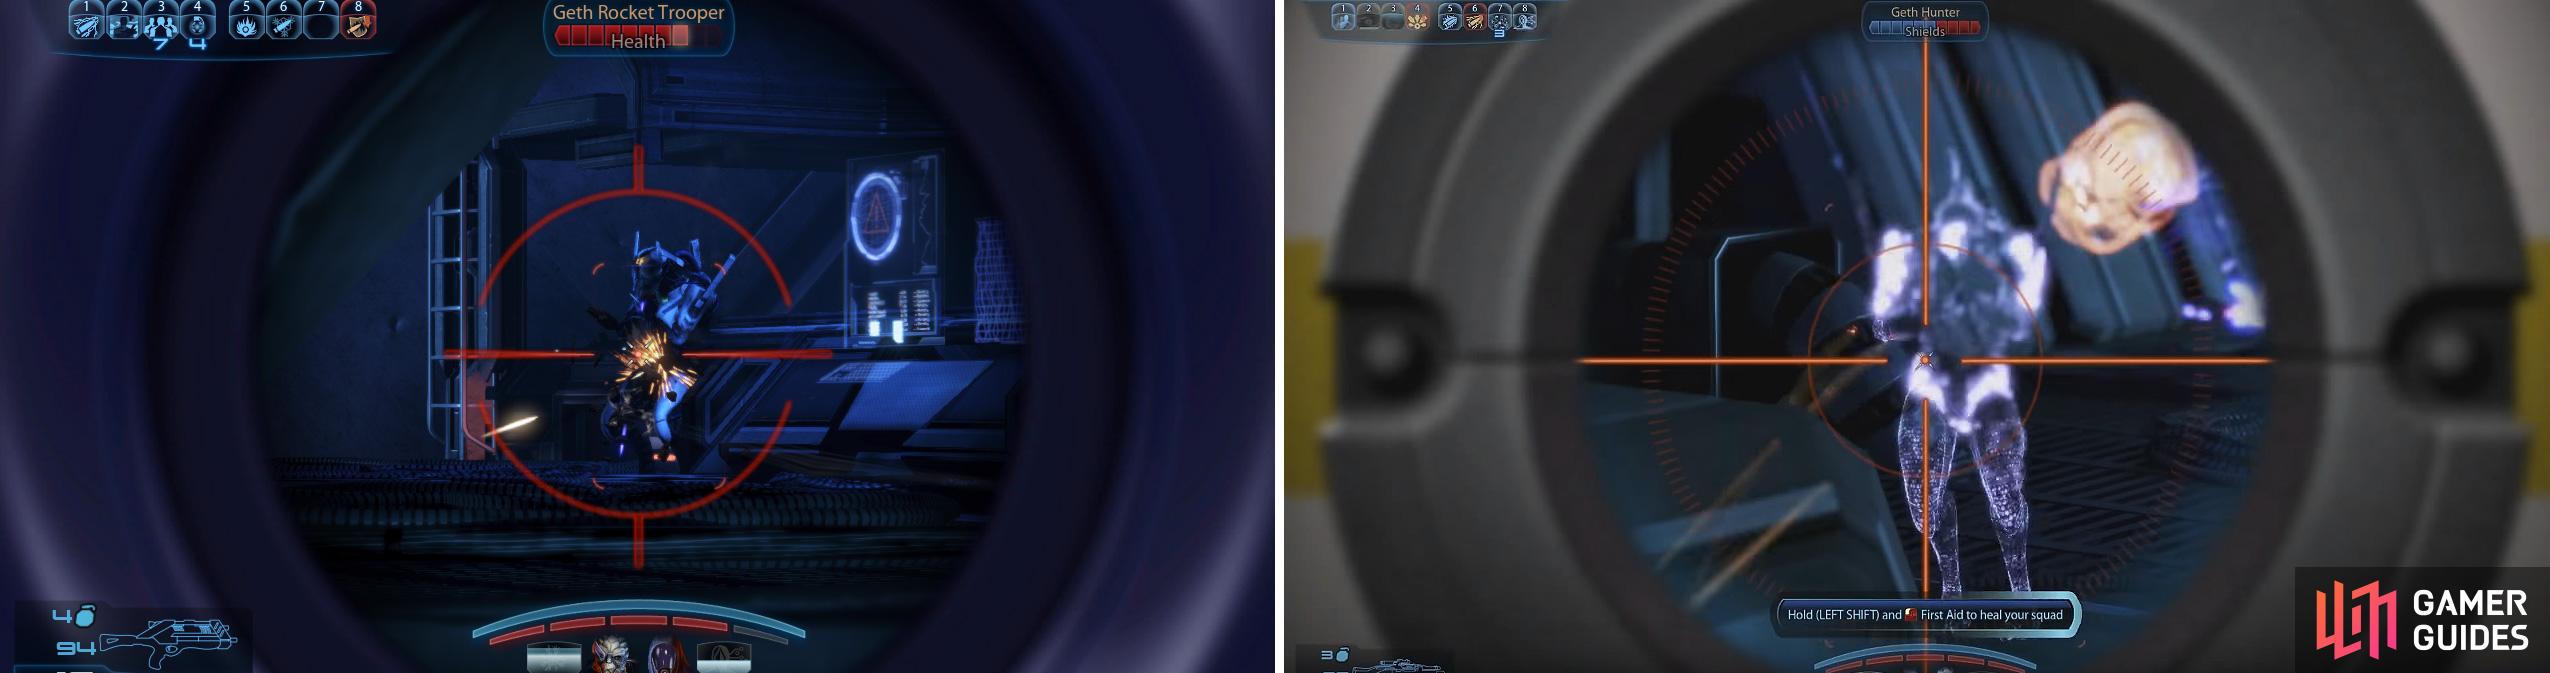
Geth Hunters can sneak up on you while cloaked so keep an eye out for the distinctive shimmering and take them out quickly.
Be careful when heading to the control panel too; there’s a few very hard to spot land mines laying around. Before scanning the console, scan the nearby salvage for 1,250 Credits and pick up the SMG Scope as well.
After activating the panel another batch of Geth turn up, and you should make an immediate beeline for the left side as this is where several Hunters try and flank you (so surprise them with an ambush of your own). Now it’s a case of ensuring the Hunters are taken care of first; if they get too close, fire a short-range weapon in their pointy faces to give them a hint.
To the Main Gun Battery
When all of the enemy are dead, head through the door in the top corner of the room, bypass the locked door and make your way down several floors via the ladders. Keep an eye out after coming down off the second ladder for a terminal on your left worth scanning for 1,250 Credits . Before going through the door at the bottom, scan the Medi-Kit for XP (and any gel if needed).
Watch out for the pulse beam along this corridor. Keep your head down and pick off the Geth where you can.
This whole walkway leads into battles with Rocket and Hunter Geths, so make sure you’re always behind sufficient cover and that you’re only popping up to fire when the pulse beam isn’t coming your way!
Keep an eye on your flanks at all times and when you finally get near the end, look out for a terminal on your left that you can scan for 1,250 Credits . After triggering the maintenance override, run forward, jump over the gaps and then when you’re back in the previous tunnel (with the pulse beam), you need to fight more Geth down a walkway almost identical to the last one.
There’s a lot more Rocket and Hunter Geth this time, so only pop out of cover if you’ve got a clear shot; using and abusing your team’s biotic powers here is always a cunning plan in preserving your health.
At the end of the walkway, hang a left, run up the ramp and proceed through the nearby door on your right. Before jumping on the lift, run around the edge behind it and scan the panel for 1,875 Credits . Activate the lift and after the rocket hits, start holding forwards and run to jump with Tali.
The Drive Core
Climb the nearby ladder, scan the Medi-Kit on the terminal just up ahead and when you enter the next door, you’ll trigger a cutscene where you can earn Paragon or Renegade points depending on your conversation choice.
Before releasing the Geth, pick up the Assault Rifle Precision Scope from the wall behind you, and a nearby terminal can be scanned for 2,500 Credits . When you ride the elevator with your team, be ready for a major battle with new Super-Geth known as Geth Prime - these large red tank-like Geth can punch a serious hole in your armour if you’re not using your cover effectively.
Firstly, ignore the Geth in front of you and make a dash for the wall panel located in between the elevator on your right and the crates a bit further to the left (there should be an angled pillar in front of you). This gives you a great angle at the Geth Prime located around the corner, but you need to keep nipping in and out of cover.
If you have a sniper rifle (and even better, cloak), this’ll be a walk in the park. If you’re using a mid-long range weapon like an assault rifle, then aim for the chest and let the recoil push the bullets to their head automatically. You can continue to pick off the Rocket and Hunter Geth from this vantage point, or you can join your AI team and move around from cover to cover and pick each Geth off one at a time.
If you use Tali’s Sabotage power, you can turn the Geth onto each other, saving you some time and ammo in the process. Halfway around the bend, another red Geth Prime will appear; the same tactics of taking cover and popping out will work (although don’t waste your time trying to use sabotage on it as it simply won’t work, but, turning other lower rank Geths will help whittle down its energy bar for you).
Escape
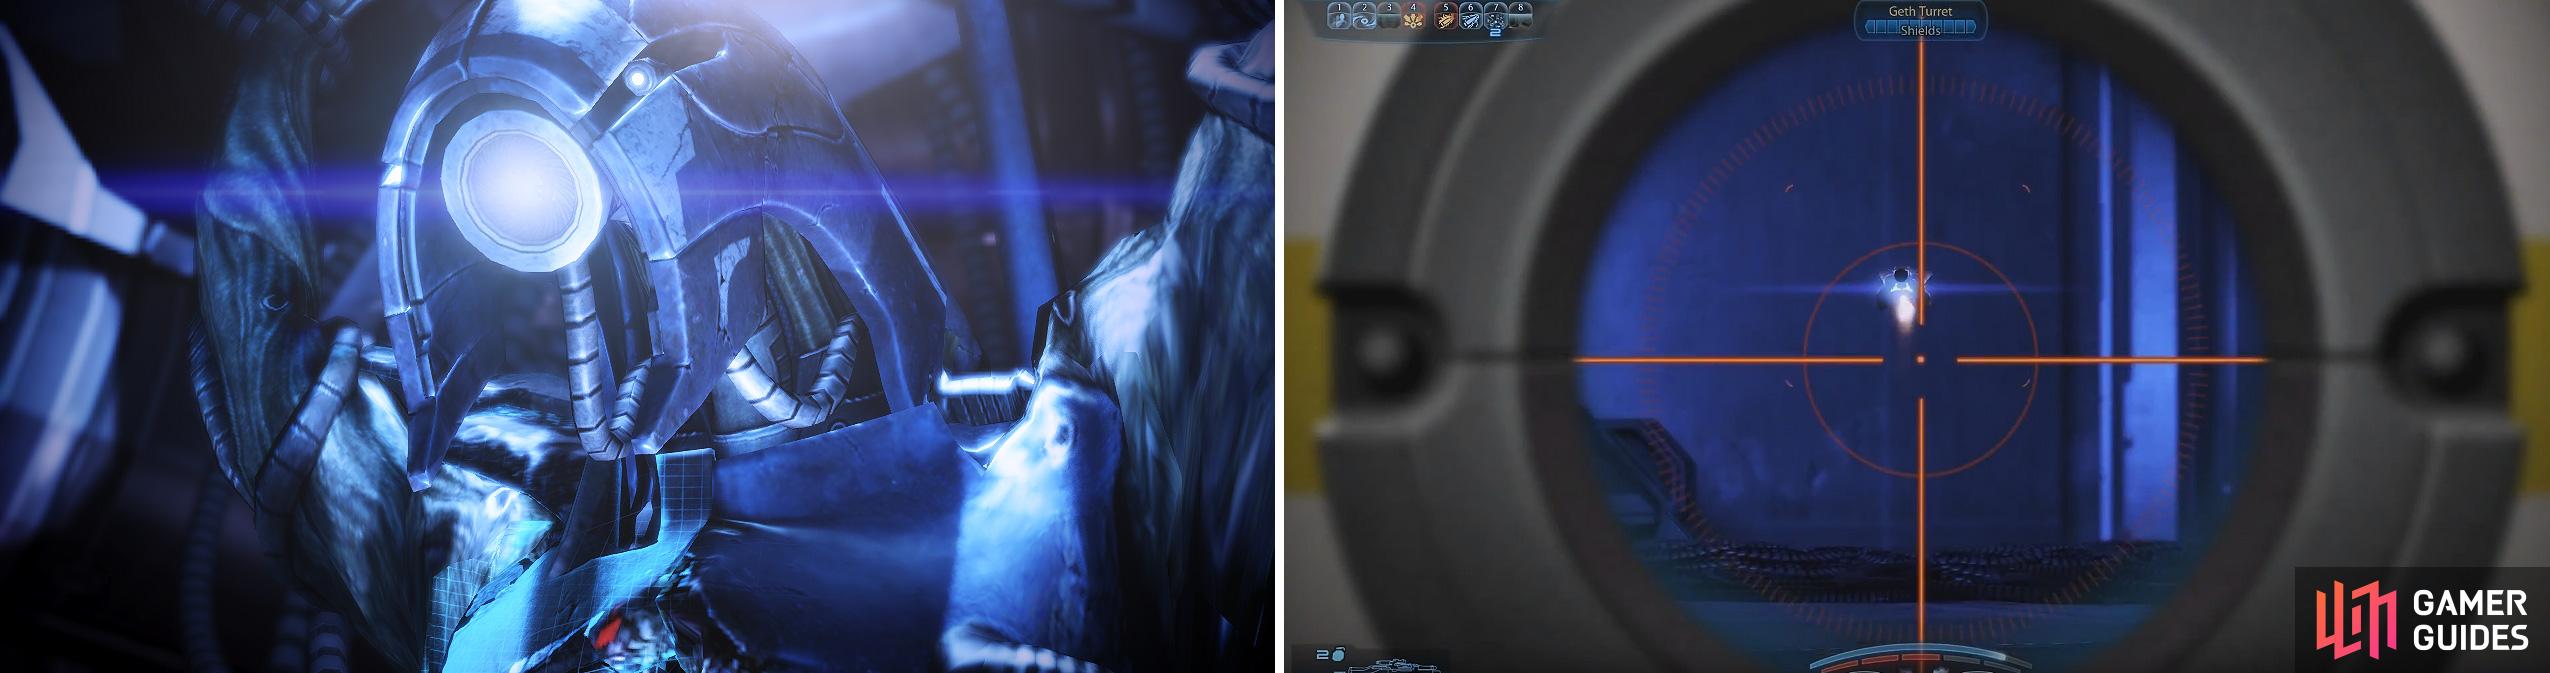
Follow the Geth VI through the rooms (left) but watch out for Primes and their turrets (right).
With all the Geth gone, slide down the ladder and follow the Geth VI through the exploding rooms until you reach the walkway that partially collapses. Walk along the right side of it and after you fall, just follow the only walkway available until you reach the top and finish the main part of this mission.
You’ll now have a couple of conversation choices that dictate Paragon or Renegade points, so choose your responses based on what outcome you’d prefer. You’ll be rewarded with +15 Reputation points, Paragon and/or Renegade points and 12,500 Credits . You’ll also have three additional missions made available to you.
No Comments