
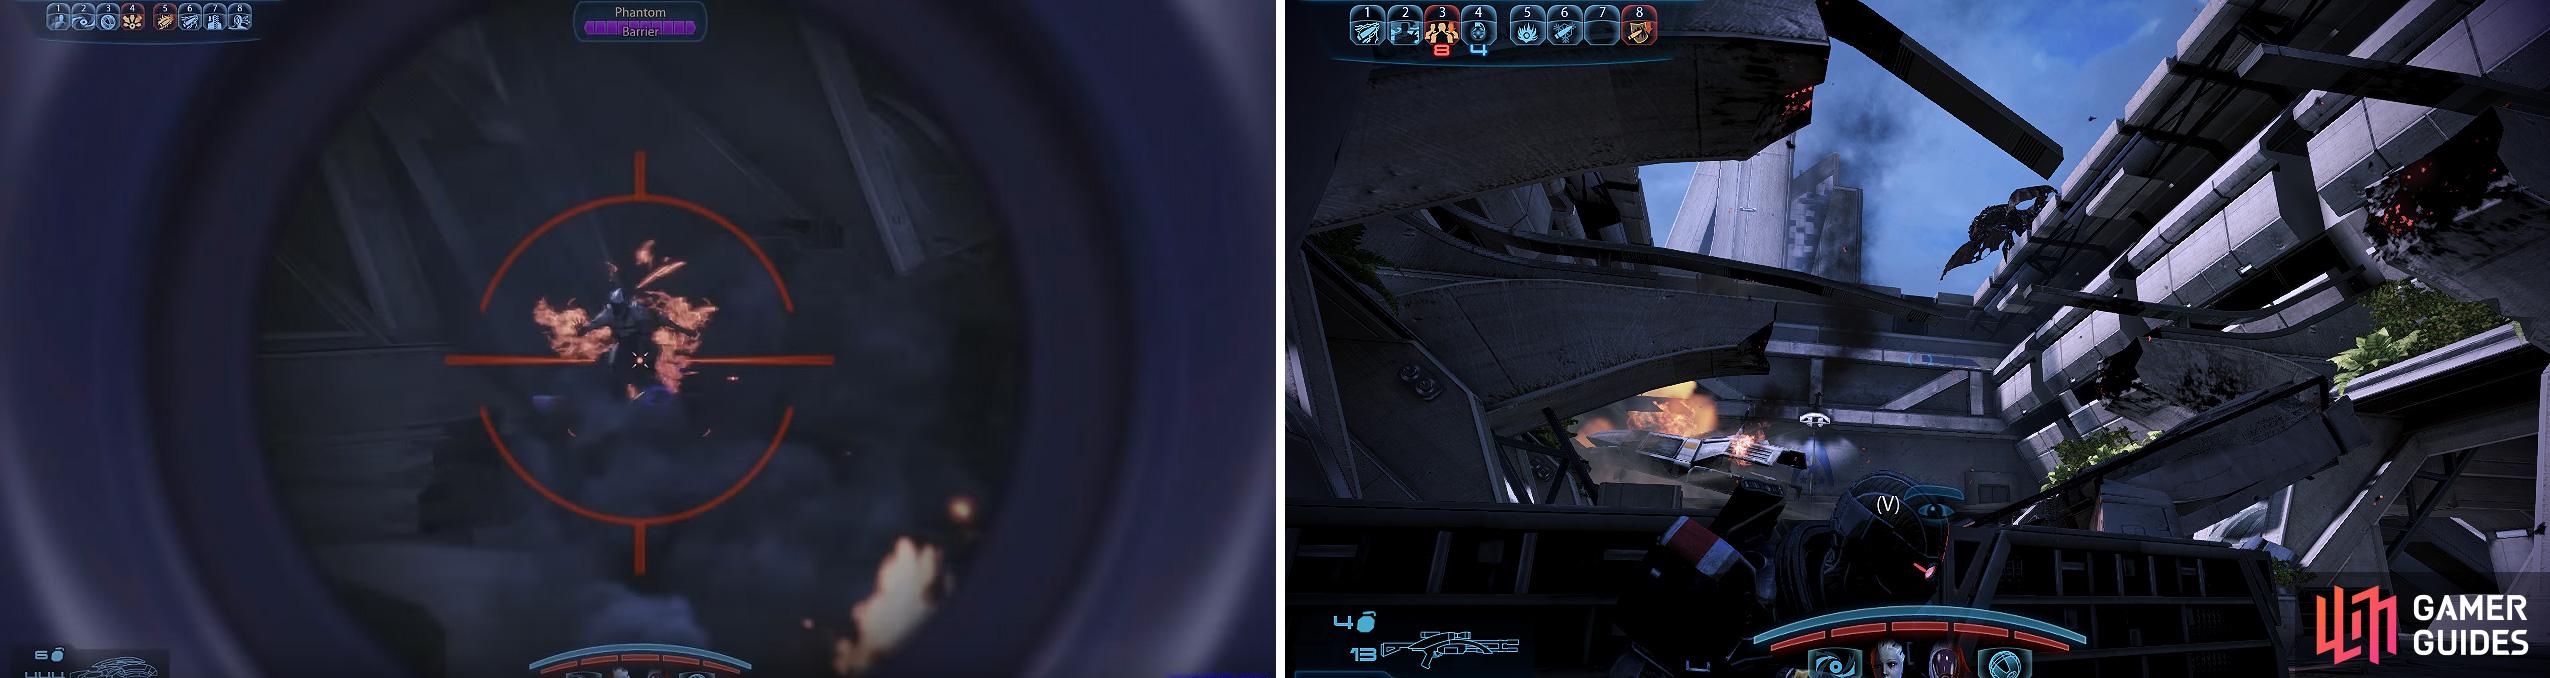
Get your weapons ready for entering the Sanctuary because Cerberus have a nasty surprise of two Phantoms (right) to greet you on arrival.
You’ll land on a deserted entrance to the Sanctuary, so press onwards until you see a shuttle crash in front of you. Two Phantoms will come charging at your location simultaneously, and there’s also a Nemesis perched behind some cover up above the door.
If you’ve got a sniper rifle handy, now would be a good time to use it when the Phantoms are a distance away (as a single head shot will do the trick), otherwise let one of your team be bait and hit it up close and hard with an SMG, then repeat this tactic (ideally whilst behind cover from the Nemesis) until both Phantoms are dead. Now counter-snipe the Nemesis, grab the salvage from near the right-hand steps (worth 1,500 Credits ) and then enter the doorway.
Inside Sanctuary
Immediately to your right upon entering there’s a Medical Station on the wall; grab it for XP and gel if needed. Now hang a left, and you can scour the nearby office desks for various logs, or you can head to the back section to gain access to the stairwell that goes downstairs.
As you turn the corner to your right, switch to a close-range weapon and take out the three Assault Troopers near and around the desk. Pick up the Pistol Scope Mod beside the corpse resting against the desk and now head through the ‘pool maintenance’ exit to your left.
In here you can salvage the safe for 1,500 Credits and you can activate the console for the first of Miranda’s video messages. Nip outside and activate the water pump to lower the water. Now head inside the door to gain access to the hidden facility. Two rooms in, scan the wall safe on your right for 1,500 Credits .
Activate the control panel in the room with the glass panels and then in the next room, look for the console in the corner that you can activate for the next part of Miranda’s message. Ready your guns before opening the next door as there will be Husks waiting to come through. If you have an SMG, then simply stand still and wait for them to rush you; easy pickings then.
Inside the Facility
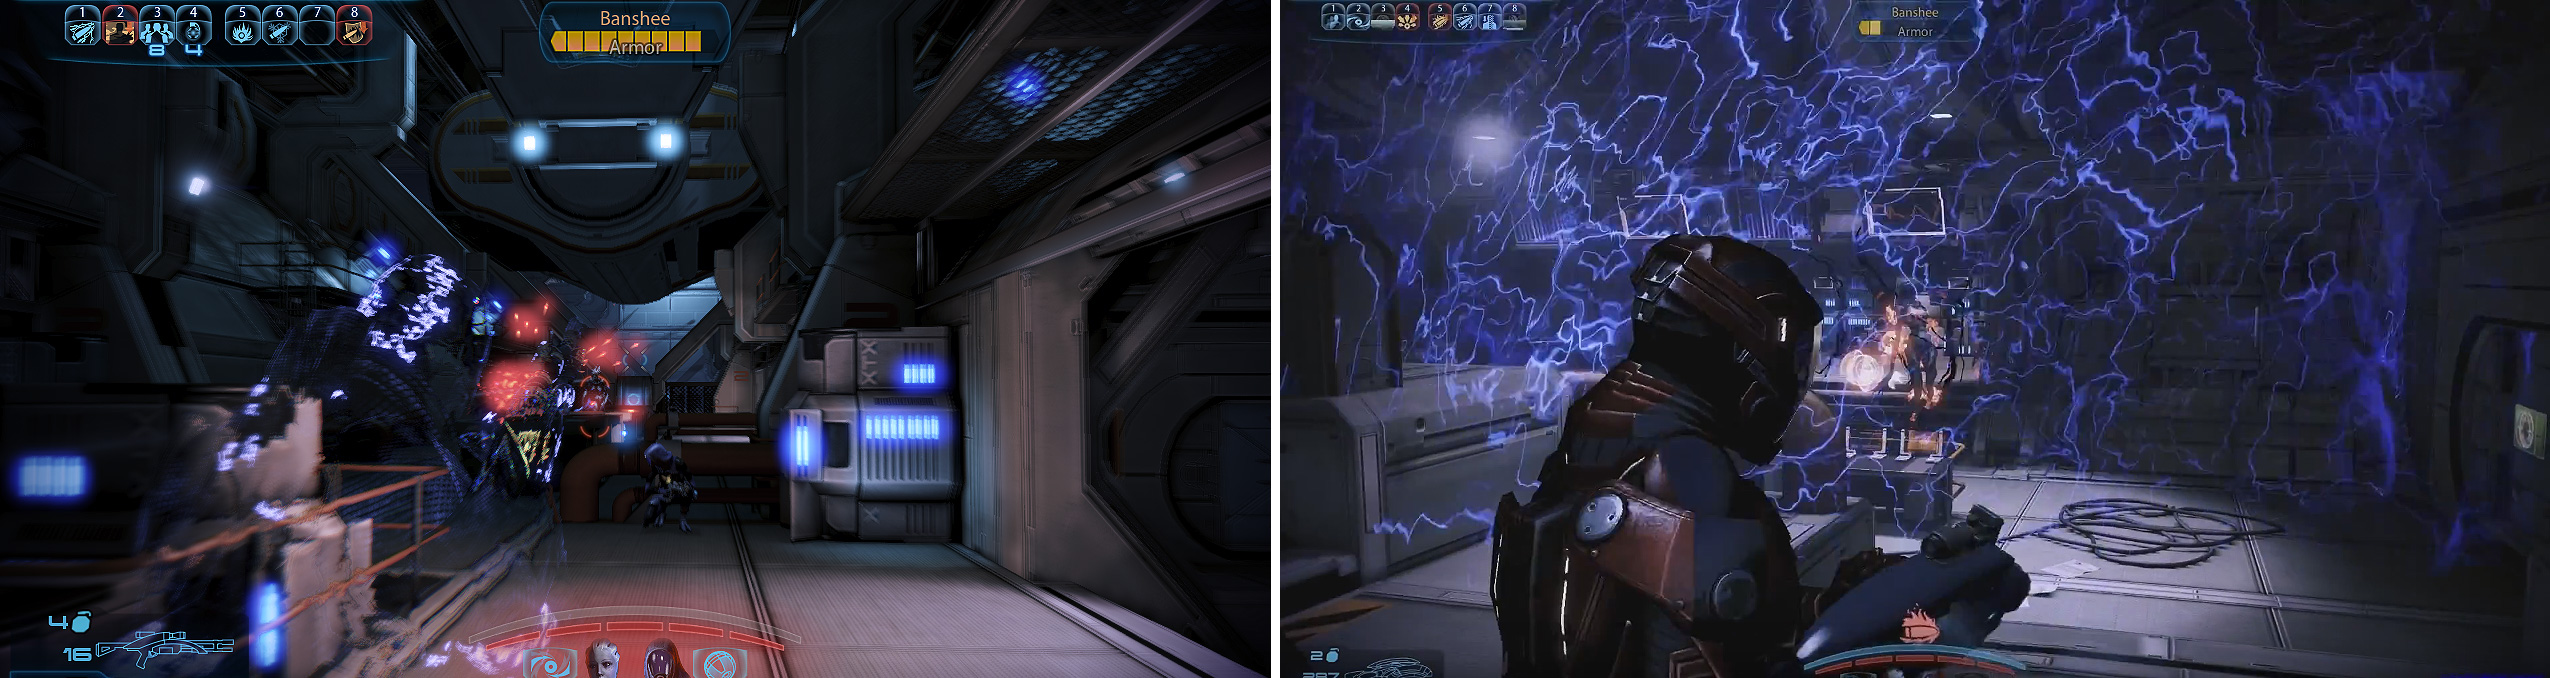
Ready your most powerful guns before you enter the next corridor as you’ll be ambushed by a Banshee, a Ravager and multiple Marauders!
As always, the Banshee is your top priority, so use your most powerful weapons and skill to take it down, but remember to use the cover as the Ravager has devastating accuracy with their lasers, allowing the Banshee or the Marauders to finish you off if you’re sloppy.
Make your way to the end of the corridor and hang a left; there’s a couple of logs you can scan in here if you want to develop the story further (and you can ignore the Banshee behind the glass… for now).
In the next room there’s some salvage in the far corner you can scan for 1,500 Credits and you can activate the console to see Miranda’s third video message. Reload your weapons before walking up the stairs and entering the hallway on your left because there’s a few nasty surprises waiting for you in there.
Your priority should be the three Reaper shield barriers located on the right-hand wall (you can see it from the stairwell). If you then hug the right doorway, look left for the next barrier and then just a bit further down from that (on the same side), is the third barrier.
The Reaper barriers (left) should be prioritised and removed as soon as possible or else they will constantly replenish shields (right).
Only once these barriers have been dealt with should you worry about dealing with the Marauders and the Cannibals in the corridor. Seek cover and work on the Marauders first, finishing off the Cannibals last. There’s various logs to listen to and another console with Miranda’s message on it at the end of the room.
Check out the right-hand labs before you climb the ladder for a Shotgun Blade Attachment and a new weapon, the M-12 Locust .
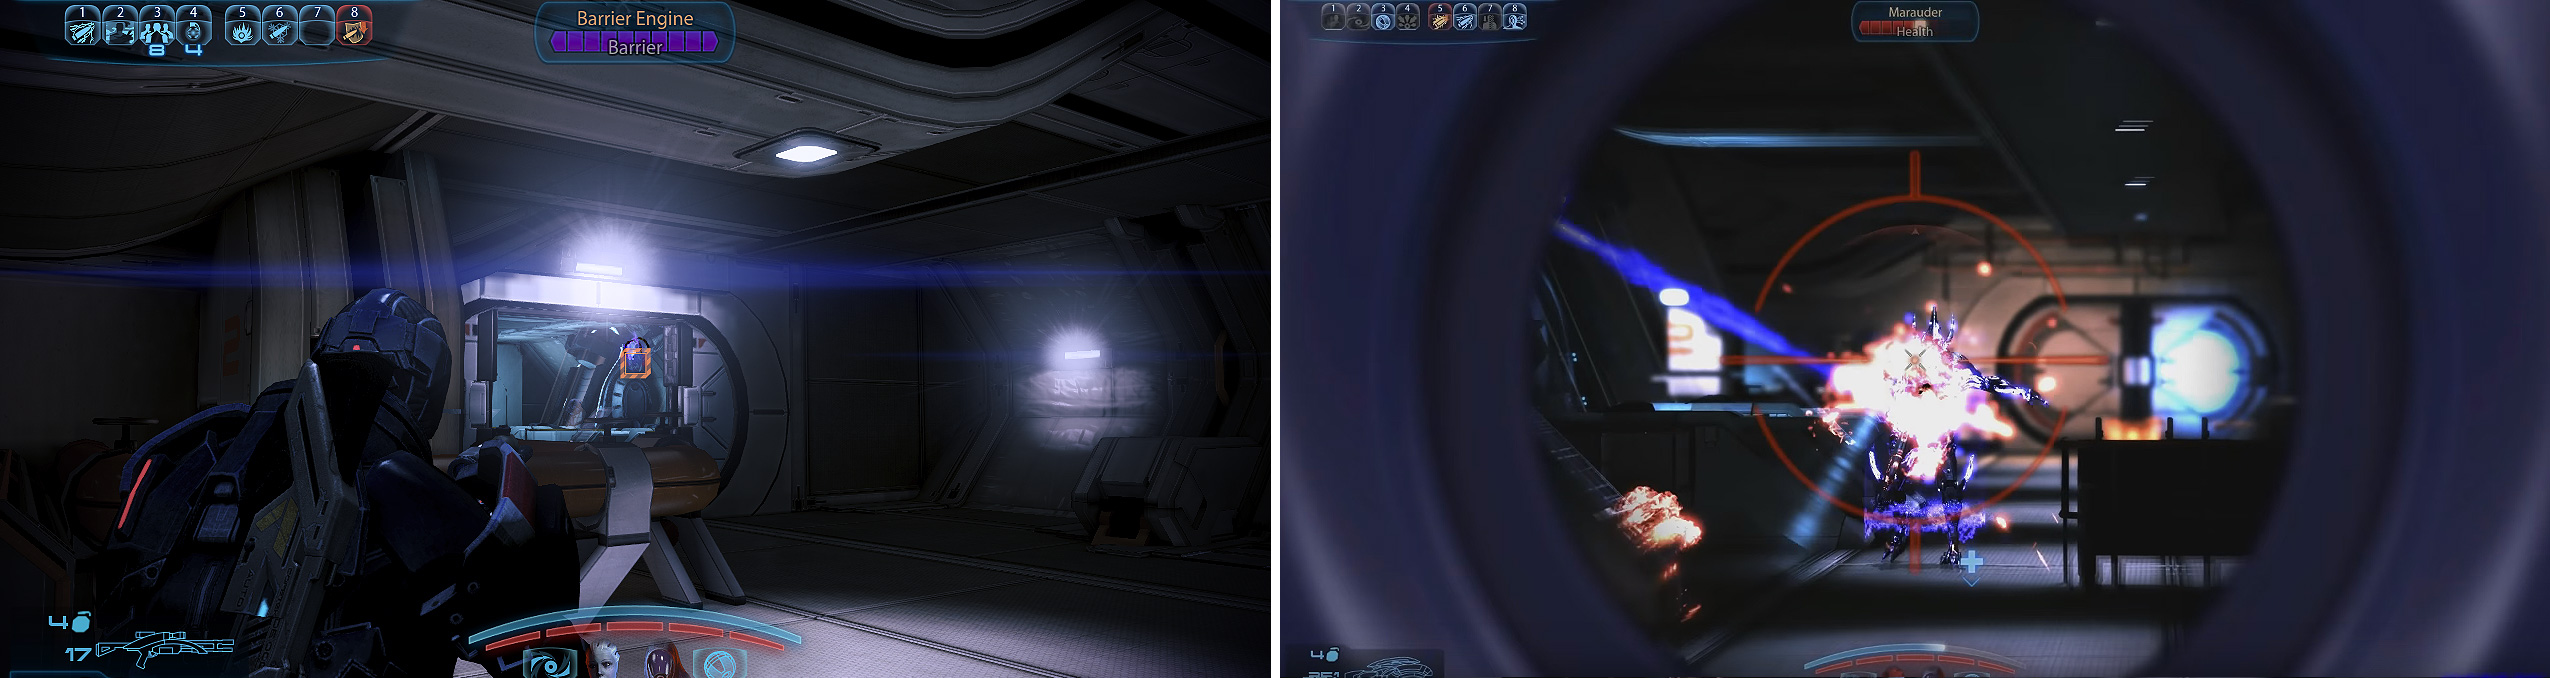
Be ready for another Reaper fight after climbing the ladder; there’s a Marauder very close to you and there’s multiple Ravagers, Marauders and Cannibals to deal with. Get your team to take cover at this end of the corridor, whilst you go to the left side and get to work destroying the two Reaper shield barriers.
This will make killing the remaining enemies much easier, so pick the strongest enemies off first, leaving the weaker ones to last. Enter the next room at the end of the corridor, grab the salvage worth 3,000 Credits from the left pod and exit via the open door on the right.
Climb on top of the elevator and shoot the control panel open at the top; scan it to activate it and then disembark via the left side. Get ready for a major fight, so save the game and reload your ammo.

You can find the Locust on a table in the lab (left). Further on, beware of the two Ravagers next to a Reaper Barrier (right). Shoot the barrier first.
There’s a Brute straight ahead of you, so hit this beast with your strongest weapons and/or powers along with your teams simultaneously. Once that’s dead, look right for Brute number two; keep your team close to you (they have a tendency to wander off and die here on you otherwise) and keep the firepower and biotic powers flowing. It should come down the slanted panel on your right, buying you enough time to put it down for good.
Another Brute will come at you from the office up ahead along with a Banshee, so climb up the ledge beside you and take cover so you’re looking straight down the corridor. Now use this line of sight advantage to try and kill the Brute as it appears first which takes less bullets to put down than the Banshee. Otherwise, let your team focus on the Brute whilst you start filling the Banshee full of holes (or setting your biotic powers on her if that’s your class preference).
Nearing the End
At the end of the corridor, on the left, there’s a hologram of a pod - if you activate it and open the pods around you, you can head back to the first pod at the start of this corridor, open it and bag the M-99 Saber gun. This gun is effectively an Assault-Sniper combo with heavy damage and accuracy, but with a bit of additional weight.
On a terminal at the end of the corridor (before going through the door on your right), there’s salvage you can scan for 4,000 Credits . Open the door and enter the lift to trigger the mission’s final cutscene.
If your reputation is high enough, you can convince Miranda’s father not to kill his daughter. Either way, the outcome will always be the same (unless Miranda had died on an imported Mass Effect 2 save file).
No Comments